Before we go ahead with the configuration of charts of accounts, we have to check what is a chart of accounts. A chart of accounts or COA as the name indicates is a list of accounts. That is a list of all accounts created by the accounting wing of an organization for the user of the organization. These accounts are usually used for keeping track of all records. This will also help the business to record the financial exchanges in the general ledger of the business.
The list of accounts can be used to manage different factors like profit and loss and balance sheet. New accounts can be added to the chart of accounts. Apart from some of the pre-configured charts of accounts, every company can create its own charts of accounts based on their requirements.
Odoo Open source software with its full-fledged accounting module helps the business to create and manage the chart of accounts effortlessly. Odoo helps the business to list the accounts in a particular order. The list can be managed in the order of their appearance in the financial reports.
Chart of Accounts
As we have mentioned earlier, the chart of accounts usually deals with profit and loss and balance sheet. Below Profit and Loss, we can manage all accounts related to income and expense. At the same time, below the Balance Sheet, we can manage Assets, Liabilities, and Equity.
Some of the charts of accounts can be viewed when we install our localization.
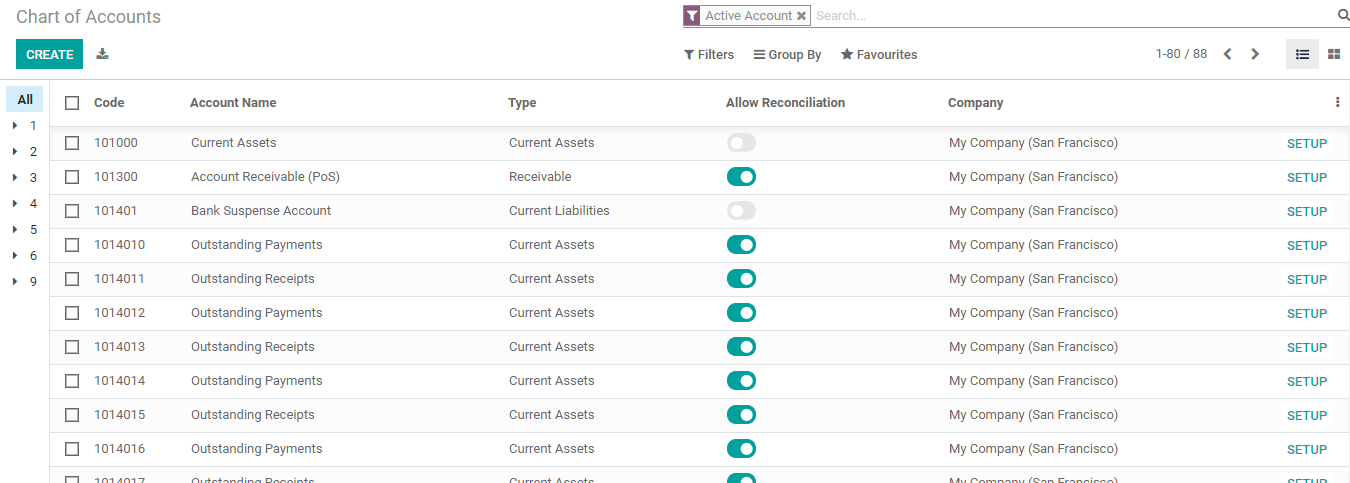
Here we can see different account names and account codes. We can also find the account type here. Some of the account types are current assets, receivable, current liabilities, bank, and cash, etc.
On the extreme right of each account, we can find the Setup button. Click on it and we can find the company name, type of account, and tags.
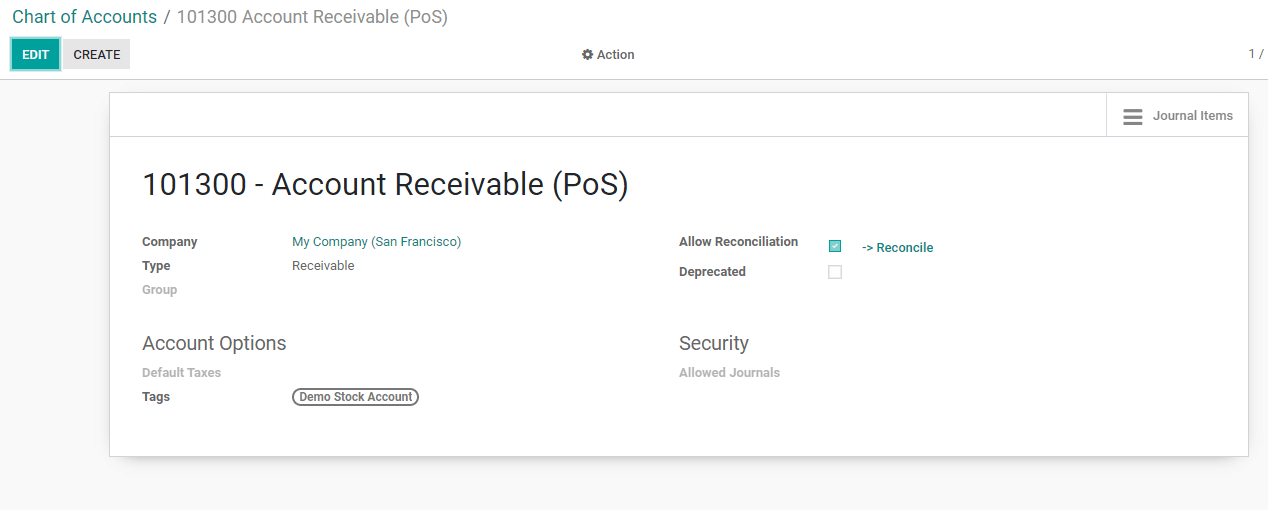
To check how to create this we can use the EDIT button.
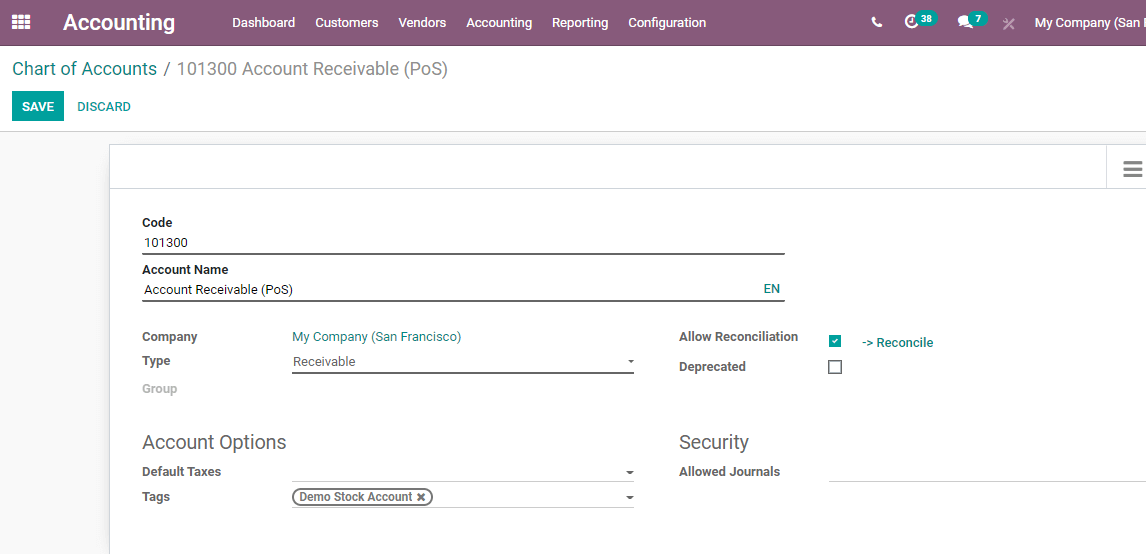
On editing, we are able to add a new account code and add account name. We can also update the account type.
Against Account type, we can find a drop-down menu. We can choose our preferred account type from here.
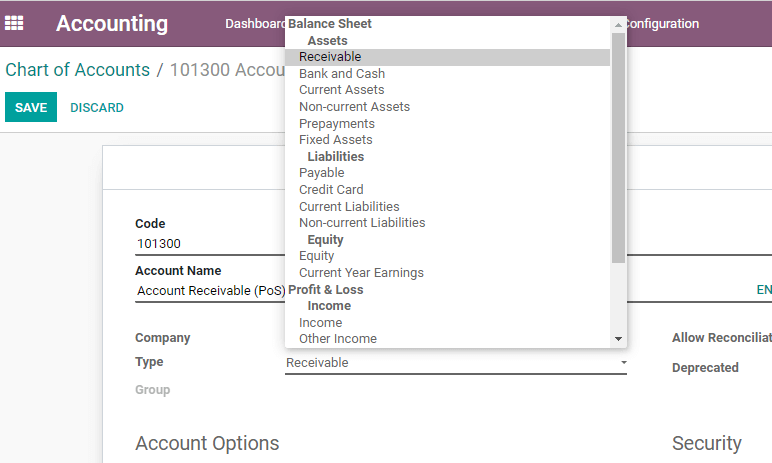
Here, we can find the account types including two key account types which are Balance Sheet, and Profit and Loss. Below the Balance sheet, we have Assets and Liabilities, Receivable, Bank and Cash, Current Assets, Non-current Assets, Prepayments, and fixed assets that come under Assets. Then we have liabilities under which we can find payable, credit card, current liabilities, and non-current liabilities. Another head under the Balance sheet is equity below which we can find equity and current year earnings. Then comes profit and loss we can find income and Expenses below Profit and Loss. We can find Income and other income under Income. Below Expenses, we have expenses, depreciation, and cost of revenue. We can also find each other.
We can also group some accounts using the Group option.
Below this, we can find a section named Accounting Options. This helps us to set default tax for the account.
We can also add account tags here. Another feature is to select account currency.
We have two checkboxes here. One is to use if you want to allow reconciliation. The second one will allow depreciation if you enable the box.
This form also gives us the option to set security features with the help of Allowed journals.
Disallowed Expenses
Then we have disallowed expenses. Disallowed expenses are expenses that cannot be deducted into the physical result but can be deducted into bookkeeping results.
We can create disallowed expenses to be selected here. For that, we have to first configure the disallowed category using configuration.
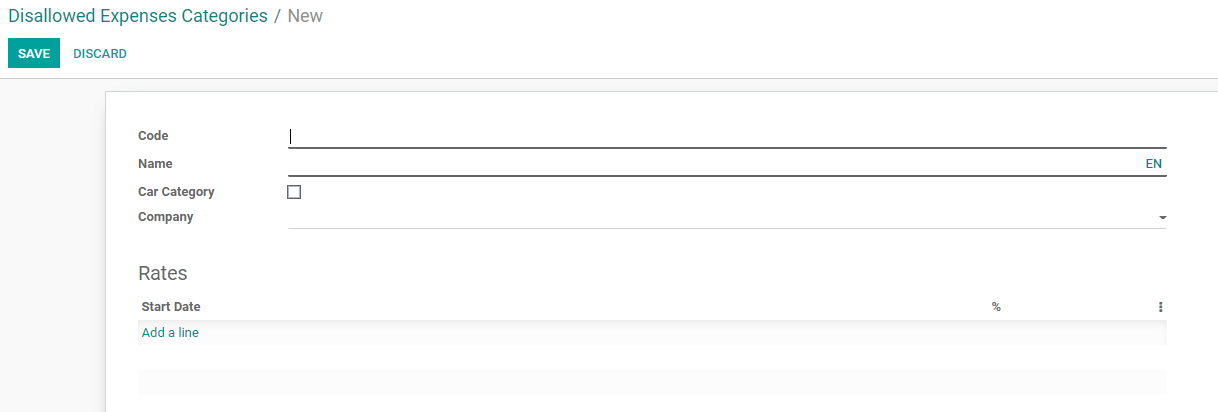
Here, we can add the code, name, category, and company. We can also set the Rates with a start date.
When we create rates by adding a line we get

We can save the form.
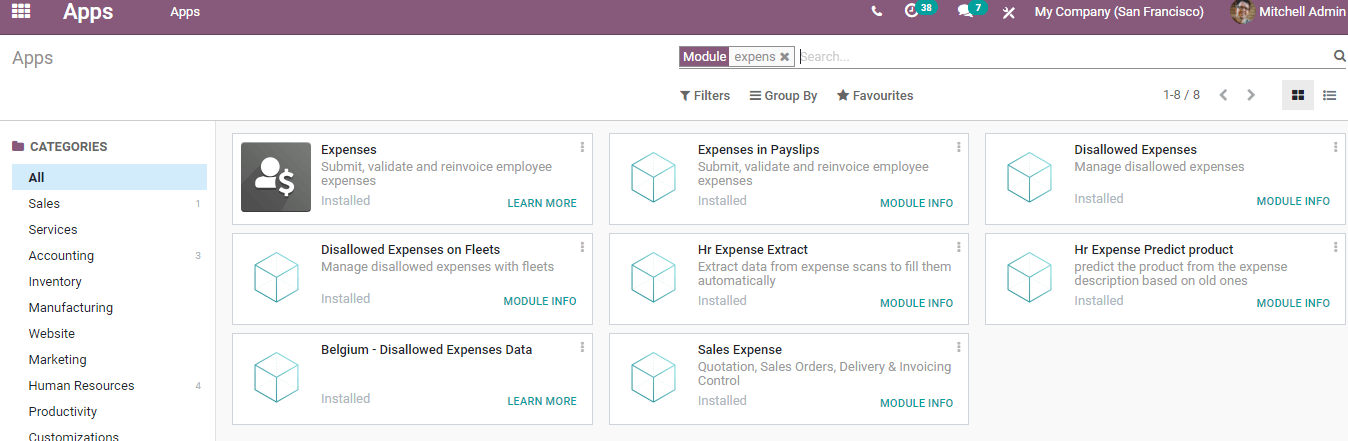
But we have to make sure that we have installed the disallowed expense module from the app store before going ahead with these procedures.
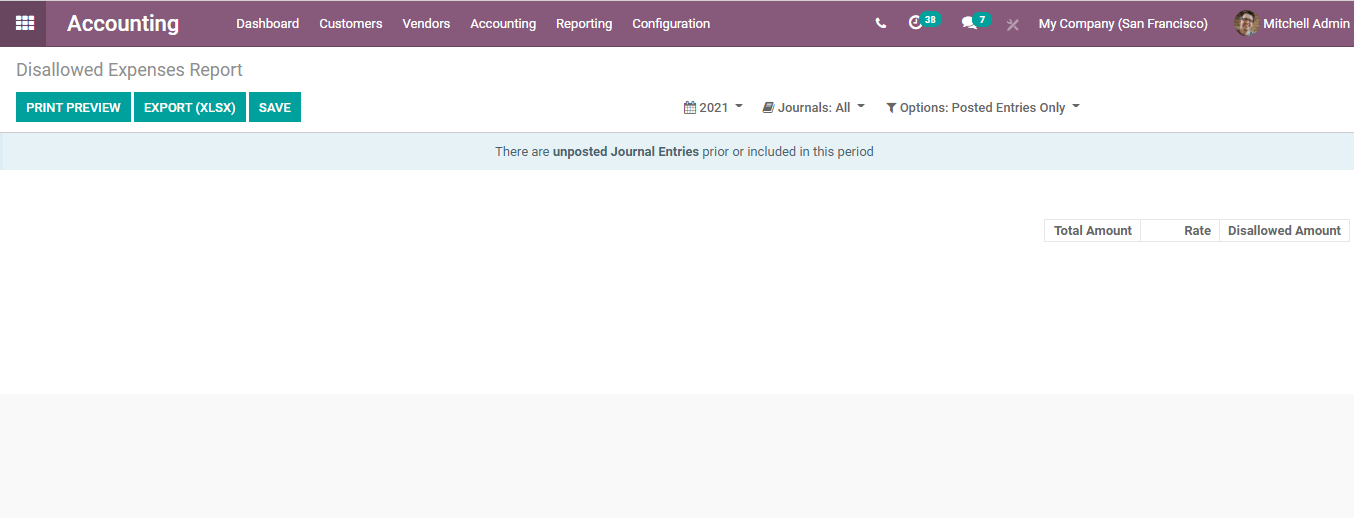
Once we complete these tasks, we can find a Disallowed Expense report below the Reporting menu.
Taxes
Next, we have to configure taxes.
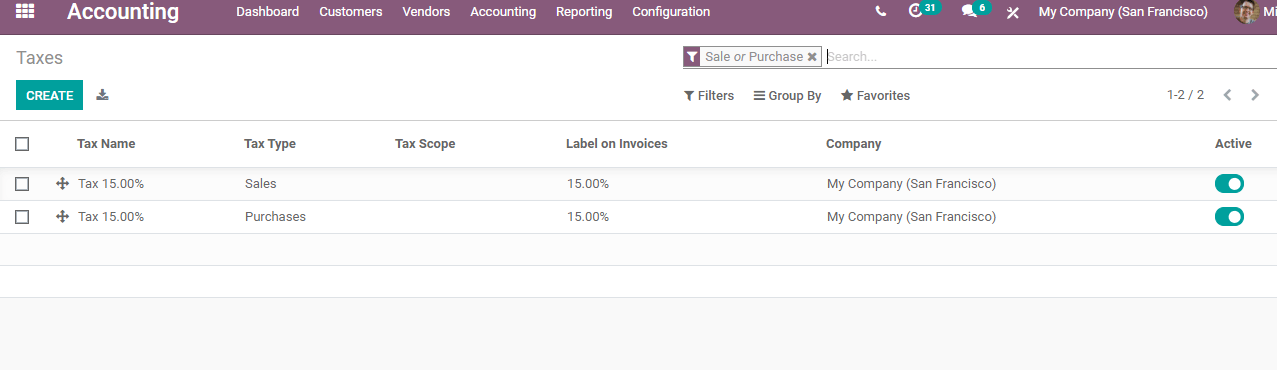
Here, we have already existing taxes and we can create new taxes.
This can also be done using the Configuration option
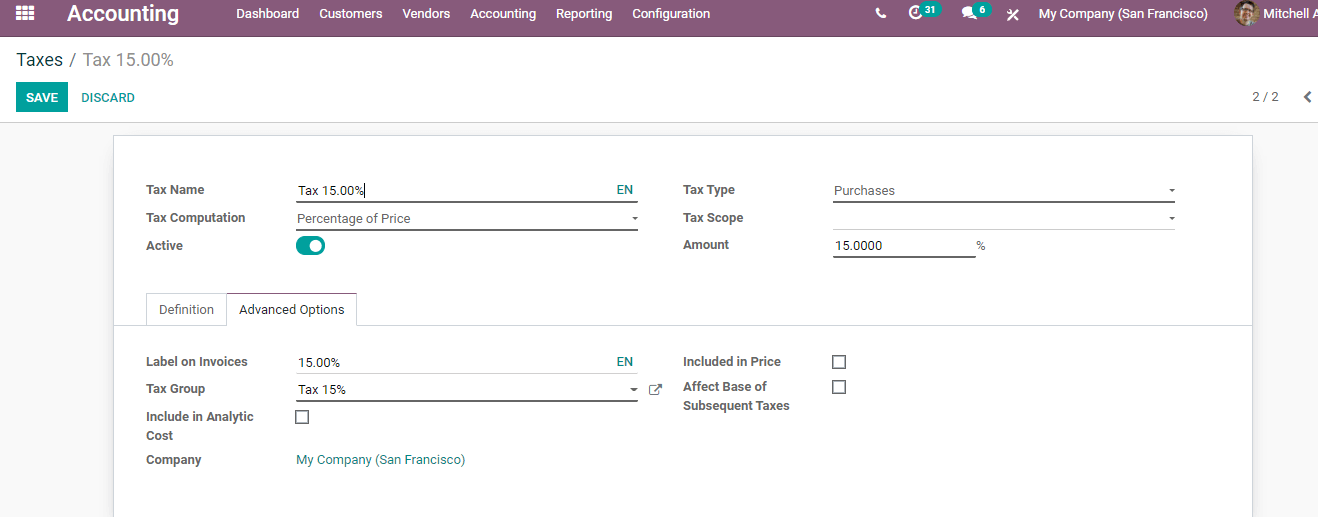
Here, we can find the tax name, tax computation, tax type, tax scope, tax amount, etc.
We can also activate the tax or deactivate the tax. Below the Advanced options tab, we have a label on invoices. We can also include the tax in the price. Here we can decide if we want taxes to affect the subsequent taxes.
Journals
What we have to do next is to create journals.
We can do this also from the configuration menu.
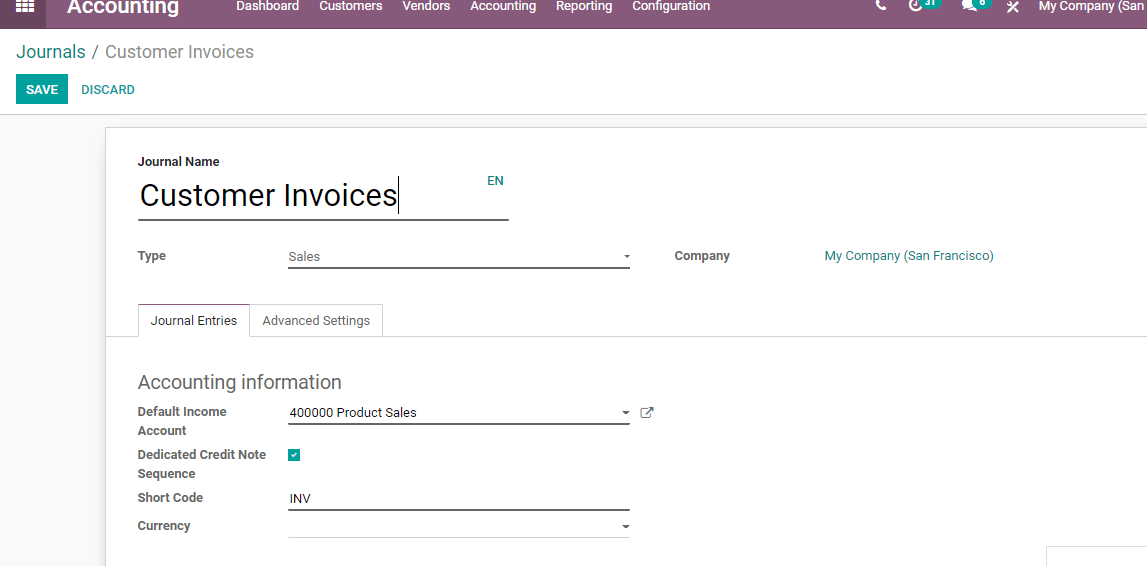
We can add journal name, journal type, company details, etc.
Below accounting information, we can also set a default income account. It is also possible to enable a dedicated credit note sequence, provide shortcode and add currency.
We also have advanced settings.
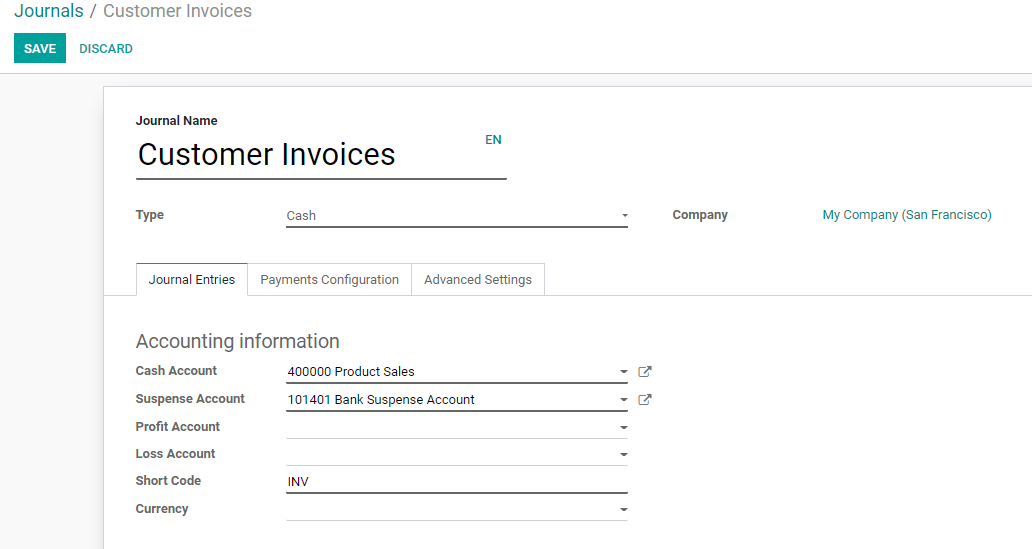
If we choose cash or bank journals we can find an additional tab
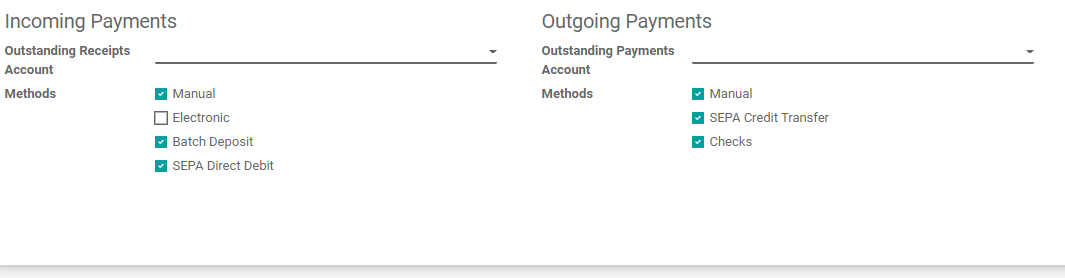
Payment configuration helps us with two segments incoming payment and outgoing payment.
Incoming payments help to set outstanding receipts accounts and methods of payment.
In the same way, the Outgoing payments segment helps to set outstanding payments account and methods.
Currencies
The next one we have to configure is currencies.
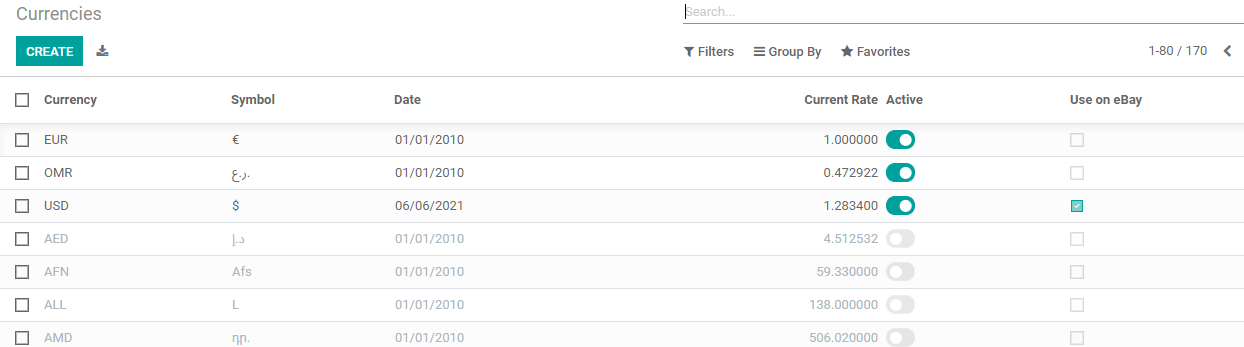
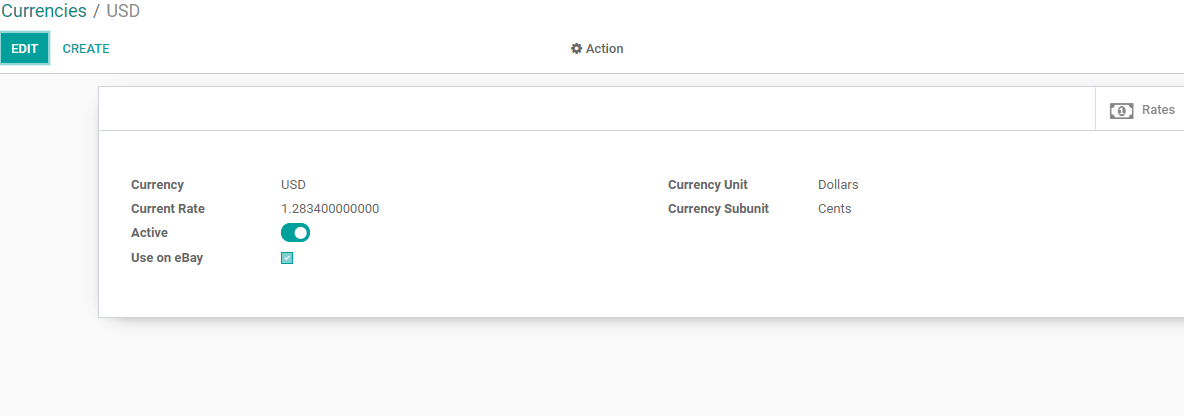
We can name the currency and set currency rates and units here.
Fiscal Position
This feature is used for tax mapping or account mapping.
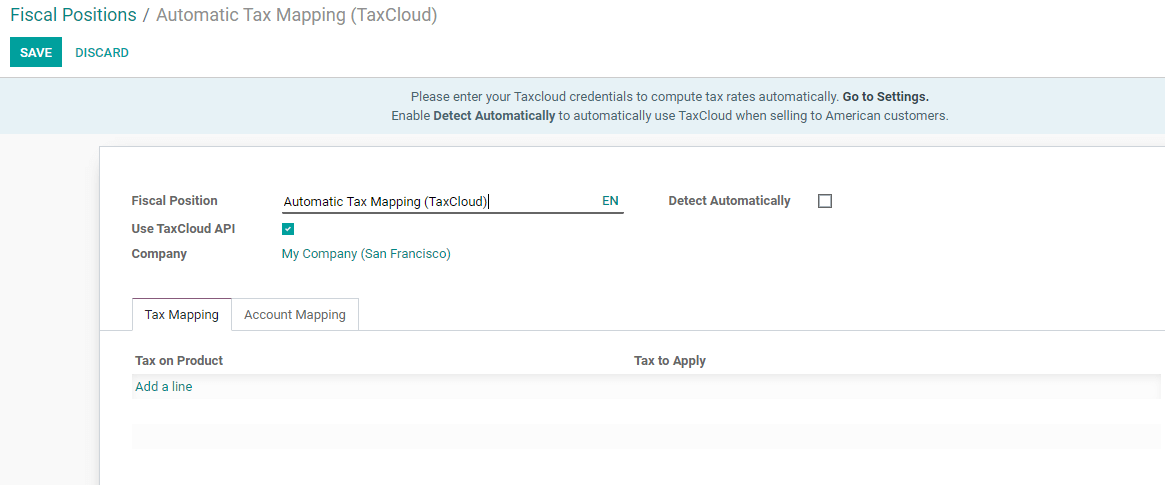
We can set the fiscal position and set other features. We can see the two tabs tax mapping and account mapping here.
Journal Group
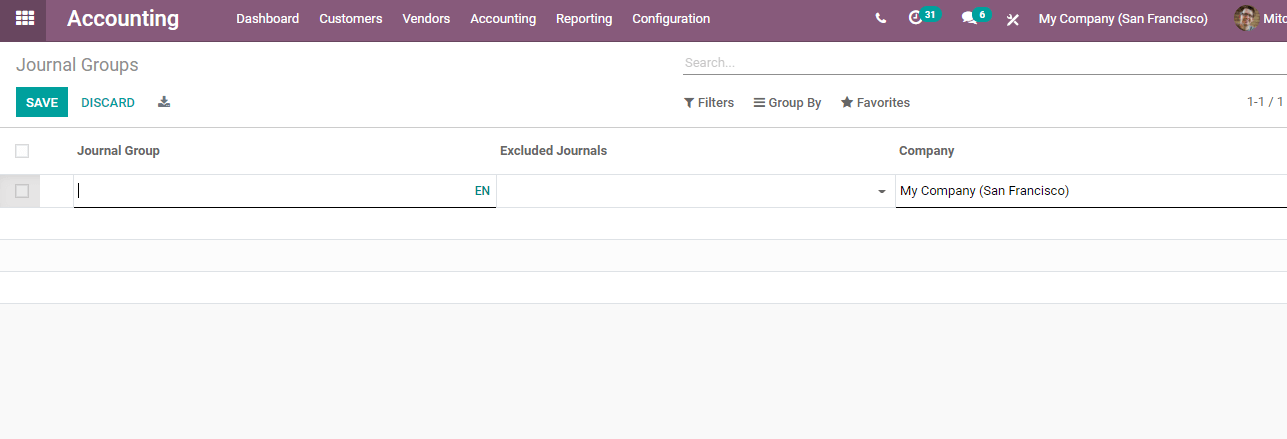
Next, we have a journal group.
Here we can set the journal group and identify the excluded journals.
Fiscal Years
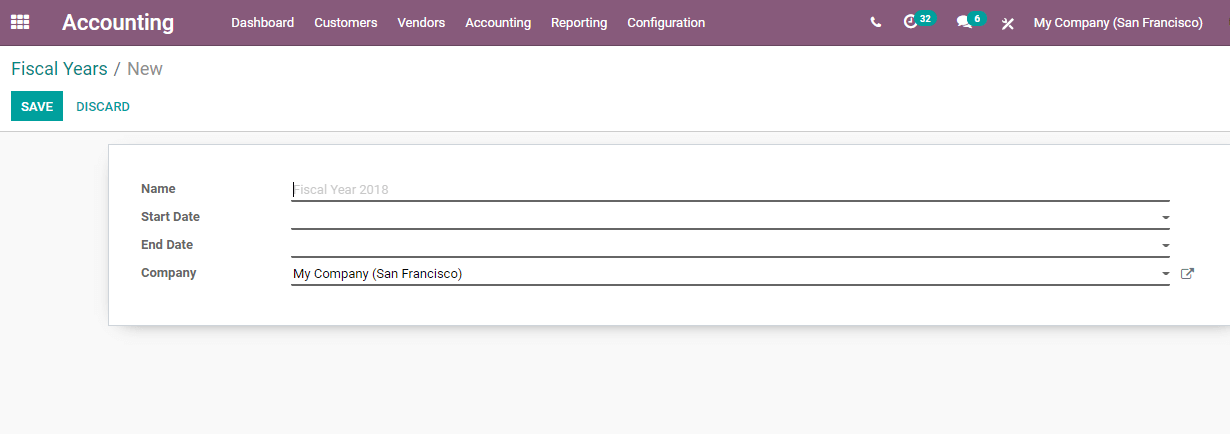
Under the chart of accounts, we also have to configure fiscal years. This includes the name of the year, start date, and end date.
Payment Acquirer
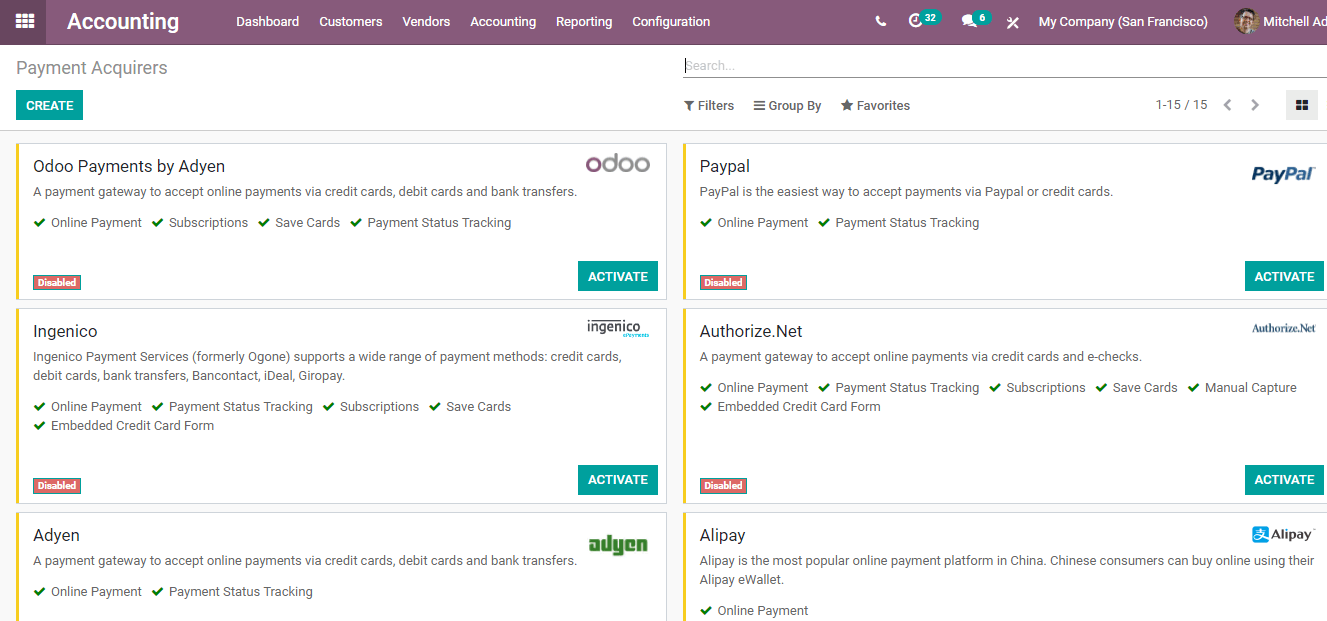
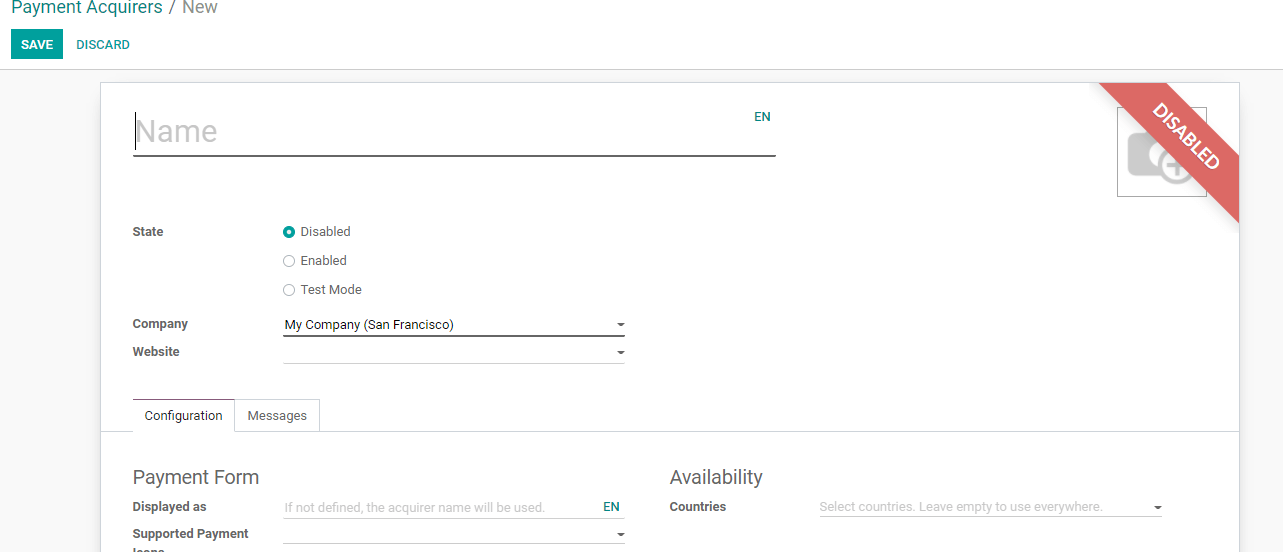
We can create payment acquirers by giving names and selecting one of the states. The website and other details can also be selected from here.
Watch Video:
This is how we can configure charts of accounts and other odoo accounting operations. Anybody who is interested to know more doesn’t have to hesitate. Just mail at odoo@cybrosys.com or dial +918606827707.