Managing employee leave effectively requires not just flexibility but also compliance with organizational policies and regulatory requirements. With Odoo 18, the Time Off module introduces refined control mechanisms that let you define leave rules at a granular level. From setting up approval hierarchies to managing unpaid leaves and defining negative balances, everything can be configured precisely. This blog will guide you through the process of creating and customizing Time Off Types in Odoo 18, explaining each field in detail, and showing how to configure both paid and unpaid leave types.
Accessing Time Off Type Configuration
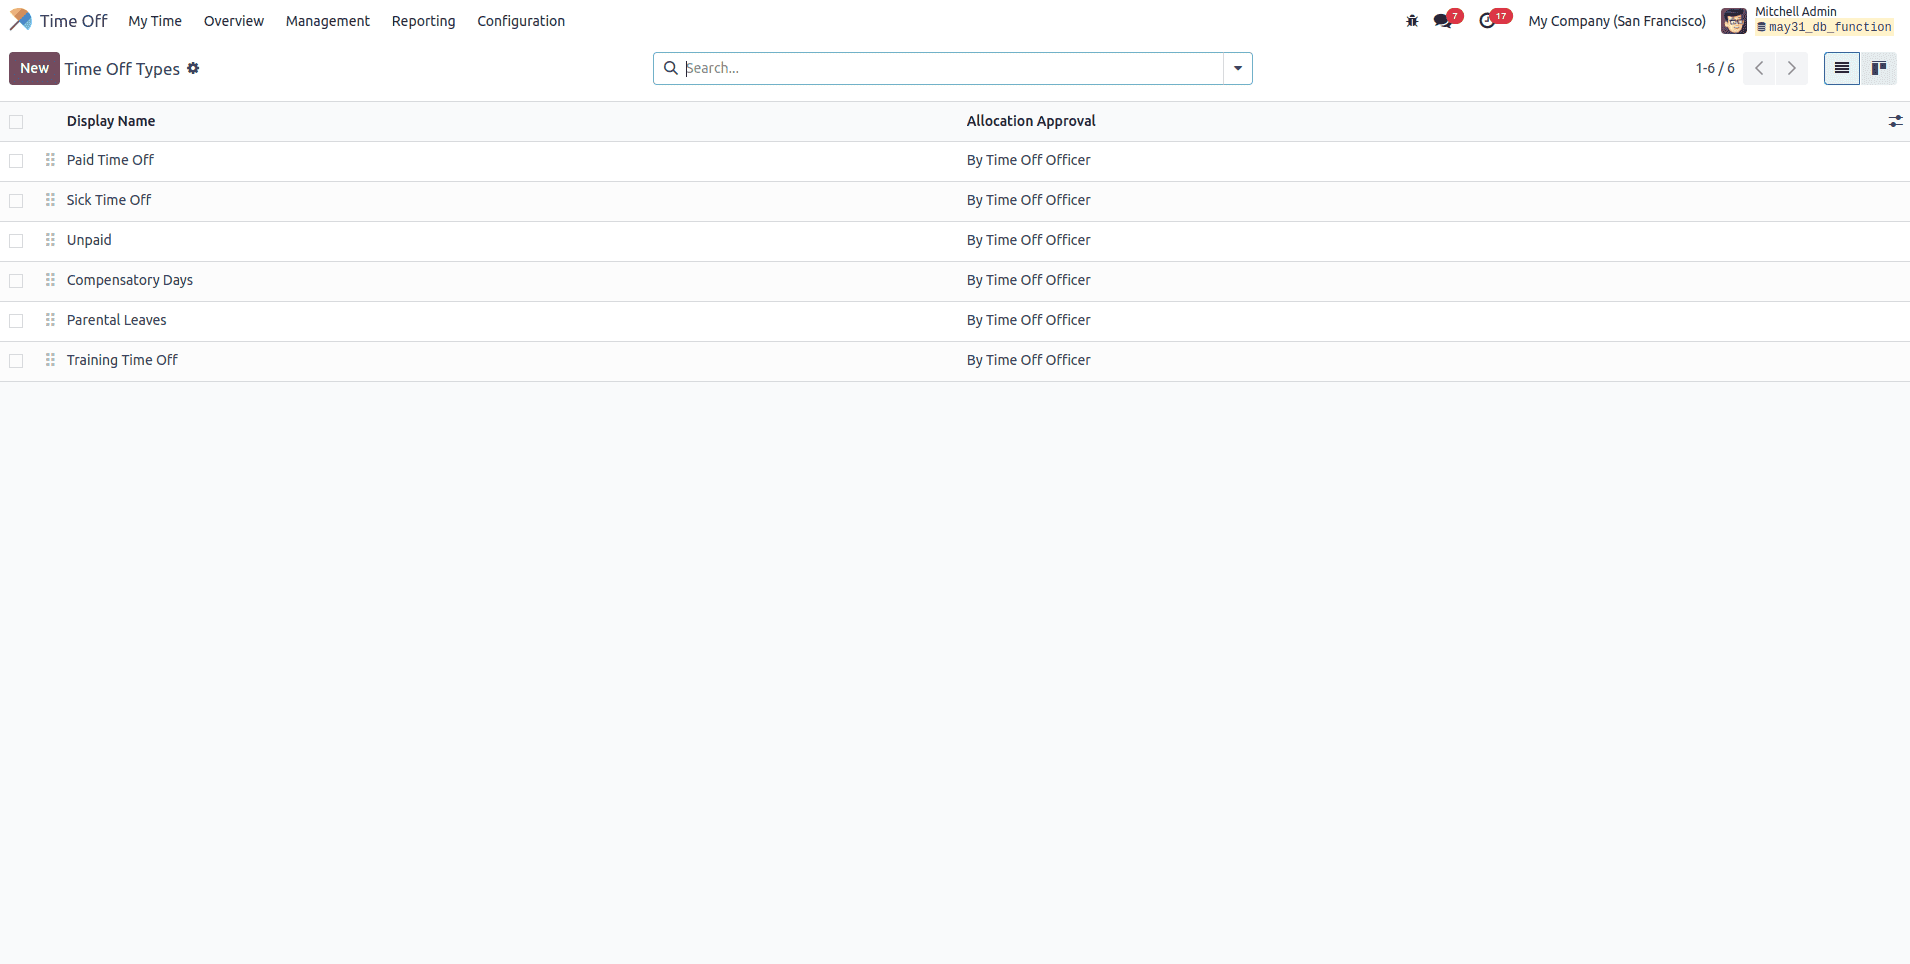
To begin setting up a new time off type:
* Navigate to Time Off > Configuration > Time Off Types.
* You’ll see a list of existing time off categories such as Sick Leave, Paid Leave, Compensatory Leave, etc.
* Click New to define a new one or modify an existing entry.
Detailed Field Explanation
1. Display Name
This is the name given to the time off category, such as “Annual Leave,” “Sick Leave,” or “Unpaid Leave.” This label will be used across the interface wherever the time off type is referenced.
2. Approval
This determines how many layers of approval are required before an employee’s leave is validated. You can choose from:
* No Validation: Leave requests are auto-approved without needing any manual intervention.
* By Time Off Officer: A designated HR officer must manually validate the leave request.
* By Employee’s Approver: The direct manager or responsible person for the employee needs to approve.
* Both: Requires approval from both the employee’s manager and the Time Off Officer, enforcing strict workflow compliance.
This setting enables organizations to balance between automation and control in leave processing.
3. Requires Allocation
Defines whether employees must have a predefined leave balance before they can submit a request:
* Yes: Employees need to have allocated leave before they can request it. If the balance is zero or insufficient, the system won’t allow submission.
* No Limit: There is no restriction, and employees can submit leave requests regardless of balance.
This allows HR to enforce stricter control or maintain flexibility, depending on company policy.
4. Employee Requests
Visible only if 'Requires Allocation' is set to Yes. It determines whether employees are allowed to request additional leave days:
* Extra Days Requests Allowed: Enables users to request extra days beyond their allocation.
* Not Allowed: Blocks users from requesting more leave than they have been allocated.
This is useful in cases where additional days require special approval or budget constraints.
5. Notified Time Off Officer
Lets you assign specific HR personnel who should be notified when a leave request or allocation is submitted. These officers receive alerts and can take action accordingly. If this field is left empty, no notifications are sent to any officer.
This ensures accountability and streamlines communication within HR.
6. Take Time Off In
Specifies how the leave duration should be interpreted:
* Full Day
* Half Day
* Hours
This allows organizations to offer fine-grained leave entry, particularly useful for hourly employees or partial day absences.
7. Public Holiday Included
When enabled, public holidays falling within the requested leave duration are counted as part of the leave. If disabled, they are excluded from the leave period.
This helps in correctly calculating leave consumption.
8. Show on Dashboard
Controls whether this time off type appears on the employee's dashboard. Even if disabled, employees can still select it when submitting a leave request.
Useful for decluttering dashboards while still retaining access to certain leave types.
9. Kind of Time Off
Specifies whether the time off is considered Working Time (like attendance tracking) or Absence (such as vacations or sick leave). This impacts how it is calculated in payroll and accrual plans.
This classification supports accurate timesheet integration and payroll adjustments.
10. Allow Negative Cap
If enabled, employees can request and be granted more leave than their current balance allows. This can be useful in emergency leave situations.
11. Maximum Excess Amount
Defines how much negative balance is permitted (e.g., -5 days). The value must be at least 1, and this limit restricts the degree of overdraft available to the employee.
Example: Configuring a Paid Time Off Type
Here’s how to set up a standard Paid Time Off (PTO):
* Display Name: Paid Time Off
* Approval: By Employee’s Approver and Time-Off Officer
* Work Entry Type: Paid Leave (linked with payroll)
* Requires Allocation: Yes
* Employee Requests: Extra Days Request Allowed
* Public Holiday Included: Enabled
* Allow Negative Cap: Disabled
* Show on Dashboard: Enabled
This configuration ensures PTO is pre-approved, balances are maintained, public holidays are included, and integration with payroll is accurate.

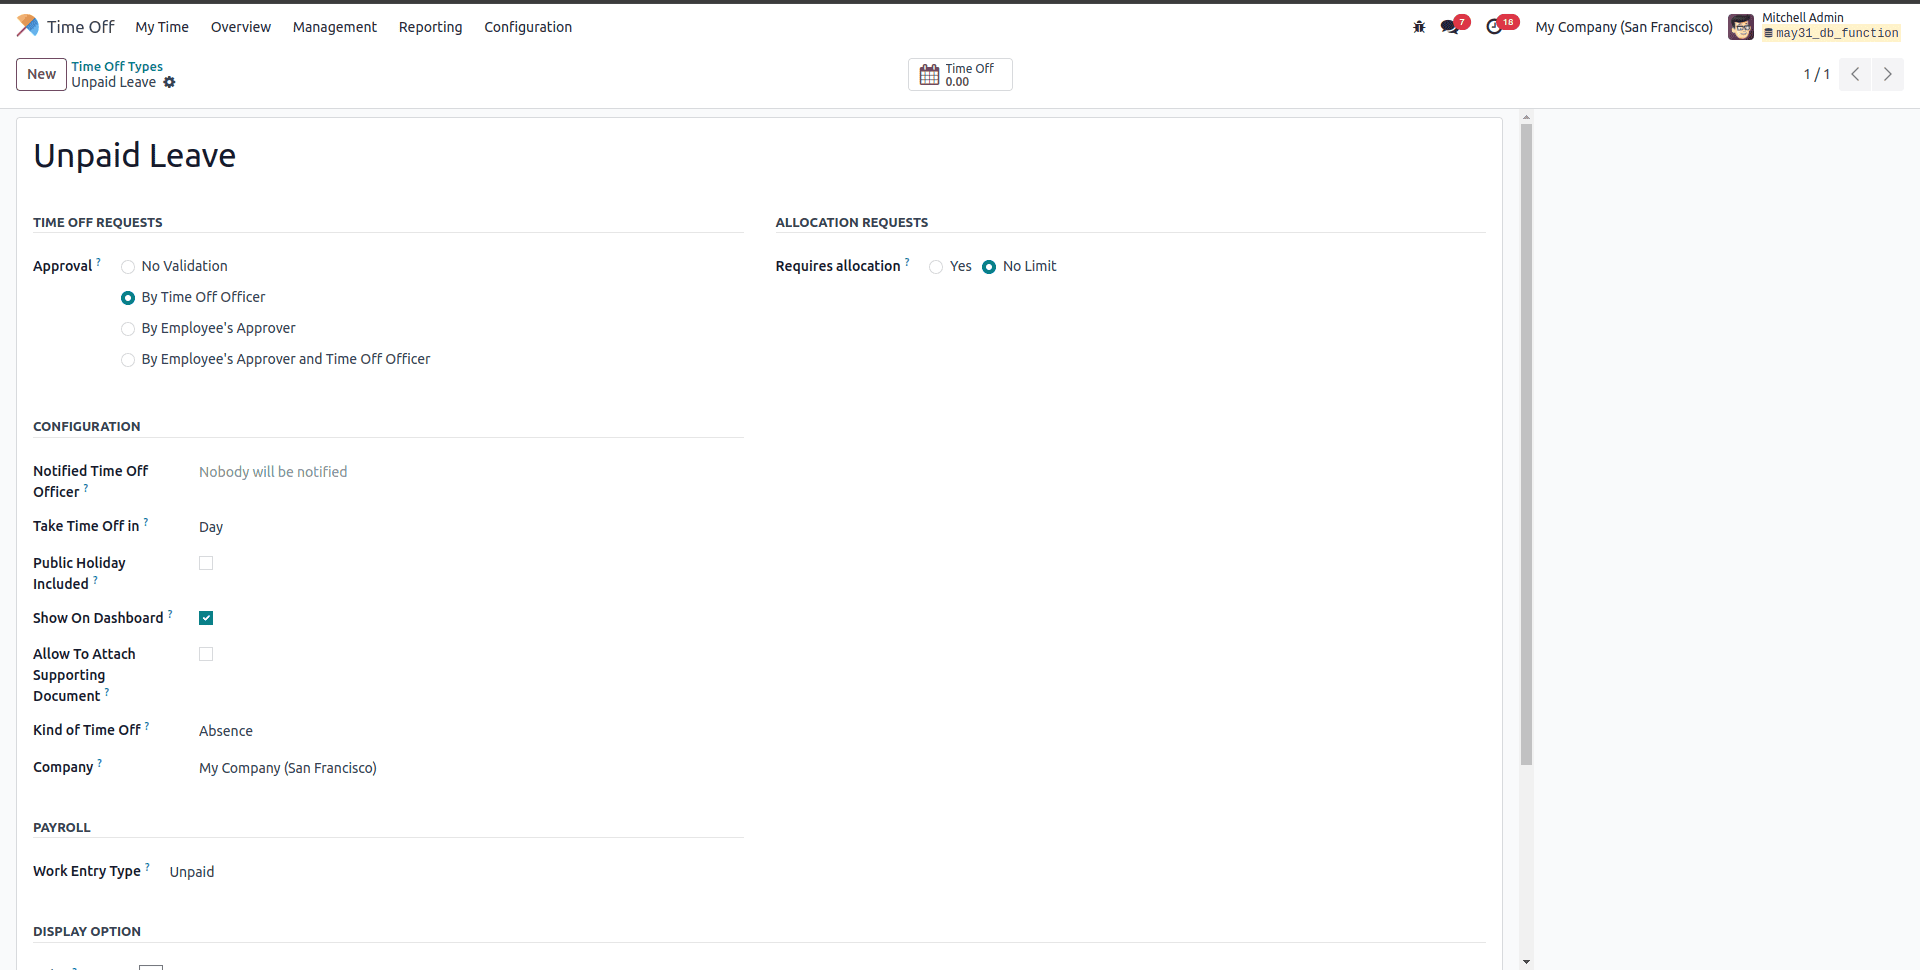
Example: Configuring an Unpaid Leave Type
To set up Unpaid Leave:
* Display Name: Unpaid Leave
* Approval: By Manager
* Work Entry Type: Unpaid
* Requires Allocation: No Limit
* Employee Requests: Not Applicable
* Public Holiday Included: Disabled
* Allow Negative Cap: Enabled
* Maximum Excess Amount: 10 days
This configuration permits flexibility by allowing employees to take unpaid leave without prior allocation and supports limited overdrafts.
Advantages of Custom Time Off Types in Odoo 18
Comprehensive Payroll Integration: Automatically aligns leave types with salary rules and work entries.
* Tailored Workflows: Supports multilevel validation workflows.
* User Empowerment: Empowers employees to track and request leave within defined rules.
* Policy Enforcement: Define granular rules including negative caps, allocations, and visibility.
* Analytics Ready: All time off types feed into dashboards and reports for better decision-making.
Odoo 18 makes configuring Time Off Types more powerful and flexible than ever. Whether your organization follows a liberal leave policy or a tightly managed system, Odoo provides the tools to implement it efficiently. With features like approval hierarchies, public holiday management, negative balance controls, and payroll integration, HR teams can build a leave policy framework that ensures compliance, boosts transparency, and supports strategic workforce planning.
By understanding each field and aligning configurations with organizational goals, you can set up a comprehensive and automated leave management structure that adapts to any business need.
To read more about How to Configure Time Off Types in Odoo 17 Time Off, refer to our blog How to Configure Time Off Types in Odoo 17 Time Off.