The Odoo ERP system assists your firm's wide range of business functions. Users can set the customers, contacts and warehouses for a firm with the help of the Odoo 15 Platform. One of the essential assets for a business is small and large companies and subsidiaries. We can select various companies at a time with the assistance of a centralized management environment. It improvises the overall management process and is easy to generate annual reports of an organization. Users can manage and set up multi companies in Odoo 15 platform, and it is beneficial to check out the progress of your business in a single system.
This blog ensures you create a new company with Odoo 15 platform.
Users can develop and configure all their company information from the Settings of the Odoo 15 platform. It is easy to store the records and data of an organization after creating the company information in Odoo. Now, let's look out how to provide the data of your new Company in Odoo 15.
To Create a New Company in Odoo 15
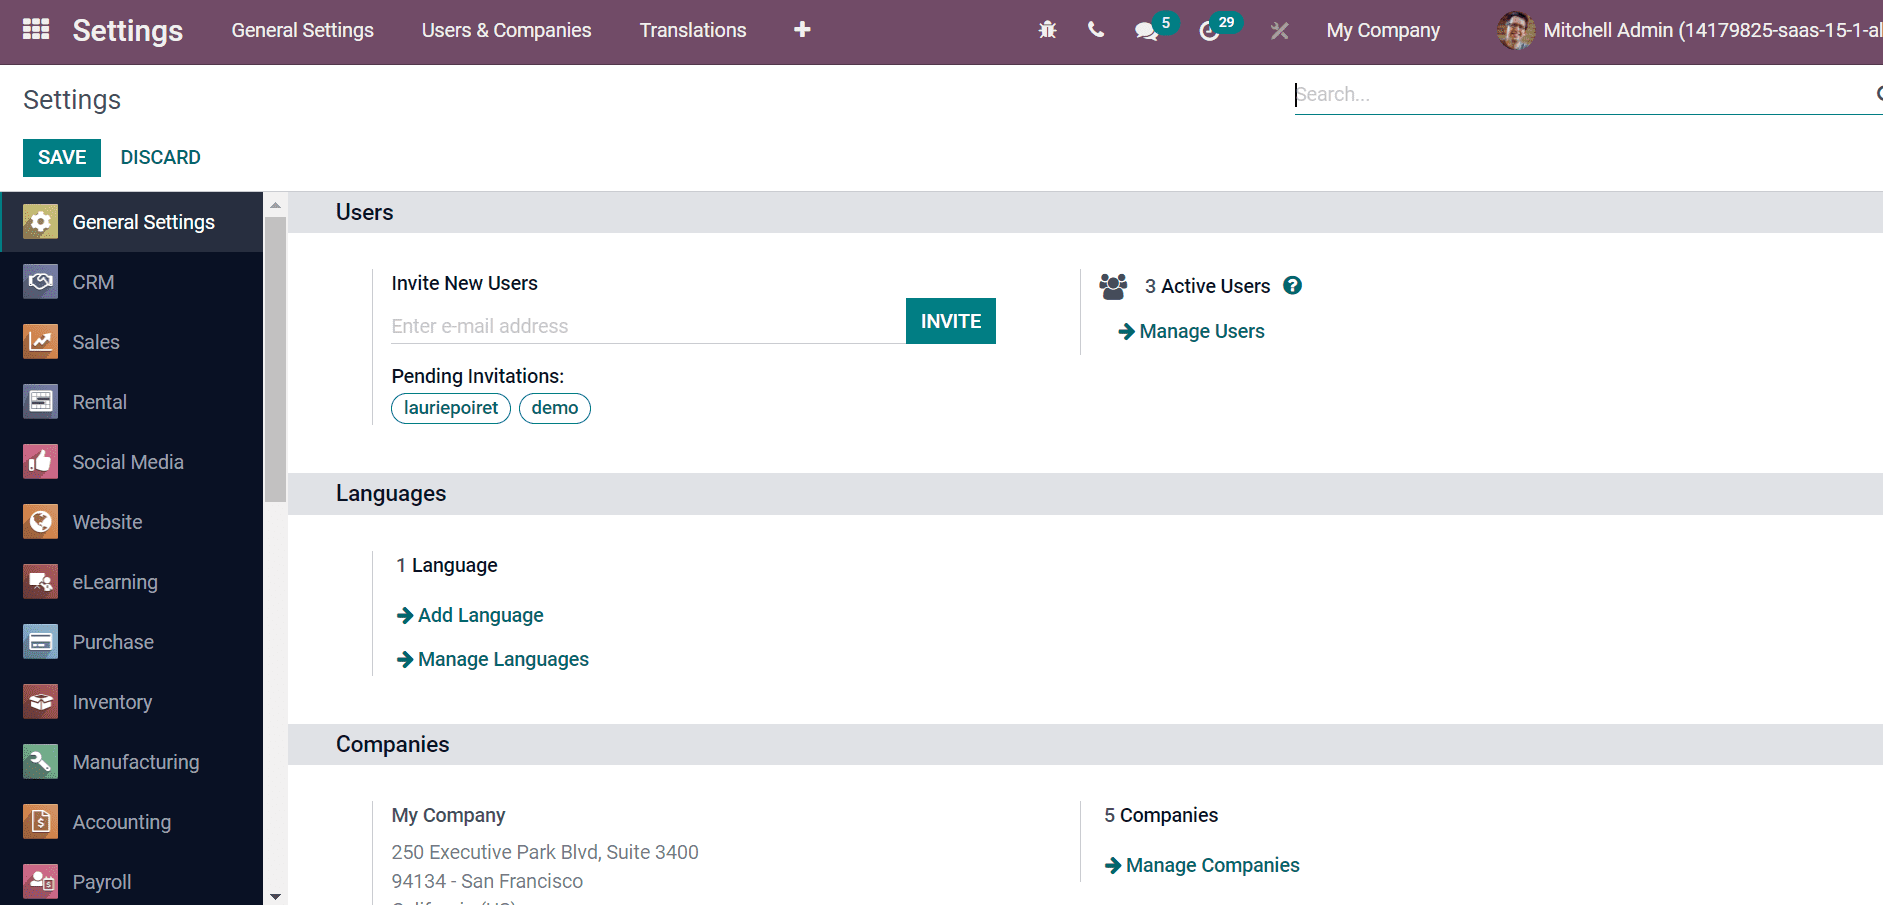
One of the standard software setting tools to enhance the Odoo system efficiency is Odoo Settings. Each module in Odoo contains several configuration settings, and the Odoo dashboard consists of the Settings option. The screenshot of Odoo 15 General Settings is depicted below.
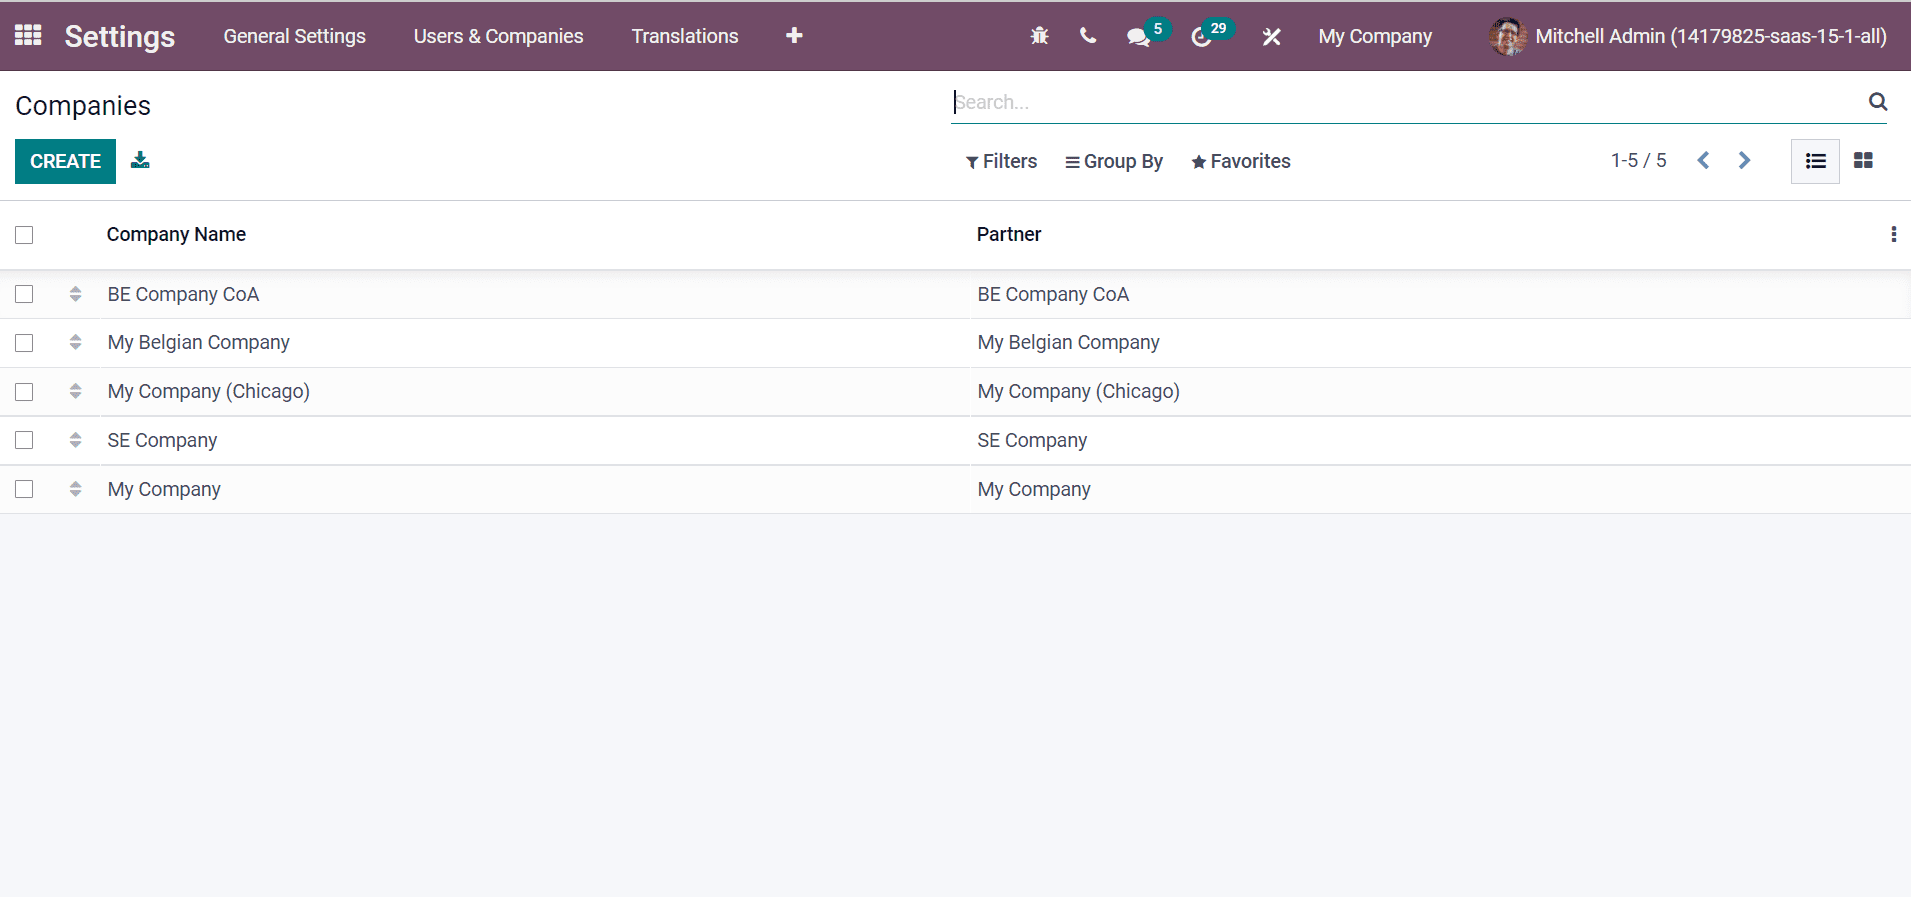
Choose the Companies menu from the Users & Companies tab of Odoo 15 Settings. Users can see the list of all created companies from the Company's window, as denoted in the screenshot below.
We can create new company data by clicking on the Create icon. In the new Company window, add your Company Name. Here, we generate the details of a Demo Company as depicted in the screenshot below.
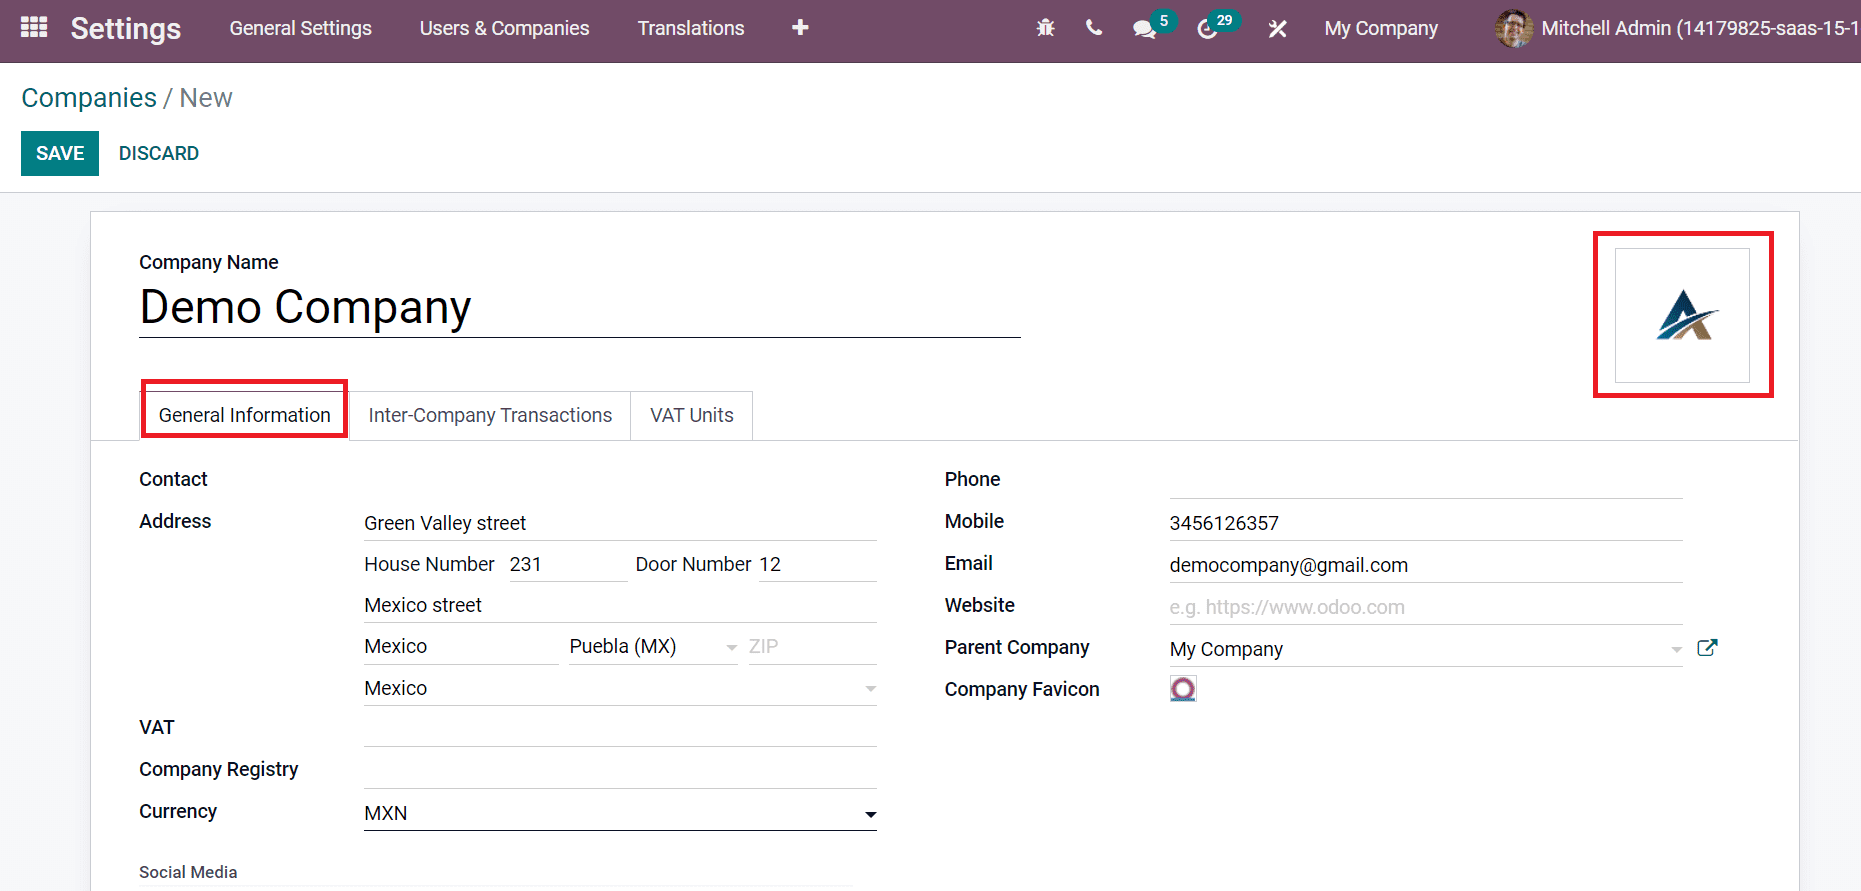
Choose the company logo by clicking on the Image option on the window's right side. Inside the General Information tab, you can add the Address of the Company, including House Number, Street, City, State and more information. Later, add the Company's Mobile, Phone, Website, and Email. Users can also add the tax identification number inside the VAT field. It is used in legal statements and when the Contact is under government taxes. After that, you can choose the Currency, and Company Favicon shows the image to display a favicon for your Company. It is possible to select the parent company for your Company from the Parent Company field.
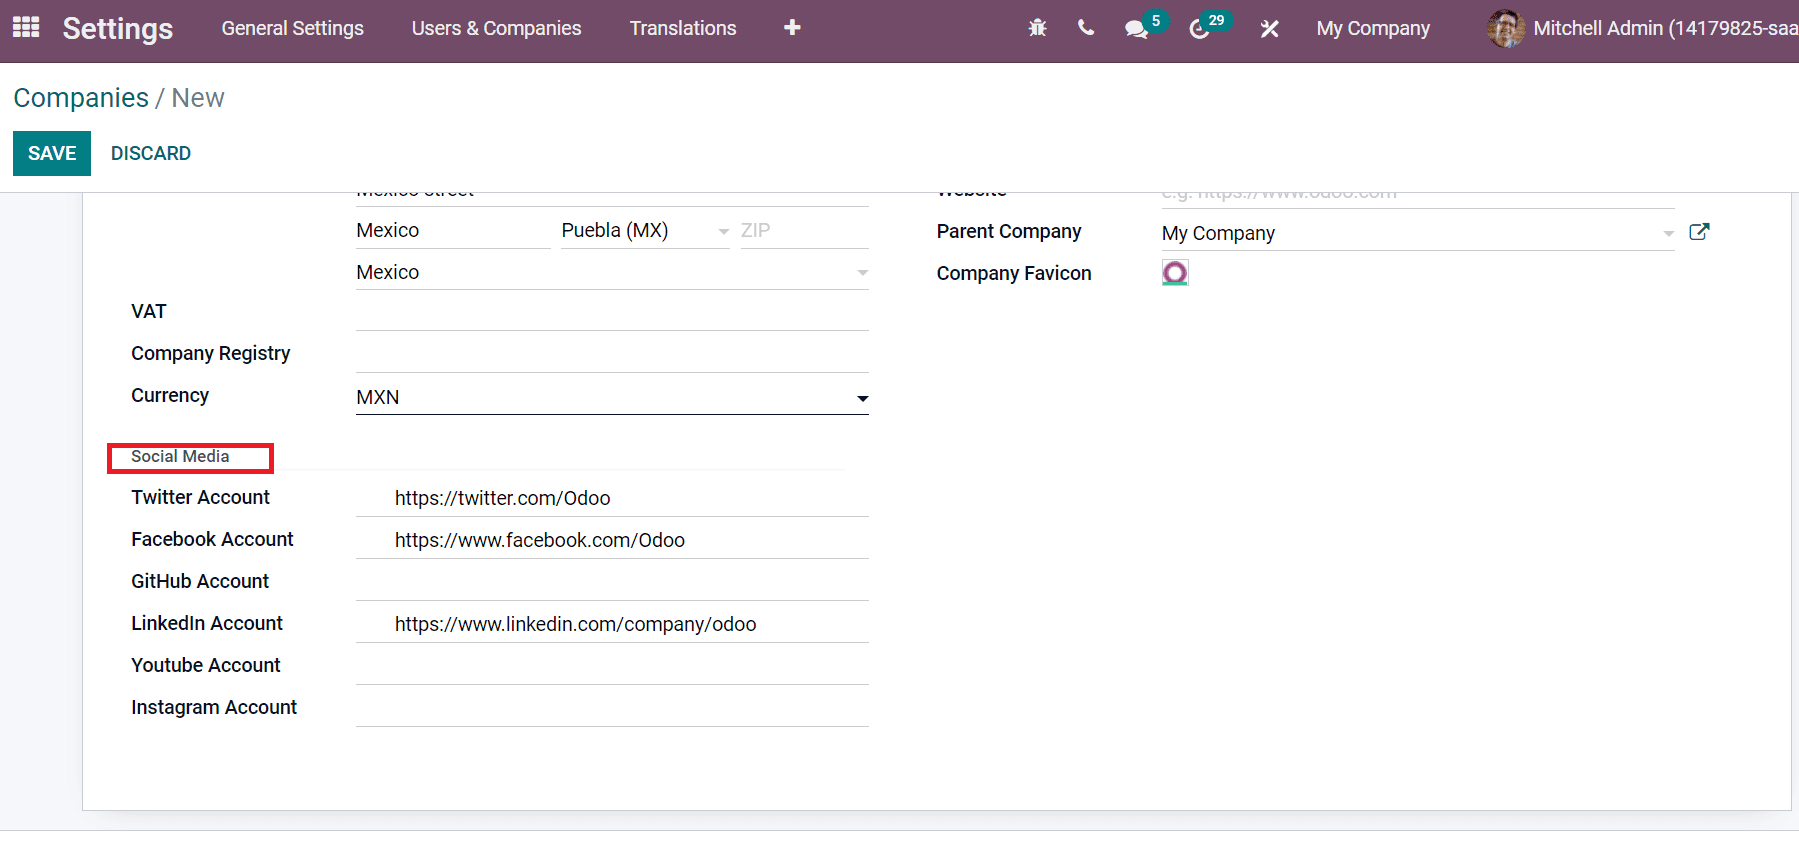
Users can also add social media accounts links such as Twitter, LinkedIn, Facebook, Instagram and more accounts for your Company inside the General Information tab, as portrayed in the screenshot below.
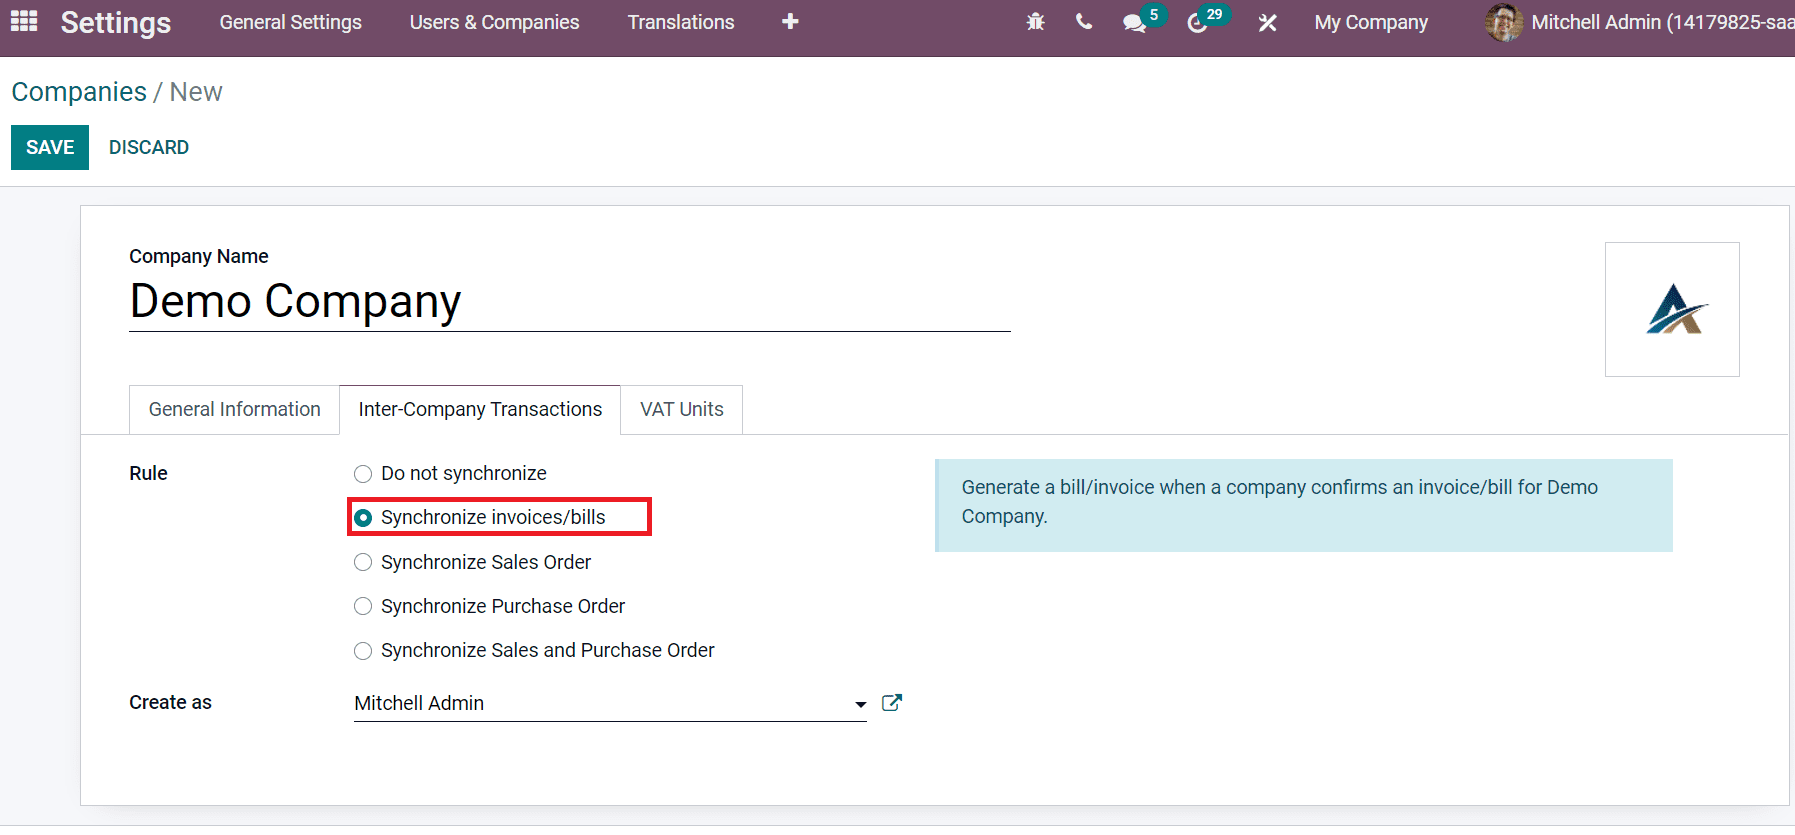
We can set intercompany rules for companies by choosing the Rule from the Inter-Company Transaction tab. The Rules are categorized mainly into five types. The first one is, Do not synchronize means the user cannot synchronize your Company with any other companies. By enabling the Synchronize invoices/bills option, A bill/invoice generates quickly when another company confirms the invoice/bill for your Company. A new field Create as is visible before you after enabling the Synchronize Invoice/bills option. Here, choose the responsible user for document creation by intercompany rules.
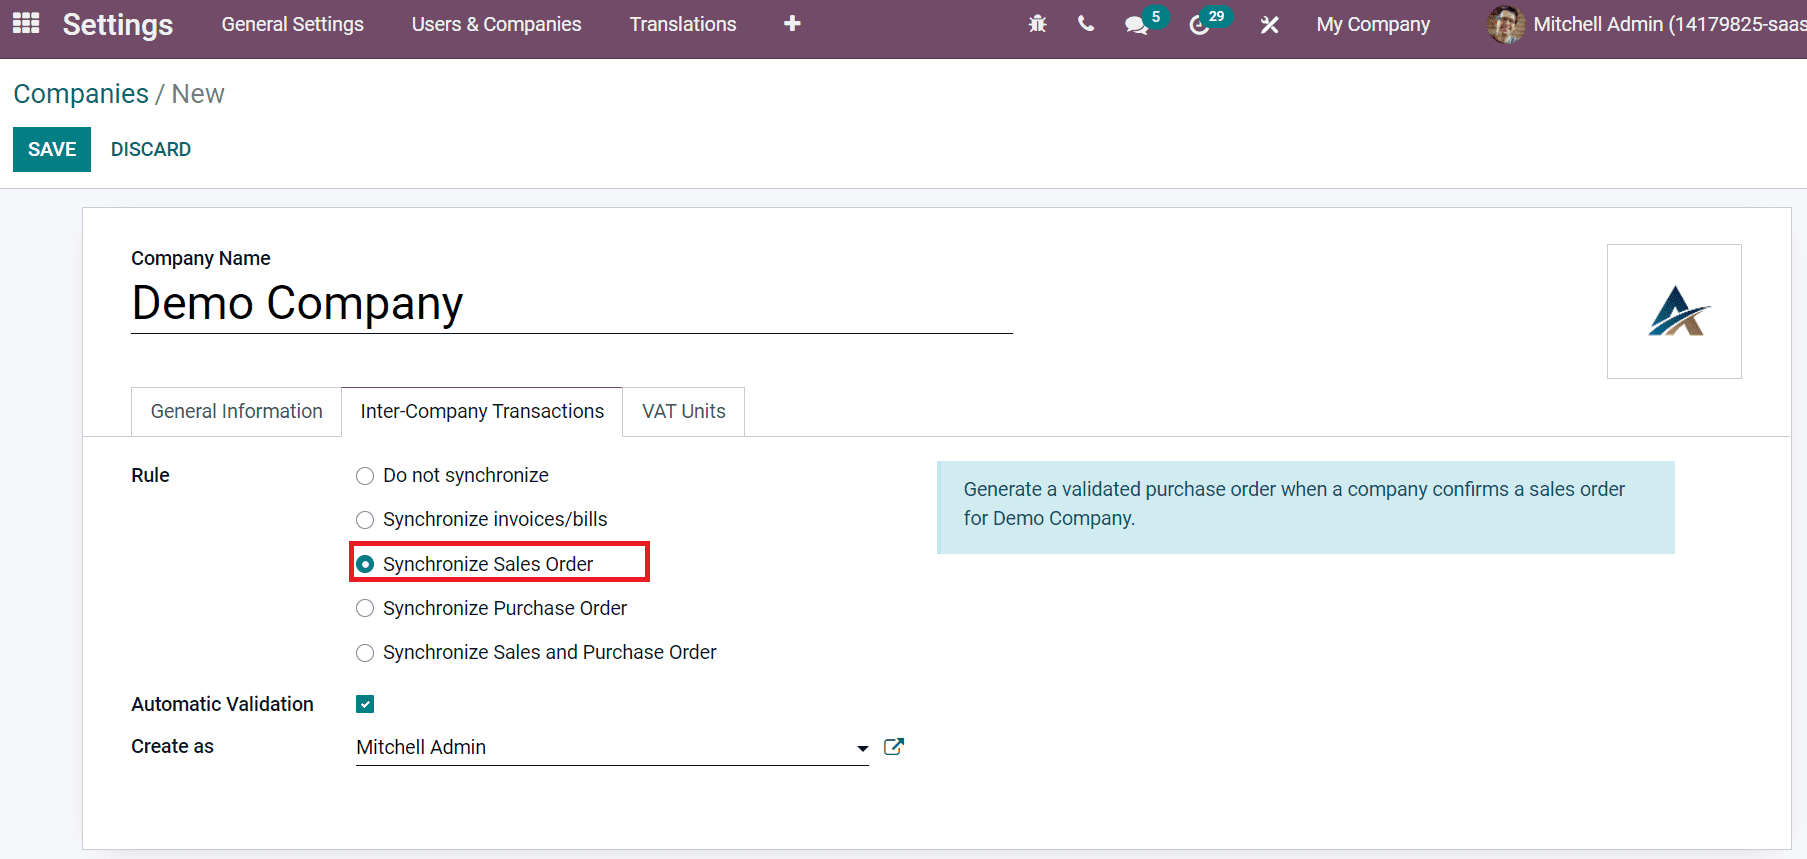
The third Rule is Synchronize Sales orders to assist in generating bills/invoices when a company confirms an invoice/bill for your Company. You can enable Automatic Validation and choose the responsible user from the Create as a field, as shown in the screenshot below.
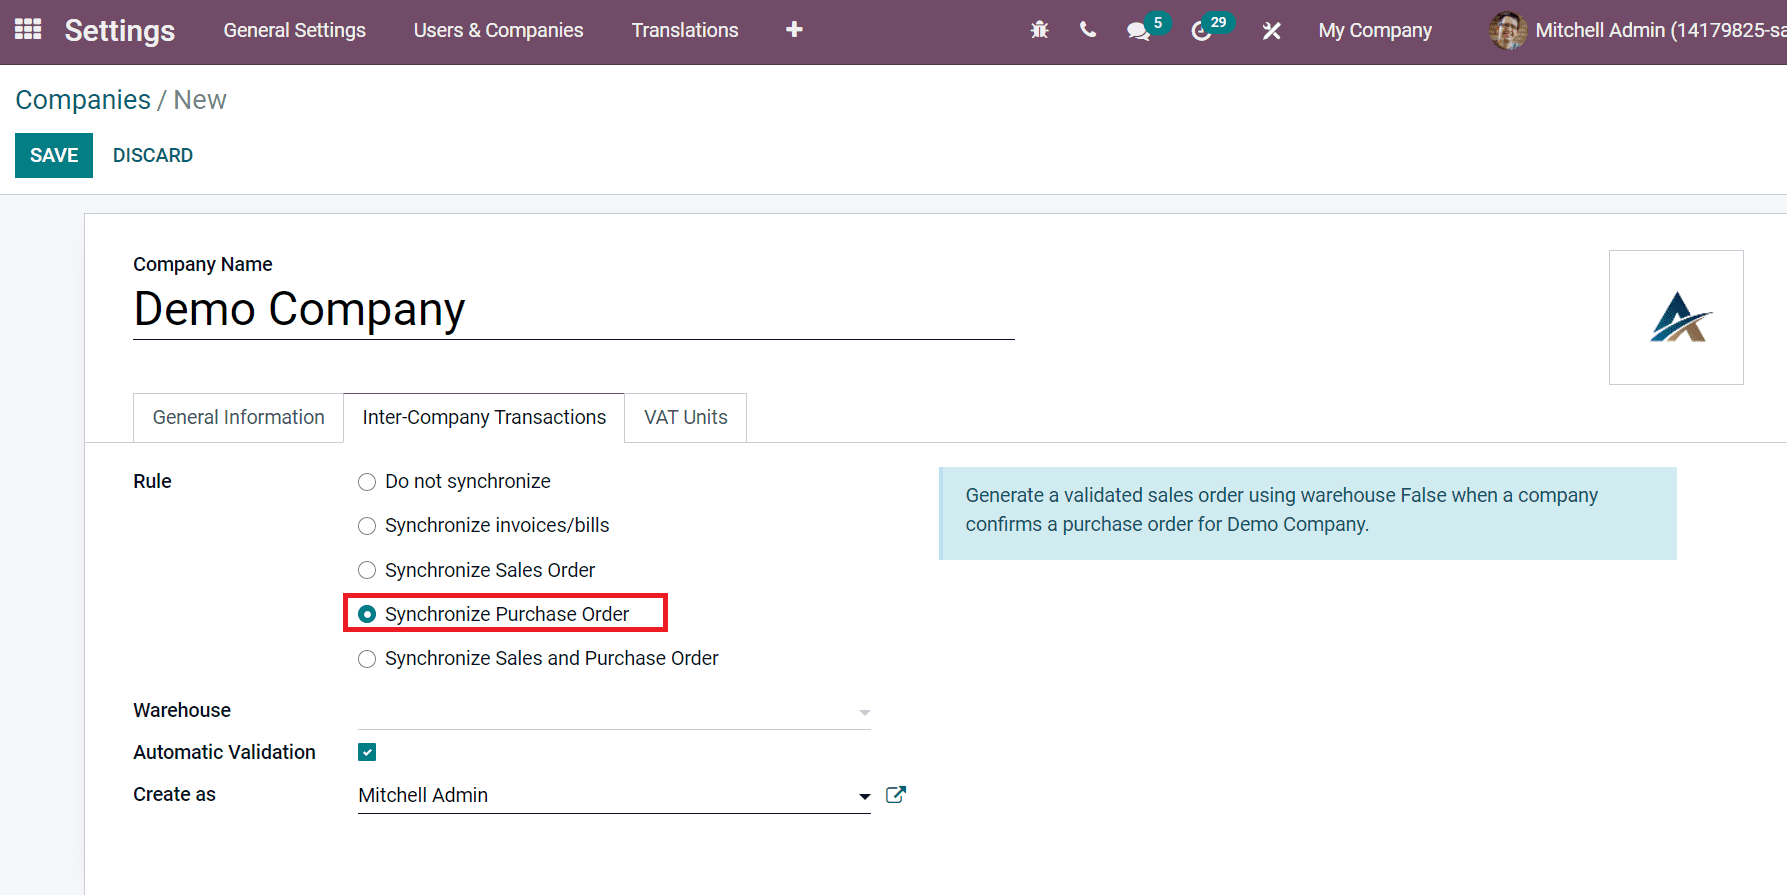
By activating Synchronize Purchase Order, we can develop a validated sales order using Warehouse False when a company confirms a purchase order for your Company. You can choose the Warehouse as a default value set on Purchase Order based on Sales Order made to your Company. It is possible to activate Automatic Validation and select the user inside Create as a field, as illustrated in the screenshot below.
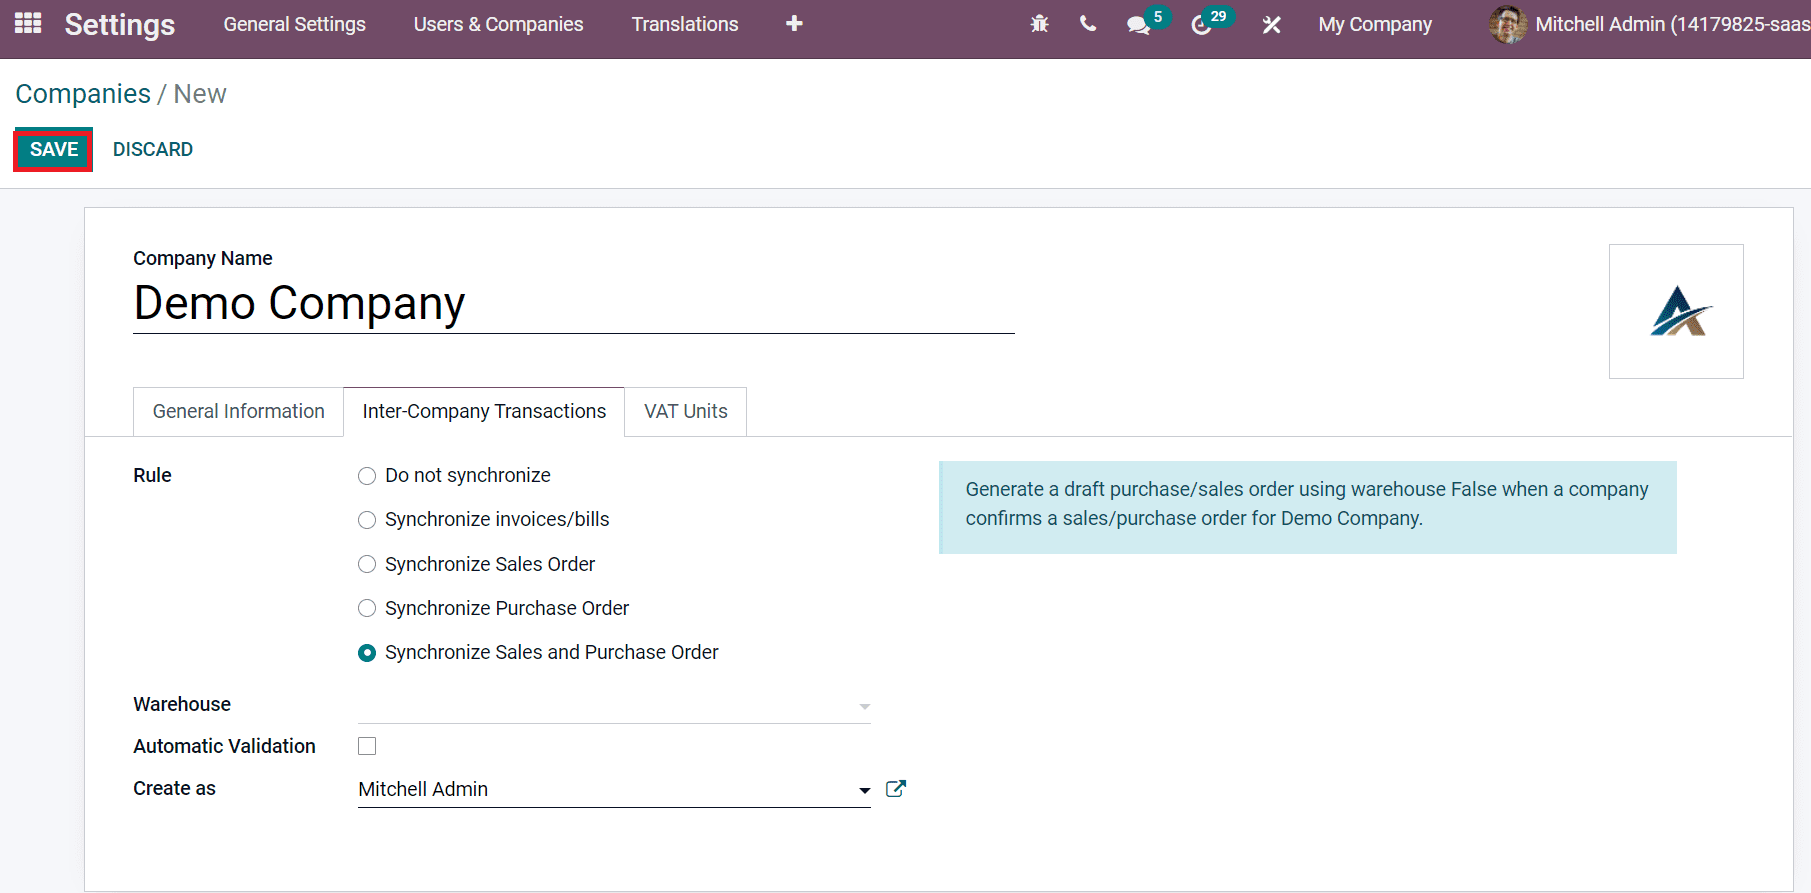
The last Rule is Synchronize Sales and Purchase Order enables you to generate a validated purchase/sales order using Warehouse when a company confirms a sale/purchase order for your Company. After adding these details, click on the Save icon to generate your new company information, denoted in the screenshot below.
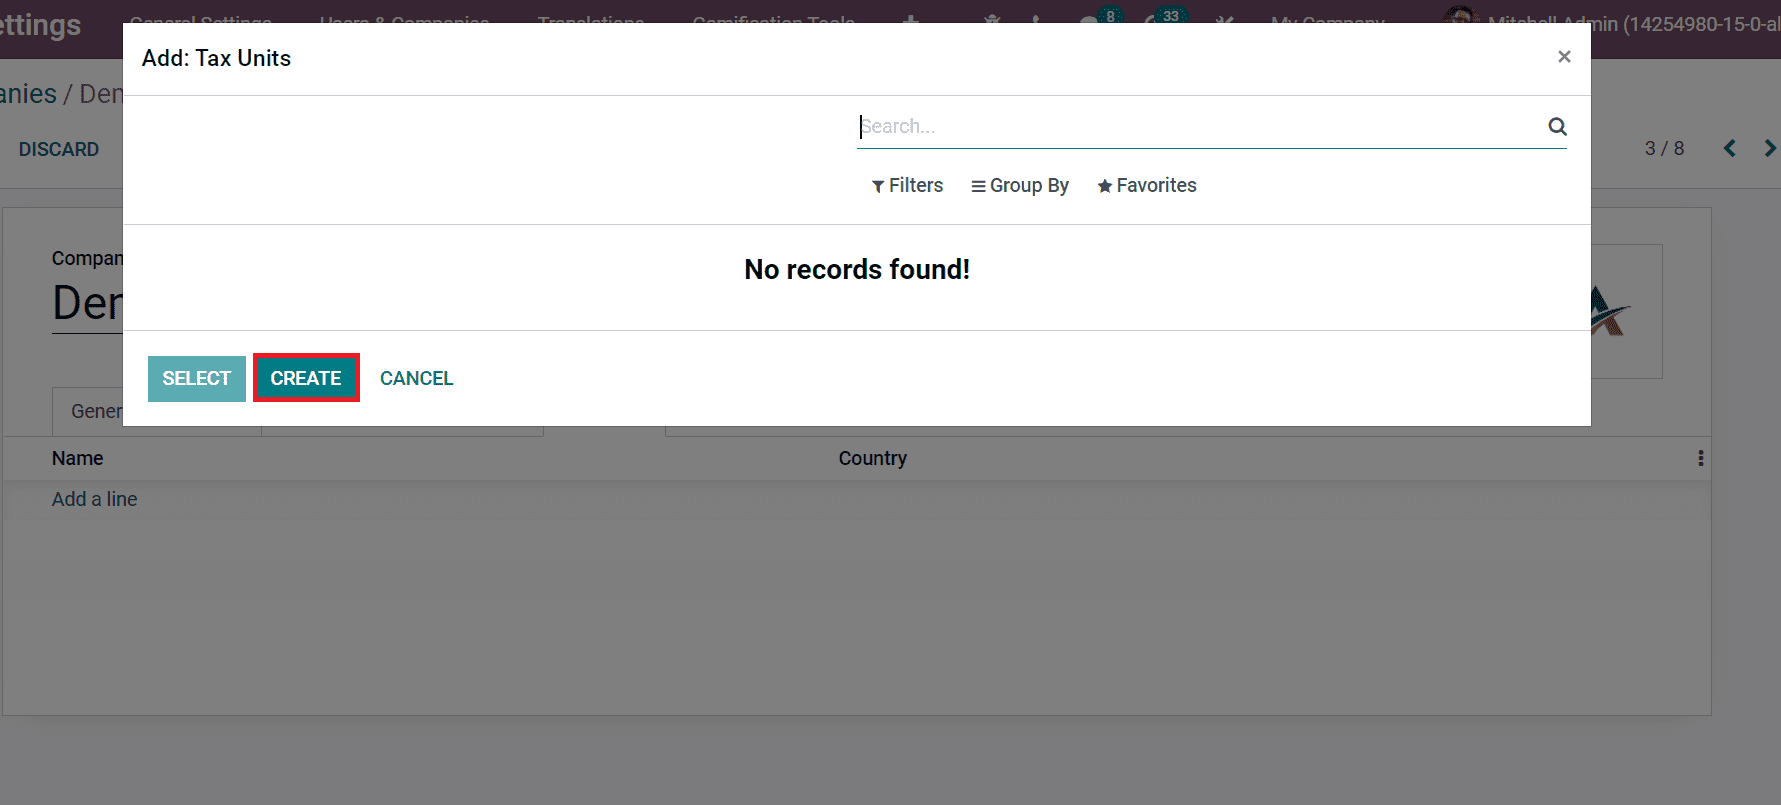
Users can add tax units from the VAT Units tab. Select the Add a line option, and a Tax Units window appears before you. You can choose the tax units if any record exists. Otherwise, we can develop a new Tax Unit by clicking on the Create icon, denoted in the screenshot below.
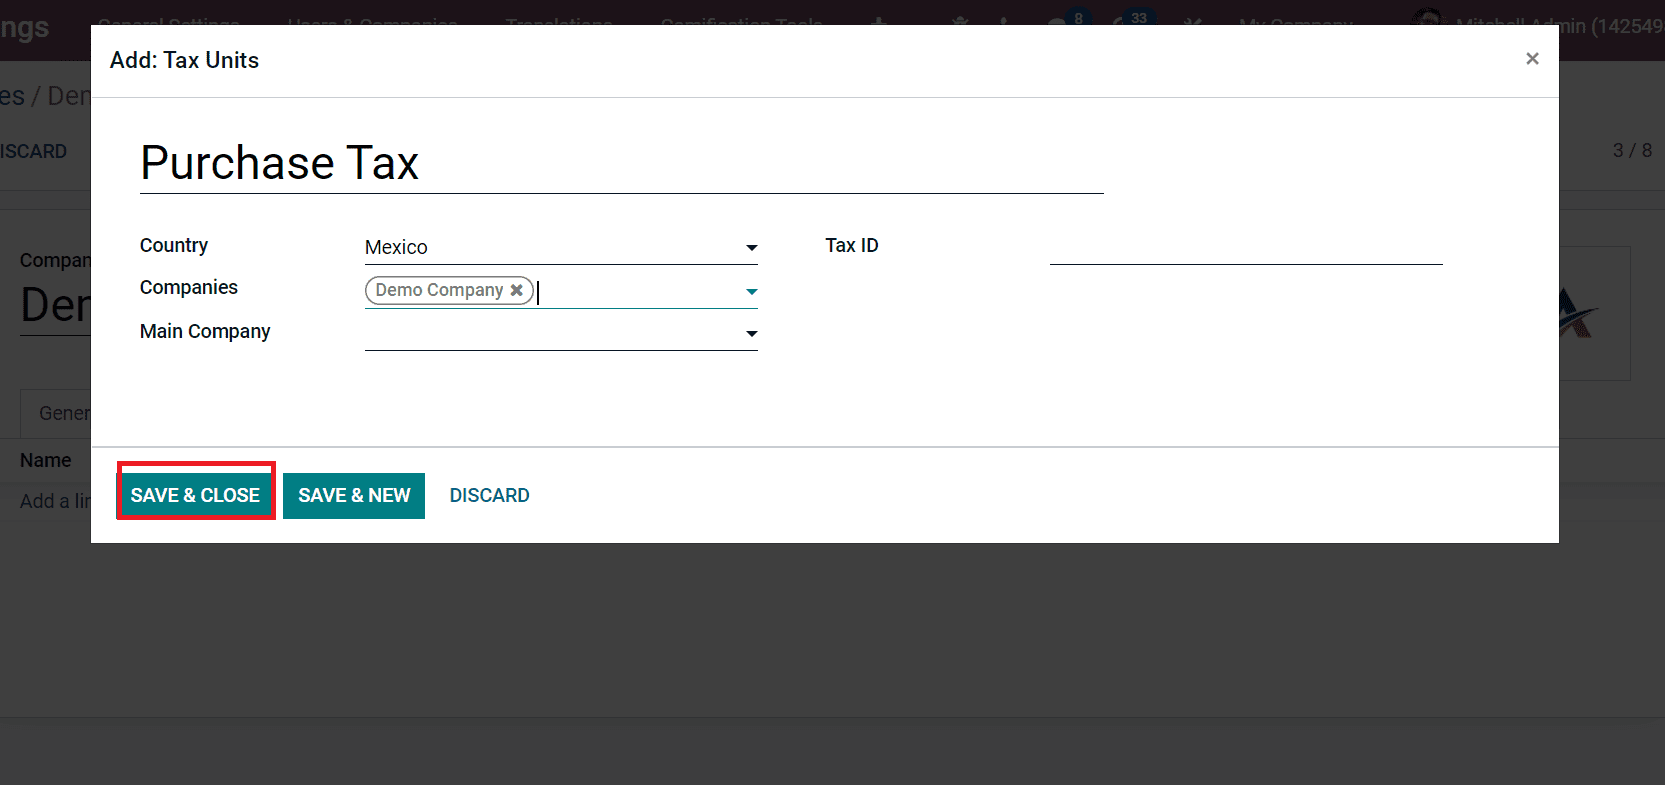
In the new window, apply the tax name, and choose the Country in which the taxing unit is grouped with your tax declaration of companies. Later, select the Companies that are members of this unit. Select the Main Company that is paying and reporting the taxes. After that, enter Tax ID as an identifier used when submitting a report and click on the Save & Close icon as denoted in the screenshot below.
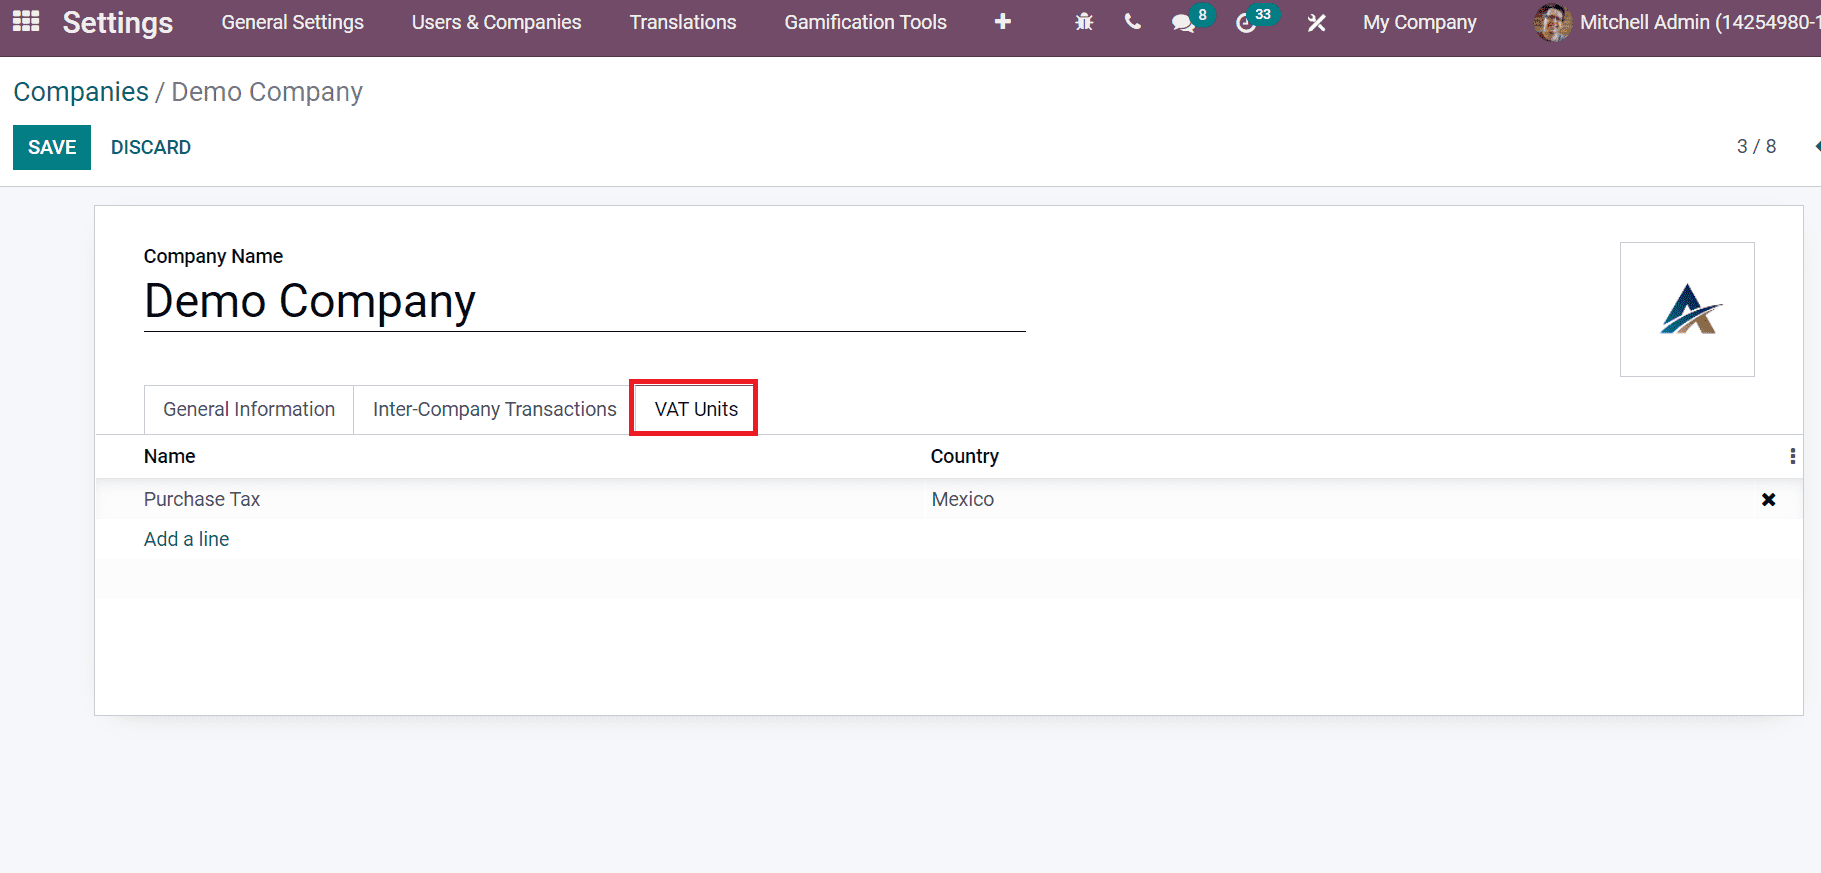
After saving the details, you can see the created tax unit under the VAT Units tab in the Companies window, as portrayed in the screenshot below.
We can see the list of all companies by selecting the Company tab in the upper bar of the Settings dashboard. You can choose the Company that needs to function for your business process, as displayed in the screenshot below.
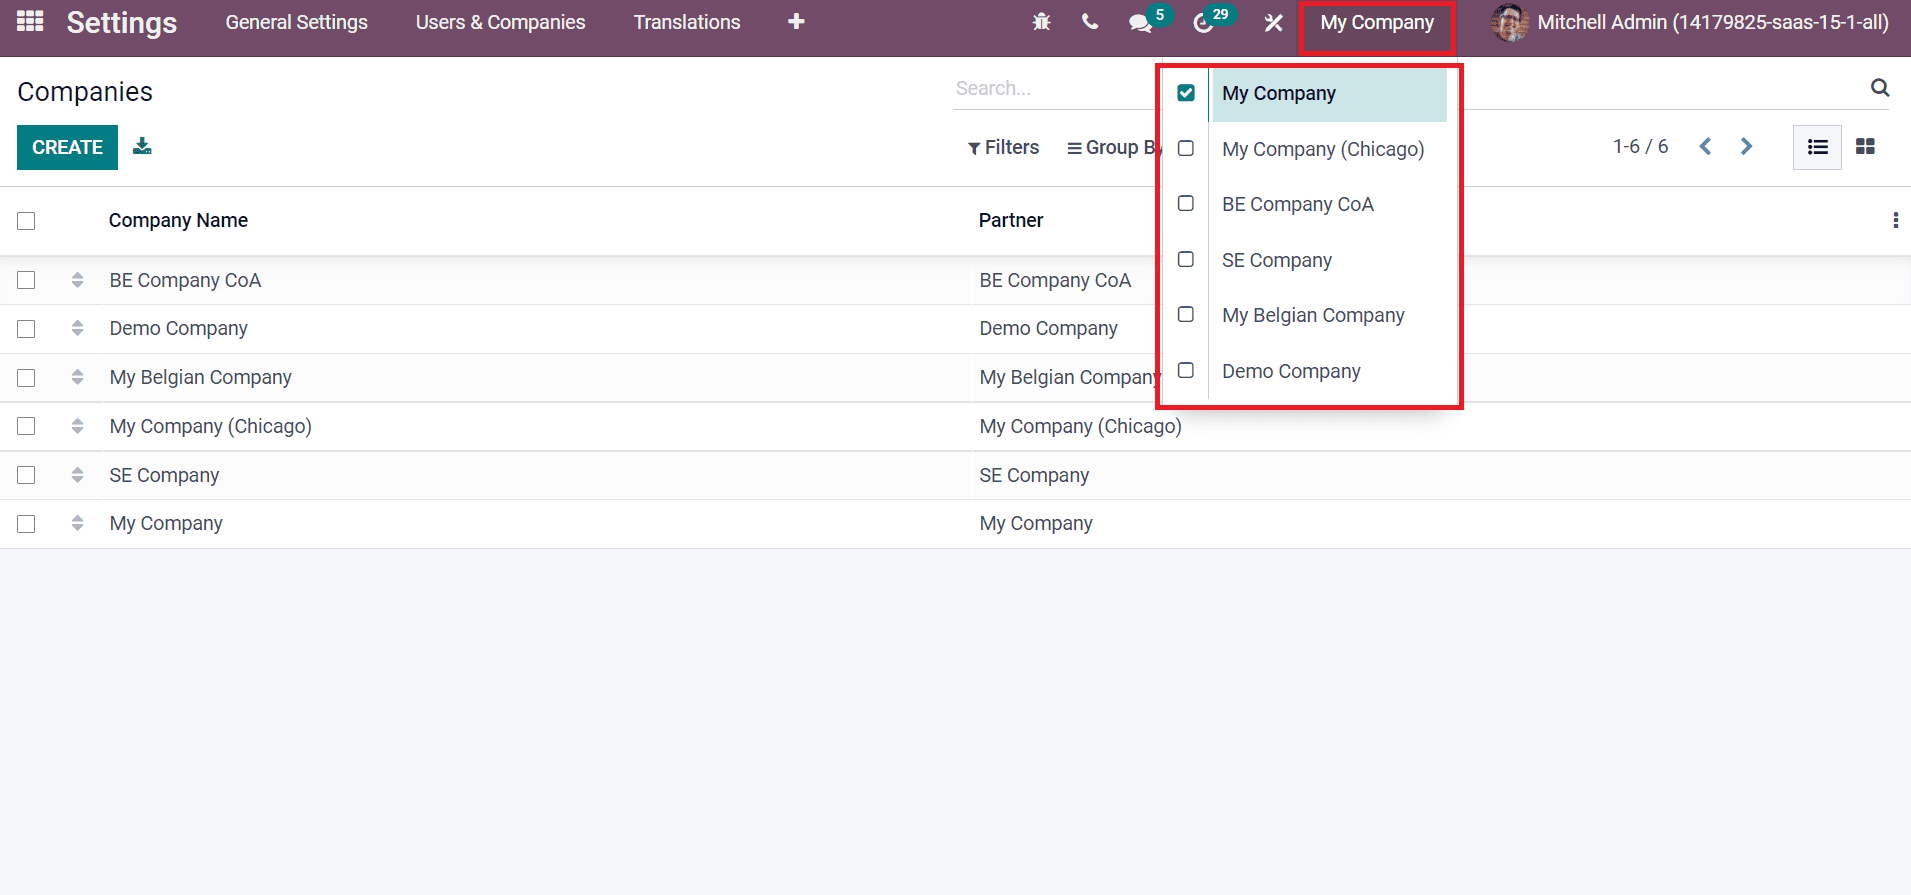
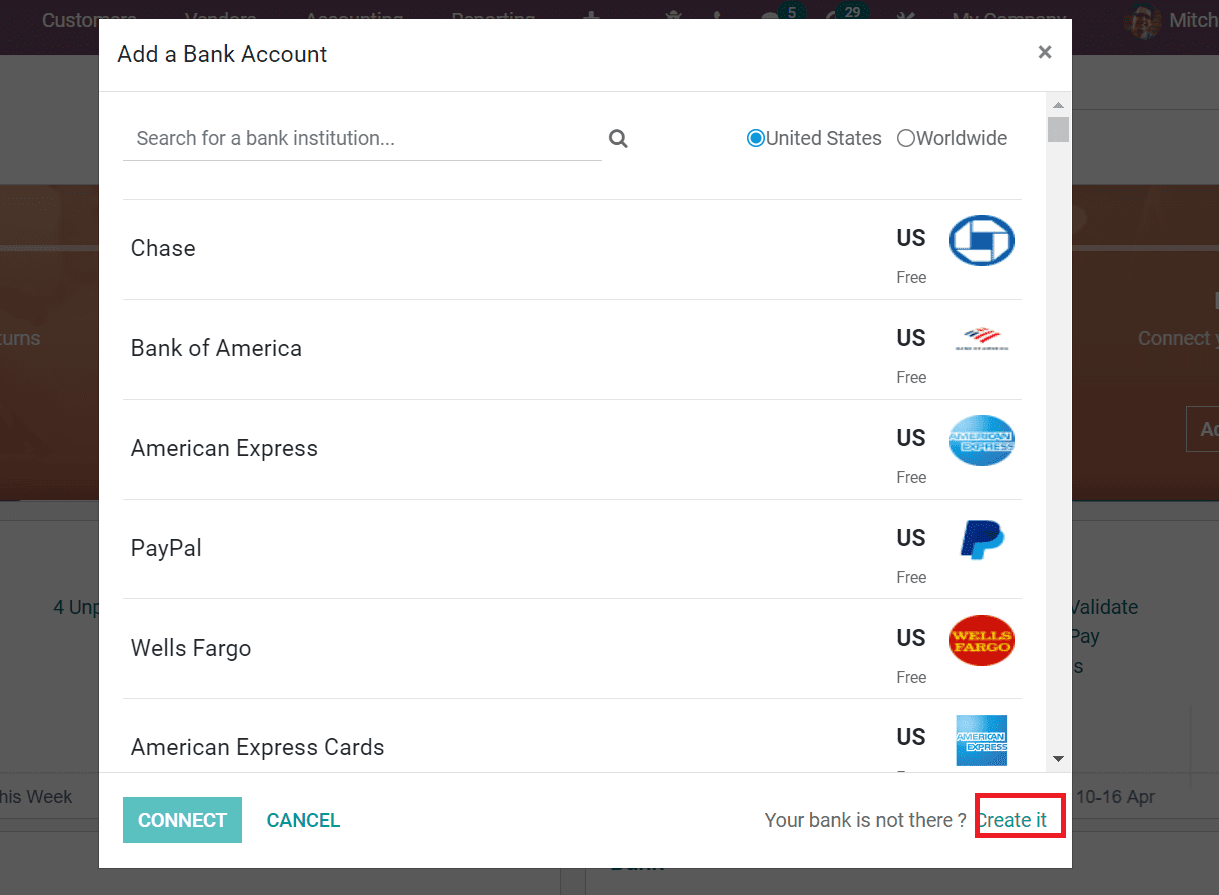
By selecting particular boxes, you can choose multiple companies for the activation process in Odoo 15. Now, let's create a bank account for the Company. Go back to the Odoo 15 Accounting module and select Add a Bank Account menu in the Configuration feature. We can choose the bank in the new window or click on Create icon to generate a new bank account.
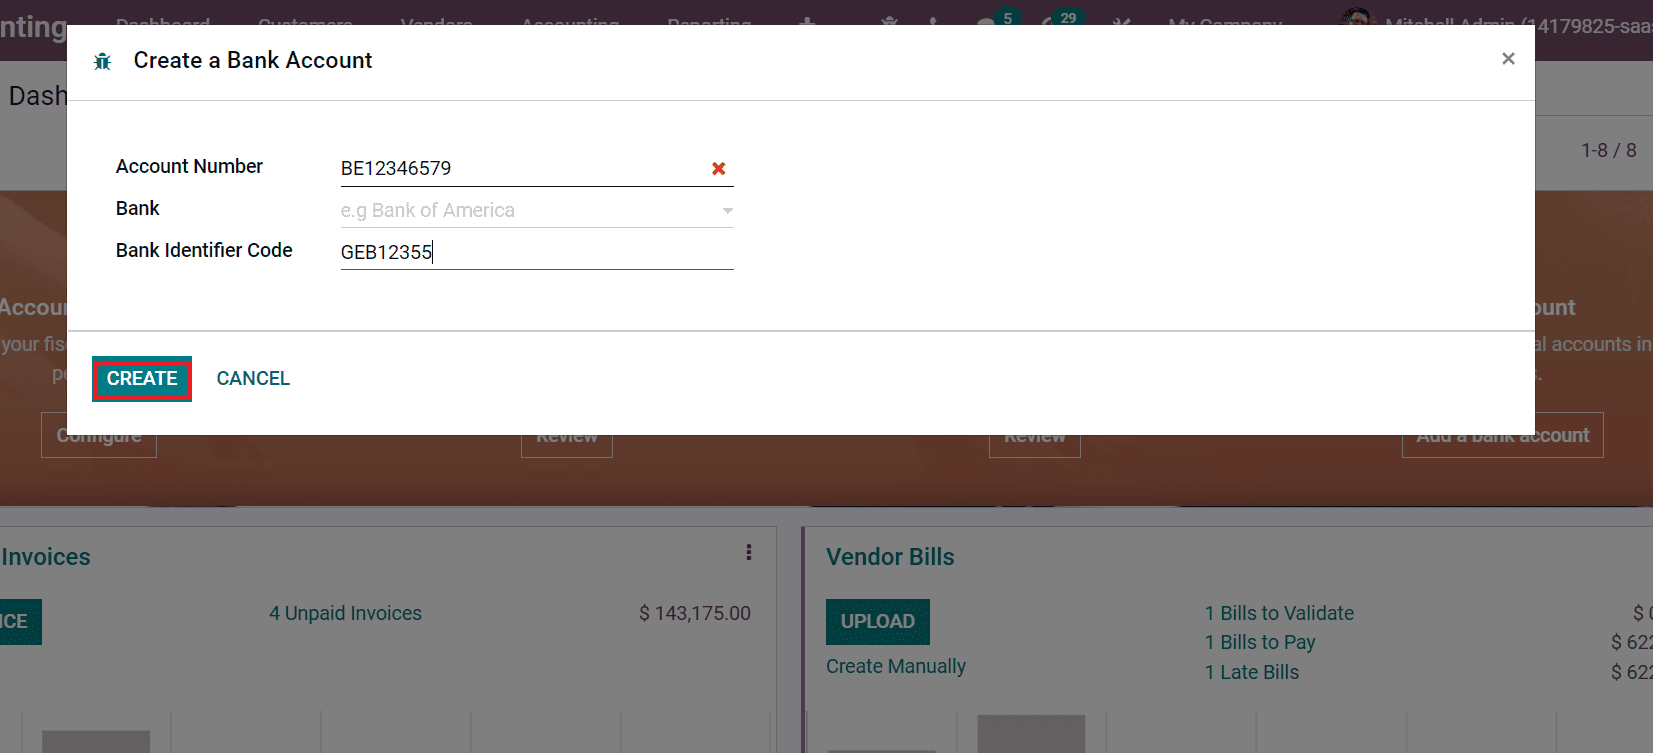
A new window opens before you and adds Bank Name/Bank Identifier Code and Account Number. After that, select the Create icon and your new bank account for the Company to generate efficiently.
After that, we can create a tax for the respective Company. For that purpose, select the Taxes from the Configuration menu of the Odoo Accounting dashboard. In the Taxes window, you can access tax details such as Tax Name, Scope, Type, Company, Label on Invoices and Active. The Create icon ensures to generate a new tax for your Company, as displayed in the screenshot below.

It is easy to create the details of your Company with Odoo 15 Platform. Users can manage one or more companies at a time with the advanced features of Odoo 15.