The Odoo POS Customer Contacts module simplifies customer and contact management within the POS system, allowing users to dynamically create contacts and addresses during sessions, eliminating the need to switch to the backend. This enhances store success and user experience and ensures better service delivery. The module also requires meticulous record-keeping and transparency for accurate and fair distribution of tips among employees.
* Streamlines POS management by allowing users to manage customers and contacts directly.
* Enables comprehensive contact creation with detailed contact information.
* Allows customization of customer screen view to display all or only parent customers.
* Provides backend management for comprehensive customer contact management.
This guide provides a user-friendly guide on efficient customer information management for businesses, guiding users through the process of entering and organizing customer details.
Customer Configuration
To manage or create new customer data inside your Odoo Point of Sale database, go to the Customer window from the Orders menu. This will show the dashboard of all the customers in a Kanban view, including the customer Name, Address, Company, Email Address, Contact Number, and other details as shown below.
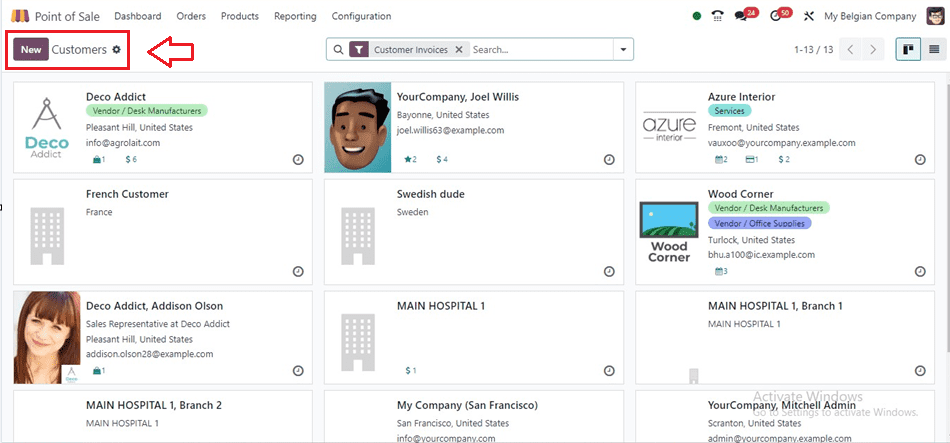
We can also change the Kanban dashboard view into a list view using the List icon provided at the top right corner of the window.
Adding a New Customer Data
Click on the New button to create new customer data, and this will open a customer configuration menu. Upon accessing the page, you'll find five distinct sections designed to streamline your customer management process: Contacts & Addresses, Sales & Purchases, Accounting, Internal Notes, Partner Assignment, and Membership, as shown below.
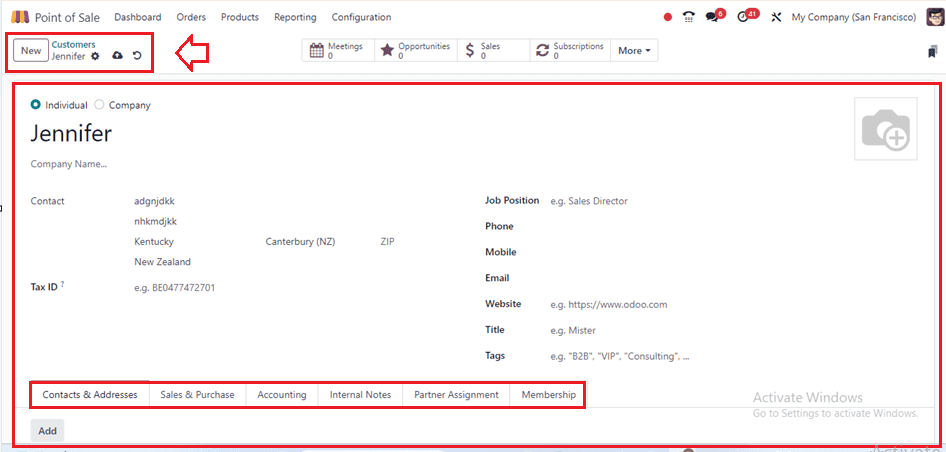
Begin by choosing the customer type, whether it is an Individual or a Customer, and then entering customer details, such as Name, Company Name, Contact information, Job Position, Phone, Mobile and Email address, Website, Title, and Tags. For this demonstration, I am creating a new customer named “Jennifer” and input the necessary information. Existing customers' addresses will auto-populate for convenience.
After providing the basic information about the customer, fill in the essential details on each tab section.
Contacts & Addresses
Occasionally, customers may have various addresses, like their office or home, for different purposes when placing orders. These multiple addresses can be added within the "Contacts & Addresses" section of the customer data configuration form.
So, click on the ‘Add’ button provided inside the respective tab area and edit the address and contact details one by one inside the displayed pop-up window as shown below.
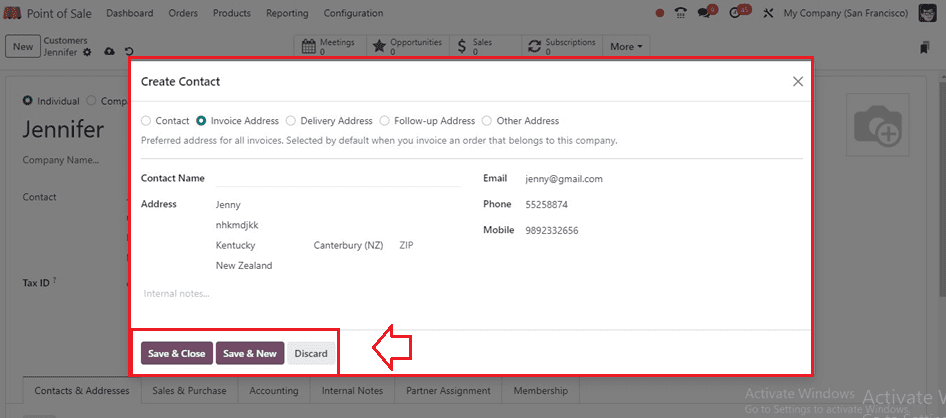
It is rather easy to add several addresses, such as Contact, Invoice, Delivery, Follow-up, and Other Addresses, by selecting the appropriate choices from the window and updating each address individually.
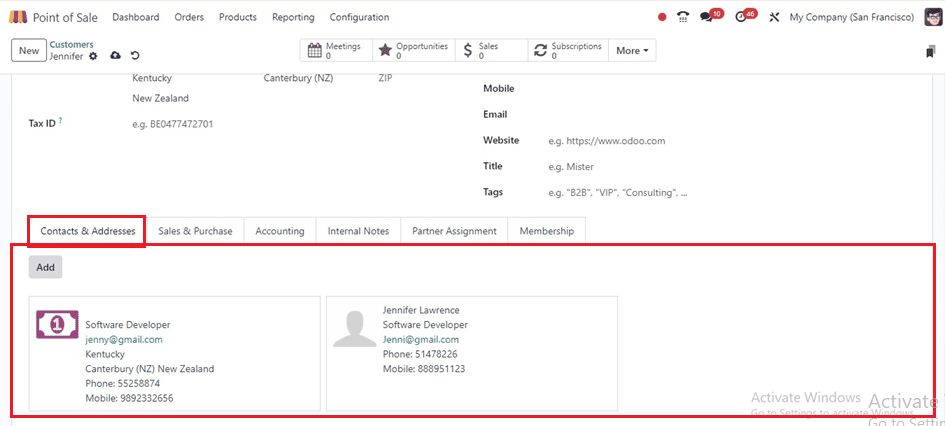
After filling in the details, save the data using the ‘Save & Close’ button or quickly add the next address using the ‘Save & New’ button. So, you can see the added addresses saved inside the Addresses tab, as shown below.
Sales & Purchase Tab
In this section, provide payment details, delivery method, point of sale information, and fiscal details inside the SALES, PURCHASE, POINT OF SALE, FISCAL INFORMATION, and MISCELLANEOS sections, as illustrated in the screenshot below.
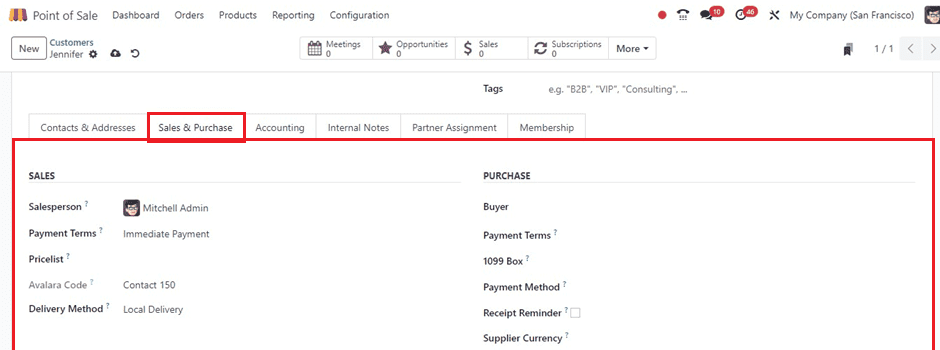
* The SALES section allows you to specify details about sales transactions with a customer, such as Salesperson assignment, Payment Terms, Pricelist, Avalara Code, and Delivery Method.
* The PURCHASE section allows you to define settings for purchasing from this customer, including Buyer, Payment Terms, Payment Method, Receipt Reminder and vendor pricing agreements, and Supplier Currency details.
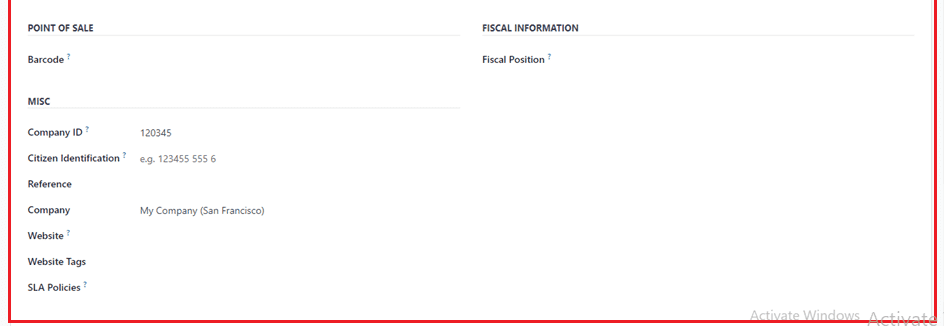
* Within the POINT OF SALE section, you have the option to designate a Barcode for identifying this contact.
* The FISCAL INFORMATION area can be used to mention the Fiscal Position of the customer.
Finally, the MISC section can be used to provide the customer’s Company ID, Citizen Identification, Reference, Website, and other information.
Accounting Tab
Offer bank details for payment and delivery functions, or choose from existing company accounts. Ensure accurate accounting by updating details as needed.
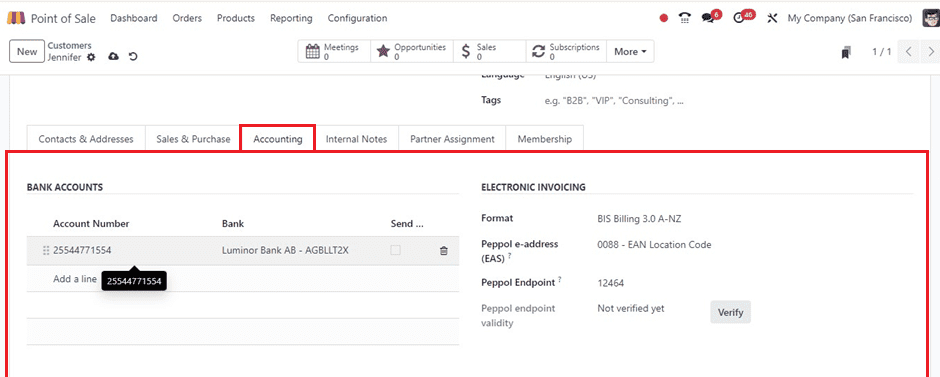

Clicking on the ‘Add a line’ button under the BANK ACCOUNTS area will open a wizard where we can edit the Bank, Account Number, Account Holder, Company, Currency, ABA/Routing, etc, as shown below.
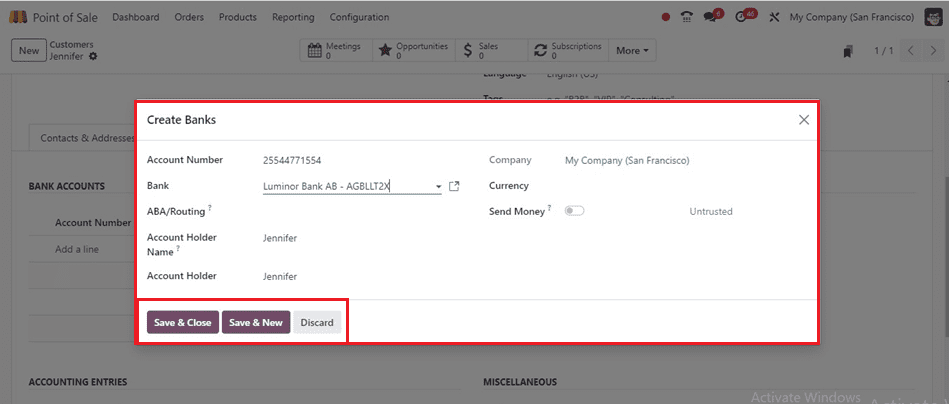
Once all the necessary information has been entered, save the bank data by clicking the "Save & Close" button. Fill in the ACCOUNTING ENTRIES, such as Accounts Payable and Accounts Receivable, under the Accounts Tab after that. The ELECTRONIC INVOICING specifics like the invoicing Format, Peppol e-address, and Peppol Endpoint details can be provided as per the requirement. Finally, a Legal Identity Number(LEI) can be added inside the MISCELLANEOUS area, and save the data using the save icon.
Internal Notes
Utilize the Internal Tab tab section to add relevant notes regarding sales, delivery, and any customer-related data.
Partner Assignment Tab
Odoo's "Partner Assignment" page is helpful for organizations that have diverse relationships with different partners since it allows users to attach certain partners to consumers. This feature facilitates effective cooperation and communication within the company by enabling users to monitor and manage partner assignments.
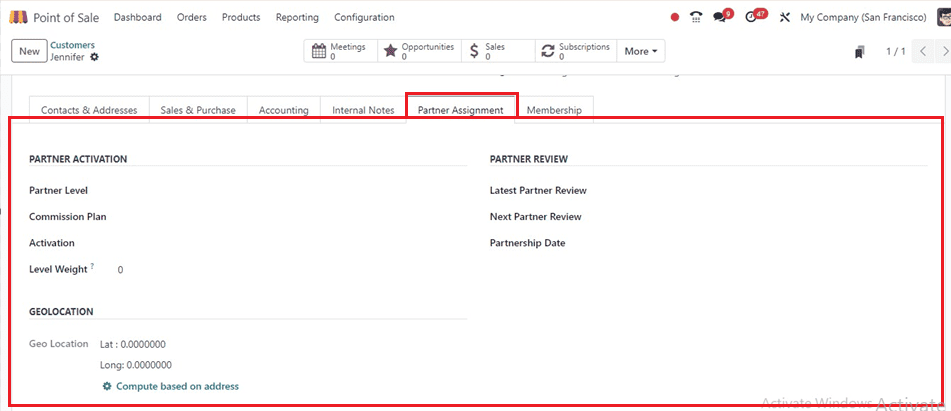
The Partner Assignment Tab can be used to provide the PARTNER ACTIVATION, PARTNER REVIEW, and GEOLOCATION data necessary for effective collaboration, as illustrated in the above screenshot.
Membership Tab
In Odoo's customer configuration settings, users may control customer subscription plans and memberships, including membership levels, renewal dates, benefits, and subscription status, under the "Membership" tab. This aids companies in efficiently handling memberships, keeping an eye on activities, and offering members specialized services.
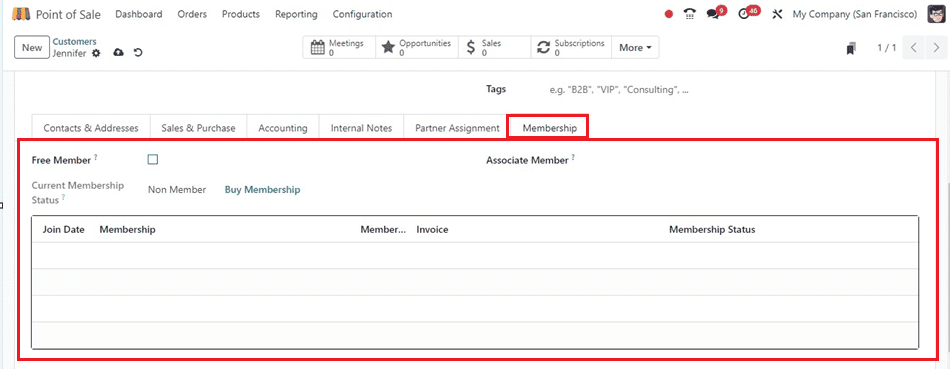
Enable the Free Member option to provide the consumer with a gratis membership. Additionally, if the customer shares the membership privilege with a dependent, please specify the associate member's name in the Associate Member field.
Finally, click on the ‘Buy Membership’ button to add the customer as a new member and provide the Join Date, Membership Fee, Invoice, and Membership Status in the designated area. Here, I am enabling the Free Member option for a quick illustration purpose. Ensure to save the customer data after completing the relevant fields. You can access the new customer data from the Customer dashboard, as depicted below.

We are able to check how we can choose this specific customer at a Point of Sale session when making a sales order.
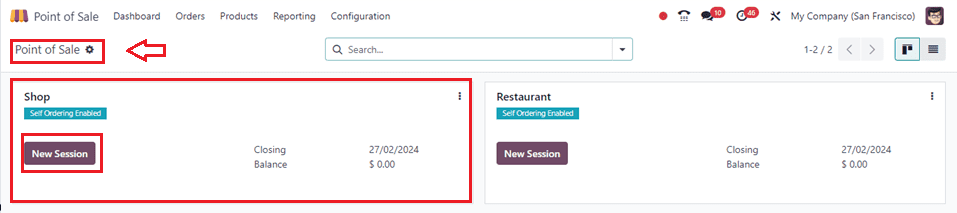
Invoicing the Customer in a Sales Session
To initiate a new sales order, go to the Point of Sales Dashboard, launch a shop or restaurant session using the "New Session" option, and test the customer invoicing feature with the aforementioned client.
After opening the shop session, choose the required products from the Orders window, as shown below.
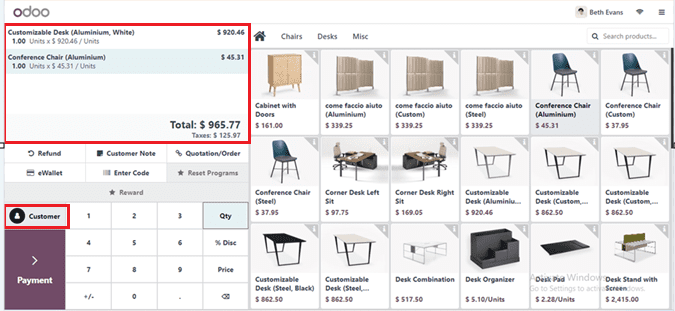
To access the customer dashboard list after selecting products, click on the Customer button on the left side of the window. This will display the customer's Name, Address, Contact, and Balance details, and we can select the particular customer by clicking on their column as illustrated below.
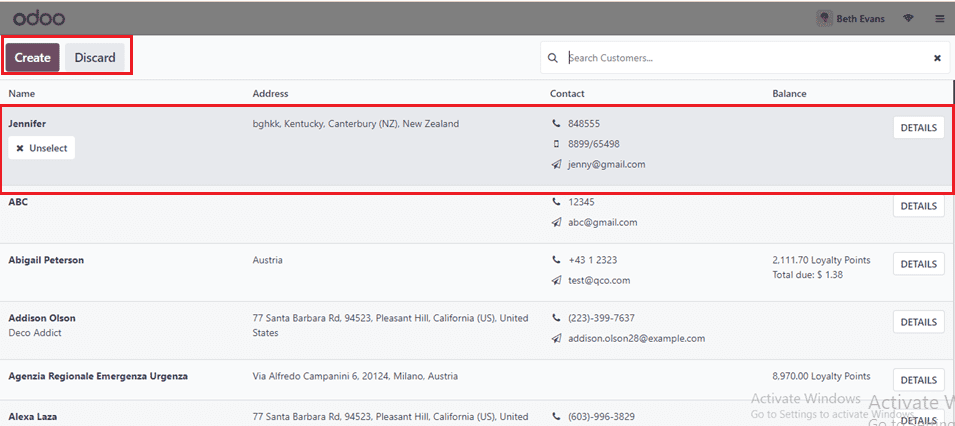
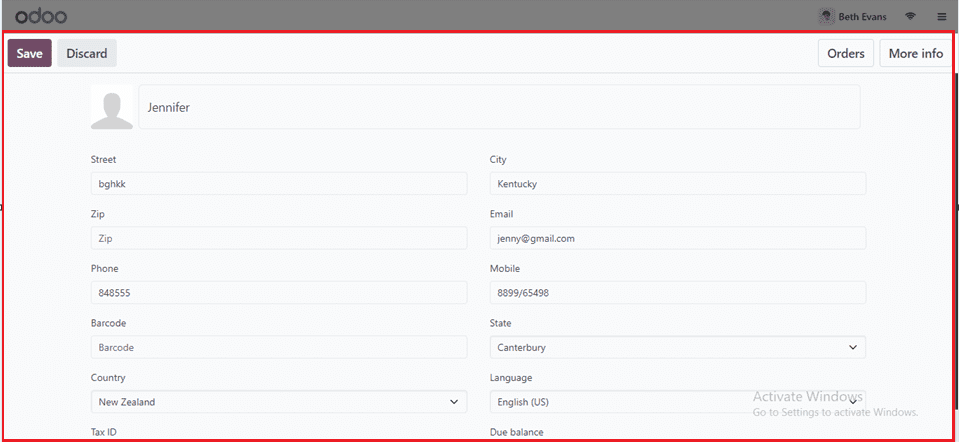
After selecting the customer, we can also deselect them using the Unselect button. The DETAILS button will show the customer details in a form view.
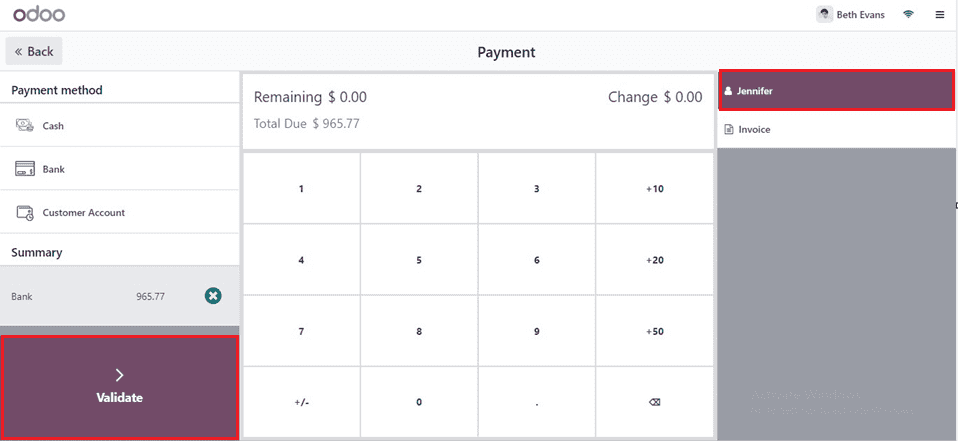
After choosing the customer, we can see the customer has added to the particular invoice and proceed with the payment procedure using the Payment button. Then, validate the payment using the Validate button provided inside the Payment Form window.
Schedule meetings with customers directly from the platform, providing details such as subject, start and end times, reminders, and video call links; check vendor bills, documents, and partner ledgers from the "More" dropdown menu to ensure seamless delivery management.
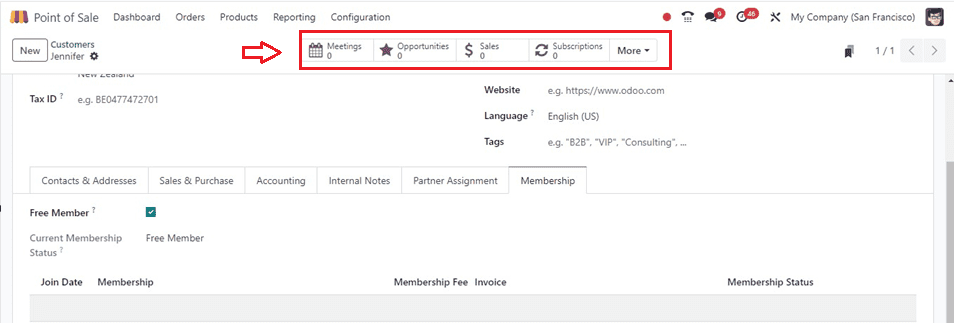
Review all entered details and save them accordingly. Monitor sales, deliveries, and meetings related to specific customers from the sales customer page. Once you master these methods, you'll be able to control and modify client data easily, increasing your company's productivity and consumer-wrangling confidence. If you want to know more about how to manage customers with odoo pos please refer to our previous blog.