Efficient management of sales receipts is imperative for businesses to maintain transparency, accuracy, and financial integrity. Odoo 17 offers a comprehensive solution to streamline this process, empowering businesses to effectively manage their sales receipts from end to end. Sales receipts in Odoo 17 represent crucial transactional records that document the sale of goods or services to customers. These receipts serve as tangible evidence of a completed transaction and play a pivotal role in maintaining financial records accurately. With Odoo 17, businesses can easily generate, track, and manage sales receipts within a centralized platform, ensuring seamless operations and enhanced productivity.
Key Features and Functionalities
* Automatic Generation: Odoo 17 automates the generation of sales receipts upon the completion of a sale transaction, eliminating the need for manual intervention and reducing the risk of errors.
* Customizable Templates: Businesses can personalize sales receipt templates in Odoo 17 to align with their branding guidelines and incorporate relevant information such as company logo, address, and contact details.
* Integration with Sales Modules: Sales receipts in Odoo 17 seamlessly integrate with other sales modules, including invoicing and inventory management, enabling real-time synchronization of data across various departments.
* Multi-Payment Support: Odoo 17 facilitates the recording of multiple payment methods within a single sales receipt, accommodating diverse customer preferences and enhancing flexibility.
* Customer Communication: Businesses can leverage Odoo 17 to automatically send sales receipts to customers via email, fostering transparent communication and improving customer satisfaction.
In this blog, we'll walk you through the steps to configure sales receipts in Odoo 17 effectively.
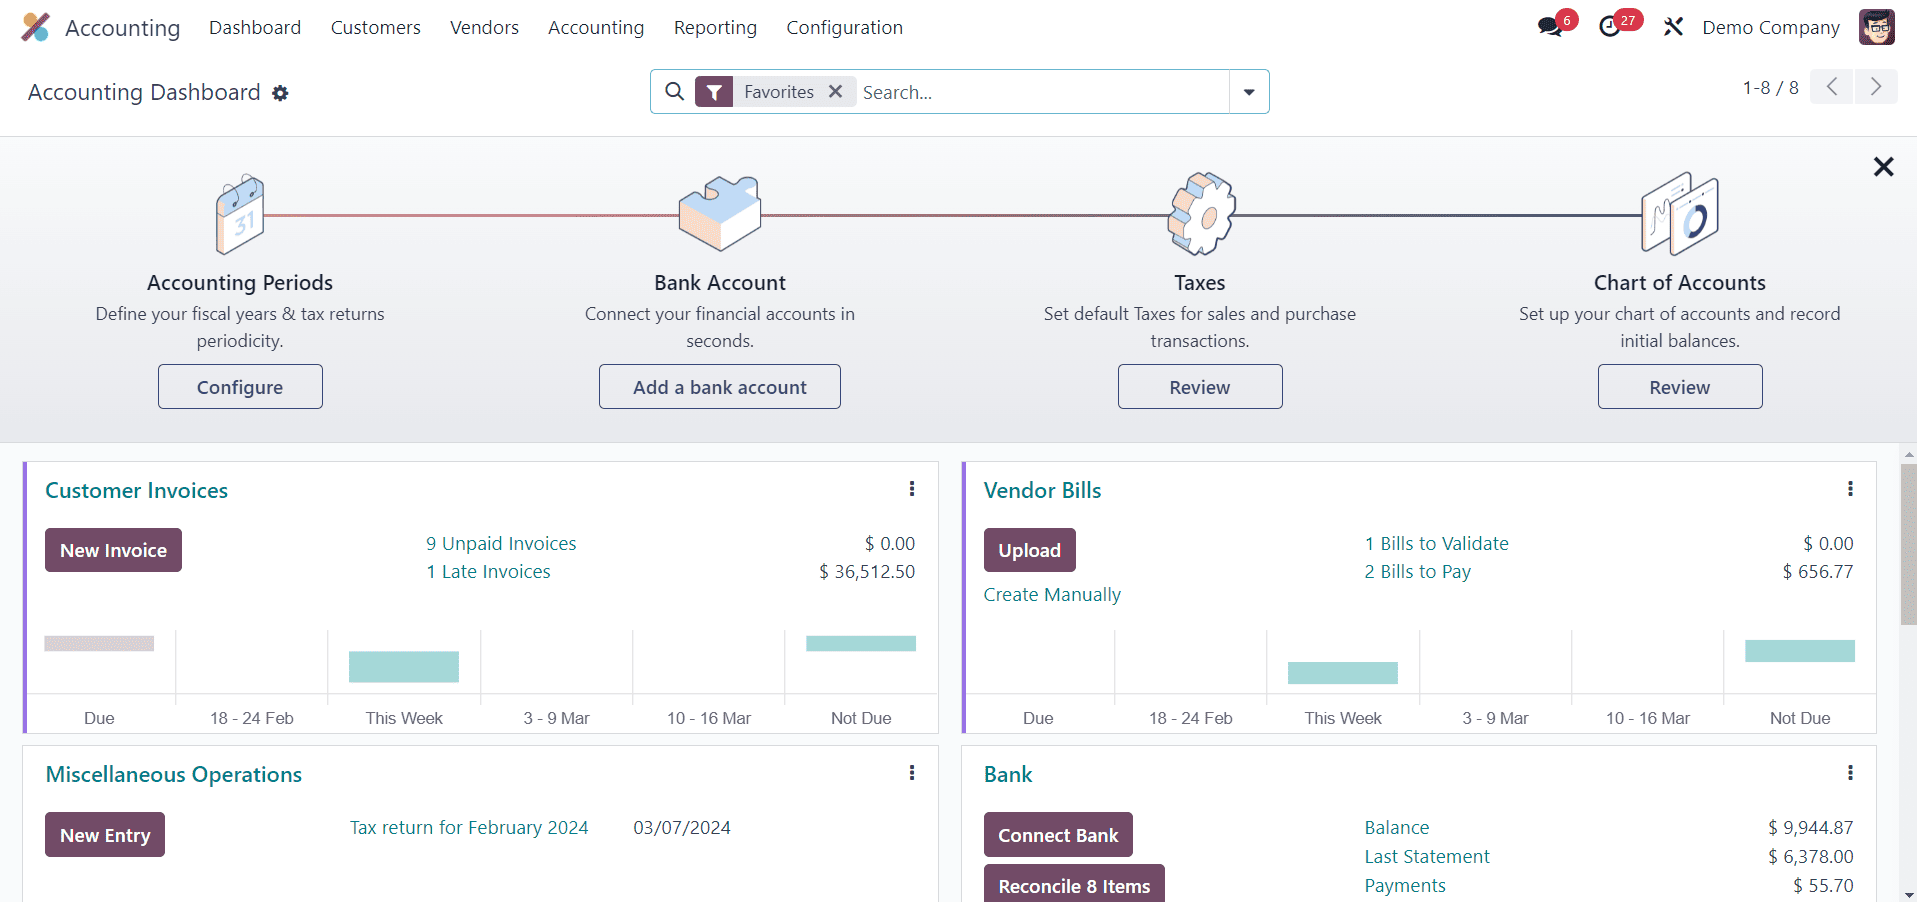
Step 1: Accessing the Accounting Module
Log in to your Odoo 17 instance and navigate to the Accounting module from the dashboard.
Step 2: Enabling Sales Receipt Feature
In the Settings module, locate the "Customer Invoices" section.
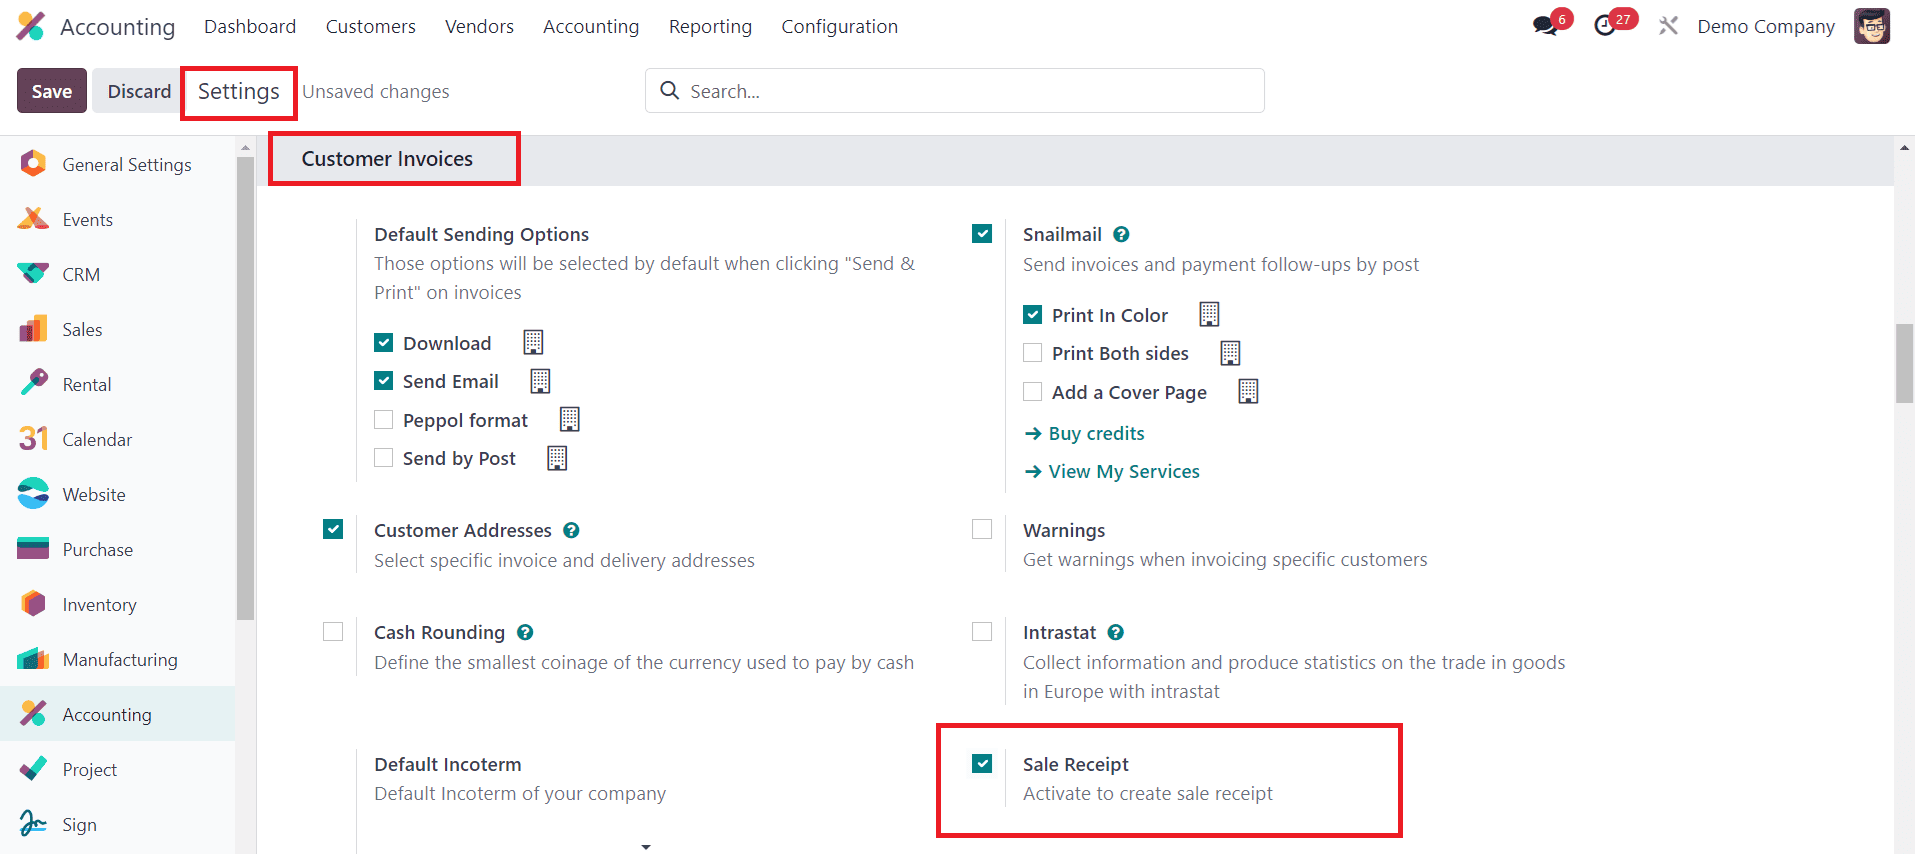
Ensure that the Sales Receipt feature is enabled by checking the box next to the corresponding field. Save your changes to activate the receipt features. Once you activate this option, you can find a new sub-menu named “Receipts” under the Customer menu as shown below.
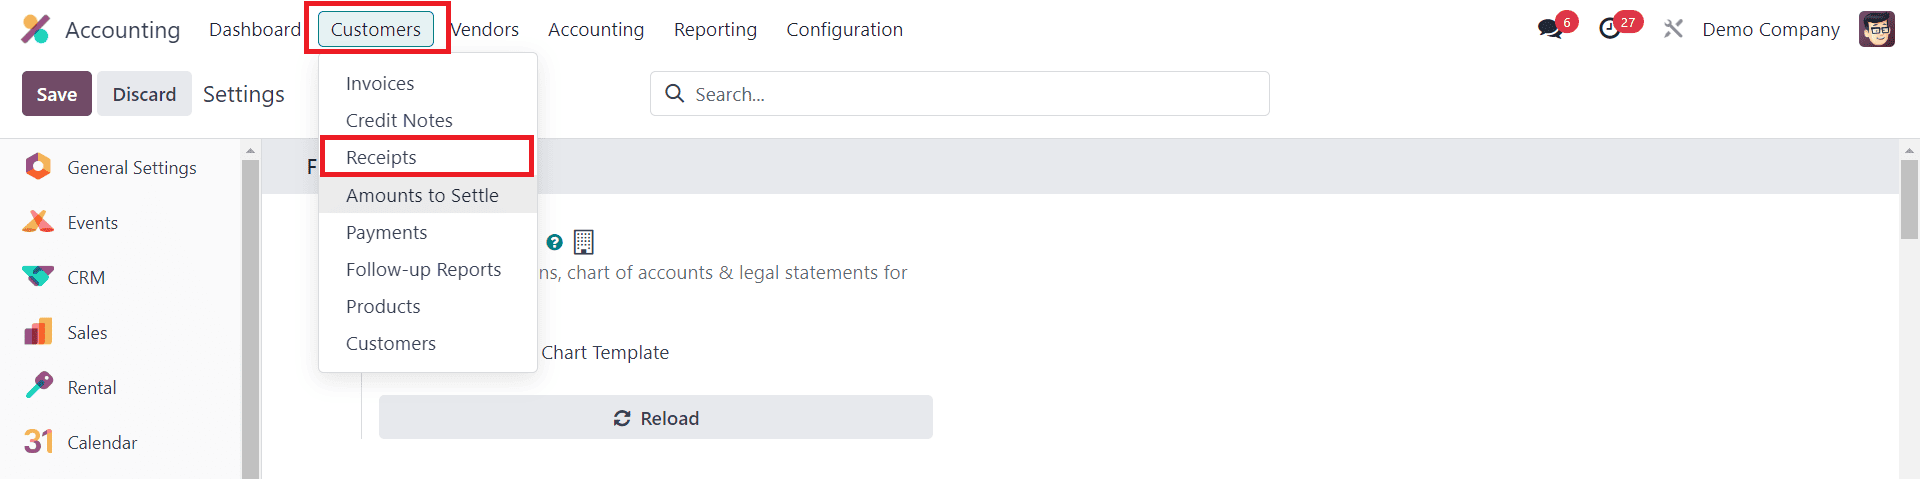
Step 3: Setting Up Sales Receipts
Navigate to the Customers menu, where you can find the Receipts option specially dedicated to manage all sales receipts in one place.

You can use the new button available in the Sales Receipts window to create a new receipt. If you want to upload the receipts recorded in your system, you can use the Upload button. Once you create a new receipt, the preview will show the Number, Customer, Invoice Date, Due Date, Activities, Tax Excluded, Total, Payment, and Status of the respective receipt. The new receipt creation window is shown below.
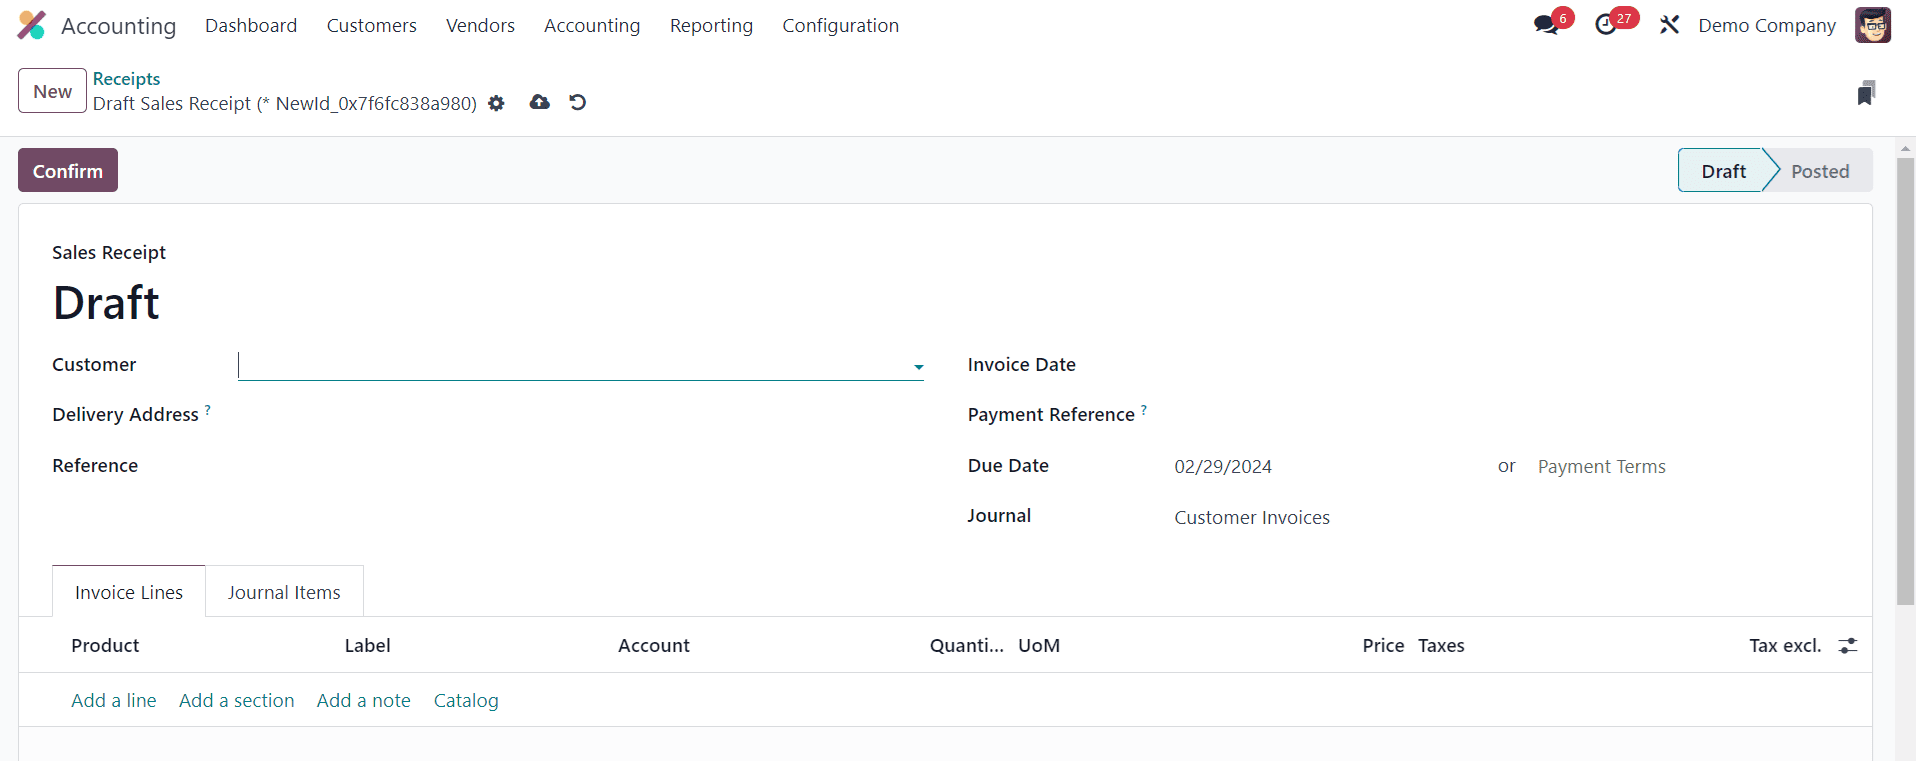
Here, you need to mention the Customer, Delivery Address, Reference, Invoice Date, Payment Reference, Due Date, and Journal. The delivery address mentioned here will be used in the computation of the fiscal position. Under the Invoice Line, add the products or services specified in the corresponding sales order. The respective journal items can be observed under the Journal Items tab. Finally, clicking on the Confirm button will confirm the sales receipt. Next, you can proceed with the customer payment.
Step 4: Generating Sales Receipts
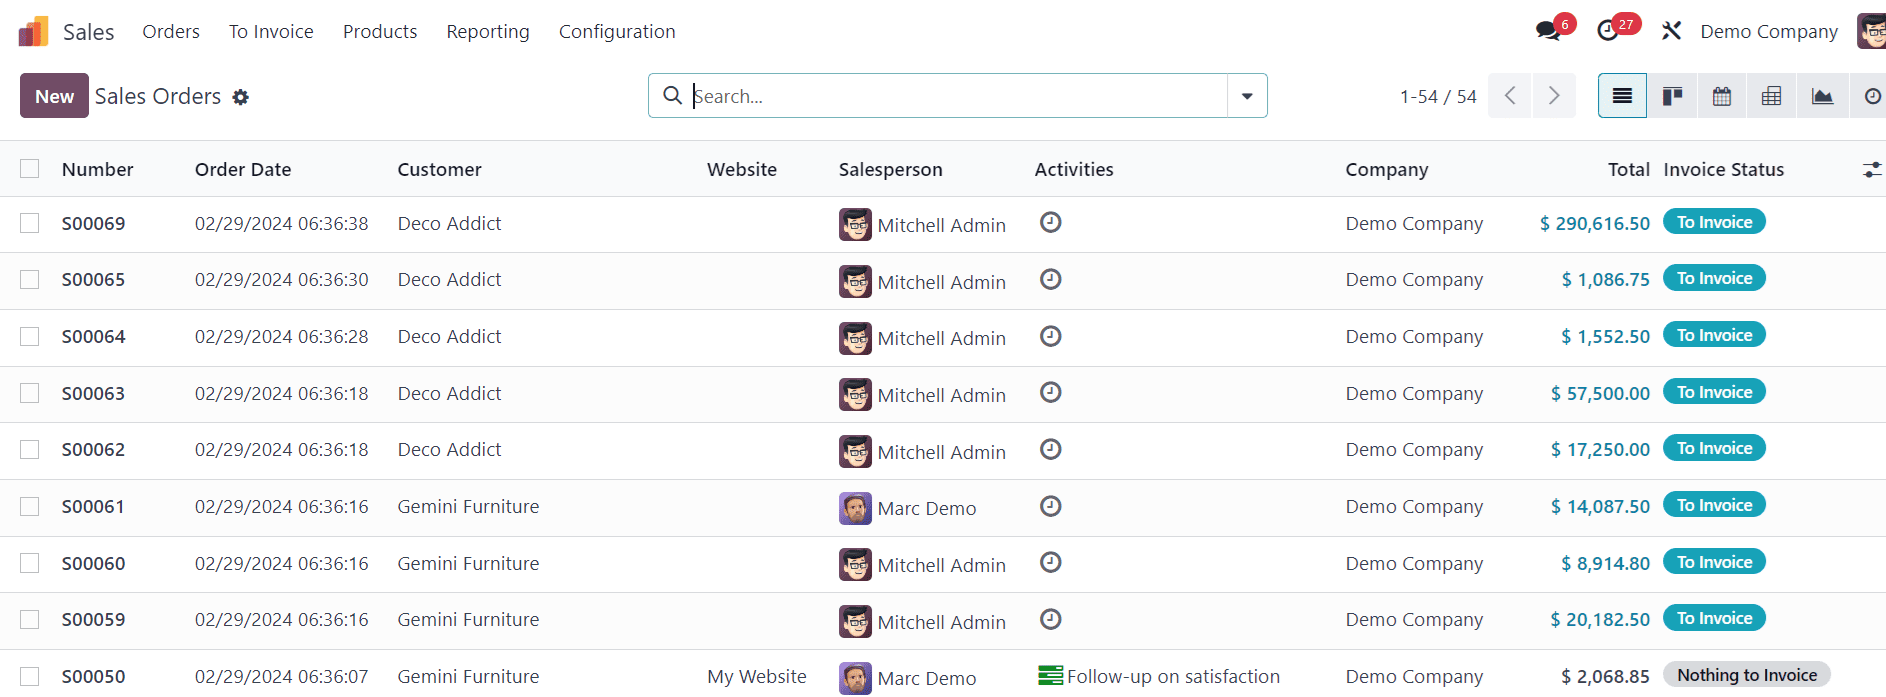
Once the sales order is confirmed, you can generate a sales receipt. Create a new sales order or select an existing one. From the Sales Orders menu, find the confirmed order for which you want to generate a receipt.
Open the order and click on the "Create Invoice" button.

Odoo automatically generates an invoice based on the order details. Review the invoice to ensure accuracy.
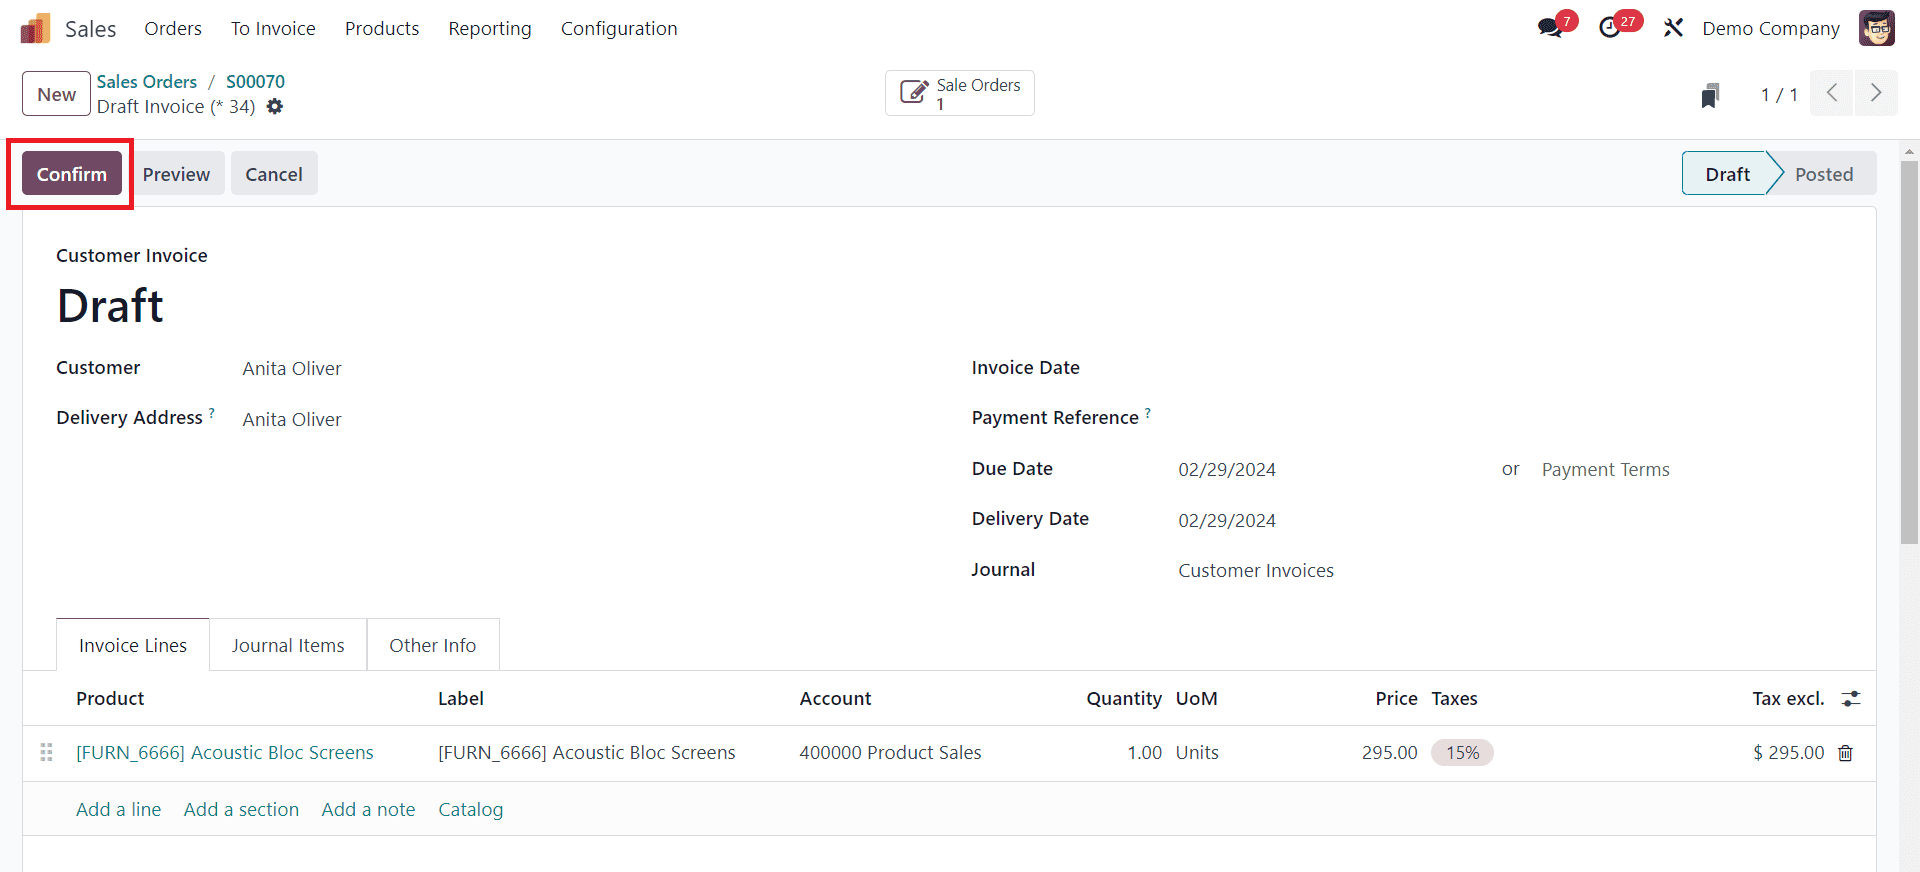
Click on the "Confirm" button to finalize the invoice and generate the sales receipt. Once you've created the invoice, you need to register the payment against it. You can do this by going to the invoice and selecting the "Register Payment" option. Here, you'll enter the payment details like payment method, amount received, and date. After registering the payment, validate it to confirm that the payment has been successfully recorded in the system. Once the payment is validated, you can view the sales receipt (invoice) in Odoo. It will contain all the details of the transaction, including the products or services sold, prices, taxes, payment details, etc.
By following these steps, you can efficiently configure sales receipts in Odoo 17, ensuring accurate financial documentation and streamlined customer transactions.
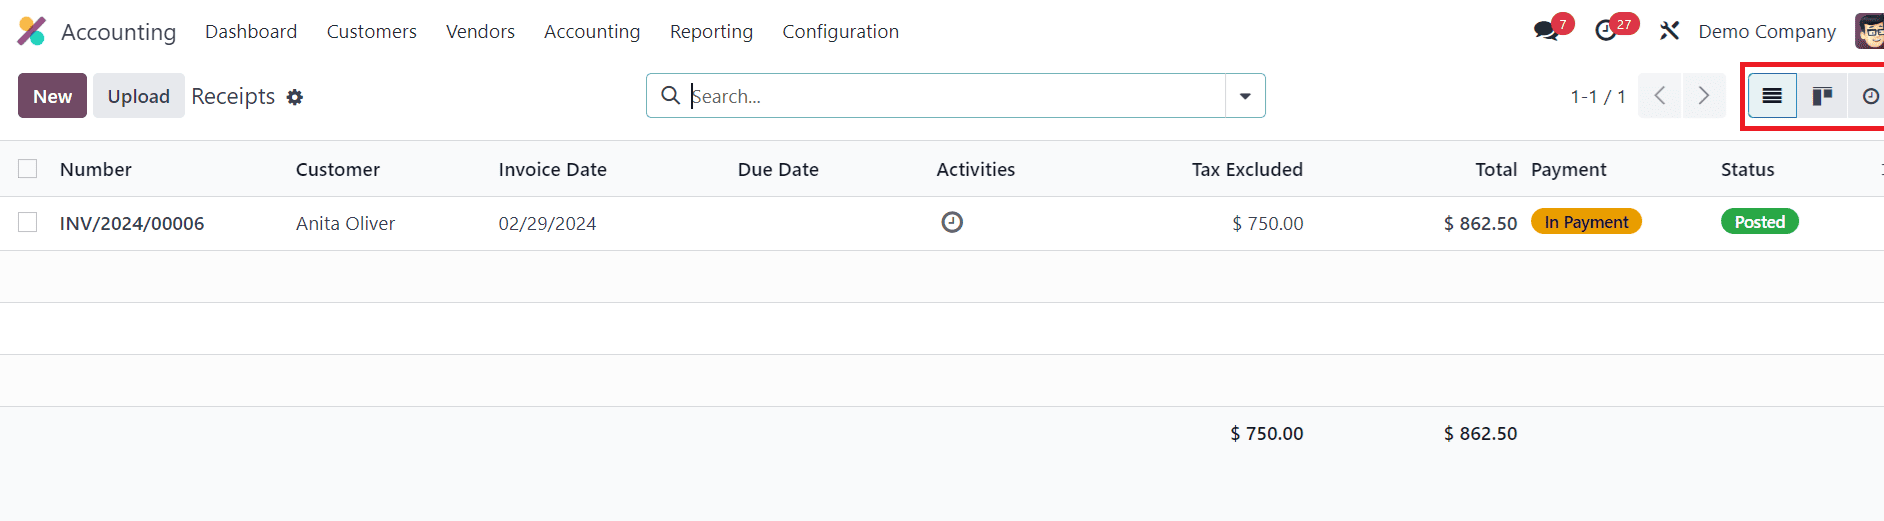
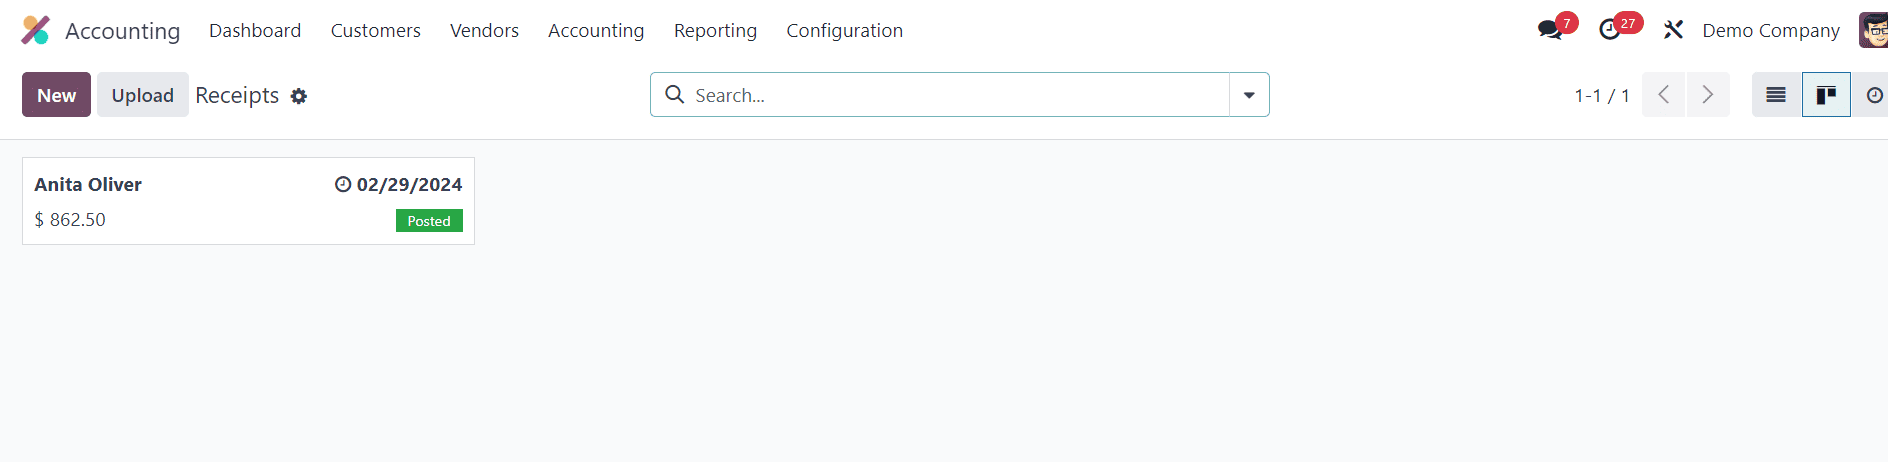
Users will get Kanban and List views for the Sales Receipts window. You can change the view according to your convenience.
Effectively managing sales receipts is essential for businesses to maintain financial transparency, compliance, and operational efficiency. With Odoo 17, organizations can streamline the entire process, from generation to reconciliation, empowering them to make informed decisions and drive sustainable growth. By leveraging the key features and best practices outlined above, businesses can harness the full potential of Odoo 17 to optimize sales receipt management and achieve their strategic objectives.