Managing hardware efficiently is essential for delivering a smooth and reliable in-store experience. Odoo 19's most recent Point of Sale features allows businesses to easily connect and configure Weighing scales, cash drawers, barcode scanners, receipt printers, and other customer displays. Whether you run a retail store, restaurant, or multi-location business, proper hardware integration helps speed up transactions, reduce manual errors, and improve customer satisfaction.
In this blog, we’ll explore how to set up printers, scanners, and other POS hardware in Odoo 19 Point of Sale, along with the key configurations.
Odoo's "Connected Devices" tab in the "Settings" window enables devices to connect directly without the requirement for an IoT Box. As seen in the screenshot below, this tab has the following features: ePos Printer, Customer Display, and IoT Box.
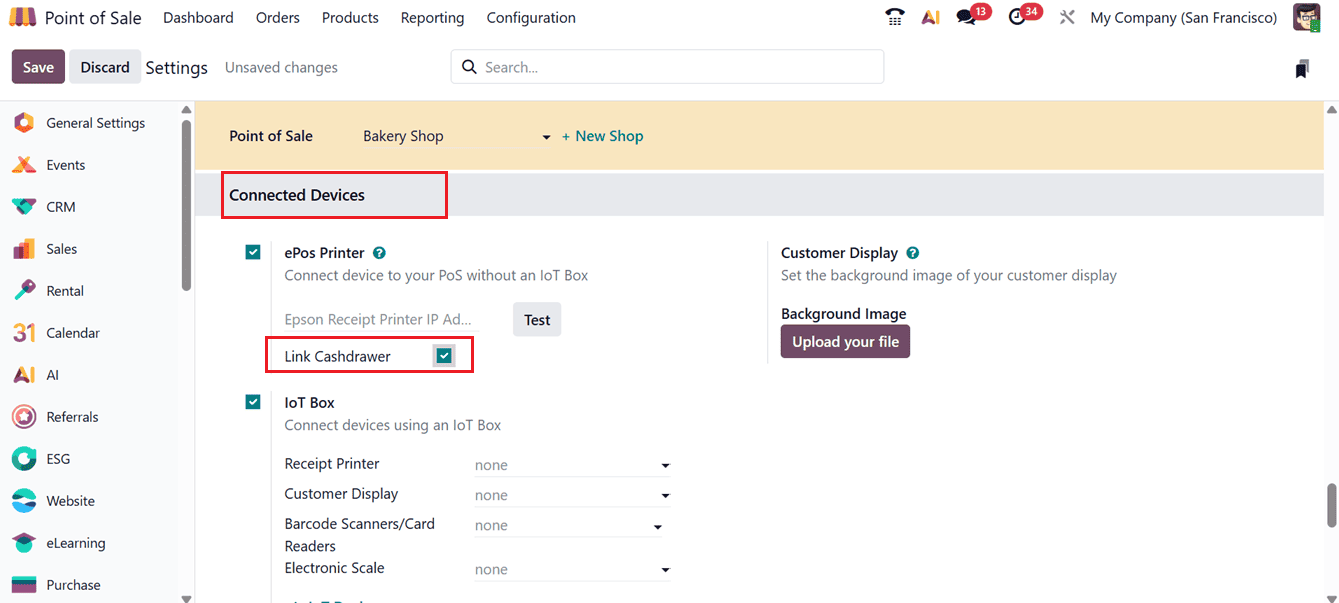
Without an IoT box, you can activate ePOS Printers and provide the device's IP address to print receipts. You can use the "Test" button to check the printer's functionality after connecting the available printer.
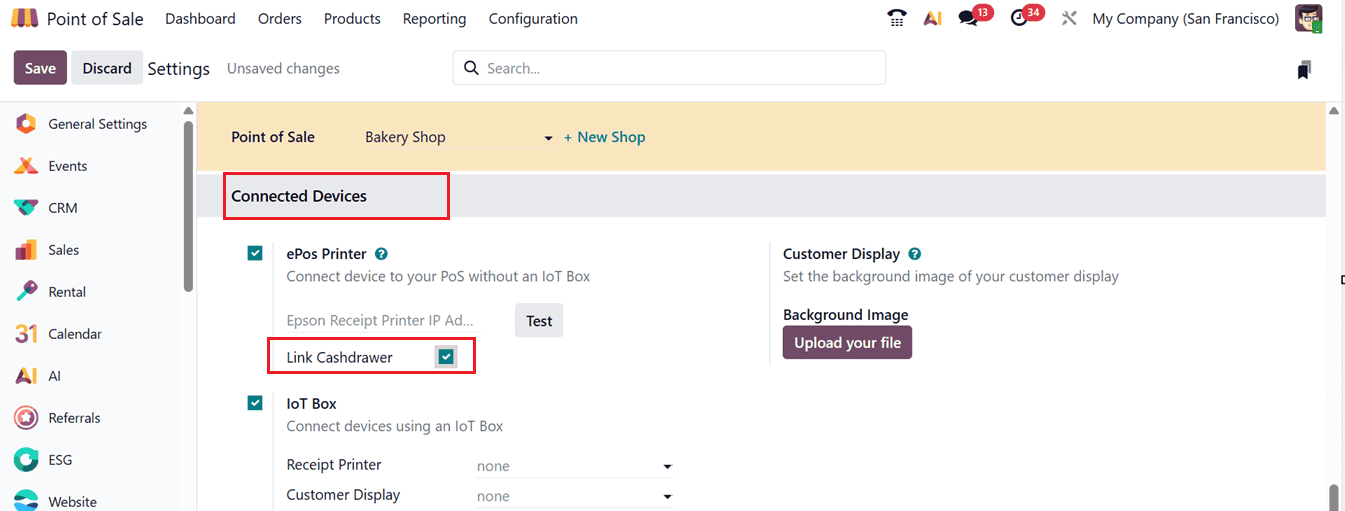
Enabling the Link Cash Drawer feature in Odoo 19 Point of Sale enables businesses to connect cash drawers directly with the POS system for faster and more secure cash handling. It automatically opens the drawer during cash transactions, integrates smoothly with POS hardware like receipt printers, improves checkout efficiency, and helps reduce manual errors in daily cash operations, as shown in the screenshot below.
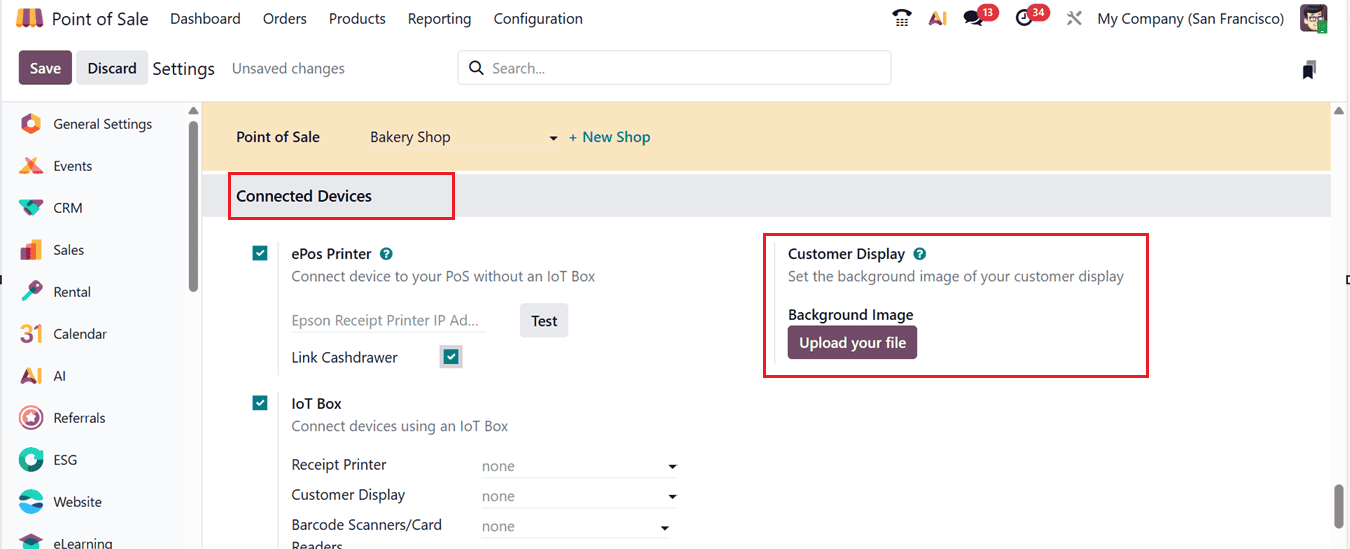
The checkout procedure can be shown on a second screen with the use of the Customer Display function. This can be done using the "Upload your file" button. So, click on the "Background Image" button to set an eye-catching for the customer display, as shown in the screenshot below.
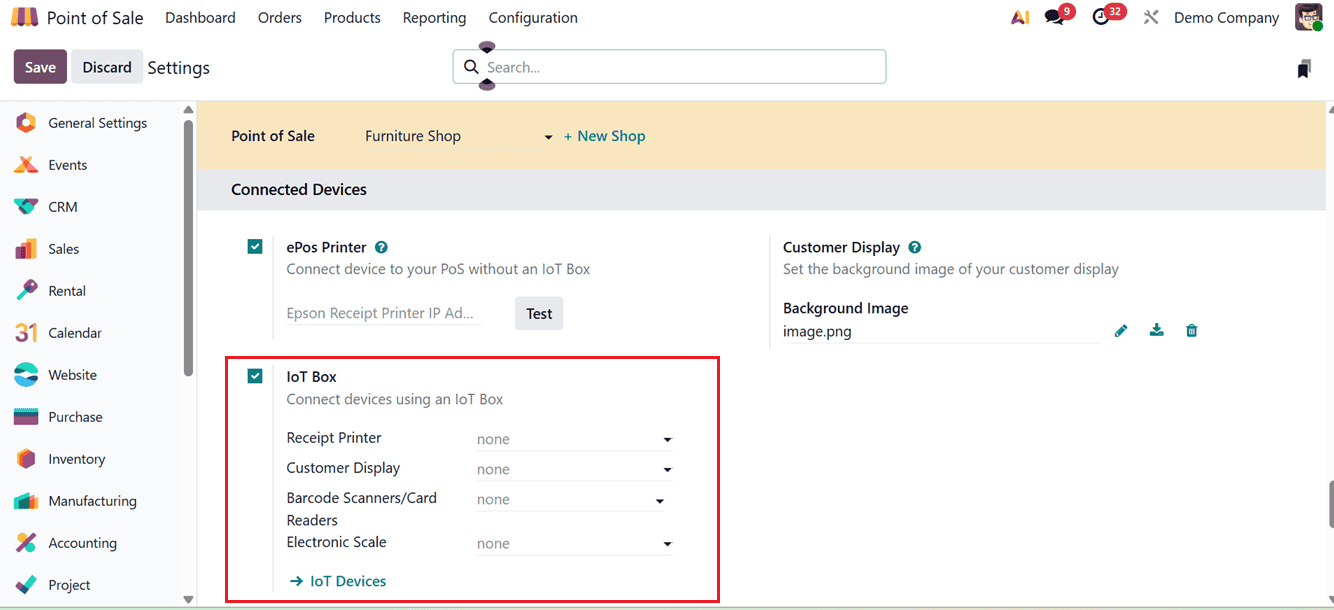
Additionally, by selecting them in the appropriate areas, the "IoT Box" function enables you to connect Receipt Printer, Customer Display, Barcode Scanners, Card Readers, Electronic Scale, and other IoT devices, as seen in the screenshot below.
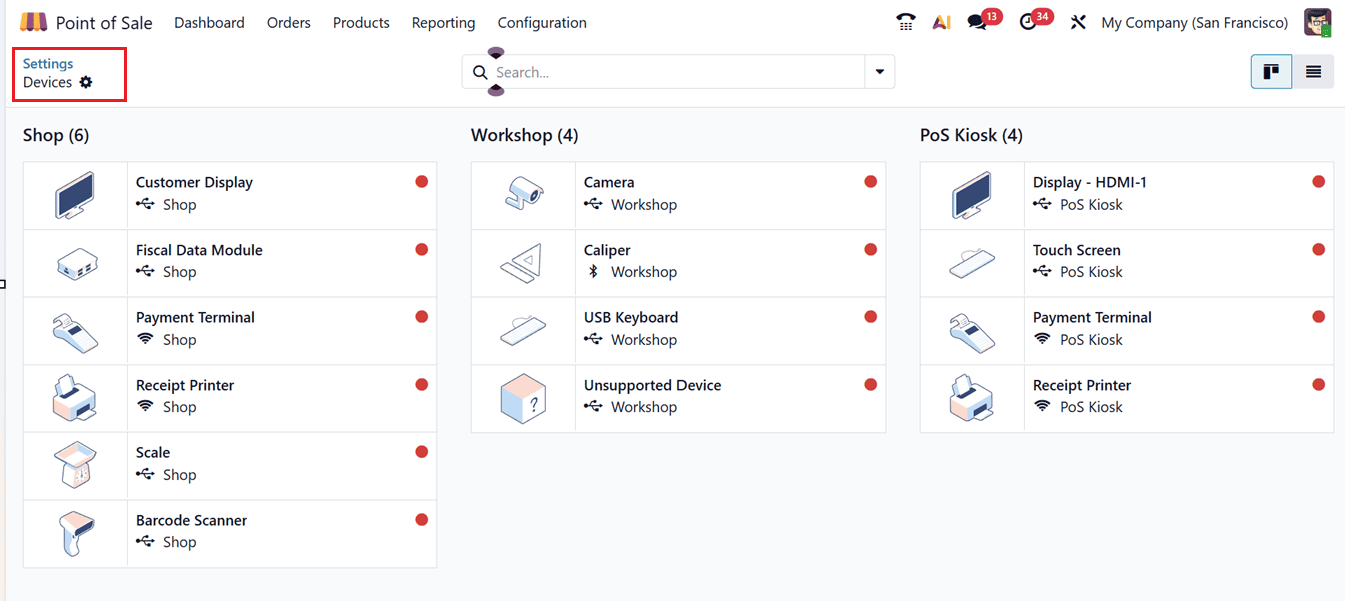
Opening the ‘IoT Devices’ link will open the dashboard of all the devices connected to your POS system. From this dashboard you can manage the devices according to the requirement, as shown below.
Preparation
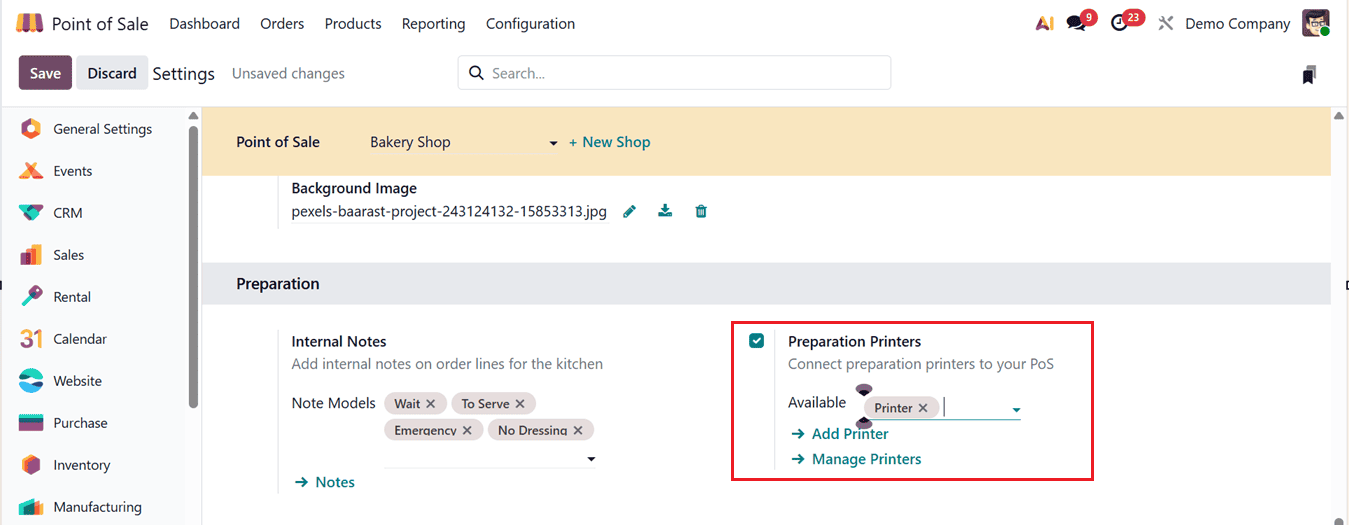
In Odoo 19 Point of Sale, restaurants and bars can streamline kitchen operations through the Preparation section available in the Settings menu. Features such as Preparation Printers and Internal Notes help kitchen teams efficiently track and prepare incoming orders, as shown in the screenshot below.
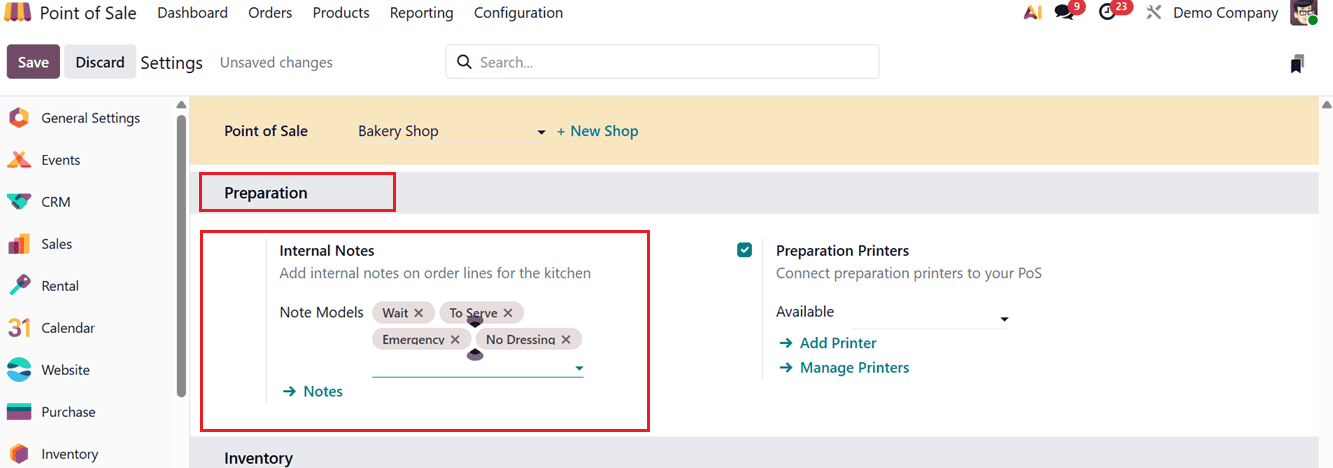
The Internal Notes feature allows staff to include special instructions or comments for specific order lines.
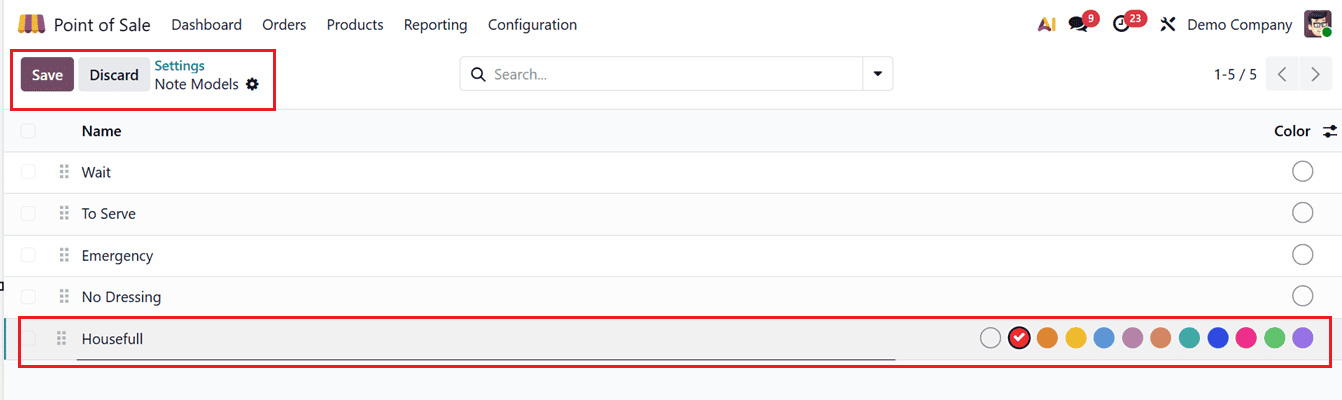
Using the ‘Notes’ link, you can create new notes for the kitchen displays. Just click on the ‘New’ button from the ‘Notes’ dashboard to create new notes and their highlight color, as shown in the screenshot below.
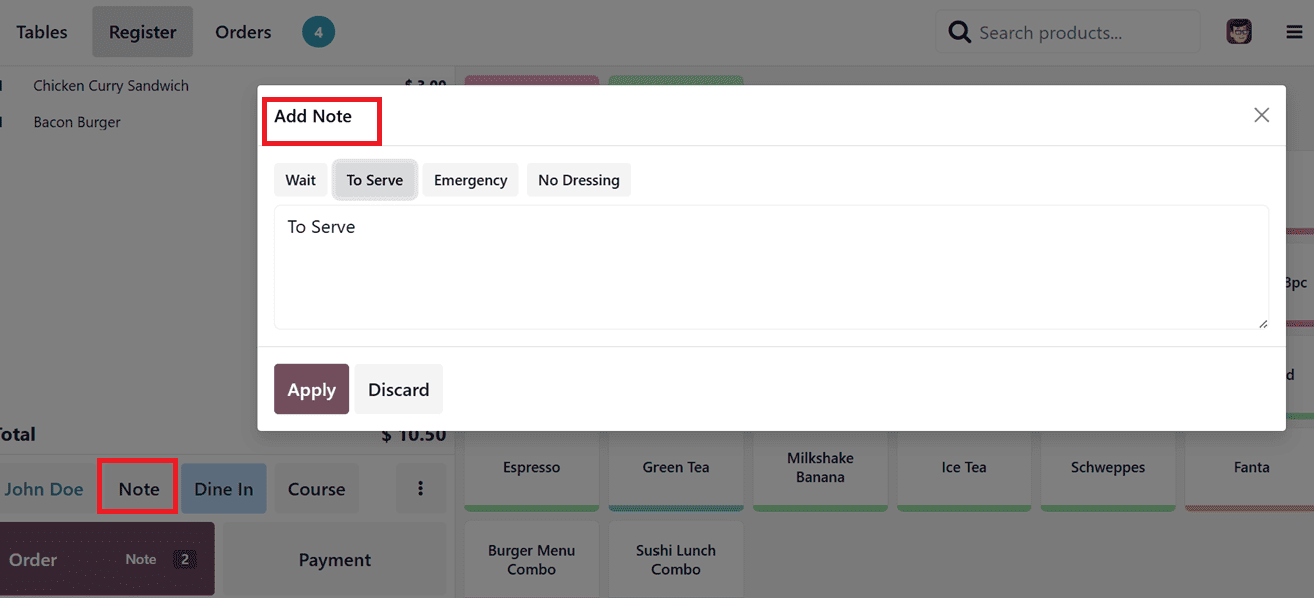
During a POS restaurant session, you can click on the Note button to enter custom instructions or select from predefined notes in the Add Note window, as shown in the screenshot below.
Using the ‘Preparation Printers’ option, you can connect kitchen printers using the Add Printer and Manage Printers options.
The ‘Add Printer’ link can be used to add a new printer into your Odoo POS. In the displayed form, enter the Printer Name, Epson Printer IP Address feature enables direct network connection with Epson printers for receipt and kitchen order printing. The Use Local Network Access option allows seamless communication between the POS and local hardware devices such as printers and cash drawers. Meanwhile, the Printed Product Categories help route specific products to designated kitchen or preparation printers, improving order handling efficiency, as shown in the screenshot below.
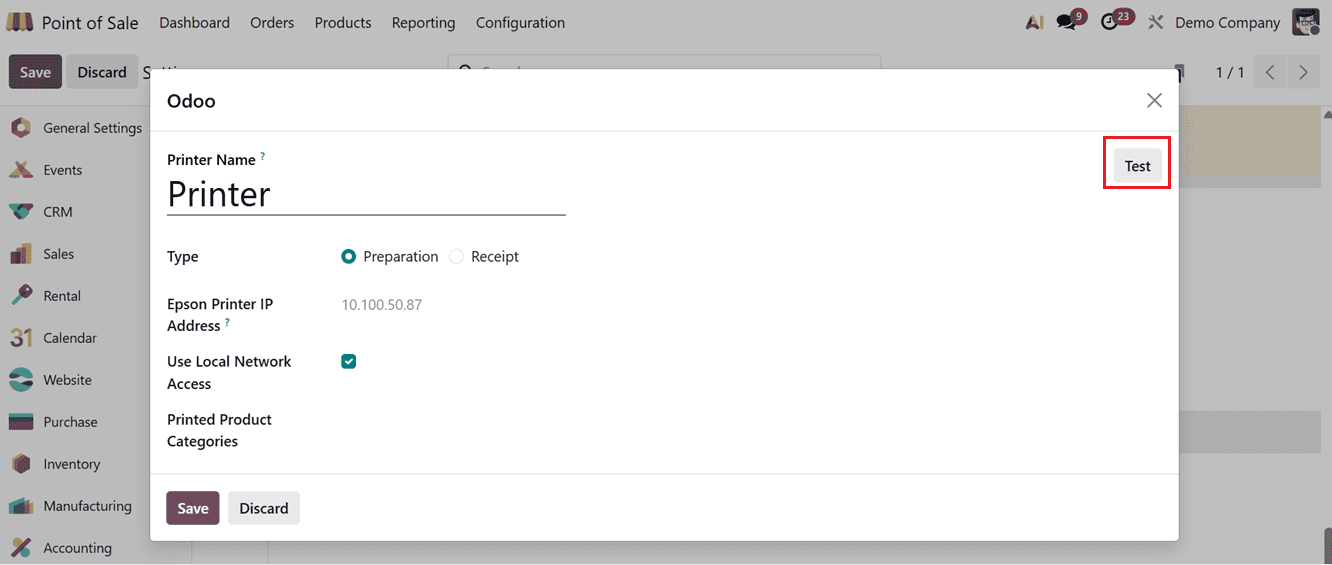
After adding the printer details, you can test the printer functionality using the ‘Test’ button. Then, the added printer can be set under the ‘Available’ field.
The ‘Manage Printers’ button can be used to add or manage the printer devices through a dedicated dashboard window. You can add new printer using the ‘New’ button, as shown in the screenshot below.

Setting up printers, scanners, and other hardware devices in Odoo 19 Point of Sale is essential for creating a fast, accurate, and efficient checkout experience. With the right configurations, businesses can streamline daily operations, reduce manual effort, and enhance overall customer satisfaction. From receipt printing and barcode scanning to connecting cash drawers and customer displays, Odoo 19 provides a flexible and user-friendly system for managing POS hardware seamlessly. By following the proper setup steps and best practices, you can ensure your POS environment runs smoothly and supports the growing needs of your business.
To read more about How to Connect External Devices to Odoo 18 Point of Sales, refer to our blog How to Connect External Devices to Odoo 18 Point of Sales.