Odoo 14, an Open ERP solution provides a repair module that can be integrated easily with manufacture and inventory modules. The repair module helps to address the tear and wear of products due to long term storage in the inventory. The repair module also helps to carry out repair service to products with a warranty. This feature supports a user to repair or replace a product that is partially or fully damaged.
The repair module not only offers service to the customers who bought the product but also can be used by the manufacturers. The module will help to assure customer satisfaction as repair tickets can be addressed quickly.
The repair module is a robust module under Odoo. It triggers the works of broken or damaged products and carries out the fixing and redesigning of the product. For any user, this module turns beneficial as it helps to collect the information on the damaged product. It also supports the tracking of the product at all stages of repair.
Do you want to get the benefits of the Repair module? Install Repair Module.
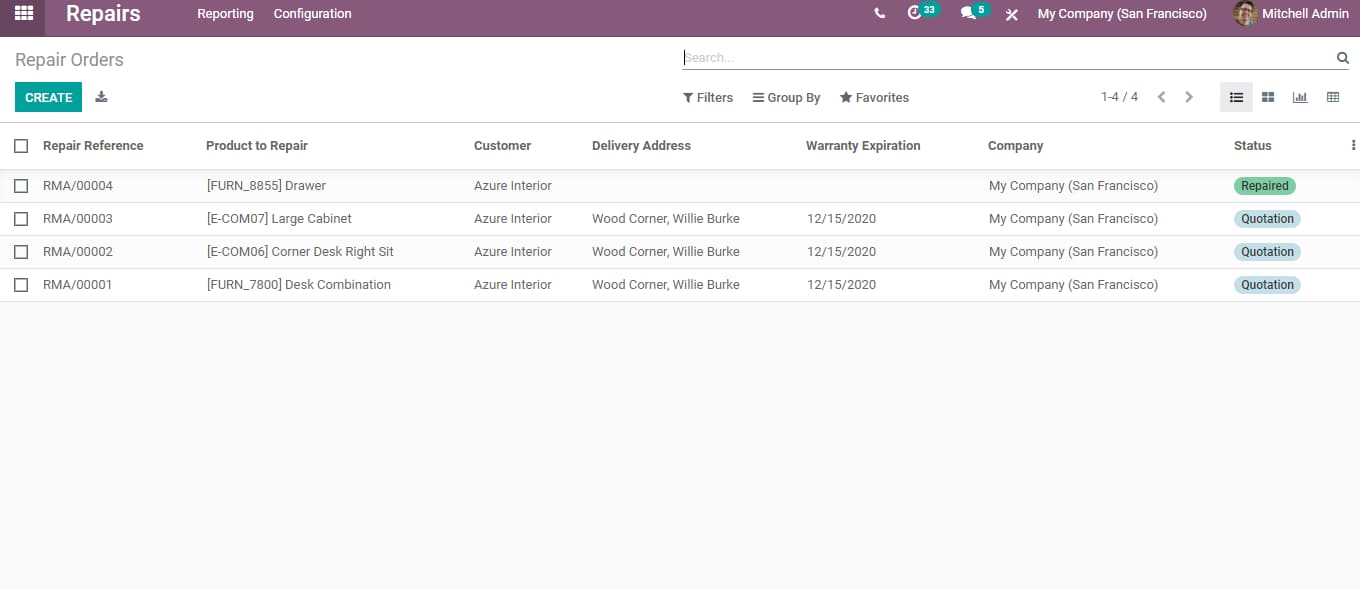
Enter the Repair module. Here, the user can find the repair order for damaged products. It also supports a user to trace repair orders. Creating a repair order from here is also easy.
Create and Manage the Repair
The user will be responsible to carry out necessary repair work when a customer reports the damage of a product. For this, create a repair order by clicking the CREATE
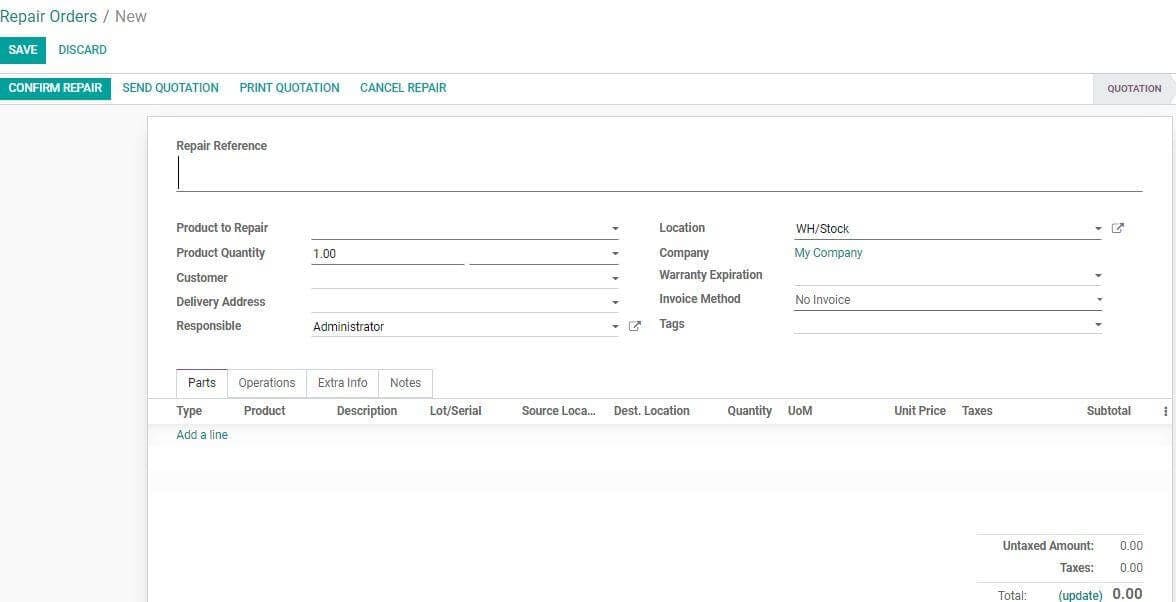
What information do you have to provide here? You can fill up all required columns including the product detail and the quantity. The name of the customer who registered the repair request, the method to invoice, and the person responsible to carry out the repair are to be included along. The delivery location, the product location, price list, and if the warranty is offered those details should be added. The user can also add a tag if required.
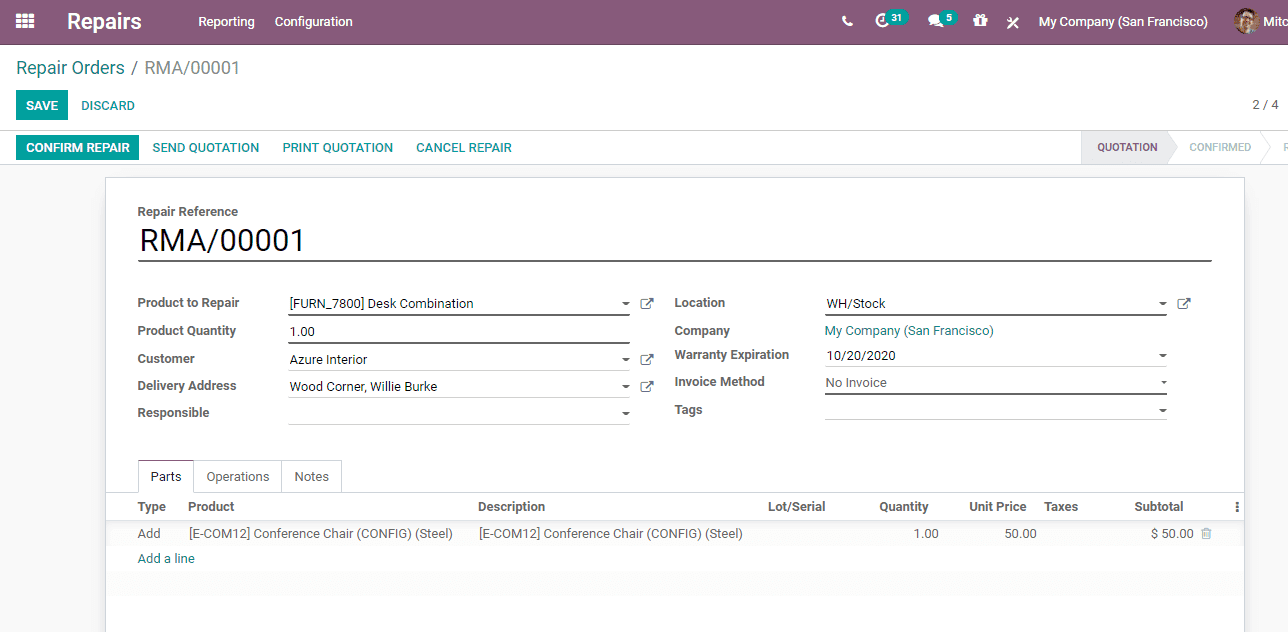
Under tab 'Parts' the user can add details of product parts that you have to add or remove in order to repair the damage.
In the form, you can find the option type which helps you to find out the type of operation. Here, the user can add the product parts if required and also remove the product parts.
During maintenance work, we may sometimes need parts. It is this part that is referred to as a product in this form. We may have to remove a part or product and add a product or part to complete the repair work.
Can you find a description tab? Here, the user can describe the product chosen or add the reason for choosing the product.
Is it possible to add a lot or serial number? This can be done here. Use a serial number of individual products like monitors and give a lot numbers for products like bolts.
Another option that you get here is the source location. The location here means the place from where the person took the product or part for carrying out the repairing operation.
Another location given here is the Destination Location. It is nothing but the place where the repaired product will be shifted to. Example: If the product or part is scrapped then the location can be scrap location.
Don't forget to give the quantity of the product parts that you used for completing the repair work.
Another column: Unit price indicates the cost of a single unit of the product part. On the other hand, Tax indicates the excess charges imposed on the product by the government.
In the subtotal column, the user can get the price of the total quantities used.
Invoicing methods
The invoicing method will be finalized based on if the repair work is charged or free. If it is a paid repair, then the invoice method decides the time to generate the invoice. There are three invoicing methods in Odoo
They are
1. No invoice
2. Before repair
3. After Repair
What is No Invoice?
If a product has a warranty or has free service support, then there won't be any need to make payment for the repair work. Hence, the user will not have to generate an invoice for the purpose. Here, we can choose the 'No invoice' method.
The user can now click on START REPAIR to start the repairing work.

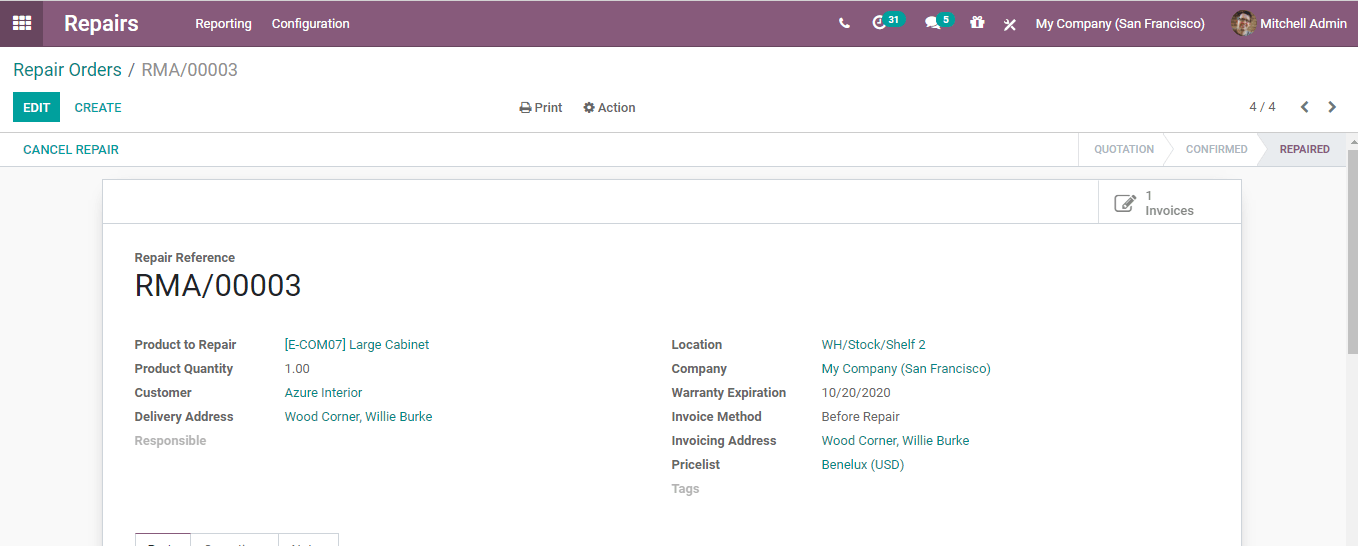
Once the repair is completed and the damage is fixed, click on 'END REPAIR'.
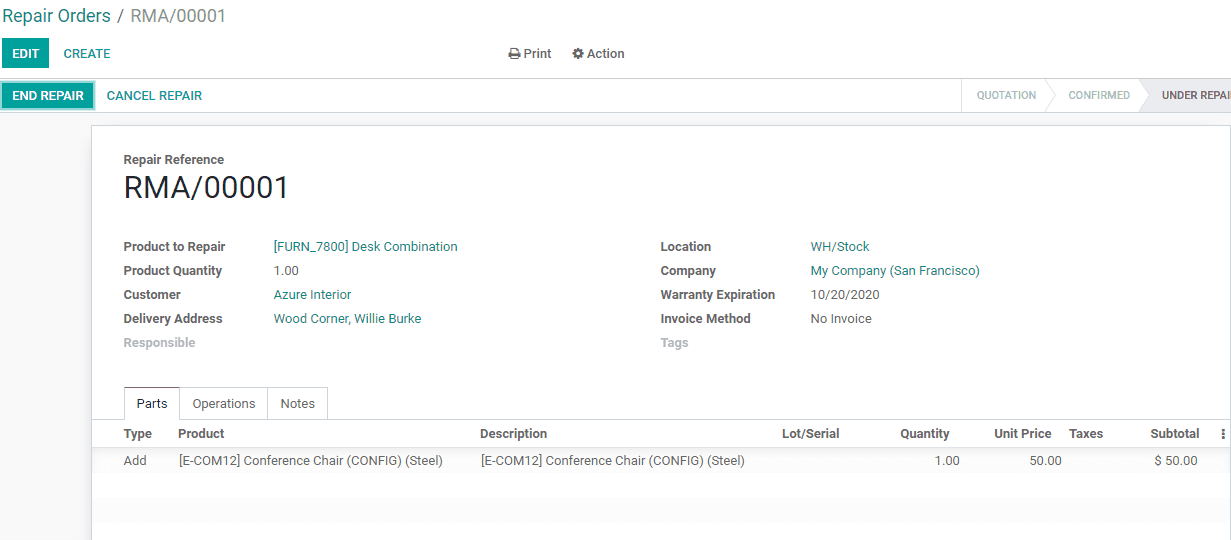
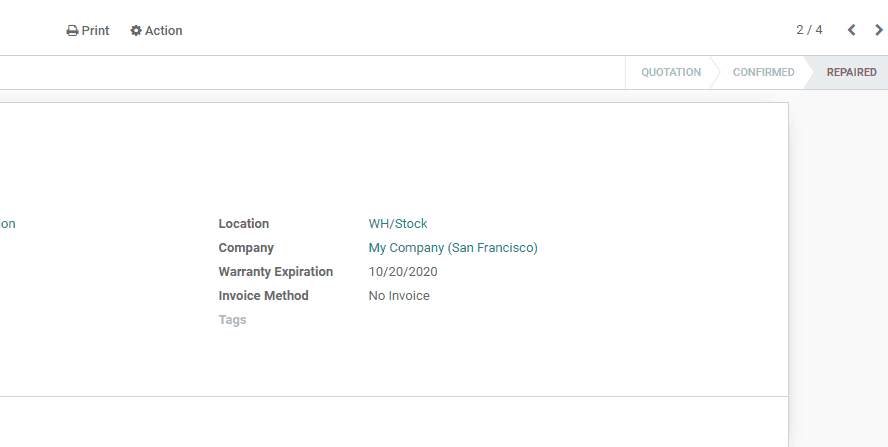
The user can now view that the 'repaired' option is automatically enabled.
As this invoicing method is no invoice you can find that the invoice method here is no invoice.
Before repair
The second type of invoicing method is 'Before repair'. Here, the invoice will be generated before starting the repair.
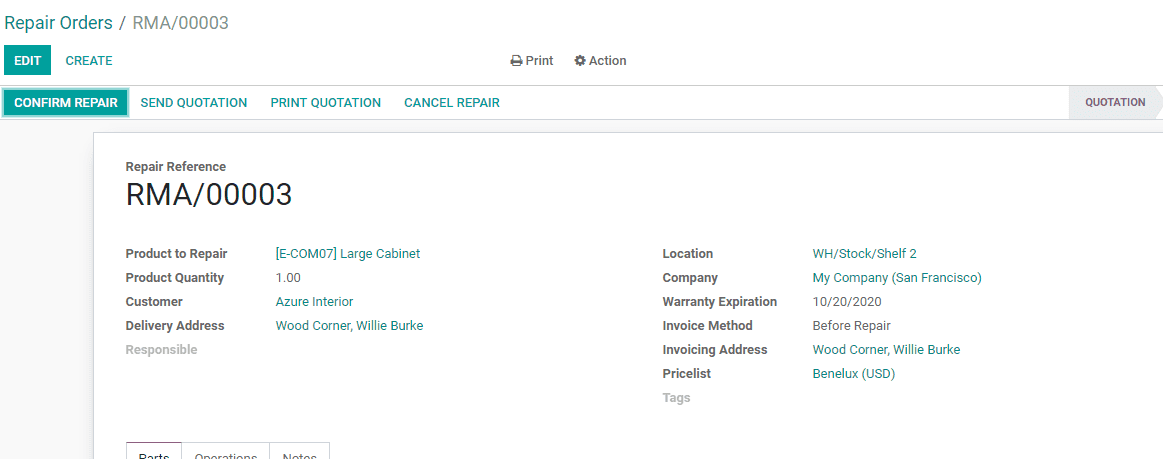
If you are using the invoicing policy 'Before Repair', you can easily create a repair order with the policy. Provide the invoicing addresses of the customer. Then the user can confirm the repair work. Just click the confirm button for that. The next moment you will be allowed to create an invoice. Then the status changes to 'TO BE INVOICED'.
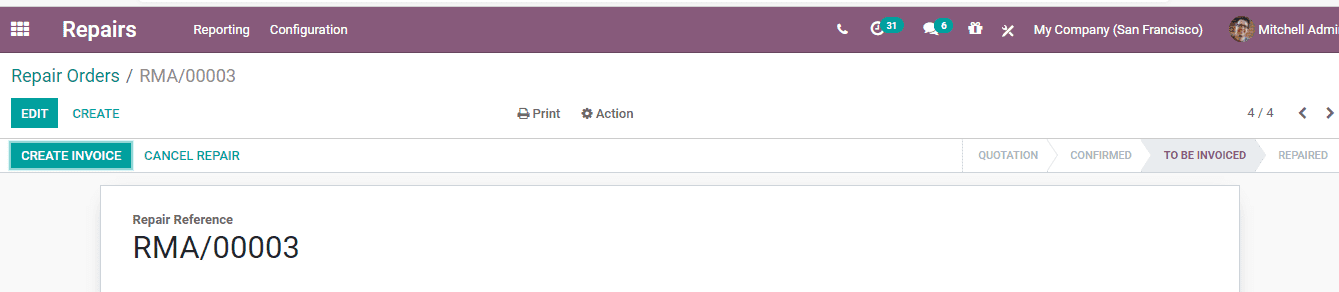
Now you have to create an invoice by clicking on the option. This will help you to create an invoice. Then a new smart tab- Invoice- will appear on the right top corner of the page.
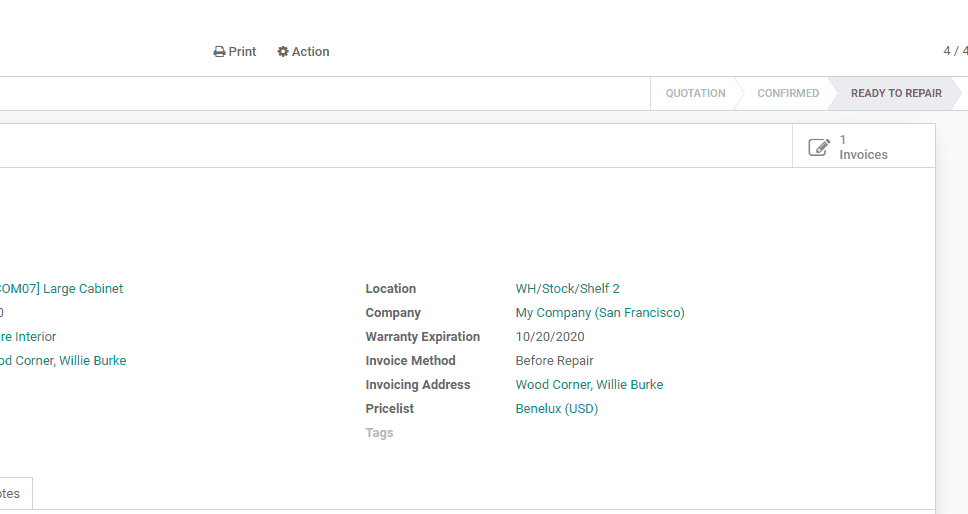
Now check the status. It is 'READY TO REPAIR'. That means while using the Before repair invoice method you can create an invoice before starting the repair process.
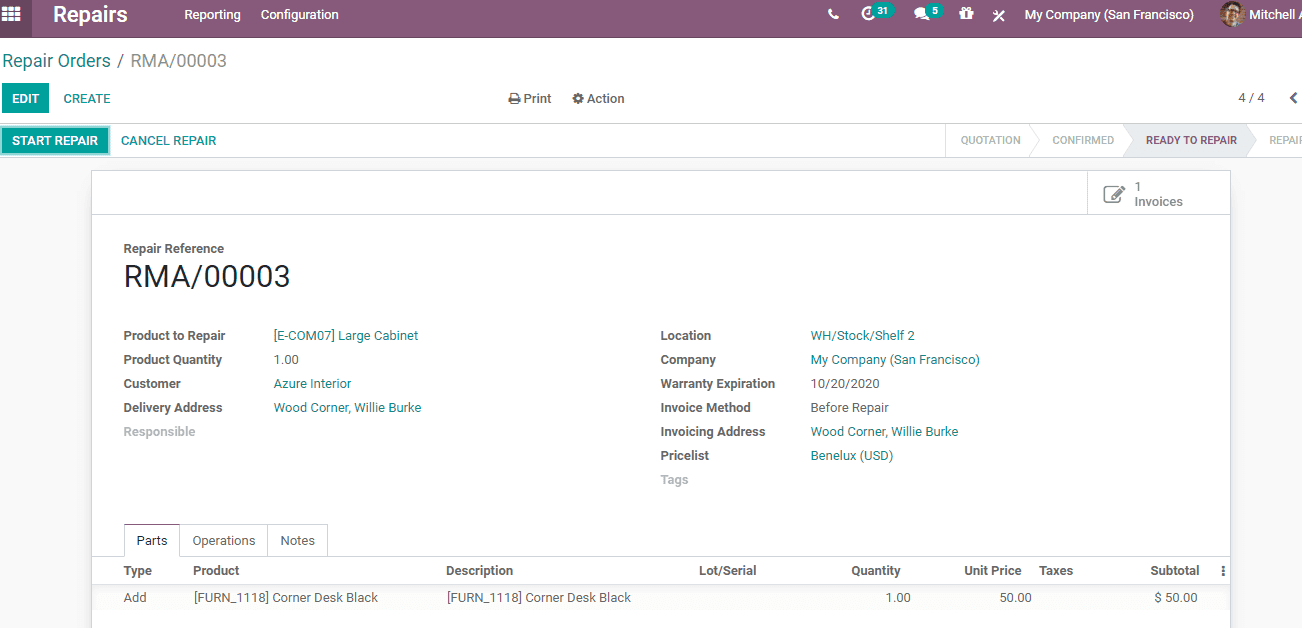
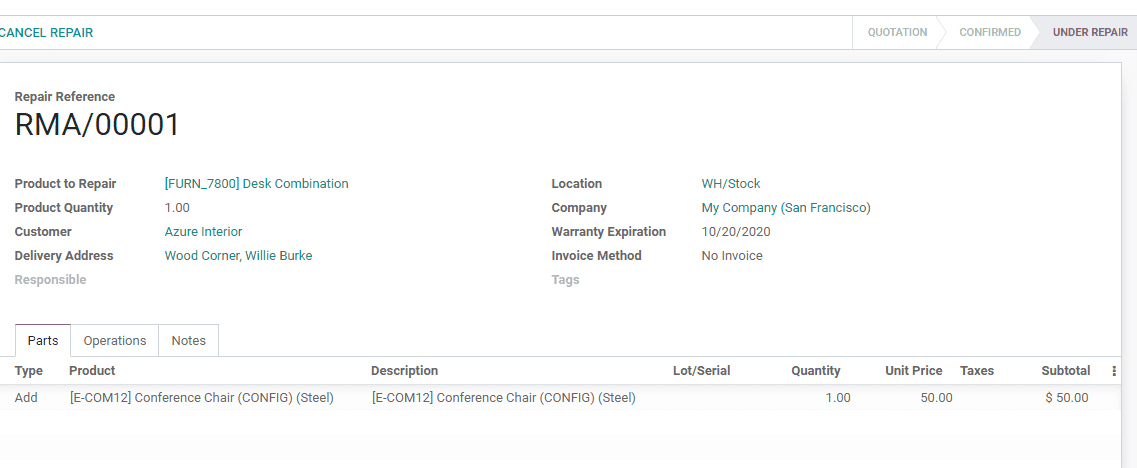
Can you find the option 'START REPAIR'? Just use it to begin work. Once you start the work then the status will appear as 'Under repair'.
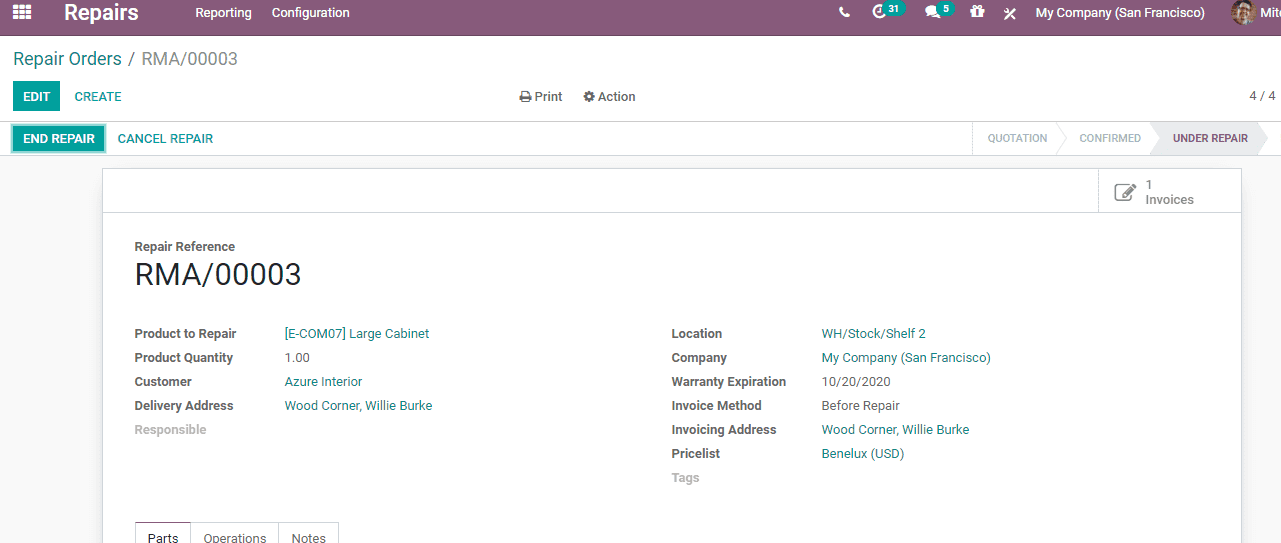
There is another button- 'END REPAIR' button. Once you click this you can view the status as 'repaired'.
After Repair
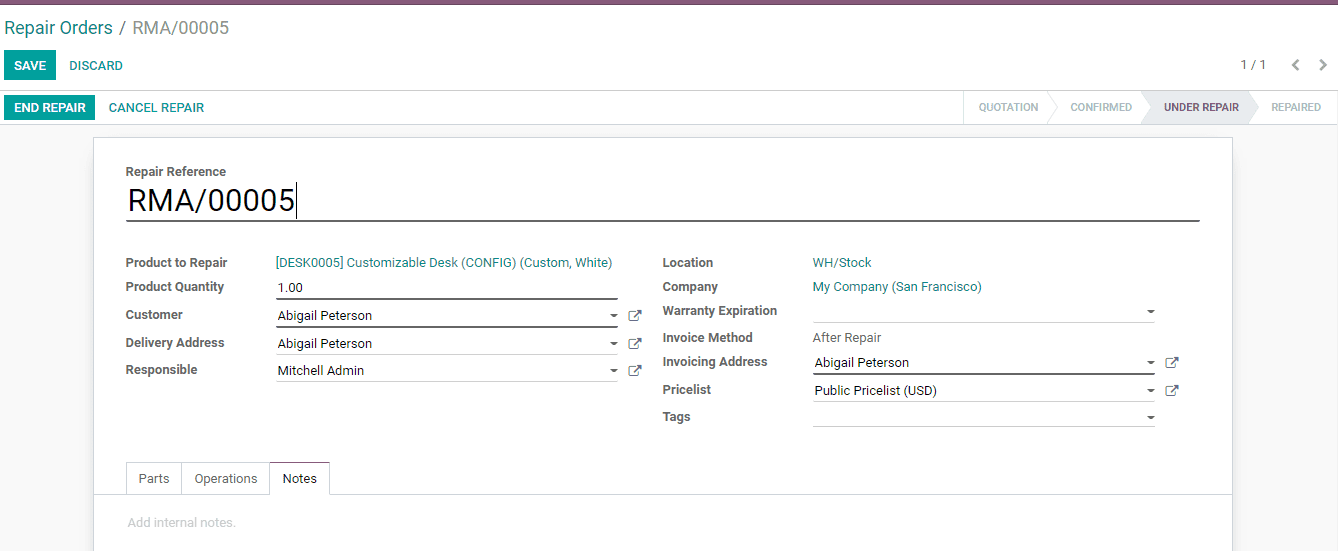
The third invoicing method is 'After repair'. As the name indicates, the invoice can be generated after the completion of the repair work if a user chooses the After Repair invoice method. In this case, the users can generate repair orders with this option. The user can also include the invoicing address and other details here and confirm the repair request. Using this feature you can create an invoice only after completing the work.


Can you find the 'START REPAIR' tab? Click it. Status gets changed to 'under repair'. Click on END REPAIR 'tab once you finish your task
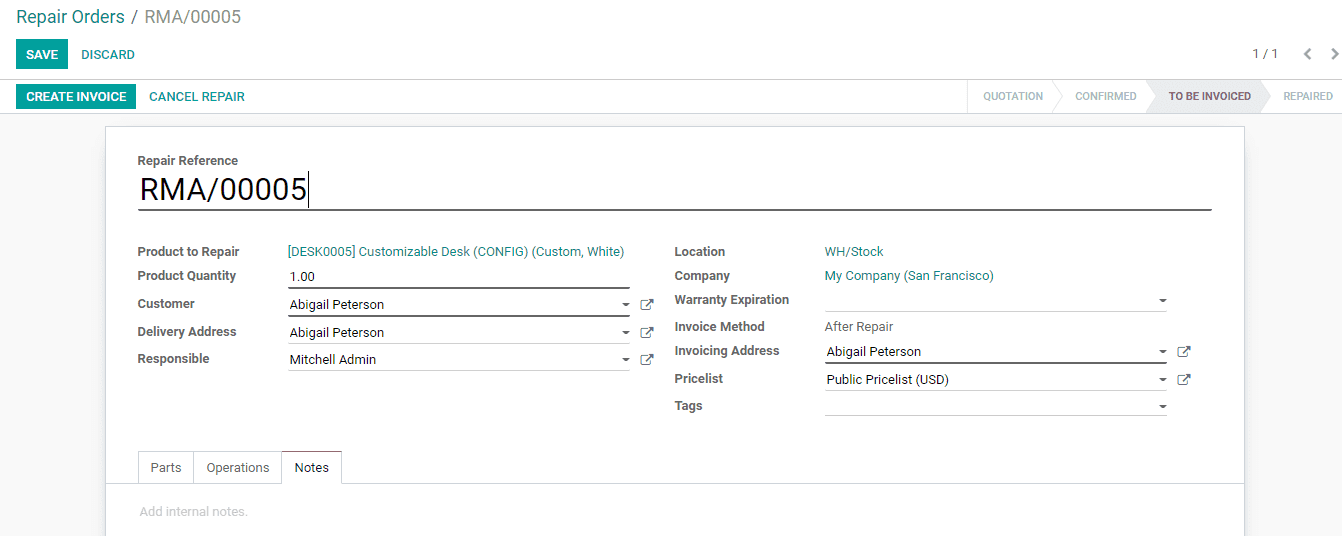
As we have completed the repair, we can now view the status as 'TO BE INVOICED'. That means we can generate invoices only after the process. After end repair, click on 'CREATE INVOICE' to create the invoice.
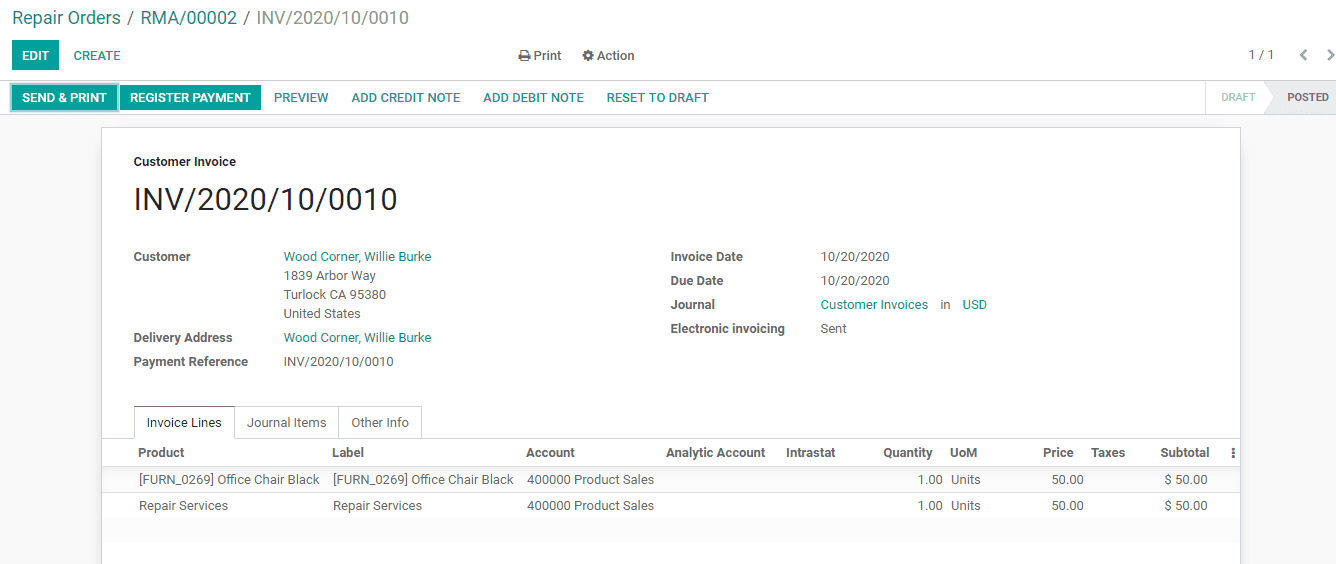
In the next step, the user can click on the create INVOICE. You can view an invoice. On clicking this, a new window will appear. Here, you will find an option to confirm the invoice. Click Confirm.
On clicking confirm, the invoice will be posted. Here, the user can register for payment.
On clicking the register for payment, the user will get a new window where he has to add payment method, amount and other details as given below.
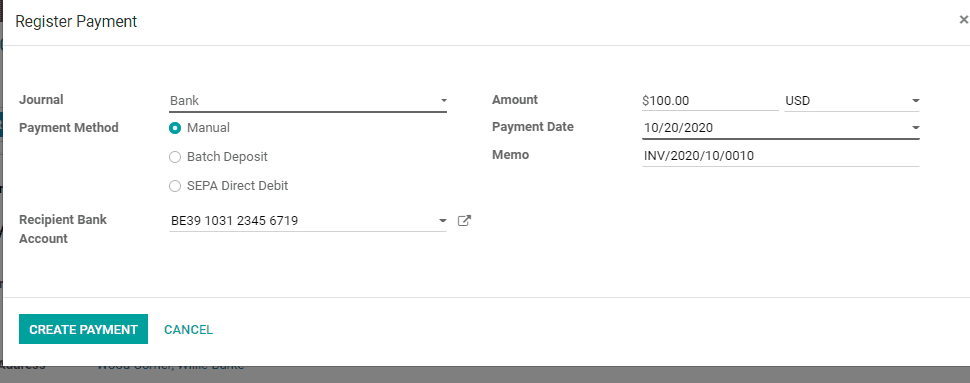
Then click on Create Payment.
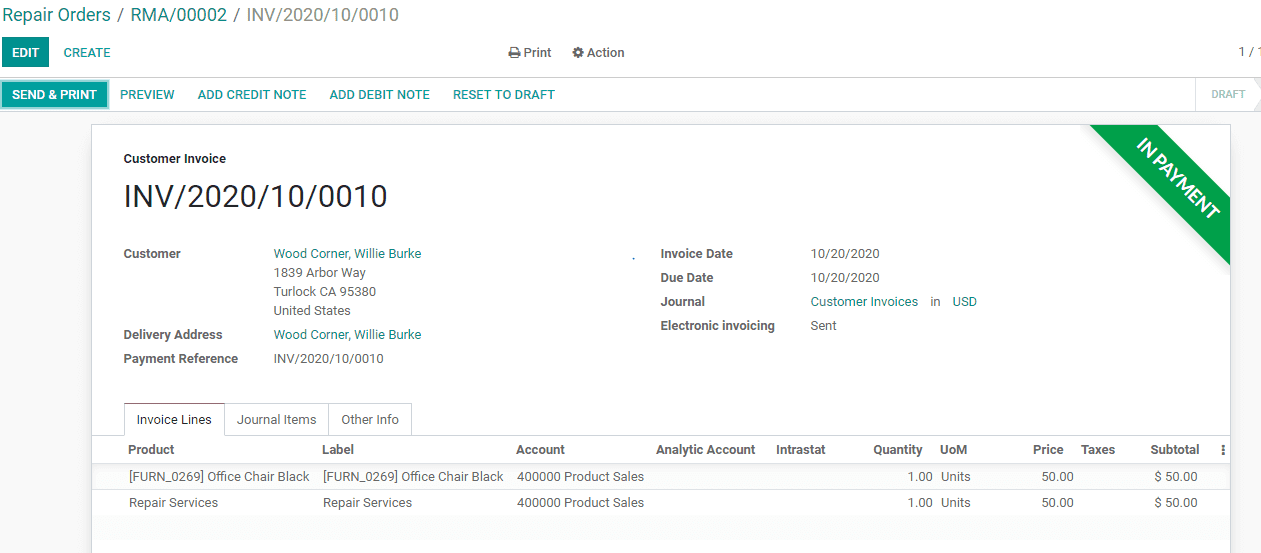
Then the invoice will get a ribbon INPAYMENT as given above.
Here, we can find the 'operations' tab in the repair order form. This can be used to add operations if required.
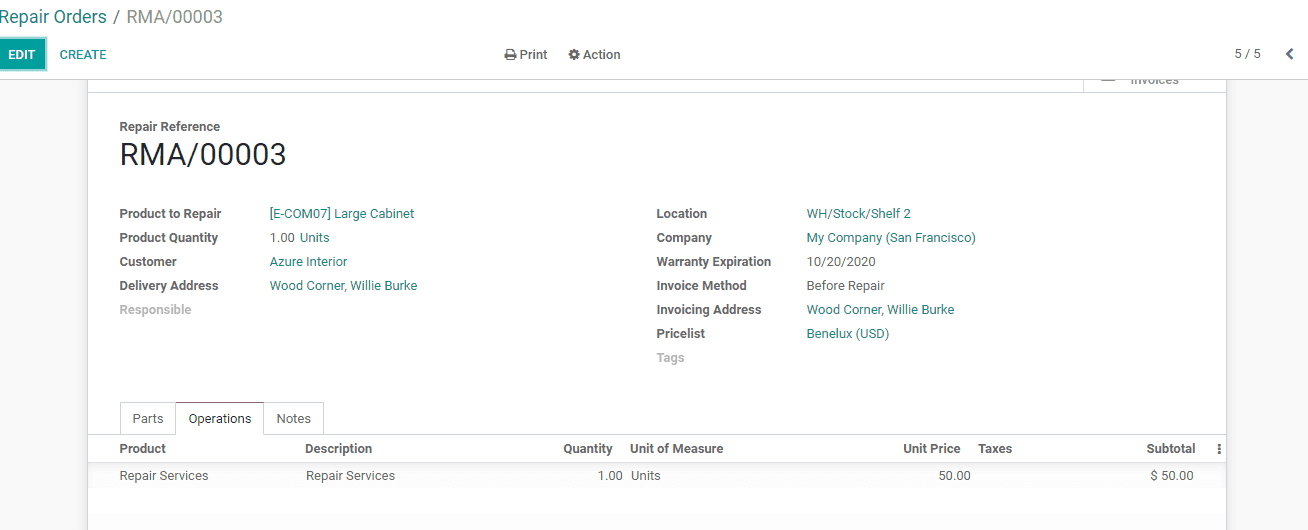
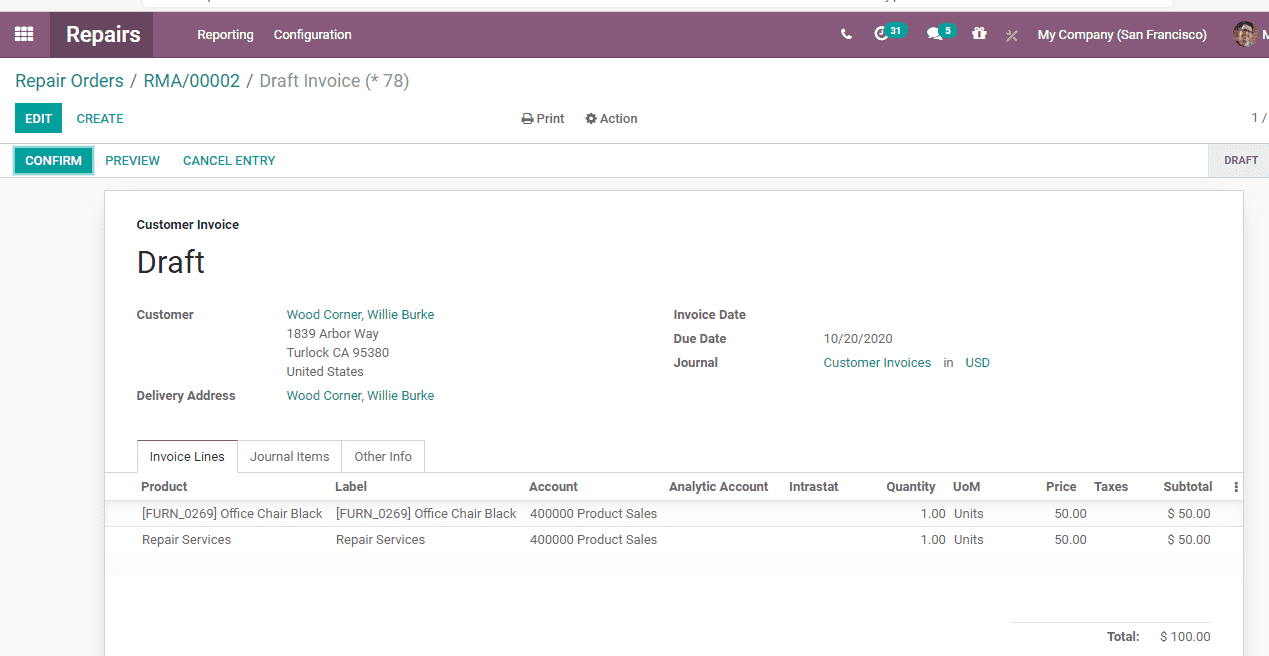
In the above-given case, I have added repair service under the operations tab. This helps the user to add the service charge to be added with the product parts price.
Taking the preview of the invoice the user can find the subtotal of the product part and the repair charges.

This is how the Odoo 14 Repair module helps you to create a repair order and manage them.
You can also refer to our previously published blog to know How to Repair Products in Odoo 14