Most companies work for various clients and complete their projects within the given time. These projects are assigned to specific employees in a firm. In some situations, they need to spend their money on the client project. Also, organizations pay clients' expenses to some extent. A firm must re-invoice the employee expense during the project dealings with customers. For example, a company needs to invoice the client's expense if an employee pays for a parking spot for the client meeting. Odoo provides the re-invoice Policy according to the sales price/cost of the expensive Product.
This blog assists you in understanding the re-invoice Policy with the help of the Odoo 15 Expense module.
Users can develop expenses and reports for employees from the Odoo 15 Expense module. It is easy to analyze the expense reports of each Employee inside the Reporting feature of Odoo 15. Now, let's see the detailed analysis of the re-invoice Policy with the help of Odoo 15.
To Create a New Expense Product
Choose the Expense Products menu from the Configuration tab, and you can see the list of all created Expense Products. The List view of Expense Products consists of information such as Name, Sales price, Unit of measure, Internal reference, and more, as denoted in the screenshot below.
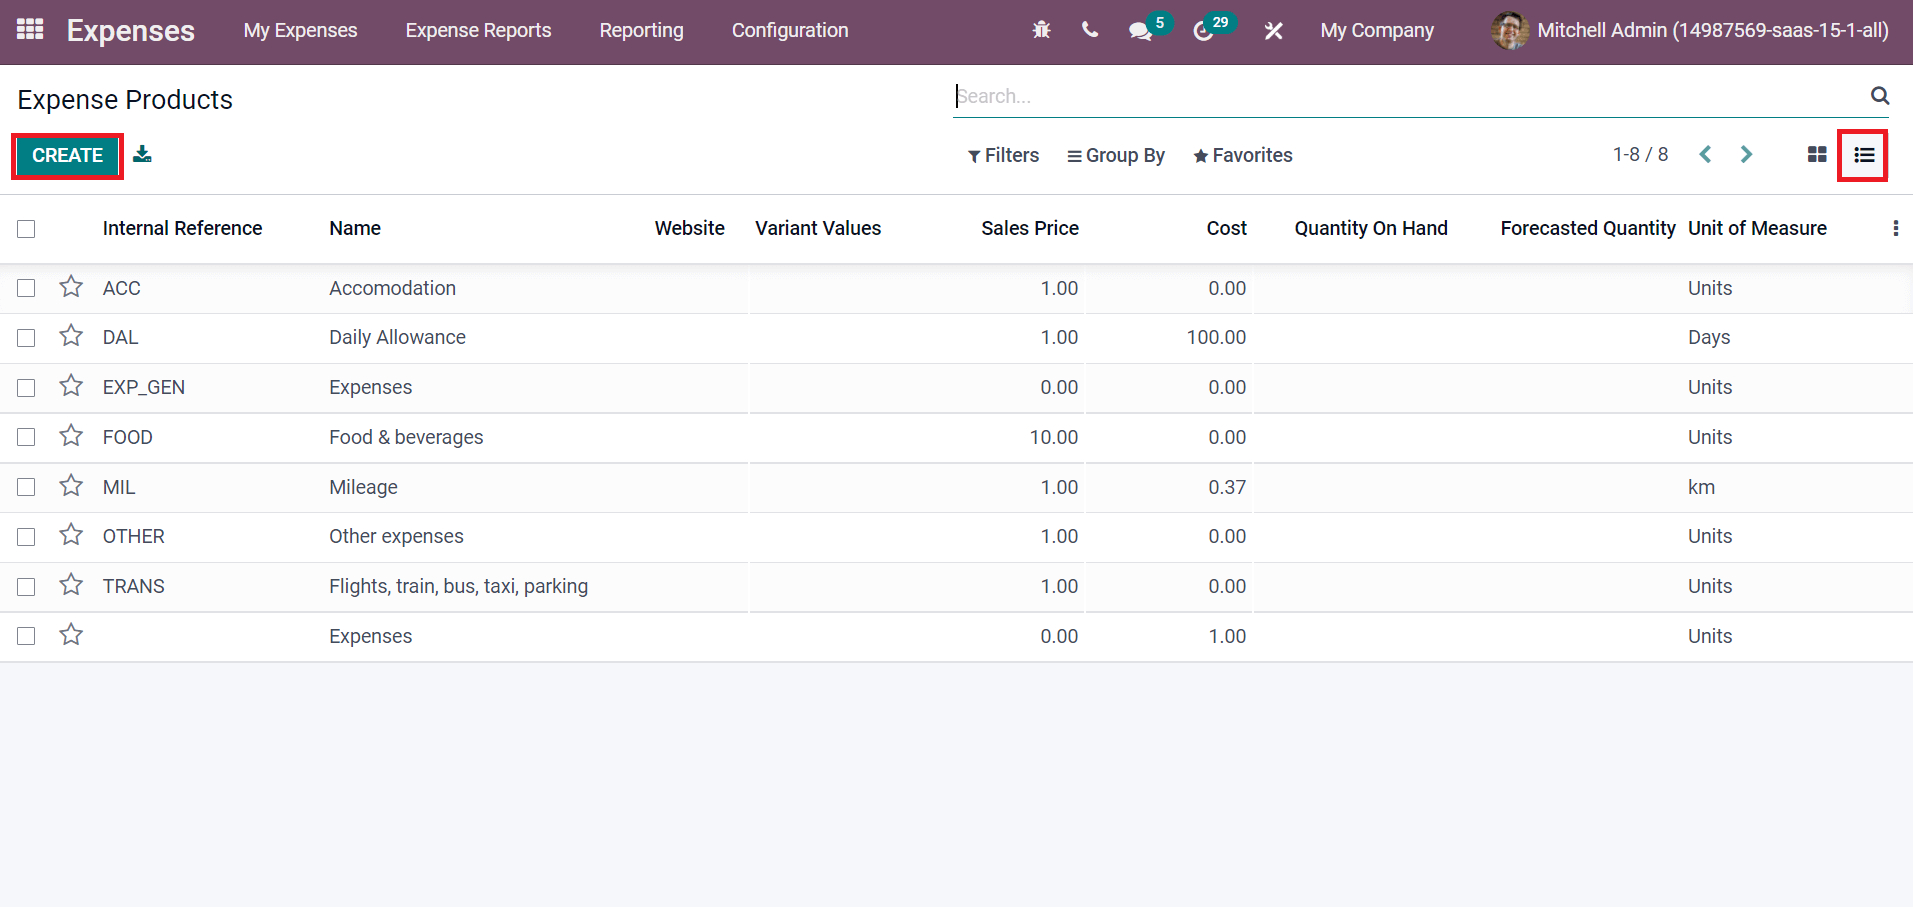
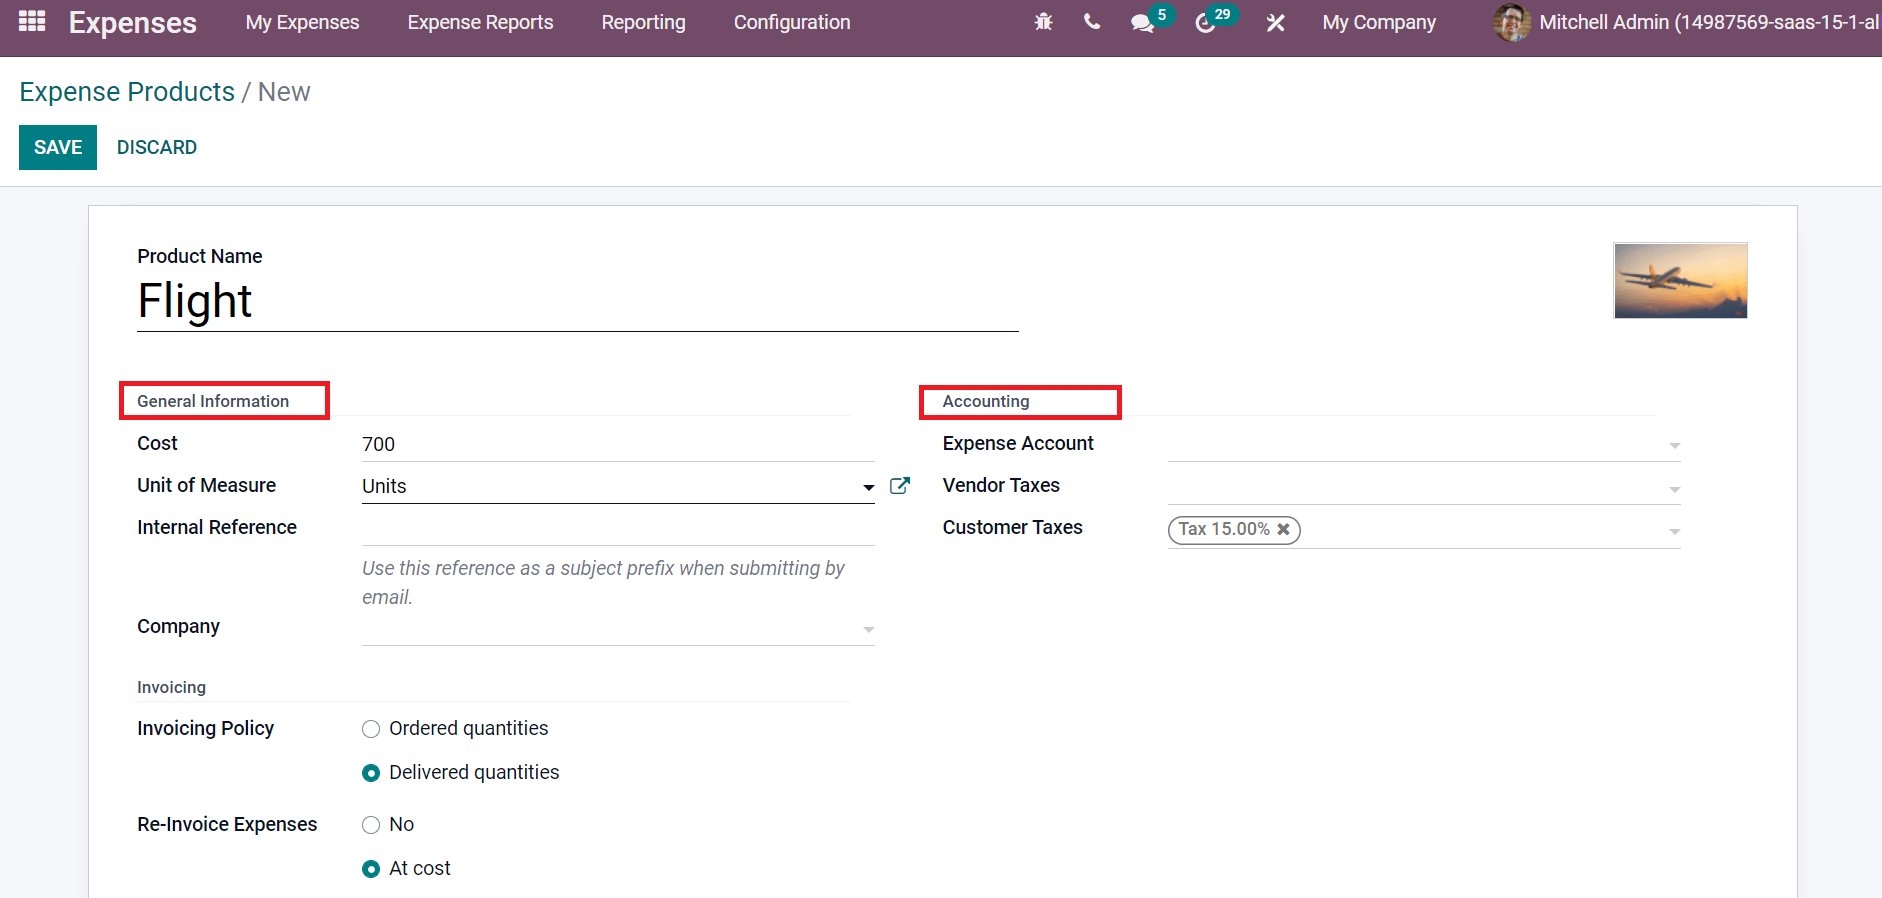
You can generate a new expense product by clicking on the Create icon. In the new window, add the Product Name and apply an image of the Product on the right side. Inside the General Information, spread the Cost of Product and Unit of Measure used for stock operations. Later, add the Internal Reference and Company name. Below the Accounting section, users can choose any Expense Account and default value used for the Product by keeping this field empty. Default taxes used for buying the Product are added in the Vendor Taxes field. Enter the default taxes selling for products inside the Customer Taxes field, as depicted in the screenshot below.
Inside the Invoicing Policy, you can view the Invoicing Policy and Re-invoice Expenses. Invoicing Policy is classified into Ordered quantities and Delivered quantities. The invoice quantities ordered by the Customer are amounts ordered and delivered to the Customer in Delivered quantities. The vendor bills and expenses are re-invoiced to customers through Re-invoice Expenses. It is arranged into three types: cost, No, and Sales price. We can keep Re-invoice expenses as Sales prices when you need to re-invoice expenses with different prices, as portrayed in the screenshot below.
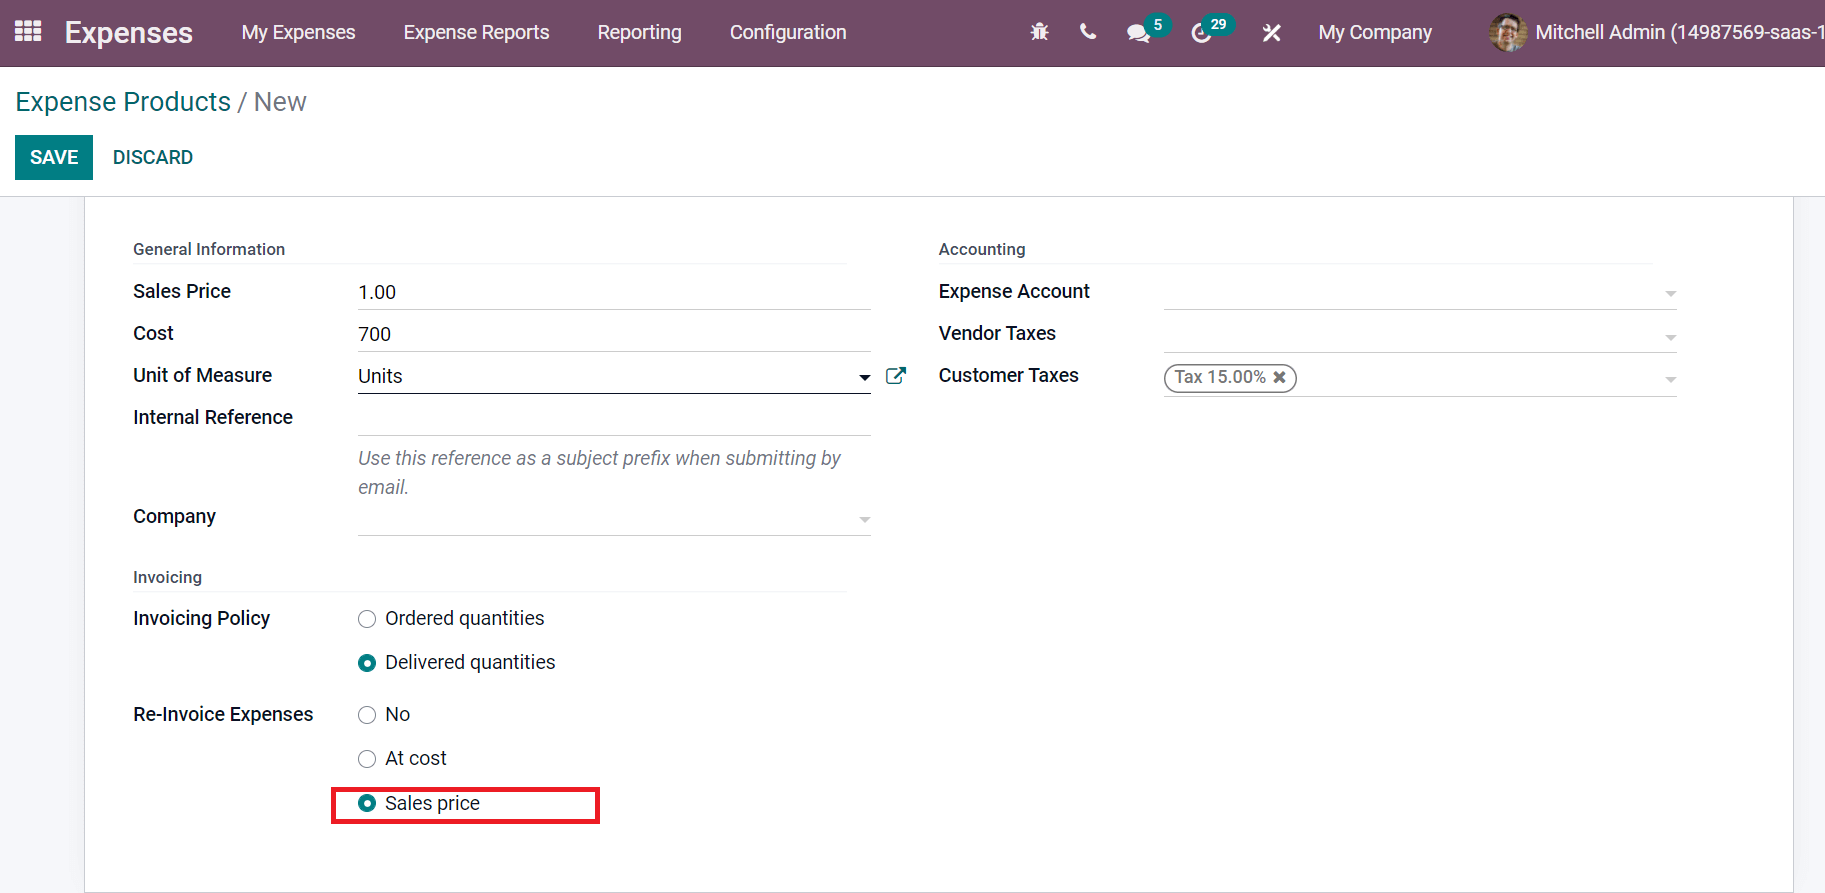
Click on the Save icon after adding the Expense Product Flight details here.
How does the Re-invoice Policy work in Odoo 15?
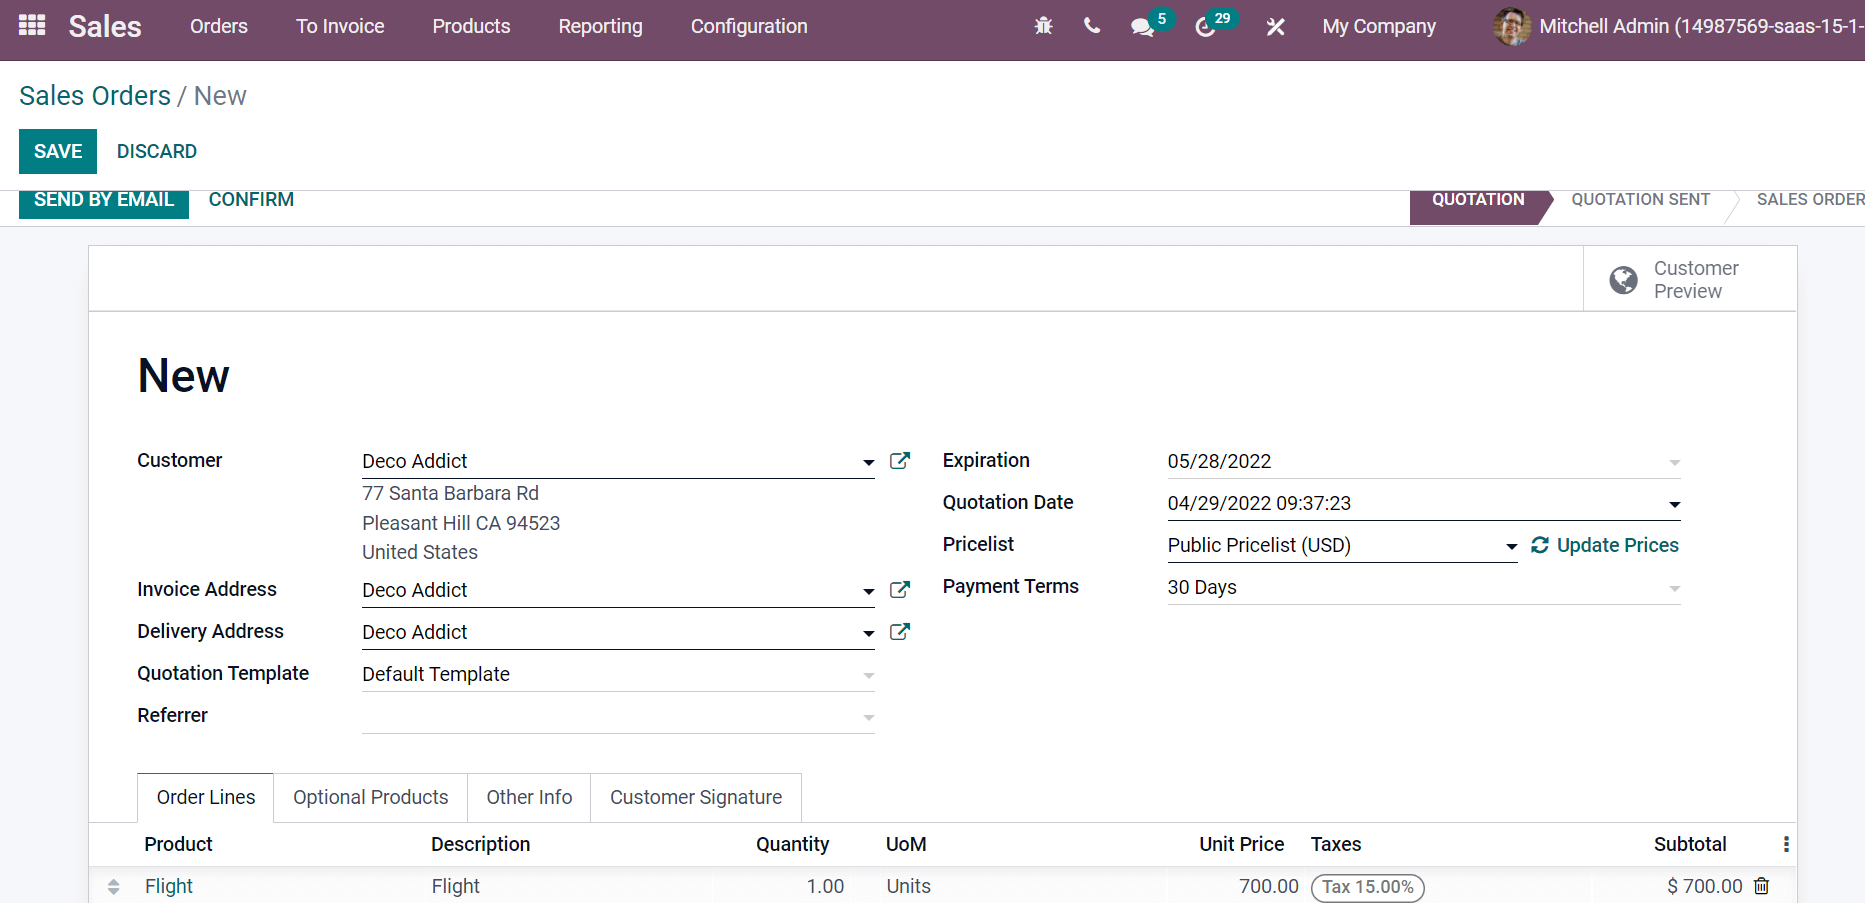
Users need to create a sales order for the Expense Product 'Flight' from the Odoo 15 Sales module. Select the Orders menu from the Orders tab of Odoo 15 Sales dashboard and click on Create button. Choose the Customer and enter product 'Flight' inside the Order Lines tab in the new window. The Unit Price and Quantity are automatically visible here, as shown in the screenshot below.
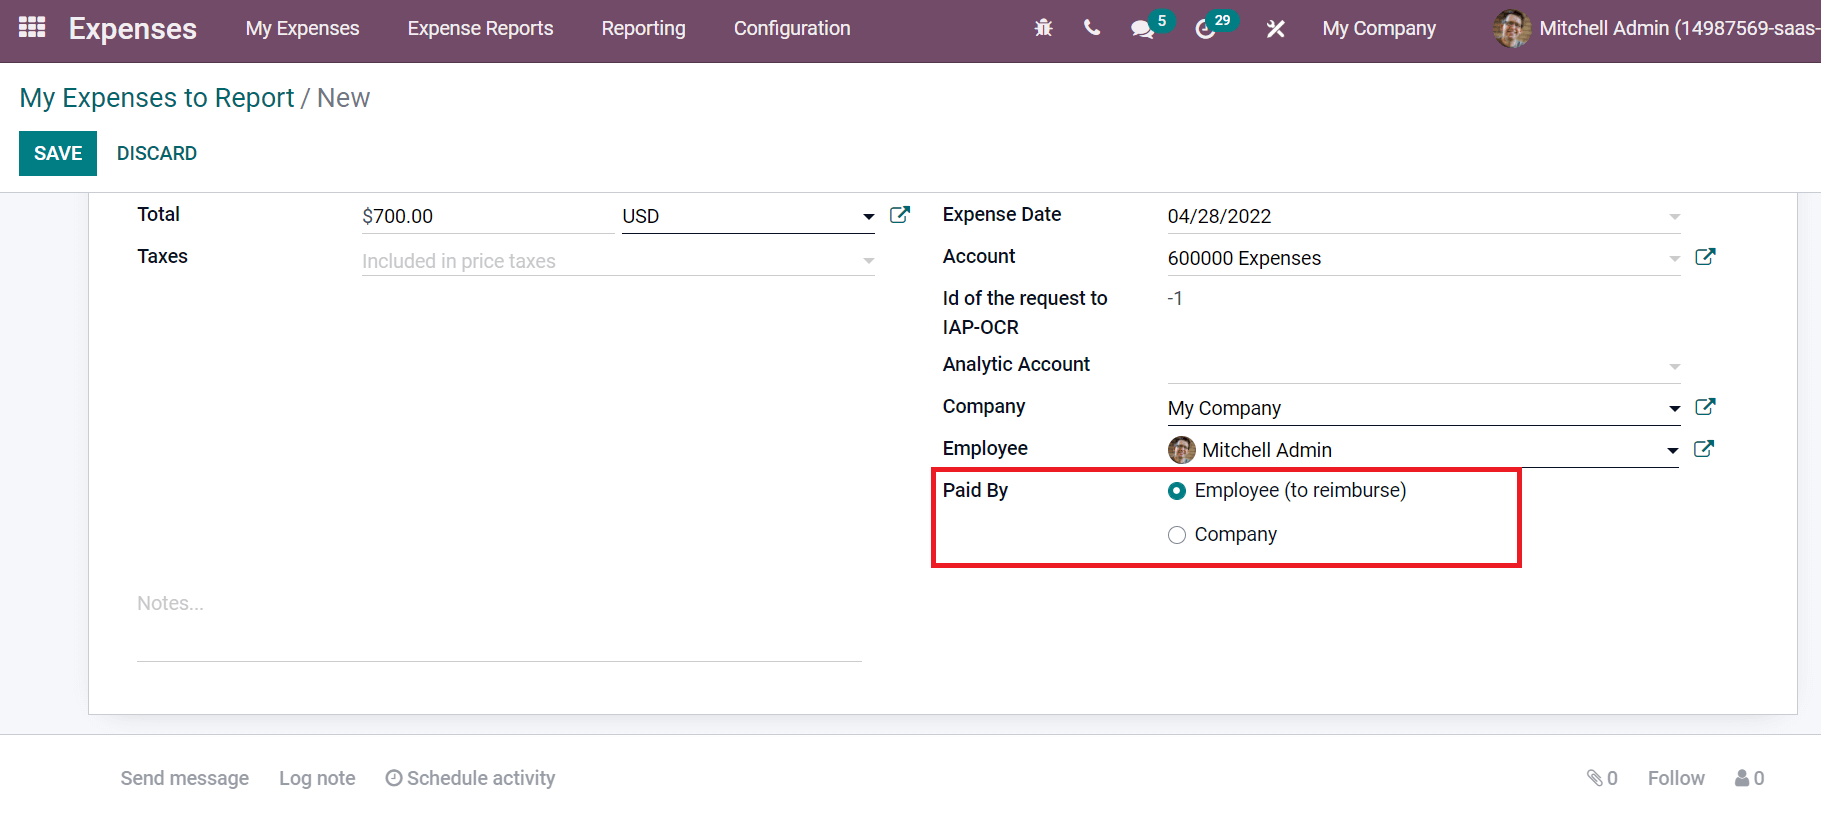
Confirm your Sales order for Expense Product 'Flight'. Now, let's go back to the Odoo 15 Expenses module and develop a new Expense for Flight. Choose the My Expenses to report menu inside the My Expenses tab and select the Create button. In the new window, add the description as 'Travel Expense' and choose the Product as 'Flight'. The Expense date, Company, Account, employee details and more are available. Later, you can select the Analytic account and Customer to re-invoice for the Product. We can configure the expenses in two ways visible in the Paid By field. The reimburse expense by Employee enables using the Employee (to reimburse) option in Paid By. All company expenses are recorded by selecting the Company option in the Paid By section, as portrayed below.
We can add receipts for expense reports of products using the smart tab Receipts. In the Attachments window, add Name, and Type as File/URL. By choosing the File option, a new Field Content is visible to you for Uploading your file, as denoted in the screenshot below.
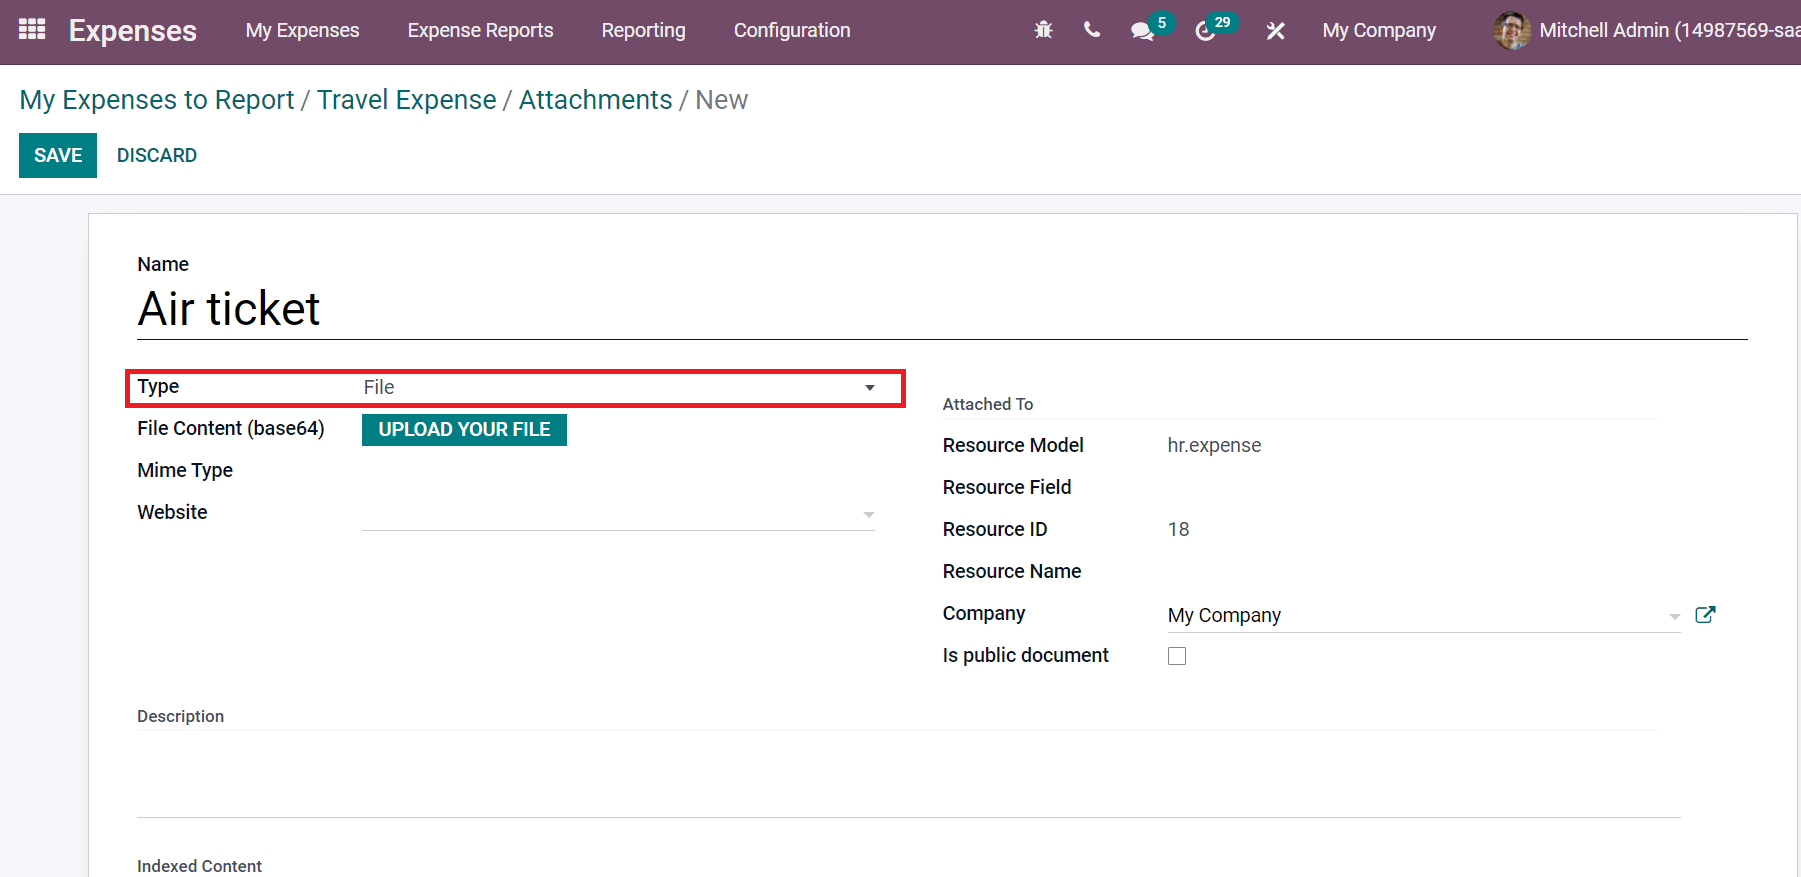
After selecting the URL as Type, you can add a link for attachment in the Url field. Inside the Attached To section, we can access information about Resource Model, ID, Company and field. It is possible to add a description regarding the attachment inside the Description field. Select the Save icon after adding the file content for your Product. We can view one Receipt in the Travel Expense window, as illustrated in the screenshot below.
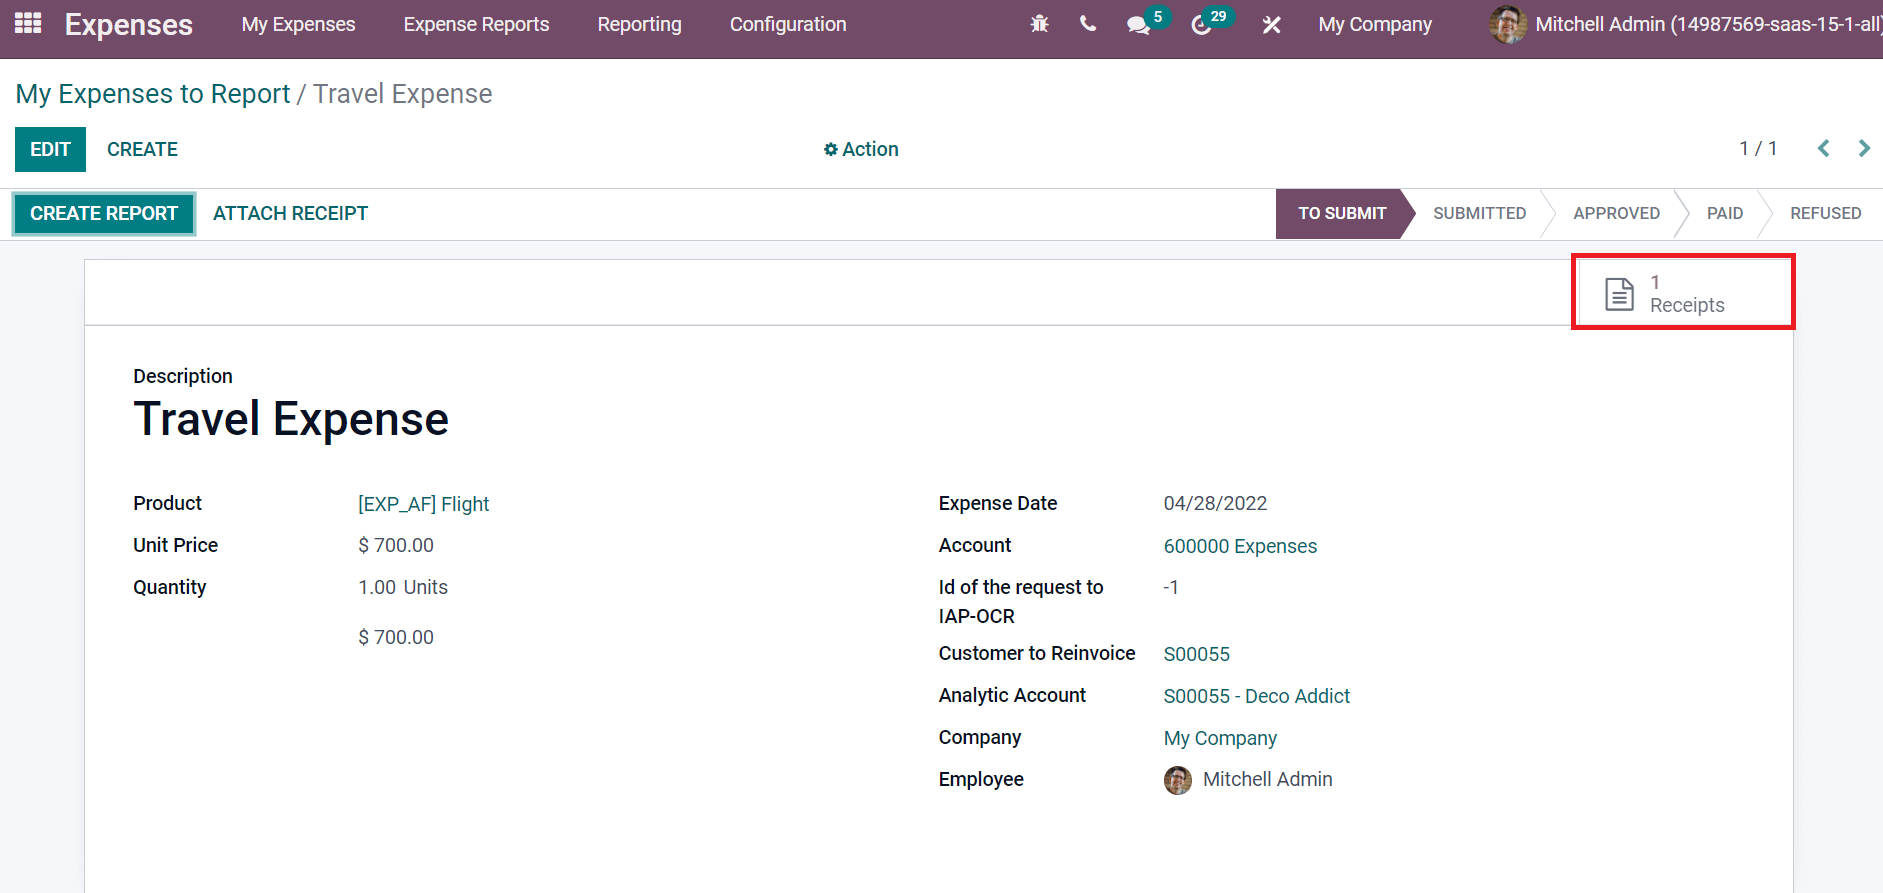
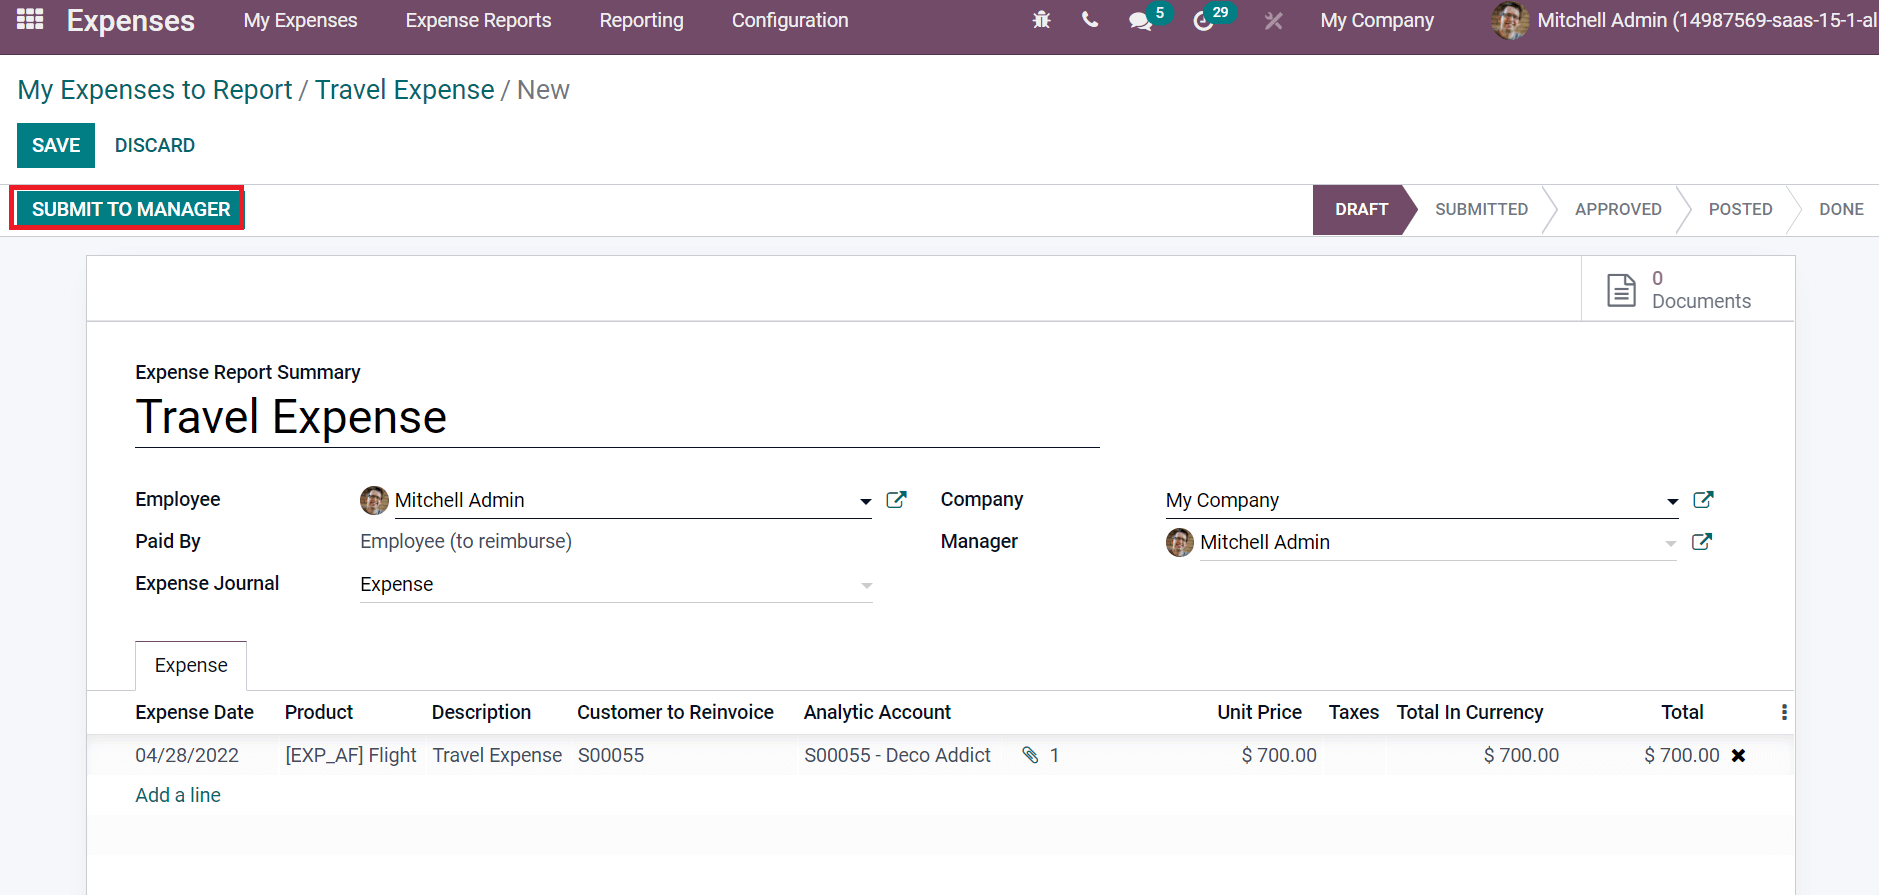
Now, let's submit it to the manager for approval in the Reports section of the Expense module. Select the All Reports menu in the Expense Reports tab, and all expense reports are visible here. Another method is to select the Create Report button in the Travel Expense window to assist in submitting your report. Click on Submit to Manager for approval in the new window as depicted in the screenshot below.
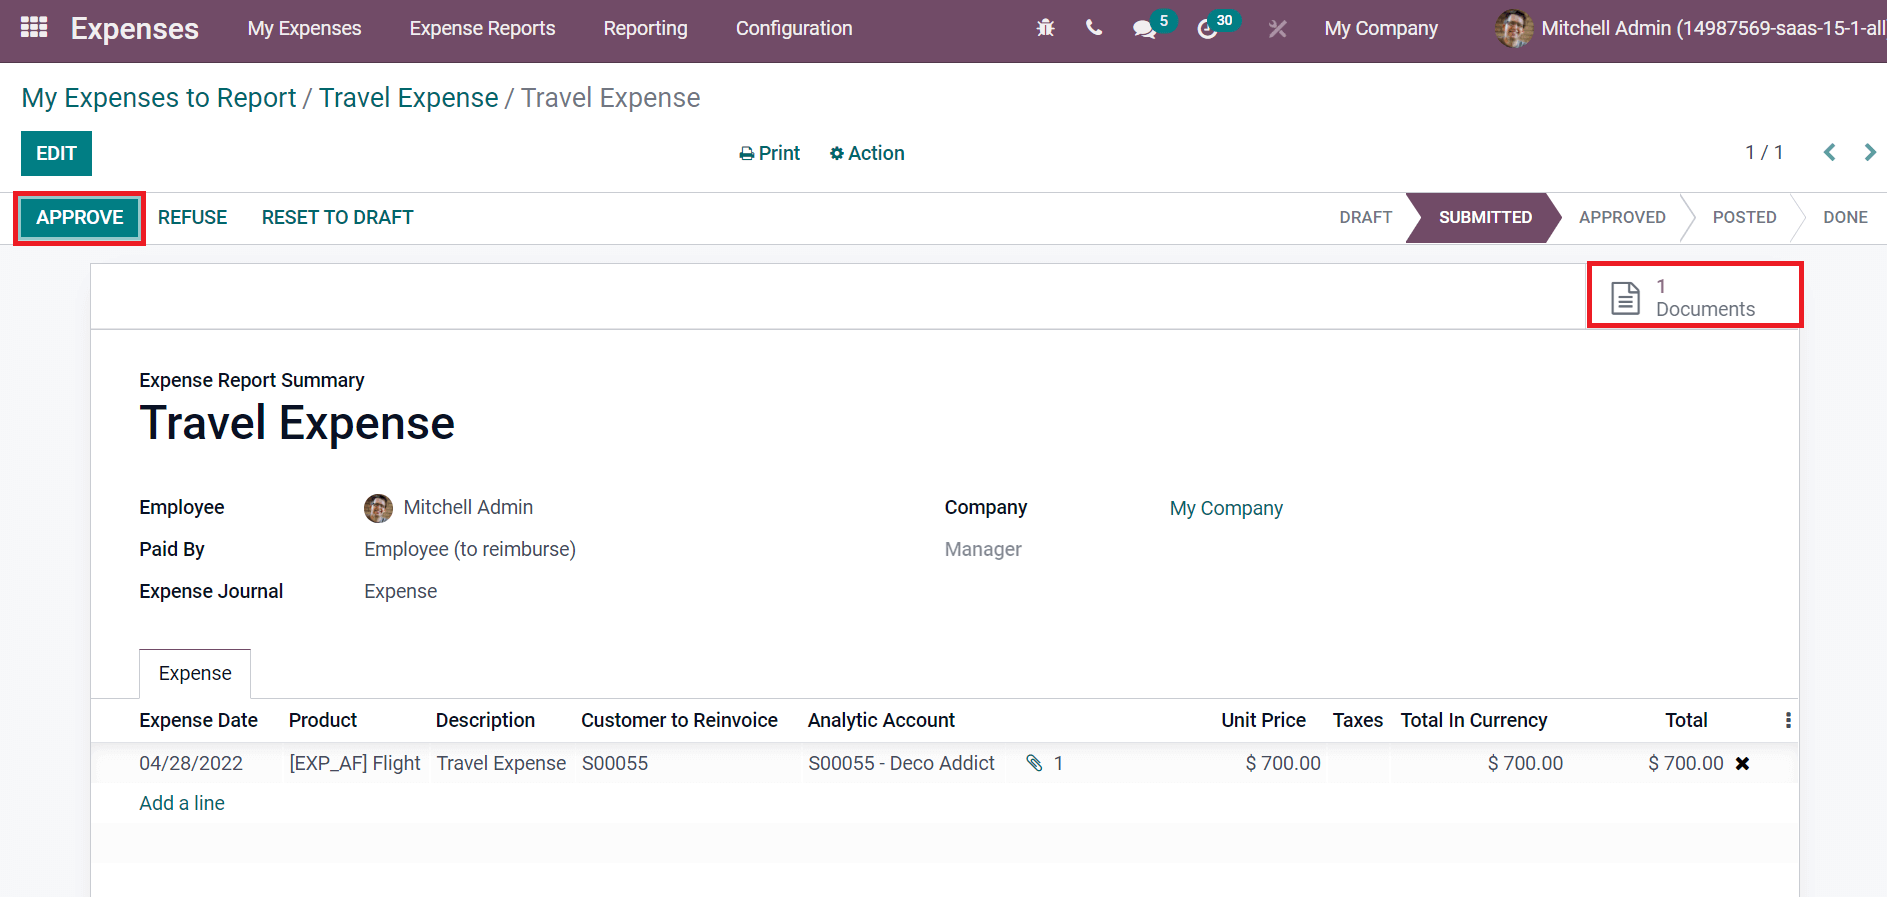
The manager has the right to approve or refuse the expense report by the Employee. After submitting the report, the user can view one attached file in the sub-document menu, and the manager can sanction the report by selecting the Approve icon as displayed in the screenshot below.
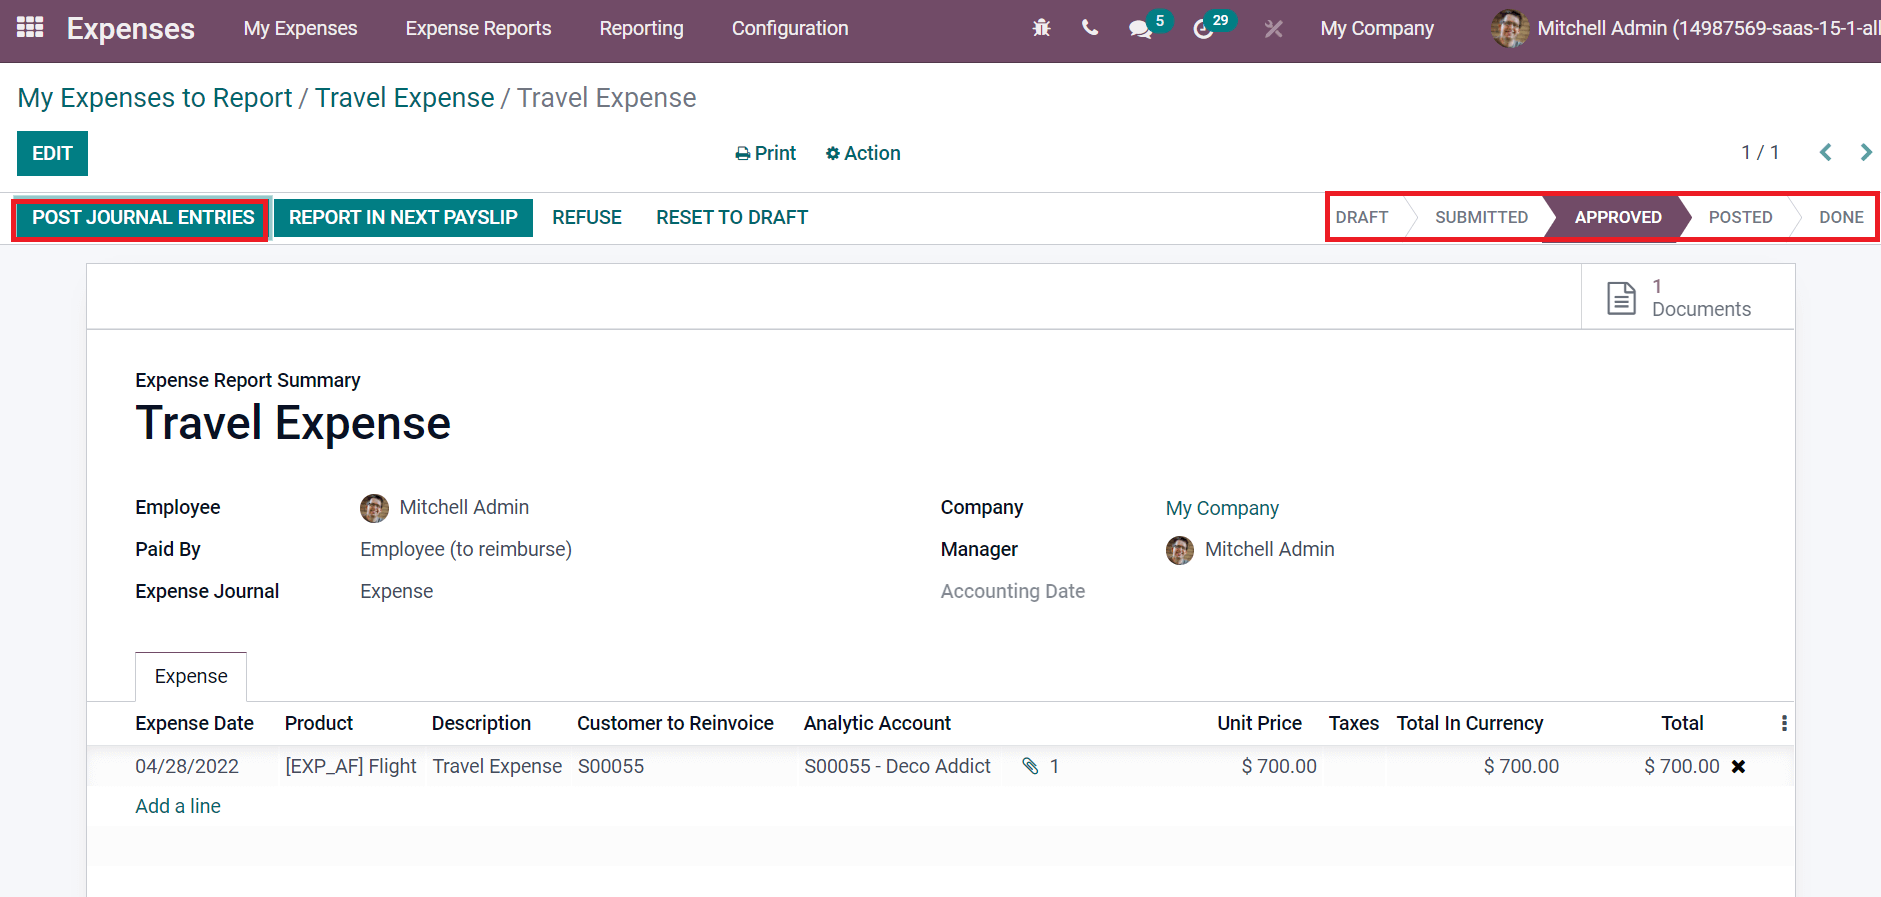
After approving the report by the manager, the stage changed from Submitted to Approval. We can post the journal entries by selecting the Post Journal Entries icon in the window, as depicted in the screenshot below.
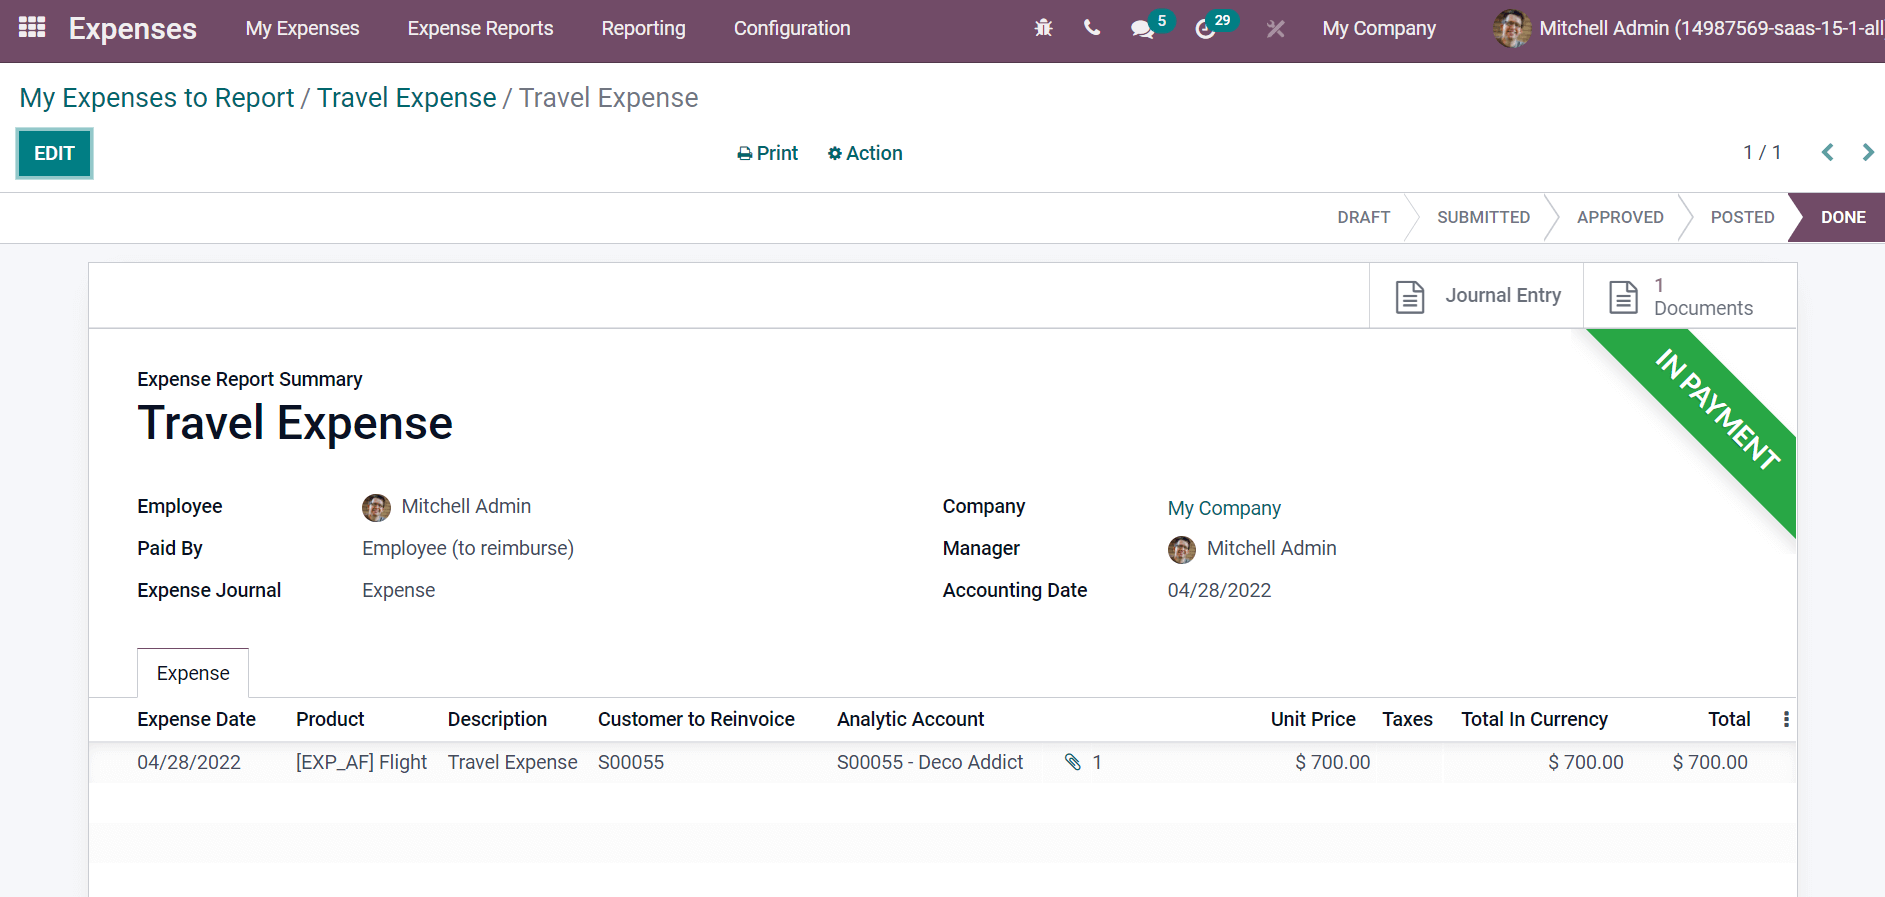
Users can register the payment after posting the journal entries by clicking on the Register Payment icon. By clicking on Register Payment, a new window appears before you. Here, click on Create Payment, and you can see the expense amount is paid, as portrayed in the screenshot below.
Now, let's go back to the Odoo 15 Sales module and choose your created Sales Order. One expense is created in the Expenses smart menu, and the Travel Expense of product Flight is viewable here, as denoted in the screenshot below.
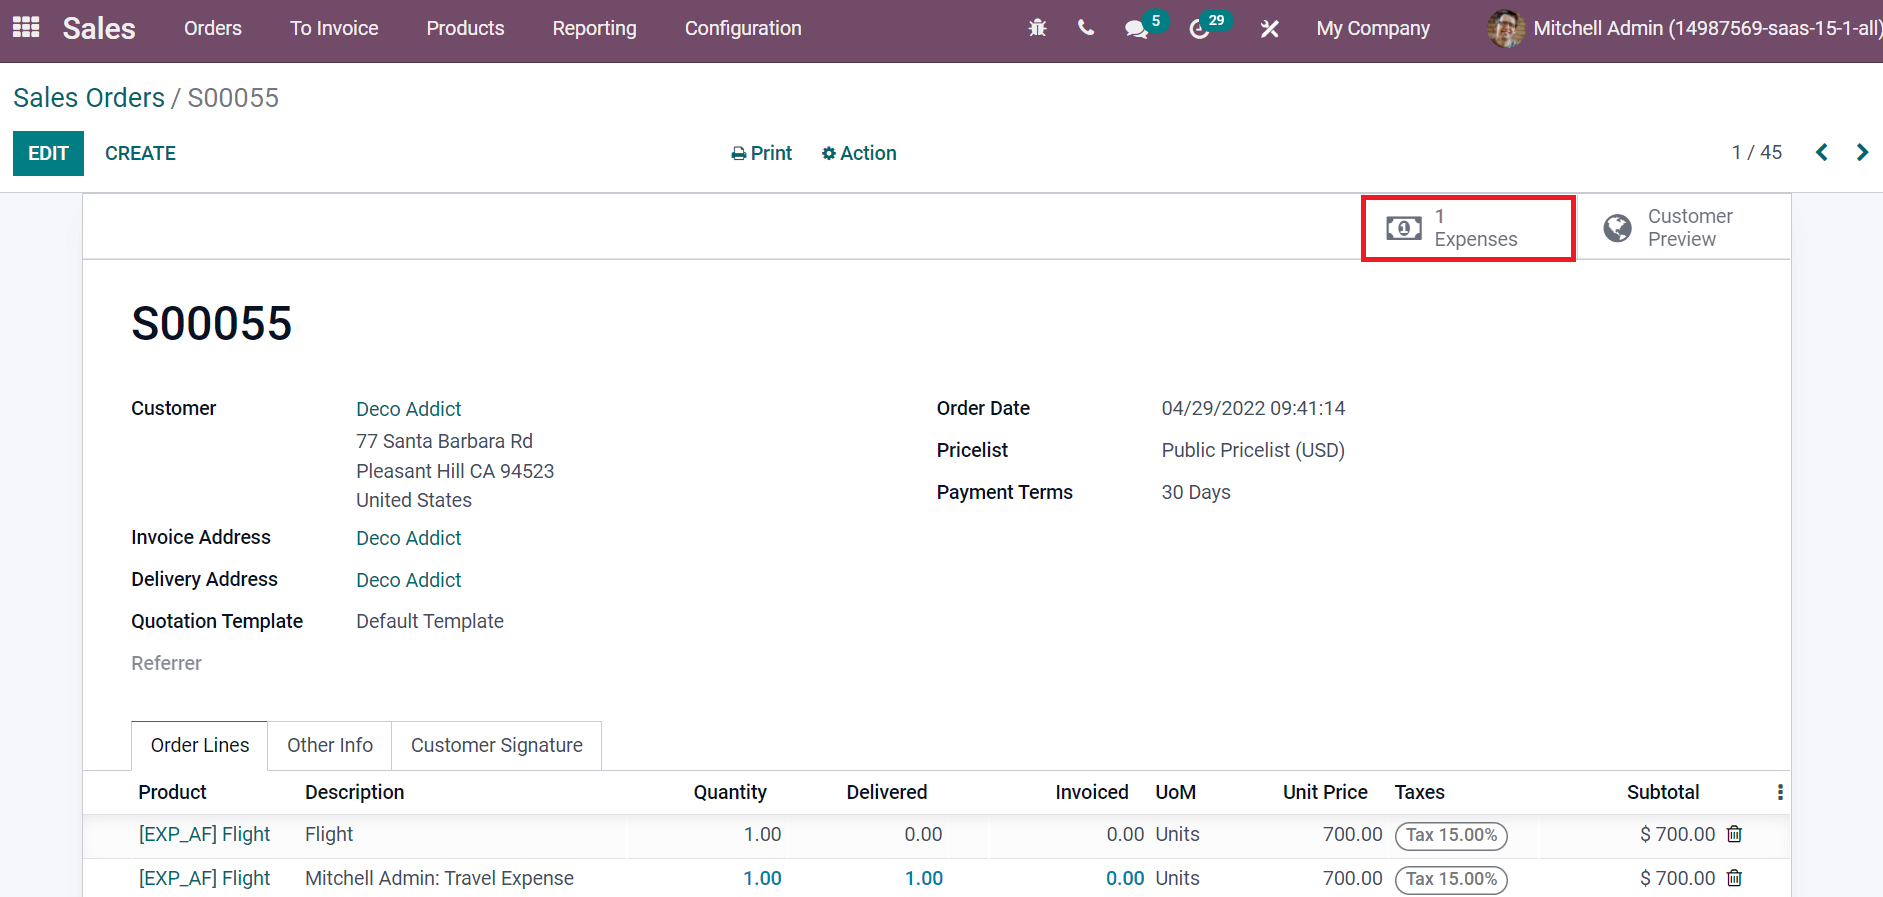
One can generate an invoice for a Sales order by selecting the Create Invoice icon in the Sales Orders window.
Users can develop a re-invoice policy with the assistance of the Odoo 15 Expenses module. Odoo ERP is an effective solution to generate invoice policy as per sales cost or price for employees in a firm.