Customer Lead Time is the time that will be required to deliver a product to your customer once the customer places an order for the product. Here, in the Sales process, the order means the sale order. That means the customer lead time is the time between the sale order confirmation date and the product delivery date.
We can manage customer lead time with the support of our Sales Module. Let us enter the Sales module.
We have to create a new product for managing the customer lead time. We can make use of the Sales module for this purpose.
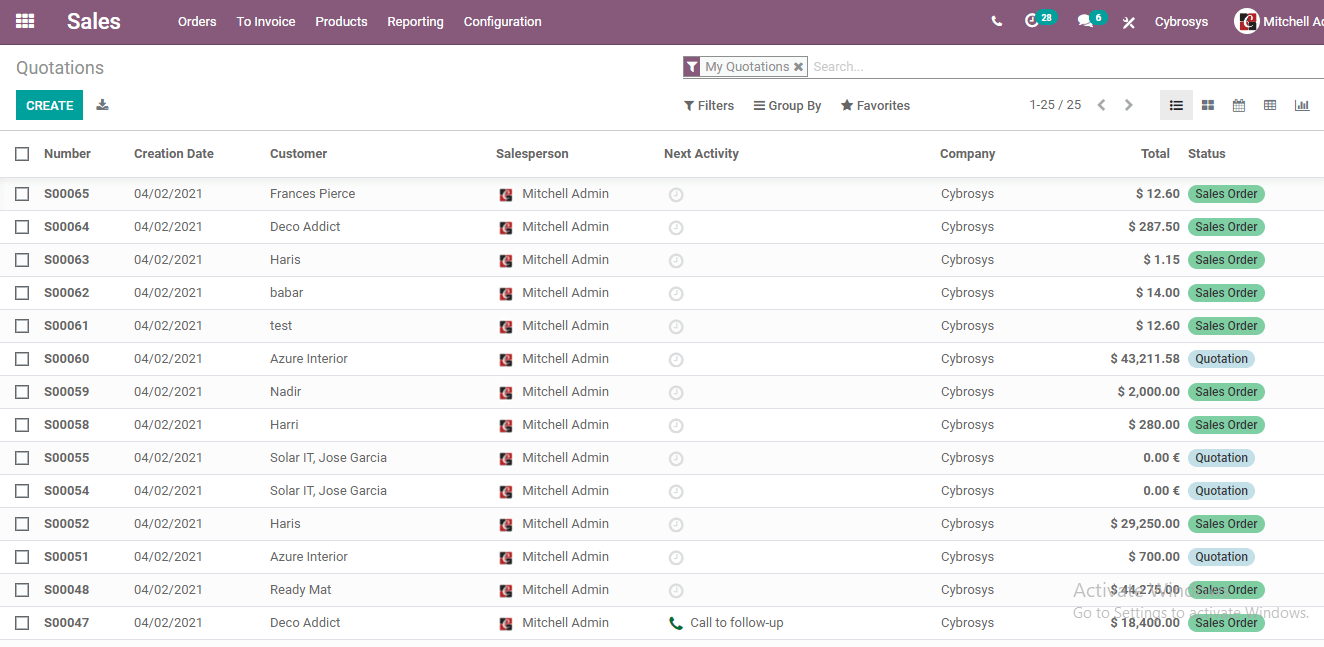
Go to the Products tab and choose the product option for managing this. Below given is the screen that we get on choosing the option.
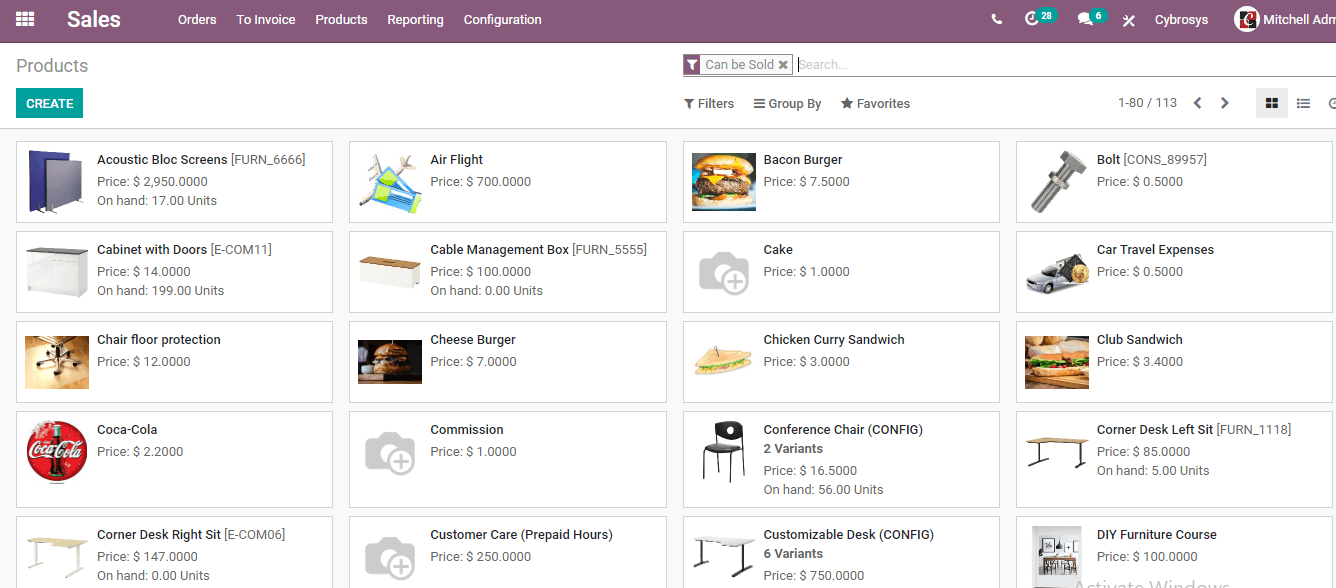
For creating a new product we can depend on the Create button. You can use create a button for managing the operations.
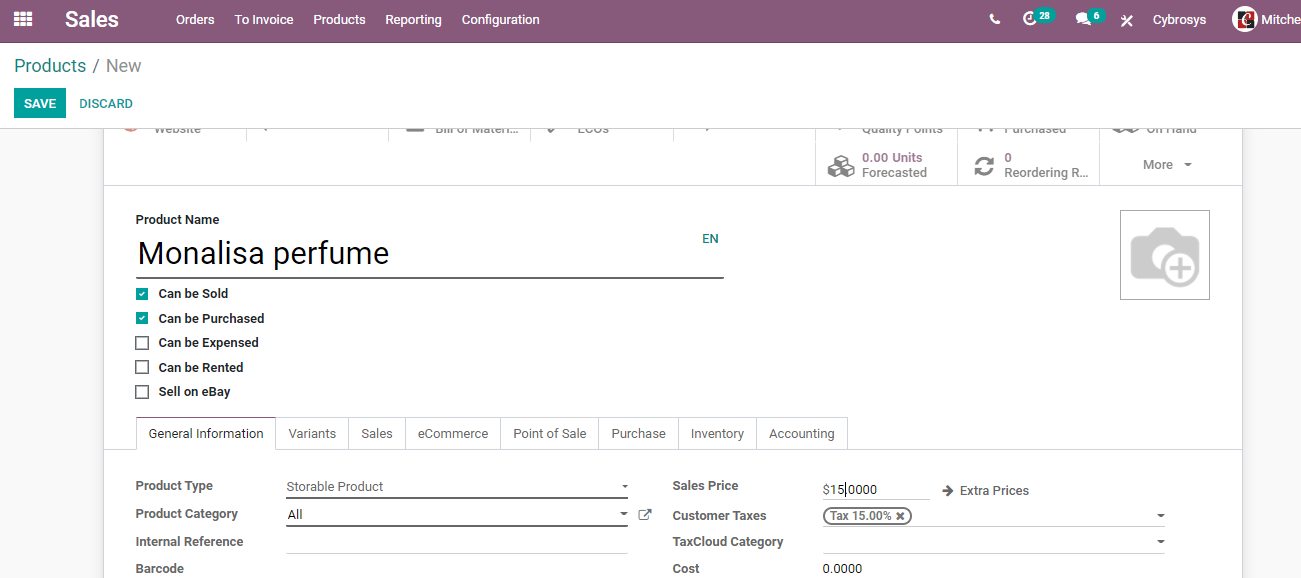
With the help of the above-given window, we can create a product. We have created a product named Monalisa Perfume. Now we will set some basic information for Monalisa perfume. The product type has been marked as storable and we have also set the sales price.
After completing these processes under the general information tab in the product creation form we have to go to the inventory tab.
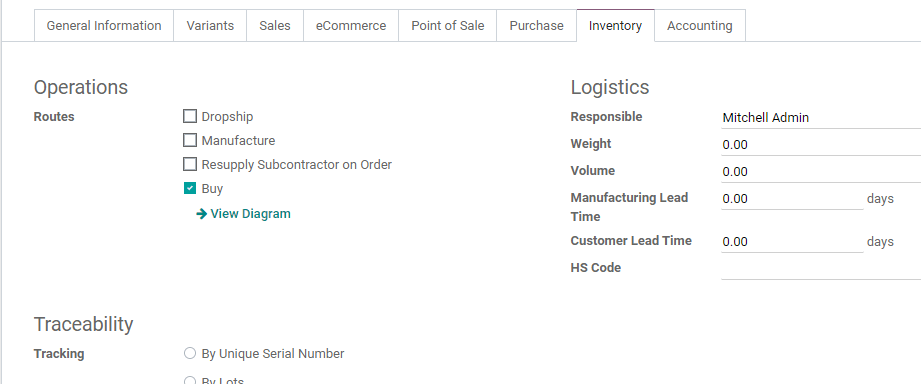
We have reached the Inventory tab.
Here we can find different sections named Operations, Traceability, and Logistics.
Below the logistics category, we can view Customer Lead Time.
Here, we can find the customer lead time as Zero. That means the customer will get a product that same day the sale order is confirmed.
We can change this customer lead time after analyzing the material availability, production speed, and other factors. The customer lead time should be accurate to ensure that the customer is satisfied. Let us change the lead time now. We can set it as 5. That means the customer will get the product named Monalisa Perfume 5 days after confirming the sale order. We if change the customer lead time to 10 days, the product delivery time will be 10 days.
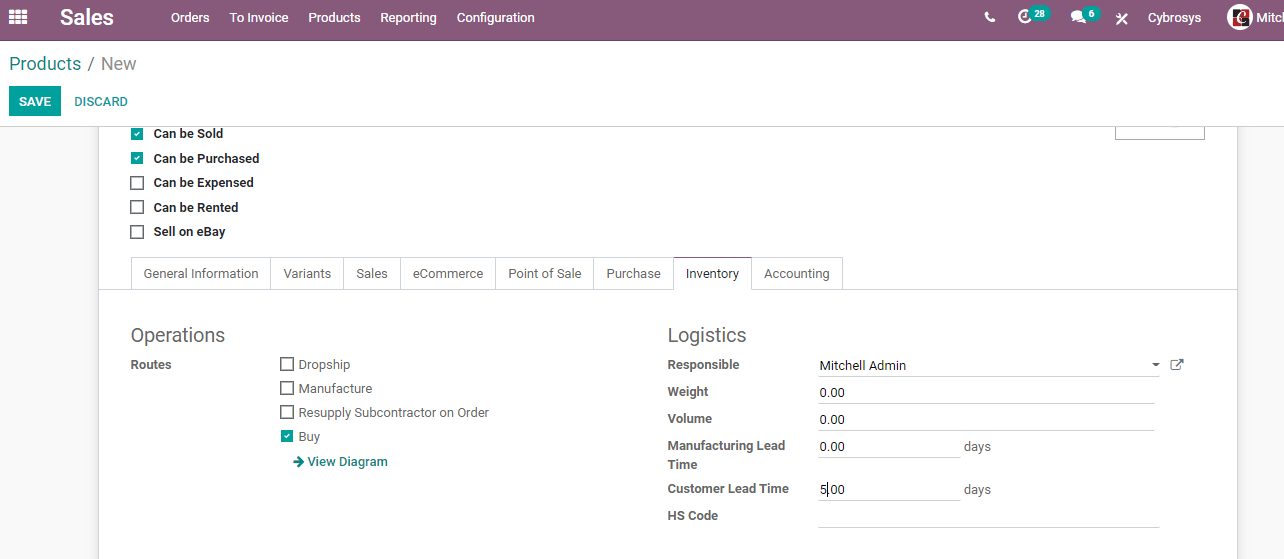
As we have set the customer lead time we can go to the next step of action. Before that, we have to save the changes.
Before creating a sales order we have to set the quantity on hand at the product creation page itself. Depend on the On Hand icon for managing this.
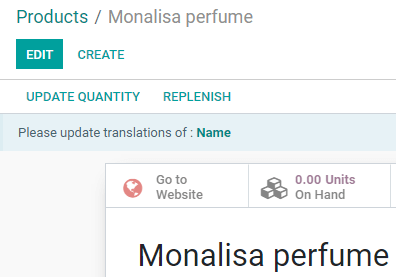
On the page that we get on clicking the icon we can add details like the location of the product and quantity.
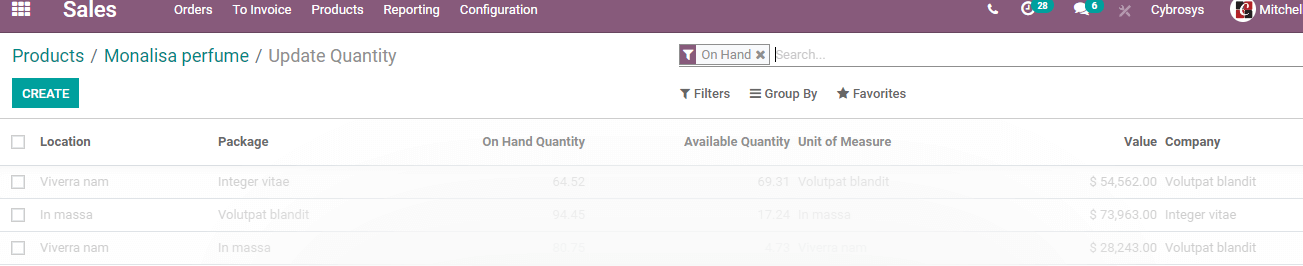
We have added the details and as per our below given image the location is WH / Input / Order Processing and the on-hand quantity is 25.

We have now set the stock and the next step is sale order generation.
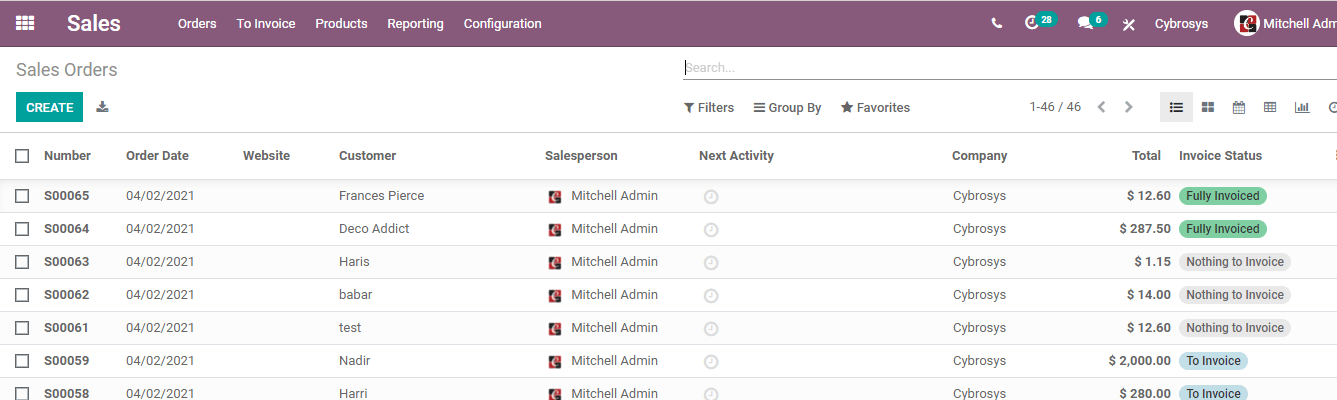
We don't have to narrate much about the sale order dashboard as all are familiar with the features. If you have any doubts you can contact us or visit our website.
So, we directly create a sale order for the same product 'Monalisa Perfume'.
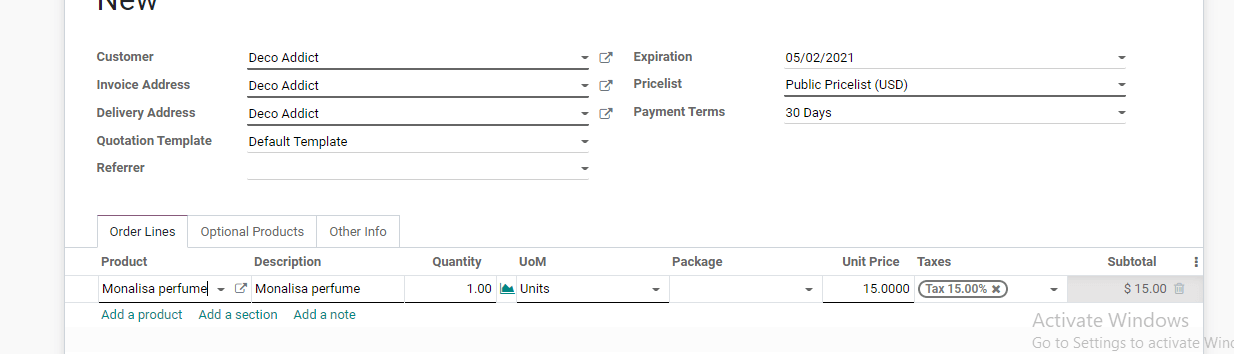
The above given is the sale order for Monalisa perfume. Our customer is Deco Addict and the product is the recently created Monalisa Perfume.
After filling in the product details and the product quantity we can go to the Other Information tab.
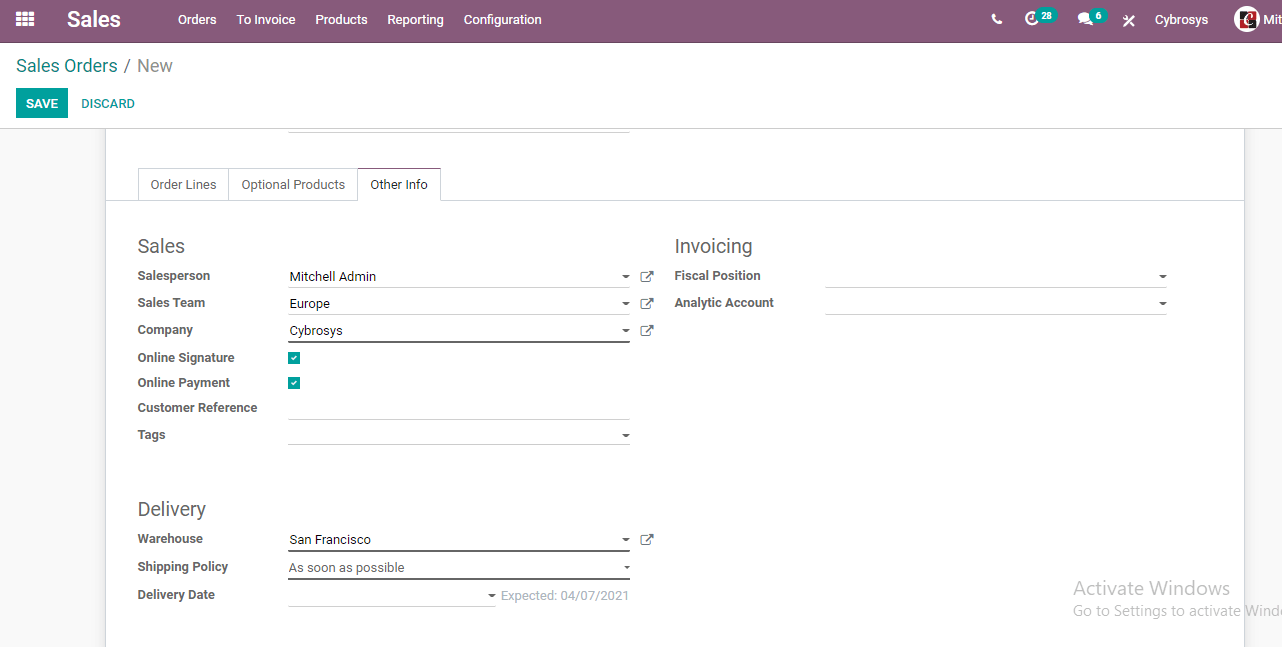
Here there are different sections named Sales, Delivery, and Invoicing.
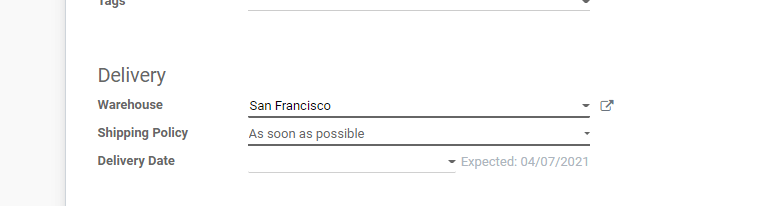
We have to go to the Delivery section. Below this, we can find three options Warehouse, Shipping policy, and delivery date.

For the Delivery date column, we have to fill in the expected delivery date.
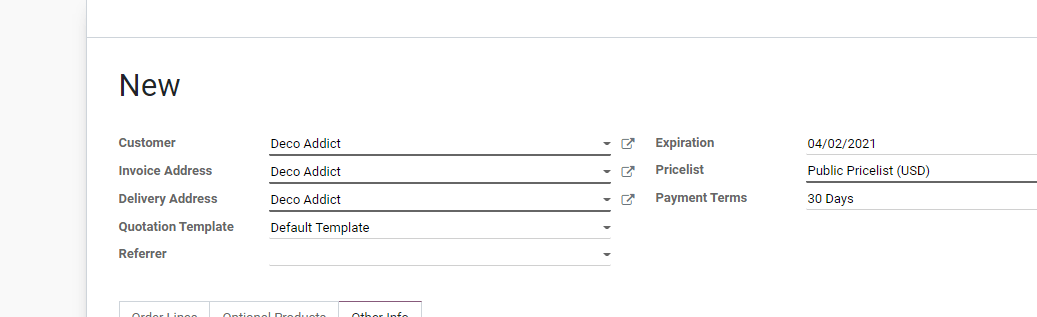
On this page, we can find the Expiration date or the order date. The order date here is 04/02/2021.
Below the Delivery section, we can find another date that is the Delivery date. Here we can find the expected date as of 04/07/2021.
The difference between the Expiration date and delivery date is 5 days.
If the delivery date is the same as the product lead time, we can leave the column unfilled.
On the other hand, if we experience any difficulty in complying with the customer lead time that we had set earlier, we can choose a fresh delivery date with the help of this option.
Anyways, we are not checking all those details now.
Instead, we can continue with the expected period.
Next, we have to save the changes
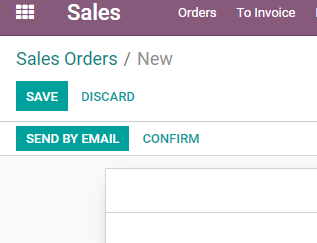
You can also confirm the order
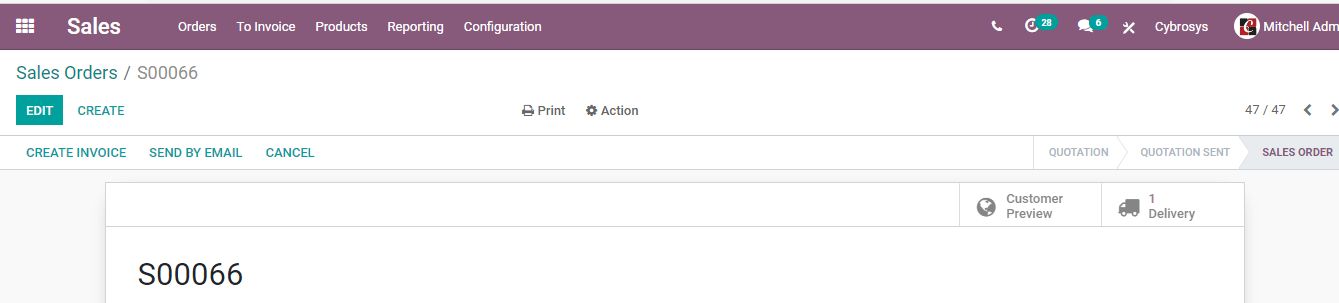
On confirming the order we will get a delivery icon on the top right side of the form. We can also view that the quotation has been converted into a Sales Order.
We can just check our Delivery tab.

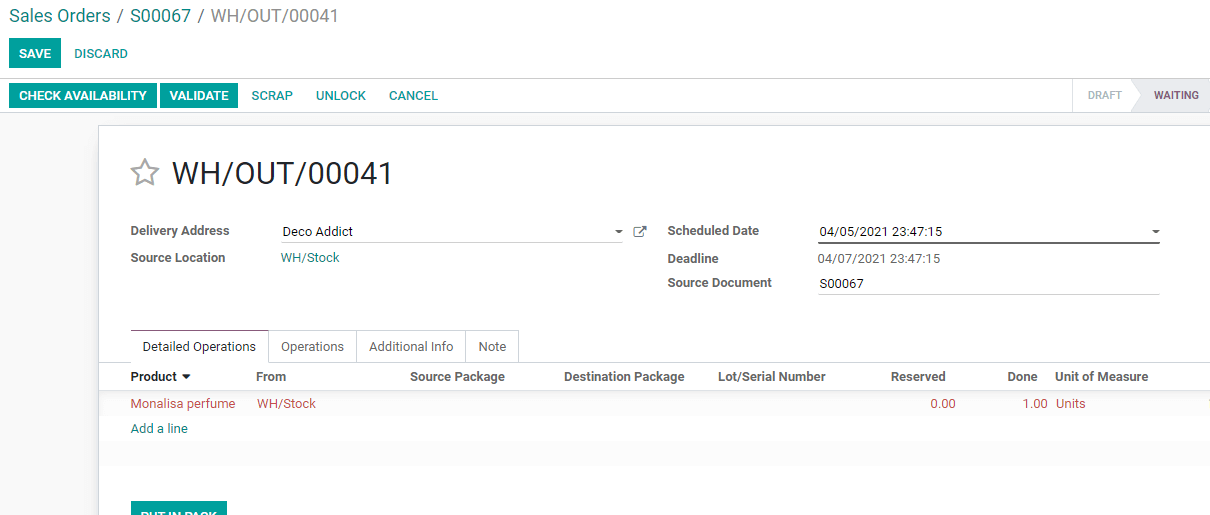
The image given above is the one we get on clicking the delivery tab. We can see different information given here.
Delivery address, source location, scheduled date, and deadline are the key elements here.
The scheduled date here is 4/07/2021 and the deadline is also the same.
Here, we can say that the deadline and scheduled date are set based on the customer lead time. For us, the customer lead time is 5 days and the order was placed on April 2. So the product delivery time and the scheduled date are automatically set as April 7.
It is time to validate the process.
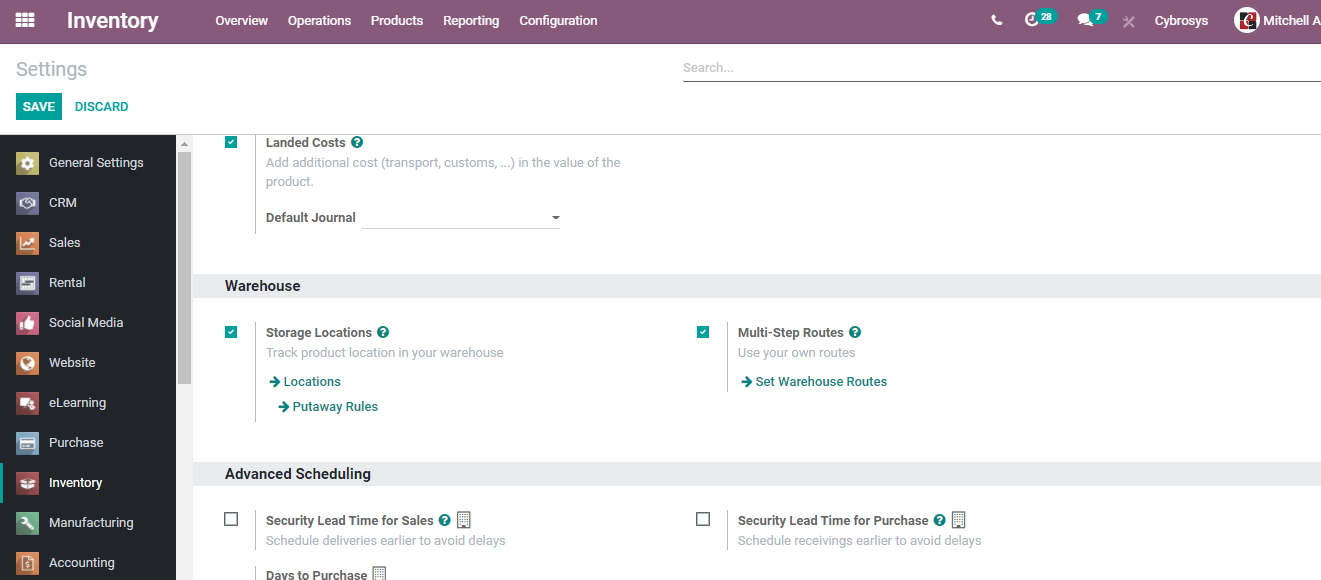
Here, under advanced scheduling, we can get security lead time for sales and security lead time for purchase.
This security lead time is used to adjust the delay possible in the supply chain due to various reasons.
Let us set 2 days as security lead time for sales.
Then the scheduled date will remain the same but the expected date of delivery will change.
That means the expected date will be before the scheduled date. The difference here is two.
This is how we can create and manage customer lead time and security lead time for Sales operations.