In Odoo 13 we are able to create tax and tax structure. Also, we can create tax groups for different purposes.
In India, for example, we have the tax system of GST. we have three sets of the format in GST like,
CGST (Central Goods and Service Tax).
GST (State Goods and Service Tax).
IGST(Integrated Goods and Service Tax).
We also have group taxes.
In most of the countries, they use VAT (Value Added Tax)
In Odoo we are able to set default taxes. We can set it for,
> Product
> Account
> Company
If we set default tax for all the three, for the product, for the account, and for company, the first priority will be gone to ‘Product’, second priority will be for ‘Account’ and the least priority for the ‘Company’. Therefore the tax of the product will be taken as the default tax.
How to create a Tax
In order to create a tax go to, Accounting -> Configuration -> Taxes.
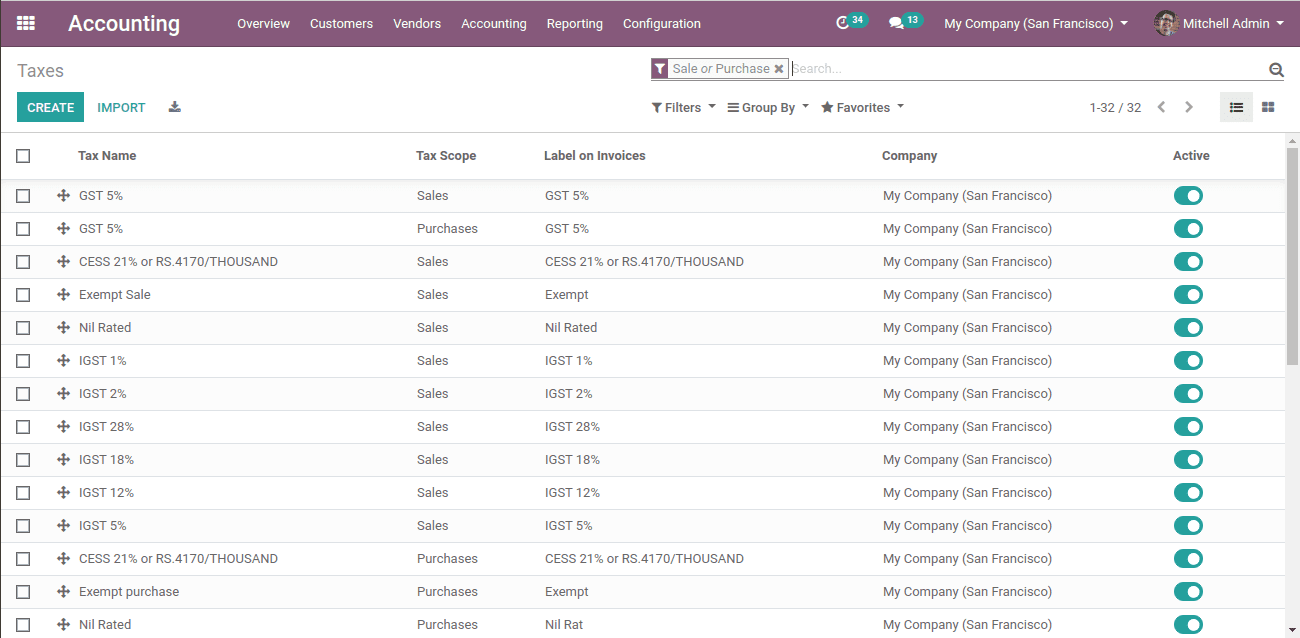
Here we shall see all the created taxes. We can activate any tax by clicking on the “Activate” button.
By clicking on the “Create” button we can create a new tax.
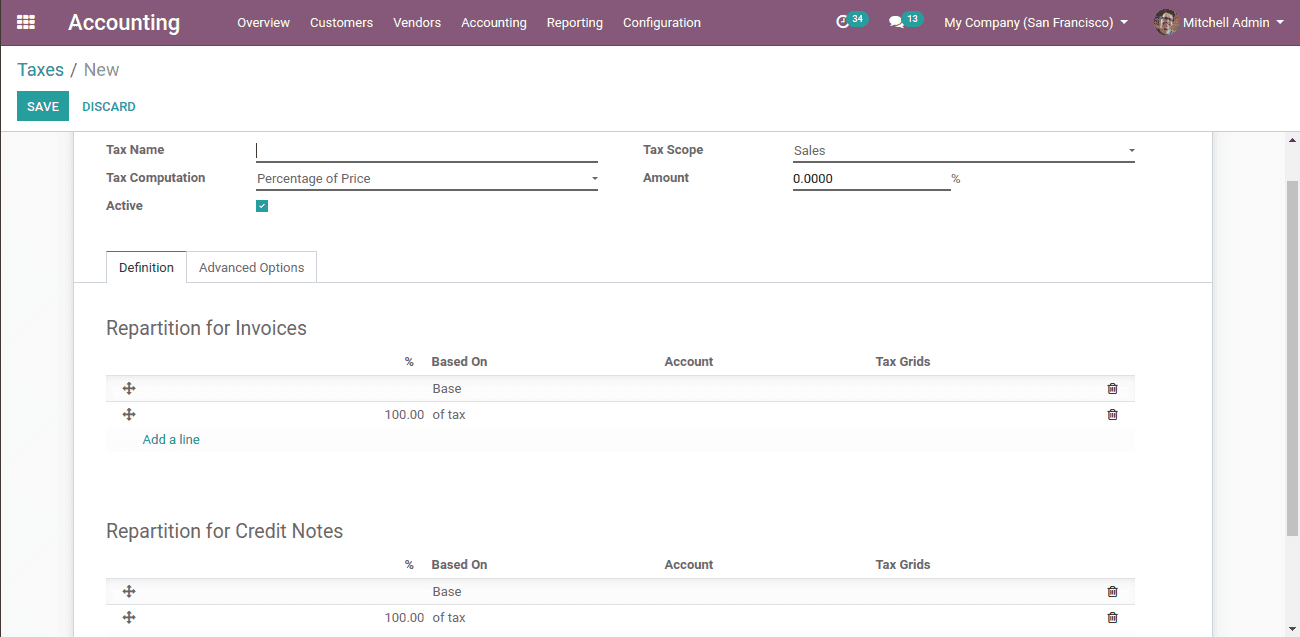
So this is the form to create a new tax.
Tax name: We can name each specific tax.
Tax scope: This implies that whether we use this tax in ‘Sale’ or ‘Purchase’. If we select ‘None’ we shall use it with only tax groups.
Tax computation: Here we have four types of tax computation.
Tax groups,
> Fixed
> Percentage of price
> Percentage of price tax included
Amount: it is added as per the tax computation
Under the ‘Definition’ tab we have two options,
> Repartition for invoice
> Repartition for credit notes
Under the ‘Advanced options’ tab, we have some options,
> Label on invoices
> Tax group: Here we can have a collection of child taxes
> Include in analytic cost: Added to the analytical account
> Include in Price: Can be included in the product price
> Tax due: Based on invoice and payment
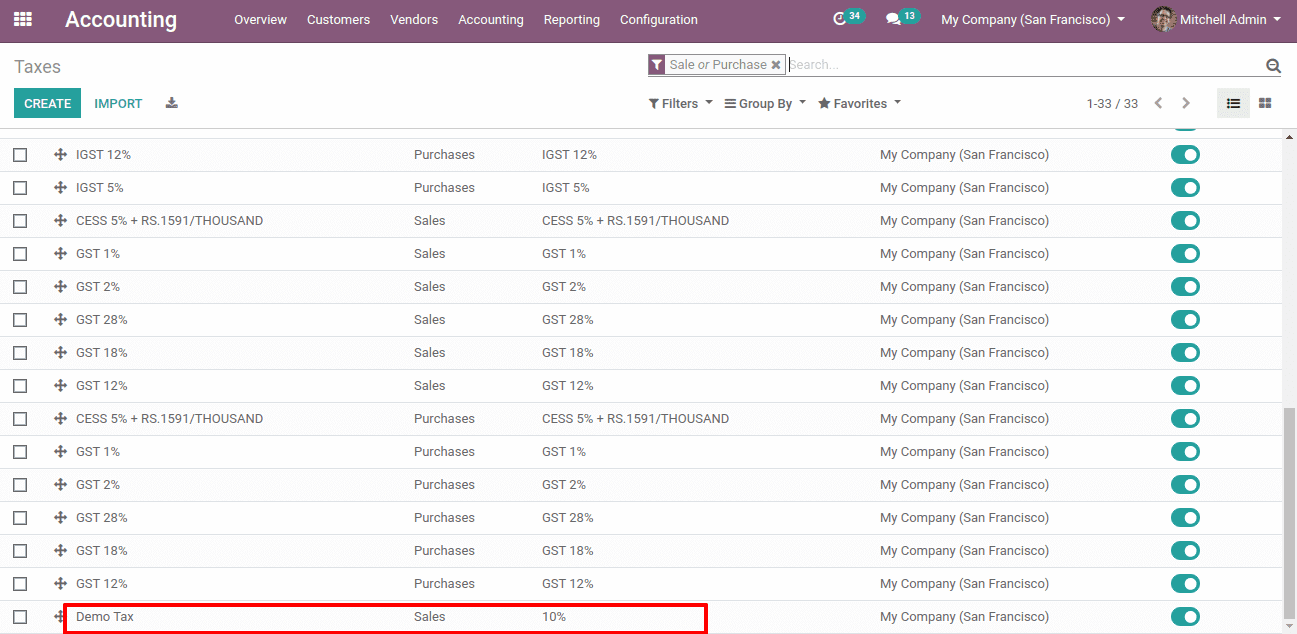
Now here we have created a demo tax.
Tax on Product
We are able to apply taxation to a product. When we make a sale order or a purchase order that tax will be automatically shown there. At the time of sales and purchase product tax have the highest priority.
We have two types of taxes in a product:
Customer tax: This is the tax for a customer in sales
Here we can add the taxes on the list or we can create and add taxes.
The tax we add here will come as default while selling this product to a customer.
Vendor tax: Tax to be paid during the purchase of a product from a company. We can add this tax during the creation of a product.
Here we can add the taxes on the list or we can create and add the taxes.
The tax we add here will be added default while we purchase this product from the vendor.
Let’s generate a sales order and check.
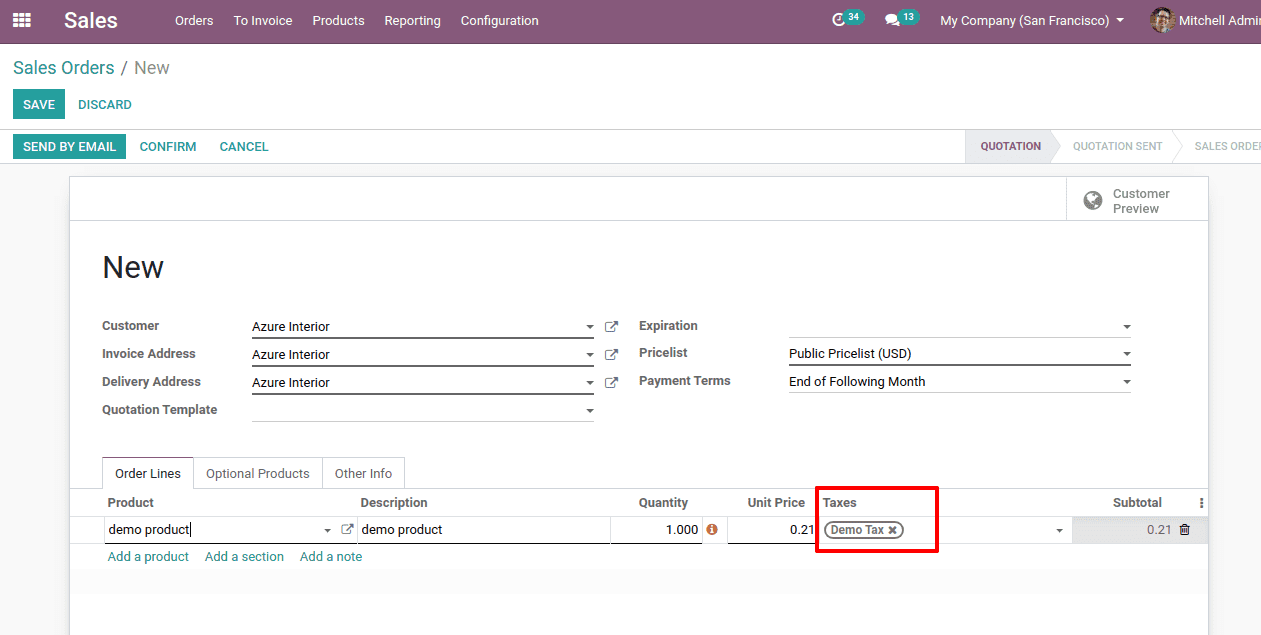
Here the tax is “Demo tax” which we have created. Here it came default since we added it to the product.
Tax on Account
We are also able to assign taxes for accounts. We can create and add a tax to an account or else we can add the existing taxes.
For that let’s go to, Accounting -> configuration -> Chart of accounts.
Here we can see many accounts, we can add a tax to the existing account or we can create a new account and add tax.
Click on the create button in order to create a new account, simply click on the “Create” button.
Then we will get a form like this,
Here we have the space to mention the default taxes for the account.
Here we shall mention the
Code: Code for the account
Name: Name of the account
Type: What kind of account it is
Default taxes: Here we give the default tax for the account
Group: Account group is mentioned here
Company: It is of which company
Account currency: Currency of the account.
When we sell a product with no product tax
Here we can see that customer tax is not mentioned.
And now let's give the account which has a tax.
Here we have added a local sales account that is subjected to taxation.
Now let’s create a sales order for the product.
Here we can see the default tax of the “local sales” account is auto-filled here.
Here we have not set product tax so the second priority is for account tax.
Tax on a Company
Here we are assigning tax for the company.
For that go to Accounting -> configuration -> settings.
Here we have the sales and purchase taxes of the company. We can set the default taxes here for the company.
We have removed all other taxes from the product and set tax only for the company. Now let’s see.
In this case, the tax we set for the company came as the default tax for the product here.
If there is no product tax and account tax then the next priority is for the company tax.
How to set a group tax
For some products, it might be necessary to set group taxes. In India we have GST. For some products, we have to divide the tax into central and state. Suppose if the tax for a product is 10% we have to divide it by 5% for central and 5% for the state. We would have to set group taxes in such cases.
For that, we have to create children tax of CGST 5% and SGST 5% and then create another tax of GST 10% and keep the tax computation as ‘Group Tax’ then add the child taxes of CGST and SGST.
Children tax CGST 5%
Children tax SGST 5%
Group tax GST 10%
Here we added the children tax in the group tax.
This is how we create “Group tax” as well as “Child tax”.
So this is how the group tax comes in the product line of the invoice.
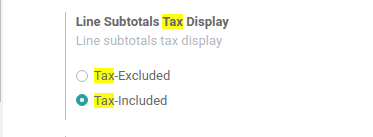
Tax included and Tax excluded
We can set the tax as included in the price and excluded from the price. To set this let’s go to Accounting -> Configuration -> Settings search ‘Tax’ in the search box.
So here we have the two options seen above.
Here we have selected ‘Tax-Excluded’
So the tax amount will not be shown in the subtotal price of the product.
Here the subtotal is the ‘Tax-Excluded’ price.
Now let’s change the settings
So here we have made it “Tax- Excluded”.
Now the tax amount will be shown in the price of the product.
Here the tax is covered in the price itself.
Tax Report
Accounting -> Reporting -> Tax reporting.
Here, all the tax reports can be seen.
Here all the taxes entered during the sales and purchase can be seen. So this is all about Tax Configuration in Odoo 13.