Configuration
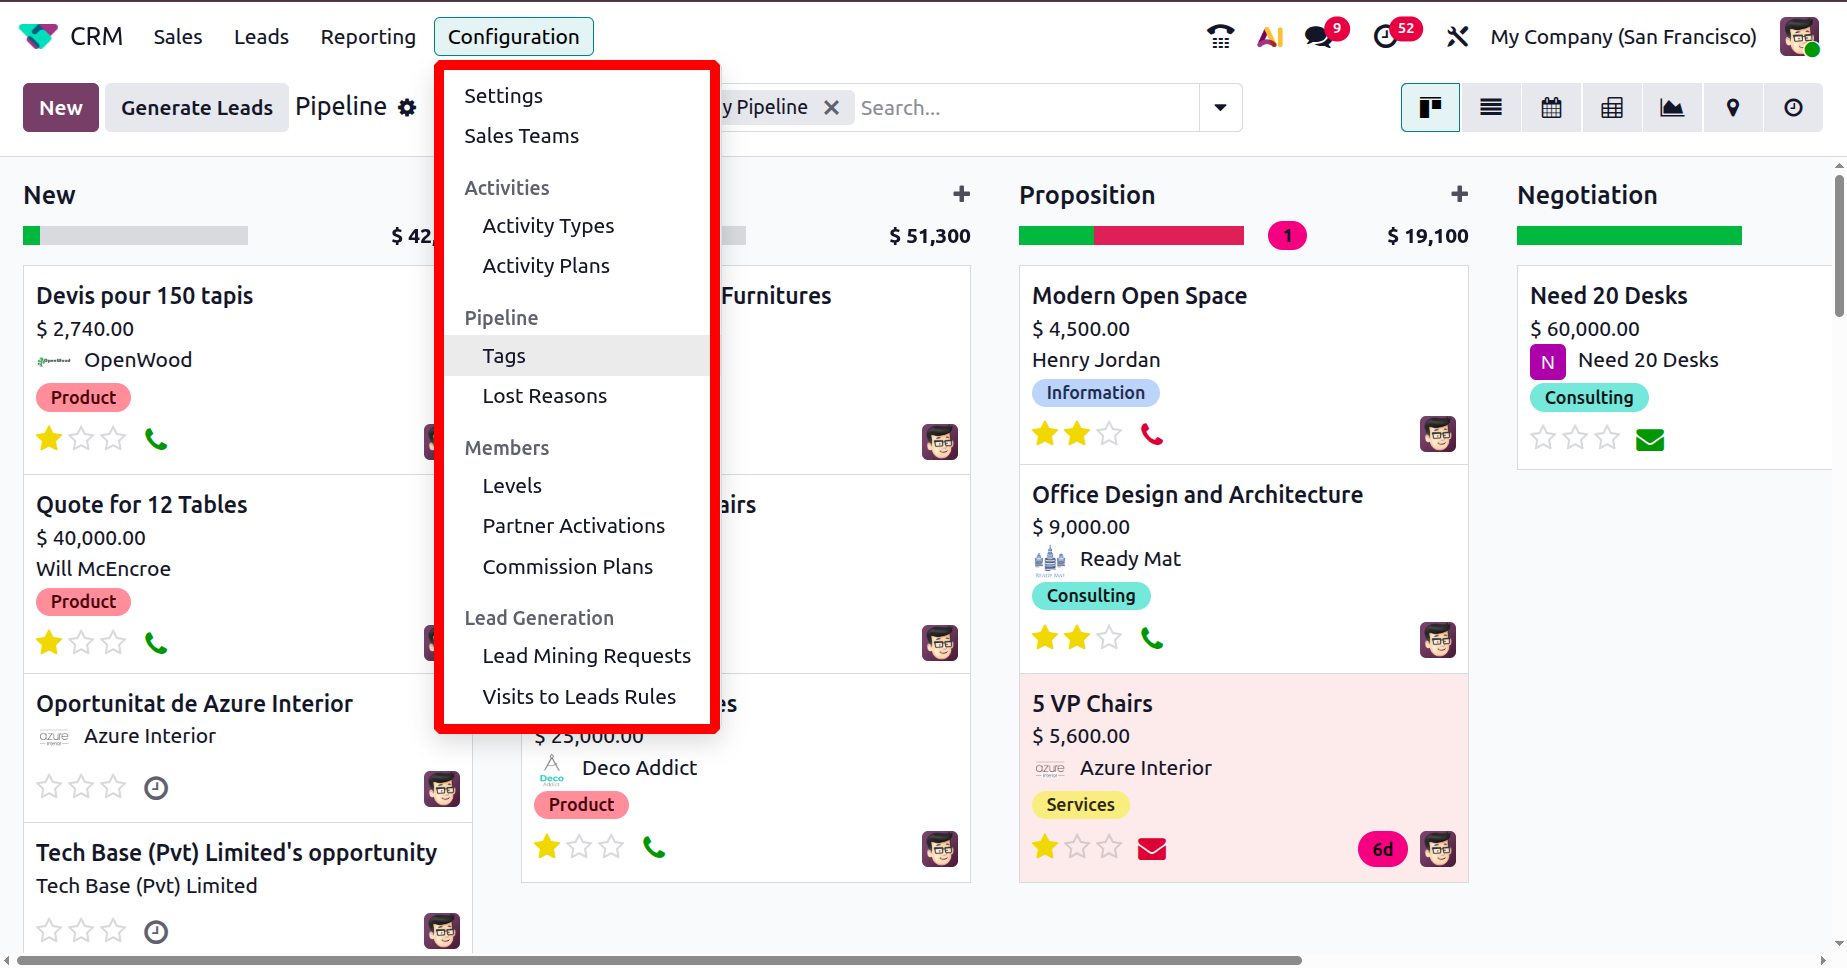
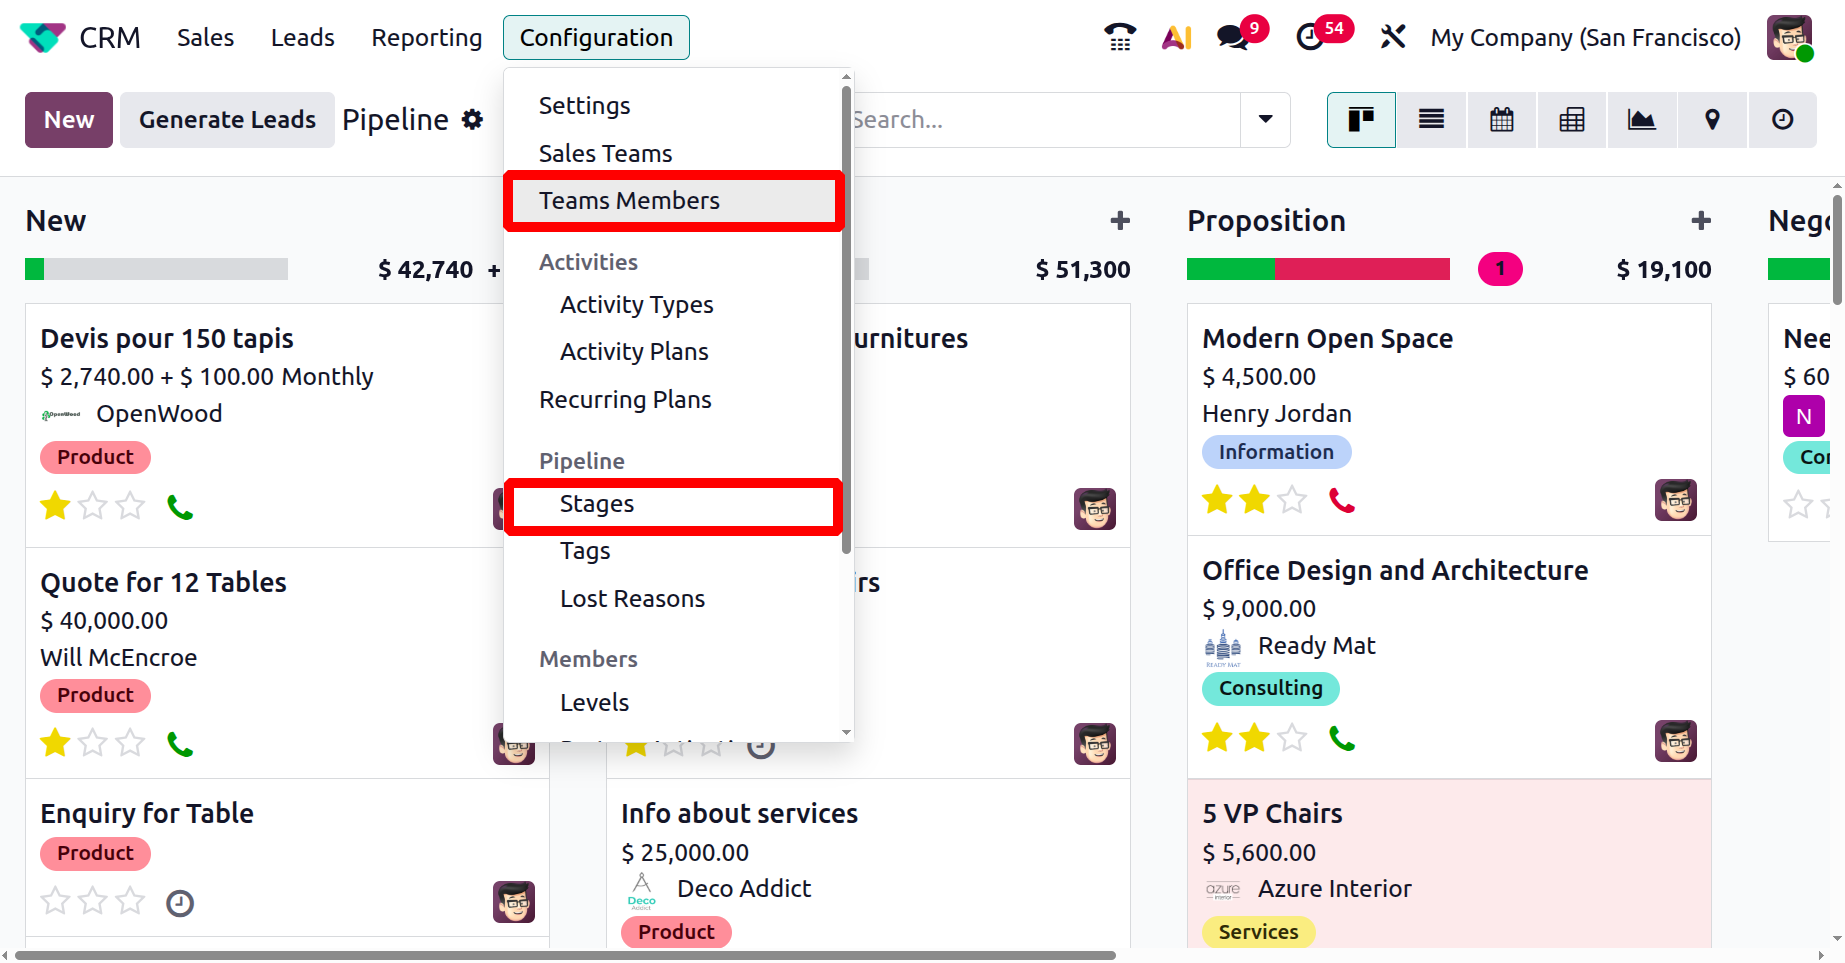
The Configuration menu in the Odoo 19 CRM module offers a wide range of options to set up and customize the CRM functionality, as illustrated in the screenshot below.
1.1 Sales Team
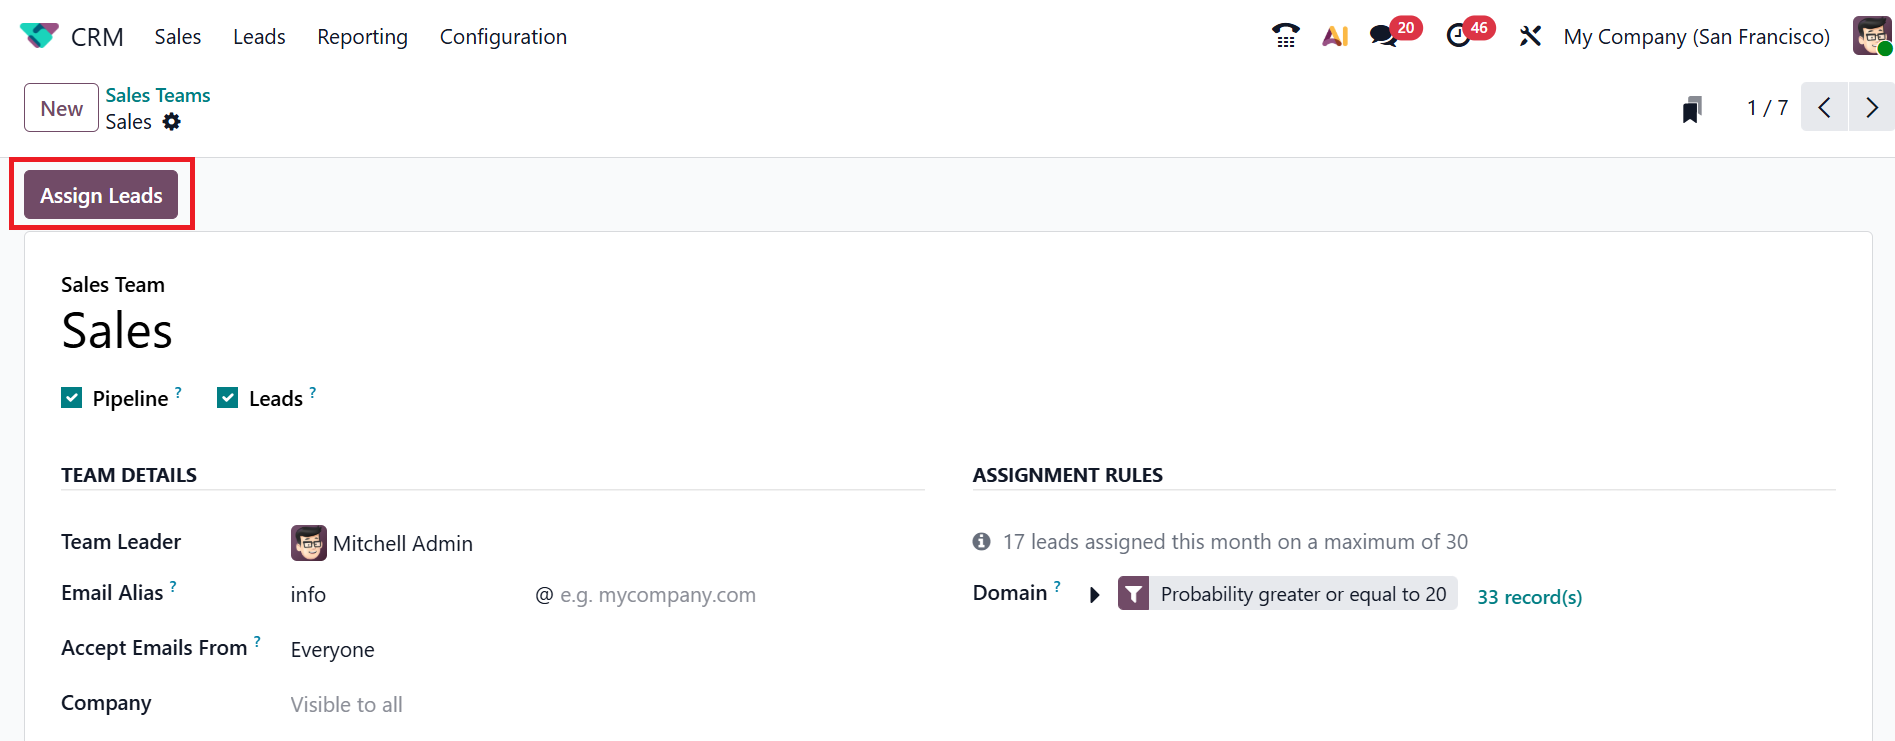
Access the Sales Teams option by navigating through the Configuration menu. Enter the name for the new sales team and add additional team details, such as Team Leader, Email Alias, Accept Email From, and Company. Then, below the team name, there are two checkboxes named Pipeline and Leads. Enable the check box Pipeline to manage a presales process with an opportunity. Activate the Leads option to assess and manage incoming requests as leads before converting them into opportunities and assigning them to the appropriate salesperson.
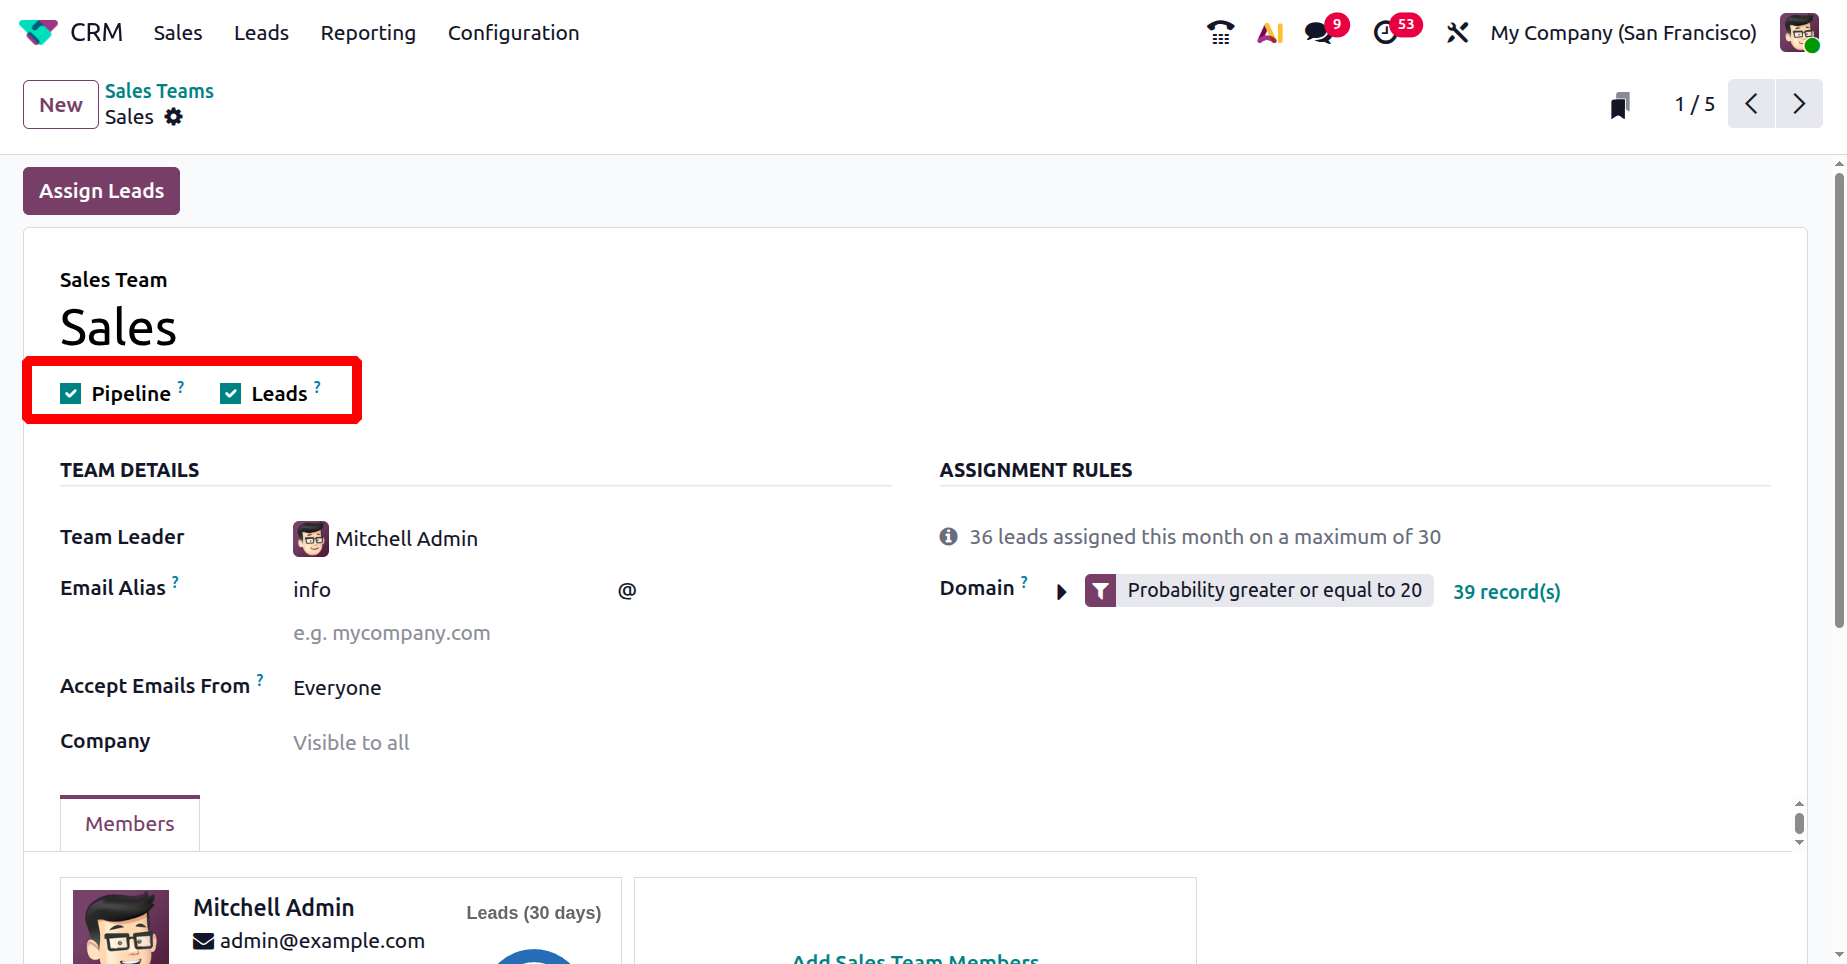
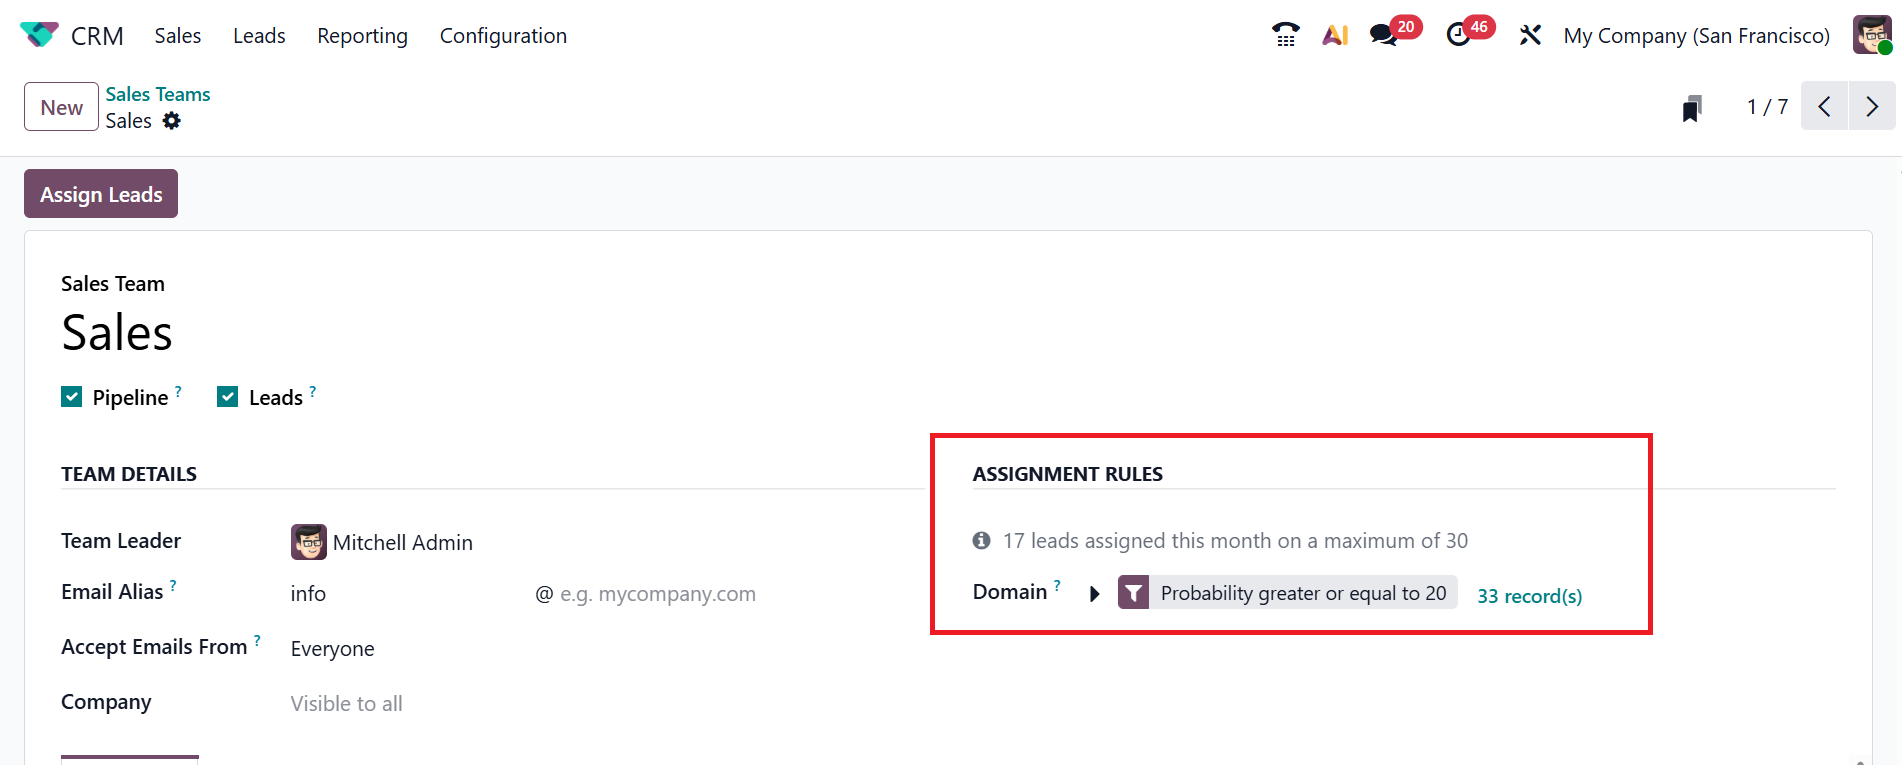
A new section named Assignment Rules will appear on the right side of the screen, as shown below. To configure the assignment rules, click on the Edit Domain button.
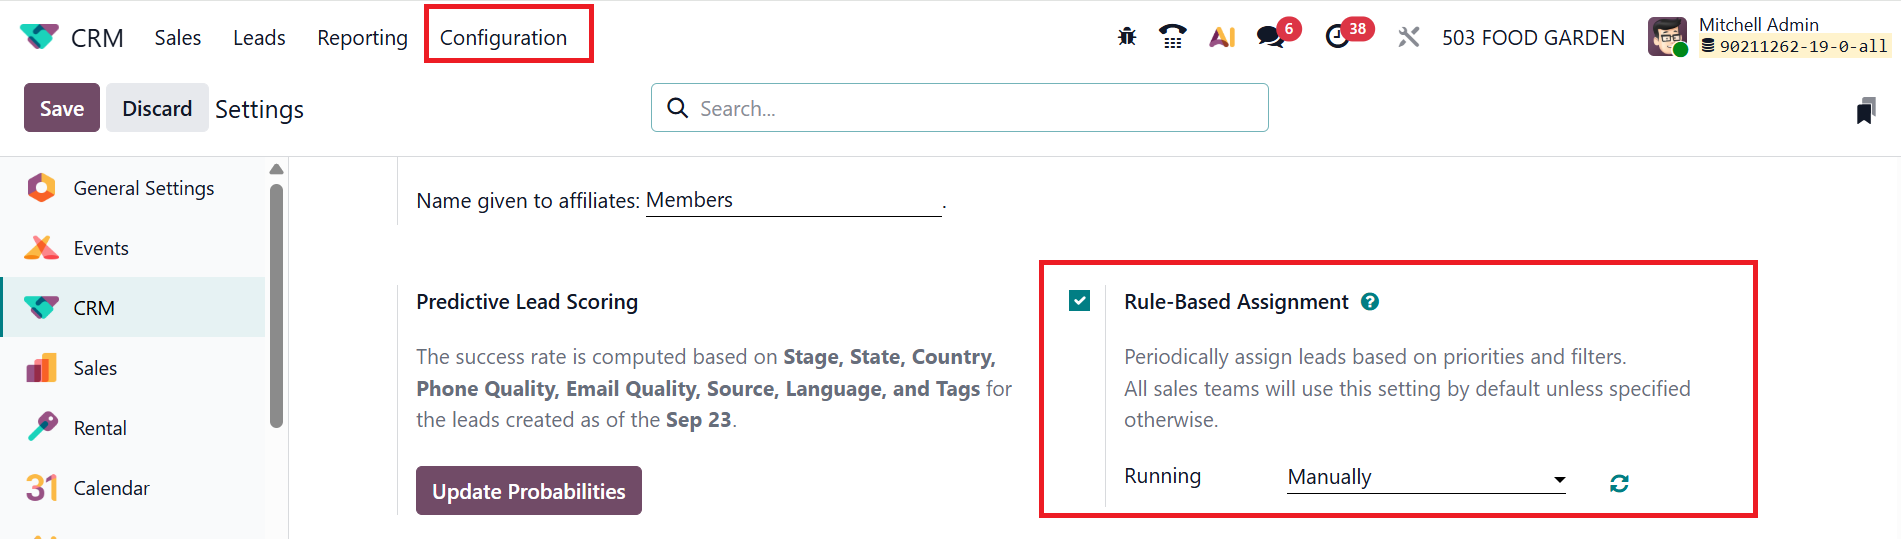
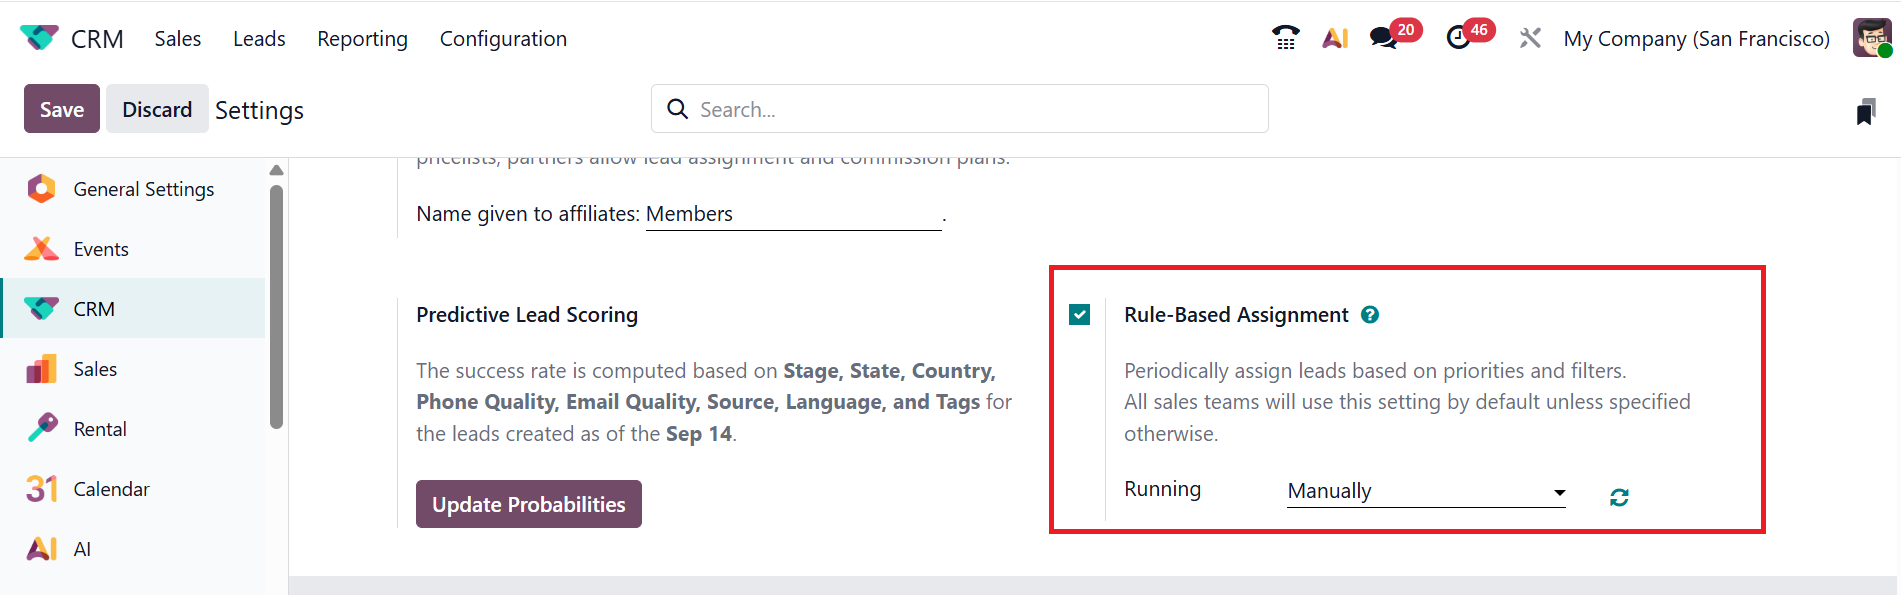
To get the Assignment Rules feature, you need to first enable the Rule-Based Assignment option from the Settings option under the Configuration menu, as shown below:
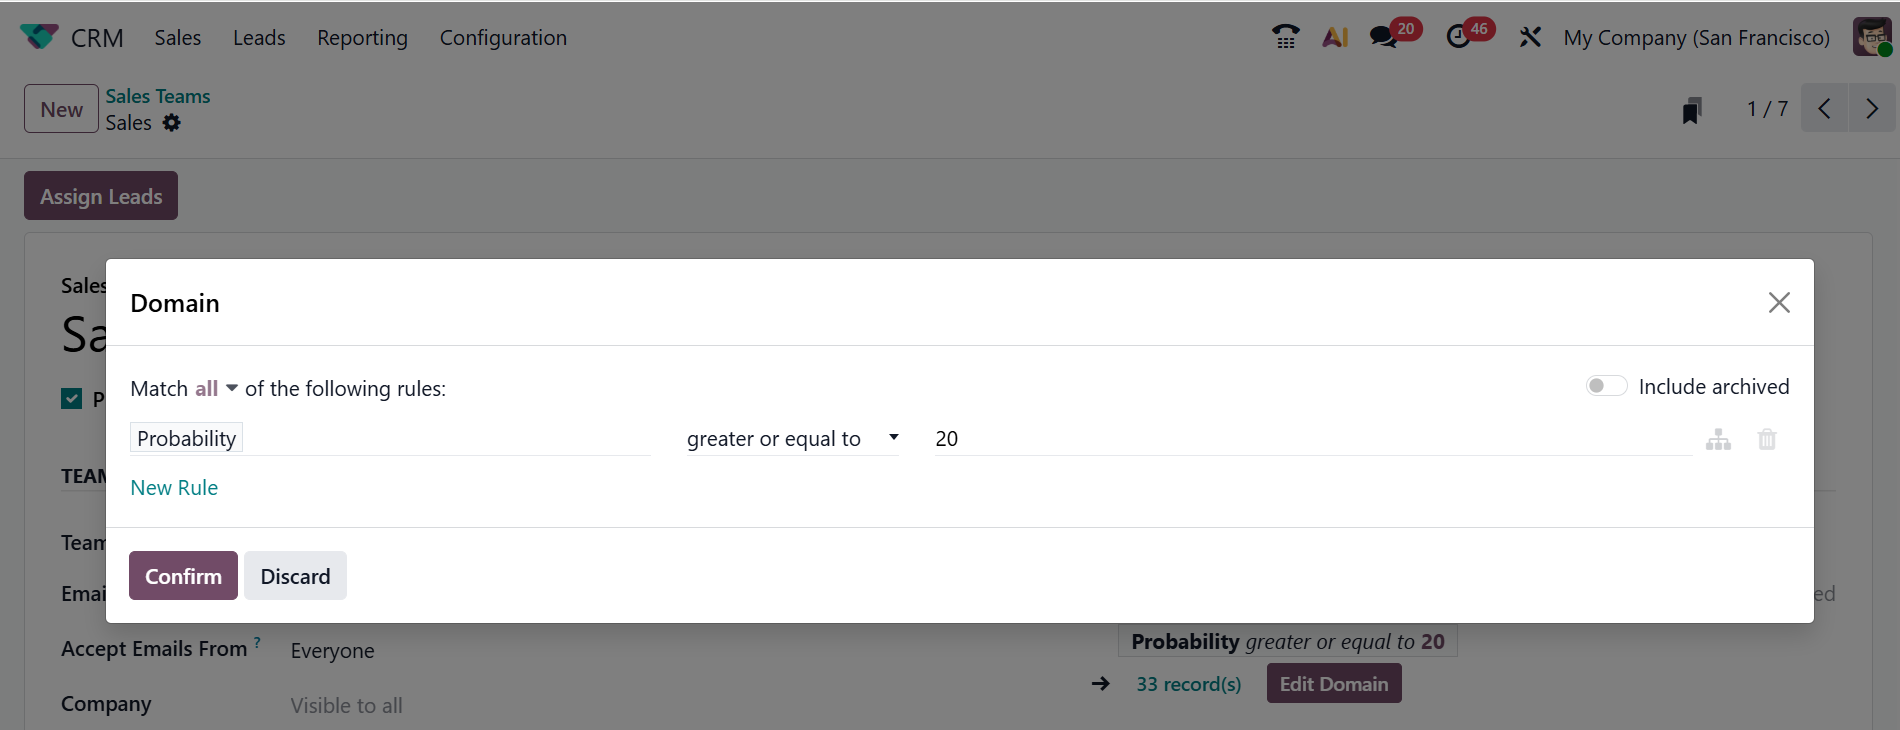
A new pop-up window will appear where you can add filters to the domain, as shown below:
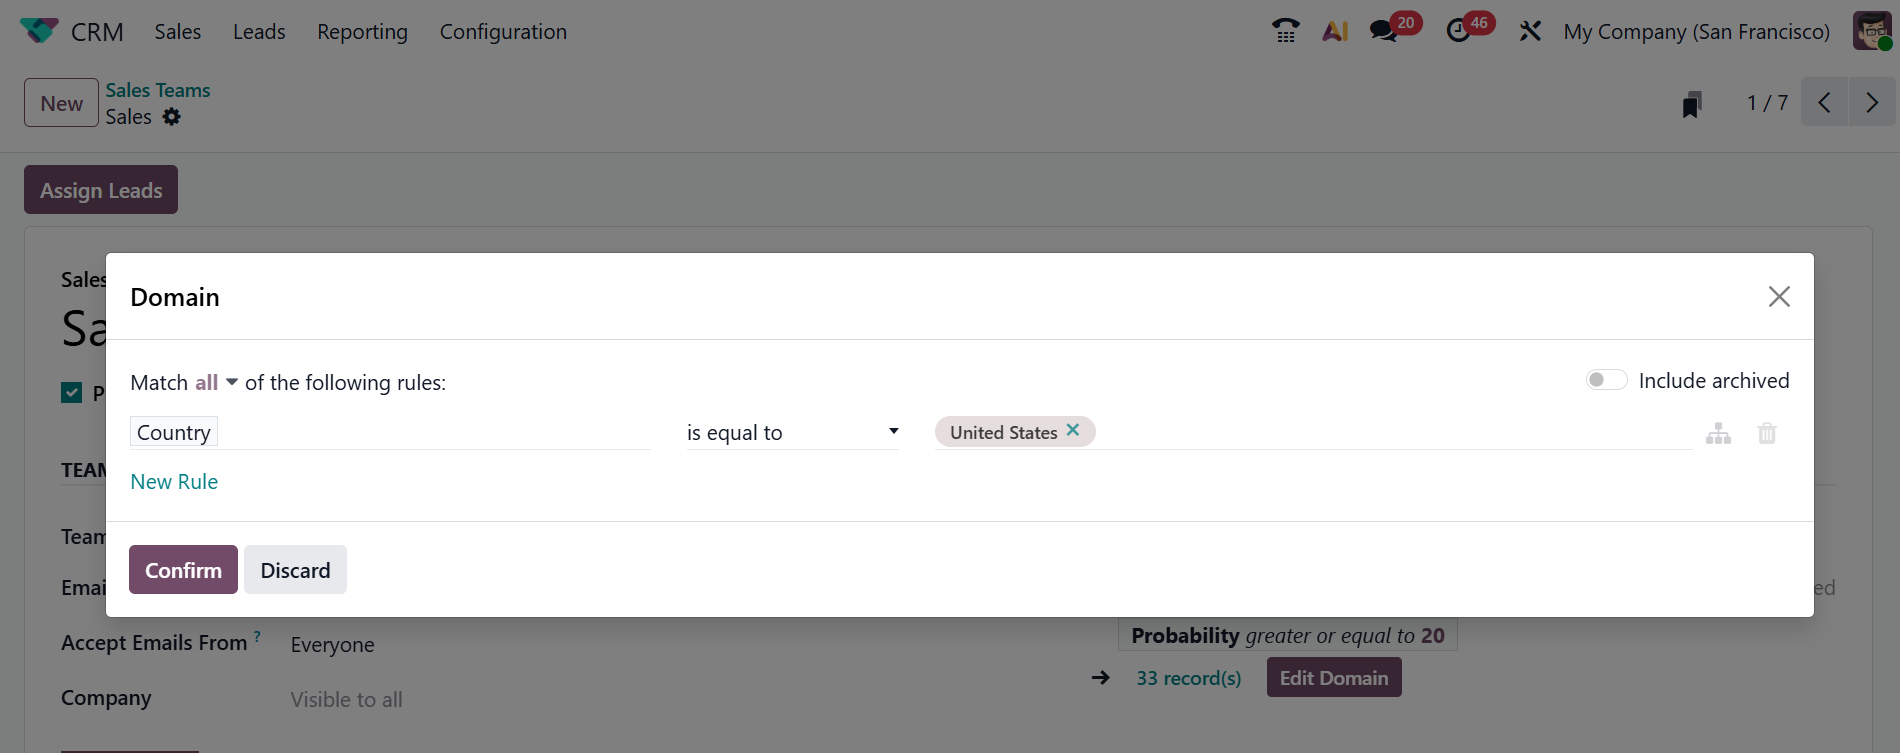
Here, users can add specific conditions to determine which types of leads are assigned to this team. For example, by adding the filter for Country and then selecting the United States, as shown below. Then, click on the Confirm button. Therefore, the sales team will receive leads from the United States.
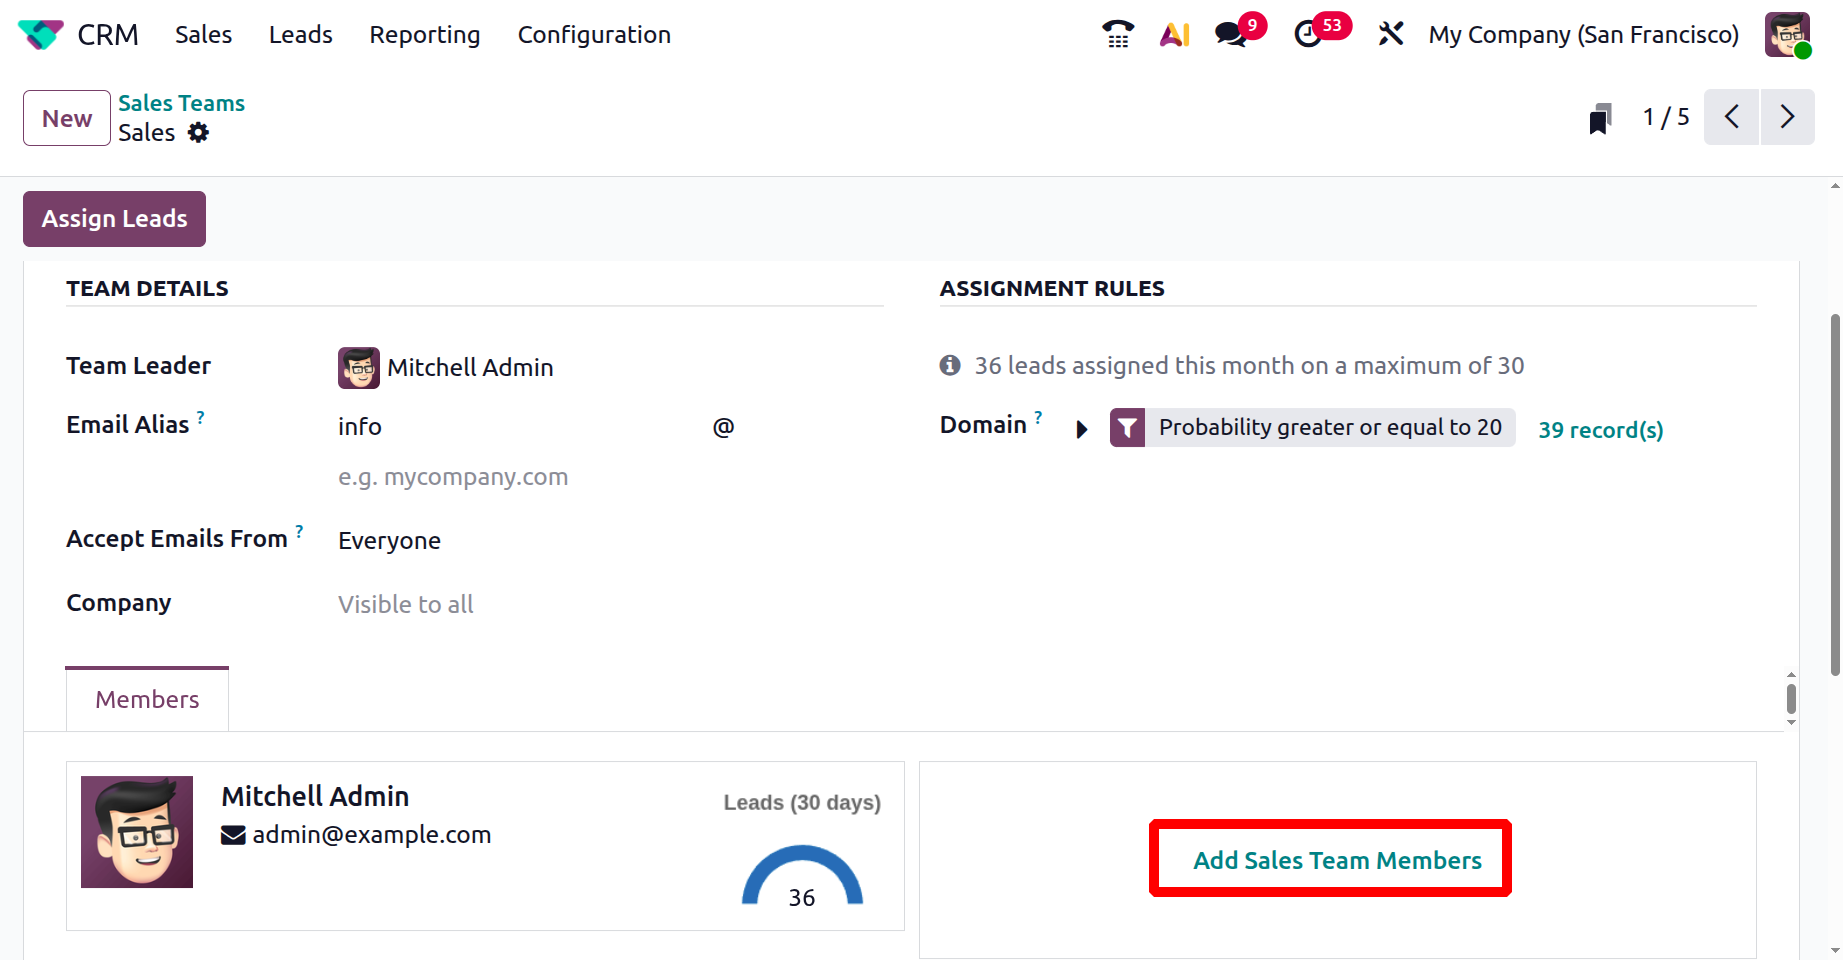
Then, move to the Sales Teams option, click the Add Sales Team Members under the Members tab, and expand it.
Here, you can add a salesperson and under the Lead Assignment tab, add the following details, such as;

- Capacity:Add the number of leads a salesperson can handle in a given time period.
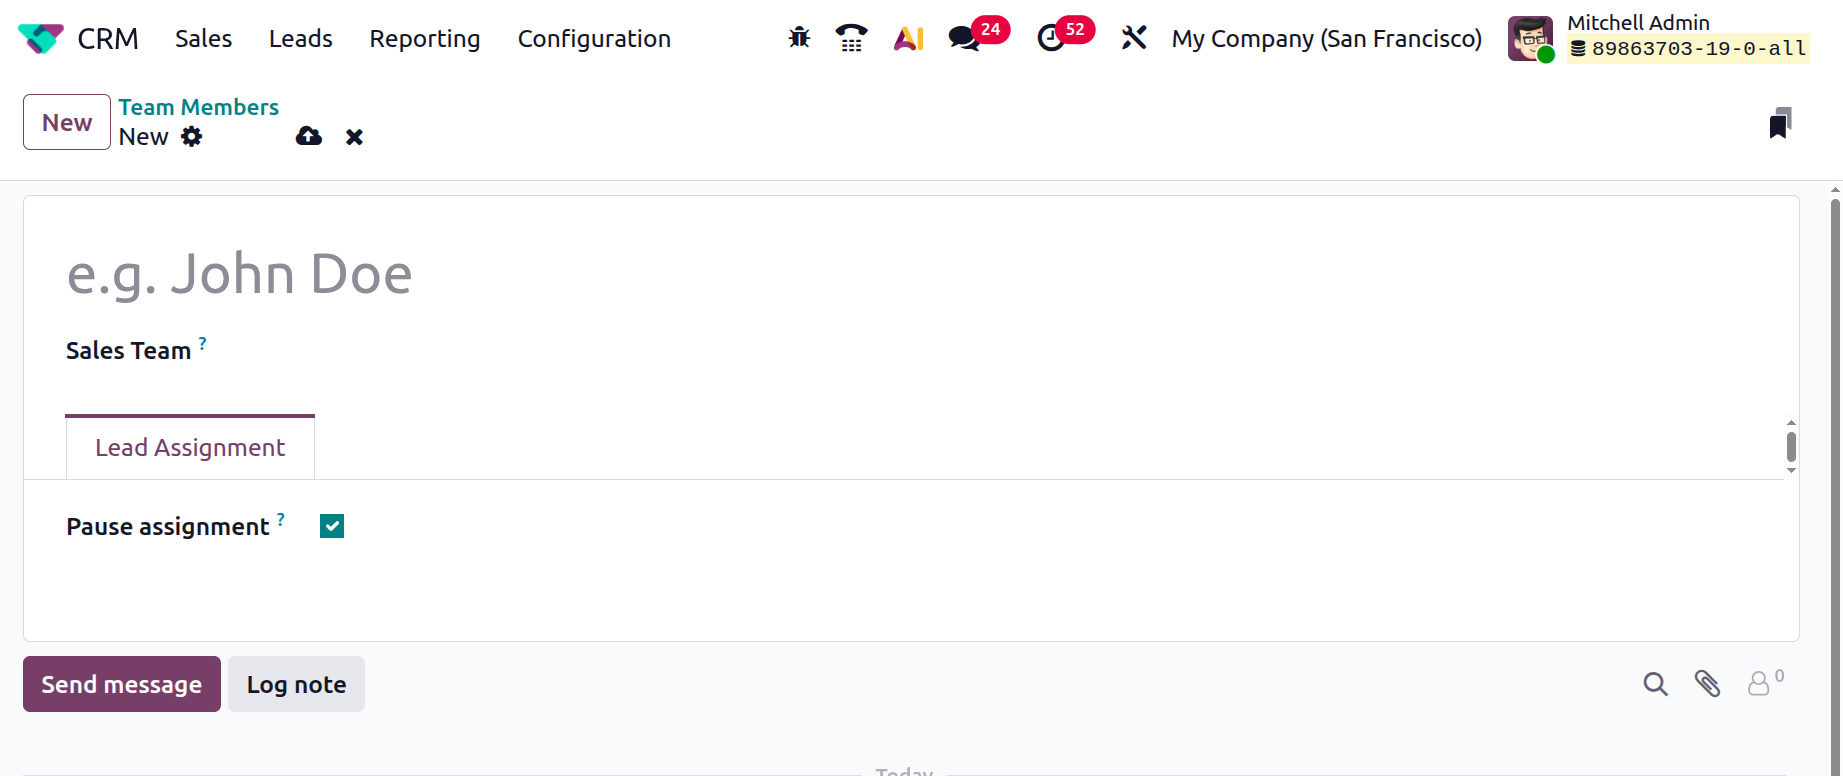
- Pause Assignment: Enable the Pause Assignment option to stop assigning new leads to the salesperson.
- Lead Priority Filter:You can mention which leads should be prioritized for the salesperson.
- Lead Assignment Filter:You can specify which leads are allowed to be assigned to the salesperson.
To add leads to each member, click on the Assign Leads option.
1.2 Activity Types
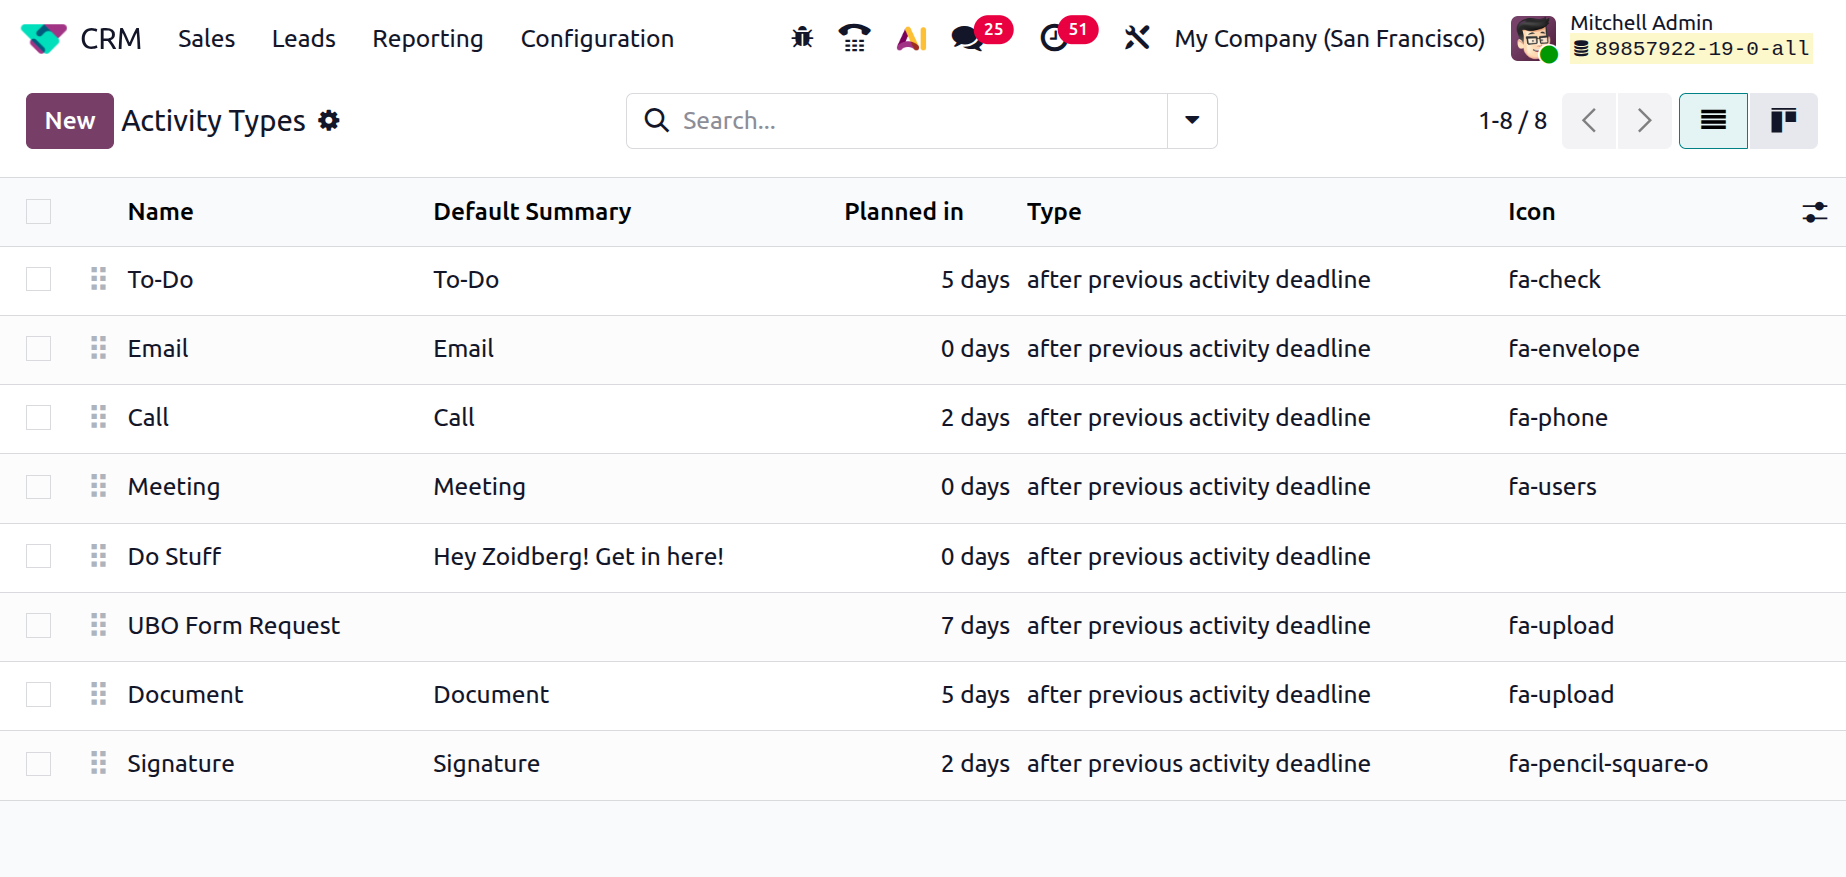
In Odoo 19’s scheduled activity feature, a wide range of activities can be planned with customers. This feature helps you to maintain close communication with customers. By default, you can view the details of activity types, including Name, Default Summary, Planned Start Date, and Type. To create a new activity type, click on the New button as shown below:
A new window will appear, where you can add a suitable name for your new activity type under the Name option. You can also see two sections: Activity Settings and Next Activity.
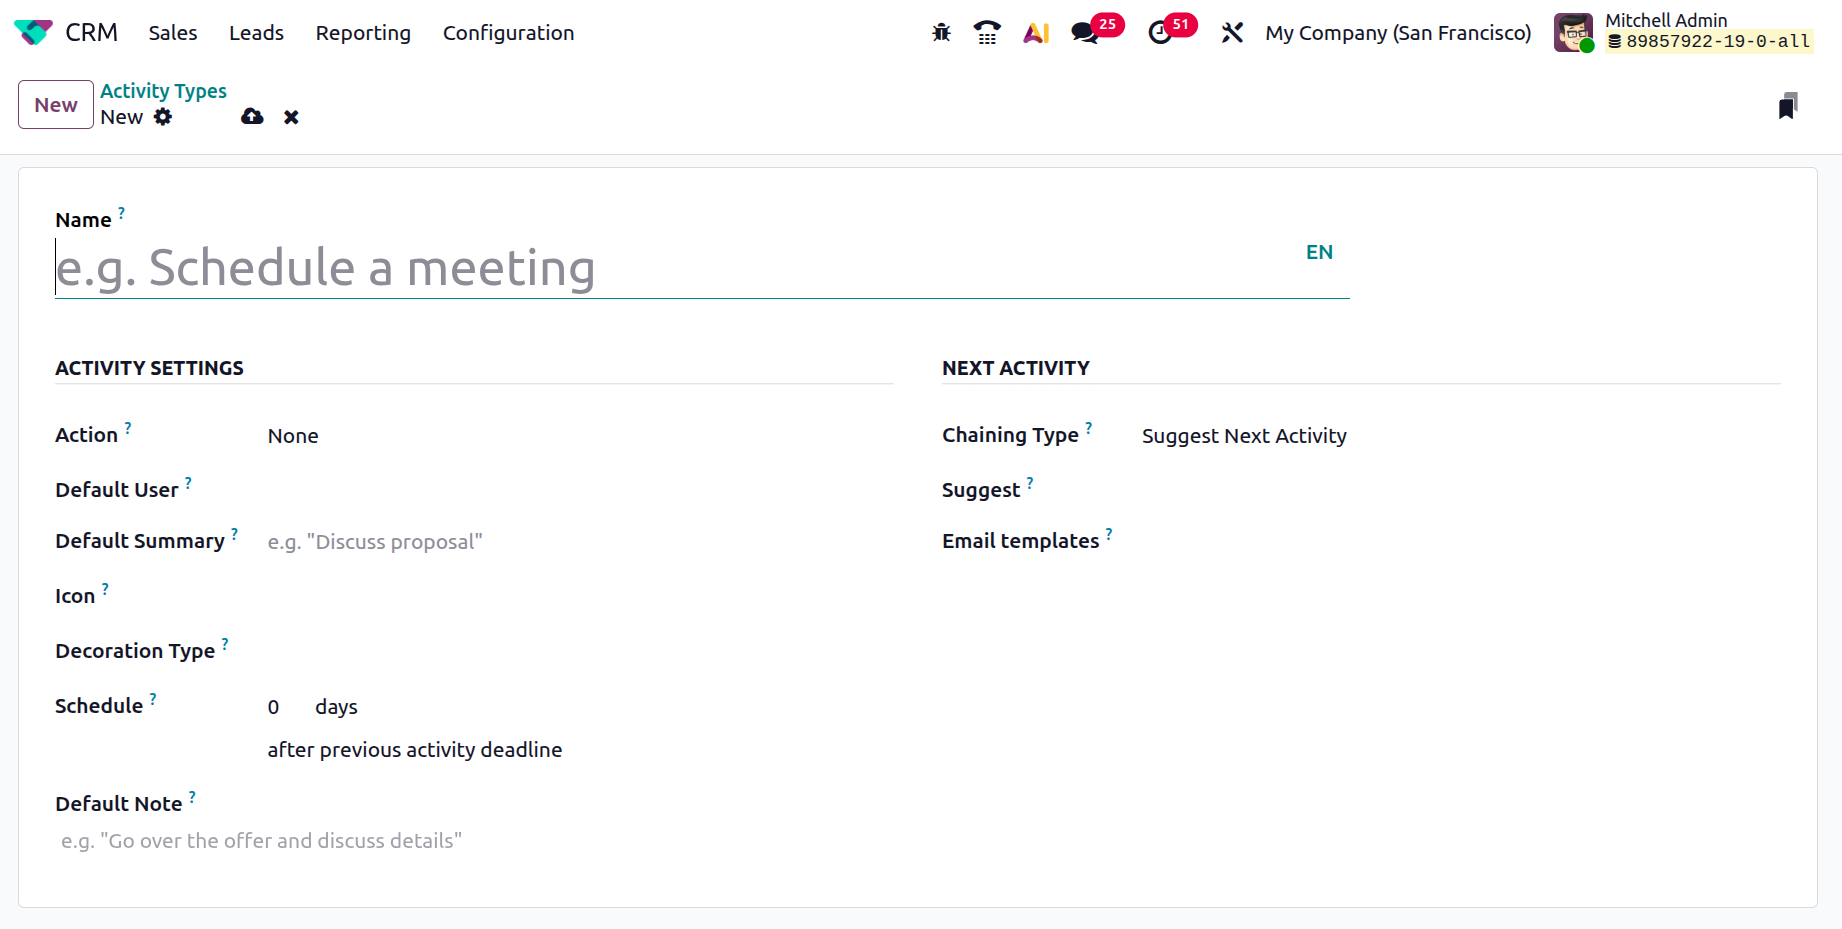
Under the Activity Settings section, when a document is uploaded, the Actions button automatically marks it as done or triggers specific behaviours. You can select Actions as Upload Document, Phonecall, Meeting, Signature, EC Sales List, and Partner VAT Listing Report. Select a user for the activity type in the Default User field and add a summary about the activity type in the Default Summary field. In the Schedule field, add the number of days, weeks, or months to plan an action deadline. Then, select either after the previous completion date or after the last deadline activity. Under the Default Note option, enter a note describing the activity type.
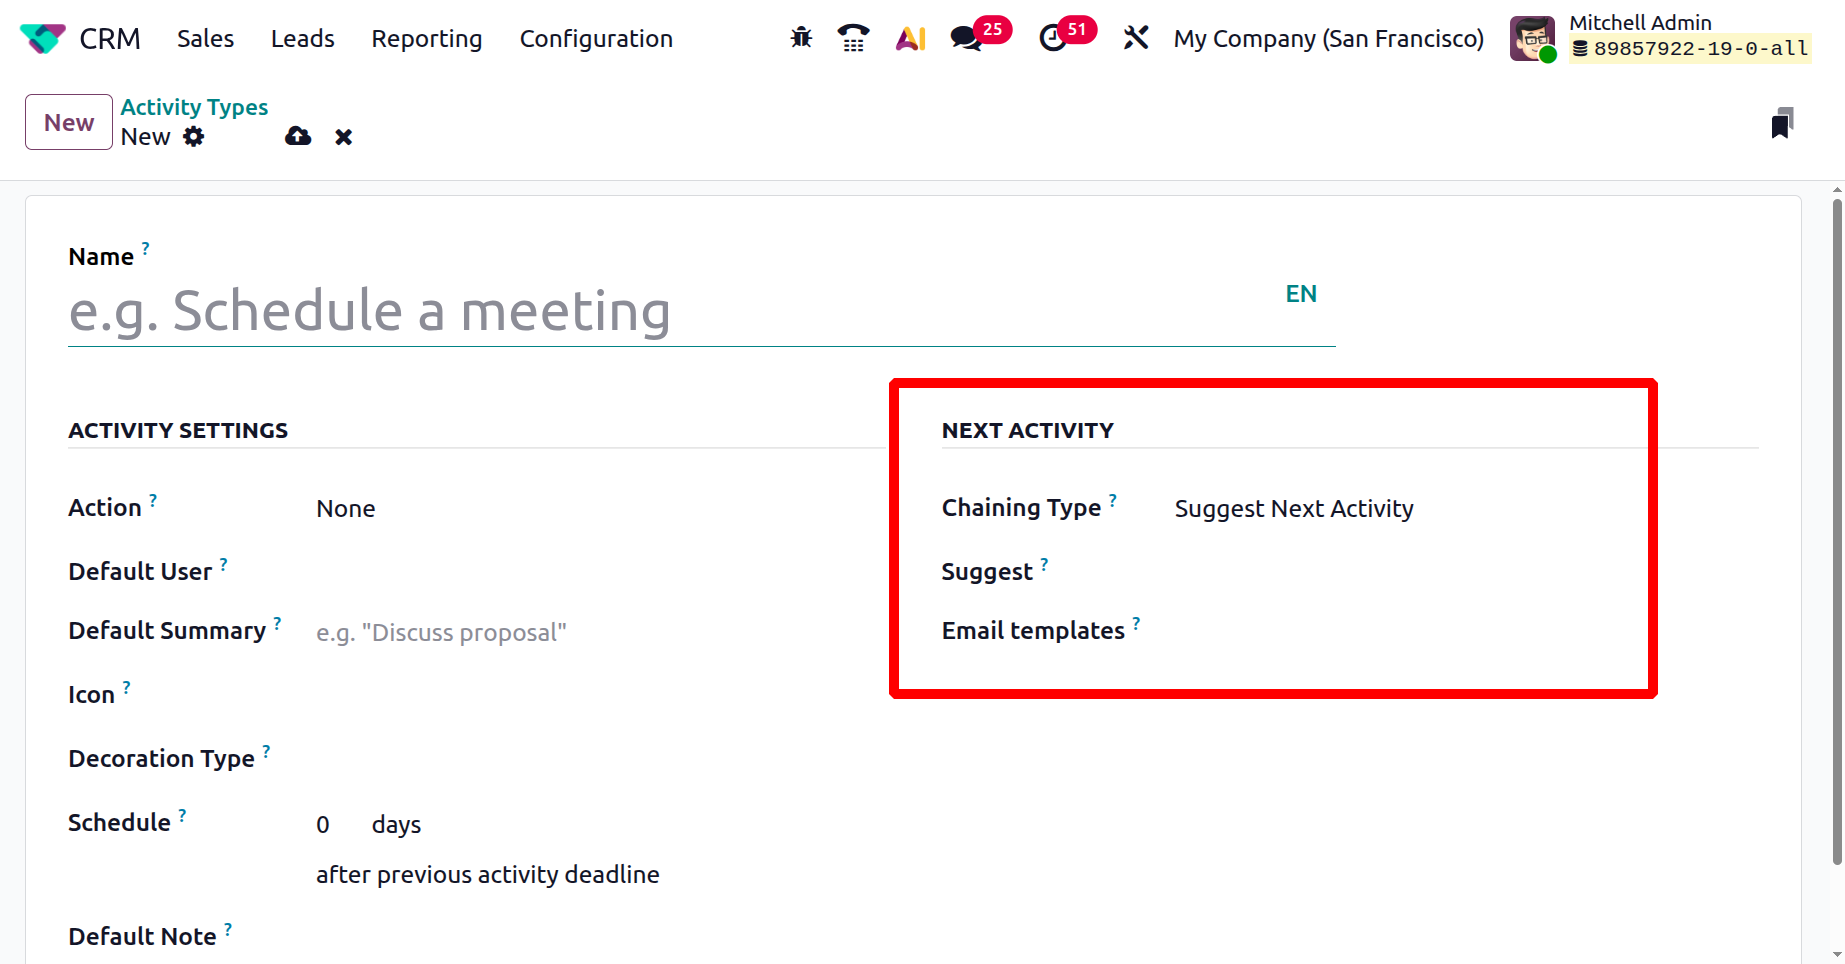
Within the Next Activity section, set the Chaining Type to either Suggest Next Activity or Trigger Next Activity. If you choose Suggest Next Activity, the next activity will be presented as a proposal. After completing the current activity, Odoo shows the previously mentioned action. The next activity can be mentioned inside the Suggest field.
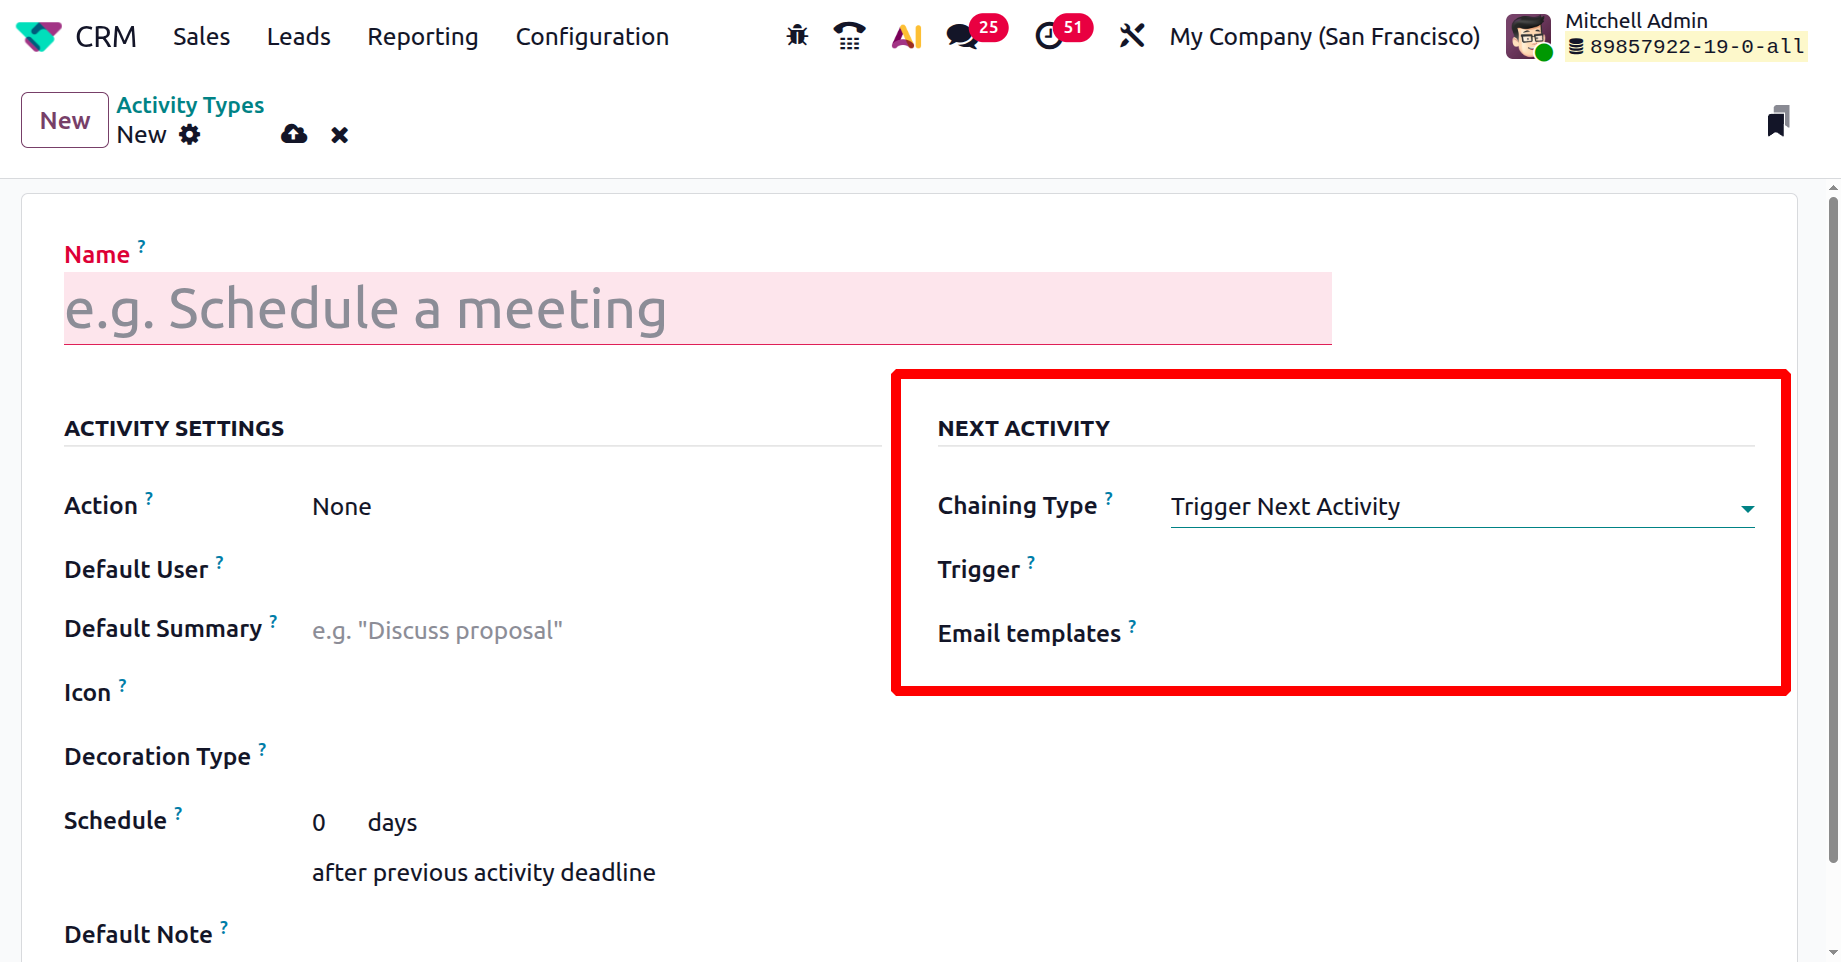
When the Chaining Type is set to Trigger Next Activity, you can specify the subsequent activity in the Trigger field. Odoo will start the new activity after completing the current one.
In the Email templates field, you can add a template to use when sending an email to customers after scheduling an activity. In the Suggest field, you can suggest an activity after completing the current one.
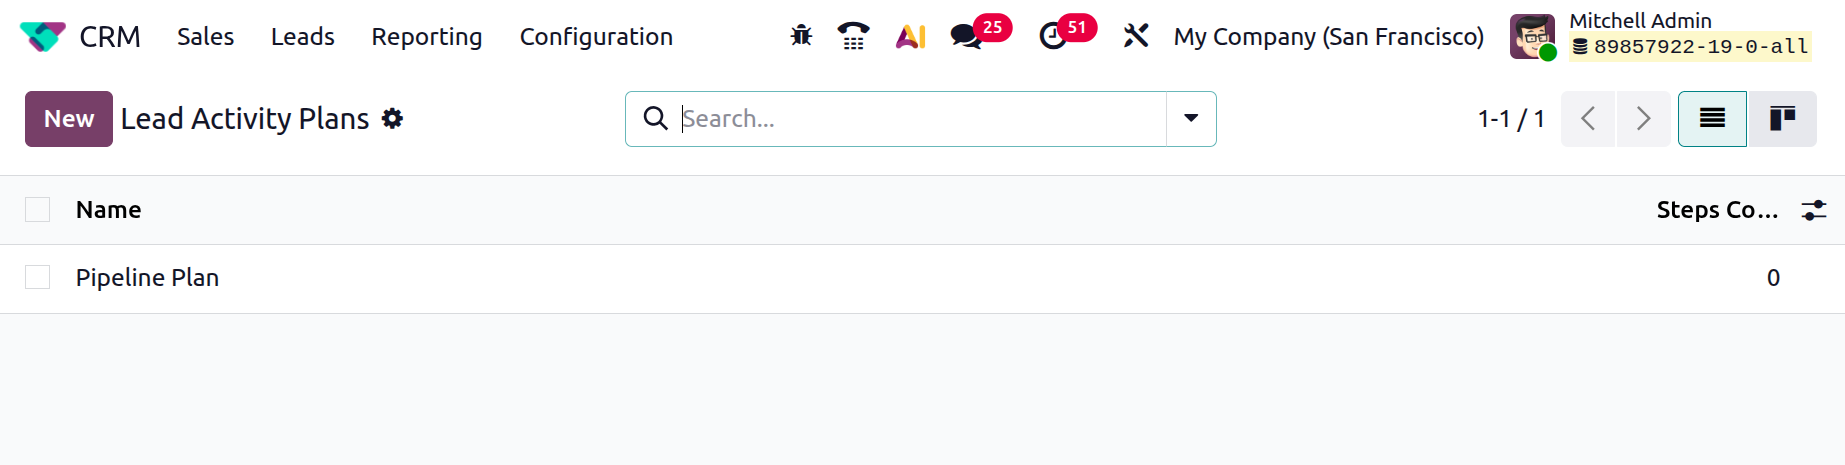
1.3 Activity Plans
In the Odoo 19 CRM module, the Lead Activity Plan is a sequence of activities assigned to leads. It helps the sales team convert leads into opportunities. Click the New button to create a Lead Activity Plan, as shown below.
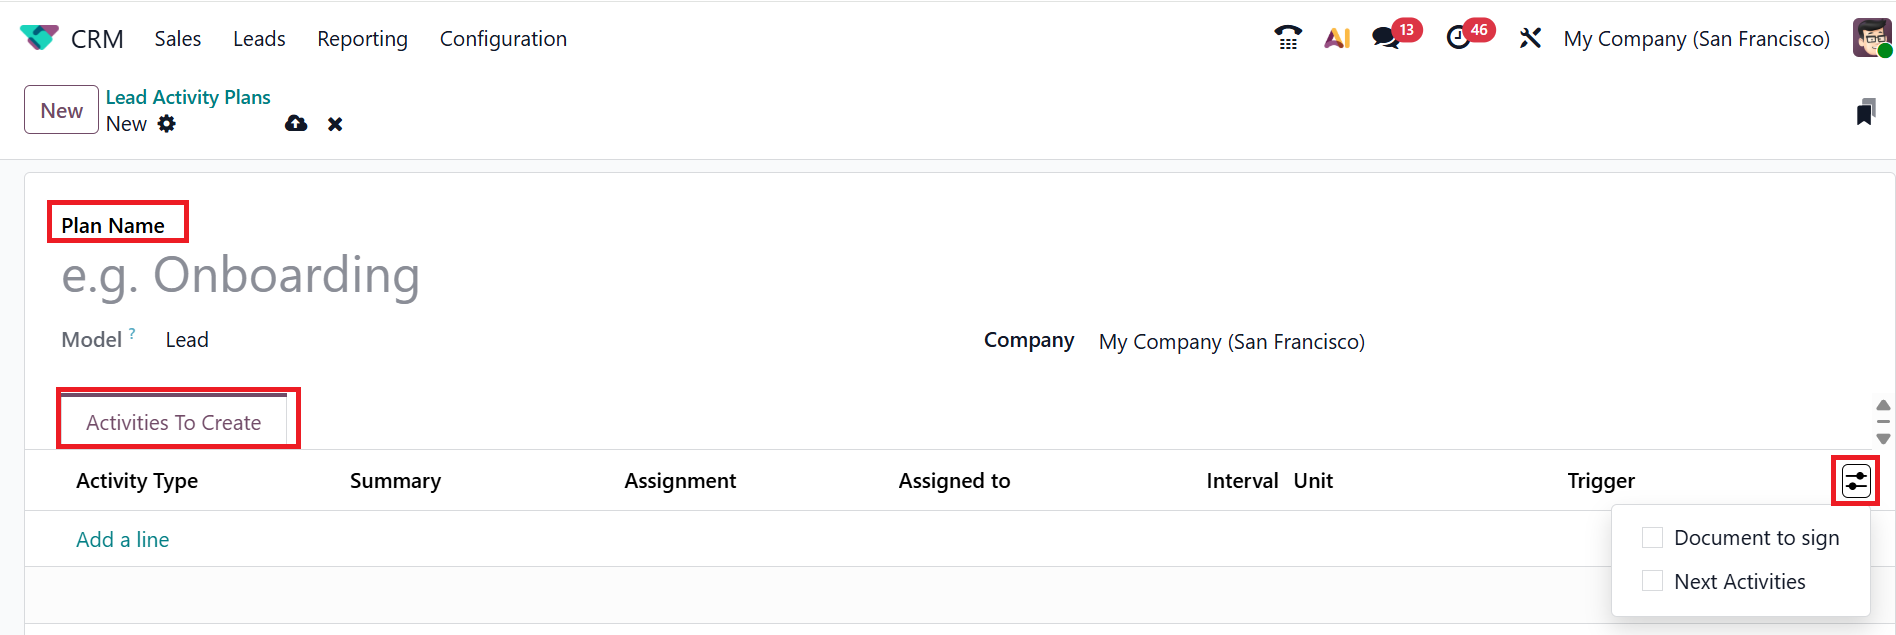
Then, provide a name for the plan in the Plan Name field. Select the Model as Lead. The Company name will be automatically filled. Under the Activities To Create tab, click on the Add a line button to select an Activity Type for the plan and fill in the details, such as Summary, Assignment, Assigned to, Interval Unit, Trigger, and add more information, such as Document to sign and Next Activities, by clicking the toggle button as shown below:
1.4 Recurring Plans
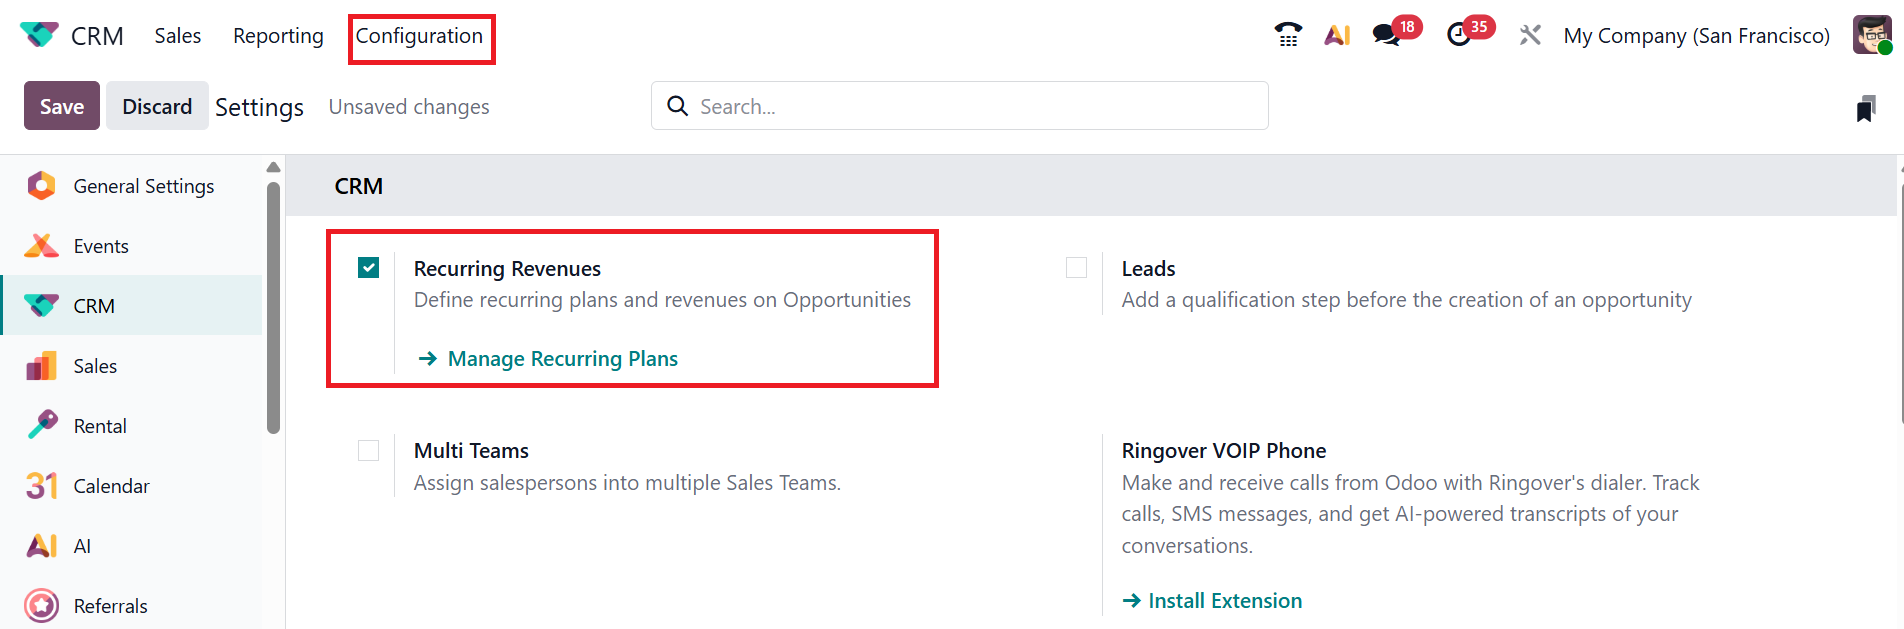
Recurring Plans refers to the amount of money that your company expects to receive regularly from a subscription-based contract. To access the Recurring Plan, move to the Settings and enable the Recurring Revenues option as shown below:
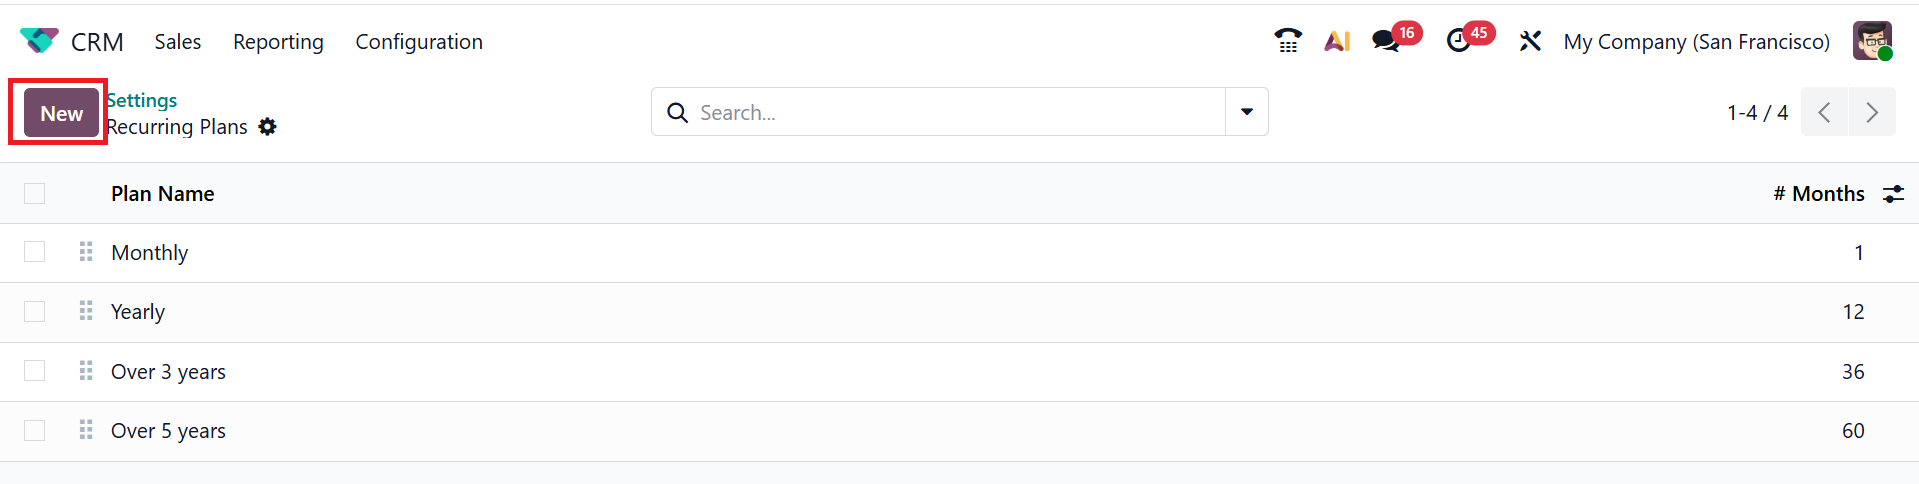
Then, click on the Configuration menu and select the Recurring Plan option. To create a new recurring plan, click the New button, as shown below. You can add the new recurring plan under the Plan Name field, and you can also view the pre-configured ones. Add the plan name and Months.
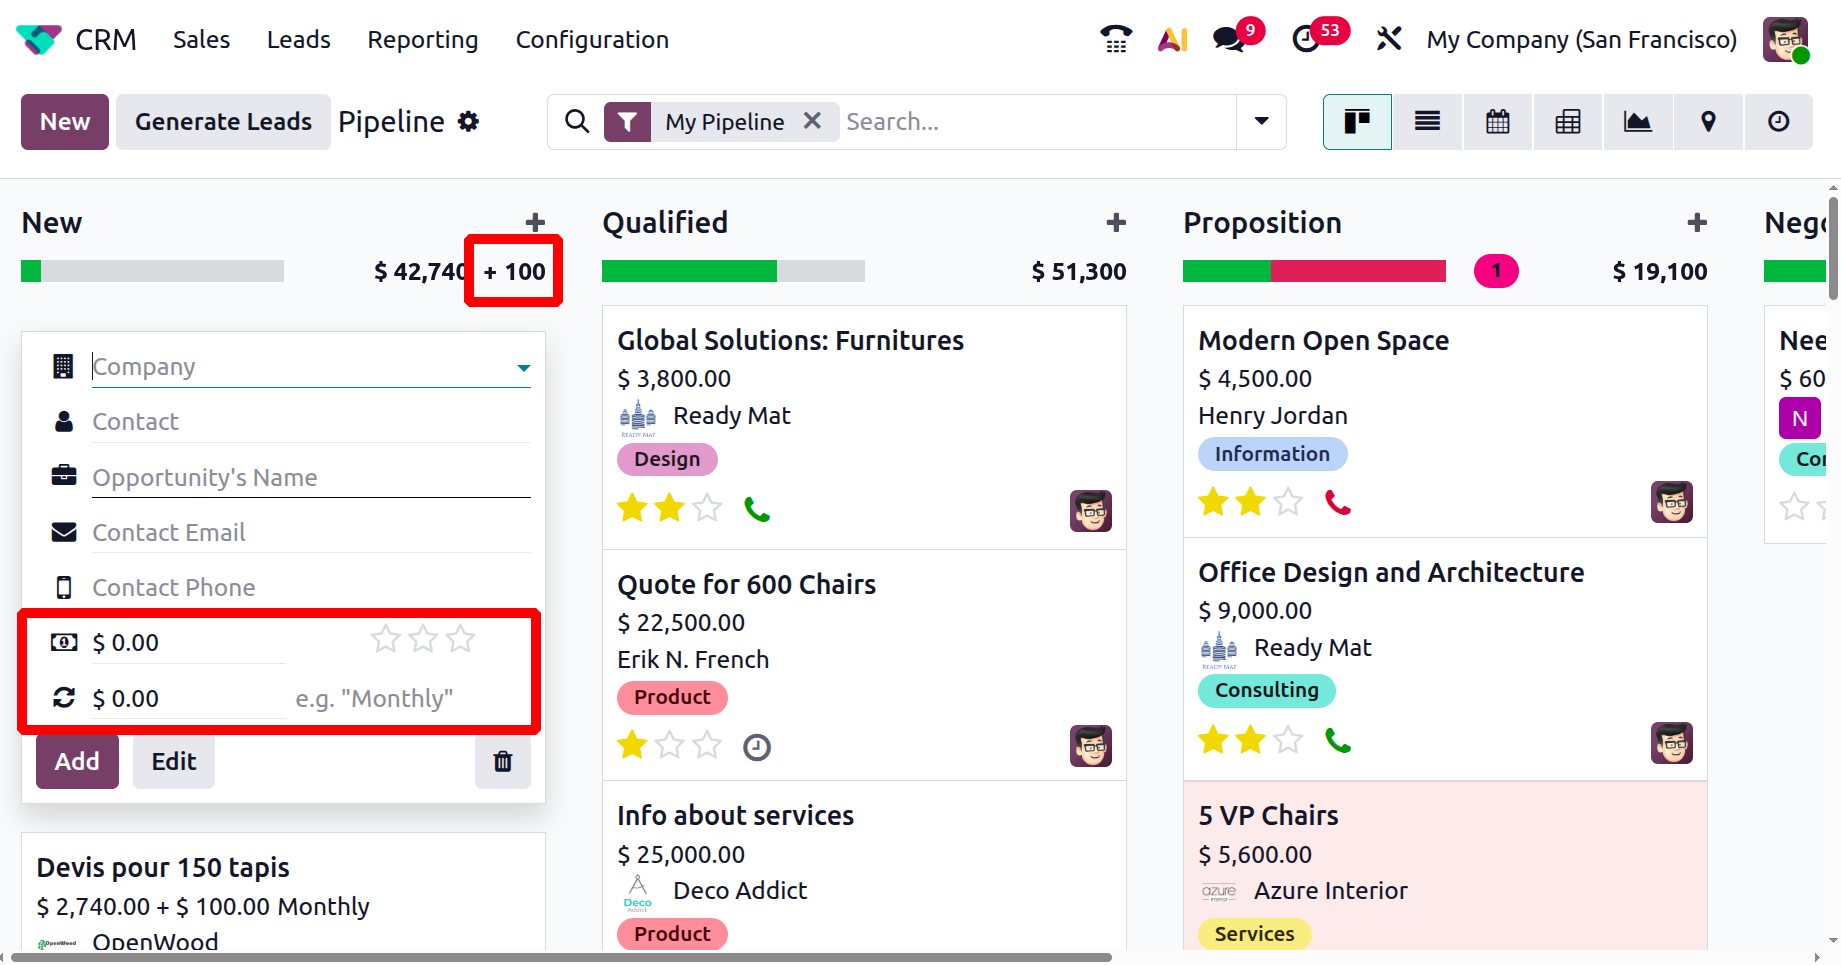
Then, select a lead from the Pipeline view and add the recurring amount under Expected Revenue, as shown below. For example, add the recurring amount as $100. Next, choose a recurring plan from the list.
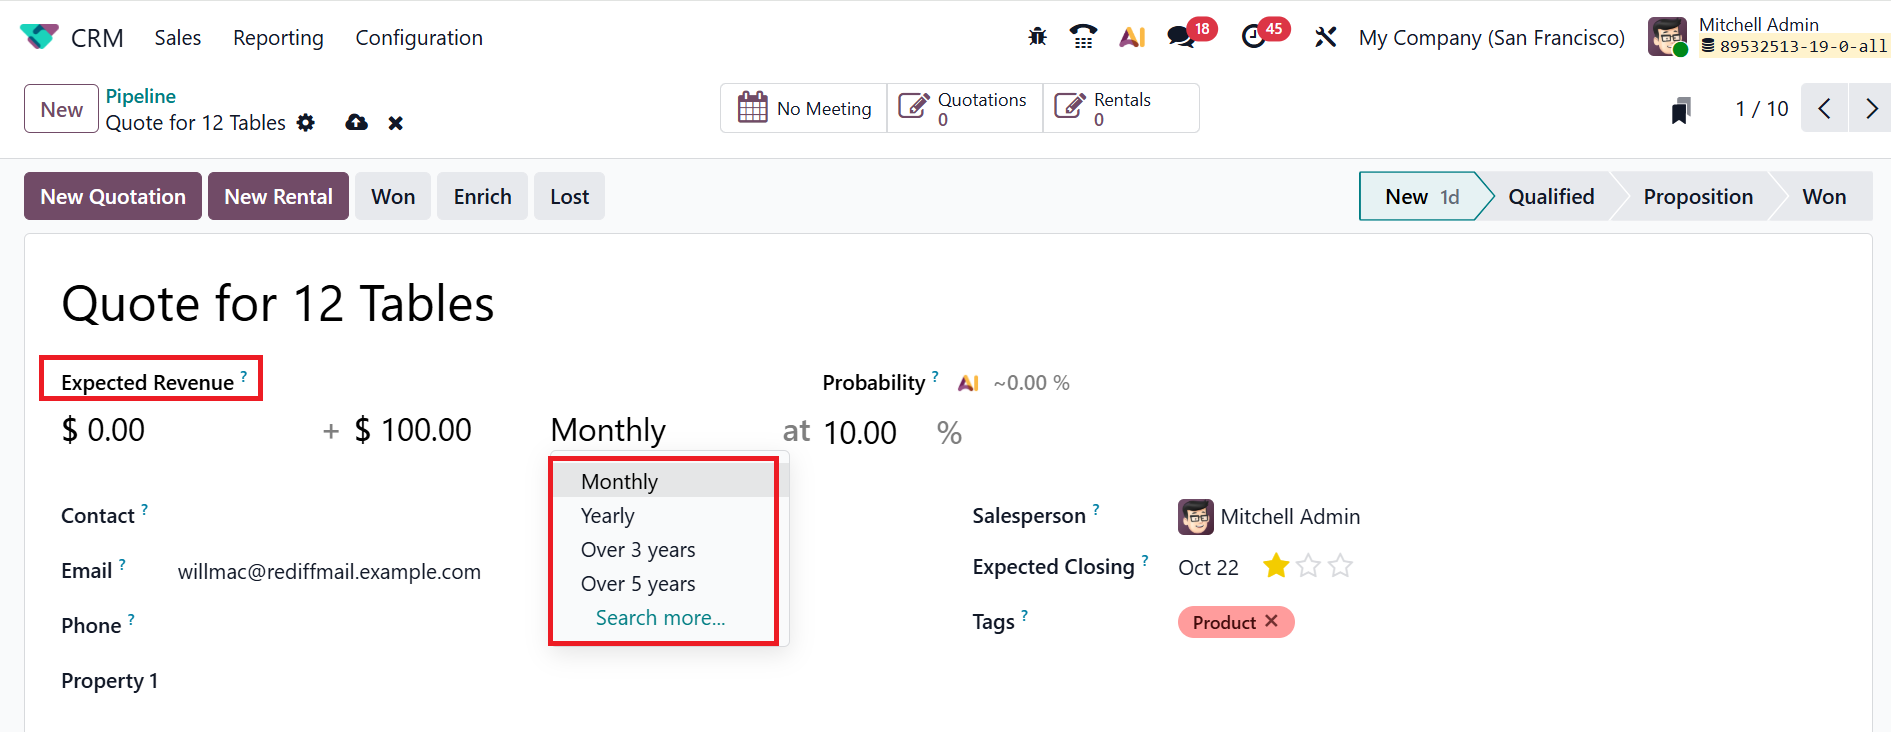
Here, you can see the recurring amount of the particular lead. Select the + icon to initiate a new opportunity. Here, you can see an expanded field as Recurring Revenue under the Expected Revenue field, as shown below:
1.5 Tags
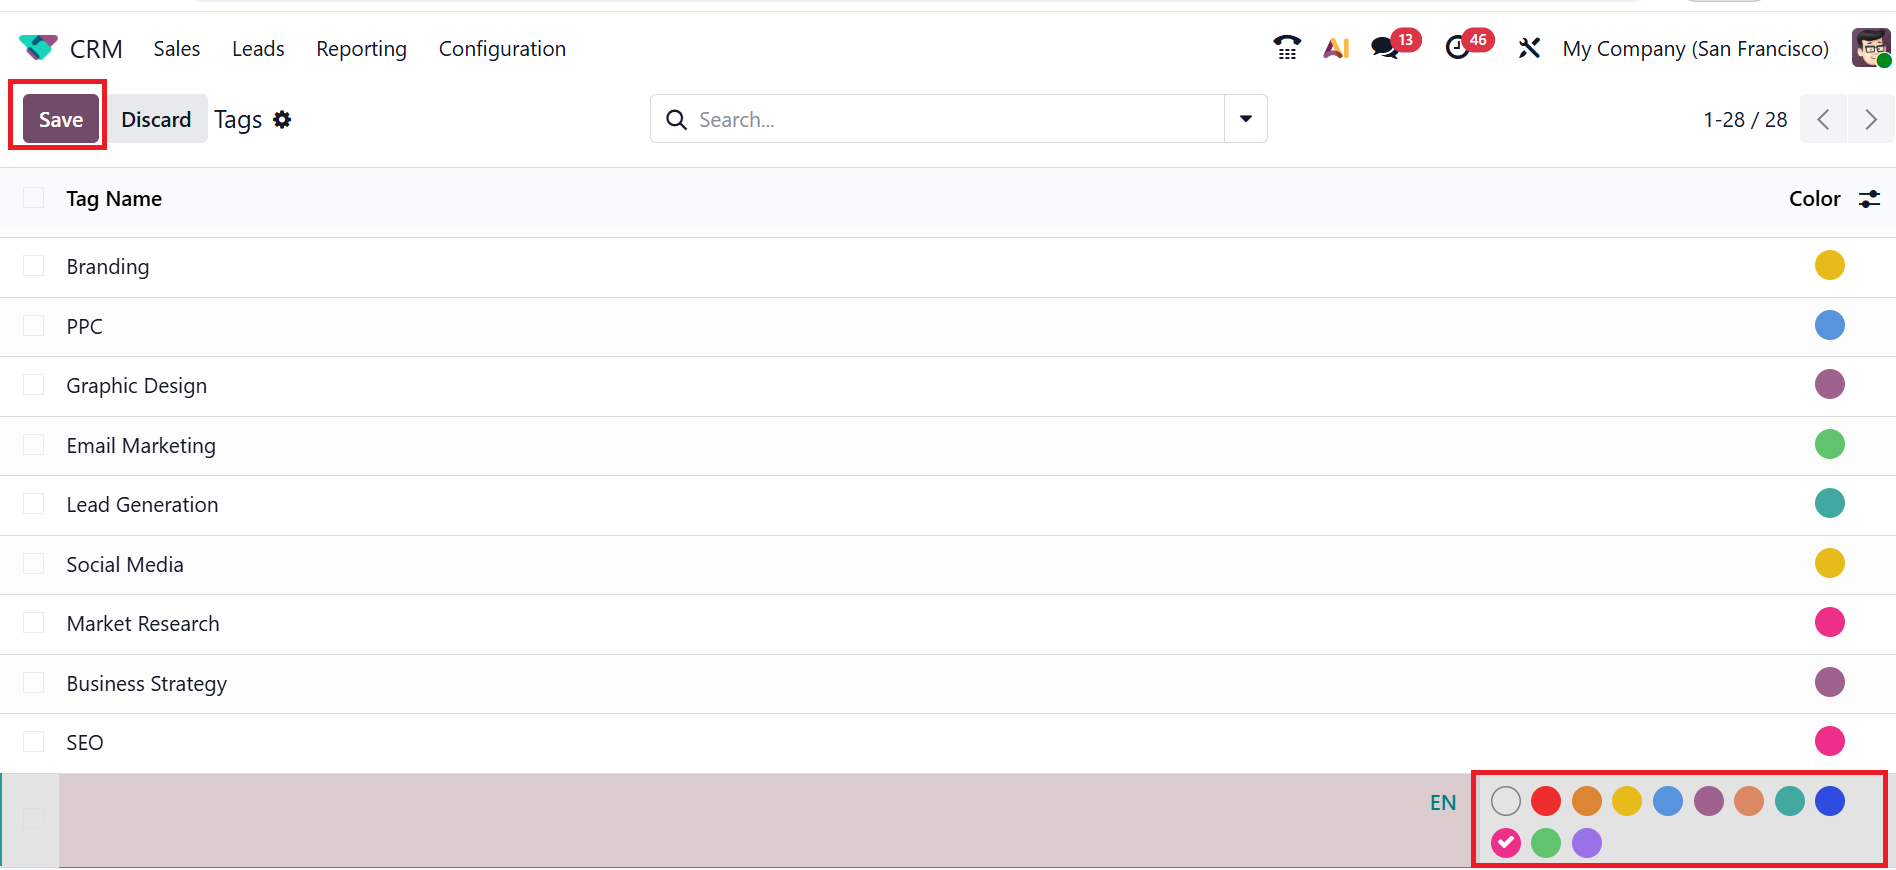
Tags in the Odoo 19 CRM module help to classify and filter the assigned leads and opportunities. Select Tags from the Configuration menu to view the existing pre-configured tags. To create a new tag, click on the New button as shown below:

Add a Tag Name for your new tag and select a color for the tag. Then, click on the Save button to save the newly created tag as shown below:
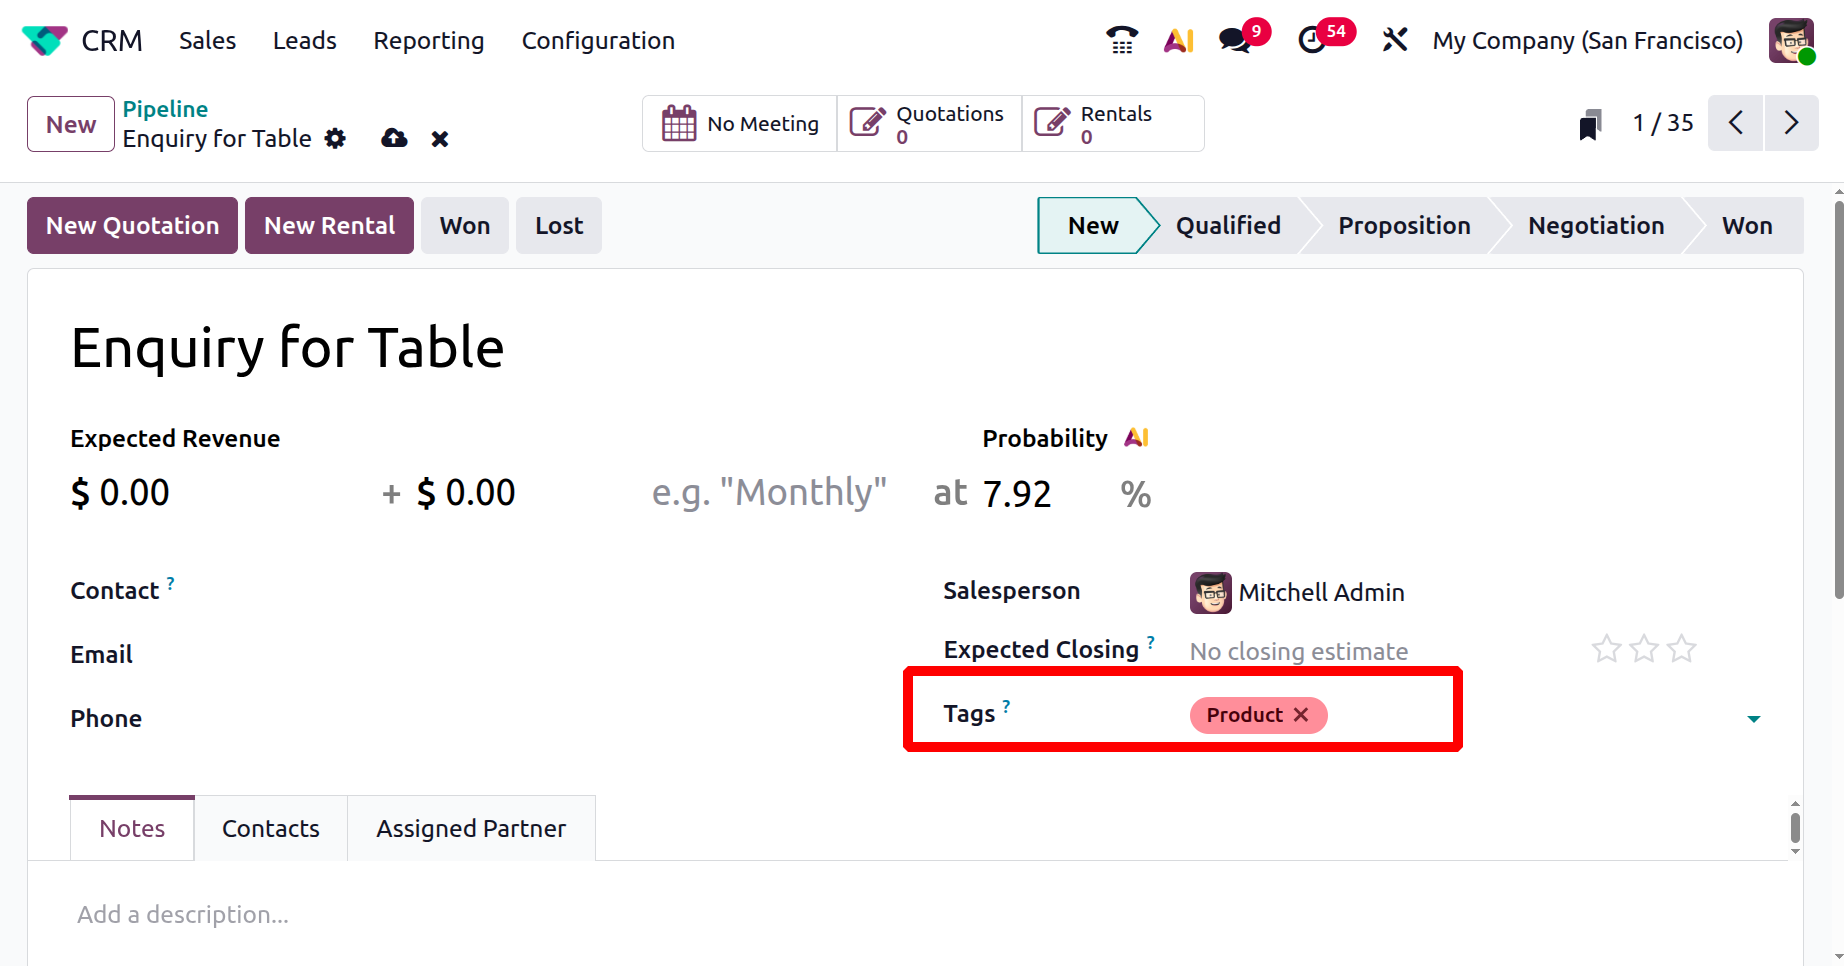
You can use these Tags while creating or editing leads/opportunities, as shown below. It helps to classify or analyze the leads/opportunities.
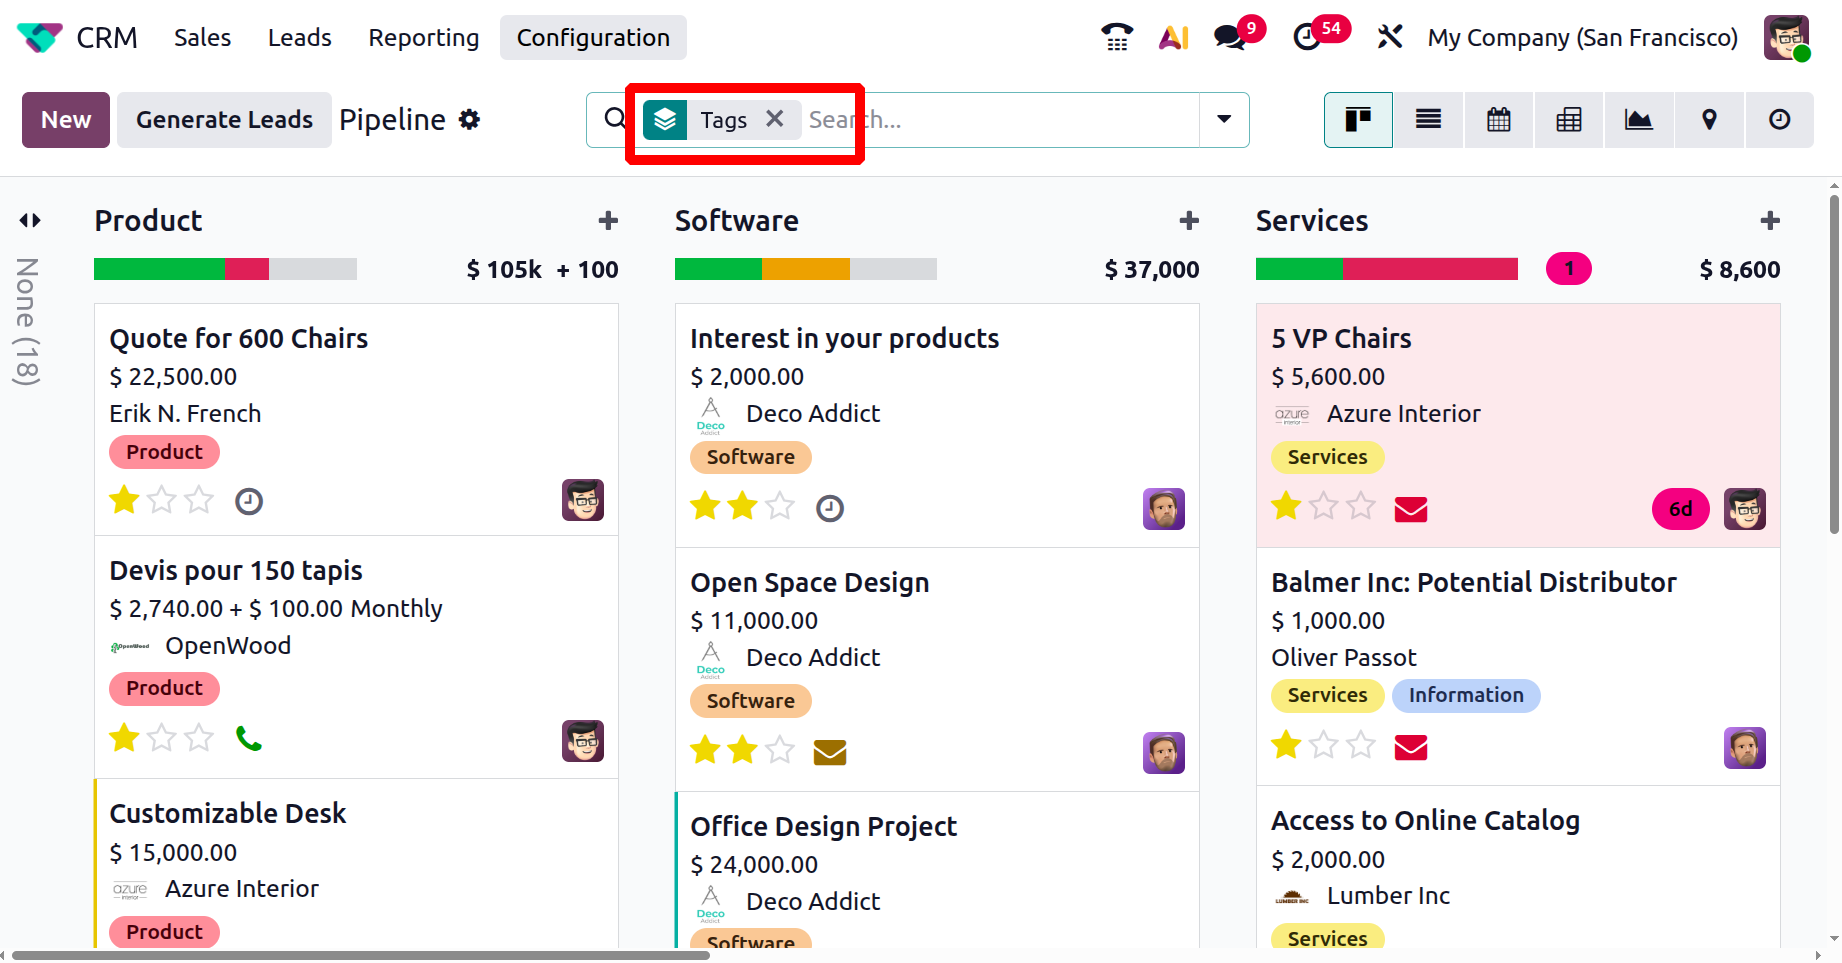
You can use these tags to search, filter, or group the leads/opportunities in the pipeline views, as shown below:
1.6 Lost Reason
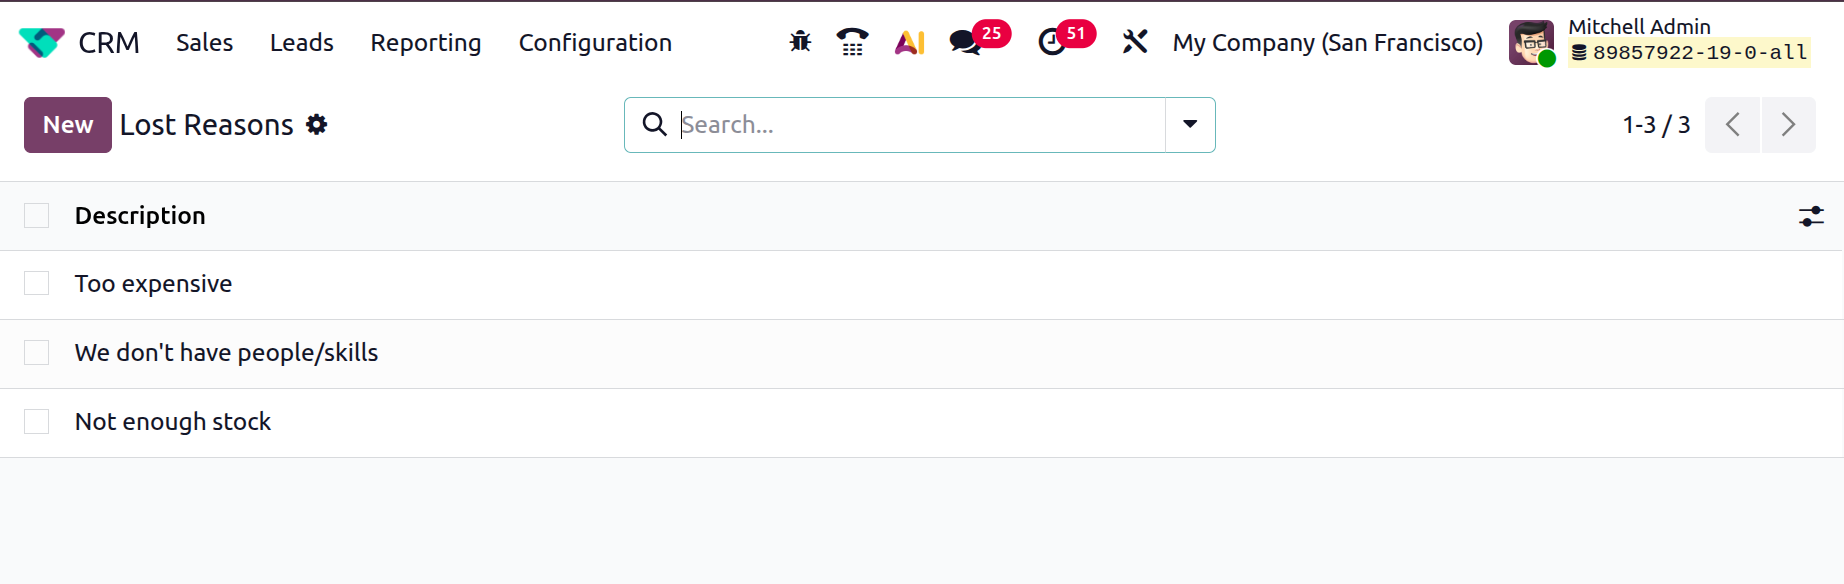
Lost Reason in the Odoo 19 CRM module is a category you assign when a lead or opportunity is marked as failed. These are the reasons to track why the leads or opportunities are not being won. Choose the Lost Reasons option from the Configuration menu, where you can see a list of lost reasons under the Description option. Click the New button to add a new lost reason, as illustrated below.
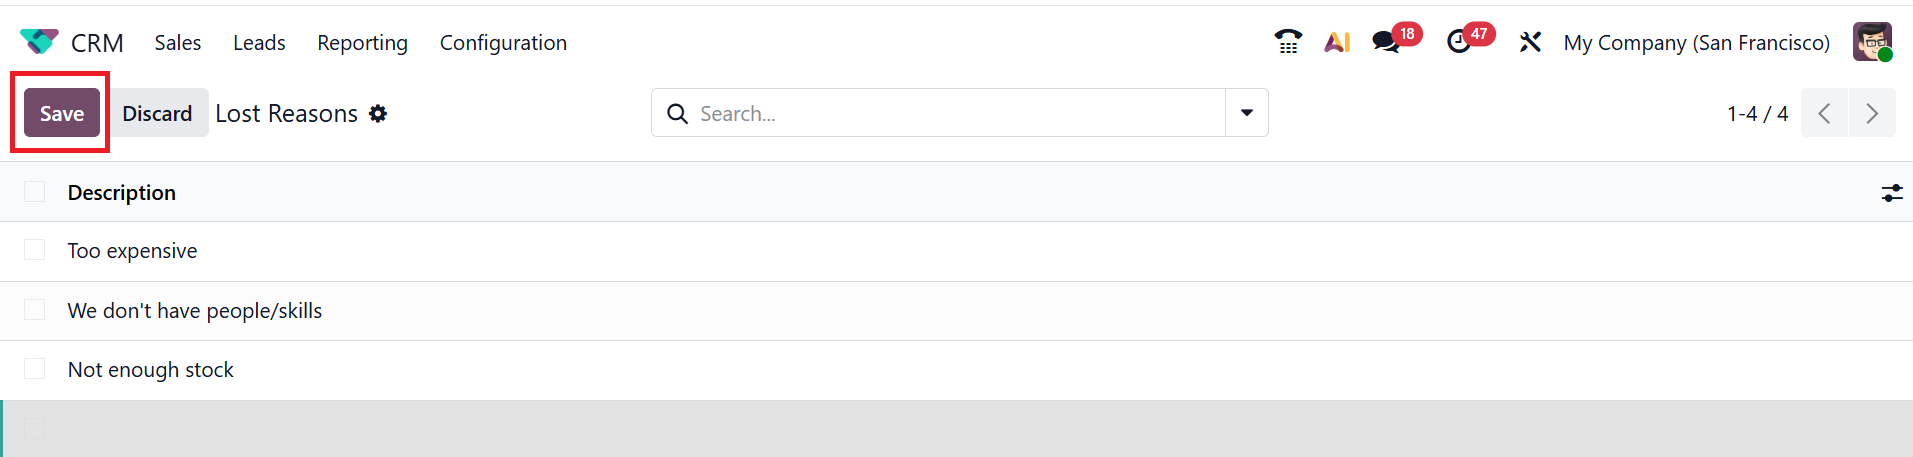
When you click the New button, a new line will appear where you can enter a reason for the lost lead or opportunity. Once you've added the reason, click Save to store it in the database.
You can use these reasons when a lead or opportunity reaches a lost stage, as explained in the above sections.
1.7 Levels
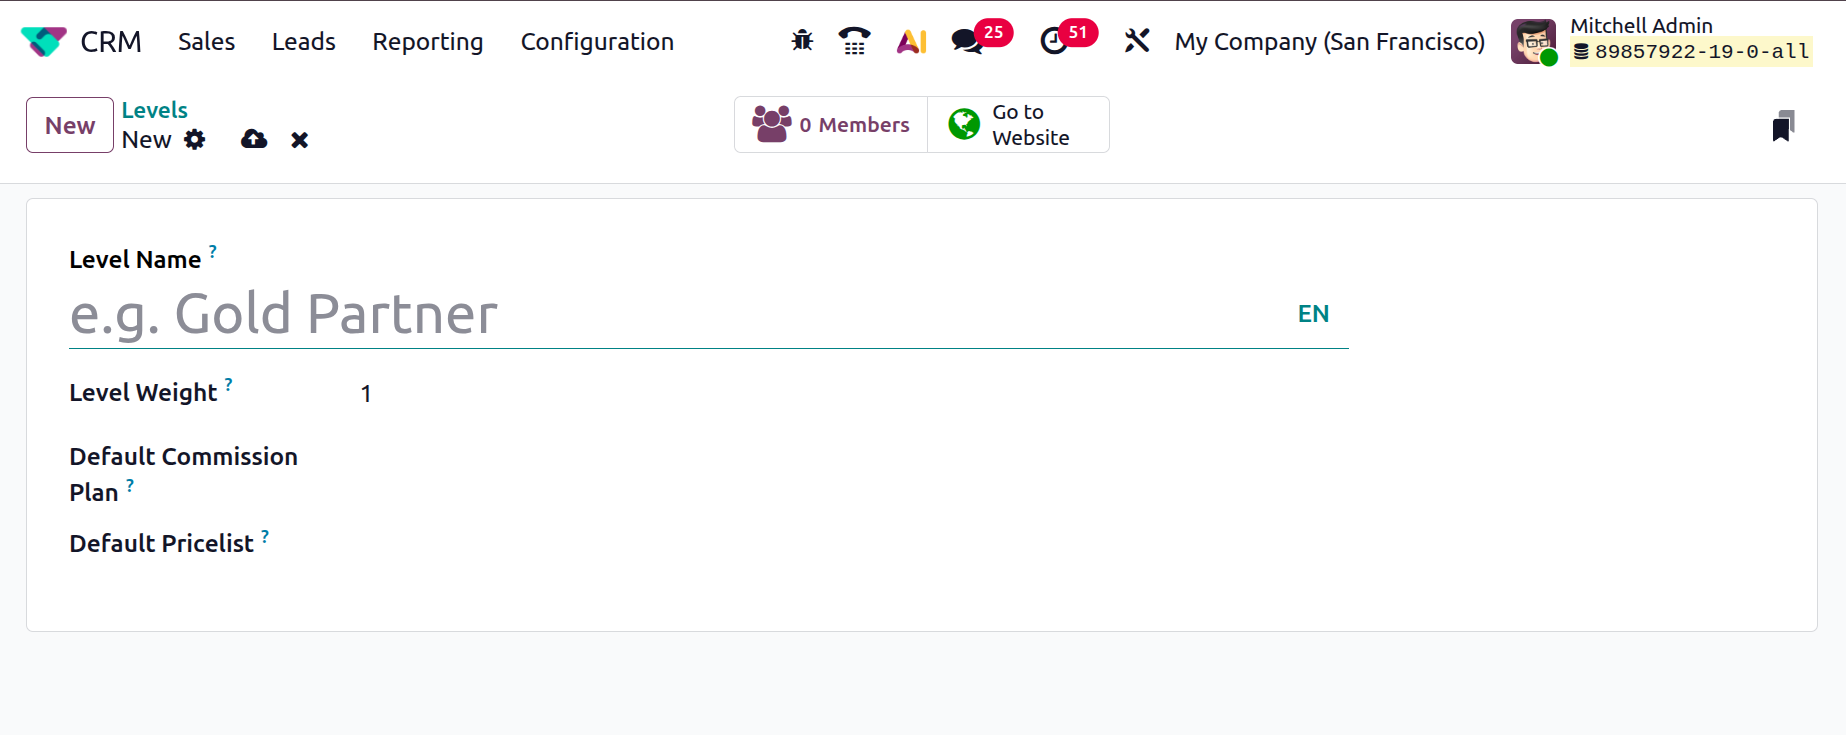
Levels in the Odoo 19 CRM module help to classify leads or opportunities. It acts as a ranking system to help the sales team select which leads to focus on first. Here, you can view the pre-configured levels under the Level Name, along with a Default Commission plan option to grade the level. To create a new level, click on the New button as shown below:

Add a name for your new level under the Level Name field. In the Level Weight field, add a probability to assign a lead to the partner. You can add a Default Commission Plan to grade the level. You can also add a Default Pricelist for the lead or opportunity. Then save the new level.
1.8 Partner Activations
The Partner Activations in Odoo 19 CRM help to track and manage the members. It allows a partner to move from being a new contact to becoming an active partner. Access the Configuration menu and choose Partner Activations from the list. There, you'll find the Name of the partner activation along with an Active option.. To create a new Partner Activation, click on the New button as shown below:
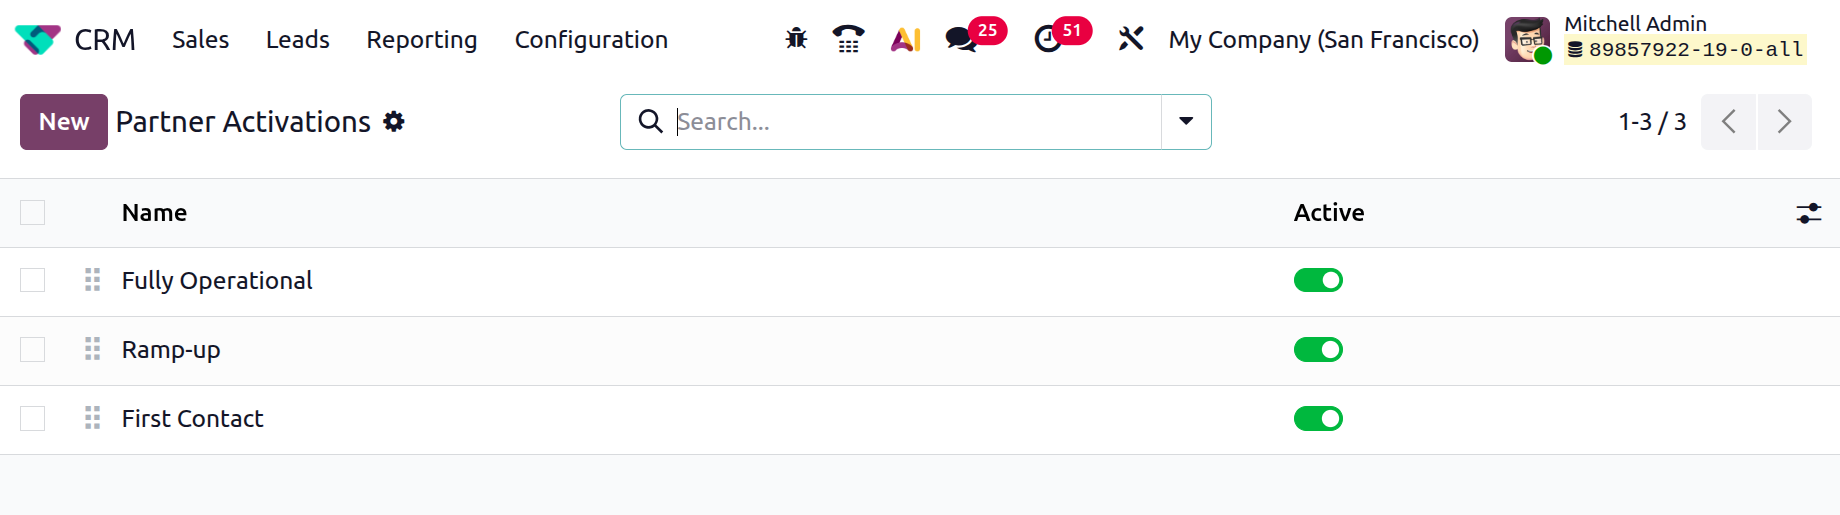
When you click on the New button, a new line will appear, where you can add the name of the partner activation and click on the Save button, as shown below:

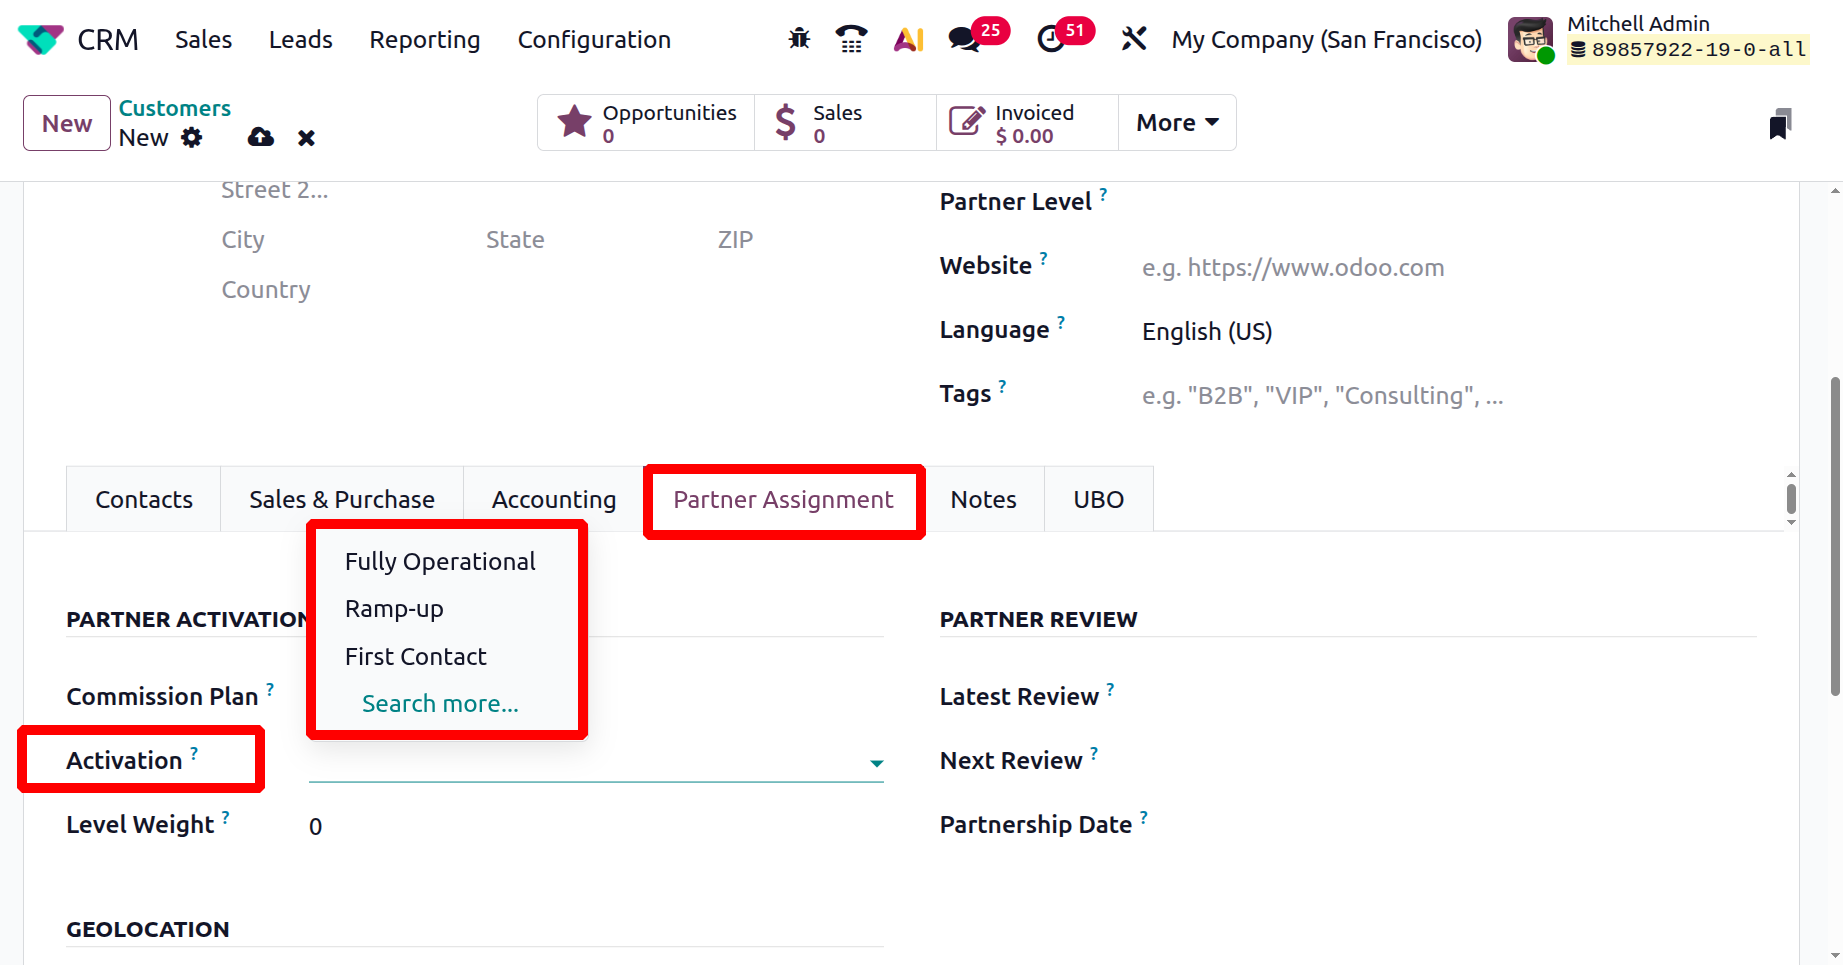
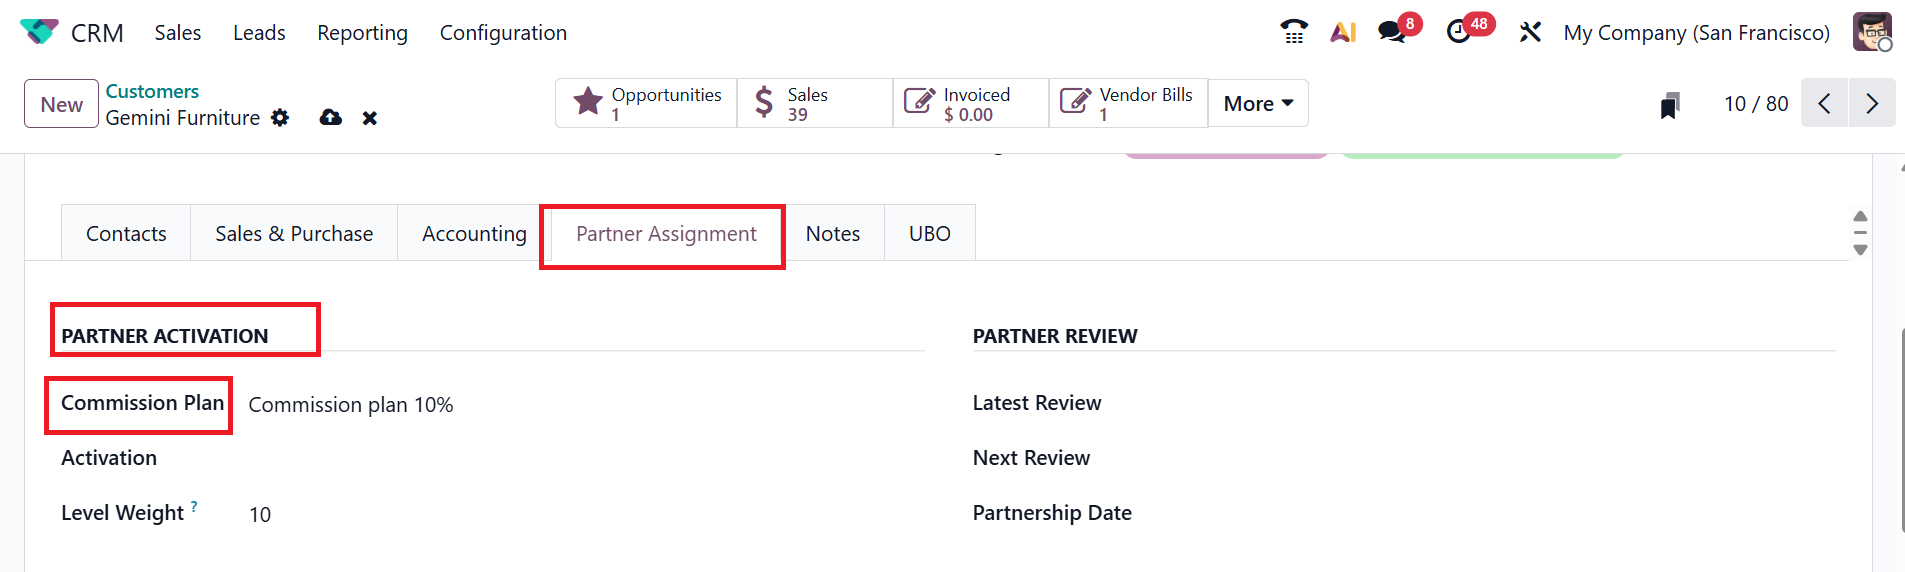
To view the Partner Activation option, go to the Sales > Customers. In the Partner Assignment tab, you can set an activation within the Partner Activation section, as illustrated below.
1.9 Commission Plans
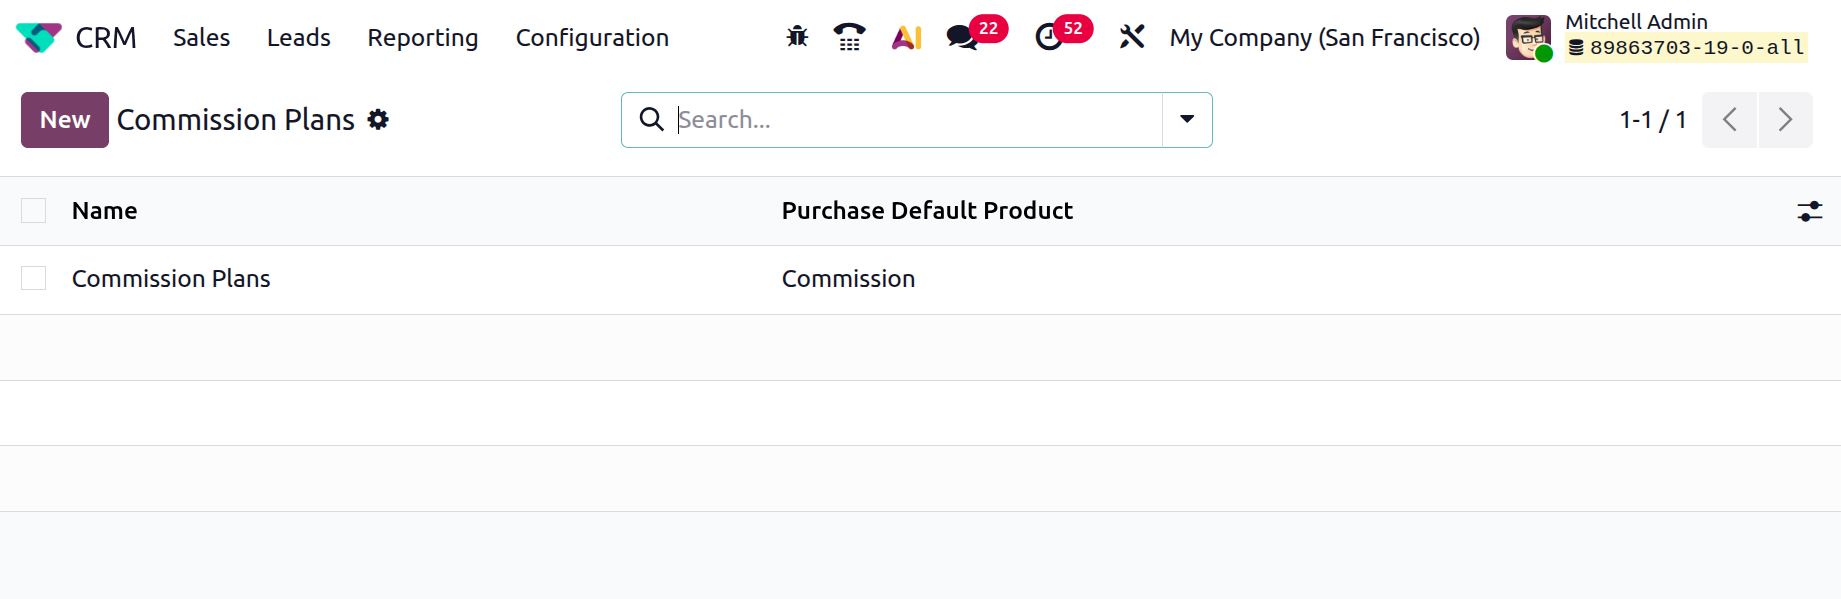
The Commission Plan in the Odoo 19 CRM module defines rules for calculating and assigning sales commissions to salespeople or teams. To access the Commission Plan, navigate to the Configuration > Commission Plans, and click on the New button to create a new one, as shown below:
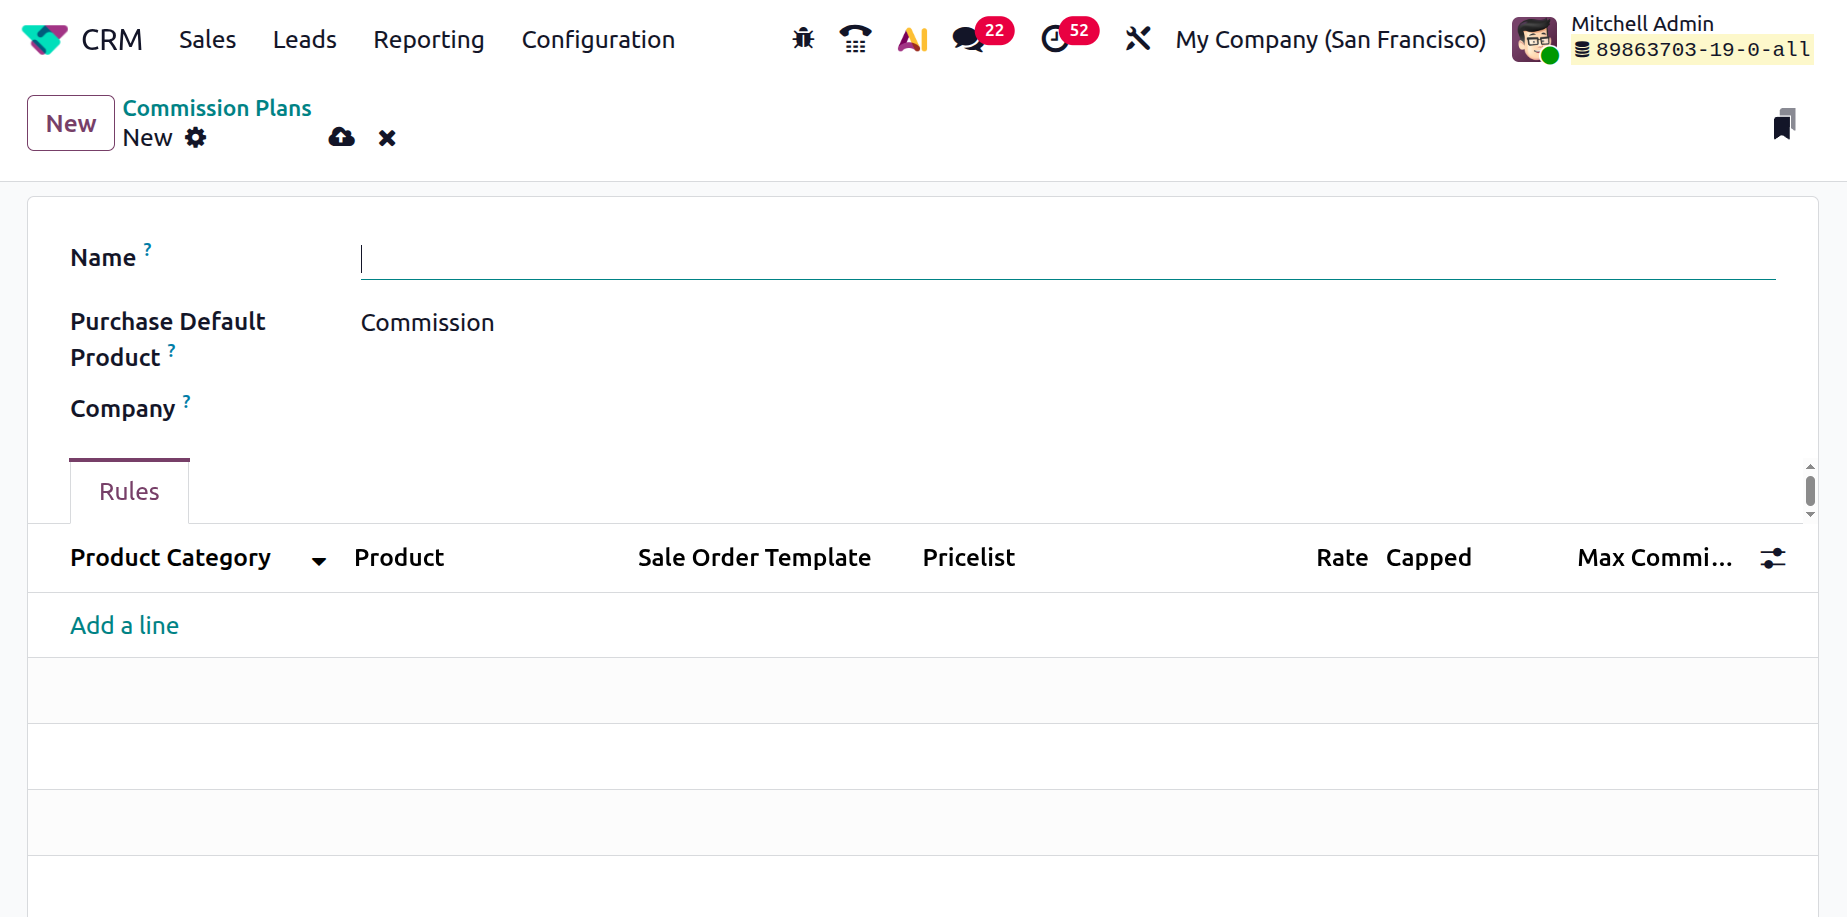
In the Name field, enter a name for the new commission. Choose Commission from the Purchase Default Product drop-down menu. Then, a purchase order will be generated automatically in the Purchase module. Under the Rules tab, click on the Add a line button to add the details such as Product Category, Product, Sales Order Template, Pricelist, Rate (the percentage of sales amount), Capped (the maximum commission amount that can be earned), and Maximum Commissions. Then, click on the Save button.
Then, select a partner contact from the Customers option under the Sales menu. Under the Partner Assignment tab, you can add the newly created commission plan in the Commission Plan under the Partner Activation, as shown below.
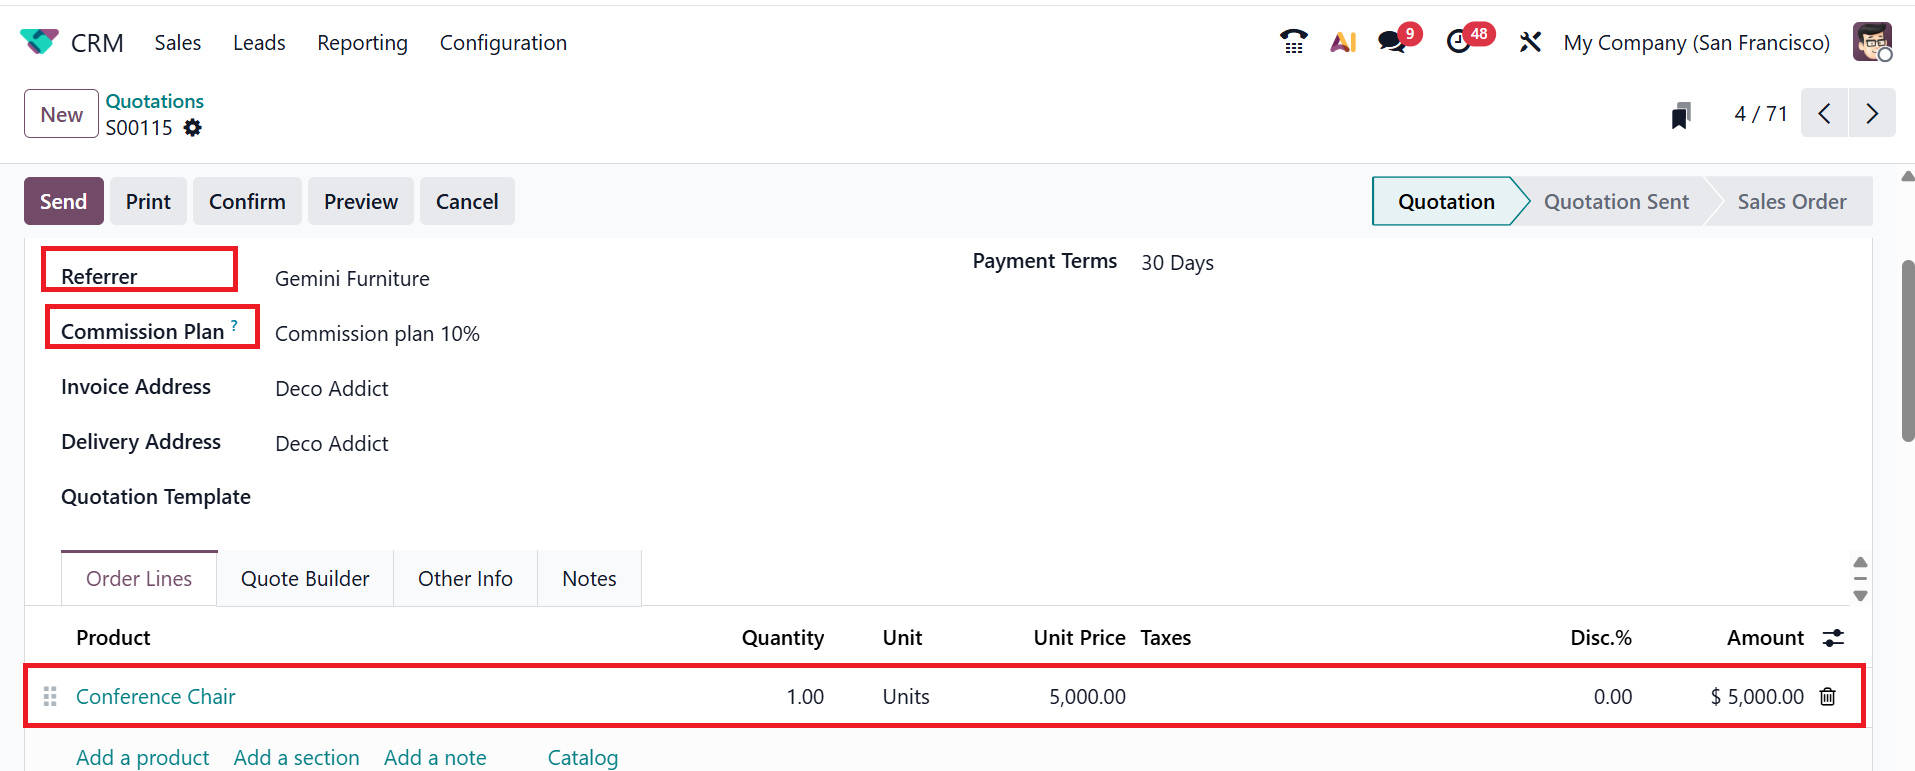
Navigate to the Quotations section under the Sales menu and purchase a product from the relevant category. The partner will earn a 10% commission based on the invoiced amount. In the Referrer field, add the partner’s ID. In the Commission field, add the newly created commission plan from the list. Under the Order Lines tab, add the product under the Product section and add the Unit Price.
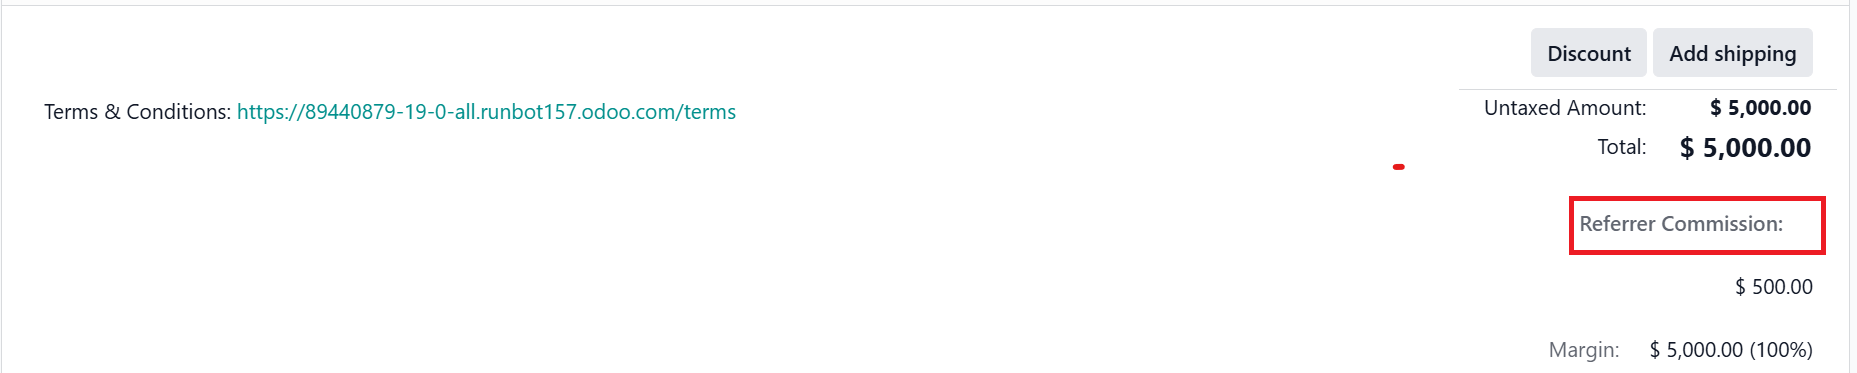
Here, you can view the commission for the partner's sales order under the Referrer Commission section.
Then, confirm the sales order, generate an invoice, and complete the process. Then, the commission will be sent to the partner. Then, move to the Purchase module, and the partner will receive an RFQ.
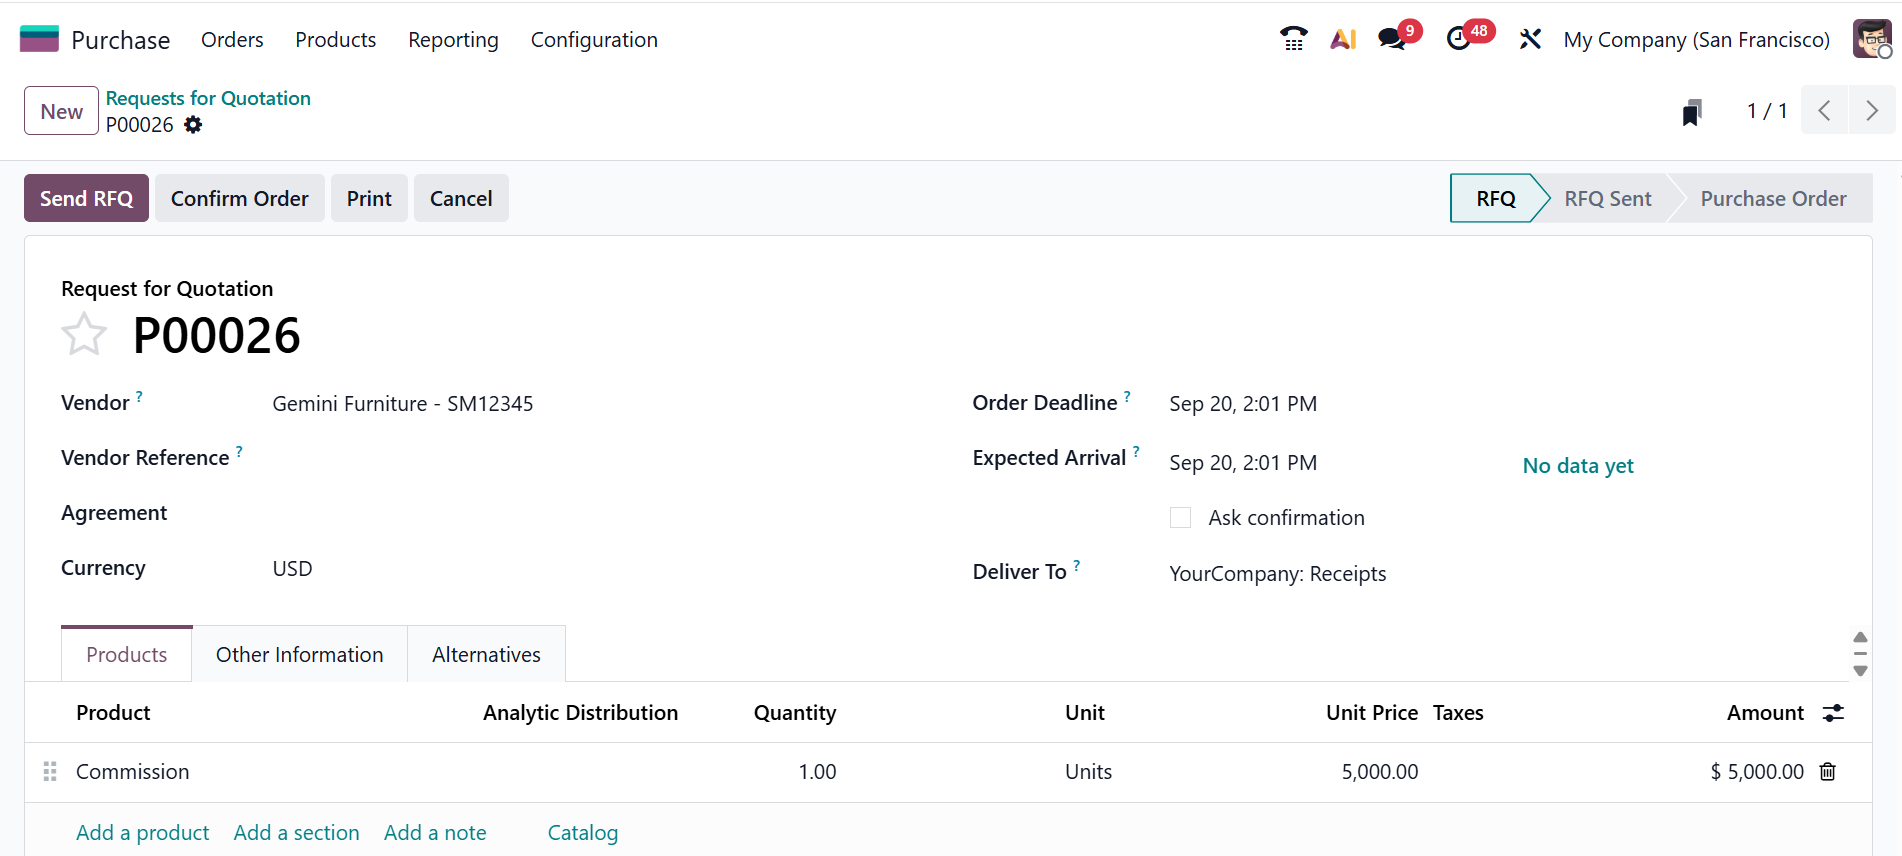
After the order is verified, the partner will receive a commission amount.
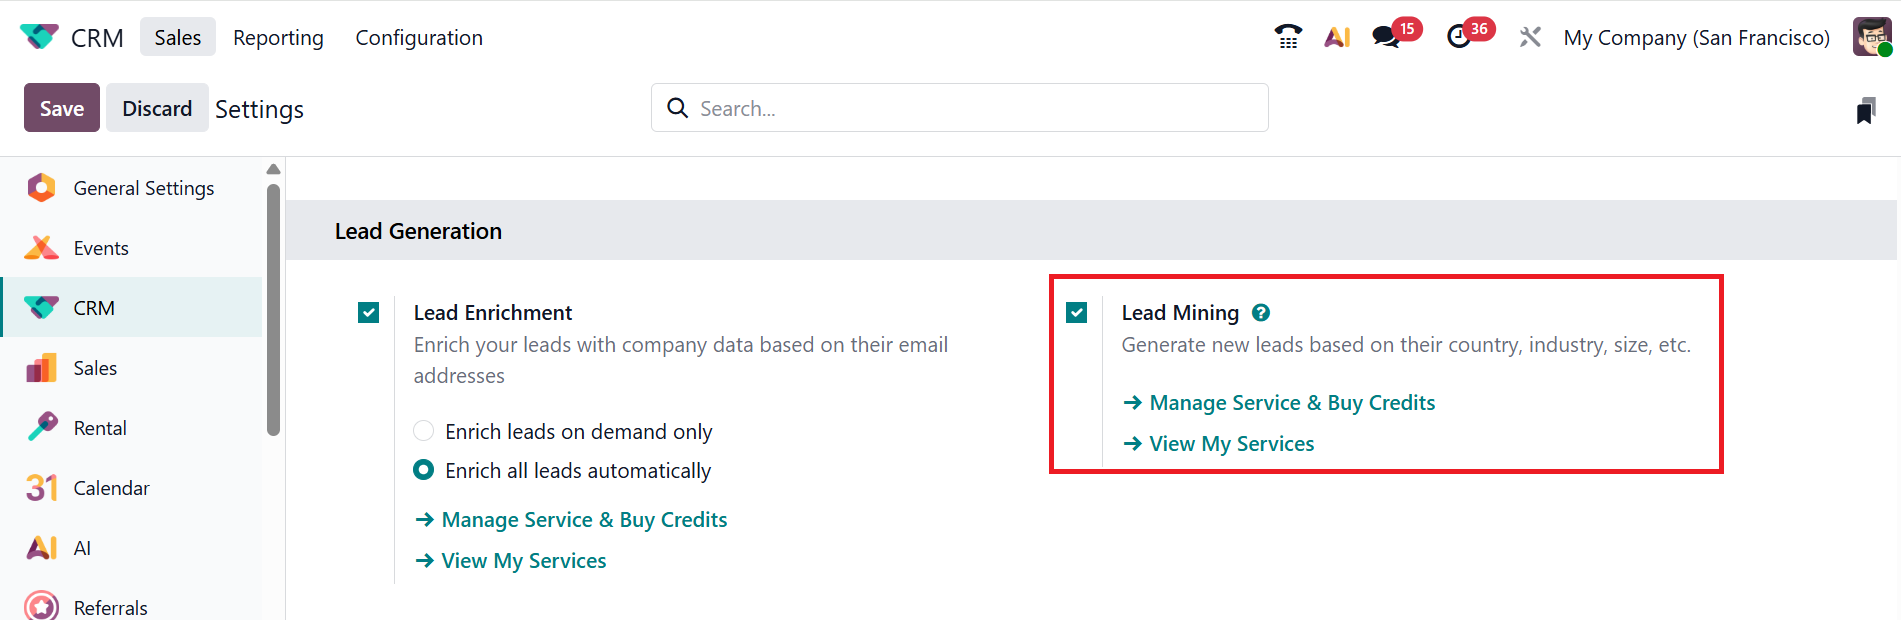
1.10 Lead Mining Requests
Lead Mining Requests is a feature that helps to generate new leads automatically into the Odoo database. To access the Lead Mining Request option, first go to the Configuration menu, then activate Lead Mining under the Lead Generation tab within the Settings section.
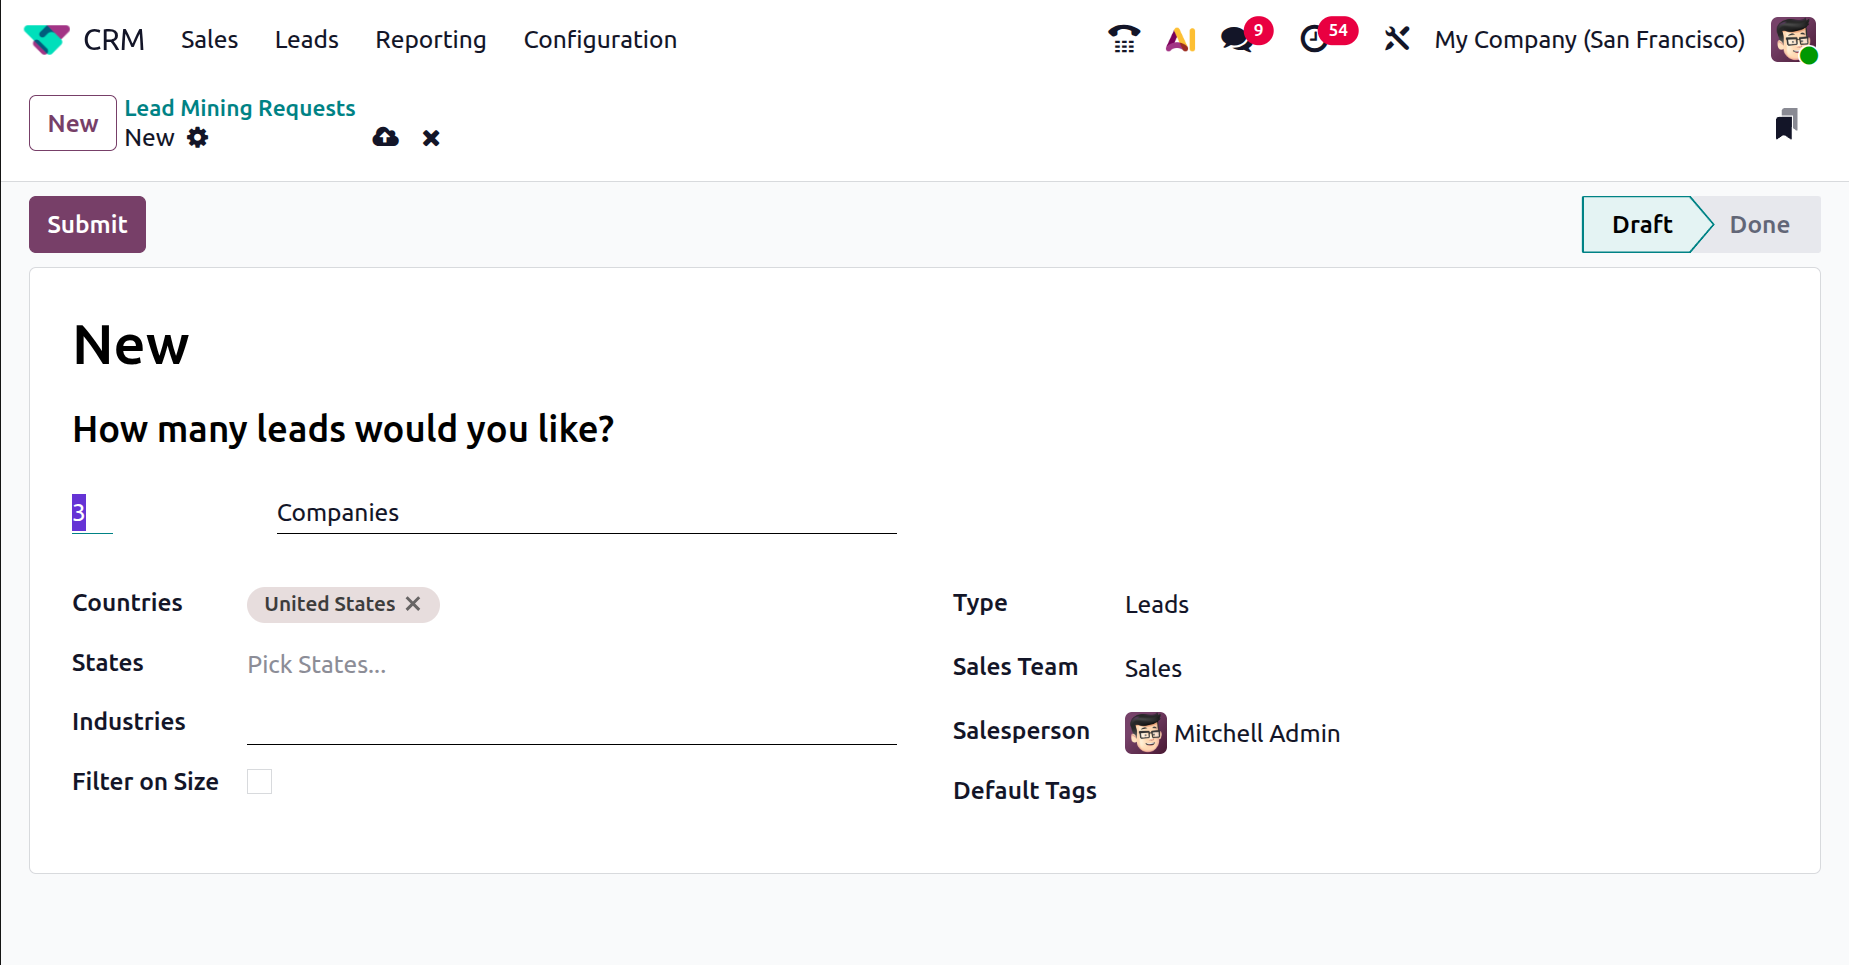
Then move to the Configuration > Lead Mining Requests. By default, you can view the details of the lead mining requests, including Request Number, Countries, Industries, and Status. To add more information, such as the Sales Team, Salesperson, Tags, or to add a new Custom Field, click the toggle button in the upper right corner of the window. Then, click on the New button as shown below:

To create new lead mining requests, add the details such as:
- Lead Count: Add the number of leads and select either Companies (information from the company only) or Companies and their Contacts (information from the company and employee contacts) to generate leads.
- Countries:Select a country or multiple countries to filter the leads.
- States: Select one or more states to filter the leads.
- Sales Team: Assign a sales team to the lead.
- Salesperson: Assign an employee from the sales team to the lead.
- Industries: Select an industry to filter the leads based on it.
- Default Tags: Select relevant tags applicable to the leads
- Filter on Size: Enable the Filter on Size checkbox to mention the number of employees in the company.
Next, click on the Submit button, as illustrated below. These lead mining requests help identify potential leads and opportunities.
Now, let's examine the other lead creation options that the Odoo 19 CRM module offers.
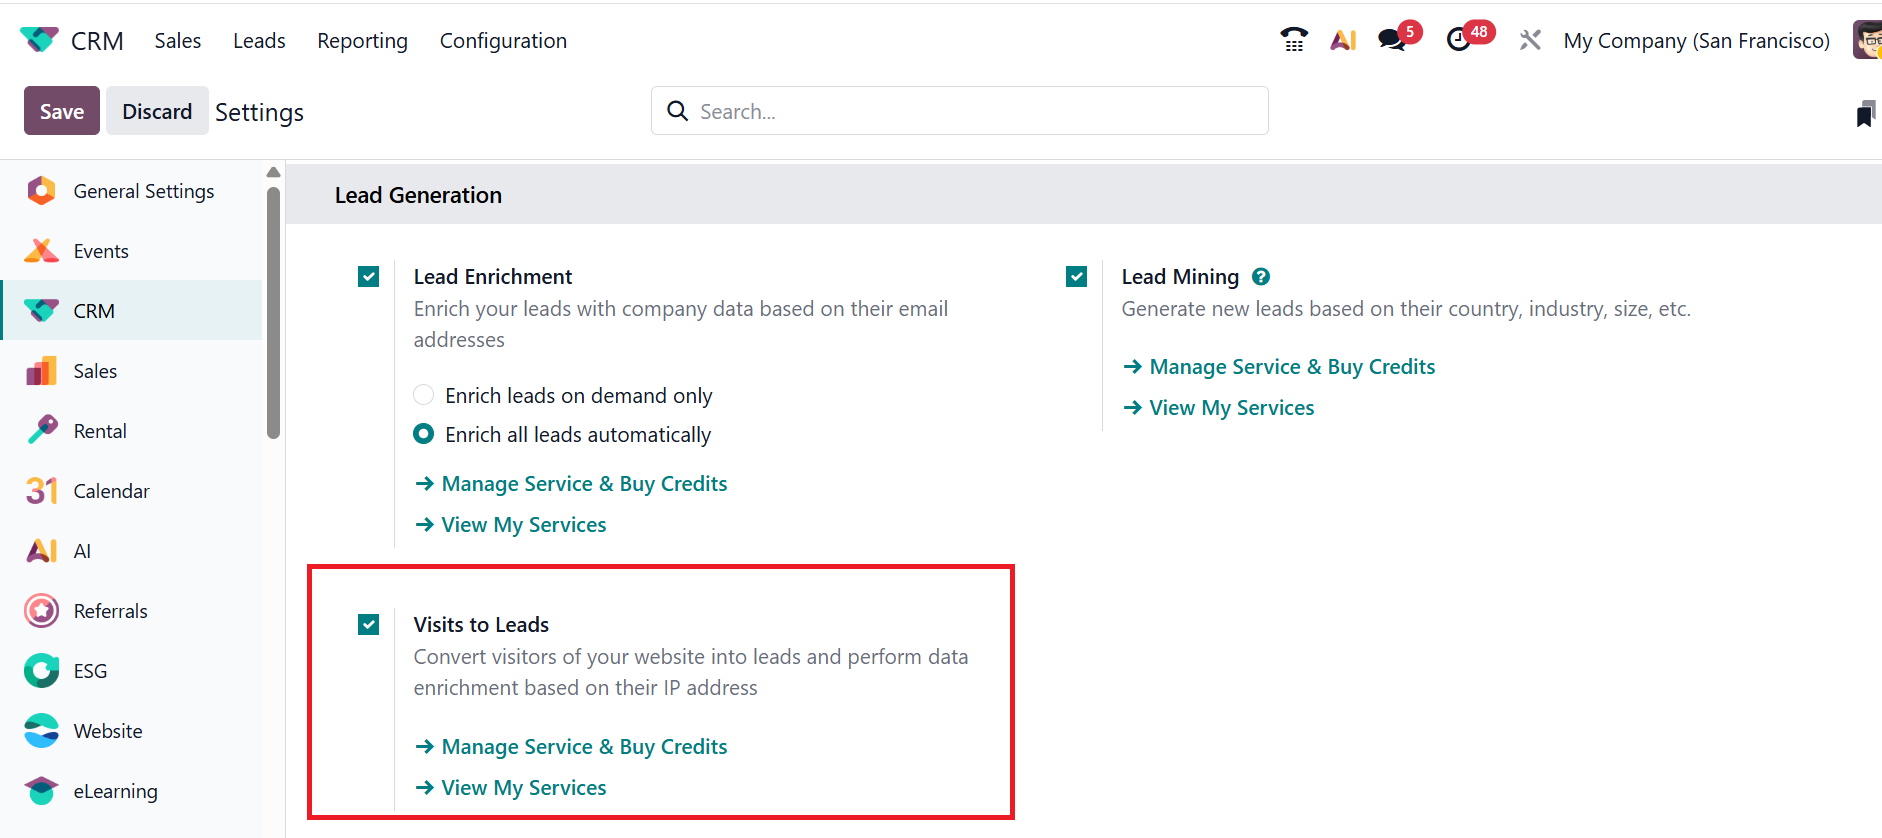
1.11 Visits to Leads Rules
You can convert the website visitors into new leads in the Odoo 19 CRM module. To access this feature, go to Settings > Configuration and enable the Visits to Leads option under the Lead Generation section, as shown below. The data enrichment process can be done based on their IP address.
To convert website visitors into new leads, ensure that the Website module has been installed in Odoo. In the CRM module, go to Configuration and then choose Visits to Leads Rules.
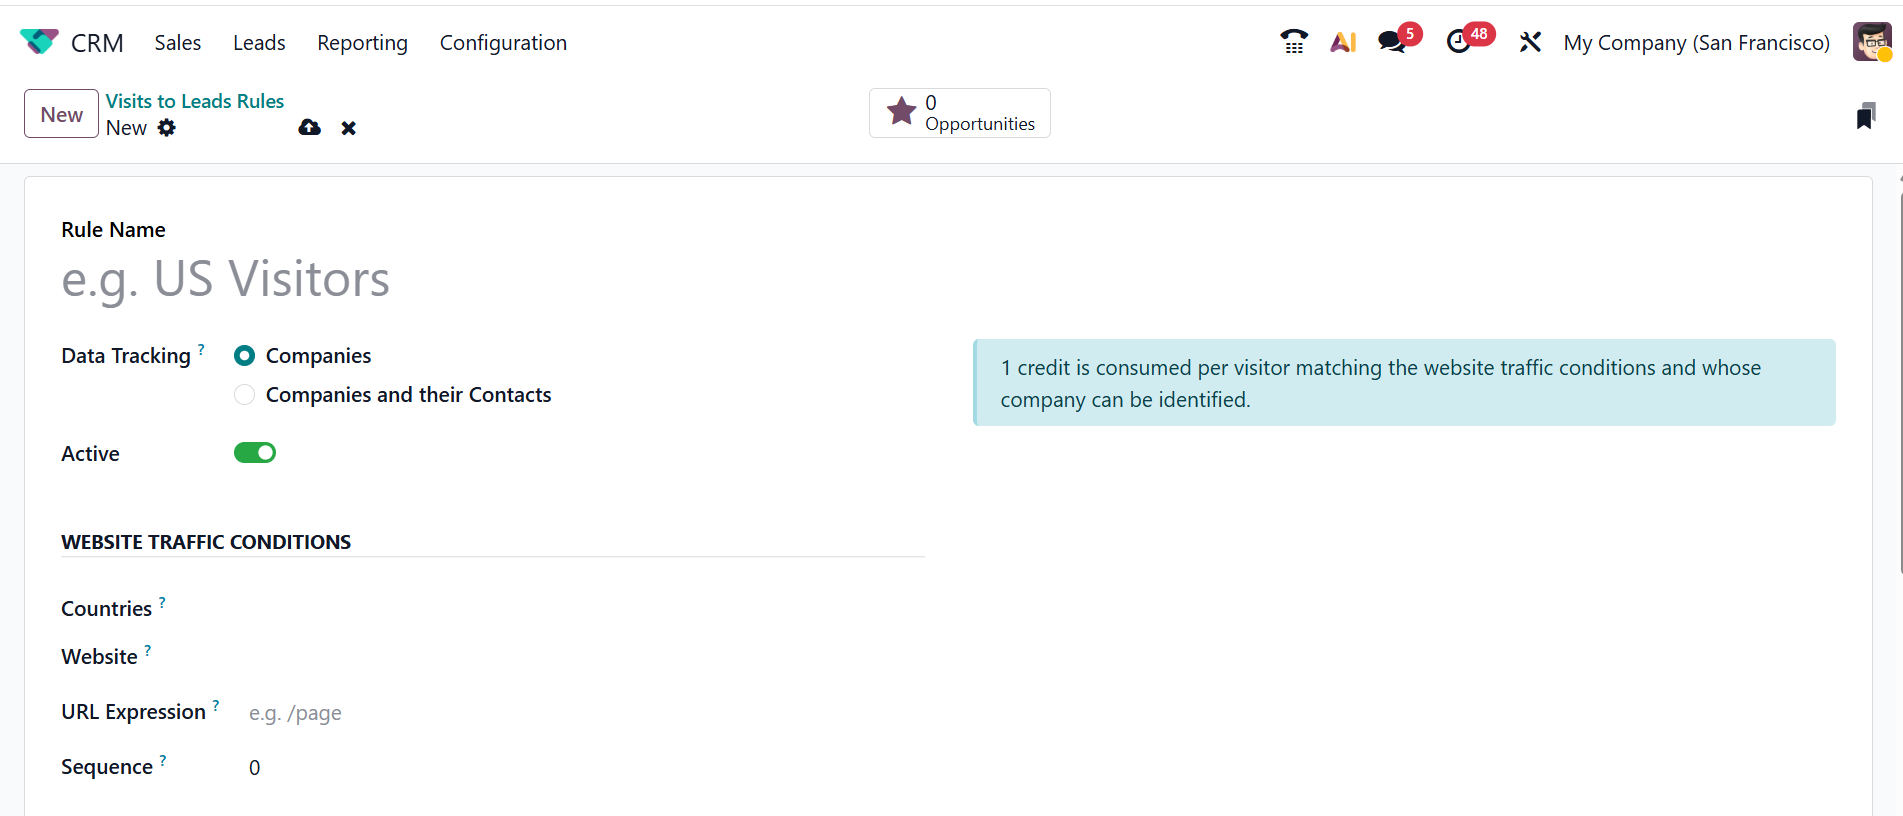
The Visits to Leads Rules window shows the options such as Rule Name and Type. To create new information to convert visitors to leads, click on the New button as shown below:

Under the Rule Name option, add an appropriate name. In the Data Tracking field, select either Companies or Companies and their Contacts to specify what data to track. Then, enable the Active option to activate the created rule.
As you convert new leads from the website visitors, you need to fill in the options under the Website Traffic Conditions. In the Countries field, select a country from the dropdown menu. Visitors from the selected country can only be converted into leads and opportunities. Add a website to restrict the lead generation in the Website field. In the URL Expression field, you can leave the field as empty to track the entire website or the target homepage. In the Sequence field, you need to order the rules by URL and country, and add a rule with a lower number to consider first.
In the Opportunity Generation Conditions section, you can define the criteria for generating opportunities. Use the Industries field to select relevant industries from the dropdown to target leads — or leave it blank to match leads from all industries. The Filter on Size field lets you filter companies according to their size. Enabling this field, a new field appears where you can enter the company's size.

Under the Opportunity Data section, select the Type either as Lead or as Opportunity from the dropdown. In the Suffix field, add a suffix to easily identify the leads/opportunities that are generated with this rule. Choose a Sales Team and designate a Salesperson to handle the leads. In the Tags field, add appropriate tags to analyze the lead created by the new rule. In the Priority field, mention the number of stars based on the priority of leads. Then, save it manually. Thus, we create a new rule to convert website visitors to leads.
Activate Developer Mode:
Activate Developer Mode from the Settings module of Odoo 19 to access functions such as Team Members and Stages in the Odoo 19 CRM configuration menu.
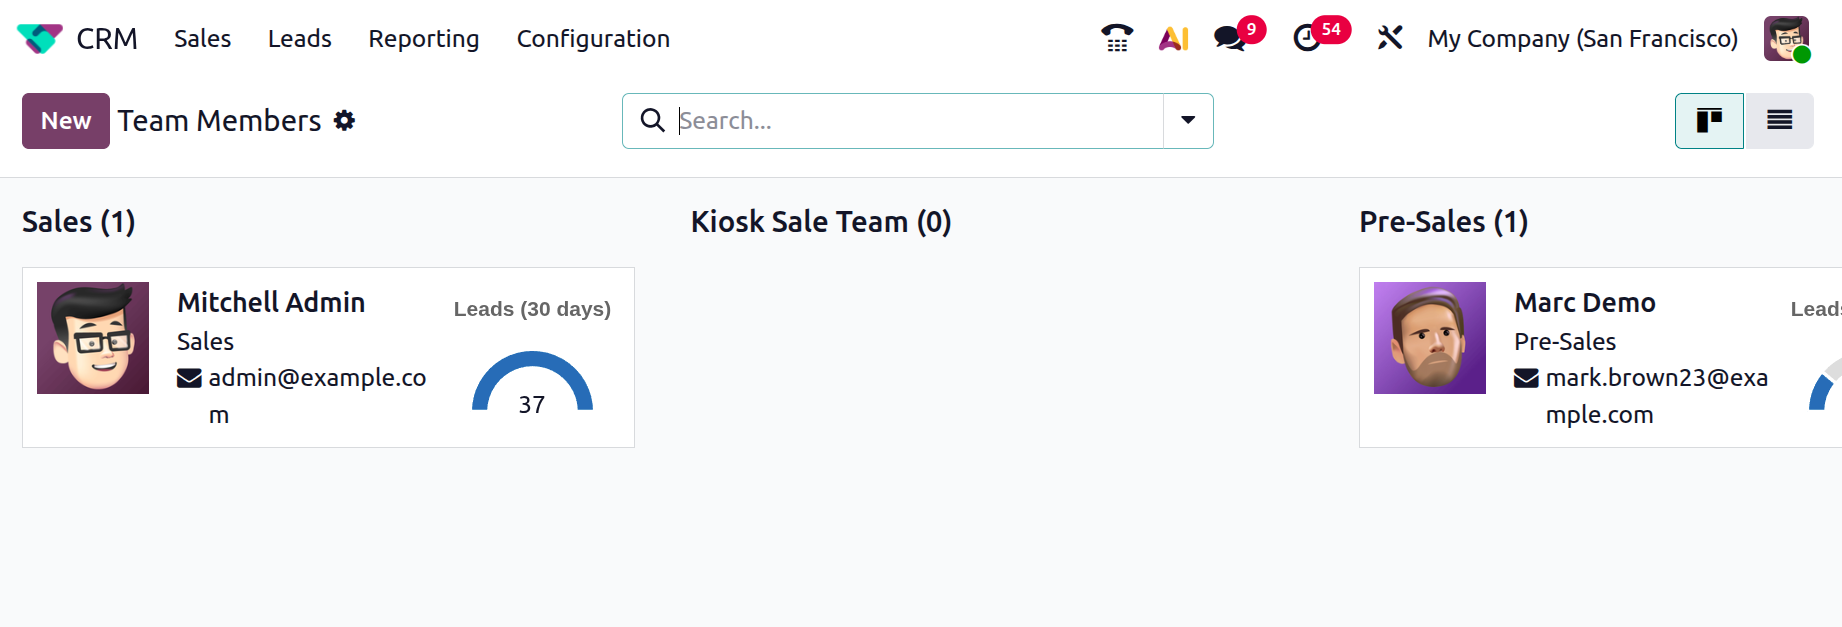
Team Members
Select the Team Members option from the Configuration menu, which is used to manage and assign users to specific Sales Teams. Here, you can view each sales team along with its members. Use the New button to add members to the Sales Team.
Add a salesperson in the appropriate field and select a Sales Team for the chosen salesperson. Under the Lead Assignment tab, you can see two options: Capacity and Pause Assignment. The Capacity field allows you to set the maximum number of leads or opportunities.
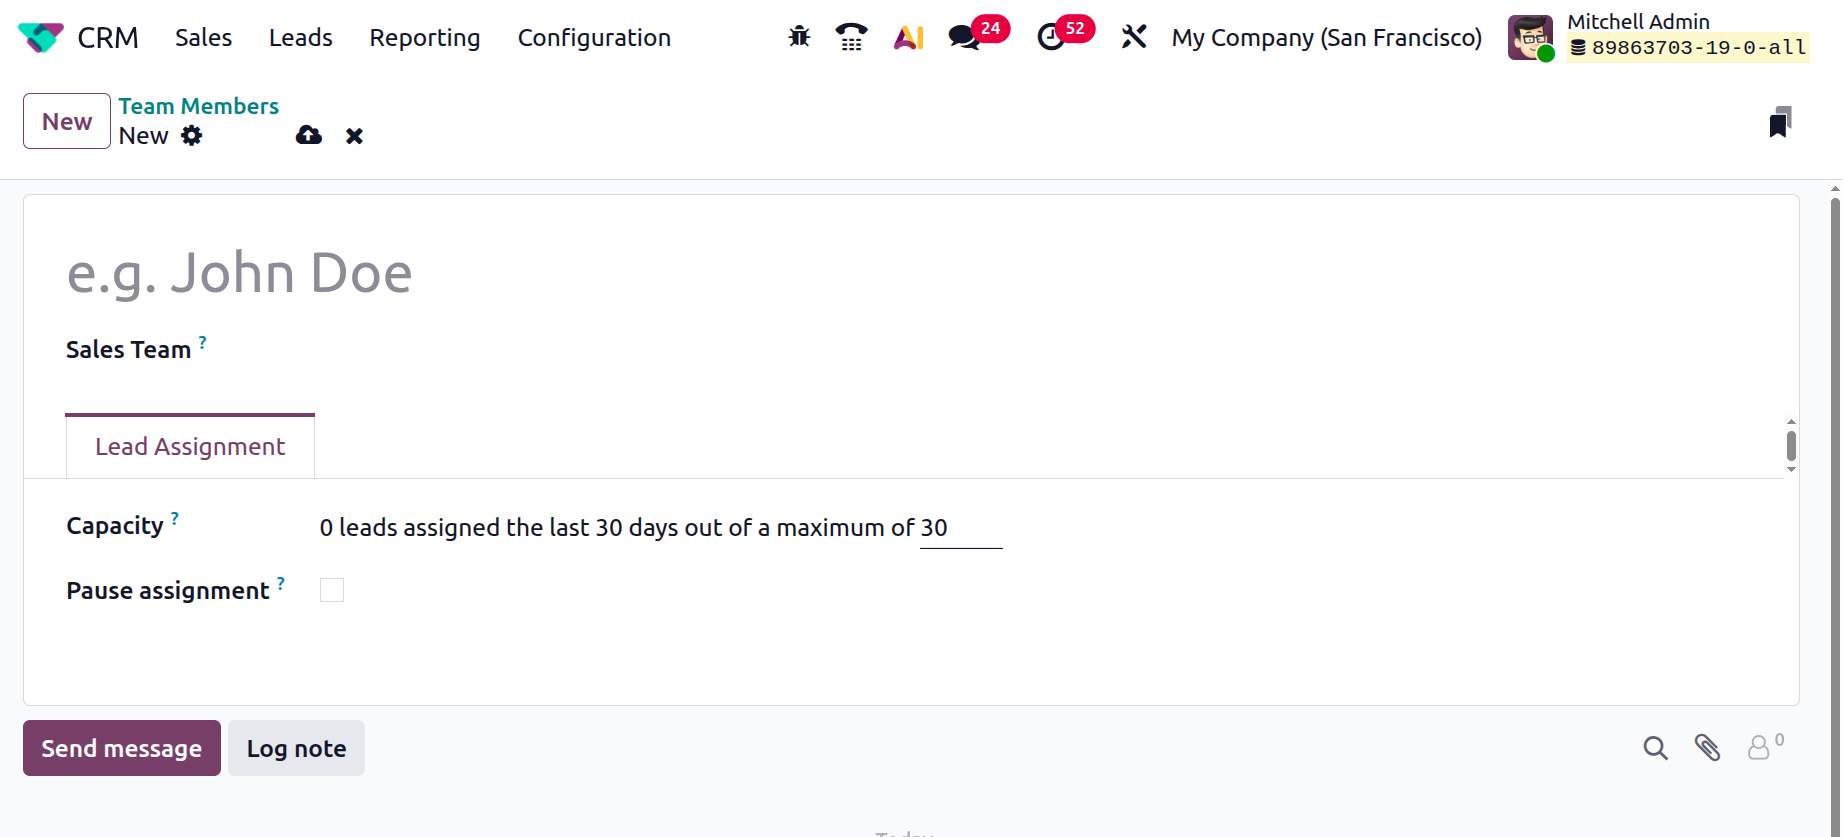
In the Pause Assignment field, you can temporarily stop assigning new leads and opportunities.
Stages:
In the Odoo 19 CRM module, we have already discussed how to create a new stage in the main dashboard. This option helps you to analyze the progress of your operation. You can view stage details here, such as the Stage Name, whether it's marked as a Won stage, and the assigned Sales Teams. To add a new stage, select the New button and type the desired name into the Stage Name field.

Below the Stage Name field, you can enter the name for your stage. Enable the Is Won Stage option to allow this stage to be marked as Won. In the Sales Teams field, you can select teams to use this stage.
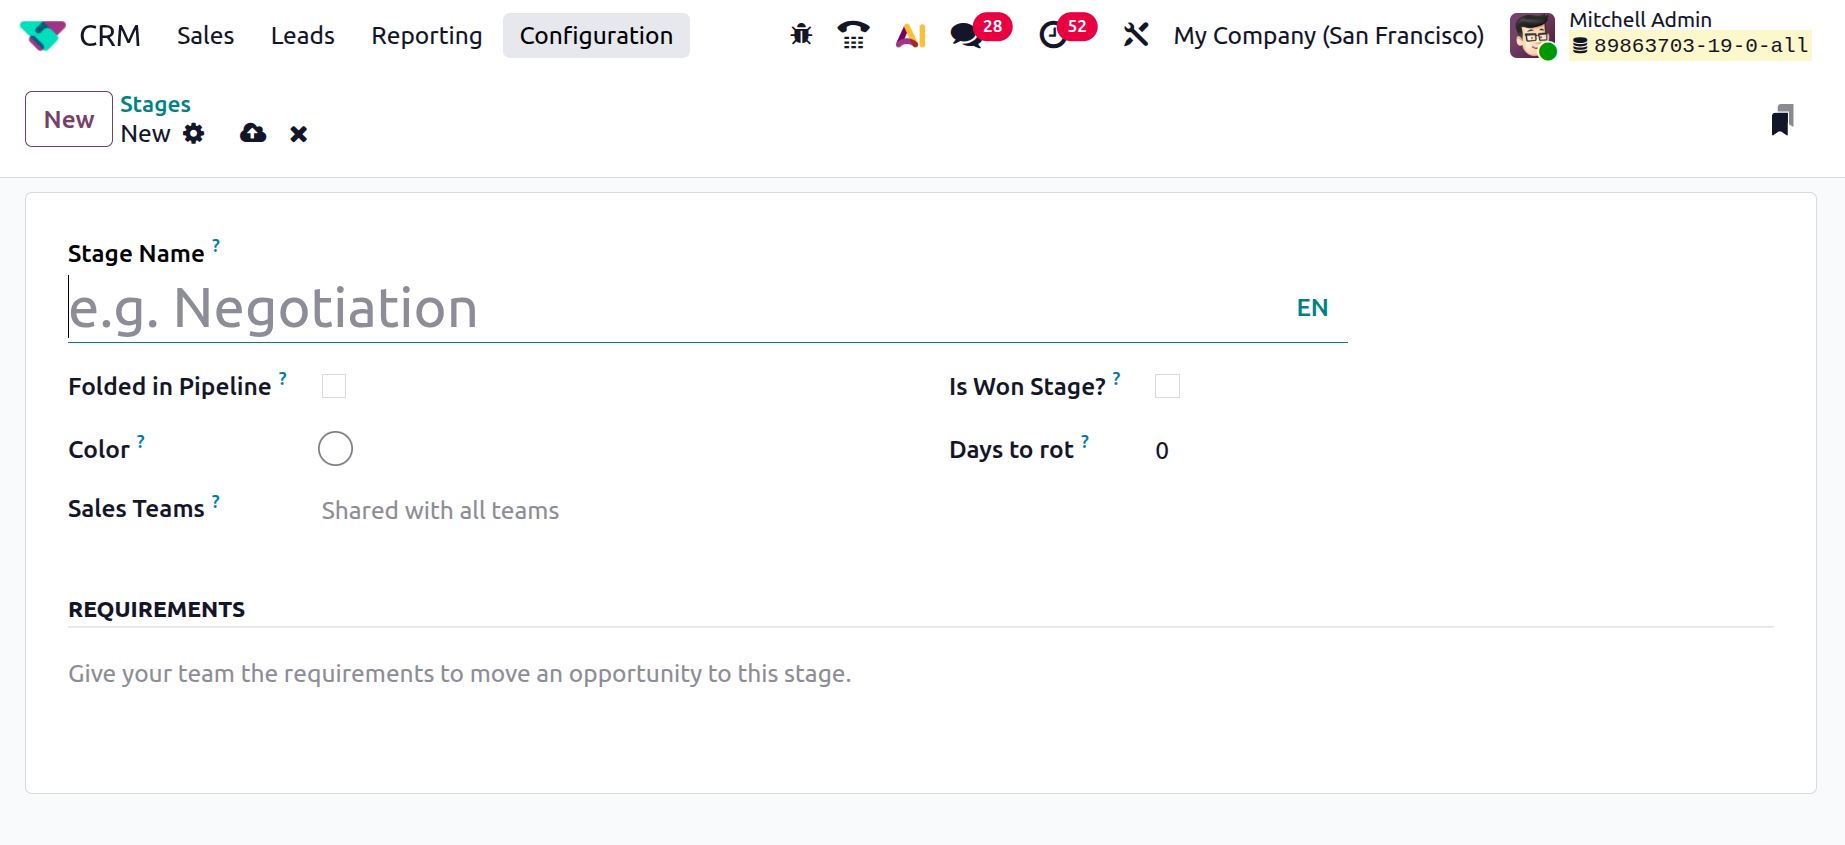
In the Days to rot field, you can mention how long a lead or opportunity can stay in this stage. Under the Requirements option, you can provide instructions for the team to follow in order to move an opportunity to this stage.
1.12 Settings
The Settings menu in the Odoo 19 CRM module is where you can configure various options. The Settings option is available through the Configuration menu. Let’s go through each option under the Settings options.
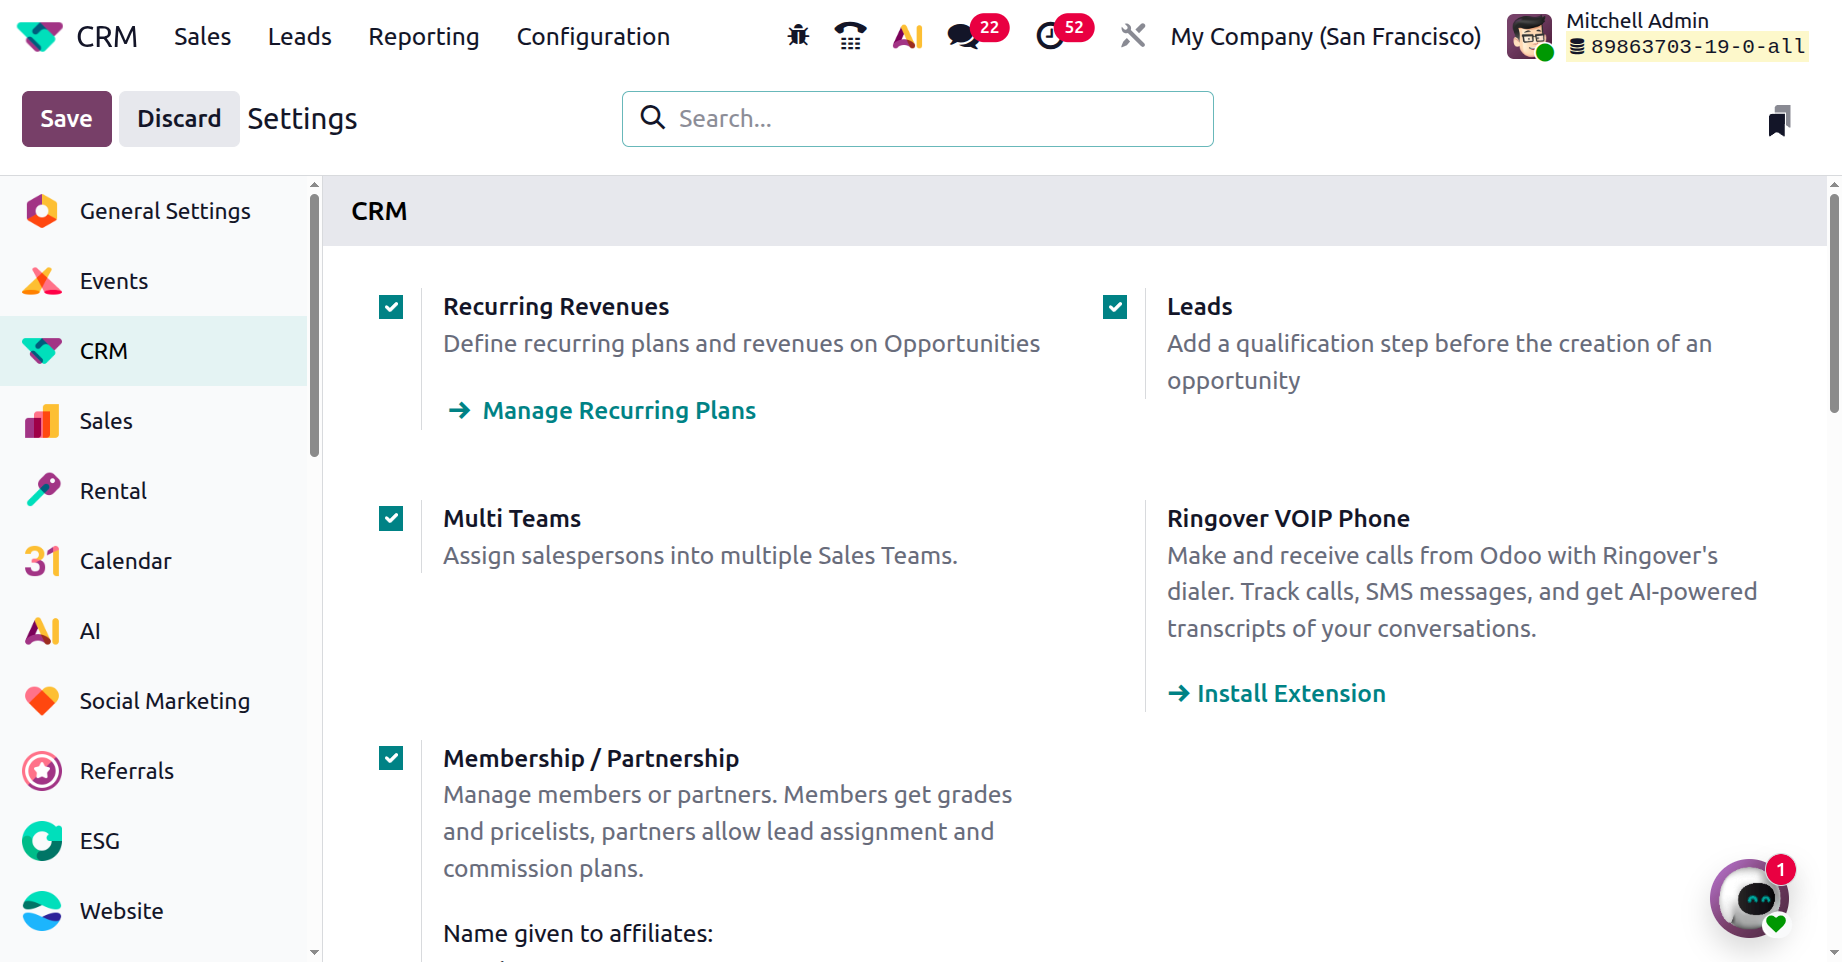
- *Recurring Revenues: Firstly, activate the Developer Mode from the Odoo 19 Settings module to access the Recurring Revenue. Enable the Recurring Revenues under the CRM section. Then, click on the external URL that appears after enabling the recurring revenue option to create new recurring plans.
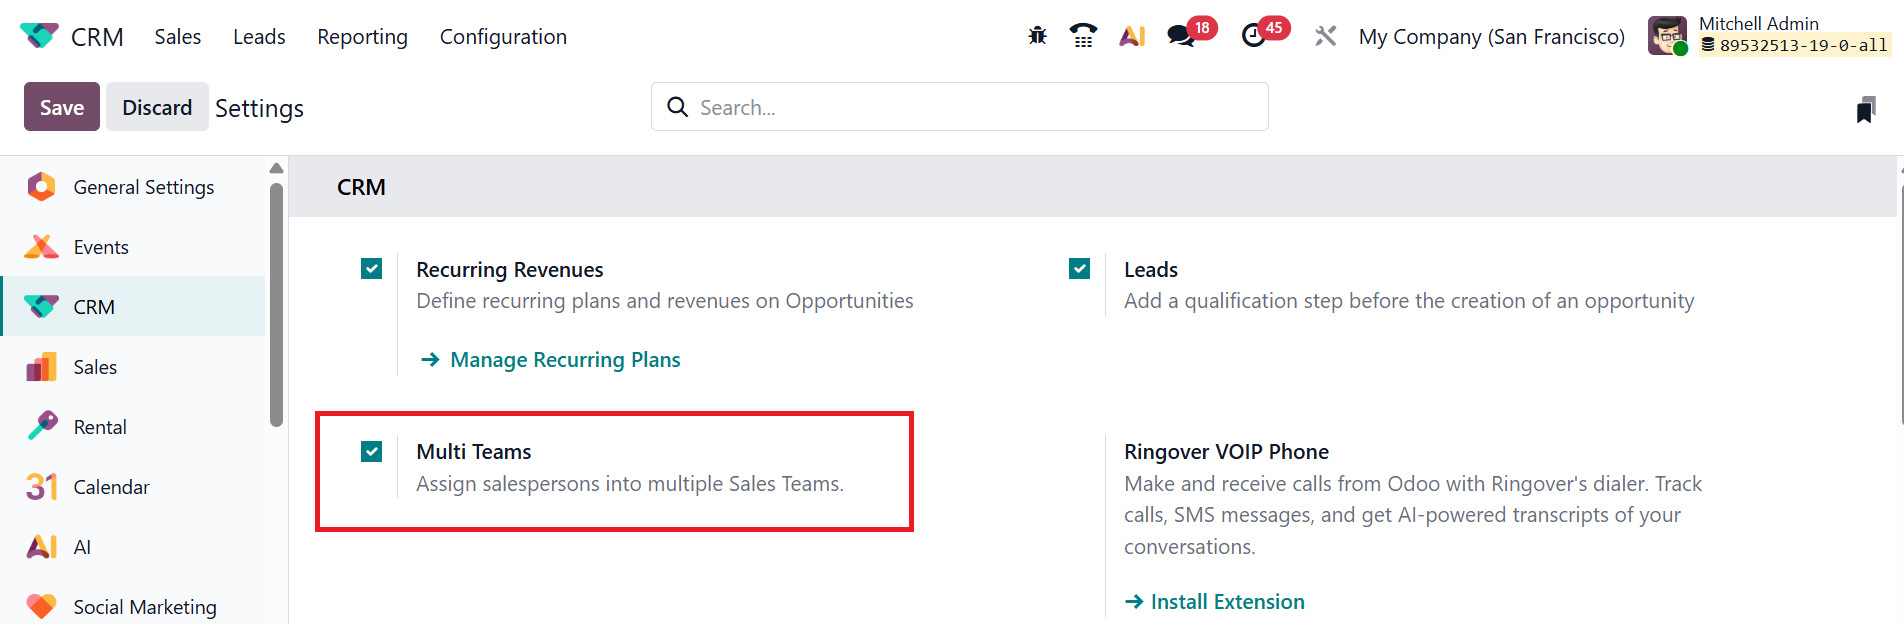
- *Multi-Teams: To add multiple sales teams for a salesperson, enable the Multi-Teams option under the CRM section.
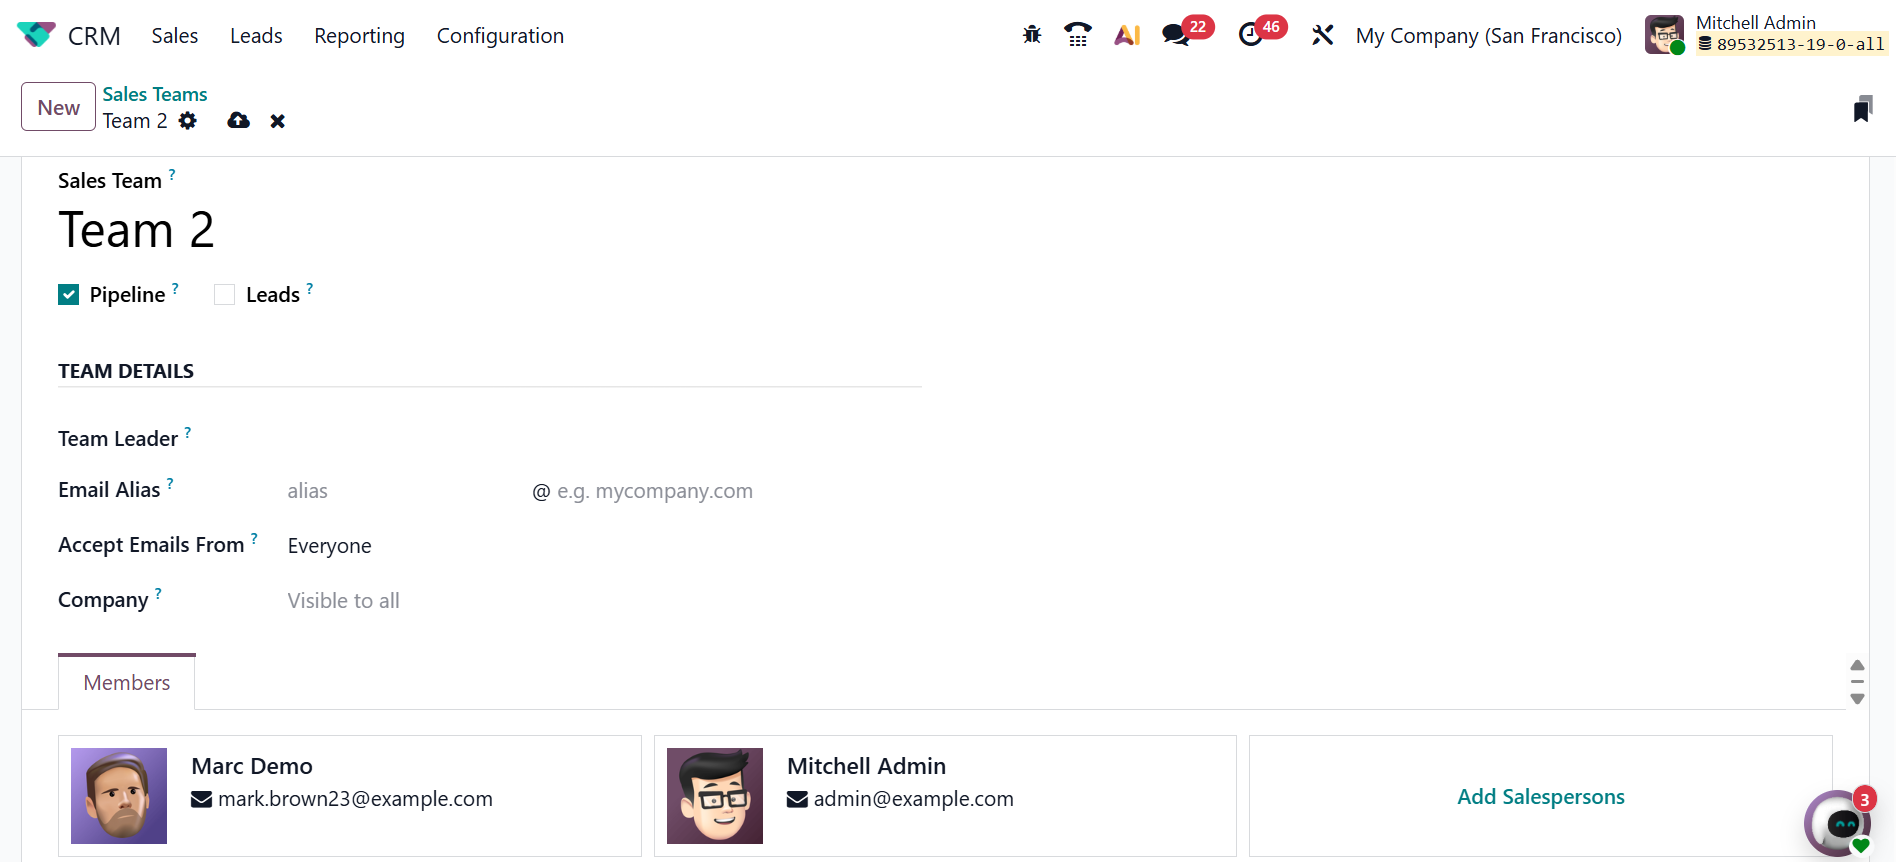
Then, select a team from the Sales Teams option. You can add a new salesperson to the team by clicking the Add Salespersons button. In the screenshot below, you can see Marc Demo and Mitchell Admin as the salespeople in the Team 1 sales team.
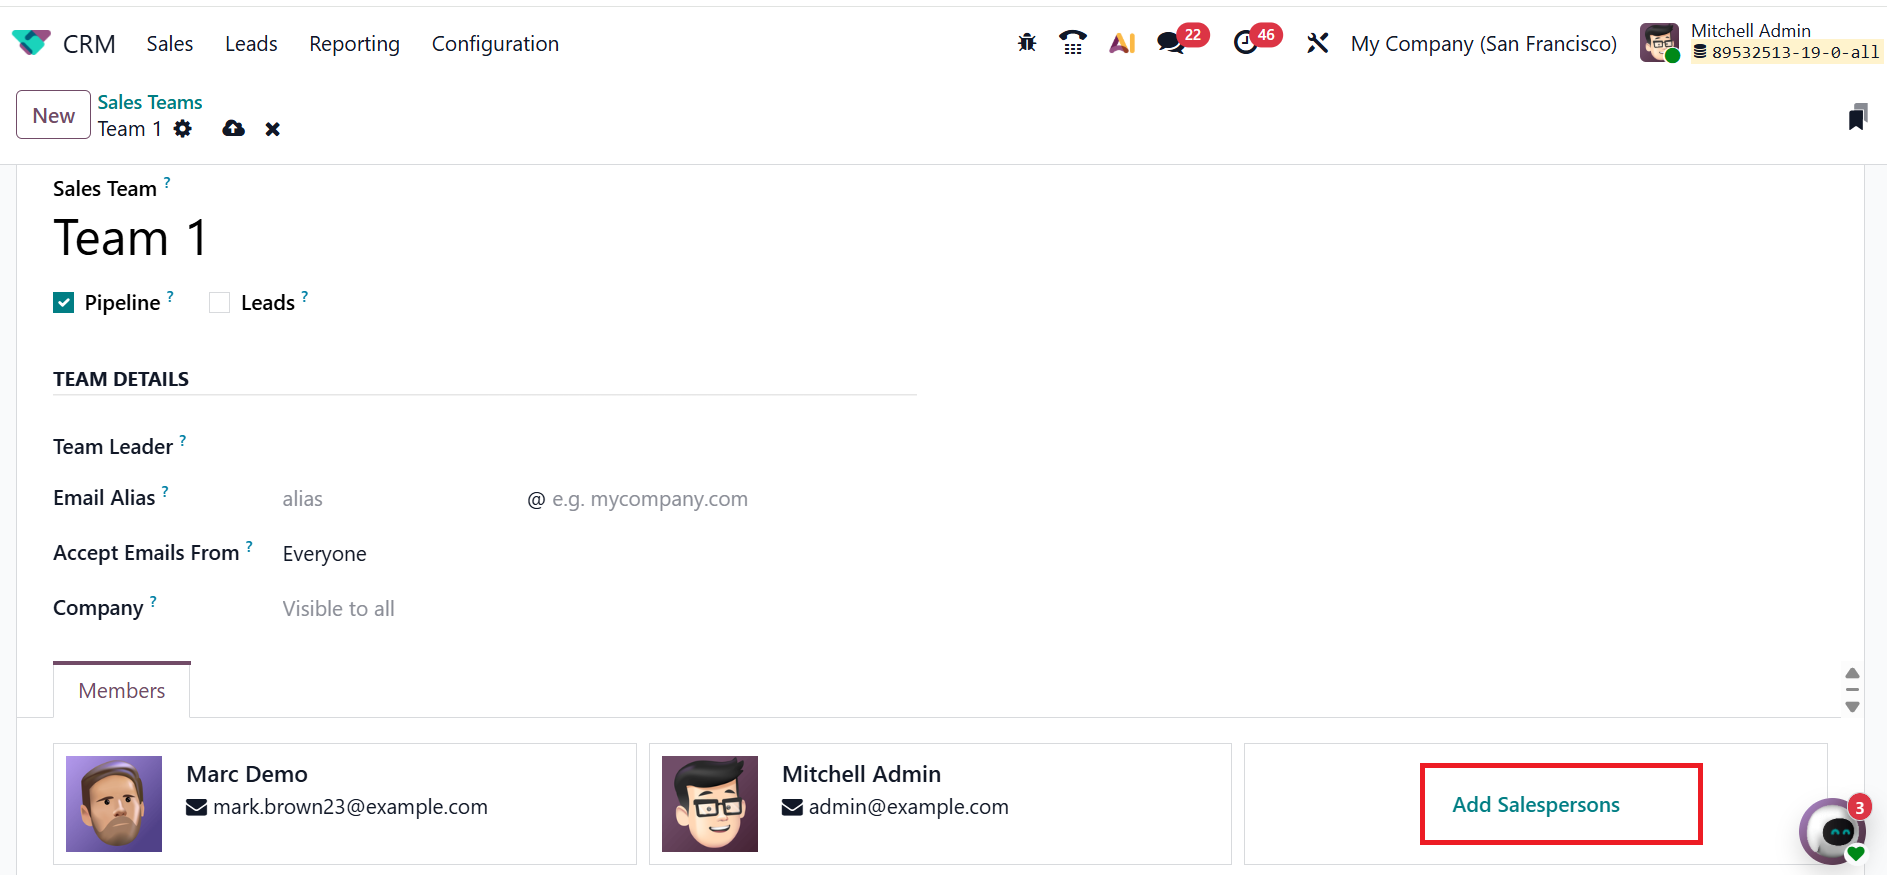
In the Team 2 sales team, you can use the same salesperson as Team 1 by enabling the Multi Teams option.
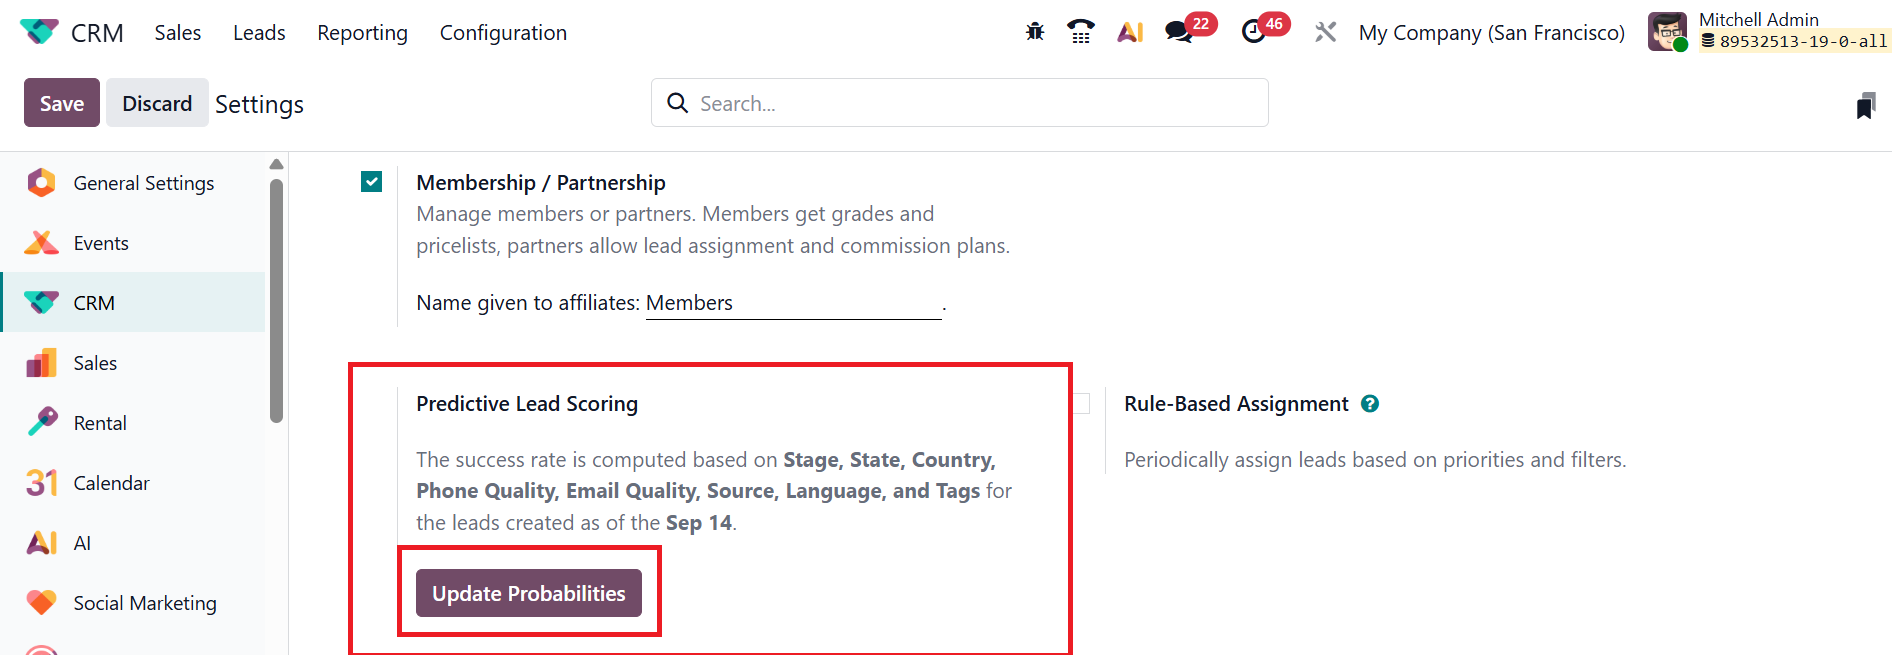
- *Predictive Lead Scoring: The Predictive Lead Scoring tool assists sales teams in identifying and focusing on the most effective leads. Odoo leverages AI to analyze historical data and forecast the likelihood of success for each lead. Factors including Stage, State, Country, Phone Quality, Email Quality, Source, Language, and Tags determine the success of each lead. Click the Update Probabilities button to modify the factor that affects the success rate.
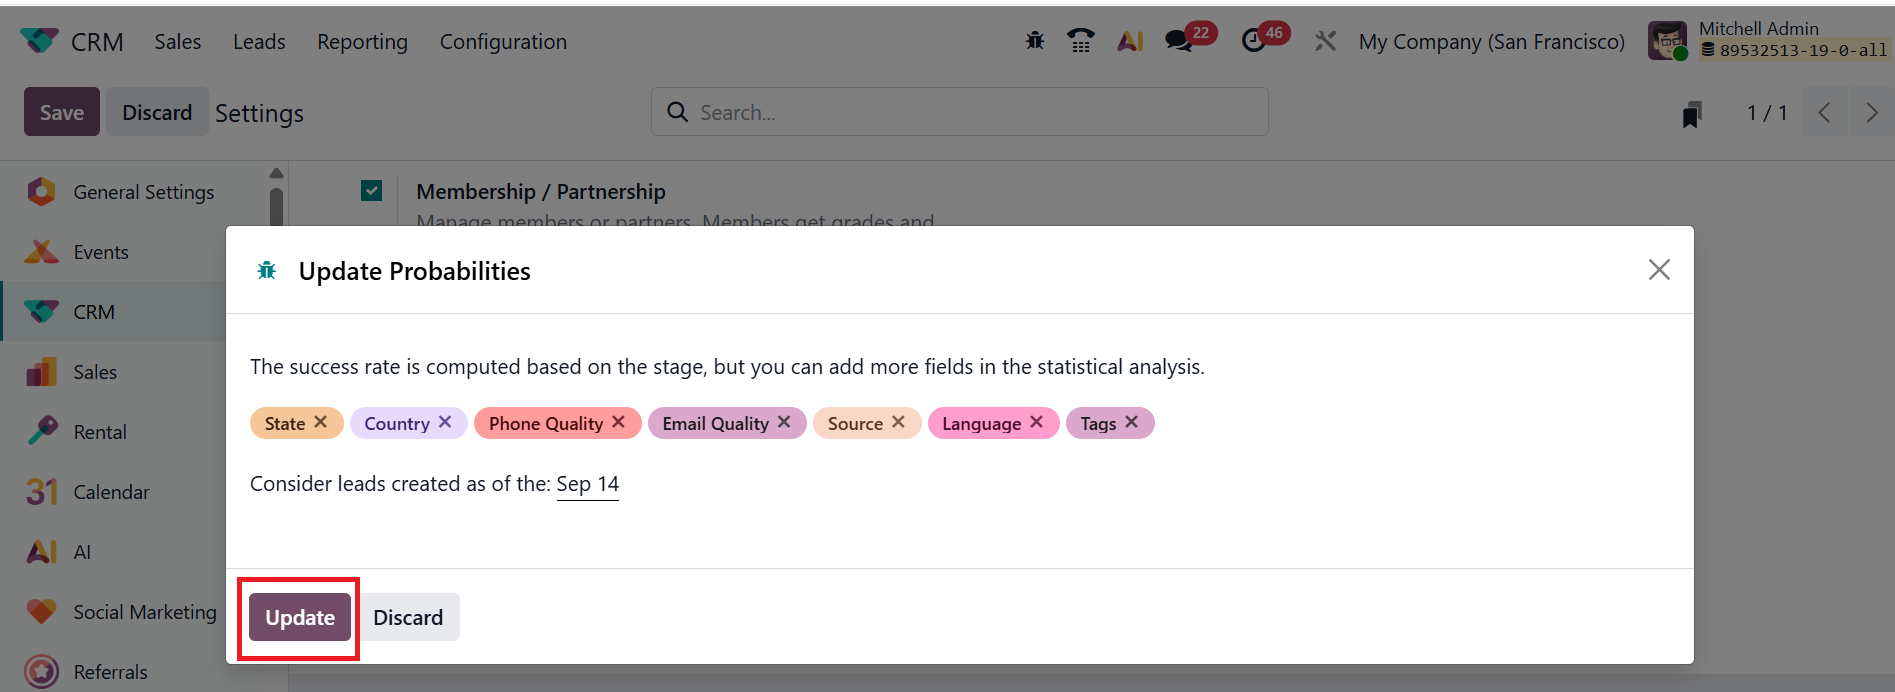
A new pop-up window will appear, where you can add more fields for the statistical analysis of the success rate and to close a lead. Click on the Update button to update the fields as shown below.
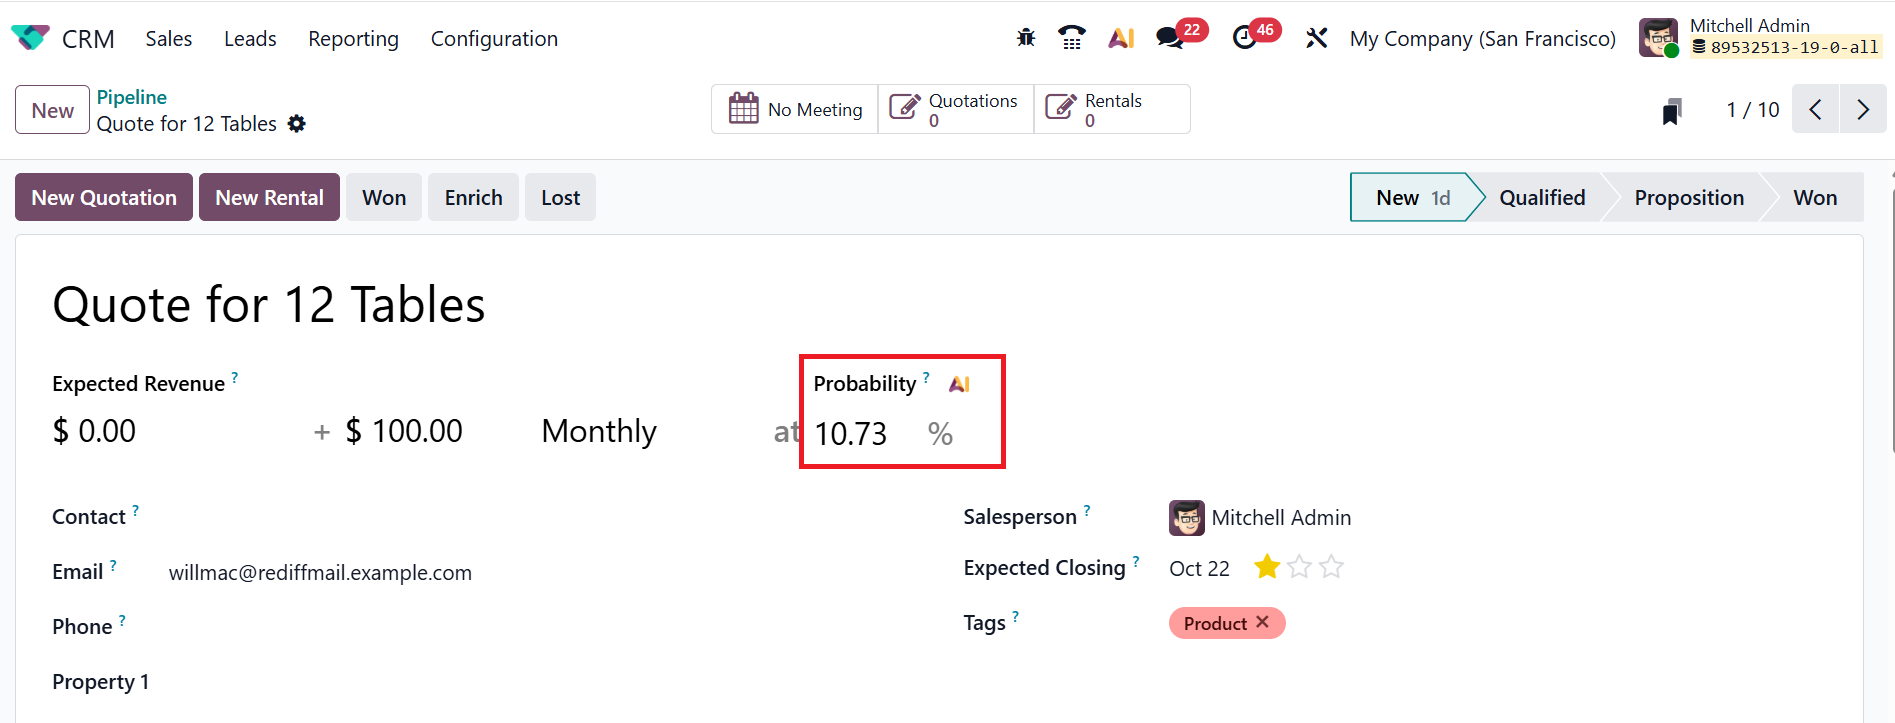
Here, the Probability AI function is a component of a predictive lead scoring tool, which helps calculate the success rate of a lead using AI.
- *Rule-Based Assignment: The Rule-Based Assignment function in Odoo 19 CRM automatically assigns leads to the appropriate salesperson or sales teams in accordance with pre-established rules. Enable the Rule-Based Assignment option under the CRM section, as shown below.
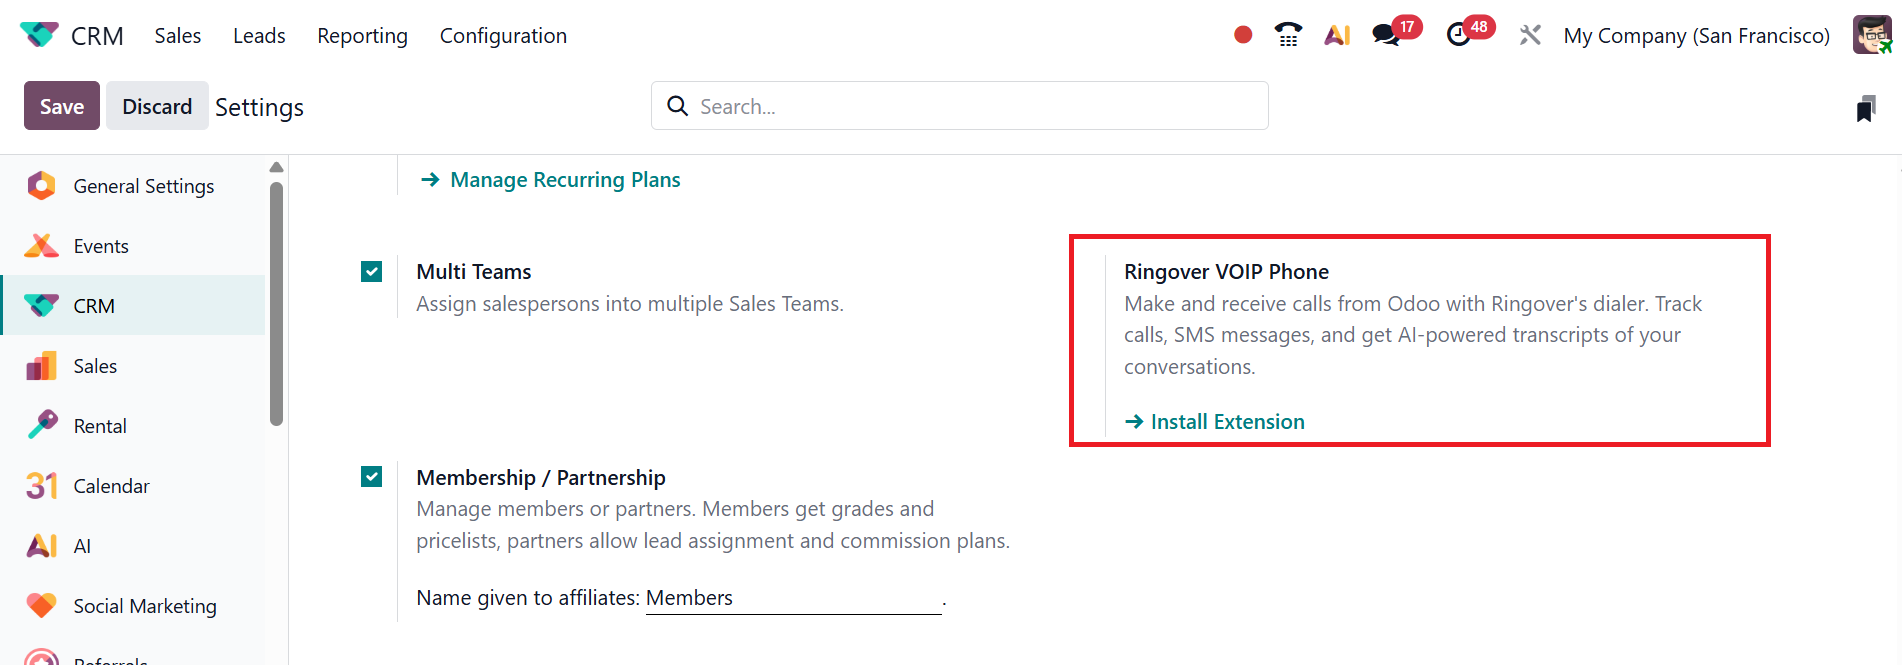
- *Ringover VOIP Phone: By installing an extension, Odoo can make and receive calls with Ringover’s dialer. You can track calls, send SMS messages, and receive AI-powered transcripts of your conversations.
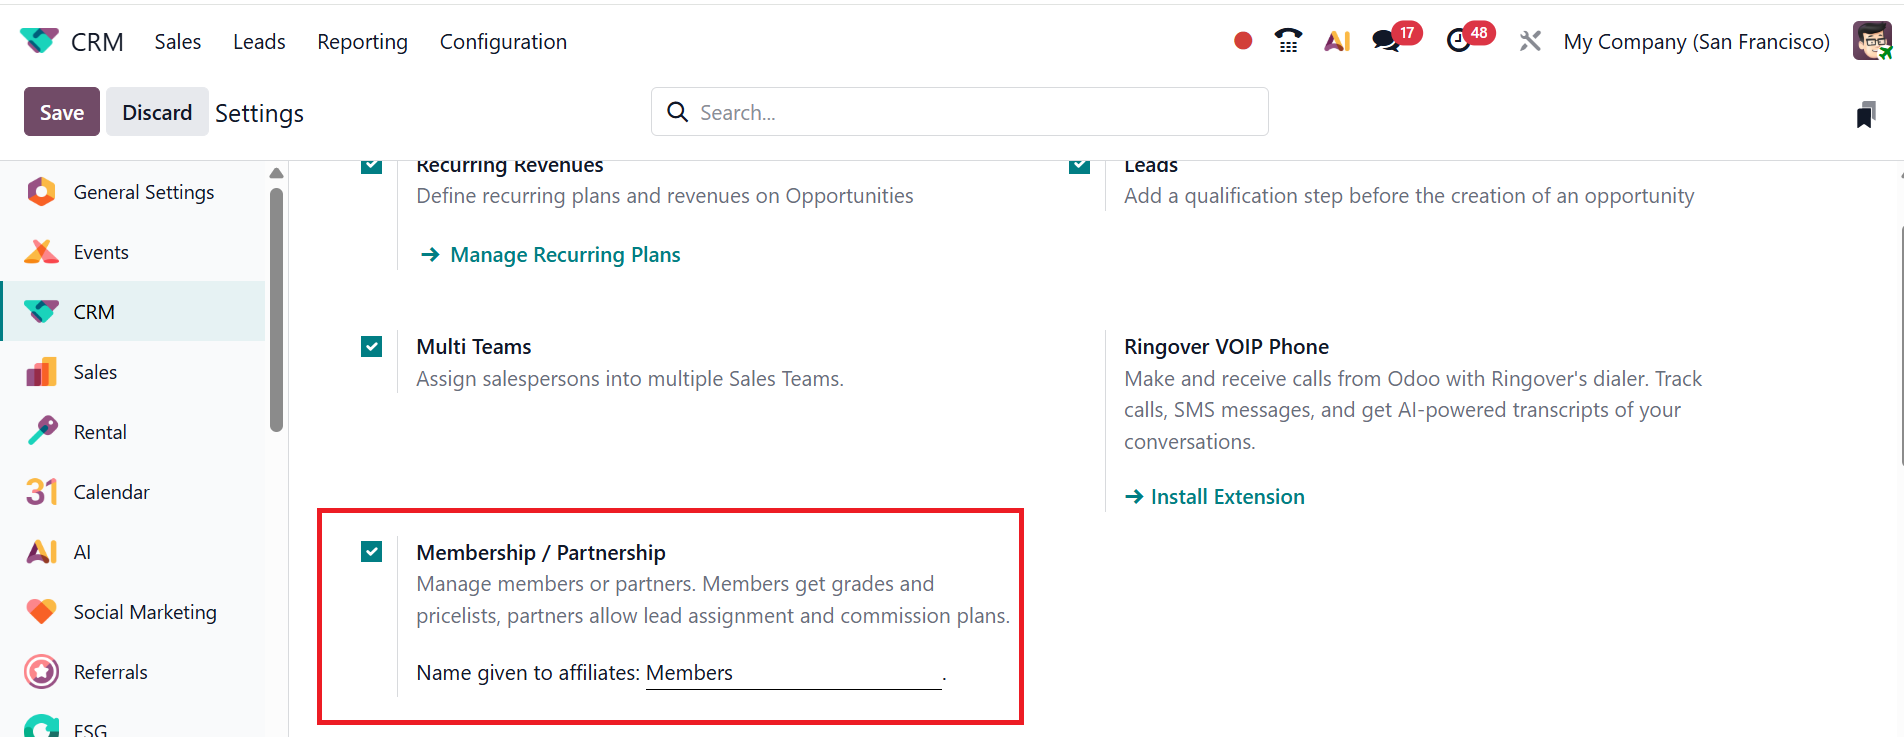
- *Membership / Partnership: When you enable the Membership / Partnership option, you can manage members or partners within the Odoo 19 CRM module. In the Name given to affiliates field, you can add a name to define how the partner will be titled in the system, which is a new feature in Odoo 19.
- *Lead Generation: Under the Lead Generation section, you can choose three advanced options: Lead Enrichment, Lead Mining, and Visit Leads.

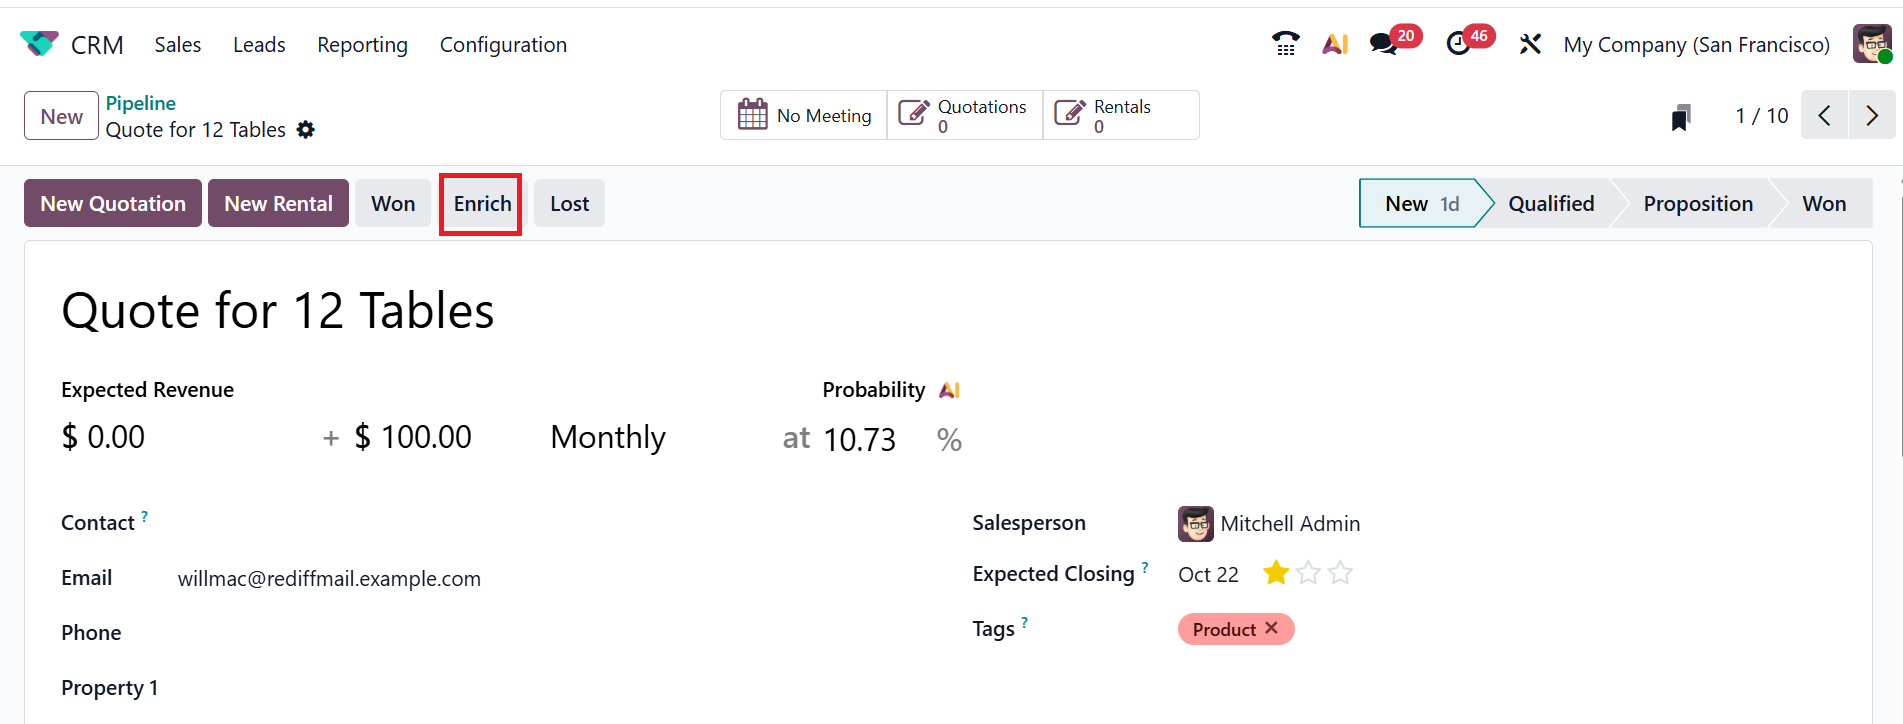
Under the Lead Enrichment option, you can enrich the leads with company leads based on their email addresses. You can choose to enrich leads either on Enrich leads on demand only or Enrich all leads automatically, as shown below:
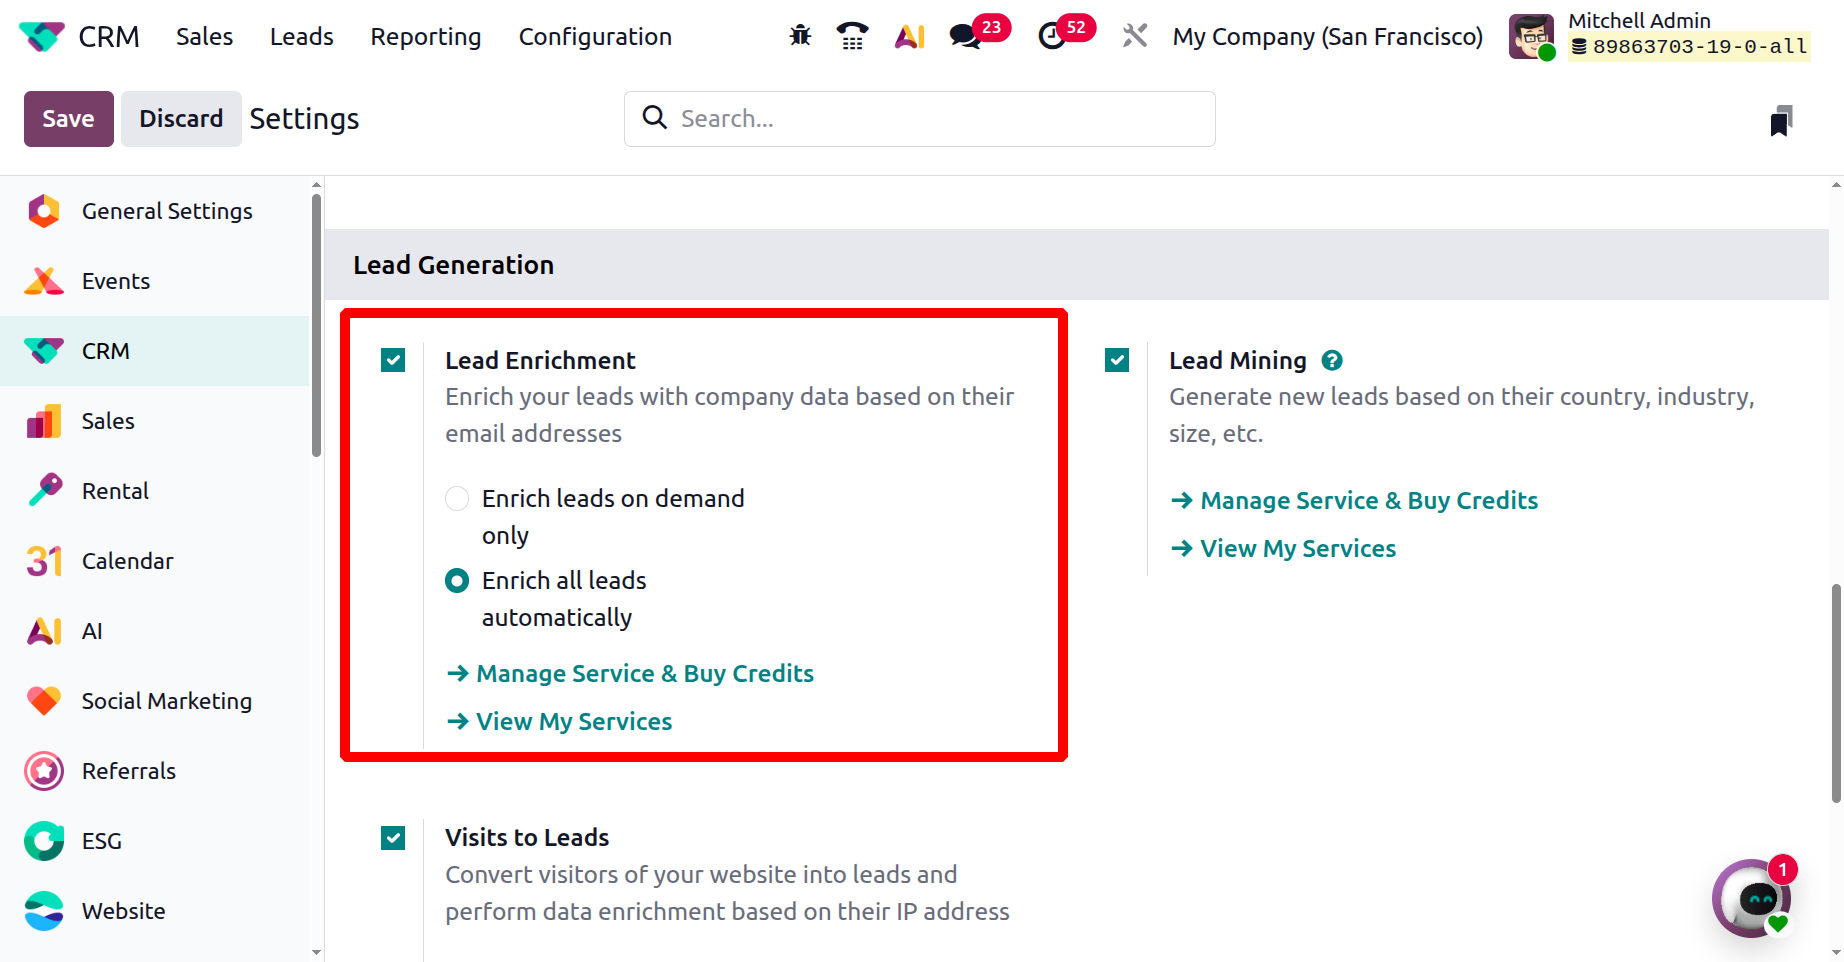
By clicking the Enrich button, the system enhances the opportunity with detailed company information.
Under the Lead Mining option, you can generate new leads based on their country, industry, size, and other relevant factors. The Visits to Leads option enables you to convert website visitors into potential leads and enrich their information using their IP address.
- *Partners Commissions: Under the Partners Commissions section, you can enable Automatic PO Frequency and Minimum PO amount total options.
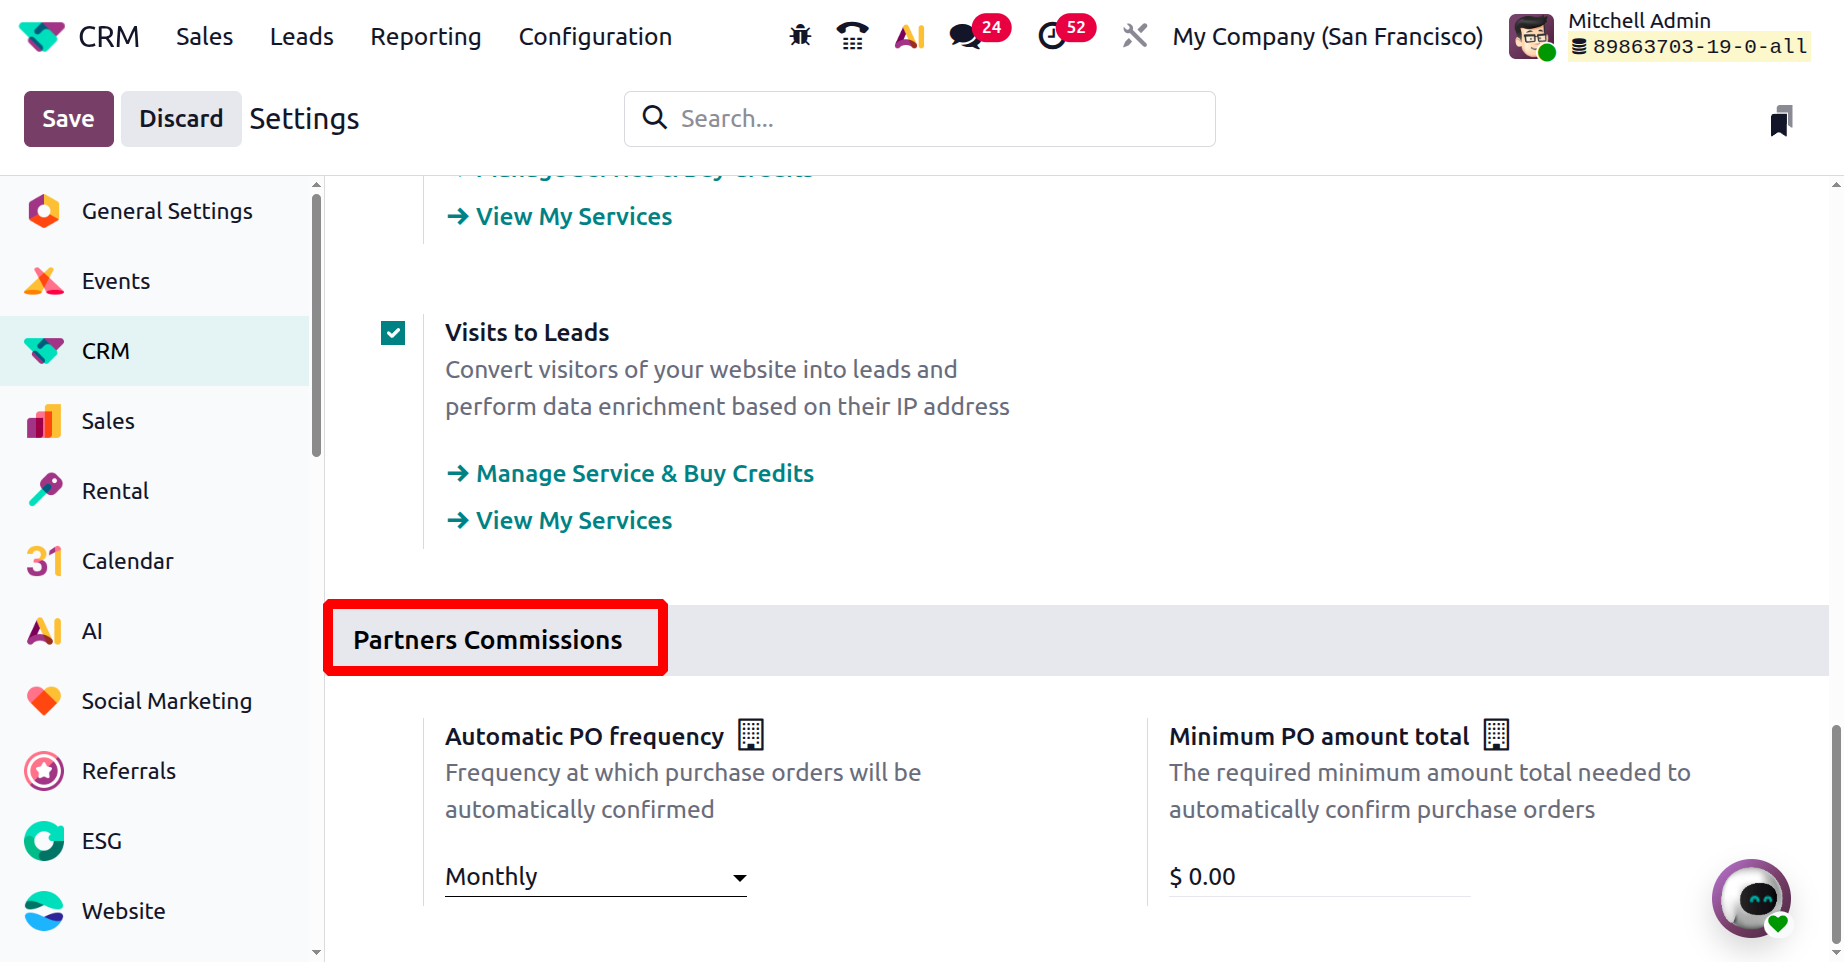
Under the Automatic PO Frequency option, you can select a frequency at which purchase orders will be automatically confirmed. Under the Minimum PO Amount Total option, you can specify a minimum amount required to automatically verify purchase orders.