Configuration
Favorite Filters, Blacklisted Email Addresses, Link Tracker, opt-out rationale, and Settings are among the settings available in the Configuration menu.
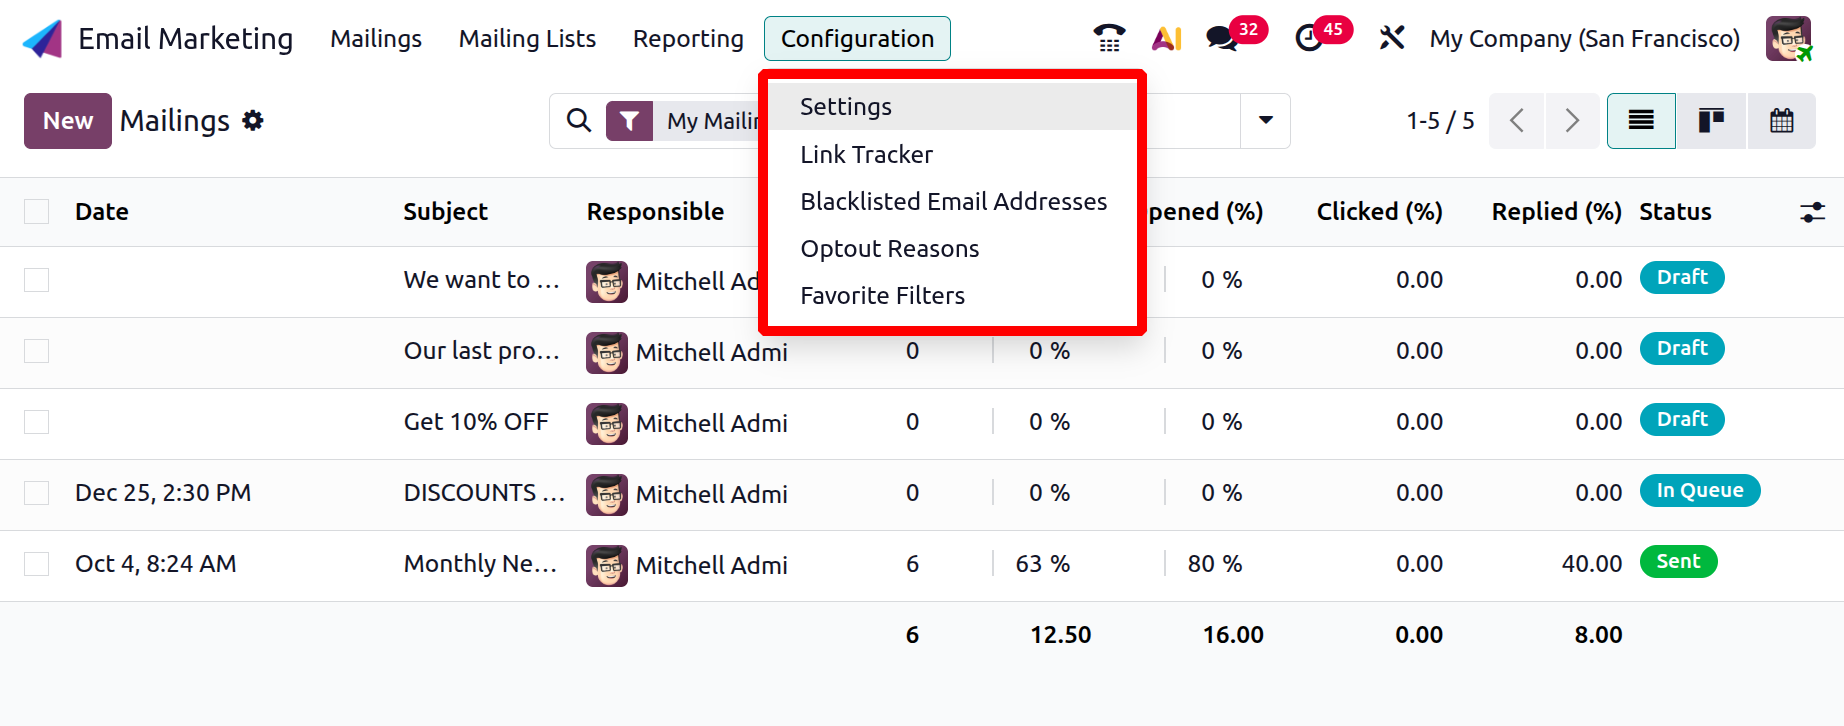
1.1 Settings
Mailing Campaigns, Blacklist Option when Unsubscribing, Dedicated Server, Split First and Last Name, and 24-hour Stat Mailing Reports are among the new features added to the options tab under these options.
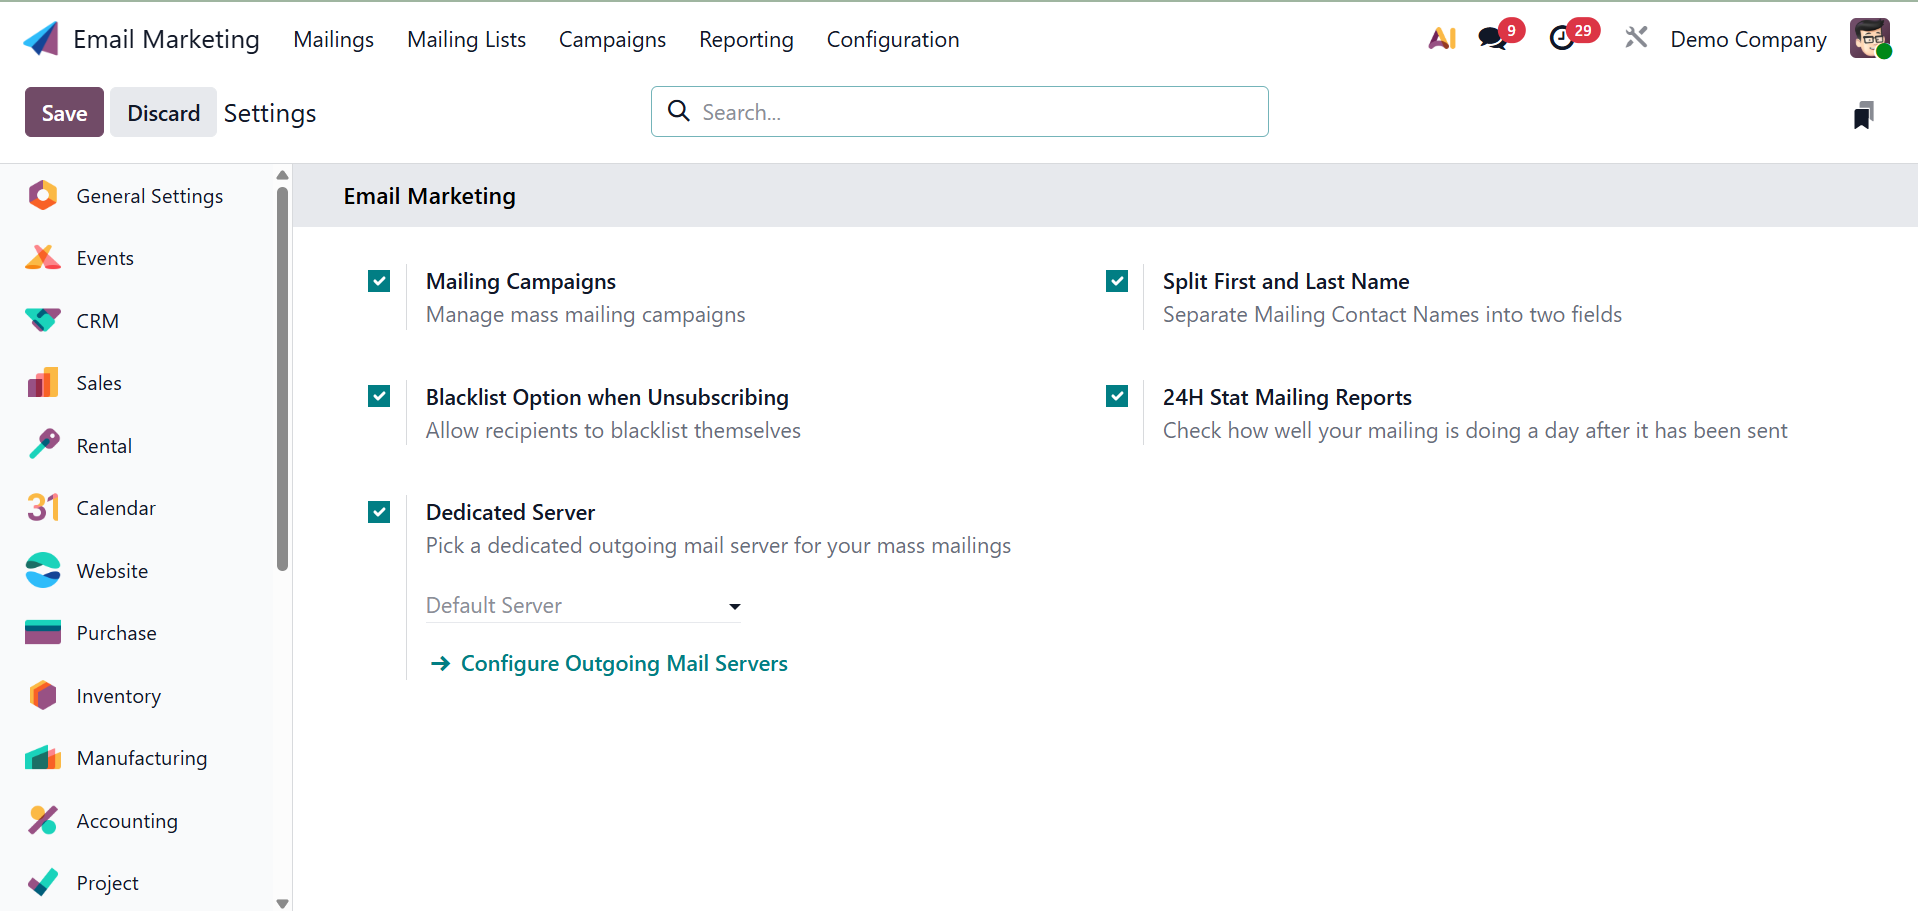
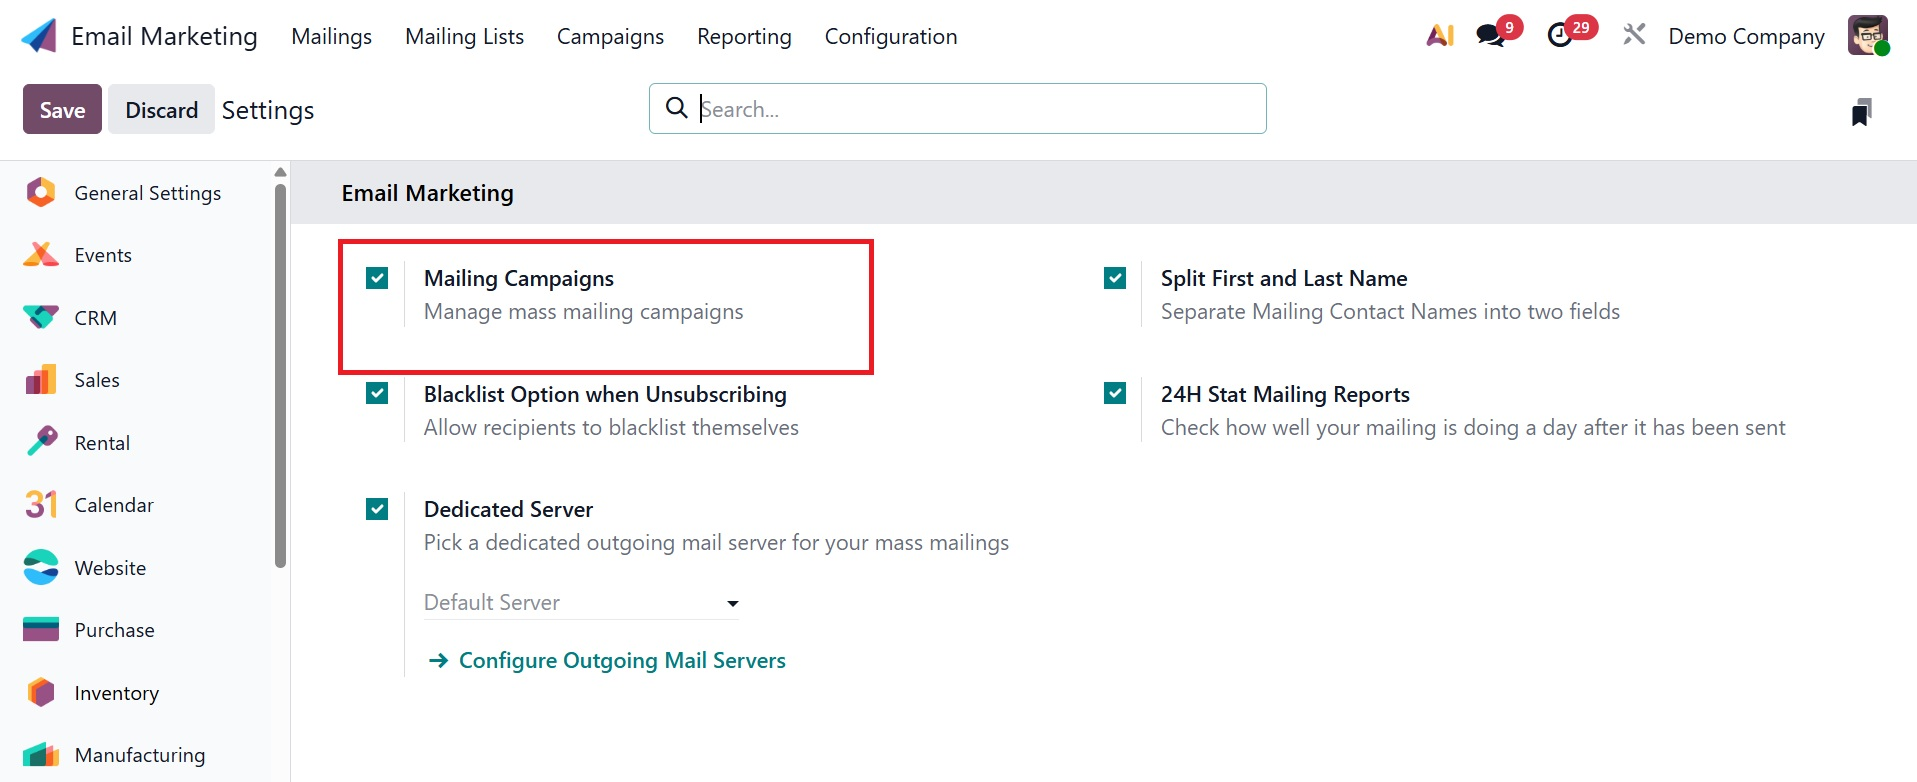
By enabling marketing campaign software, the Mailing Campaign option builds a helpful mailing campaign tool for the system. You must enable the Mailing Campaign option in the Settings menu in order to launch the system. After enabling the option in the Settings menu, you may select the Save icon.
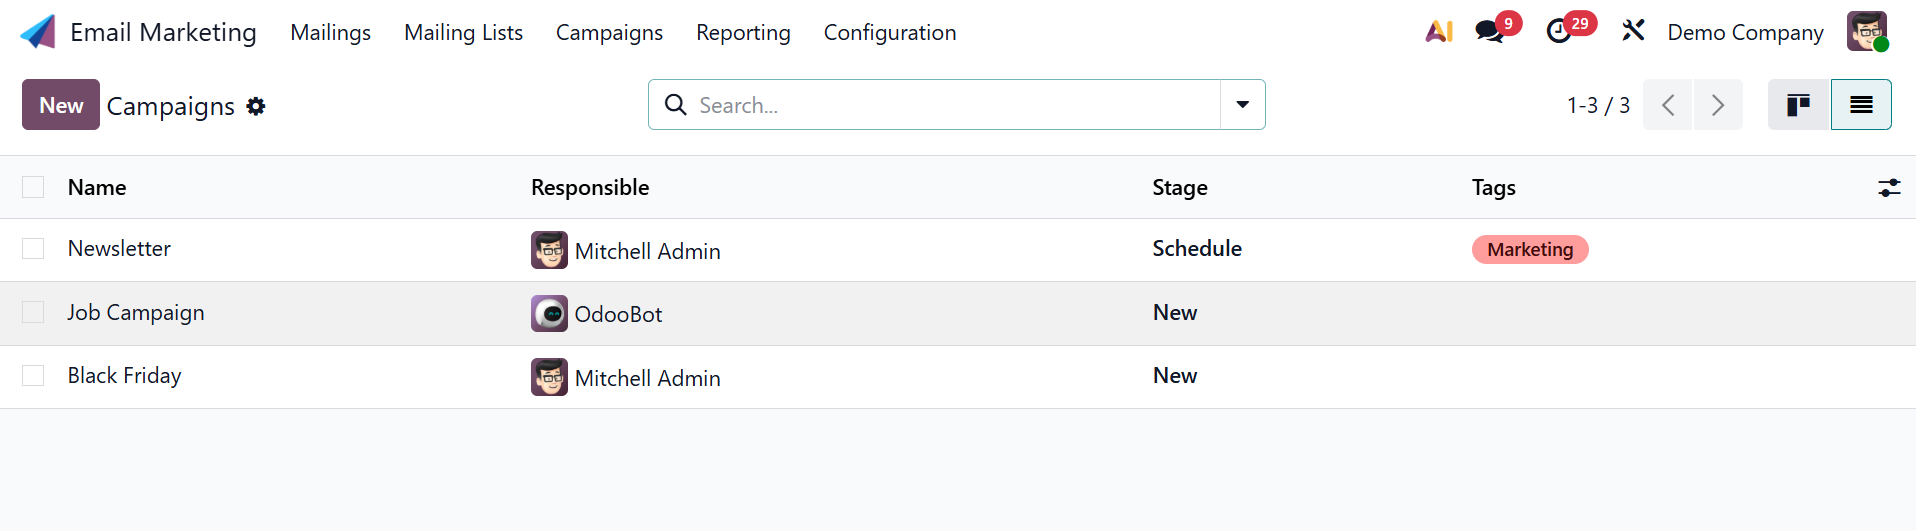
You can manage Campaigns and AB test emails using this mailing campaign tool. Here, you can access the recently active option by clicking the plus button on the module's home page. The campaign page will look like the picture below.
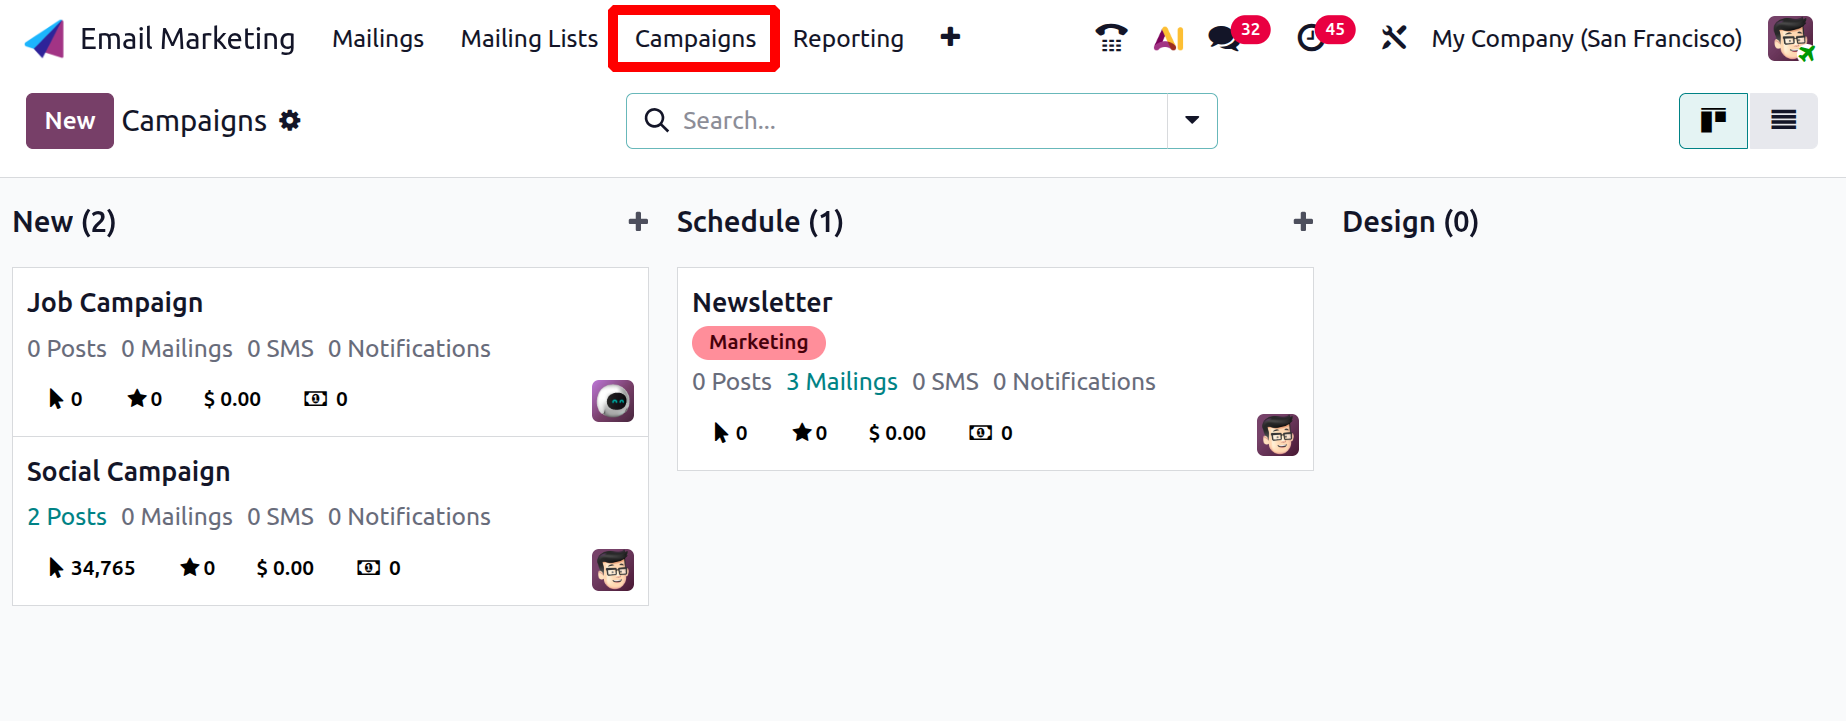
You may see a list of previously created campaigns on the Campaign page. Both Knaban and List views are available for viewing the page. The graphic at the top shows the website in Kanban mode. The website's campaigns are arranged according to stage. The stages that can be examined in that sequence are New, Schedule, Design, and Sent. You could also create new levels based on our specifications.
Select the New option, as shown in the illustration below, to start a new campaign.
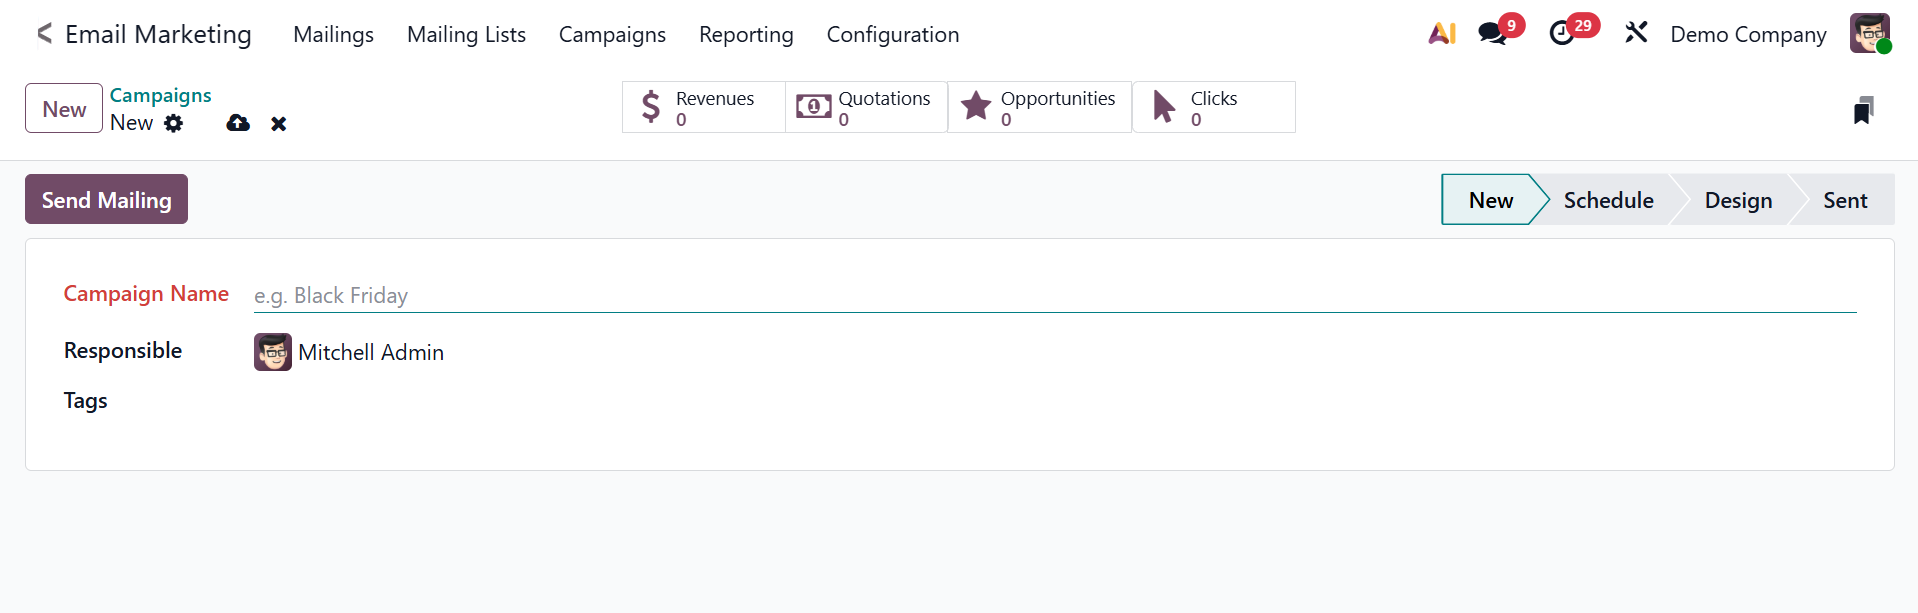
The campaign name, responsible user, and associated tags can be added here. The email associated with this campaign can be sent using the Send Mailing option.
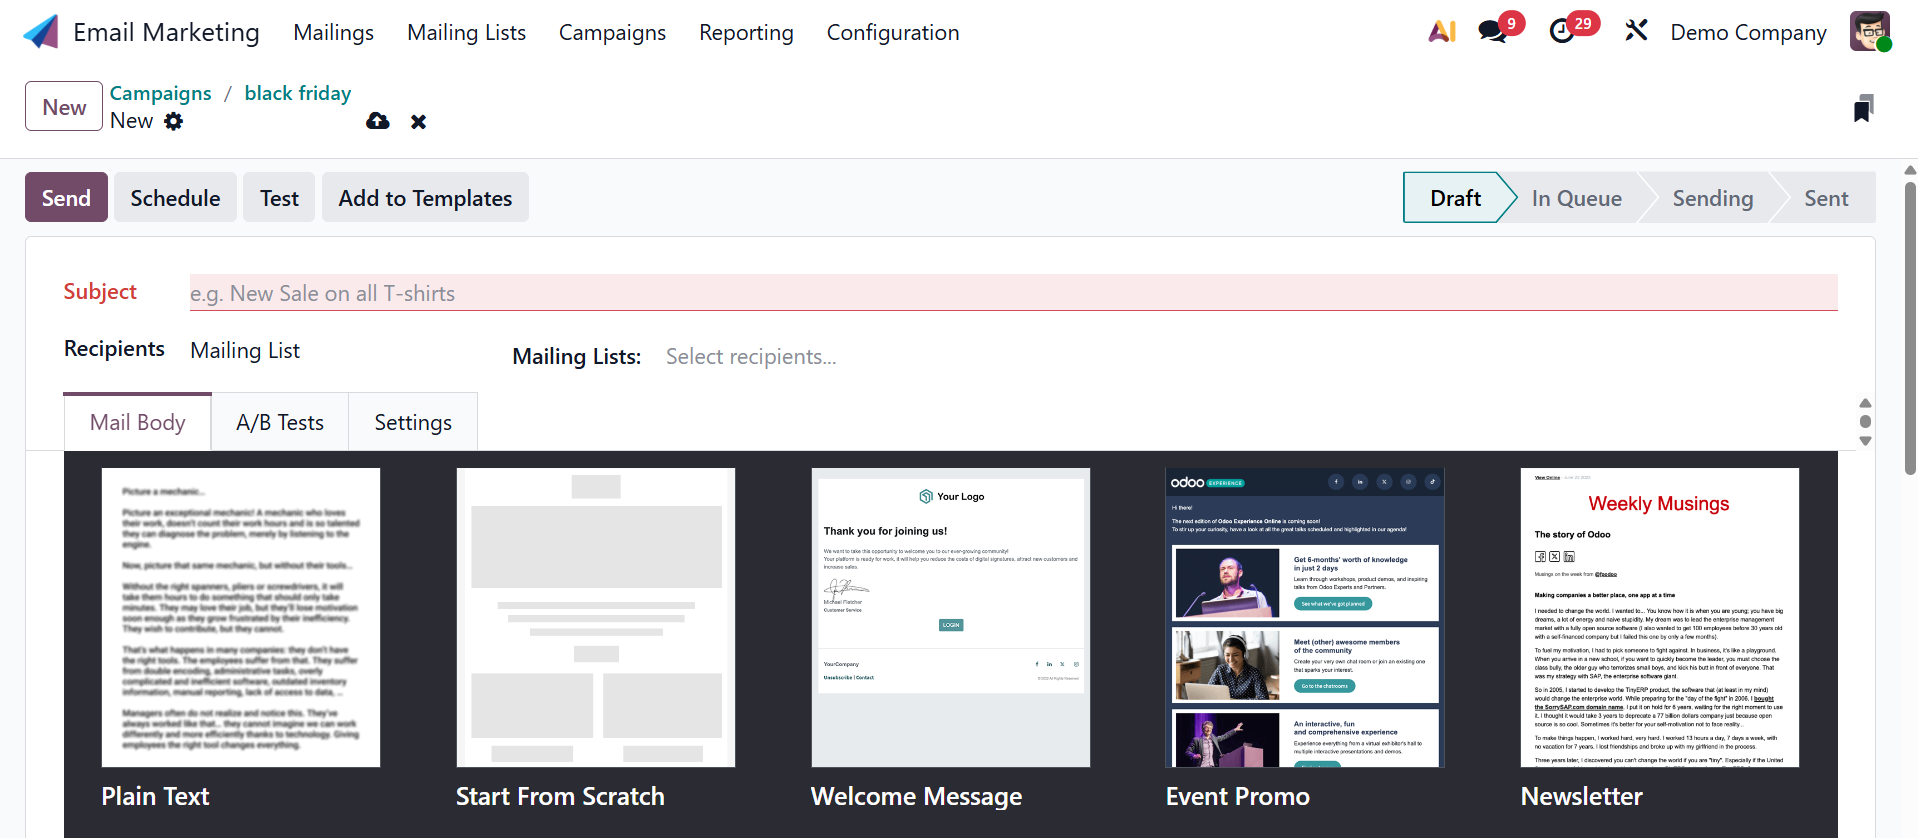
Sending mail is made very easy via the Send button. The Mailing tab on the module's main page contains those sent items.
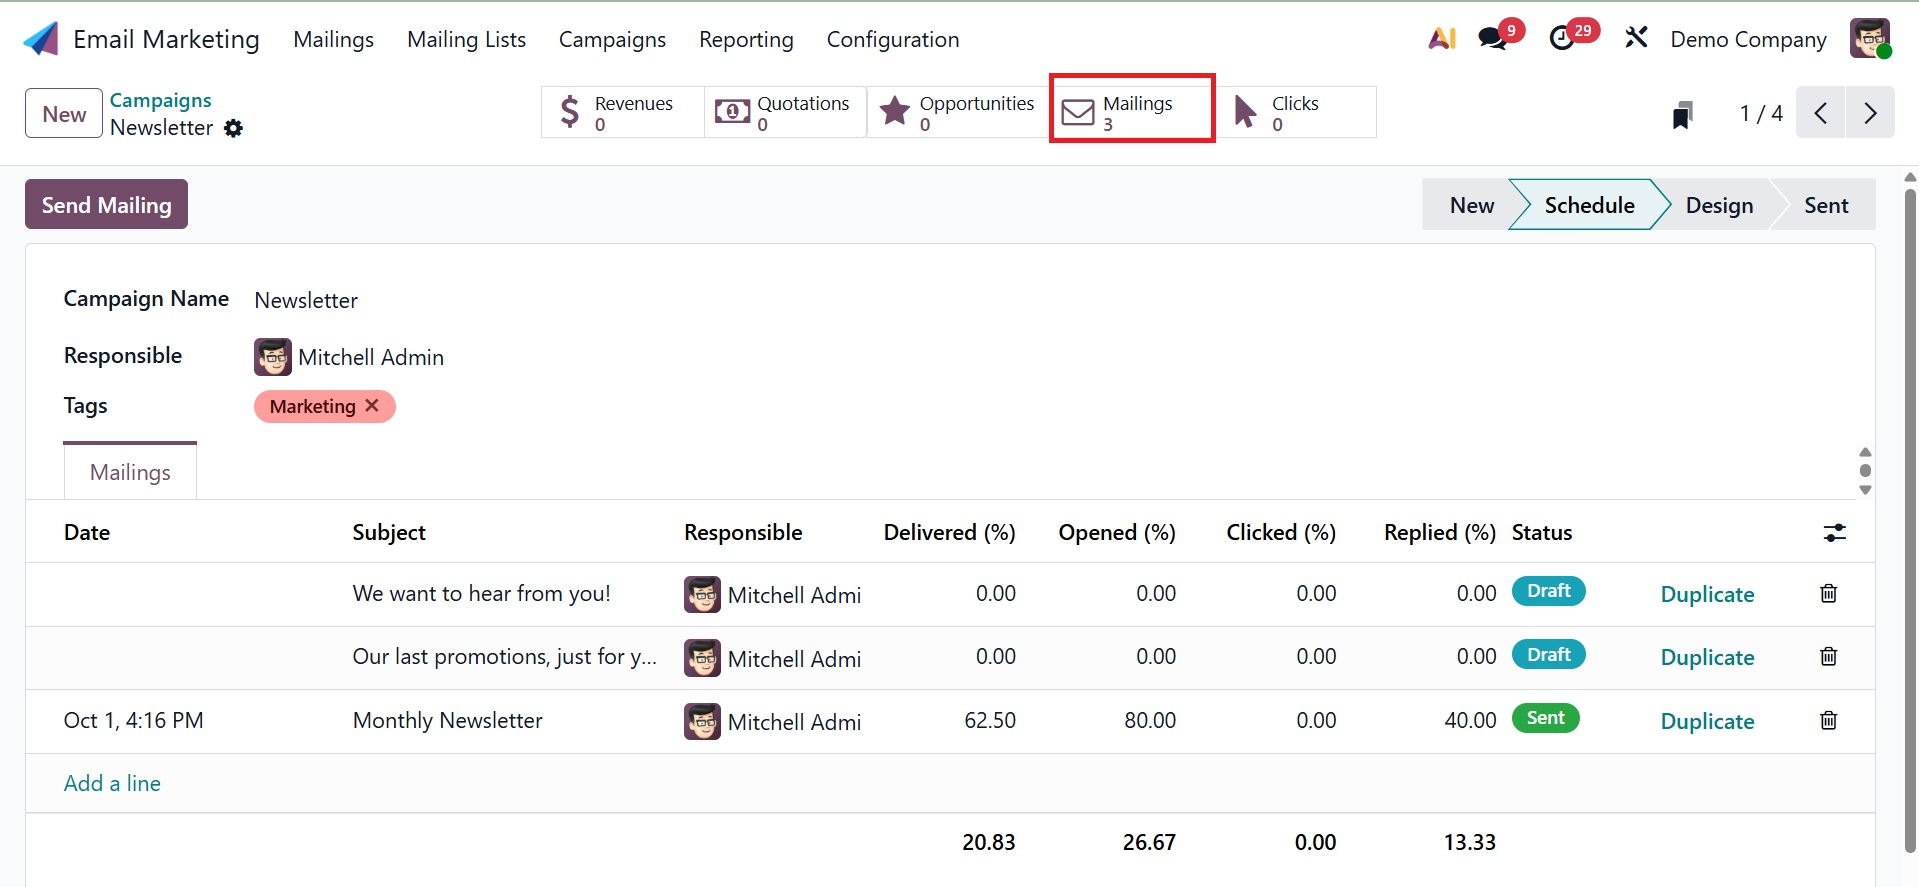
These stages are displayed as cards in the Kanban format. Details about Posts, Mailings, SMS, Notifications, Clocks, Opportunities, Revenues, and Quotations are all included in each box. Here are the fields to enter the campaign name, the person in charge of it, and any necessary associated tags. The level that has been built can be altered further using the Edit option. After entering all the necessary data, click the Add icon. Sub-options including Fold, Edit, Automation, and Delete are available under the Settings menu.
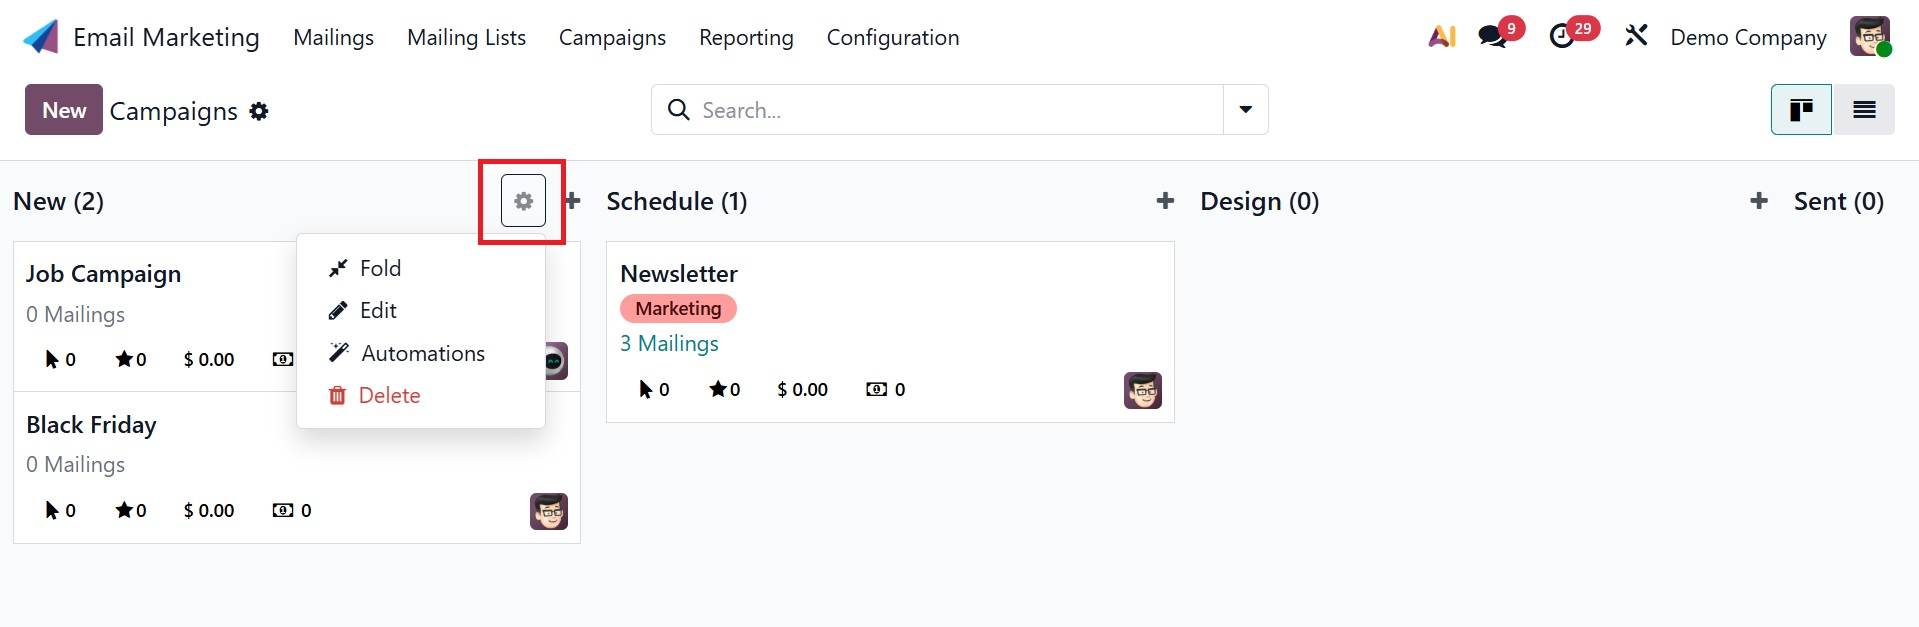
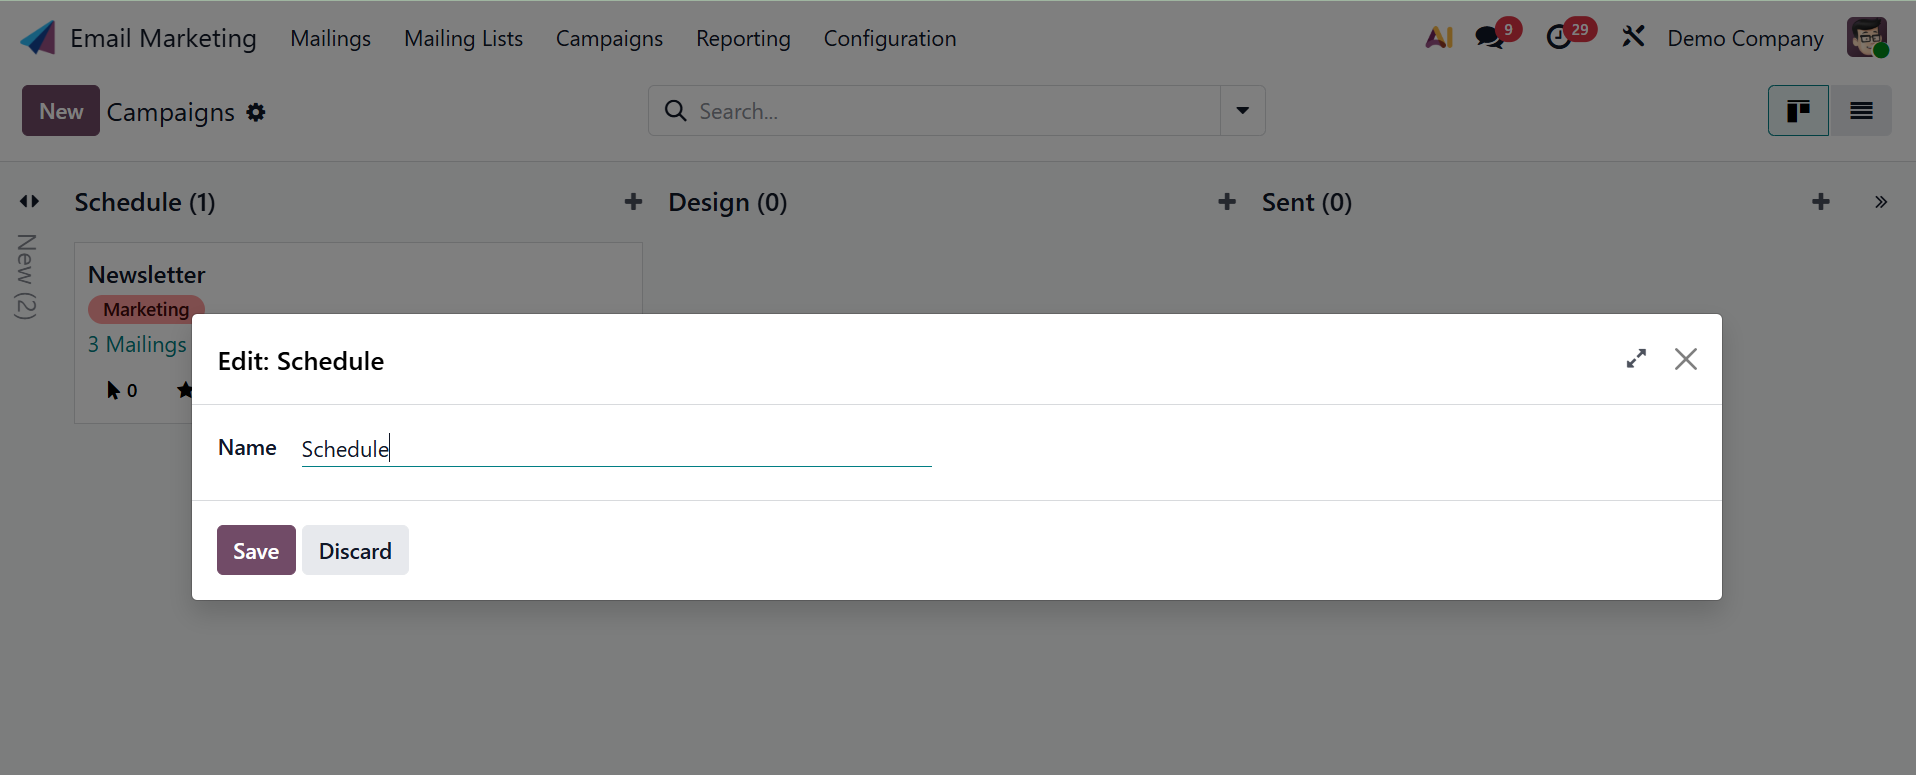
The Fold option is one of these choices; it lets you fold the stage that has to be folded. When you choose the Edit option, a new window opens where you may enter the changes you want to make.
The user can add automation rules using the Automation option. The new automation rules page will look like the one in the picture below.
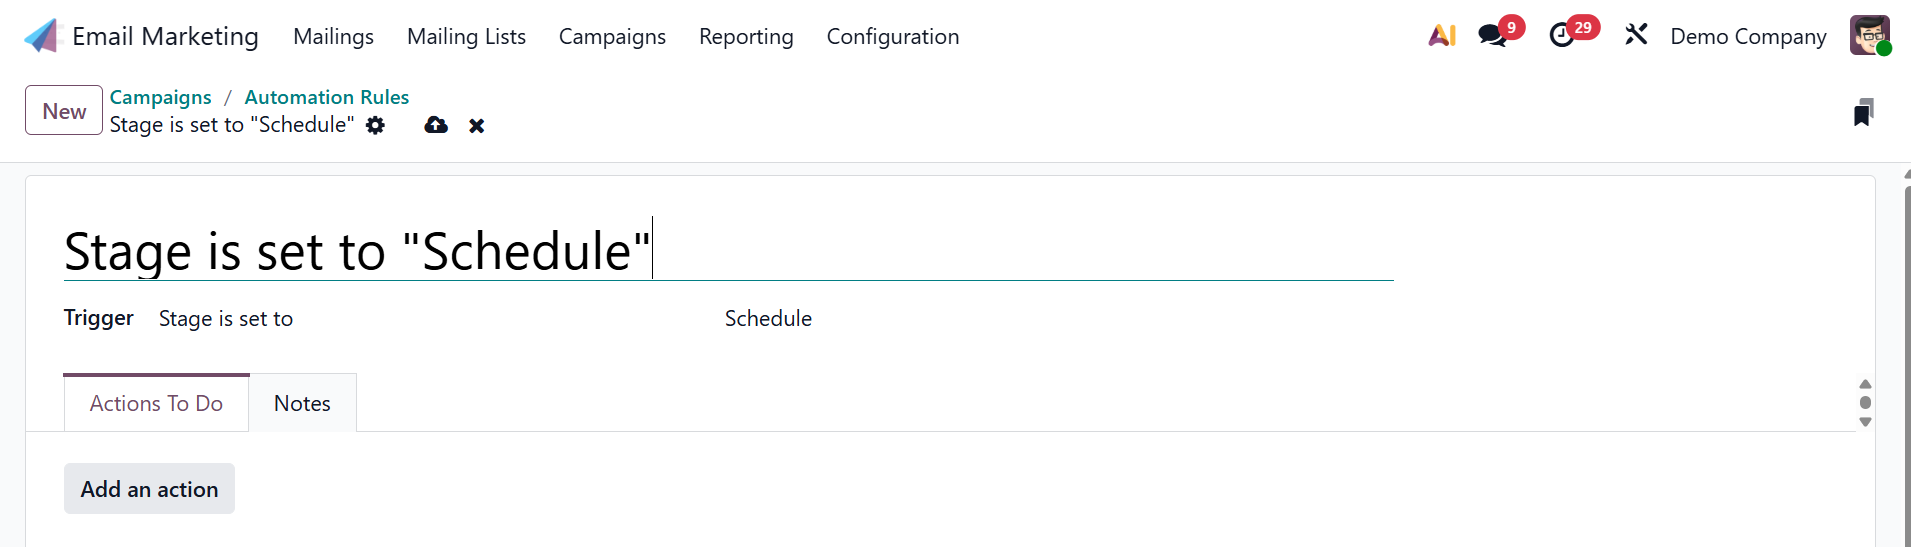
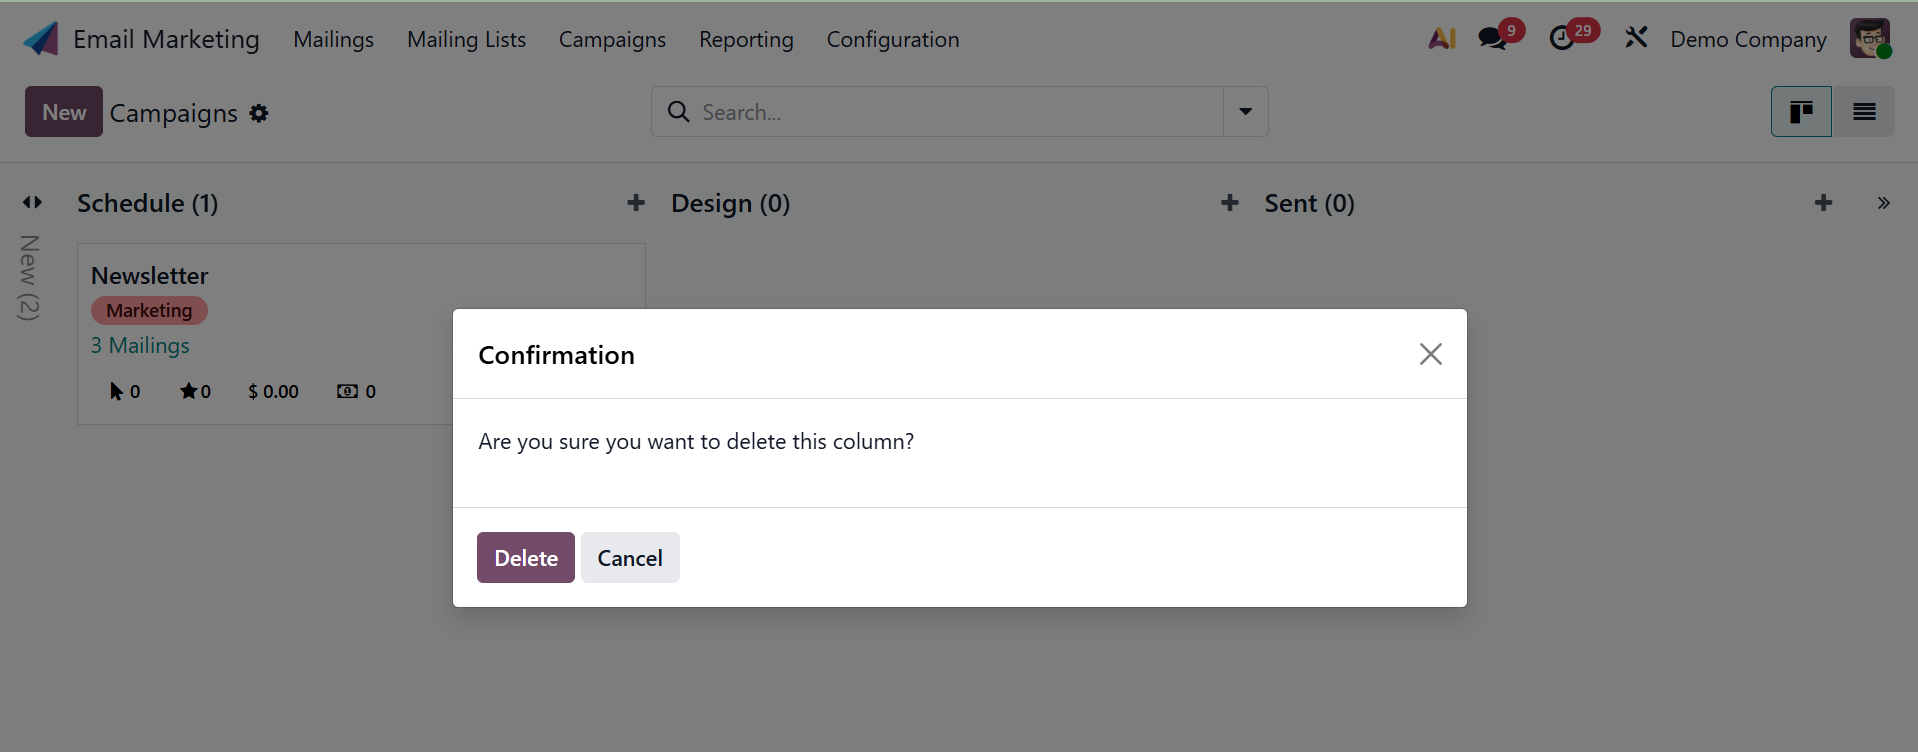
Here, you can enter the name, model, and trigger. If necessary, you can also fill in the fields that appear on the screen based on the trigger you choose. The trigger determines when the automation rule should be applied. "Apply on" is the next option, which comes before the update domain. You can construct the "Before Update Domain" option to establish the conditions. There are action items to complete and a notes tab beneath that. Select the action type after choosing Add an action, then fill in the fields that appear on the screen corresponding to the action you selected. Additionally, the notes tab adjacent to it contains information about the automation rules. You can click the Delete button to remove the step if you choose.
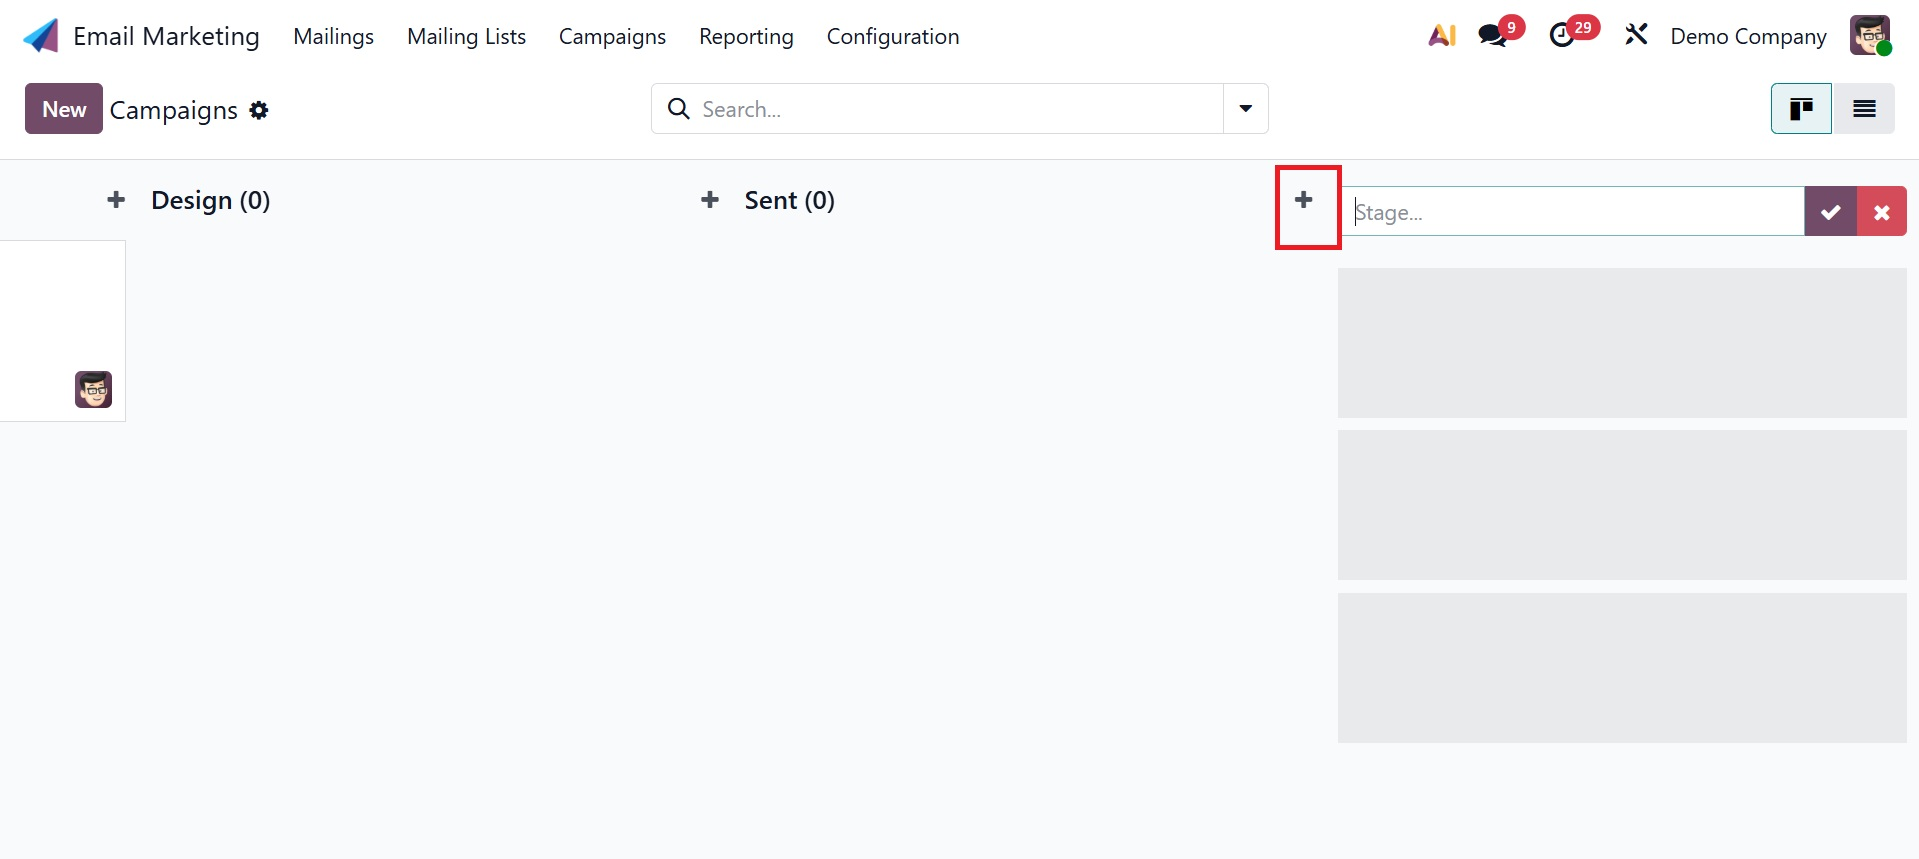
You will also have the opportunity to add a new stage to the current list, as shown below.
The campaign page also offers a list view option. You can examine additional information on the list view, including the stage, the campaign name, the accountable user, and any relevant tags.
The page has a few filters as well. The Group By option allows us to group these campaigns according to our needs.
You can now choose to grant the Campaign Stages and > Campaign Tags by activating the Marketing Campaign option under the Email Marketing Settings option. The placement of the menu item will be configured.
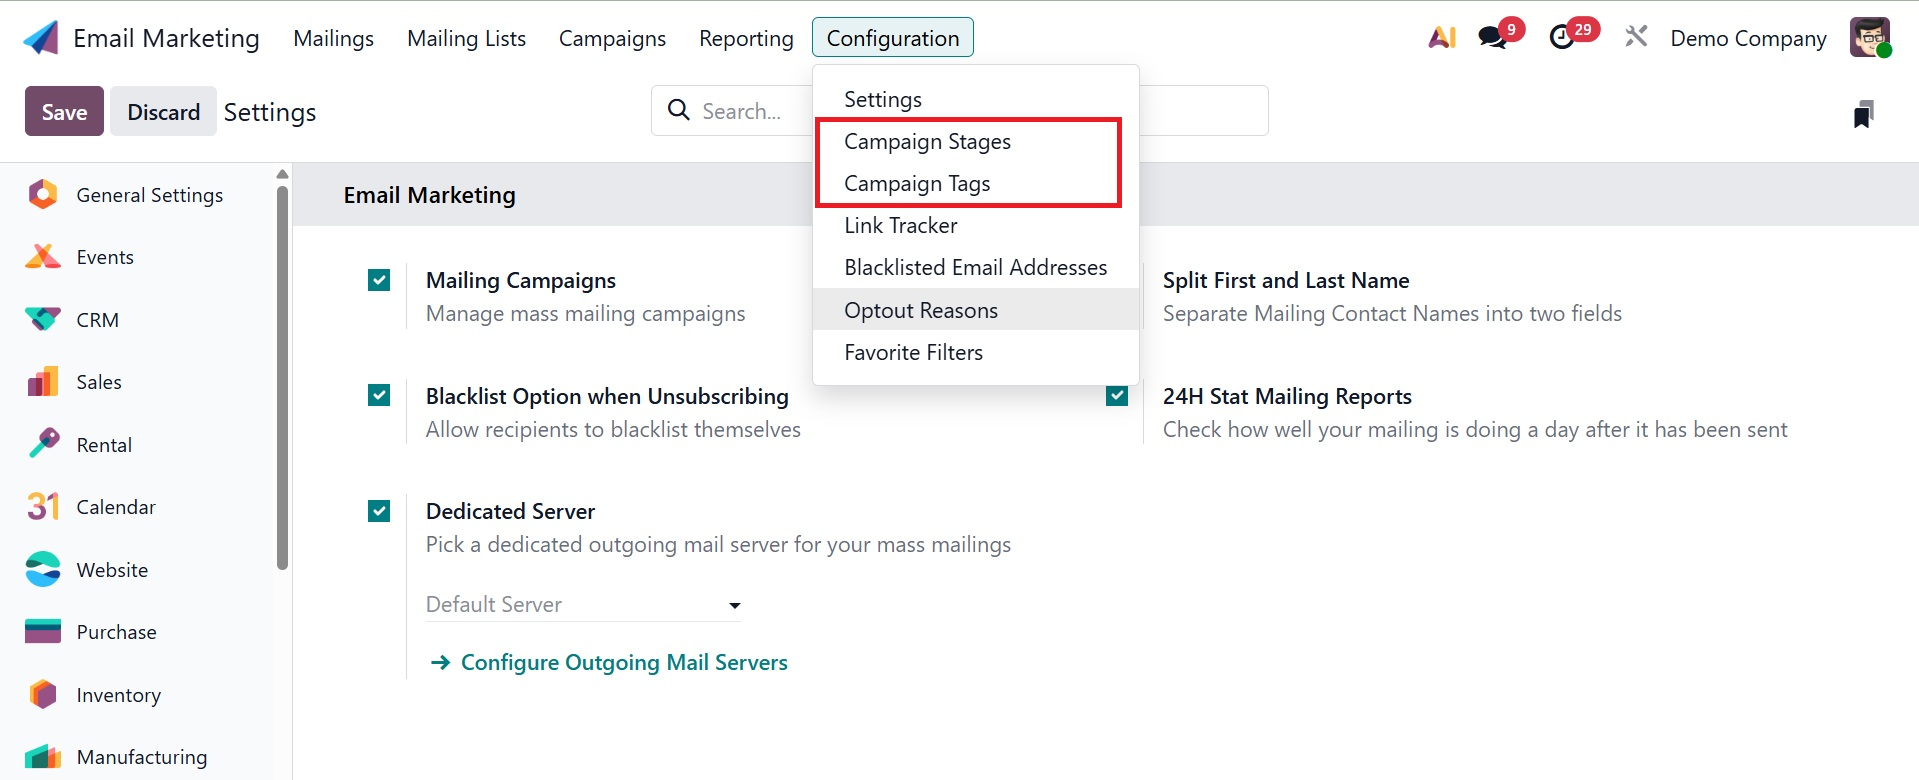
As shown in the screenshot above, choose the Campaign Stage option from the setup menu to view the UTM phases.
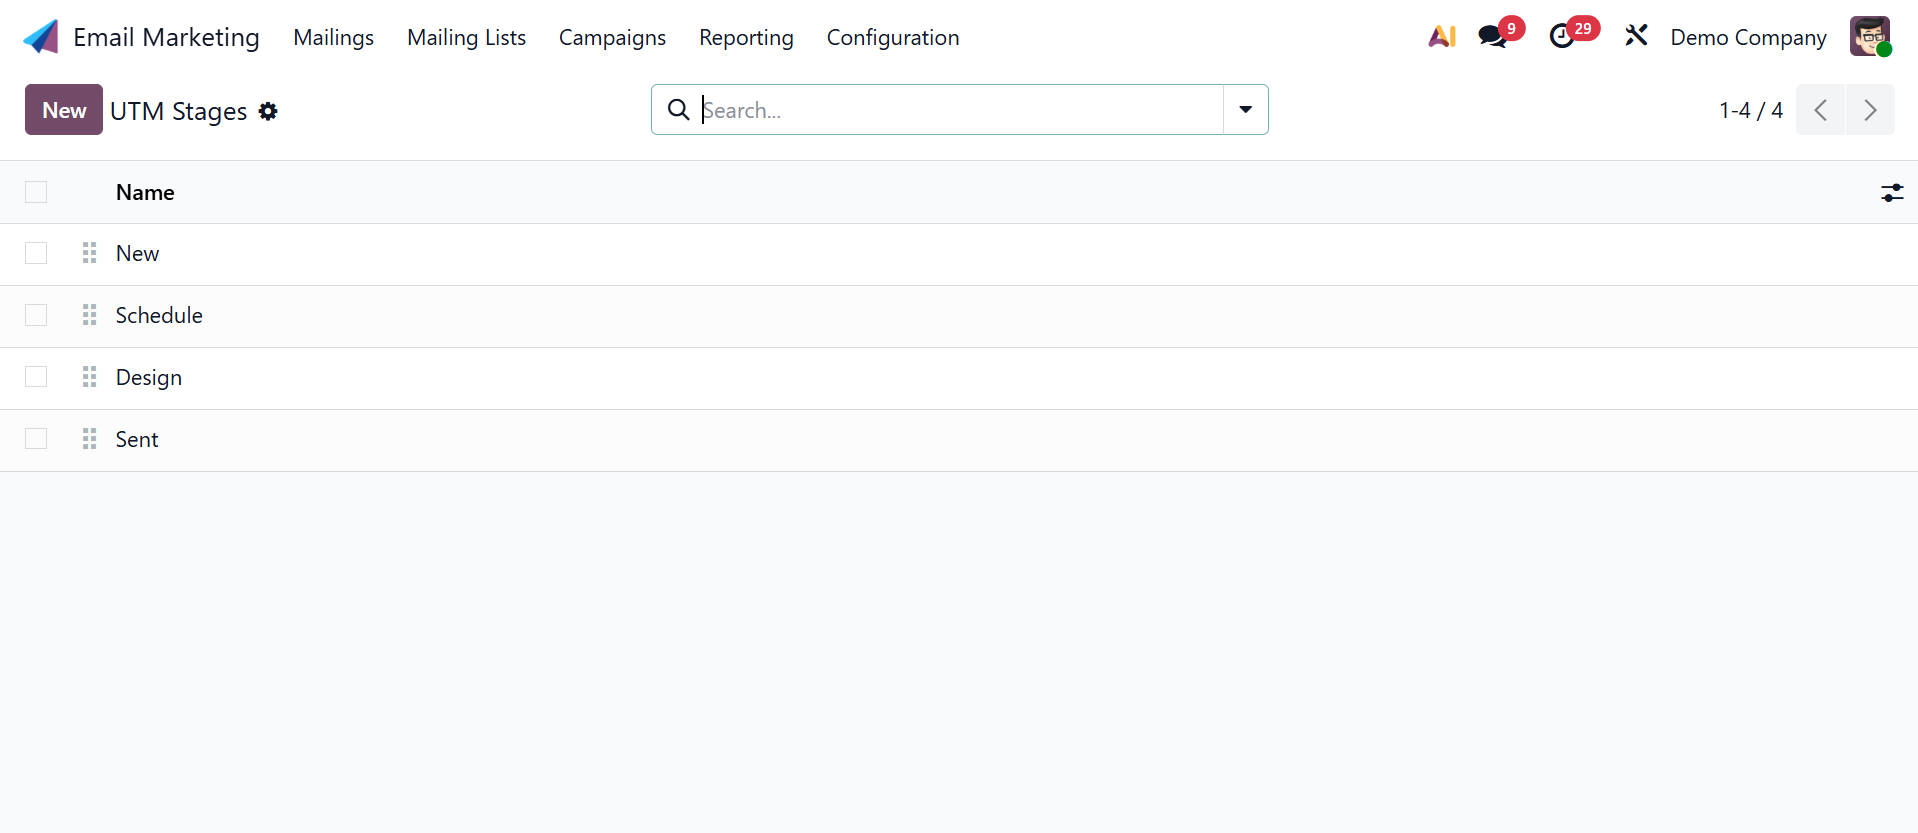
You can see every stage of the campaign that has already been put up in this box. Simply click the New icon on the window's left side to create a stage with a similar layout. When you choose the choice, a new line will appear where you may quickly construct a new stage.
The Campaign Tags option is situated beneath the campaign stage selection, as can be seen here.
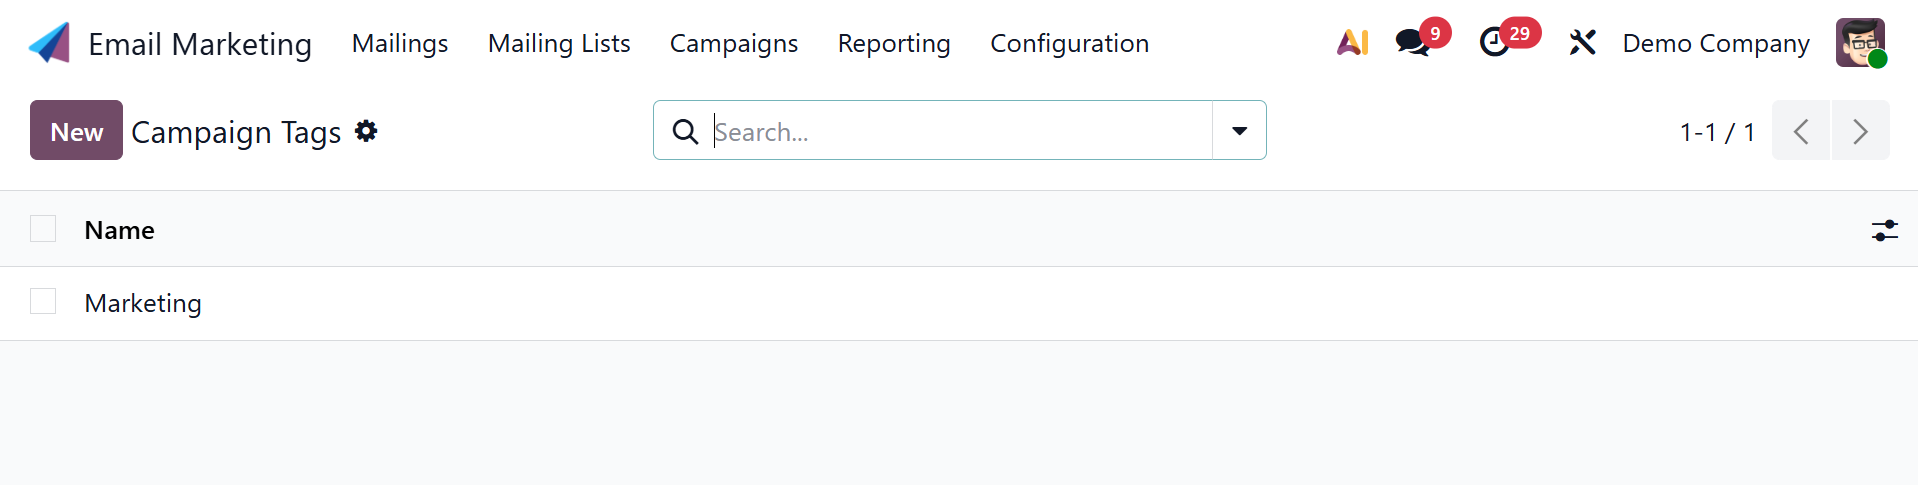
The campaign's pre-made tags are on the page. Additionally, you can use the New icon to add extra tags to the campaign. A new line where you can quickly add a new tag will emerge, just like in the campaign stage. Click the Save icon to finish.
In the Email Marketing module's settings, you can also choose the Blacklisted Option when unsubscribing. The functionality also enables the user to use the unsubscription website to manage their blacklist status. Therefore, in order for the option to be activated, you must activate it from the settings, as indicated below.
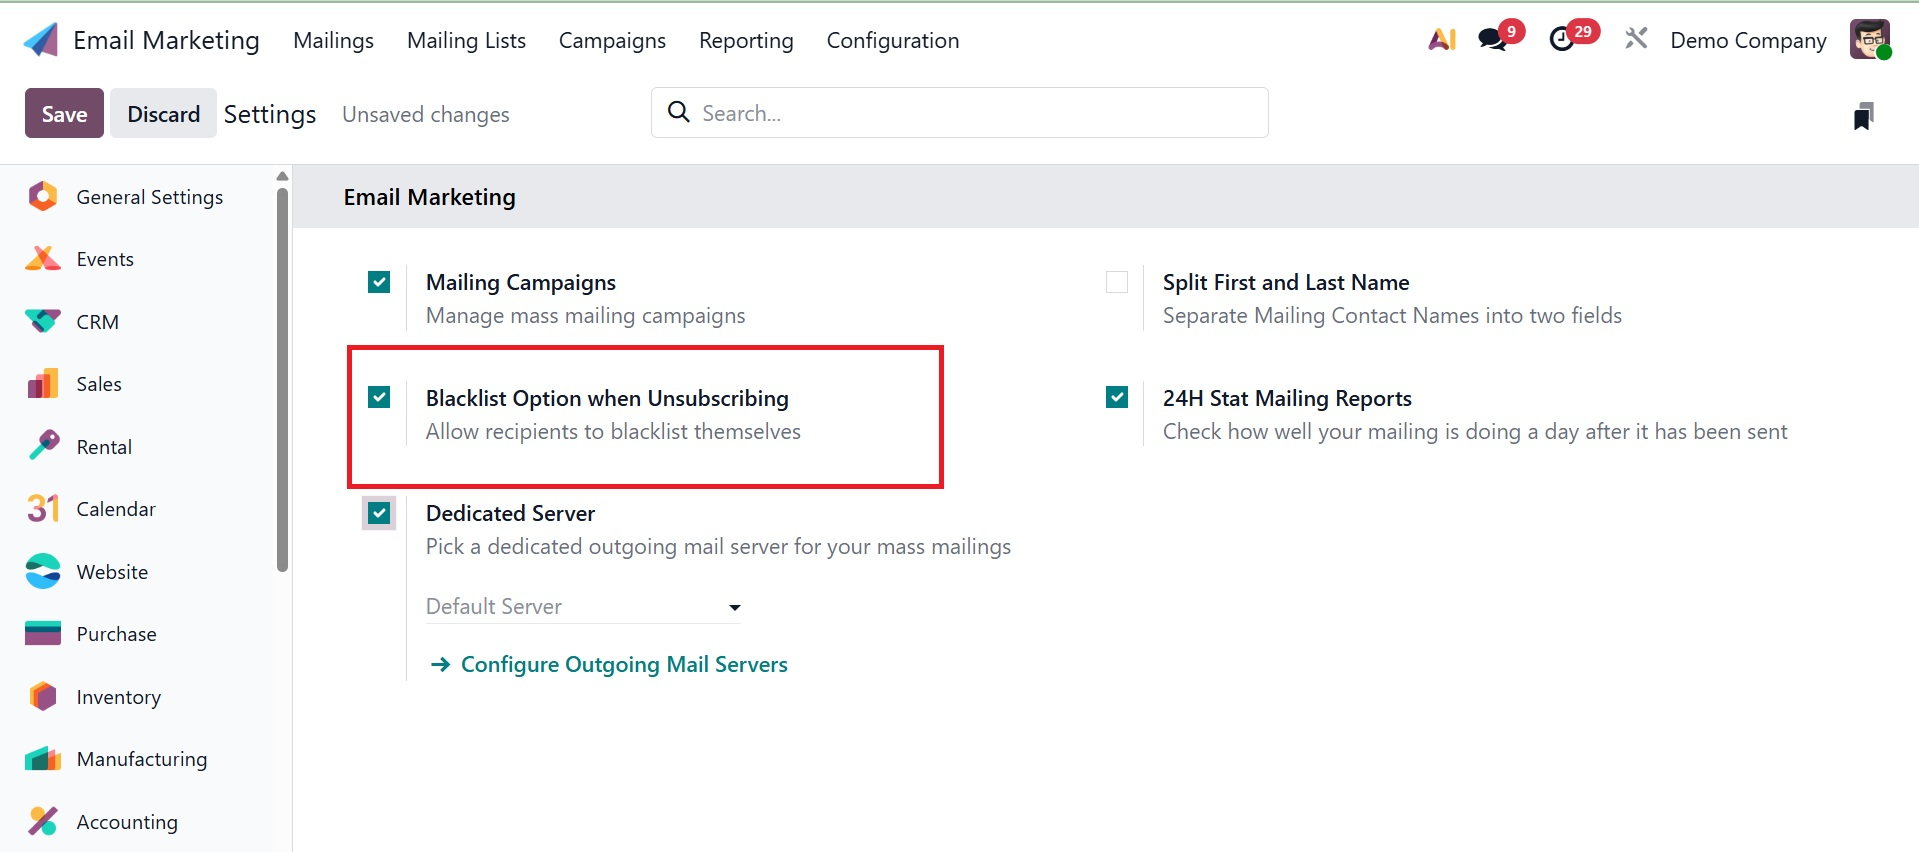
The page of a specific blacklisted person will appear when you select the blacklisted option from the configuration, as seen in the screenshot below.
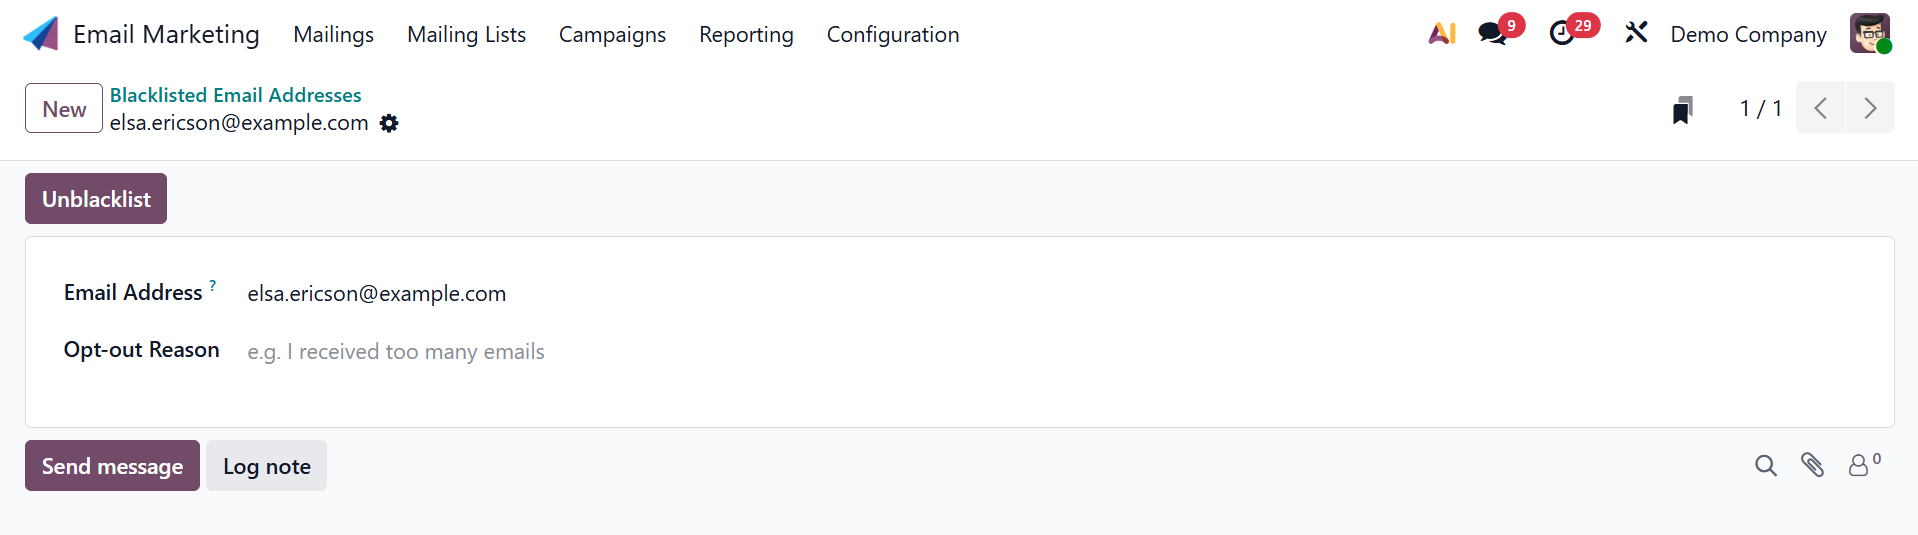
You may easily unblacklist the email address there by using the unblacklist option that is offered. As shown in the figure below, you will be prompted for confirmation after choosing the choice.
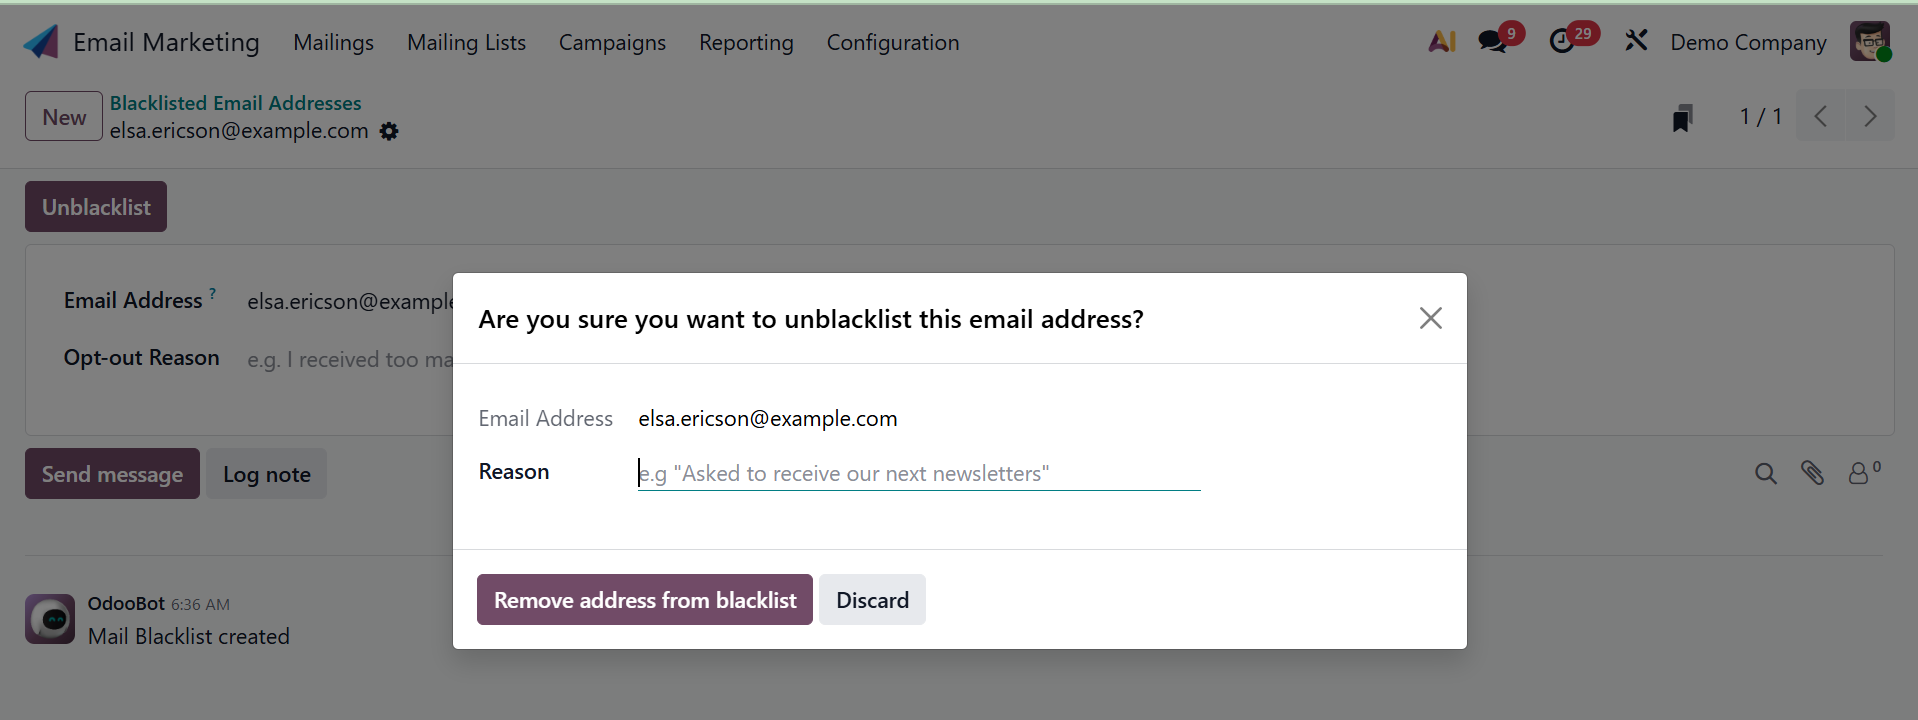
You can select the "Remove address from blacklist" option there and give a justification.
Next to the option for a blacklisted email address, you can see another option for a dedicated server. In the settings, you have included a dedicated mail server. You must first enable the dedicated server option in the settings in order to use this feature. The settings of this particular outgoing email server can then be accessed.
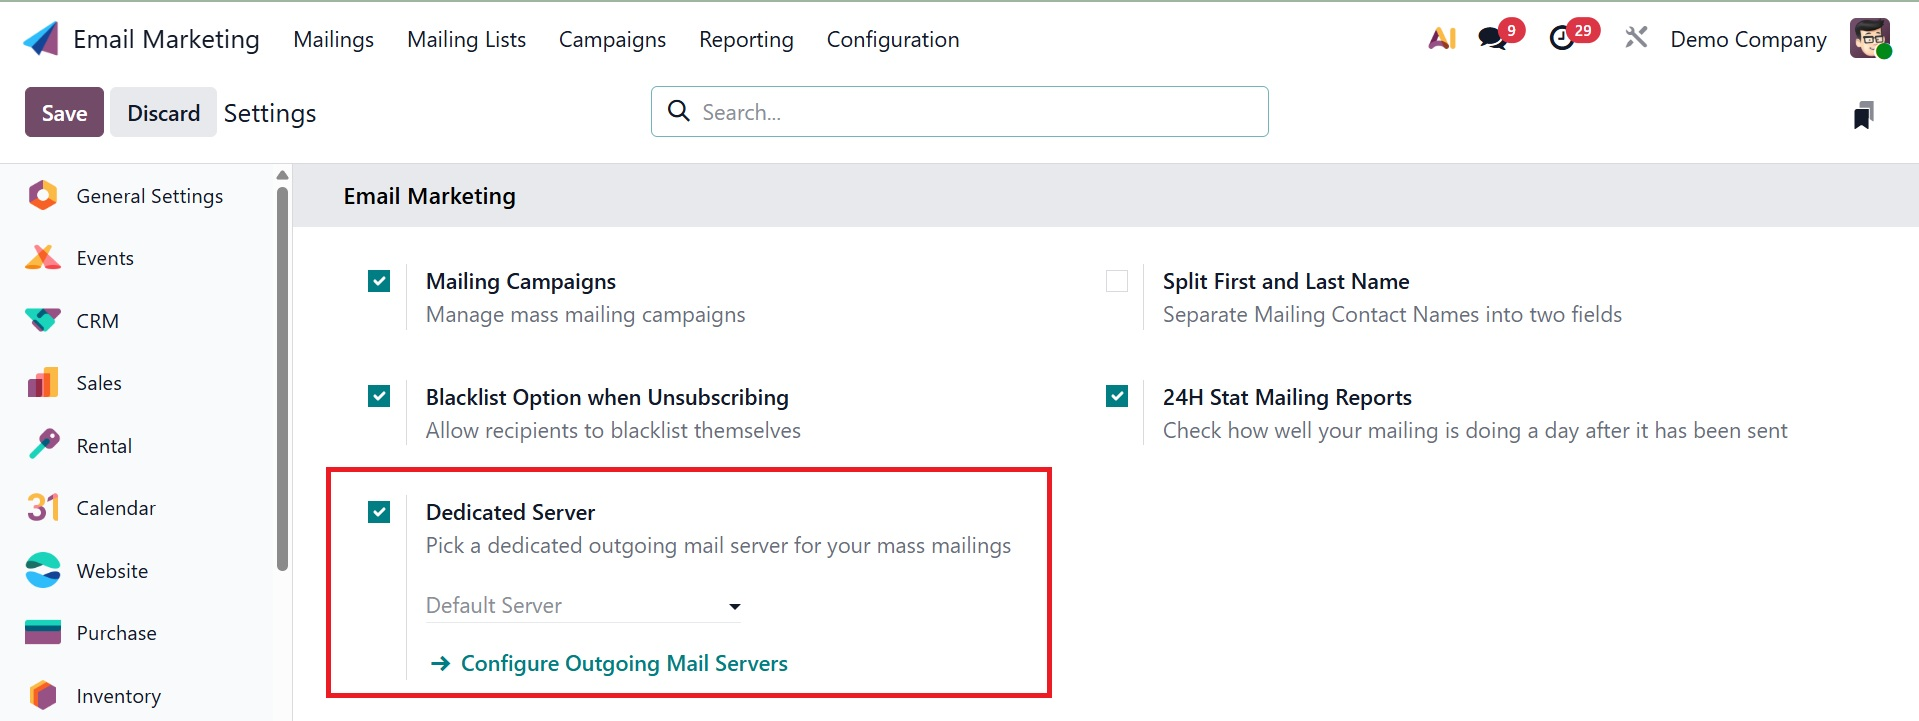
As can be seen below, you will be taken to a new page after selecting the option.
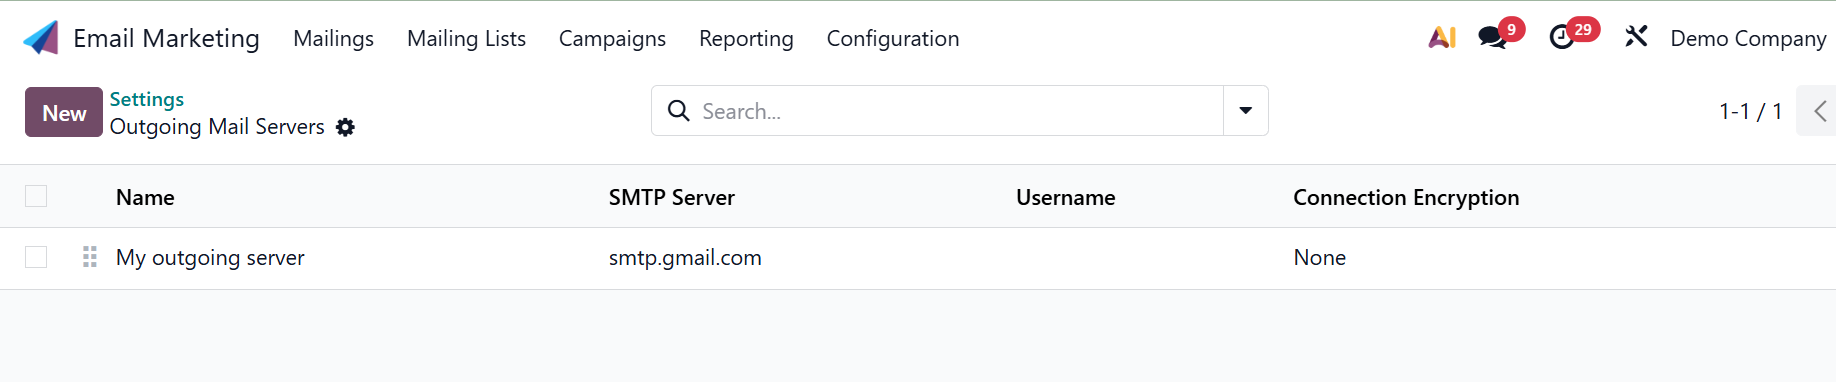
Among other things, the page lets you add information such as the connection encryption settings, SMTP name, priority name, and login. You can also click the New icon to create a dedicated server of a similar type.
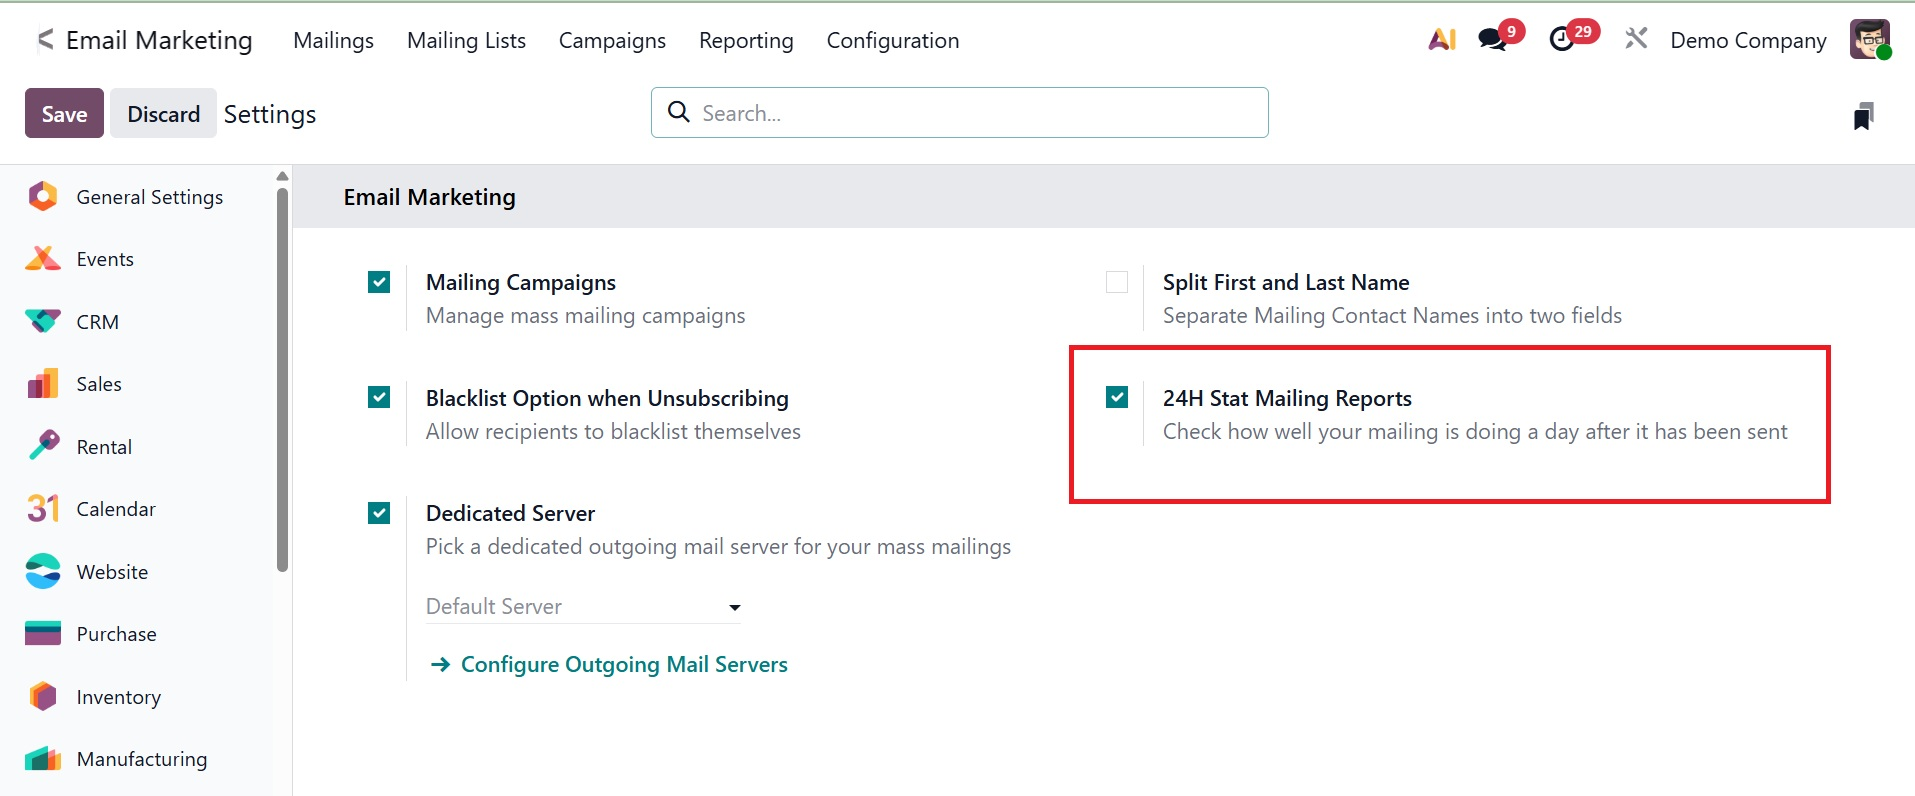
In the module's settings, you may now select the 24H Stat Mailing Reports option. You can utilize the feature to check how well your letter was handled a day after you've finished sending it. You must activate the option from the Email Marketing module's settings in order to access it. Remember to click the Save icon to save the changes after making the required adjustments to the settings.
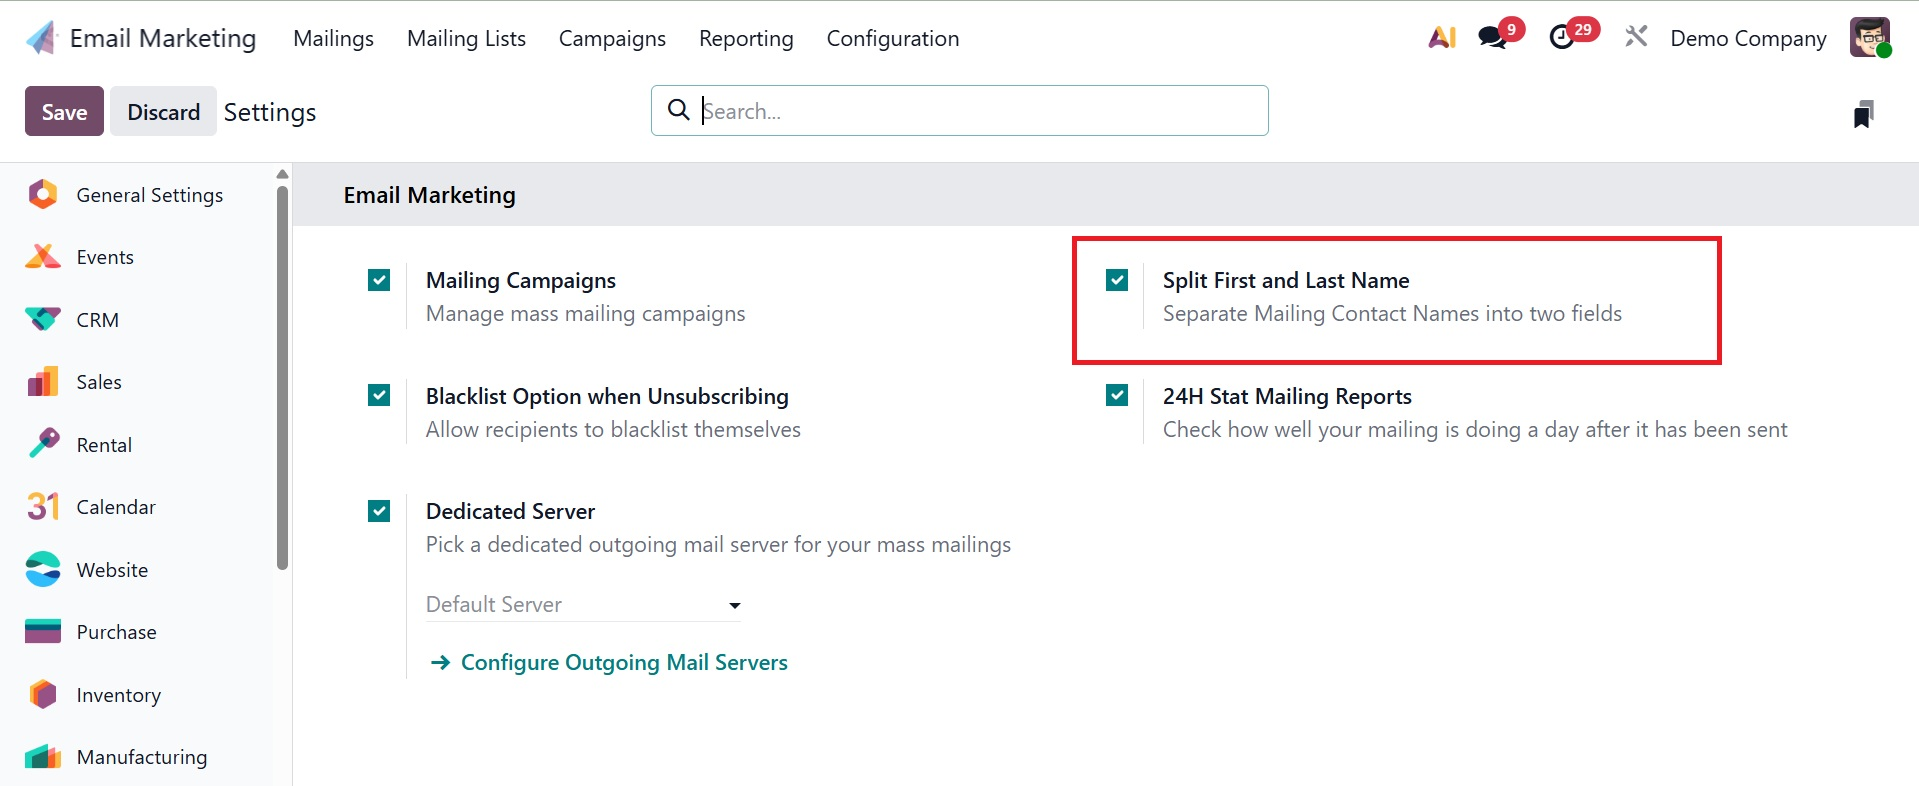
The next option, which divides mailing contact names into two fields, is split first and last name, as shown in the screenshot below.
1.2 Link Tracker
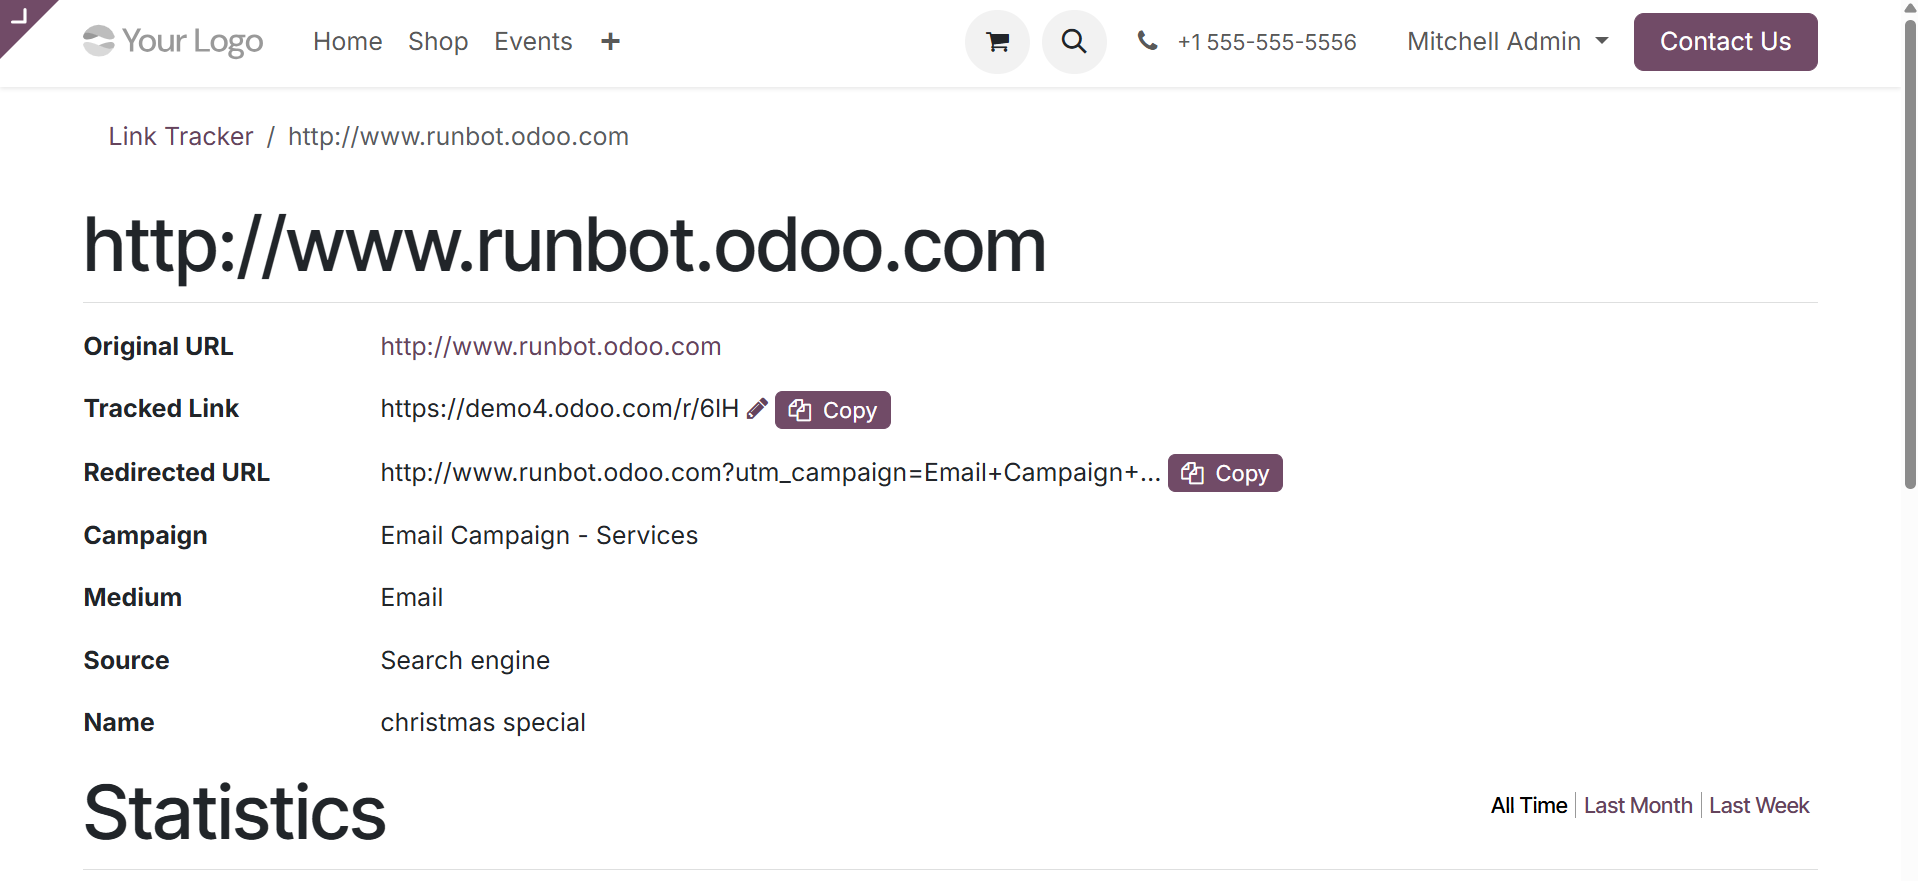
Link Tracker is the next option in the Configuration menu. The Email Marketing module has a link tracker option since email marketing calls for regular follow-up and analysis. The option is located in the Configuration menu of the module, as mentioned earlier. The website will look something like the image below.
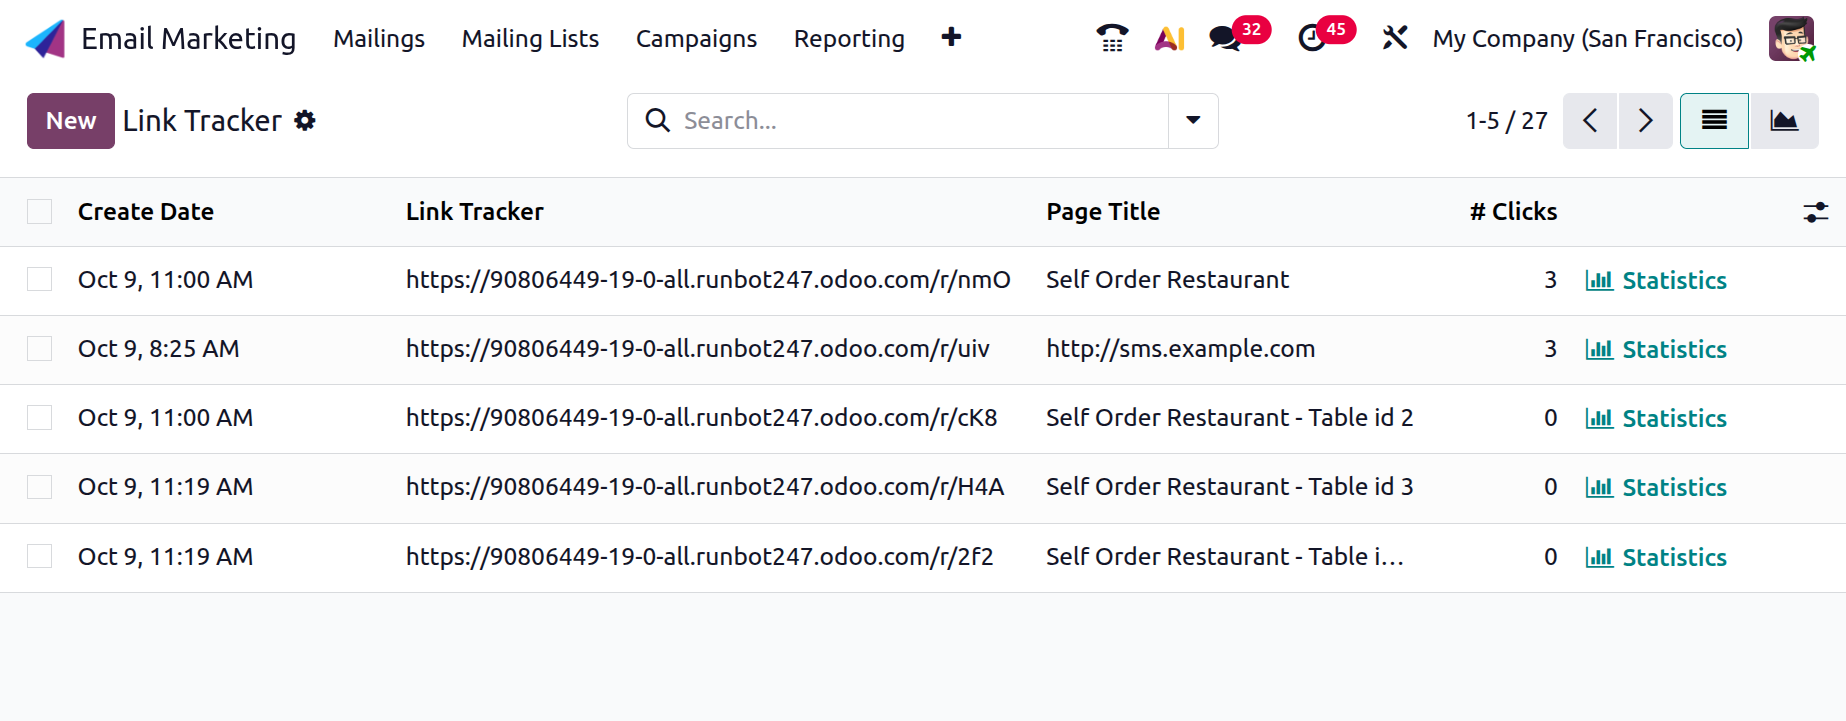
There are a few pre-made link trackers on the page. Numerous important facts are included on the site, including the destination URL, button names, the page title, the creation date and time, and the total number of clicks. The Visit page and data, which are regarded as direct connections, are accessible from the website page.
You will also receive the page's statistics, as shown in the screenshot below.
The Add Custom Filter option, located under the Filters option, can be used to create some flyers. You can group the data by campaign, medium, source, and mass mailing using the Group By option. You may quickly create a link tracker that is comparable by selecting the New icon.
1.3 Blacklisted Email Address
In certain circumstances, users can benefit from the "Blacklisted Email Addresses" option in the Email Marketing module's Configuration menu. The module's unique feature of the blacklisted email addresses option is helpful in cases where specific emails are barred or reported from the mail list. No letters will be sent to you until you are joined to the mailing list. In the settings menu, the option is located under the link tracker choices.
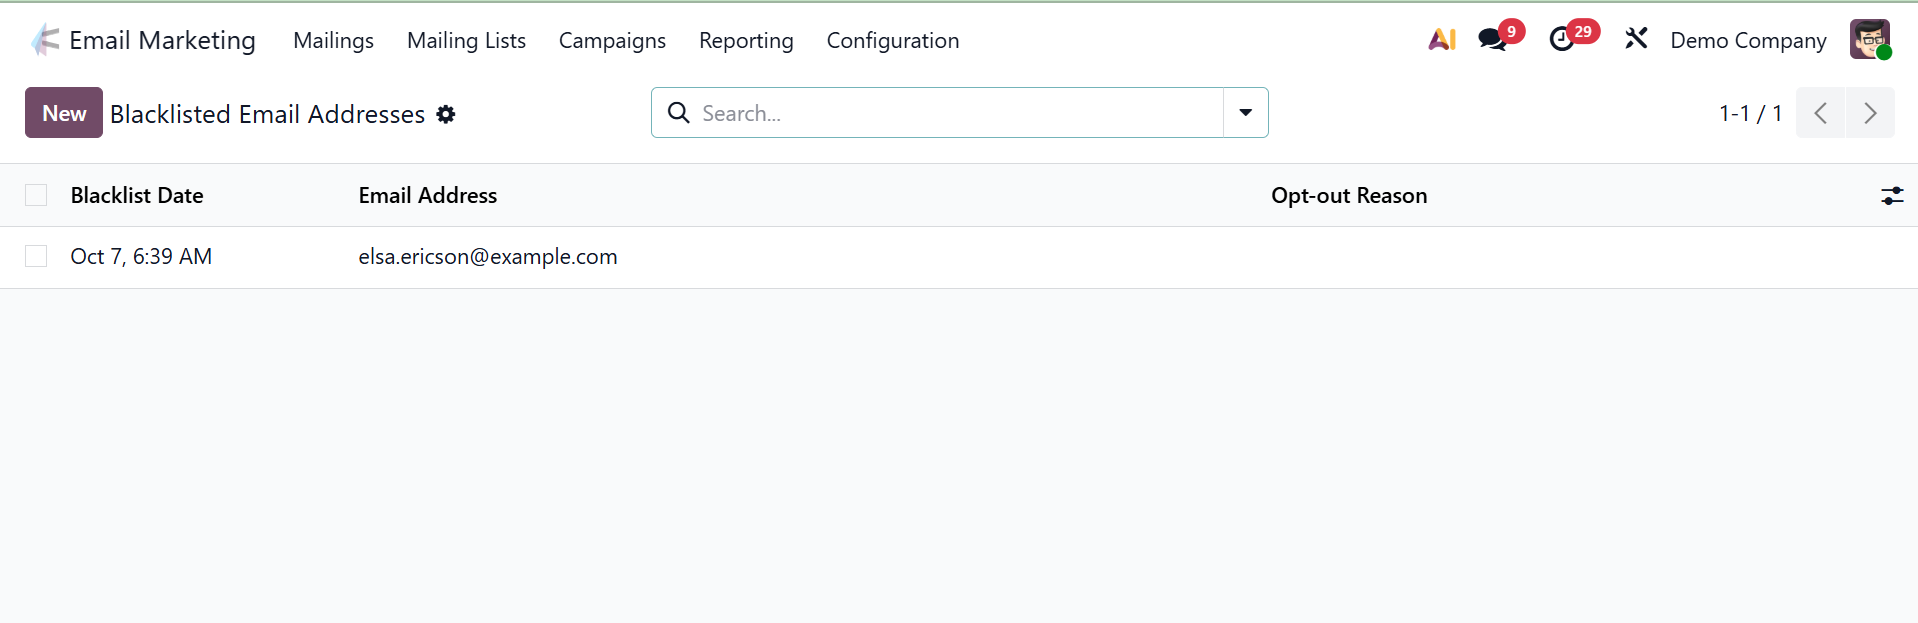
You can view the previously sent blacklisted emails on the page for the banned email address. Details like the email address and the blacklist date are provided on the page. Click the New icon on the page to add a new email address to the blacklist. On the left side of the page is an option. You can enter the information needed to add the email address to the Blacklist on a new page that appears when you select the New option.

The screen displays a place for entering the email address that needs to be banned as well as an option labeled Active that is already activated. The dialog box for adding an email address to a blacklist is shown in the image above.
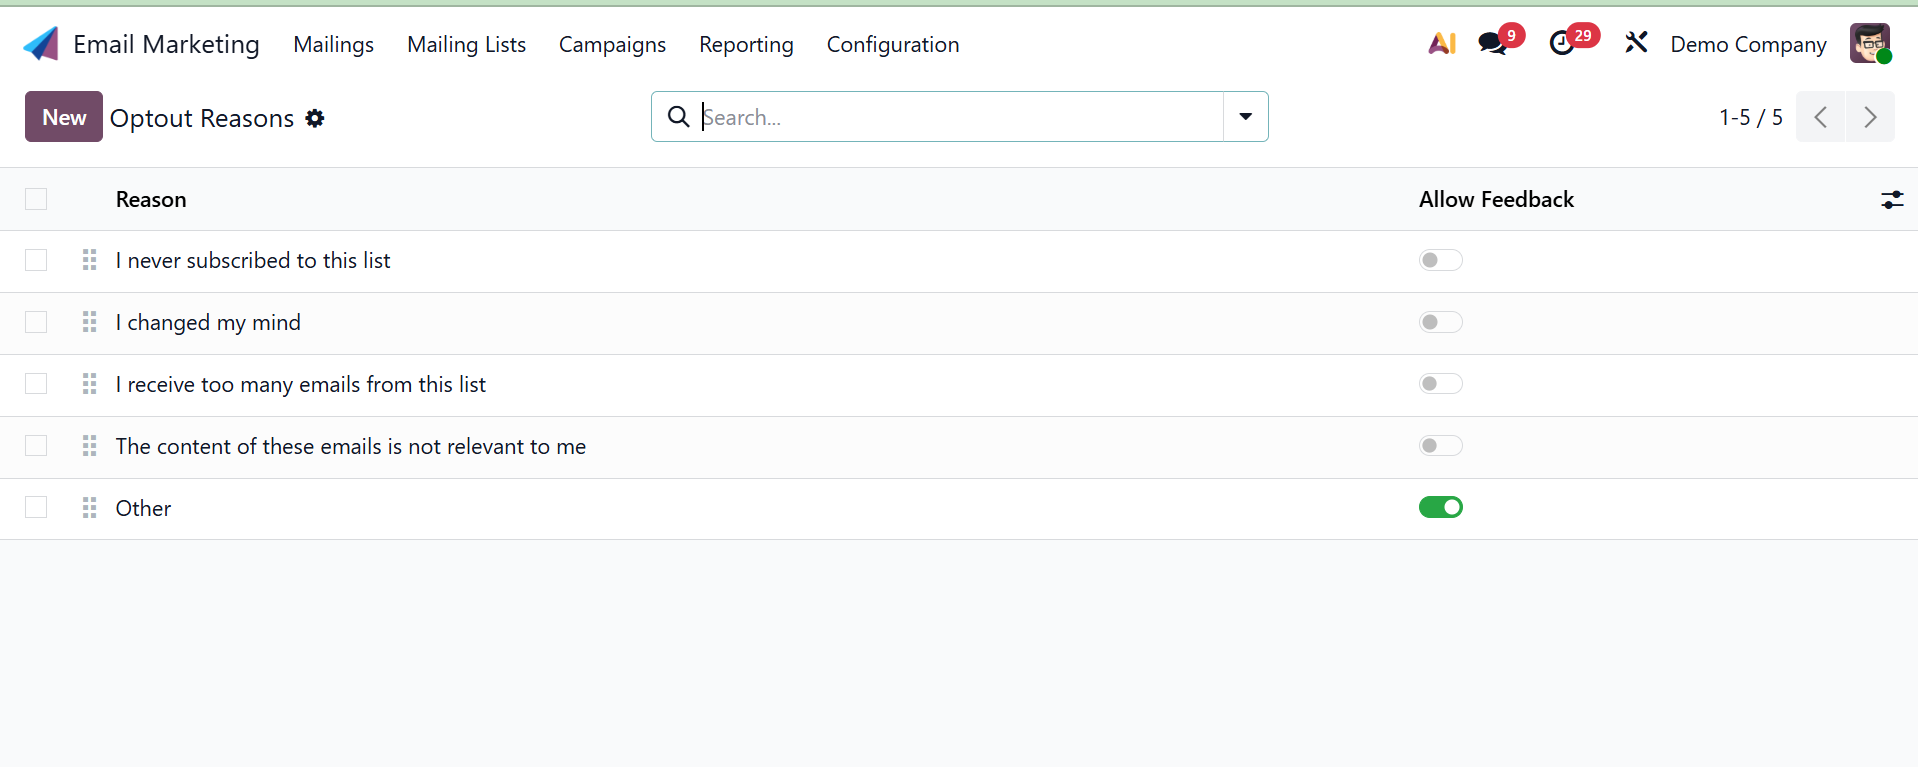
1.4 Optout Reasons
Numerous factors might lead to the cancellation of a subscription. This module needs to be changed for a number of reasons. The Configuration menu contains the opt-out justifications. Click the New button to add a new rationale. The user can now define the extra explanation in a new line that appears beneath the list.
1.5 Favorite Filters
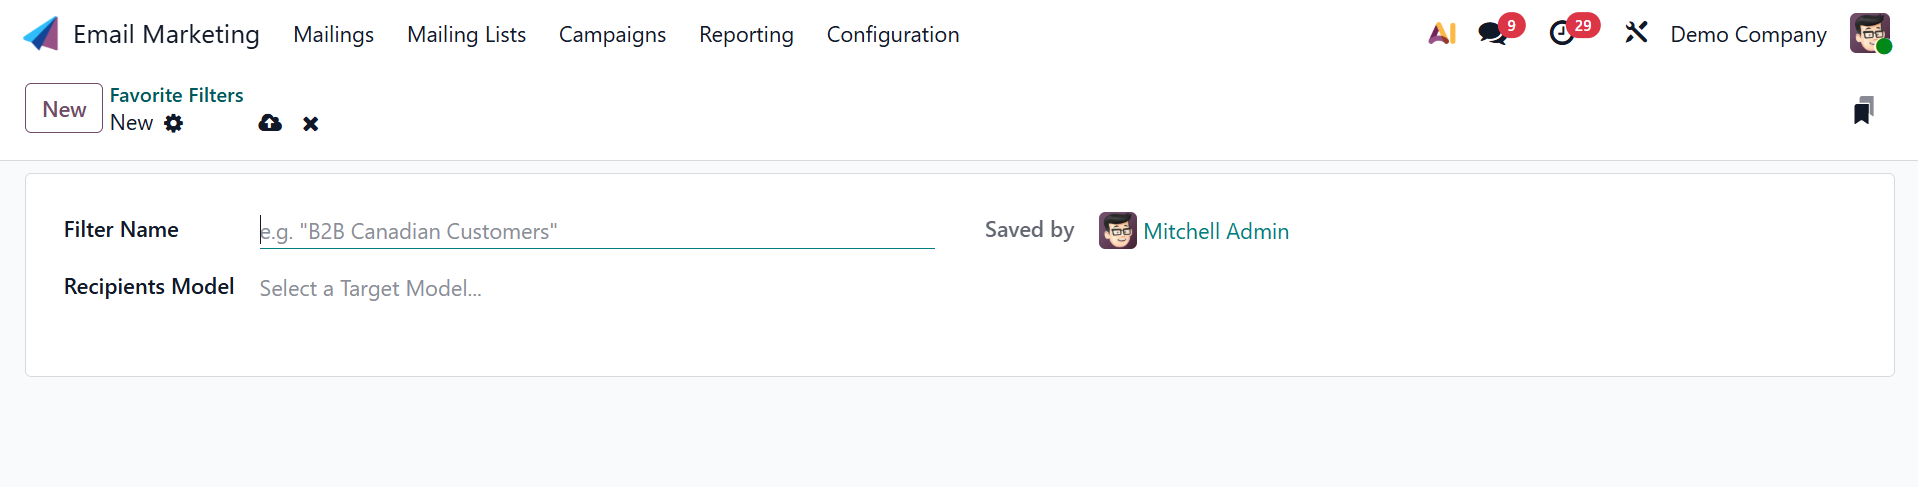
Directly below the blacklisted email address is the Email Marketing module's configuration menu, from which you may choose Favorite Filters. The feature page will look like the example below.
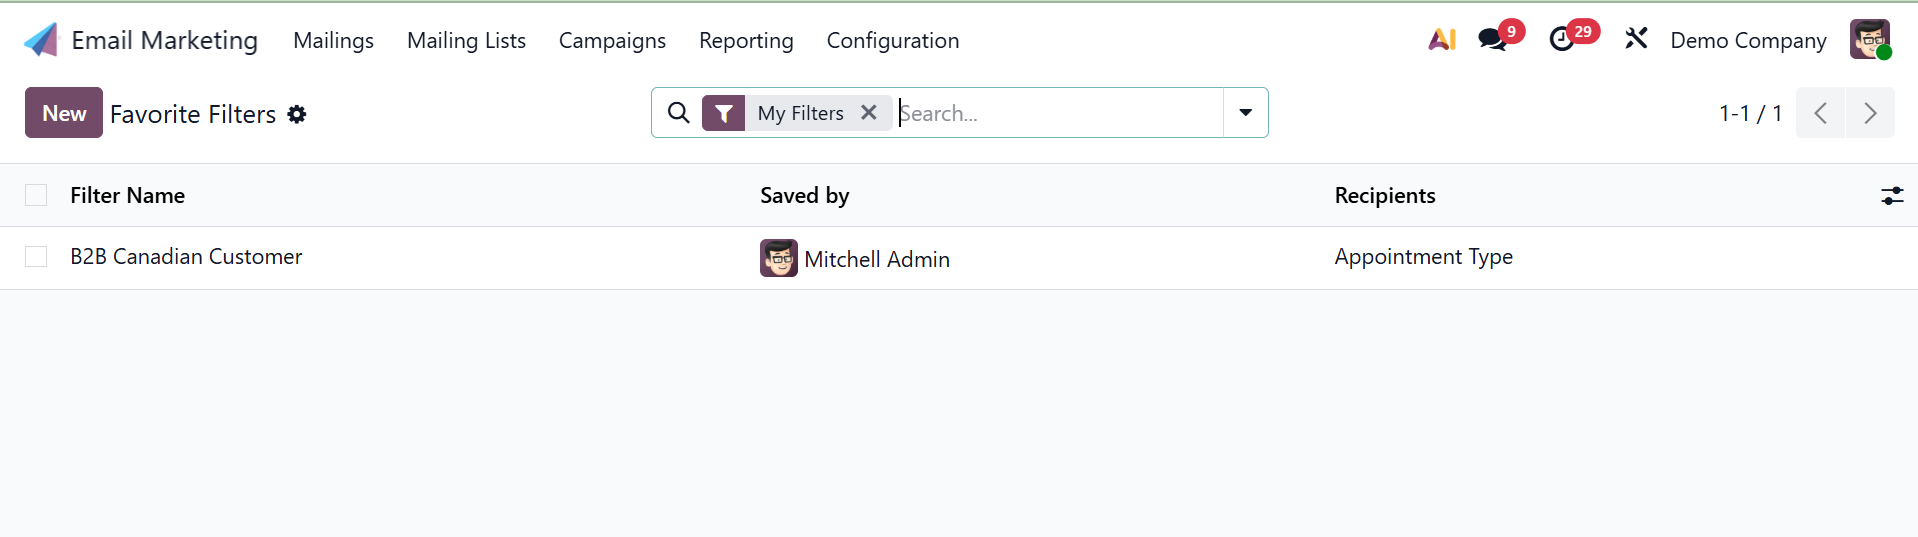
When creating the mailing, you can select the appropriate rules to filter the recipients using the favorite filters option. The base can be saved by simply clicking the star icon next to the recipient option and adding it to your favorites. The page includes the name of the filter, who saved it, and details about the recipients. Simply click the New icon on the left side of the screen to create a favorite filter of a similar kind.
All things considered, the feature aids in promotion and is quite advantageous for email senders.