Mailing
Let's take a closer look at the different purposes that the choices in this module fulfill.
The main dashboard will show up after selecting the module, as shown below.
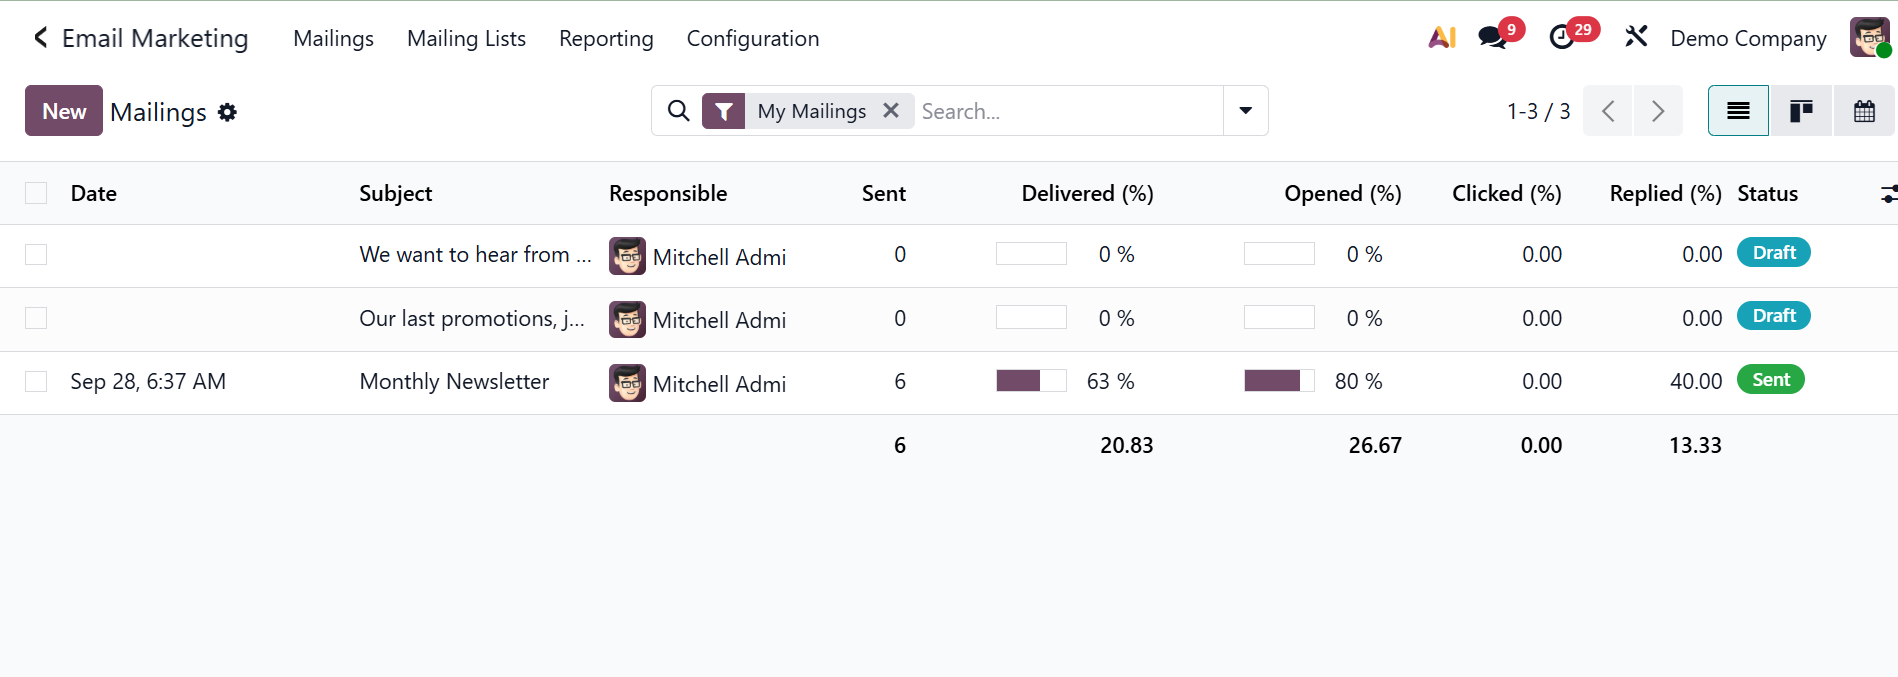
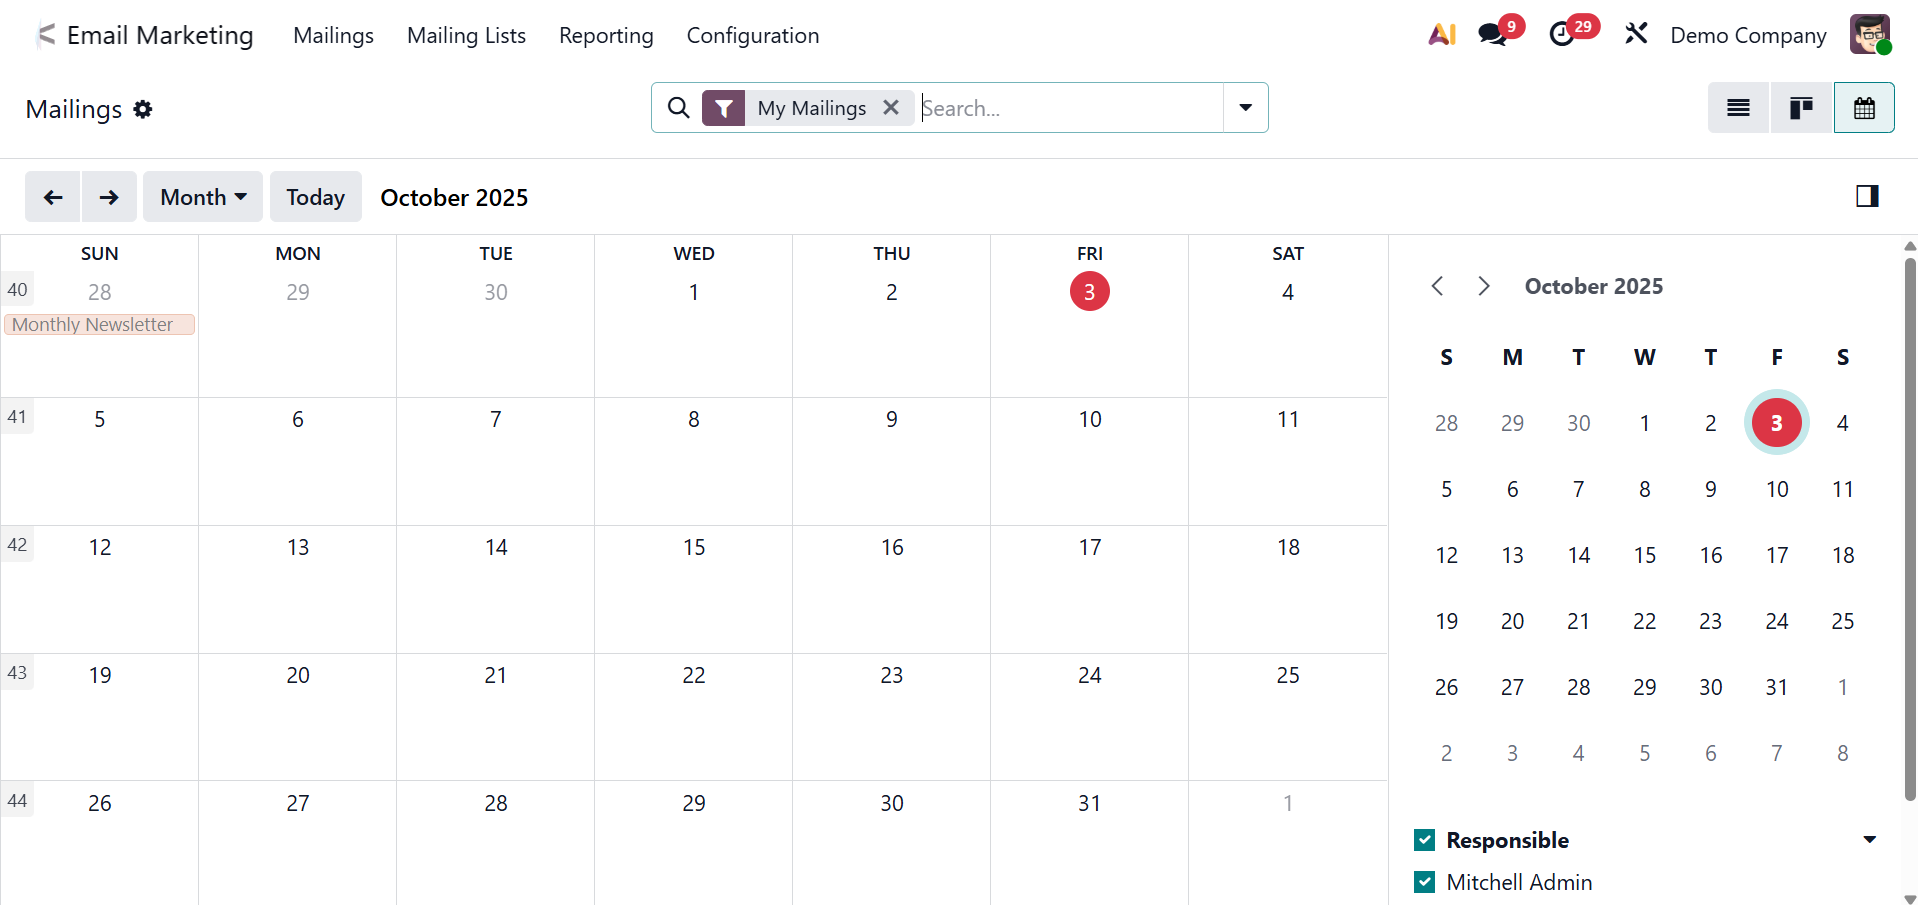
You will receive an email containing information on previously sent emails, including when they were sent, the subject line, the sender, if they were delivered, and whether they were clicked, opened, or replied to. Additionally, the page is available in Calendar, List, and Kanban formats. The view of the calendar will look like the picture below.
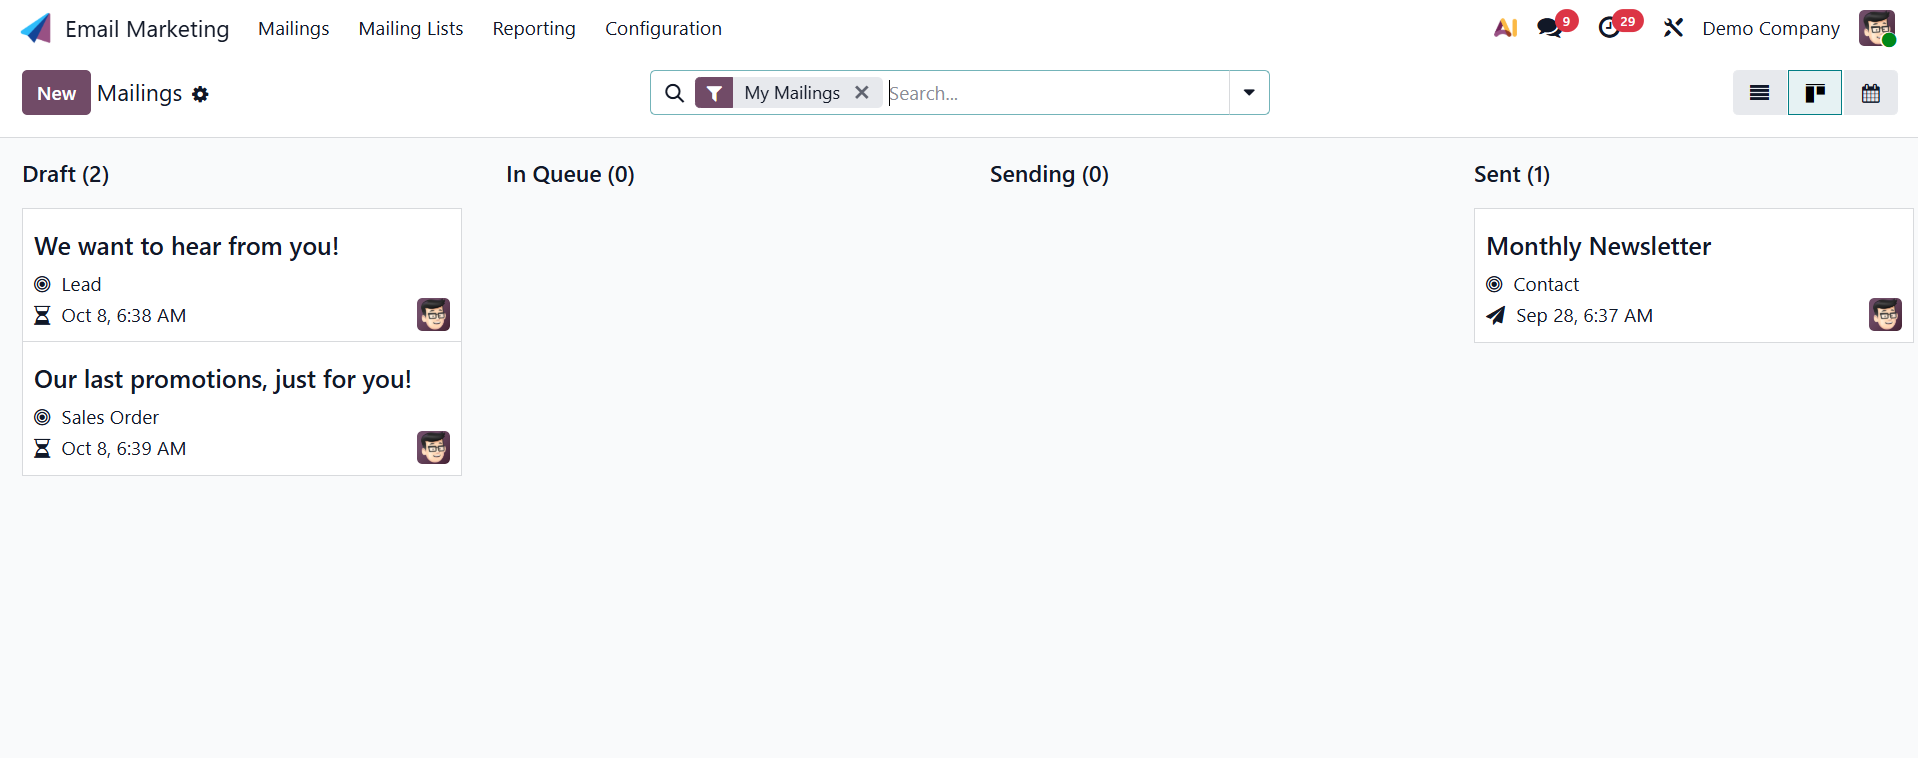
Additionally, the kanban view will look like the picture below.
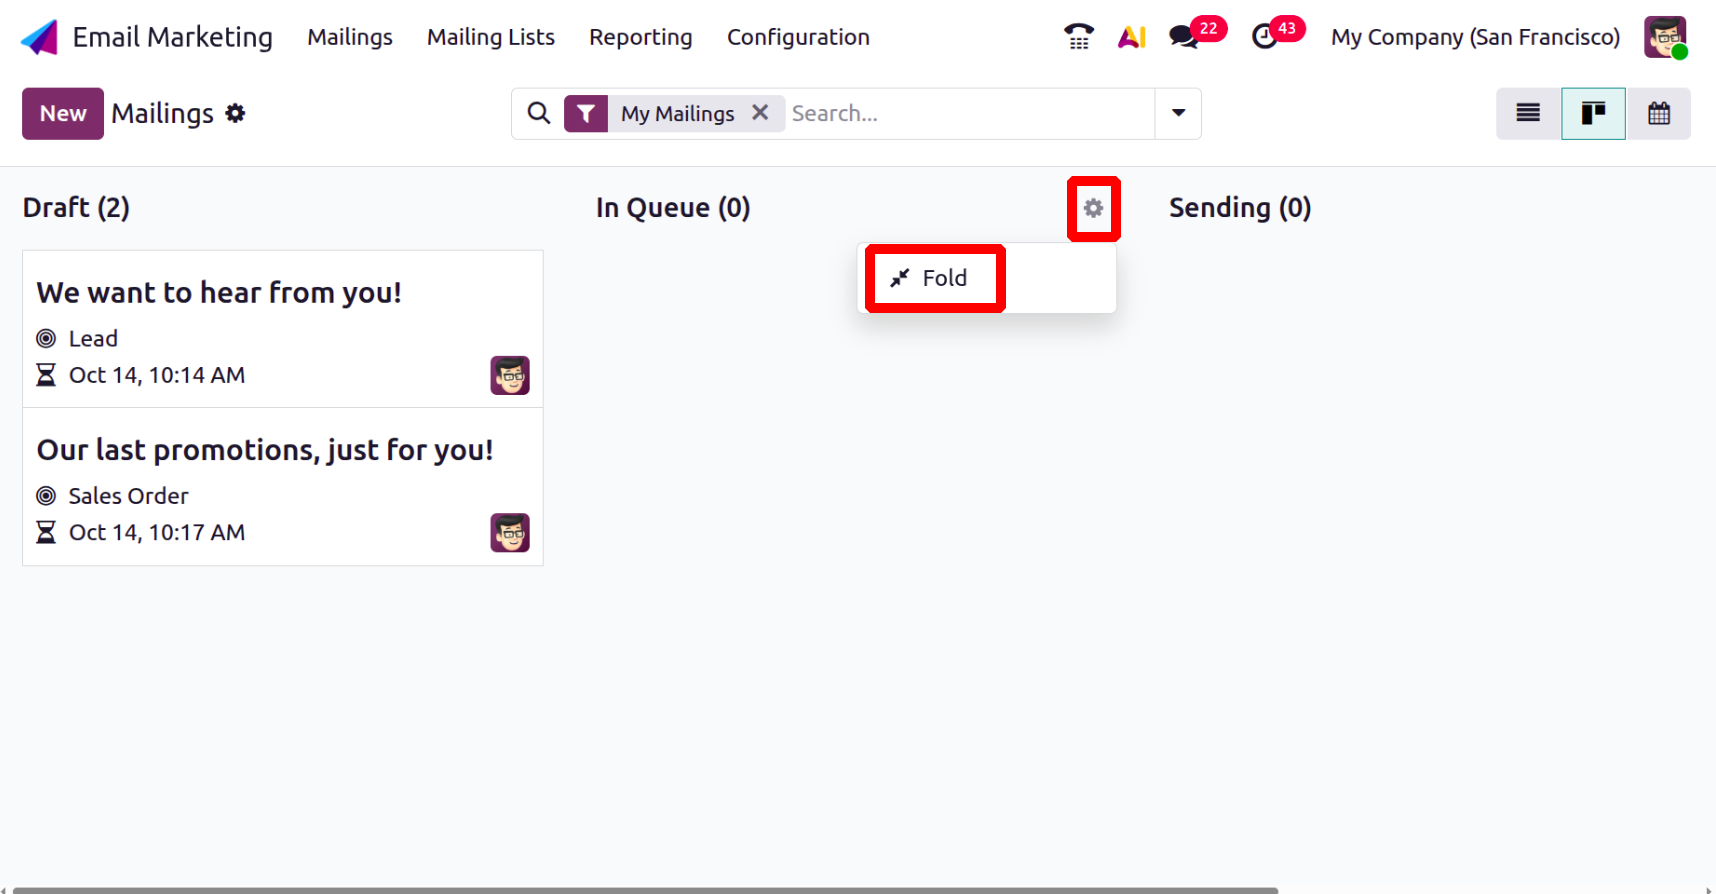
There is a Gear icon near the Stage, and which contains an option Fold. Which help to fold the stage from this viewOn the right side of the page are the choices for these view points.
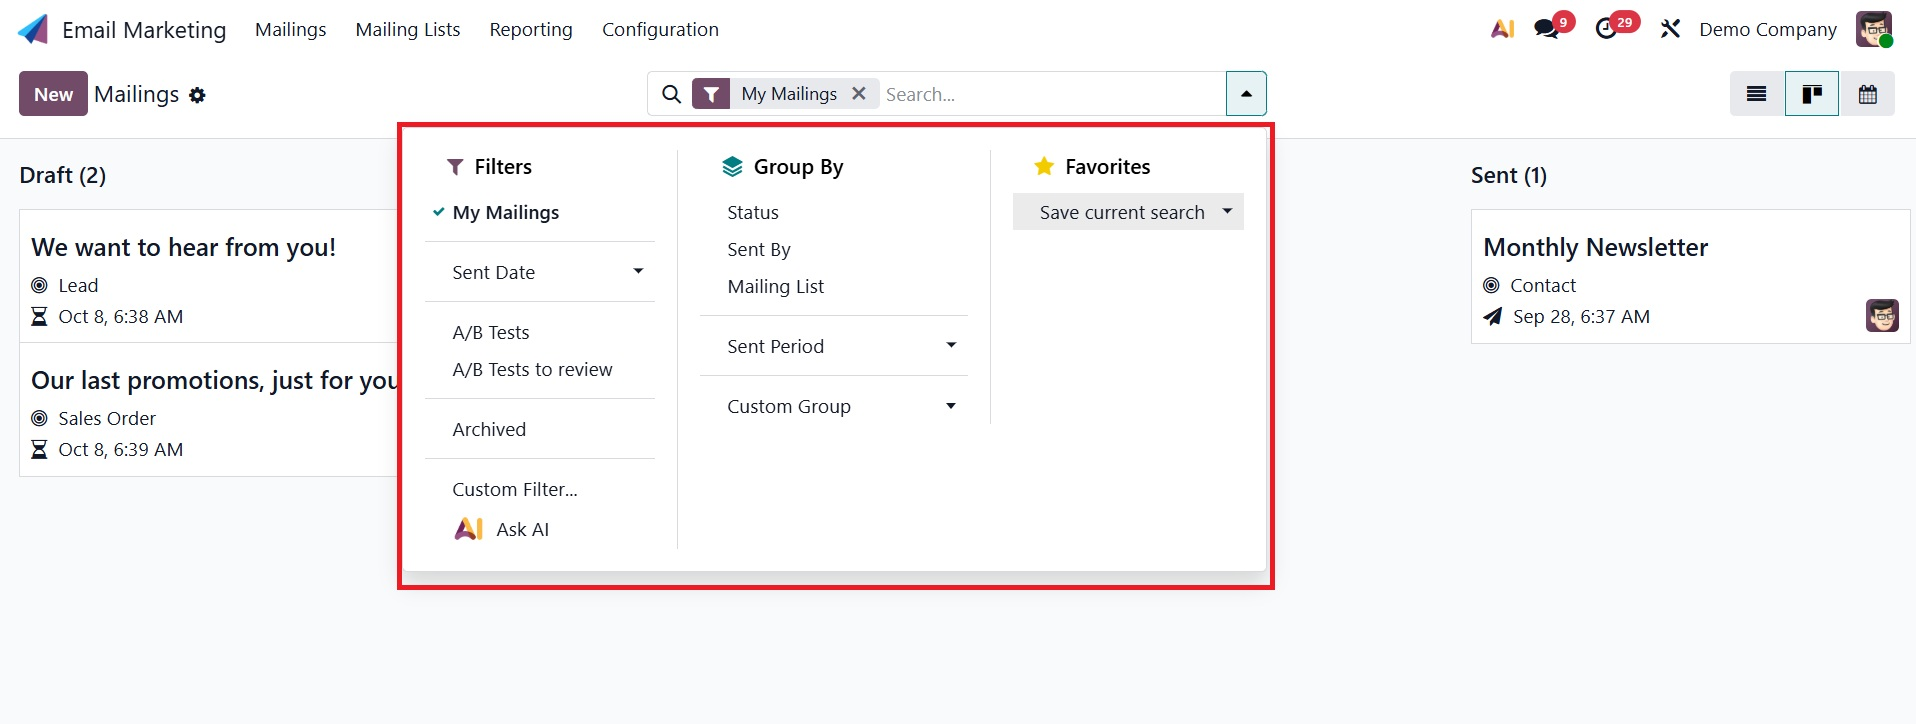
You can use the Group By and Filters options to sort based on your needs.
The person's chat box will open when you choose a specific responsible user from the list, as seen below.
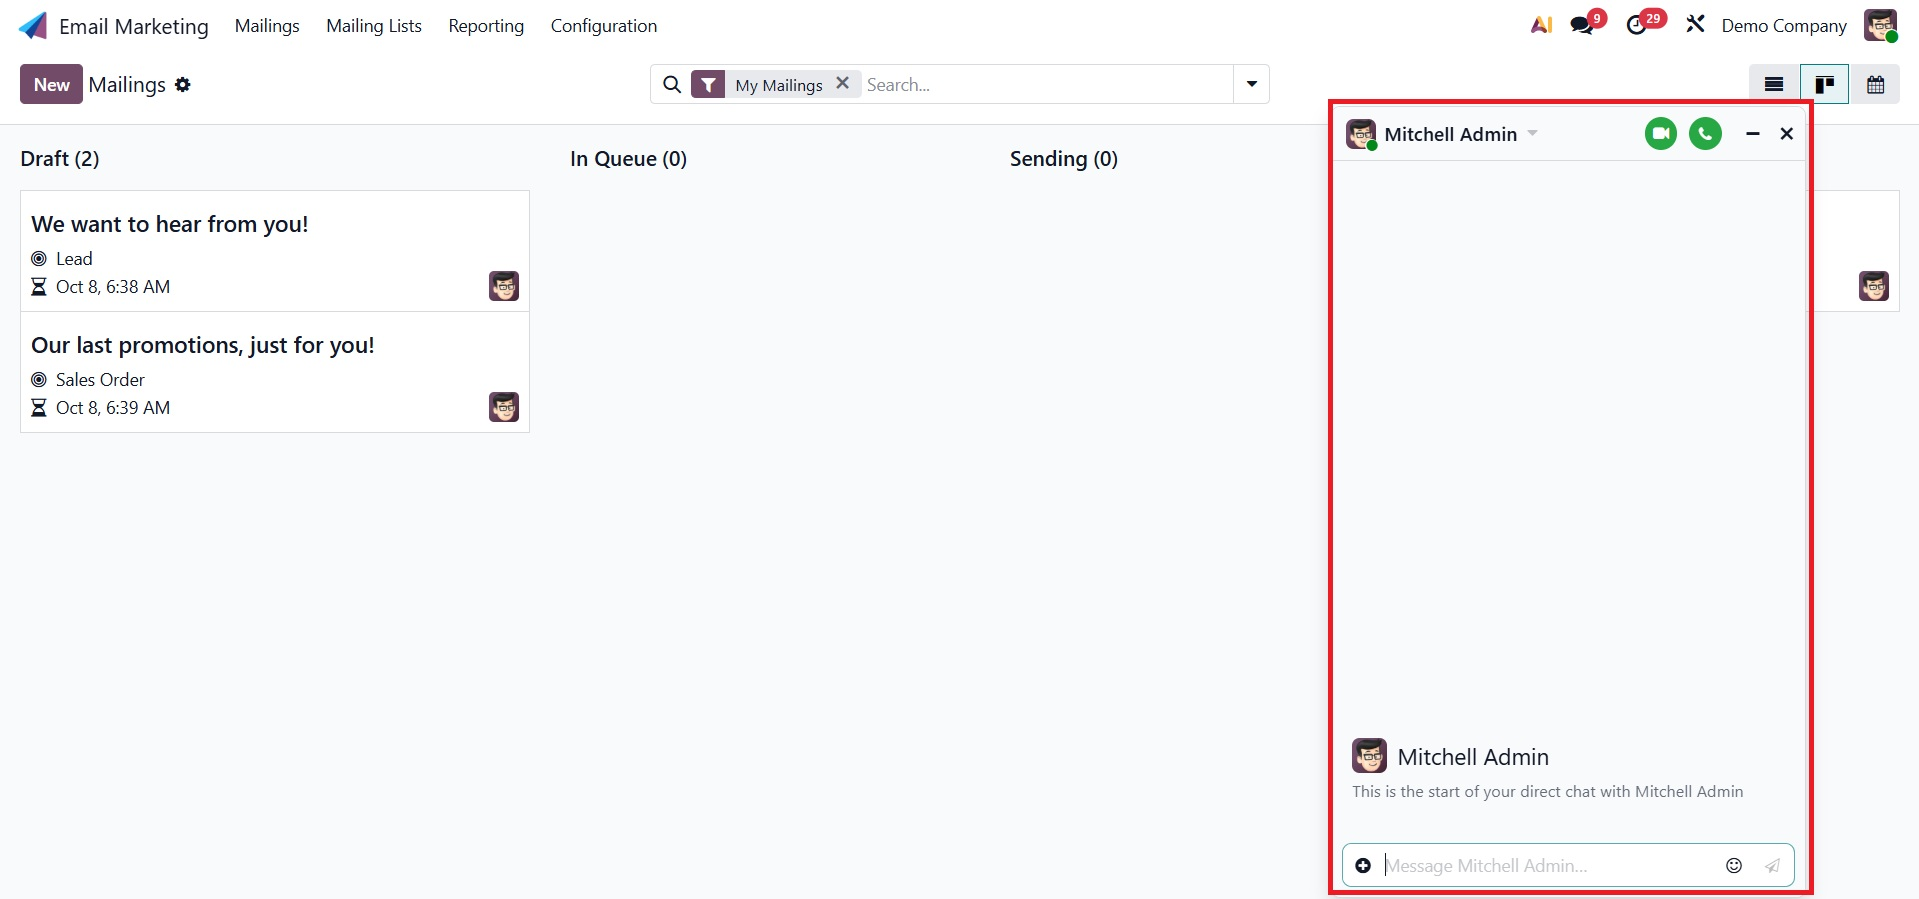
This responsible user can be contacted here. By selecting the desired data record, we may examine it in further detail across all of the data records in the picture below.
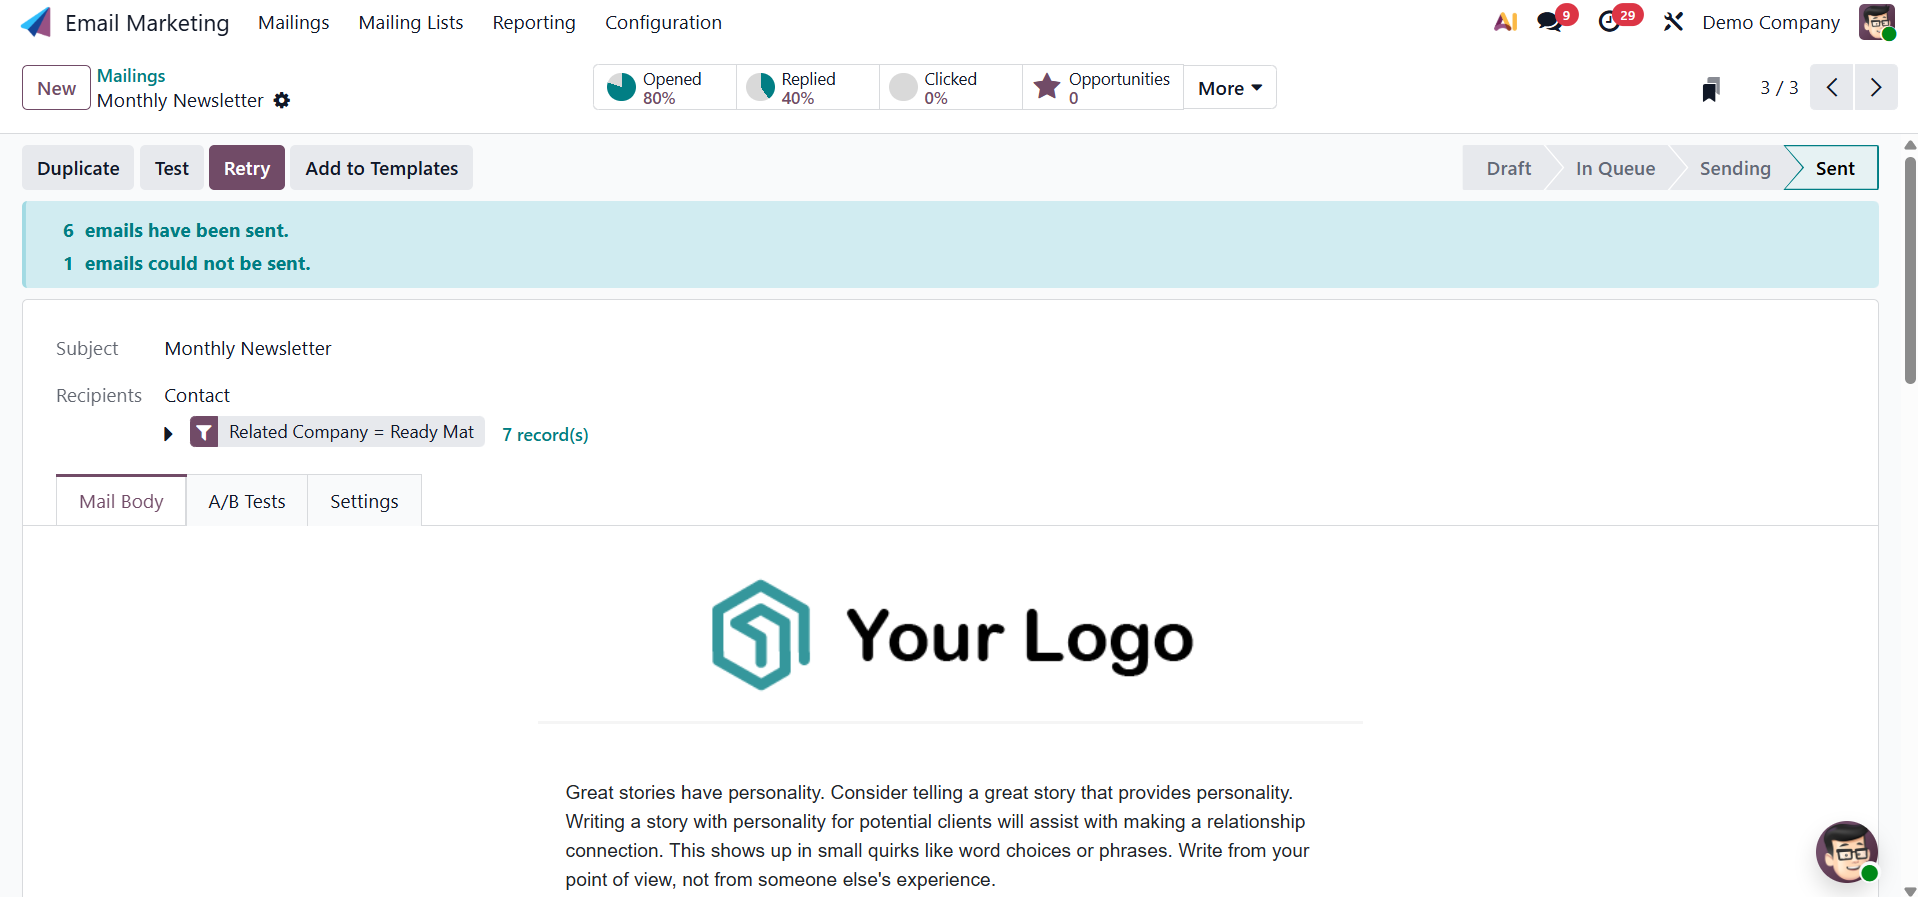
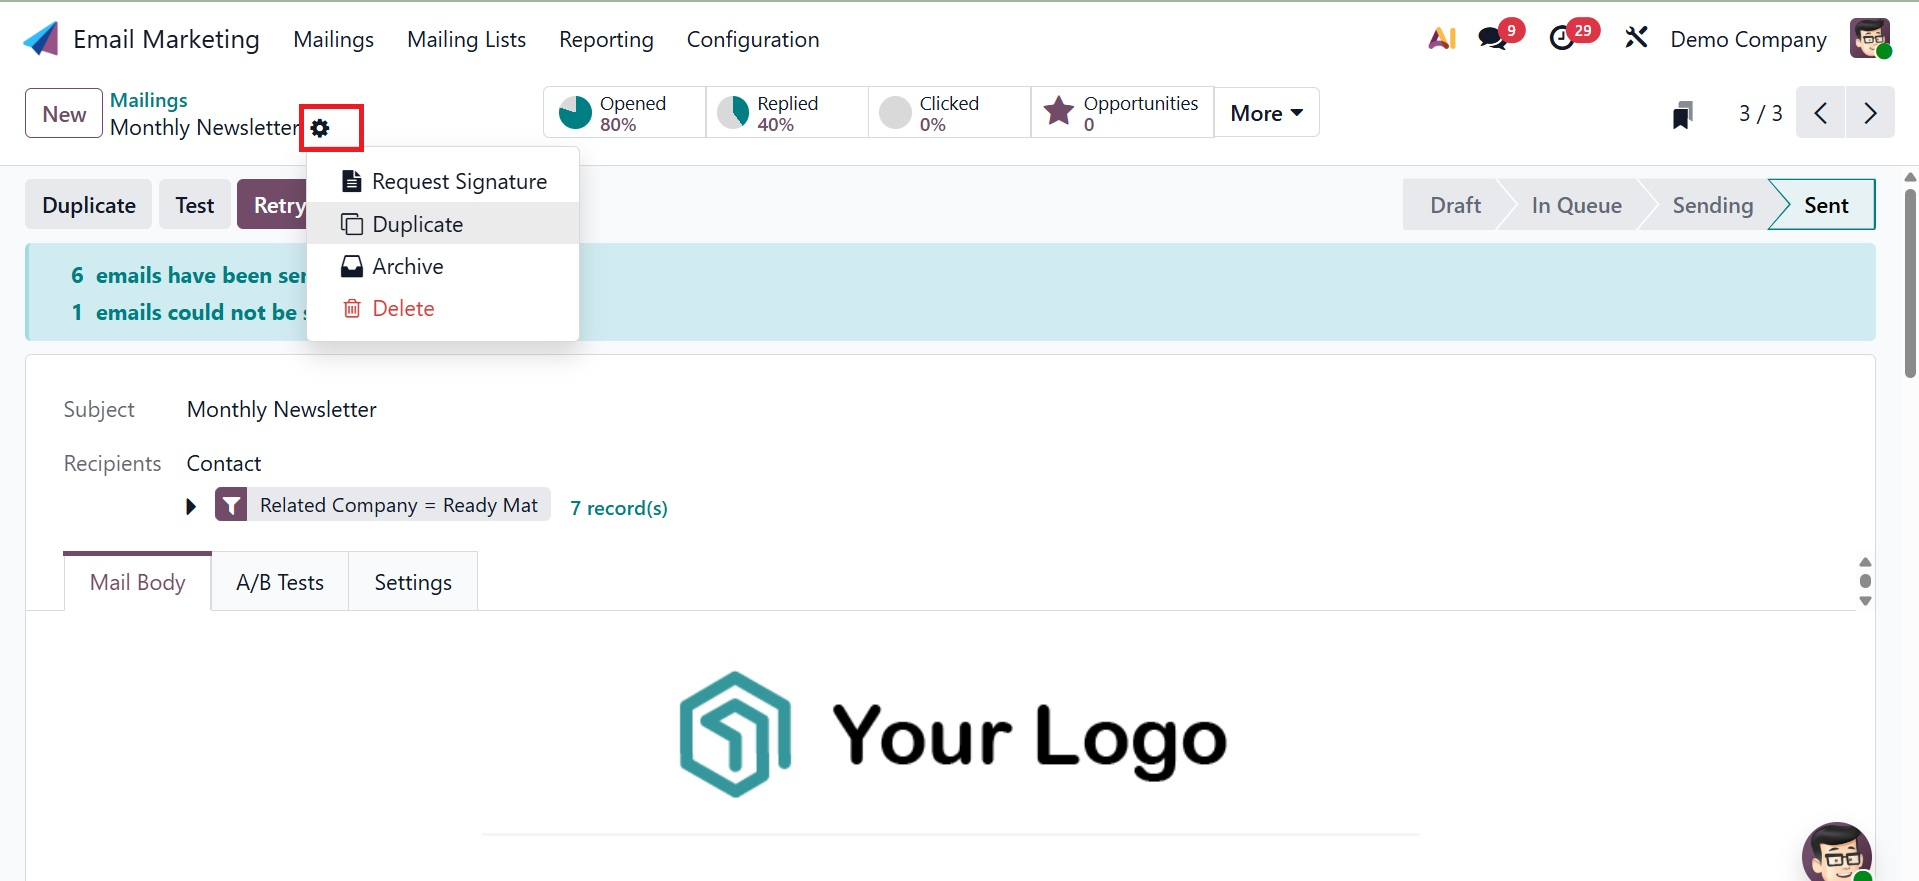
One of the records on the email list is depicted in the image above. You will definitely get all the information, depending on the specific email. The Action icon, shown in the image below, can be used to do additional actions. You can also use the Request signature, Duplicate, Delete, and Archive options under the Archive option if needed.
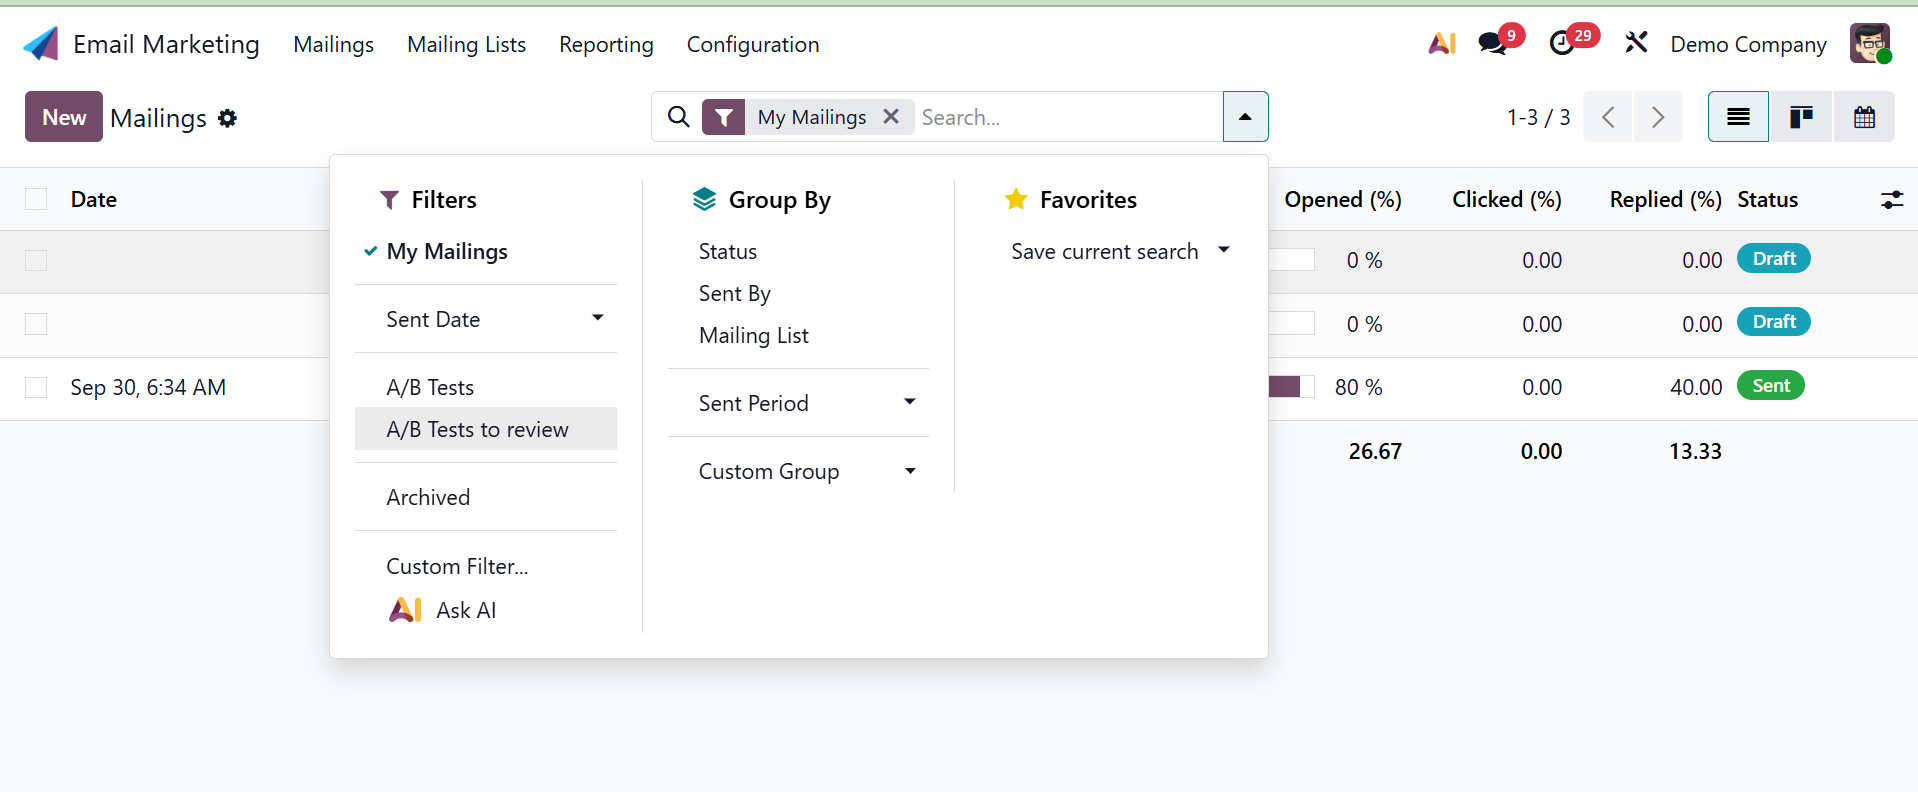
You may now choose from a variety of criteria under the criteria option, including My Mailings, Send date, A/B test, A/B tests to review, Archived, Custom Filter, and ask AI.. You can also choose Status, Send By, Mailing list, Sent period, and Custom group options under the Group By option. The specific message can also be added to Favorites, which provides the option of Save a Current Search.
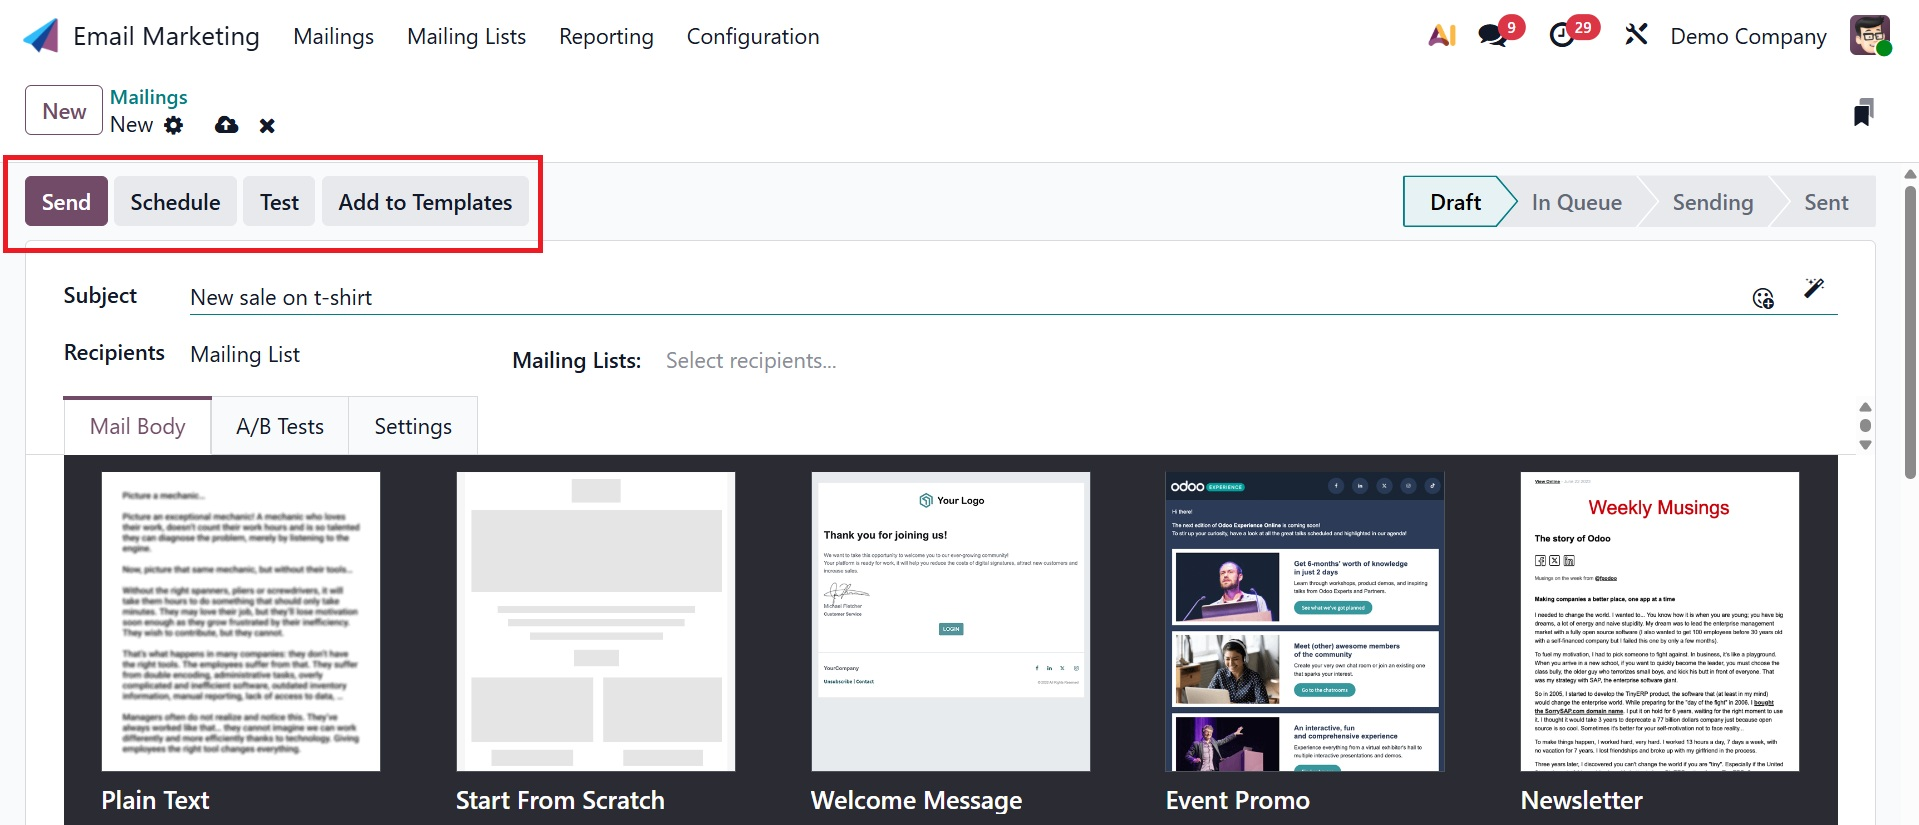
Now, select the New option on the left side of the window if you prefer to create a mailing of that kind.
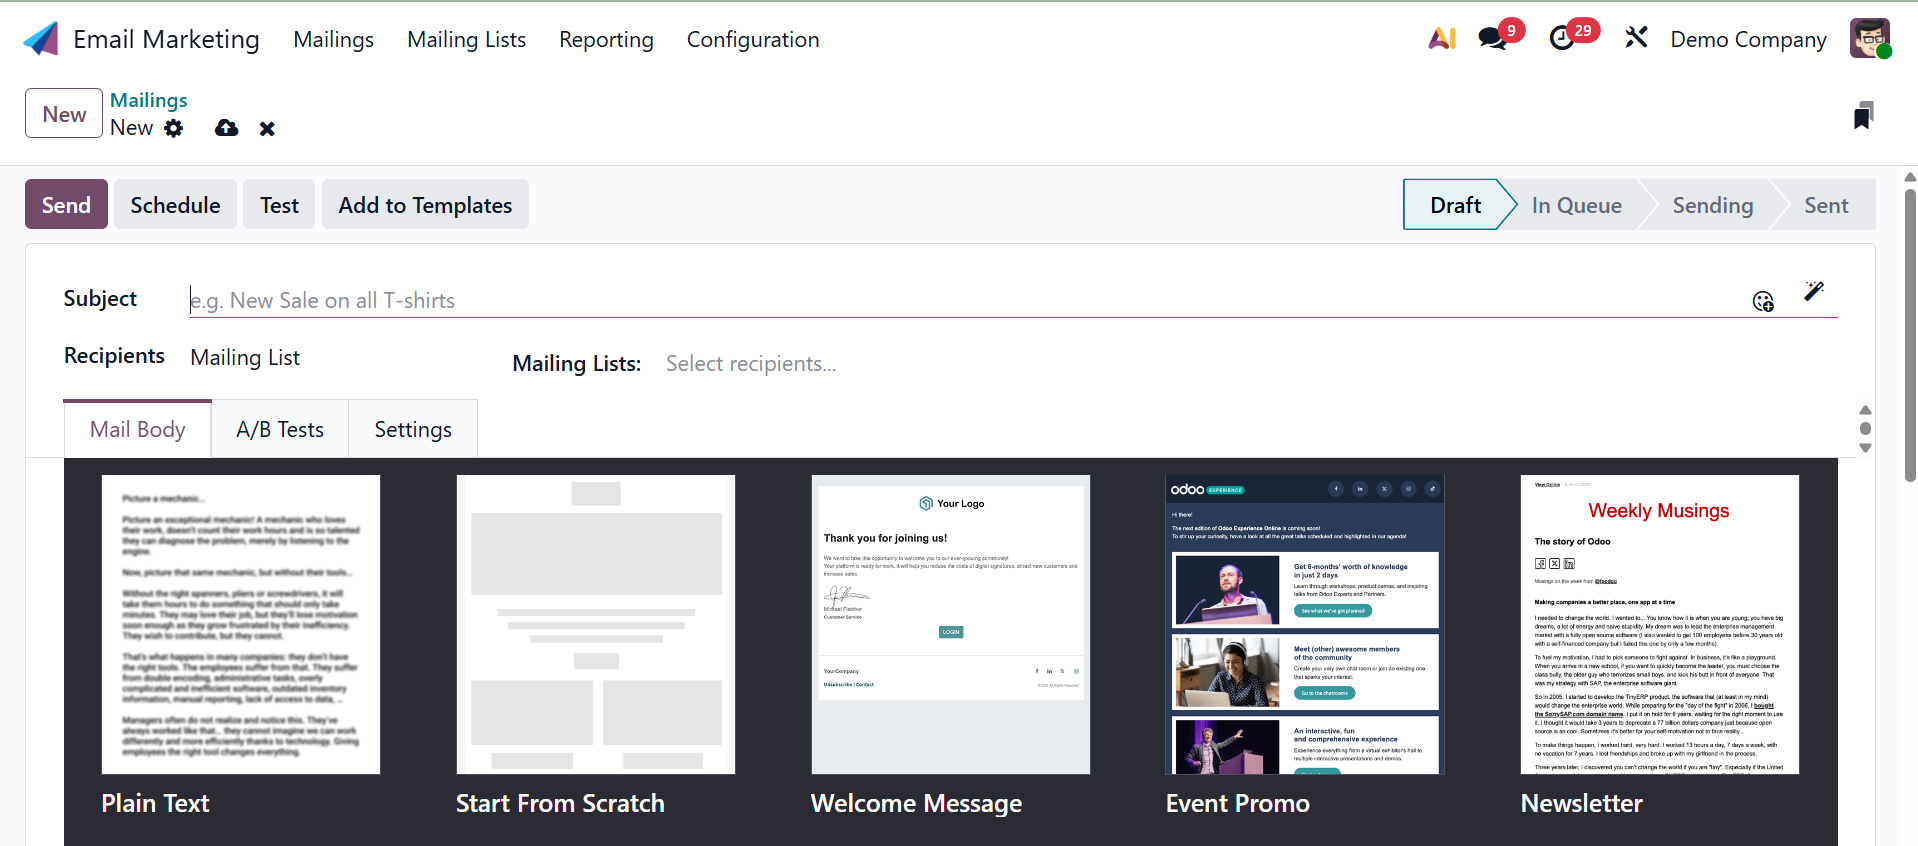
The subject of the email can be written in the space provided on the creation page. If necessary, emojis can also be used in the discussion. You may choose the Recipients option from the drop-down box that appears just below it by clicking on it.
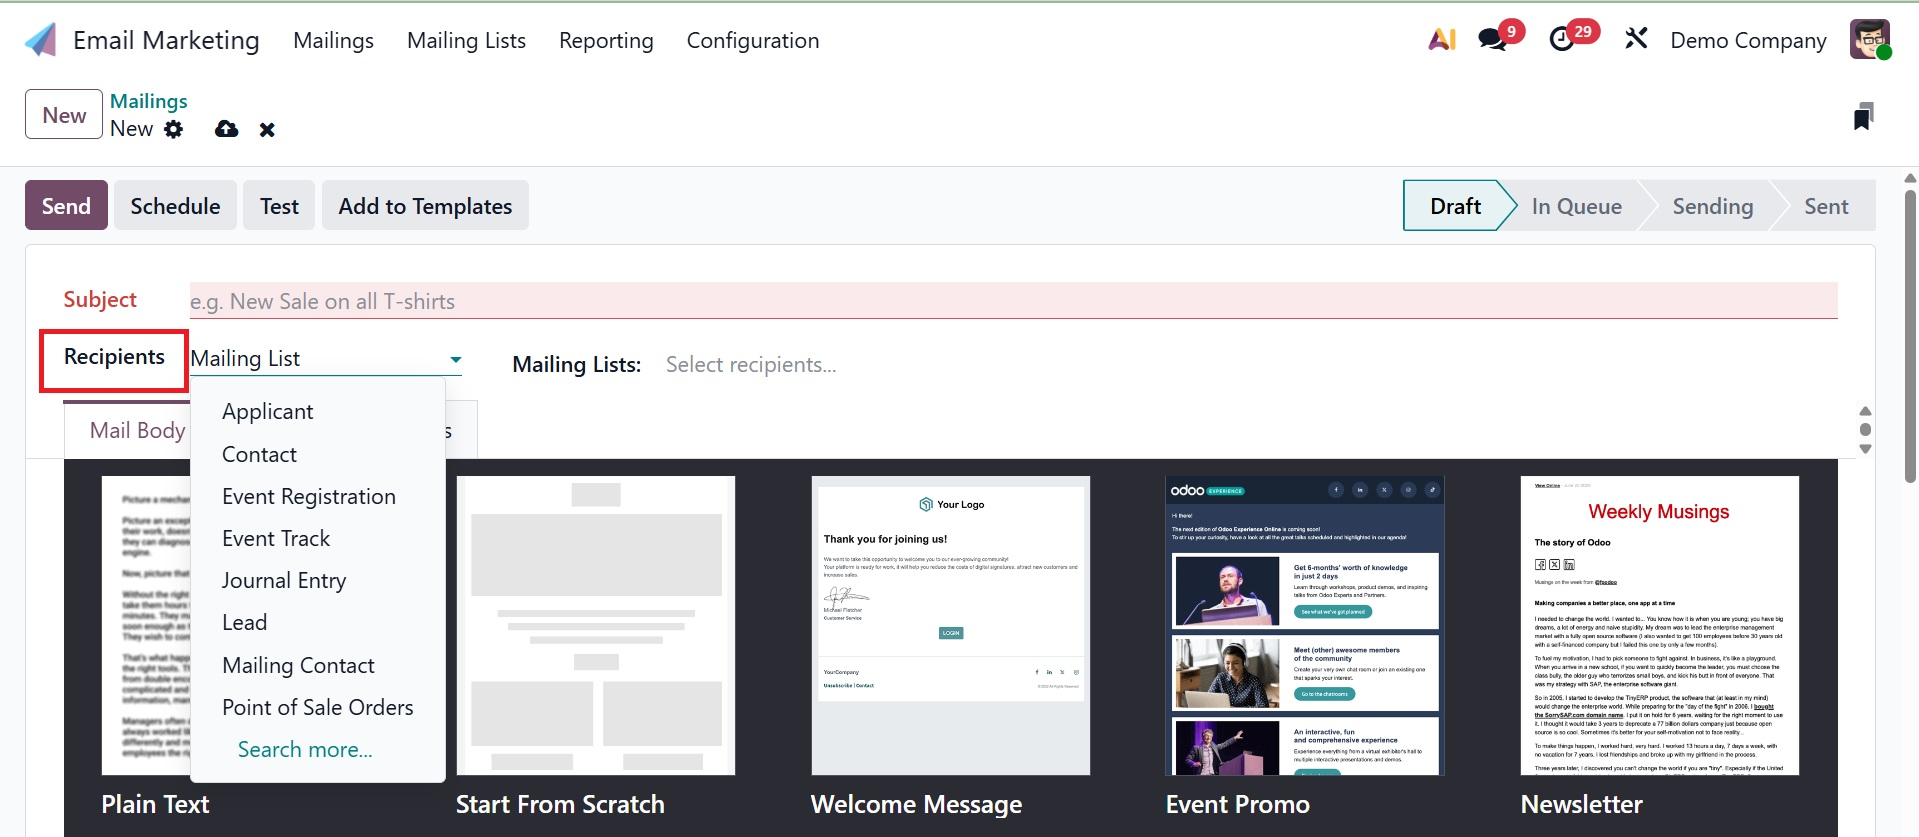
Recipient types include application, contact, event registration, event track, journal entry, lead, mailing contact, point of sale orders, and so forth.
- Applicant: Candidates for positions from the Recruitment section.
- Contact: Companies or individual contacts from the Contacts app.
- Event registration: Those that signed up for an event are known as event registration.
- Event Track: Tracked sessions or speakers at a conference or event.
- Journal Entry: Email partners (clients, suppliers) that are associated with accounting journal entries, such as bills or invoices.
- Lead: In the CRM module, send emails to contacts that were generated from sales leads.
- Mailing Contact: Use the Email Marketing software to send emails to contacts or mailing lists you've added.
- Point of Sale Orders: Email clients about promotions or receipts related to POS (Point of Sale) orders.
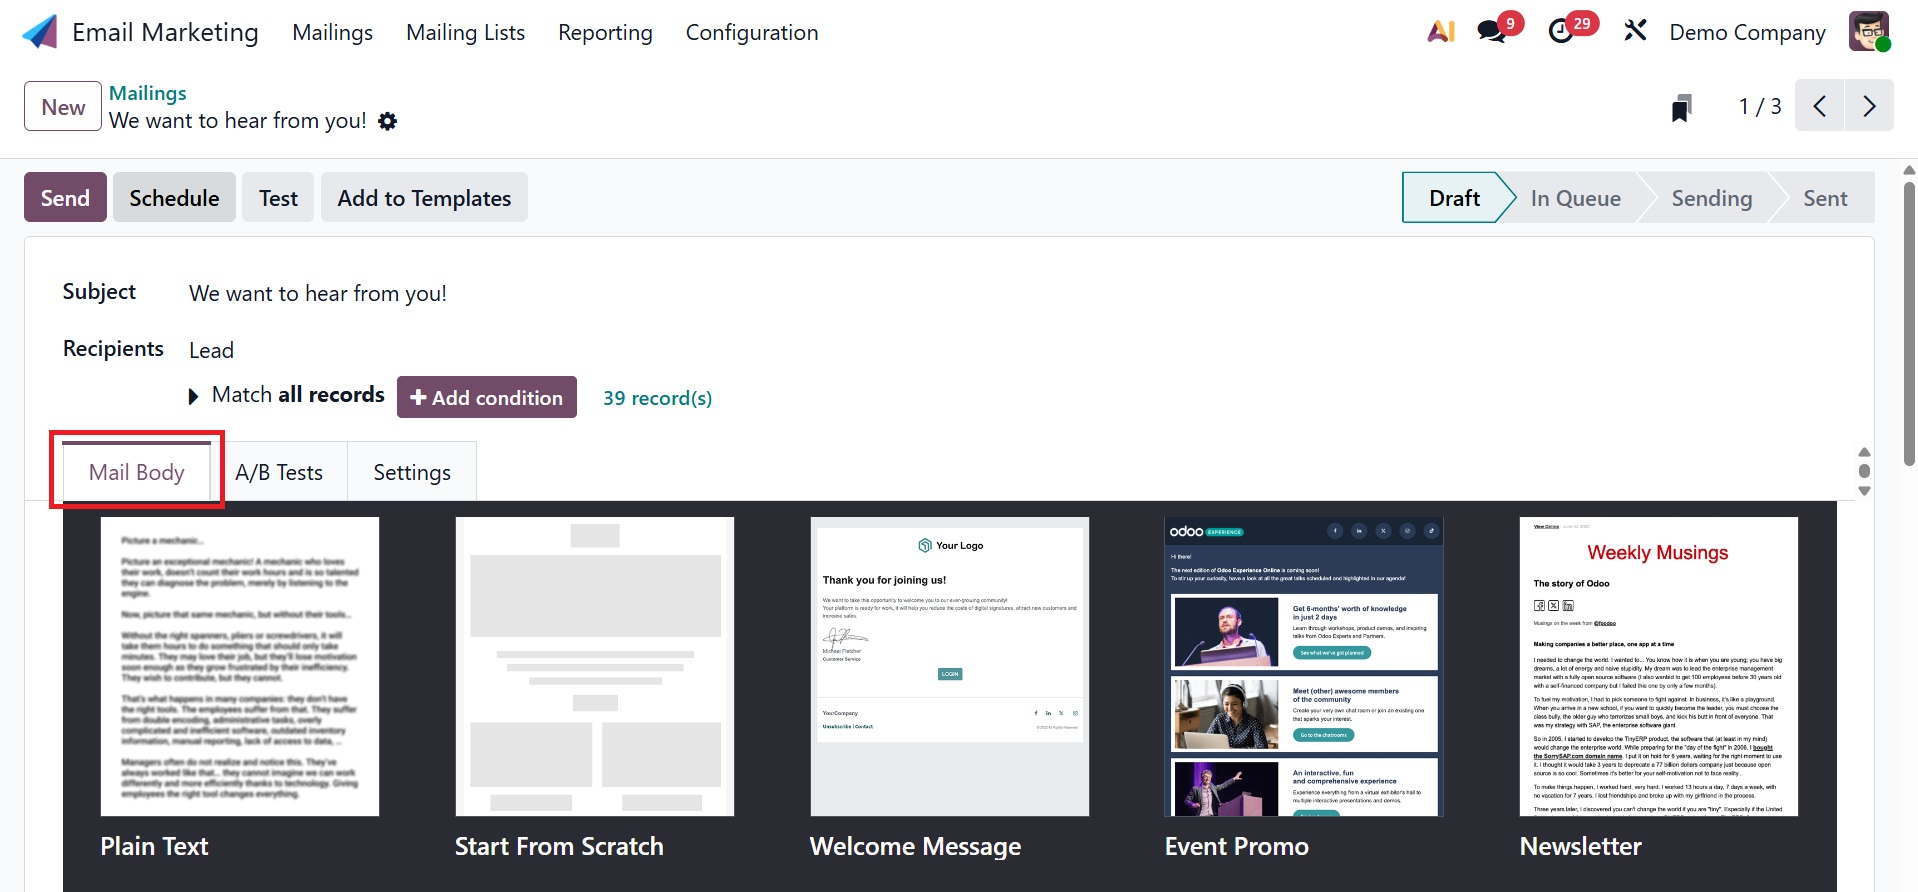
In the provided field, you can now choose the mailing list, as shown below. The drop-down menu for the mailing list has options that must be selected. The main menu also gives you access to a customisable mailing list.

You can choose from a variety of letter bodies displayed on the Mail Body page for the mailing, as shown below. Once you've chosen one from that list, you can customize and change it.
You can customize after choosing a certain block, as shown below.
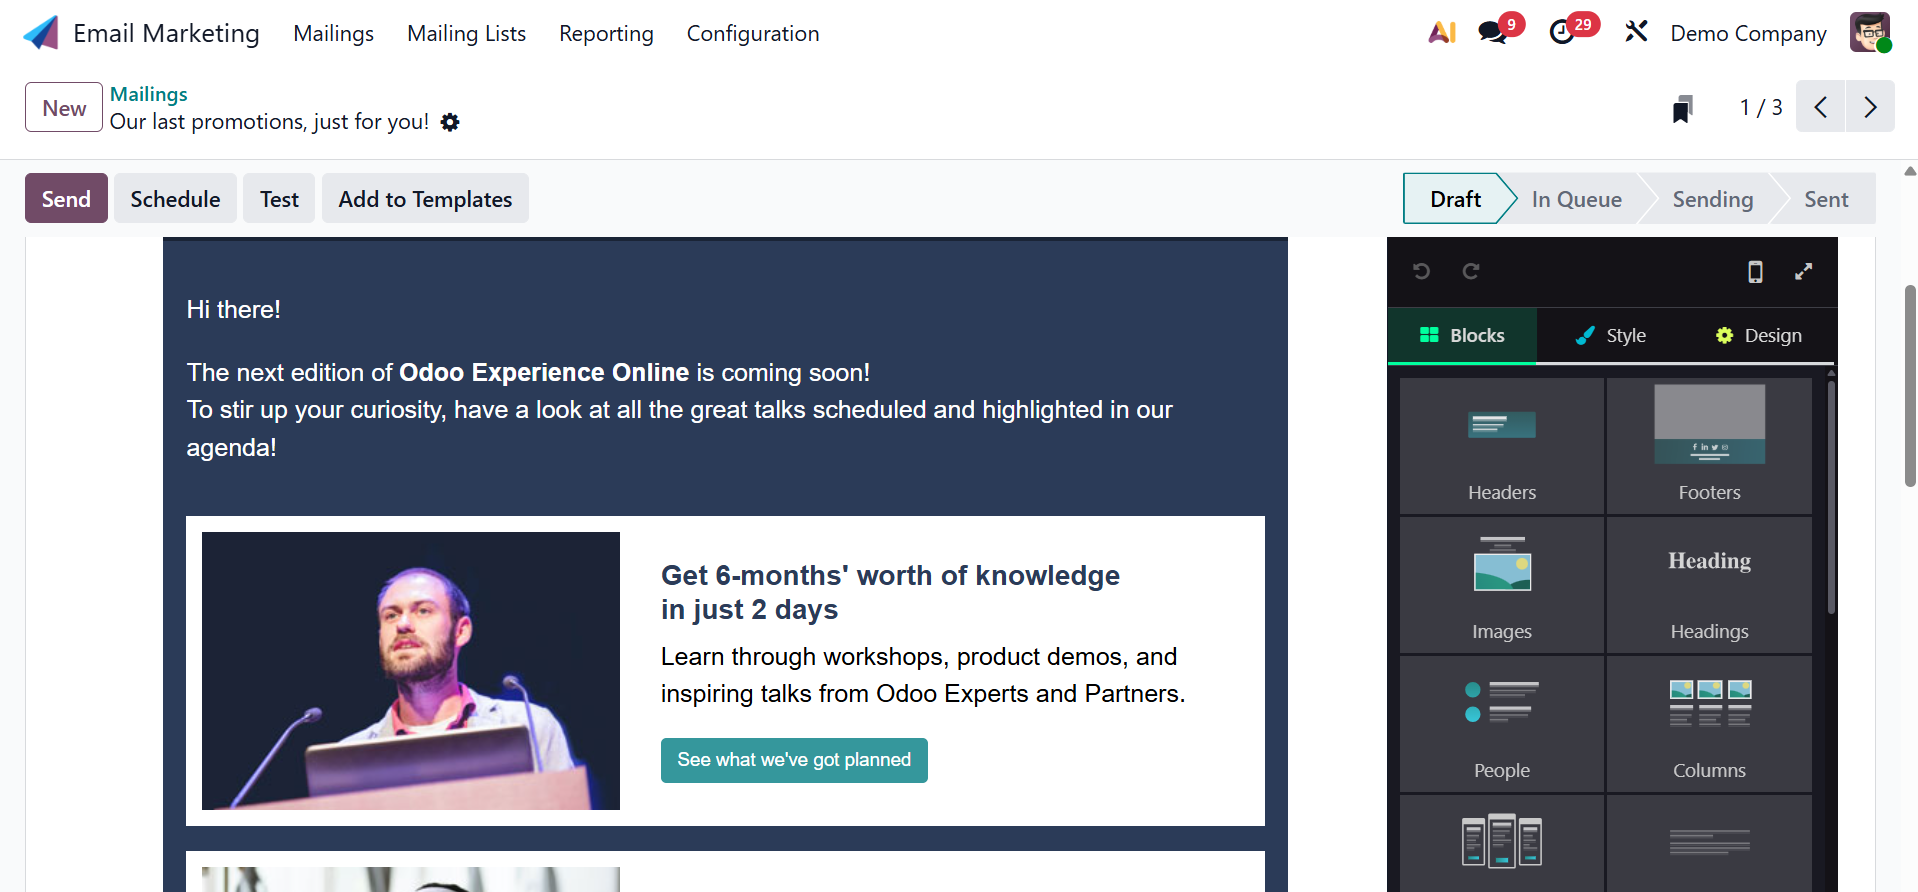
Additionally, clicking the preview will open our new snippet. Next, we can use the snippet tools to change the theme. We may create new email snippets for Odoo 19 email marketing in this way. You can utilize the blocks there, alter them, and create designs based on our model.

You can now choose whether to activate the Allow A/B testing under the A/B Tests section, as seen in the figure above. A/B testing can be used to send alternative copies of the letter to a group of people on the mailing list and track their responses. This will help identify the type of mail that is thought to have the highest open rate and obtain the most responses from recipients. These emails can be used to target audiences. You have the option to select the winner, add the date, and initiate A/B testing under this A/B test.
Based on the "Winner Selection" choice, Odoo will choose the winning email version to send to the remaining recipients following the conclusion of the A/B test. As seen in the screenshot below, you have different criteria under winner selection.
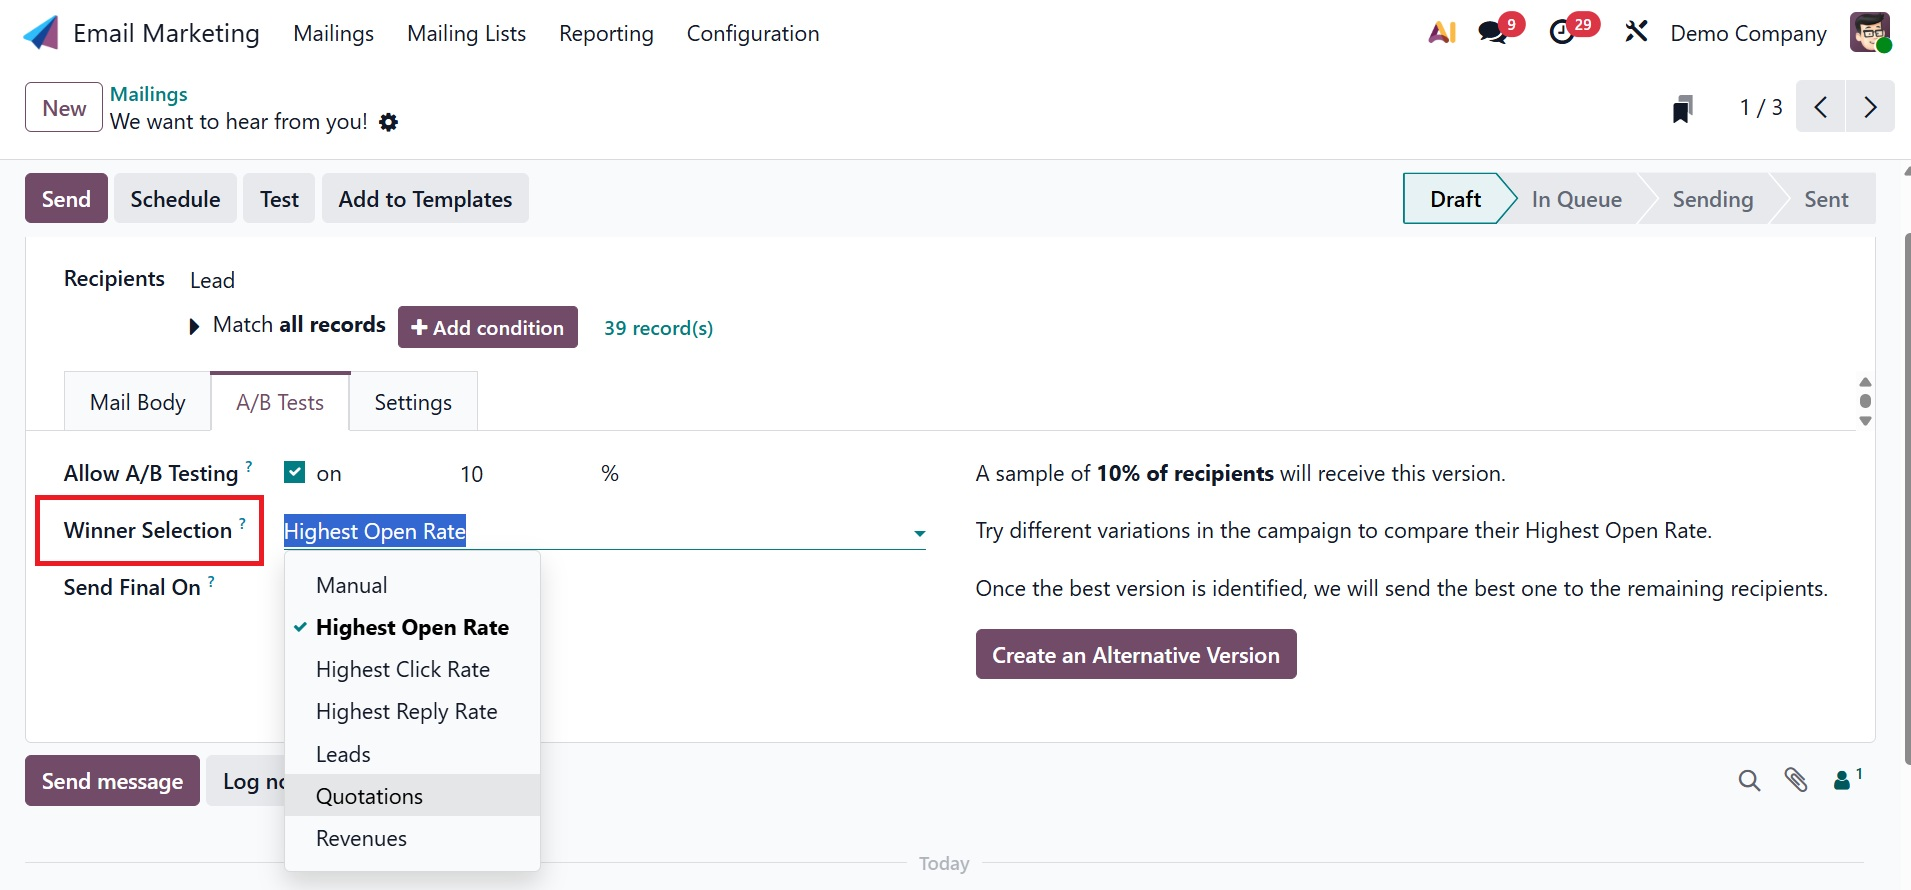
- Manual → You pick the winning email yourself (no automatic choice).
- Highest Open Rate → The email that gets opened the most wins.
- Highest Click Rate → The email with the most link clicks wins.
- Highest Reply Rate → The email with the most replies wins.
- Leads → The email that brings in the most new leads wins.
- Quotations → The email that creates the most quotations wins.
- Revenues → The email that brings in the most money wins.
Then you have the Send Final On field, where users can choose the date that instructs Odoo when to choose which email is the "winning" one and distribute that version of the message to the other recipients. To the right of those fields is a "Create an Alternative Version" button. Clicking it allows the user to write a fresh email draft for testing in Odoo's Mail Body tab.
As seen in the screenshot below, you may also use the Settings menu to enter particular data.
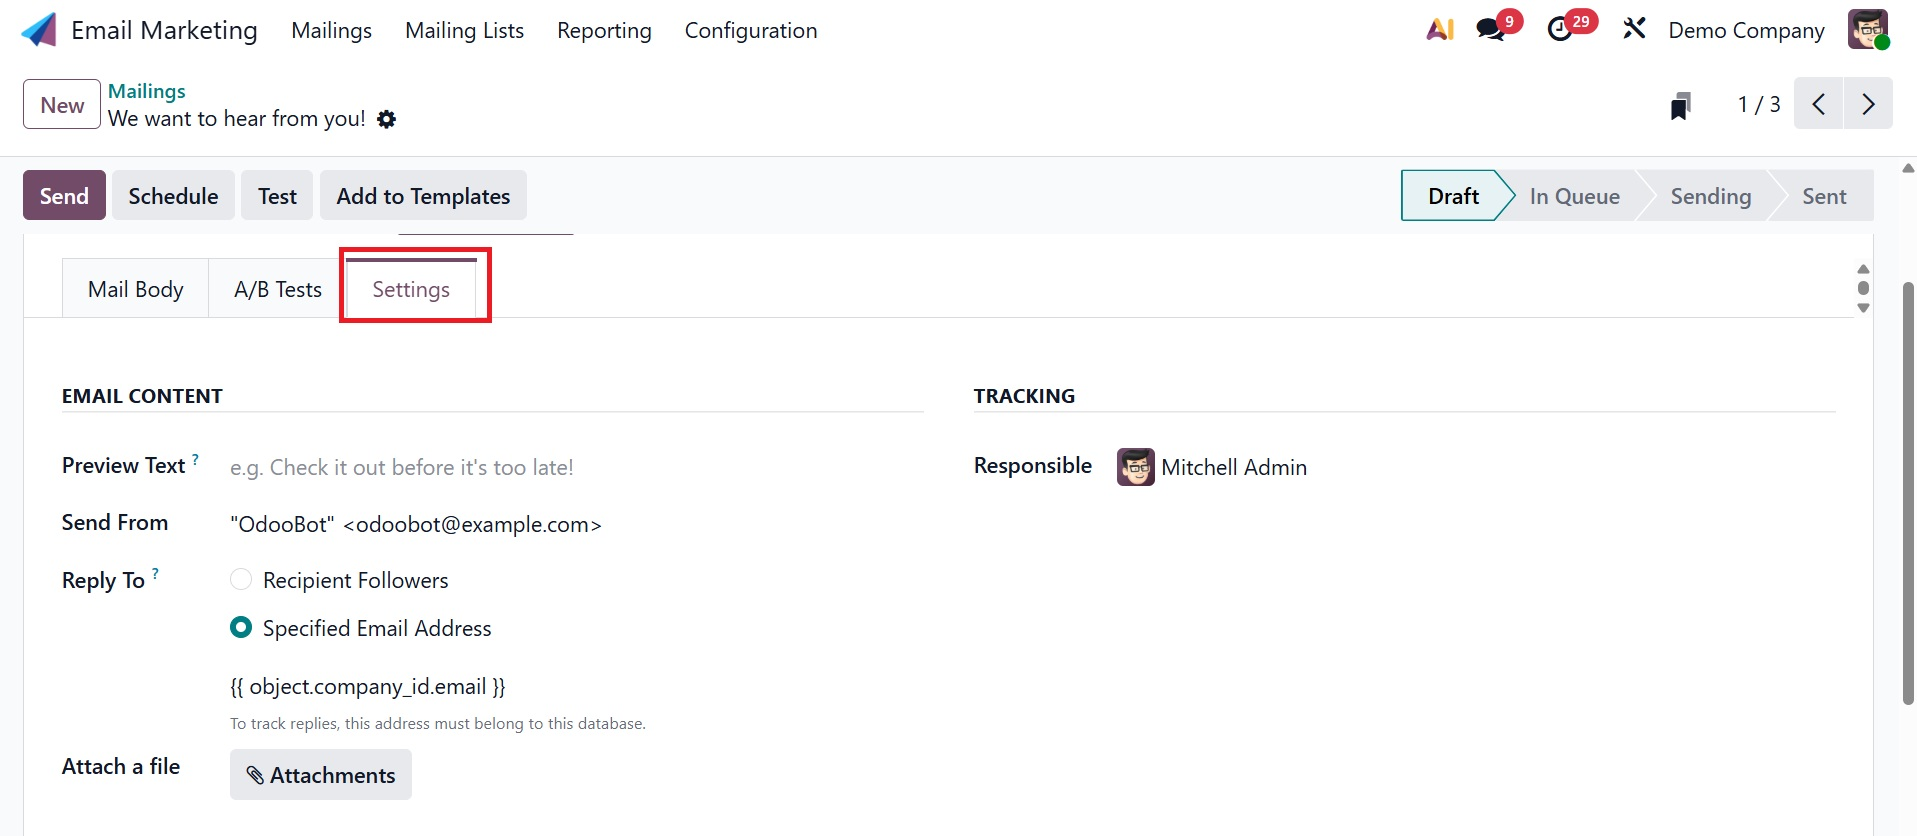
One feature that persuades readers to choose the mail is the Preview Text. The subject line of the email is followed by the preview content. The preview text message will appear next to the email topic to increase the opening rate. In addition, the person in charge will be by themselves in the region and may be replaced if needed. The Send From and Reply To options are also shown and are accurate. To strengthen the subject line of the email, you can attach files by choosing "Attach a File." Next to that, you have the TRACKING option, where you can also add responsibility in the provided space.
Once all the necessary information has been entered, click the Save icon to add the mailing to the previously generated list. As seen on the page above, the Save option includes Send, Schedule, Test, and Add to Template options.
A page similar to the one below will appear when you select the Send option.
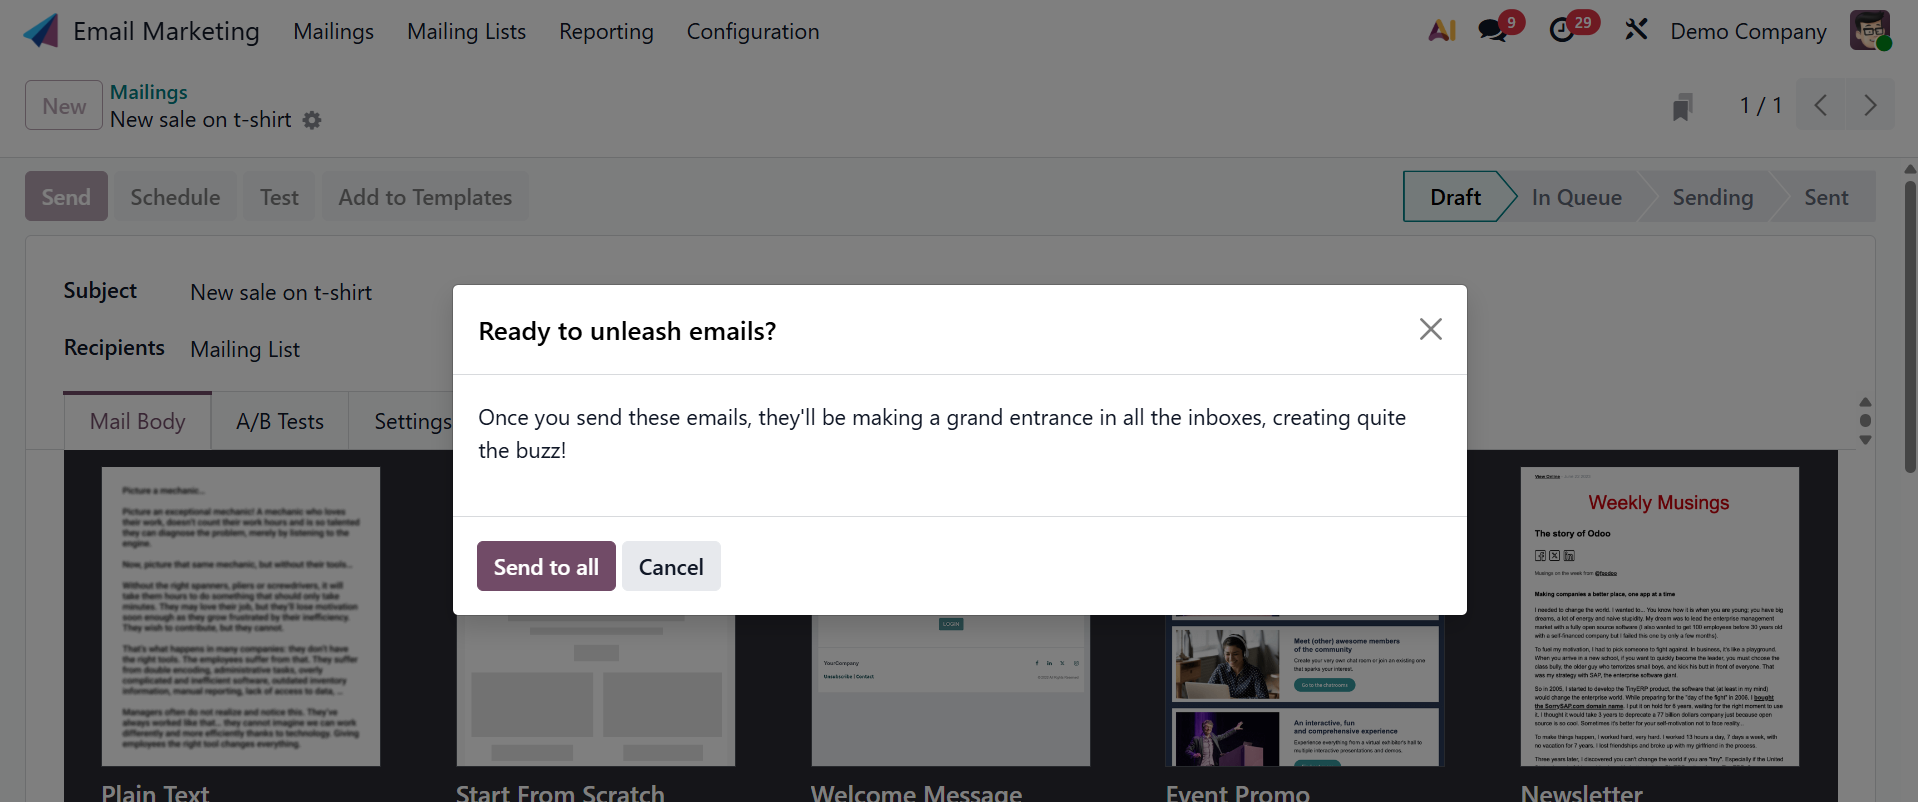
Here, your status will change to sent when you choose the Send to all option, as shown in the figure below.
By choosing the Schedule option, which will display a screen, you can now specify the day that the mail should be delivered to the specified recipient.
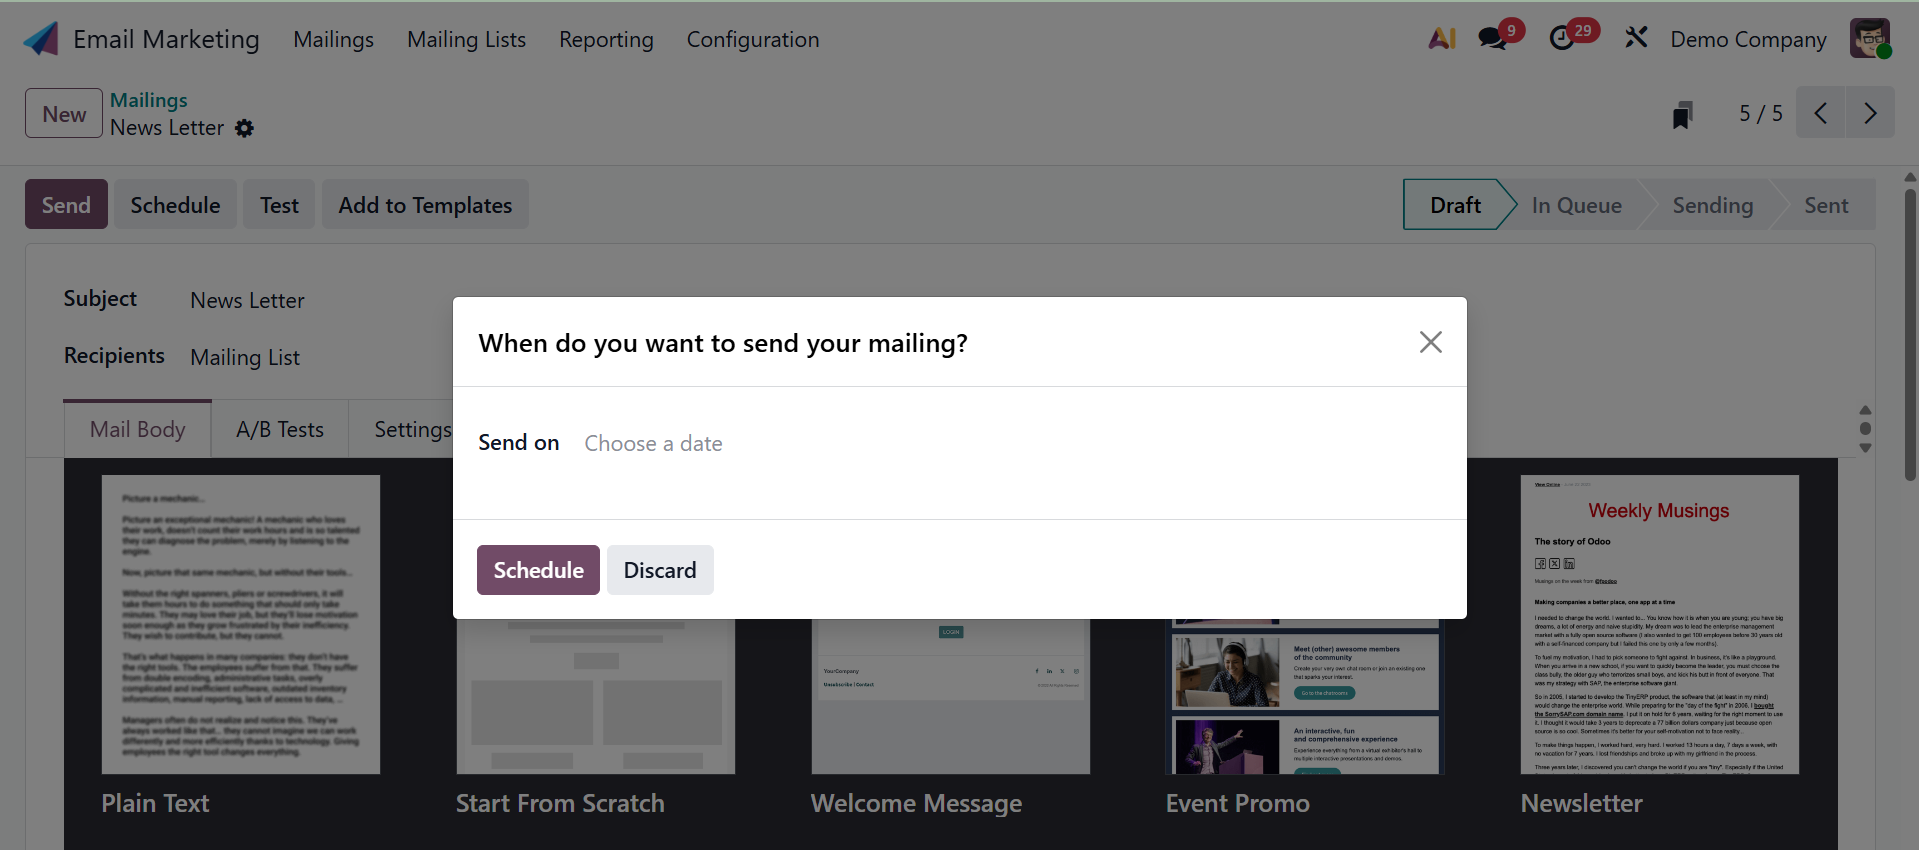
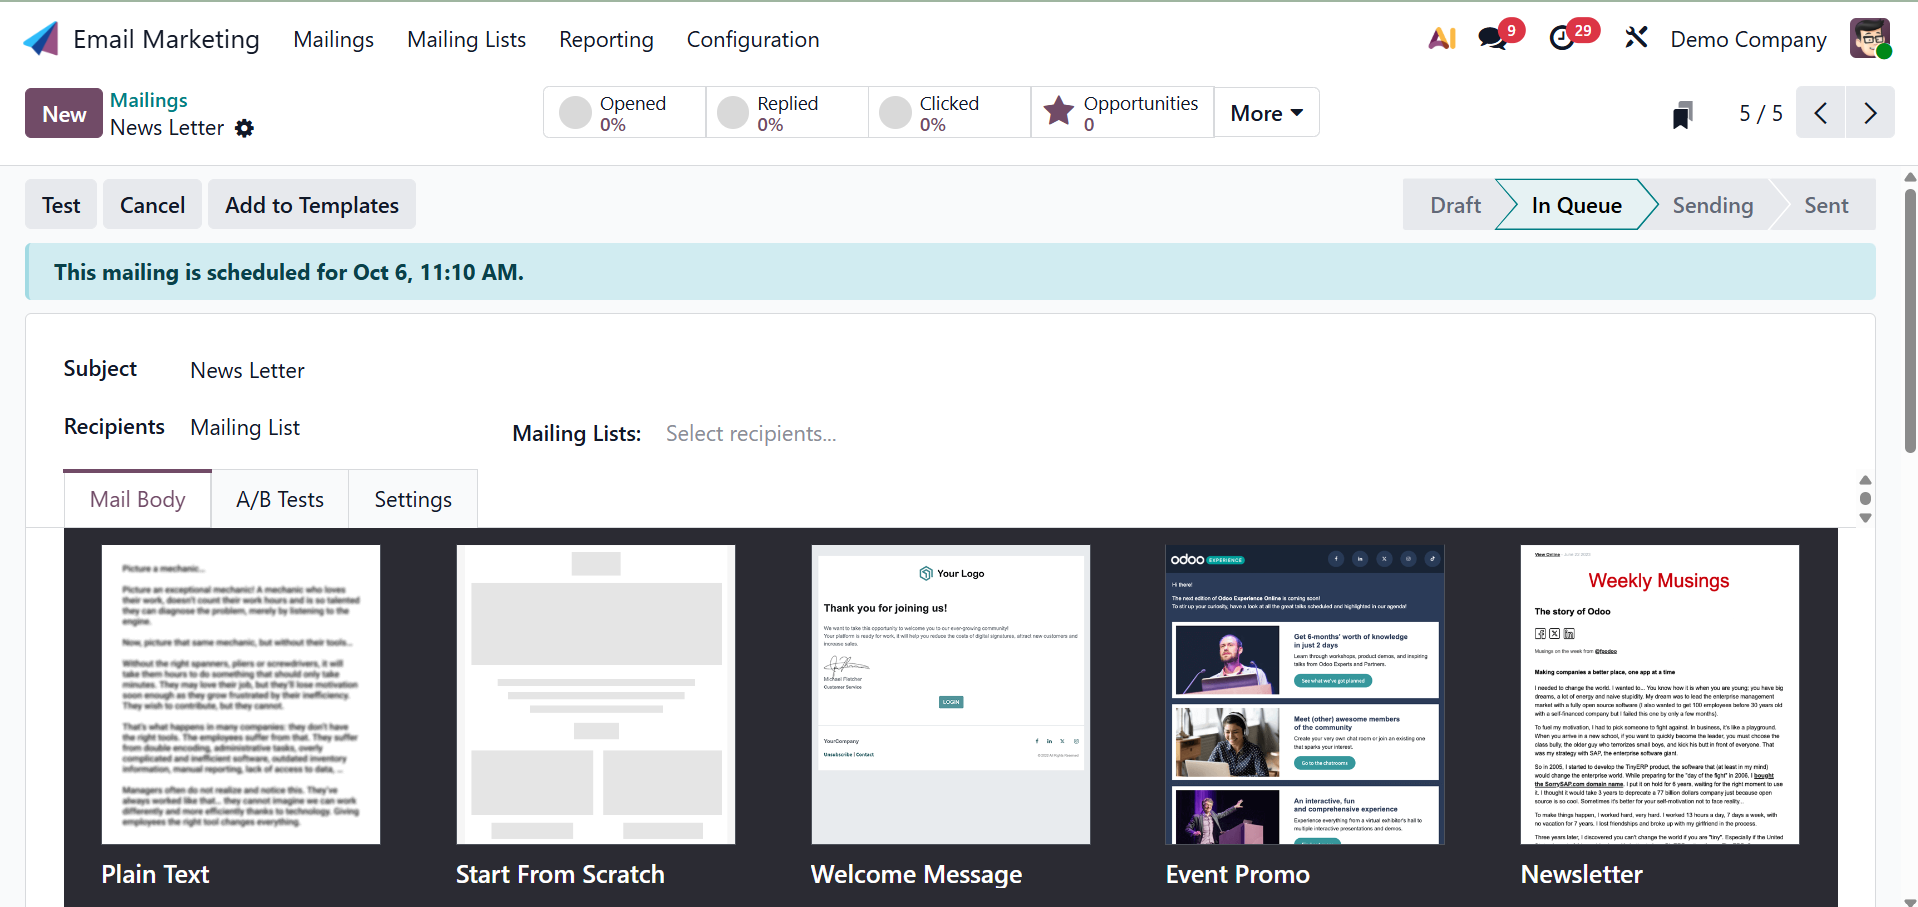
You can enter the date using the Send on option. Then select Schedule from the menu. The scheduled date with the status In Queue will now be shown on the main page. Furthermore, on the designated day, the email will be automatically distributed.
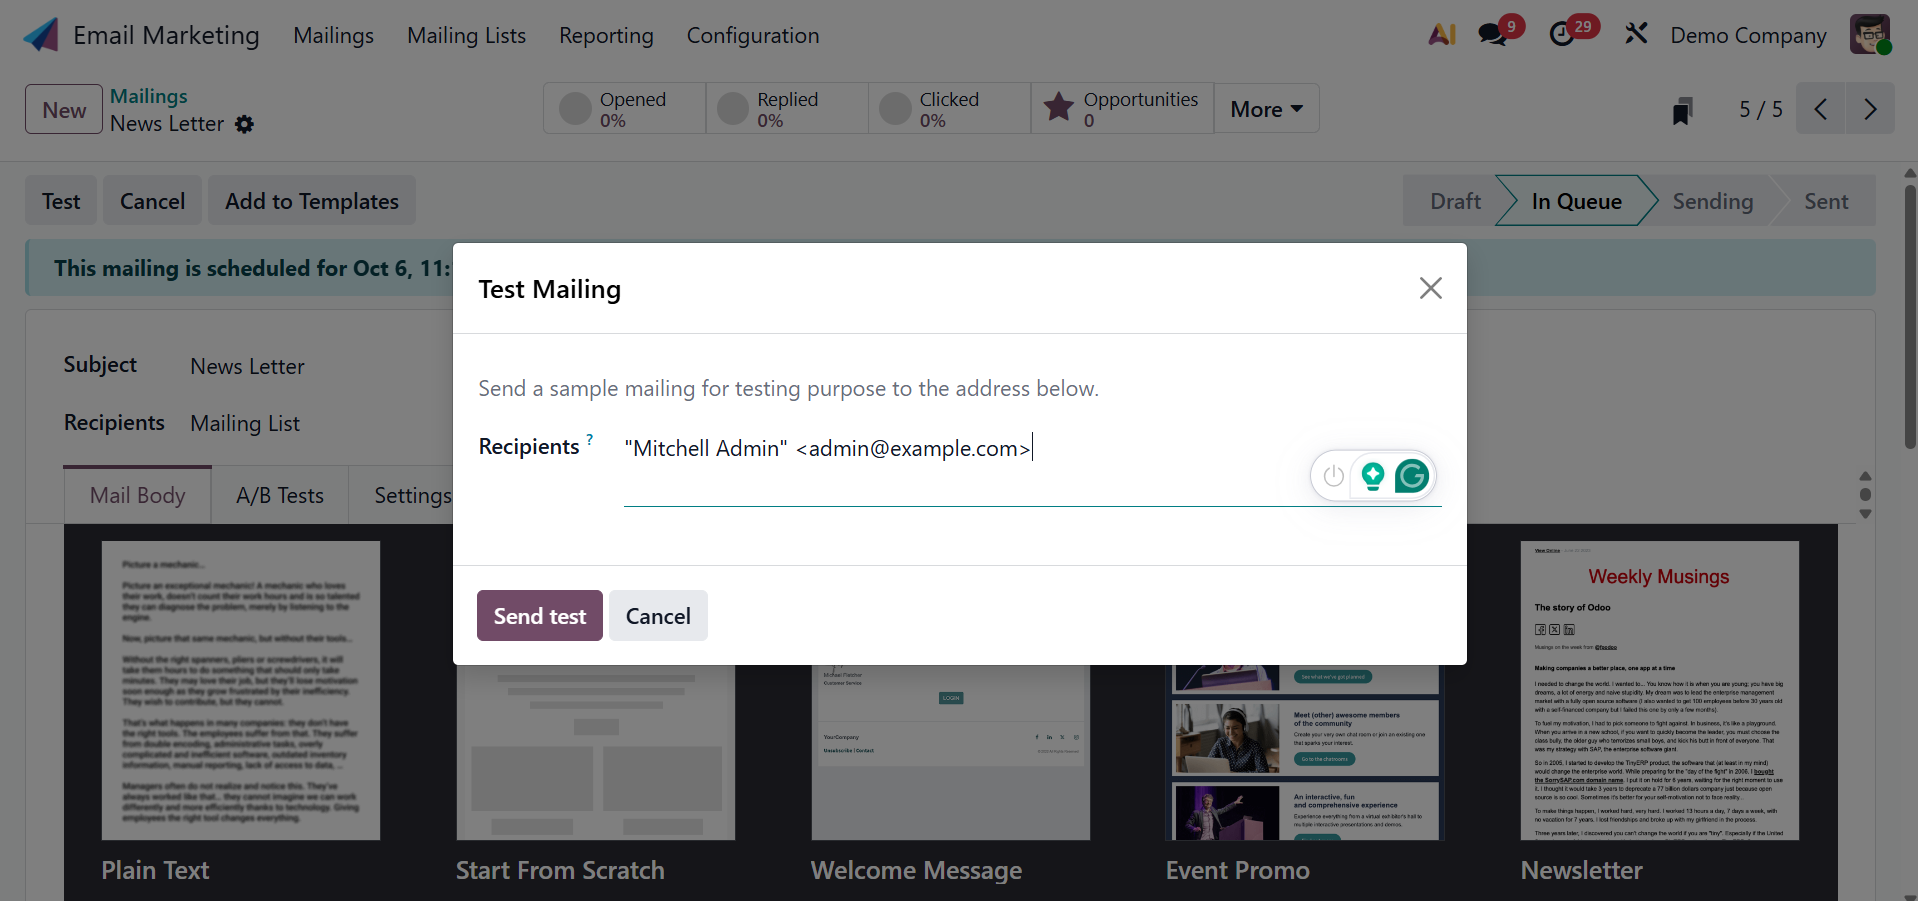
You can also use the TEST option to test your mail at the specified address.
And using the Add to Templates option, you will get the design added to the templates.
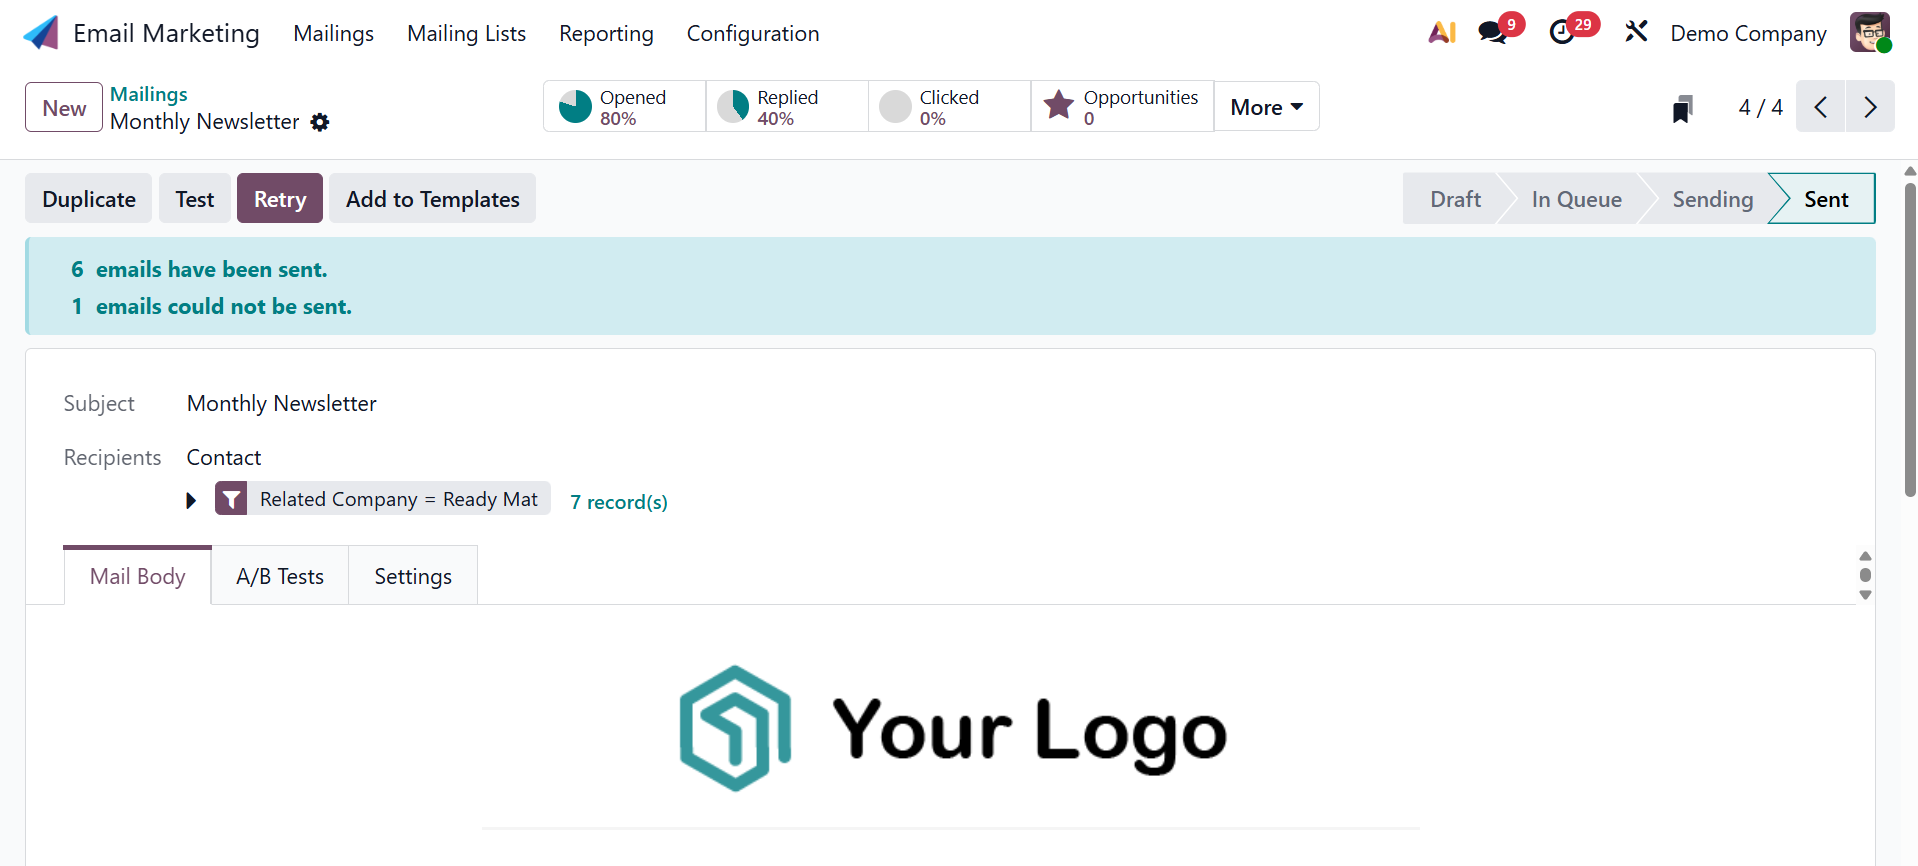
Once you have completed all of those steps, you will see a variety of smart buttons, such as Leads, Opportunities, Quotations, Invoiced, Received, Opened, Clicked, Replied, Bounced, Sent, and Ignored, as seen in the screenshot below.
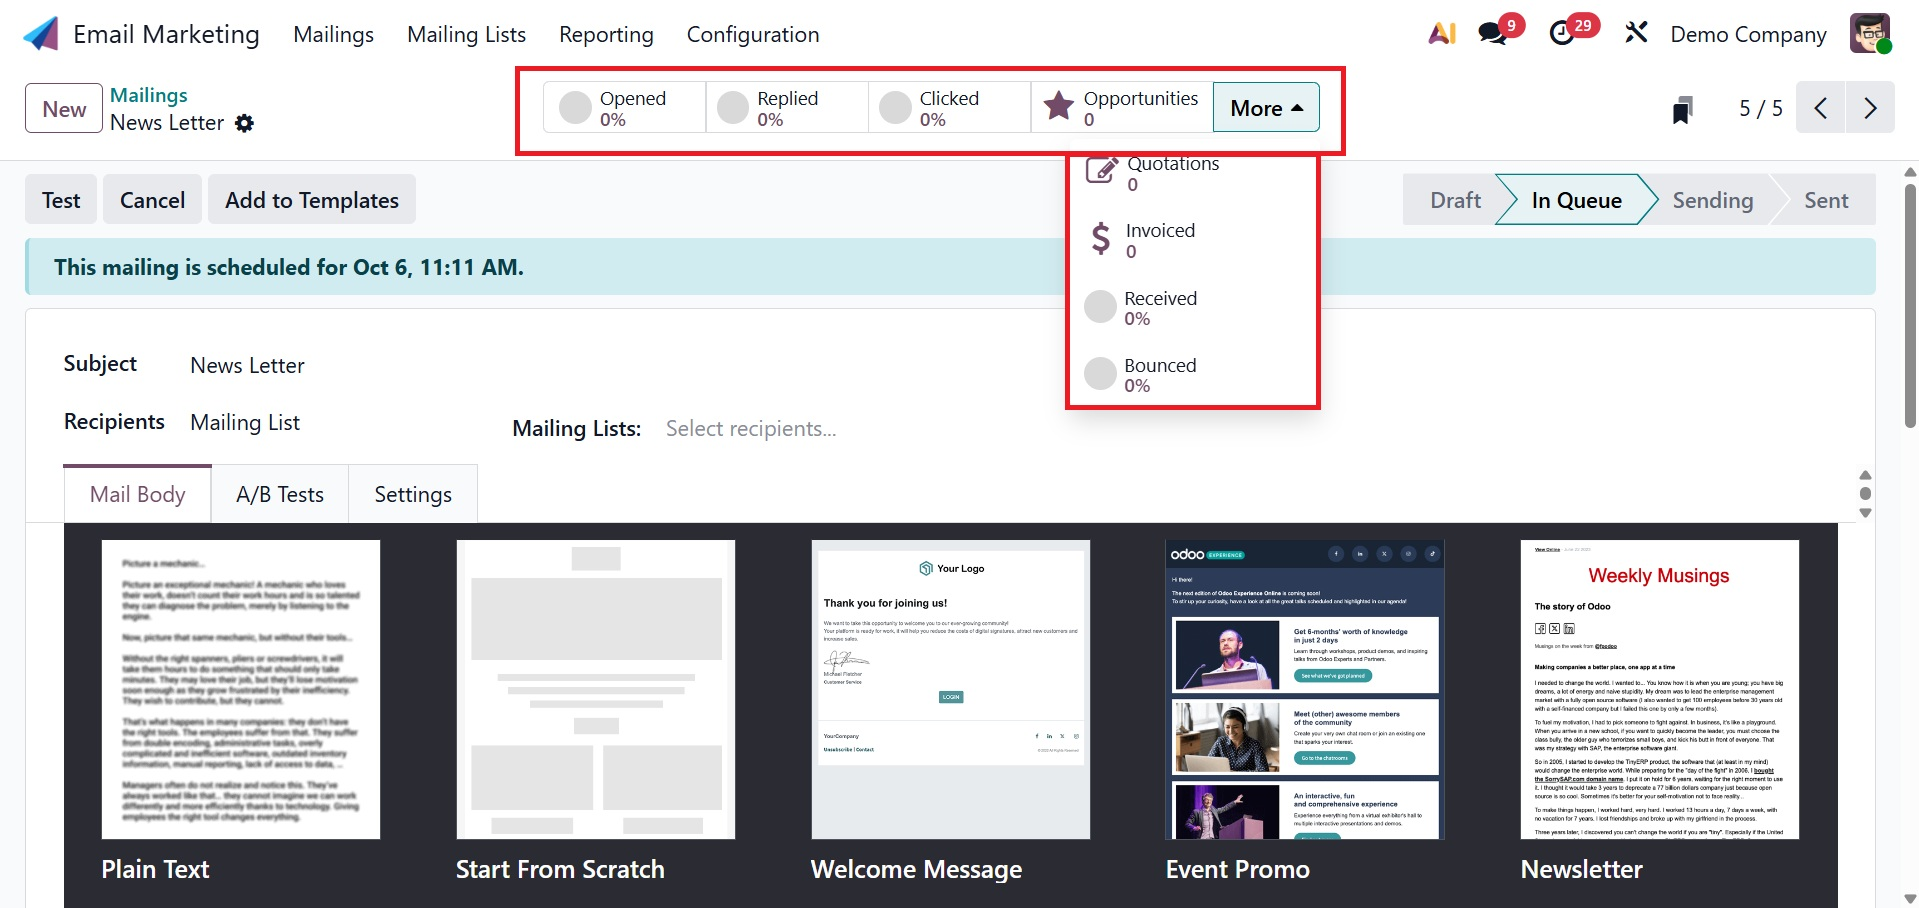
You can obtain all the information you require about the leads this email has produced by clicking on the Lead button, which provides a link that will direct you to the lead site. Then, beneath these smart buttons, you will see quotes, invoices, and the proportion of people who received, opened, clicked, replied, bounced, sent, and ignored. The Kanban view clearly displays the status view that we developed. This is because those stages are the foundation of the kanban worldview. The screenshot below then displays the Kanban view.
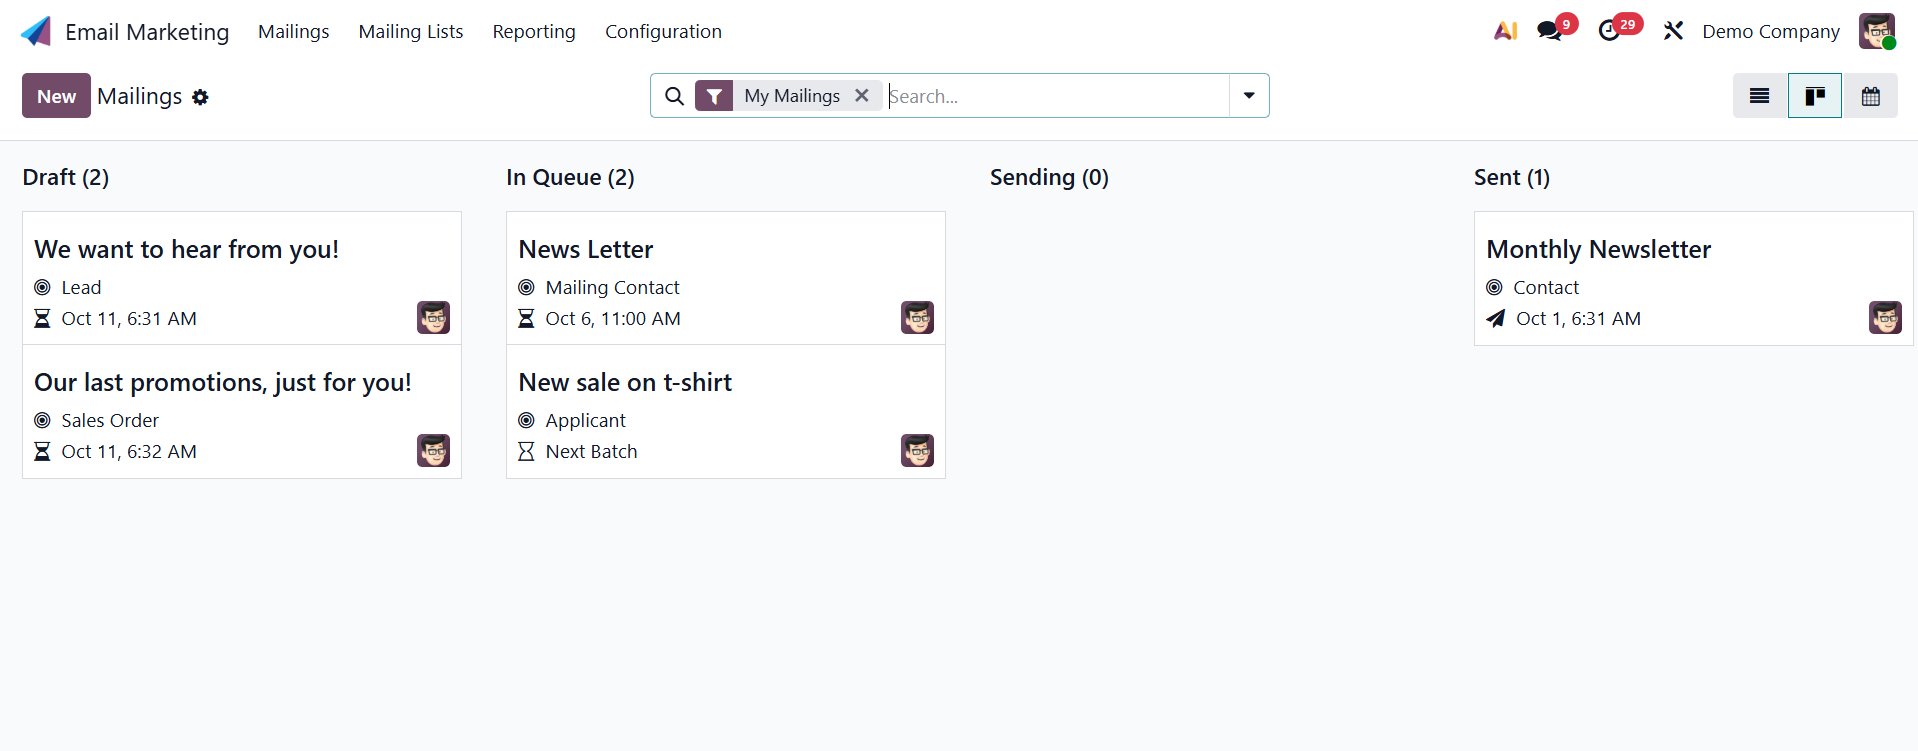
Here, you can see the details regarding the name of the mailing, recipient type, and the scheduled date.