Tracks
The three primary tabs in the Events module are Tracks, Reports, and Configuration. Let's now look at the features that are part of the Tracks tab. The Tracks Tab assists users in managing and organizing events utilizing a track.
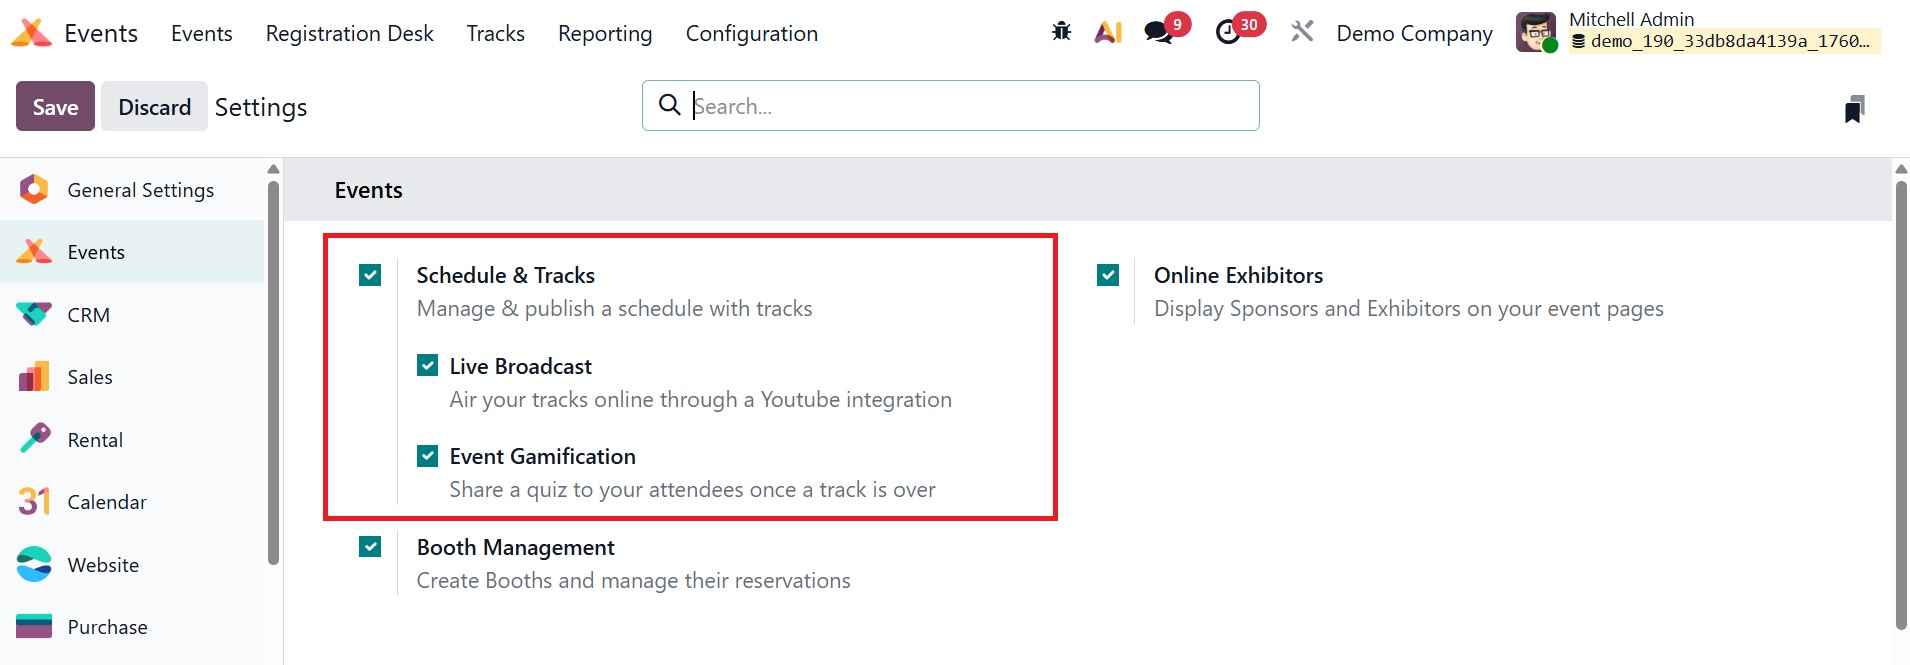
To improve the success of the event, other presentations and programs can be added to the events using the Schedule and Tracks option in the Tracks Tab, which is available through the Events module's Setting menu, as shown below.
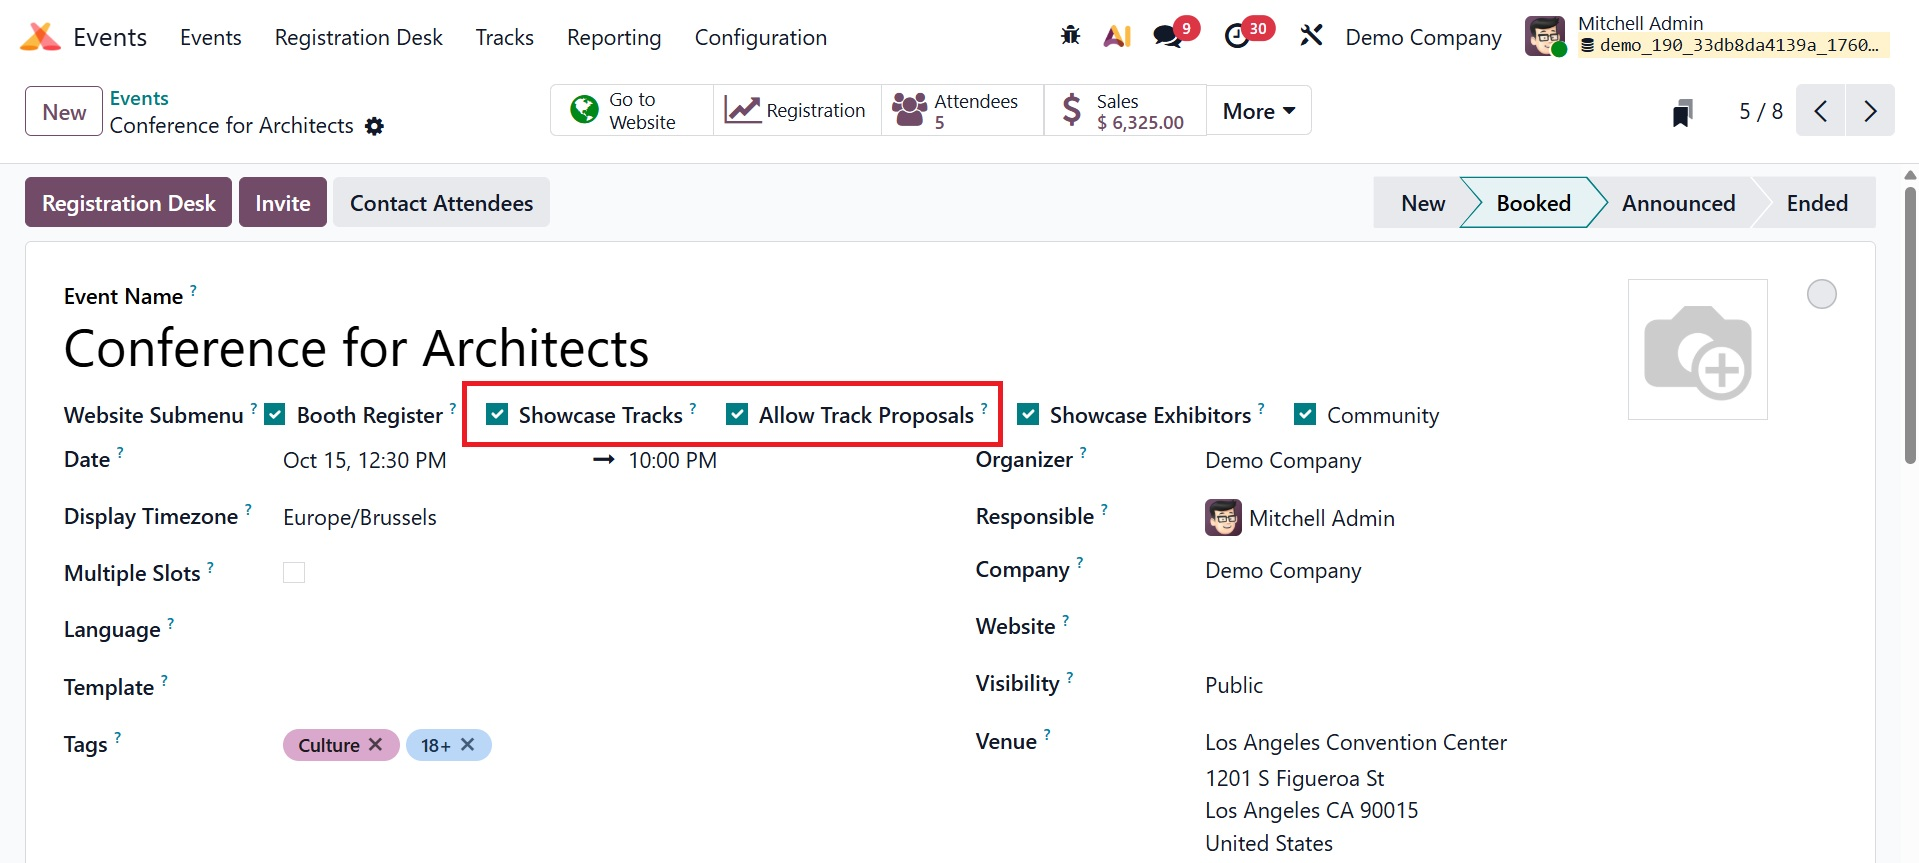
When you choose this option in the Events Module settings, the Event formation window will display the following field. By enabling the Track Proposal option, you can gather the external suggestions for posting a certain event on the website, as seen in the screenshot below.
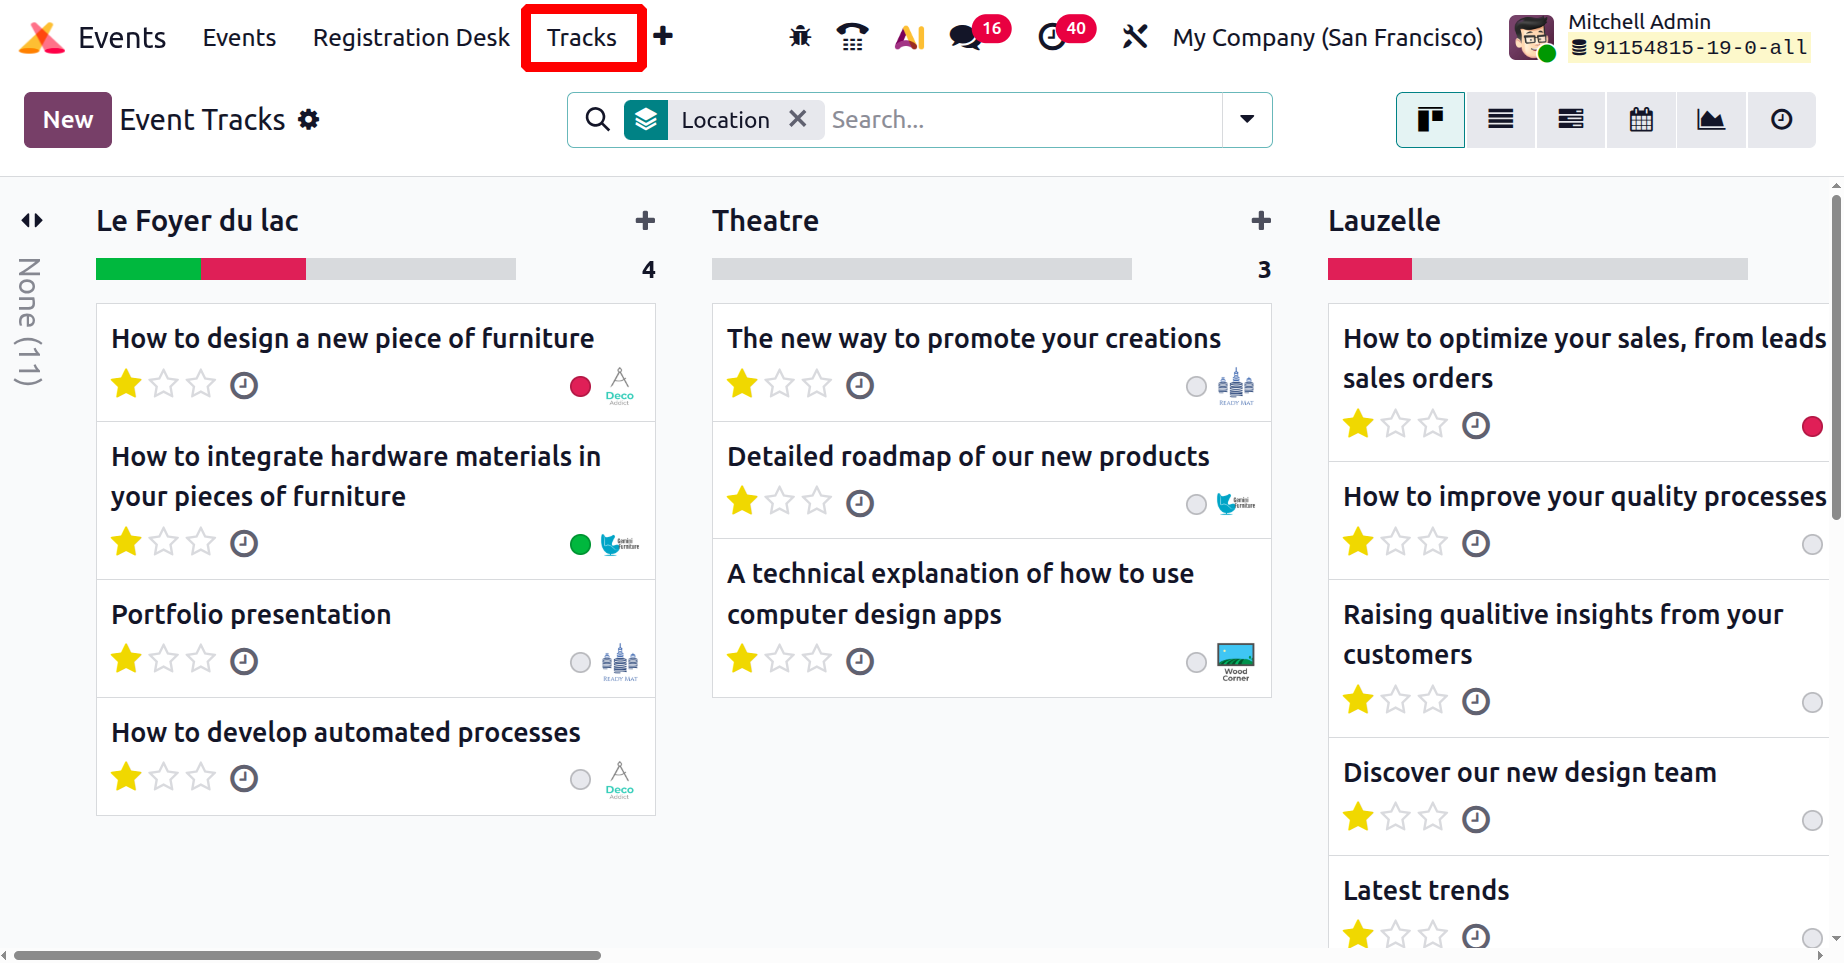
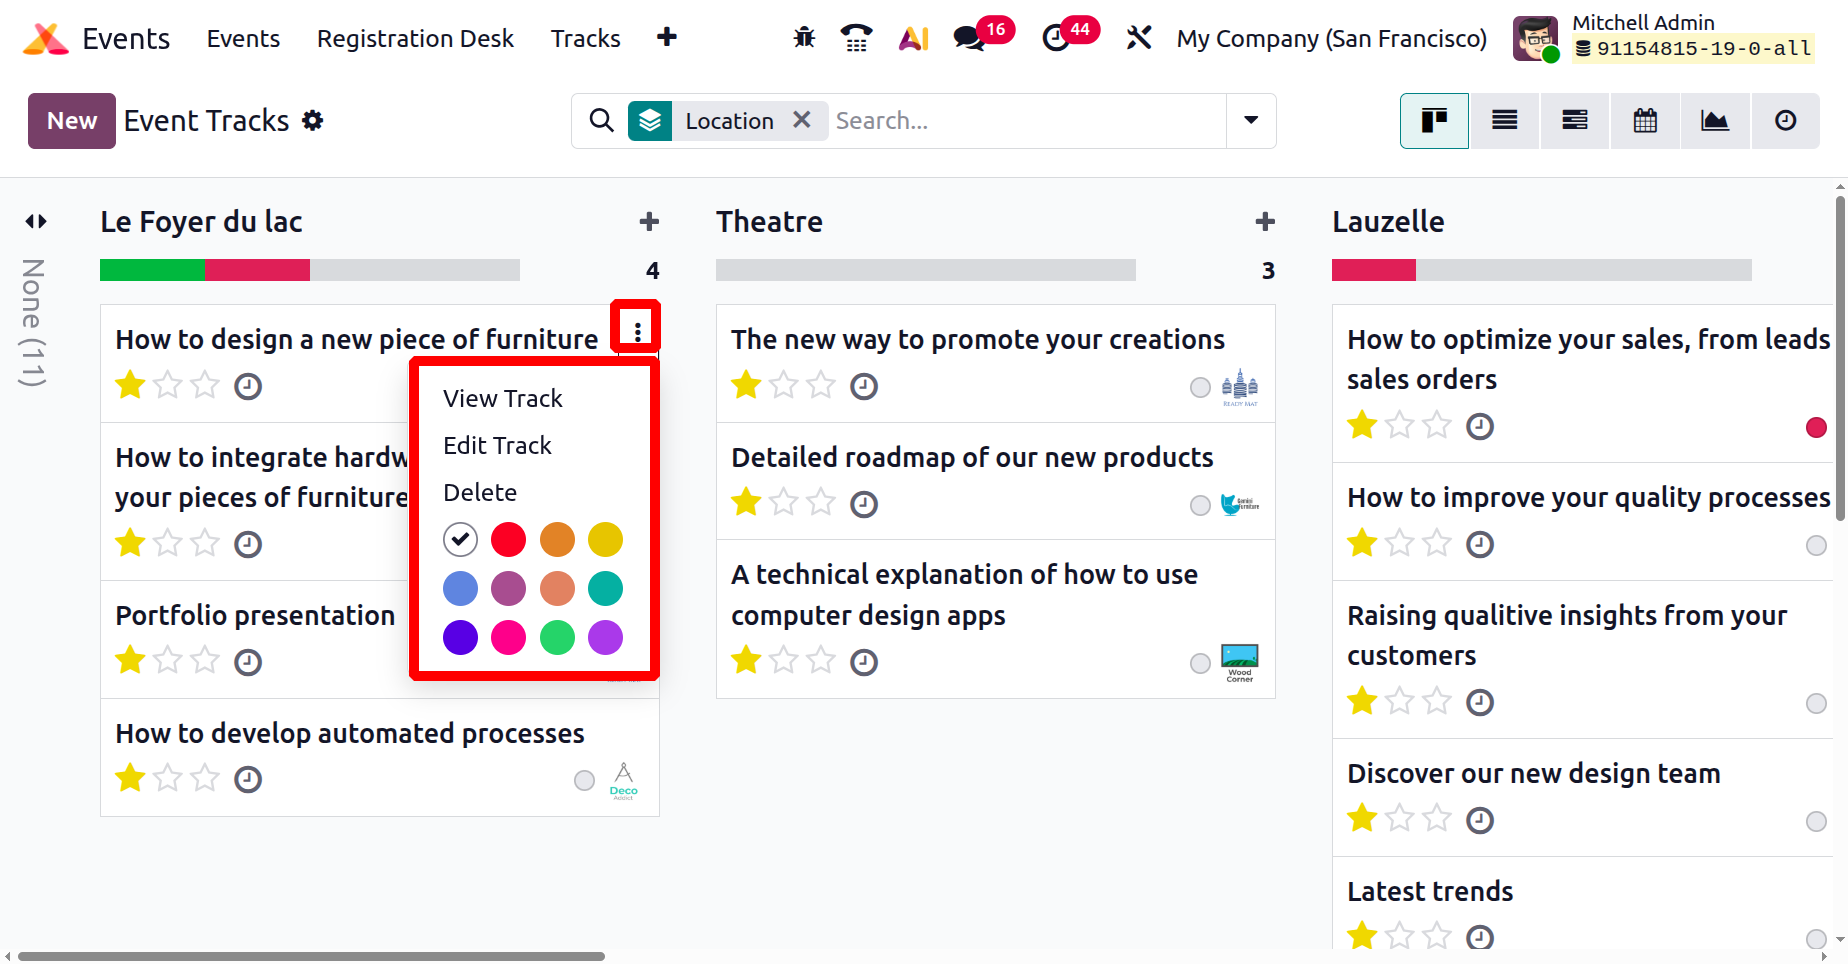
The page of event tracks will appear when you pick the track menu, as seen in the illustration below.
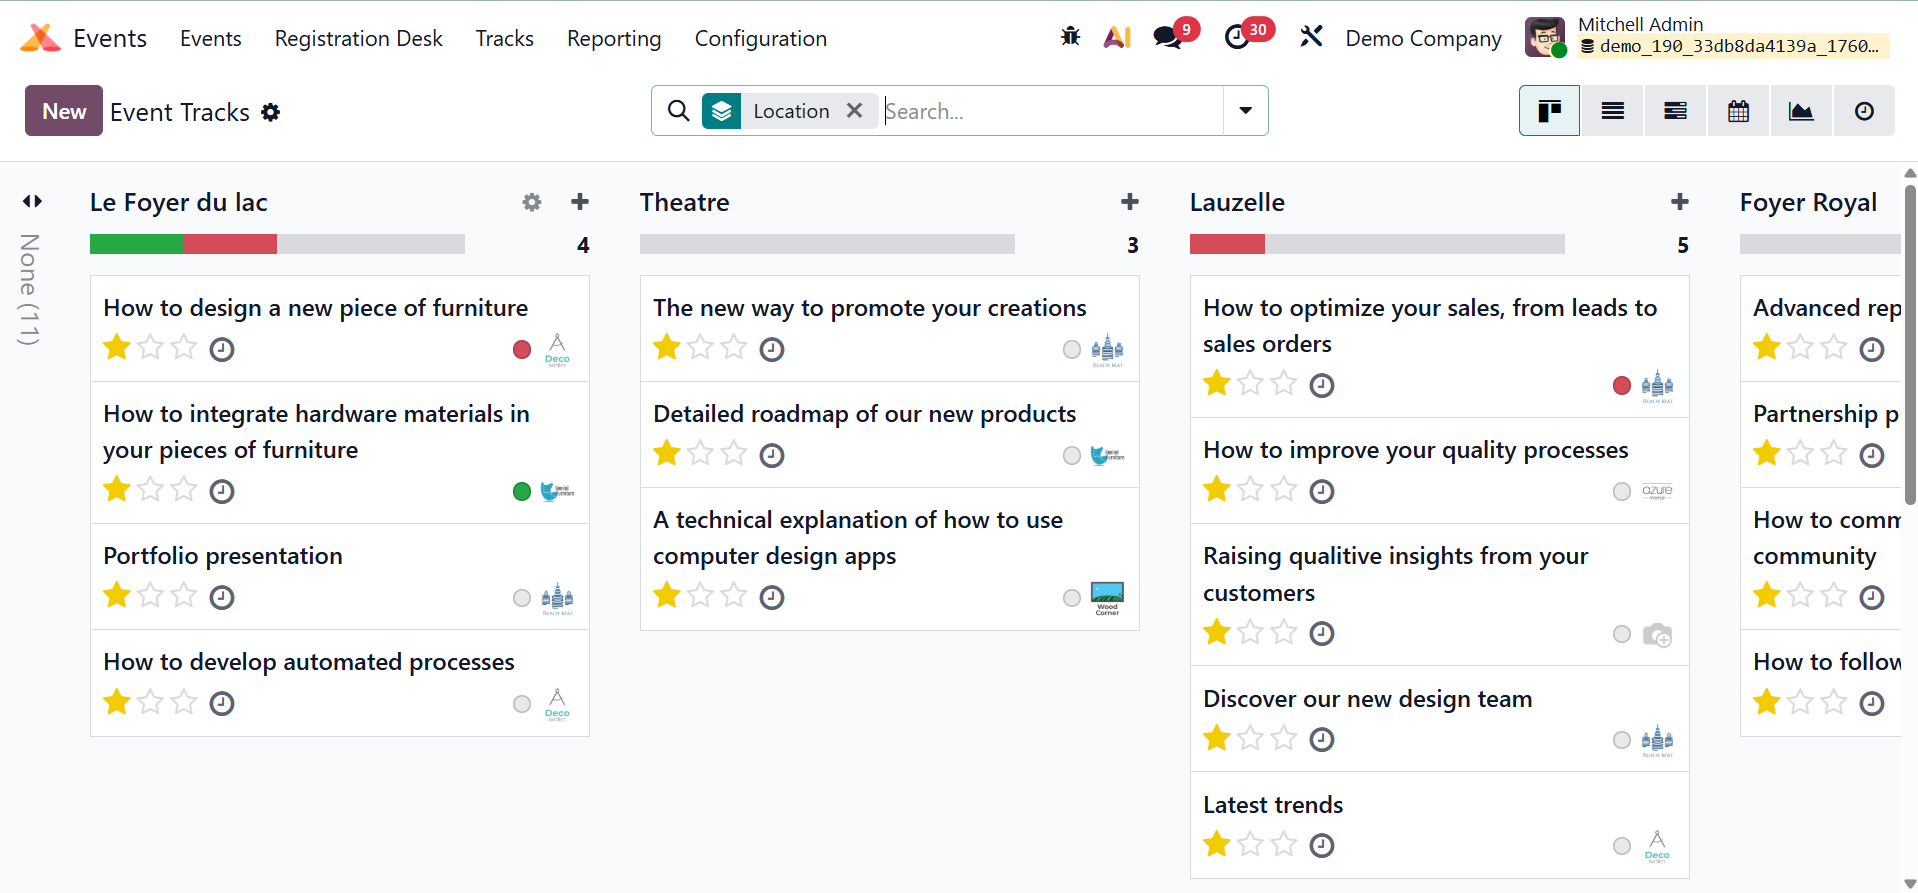
Each event track has three vertical dots that can be used to View, Edit, and Delete the track.
- Edit : Enables you to modify the track's details, including the time, description, and speaker assignment.
- Delete : Permanently eliminates the event track from the list.
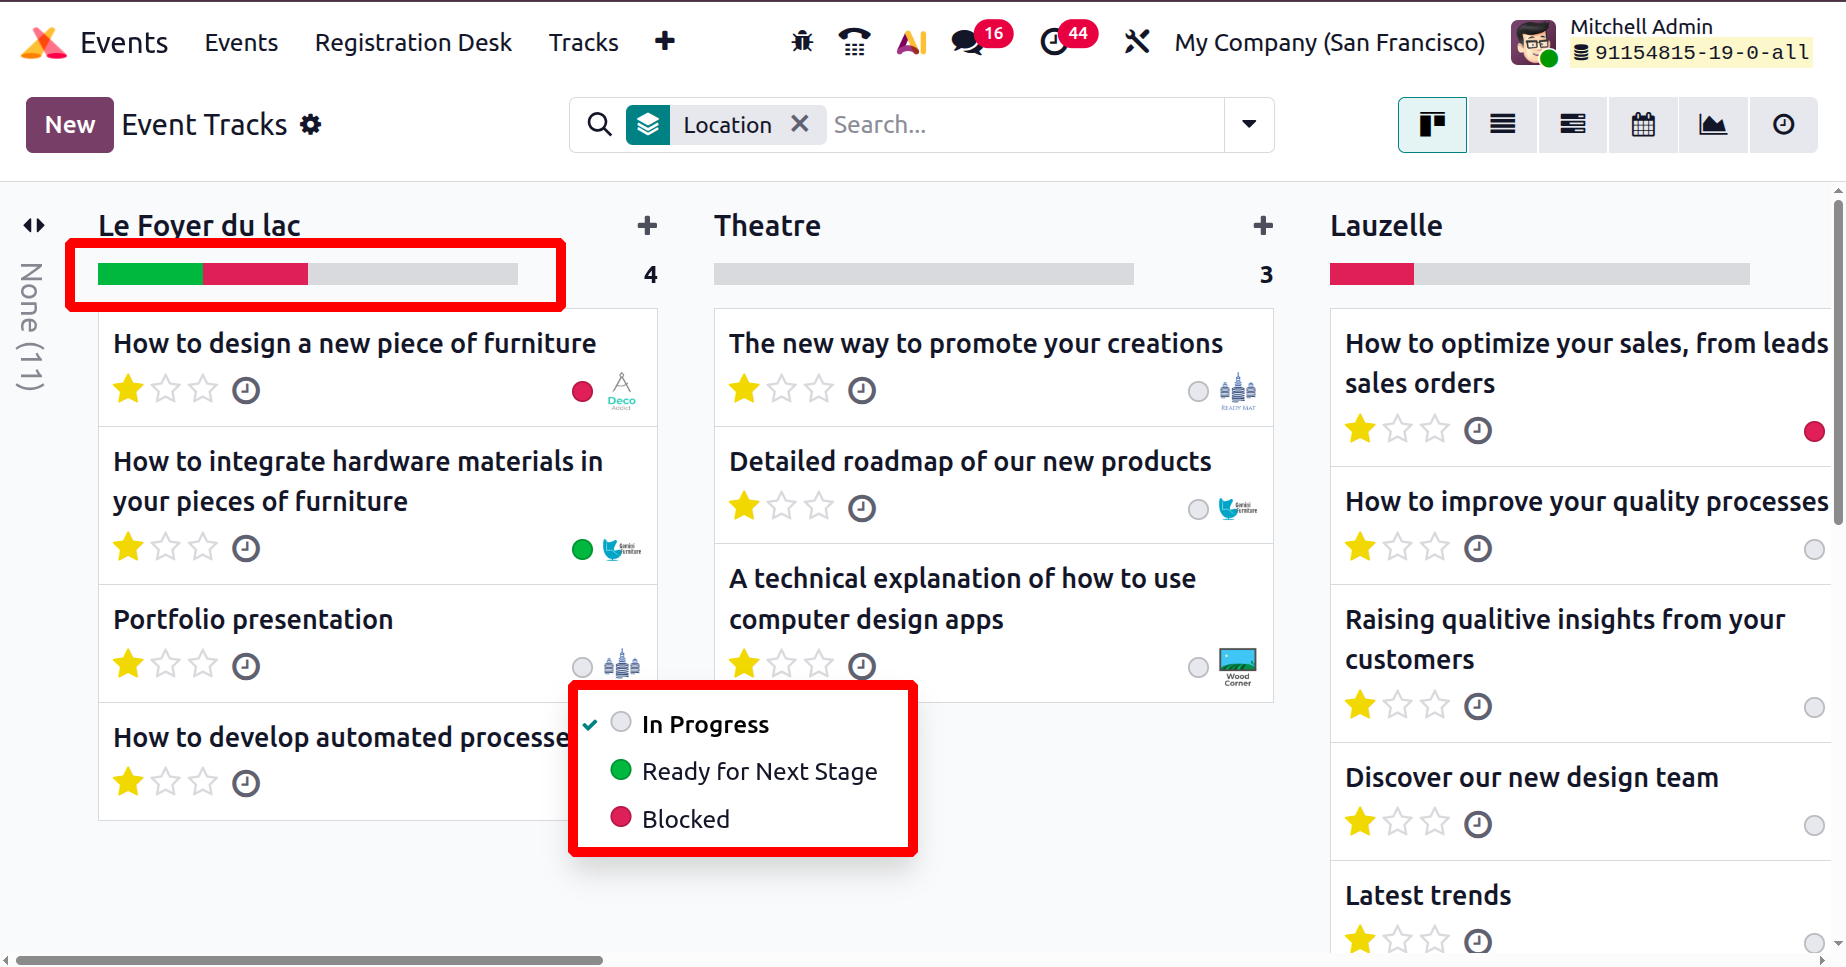
The colors on the Odoo Event Track page indicate the current state of each event track (talk or session):
- Green Color : The track is authorized or confirmed and will proceed according to schedule. That is, ready for the next stage.
- Red: The track has been rejected or canceled and will not be featured at the event.
- White:the color portrays the track is in progress.
3.Activities for the chosen track can be scheduled using the clock icon, as shown below. The priority of a track is indicated by a star icon on the event track page, more precisely on the track's website entry. To increase the track's significance and change how it appears on the website, organizers can add a star in the backend settings. Labels or keywords applied to specific event tracks are called tags on an event track site. Labels or keywords applied to specific event tracks are shown as tags on an event track site. The card view also contains the image of the speaker as marked below.

List, kanban, gantt, calendar, graph, and activity views are the various ways to view the page. The creation page will be, as in the image below.
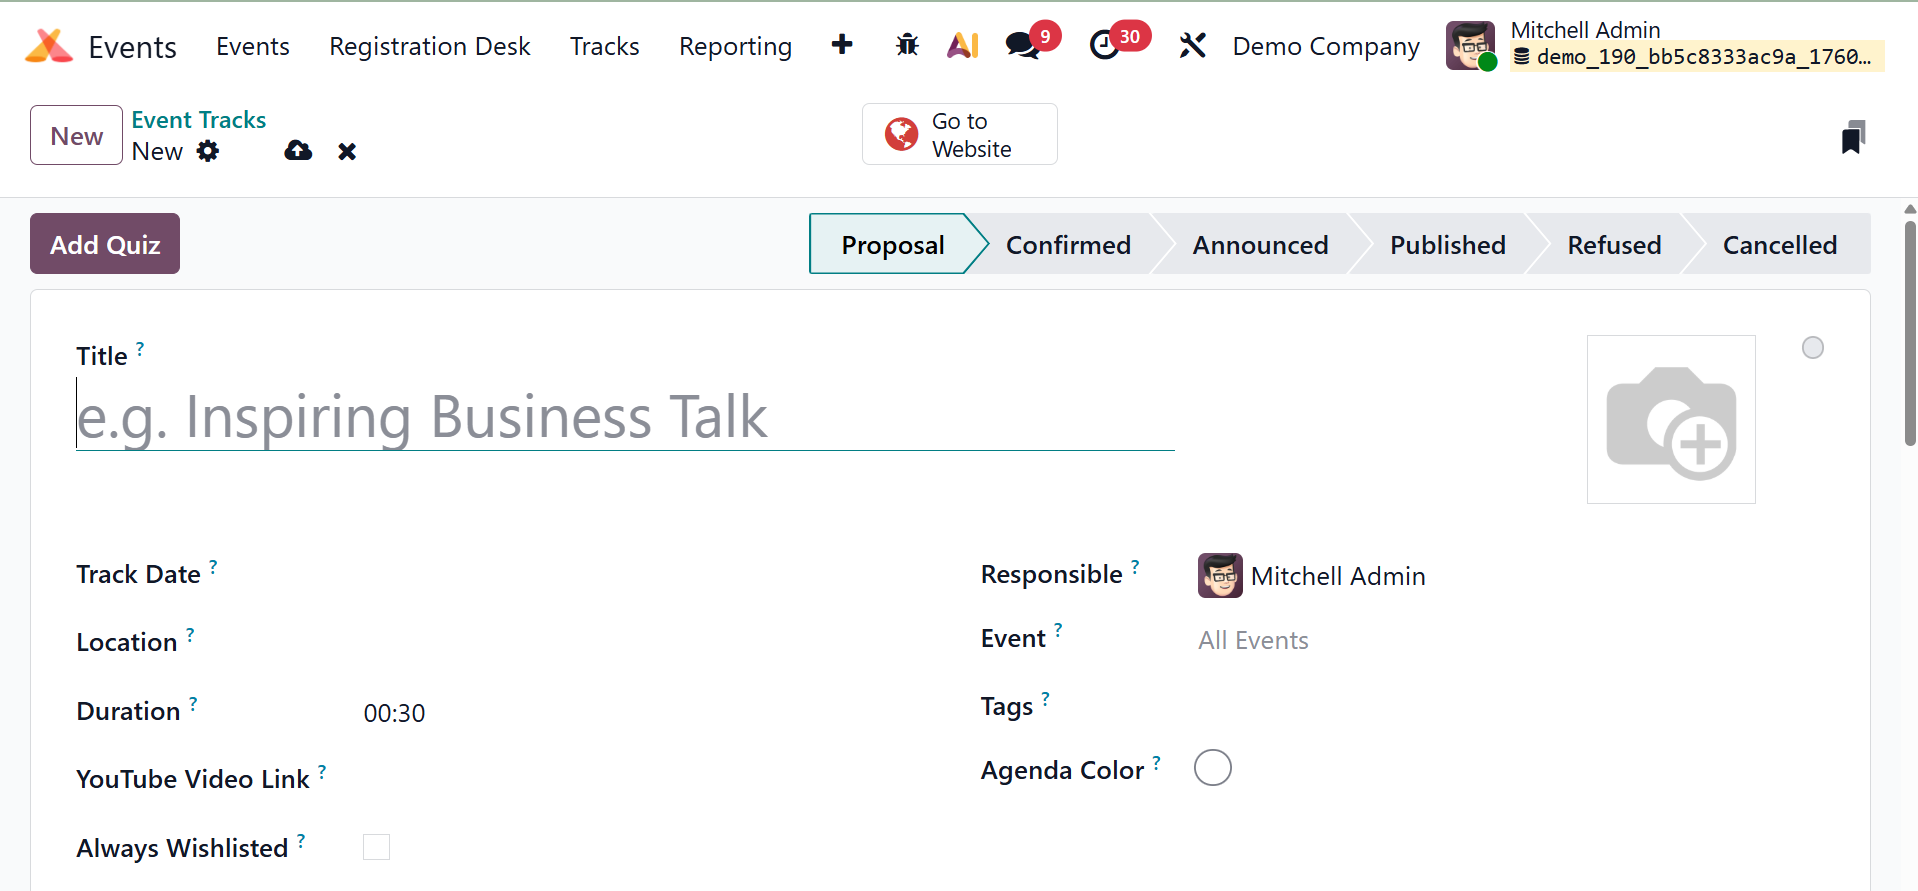
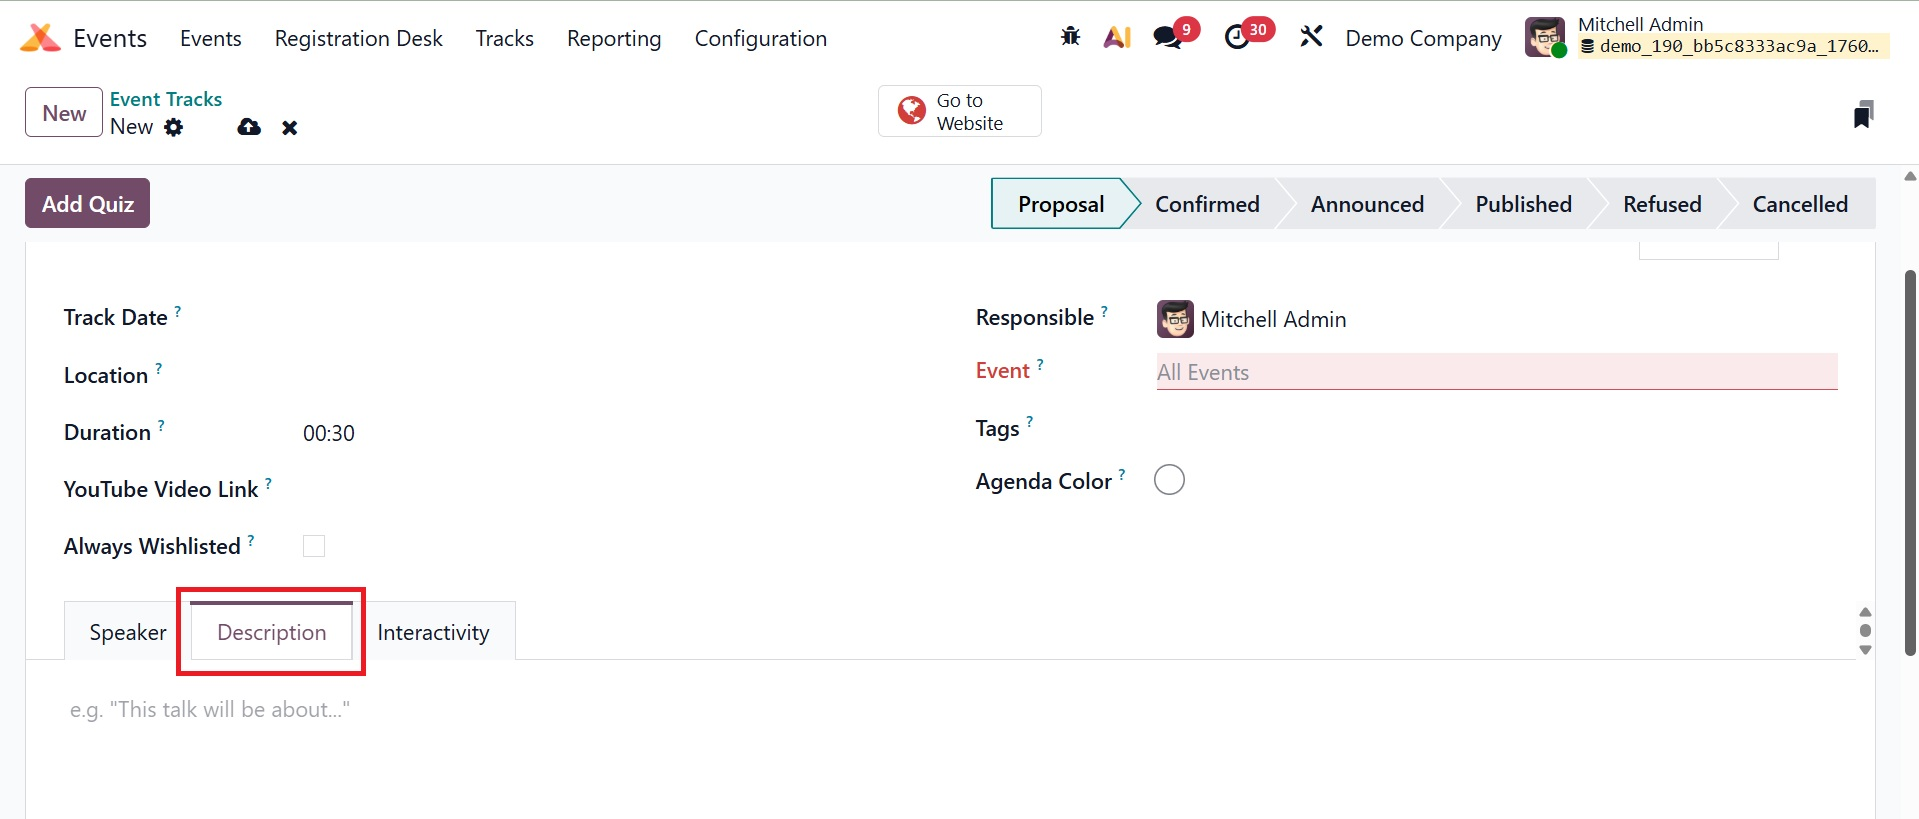
In this box, give the lecture a title. In the corresponding spaces, add a picture to the talk you are creating at the very beginning. In order to make it easy for attendees to see your track, mention the Track Date, Location, Duration, and, if you'd like, the YouTube Video Link. By using the Always Wishlisted option, you can keep the talk as a favorite for those who have registered for the event. Enter the Responsible Officer's name, the event name, any applicable tags, and the Agenda Color in the designated boxes.
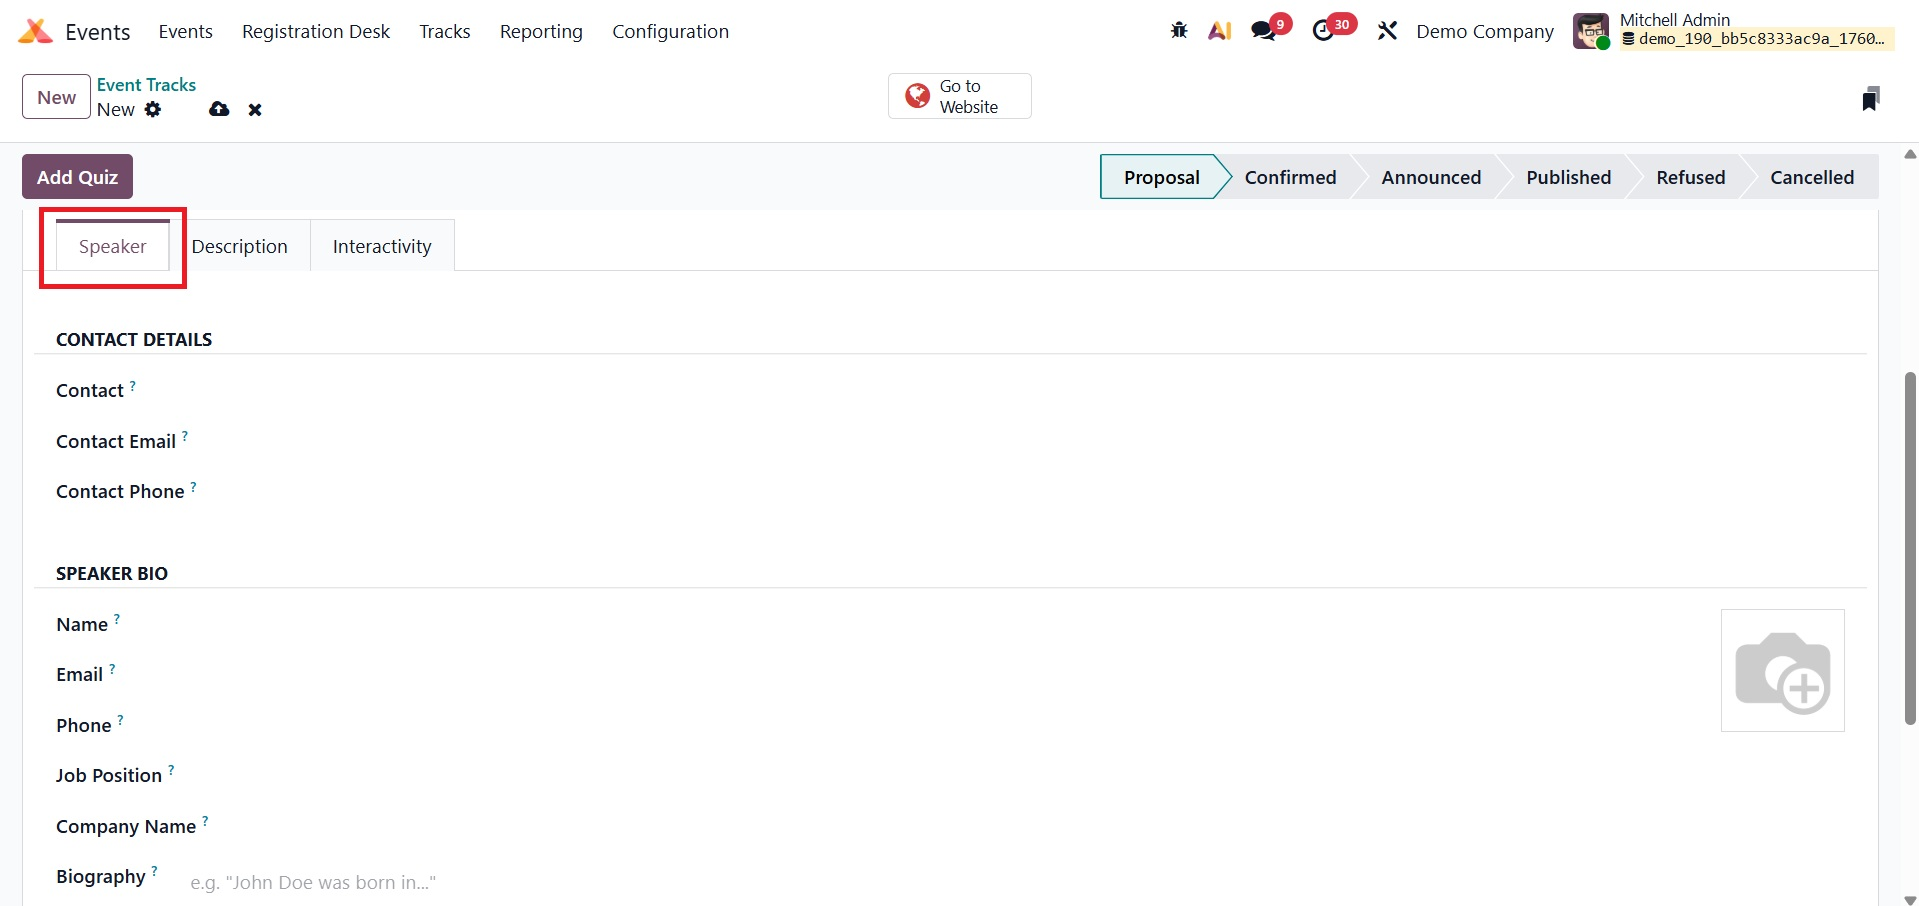
In the Speakers Tab, you can input the Contact details like (Contact, Contact Email, and Contact Phone). In the Speaker Bio area, you must include the speaker's name, phone number, email address, job title, company name, and a brief biography. You are presented with a space to add the speaker's picture, as can be seen in the screenshot. This picture can be view from the kanban view.
In the Description Tab, you can provide a short summary of the conversation.
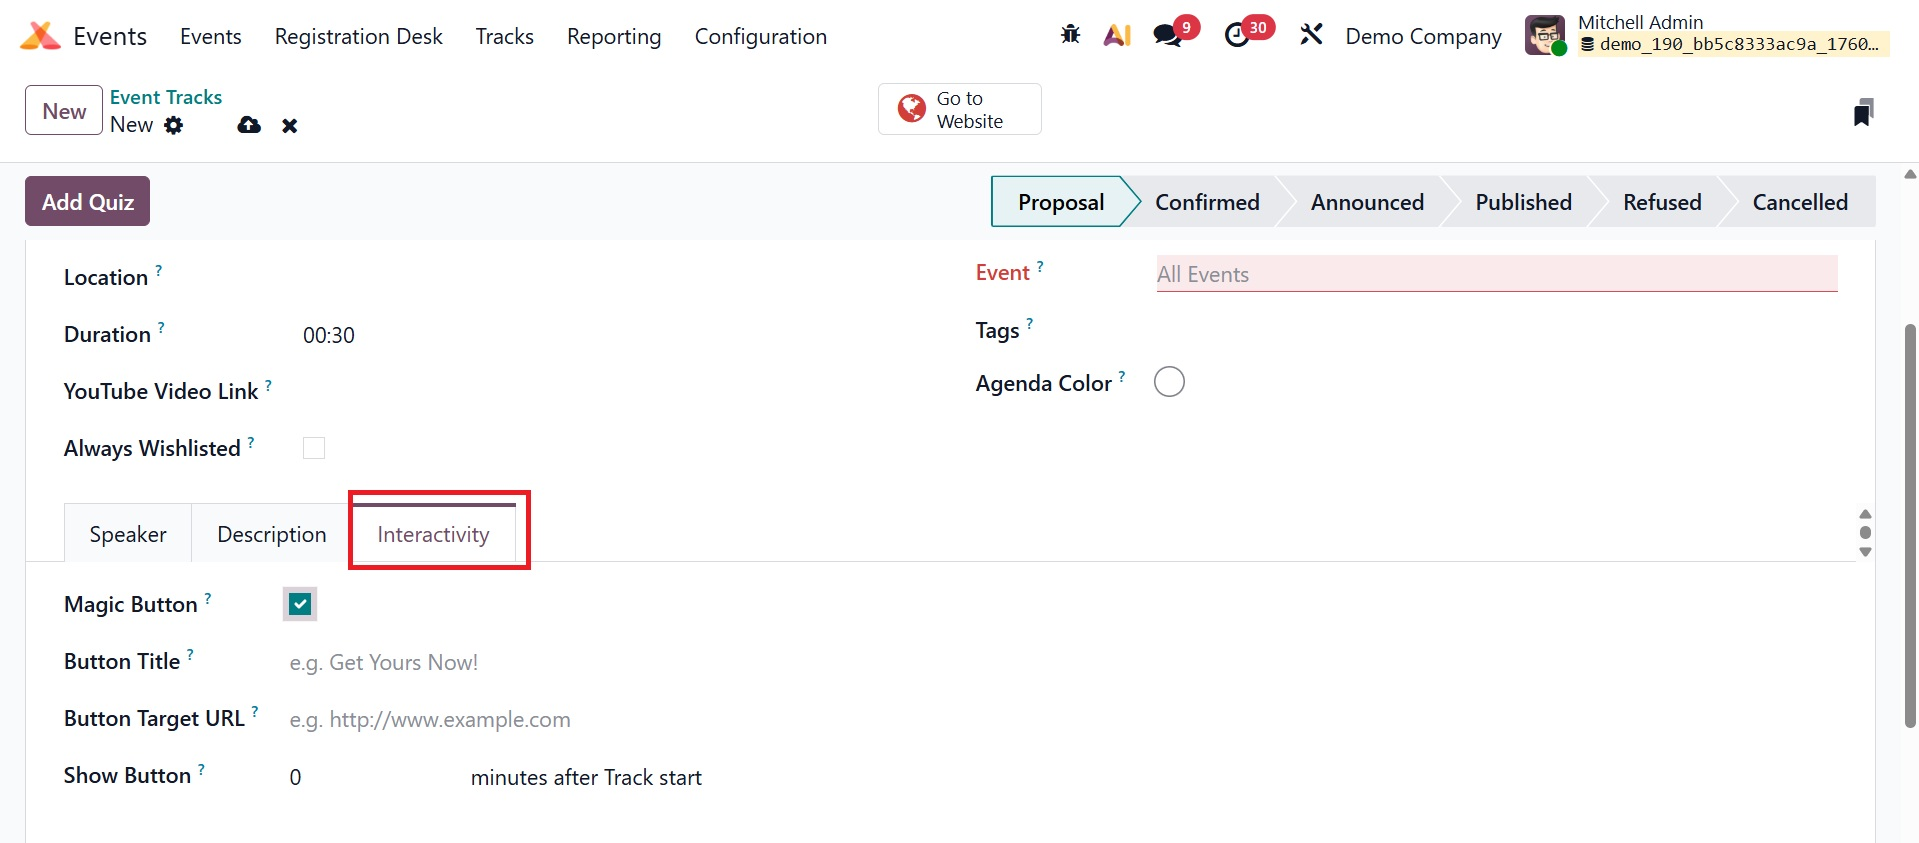
You may also use the Magic option in the Interactivity Tab to encourage guests to do something while they're watching the track. A new field requesting the button's title and target URL will show up when you choose this option. You can choose when the button appears on the track by naming the time.
Finally, press the "Save" button. Using the Event Gamification option in the Event module's settings, you can include a quiz once the participants have finished the track.
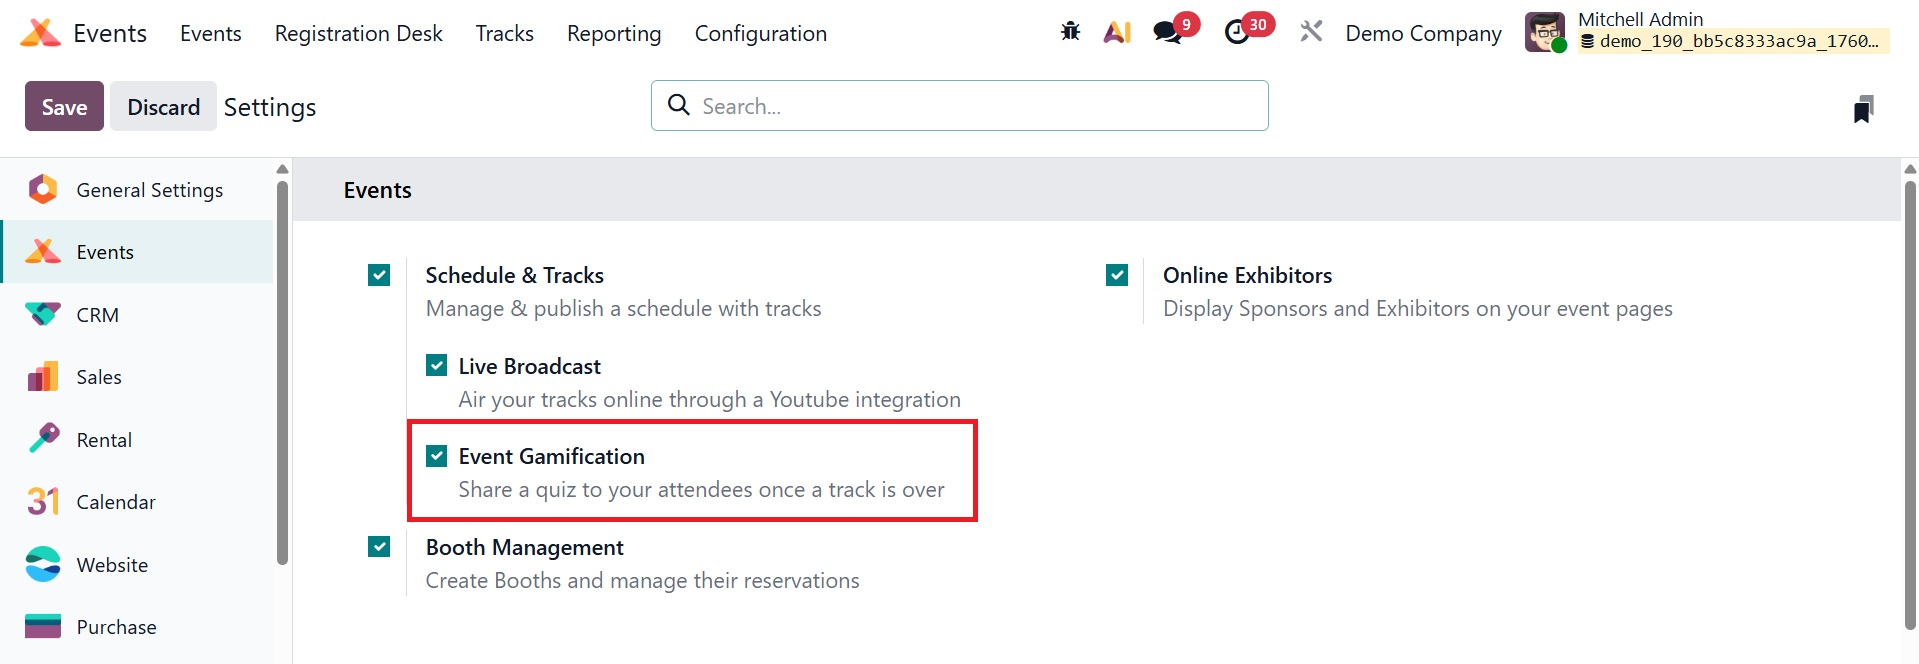
The track formation window will have an Add Quiz option. Follow the directions in the image below to enable this option in the settings.
Selecting this option will bring up a window where you may add the question as needed.
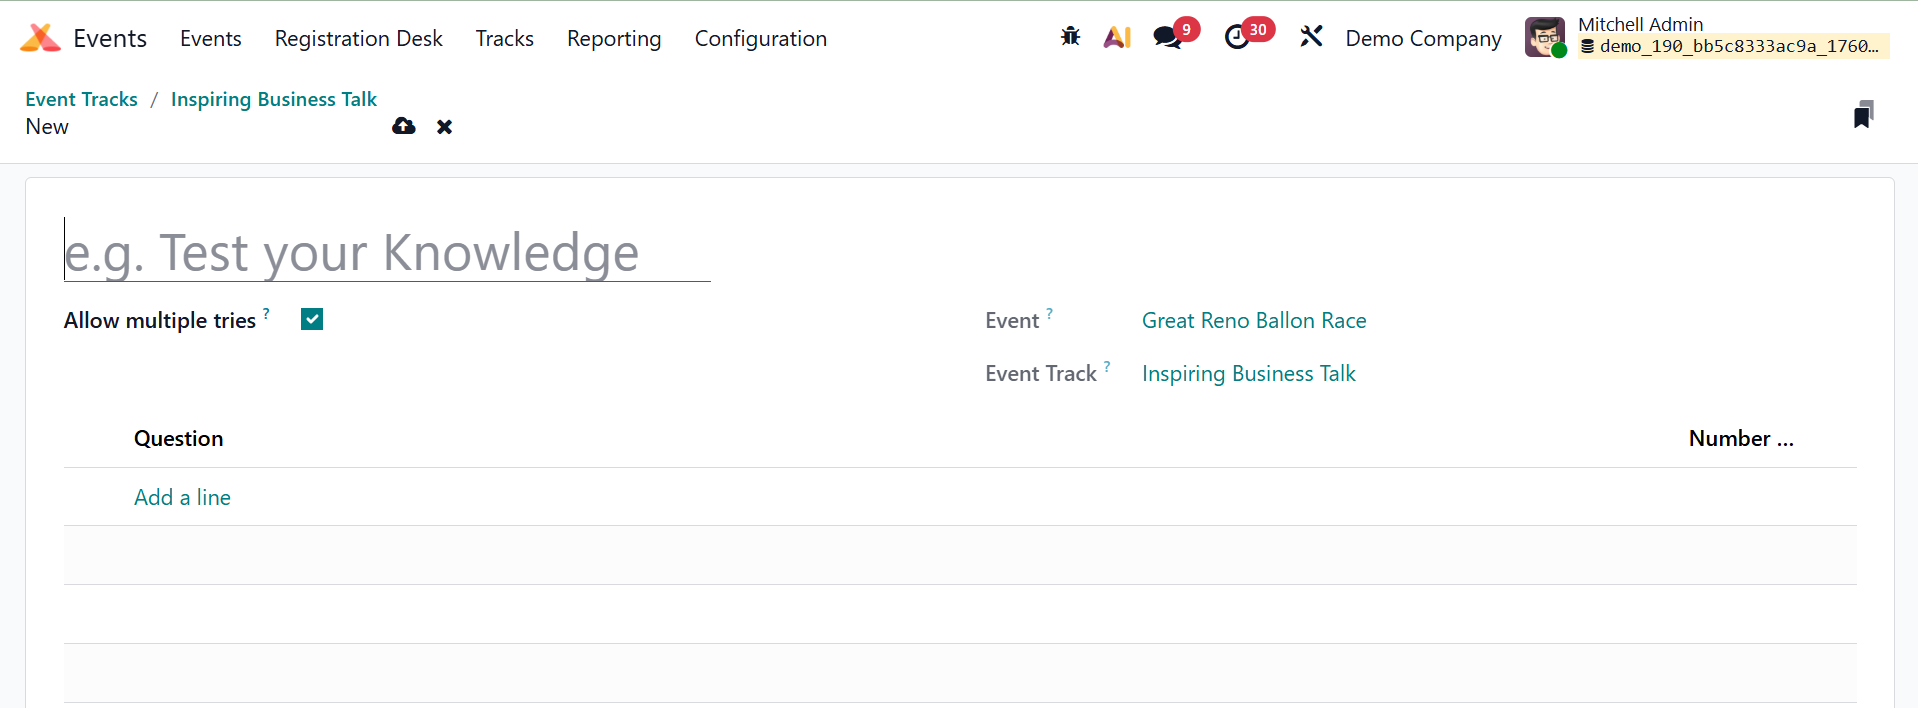
First, give the quiz a name, then type it in the appropriate field. By turning on the Allow multiple tries option, you can let participants reset the quiz if they would like to try it again. The Add a Line option allows you to ask more questions. In conclusion, press the "Save" button.
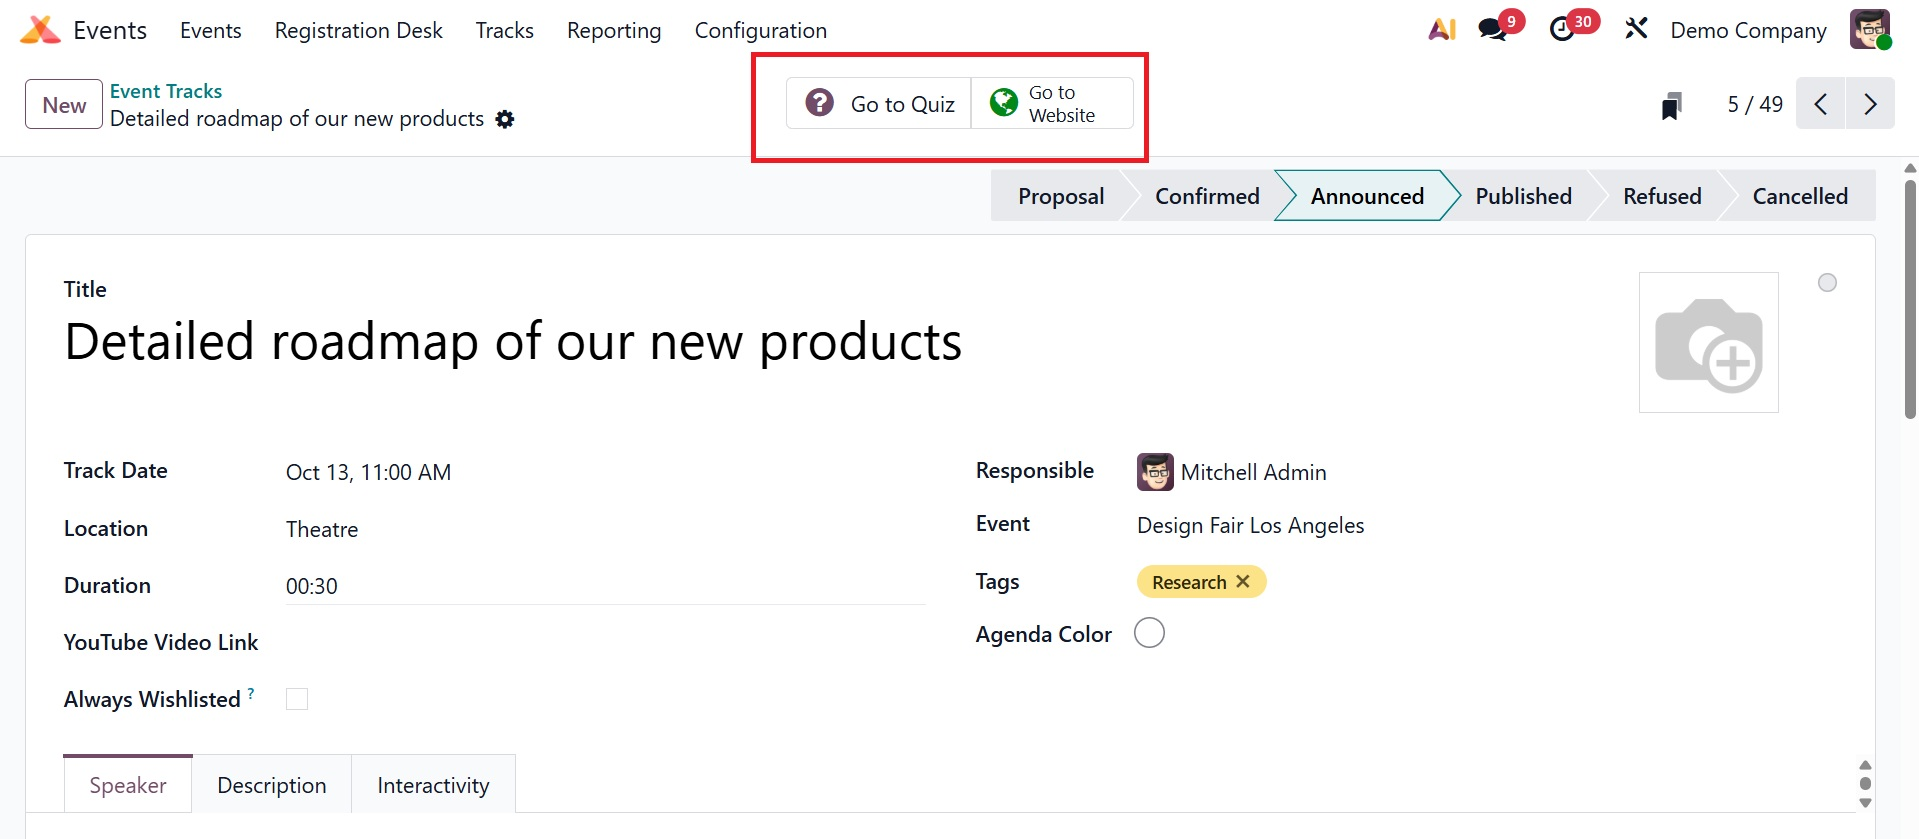
To post this to your website, choose the Go to Website option as seen in the image below.
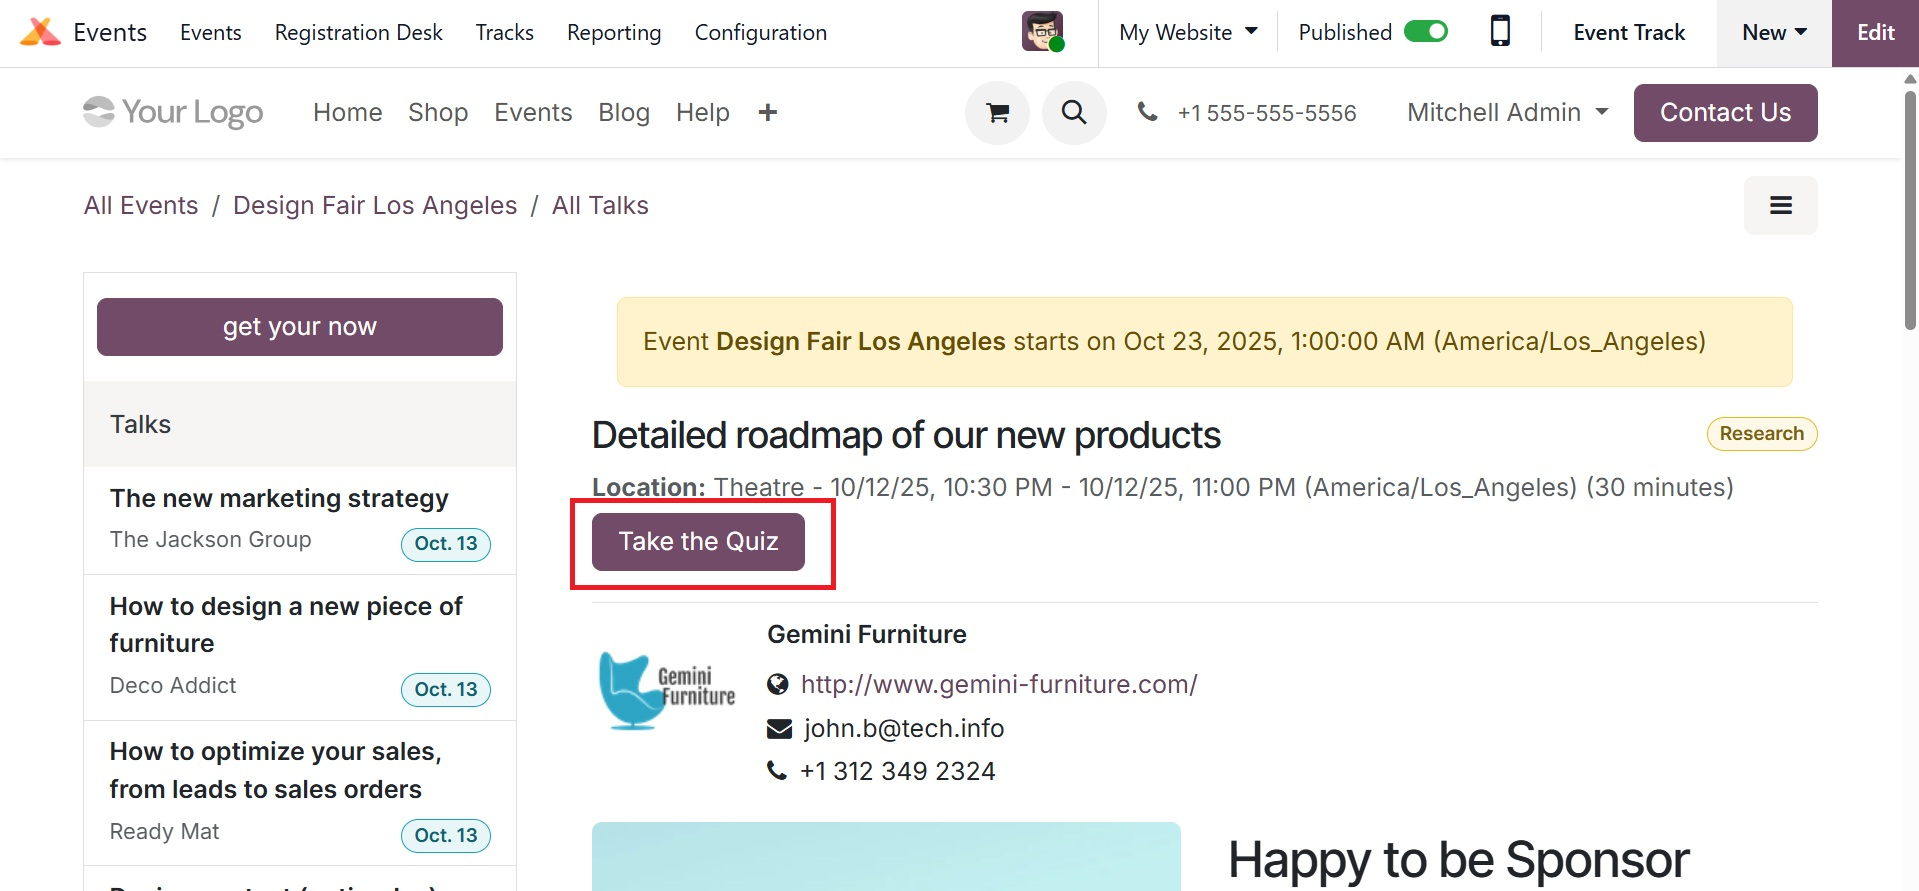
Following selection, a window allowing you to convert the Unpublished status to Published form will appear. Attendees can select the Take the Quiz option to take the test after viewing the track.
To post this to your website, choose the Go to Website option as seen in the image above. Following selection, a window allowing you to convert the Unpublished status to Published form will appear. Attendees can select the Take the Quiz option to take the test after viewing the track.
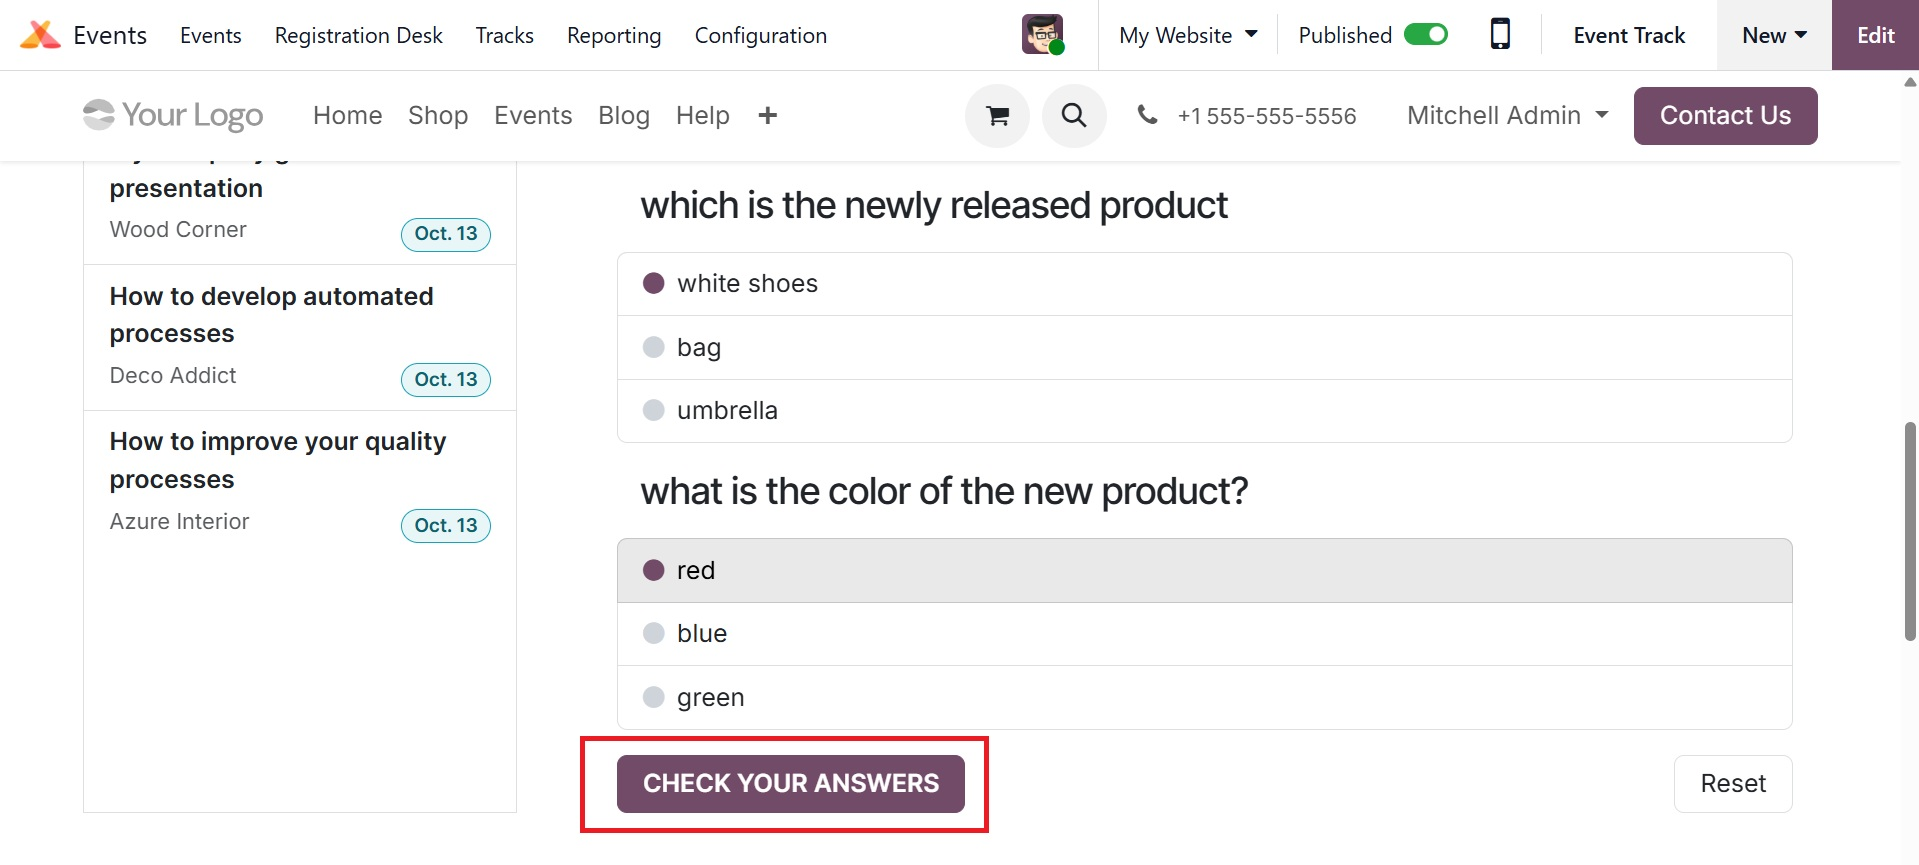
You may even check the answer in the window by selecting the Check your Answers option
These are the primary steps we follow when creating and managing the event's tracks using the Events Module of the Odoo ERP Software.