As an organization, we conduct events for our customers, employees, and partners. Conducting events is a good way to promote a product and establish a good relationship with the customers. We might conduct ticketed events for our customers, sometimes purely promotional, at other times educational, and in some cases a combination of both. Depending upon the nature of products and services, it may be exhibitions, workshops, or maybe product launch and so on. Some companies may also conduct ticketed events to raise money for charity. Whatever be the reason for it, organized events is a good way to establish confidence among the customers and employees alike.
Conducting a ticketed event will have various management factors like managing the ticket limit, registrations, ticket pricing, and in some cases we have to manage different classes of tickets for the same event. With Odoo events, creating versatile events can be as easy as it can be.
In this blog, we will look at how we can create a ticketed event with Odoo
Odoo Events
The events module from Odoo allows us to create an event and publish the same on the website.
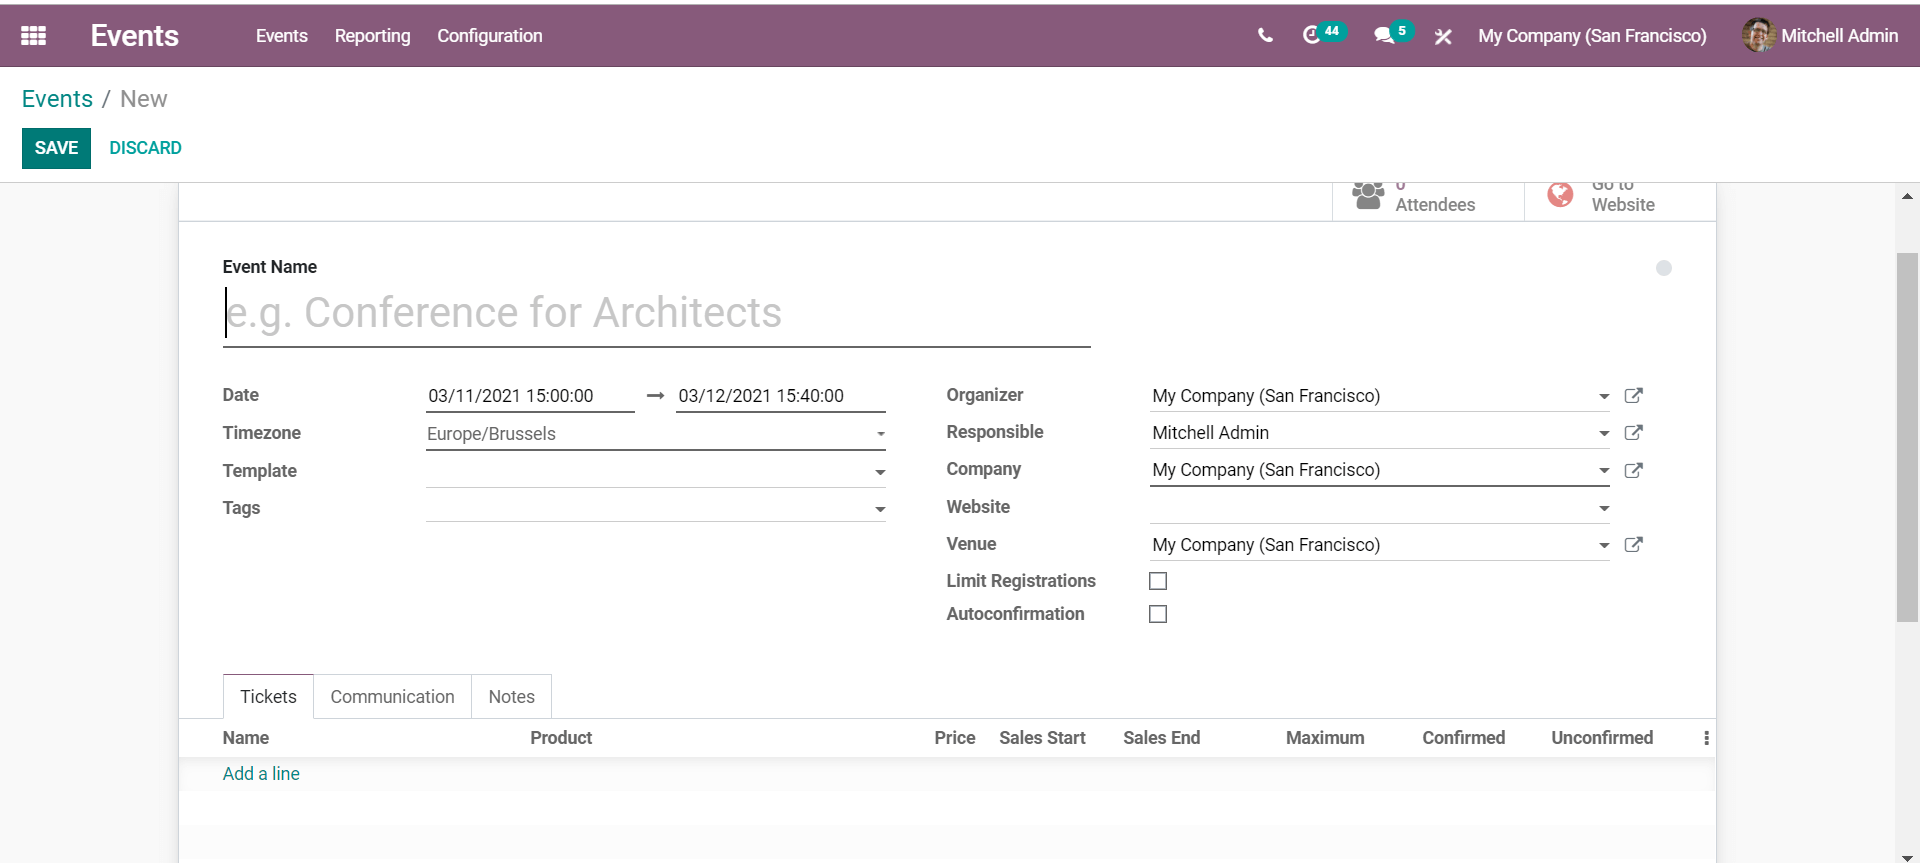
We can configure the details of the event including the date, time, venue, and so on. We can limit the registration number if needed. If it is a closed event for a few members we can set the registration limit accordingly.
We can create an event template in the configuration and apply the same in the created event. An event template would modify the settings for the event according to the template settings. While creating a template we can assign the communication methods, event visibility, seat limits, and tickets.

Even if the selected template does not have ticketing, we can add tickets while creating the event.
Add tickets
Once the tickets for events are enabled in the configuration, we can create tickets for the event registration. We can also enable online ticketing to let the tickets be sold on the website.

In the tickets tab of the event, we can keep adding tickets. We can add a ticket name, attach a product, usually configured as event registration. Make sure that the attached product you create for the event registration is marked as 'can be sold'. We can set a maximum limit for individual tickets.

We can add any number of tickets. We can change the sale price of the ticket in the tab. For example, if we have a lower price in the first week of registration, we can add the same ticket and product, but with different prices and different sales dates.
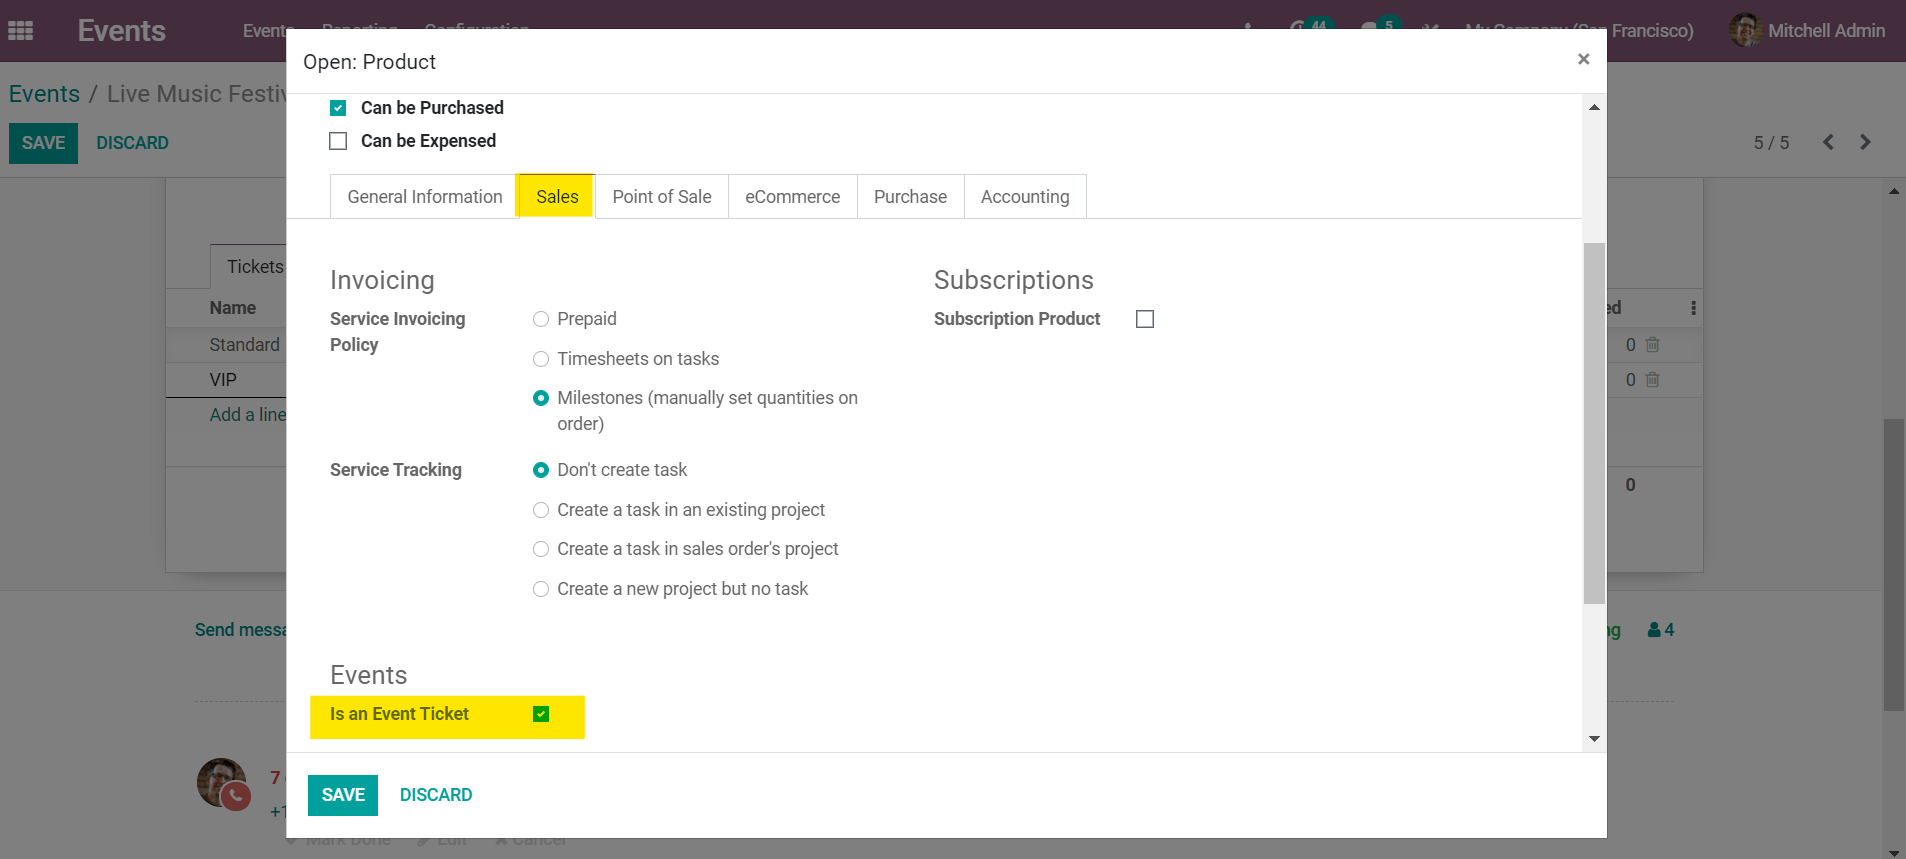
Now if we have two types of tickets that would be sold at the same time, we can name them differently and make them available at the same time. The two types of tickets may have different benefits and access. This can be done by configuring the product description accordingly if necessary. We must care to check that the product is configured as an event ticket in the sales tab while creating the product.
Add questions
We can also enable questions in the configuration to request specific details from the event attendees. You may use this to understand the attendees better so as to organize the event to better serve them. After enabling the questions from the configuration, we can add questions to the dedicated tab while creating an event.
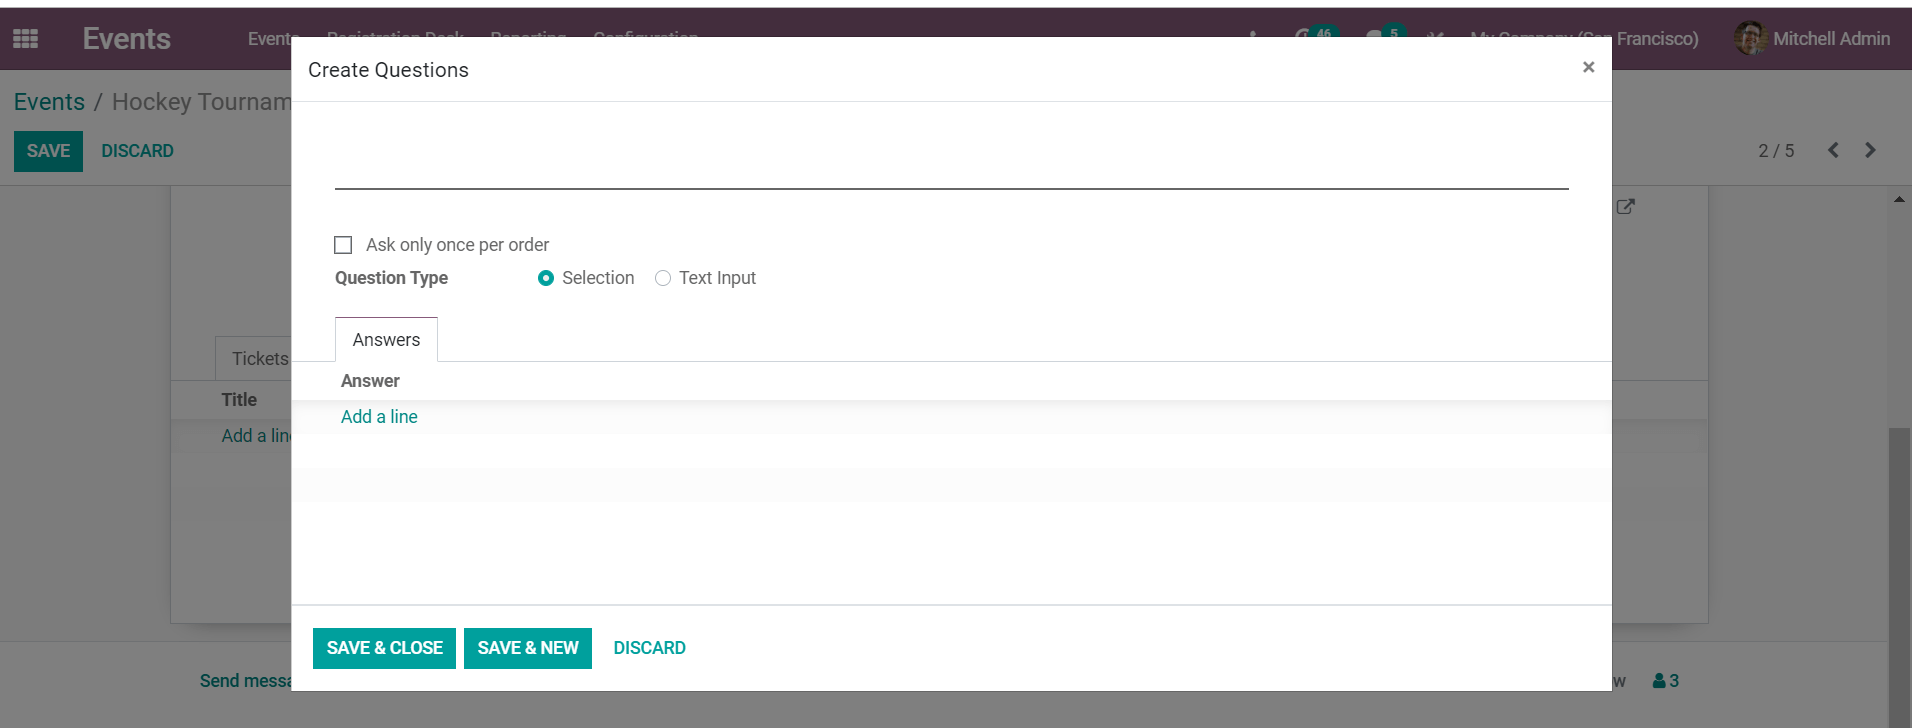
We can create both selection type and text input answers. For selection type, we can add the options in the answers tab. If ask once per order is enabled, the question and the answer would be common for all the registration in a single order. On the other hand, the questions would be repeated for each registration in the given order.
Edit website
We can click on 'go to website' in order to view the website view of the event. We will be redirected to the website and we can edit the event's website display to enter more details and have a better layout to impress the visitors. We can edit the page contents and use the customization tools to include more information and customize the details,
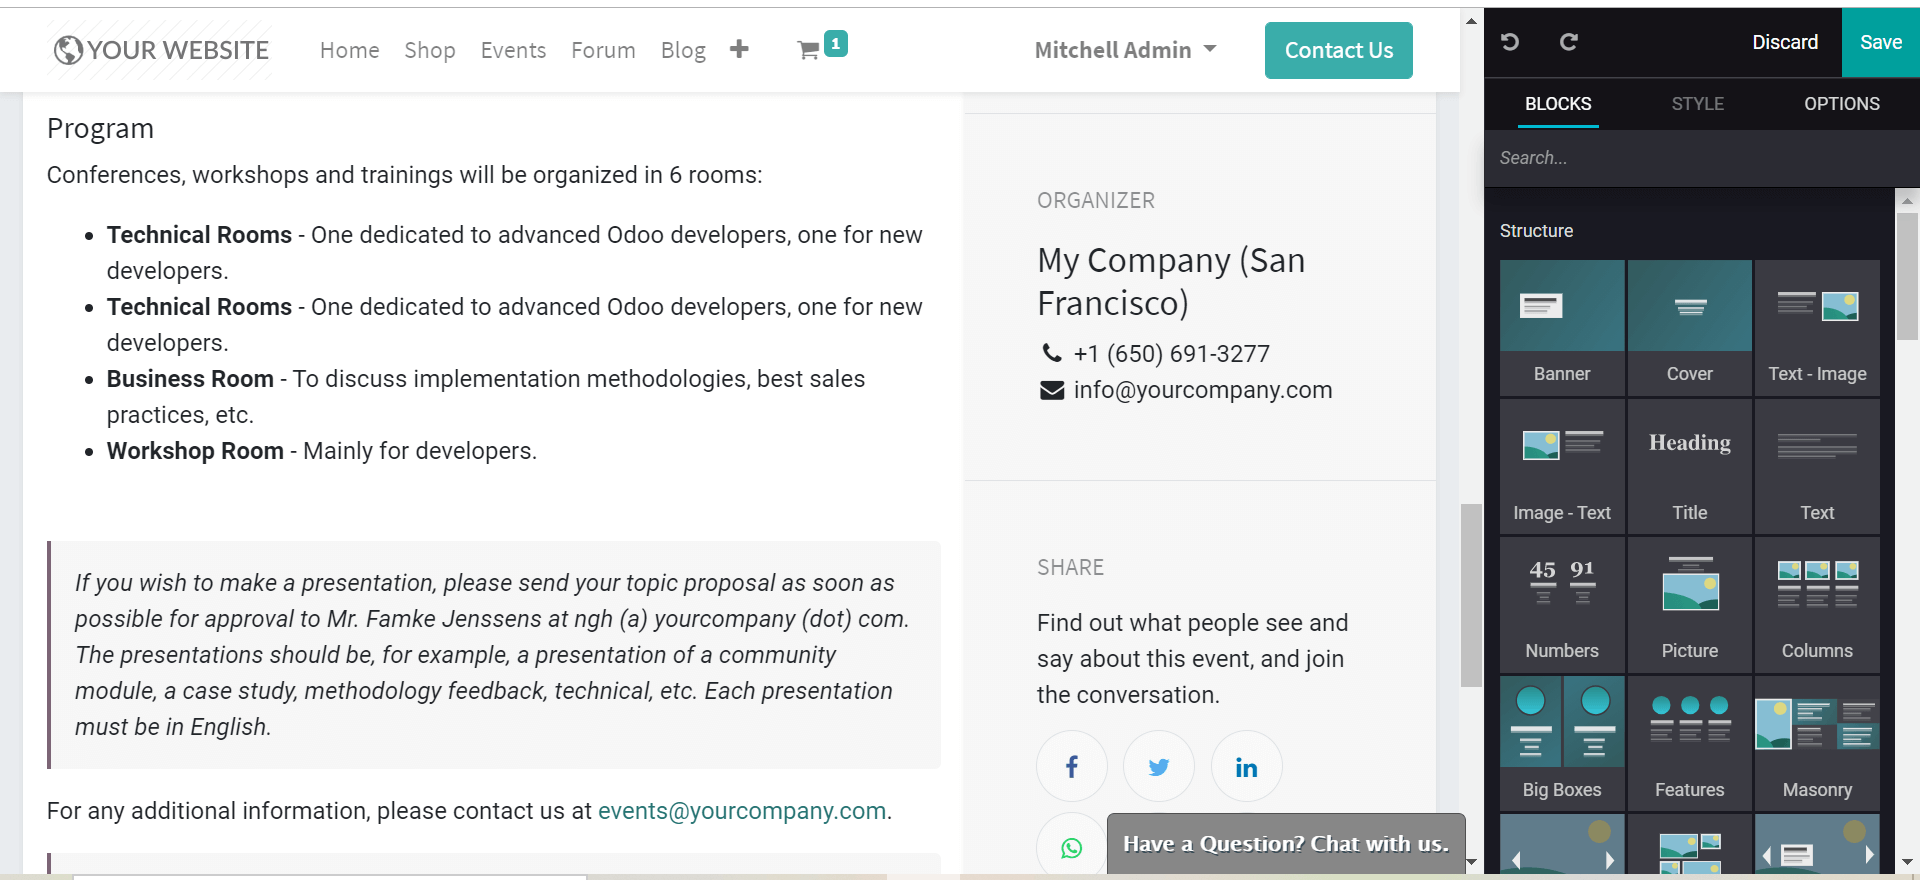
Once we have the event page in the website edited and ready, we can use the published / unpublished toggle to publish the event with the changed layout.

Speakers
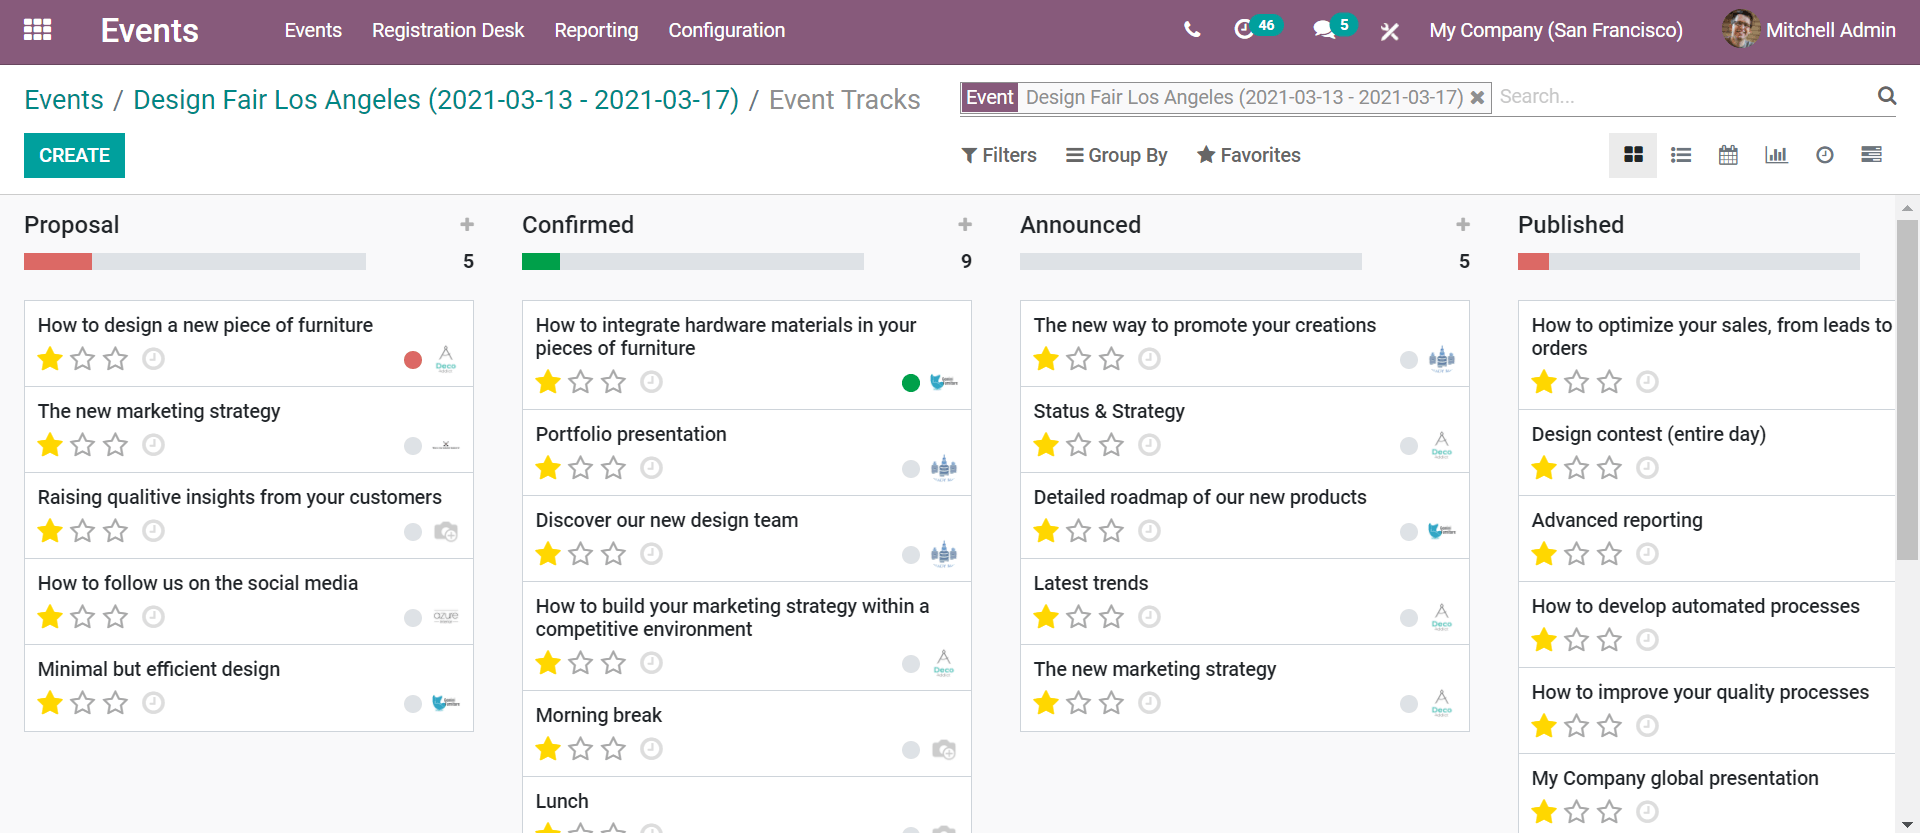
In the case of webinars, workshops, or similar events, we will have to create speakers for the event. We can enable schedule and track from configuration to create an event schedule with speakers. The tracks tab in the events window has the speakers that have been scheduled for the event. We can manage the speakers from the proposal to the publishing in a pipeline, in this tab.
While creating a new track, we can give the track title, the time, and the speakers. We can specify the duration of the track and add tags to the track. Once we have configured the speaker information and general information, we can give a track description in the tab.
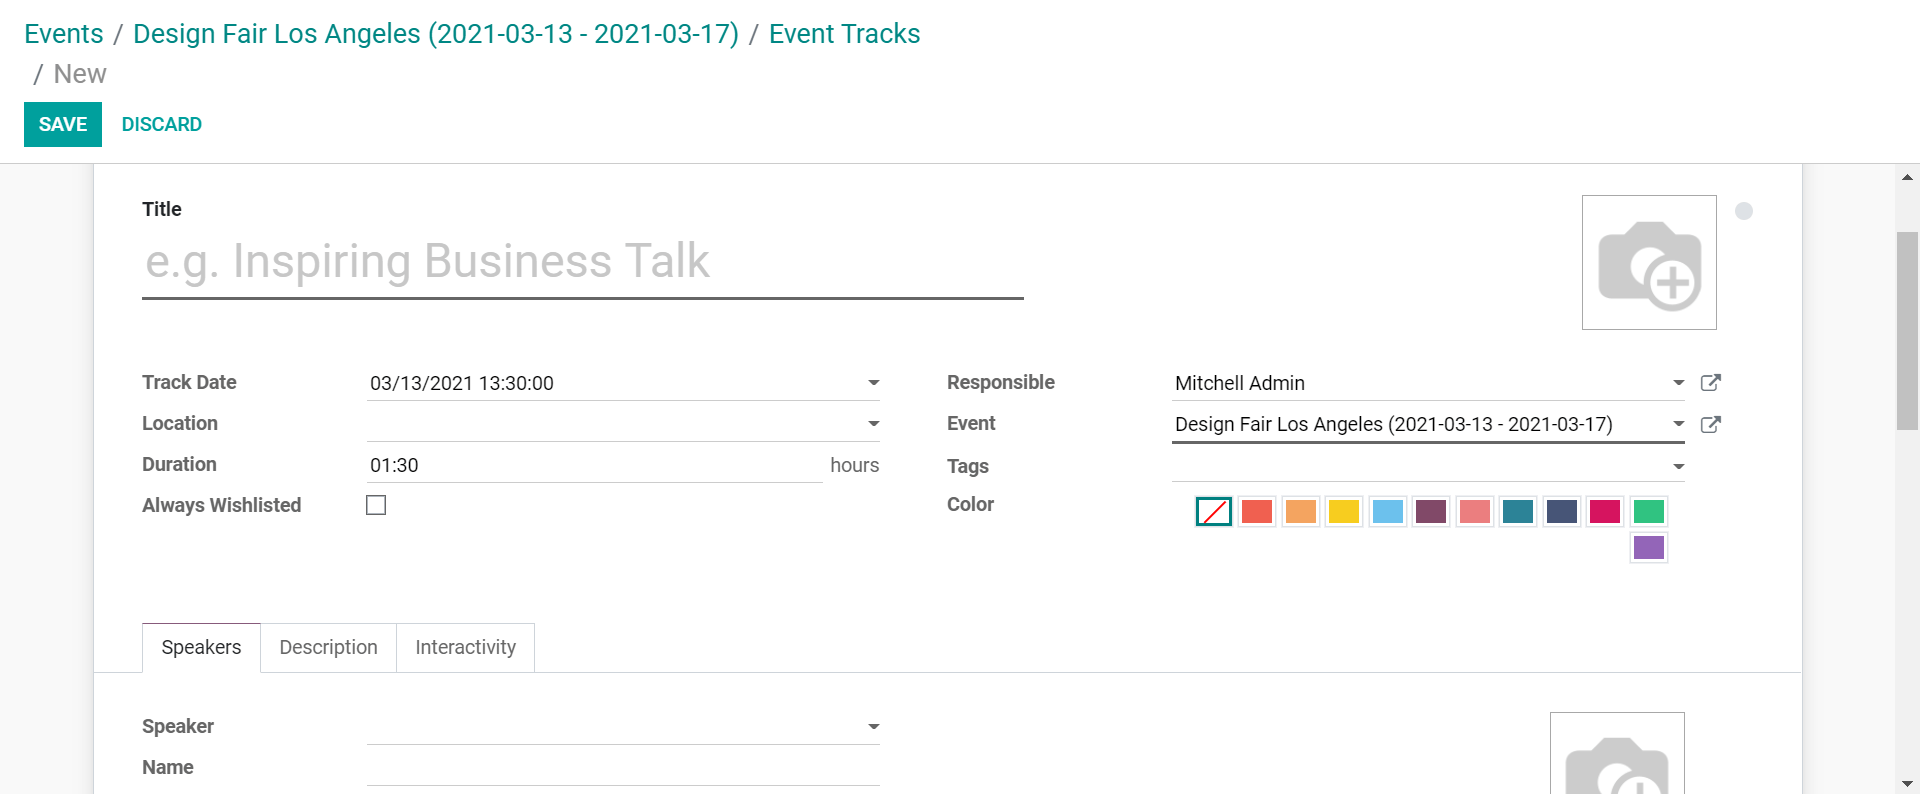
Additionally, in Odoo we can control the interactivity of a track. For this, we can enable the 'magic button' in the tab. A button with a target URL will appear on the website after the time configured in the interactivity tab.

If the event is not a closed event, we can enable the live broadcast option. This will integrate our events with our youtube to broadcast live on the channel.
Attendance
Attendance management in Odoo events is improved by the barcode integration. This will allow the attendees to scan the barcode assigned to them in order to mark their attendance at a registered event. We can also mark the attendance from the events window, under the attendee's tab.

Communication
Once the event is configured, we can communicate with both the attendees and the track speakers. We can set automatically triggered communication for attendees in the communication tab while creating an event.

We can set the trigger, the mail template, and the interval. Otherwise, in the case of events with attendees and speakers, we can contact them from the contact buttons available.

We can either send the mail to the full list of attendees or speakers, or we can filter the recipients as required.
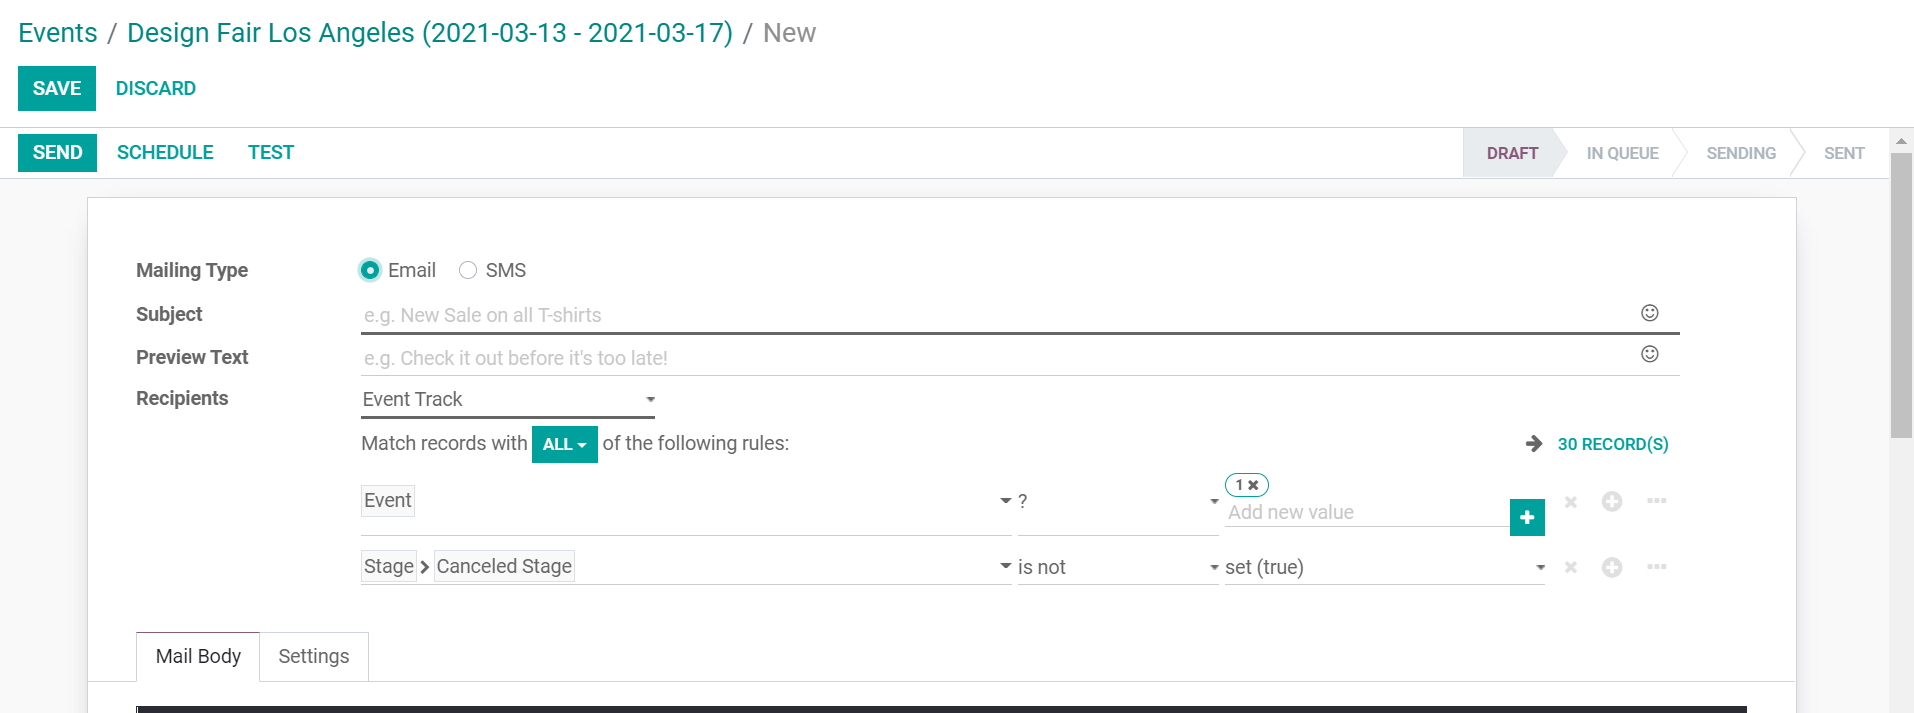
For registration confirmation, reminders, feedback and so on we can automate the communication. But in case of schedule changes or similar unexpected communication, we can use the contact button.
Creating a ticketed event will always bring a feeling of exclusivity for the attendees. It is also a good choice to go for in case of limited facilities and the attendee number has to be limited.