There are so many ways to add popups on the Odoo website. Popups depict information that needs to be shown or stored. We can simply add it in a button link and manage its actions using a modal under data-toggle and data-target attributes as below.
<a role="button" class="btn btn-secondary" data-toggle="modal"
                    id='myPopup' data-target="#mypopup" href="#">
                    <t>My Popup</t>
                </a>
This id “myPopup” is the id of the element enwrapping the popup content you want to display.
As you can see, we have used Bootstrap’s modal component. We can get to know some points about it.
The Modal component or plugin is a popup window or dialog box that is positioned on top of the document/current page. We have used two data attributes in the above example to trigger the modal window. The id specified in the data-target attribute must be the same as the id of the modal parent division. The modal size can be adjusted by using necessary classes(eg:.modal-sm class name for small modals and .modal-lg class name for large modals) for the div element having class name .modal-dialog . By clicking outside or backdrop of the modal the modal is closed automatically.
Now we can discuss the popup that is displayed on the mouseover of the specified element and how its data template is rendered using web controllers and jsonRpc calls.
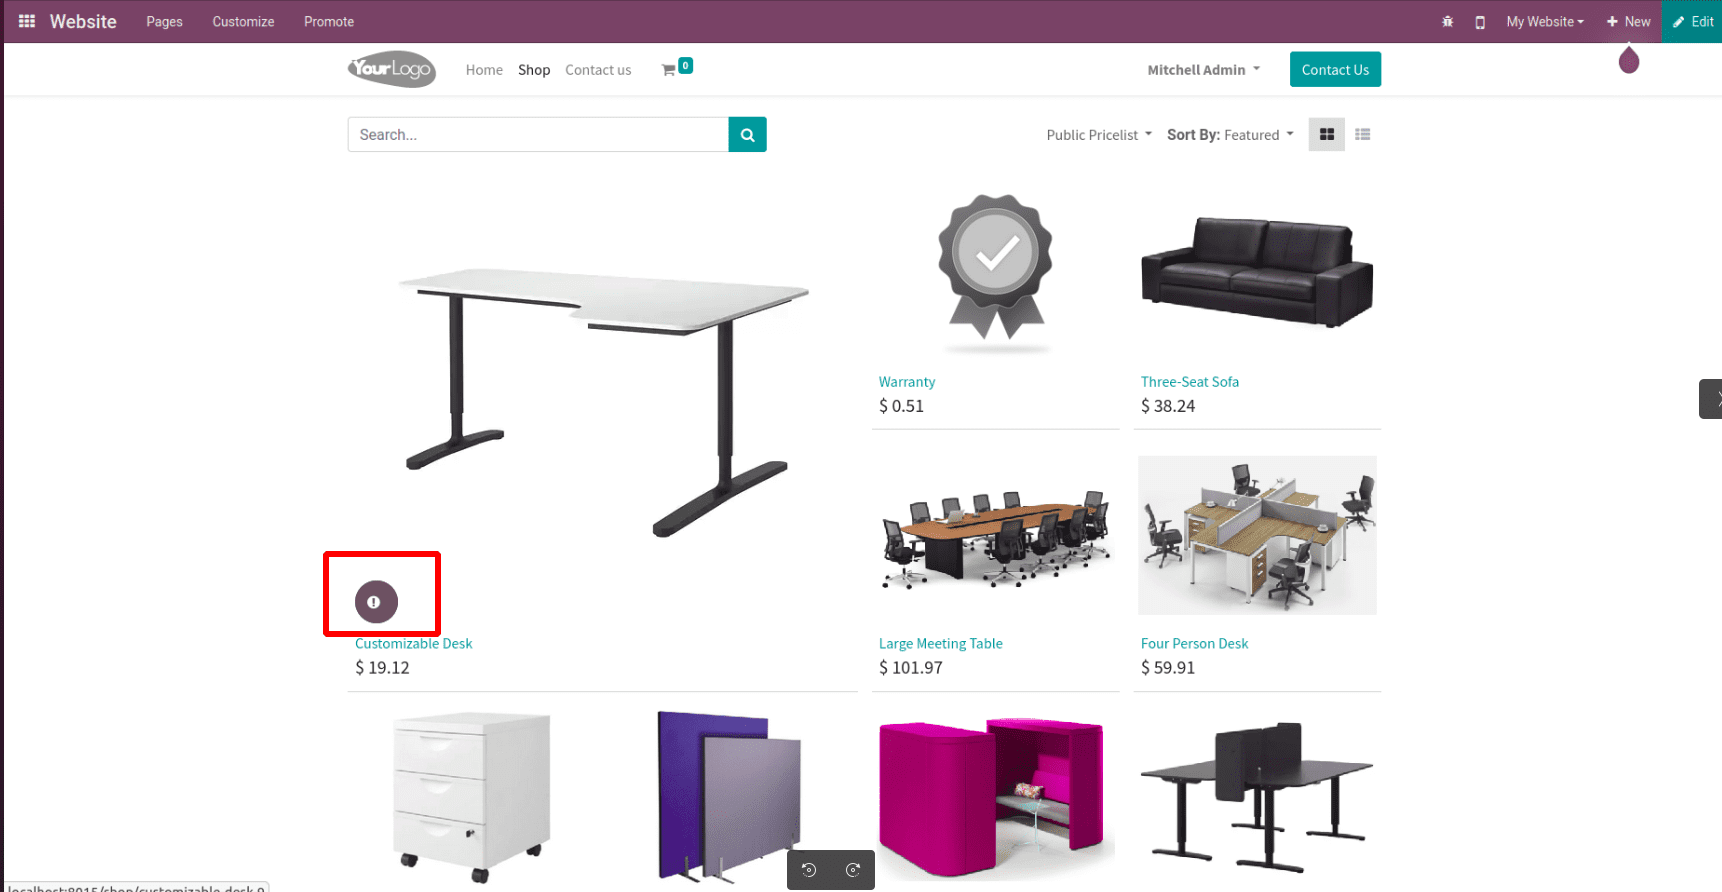
For demonstration purposes, I have added a button in the website product button list as below.
 <template id="product_info_shop" inherit_id="website_sale.products_item" customize_show="True" name="Product Info">
	 <xpath expr="//div[hasclass('o_wsale_product_btn')]" position="inside">
   		 <a title="Product Info" class="btn btn-secondary product-info-a" t-att-data-id="'%s' % product.id">
       			 <span style="color: white;" class="fa fas fa-exclamation-circle mr-2"/>
   		 </a>
    	</xpath>
 </template>
Here I have inherited the website_sale.products_item template and, using required xpaths have placed the custom button into the div element with class name 'o_wsale_product_btn'.
Also have defined the bootstrap model elements in the website view as below,
	<template id="info_button_popup" inherit_id="web.frontend_layout">
    	<xpath expr="//div[@id='wrapwrap']/main" position="before">
        	<t t-call="website_popup.product_info_popup"/>
    	</xpath>
	</template>
	<template id="product_info_popup">
    	<div class="modal fade" id="product_info_model" tabindex='-1'>
        	<div class="modal-dialog modal-lg modal-dialog-centered">
            	<div class="modal-content">
                    	<div class="modal-body"/>
            	</div>
        	</div>
    	</div>
	</template>
Using jsonRpc call to the required web controller, below is the sample js code for defining the hover event, js selector, and making the ajax call,
	odoo.define('website_popup.product_info', function(require) {
	'use strict';
	var sAnimations = require('website.content.snippets.animation');
	var publicWidget = require('web.public.widget');
	var ajax = require('web.ajax');
	var WebsiteSale = publicWidget.registry.WebsiteSale;
	var core = require('web.core');
	var QWeb = core.qweb;
	var Dialog = require('web.Dialog');
	var _t = core._t;
	publicWidget.registry.ProductInfo = publicWidget.Widget.extend({
    	selector: "#wrapwrap",
    	events: {
        	'mouseover .product-info-a': 'initProductInfo',
    	},
    	initProductInfo: function(ev) {
        	ev.preventDefault()
        	self = this;
        	var element = ev.currentTarget;
        	var product_id = $(element).attr('data-id');
        	ajax.jsonRpc('/product_info', 'call',{'product_id':product_id}).then(function(data) {
                	$("#product_info_model .modal-body").html(data);
                	$("#product_info_model").modal({keyboard: true});
        	});
        	},
    	});
});
Now we can see the python web controller method from where the data is rendered to the template,
import logging
from odoo.http import request
from odoo import http
_logger = logging.getLogger(__name__)
class ProductInfo(http.Controller):
	def template_render(self, template, **kw):
    	module = 'website_popup'
    	response = http.Response(template=f"{module}.{template}", qcontext=kw)
    	return response
	@http.route(['/product_info'], type='json', auth="public", website=True)
	def get_roduct_info(self, product_id=None):
    	if product_id:
        	product = request.env['product.template'].search([('id', '=', product_id)])
        	response = self.template_render('product_info_template', **{'product': product})
        	return response.render()
Above is an illustration of the Odoo website mouseover popup and its sample code for frontend view, python controller, and js function. Hope it’s clear, and if so, give it a try.