The eLearning module in Odoo 18 provides a user-friendly approach for developing, managing, and delivering online courses for business training, education, or skill development. Odoo provides an adaptable and user-friendly platform, regardless of whether you’re creating a basic learning path or a sophisticated program with certifications and tests. This blog explains how to set up an eLearning course, including how to make the course, organize its content, design quizzes, and track student progress.
Firstly, select the eLearning app from the Odoo 18 dashboard.
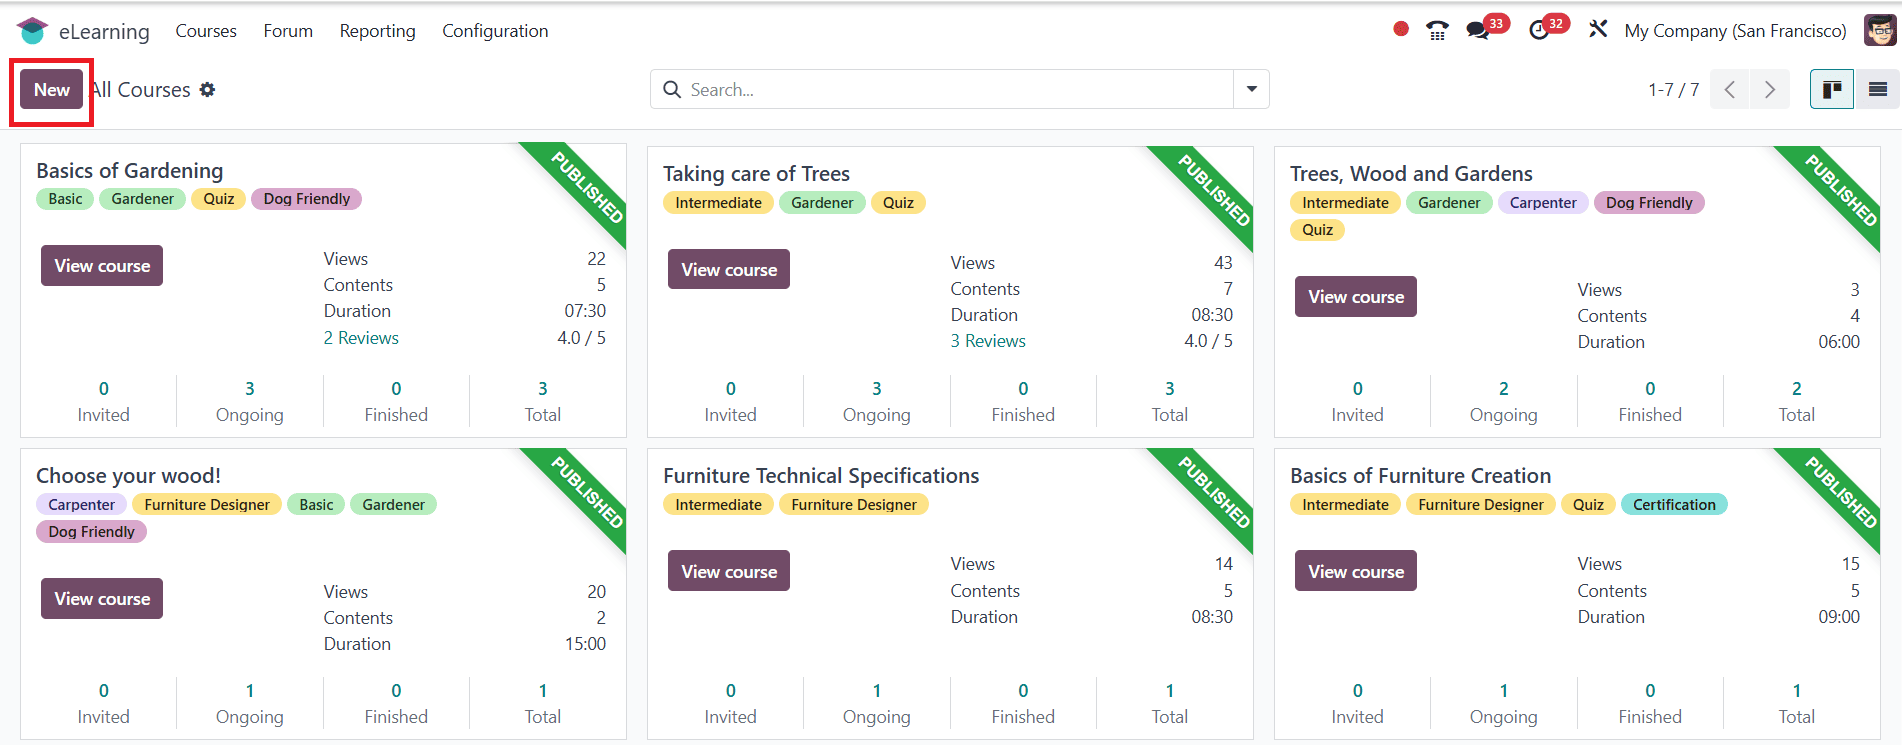
To create a new course, click on the New button as shown below:
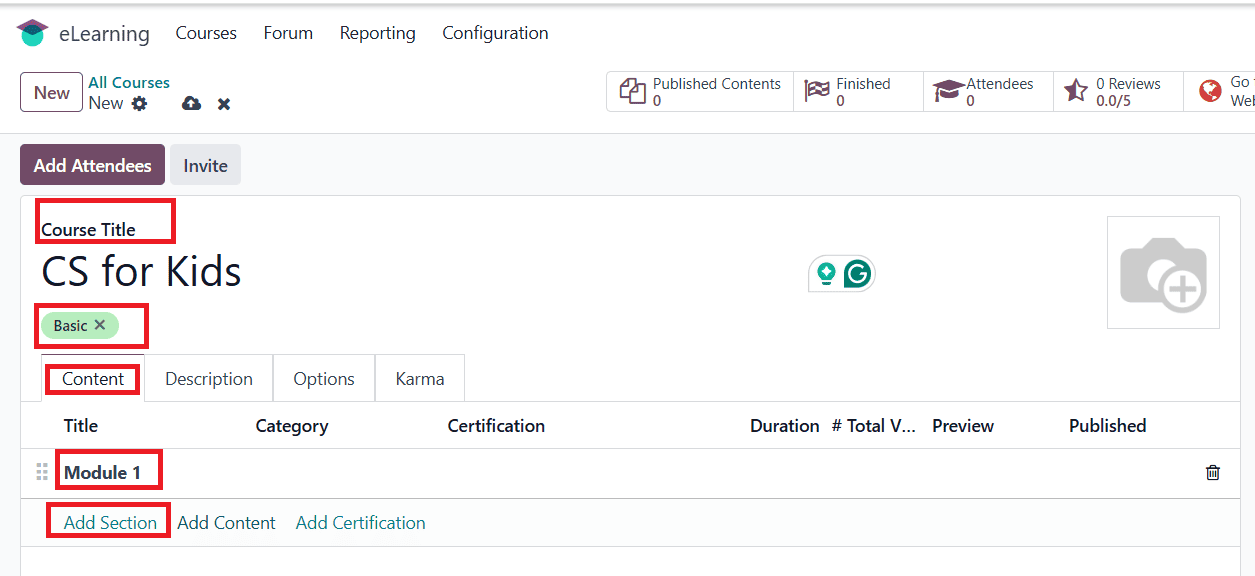
Here, you can add a Course Title for your course and include tags for easy identification. Under the Content tab, click on Add Section and add a name for your section as shown below:
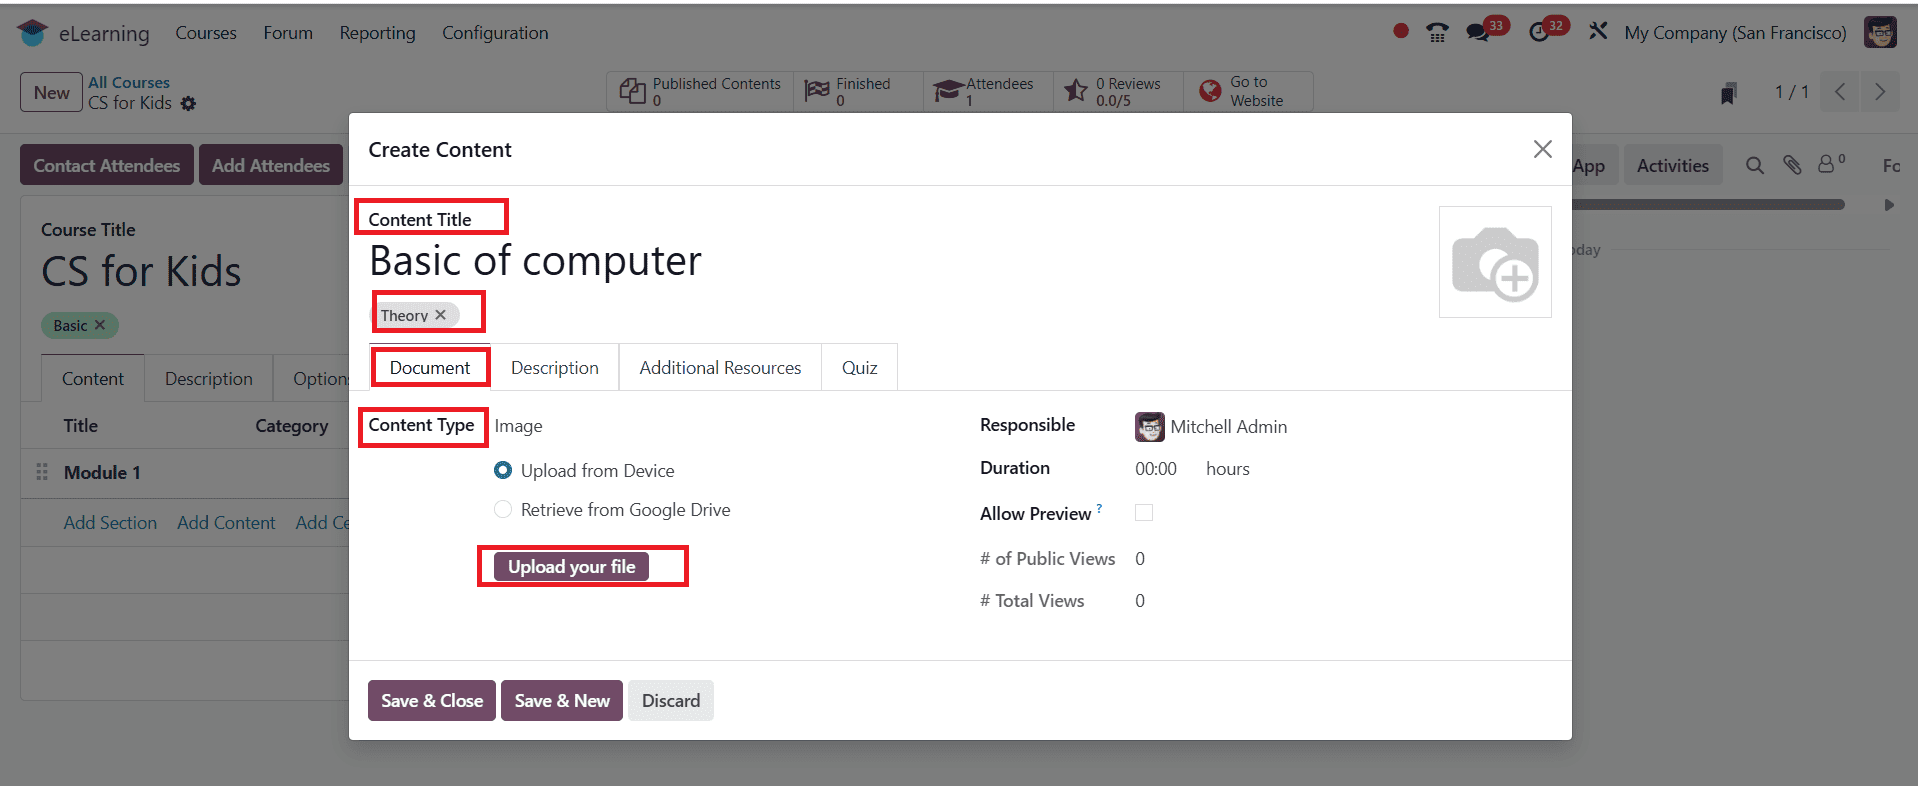
Click on the Add Content button, and a new pop-up screen will appear as shown below. Here, you can add a Content Title and Tags. Under the Document tab, you can add Content Type as Image, Article, Document, Video, or Quizz and upload the file. You can also set the Responsible and Duration. If you enable Allow Preview, it will be accessible to anyone and doesn’t require joining the channel to access the course content.
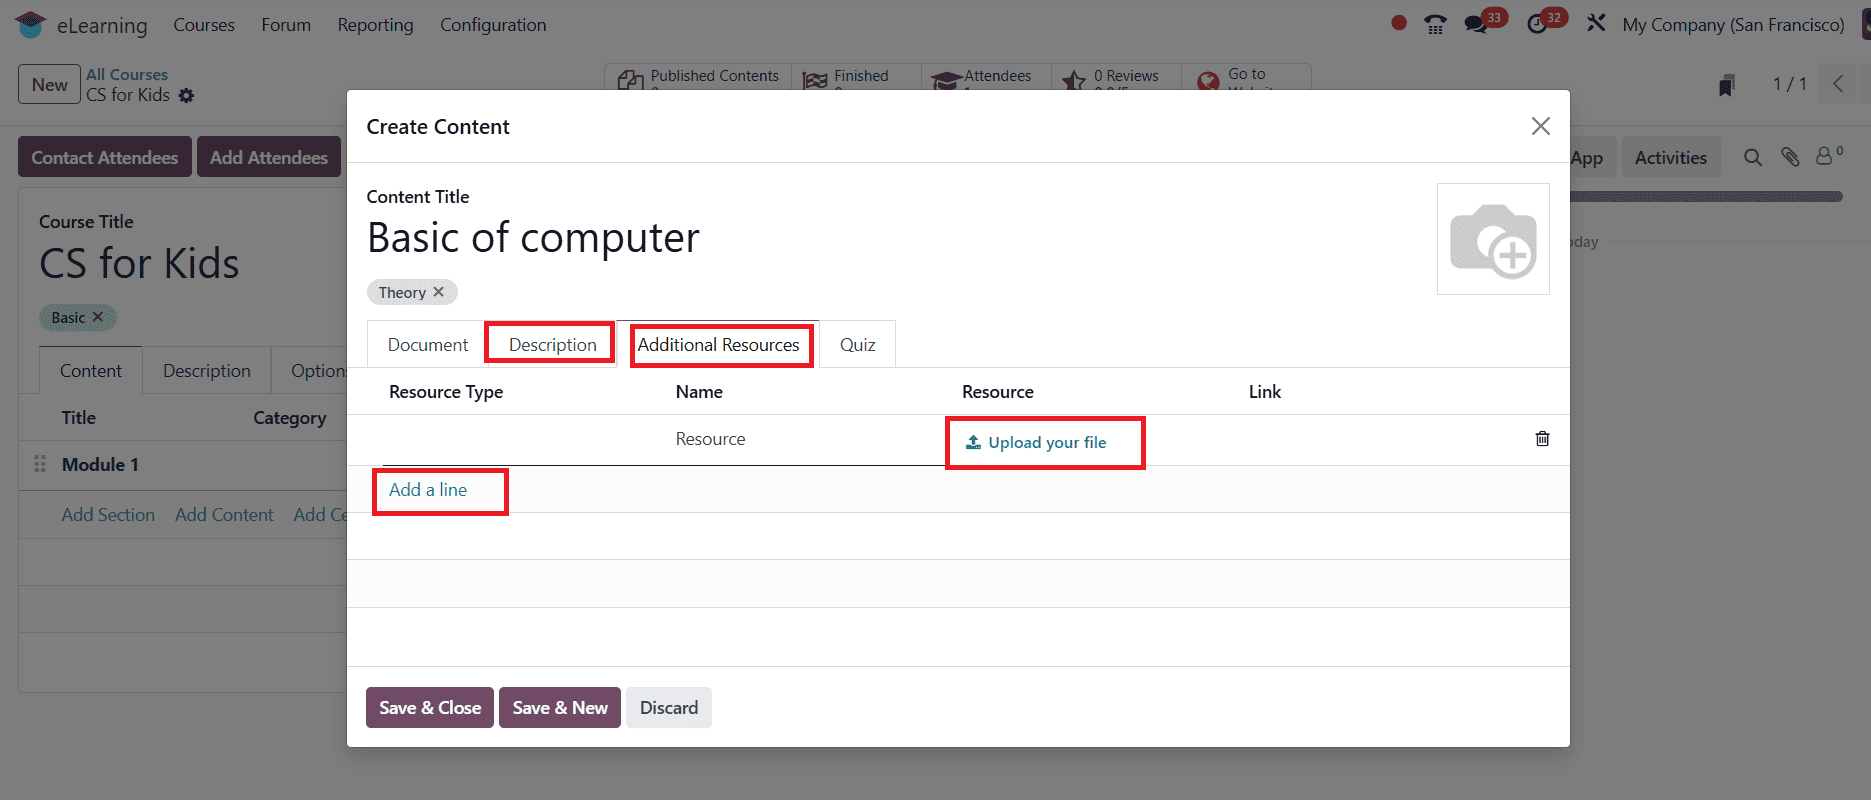
Under the Description tab, you can add a description about the content. Under Additional Resources, you can add a link or file and attach it to your content as shown below:
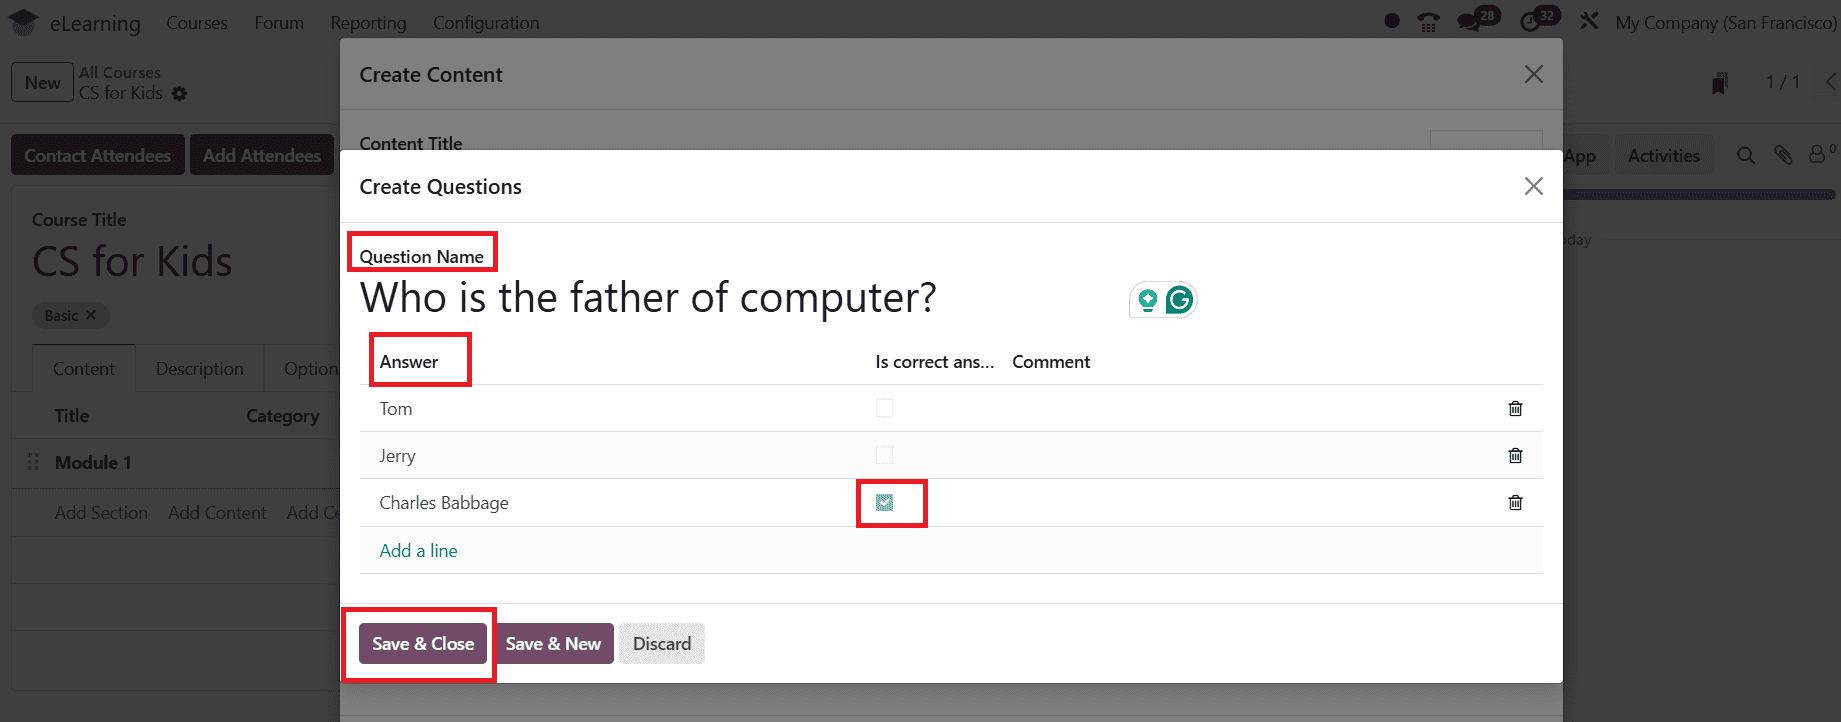
Under the Quiz tab, you can see the Points Rewards, and under the Questions option, click on the Add a line as shown below:

Here, you can add a question under Question Name. Add optional answers and mark the correct answer. You can also add more than one question. Then, click on the Save & Close button as shown below:
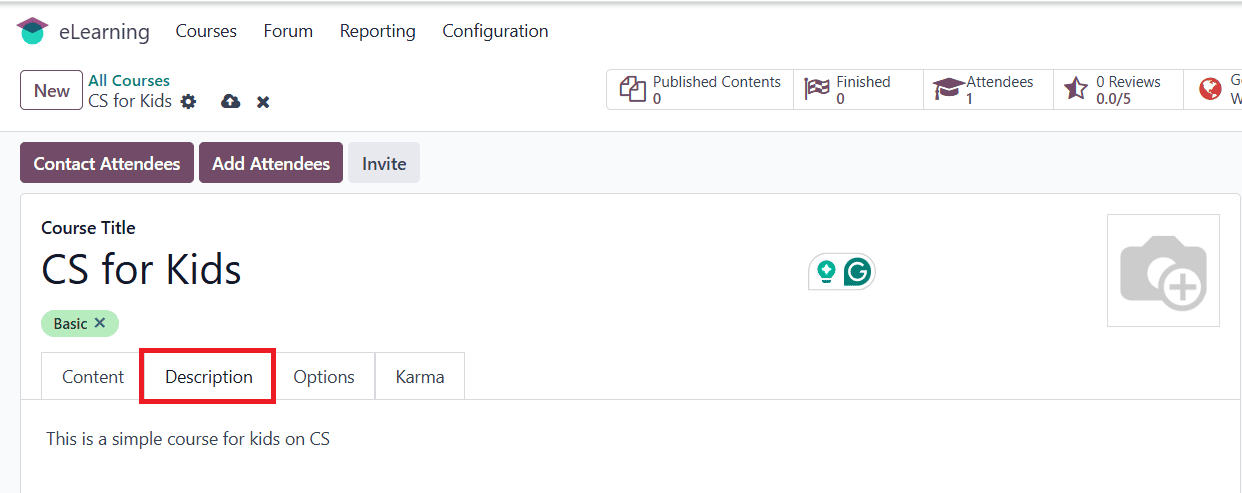
Under the Description tab, you can add details about the course as shown below:
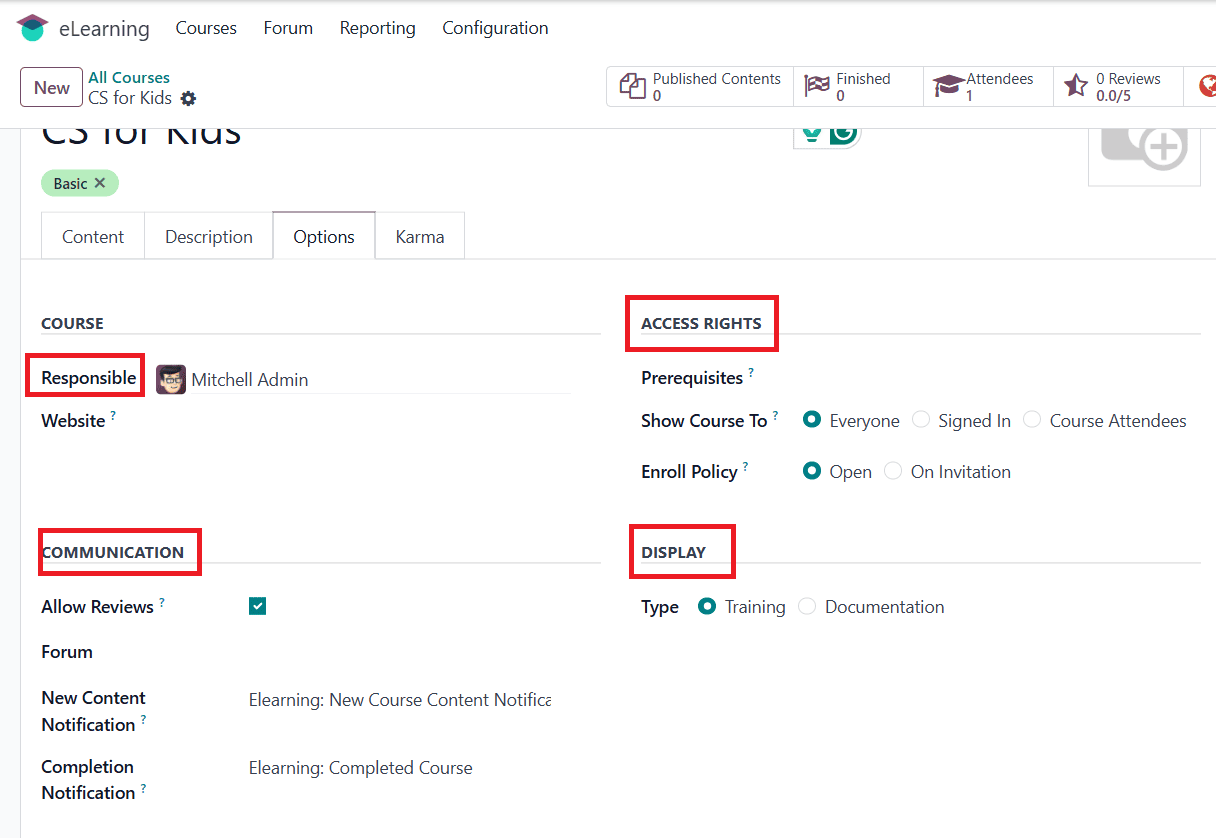
Under the Option tab, you can add the Responsible and Website under the Course option. In the Access Rights option, you can give access rights to the course by adding Prerequisites, Show Course To, and Enroll Policy. In the Display option, you can add the Type of course as Training or Documentation. In the Communication option, enable Allow Reviews to allow reviews on your course. You can also set a notification template once you start a new content and complete it.
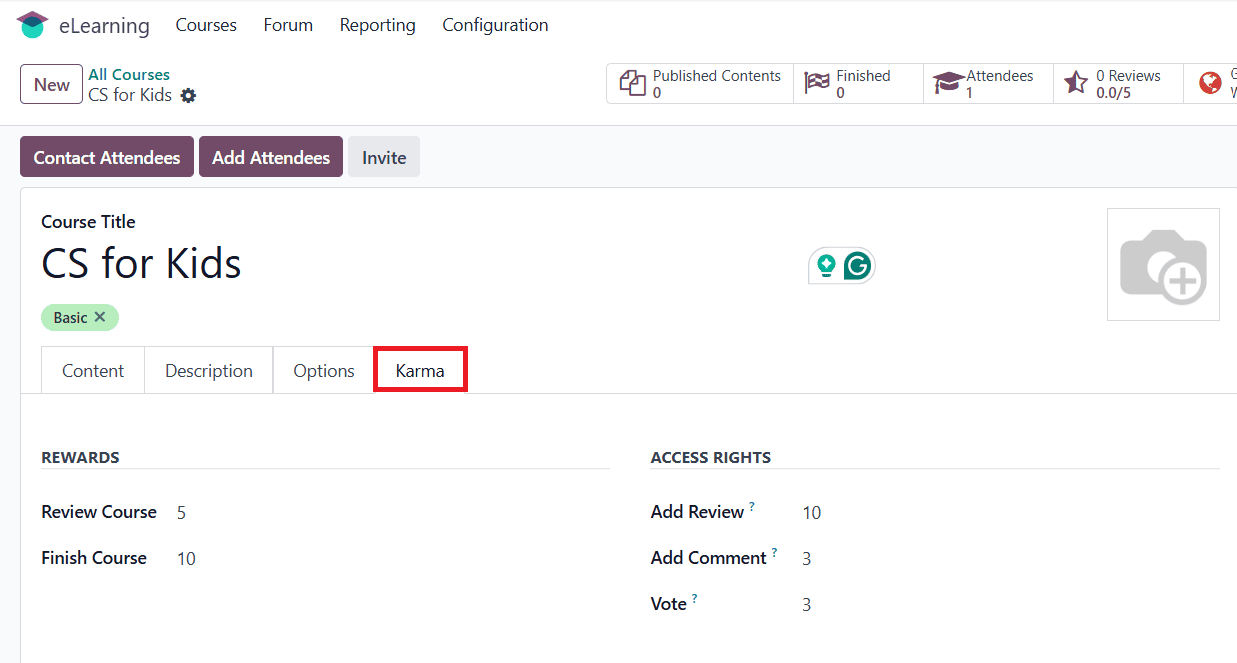
Under the Karma tab, you can view the karma points of Review Course and Finish Course in the Reward section. In the Access Rights section, you can view the karma points of Add Review, Add Comment, and Vote, and then save them.
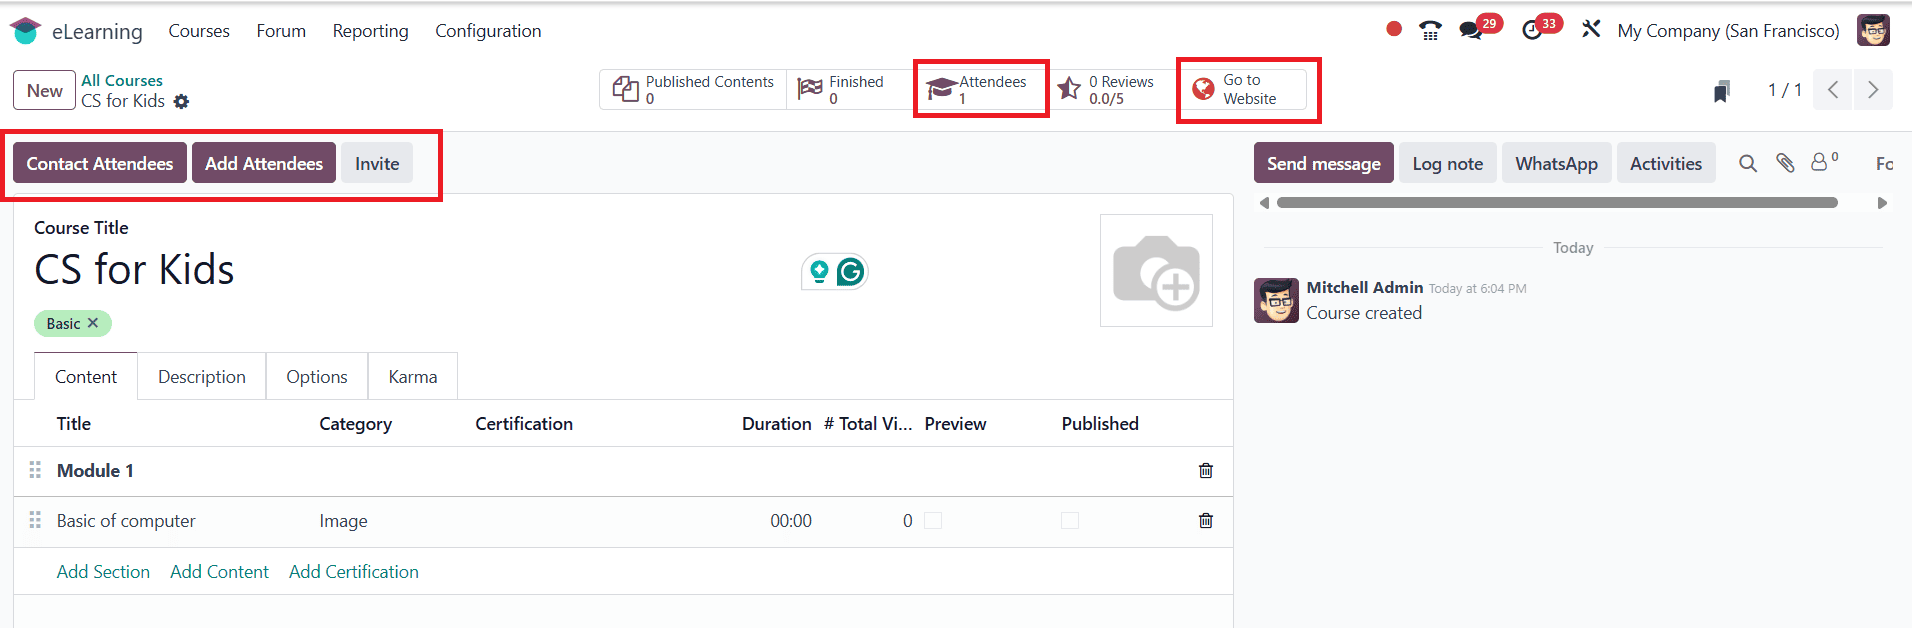
Now, you can Contact Attendees, Add Attendees, or Invite Attendees. You can already see one attendee over here. Then click on Go to Website as shown below:
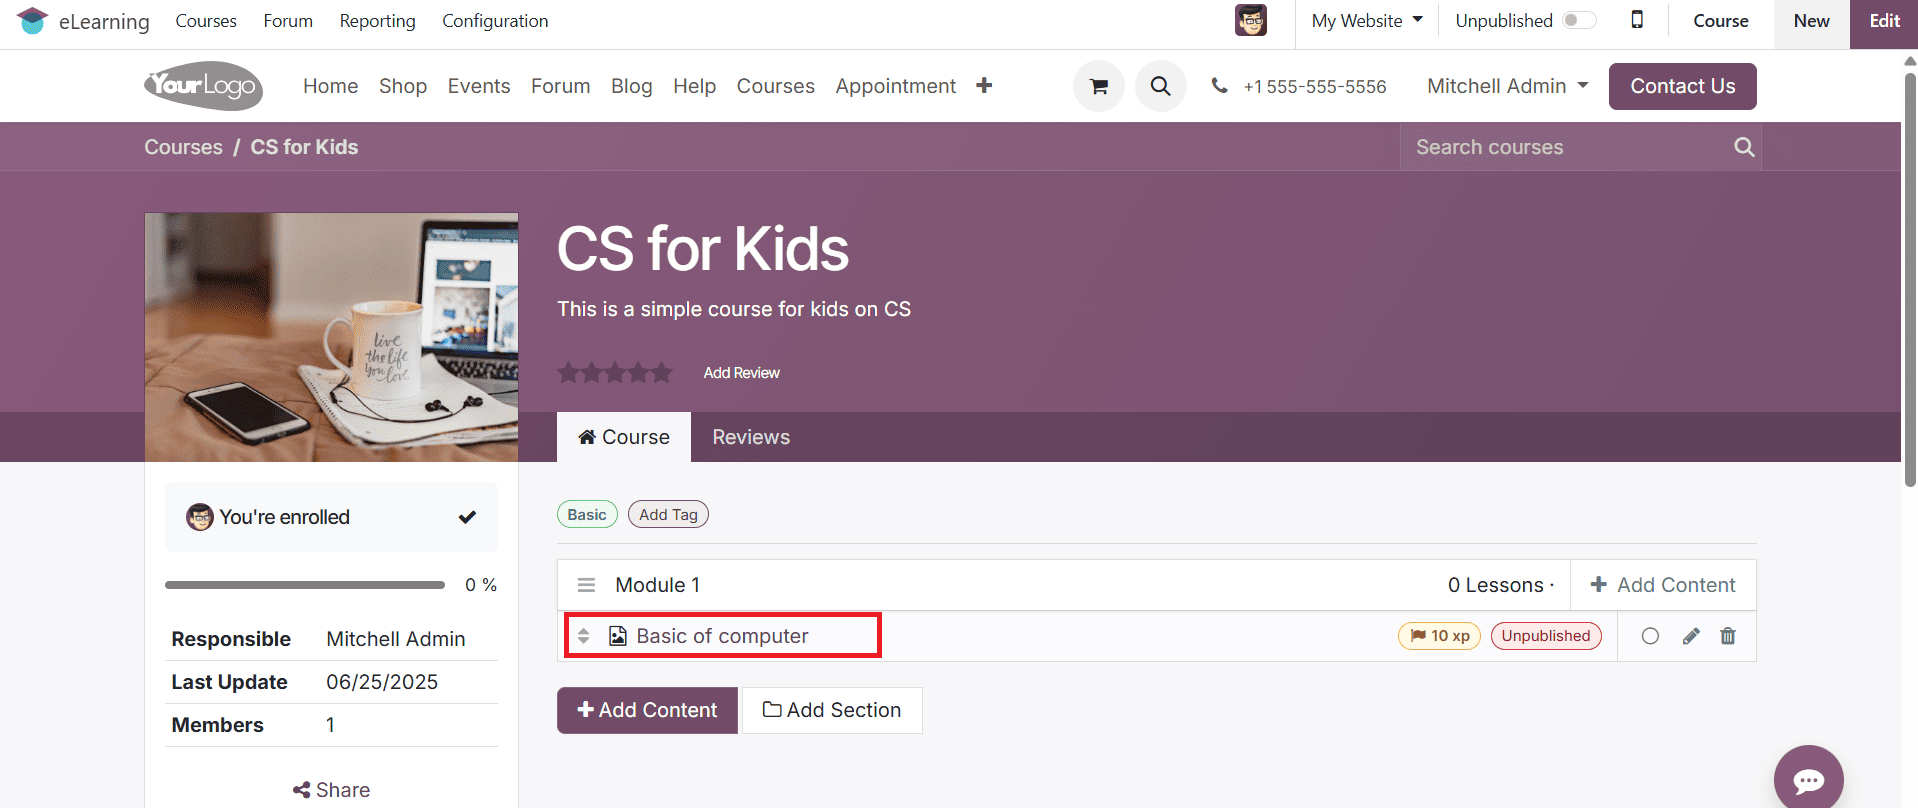
Here, you can see the Course Title, Description, and the option to Add Review. You can also view the course details, which can be edited in the backend or even deleted. Then select the created section as shown below:
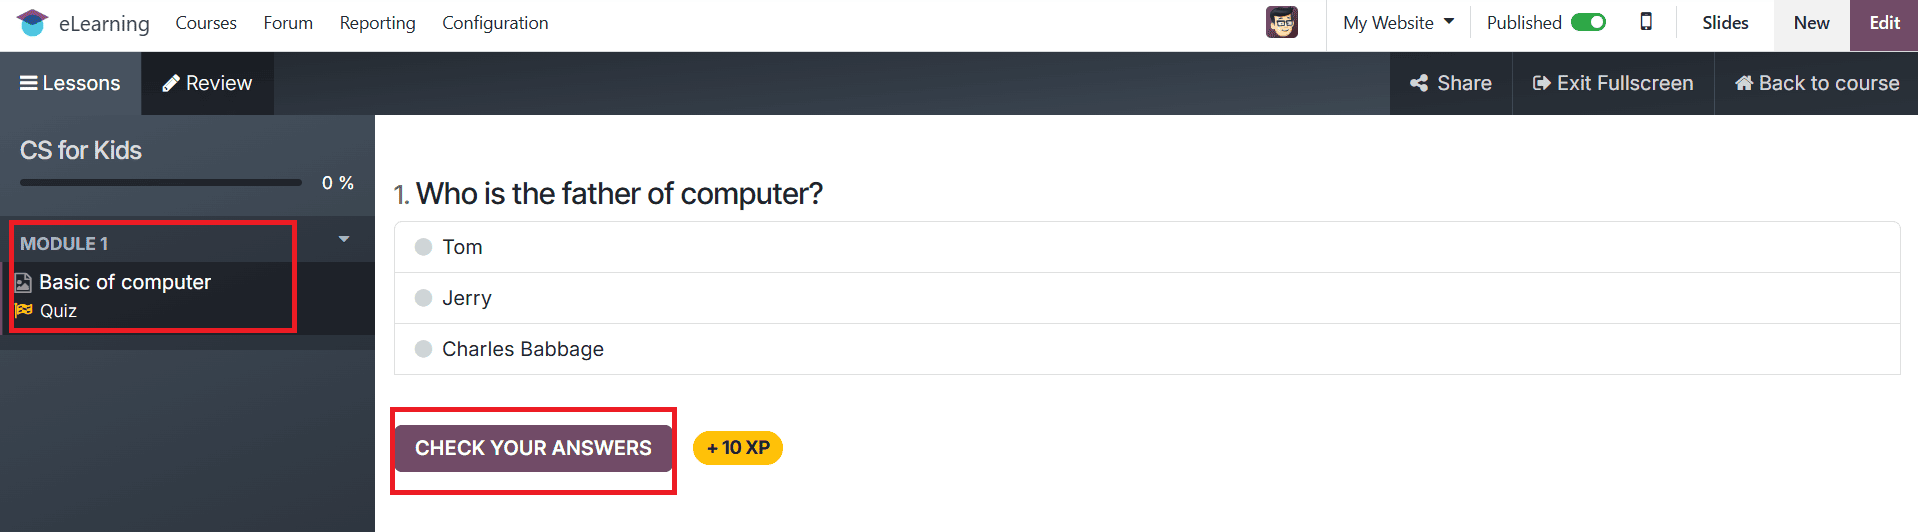
Here, the left side of the screen shows the details of the created section. You can see the created quiz on the screen. Select the answer for the quiz and click on the Check Your Answer as shown below:
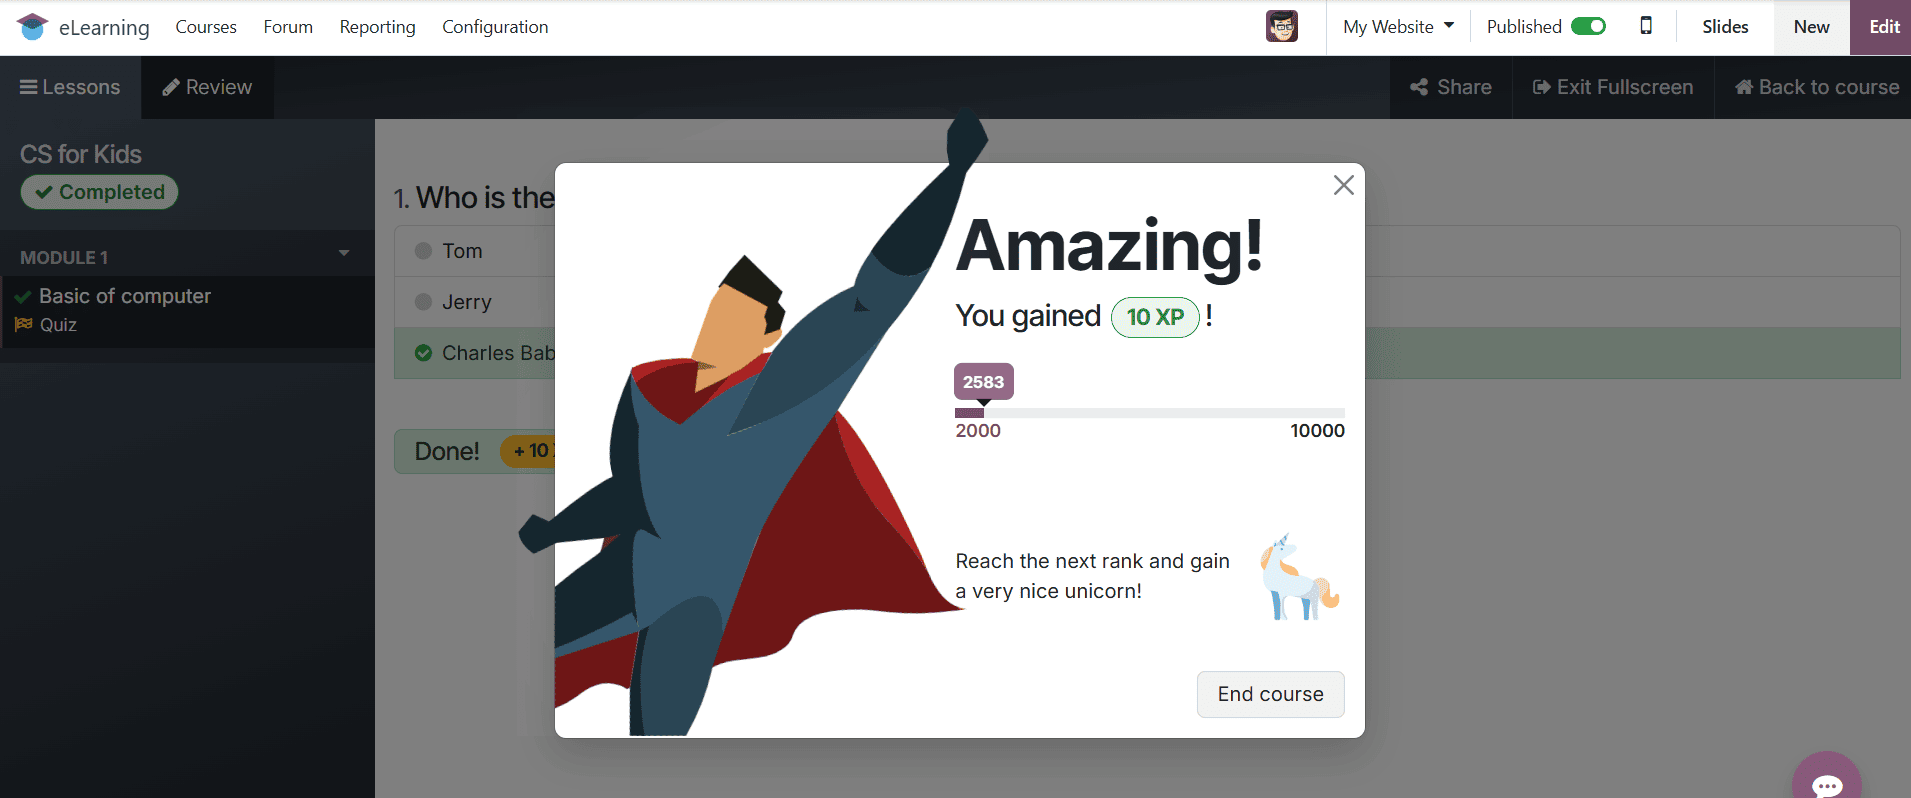
A pop-up screen appears where you can see the gained karma points when your answer is correct.
Then go back to the Course, where you can see the course as completed. Then click on the Add Review button.
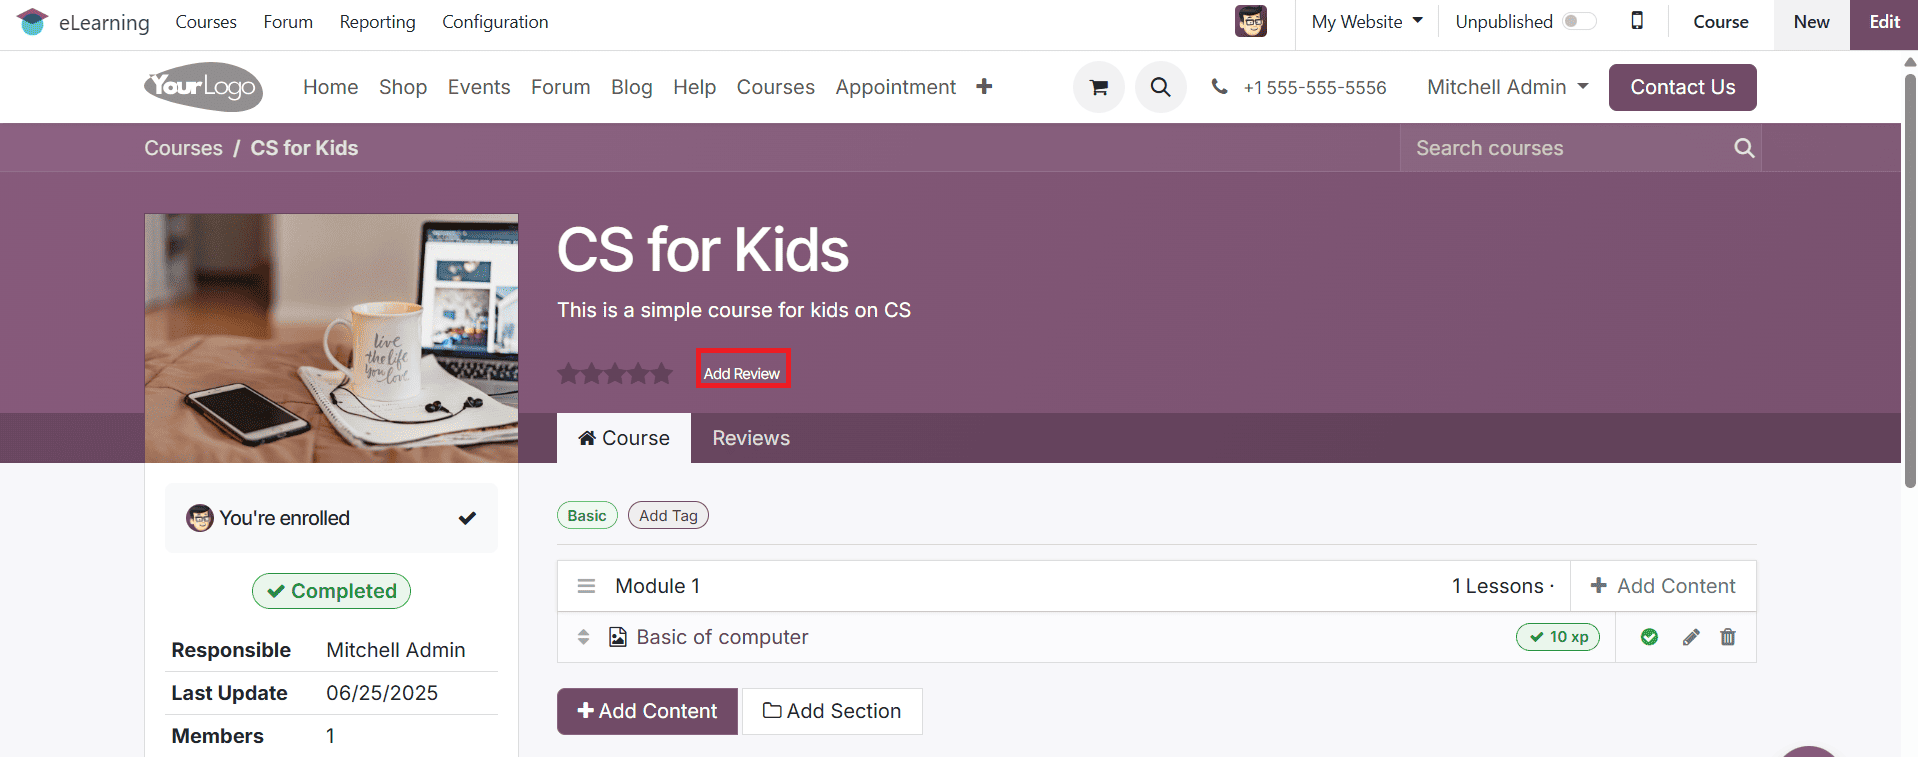
A pop-up screen appeared where you can add your reviews and click on the Post review button, as shown below. You can only add a review when you gain karma points.

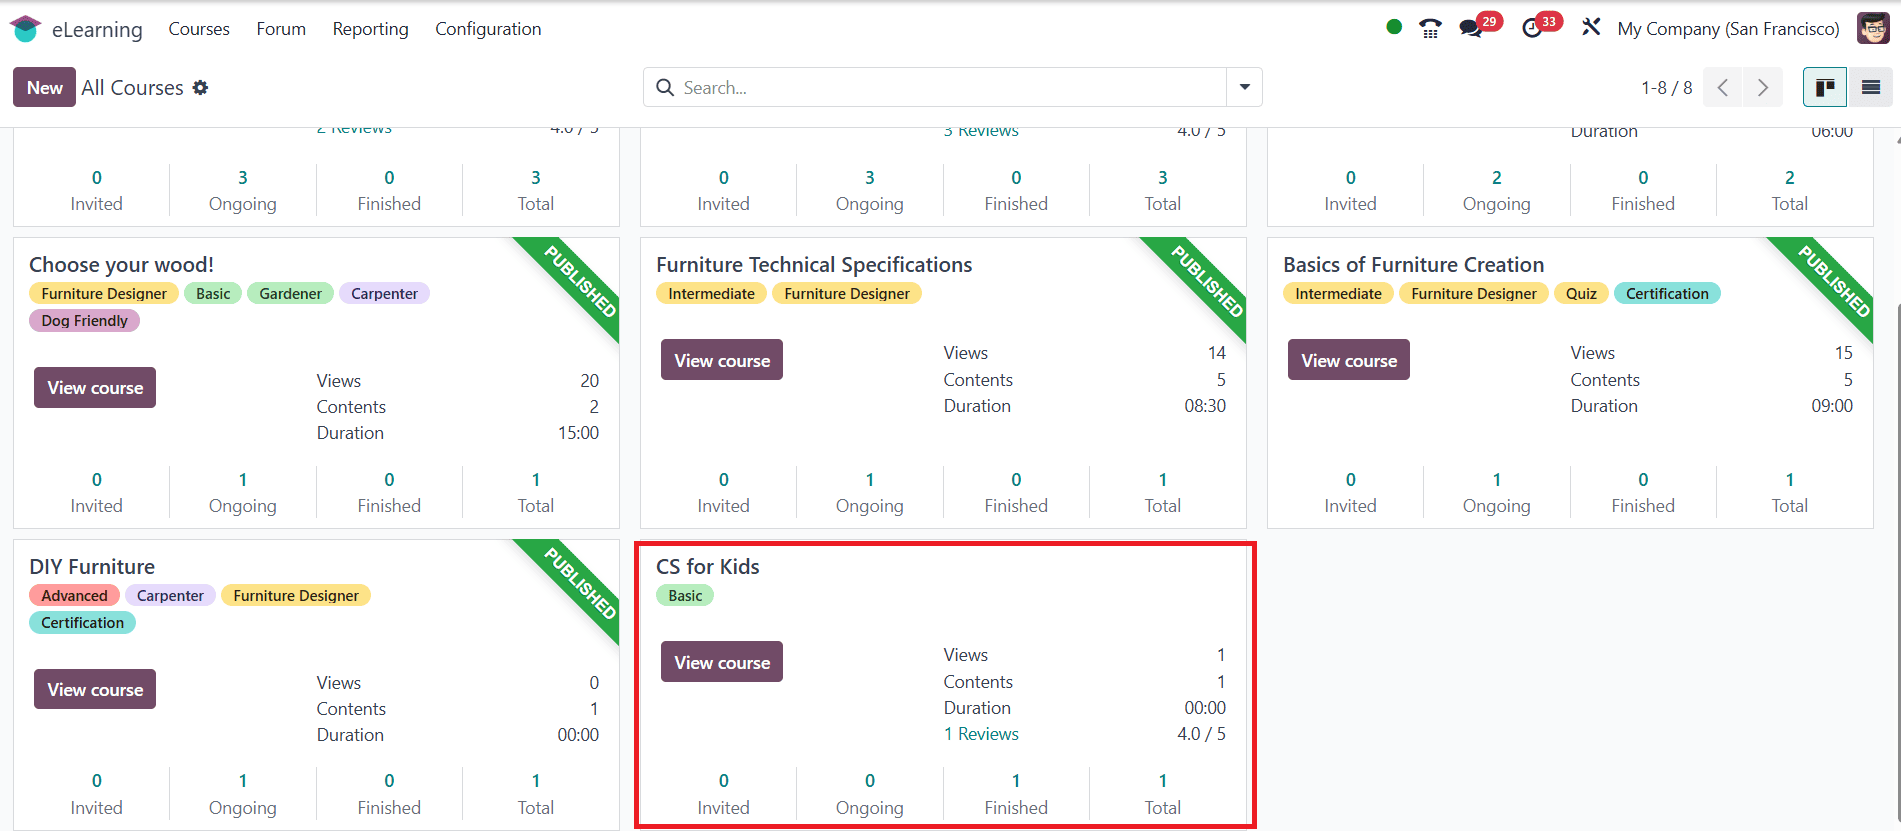
In the eLearning dashboard, you can view the newly created course.
Conclusion:
Thus, you can create an engaging and organized online course using Odoo 18’s robust eLearning module. Odoo provides educators and companies with the resources they need to develop effective and scalable training programs, from adding engaging content to tracking student progress. You can make your e-learning solution that is suited to the requirements of your audience by following the instructions in this blog.
To read more about How to Configure e-Learning Course in Odoo 17, refer to our blog How to Configure e-Learning Course in Odoo 17.