In many organizations, sales and support processes are closely connected, yet they often operate in separate systems. Leads that begin as sales opportunities can quickly turn into support requests once customers start asking technical or service-related questions. Odoo 19 addresses this gap by allowing seamless integration between the CRM and Helpdesk modules.
This blog explores how leads in Odoo 19 CRM can be efficiently converted into support tickets, ensuring a smooth handover from sales to support teams. By streamlining this transition, businesses can improve response times, maintain better customer context, and deliver a more consistent customer experience from the first contact through post-sale support.
Generating a Lead in CRM
In order to create a ticket in CRM, the first step we need to take is to create a lead in CRM. For this, navigate to the Odoo CRM module and select the ‘Leads’ menu.
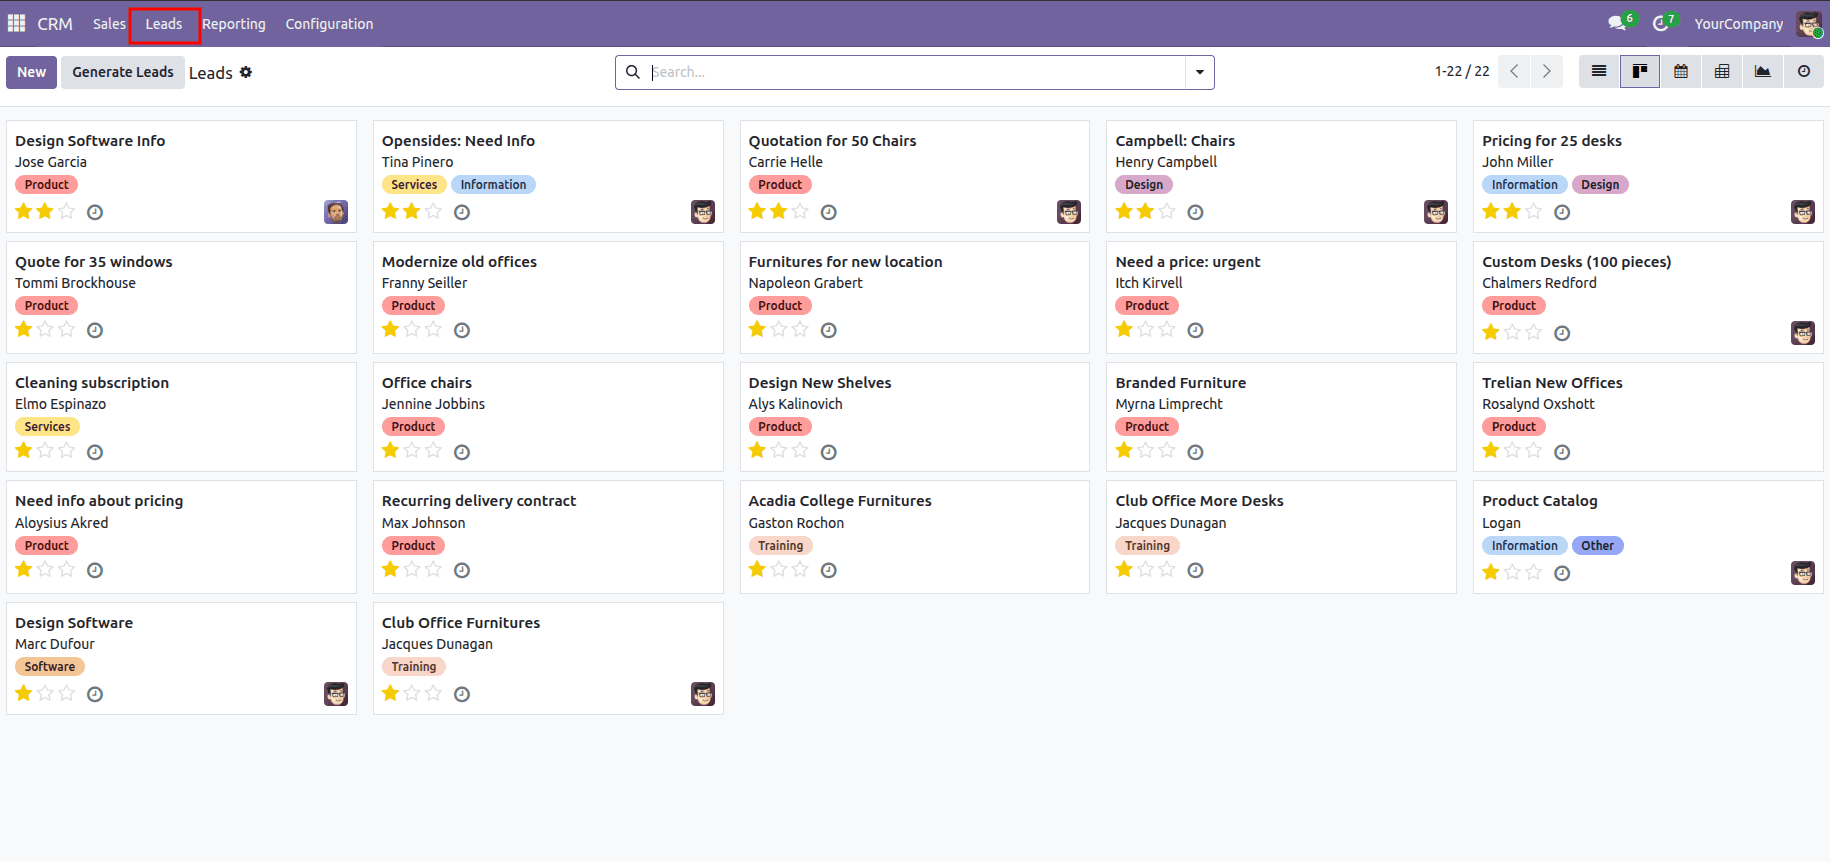
The window shows the kanban view of leads, which displays individual lead details. Here, you can access vital information about the lead, such as the lead's name, contact details, tags, and priority, all conveniently displayed for you to review.
To start with, click the ‘New’ button in the leads, which will open a new window. Within this window, you can provide the lead name, for instance, 'Branded Furniture,' and specify the probability as shown in the accompanying screenshot below.
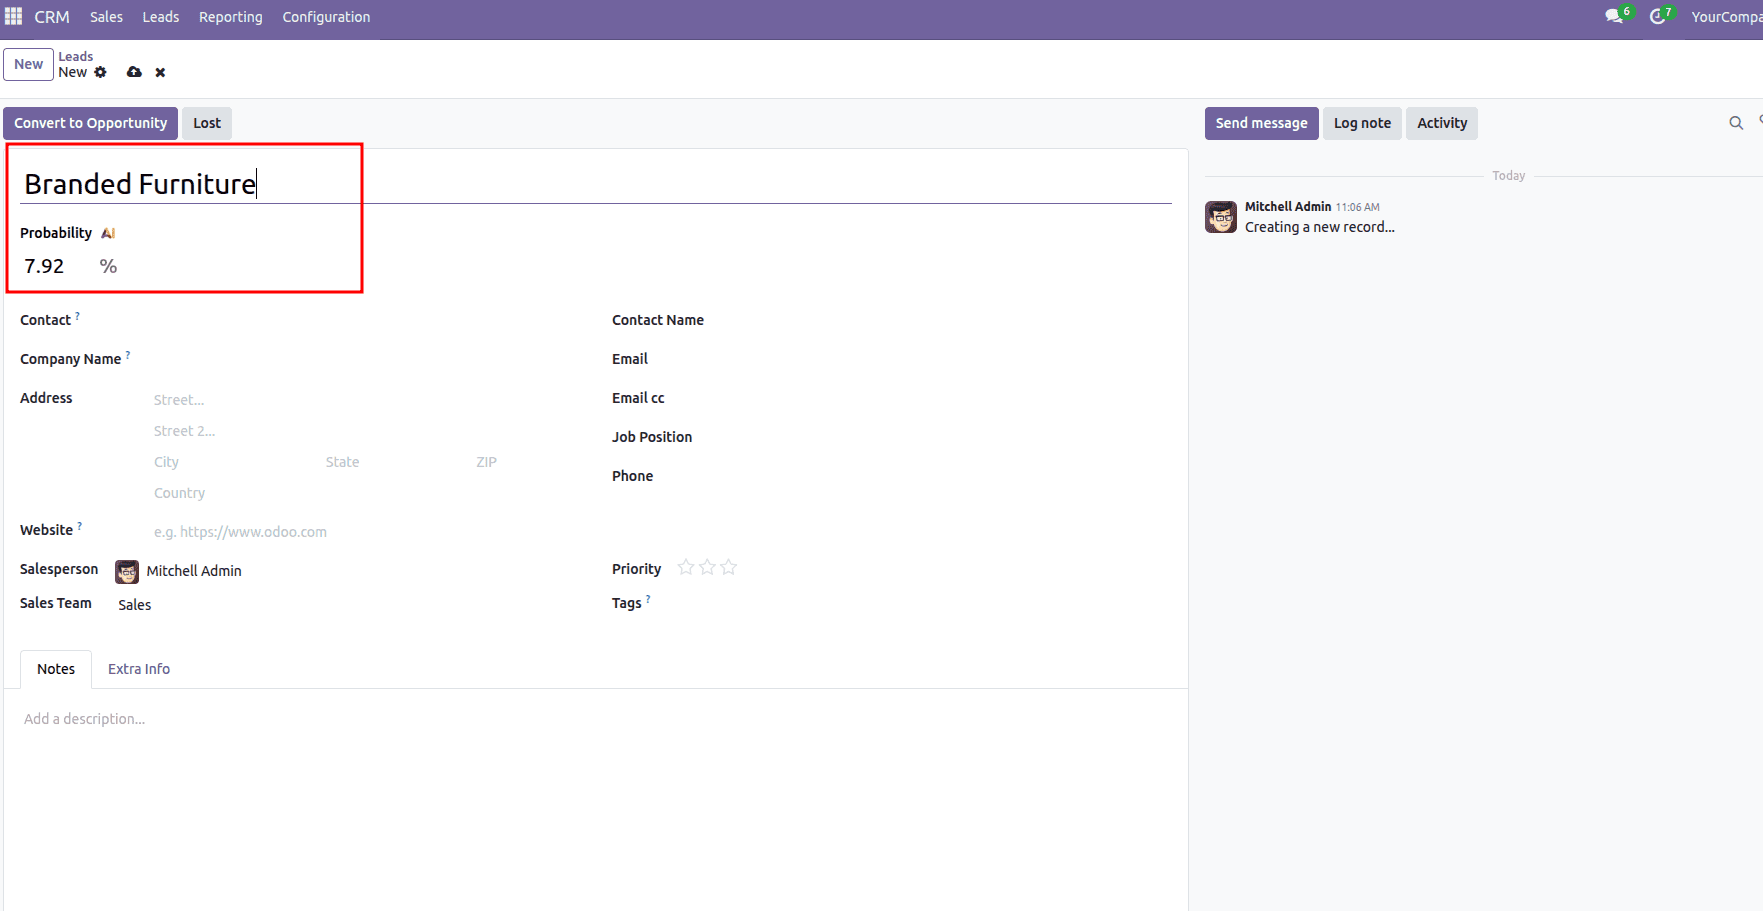
Then you can select the appropriate customer in the ‘Contact’ field. Once a customer is added, all the things such as company name, address, email etc will be filled accordingly.
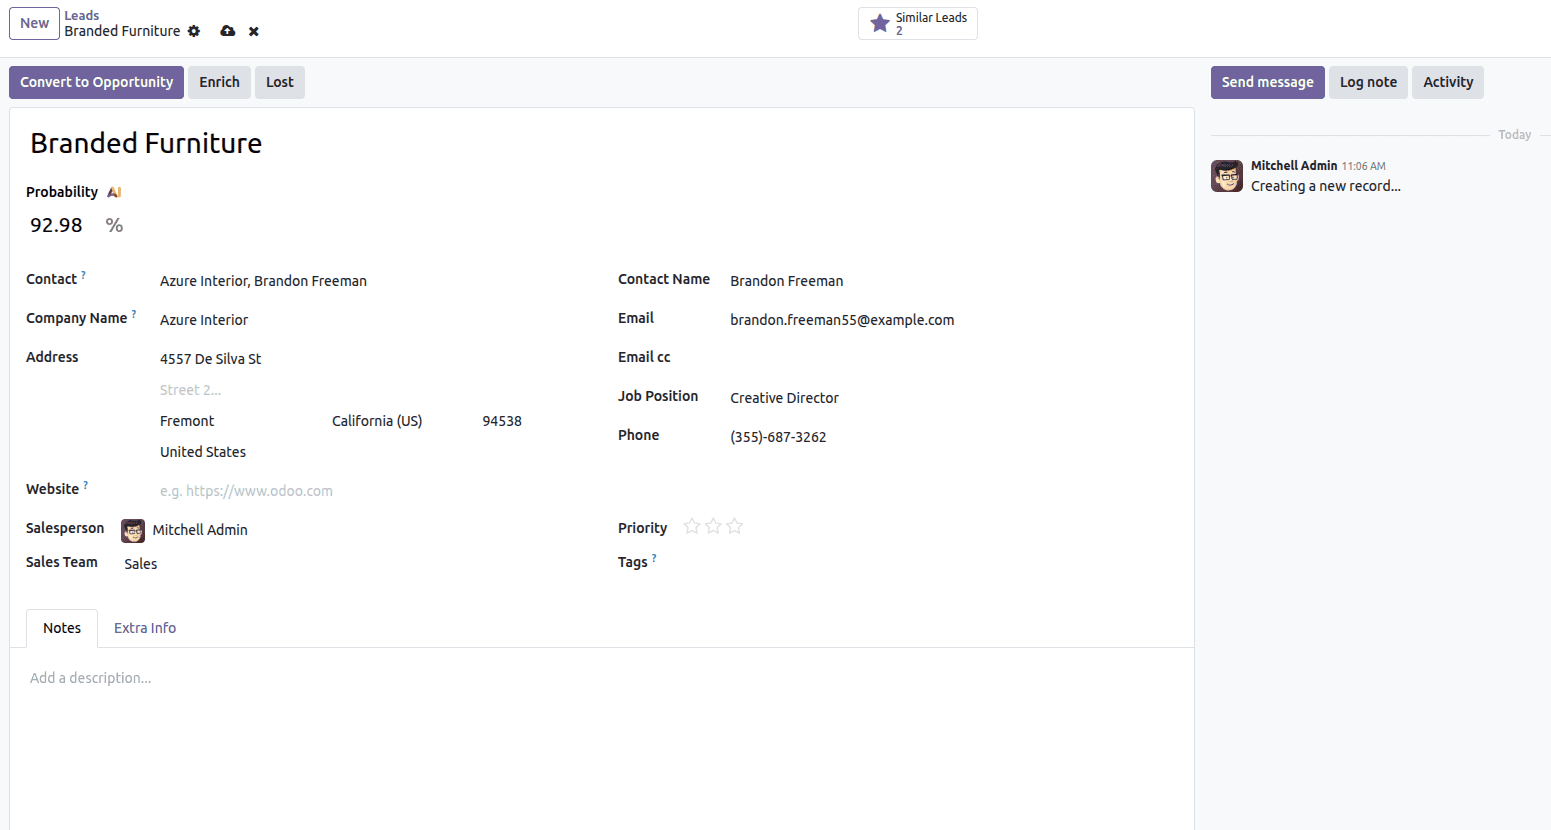
Once you save the record, you can see the similar leads to the one we created in the smart button, as shown in the screenshot below.
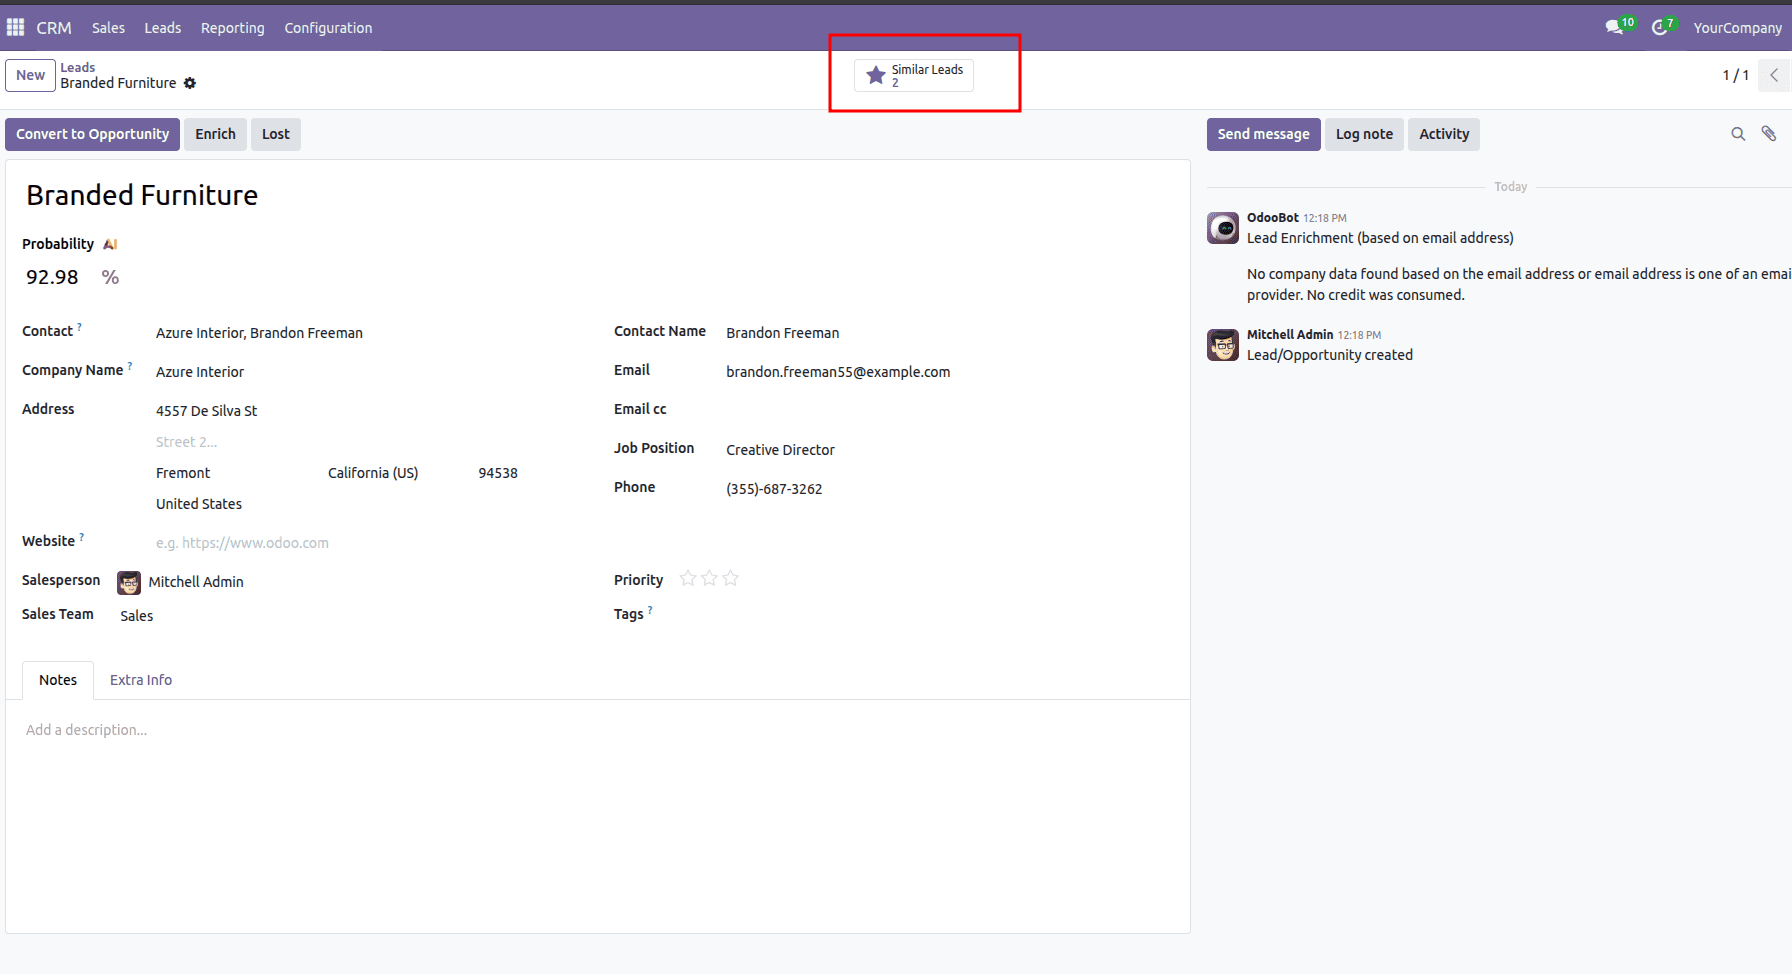
Now you have created a lead in CRM.
Transform a Lead into a Ticket
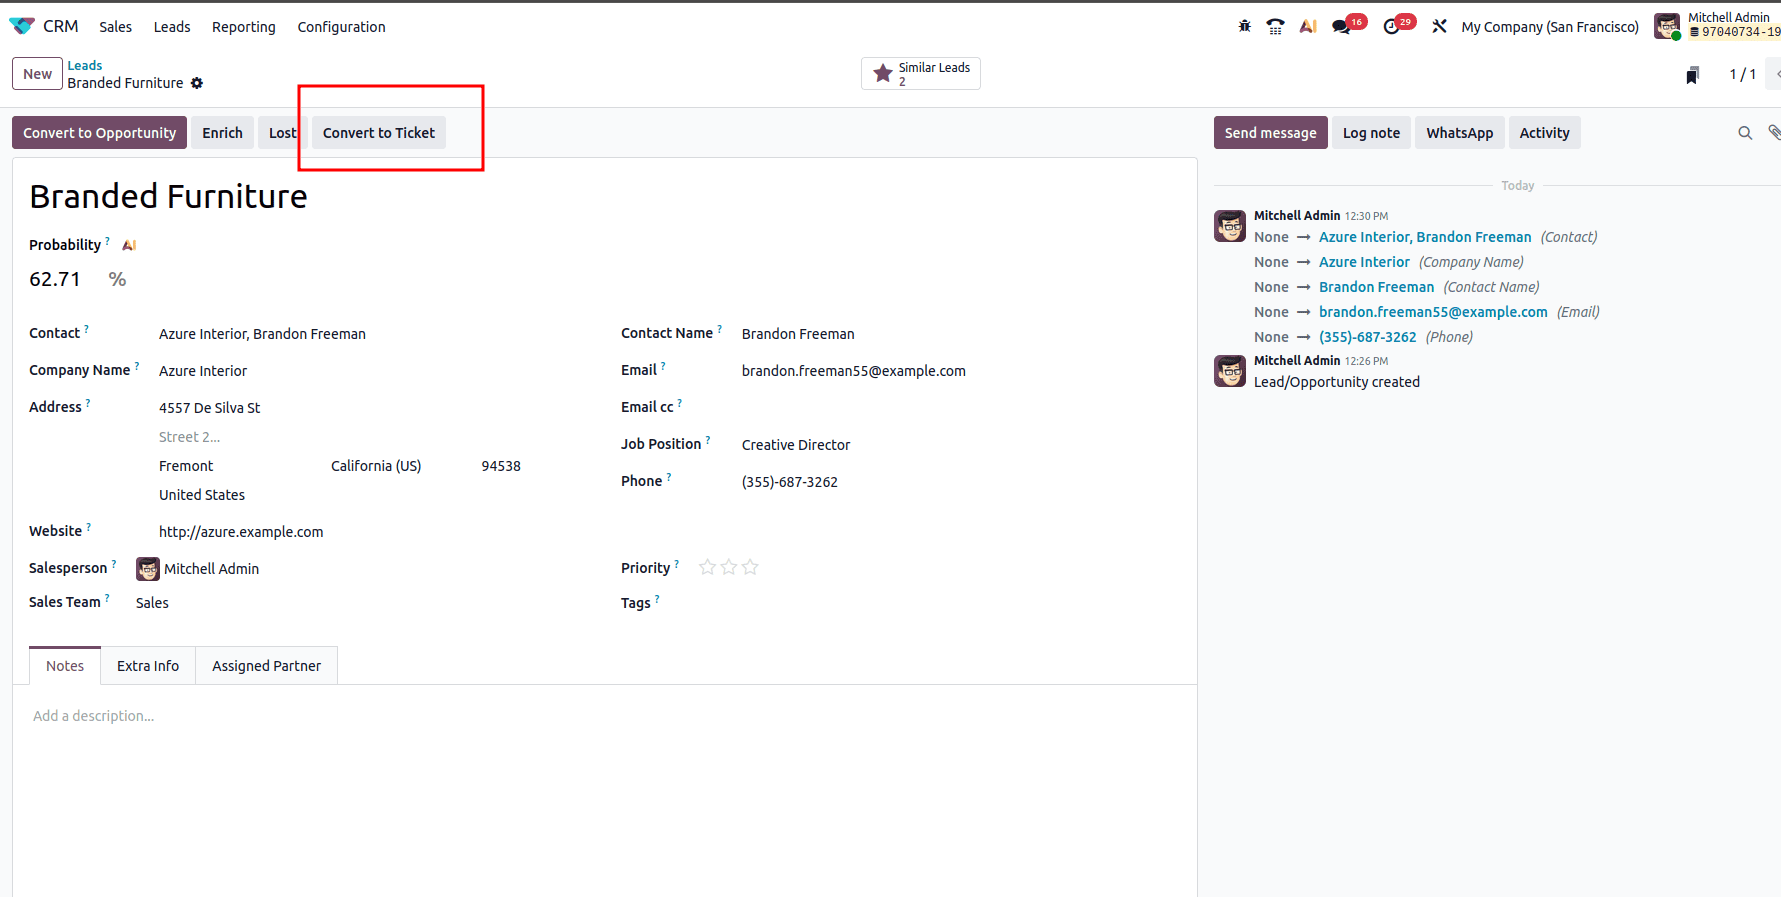
Now, to convert a lead into a ticket, navigate to the leads and select the leads you previously created. Open that lead where you can see a button named ‘Convert to Ticket’ as in the below screenshot.
When you click on the Convert to Ticket button, a new window will open where you will be able to choose the team as well as the customer.
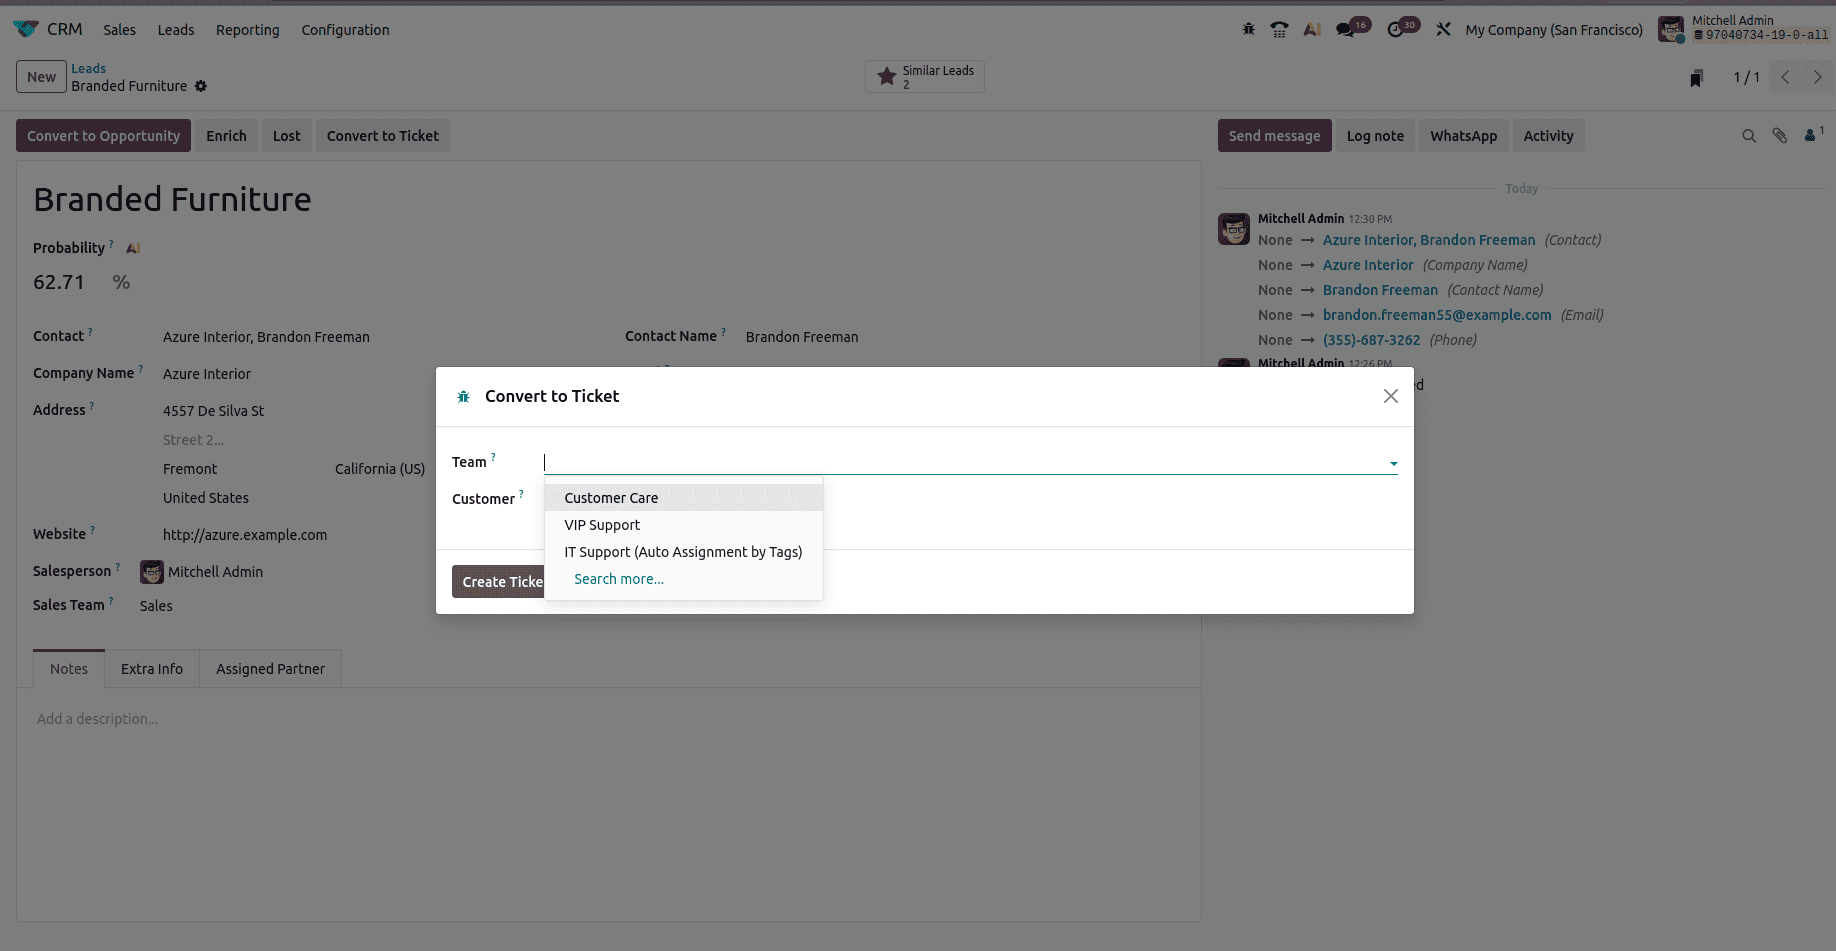
After this, click on the ‘Create Ticket’ button.
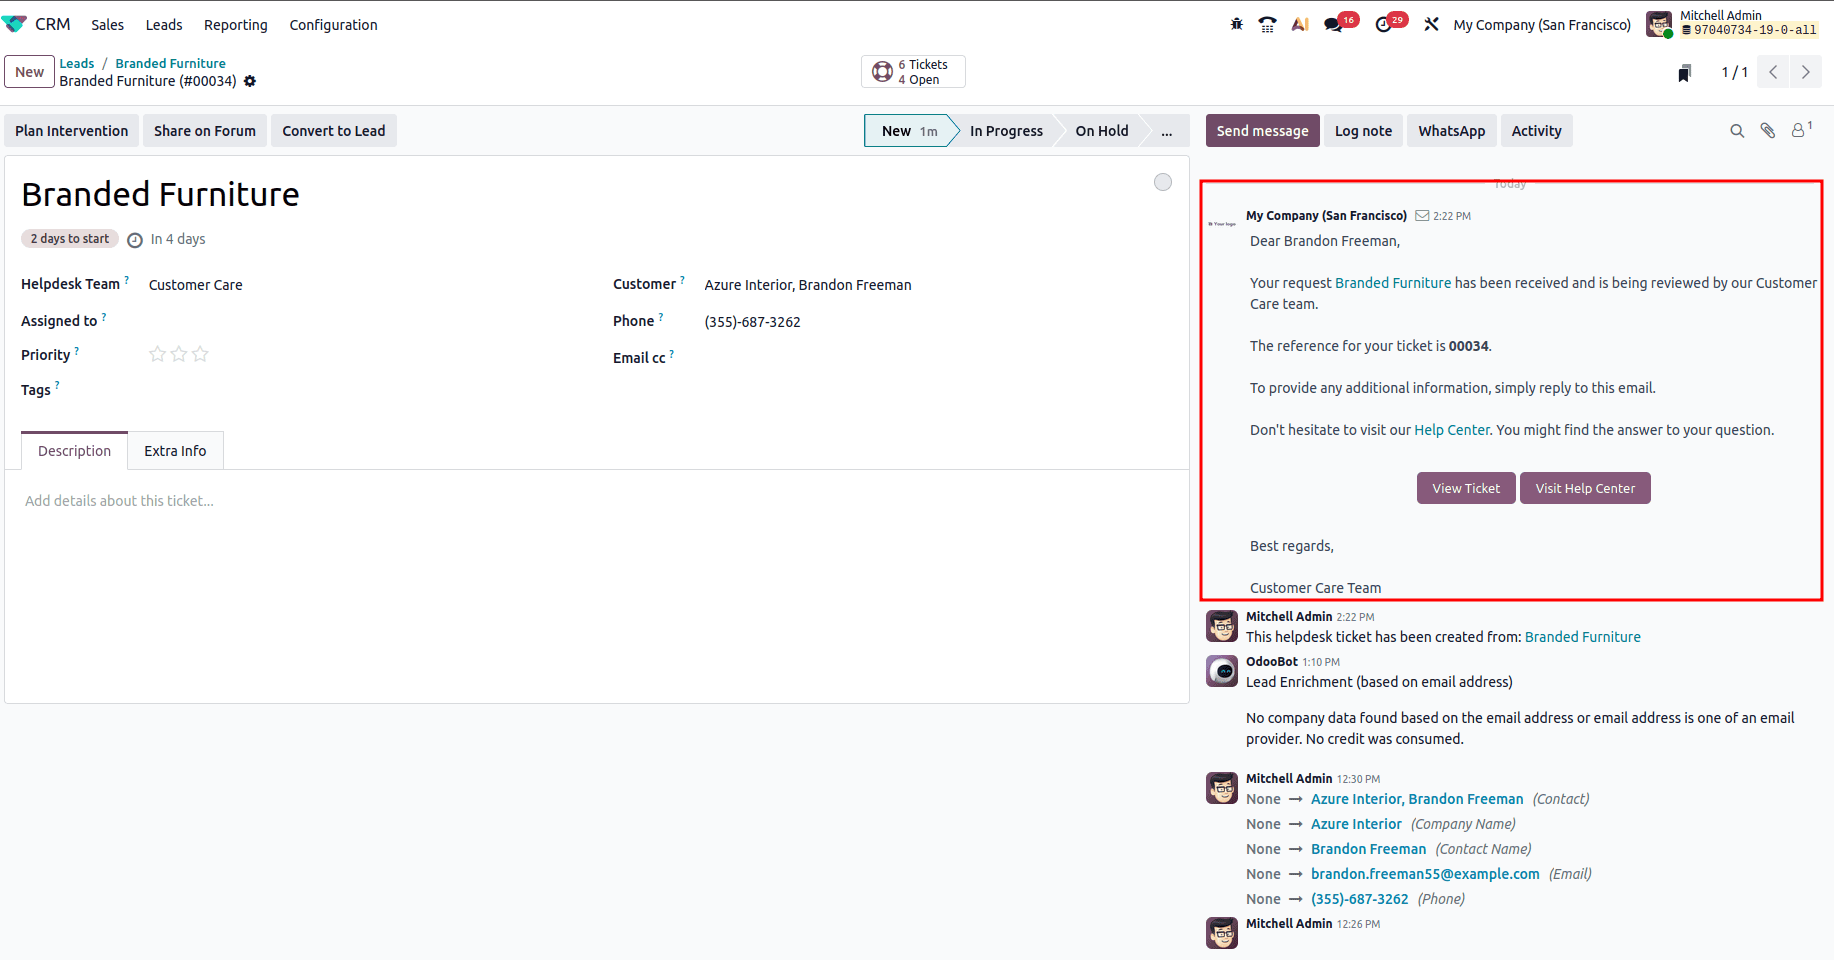
Once you click on the button, a new ticket is created and which can be viewed from the message section of the new window as shown below.
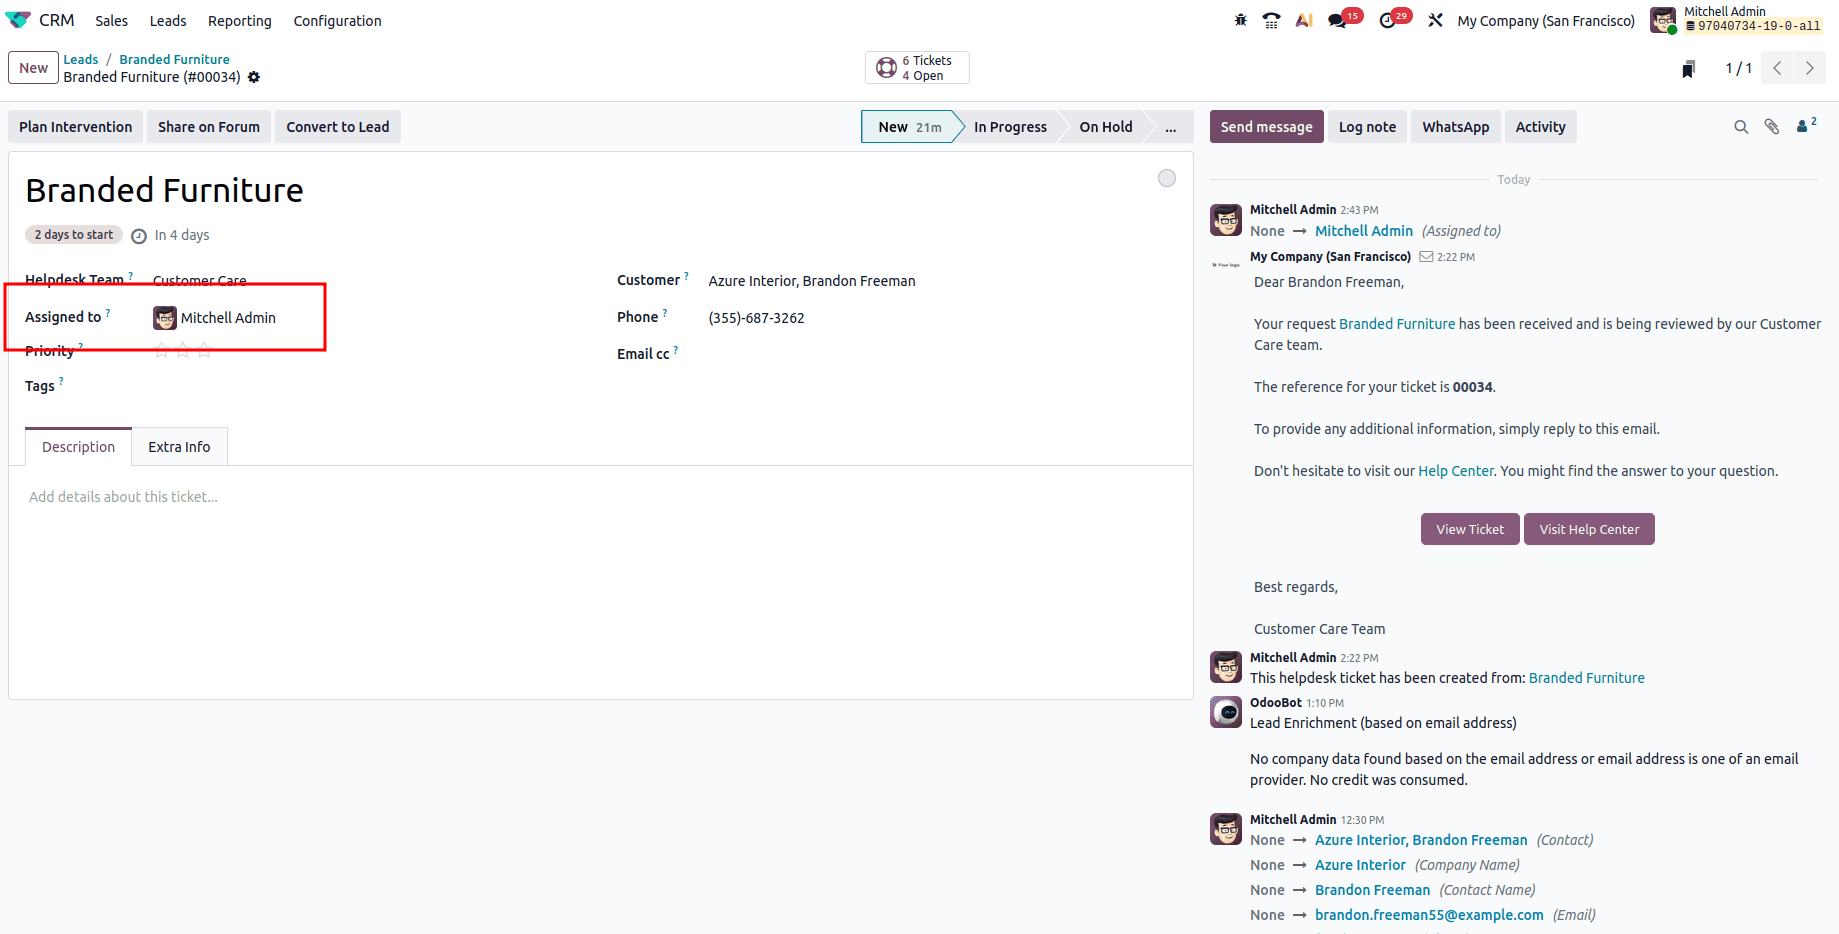
After that, in the ‘Assigned to’ field, you can choose the user to whom the ticket will be assigned.
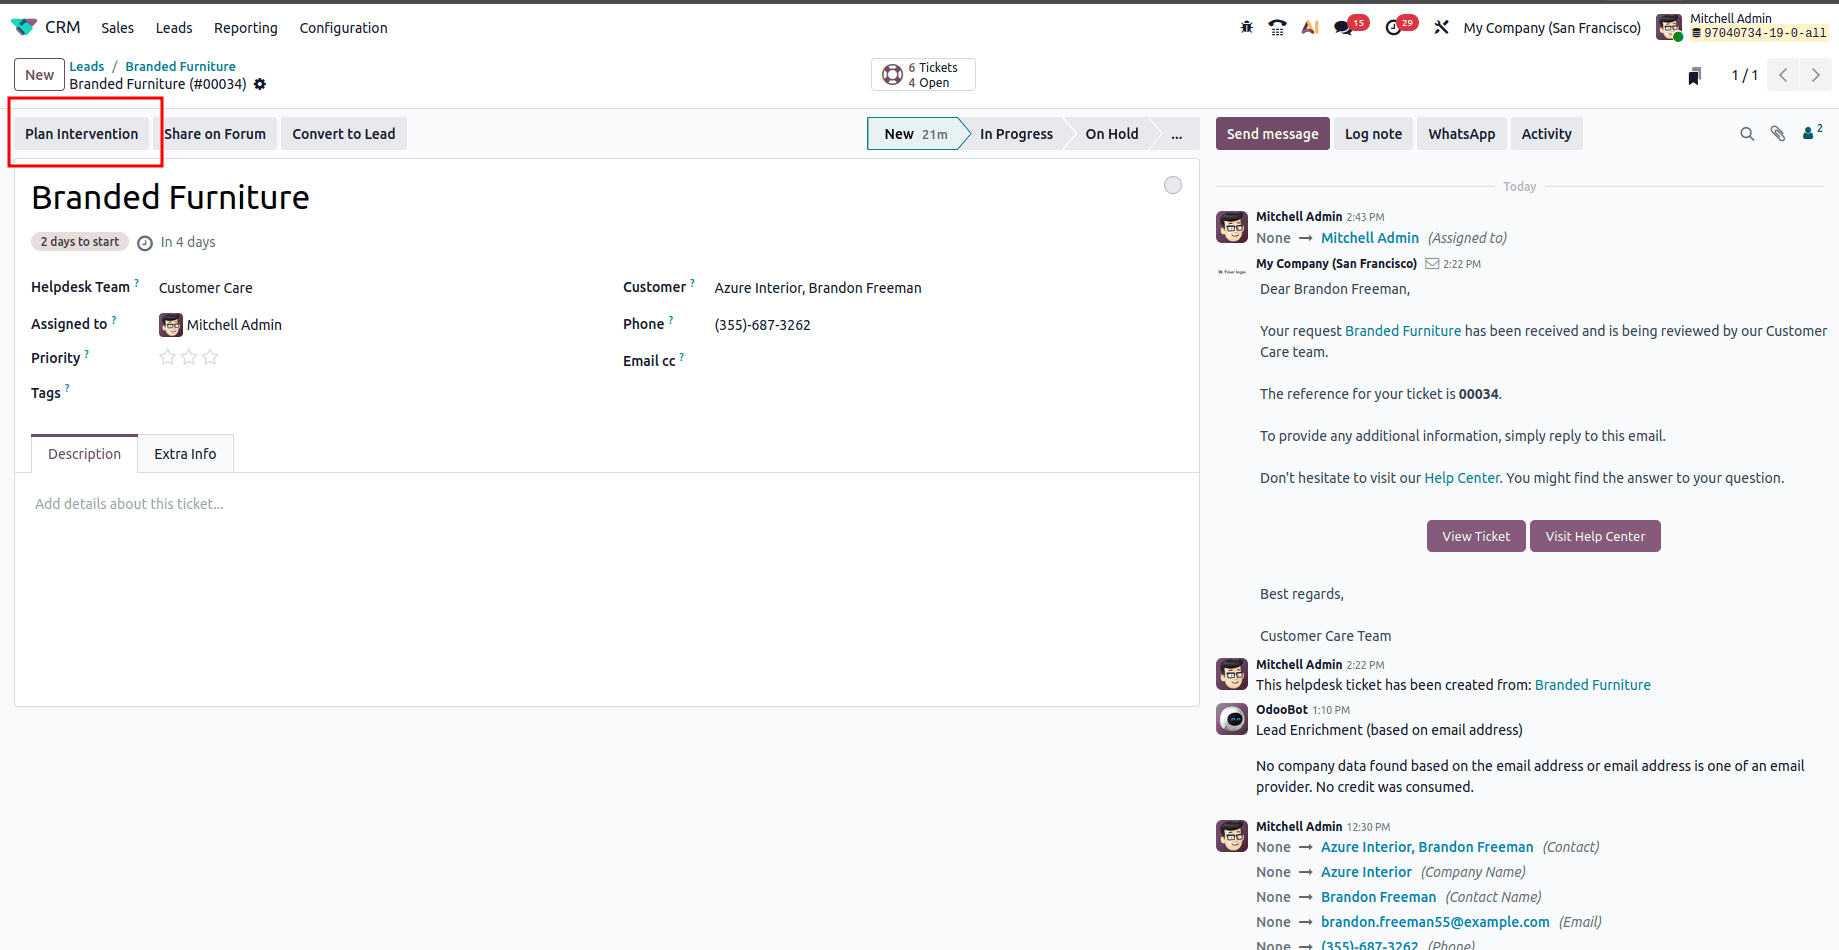
Users can also generate a task directly from the newly created ticket. For that, you can click on the ‘Plan Intervention’ button at the top of the form.
Once you click the Plan Intervention button, you will see a window named ‘Create a Field Service Task’ as shown below.
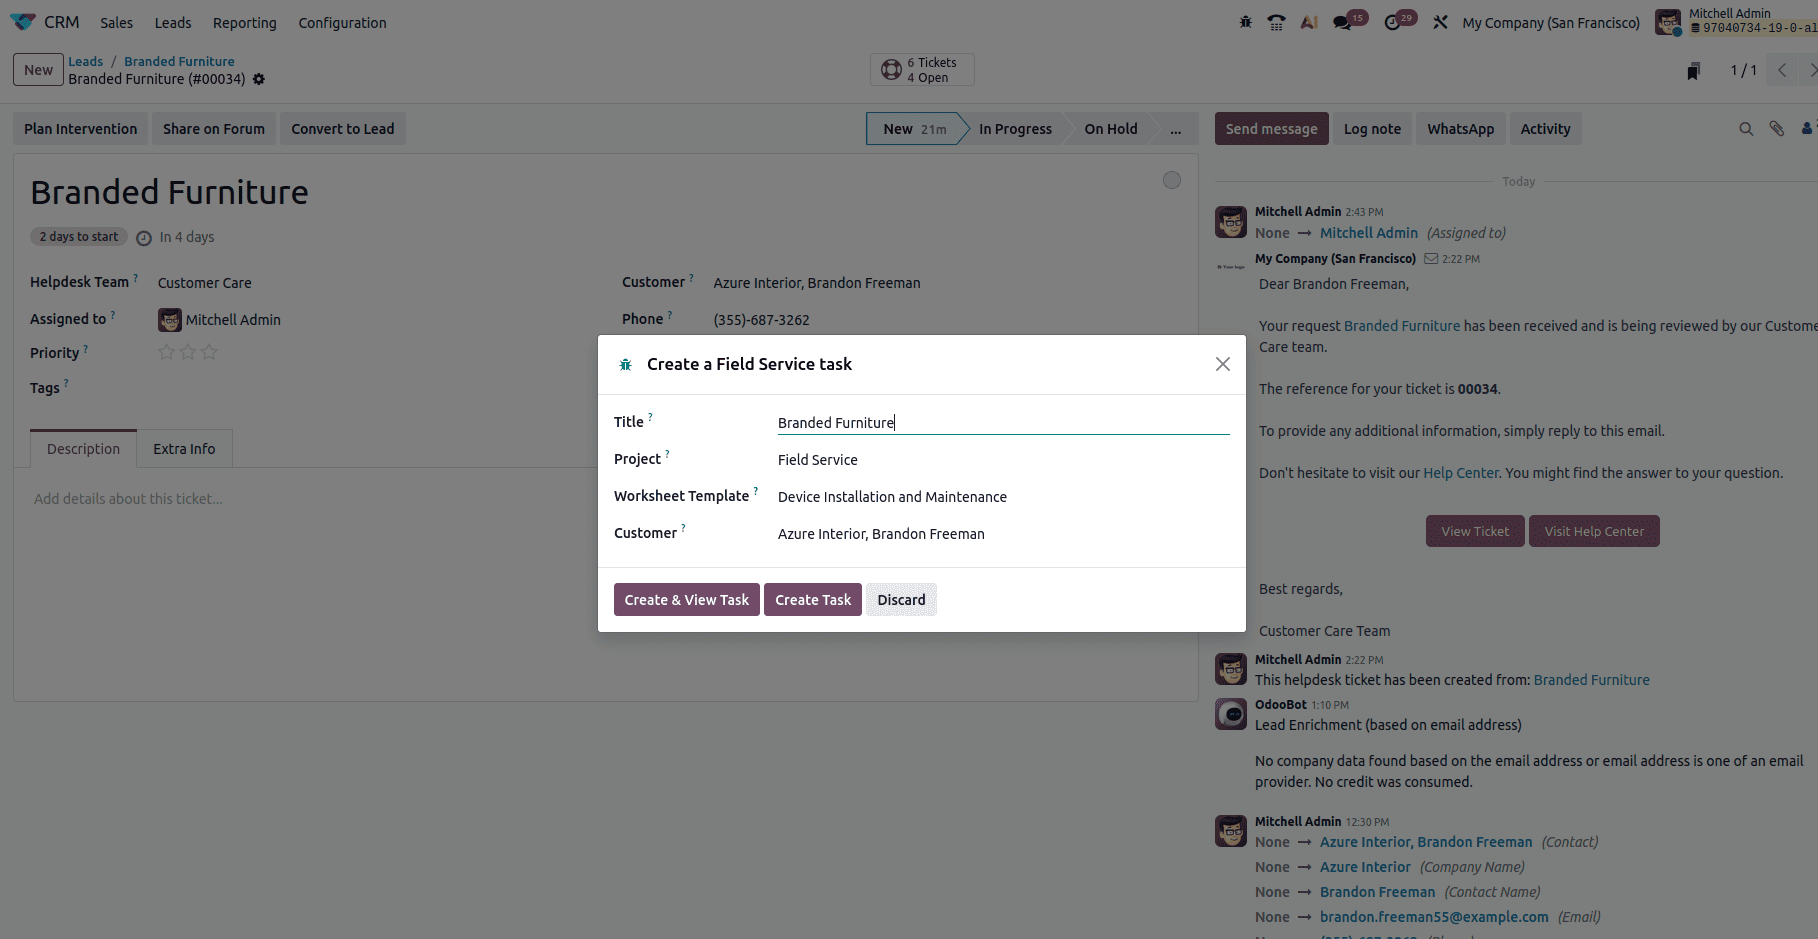
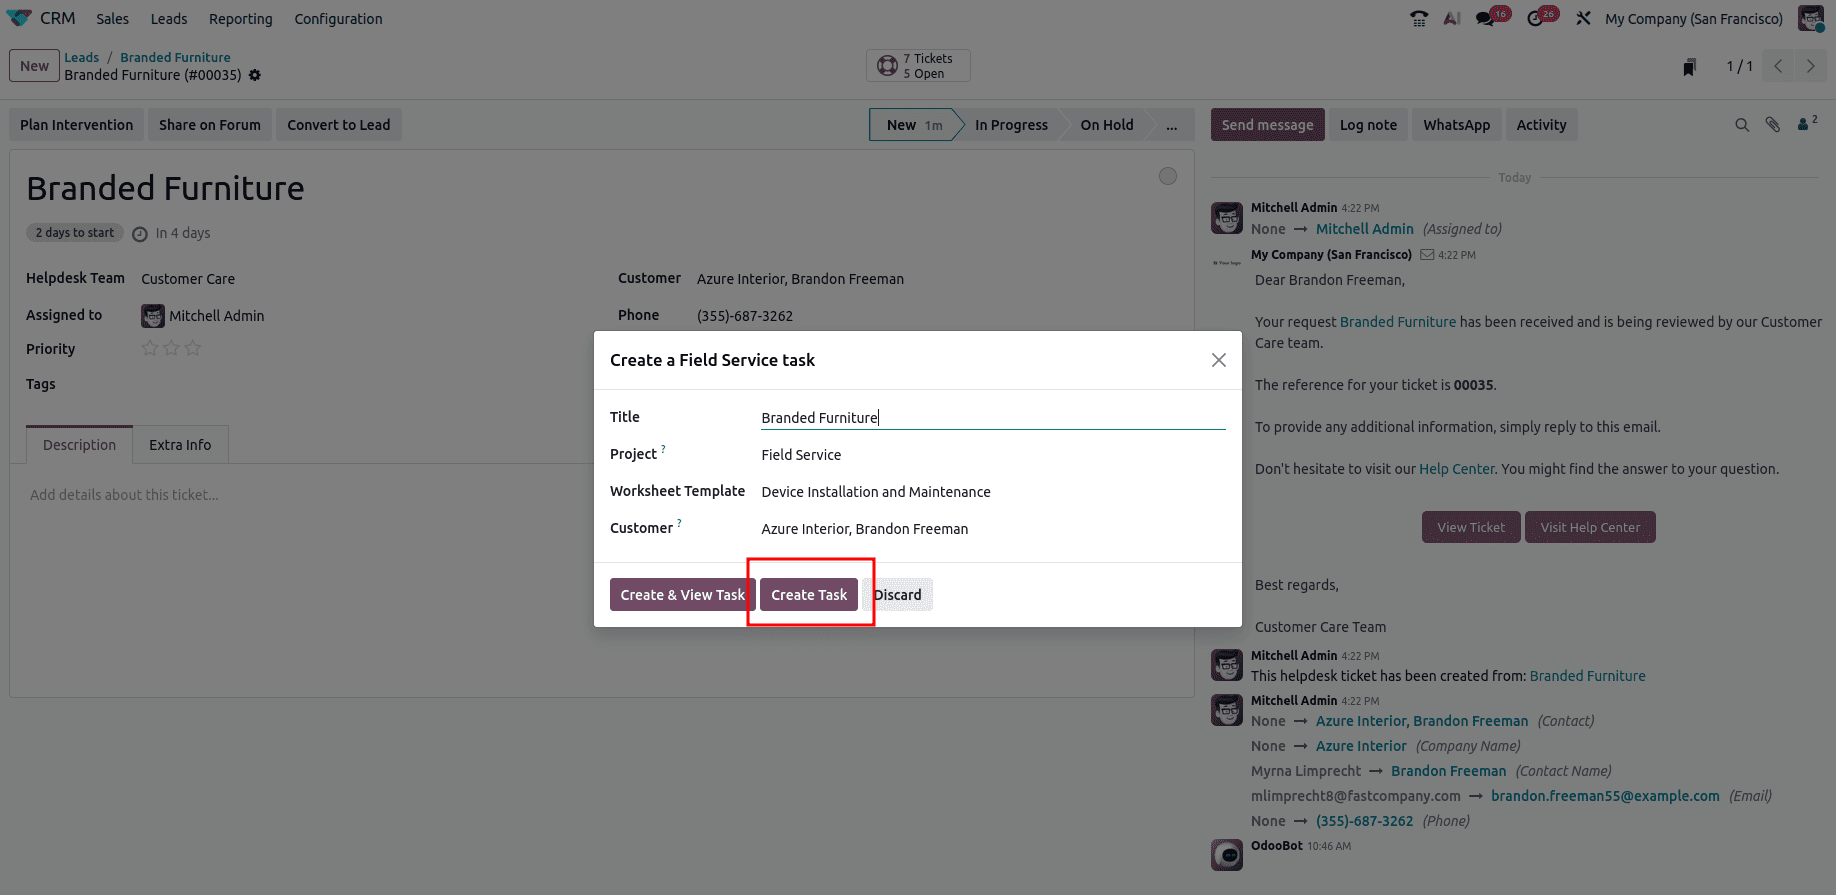
Here, you can provide the title, project in which to create the task, worksheet template, and customer. Once you finish filling up all the fields, just click the ‘Create Task’ button in the form.
When the task is created, it can be accessed from the ‘Tasks’ smart button, as shown below.
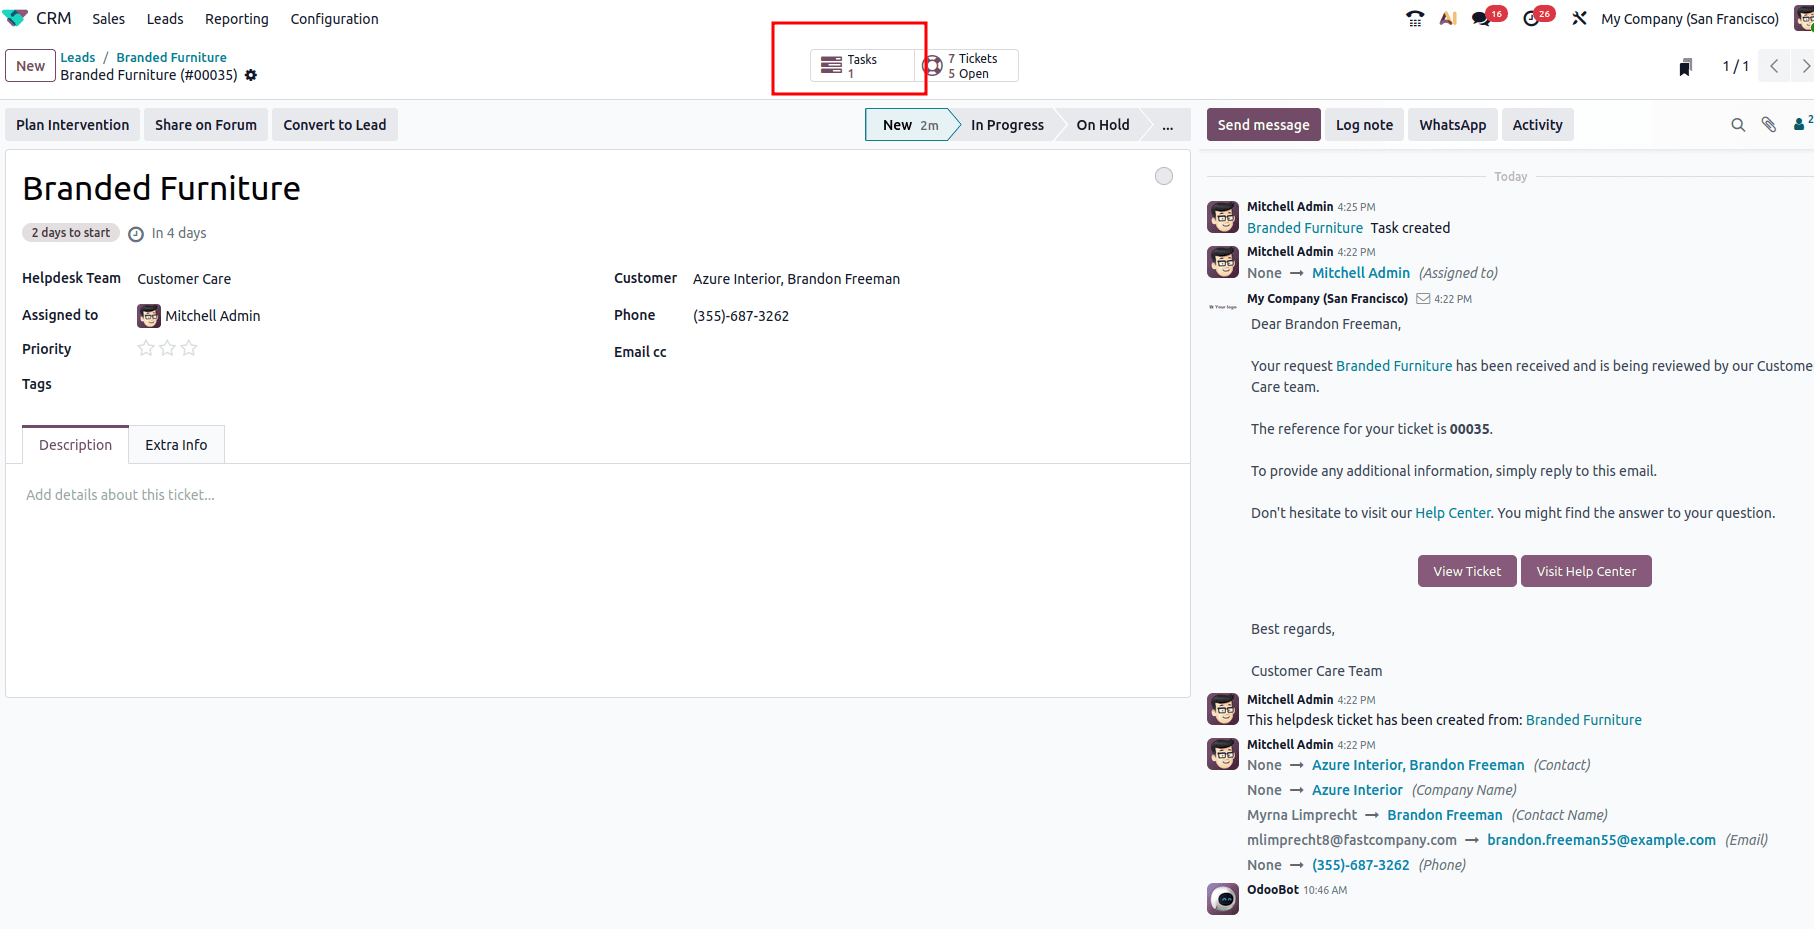
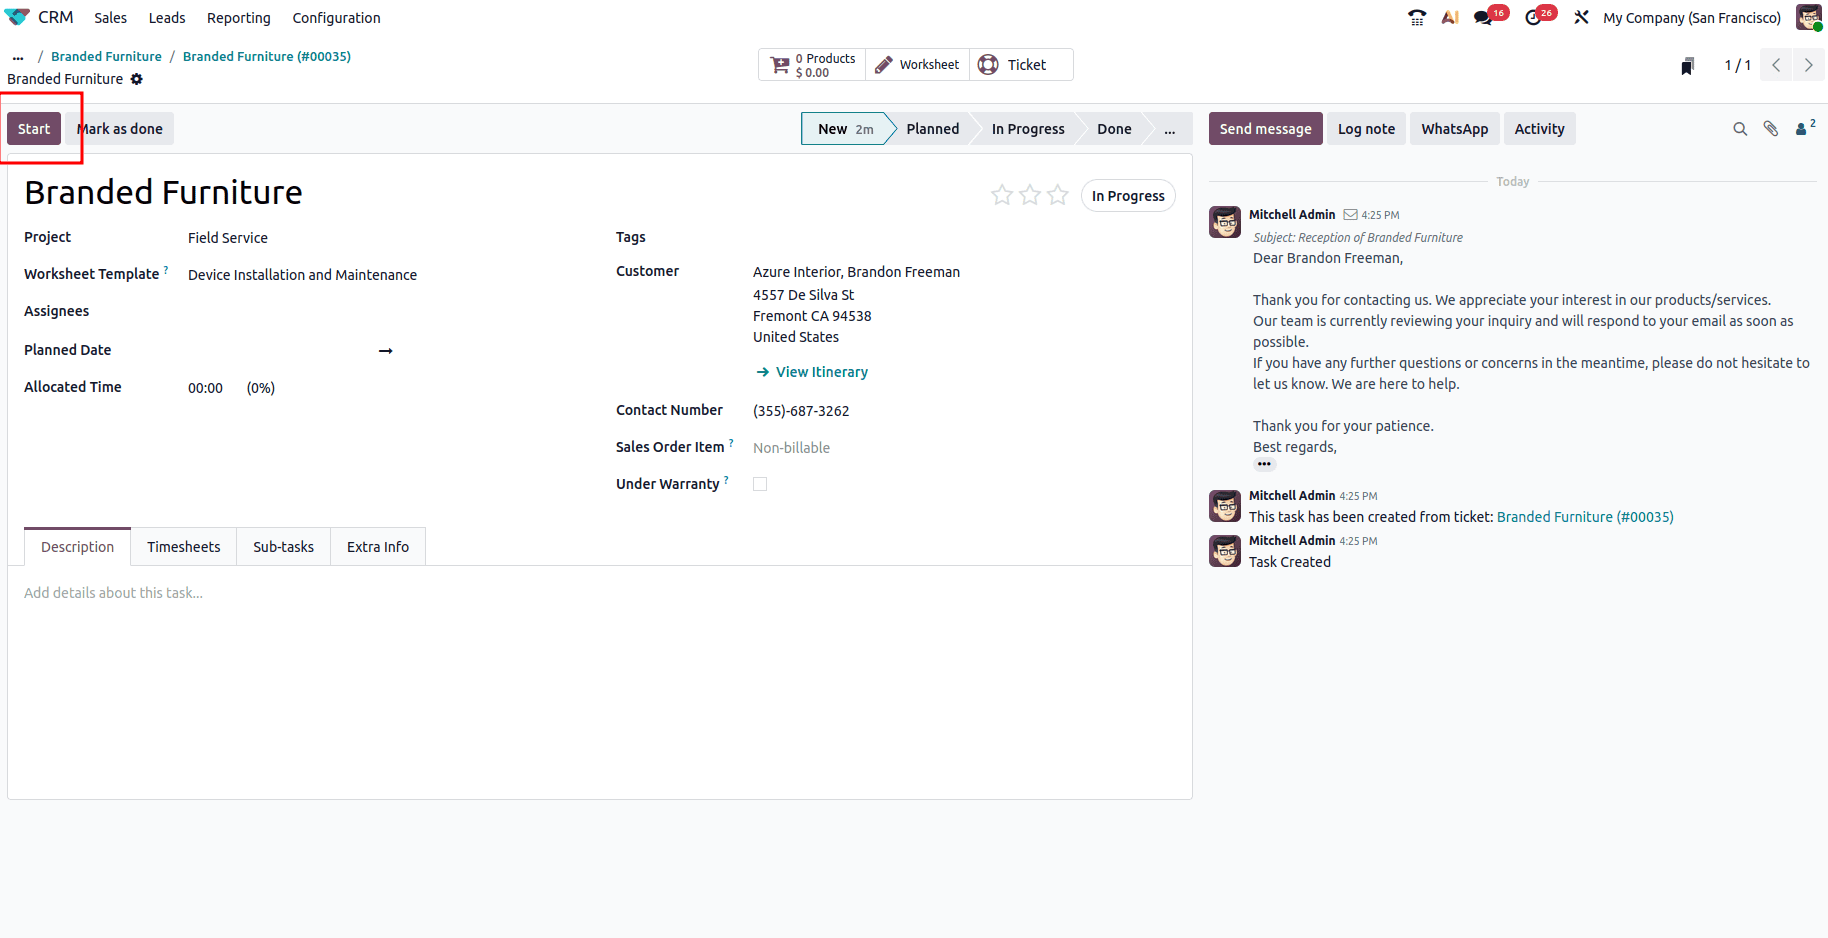
When you get into the tasks from this smart button, a new window will appear where you can see the created task. Here, you can track and record the time spent on a ticket. To indicate the start time of working on a ticket, just choose the ‘Start’ button within the 'Branded Furniture' window.
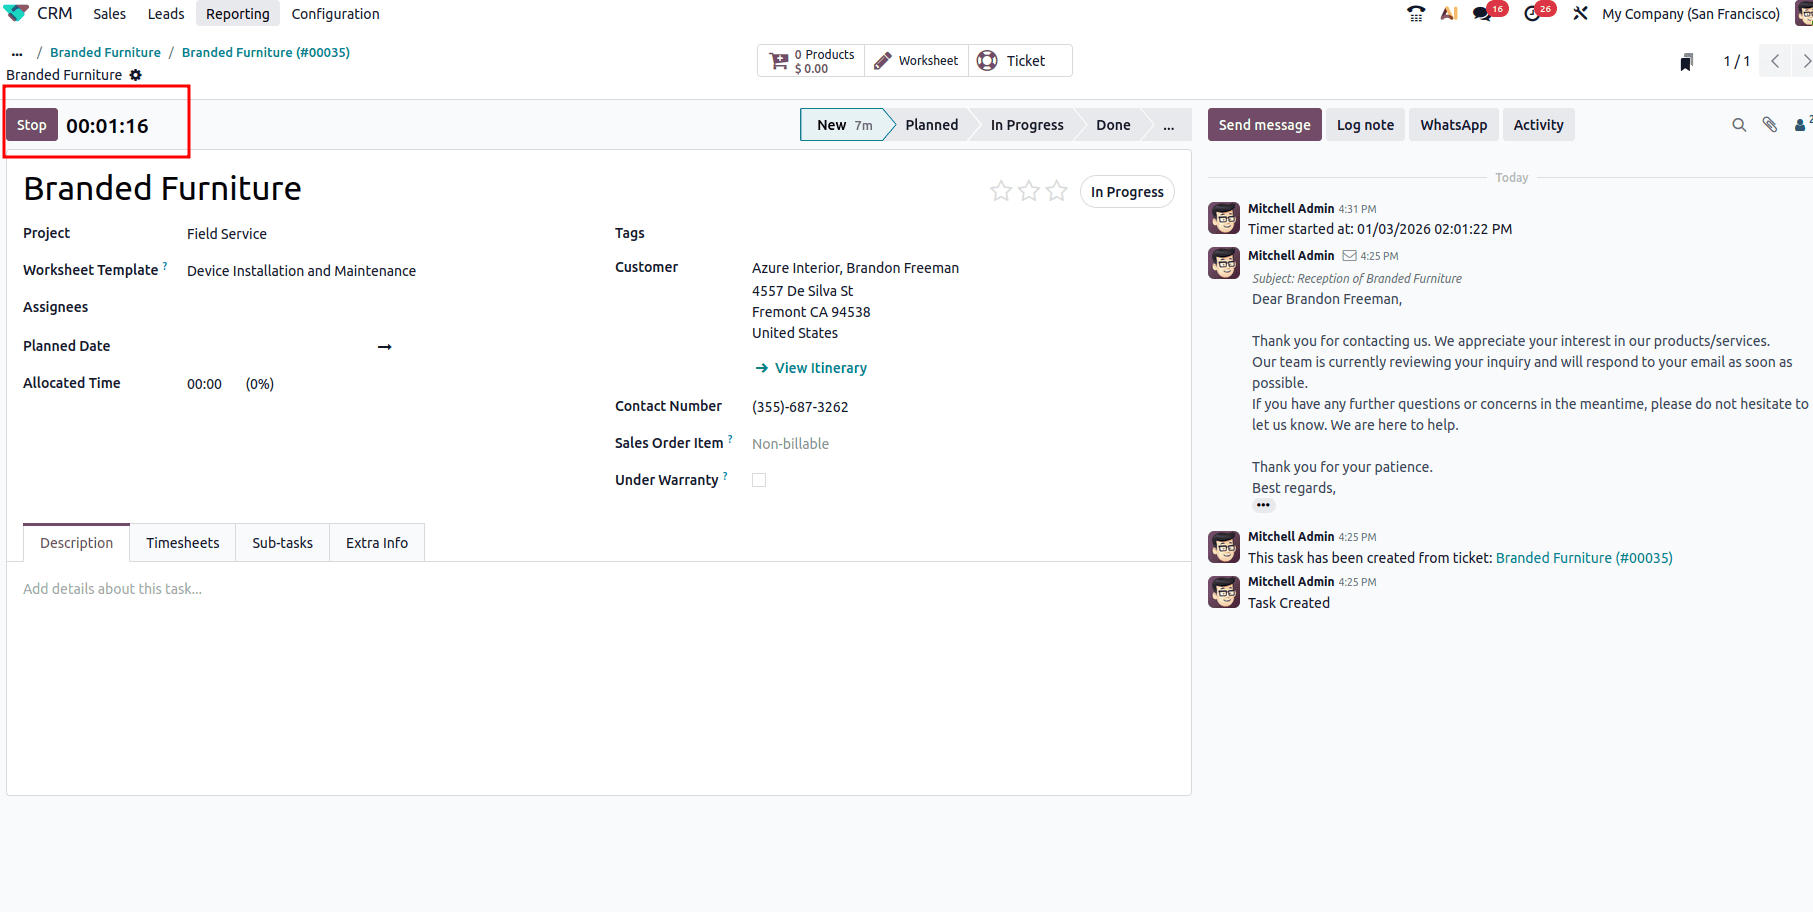
Once you click on the Start button, the timer will be activated. You can stop the time whenever you want just by clicking the ‘Stop’ button.
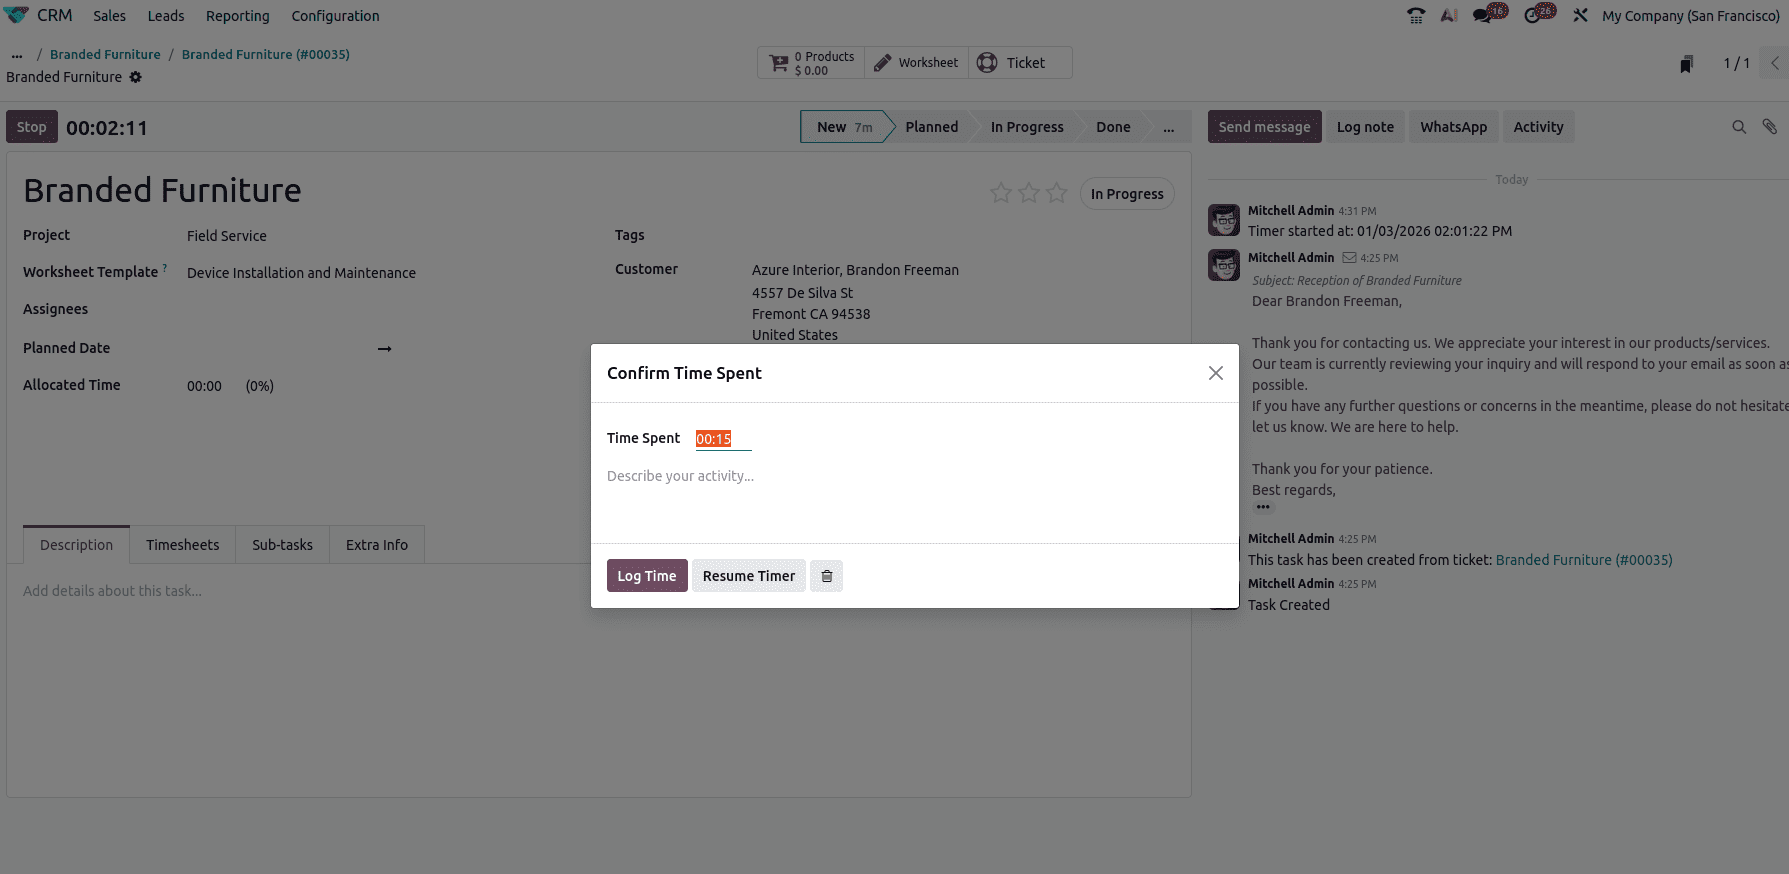
Once you've stopped the timer, you can determine the total time spent on a ticket by a user.
So this is how you can create a ticket from a lead and record the time spent for it.
Sharing the ticket to Forum
Now let’s see how we can share the created ticket with a forum.
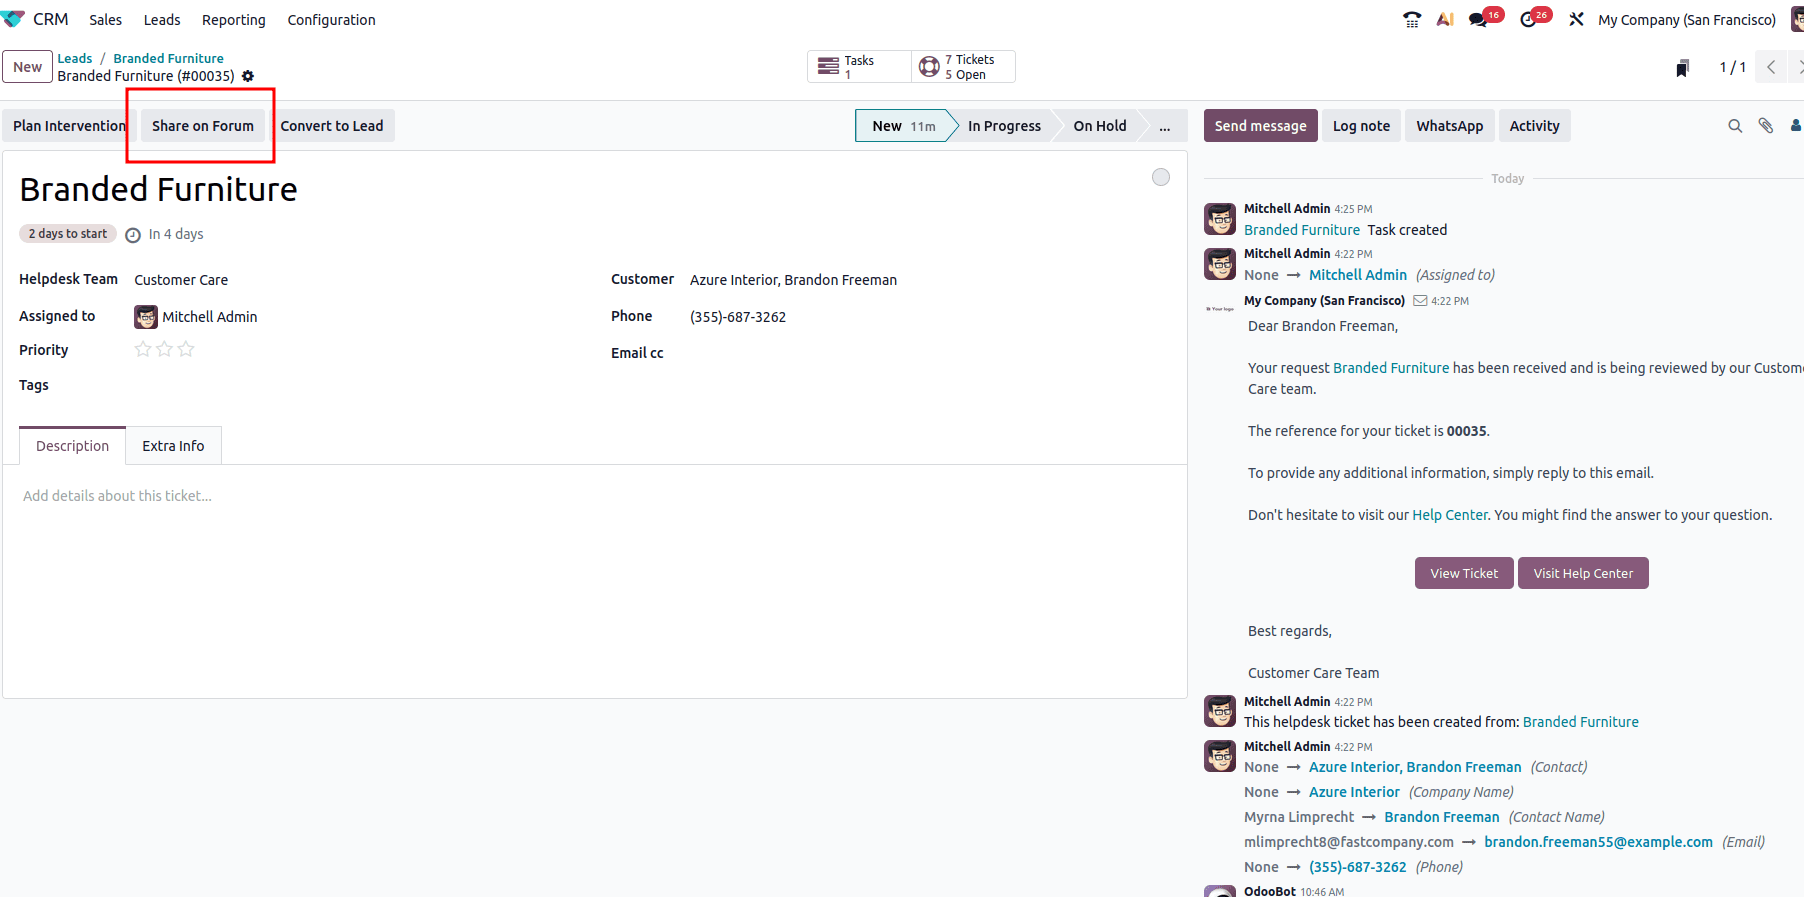
For that, you will have a ‘Share to Forum’ button in the ticket view as shown below.
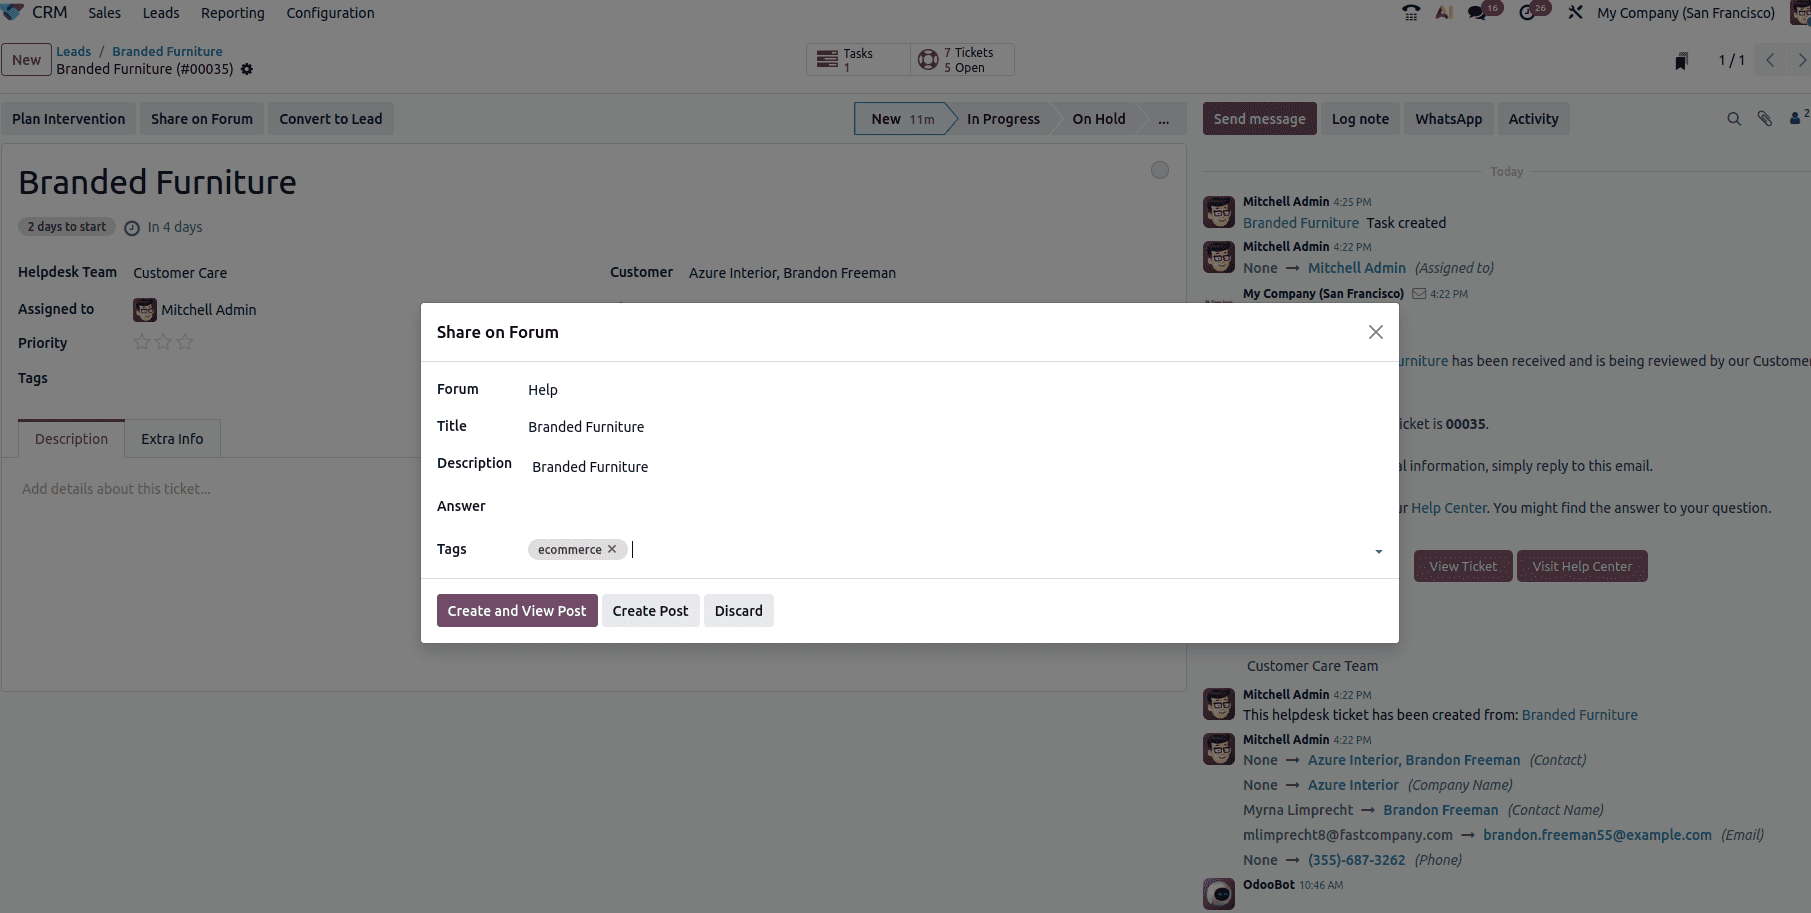
Once you click on it, you will be able to see a new pop-up where you can provide the details, such as the forum in which the ticket is to be shared, the title, and a relevant description for the ticket. Also, you can add the appropriate tags to it. After that, you can proceed by clicking the ‘Create Post’ button in the pop-up.
So once you create a post, it will appear as a smart button in the window.
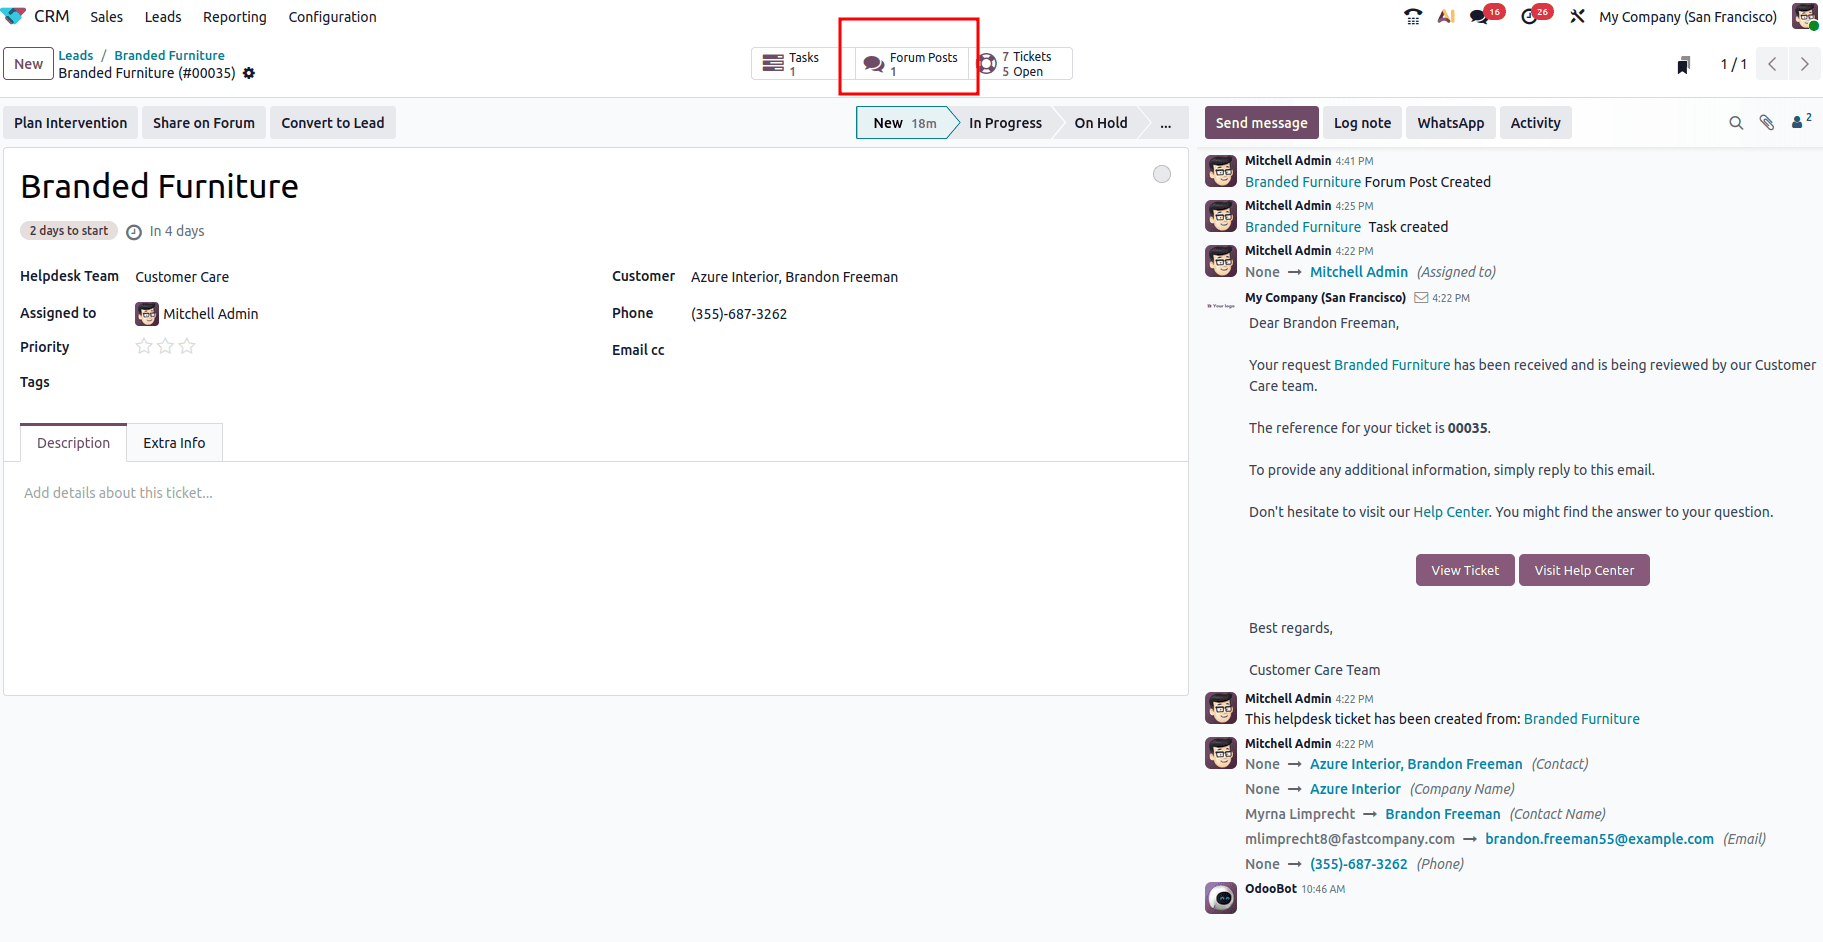
In this way, you can effortlessly share a ticket to the forum.
Accessing ticket from Helpdesk
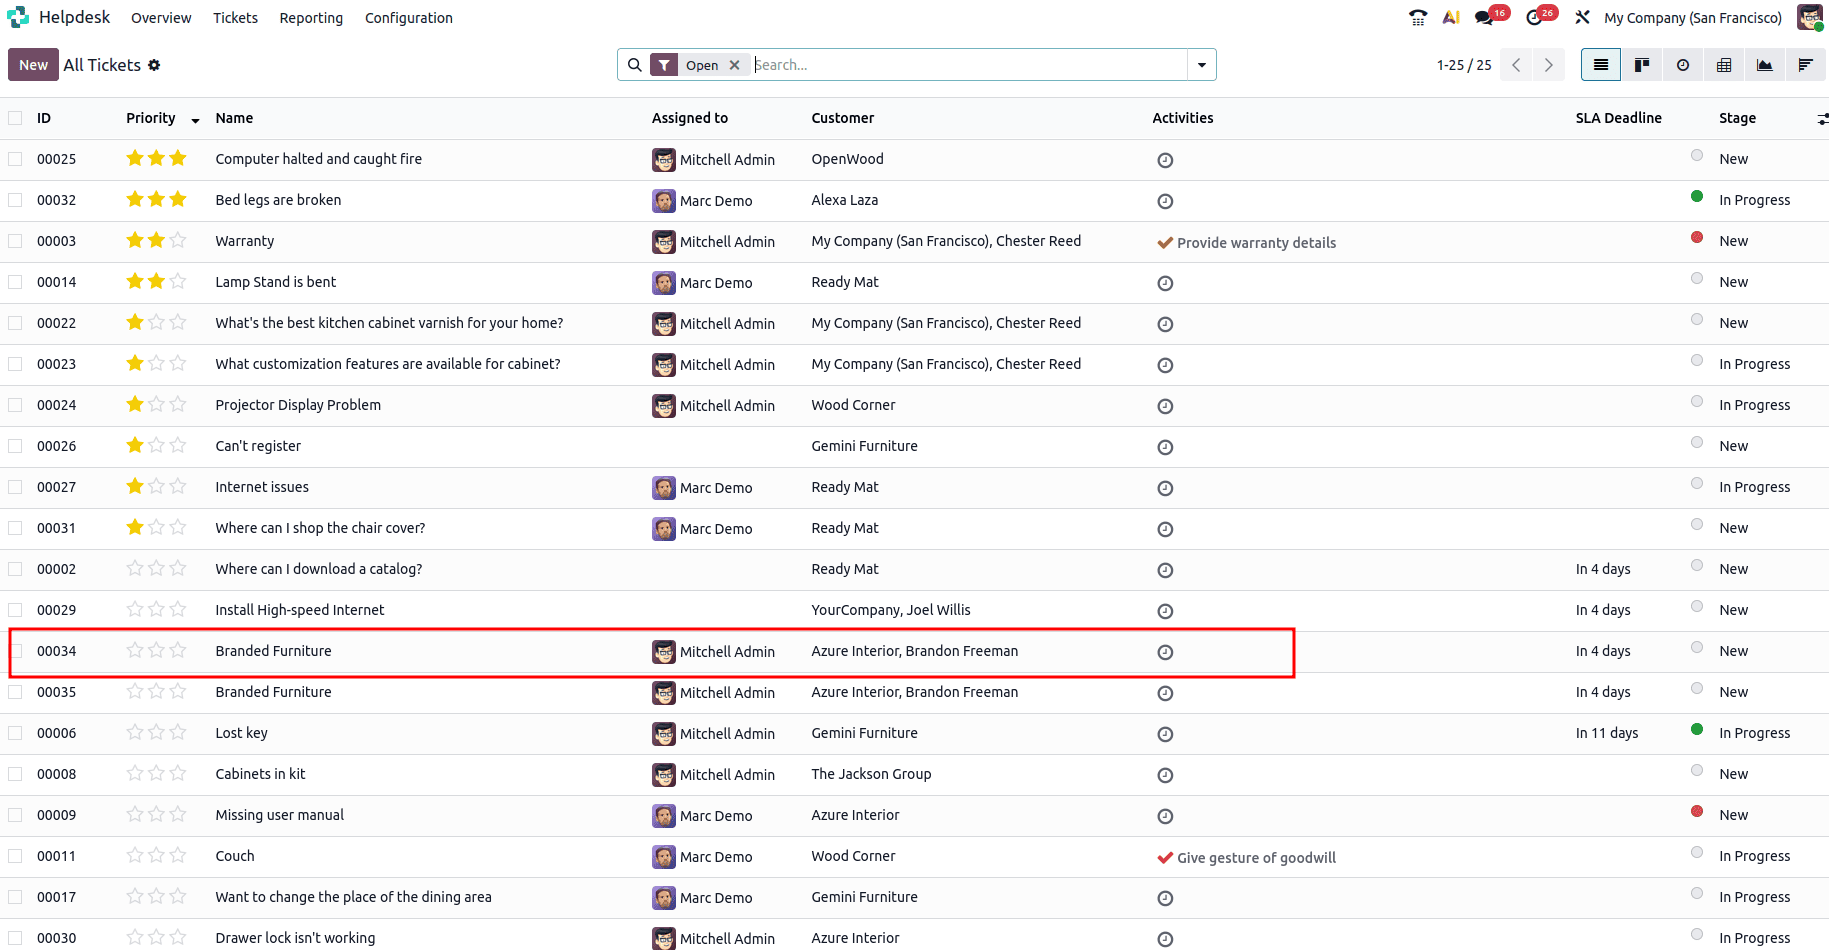
Now you can access the ticket created from the Helpdesk module. For that, you can navigate to the Helpdesk module, then you can choose ‘All Tickets’ from the ‘Tickets’ menu as shown below.

There you will be able to see the ticket created.
In conclusion, converting leads into tickets in Odoo 19 CRM helps bridge the gap between sales and support teams by ensuring that customer interactions are never lost or duplicated. This seamless transition allows businesses to preserve valuable customer context, respond faster to service-related needs, and improve overall customer satisfaction. By leveraging Odoo 19’s integrated CRM and Helpdesk capabilities, organizations can create a more connected workflow that enhances collaboration, streamlines operations, and delivers a consistent customer experience from initial contact to ongoing support.
To read more about How to Create & Manage a Helpdesk Ticket From a Lead in Odoo 18, refer to our blog How to Create & Manage a Helpdesk Ticket From a Lead in Odoo 18.