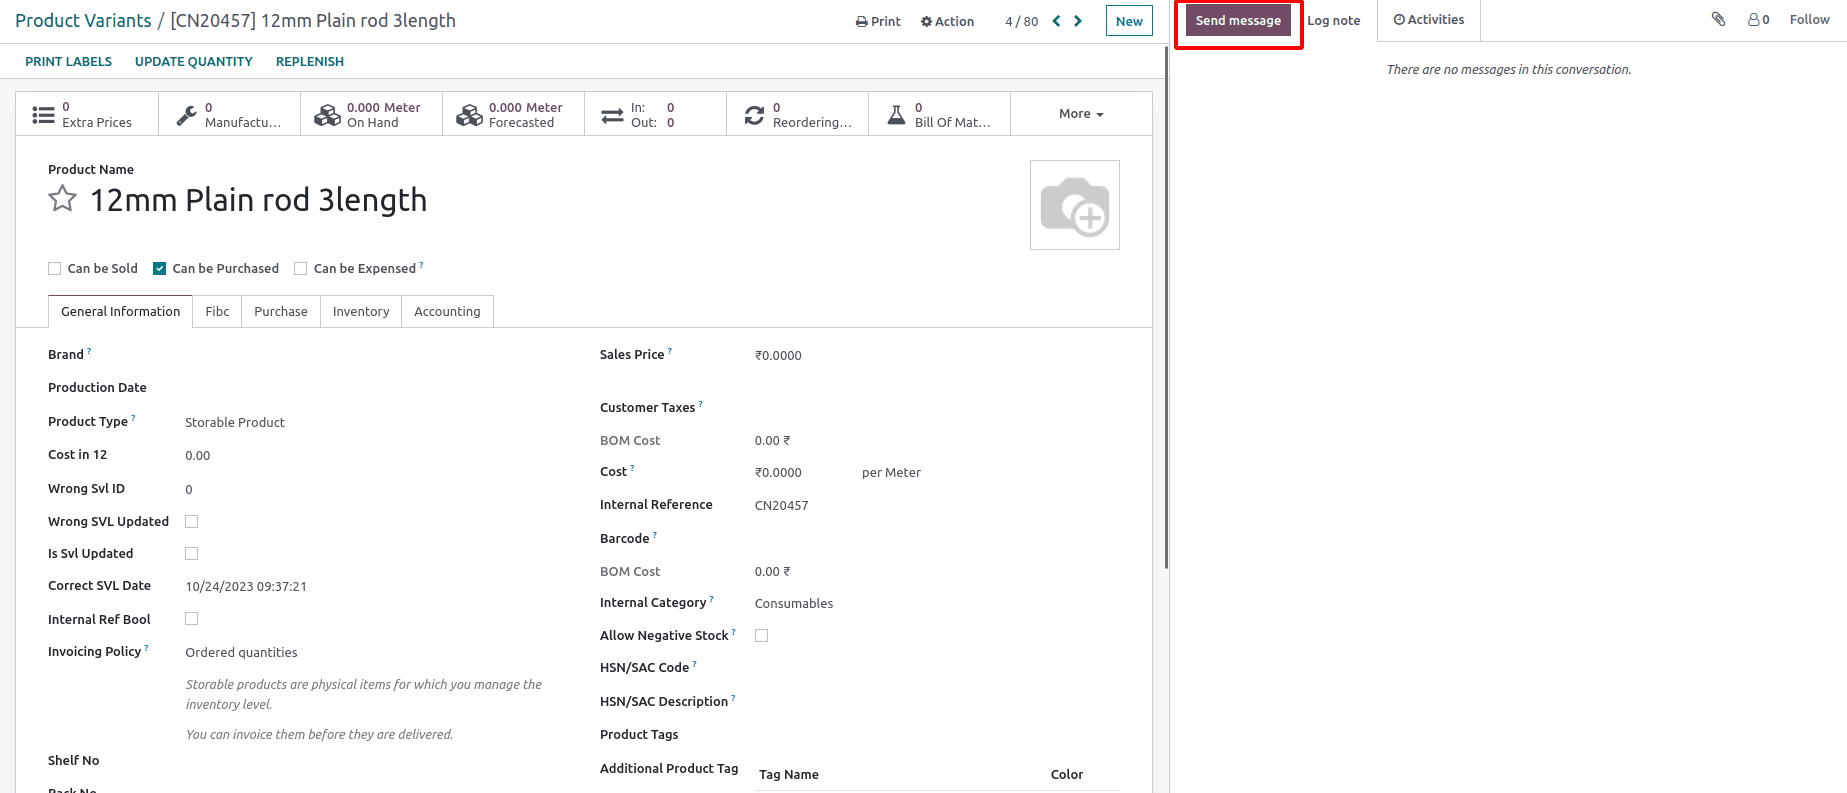
Chatter is the communication tool located on most records. For example, it enables you to email customers straight from a sales order or quotation to continue communication and go over specifics. Workers can communicate with one another about process issues or progress by logging private notes that customers cannot view. Furthermore, people who were not initially involved in a conversation can be invited to join it by adding themselves as Followers to the document.
Here are the general steps for using the chatter in Odoo:
Navigate to the Relevant Record:
Log in to your Odoo instance and navigate to the record where you wish to use the chatter (e.g., a sales order, purchase order, project task, etc.).
Chatter Tab:
In Odoo, there is typically a "Chatter" tab or section on the record's form view.
Compose a Message:
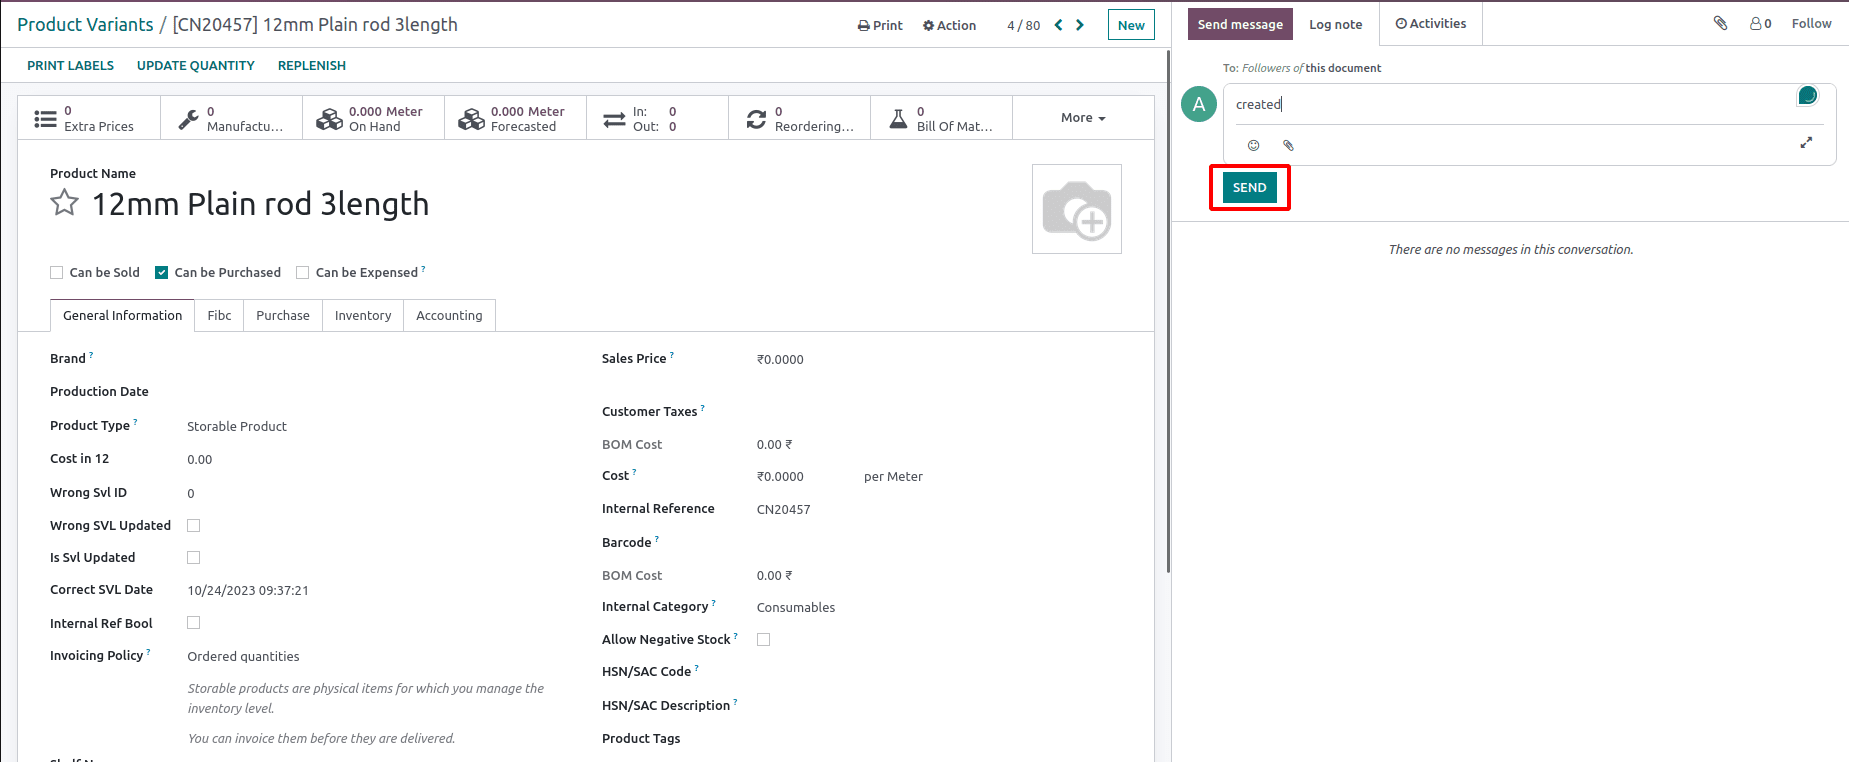
To post a message in the chatter, click on the text box labeled "Send message" or something similar.
Type your message in the text box. You can also format your text, attach files, and mention other users by using the toolbar options.
Post the Message:
After composing your message, click the "Post" button to post the message in the chatter.
The message will be visible to users who have access to the record.
Followers and Notifications:
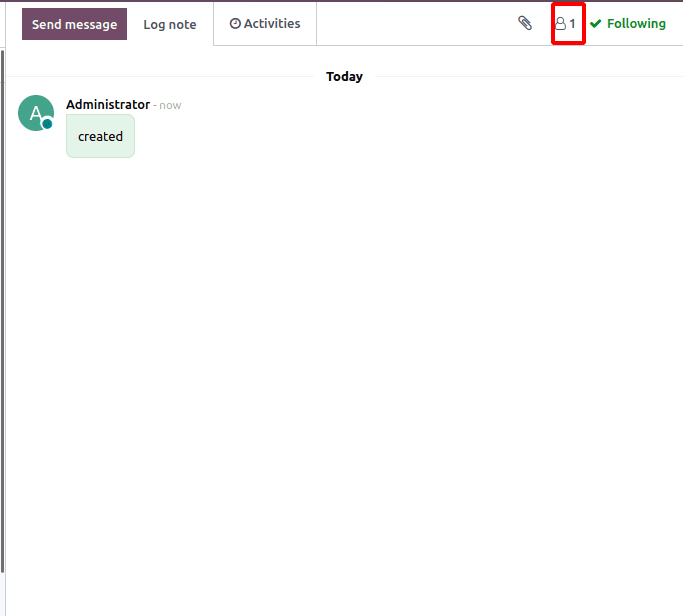
You can choose to follow or unfollow a record by clicking the "Follow" or "Unfollow" button in the chatter.
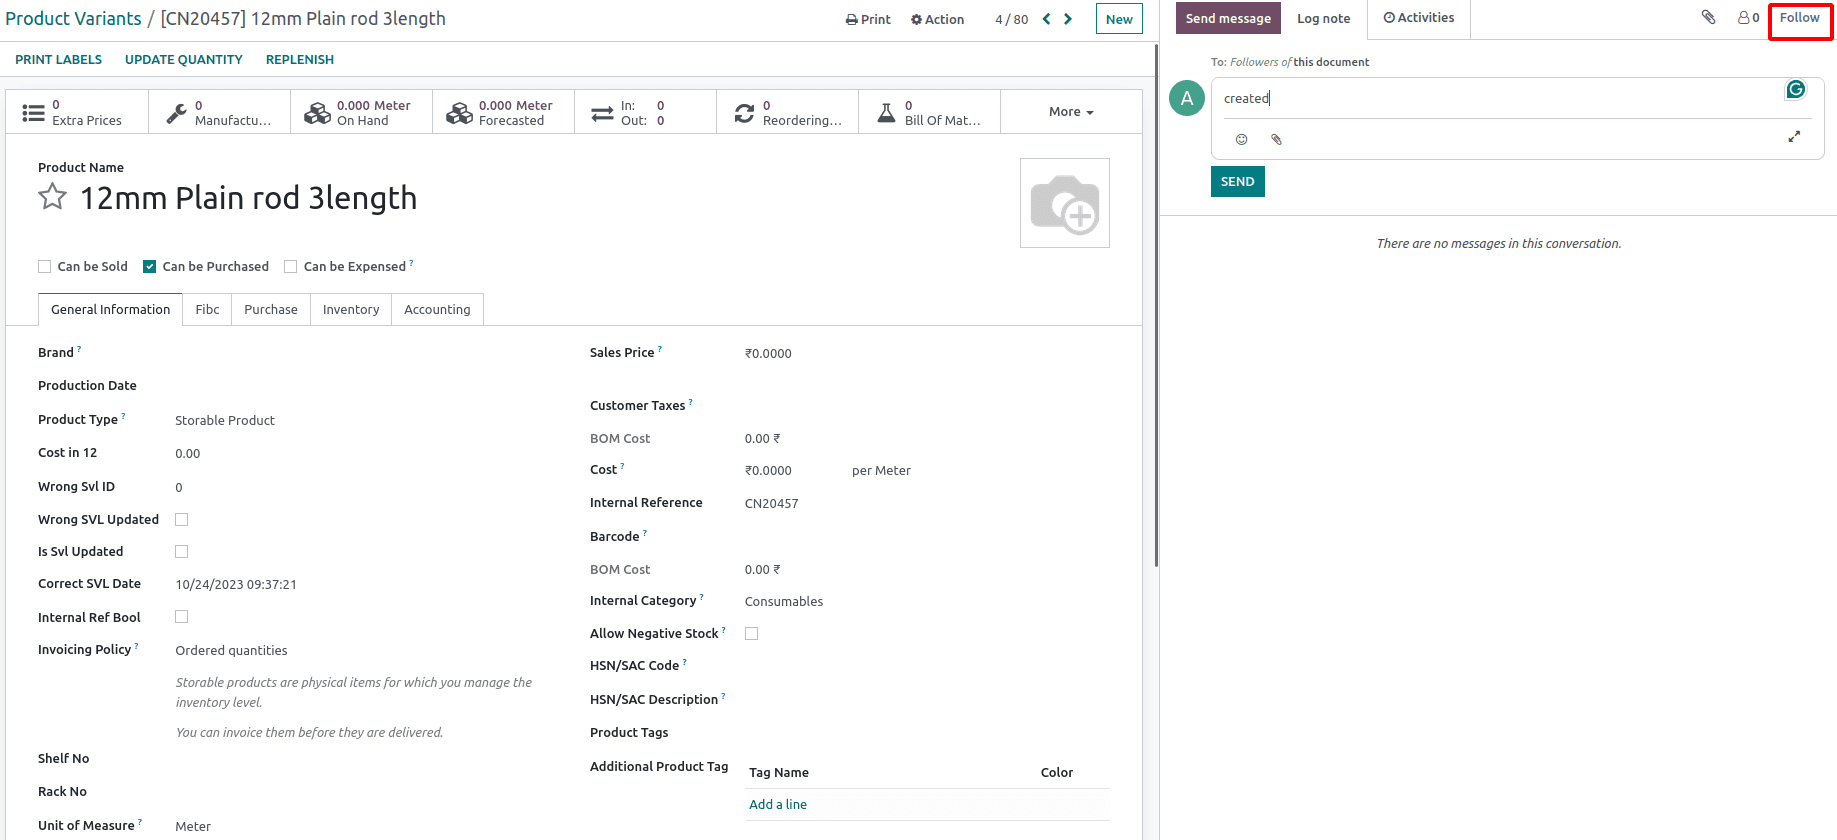
When you follow a record, you'll receive notifications in the chatter whenever there are updates or new messages related to that record.
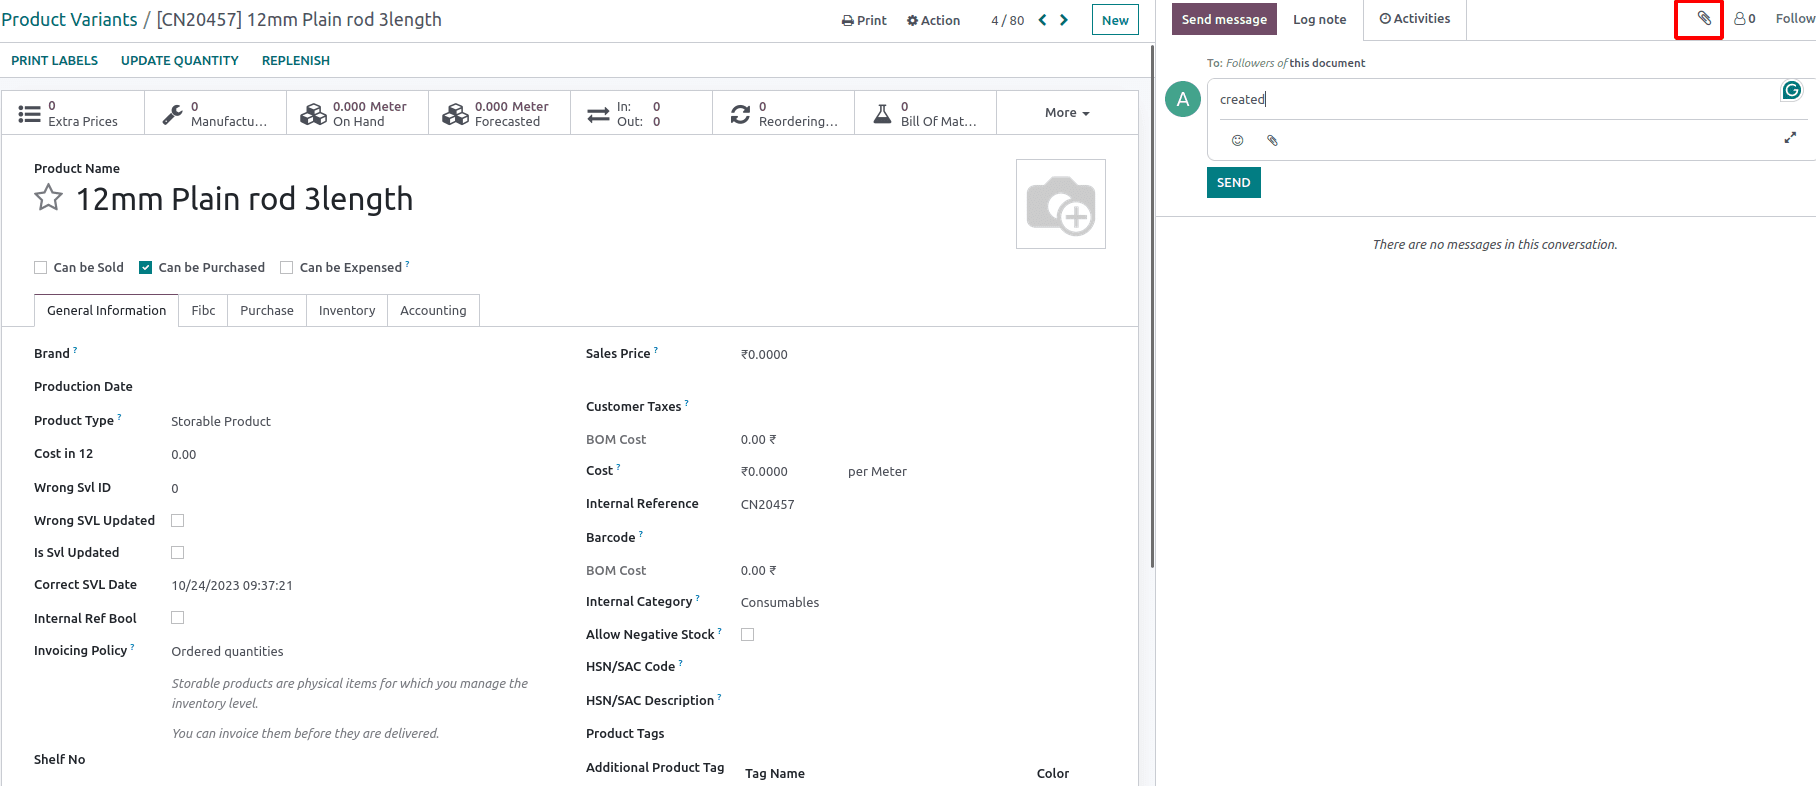
Attachments:
You can attach files to messages in the chatter. Click the paperclip icon to attach files from your computer or the Odoo 16 document management system.
Mentions:
To mention a user or group in a message, type "@" followed by their name, and Odoo will suggest matching users and groups. Select the one you want to mention.
Email Integration:
Depending on your Odoo configuration, chatter messages can also be sent as email notifications to relevant users.
First, create an XML file for showing the button and write the below code.
<?xml version="1.0" encoding="UTF-8"?>
<templates xml:space="preserve">
<t t-inherit="mail.ChatterTopbar" t-inherit-mode="extension">
<xpath expr="//button[hasclass('o_ChatterTopbar_buttonSendMessage')]" position="after">
<button class="o_ChatterTopbar_button o_ChatterTopbar_buttonUserNote btn text-nowrap"
type="button"
t-att-class="{
'o-active btn-odoo': chatterTopbar.chatter.composerView and chatterTopbar.chatter.composerView.composer.isLog,
'btn-light': chatterTopbar.chatter.composerView and !chatterTopbar.chatter.composerView.composer.isLog or !chatterTopbar.chatter.composerView,
}"
t-att-disabled="!chatterTopbar.chatter.isTemporary and !chatterTopbar.chatter.hasWriteAccess"
t-on-click="chatterTopbar.chatter.onClickUserNote"
data-hotkey="shift+m"
>
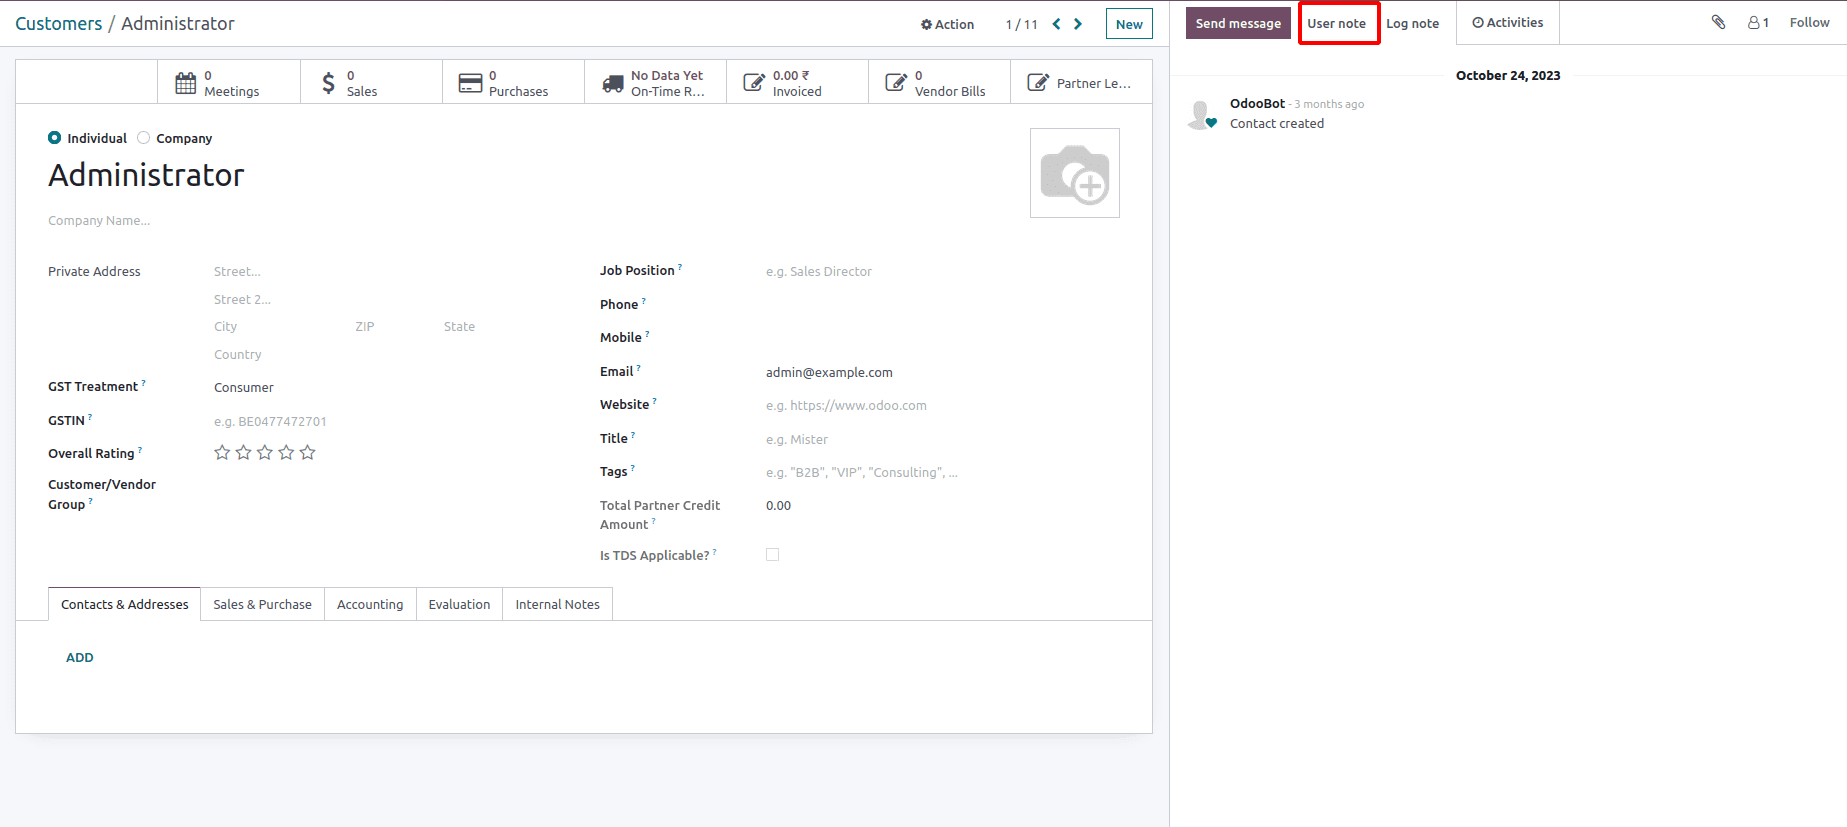
User note
</button>
</xpath>
</t>
</templates>
Then, write a click function to show the window for user log details in the js file.
/** @odoo-module **/
import { registerModel } from '@mail/model/model_core';
import { attr, one } from '@mail/model/model_field';
import { clear, insert, link } from '@mail/model/model_field_command';
import { makeDeferred } from '@mail/utils/deferred';
const getThreadNextTemporaryId = (function () {
	let tmpId = 0;
	return () => {
    	tmpId -= 1;
    	return tmpId;
	};
})();
const getMessageNextTemporaryId = (function () {
	let tmpId = 0;
	return () => {
    	tmpId -= 1;
    	return tmpId;
	};
})();
registerModel({
	name: 'Chatter',
	recordMethods: {
      onClickLogNote() {
        	if (this.composerView && this.composerView.composer.isLog)     {
           this.update({ composerView: clear() });
        	} else {
            	this.showLogNote();
        	}
    	},

      showLogNote() {
        	this.update({ composerView: {} });
        	this.composerView.composer.update({ isLog: true });
        	this.focus();
    	},
 });
In this way, we can add a button in the chatter.
To read more about adding a button in Chatter in Odoo 17, refer to our blog How to Add a Button in Chatter in Odoo 17