Odoo's standard export features are strong; they can fall short of meeting certain reporting needs, like complex data aggregation, custom formatting, or column names. This blog will discuss how to use OWL (Odoo Web Library) and a Python backend controller to add a specific download button to the List View in order to develop a custom Excel (XLSX) export capability in Odoo 19.
Step 1: Extending the List View Controller
To build our own export logic, we must first extend the standard ListController. The file download from our custom route will be initiated by the Odoo web core's download service.
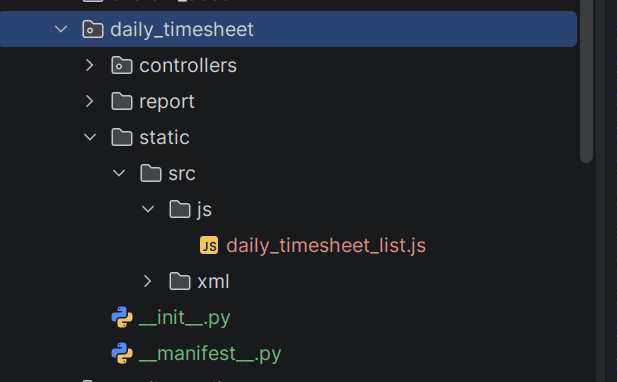
Create a file at static/src/js/daily_timesheet_list.js:
/** @odoo-module **/
import { ListController } from "@web/views/list/list_controller";
import { listView } from "@web/views/list/list_view";
import { registry } from "@web/core/registry";
import { download } from "@web/core/network/download";
export class DailyTimesheetListController extends ListController {
   async onDirectExportData() {
       const payload = {
           domain: this.model.root.domain,
       };
       if (!this.model.root.isDomainSelected && this.model.root.selection.length > 0) {
           const selectedIds = this.model.root.selection.map((r) => r.resId);
           payload.ids = selectedIds;
       }
       await download({
           data: {
               data: JSON.stringify(payload),
           },
           url: `/daily_timesheet/export_xlsx`,
       });
   }
}
DailyTimesheetListController.template = "daily_timesheet.ListView";
export const dailyTimesheetListView = {
   ...listView,
   Controller: DailyTimesheetListController,
};
registry.category("views").add("daily_timesheet_list", dailyTimesheetListView);
Step 2: Adding the Download Button to the UI
Next, we define the XML template to place our button in the Control Panel's additional actions area.
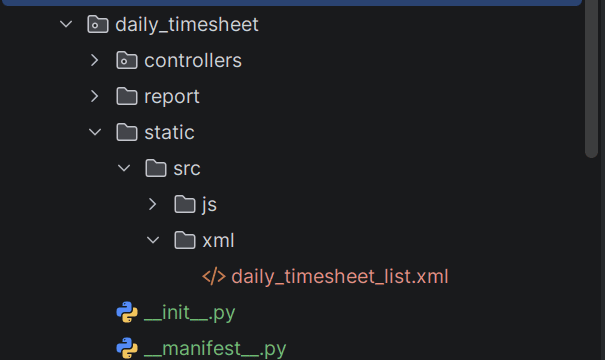
Create a file at static/src/xml/daily_timesheet_list.xml:
<?xml version="1.0" encoding="UTF-8"?>
<templates xml:space="preserve">
   <t t-name="daily_timesheet.ListView" t-inherit="web.ListView" t-inherit-mode="primary">
       <xpath expr="//t[@t-set-slot='control-panel-additional-actions']" position="inside">
           <t t-if="props.context.from_daily_timesheet">
               <button type="button" class="btn btn-light o_button_export ms-1" style="font-size: 16px; padding: 4px 8px;"
                       t-on-click="onDirectExportData" title="Download">
                   <i class="fa fa-download"/>
               </button>
           </t>
       </xpath>
   </t>
</templates>
Step 3: Creating the Python Export Controller
After receiving the domain or chosen IDs, the backend controller will retrieve the data and create the prepared Excel file using the xlsxwriter library.
Create a file at controllers/daily_timesheet.py:
class DailyTimesheetExportController(http.Controller):
   @http.route('/daily_timesheet/export_xlsx', type='http', auth='user', methods=['POST'])
   def export_xlsx(self, data, **kwargs):
       params = json.loads(data)
       domain = params.get('domain', [])
       ids = params.get('ids', None)
       model = request.env['timesheets.analysis.report']
       if ids:
           domain = [('id', 'in', ids)]
       records = model.search(domain, order='date asc, employee_id asc')
       output = io.BytesIO()
       workbook = xlsxwriter.Workbook(output, {'in_memory': True})
       sheet = workbook.add_worksheet('Daily Timesheet')
       normal_header_fmt = workbook.add_format({
           'bold': True,
           'border': 1,
           'align': 'center',
           'valign': 'vcenter',
       })
       cell_fmt = workbook.add_format({
           'border': 1,
           'align': 'left',
           'valign': 'vcenter',
       })
       number_fmt = workbook.add_format({
           'border': 1,
           'align': 'right',
           'valign': 'vcenter',
           'num_format': '0.00',
       })
       COLUMNS = [
           ('Employee',       lambda r: r.employee_id.name or '', 20, cell_fmt,   False),
           ('Description',    lambda r: r.name or '', 30, cell_fmt,   False),
           ('Activity Group', lambda r: r.project_id.name or '', 25, cell_fmt,   True),
           ('Task',           lambda r: r.task_id.name or '', 25, cell_fmt,   False),
           ('Business Unit',  lambda r: r.company_id.name or '', 20, cell_fmt,   True),
           ('Department',     lambda r: r.department_id.name or '', 20, cell_fmt,   False),
           ('Time Spent',     lambda r: r.unit_amount, 12, number_fmt, False)                 ]
       sheet.set_row(0, 20)
       for col_idx, (label, _, width, _, is_yellow) in enumerate(COLUMNS):
           fmt = normal_header_fmt
           sheet.write(0, col_idx, label, fmt)
           sheet.set_column(col_idx, col_idx, width)
       for row_idx, record in enumerate(records, start=1):
           sheet.set_row(row_idx, 15)
           for col_idx, (_, accessor, _, fmt, _) in enumerate(COLUMNS):
               try:
                   value = accessor(record)
               except Exception:
                   value = ''
               if isinstance(value, float):
                   sheet.write_number(row_idx, col_idx, value, fmt)
               else:
                   sheet.write(row_idx, col_idx, value or '', fmt)
       workbook.close()
       output.seek(0)
       xlsx_data = output.read()
       return request.make_response(
           xlsx_data,
           headers=[
               ('Content-Type',
                'application/vnd.openxmlformats-officedocument.spreadsheetml.sheet'),
               ('Content-Disposition',
                content_disposition('daily_timesheet.xlsx')),
           ],
       )
Step 4: Registering the Custom View
Finally, we need to link our custom JS class to the Odoo List View using the js_class attribute.
Update your view XML:
<record id="timesheets_analysis_report_list_inherited" model="ir.ui.view">
   <field name="name">timesheets.analysis.report.list.inherited</field>
   <field name="model">timesheets.analysis.report</field>
   <field name="inherit_id" ref="hr_timesheet.timesheets_analysis_report_list"/>
   <field name="arch" type="xml">
       <xpath expr="//list" position="attributes">
           <attribute name="js_class">daily_timesheet_list</attribute>
       </xpath>
   </field>
</record>
Odoo 19 allows you to produce highly customized Excel outputs by combining a Python controller for data processing with OWL for frontend interactivity. This method preserves complete control over the format and content of the exported file while offering a smooth user experience.
To read more about How to Create a Custom XLSX Export from List View in Odoo 18, refer to our blog How to Create a Custom XLSX Export from List View in Odoo 18.