High-quality food items are available to employees through an effective lunch management system. The food supply issues for employees are removed with the usage of an ERP system. A vendor has a significant role in distributing food items and maintaining the timelines. Alert regarding an order is helpful for individuals as a reminder of the food order. All these can be managed easily through the Odoo 15 Lunch module. Here, users can choose the Vendor, create alerts for an order, and quickly track the location.
This blog helps you define Vendors, Locations, and Alerts in the Odoo 15 Lunch module.
We can configure the Lunch Alerts, Vendors, and Locations using the Configuration tab of the Lunch dashboard. Odoo 15 Lunch module ensures to development of a new order and checks the Account History, Cash Moves, Products, and more aspects for users. Let us look at the importance of Vendors, Alerts, and Locations on the Odoo Lunch dashboard.
Vendors
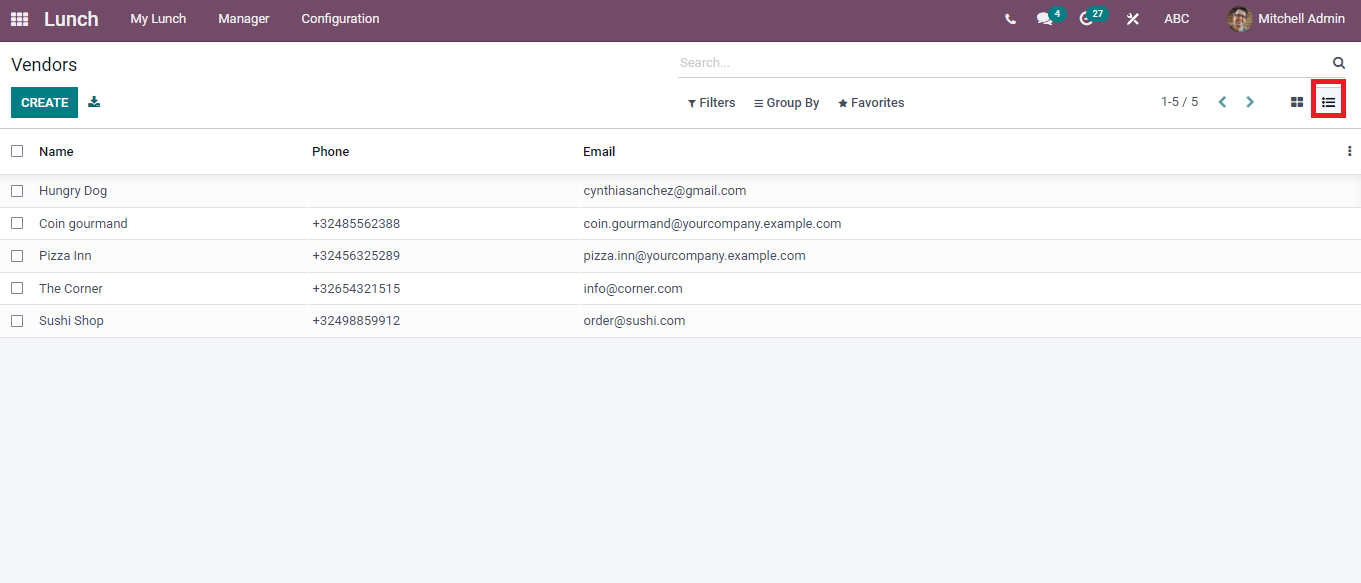
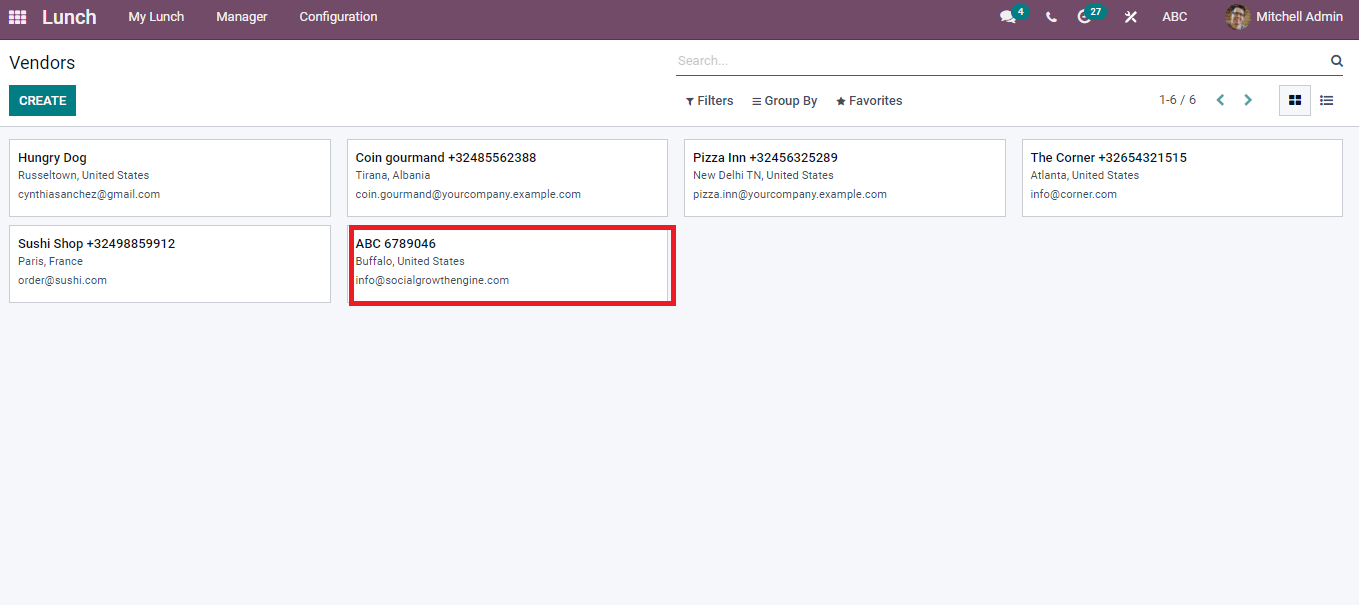
Select the Vendors menu from the Configuration tab and see each Vendor's details. You can access the place, email ID, and Vendor's name in the List view of Vendors window. To get more information on the Vendor, click on a specific vendor title, and it is possible to make some changes using the Edit icon.
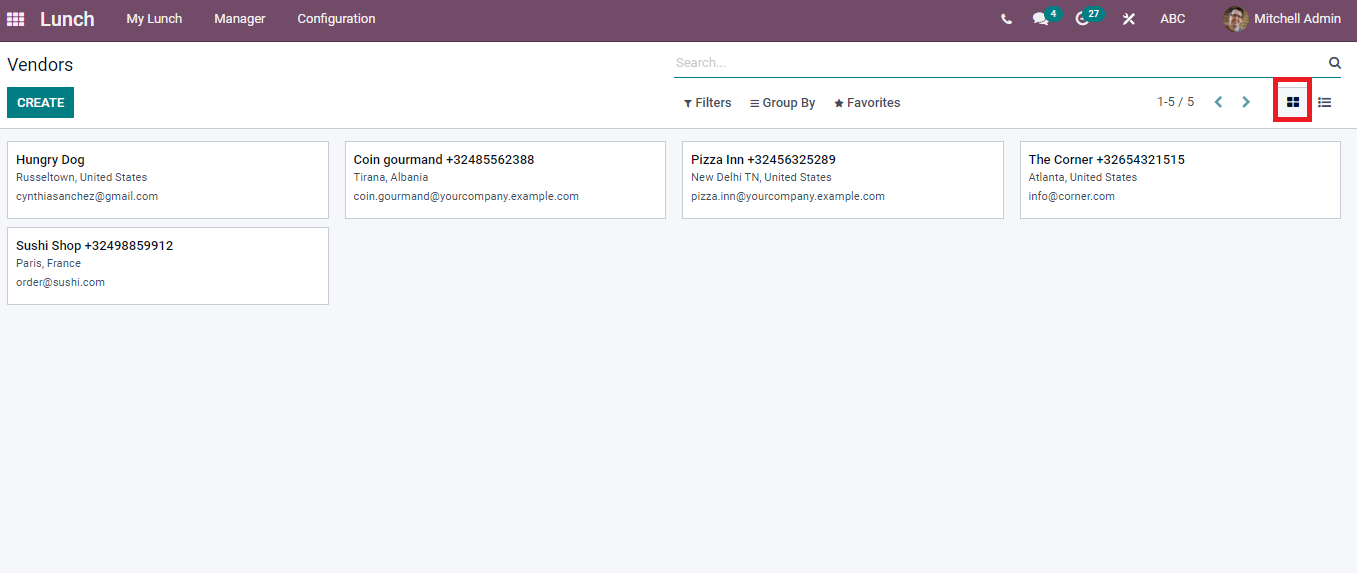
The List view of the Vendor window depicts the Name, Email and Phone number of each Vendor separately shown in the screenshot below.
How to develop a new Vendor for your food item?
The Create icon in the Vendors window lets you add more vendors to the existing list. Select the Create icon, and a new Vendor page will appear before you. Here, enter the Name of Vendor and external link near Vendor enable you to know about the information regarding specific Vendor. After that, add a detailed Address of the Vendor, including state, country, street, and ZIP code. Later, you can insert the Company name, Phone, and Email address below the Vendor title shown in the screenshot below.
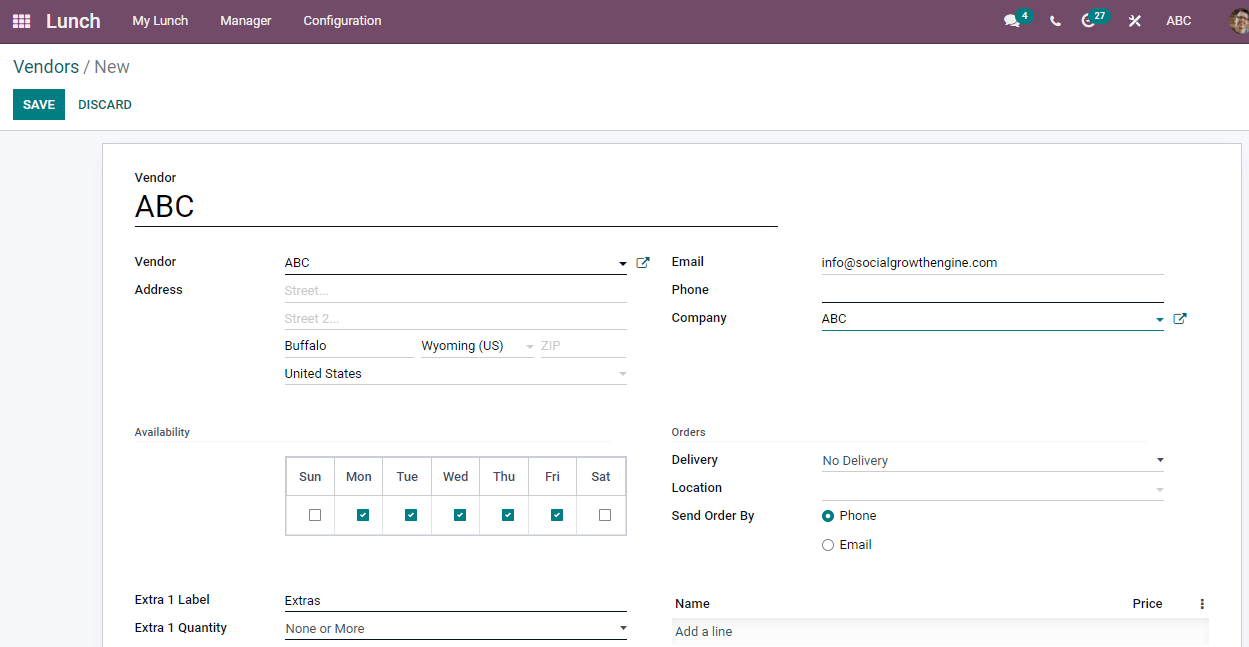
Choose the days on which Vendor is available for generating orders below the Availability option. It is possible to enter the name of extras provided along with recent quantities. Add the details of extras inside the title Extra 1 Label/ Extra 1 Quantity, and you can apply a maximum of three extras in this field depicted in the screenshot below.
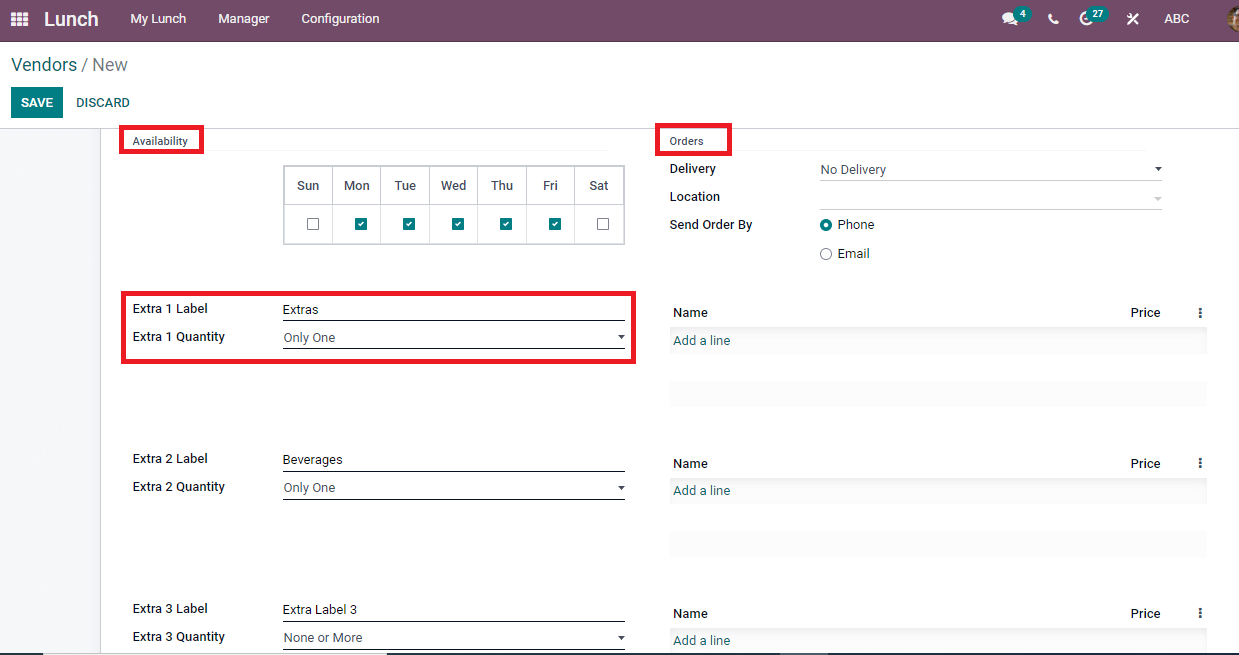
Select the Delivery/No Delivery from the drop-down menu and enter the office Location inside the Orders tab. You can enable the Send Order as Email or Phone by the Vendor. By activating the Email option, a new space for Order Time is visible for you. Here, add the time for Email notification for the ordered item. There is a space to add product names brought by vendors and apply the price for items. For that, click on Add a line option inside the Name title and enter the details of the items. Select the Save button after entering details of Orders and Availability. The Vendor's created name and address are visible in the Vendors window, as shown in the screenshot.
Locations
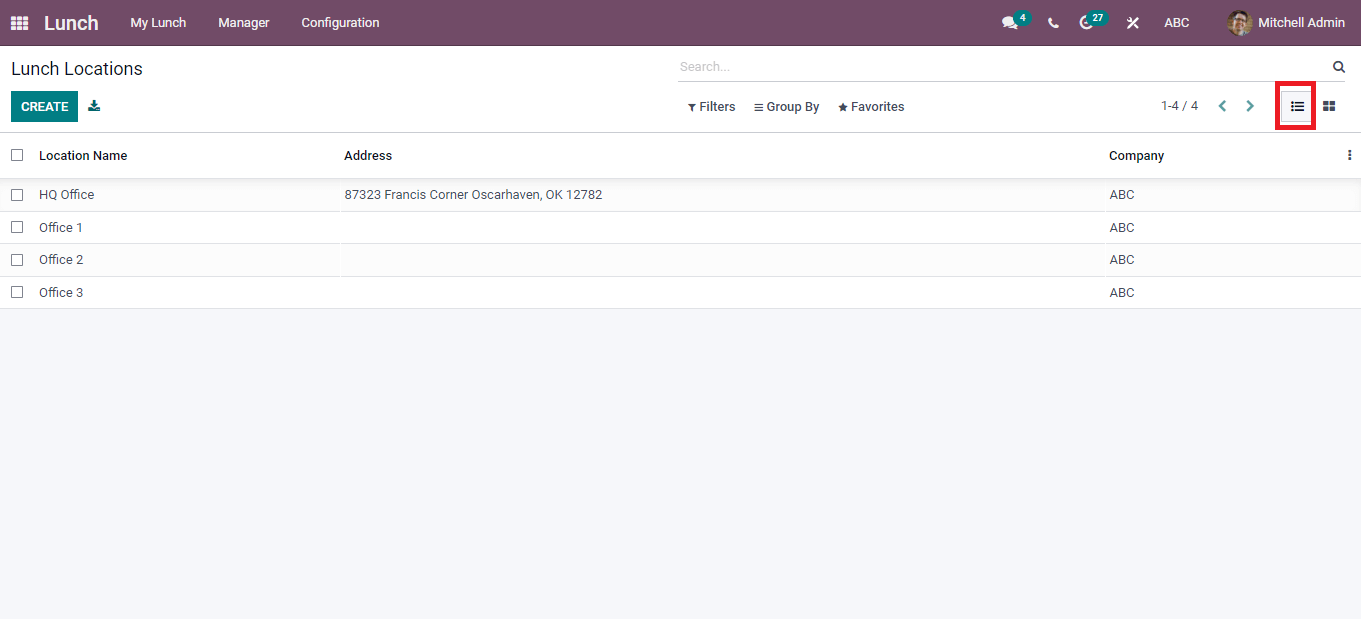
Most people look at the locations, such as the address related to the restaurant, before booking a food item. The Location of a food item has the same role as the ordered product quantity. Odoo 15 Lunch module provides details regarding the Location of ordered items, and users can easily configure it. Select the Locations menu in the Configuration tab, and you can see the lunch locations of your company in List view. Here, details such as Location Name, Address and Company are visible for users in the Lunch Locations window depicted in the screenshot below.
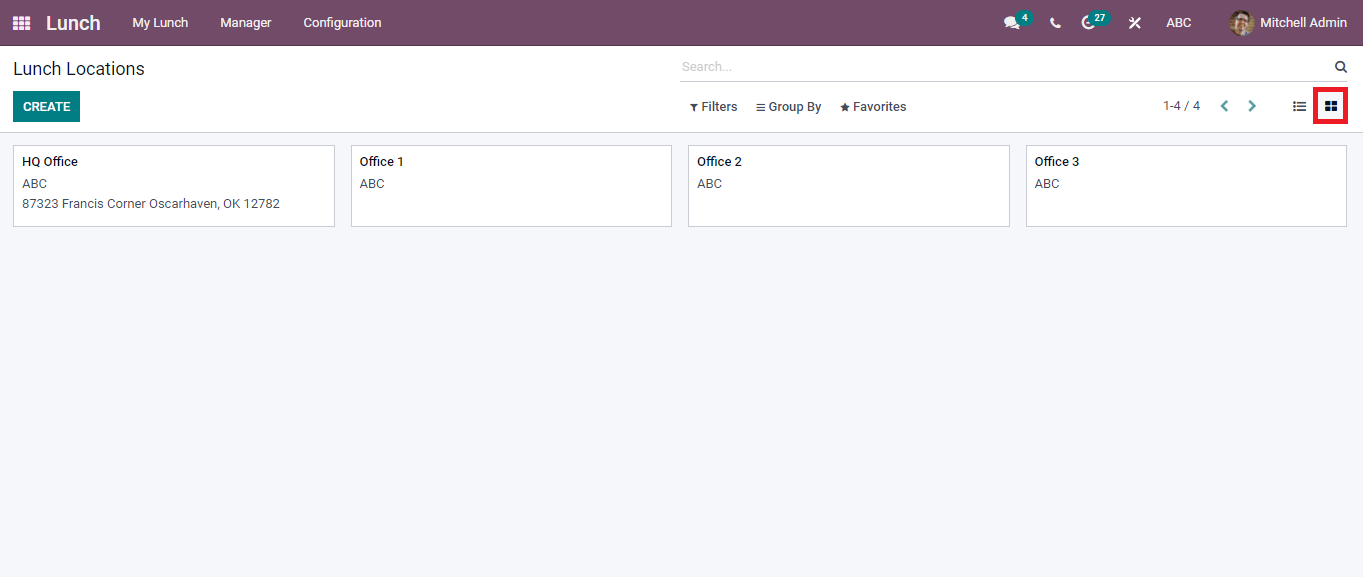
The Kanban view depicts the details of lunch locations of food orders, including the name/address of the specific place shown in the screenshot.
A new row is visible before you after clicking on the Create icon. Here, you can define a new lunch location and enter the details of a particular location. After applying the information, click on the Save icon, as shown below.
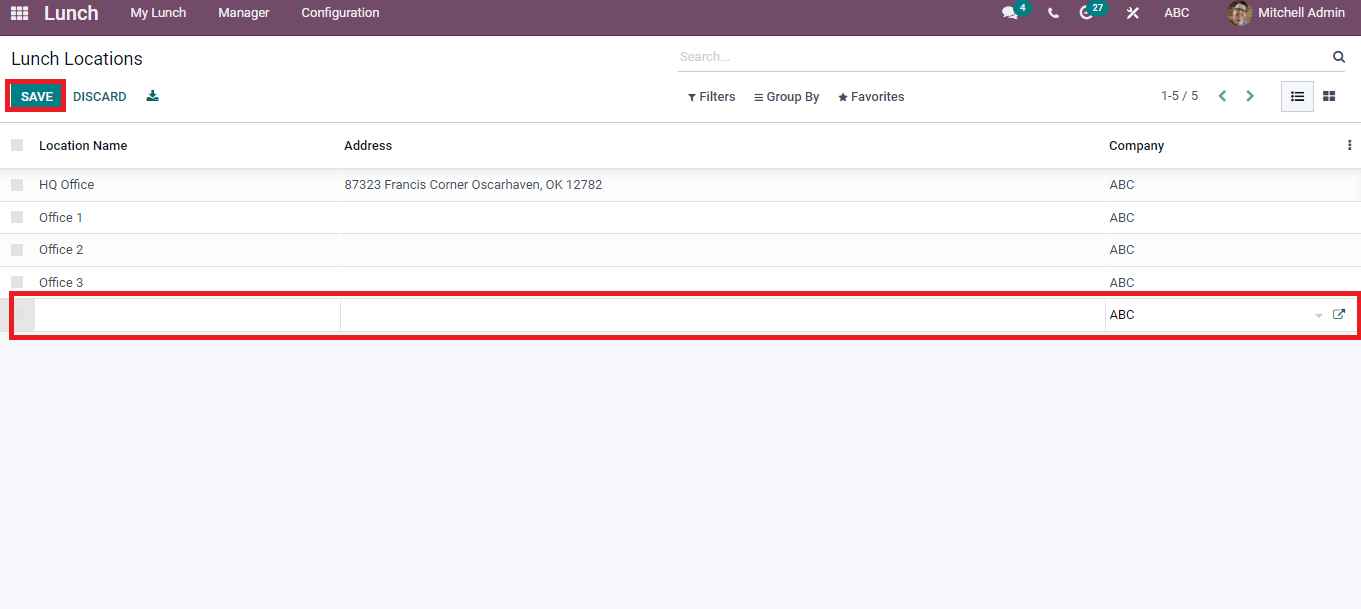
You can access the company details by clicking on an external link near the company name, and the Export All icon assists to download the data regarding Lunch Locations.
Alerts
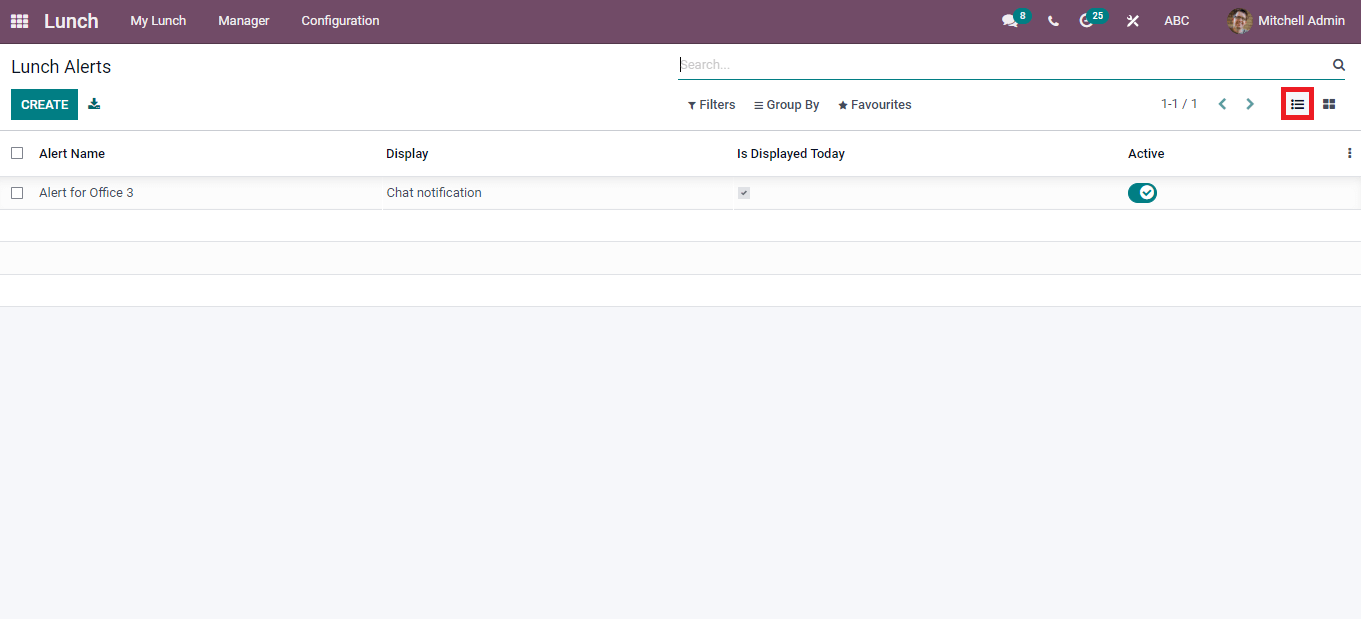
Lunch Alerts are beneficial for employees in a company at break time. You can generate Alerts in Odoo 15 Lunch module as a reminder for employees. Select the Alerts menu from the Configuration tab, and you can easily configure these alerts. We can see whether the Alert is active or not. The List view of the Lunch Alerts window depicts Alert Name, Active, Is Display Today, and Display shown in the screenshot below.
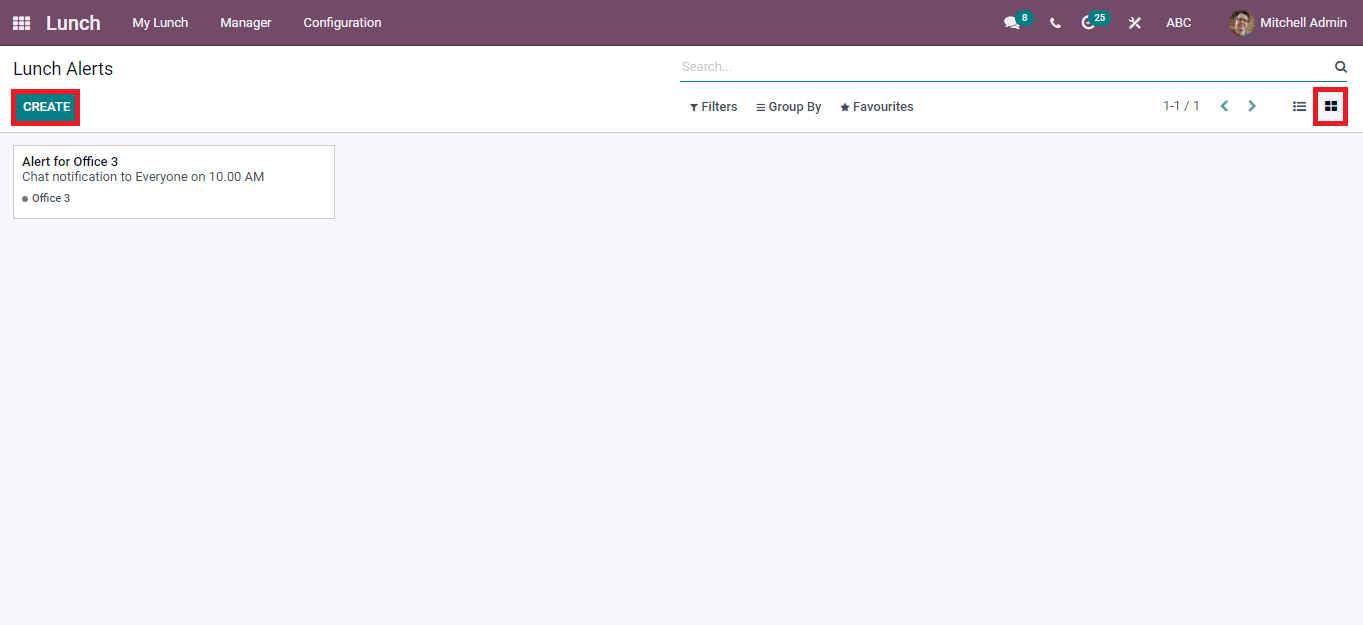
In the Kanban view, you can see the Alert time received to everyone and the office name depicted in the screenshot below.
The Create icon ensures you develop a new Lunch Alert for the food item. After clicking on the Create icon, it will direct you to a new page. Here, enter the Alert name such as 'Order before 11 pm' or any other alert regarding your food order. We can activate the Display as Alert in-app or Chat notification. After enabling Chat Notification, an additional option, Recipients, is visible to you. It includes several sub-options such as Everyone, Employee who ordered last week, month and year. You can choose the Recipients for Chat notification as you need. Moreover, we can enter the time of order below the Notification time after enabling the Chat notification option shown in the screenshot below.
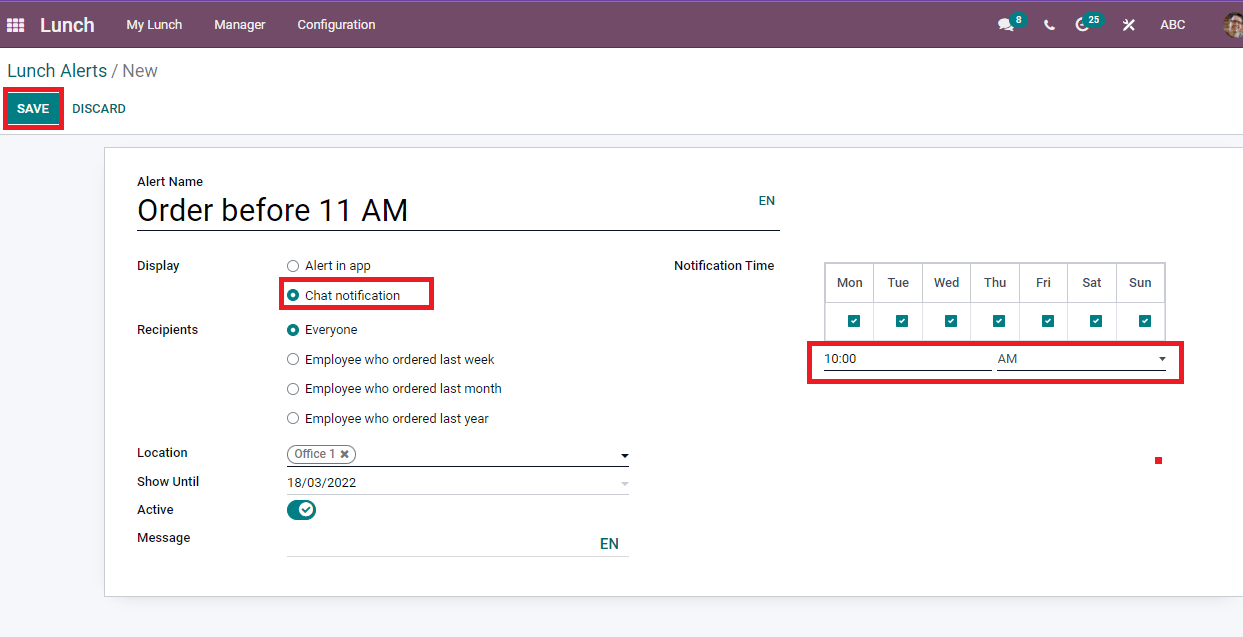
We can choose the office address from the Location option, and it is possible to set a date for the end of lunch alert from the Show Until option. After that, enable the Active button to apply the Alert and add any notes related to your order inside the Message option. Users can activate the dates on which Lunch Alerts are received for customers through the Notification time. You can enable the tick marks below the specific days to receive notification alerts. Now, click on the Save icon, and your Alert for the order generates automatically. The created Alert is viewable in the Lunch Alerts window shown in the screenshot below.

Odoo 15 Lunch module enables you to create a Lunch Alert, track the location and develop a new vendor for food items. Individuals can easily place their orders and track them using the Odoo Lunch dashboard. The Lunch module's advanced features assist in making lunch management for employees in a firm smoothly.