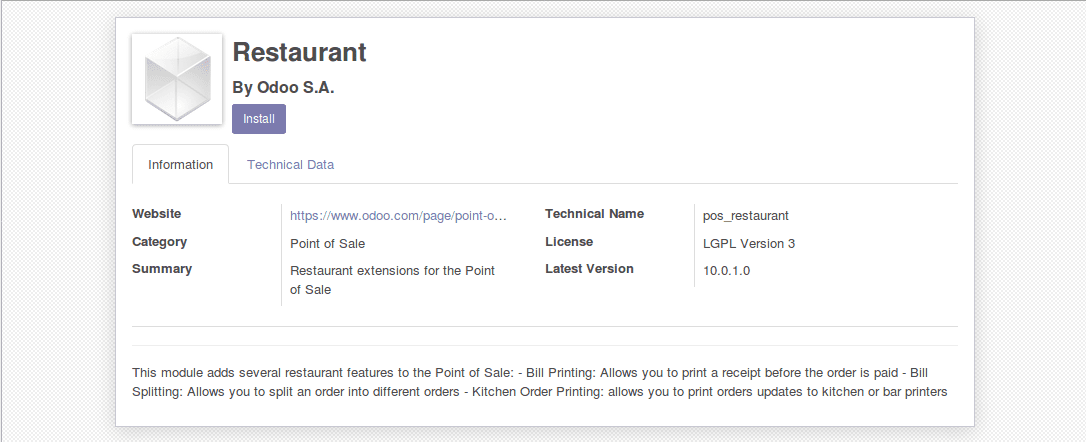
In this blog, we will be going through one of the beneficial features of Odoo- Odoo Restaurant POS. As you know, Odoo POS can simplify all your POS needs in hassle-free steps. Apart from speedy billing option, it provides features like, discount and Loyalty programs support, multiple payment type support, serve multiple customers at a time and customer-specific management, etc. The module supports both online and offline sales. It provides unified data across stores and has an integrated inventory management function. So let us see how to install and use the Odoo POS restaurant module.
After the installation and configuration of POS module, how can we use Odoo POS in restaurants?
Odoo POS in Restaurant
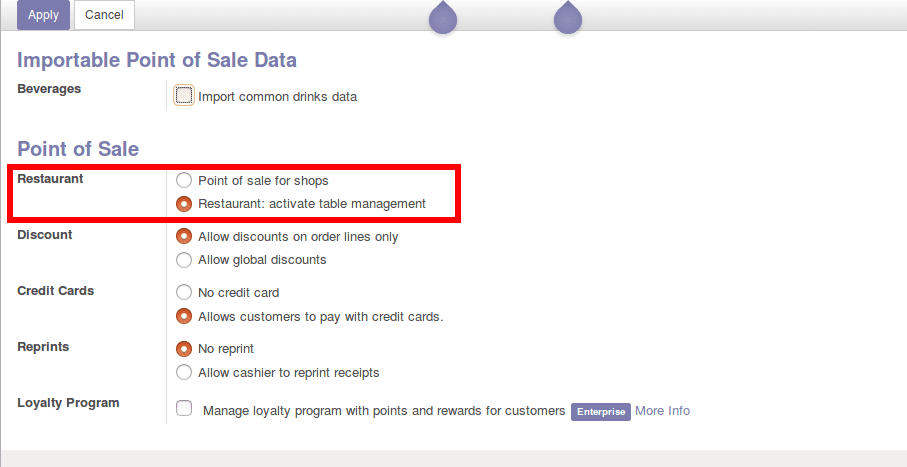
For this, you have to install an extra module known as “Restaurant” (Technical name: pos_restaurant) from Odoo apps.
Or You can enable the feature from Odoo POS settings
Point of Sale > Configuration > Settings > Point of Sale > Restaurant > Enable ‘Restaurant: activate table management’.
Now let us see the changes happened to your POS front end view.
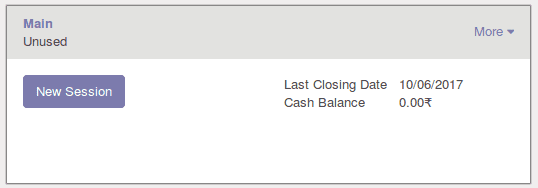
Resume or start the new session by clicking the button “New Session” in the dashboard.
Instead of the normal POS window, you will get a new window like below.
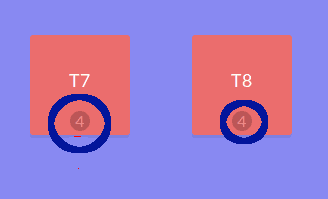
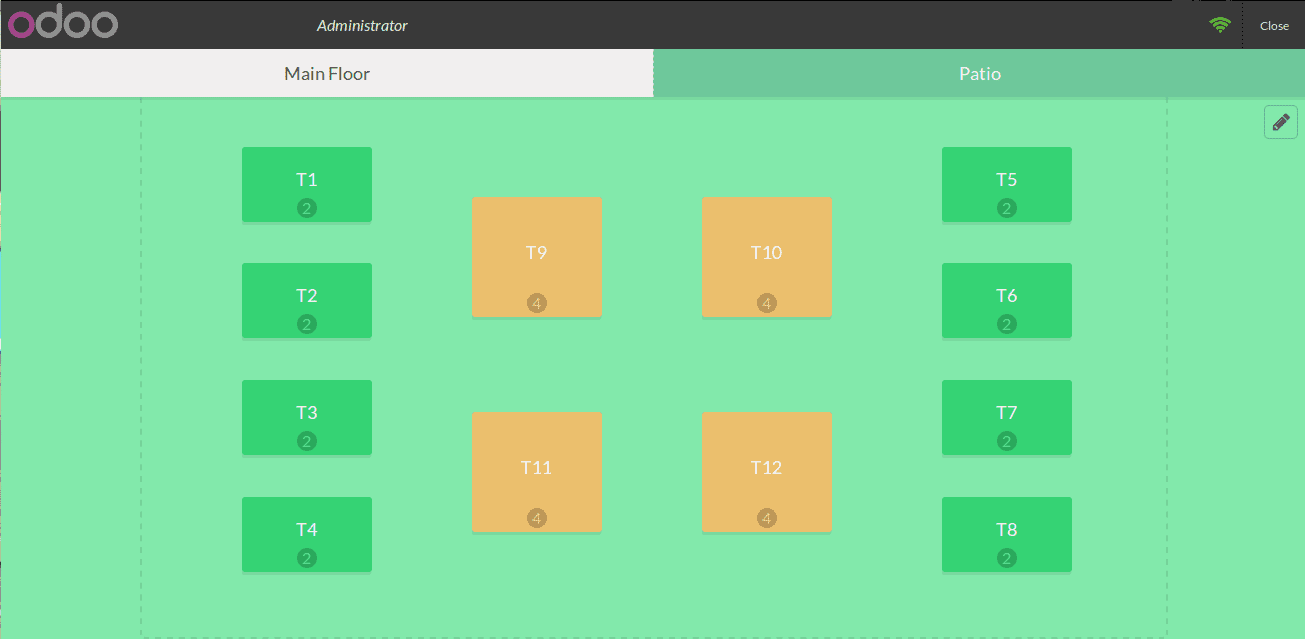
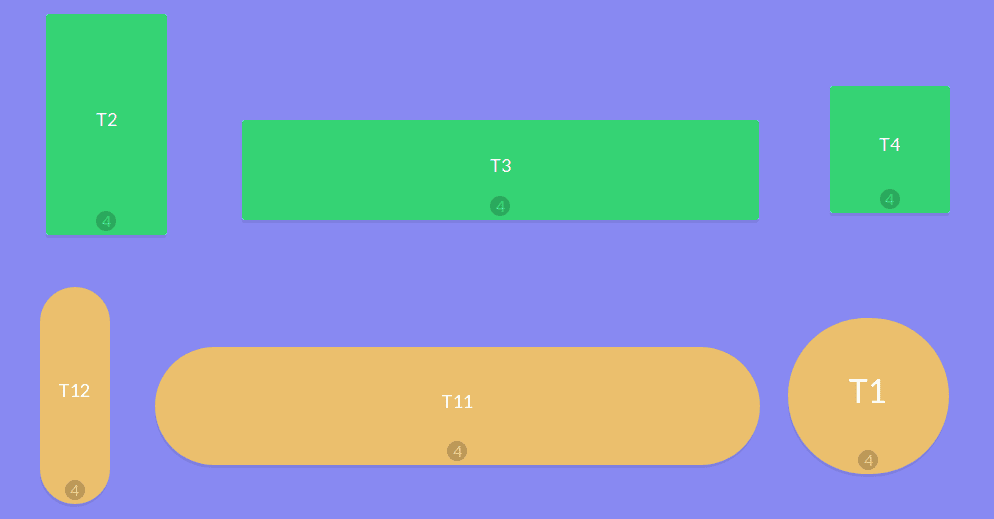
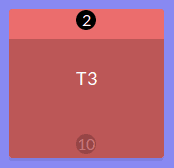
This is the restaurant seating arrangement Main Floor. T1, T2, T3,...T11 are the tables on this floor.

In each table you can see the number of seats there.
You can also add different floors in your restaurant. In this example, you can see the floors ‘Main Floor’ and ‘Patio’
Similarly, we can configure multiple floors in a POS. We can configure the number of floors, number of tables in each floor and number of seats in each table.
To manage the tables and arrangements directly from the front end by click on the “Pen” button in the top right corner. Click the button and the view will change like below.
We can select each table and change the size of each table from the following menu.
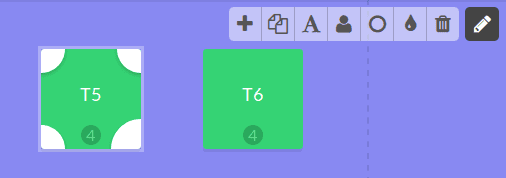
At the top right near the pen button, there are 7 new buttons appeared, using these buttons we can manage the style and other settings of a table.
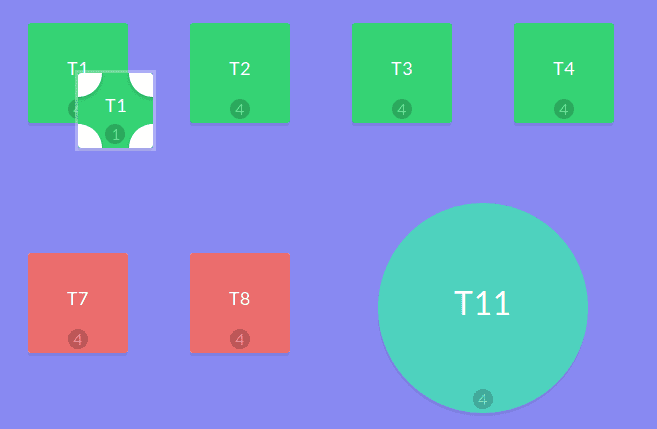
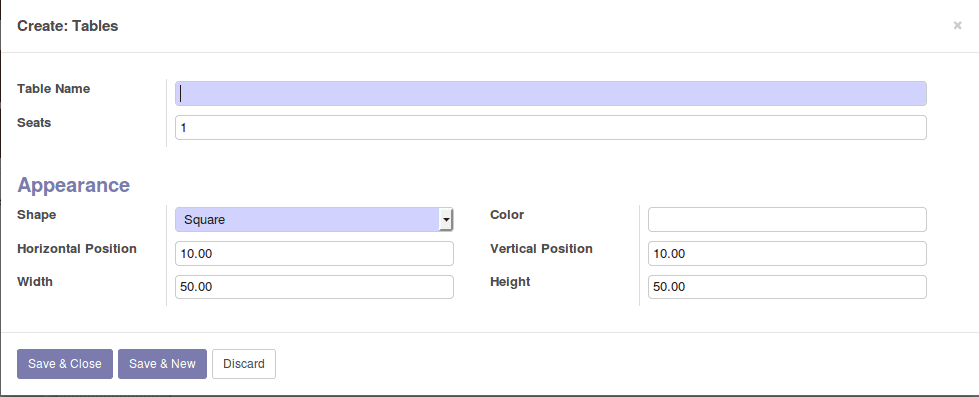
Use the ‘+’ button to create new tables. We can resize and place it in a correct position.
Use copy button to copy a table
Use ‘A’ button to change the table name
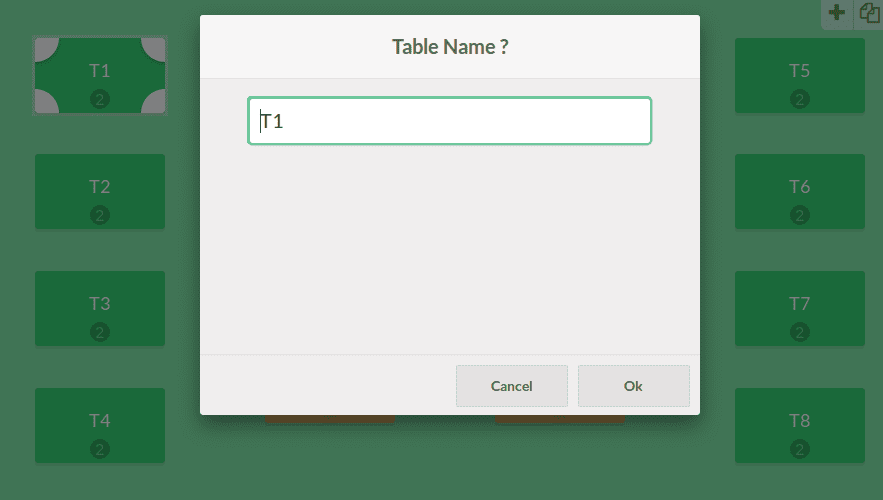
In this window, we can change the name of the selected table.
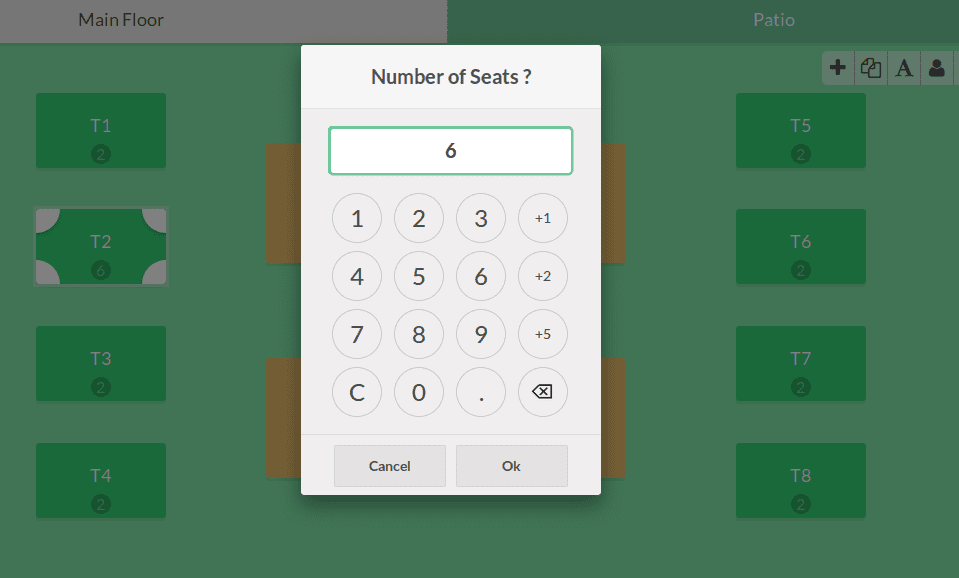
The ‘person’ button will let you change the seating capacity.
This is button comes active only when we select a Table.
You can use the next button to change the shape of the table.
Basically, two shapes are available in this case, circle, and square.
Next one is Color picker button
You can change the color of the background and tables.
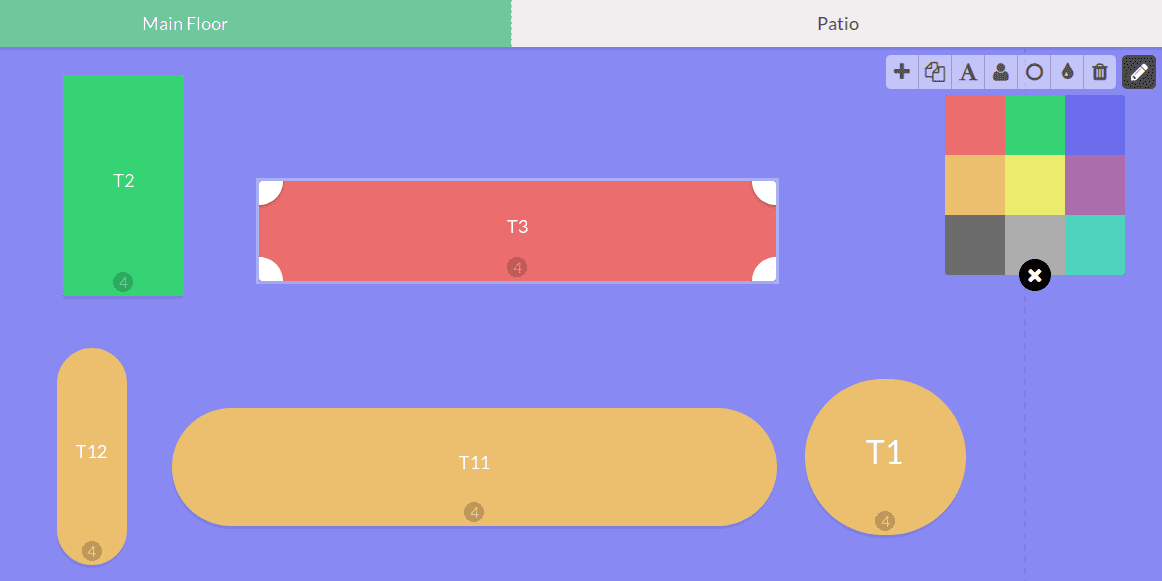
To change a color of the particular table, first, select the table and change the color. If nothing is selected, then it will change the background color.
The final button is a delete button.
Simply delete any table you don’t need using this button.

Now let us look in the case of Floor management.
POS->Configuration->Floor Plans

Here we can create new floors and configure it. Click
Create to create a new floor.
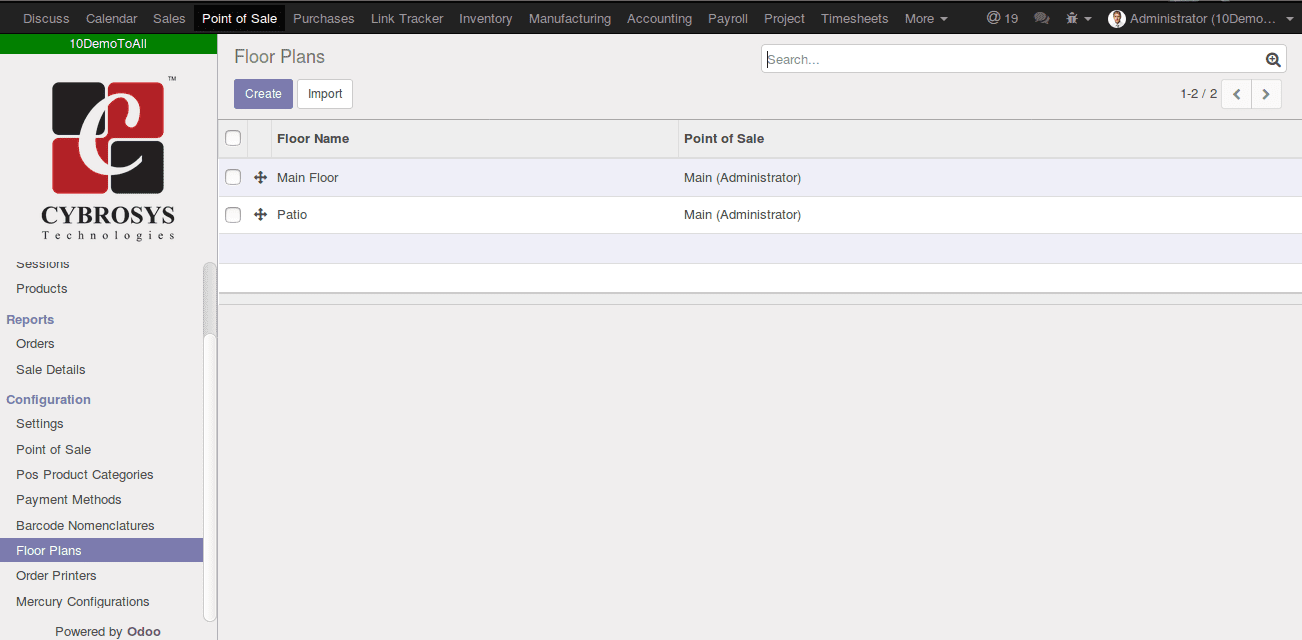
Give the name of the floor, the point of sale, Background color and the number of tables.
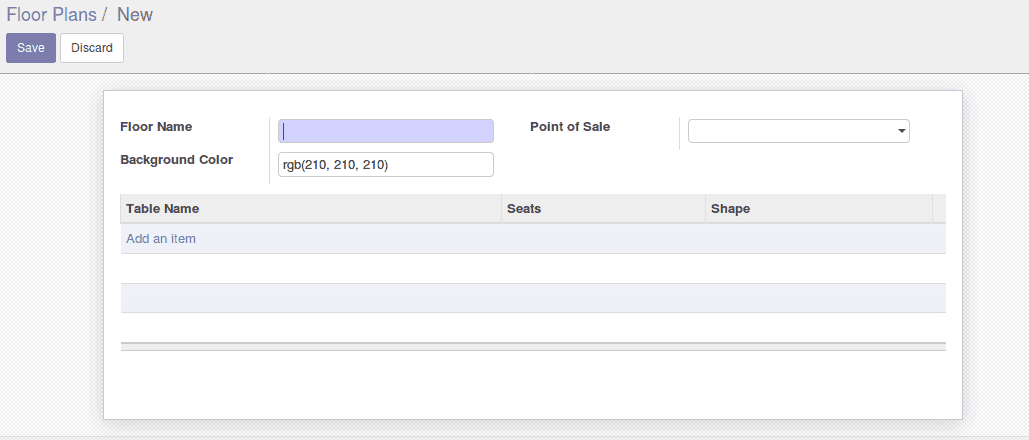
Click Save
Now you have successfully configured restaurant floor arrangements.
Now let’s have a look at the working side.
Start a new session.
The Green tile shows the Floor name and Table name.

The notification on the top of tables view represents the open orders in that table.
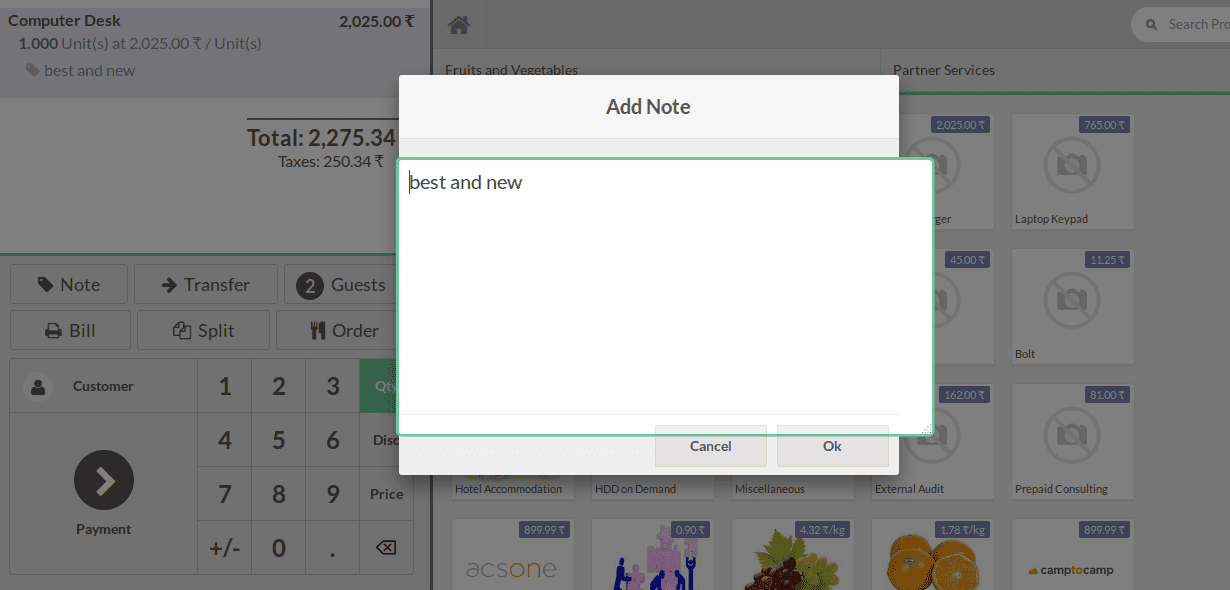
Also, we can see here some additional buttons like Note, Transfer, Guests, Bill, Split, Order
‘Note’ button can be used to mention notes in the order lines,
Transfer is the button used to change the table, if we click it we can see the floor view, from there we can select the proper or convenient table
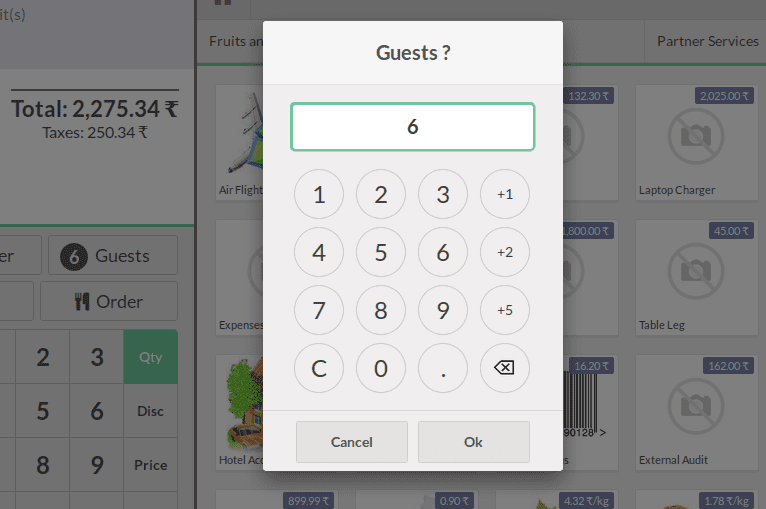
‘Guests’ is the button used to give the number of customers/guests in a table.
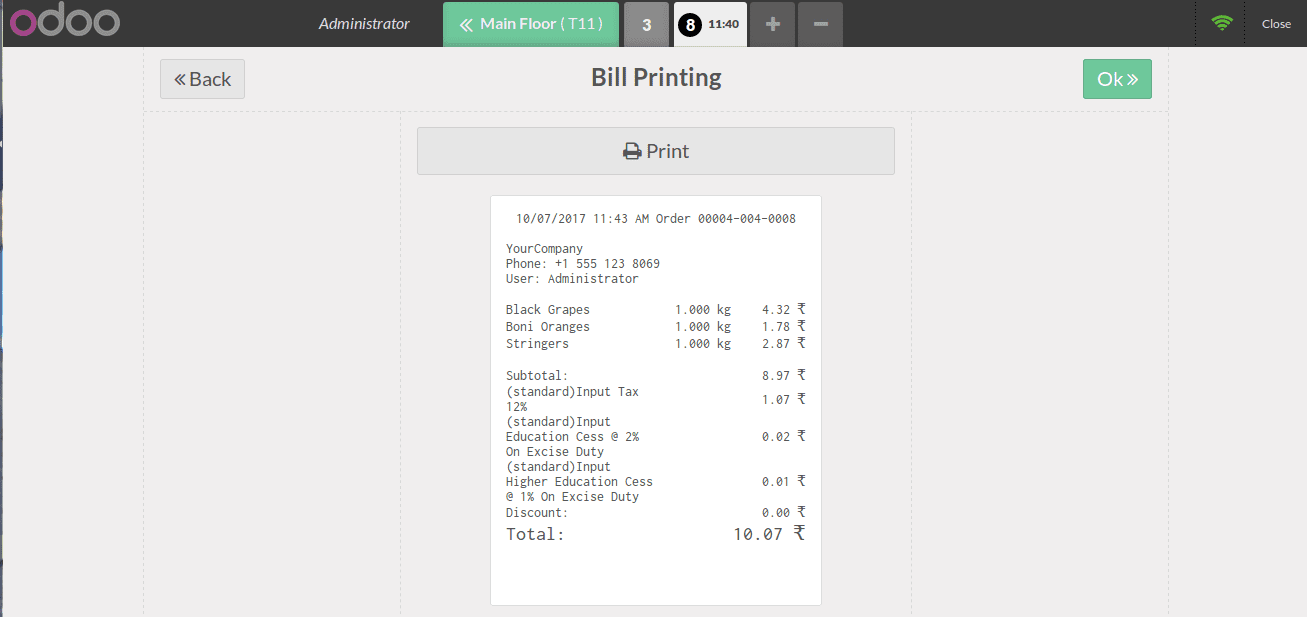
Bill button is used to take the print of the bill
Order button is used to make an order.
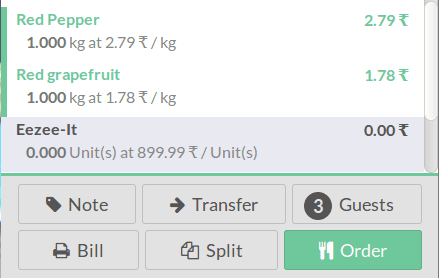
Split button can be used to split your order and make payment
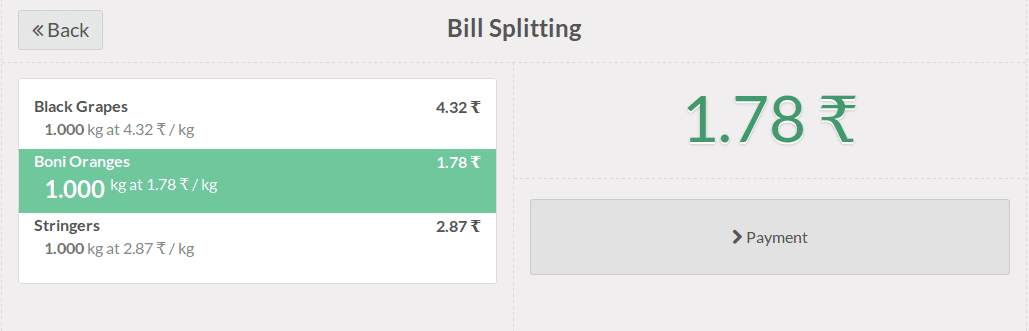
We can split any of the order lines as per the customer convenience.

If we split and pay partial order lines, then after the payment, you can see the unpaid order lines.