Efficient Repair management is essential for preserving the workflow of the company. Repair management plays a crucial role in any company as ensuring the maintenance and health of the company products is necessary for safeguarding the customer-friendly nature of the business. The Odoo 15 Repair module lets its users efficiently manage the repairing procedures on multiple products simultaneously and will allow them to order it efficiently, avoiding clutters.
This blog will give you a detailed overview of the Odoo 15 Repair module.
The Odoo 15 Repair module is fully integrated with the Maintenance and inventory module of Odoo, giving you direct access to the products, equipment, and employees required for performing the Repair activities on the products or equipment.

All Repairing orders with their live updates will be listed on the module's dashboard.
Creating and managing Repairing reports
You can instantly create and manage Repair orders from the module's dashboard. Click on the CREATE button under the dashboard, and the page to configure the new repair order will open up, as shown in the image below.
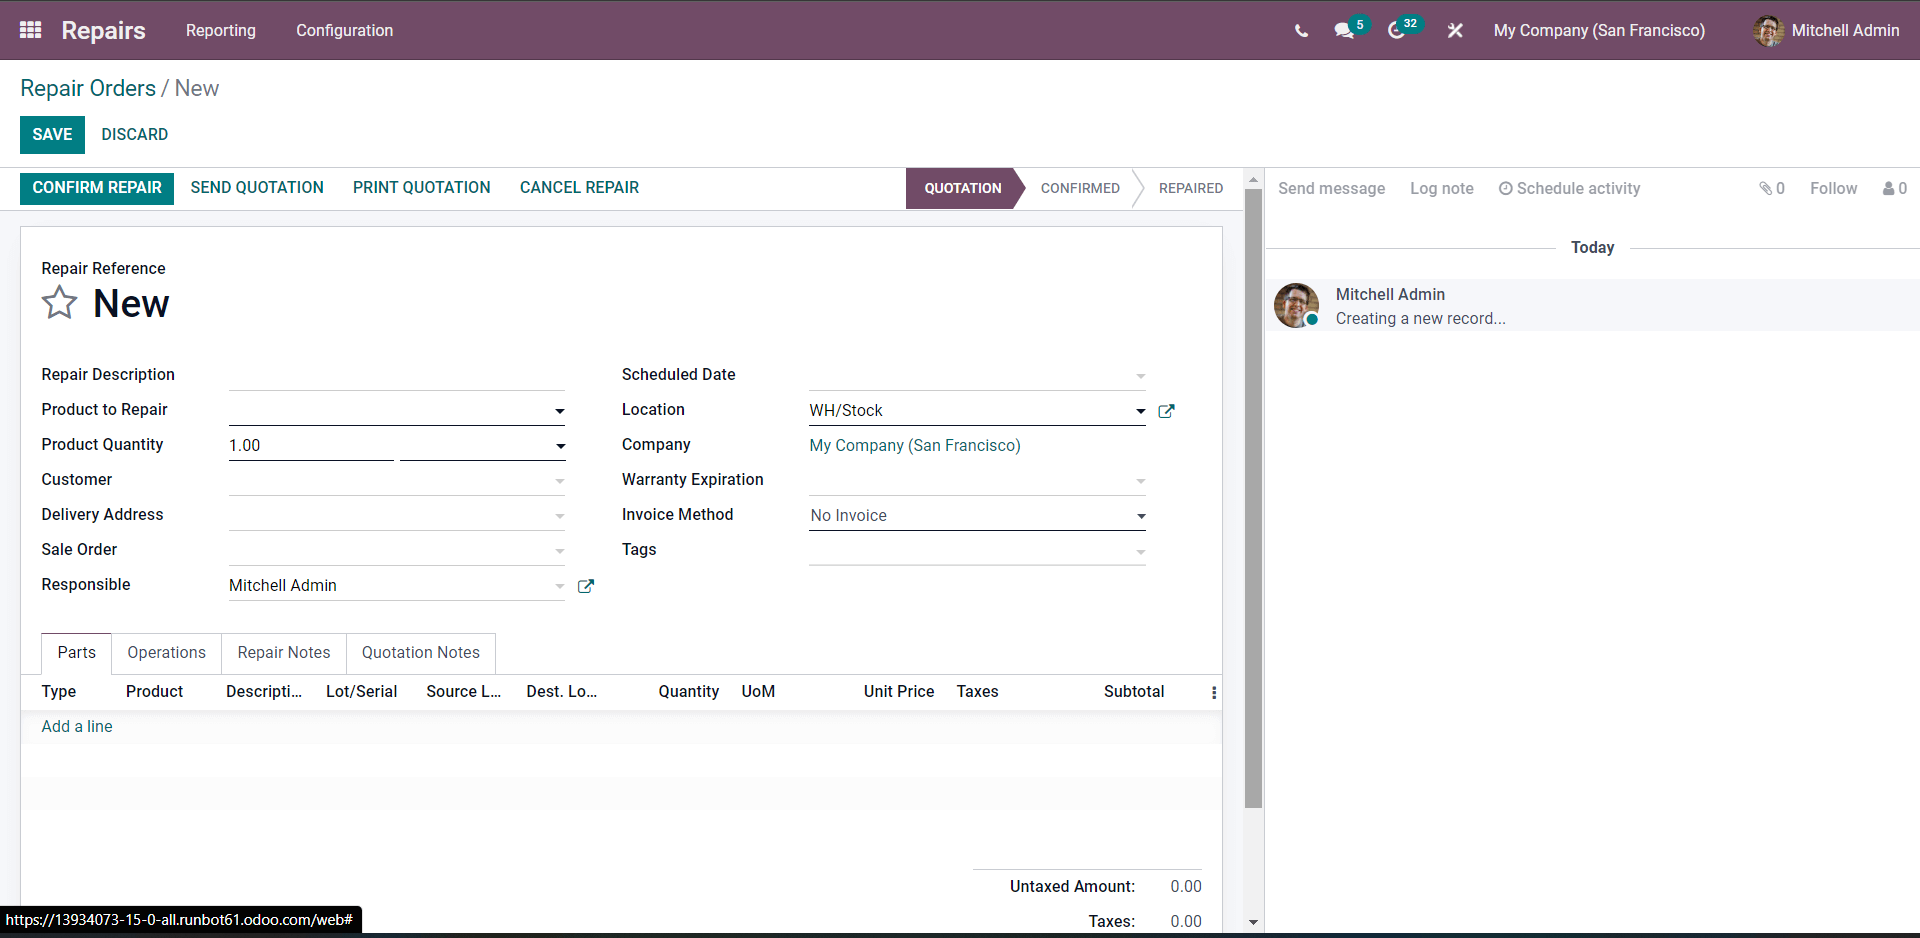
In the Repair description field, you can enter the description for the repair order. Note that you
must ensure that the description is accurate and justifies the repair request. In the following immediate field, you can enter the product that needs to be repaired from the Producto repair field. From the drop-down menu, pick the product.

The next step is to enter the number of products that must be repaired. You can select the number from the Product quantity field.
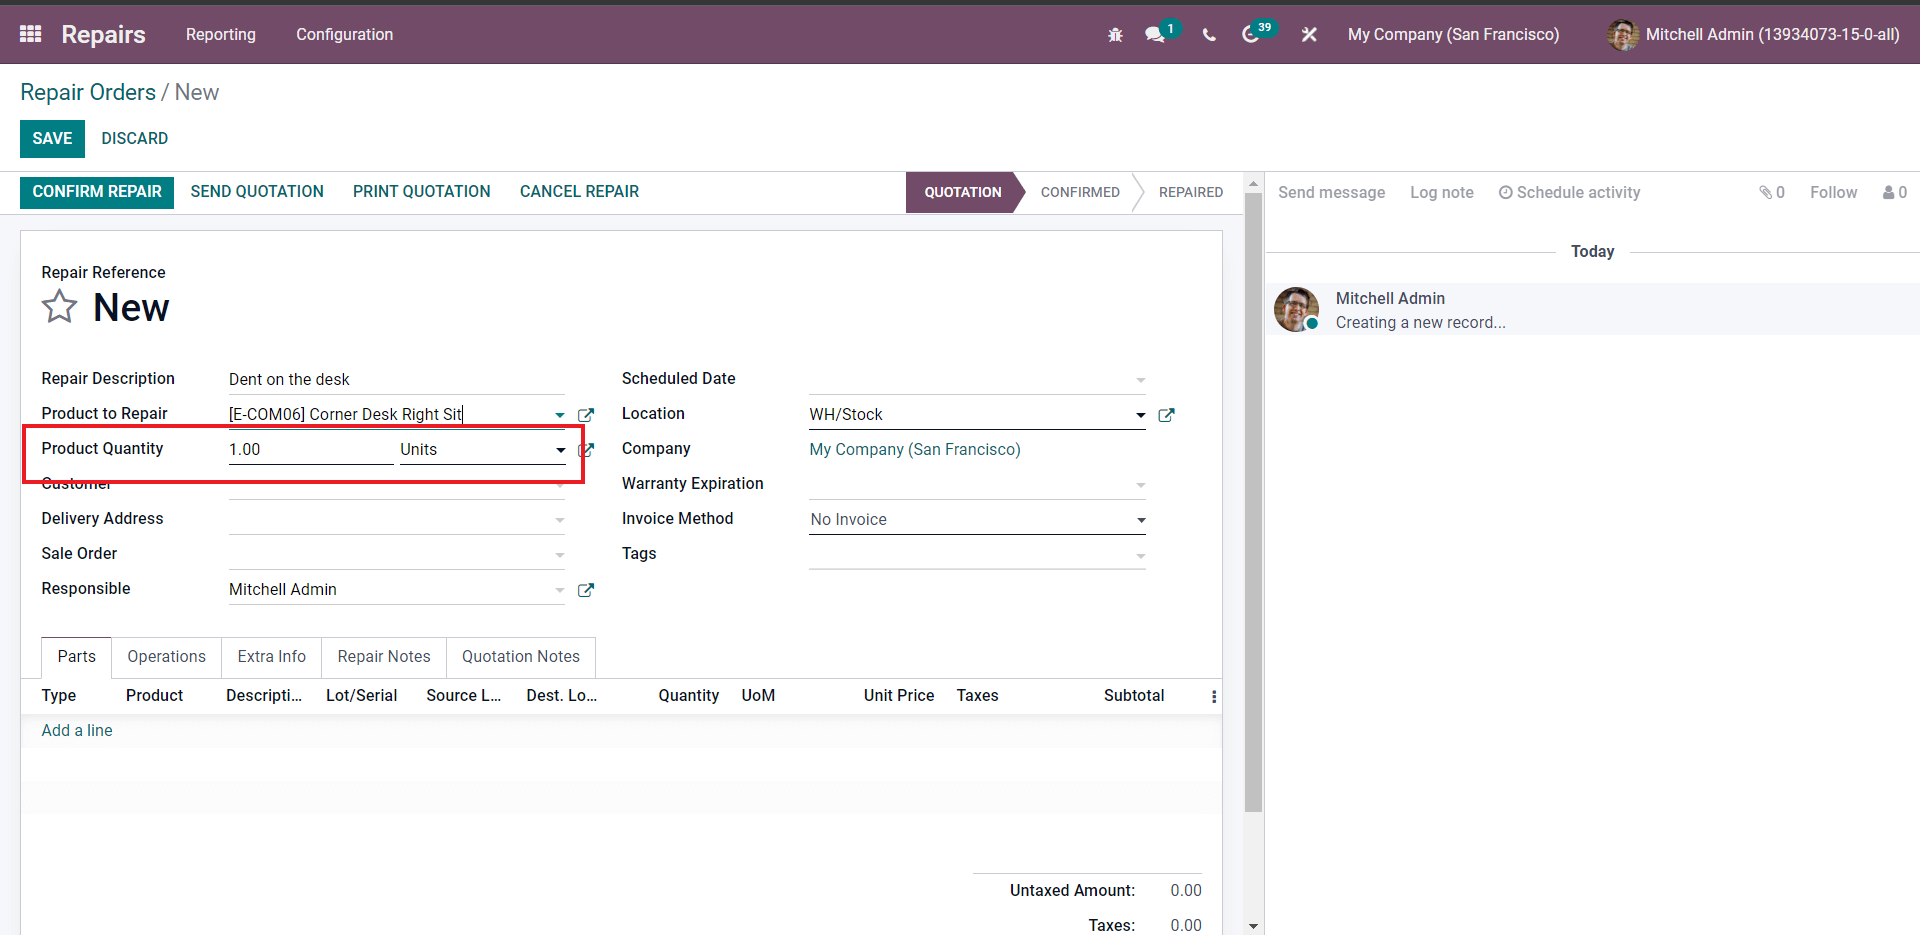
Enter the number of products and from the Customer field, choose the customer who has reported the issue on the product
Choosing the customer is crucial as it is essential for easy customer product management. The delivery address and details relating to the customer will be auto-filled concerning the configurations. You can choose the sales order from the Sales order field in the following immediate field. You can also set the person responsible for the operation from the Responsible area.
You can enter the repair Schedule date from the Scheduled date field, as shown in the image given below.

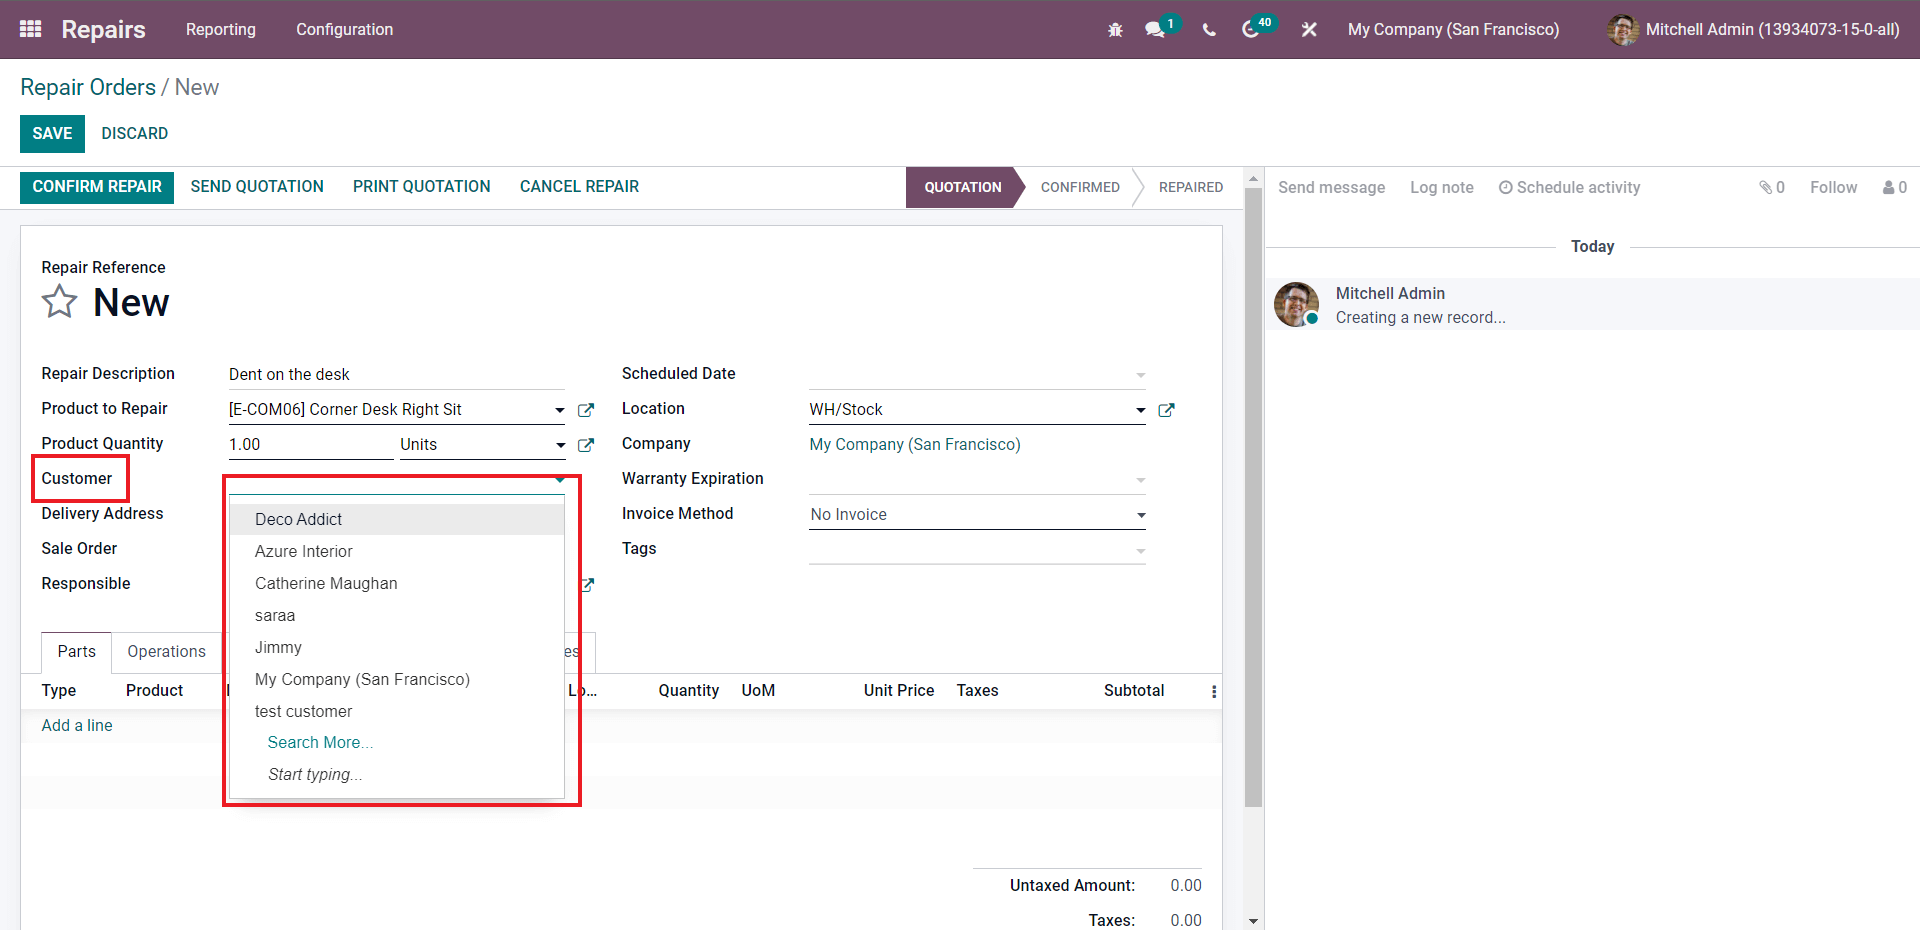
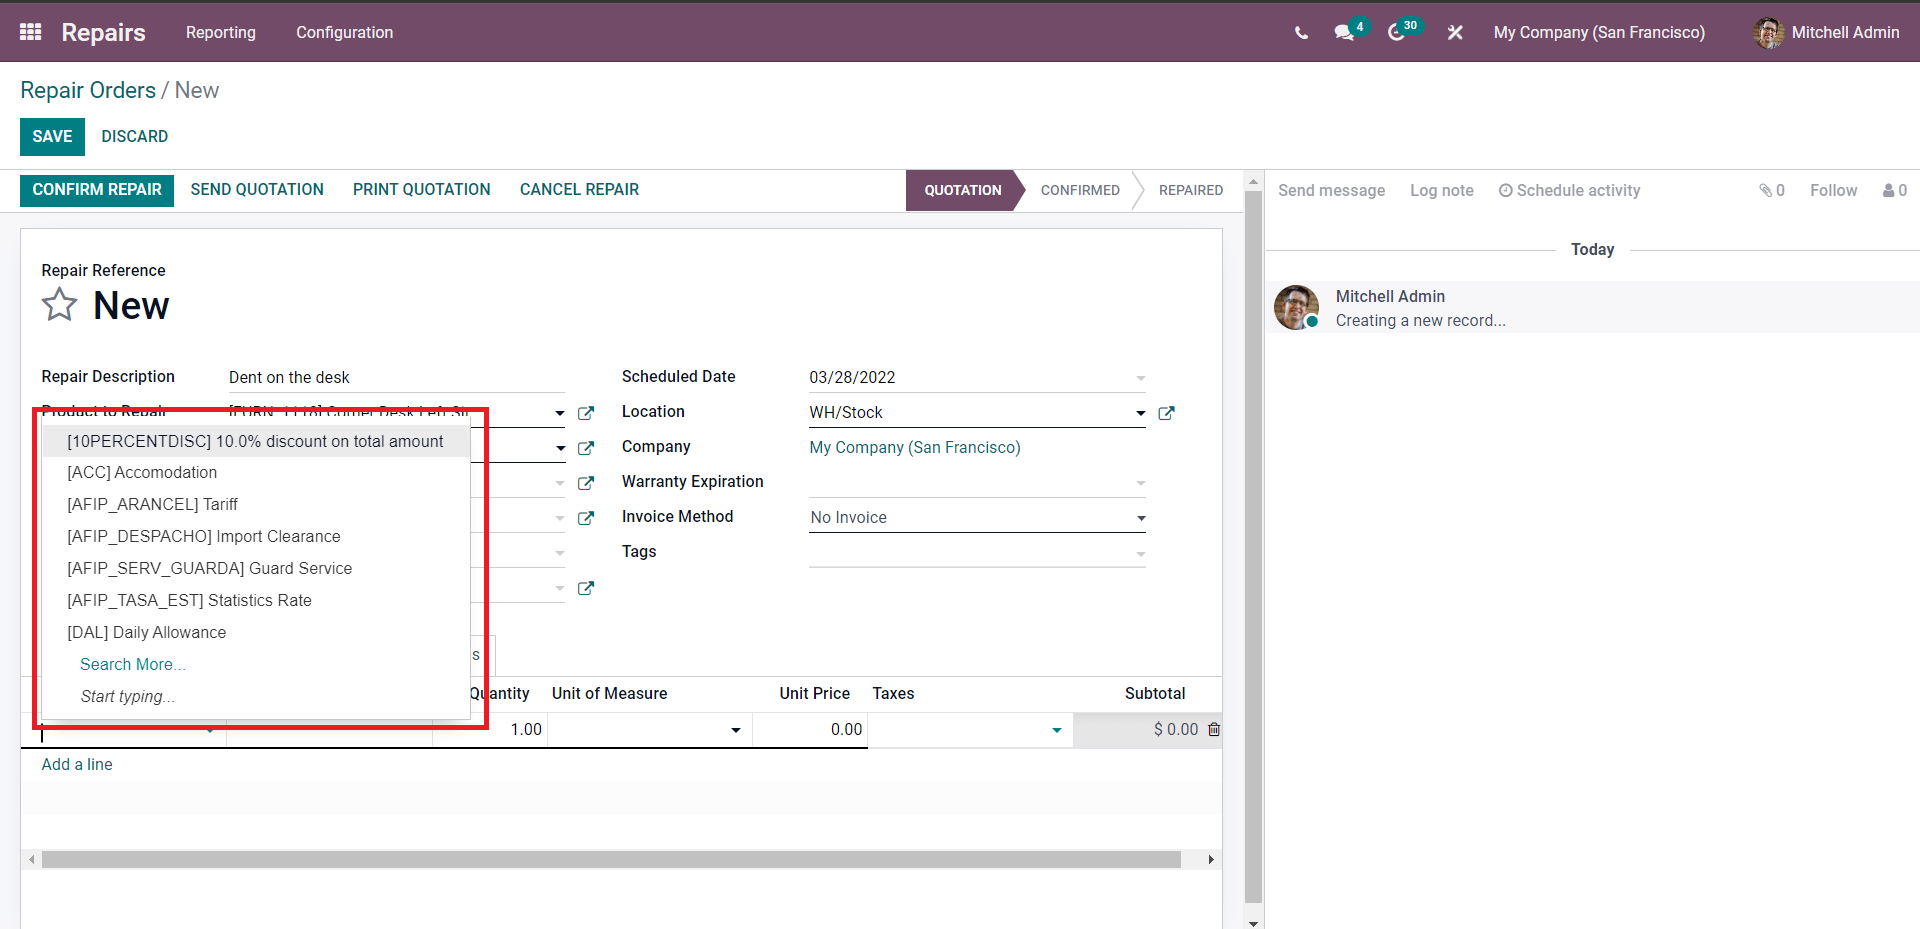
You can choose the location, Warranty Expiration, Invoice method, and tags for easy identification. From the lower deck of the configuration page, you add the parts for the products that need to be replaced.
You can choose the Type to Add or Remove the sub-product as part of repairing the main product. So, in this case, we have to add a screw to the product, so the type we have to choose is Add, and from the product field, select the product as shown in the image given below.
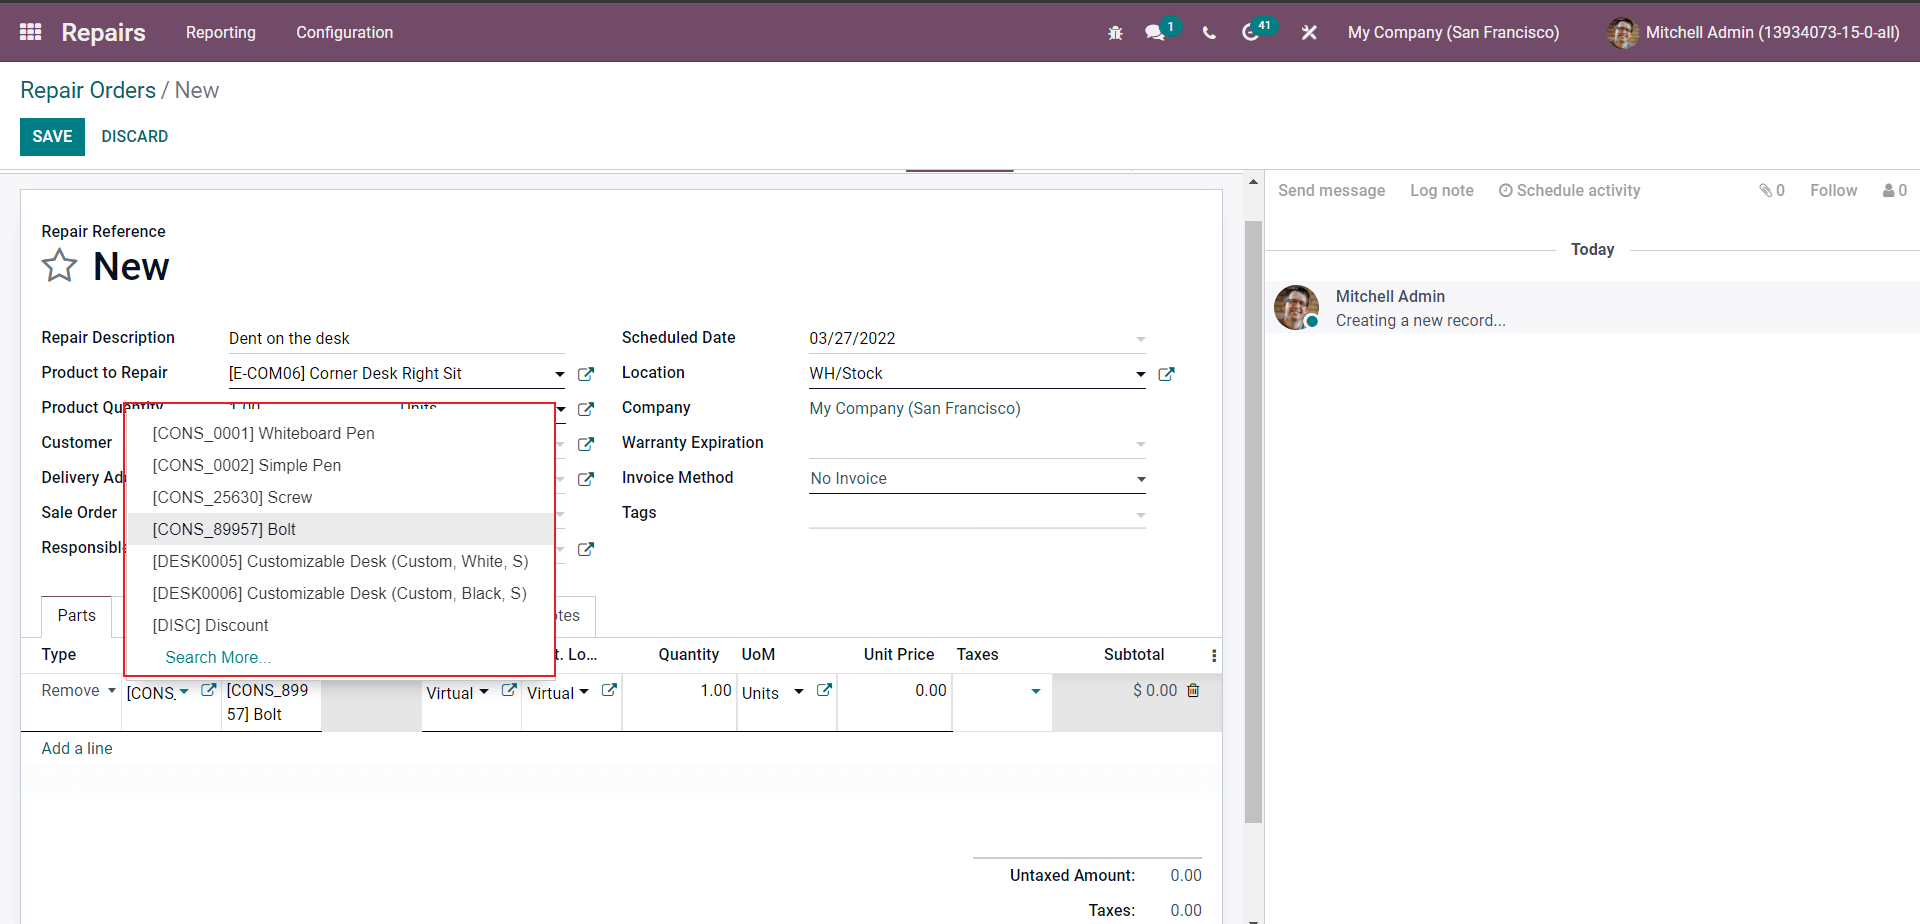
After selecting the product, the rest of the fields will be automatically filled with respect to the product configurations. Similarly, you can add or remove multiple products or components.
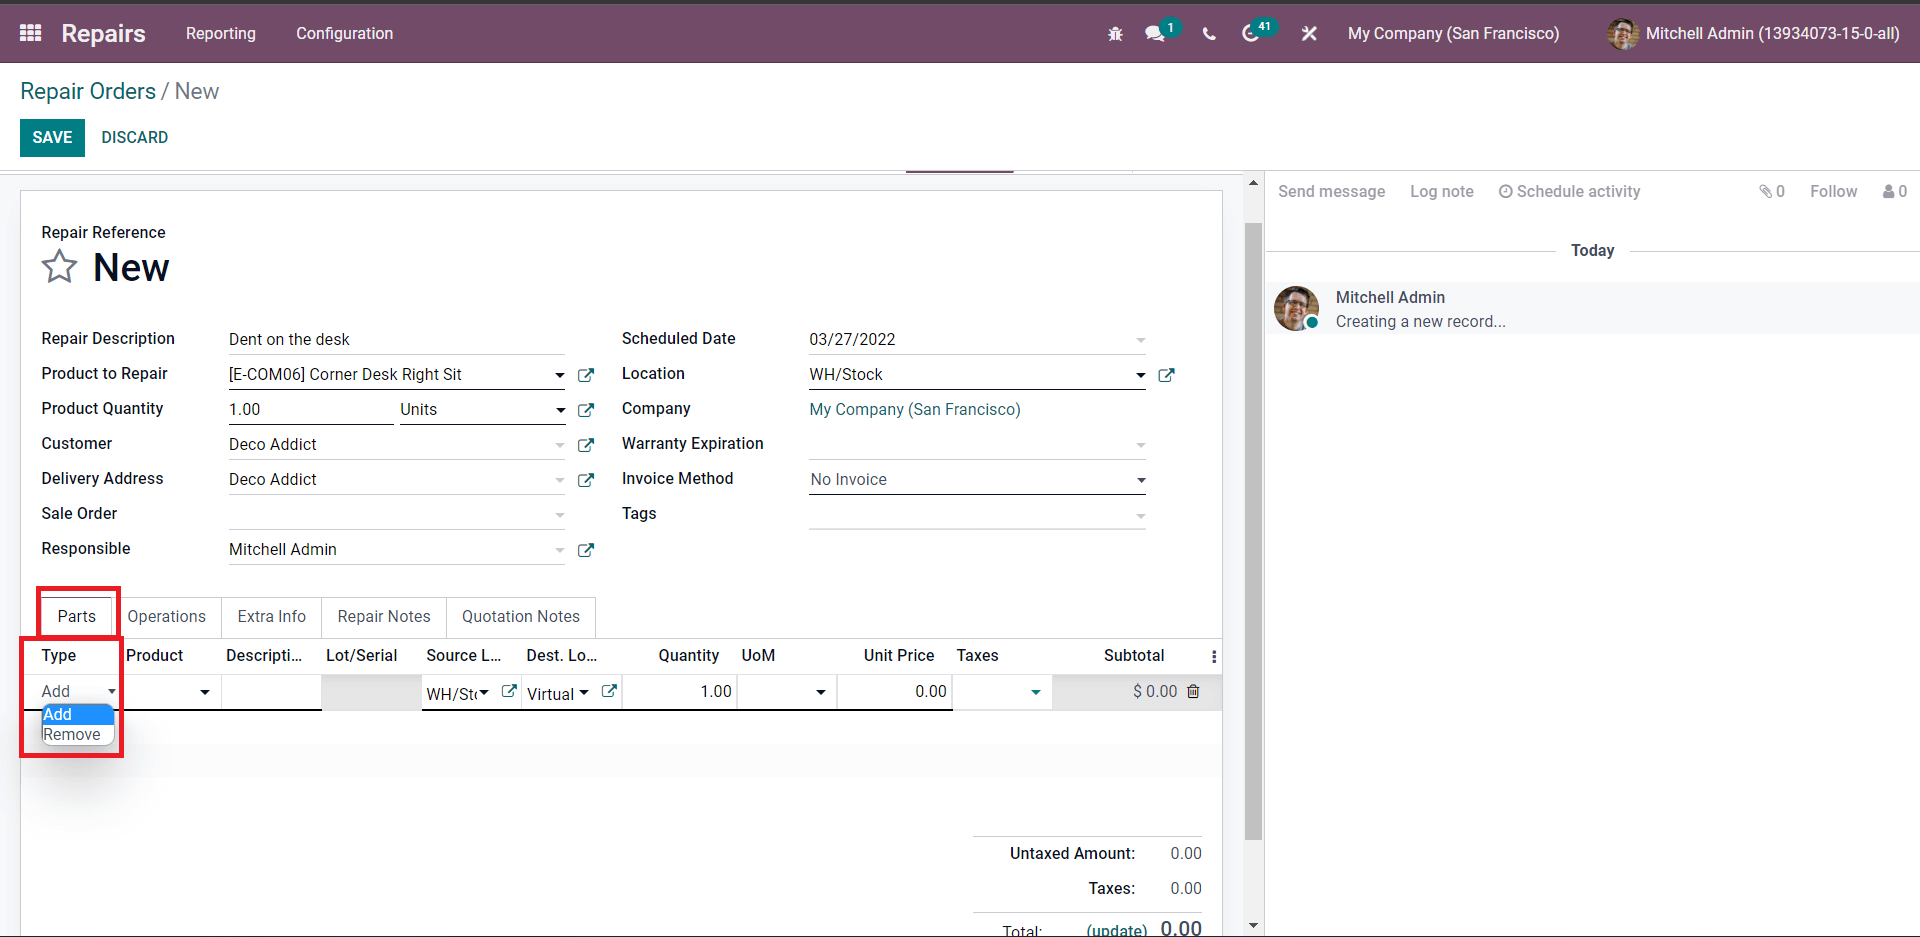
After adding the parts, you can add the operations on the product from the operations section of the configuration section next to the Parts section.
You can choose the Operations from this section. You can add the operations based on the repair order and the product. You can type in the notes in the Repair notes section.
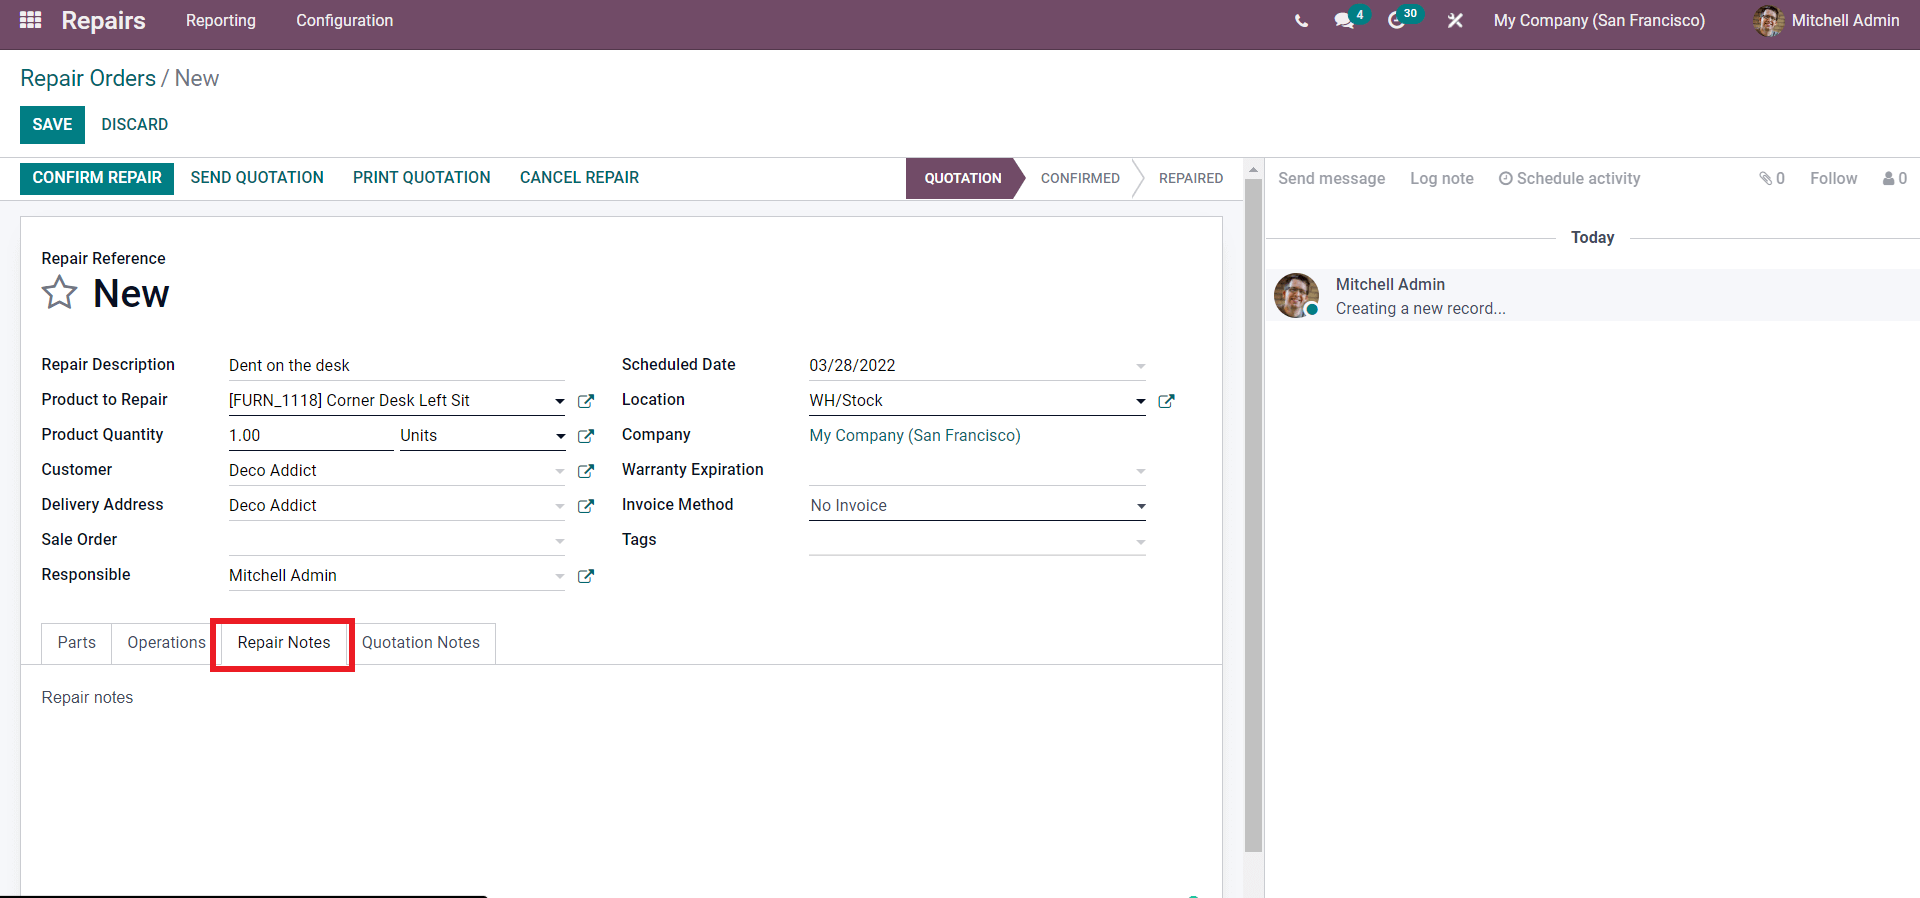
You can type in the notes in this section. In the Qauatations notes section, you can add any message on the quotations.
Post configurations, press the CONFIRM REPAIR button to confirm the repair on the product. You can also instantly send the repair order quotation by clicking on the SEND QUOTATION button. In this case, we want the product to be repaired, so we have to click on the CONFIRM REPAIR button.
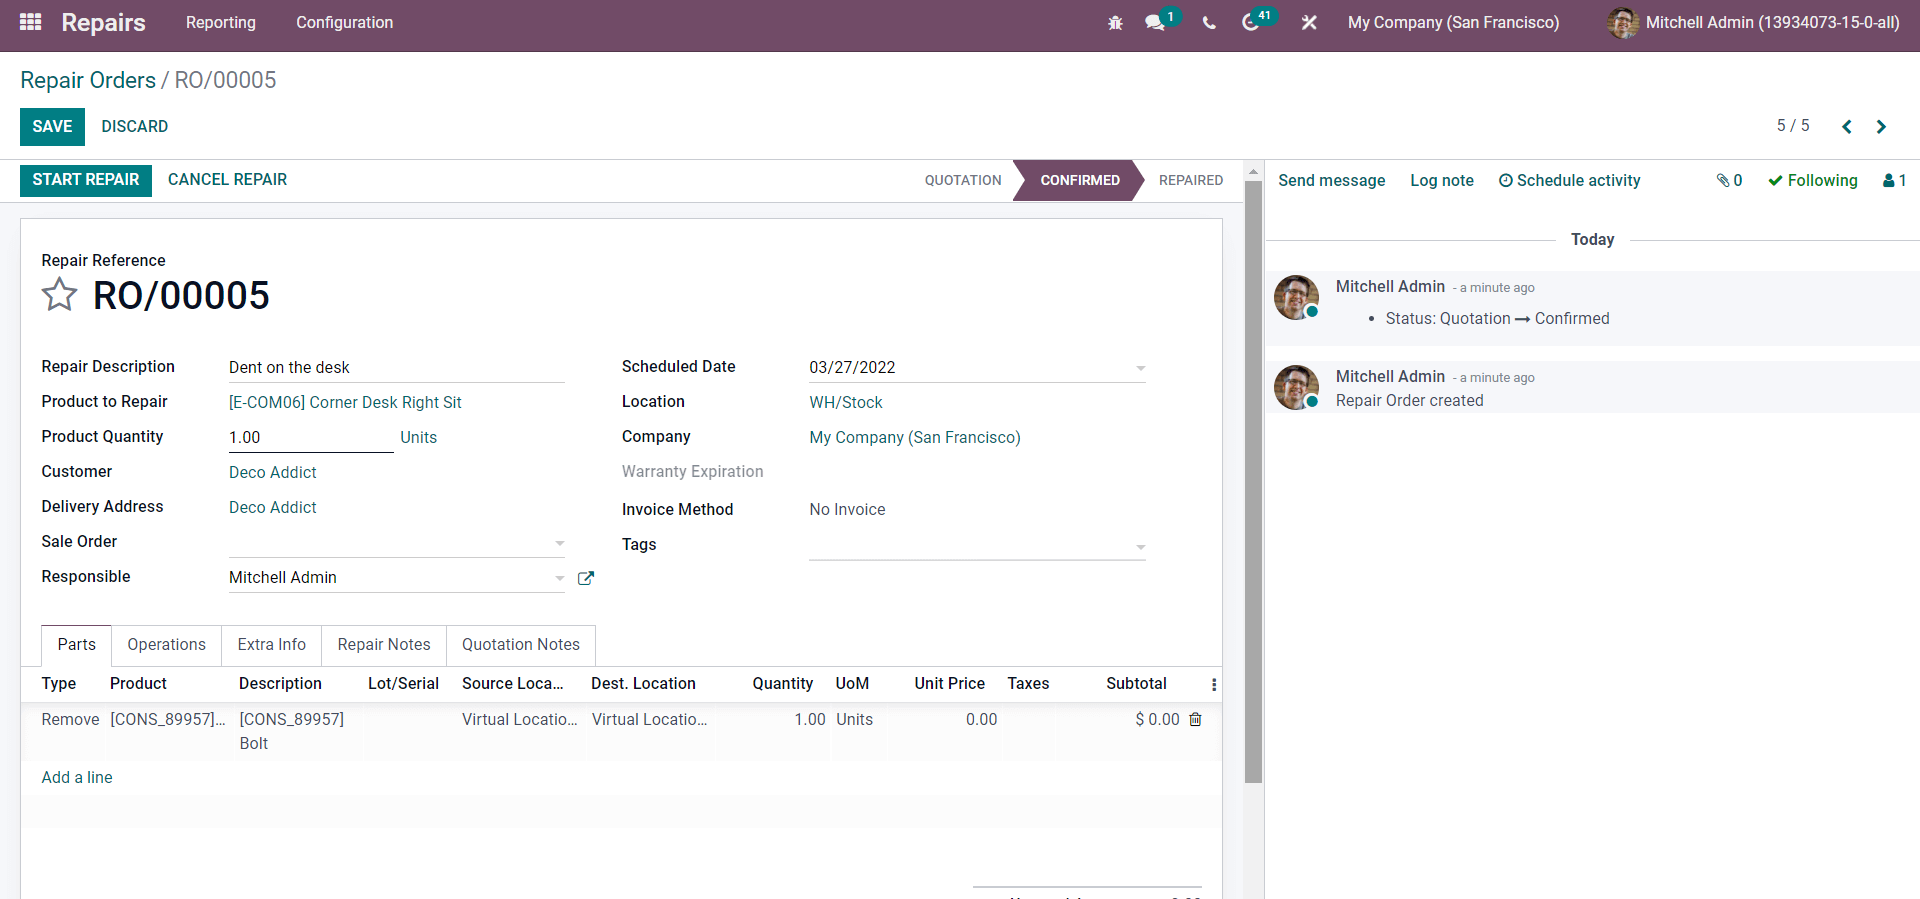
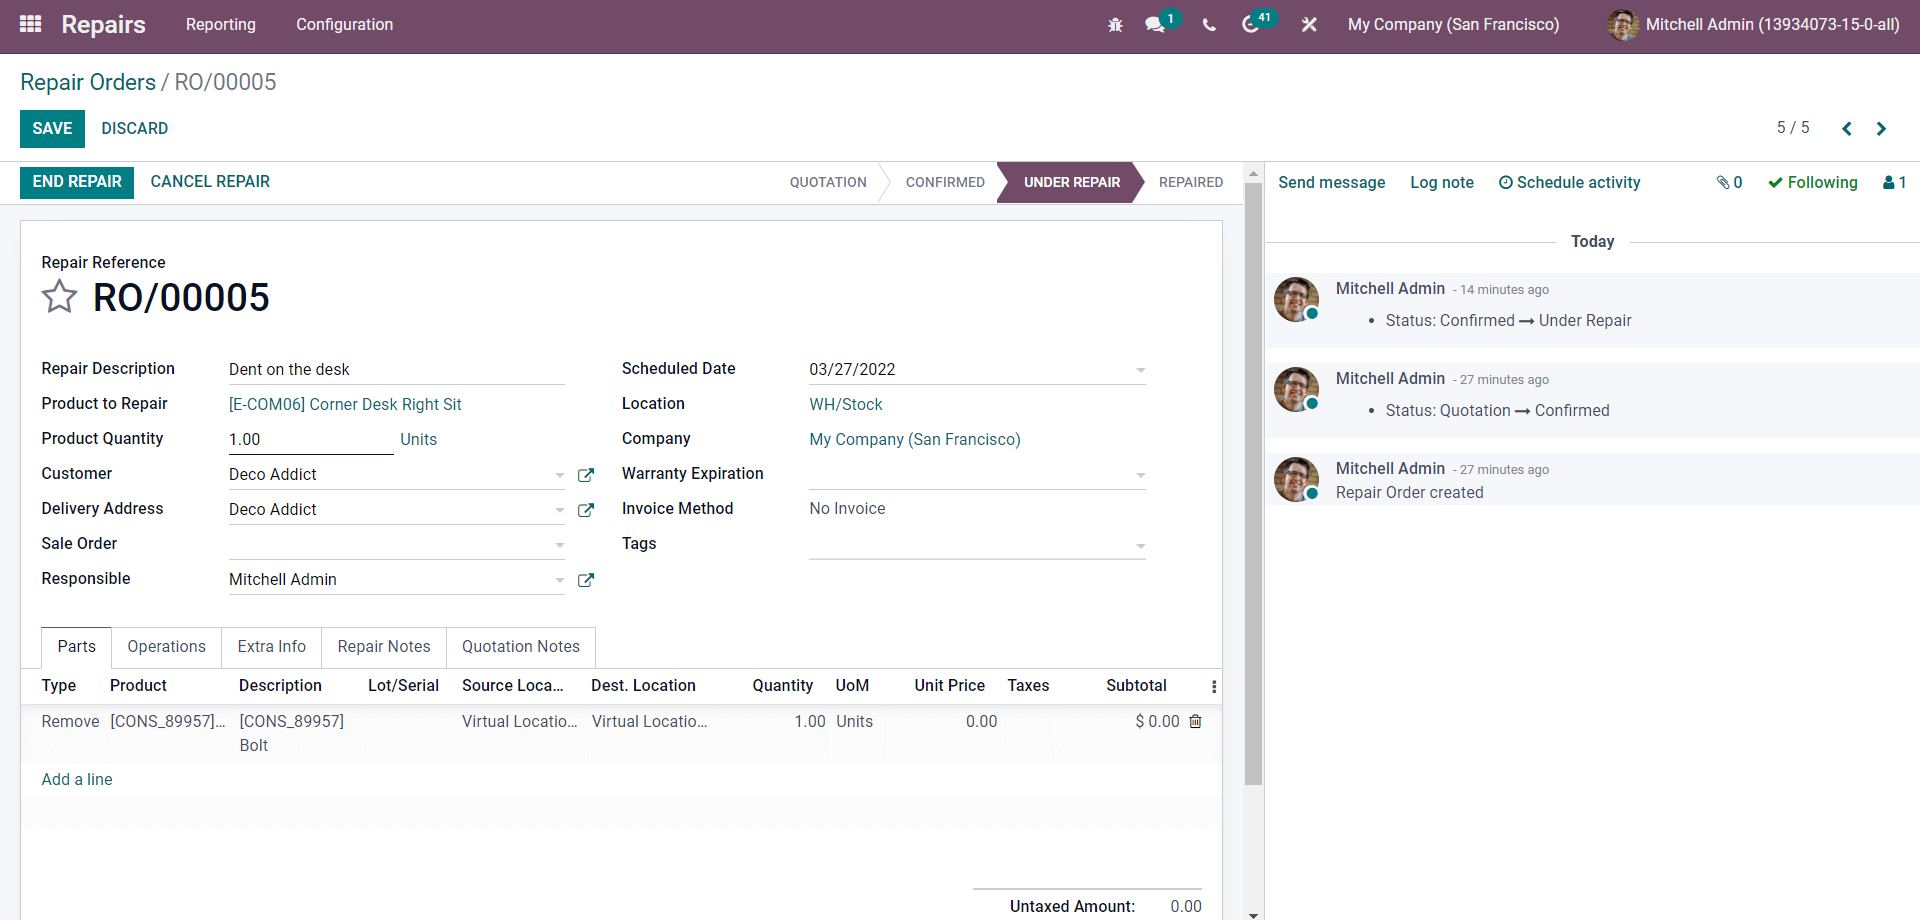
You can click on the START REPAIR button from this page after the final configurations on the repair order to instantly start the repairing operations. You can now stop or cancel the operations by clicking on the END REPAIR or CANCEL REPAIR button, which will immediately appear after clicking on the START REPAIR button, as shown in the image given below.
The Repair report will be displayed on the dashboard of the Repair module, as shown in the image given below.
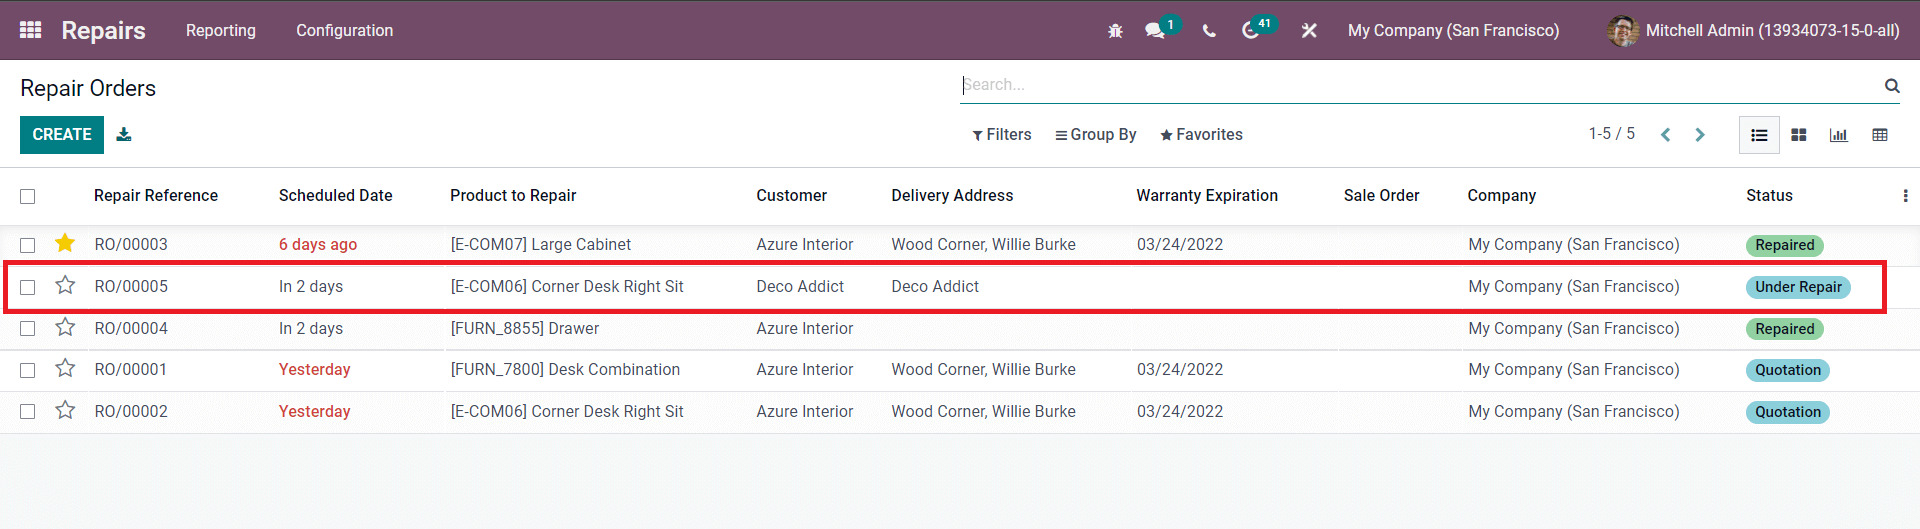
Here, you can note that the order is displayed as Under repair under the status section. You can check the live status of the realtor process from the status section, and after the repairs, the status will be displayed as Repaired. Similarly, you can have live updates on all of your repair reports.
Repair tags
Repair tags will allow you to manage multiple reports effortlessly and will make it easy for the manufacturing team to access the reports in case of emergency repair is required.
Repair tags can be accessed from the modules configuration tab.
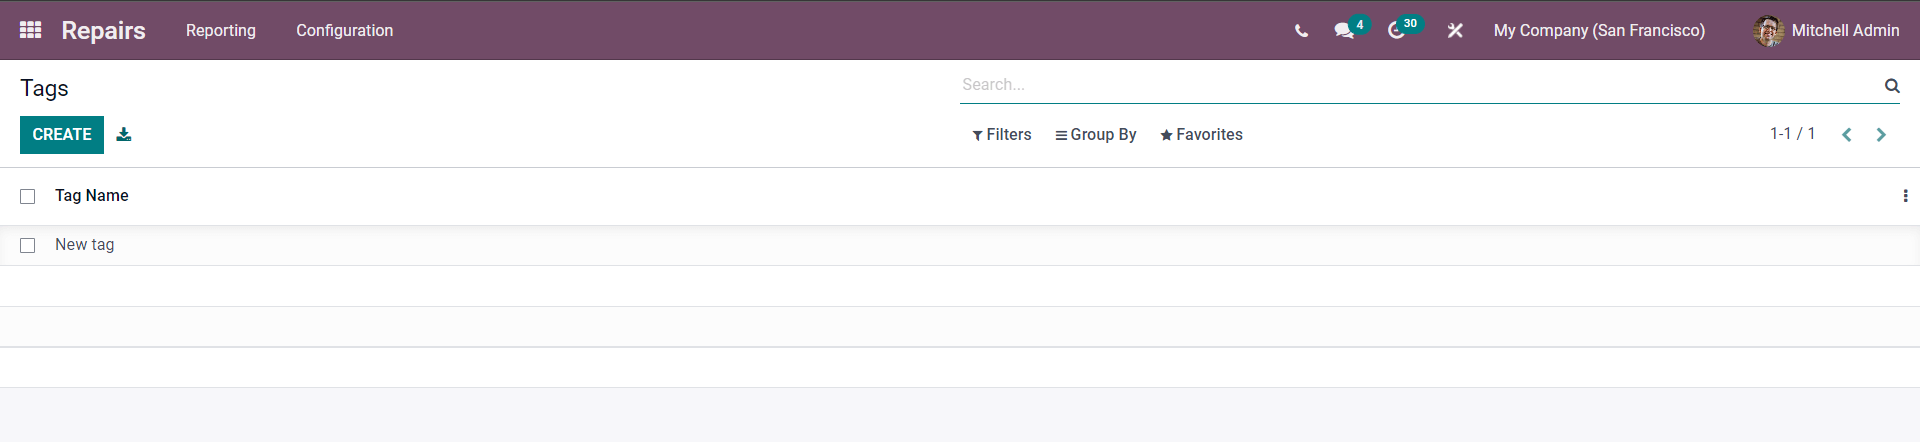
New tags can be created by pressing on the CREATE button. You can include the tag from the report configuration tab of the page, as shown in the image given below.
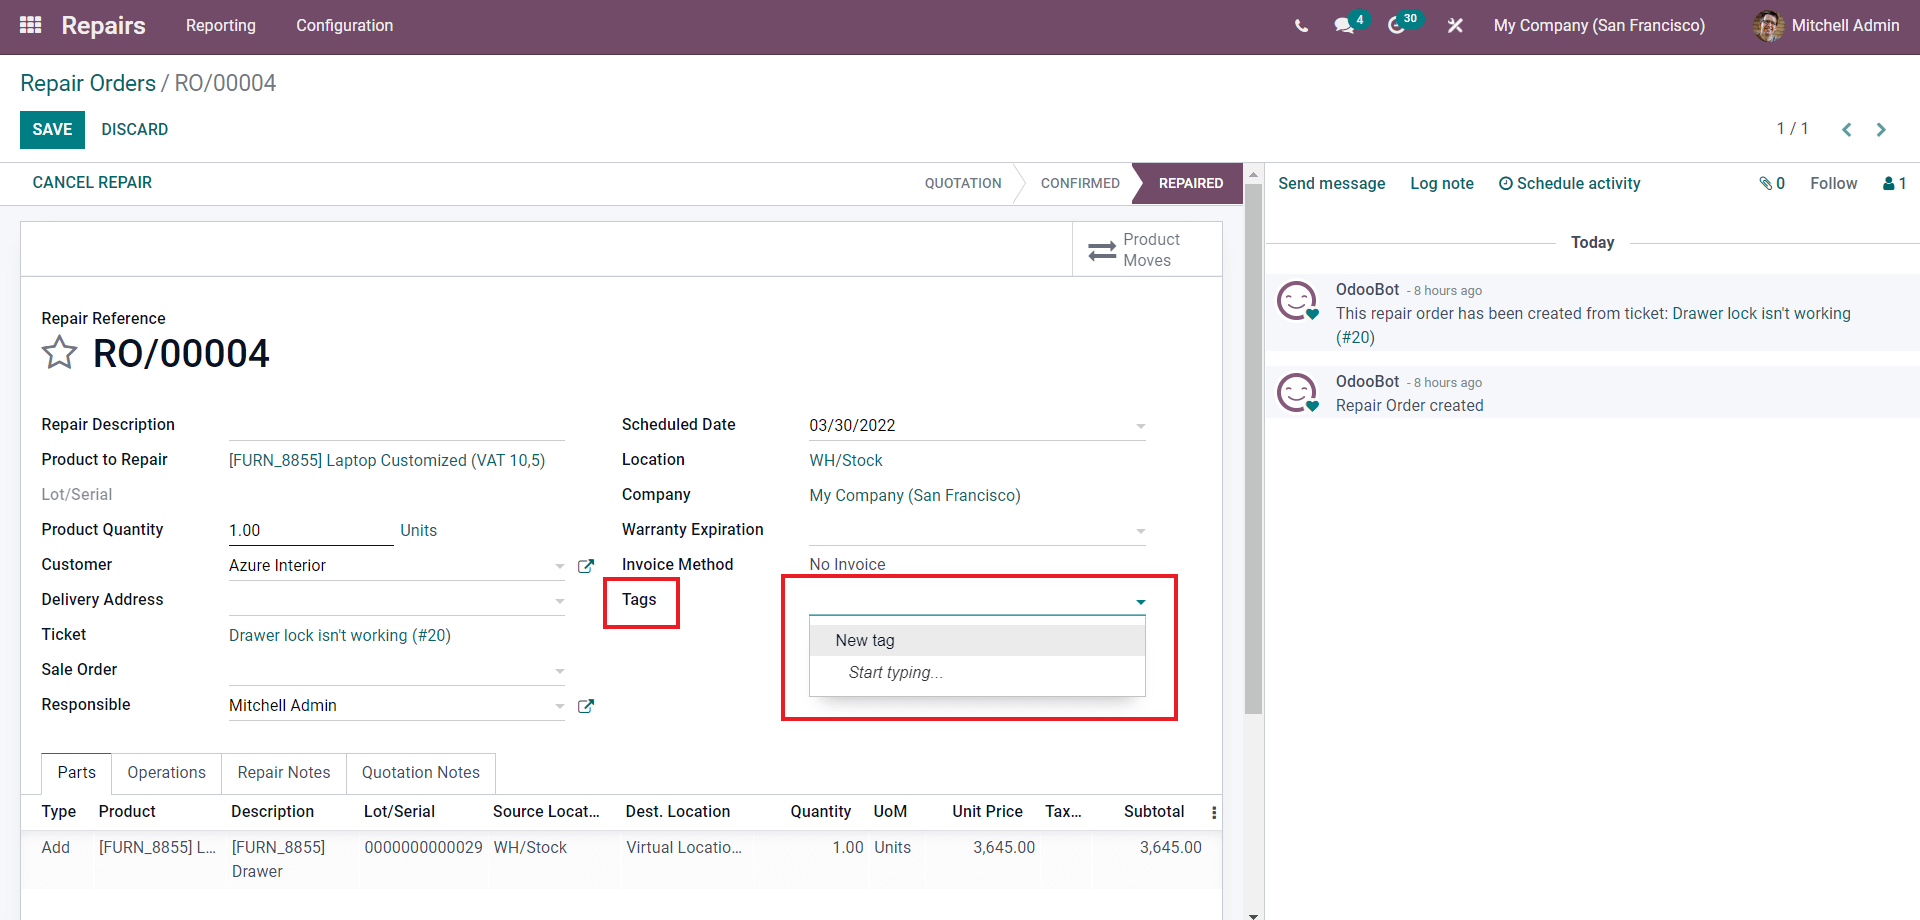
You can add the tag from the tag section, as shown in the image given above. Similarly, you can instantly create and manage multiple Tags for easy report management.
Repair report management
Repair report management is effortless with the Odoo 15 Repair module. The module dashboard will display all of the Repair reports, as shown in the image below.
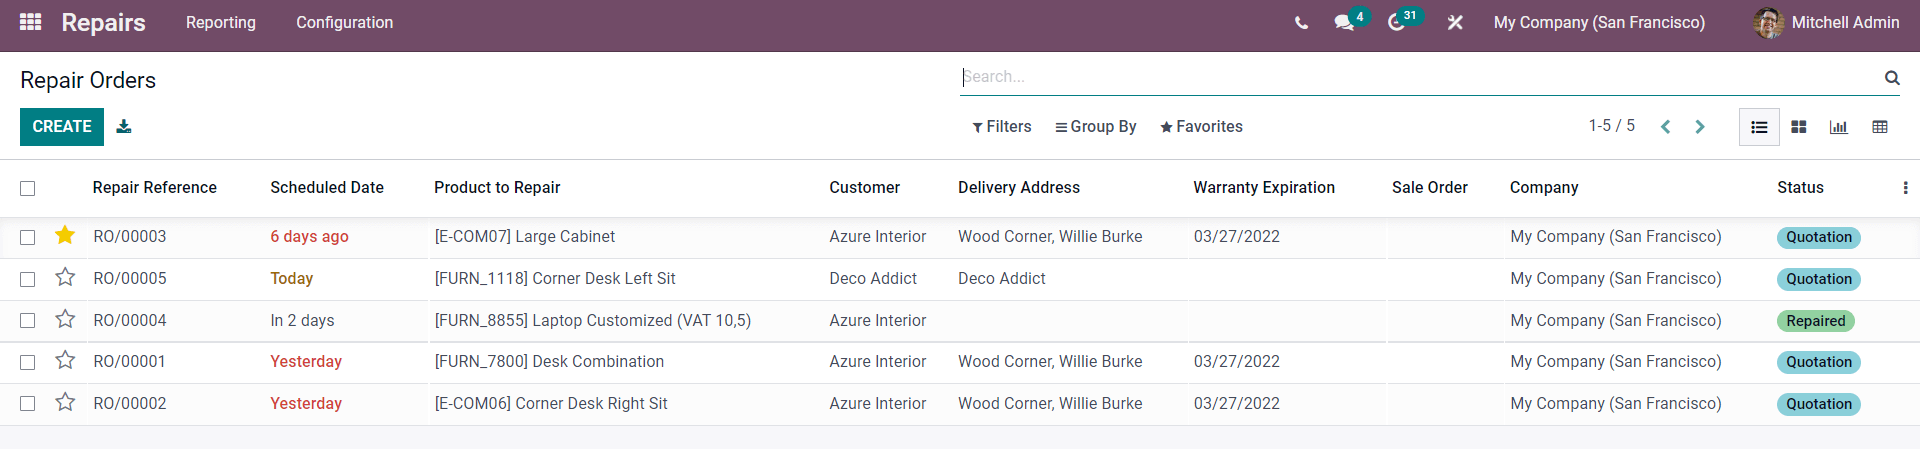
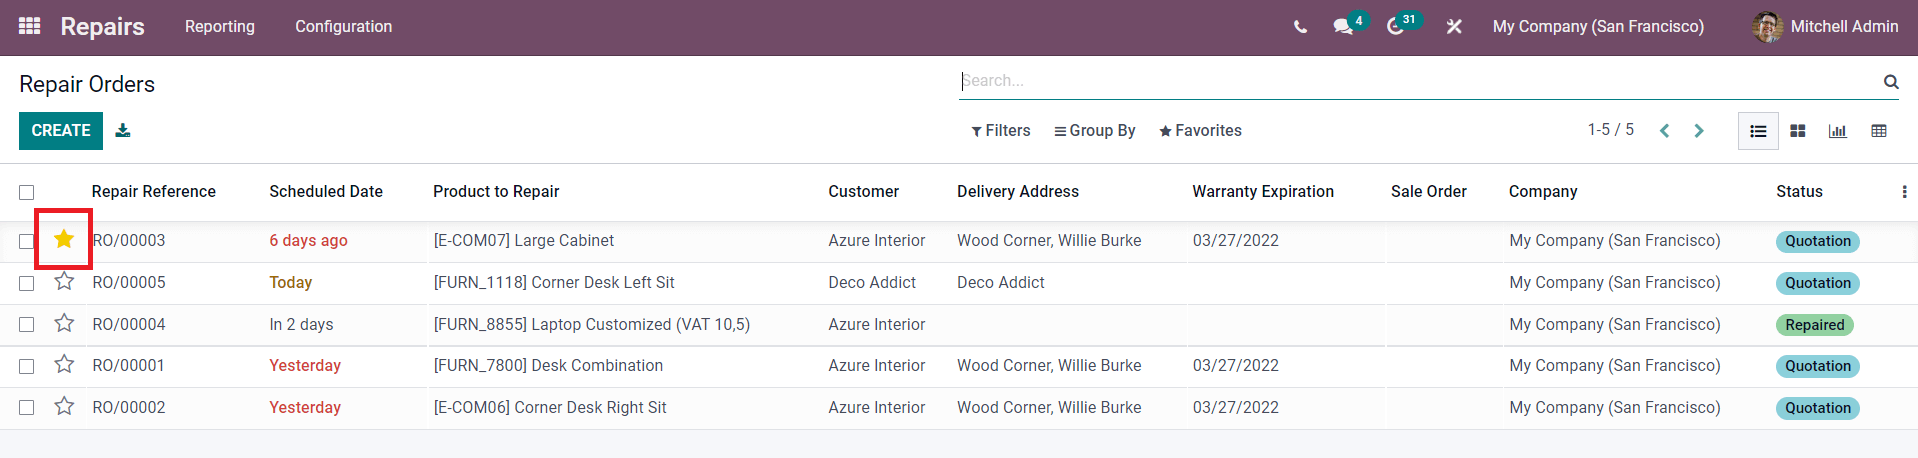
Repair reference with the Scheduled date, Product repair, Customer, Delivery address, warranty Expiration, Sales order, company and Status. You can change the display structure to Kanban, Graph, Pivot and List (default). You can view all of the reports similarly in the way you want for easy management. You can set the priority level on the reports by clicking on the star next to the repair orders as highlighted in the image given below for easy management
Integration
The module is highly integrated with the Odoo 15 Maintenance and inventory module for easy access and management. The module is highly integrated with the maintenance module allowing you to send the repair report to the maintenance team to work on the repair process to deliver the product to the customer as soon as possible. Getting products back to your customer is essential to contribute to customer satisfaction.
The module is also fully integrated with the Odoo 15 Inventory module for easy access to the products and the components for repairing them. The Repair module can give you access to the inventory for selecting the products or features necessary for repair. Also, note that every component you remove from the final products will be sent to your inventory.
The advanced Repairing module is the solution for effective repair management no matter how huge the repair list is. As the module is highly integrated with Odoo 15, you can easily create and manage multiple repair reports efficiently without any time wastage. The process is almost effortless and will only take a couple of minutes to complete the entire process.