Odoo 19 makes it simple to grab information from your website visitors and put it straight into the system. Whenever someone fills out a form - like a contact request, sign-up, or order the details go right where they belong. No manual typing, fewer mistakes, and your team can follow up right away. It’s an easy way to keep everything organized and make sure nothing slips through the cracks.
Here’s a way to set up a website form that adds records directly to the backend. For example, a public form can be used to create a new customer (res.partner).
Create the Website Form & Menu
In Odoo 19, the setup begins with a QWeb template that defines all the fields required for customer details. This template is typically stored in an XML file inside your custom module - for example, views/customer_form.xml. It contains a standard HTML form written using Odoo’s QWeb syntax so it can be displayed directly on the website. The form gathers basic information such as the customer’s name, email address, and phone number. When the user submits the form, the data is passed to a custom controller, which then creates the corresponding record in the backend.
xml:
<?xml version="1.0" encoding="utf-8"?>
<odoo>
    <data>
        <!-- Customer Create Form Template -->
        <template id="customer_form_template" name="Customer Form">
            <t t-call="website.layout">
                <section class="d-flex align-items-center justify-content-center vh-100" style="background-color: #f8f9fa;">
                    <div class="card shadow-lg rounded-4" style="width: 400px;">
                        <div class="card-body p-5">
                            <h3 class="text-center mb-4">Create Customer</h3>
                            <form action="/website/customer/create" method="post">
                                <div class="mb-3">
                                    <label class="form-label fw-semibold">Name</label>
                                    <input type="text" name="name" class="form-control rounded-2"/>
                                </div>
                                <div class="mb-3">
                                    <label class="form-label fw-semibold">Email</label>
                                    <input type="email" name="email" class="form-control rounded-2"/>
                                </div>
                                <div class="mb-4">
                                    <label class="form-label fw-semibold">Phone</label>
                                    <input type="text" name="phone" class="form-control rounded-2"/>
                                </div>
                                <input type="hidden" name="csrf_token" t-att-value="request.csrf_token()"/>
                                <div class="d-grid">
                                    <button type="submit" class="btn btn-primary btn-block rounded-3 py-2">
                                        Submit
                                    </button>
                                </div>
                            </form>
                        </div>
                    </div>
                </section>
            </t>
        </template>
        <!-- Success Page -->
        <template id="customer_success_template" name="Customer Created">
            <t t-call="website.layout">
                <section class="d-flex align-items-center justify-content-center vh-100" style="background-color: #f8f9fa;">
                    <div class="text-center">
                        <h3 class="text-success mb-3">Customer Created Successfully!</h3>
                        <a href="/website/customer/form" class="btn btn-primary rounded-3">Add Another Customer</a>
                    </div>
                </section>
            </t>
        </template>
        <!-- Website Menu Record -->
        <record id="menu_customer_form" model="website.menu">
            <field name="name">Create Customer</field>
            <field name="url">/website/customer/form</field>
            <field name="parent_id" ref="website.main_menu"/>
            <field name="sequence" type="int">90</field>
        </record>
    </data>
</odoo>
The form is designed to be user-friendly and easy to access. Once a user submits the form successfully, a confirmation page appears with a clear success message. To make the form easy to find, a link has been added to the main website menu, pointing directly to /website/customer/form so visitors can quickly access it.
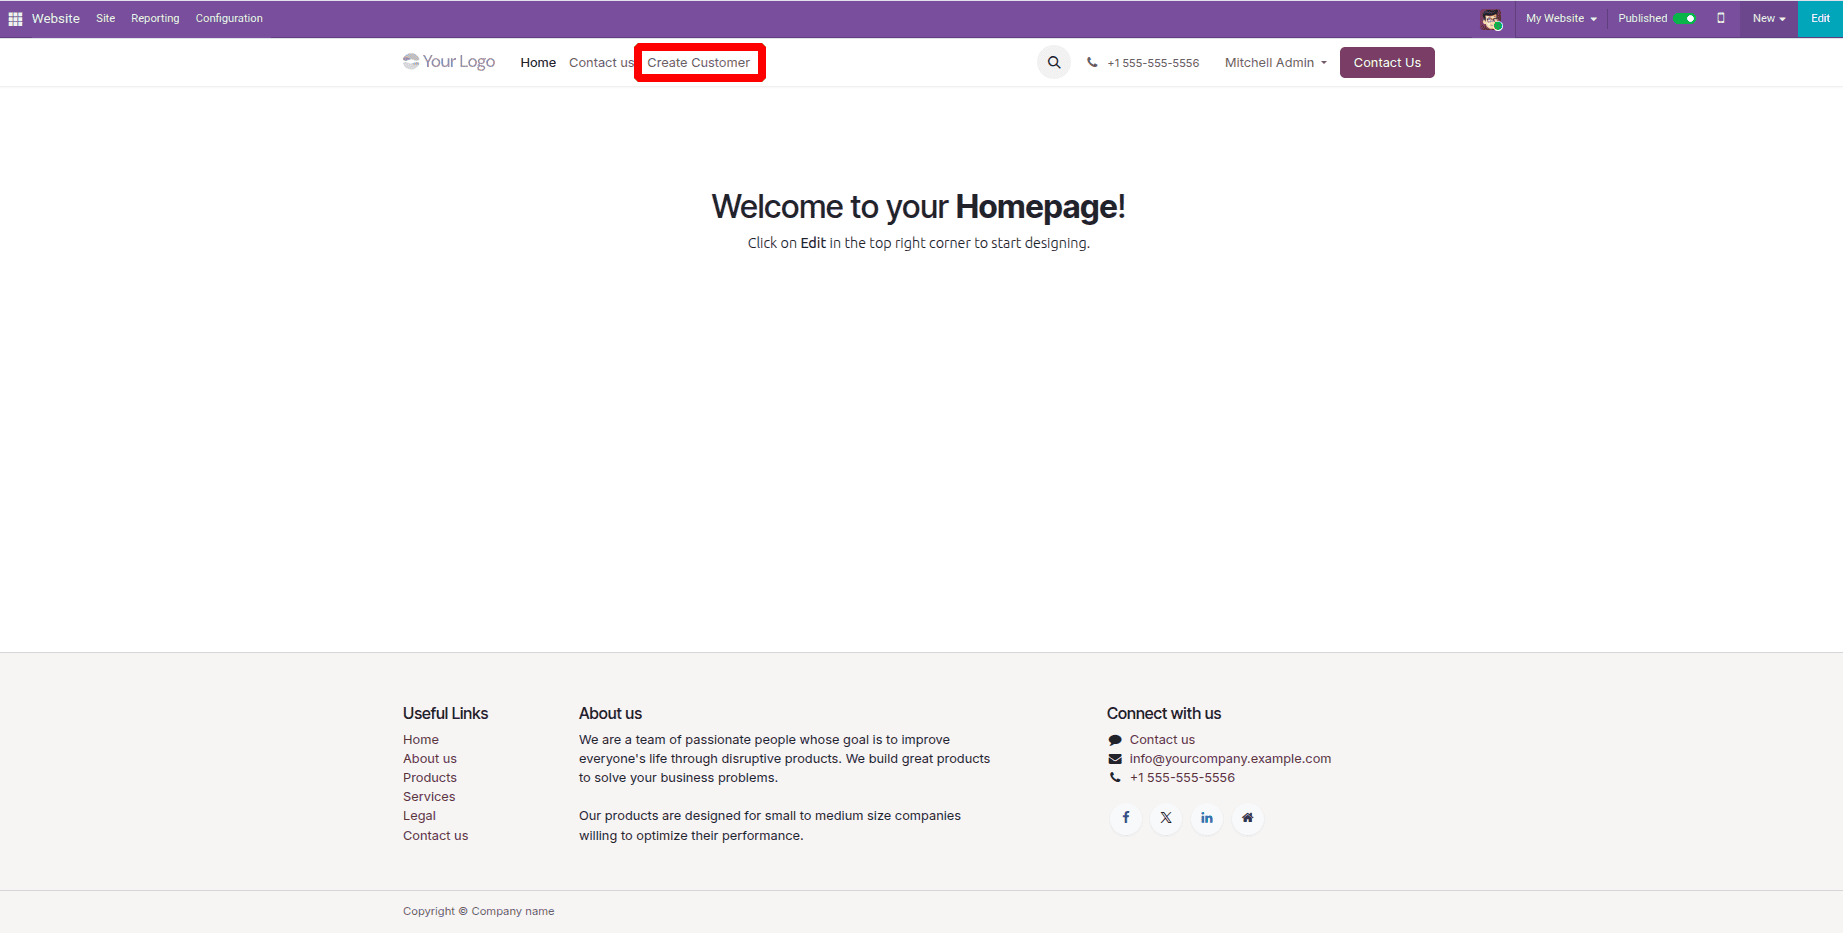
With this setup, a “Create Customer” option appears in the website navigation, giving users direct access to the customer form. The form’s behavior, including handling submissions and displaying related pages is managed by custom controllers, which will be explained in the following section.
Create the Website Controller
When a customer fills out the customer form on an Odoo 19 website, a custom controller takes care of everything behind the scenes. It shows the form when the page loads and then processes the information once the user submits it. The controller picks up the customer’s name, email, and phone number and creates a new record in the res.partner database. Before saving, it also checks the CSRF token to make sure the submission is secure. After the record is added, the user is sent to a confirmation page that clearly shows the new customer has been successfully created.
Python controller code:
from odoo import http
from odoo.http import request

class WebsiteCustomerForm(http.Controller):
    @http.route('/website/customer/form', type='http', auth='public', website=True)
    def customer_form(self, **kw):
        """Render the customer creation form"""
        return request.render('module_name.customer_form_template')
    @http.route('/website/customer/create', type='http', auth='public', methods=['POST'], website=True, csrf=True)
    def create_customer(self, **post):
        """Handle form submission and create a new customer"""
        name = post.get('name')
        email = post.get('email')
        phone = post.get('phone')
        if not name:
            # If name is missing, redirect back to form with an error message
            return request.render('module_name.customer_form_template', {
                'error': 'Name is required!'
            })
        request.env['res.partner'].sudo().create({
            'name': name,
            'email': email or False,
            'phone': phone or False,
            'customer_rank': 1,
        })
        return request.render('module_name.customer_success_template')
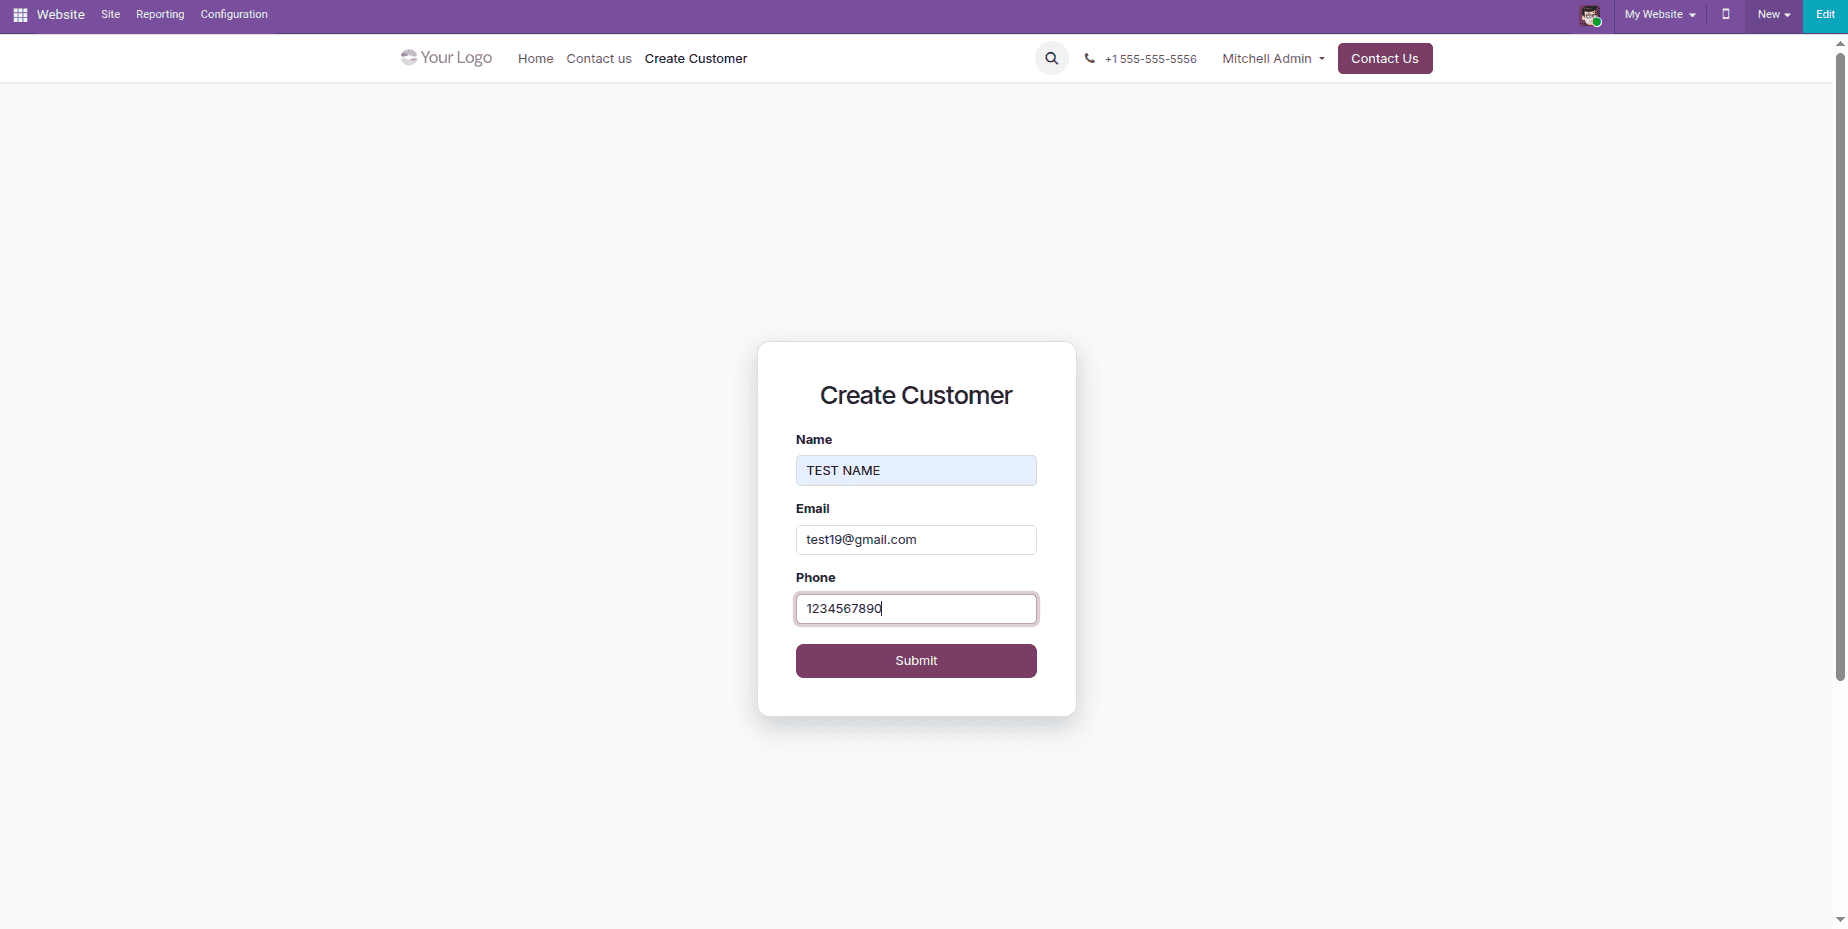
Once the controller is added to the custom module, the “Create Customer” option appears in the website menu, taking users straight to the customer form page, as shown in the figure below. On this page, visitors can fill in their name, email, and phone number, then submit the form to add a new customer record in the res.partner model.
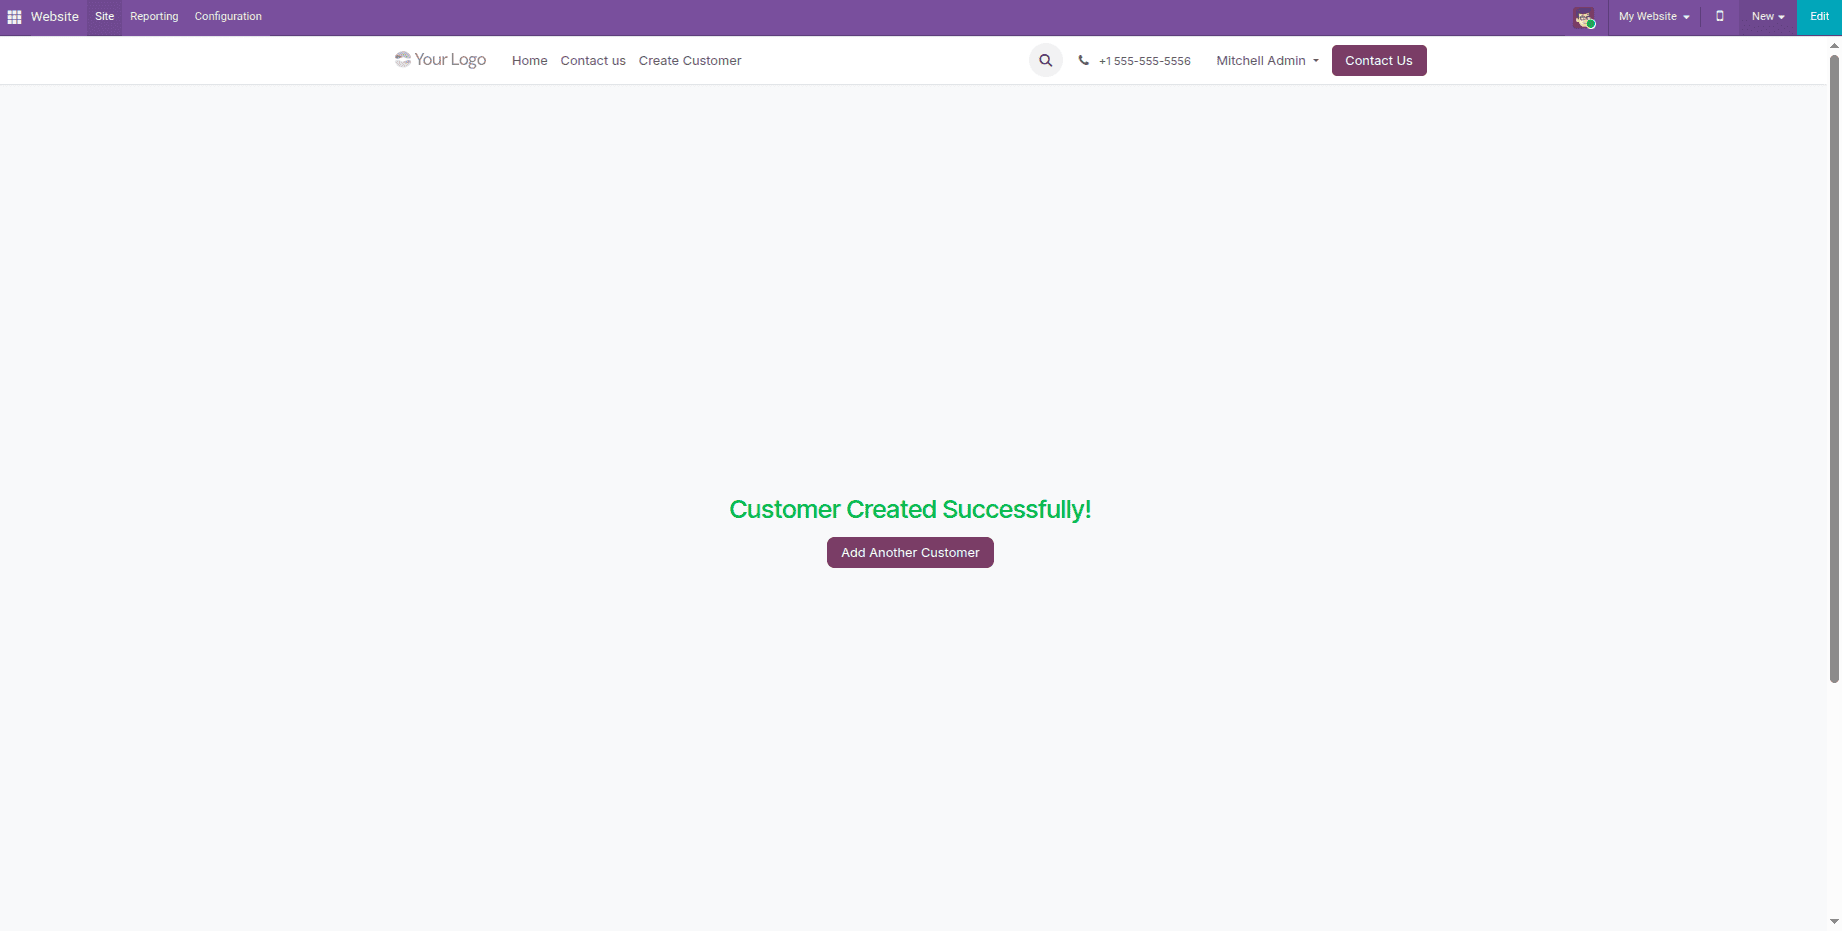
After the form is submitted, the controller takes the user to a confirmation page. This page displays a clear success message letting them know the customer record has been created, as shown in the figure below.
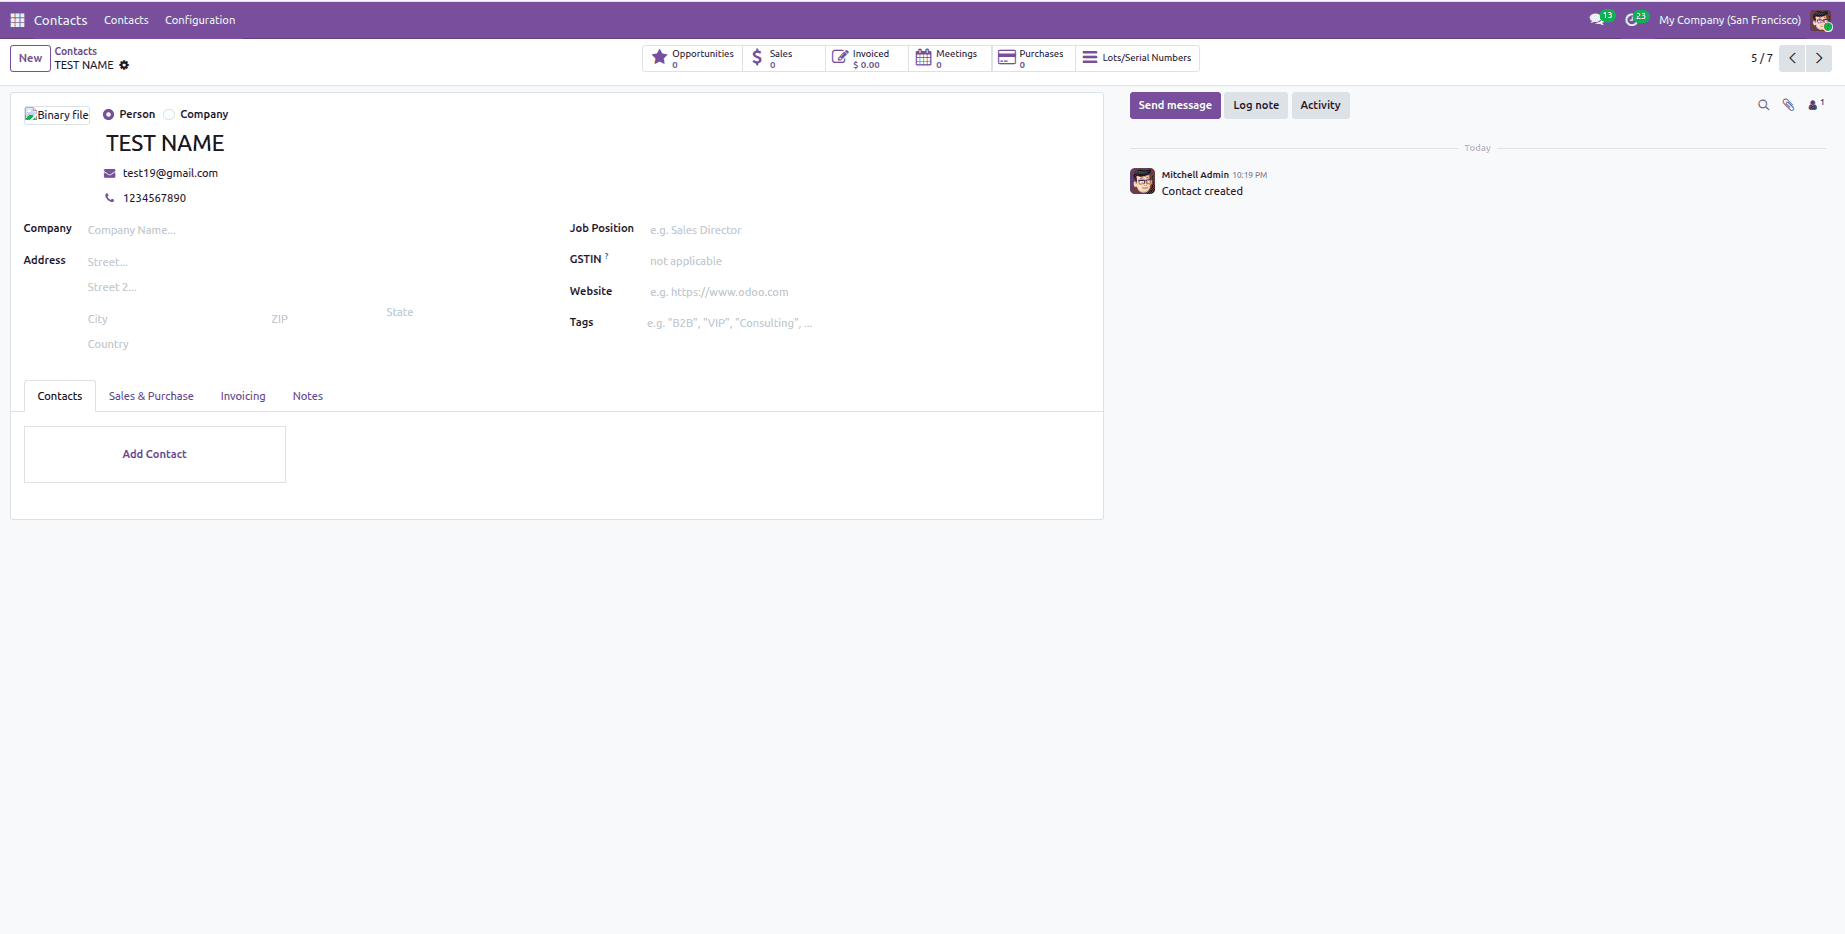
At the same time, the information submitted through the form is processed to create a new customer record in the backend. The controller captures and validates the input before adding it to the res.partner model. This ensures that any customer details entered on the website appear immediately in the backend, as shown in the figure below.
In Odoo 19, when a user submits a website form, the information is saved directly in the backend. The form uses QWeb templates along with a custom controller to capture the data and create a new entry in the res.partner model. This approach keeps customer information organized and ensures it’s immediately available to both users and administrators.
To read more about How to Create Backend Records from Website Forms in Odoo 18, refer to our blog How to Create Backend Records from Website Forms in Odoo 18.