What is a down payment?
In Odoo, a down payment is an upfront payment made by a customer towards the total cost of a purchase. It serves as a partial payment that secures the transaction, reducing the outstanding balance that remains to be paid upon completion of the sale. Down payments can be configured in various amounts or percentages within the Sales module, allowing businesses to manage payment terms effectively and maintain accurate financial records throughout the invoicing process.
How to manage down payments in the Odoo 18 Sales module?
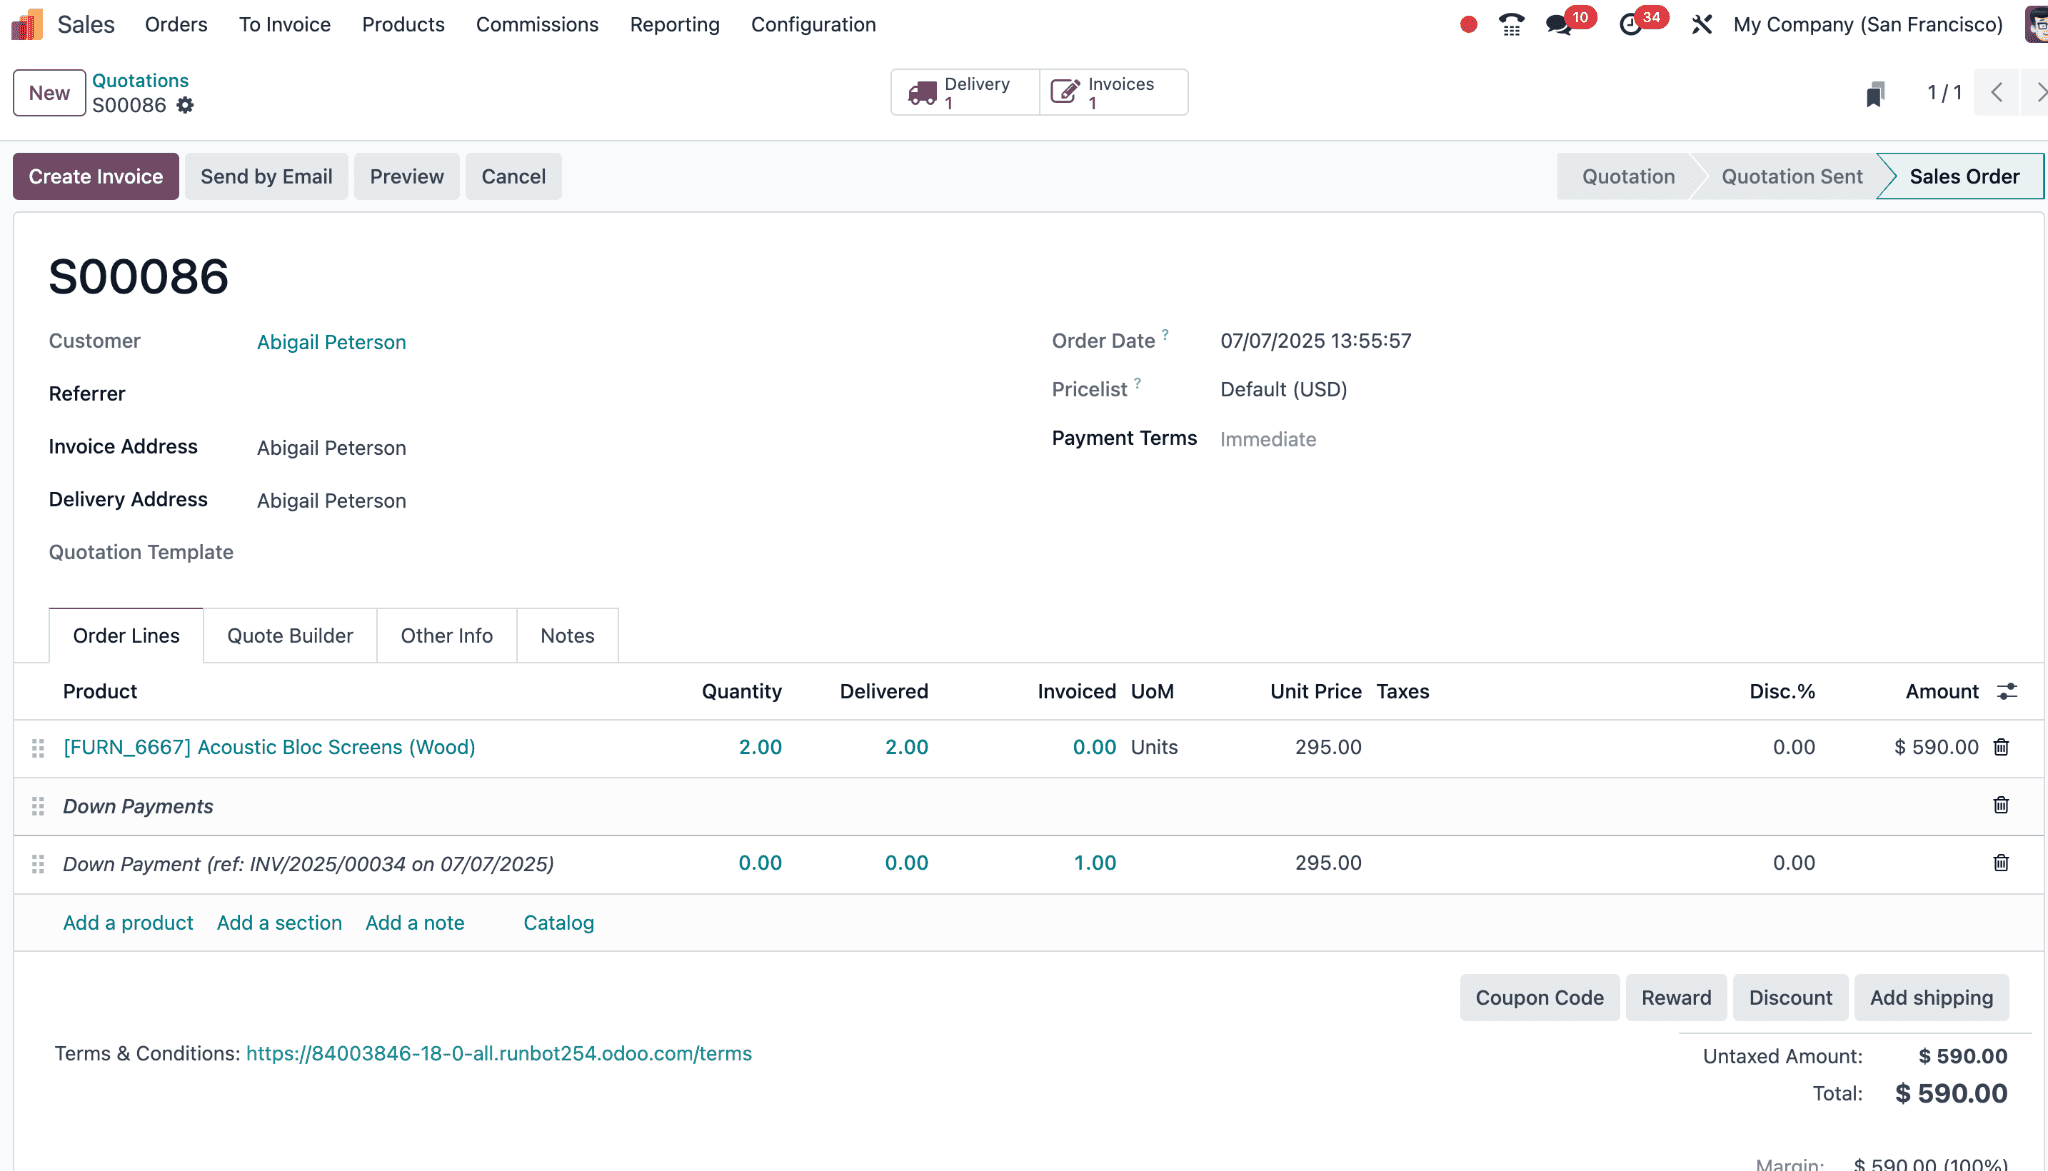
To manage Down Payments in the Odoo 18 Sales module, you must first create a Sales Order. Navigate to the “Orders” menu and select the “Orders” submenu. This will display a list view of all existing sales orders created within the Odoo Sales Module, as illustrated below.
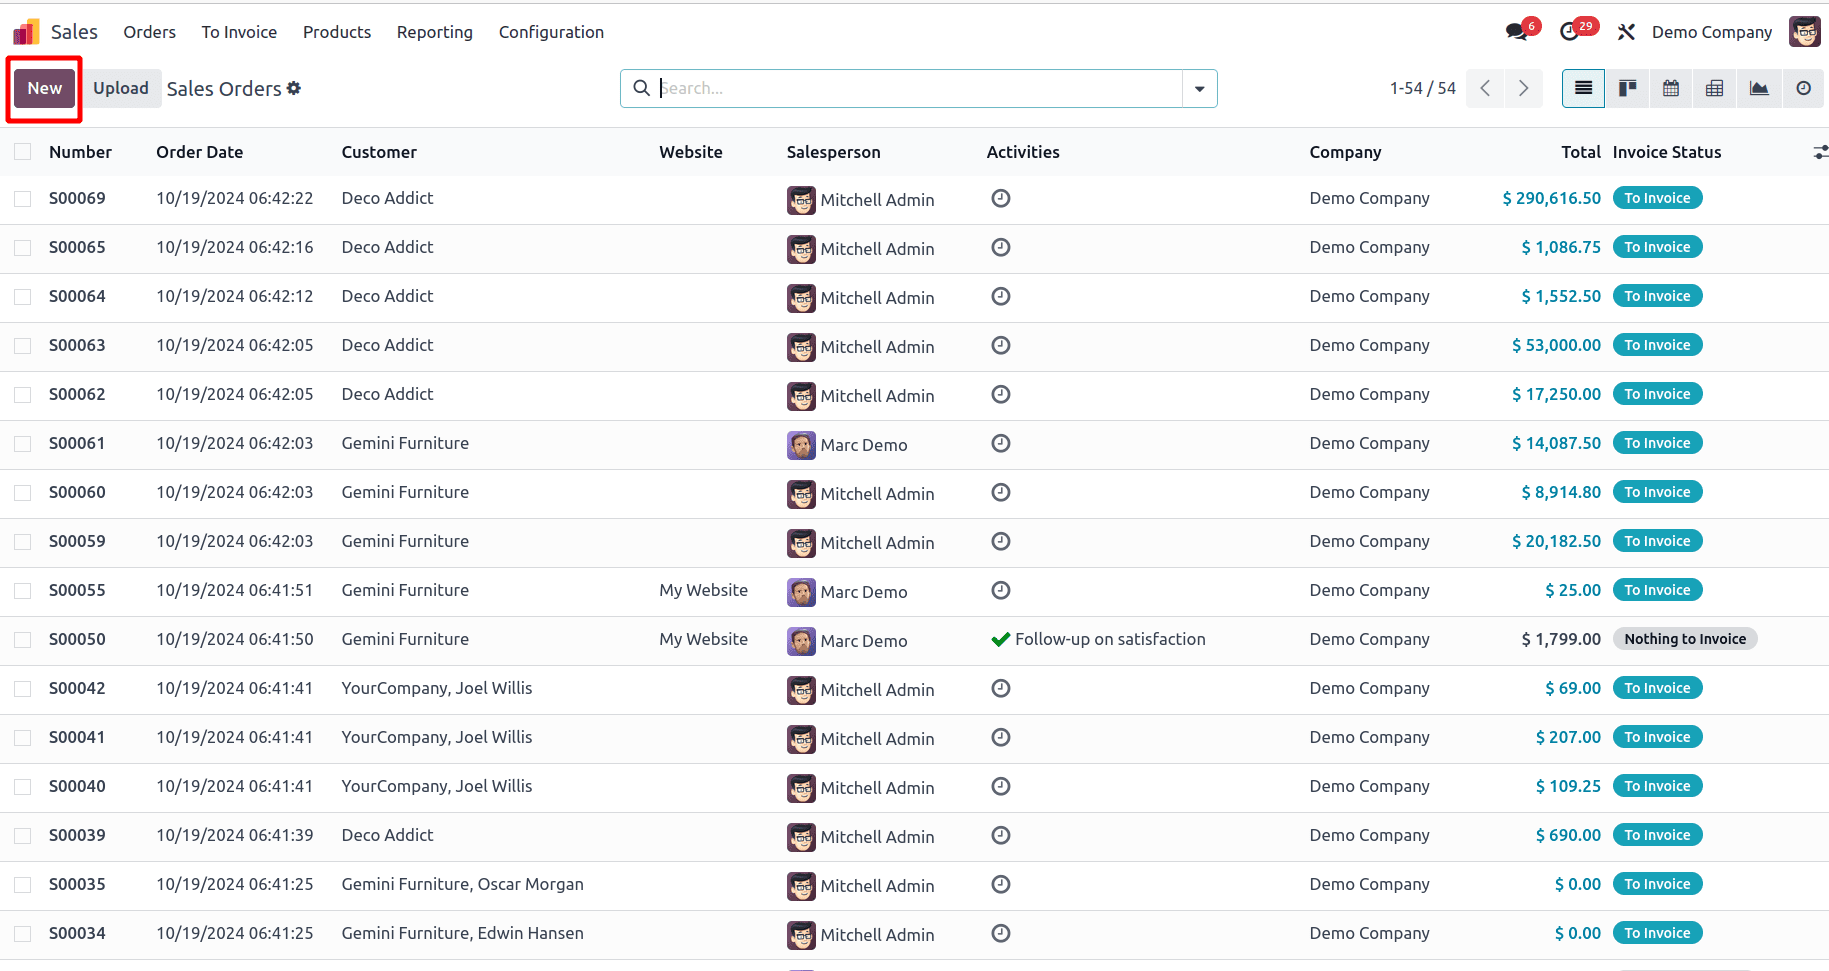
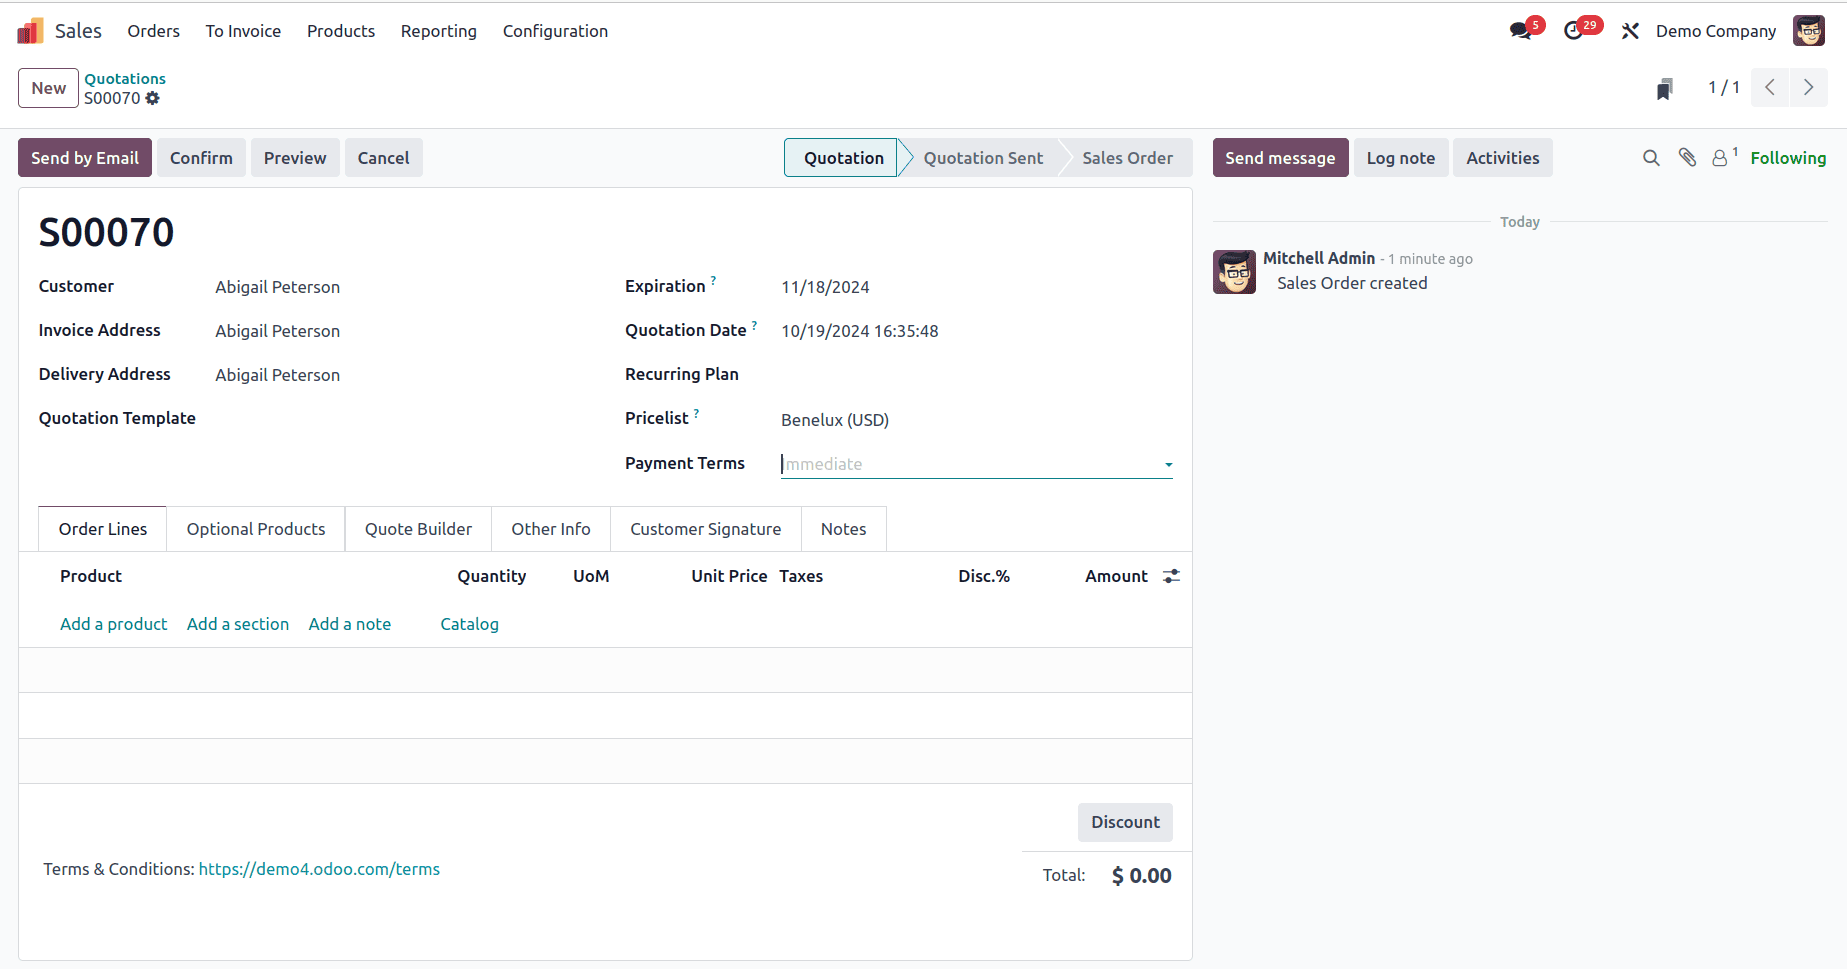
To create a new sales order, simply click the “New” button and start entering the required details in the form. Key information to be filled includes "Customer," "Invoice Address," "Delivery Address," "Referrer," "Expiration Date," "Recurrence," "Pricelist," and "Payment Terms.
Order Lines Tab
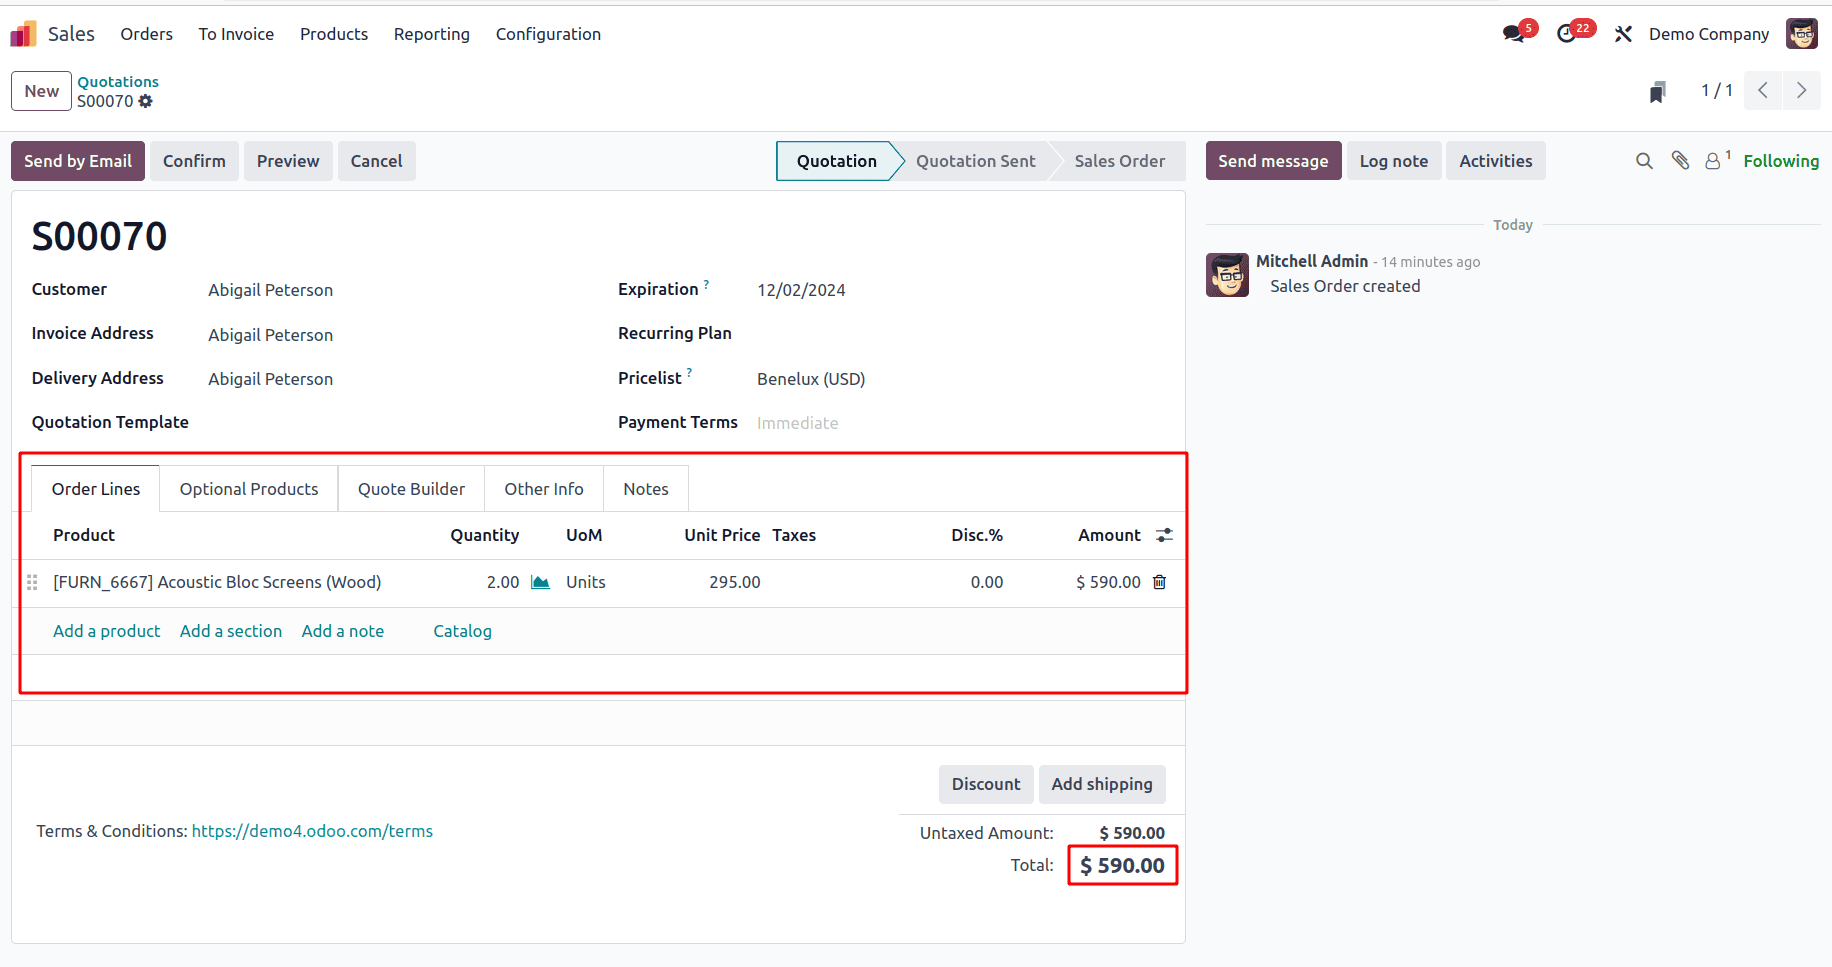
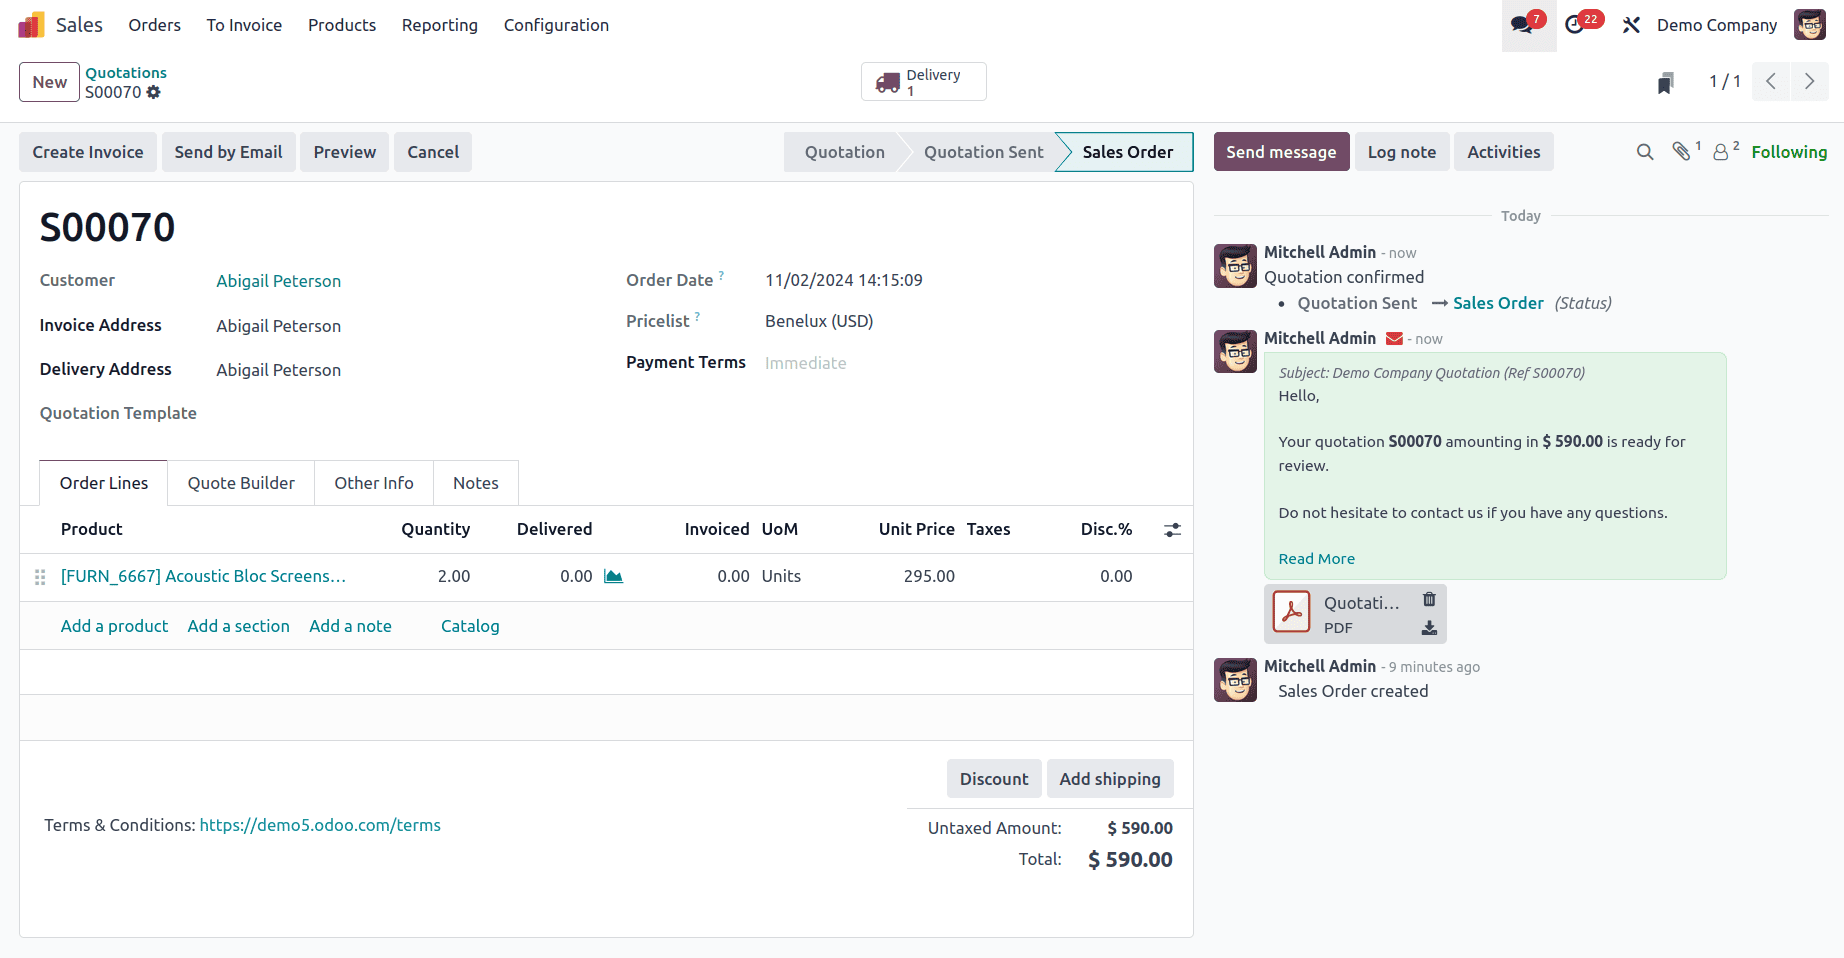
In the Order Lines section, provide the product information and indicate the quantity needed. For this order, choose Acoustic Bloc Screens and set the quantity to 2. The total price for the product will appear below the product details.
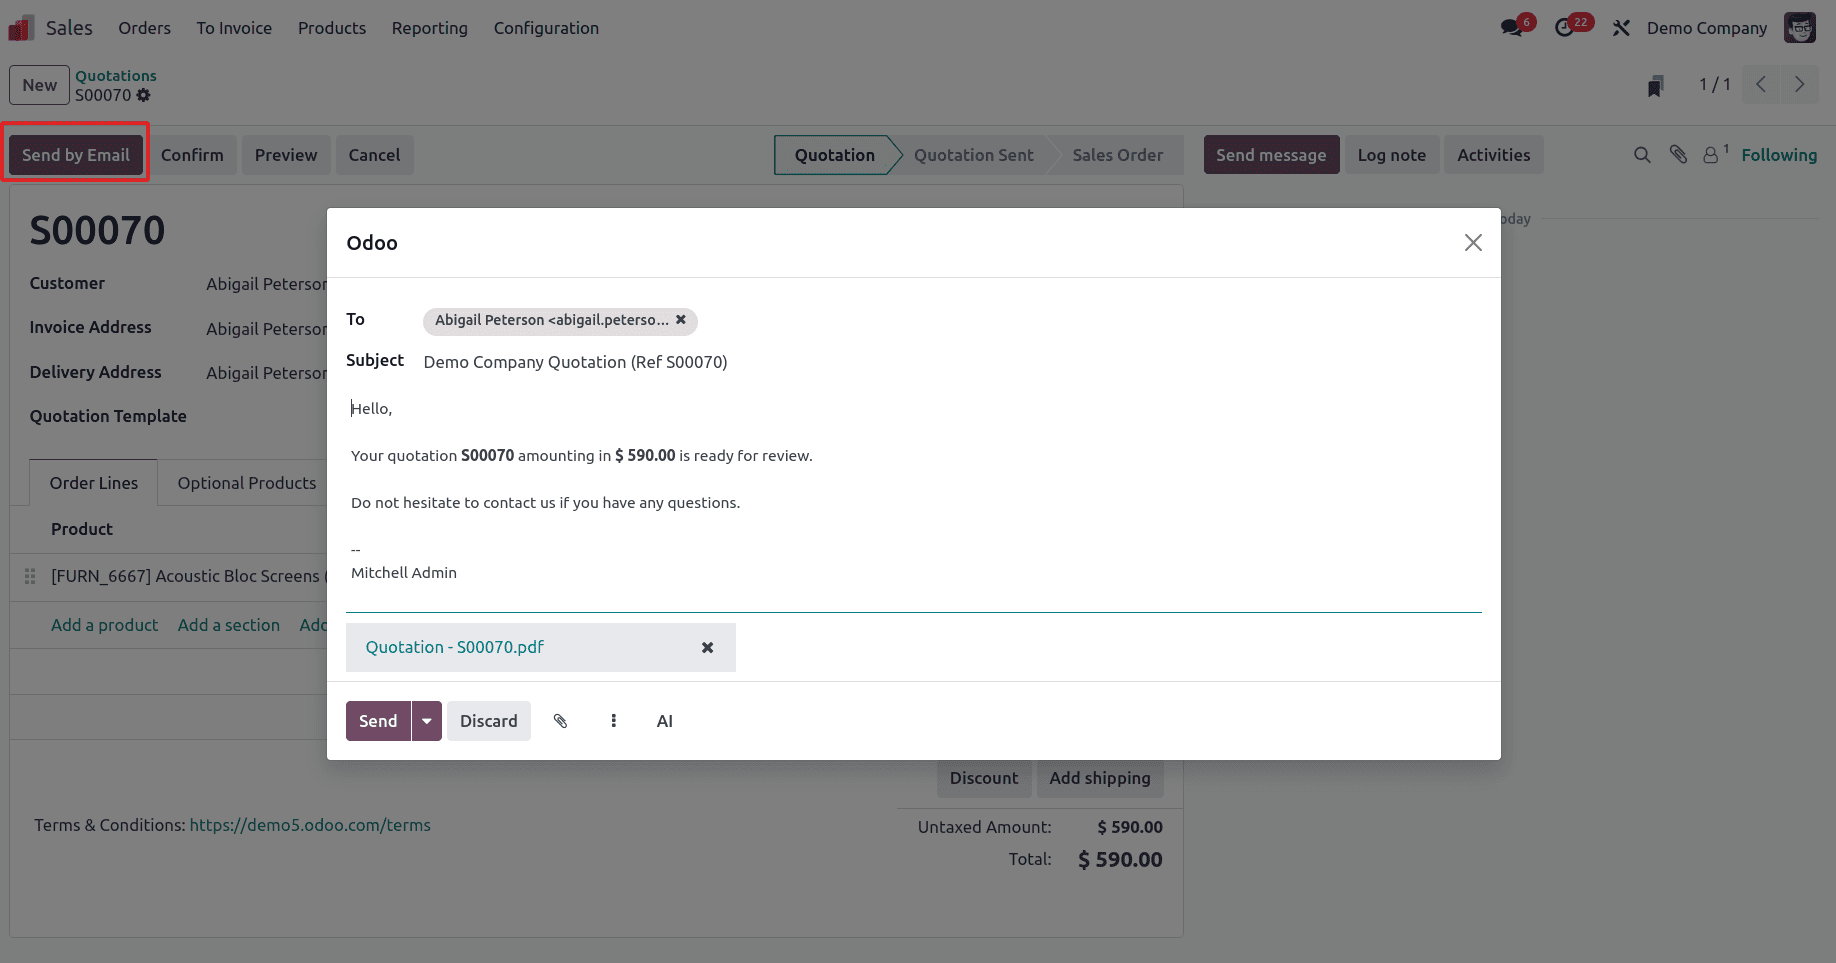
Once all the necessary information is entered, save the sales order. Click SEND BY EMAIL to send the quotation. A pre-filled email window will appear, allowing you to check the details and then click SEND to deliver it to the customer.
The status of the quotation will change from QUOTATION to QUOTATION SENT. After the customer accepts the quotation and the order is confirmed, the status will automatically update to SALE ORDER.
Generating Invoices and Processing Down Payments
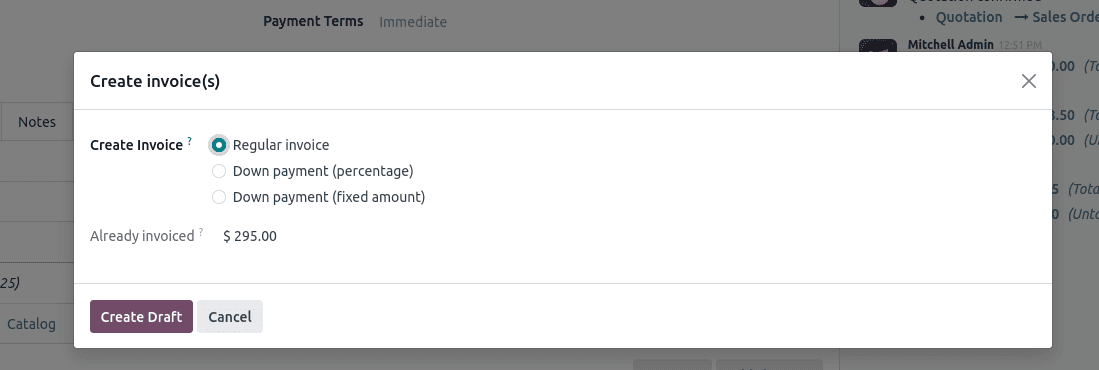
You can generate the invoice for the sales order by clicking the "Create Invoice" button. This action will open a pop-up window, as shown below.
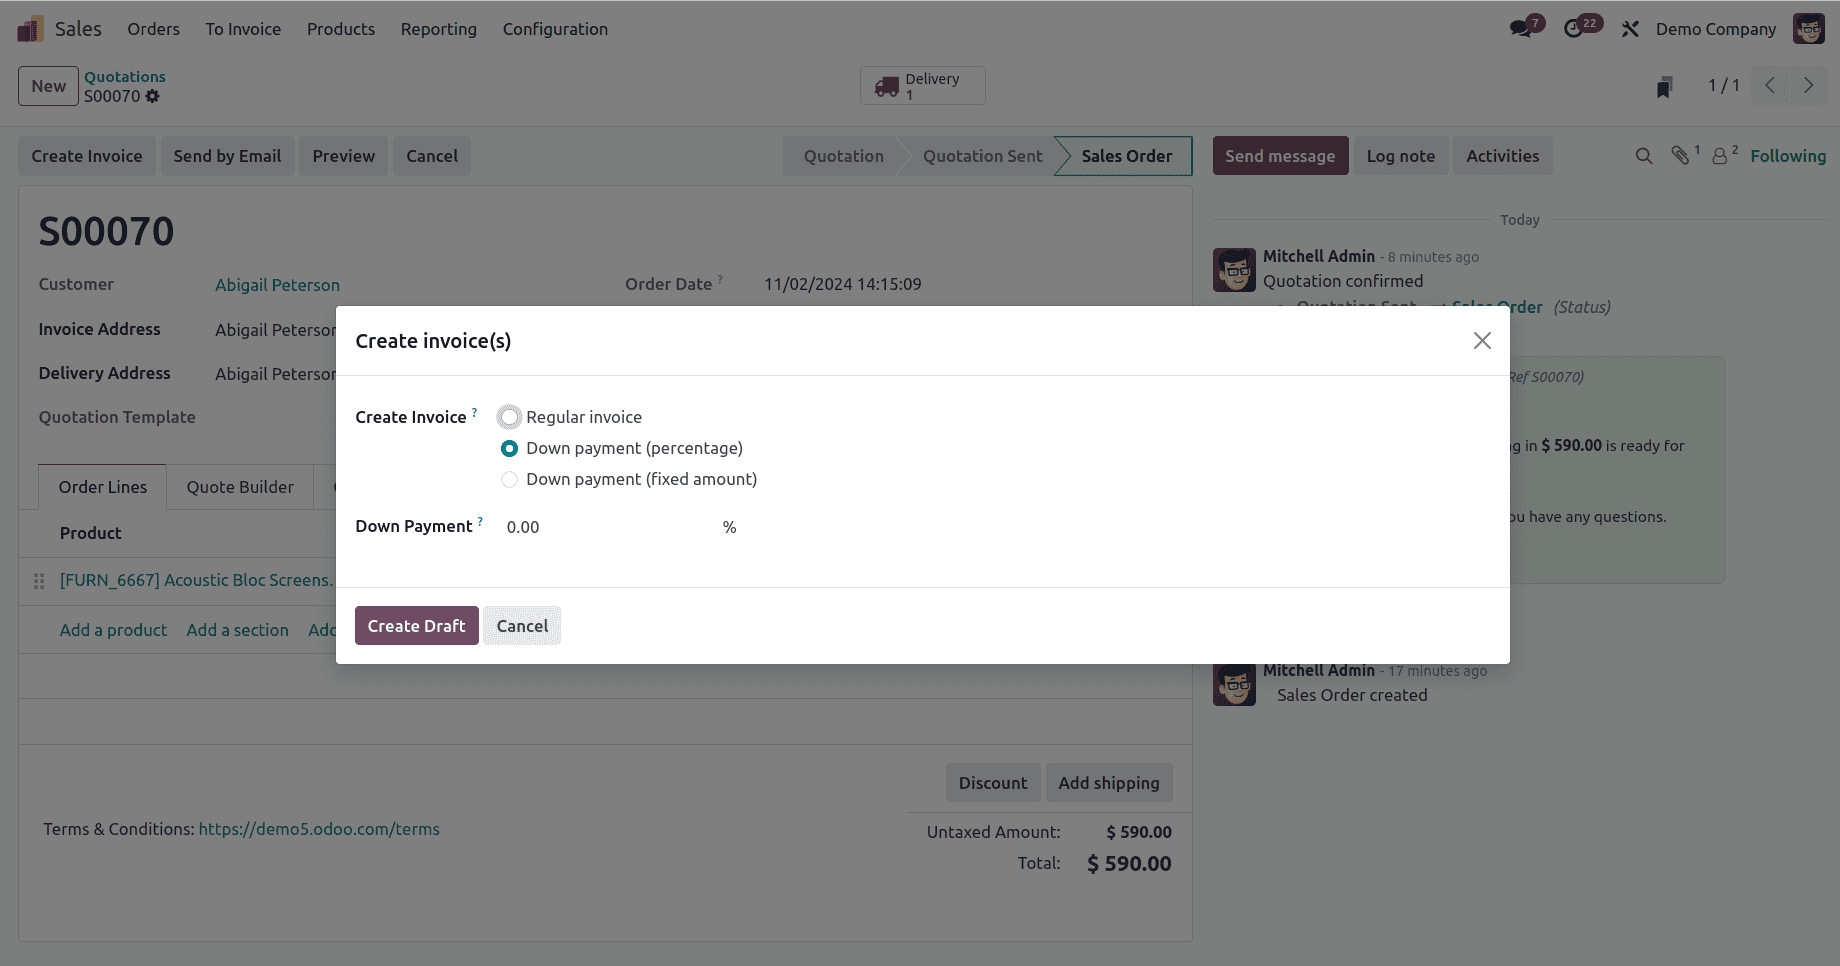
As seen above, this will trigger a pop-up window to open. The window provides three options: Regular Invoice, Down Payment (Percentage), and Down Payment (Fixed Amount). Each option caters to specific business requirements, making the invoicing process seamless and efficient.
- Choosing the Regular Invoice option generates a standard invoice, which is commonly used for most transactions.
- The Down Payment (Percentage) option allows users to request an upfront payment as a specific percentage of the total amount, providing a practical solution for partial payments tied to the overall invoice value.
- The Down Payment (Fixed Amount) option enables users to define and request a predetermined fixed amount as an upfront payment, offering even greater customization and control.
These invoicing options empower organizations to streamline their financial processes, ensuring that their billing practices align with their terms of service and operational needs.
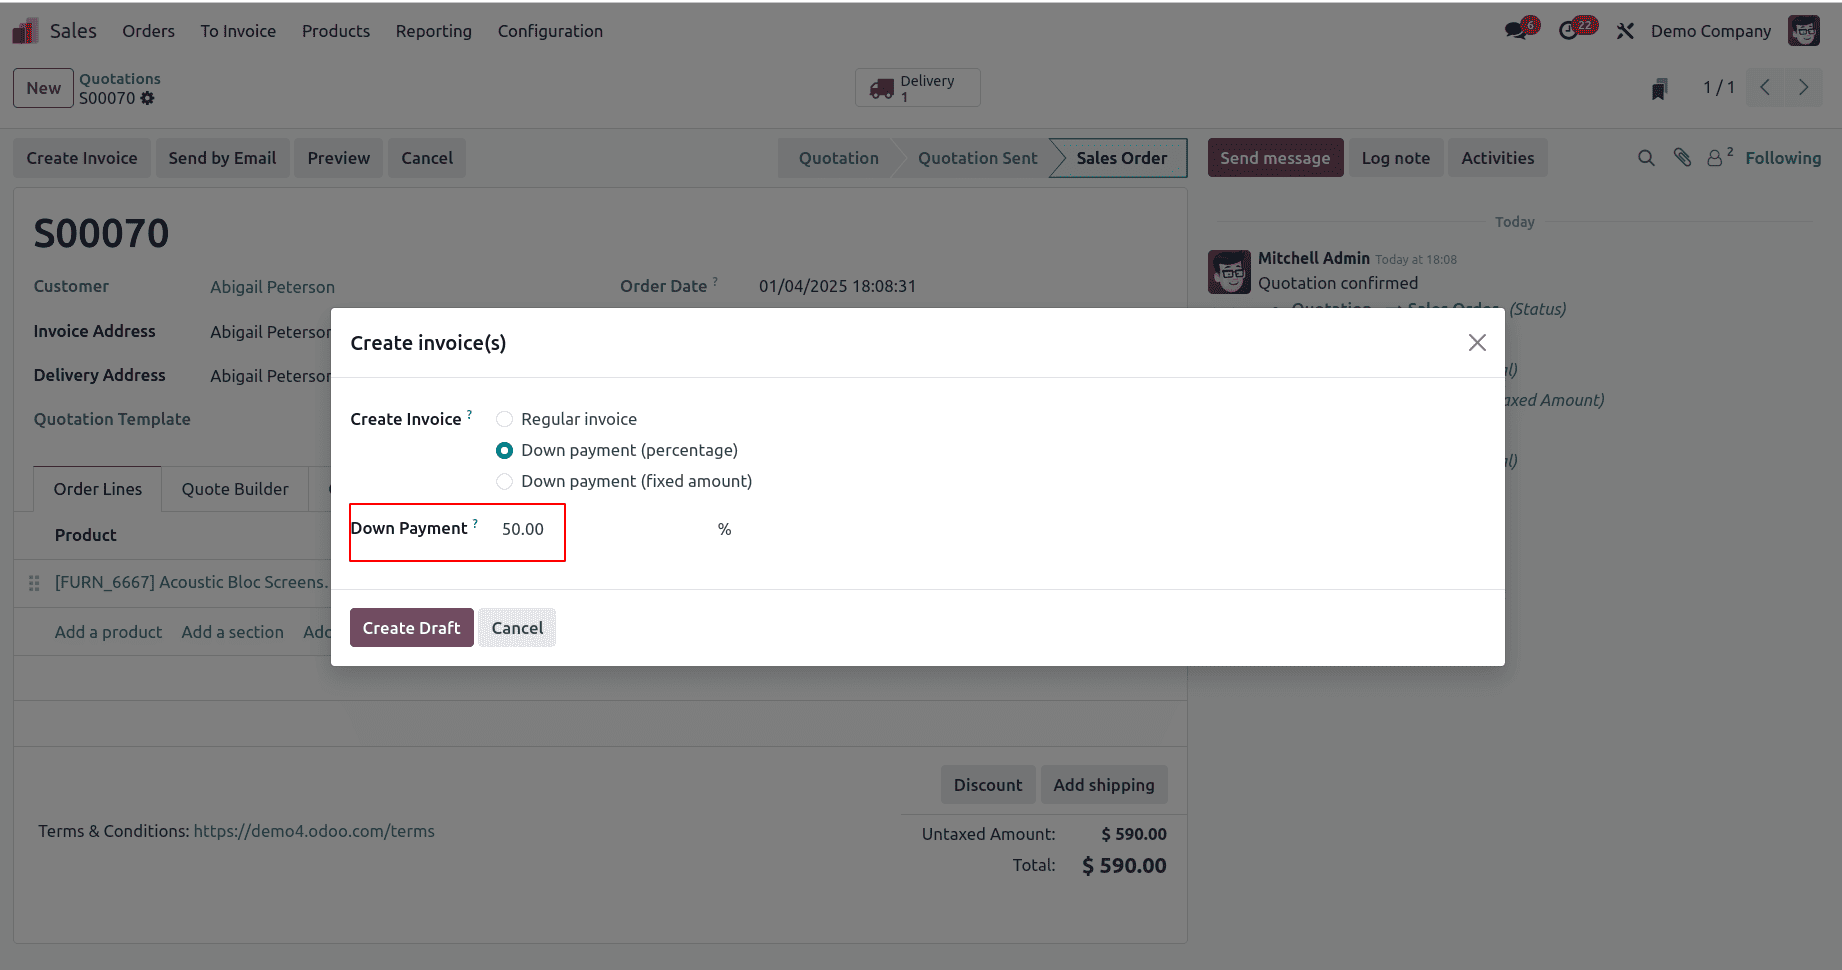
- Down Payment (Percentage):
This option allows the user to specify a percentage of the invoiced amount that must be paid upfront as an advance payment. This approach ensures partial payment is collected before completing the transaction, providing flexibility while aligning with business requirements.
Here, you can specify a down payment as a percentage, such as 50%. This means an invoice will be created for a 50% down payment on the selected product. After verifying all the details, click the CREATE AND VIEW INVOICE button. You will be redirected to the Draft Invoice page, where you can review all the information, as shown in the image below.
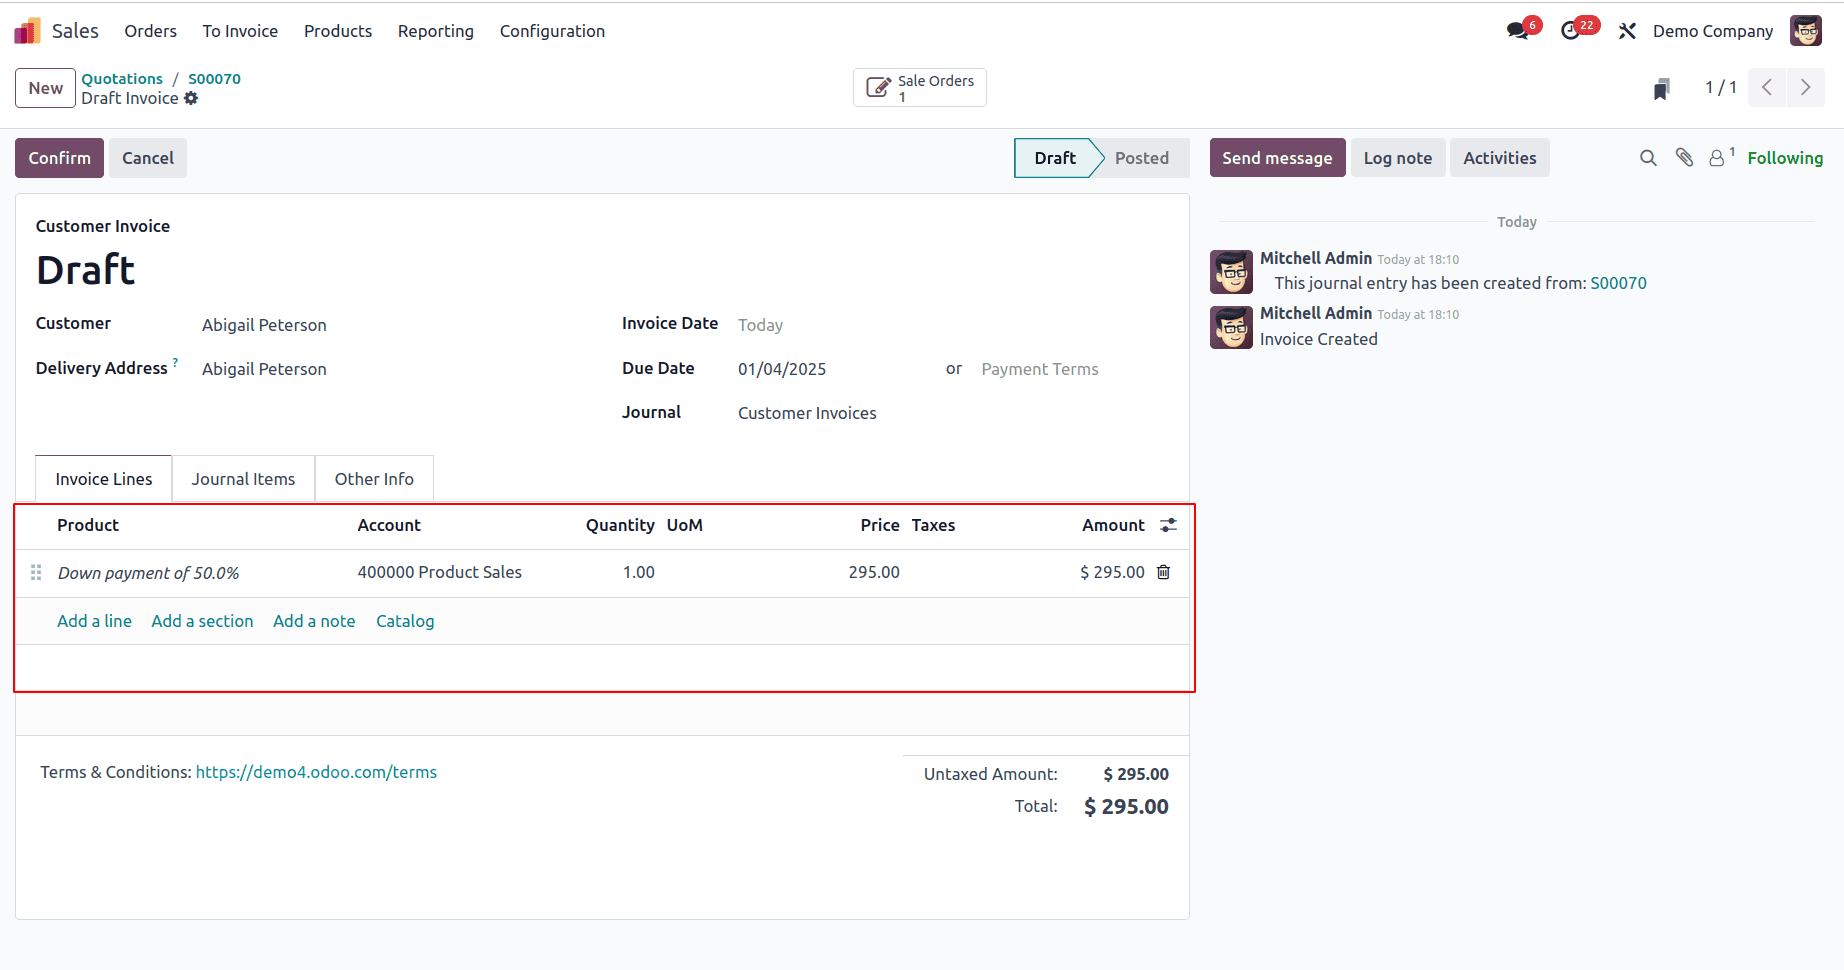
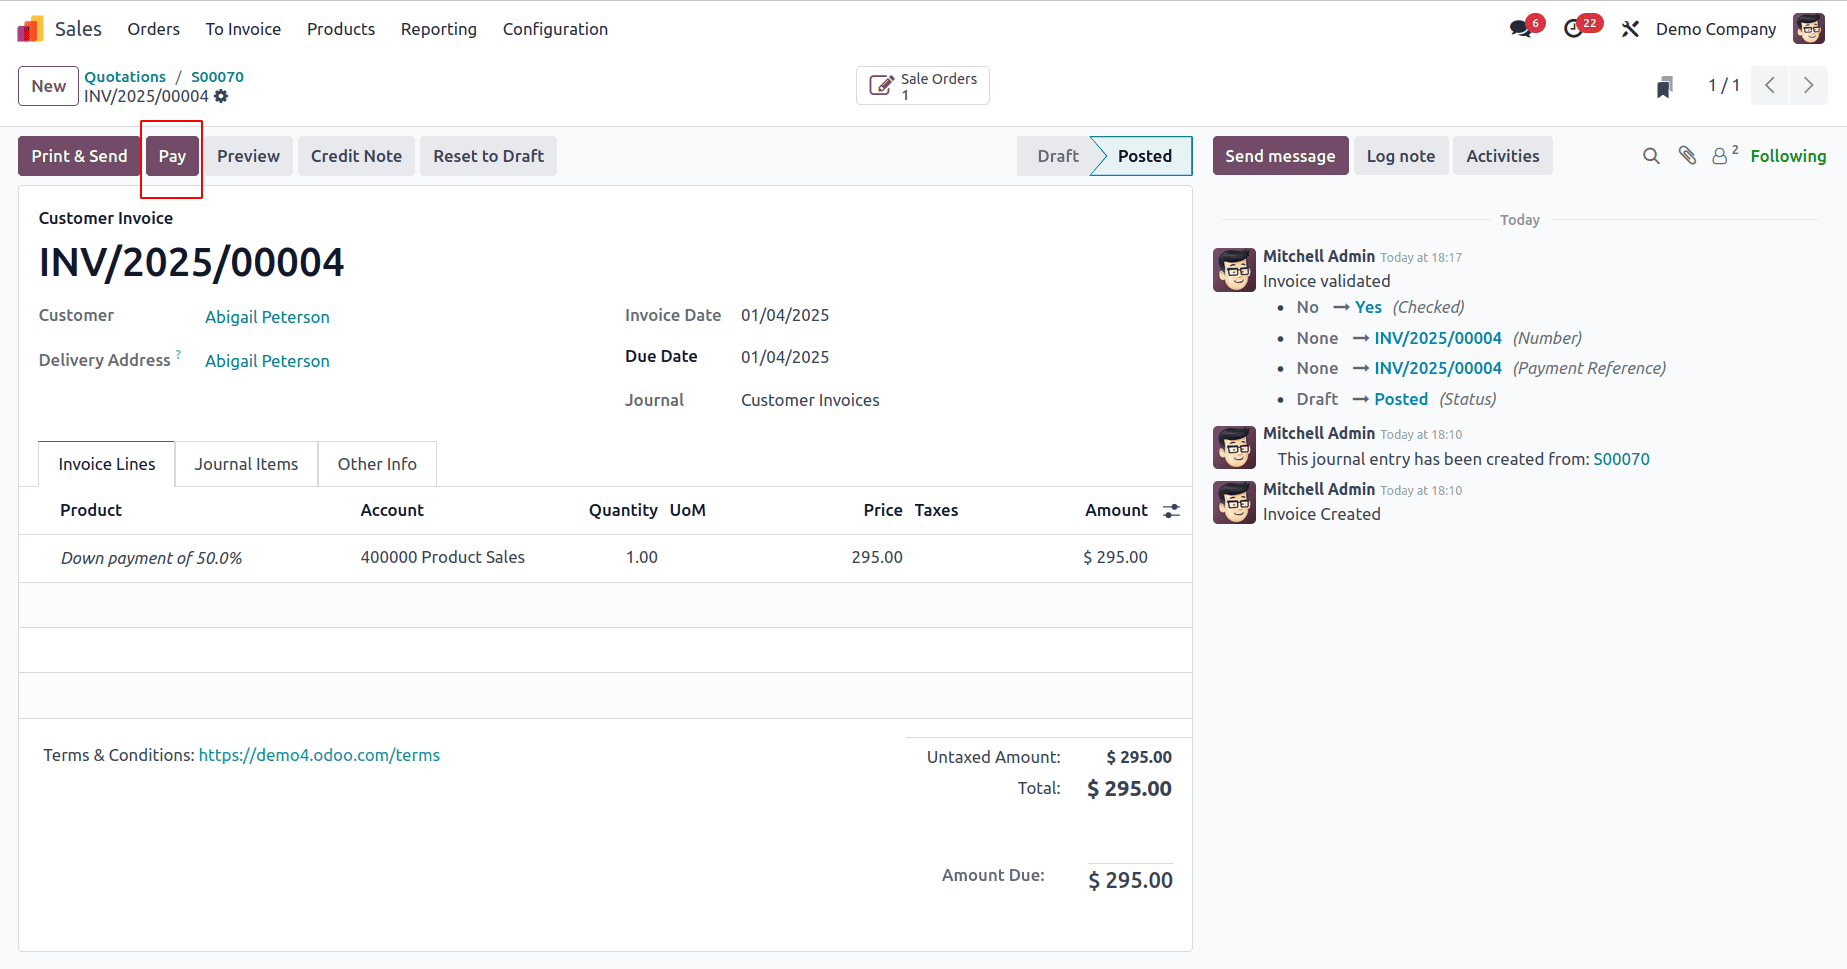
In the Invoicing Lines tab, the down payment is displayed as a separate product, along with details such as the down payment percentage, account information, price, taxes, subtotal, and other relevant information. The total amount is calculated by adding the Untaxed Amount and the Tax Amount. Once you click the "Confirm" button, the invoice will move to the posted state.
Once you have reviewed and confirmed the invoice details, click the +"Pay" button.
Clicking the "PAY" button will open a pop-up window, as illustrated in the image below.
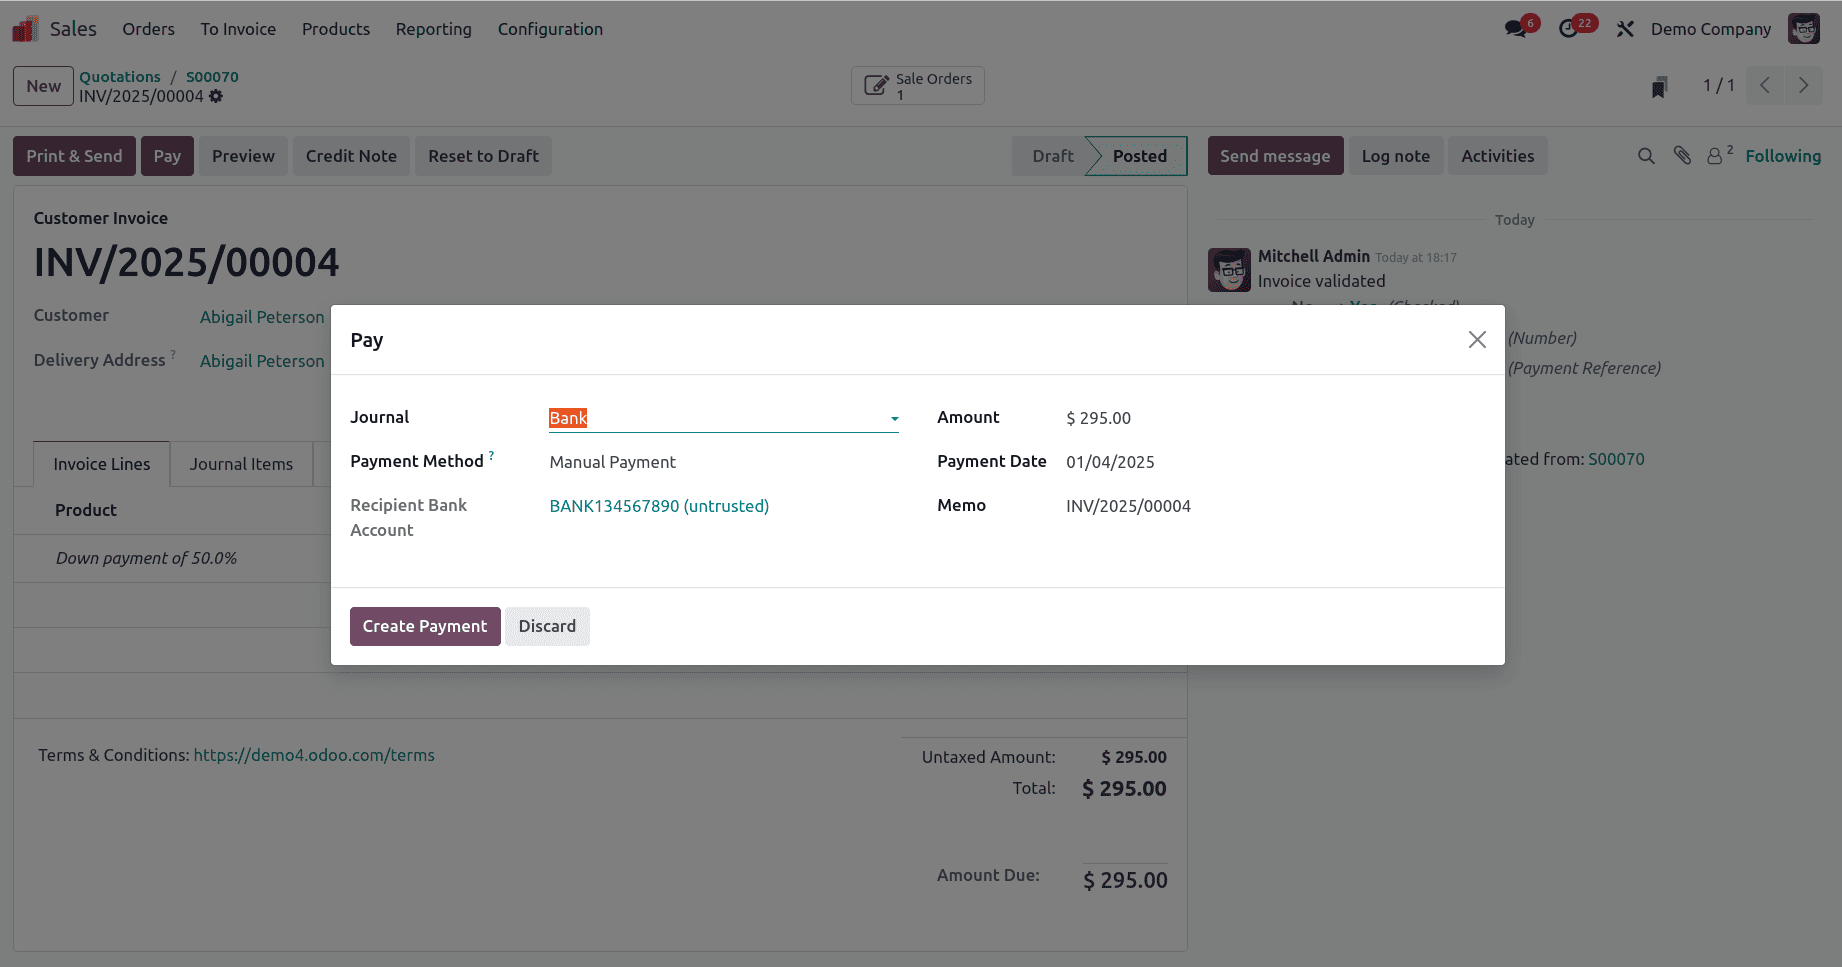
The pop-up displays payment-related fields, including Payment Journal, Payment Method, Recipient Bank Account, Amount, Payment Date, and Memo. After reviewing the payment details, click the "Create Payment" button. The “IN PAYMENT” ribbon will then appear within the form view.

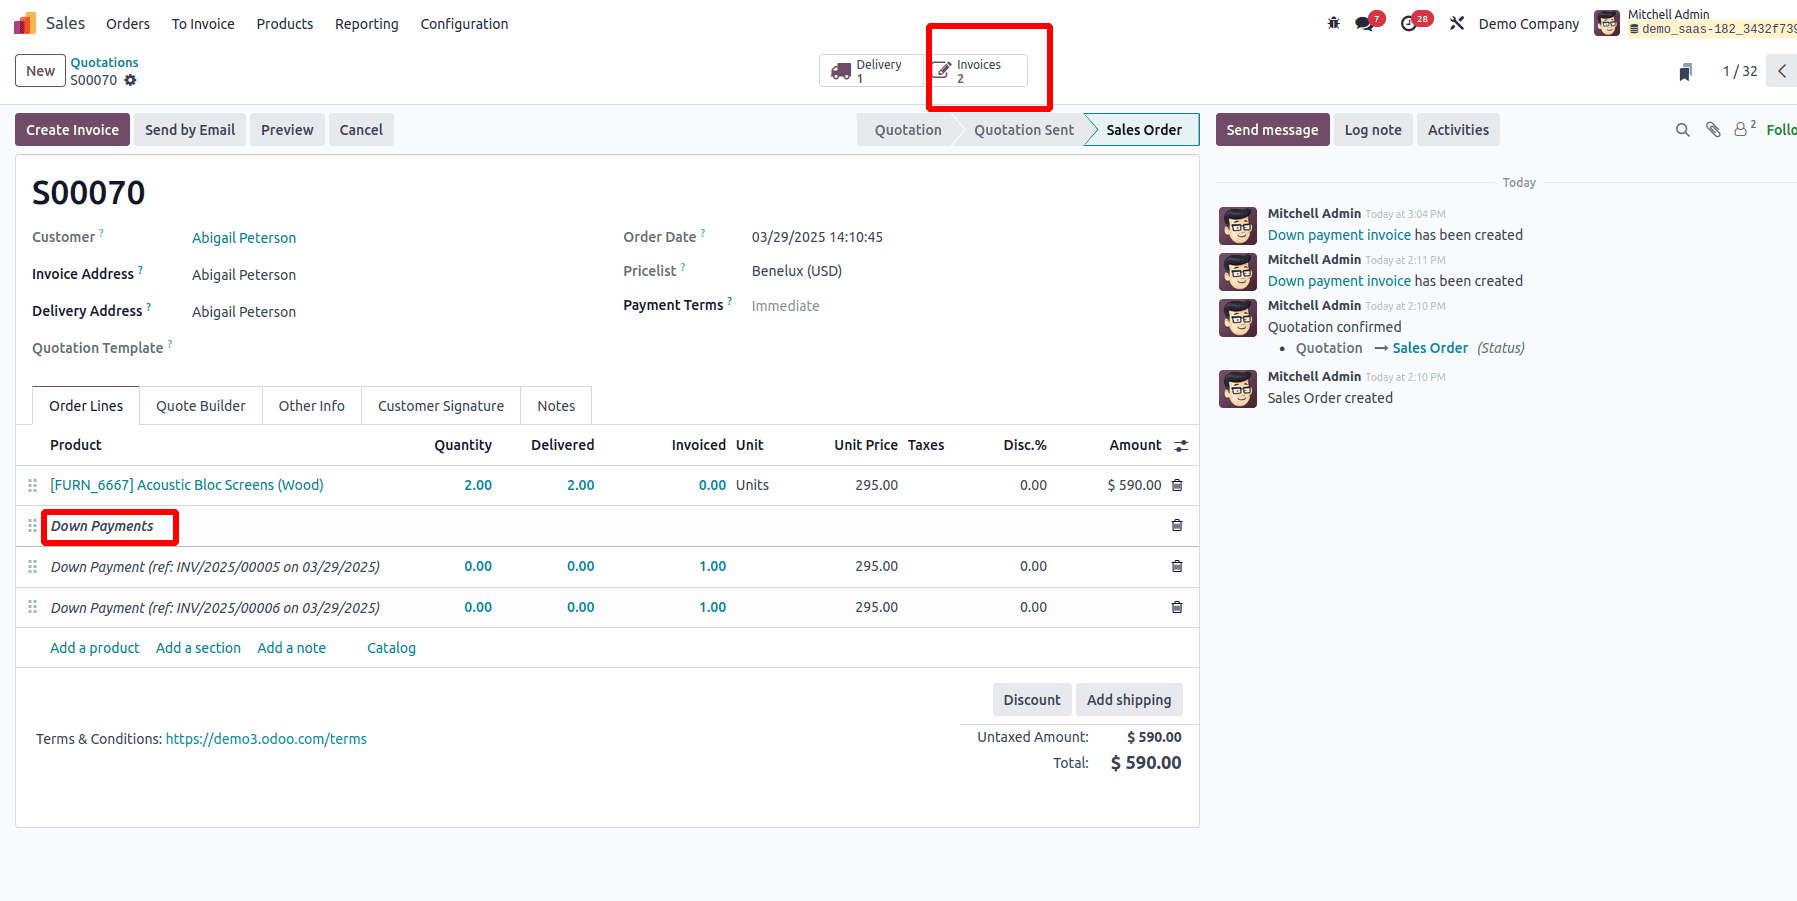
In the sales order, we can see the down payment section as shown in the image. When we click 'Create Invoice' again with a percentage of the amount, the already invoiced amount is displayed as $295.
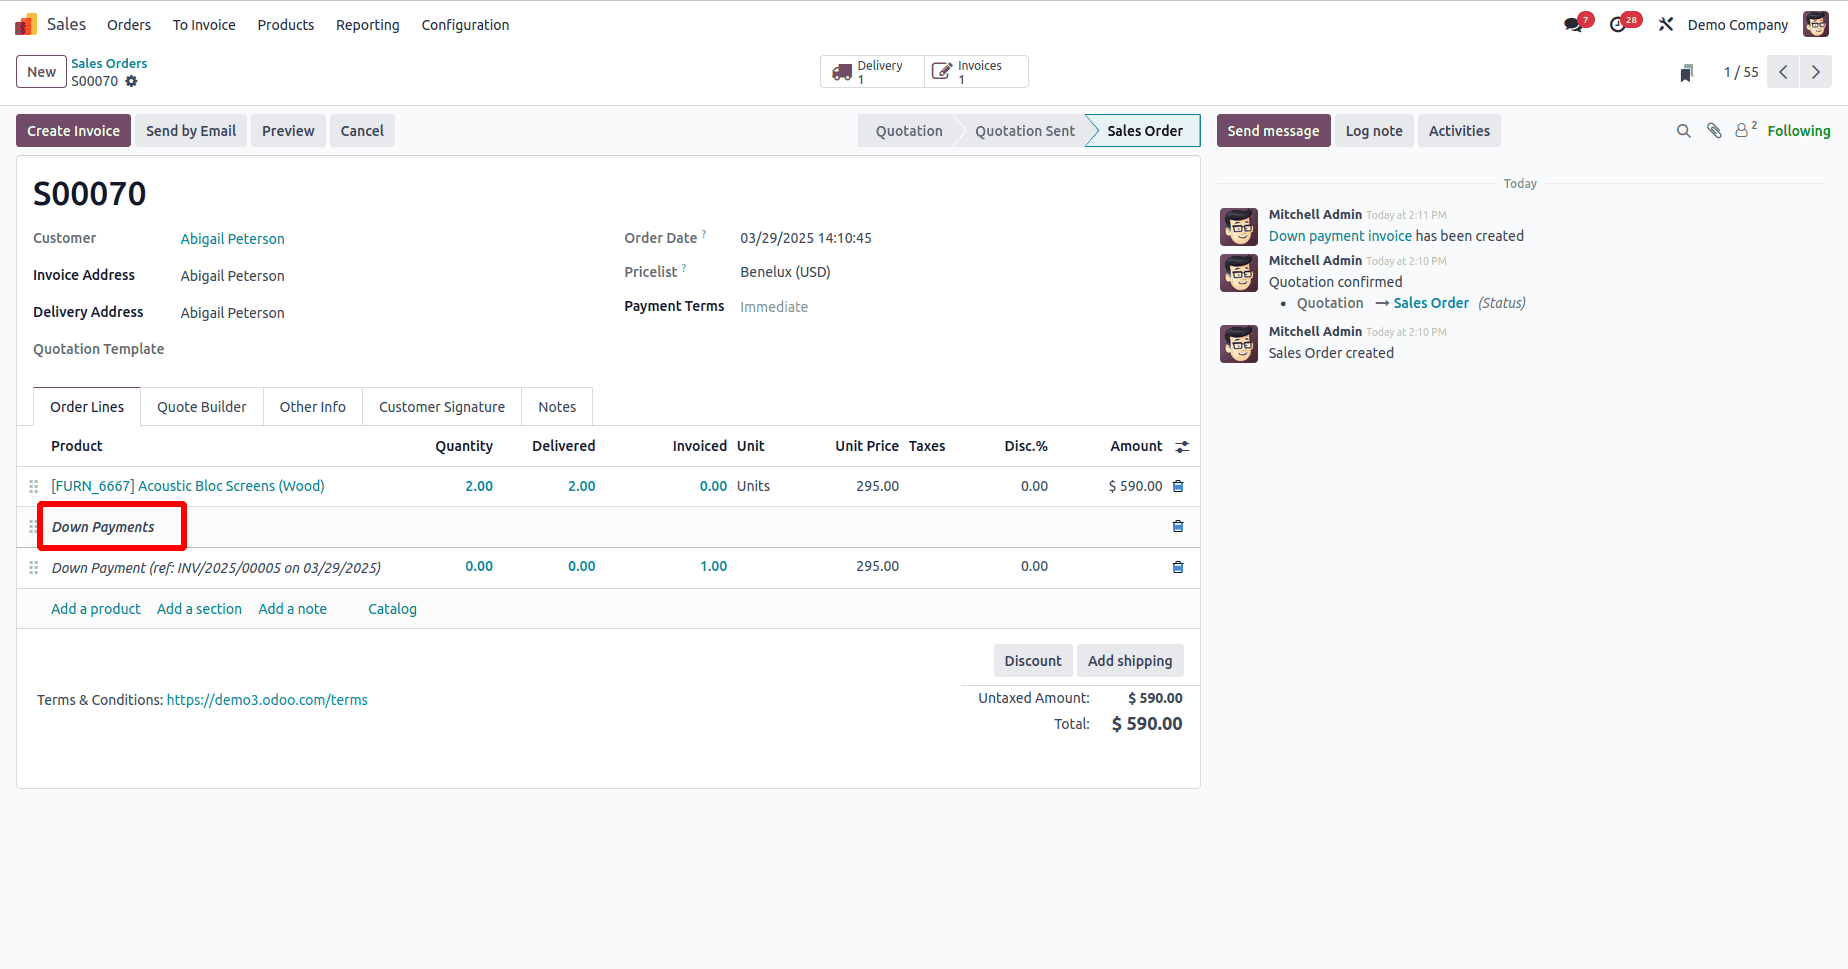
You can manage invoices and delivery details using the "Invoices" and "Delivery" smart buttons, respectively.
How Down Payments are Deducted When Creating a Regular Invoice in Odoo
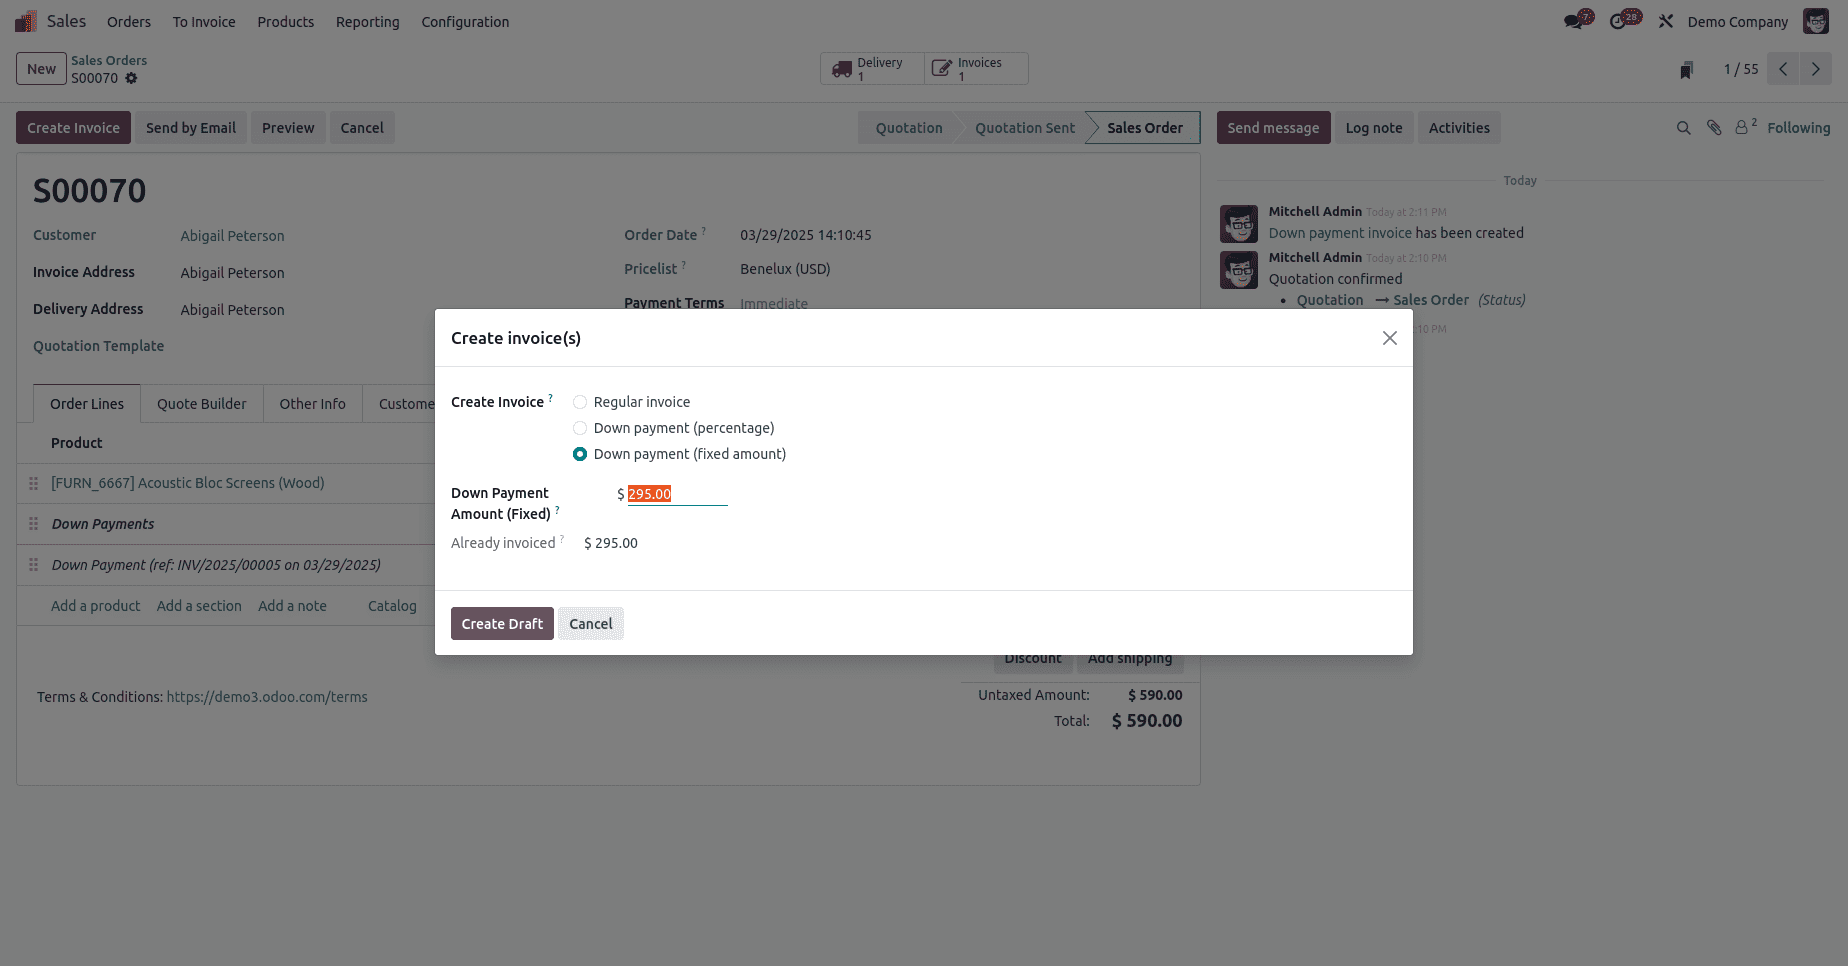
In the screenshot below, you can see that I created an invoice with a down payment of 50% and a fixed down payment $295
As shown in the screenshot below, the invoice line shows a negative quantity with reference to the related invoice (INV/2025/00035), indicating that it is a down payment and will be deducted from the final invoice.
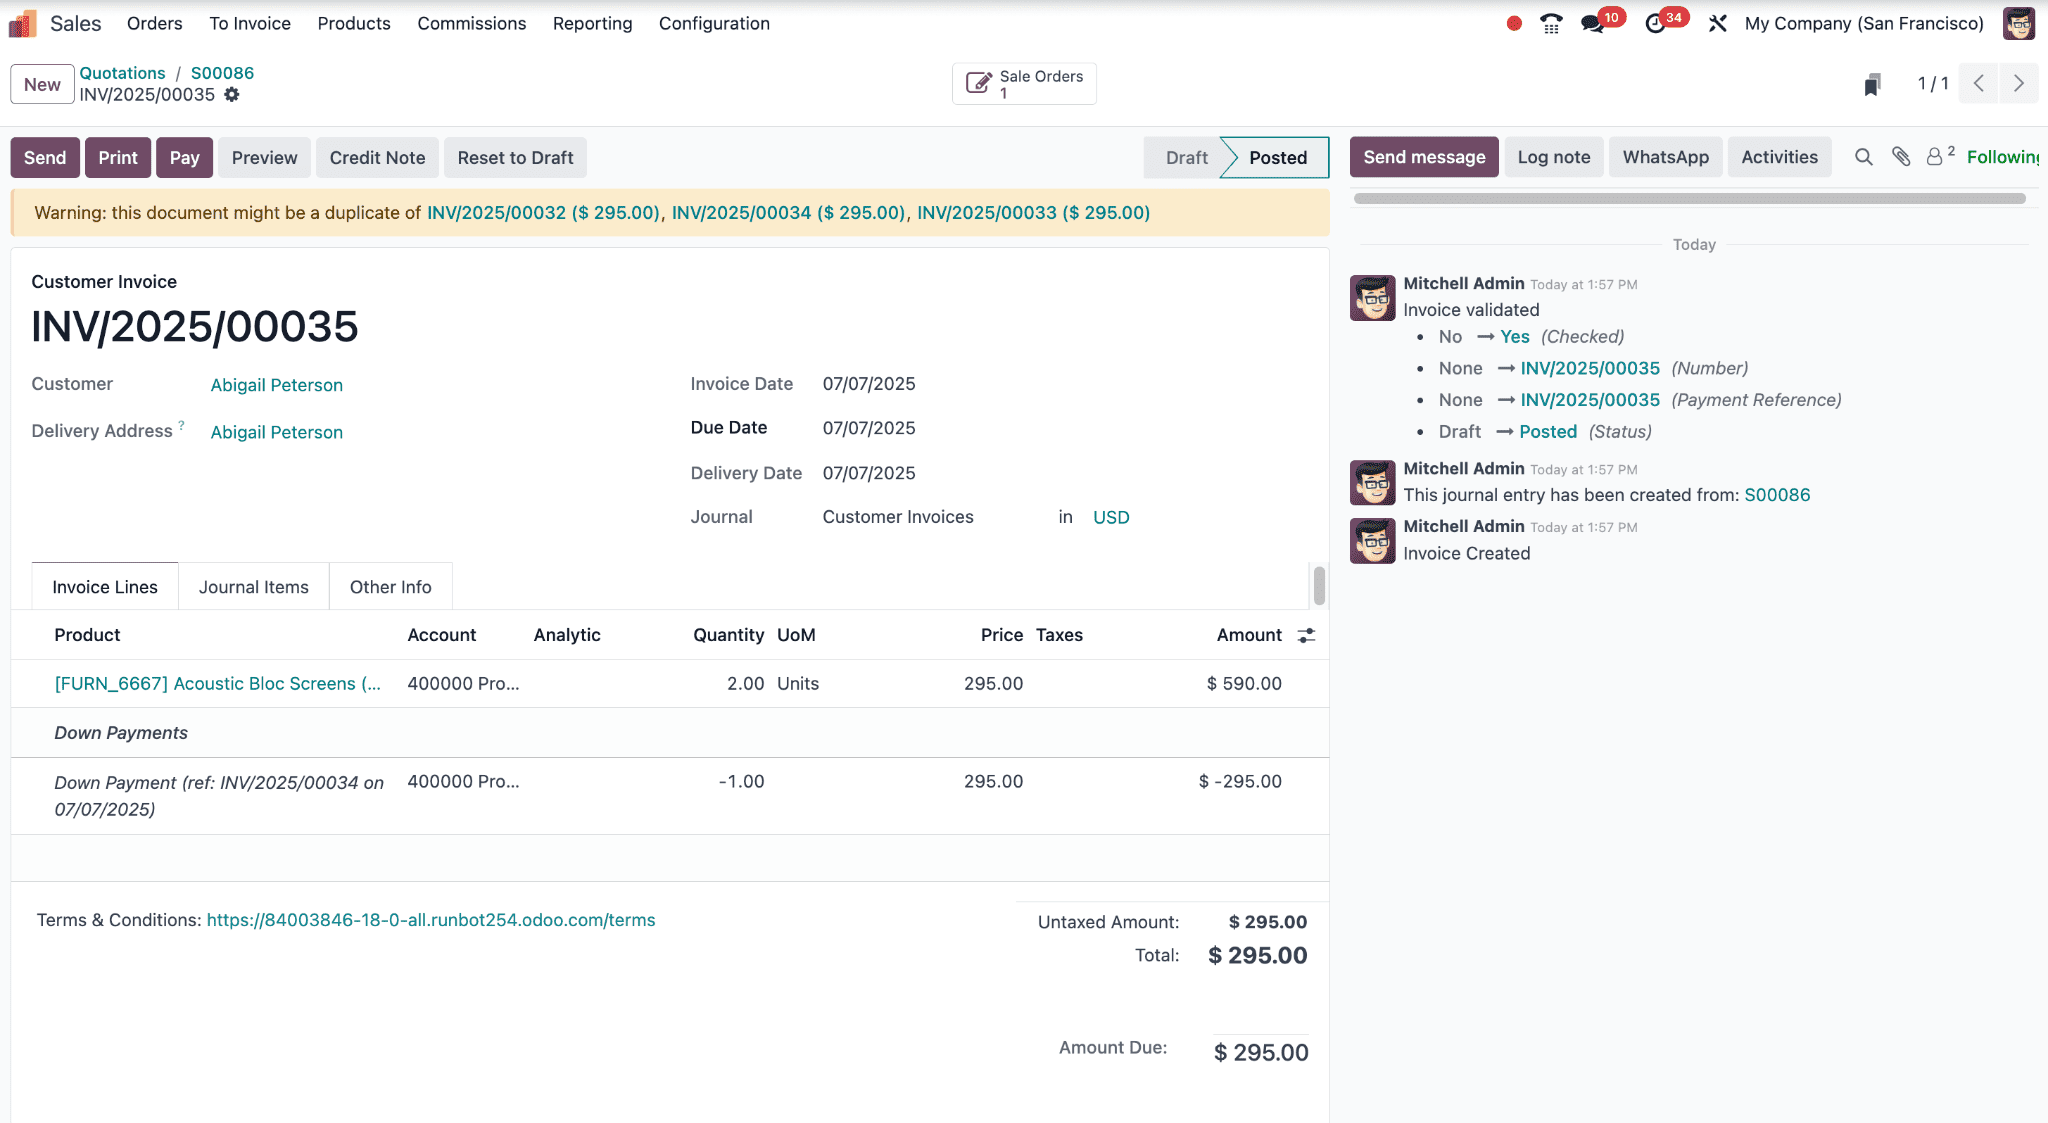
After confirming, the regular invoice is generated. As shown in the screenshot below, Odoo automatically includes a line referencing the previously issued down payment invoice. This amount is deducted from the total, ensuring the customer is only billed for the remaining balance and not charged twice. Thus, in the above screenshot, it says the total is $590, and $295 has been paid as a down payment, which is deducted from the total. Thus, ‘Amount Due’ is only the remaining amount $295.
This is a functional overview of processing down payments for a sales order in the Odoo 18 Sales Module. Businesses can efficiently manage their clients' down payments using this feature.
To read more about How to Set Up and Process Down Payments in Odoo 18 Sales, refer to our blog How to Set Up and Process Down Payments in Odoo 18 Sales