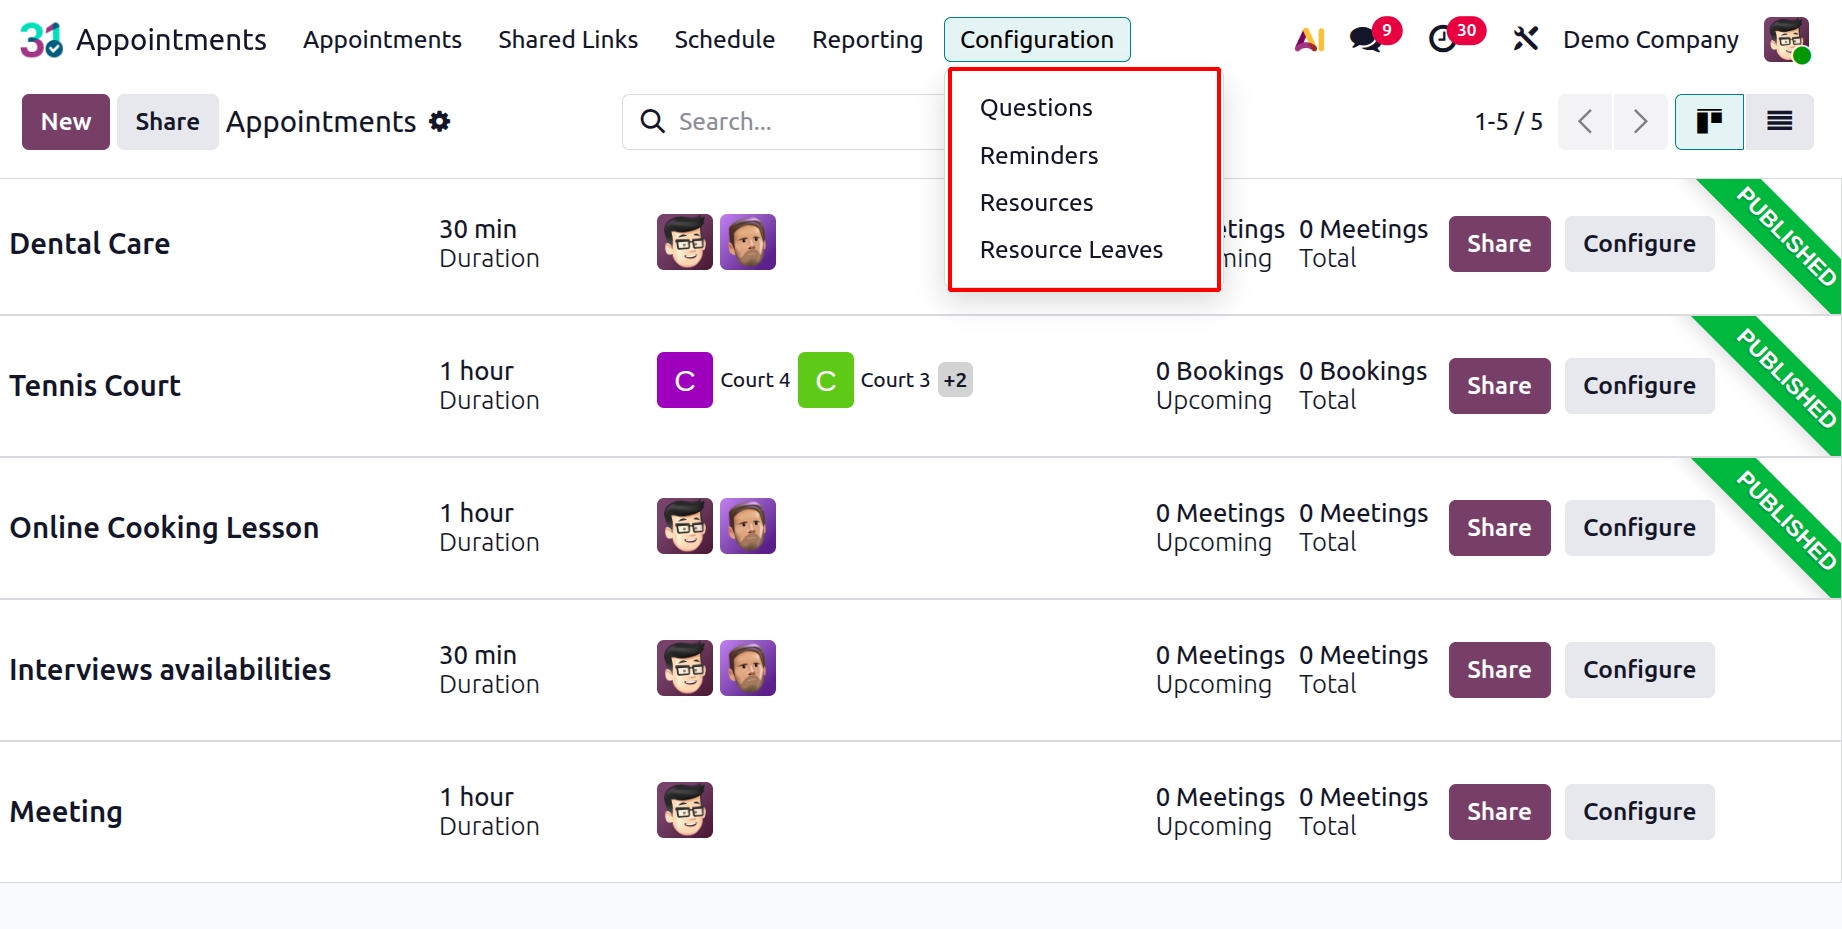
Configuration
Questions, Reminders, Resources, and Resource leaves are all located under the configuration.
1.1 Questions
The “Questions” option under Configuration allows you to create and manage custom questions that appear during the online appointment booking process.
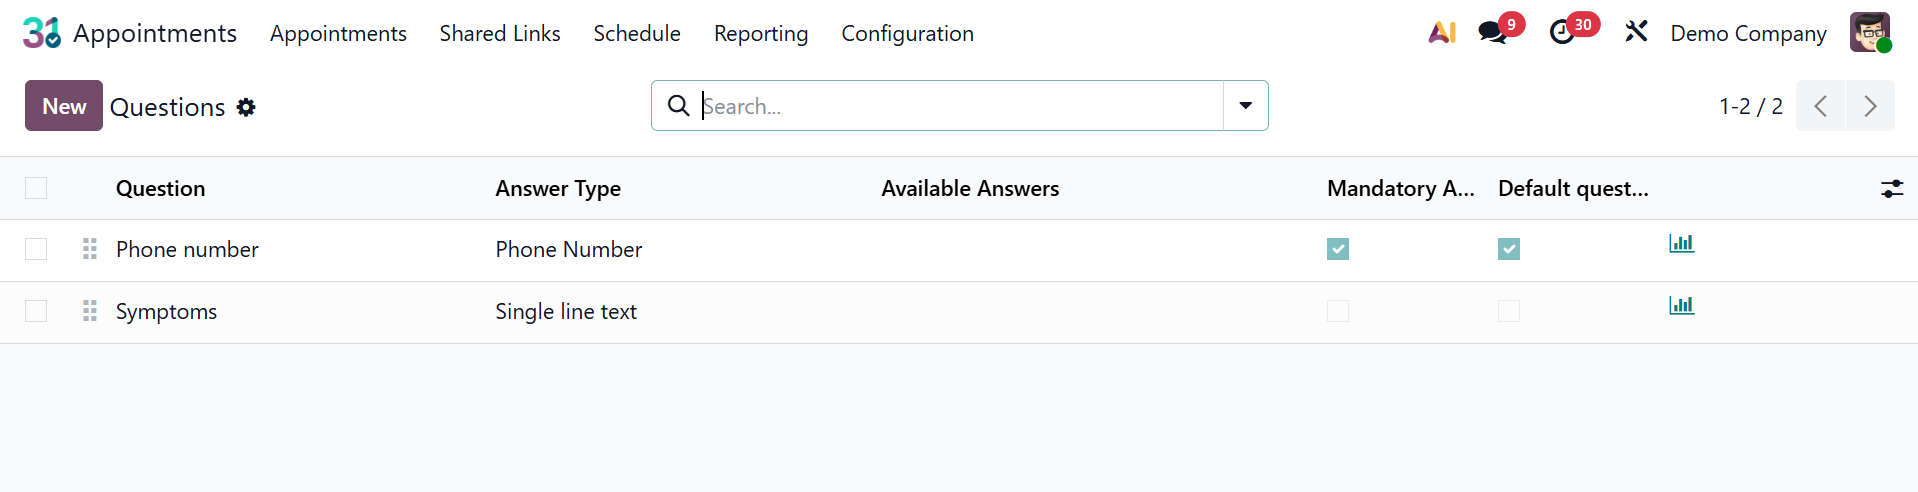
Before confirming the reservation, they are used to get further information from clients, such as preferences, needs, or specifics related to the meeting. Using the New icon, you can create new questions.
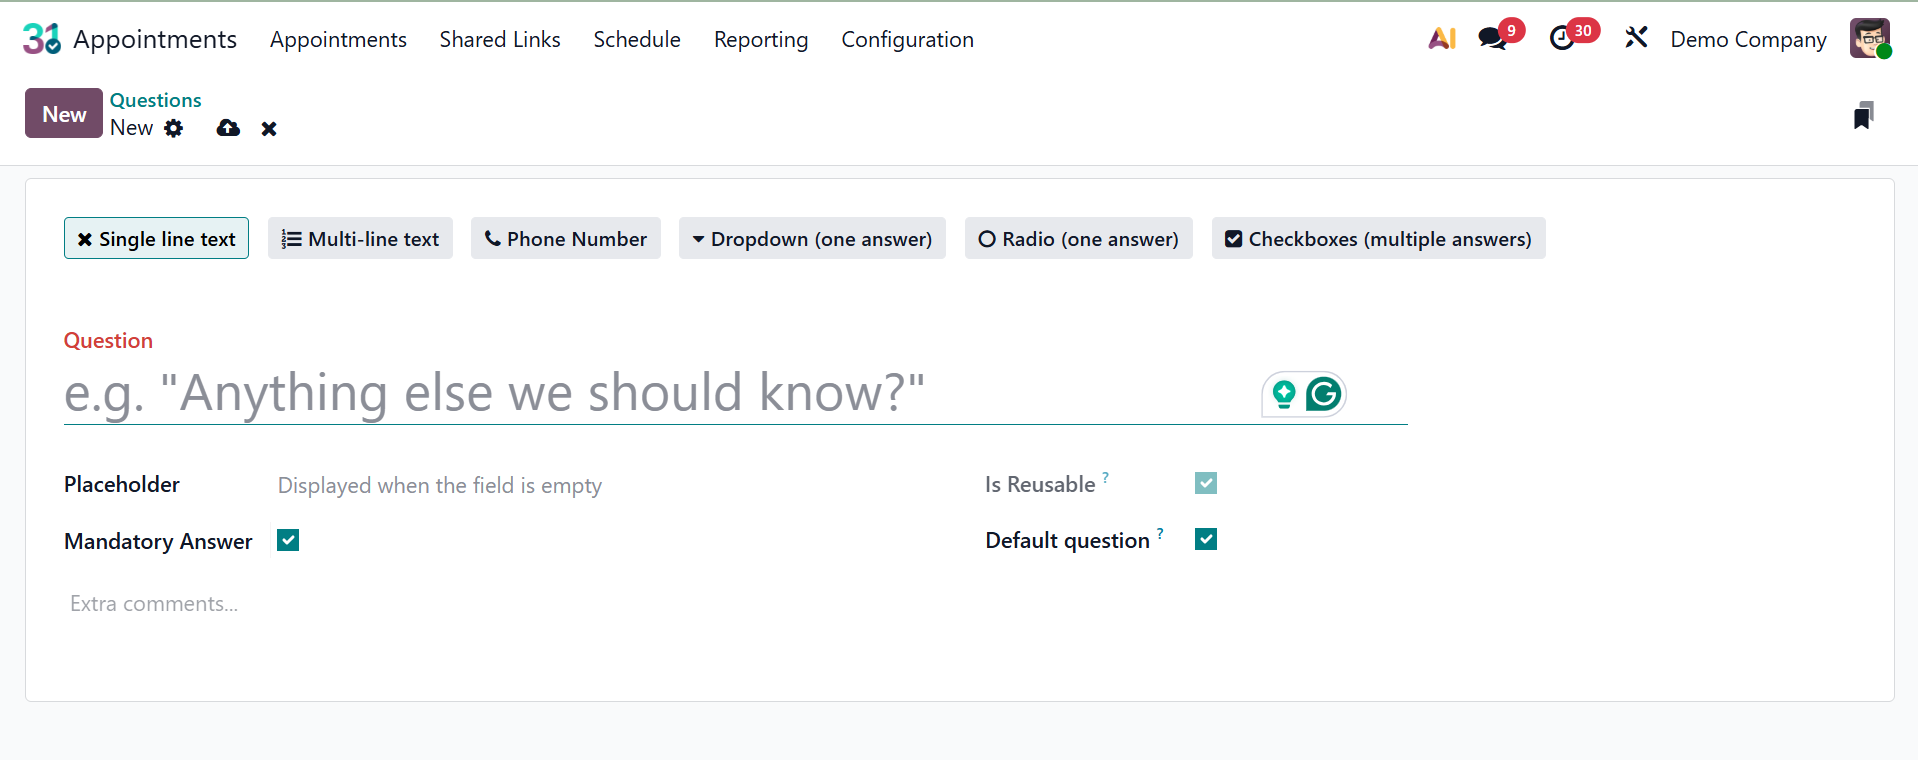
The question can be added in the space provided. Above that, you can determine the type of question, such as
- Single line text: For brief, free-text responses (such as "What is your company name?"), use single-line text.
- Multiline text:: For longer, more thorough free-text responses (e.g., "Describe your specific needs or goals for this meeting").
- Phone Number:When making an appointment, the "Phone Number" query type is used to get a customer's phone number.
- Dropdown with a single response:displays a dropdown menu with a list of predetermined possibilities, from which the customer can only choose one.
Radio (one answer): This is comparable to "Dropdown," except it allows for only one selection and displays the possibilities as radio buttons.
- Radio (one answer): This is comparable to "Dropdown," except it allows for only one selection and displays the possibilities as radio buttons.
- Multiple-answer checkboxes: displays choices as checkboxes, enabling the client to choose more than one response if necessary (e.g., "Which products are you interested in?").
- Placeholder: An optional feature that helps users understand the required format or content by providing sample text within the input field (useful for text-based answer kinds).
- Required (or Mandatory) Response: a checkbox that, if checked, requires the consumer to respond to the inquiry before confirming the appointment.
And the option to set the question as Default. Customers' responses are usually recorded once they are configured.
1.2 Reminders
You can set online or offline appointment reminders by selecting the "Reminders" option in the Calendar module's settings.
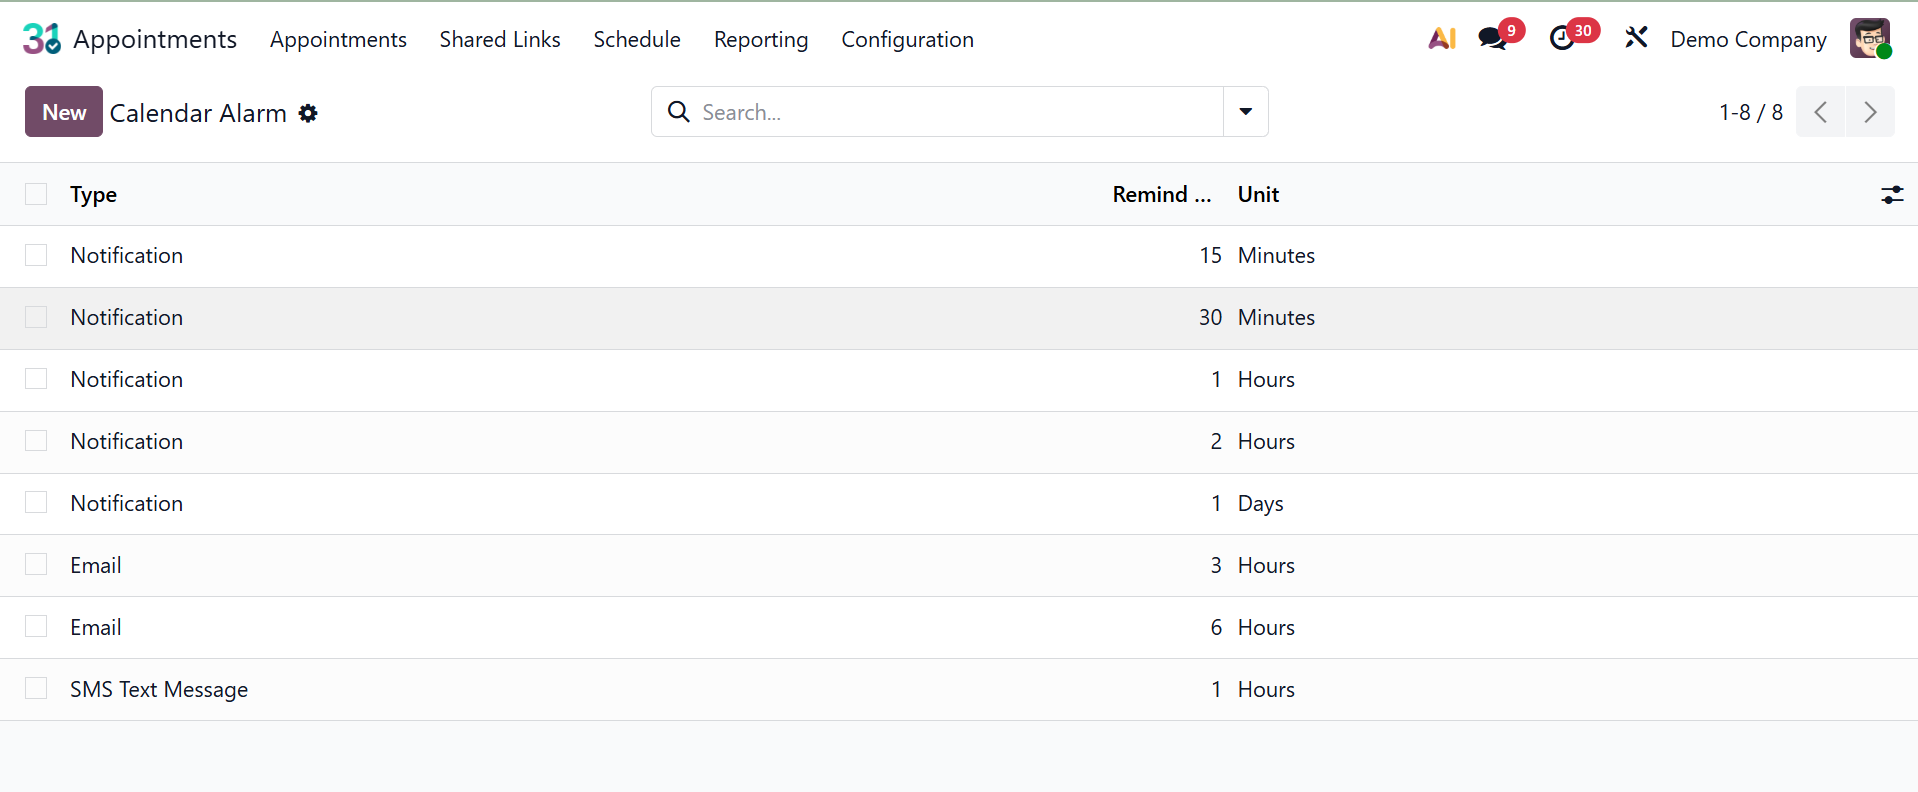
You can be reminded of upcoming appointments by using this feature in the Calendar module. To help staff remember certain appointments, several reminders can be set up. The settings menu's reminders section allows you to establish calendar alarms.
You may see every notification that has been set up for specific appointments on this page. The information on the page offers options for types, units, and prior reminders. Simply click the New icon on the left side of the page to make an alarm or reminder comparable to the appointment.

In the first space that appears, you can choose the "Type" of reminder. Emails, SMS, or notifications might be used as the format. Additionally, you can add the Email Template. You can now program the alarm to go off minutes, hours, or days prior to the appointment by using the Remind Before option. To add alarms to new appointments, you can also activate the New appointments default option. To add this freshly made alarm to the current list, click the Save icon right now.
1.3 Resources
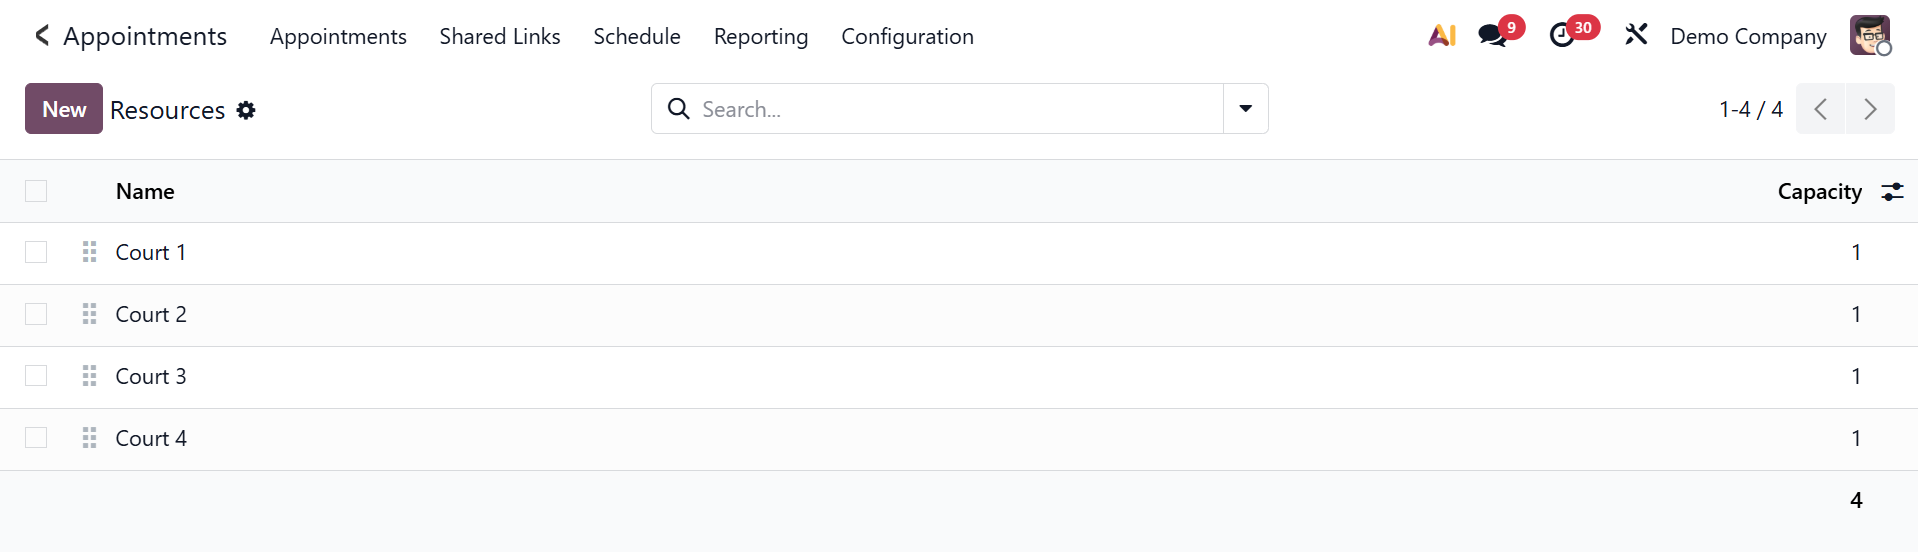
Odoo 19 introduced a new feature called Resources. The setup has a resources option that lists capacity and appointment resources. To create a new resource, select the "New" option and search or filter the group based on your preferences.
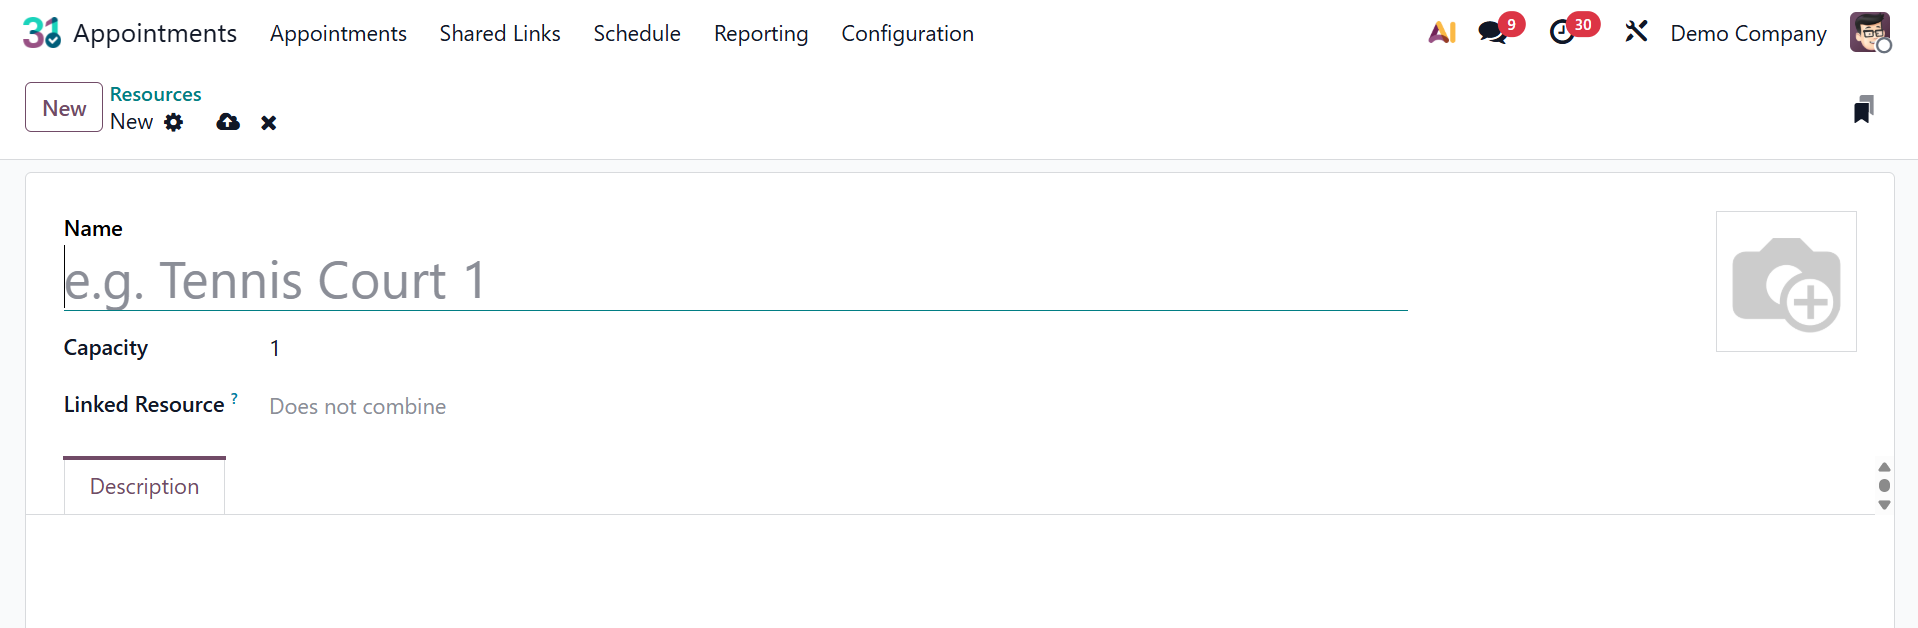
The resource name is now included in the Appointment Resource field on the creation page. You can choose the maximum number of users for the resource under the Capacity section. Linked Resources can be updated with a list of resources that collaborate to fulfill large requests. Additionally, you can choose the opening hours using the space provided. Any description of the resources can be found on the Description tab.
1.4 Resource Leaves
"Resource leave" refers to scheduling periods when a resource—like a conference room, table, or tennis court—is unavailable. By ensuring that the resource cannot be reserved during particular times, this essentially inhibits appointment availability.
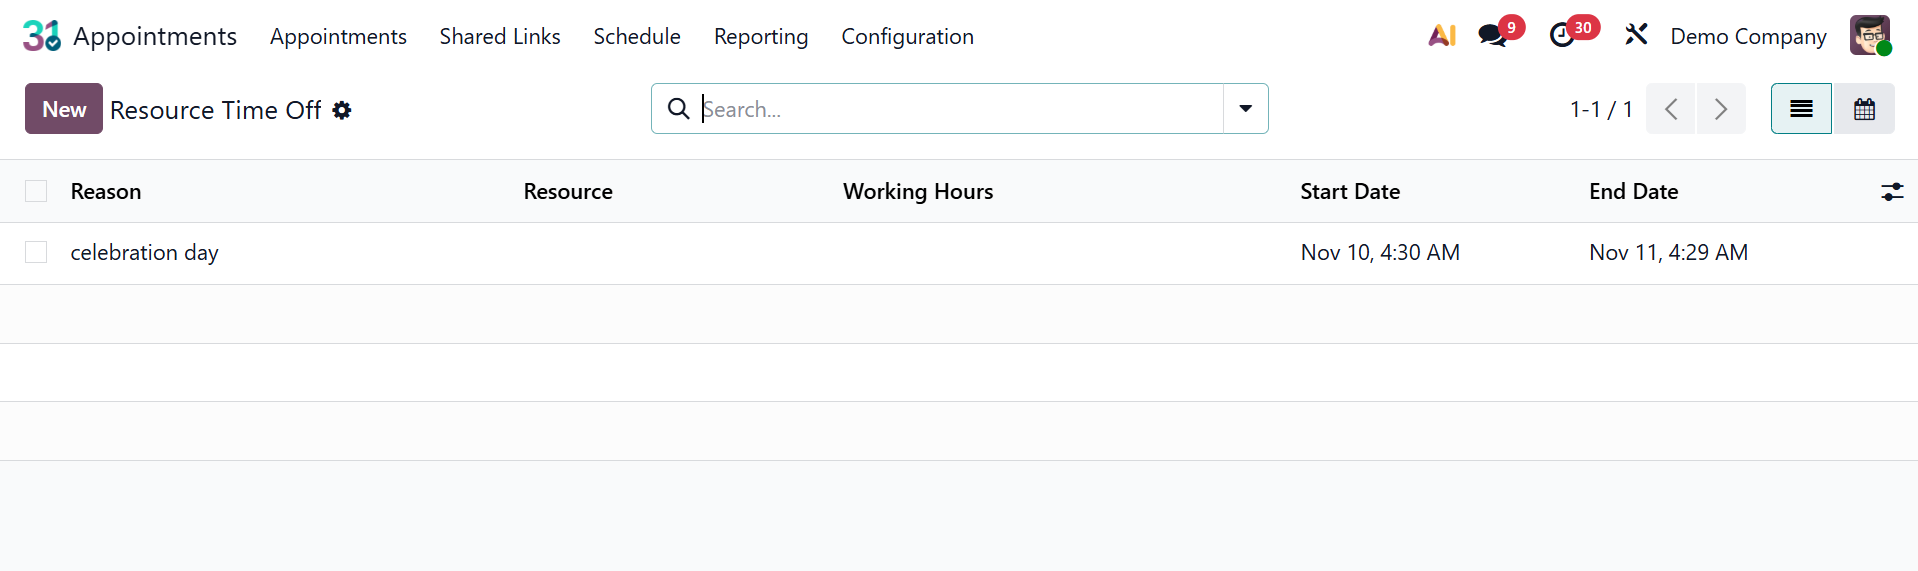
As seen in the picture below, select the "New" icon to start a fresh resource time off.
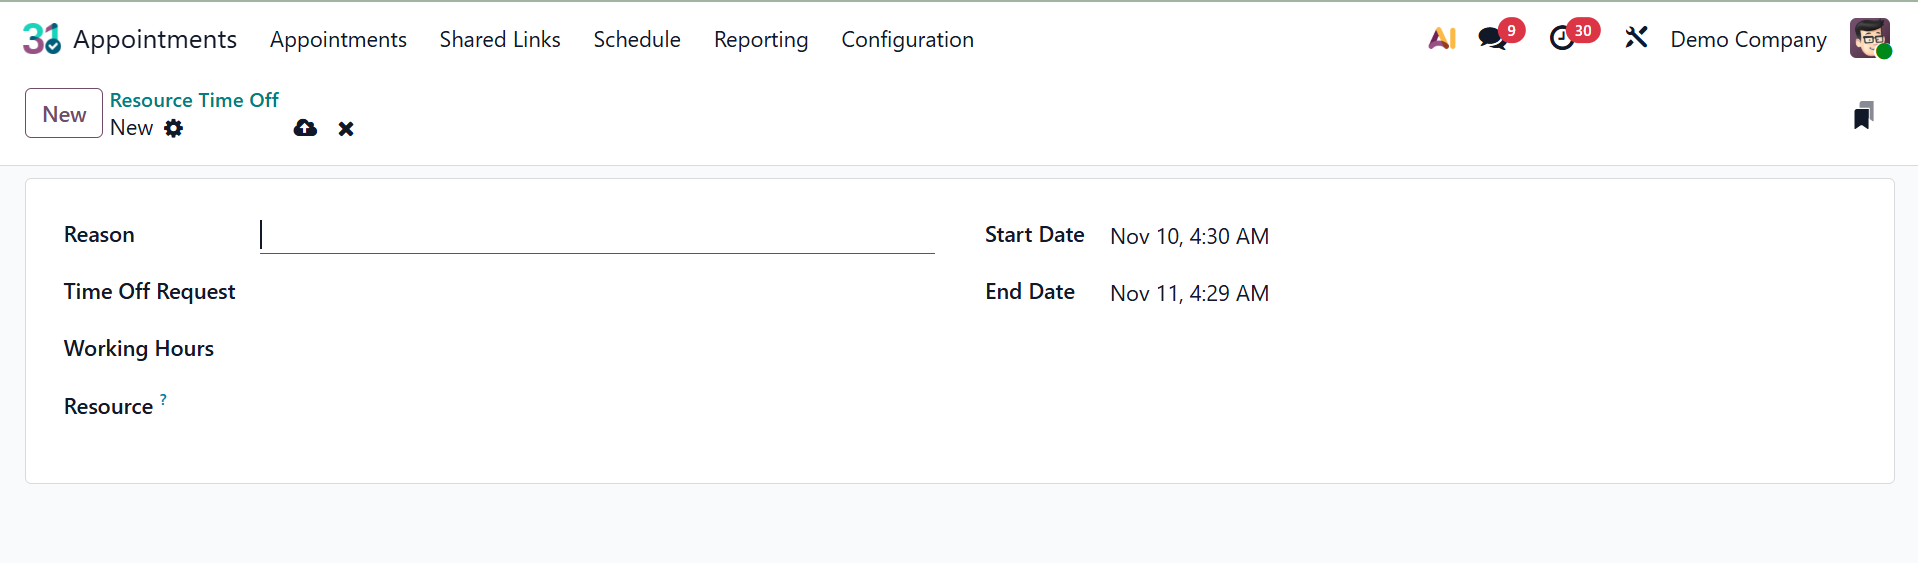
Here, include the Resource, Start Date, End Date, Working Hours, Time Off Request, and Reason for the time off. Lastly, save the supplied data.