Along with information like the product name, serial or lot number, and price, a barcode is an essential component of product identification. Enabling quick product identification by barcode scanning, which significantly increases efficiency, is one of its major benefits. Managing products at several phases, such as Point of Sale (POS), Manufacturing, Purchasing, and Inventory management, is made easier with barcode attribution.
Batch transfers, inventory changes, and other crucial actions are added to barcode capabilities by the Odoo 19 Barcode module. Make sure the Barcode App is installed in Odoo 19 in order to utilize the barcode feature efficiently.
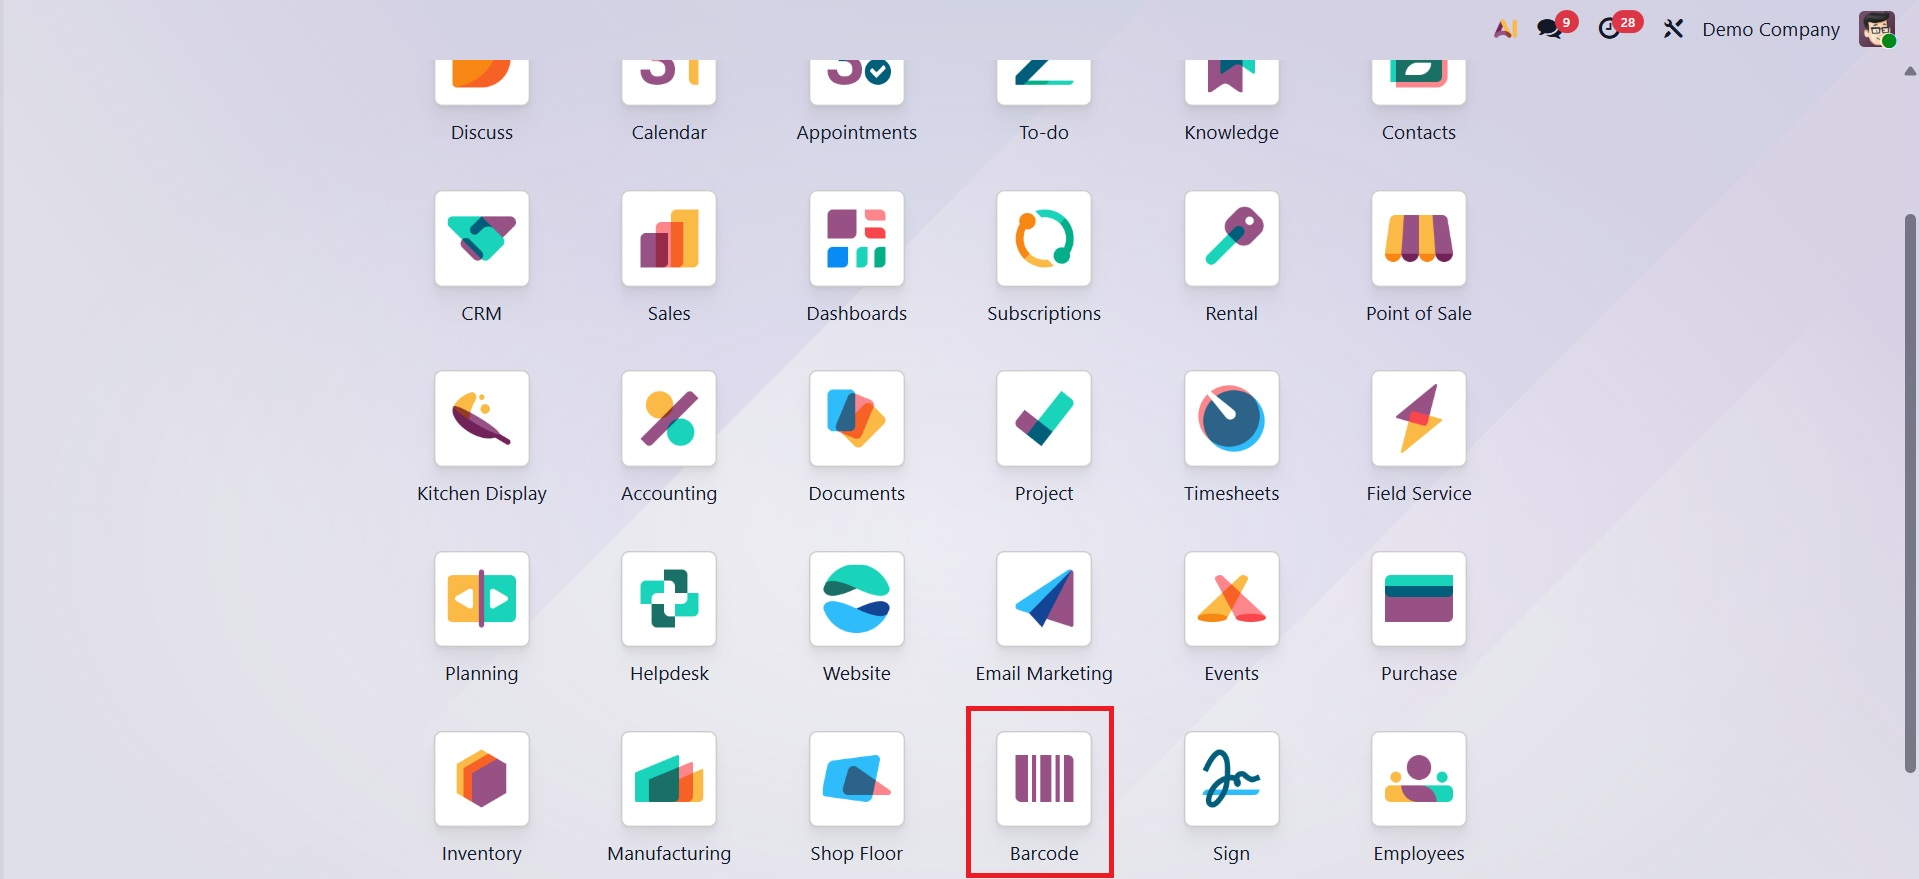
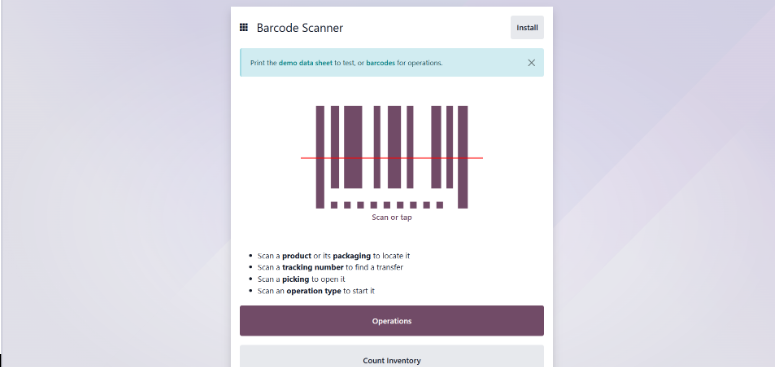
Click the Barcode App icon in the Odoo 19 dashboard to launch the Barcode App when it has been installed. Additionally, the Inventory App, which is essential to barcode-related procedures, must be accessible to the user in order to enable barcode functionality. As seen in the screenshot below, a Barcode Scanner interface will appear when the program interface is opened.
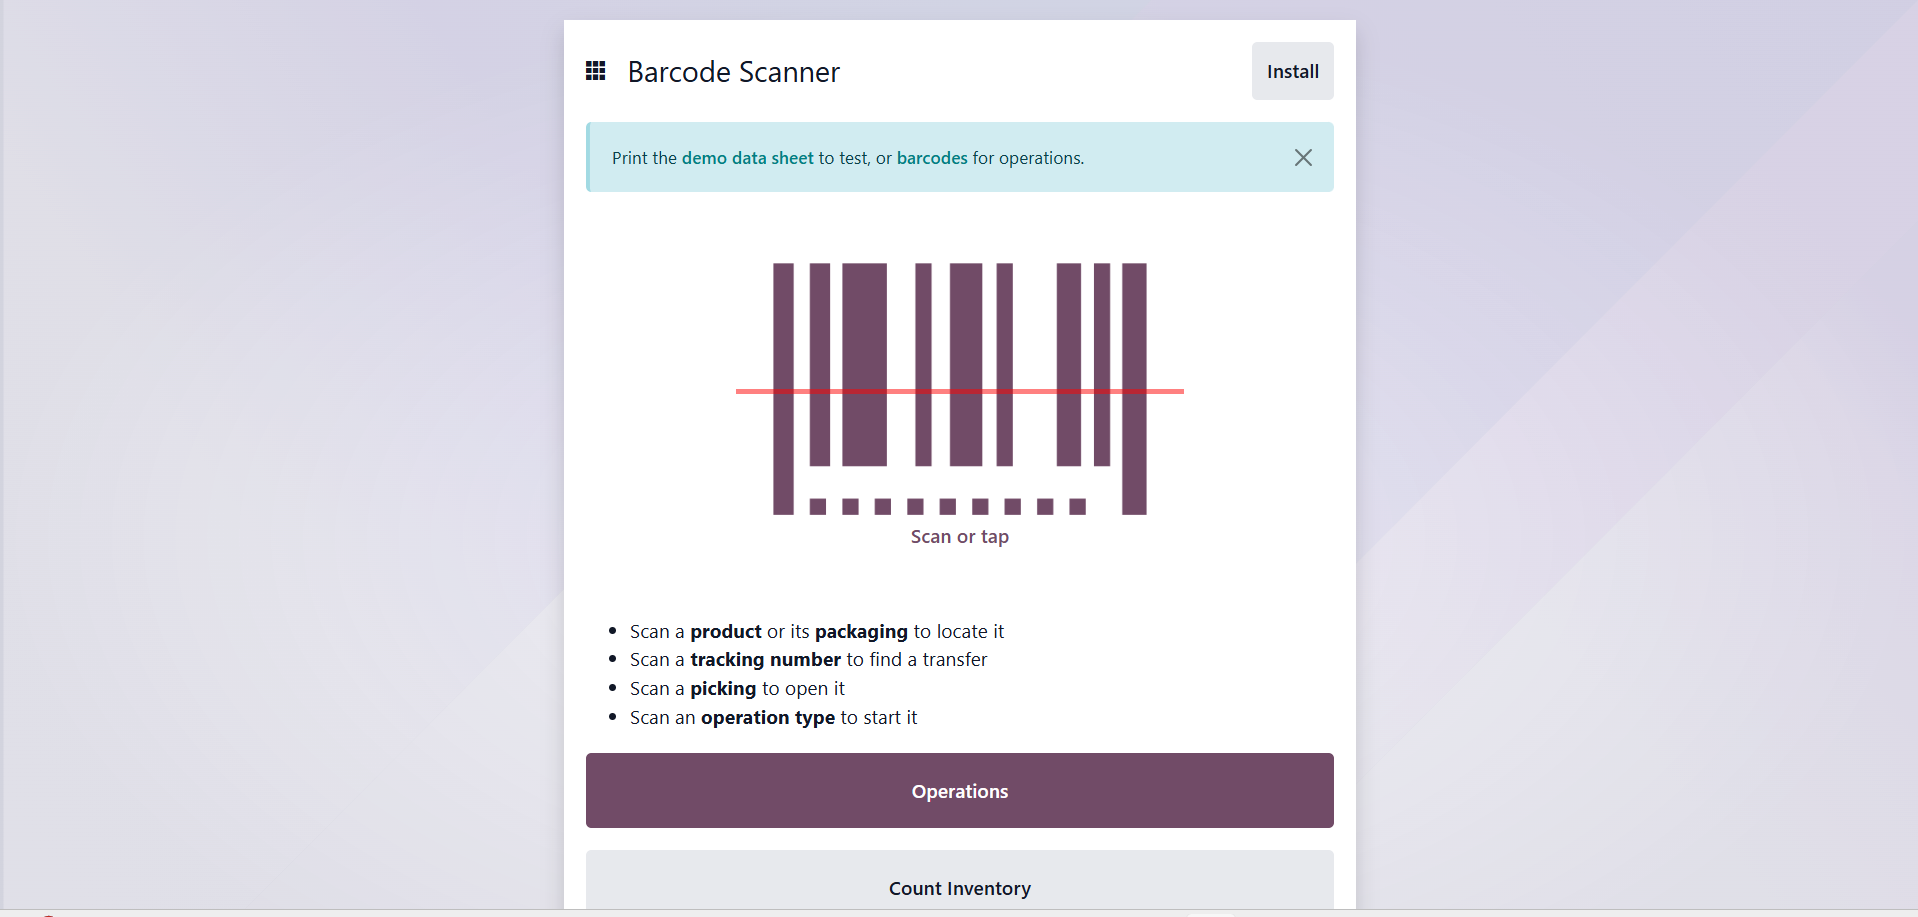
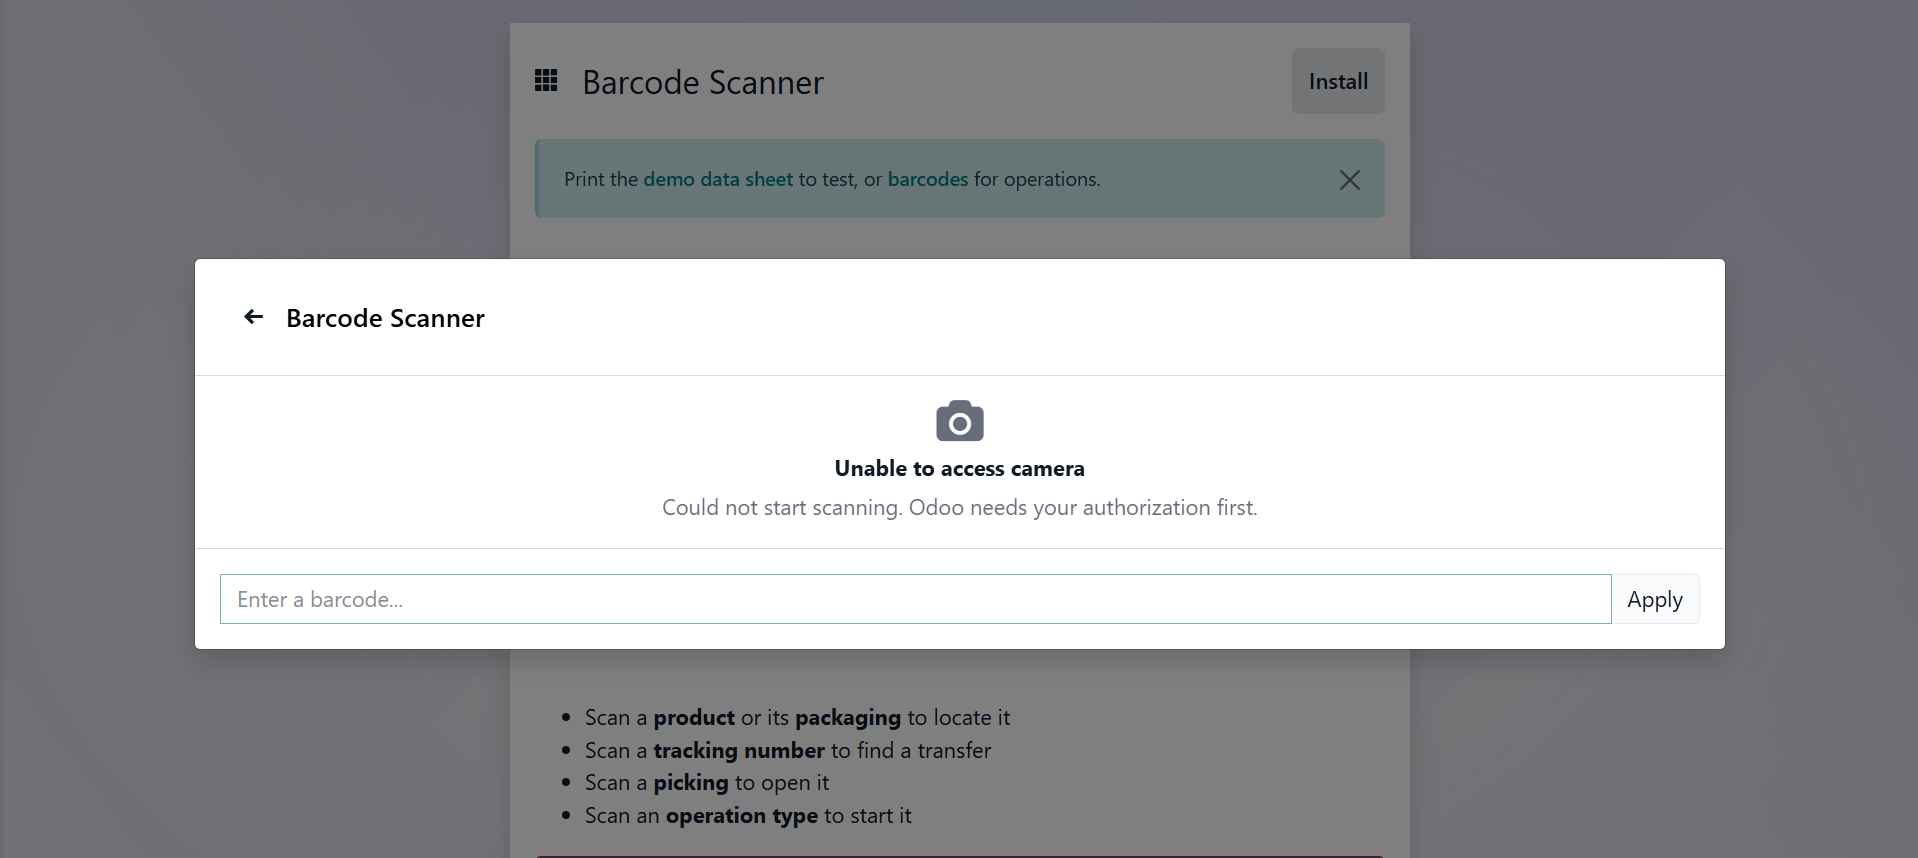
You can use a scanning device to directly scan a product's barcode by pressing the "Scan or Tap" button, as shown in the screenshot below, or you can manually enter the barcode into the appropriate Barcode Scanner input box.
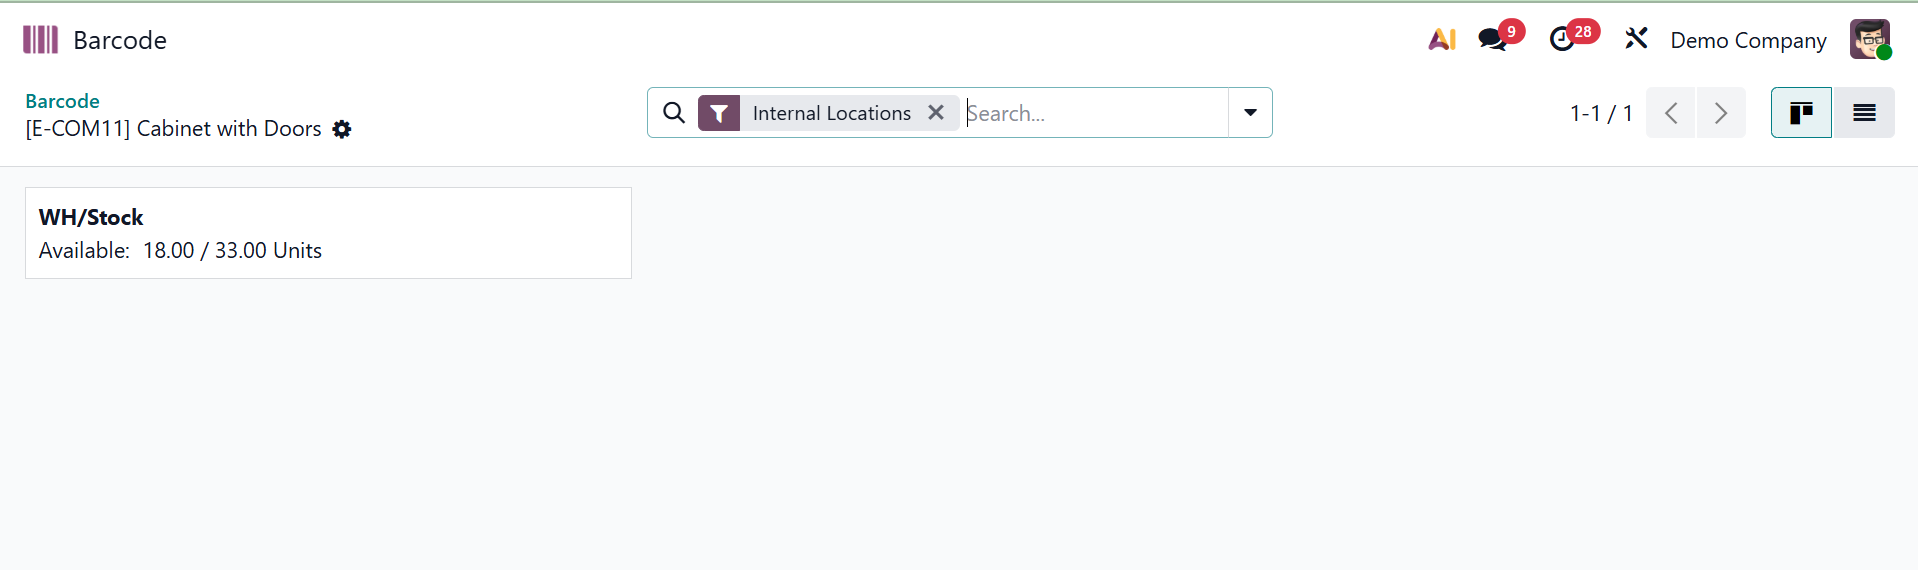
By providing customers with options for both automated scanners and manual barcode entry, this feature ensures smooth and efficient product identification throughout operations. The product will be added to the inventory after scanning, and the Barcode Internal Locations window will appear, as shown below.
After that, you may use the "Install" button to install the barcode scanner. This will open a new window, so click the "Install" button once more to continue.

As seen in the screenshot below, this will install the barcode application on your computer.
Users who click the Barcode App will be taken to a new window where they may use the barcode feature for batch transfers, inventory management, and other tasks.
1. Operations
The dashboard with all of the available operations in a kanban view will open when you click the "Operations" button. By selecting the Operations tab, users can control barcode operations. Deliveries, Internal Transfers, POS Orders, Dropshipping, and Receipts are all available here, as the screenshot below illustrates.
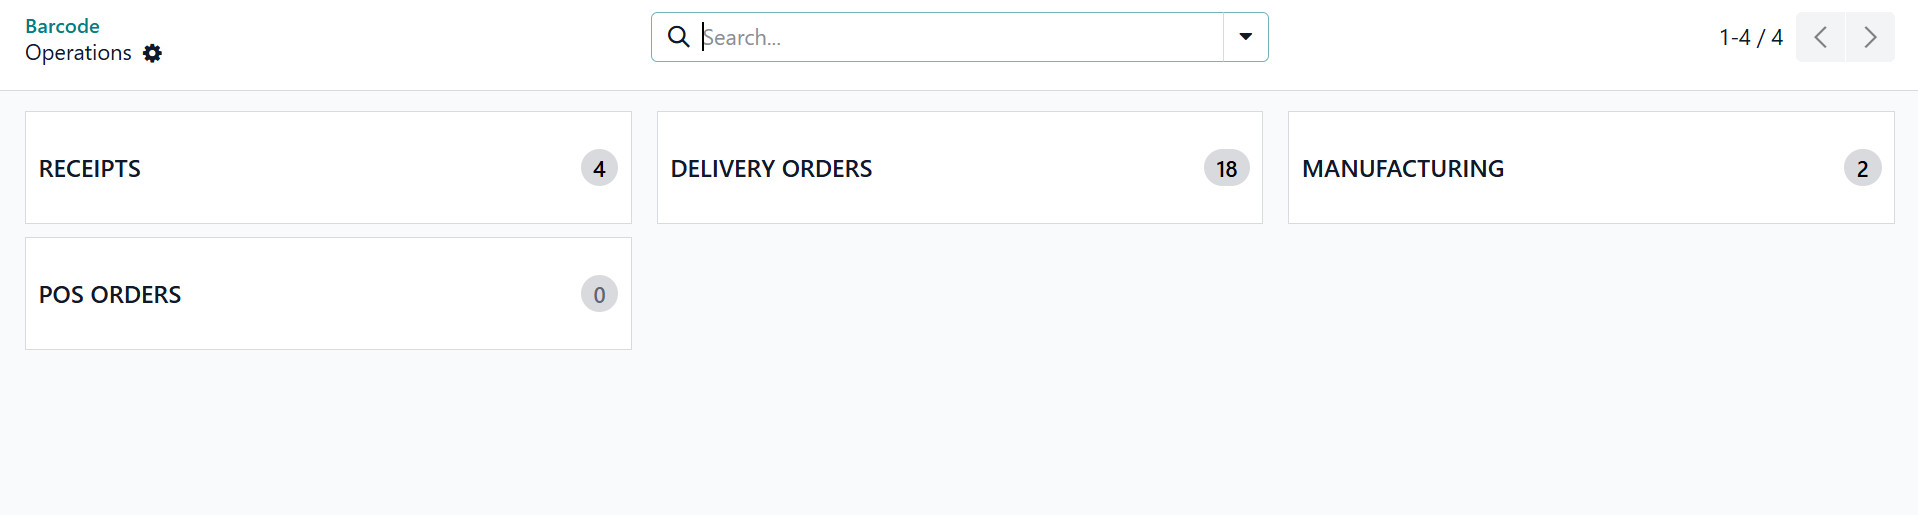
By choosing and opening the relevant tab, you can manage or create any kind of new barcode activities. For instance, we can examine the functionality by opening the "RECEIPTS" operation area.
Receipt
The dashboard of all the accessible receipts with barcodes in a kanban view can be viewed by clicking on the RECEIPT tab, as shown in the photos below. You can then generate barcode-capable receipts.
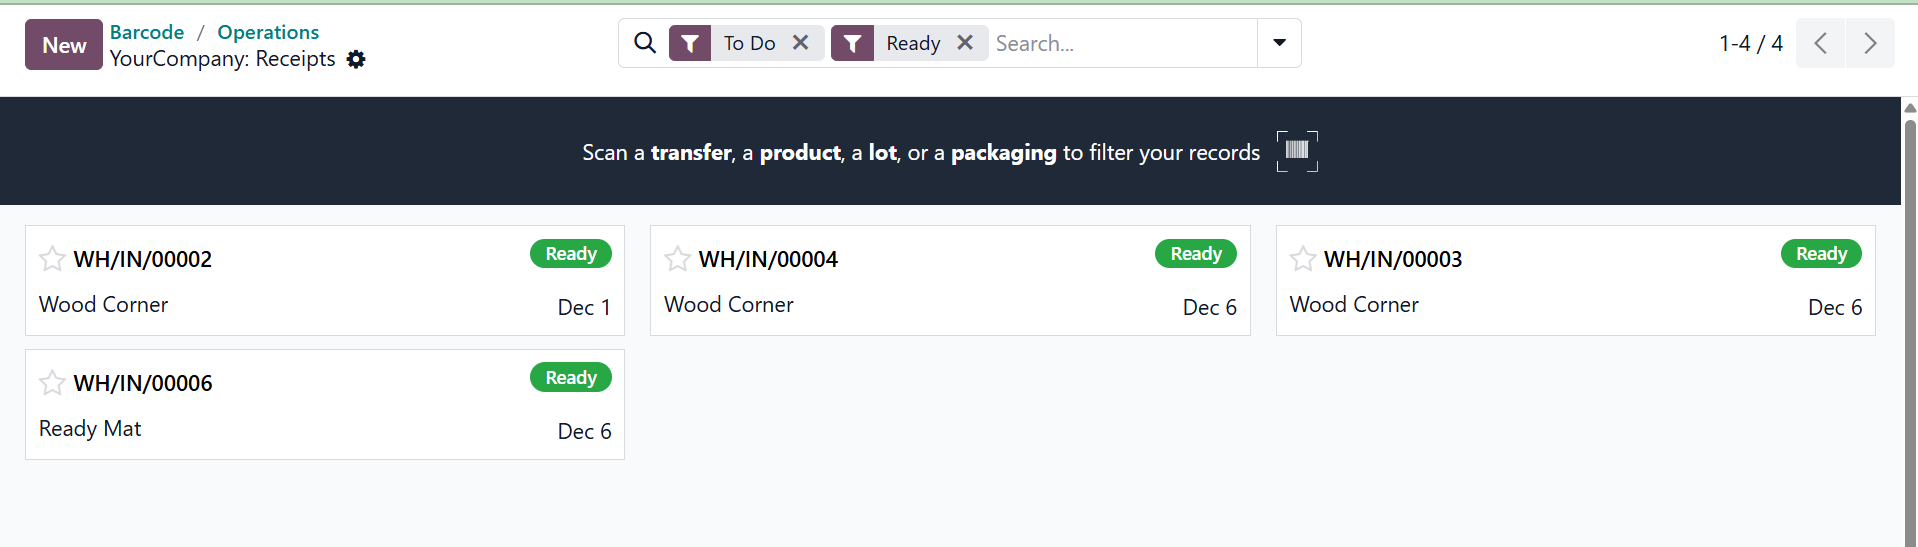
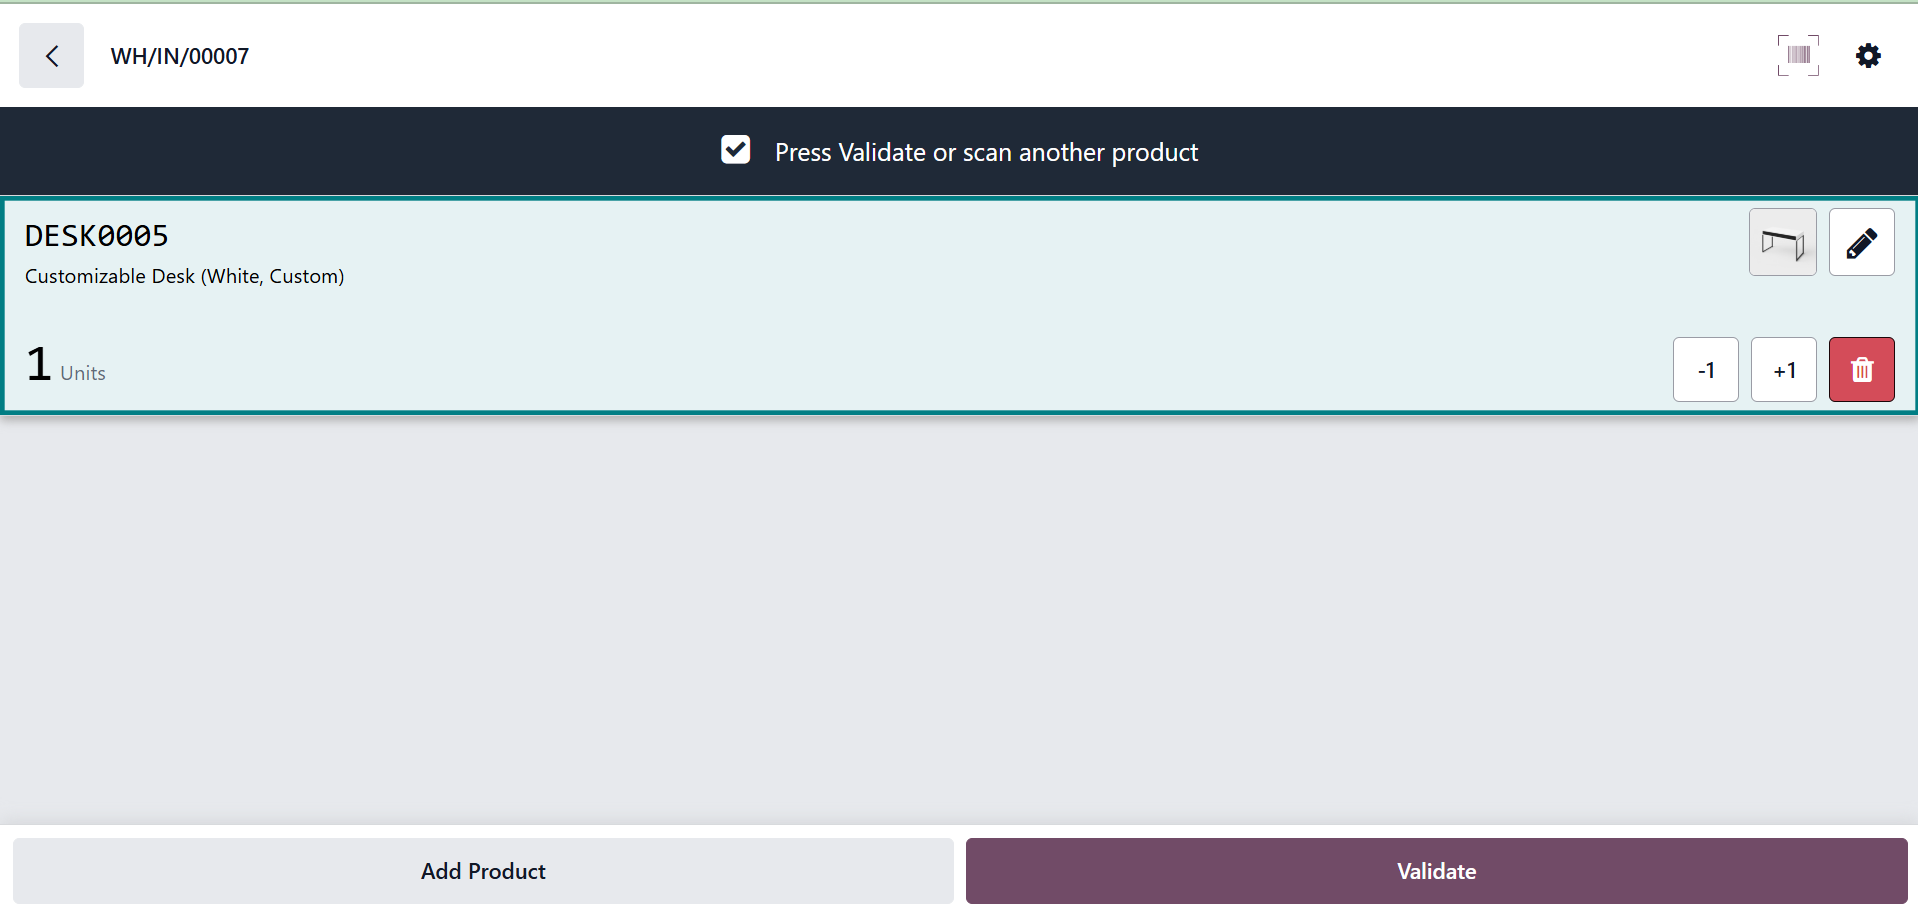
When the "New" button is clicked, a new receipt is created, enabling barcode scanning to automatically add products and update warehouse locations and product names.
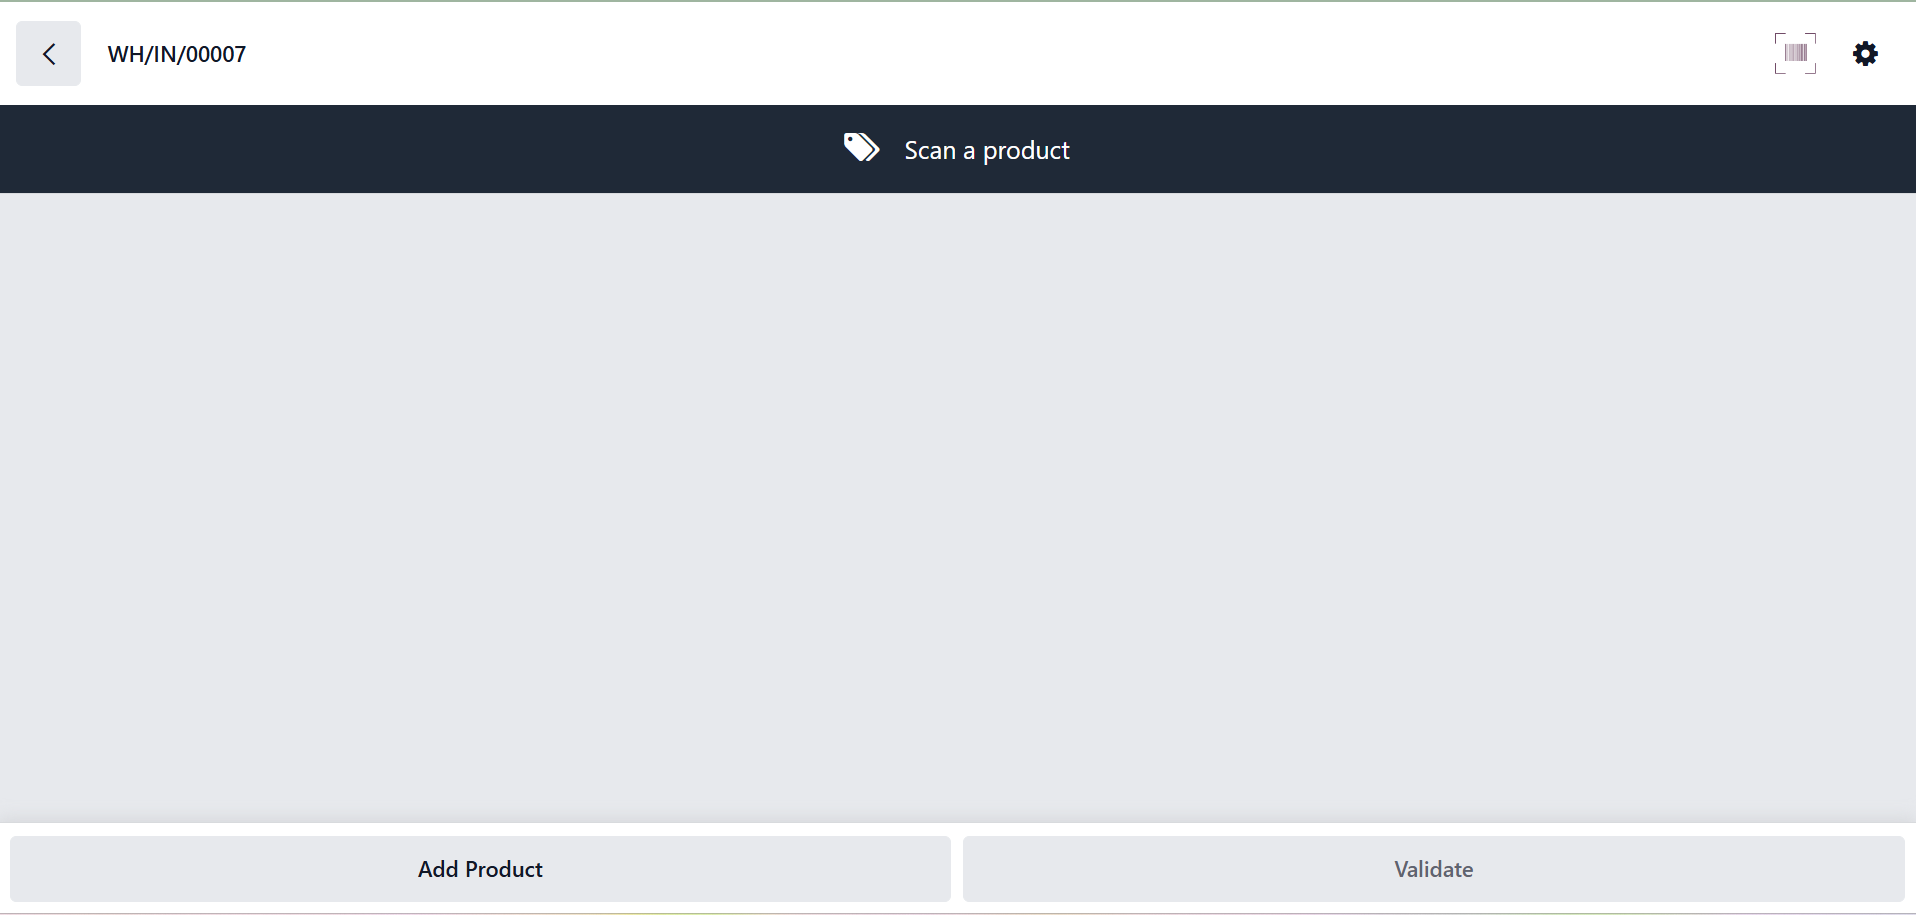
Users can verify barcode submissions by seeing the correct product quantity displayed.
The barcode entry is completed by clicking Validate. A pop-up alerts the user to keep adding products until the necessary number is reached if the quantity entered is insufficient.
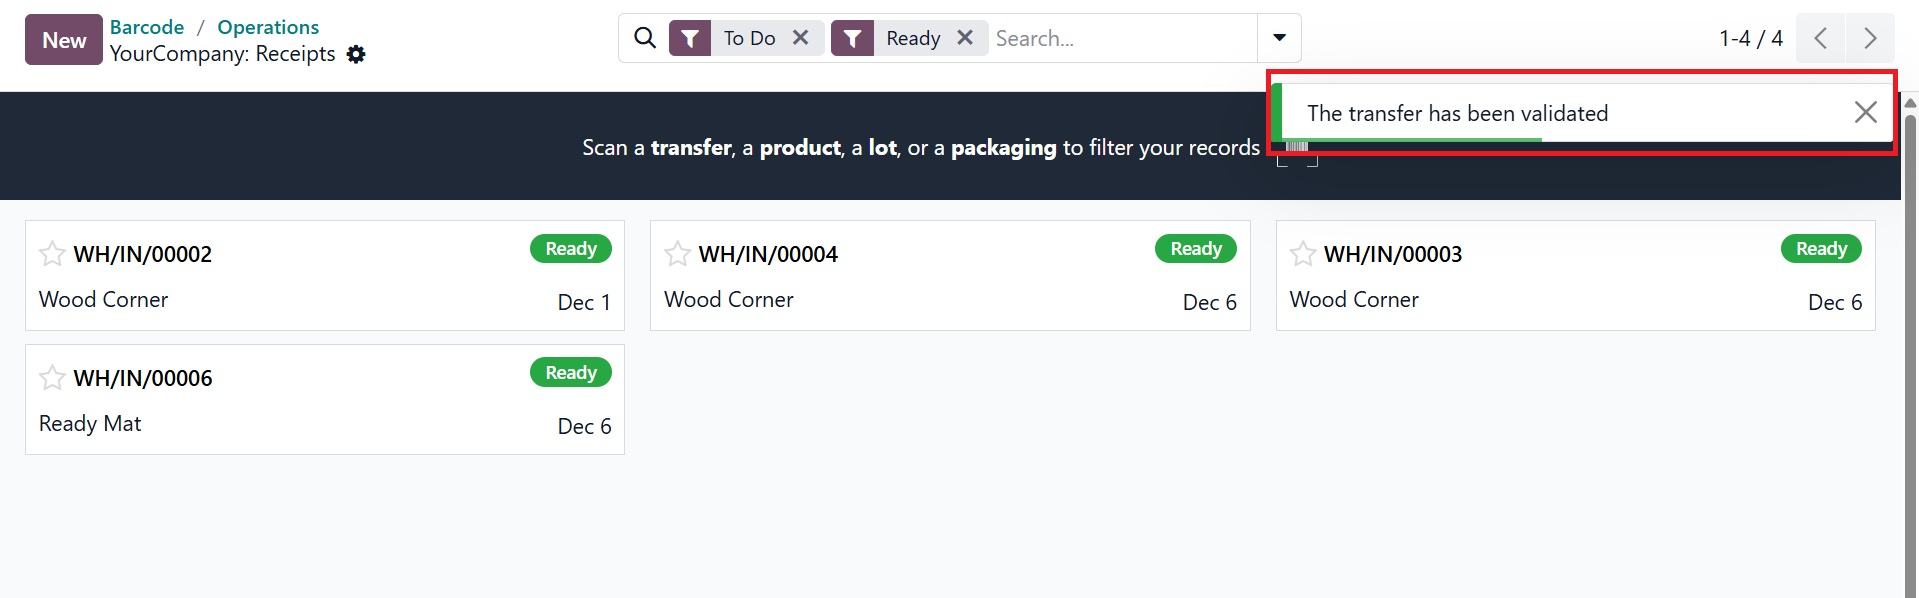
A notification pop-up window stating, "The transfer has been validated, as highlighted in the screenshot below," will appear once you click the Validate button, validating the transaction. With this approach, you may use the same procedure to handle products under several categories.
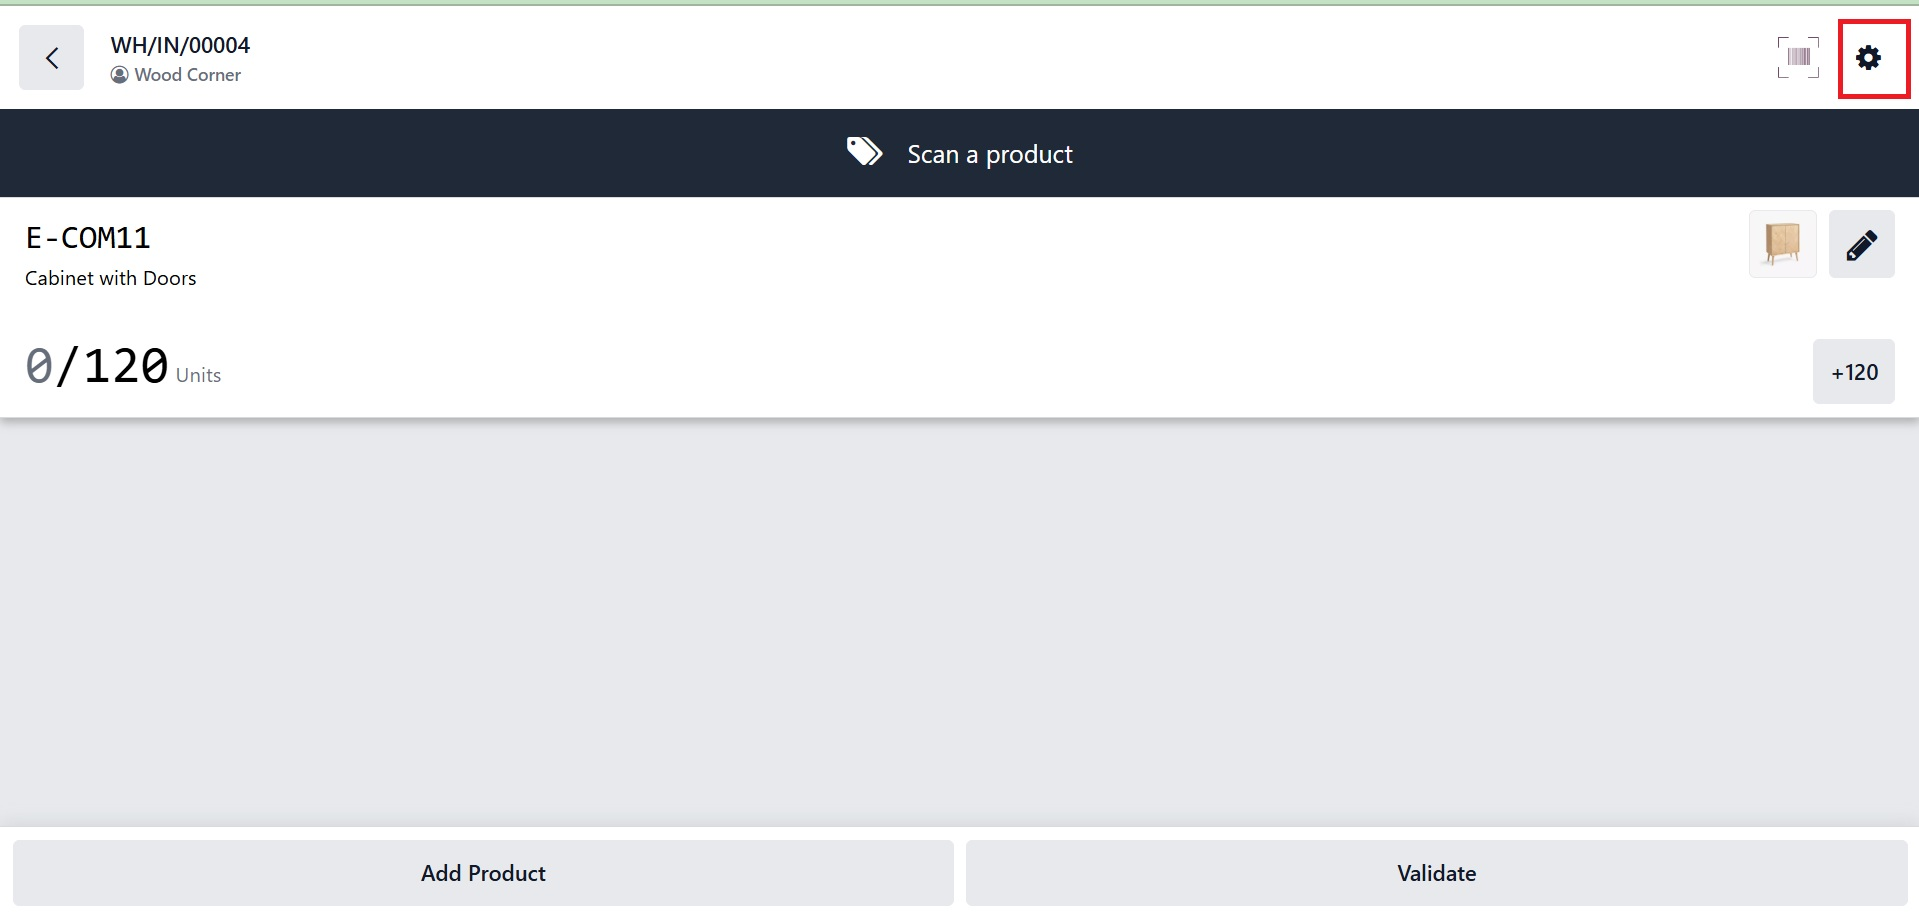
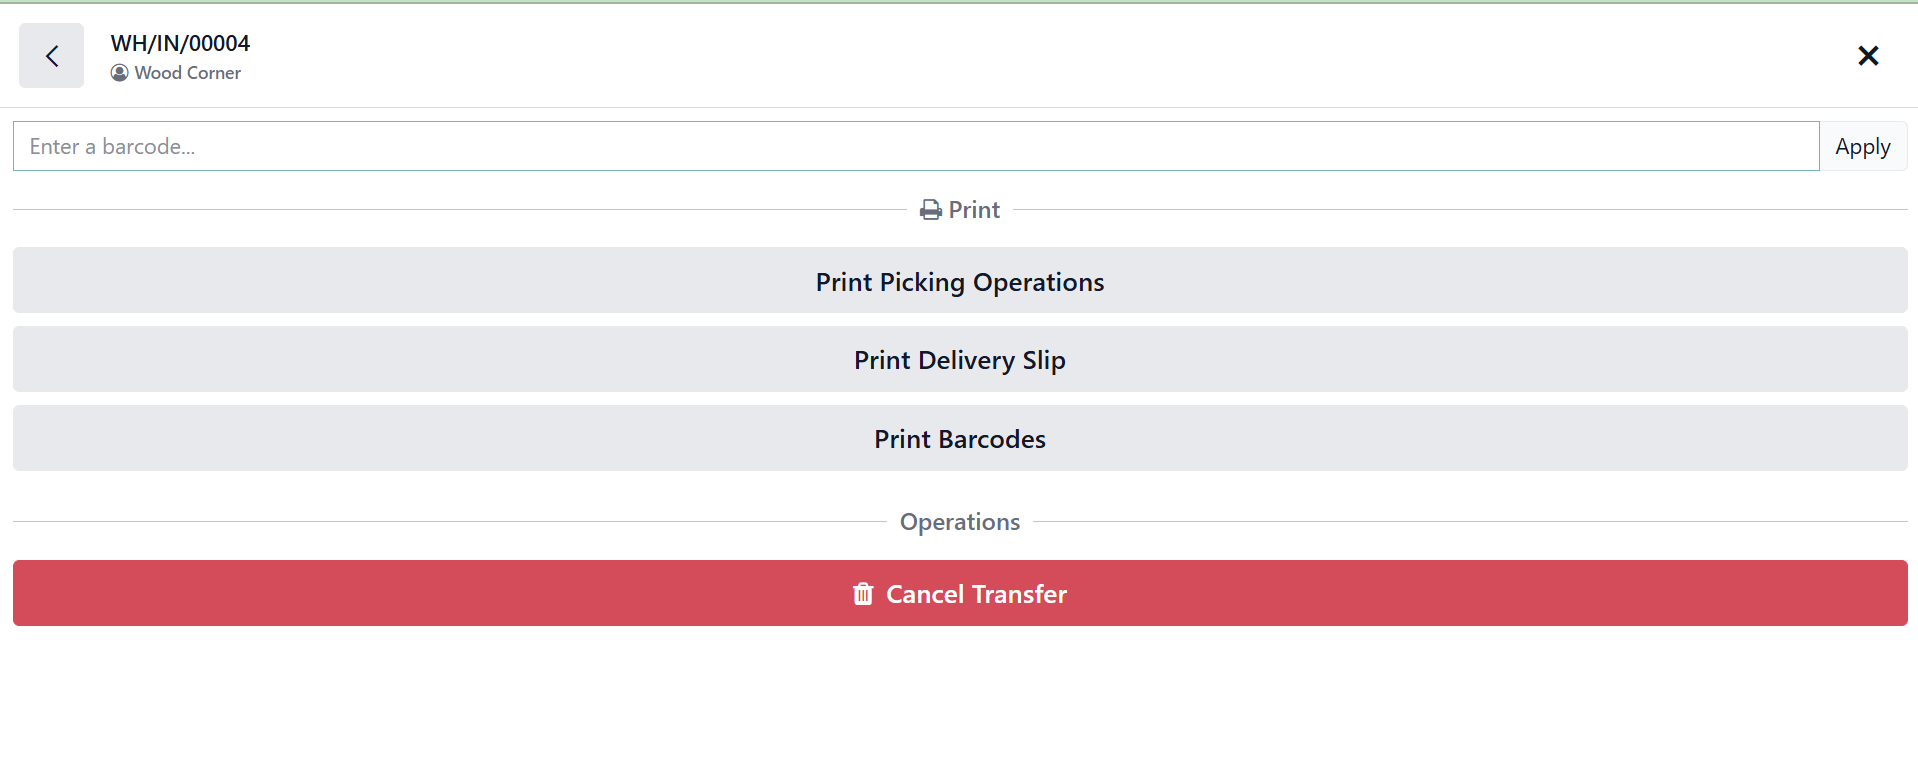
When a barcode operation window is opened, click the Settings icon in the upper-right corner to access further settings.
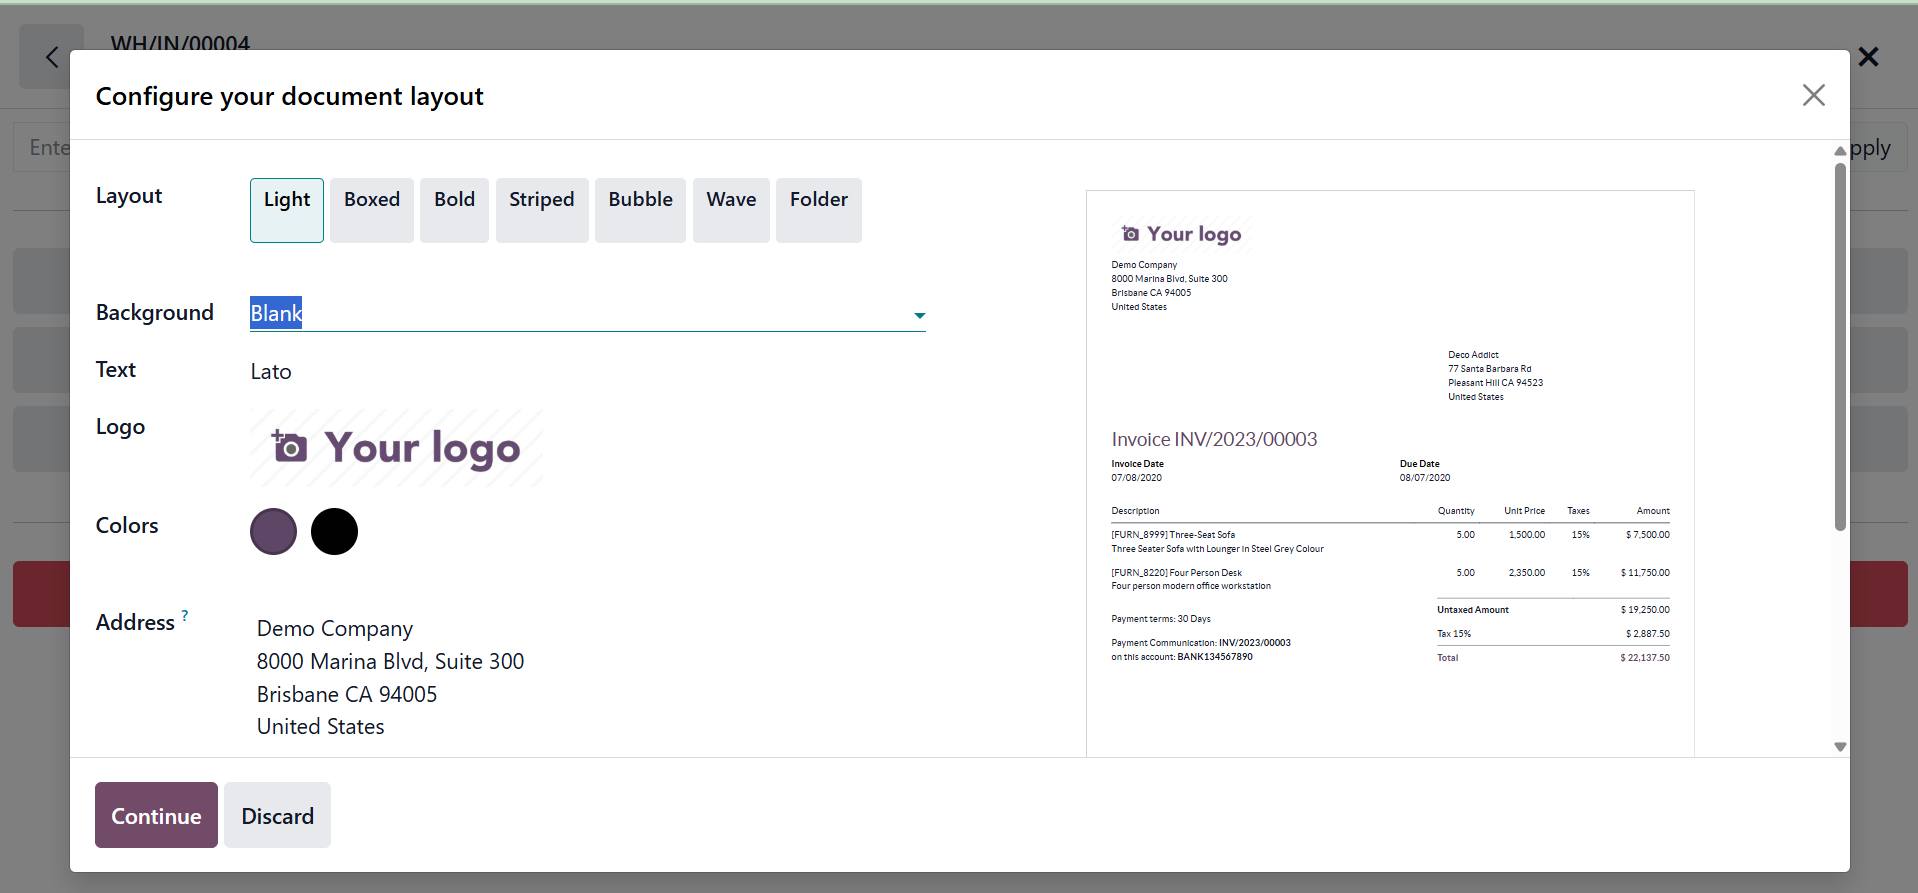
Printing Picking Operations, creating Delivery Slips, exporting Barcode PDFs, managing Packages, discarding damaged goods, and canceling transfers are just a few of the other features available in the "Settings" section. Users can choose the document style and print barcodes in several forms by clicking PRINT PICKING OPERATIONS.
As seen in the screenshot below, the 'Print Picking Operations' button helps warehouse employees with picking routes and manual verifications by creating a comprehensive PDF report for warehouse operations that includes product names, quantities, barcodes, and lot/serial numbers.
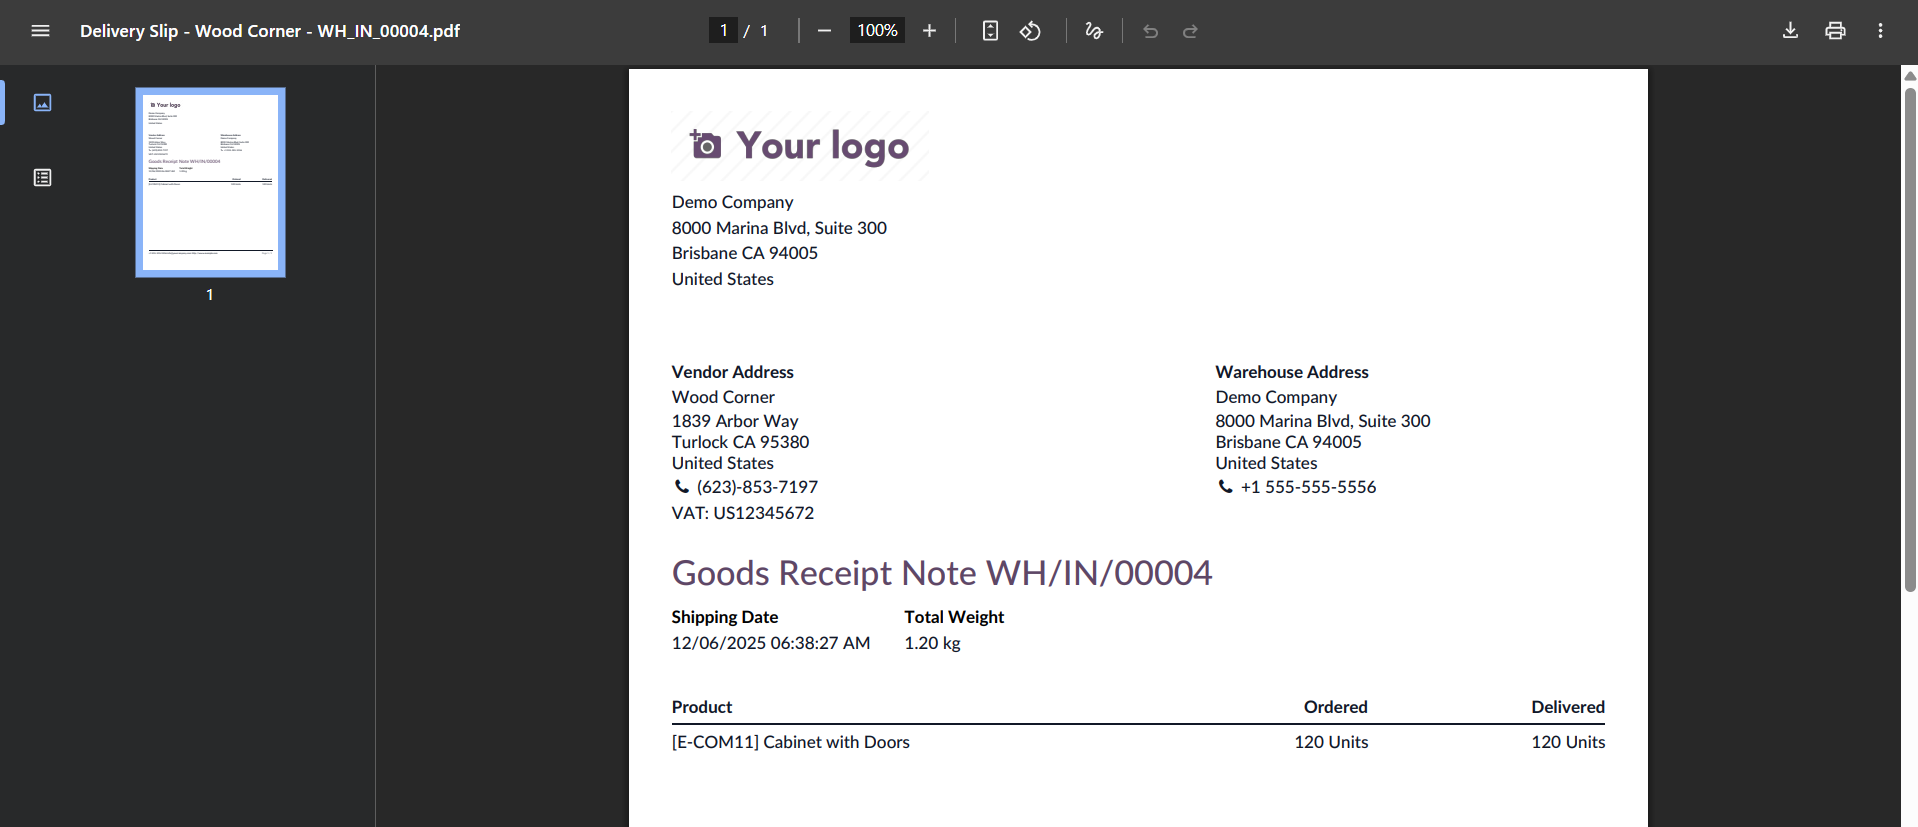
Clicking the "Print Delivery Slip" button will generate the delivery slip for the selected operation together with the Order, Shipping, Warehouse, Vendor, and Product data, as seen in the screenshot below.
The barcode labels for the specific operation can be printed using the "Print Barcodes" button. When you click on this, a pop-up box with the Quantity to print, Format, Pricelist, and Extra Content options will appear, allowing you to alter the layout of the barcode labels as seen below.
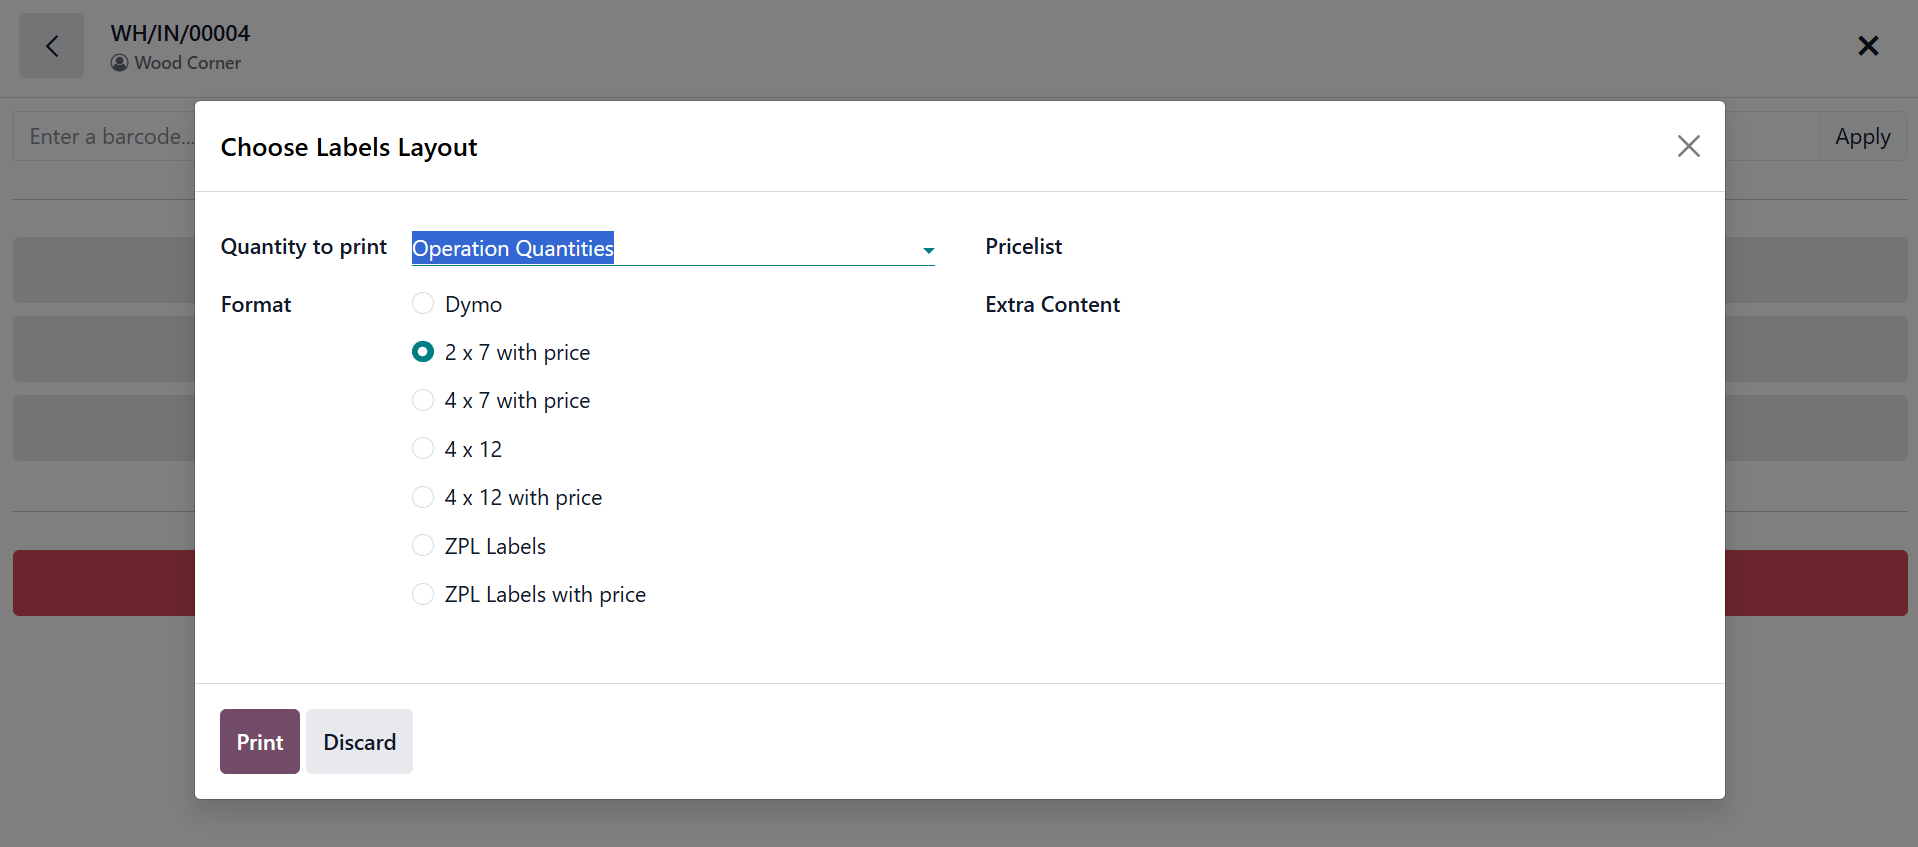
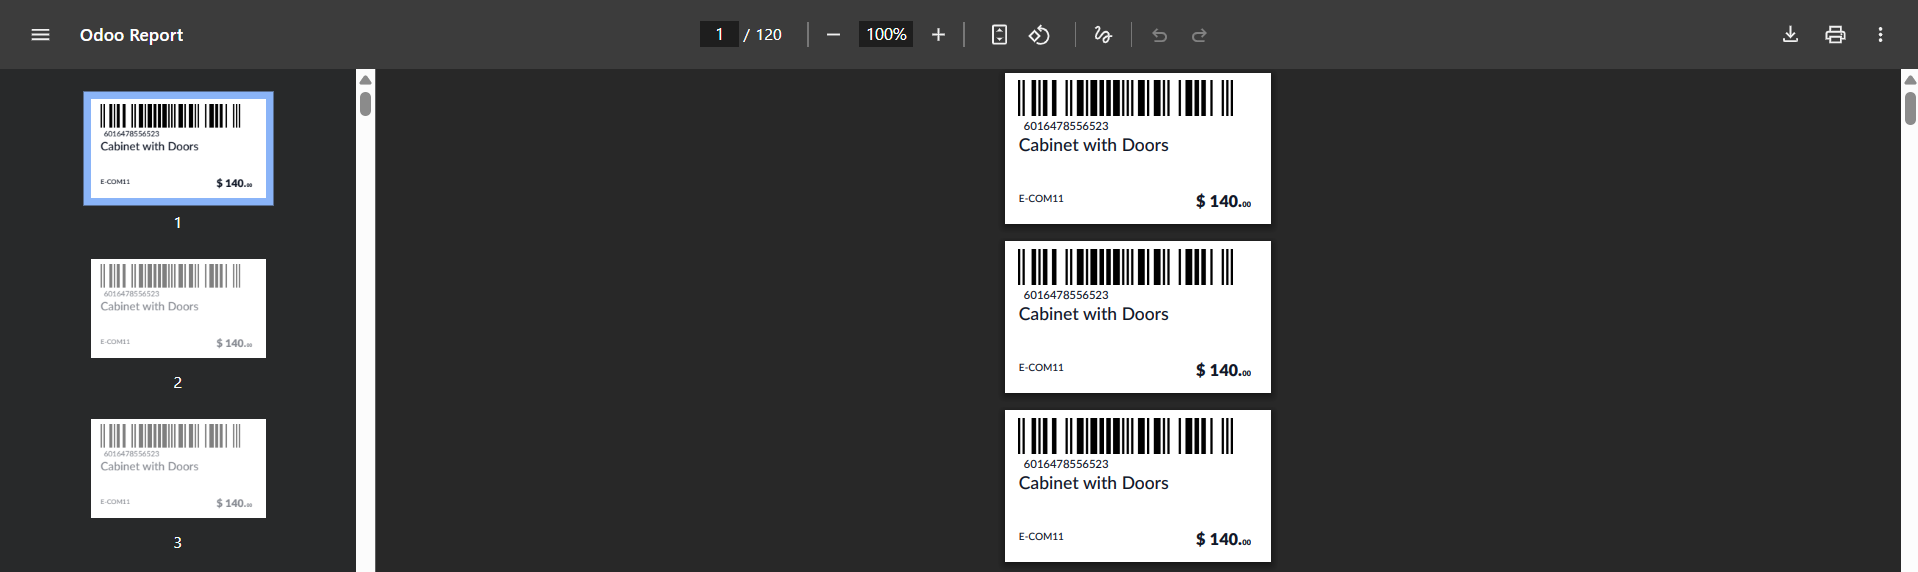
Click "Confirm" to continue after selecting the label layouts. As seen below, this step will produce a printable barcode label.
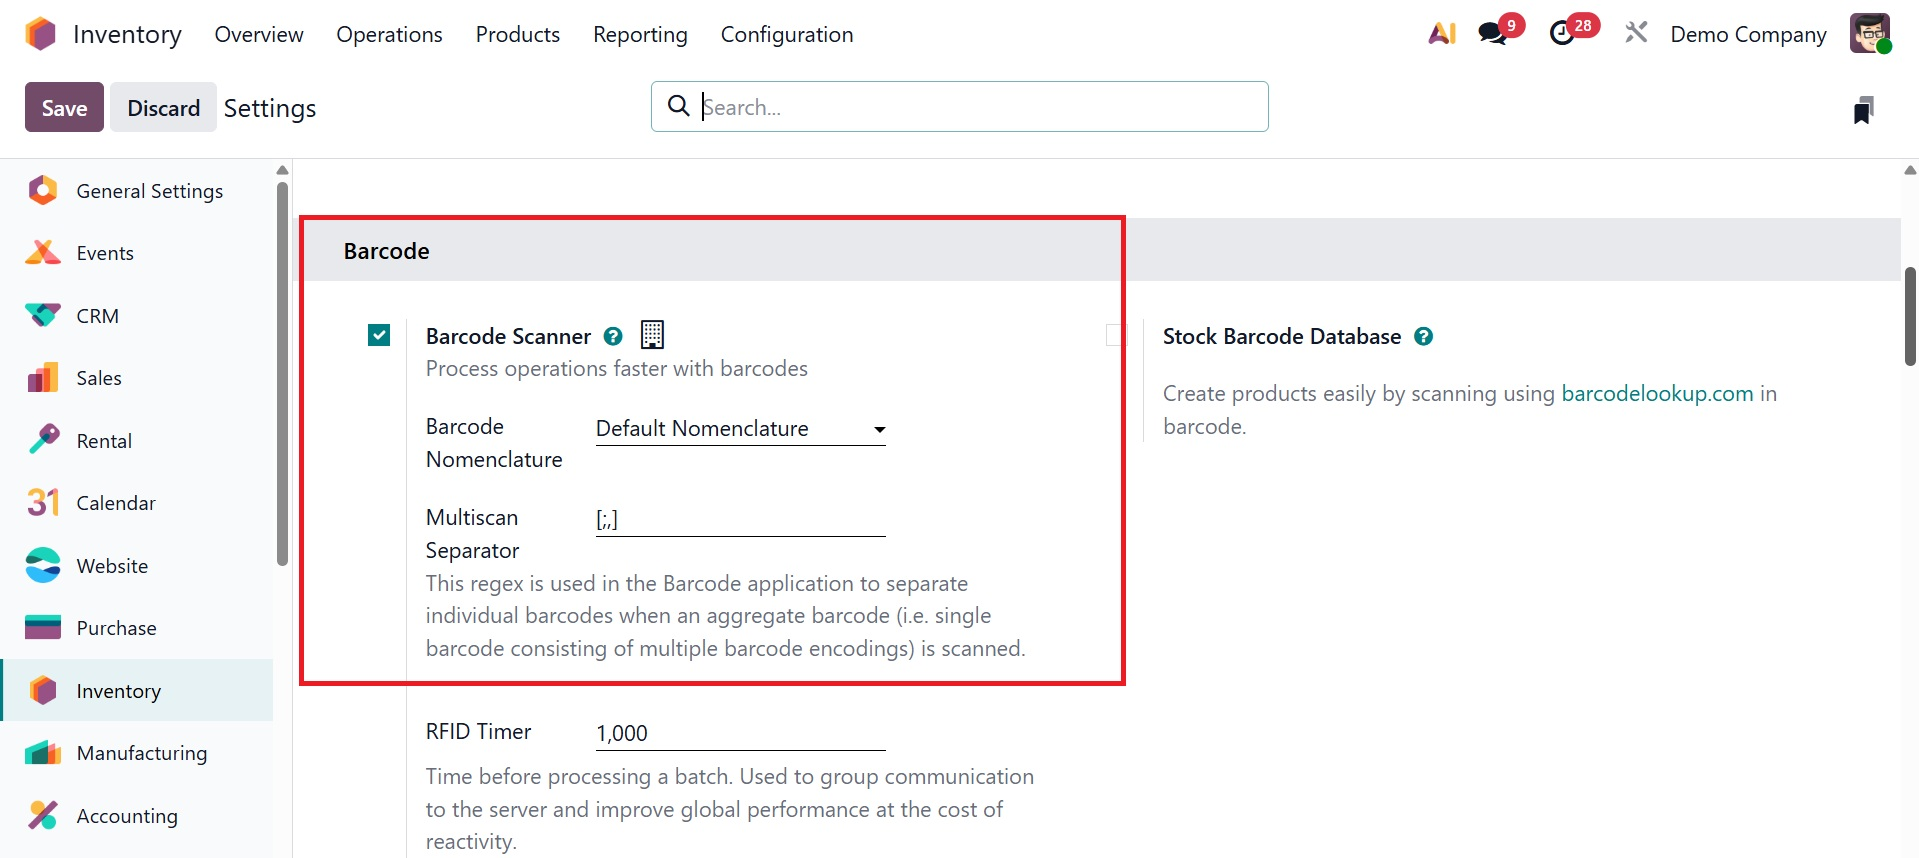
By making sure the Inventory Module is installed, users in Odoo 19 can swiftly verify a product's barcode. They must go to the Inventory Module's Configuration menu's Operations Settings section. Next, select Configure Product Barcode after turning on the Barcode option.
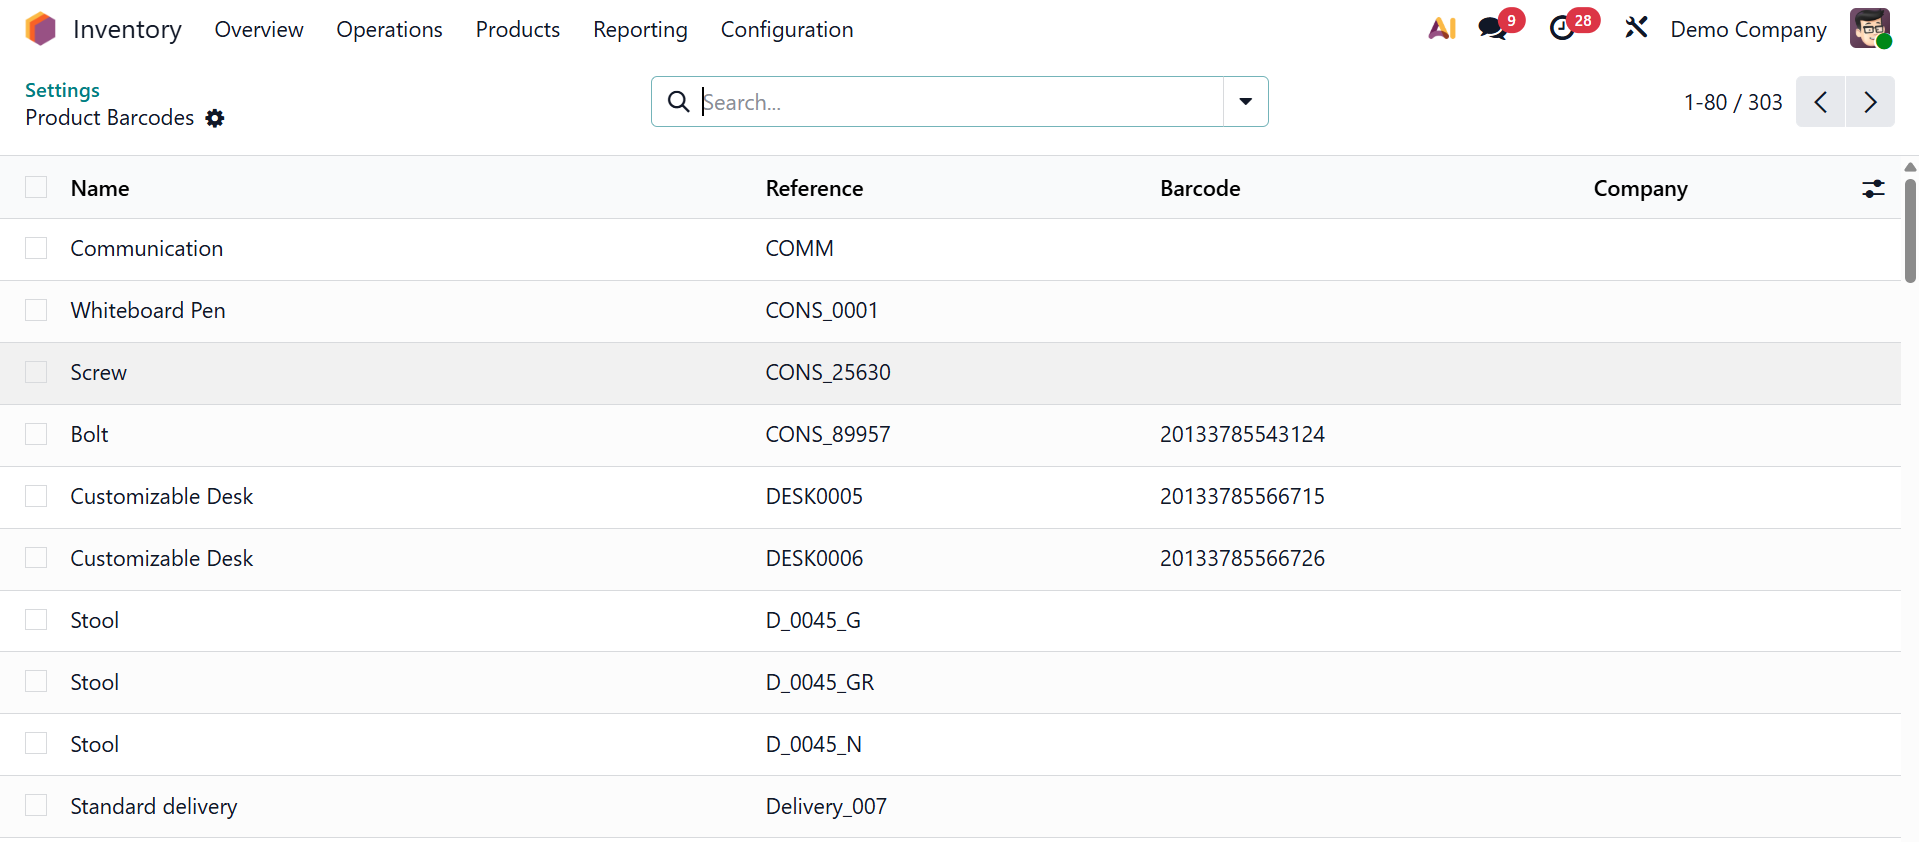
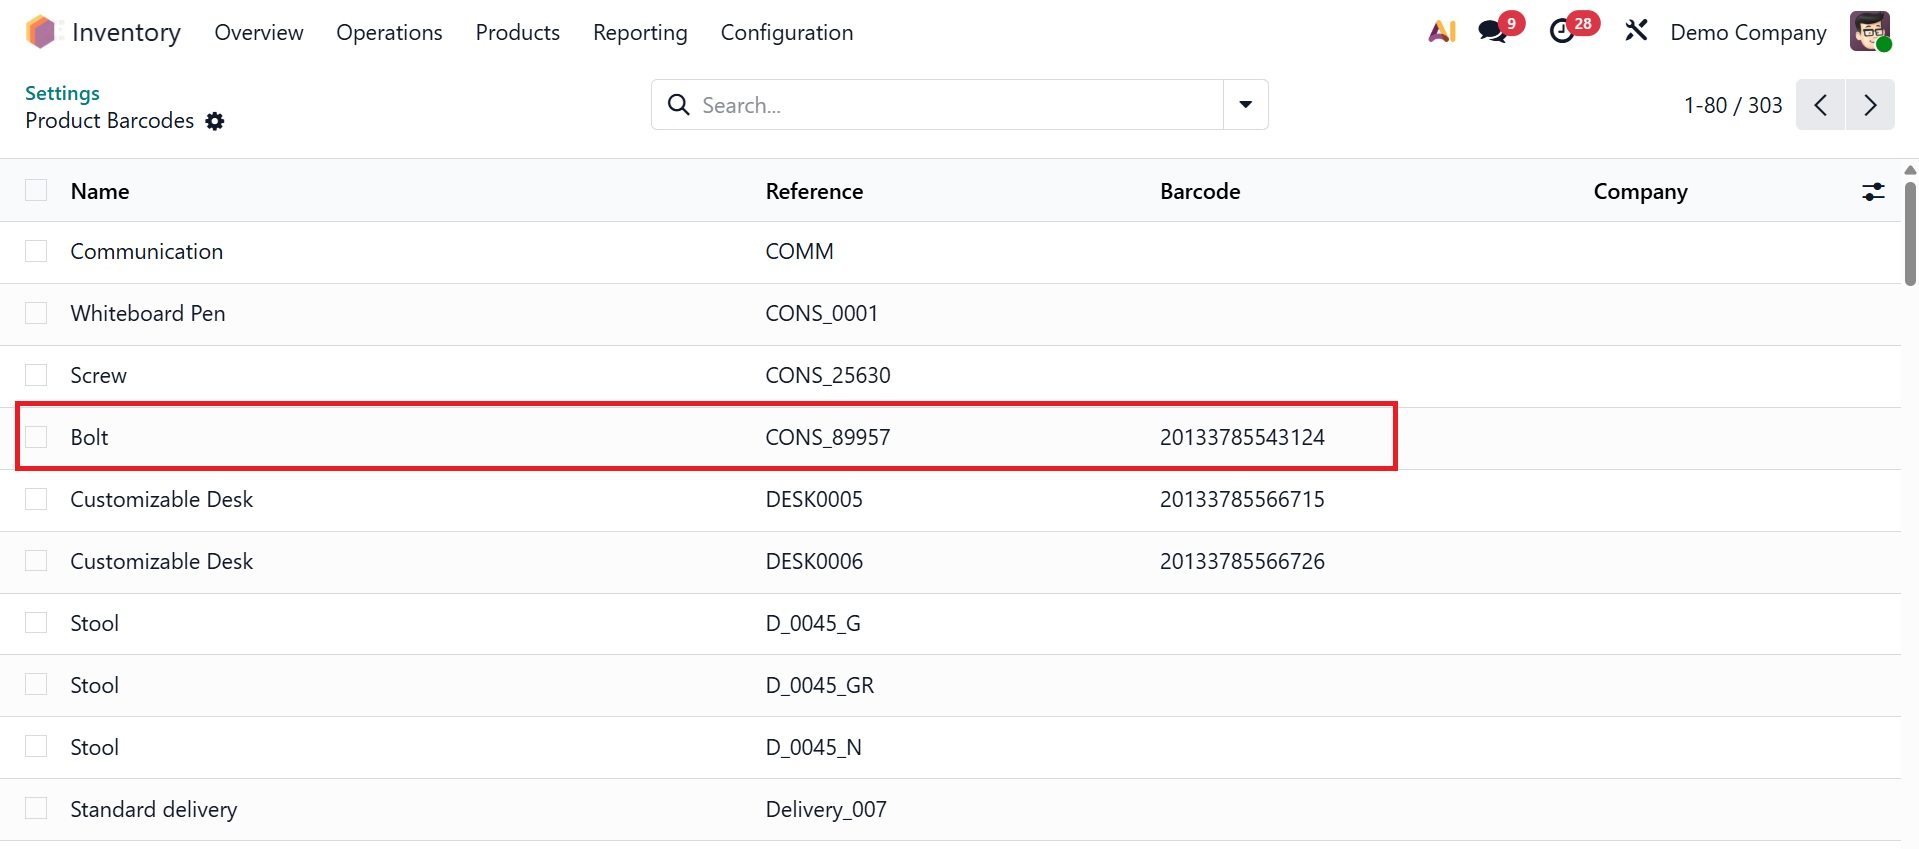
Users can choose products that need a barcode and enter the barcode values straight into the corresponding column in a new window that displays the list of products.
The barcode setup is completed when you click Save. After that, you should go back to Settings Barcode Scanner and save the changes.
Users can assign barcodes to various warehouse locations to improve inventory organization. To examine current locations or create new ones, navigate to the Inventory Module, select the Configuration menu, and select the "Locations" option from the Warehouse Management section.
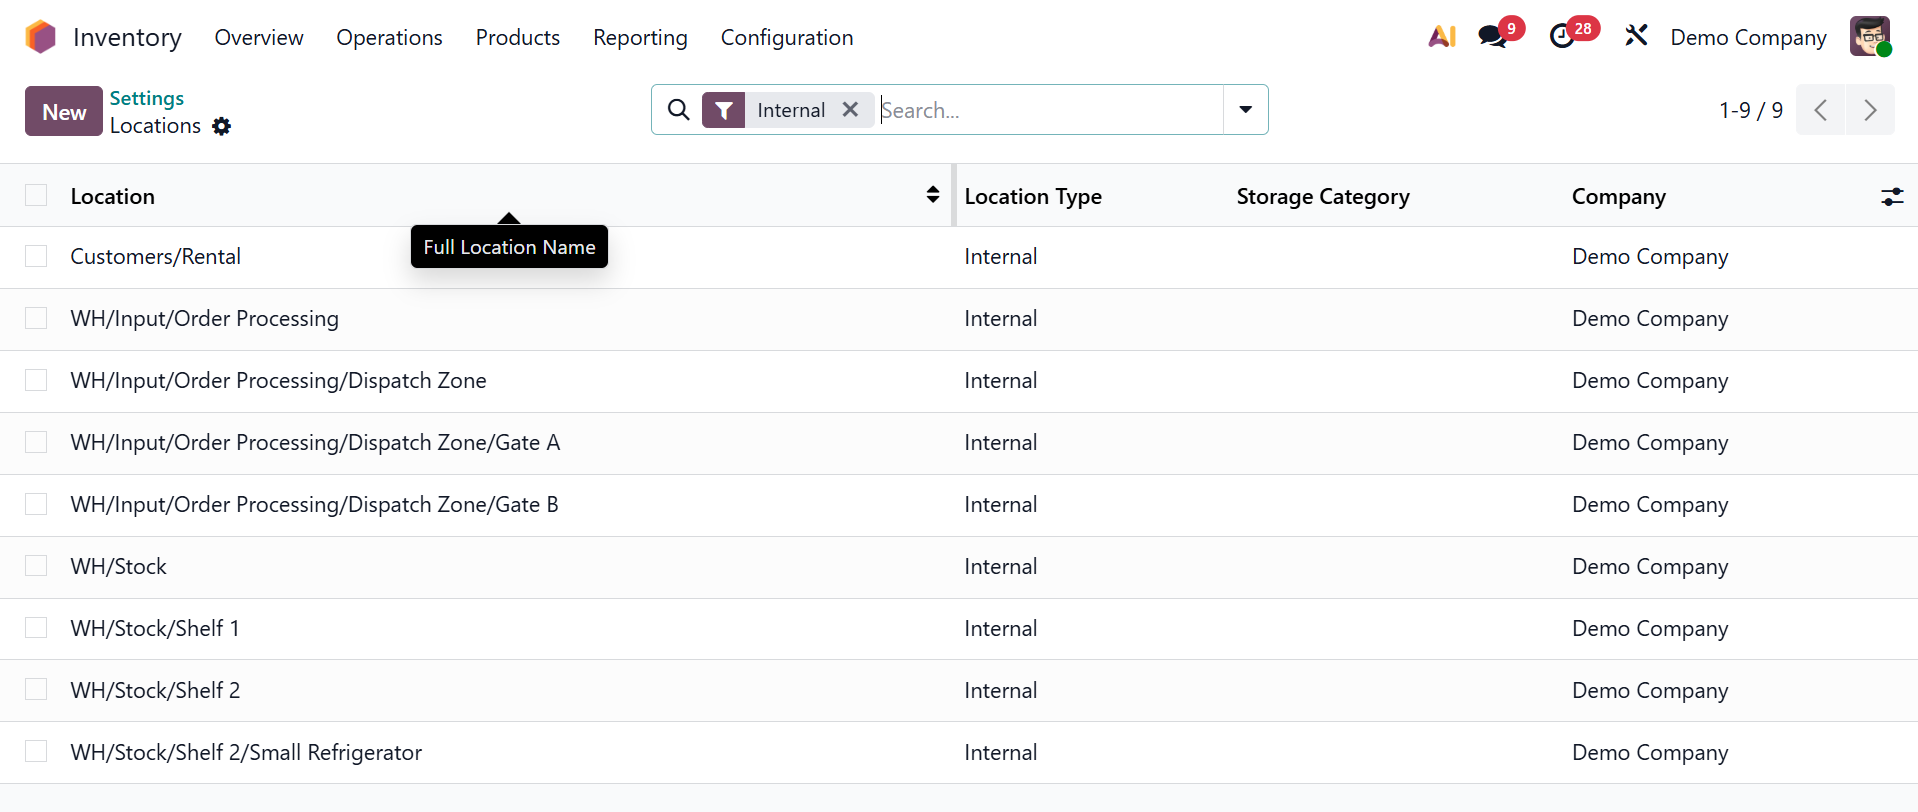
Easy identification is ensured by giving each place a distinct barcode. The 'place Barcode' Print button allows users to print both the barcode and the place name. After that, the created barcode label can be affixed to storage shelves or product boxes.
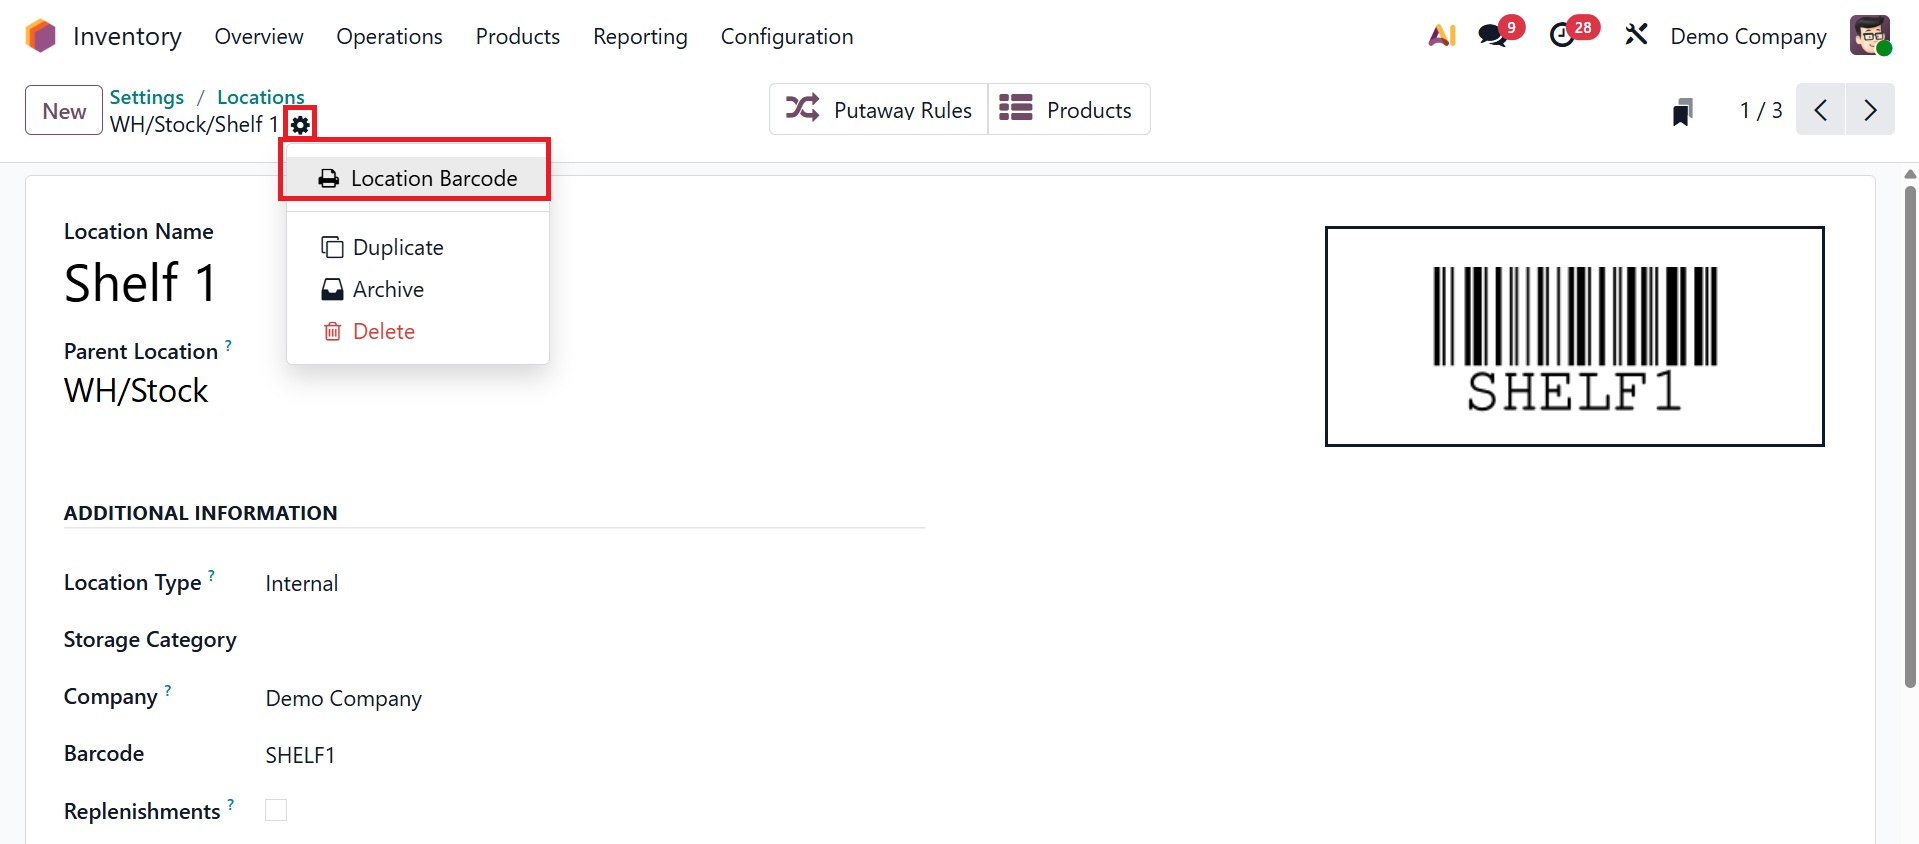
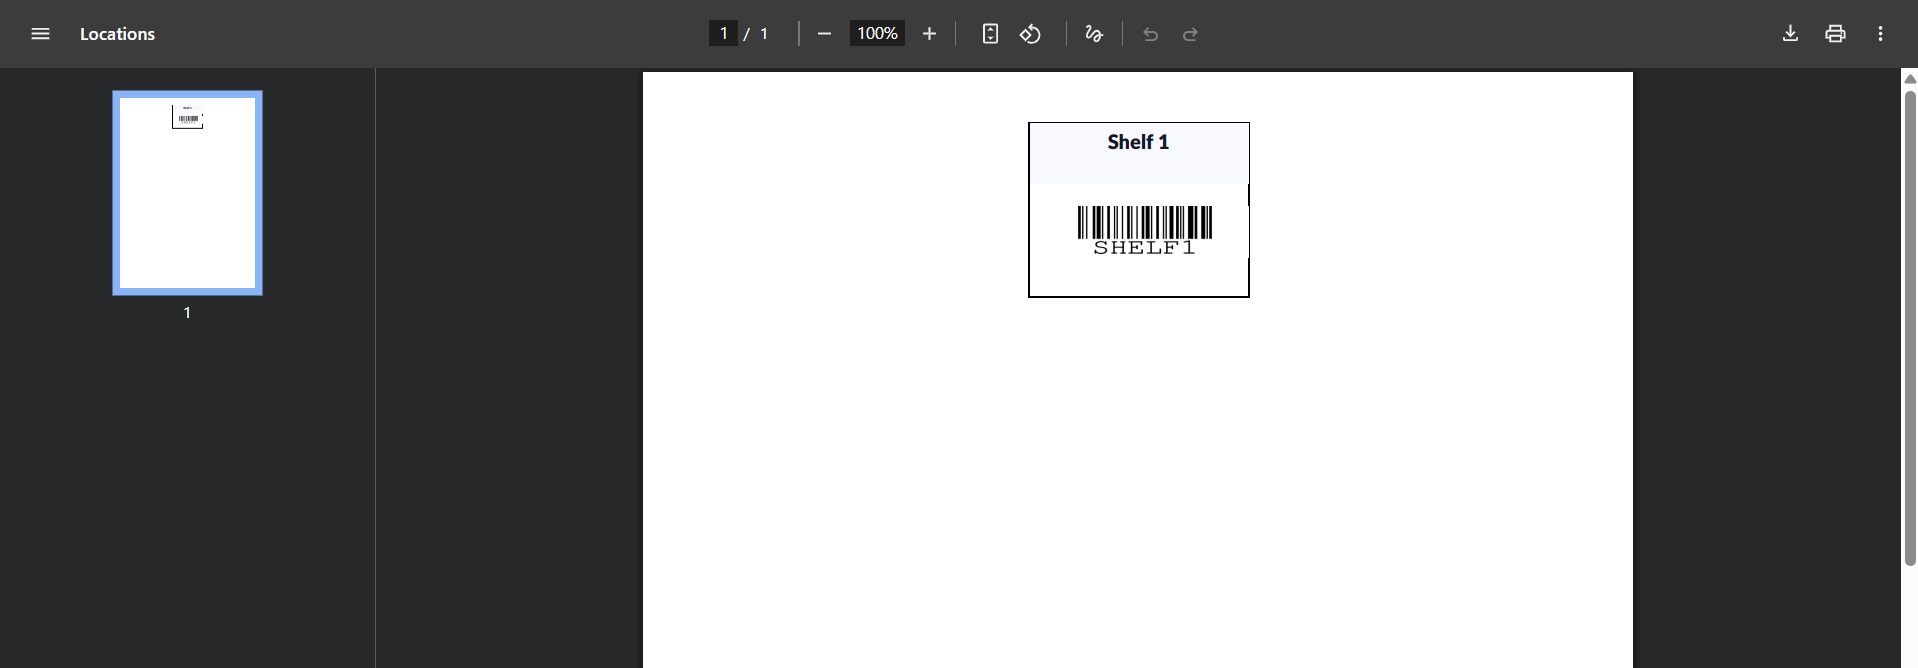
The barcode will be downloaded into your system once you click the "Location Barcode" button, as shown in the screenshot below, and it can be printed on an external device.
Inventory Adjustment
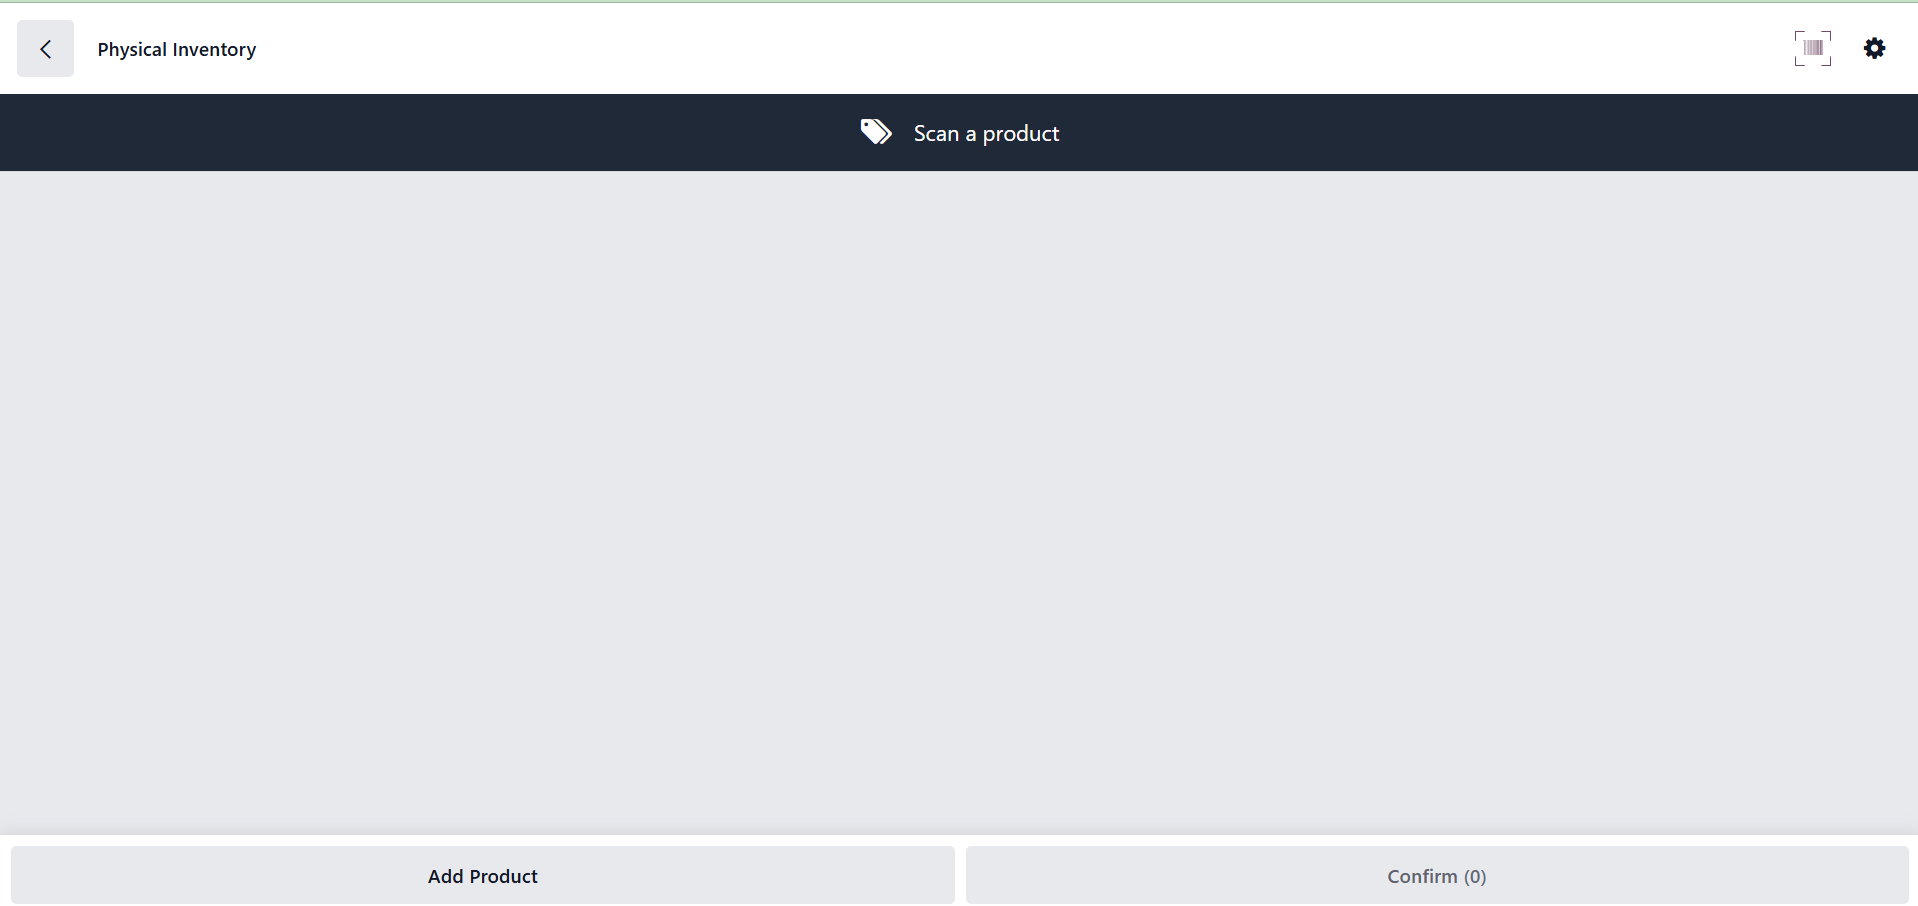
Businesses can change stock quantities to improve inventory management through inventory changes. Stock can be categorized as either sellable or non-sellable by users, who can also explain why they think a product is not marketable. Open the Inventory Count tab from the starting interface in Odoo 19 to make inventory adjustments.
As shown in the screenshot below, the Inventory Count Window will open, enabling users to change stock levels by clicking Add Product.
Stock levels can be entered and necessary quantities can be changed using the barcode capability. Users can enter Location and Package details by scrolling down.
Next, select the Apply button after clicking the Confirm button. You will receive a notification about the new operation, and this action completes the inventory count changes.
Batch Transfer
Users can effectively process Batch, Wave, and Cluster transfers created in the Inventory app with the Odoo Barcode app. This simplified procedure is perfect for organizing pickings according to certain strategies and overseeing high-volume warehouse operations.
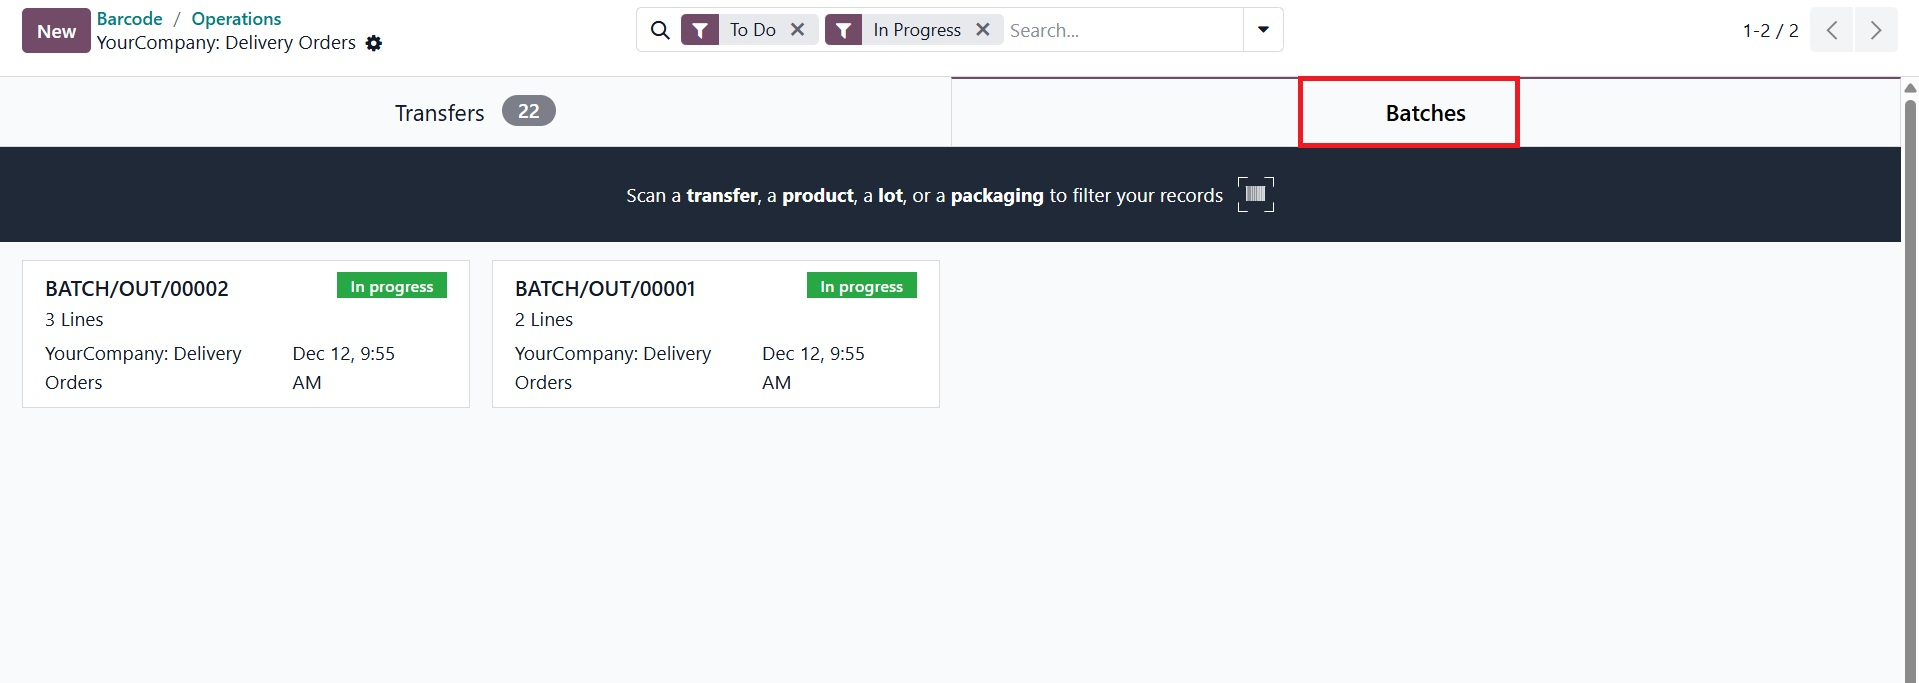
To start, open the Barcode app, choose the relevant operation type (such as delivery orders, receipts, internal transfers, etc.) that has been grouped into a batch, and navigate to the "Operations" area. There are two sections for "Transfers" and "Batches" in the open window.
Go to the "Batches" section to get specifics about Batch Transfers in your inventory. A dashboard with all of the current batch transfer records is shown in this section. As seen in the screenshot below, the dashboard will appear empty if no batch transfers have been created yet.
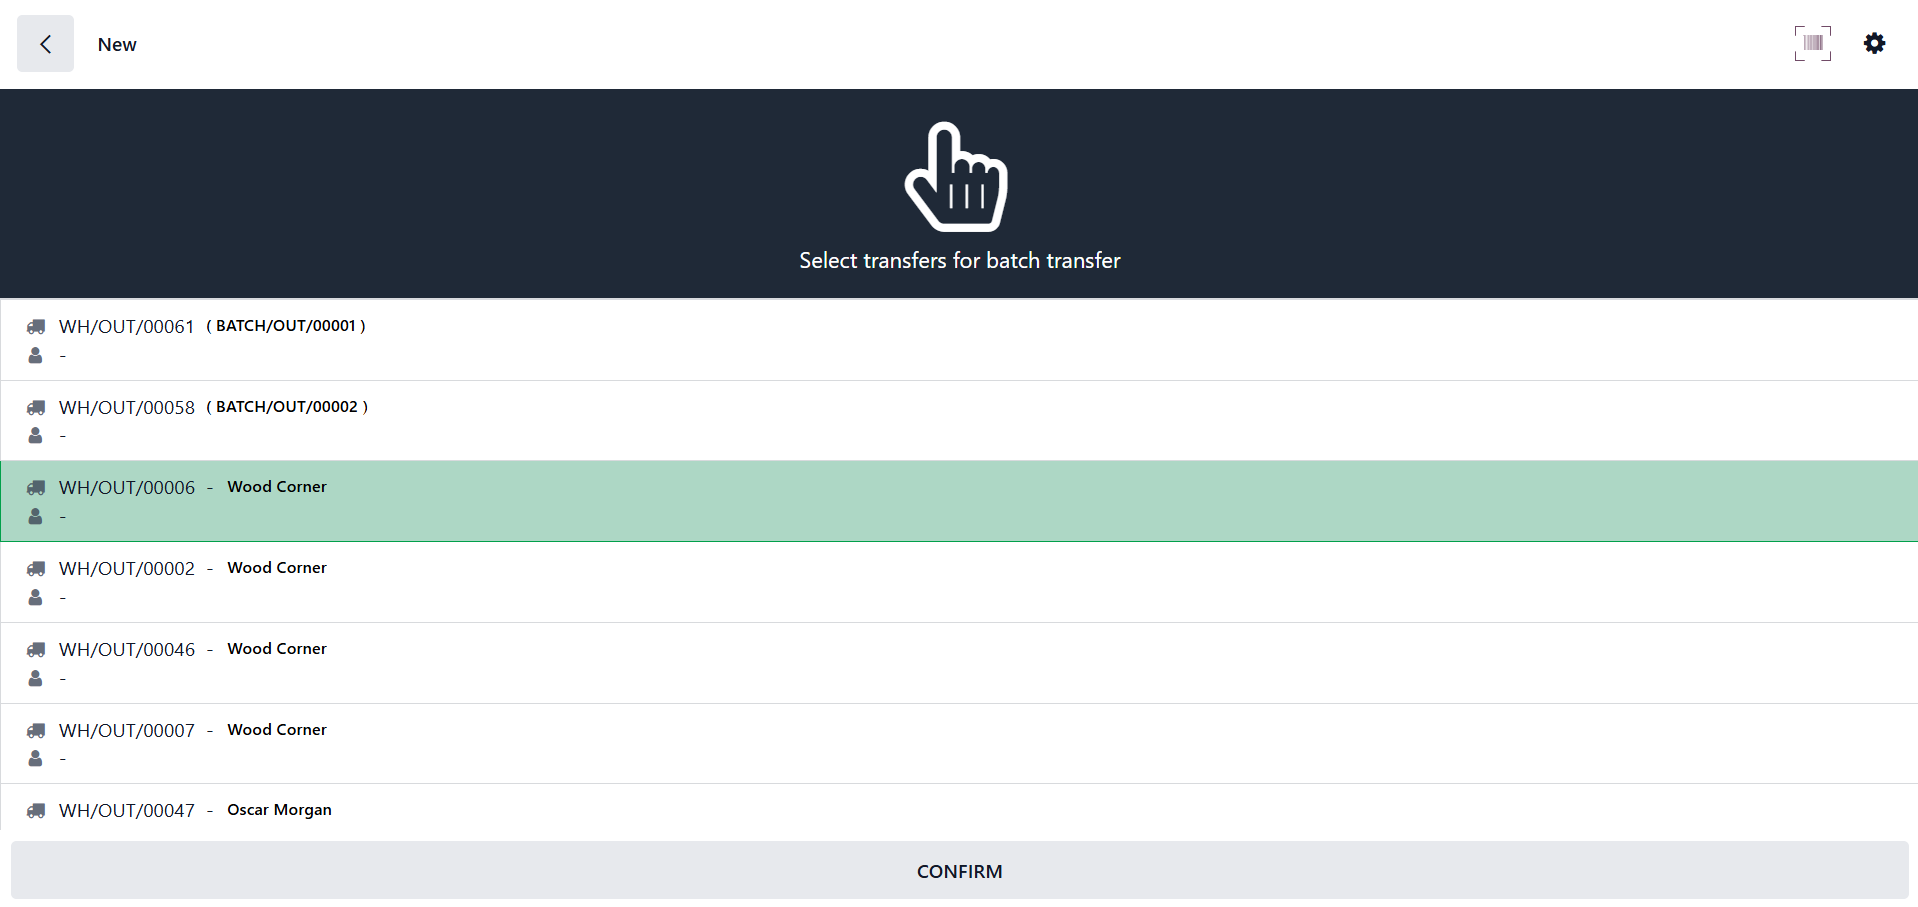
Click the "New" button to start a new batch transfer. In order to select the necessary transfers for a new batch transfer and validate the transfer using the "CONFIRM" button, as demonstrated below, this will open the list of all the available batches.
After that, you can either manually add a product to the batch or use the "Scan a product" button to scan a product and confirm the transfer.
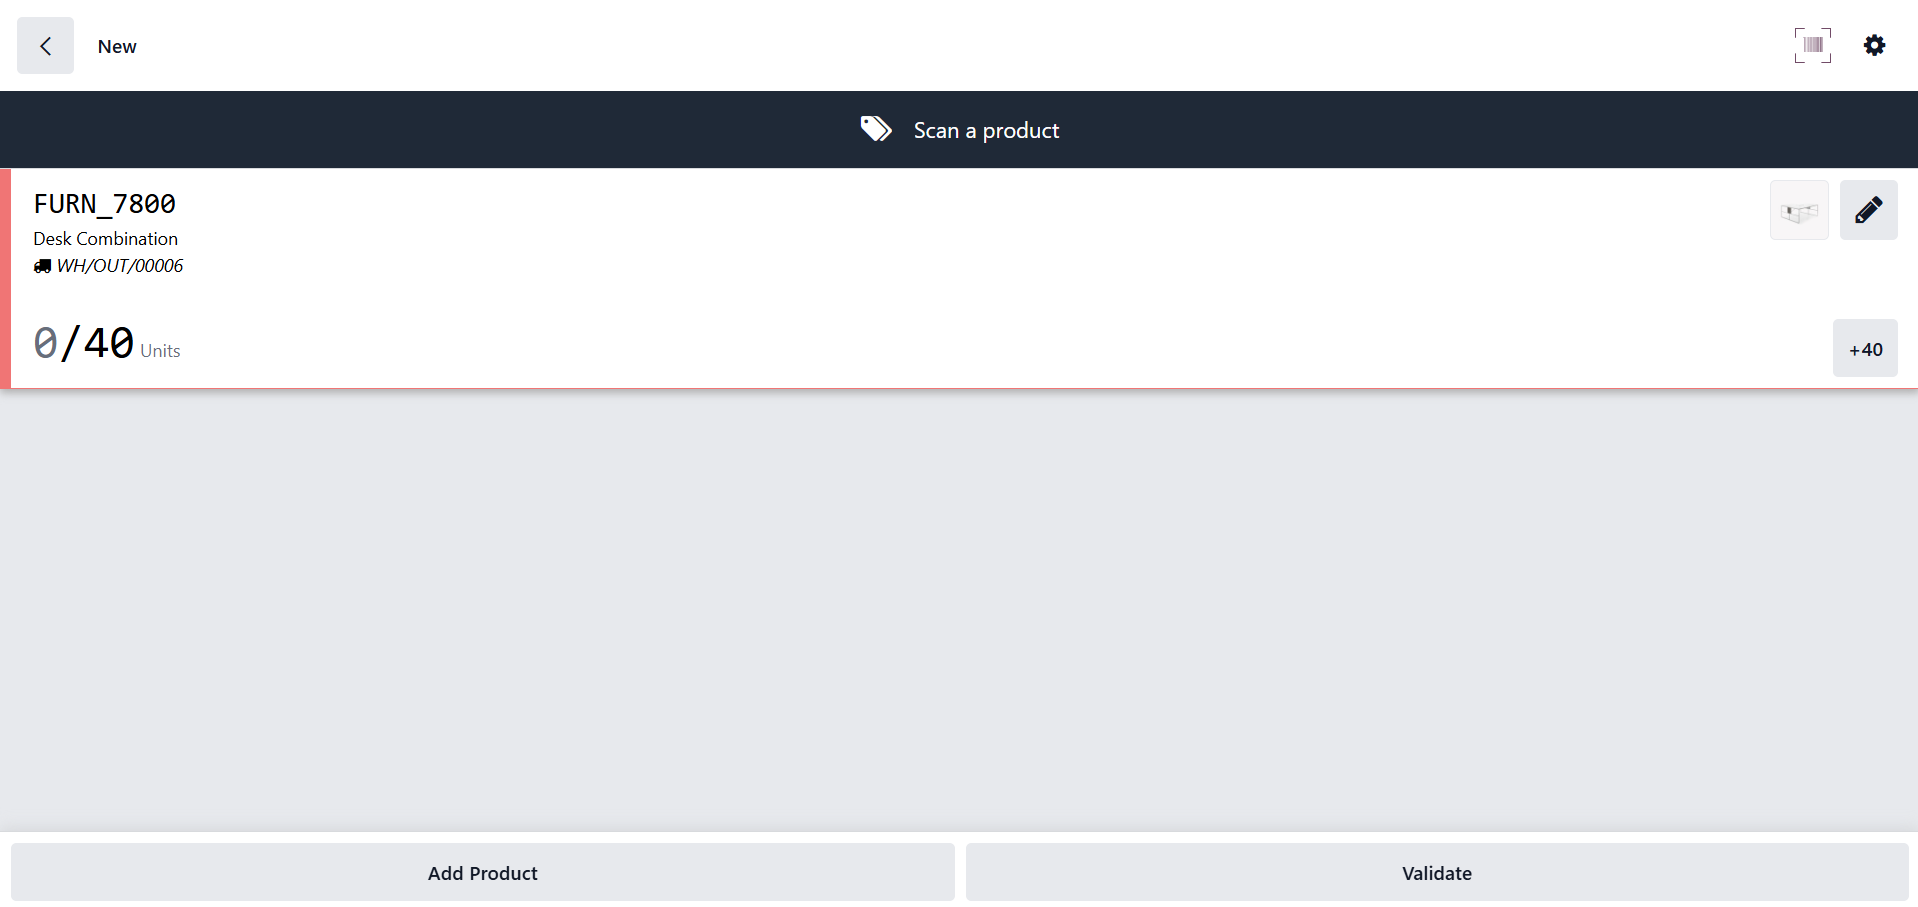
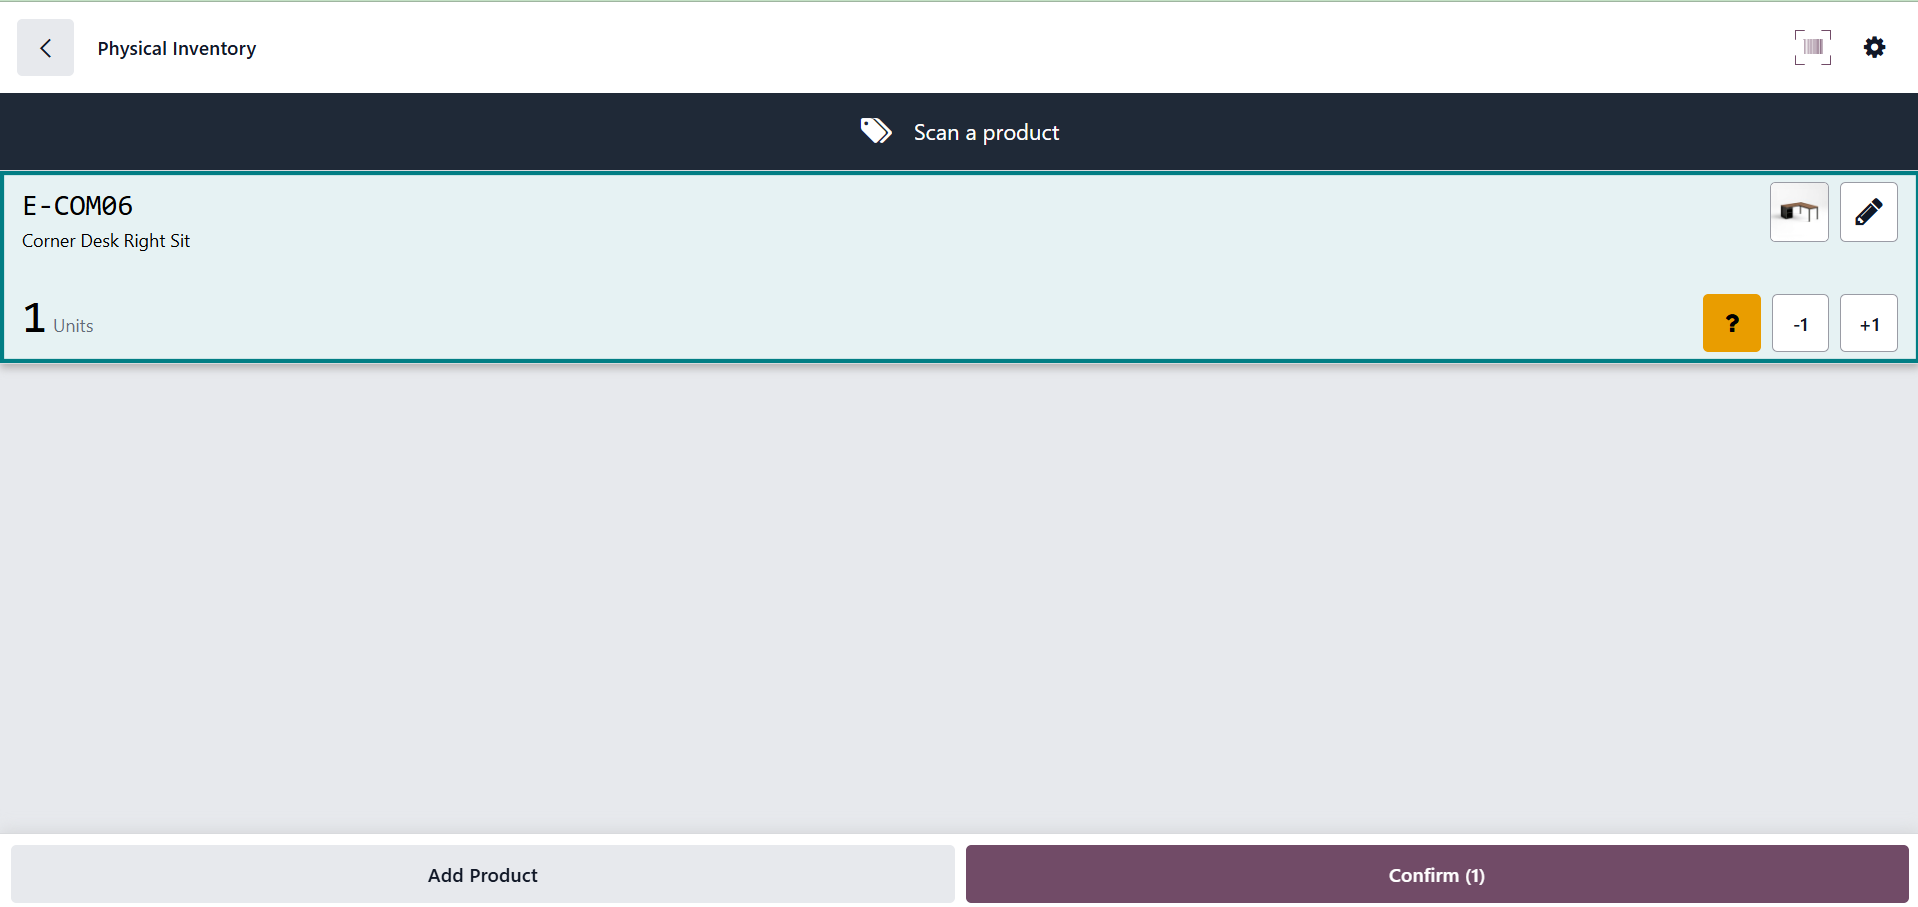
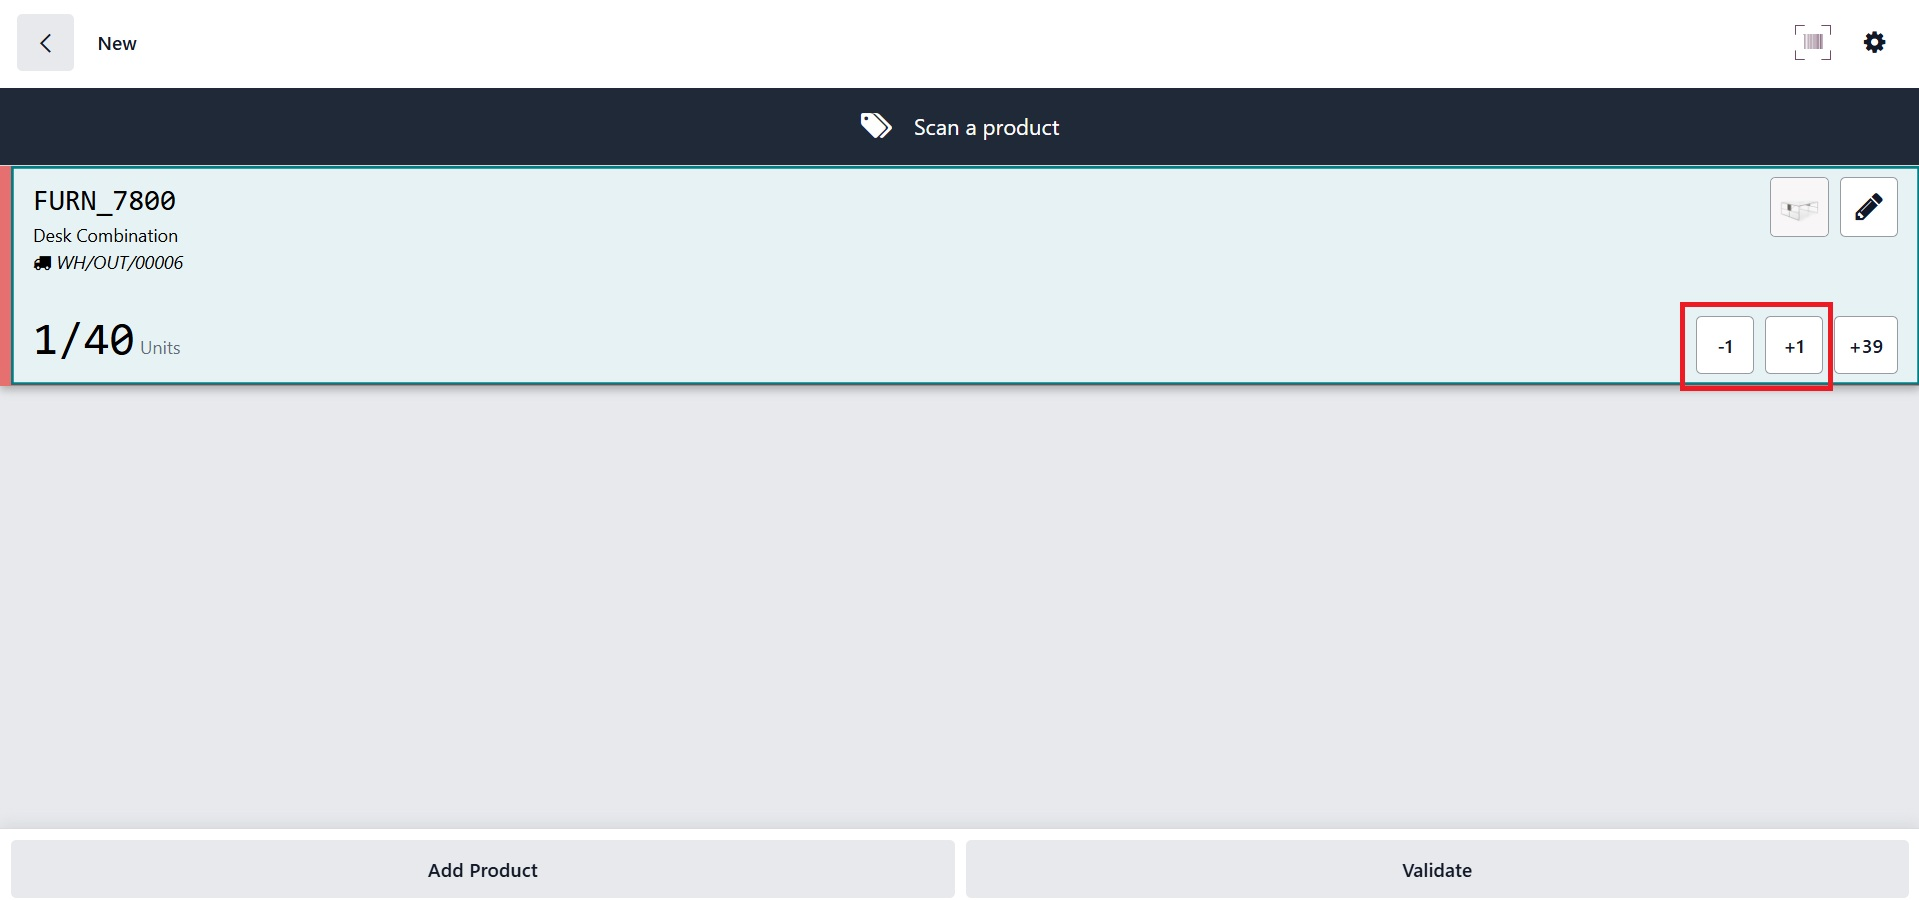
Click the "Add Product" button at the bottom of the window to manually add the product, then use the "+1" and "-1" buttons to add the product quantities, as shown below.
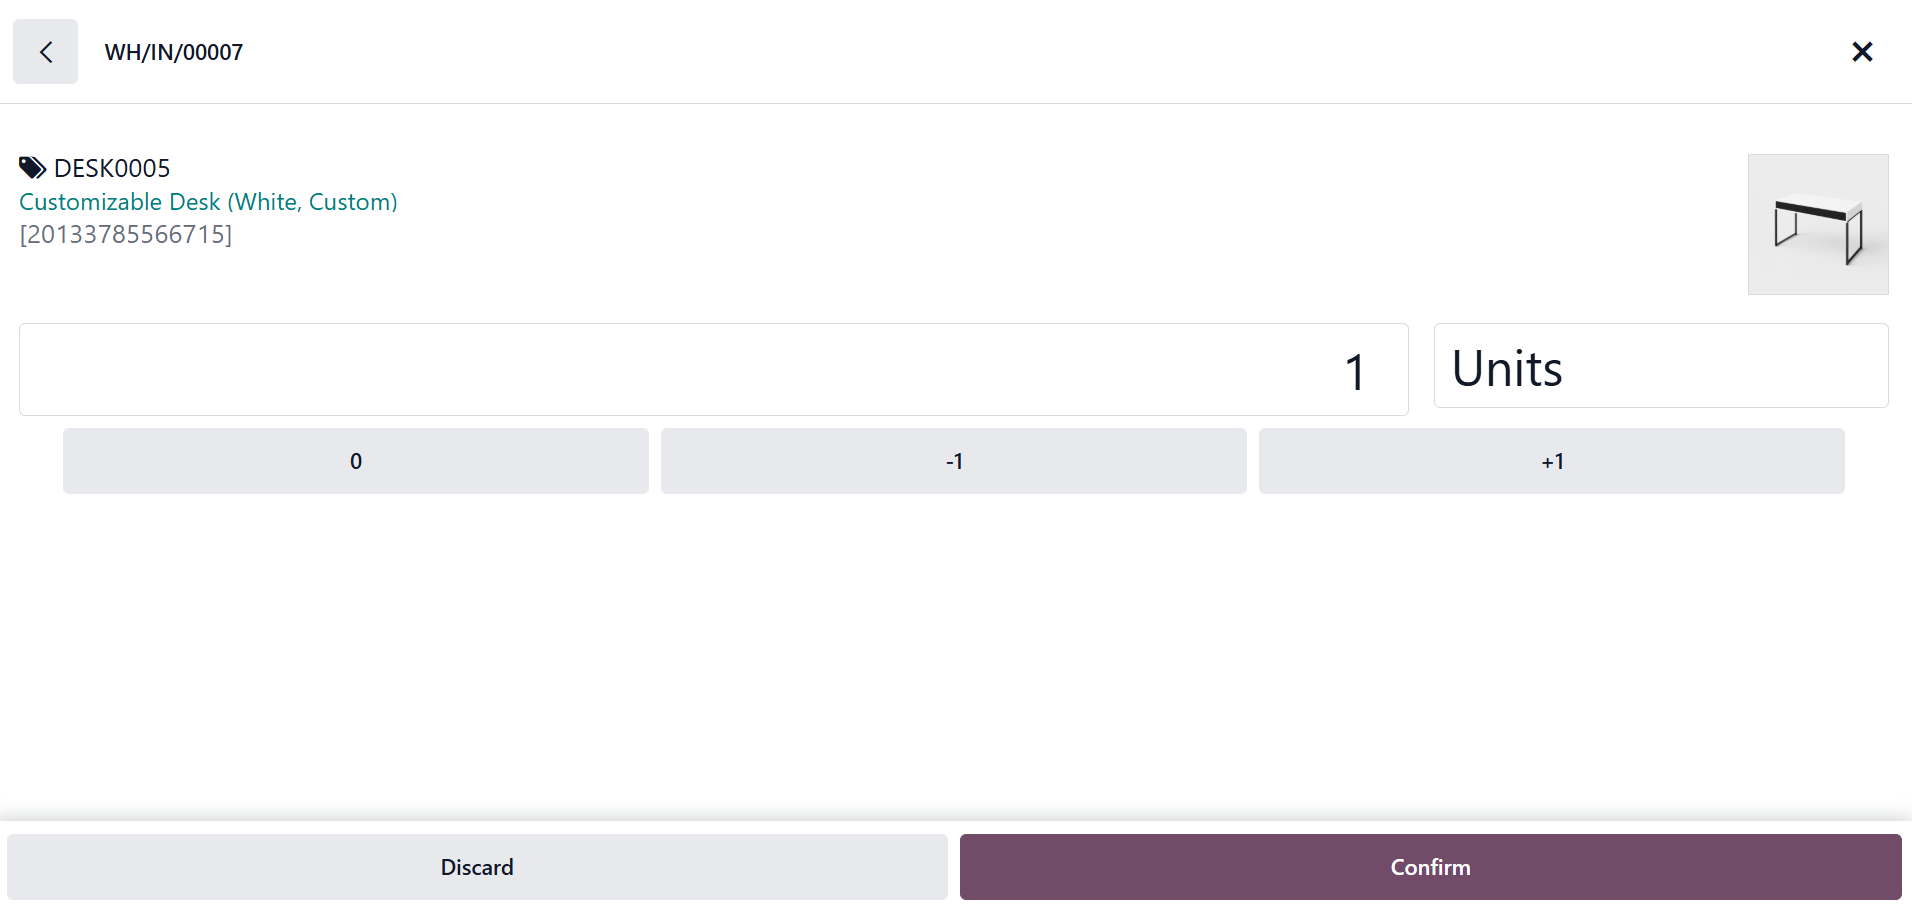
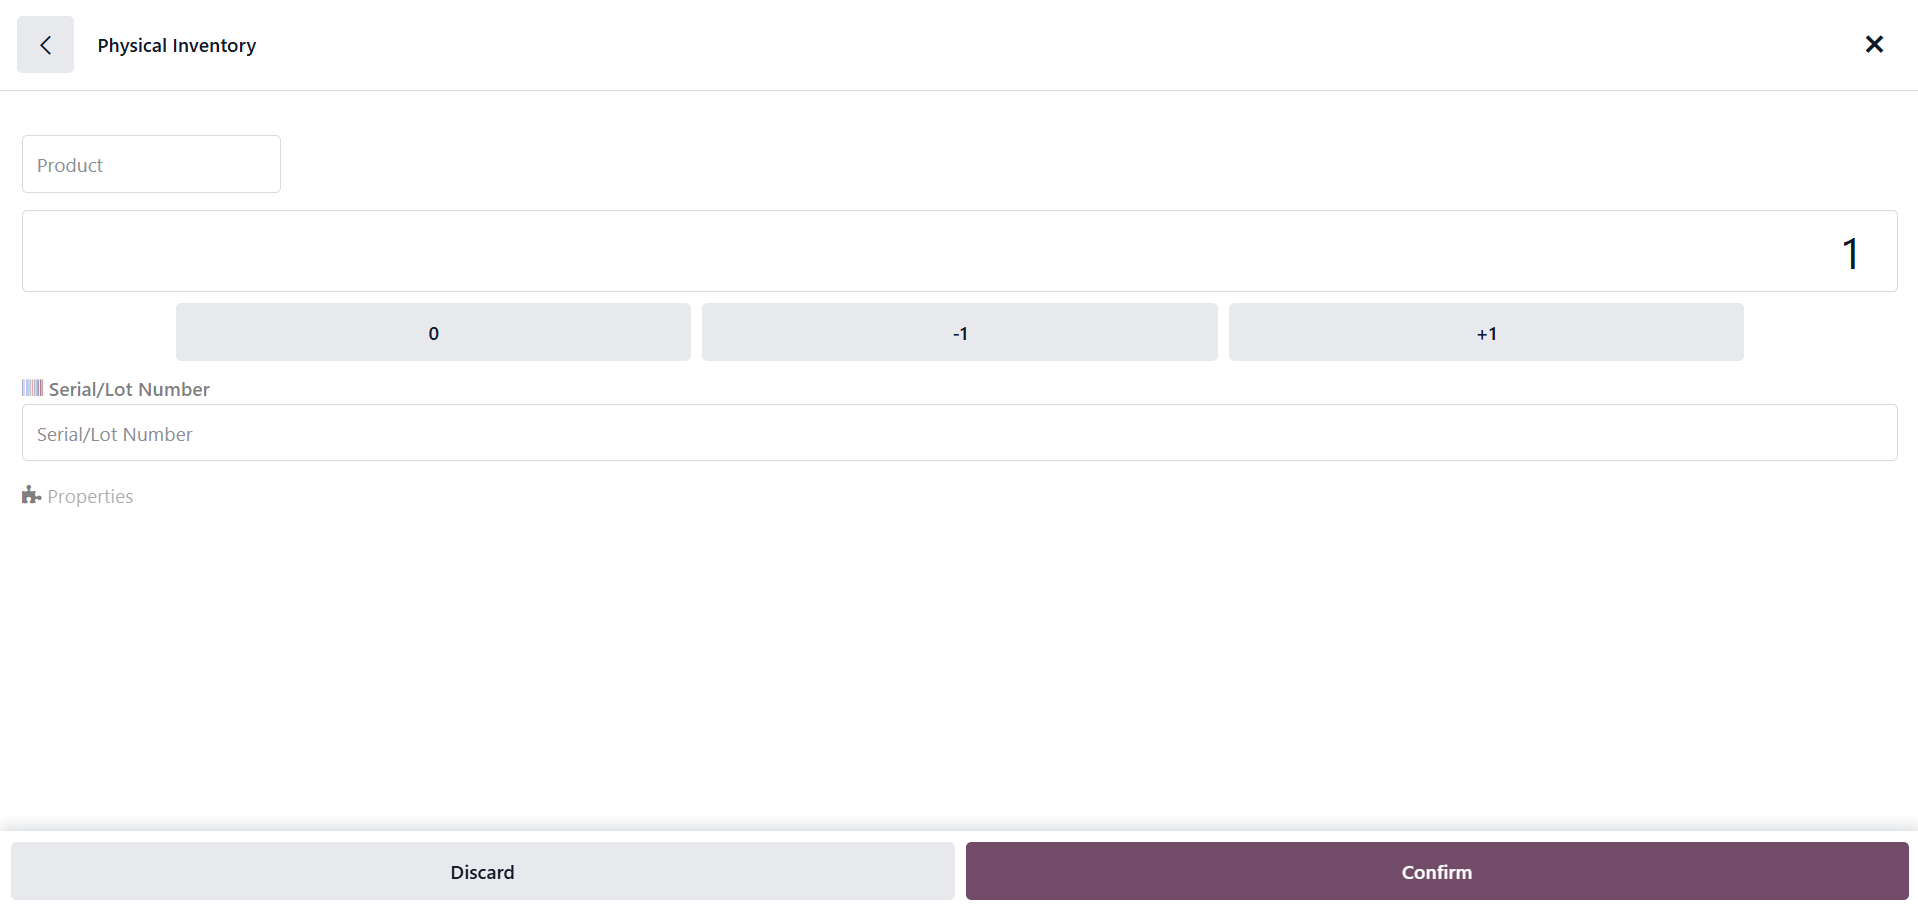
Click the "Edit (pencil)" icon if you need to record a specific quantity, then fill in the required fields with the product quantities, measurement (Units, Dozens, Kg, etc.), source package, and so on. Next, as seen in the screenshot below, use the "Confirm" button to validate the modified data.

To complete the transfer and mark it as such, click the Validate option. As you can see below, the transfer is in the "In Progress" state in the "Batches" area.

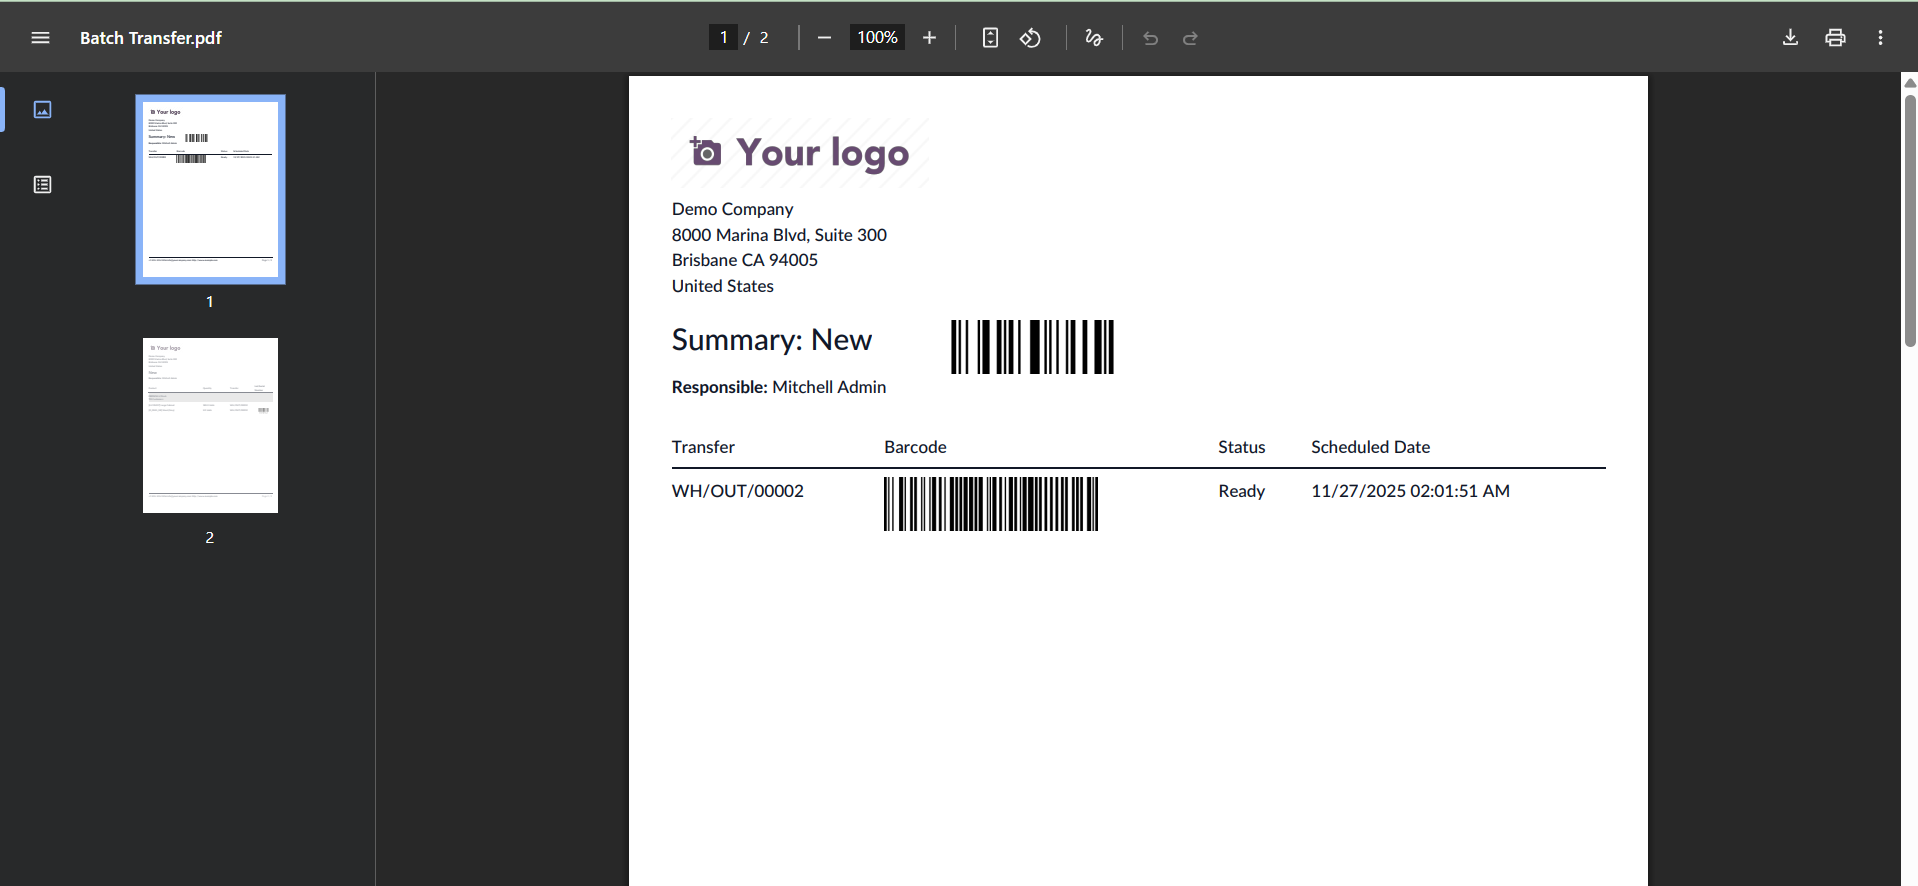
You can print the batch transfer details by choosing "Print Batch Transfer" from the settings icon in the batch transfer window after confirming the transfer by clicking the "Confirm" button. This process creates a printable copy of the batch transfer that can be printed or saved for later use.
This is how you use Odoo 19's Barcode Module to carry out a batch transfer.
In conclusion, by facilitating real-time data capture and lowering human entry errors, the Odoo 19 Barcode module improves inventory management. It enables warehouse workers to do duties more rapidly by streamlining procedures including receiving, picking, packaging, and transporting goods. This module's integration features with other Odoo modules guarantee a unified workflow, visibility, control, and enhanced decision-making to increase productivity.