Act:
The Act menu in the Odoo 19 ESG module represents the final step of the ESG process, where the company can take actions and plans based on the results from the Collect and Measure stages. Under the Act menu, you can view the Initiatives option.
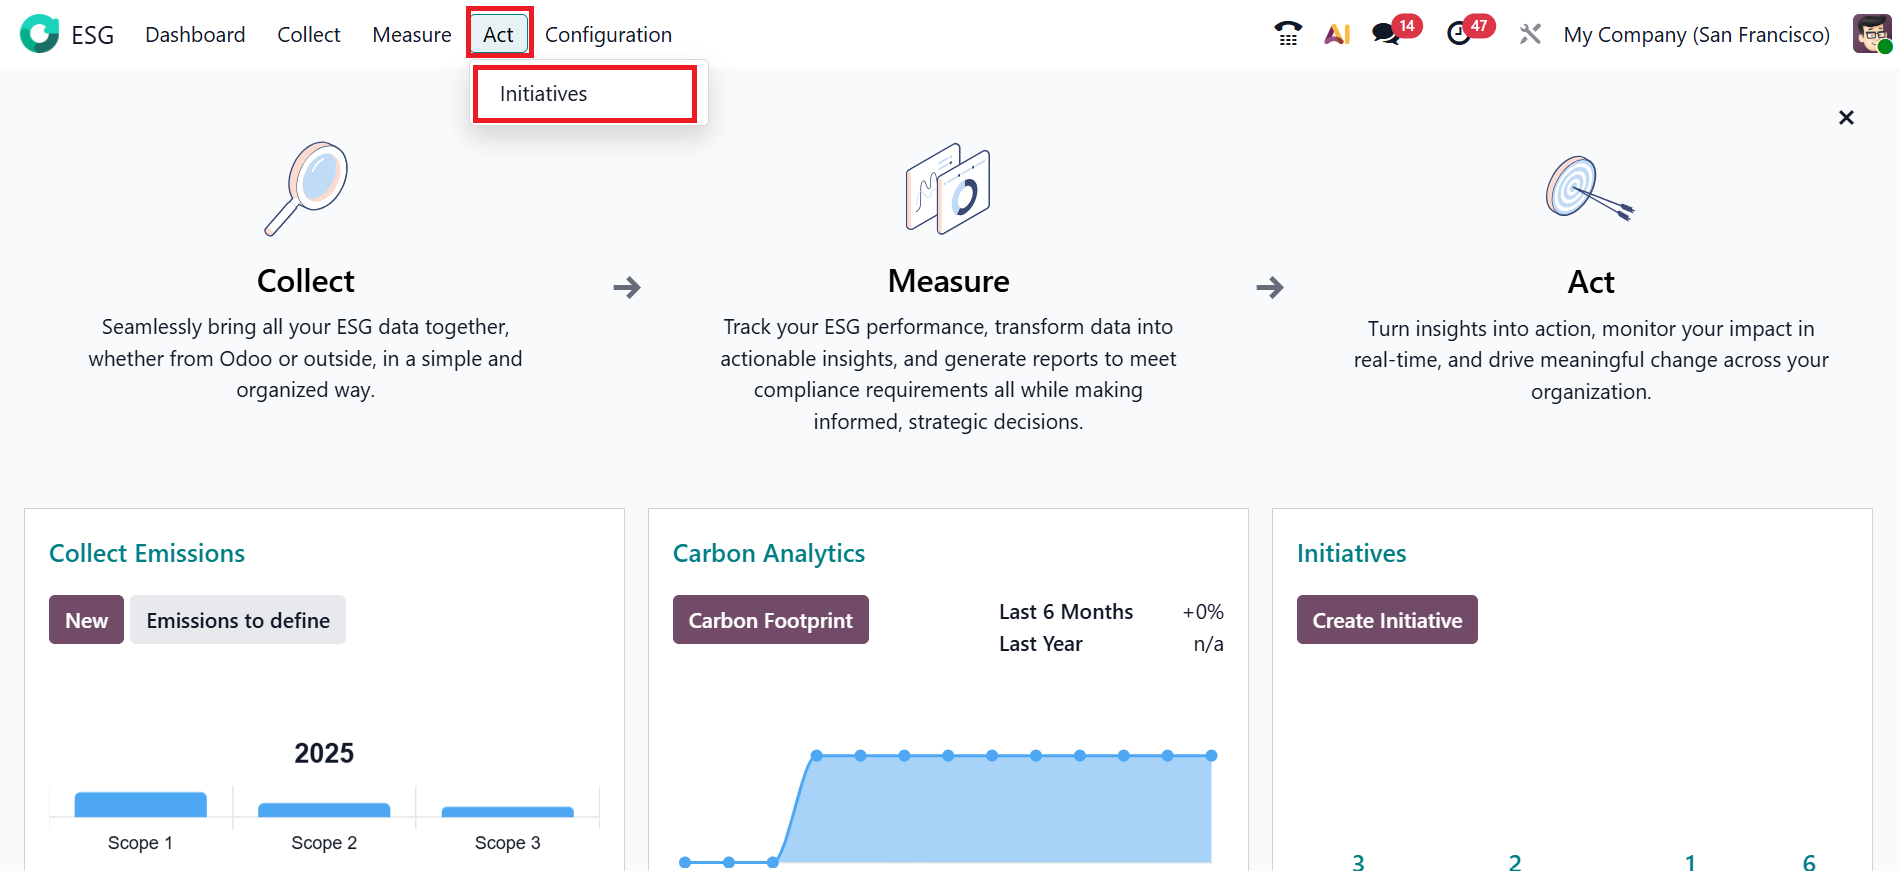
1.1 Initiatives:
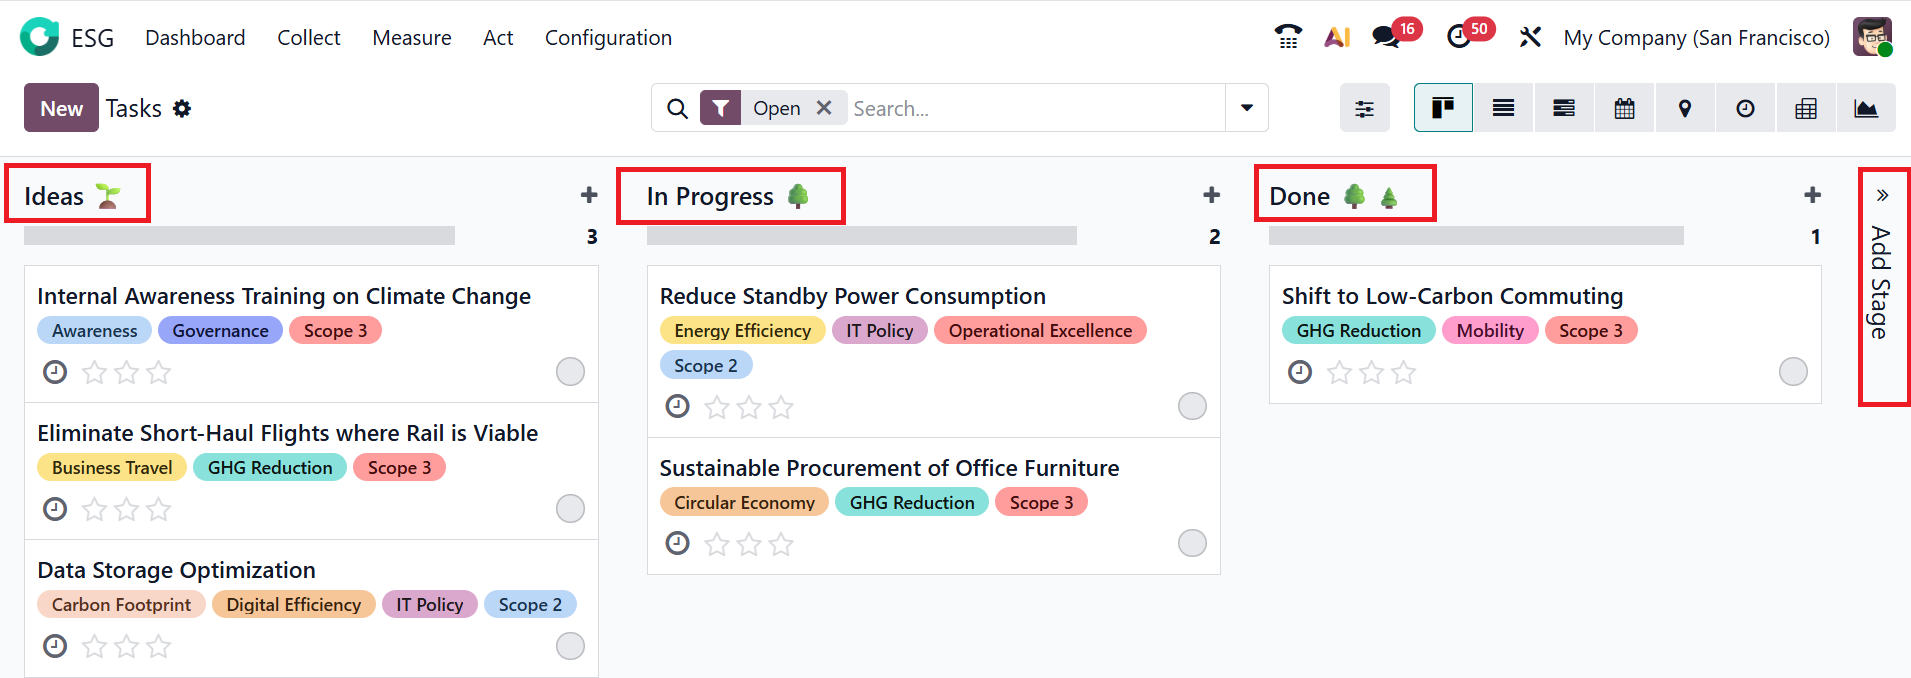
Initiatives are the plans or programs created to achieve ESG objectives based on the company’s collected data. Here, you can see a company’s initiatives in different stages: Ideas, In Progress, and Done, which was already mentioned above. To create a new stage, click the >> Add Stage button.
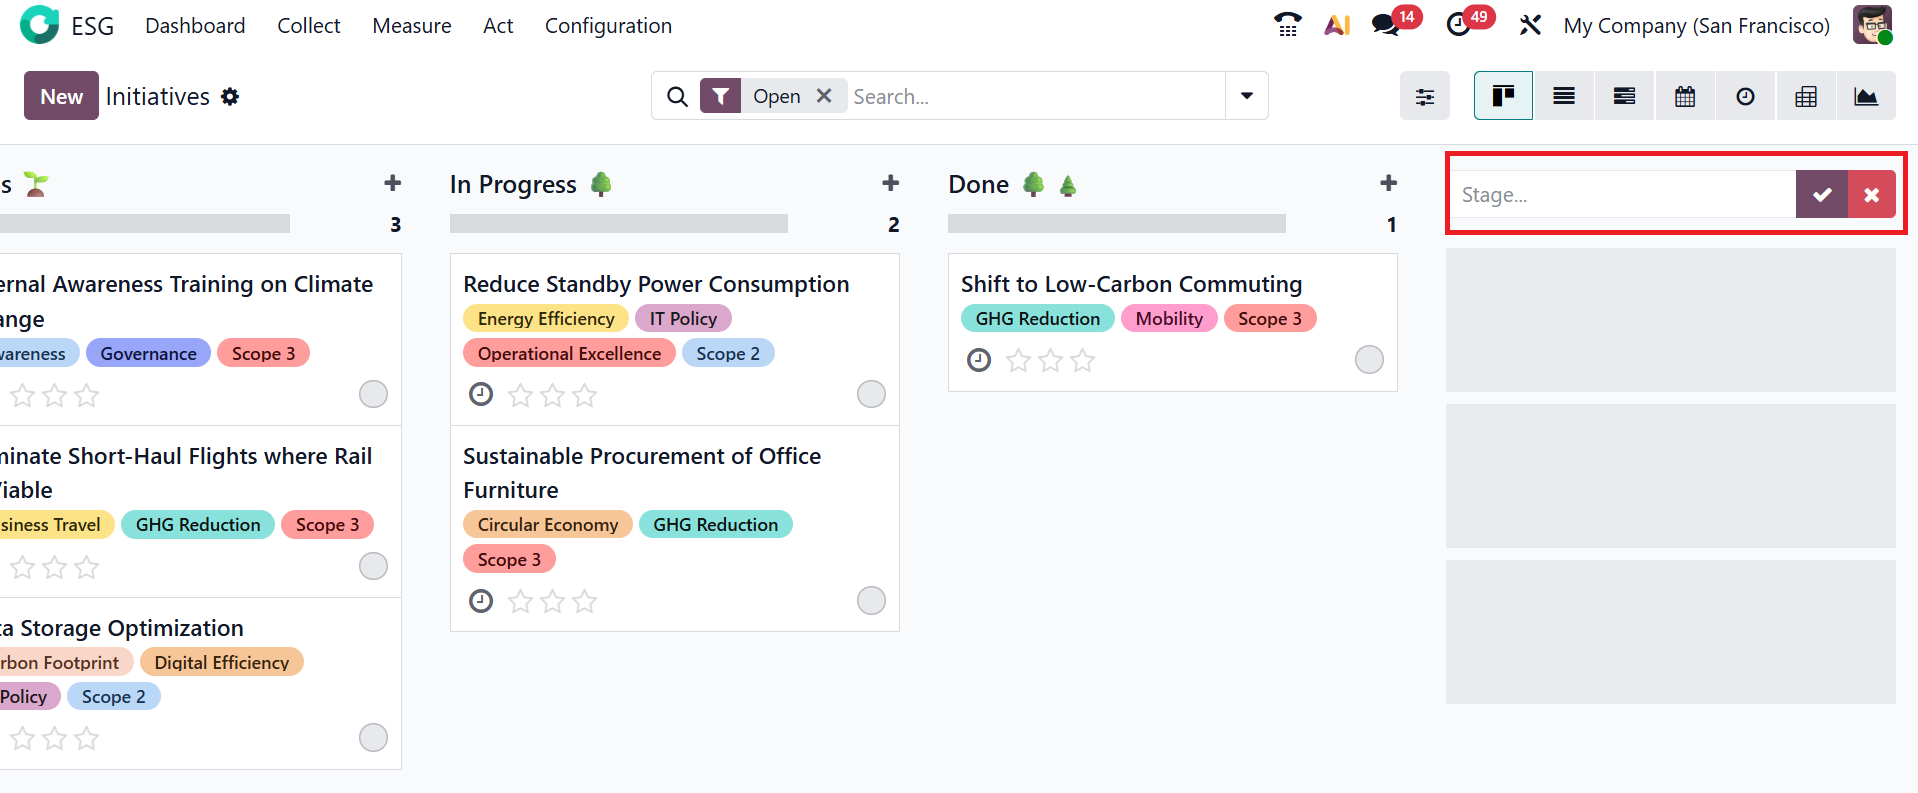
Here, you can add a name for your stage. Then, mark either the tick button to save the stage or the cross button to discard the add stage option.
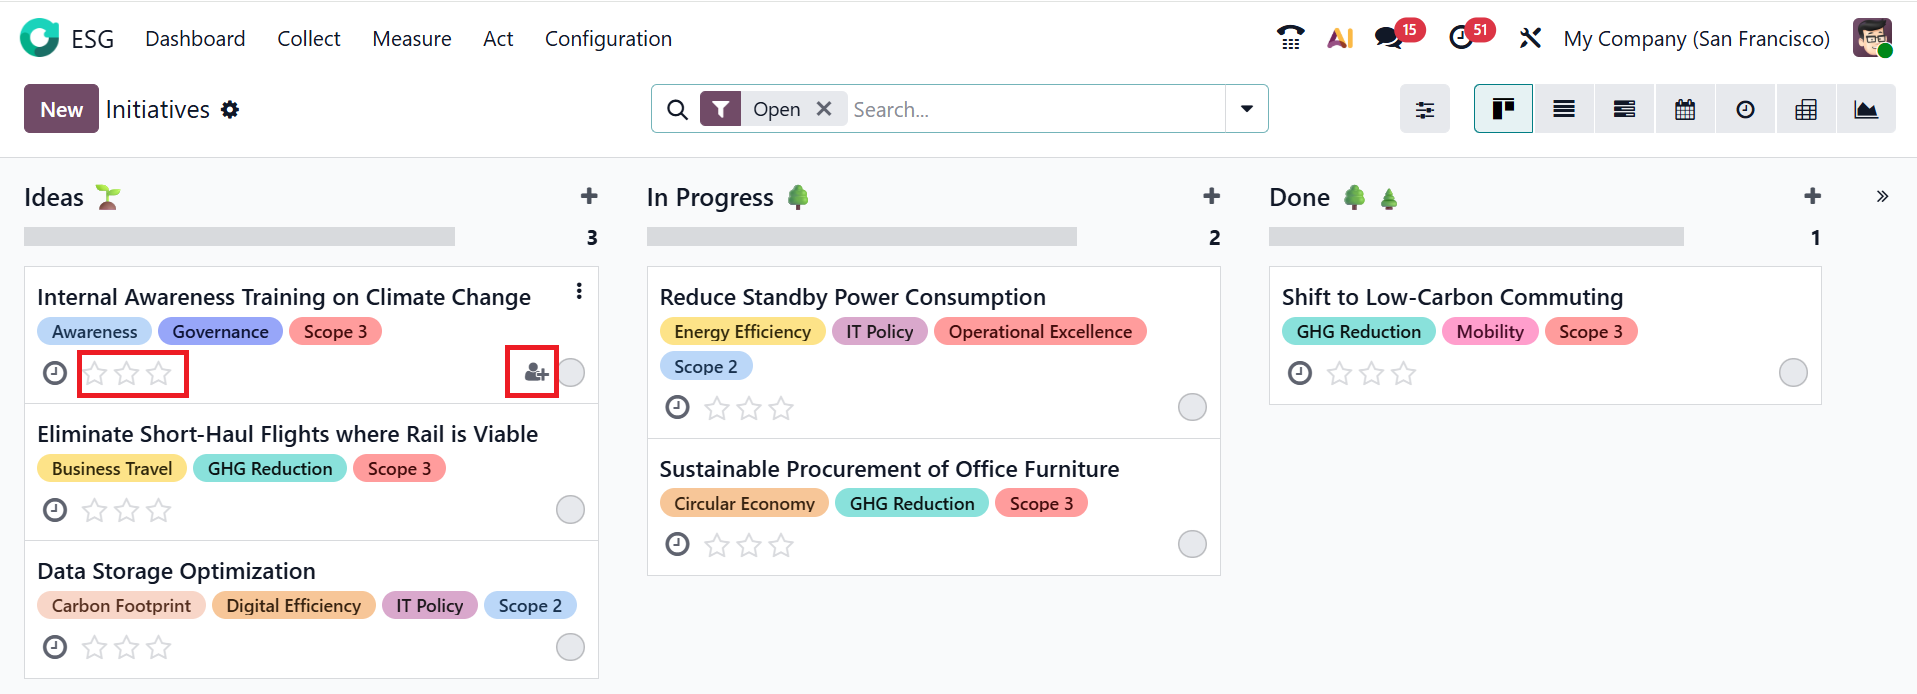
Under each stage, all the tasks are arranged as cards. On each card, you can set the task’s priority by marking stars and assigning a person responsible for completing it.
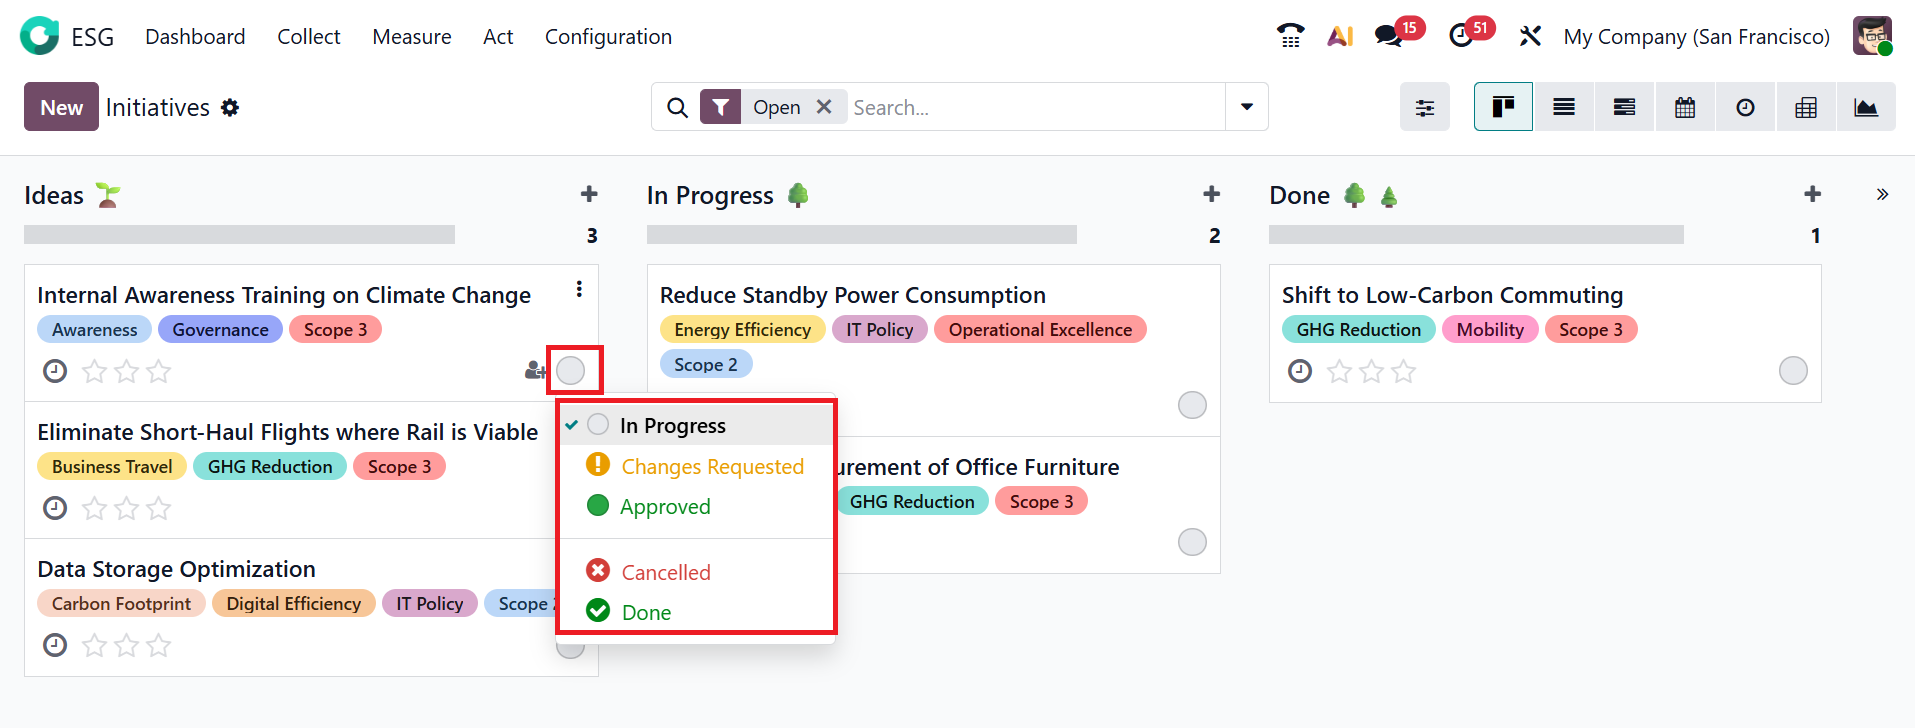
You can also mark the status of the task as In Progress, Changes Requested, Approved, Cancelled, or Done as shown below:
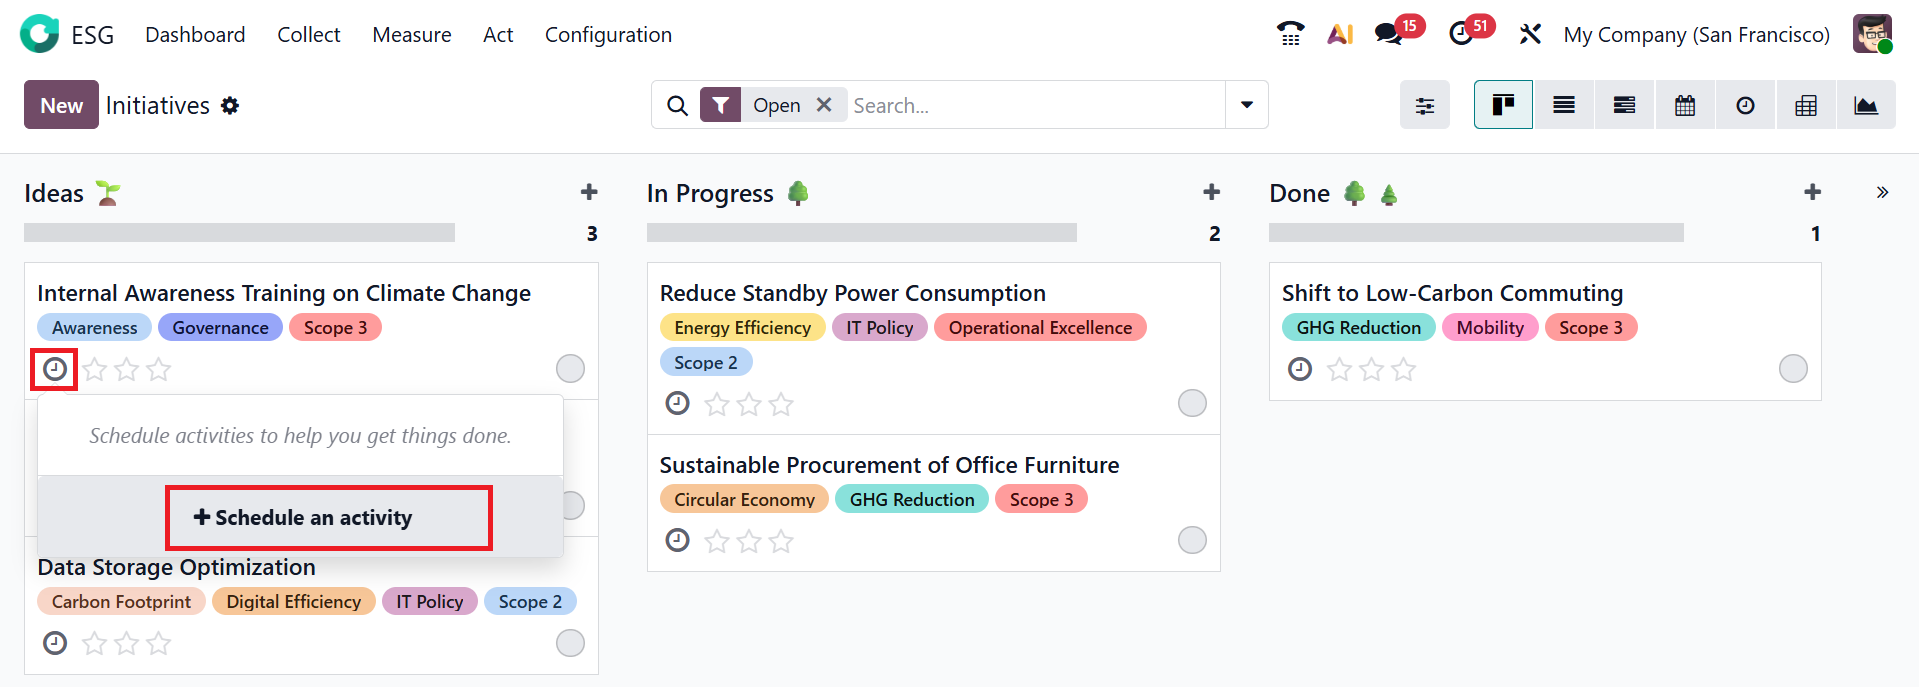
A pop-up screen will appear. Select + Schedule an Activity.
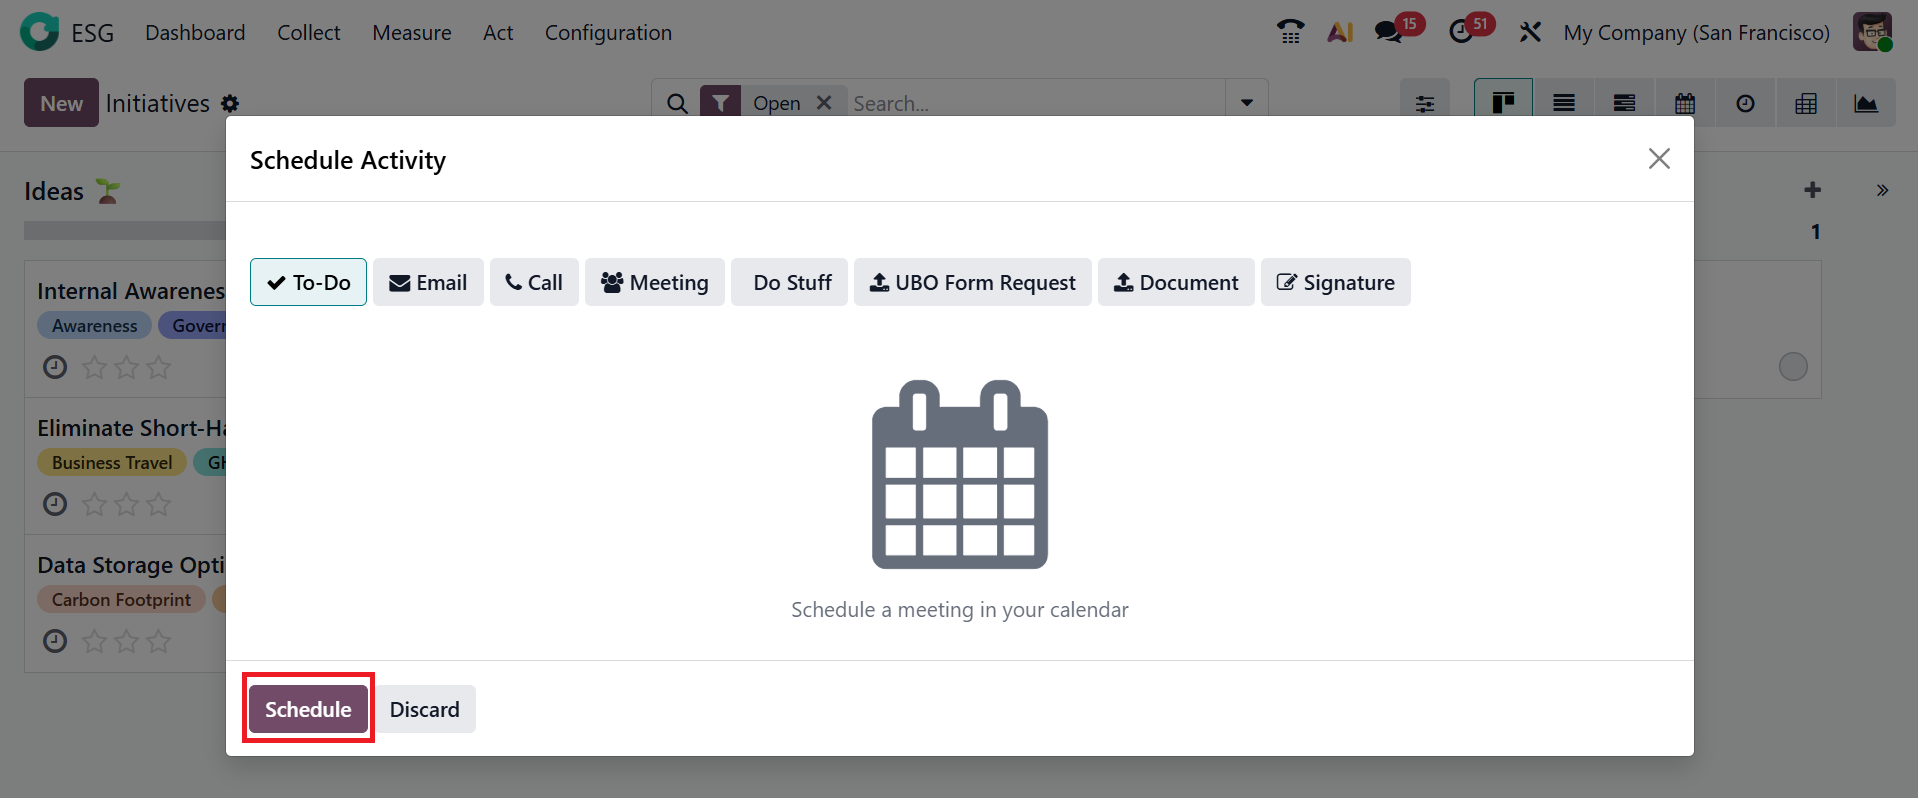
Then pick an activity in the pop-up window and click Schedule.
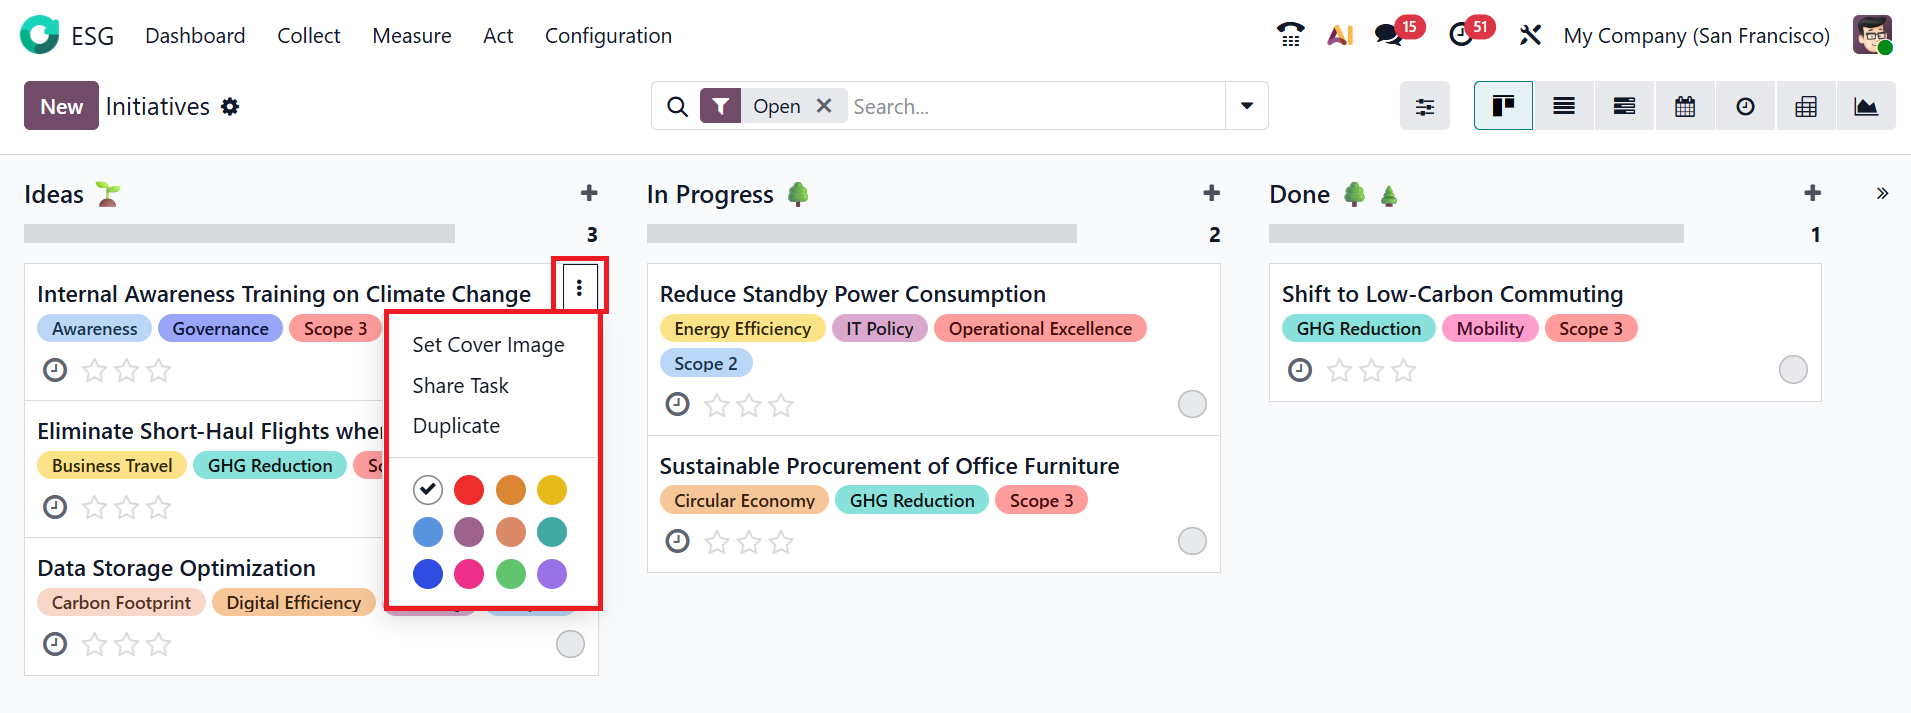
Click on the three-dotted menu in each card, where you can view the options: Set Cover Image, Share Task, Duplicate, and select an appropriate Color.
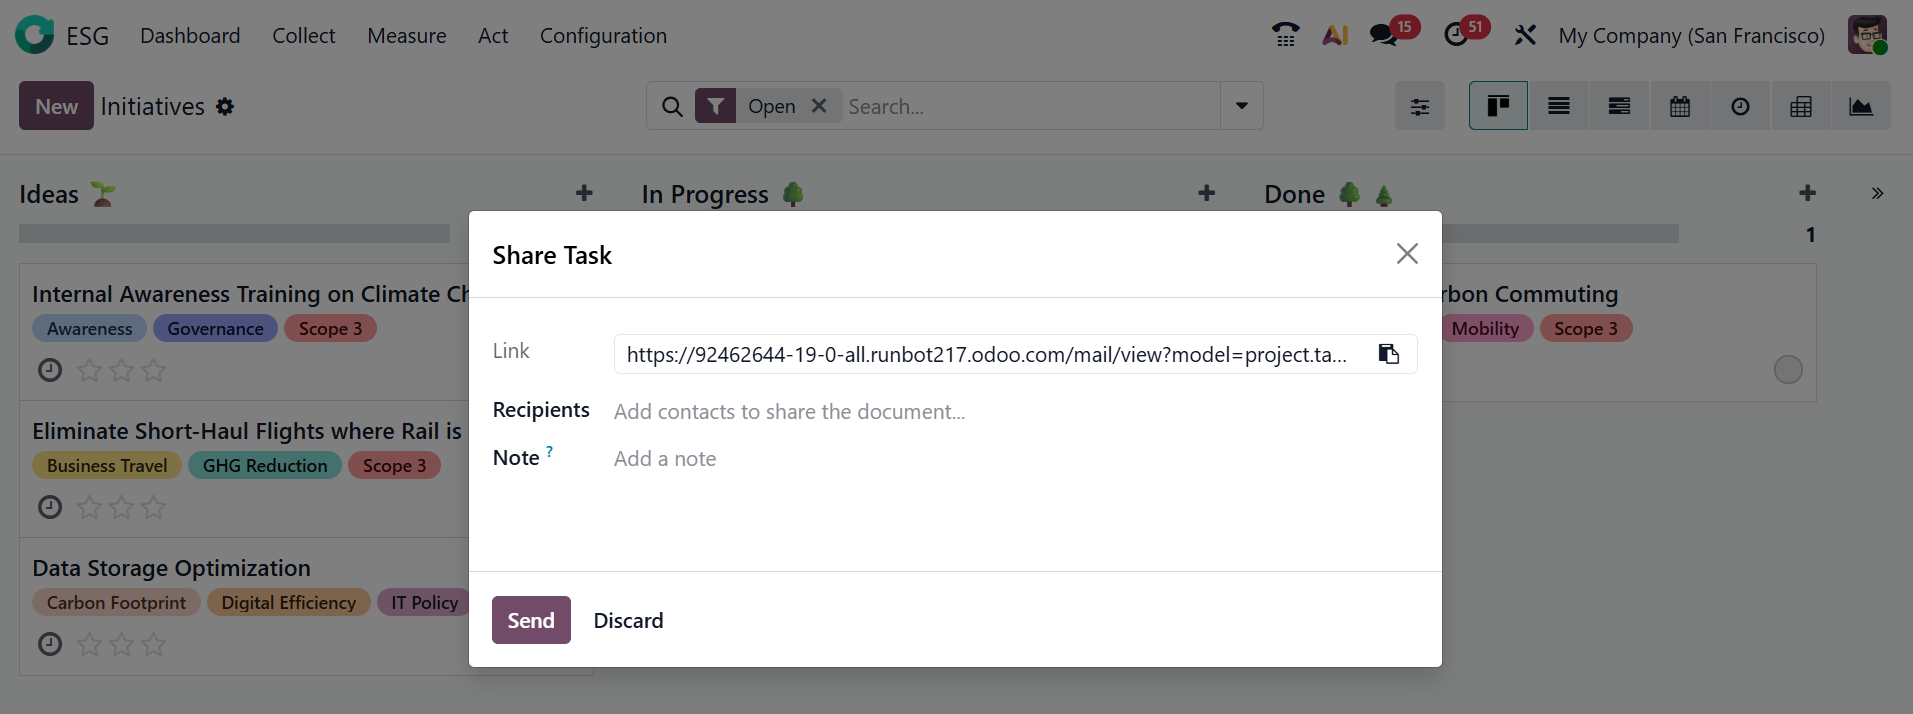
A pop-up appears when you click the Share Task button, allowing you to add contacts to the Recipients field to share the task. In the Notes field, add a note for the recipients and then click on the Send button.
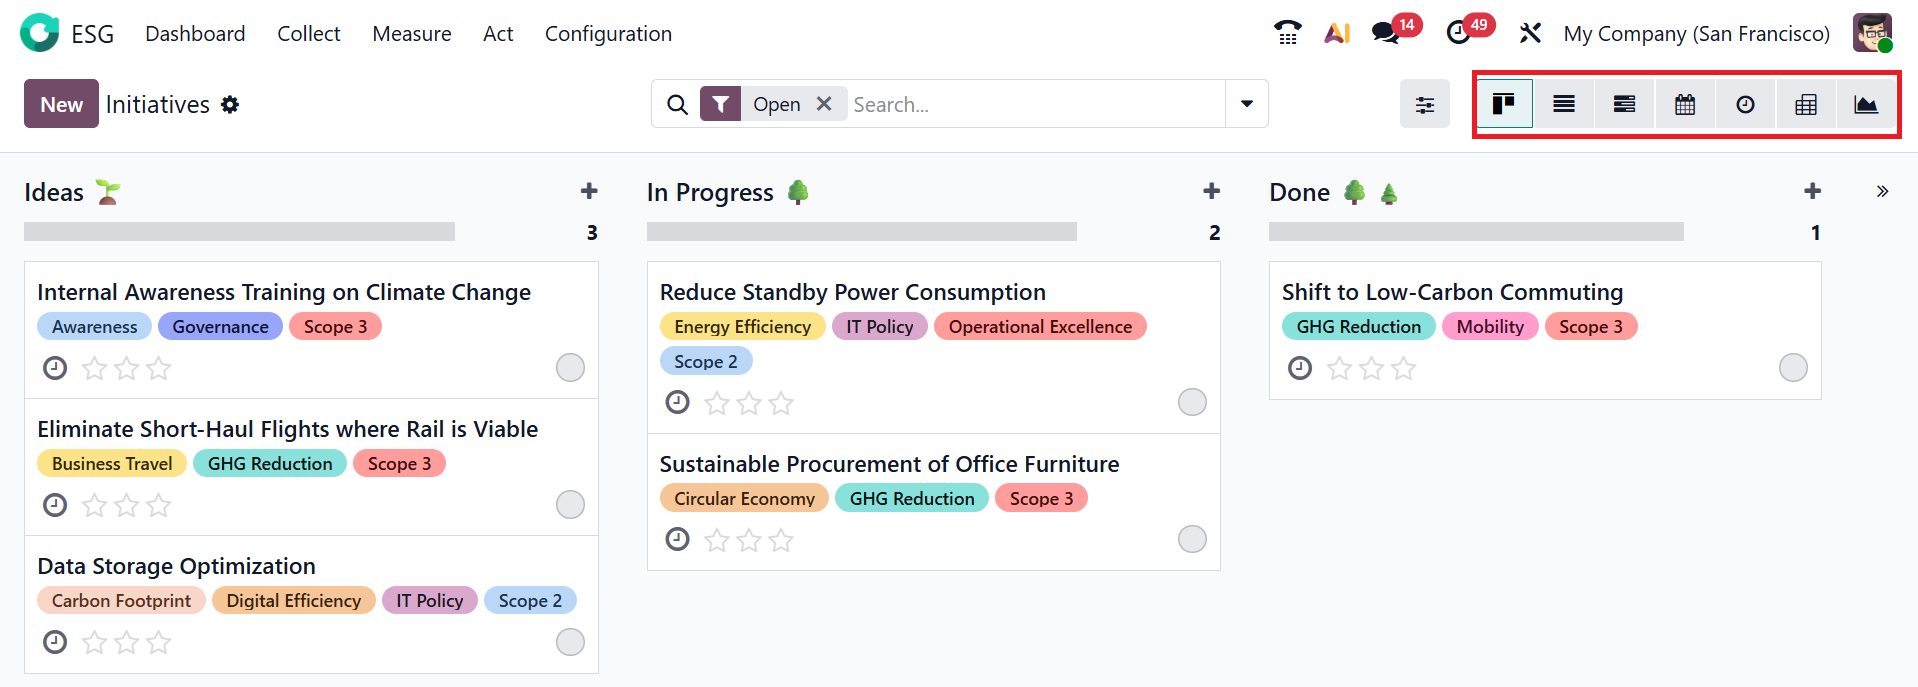
By default, Initiatives is displayed in Kanban view; you can also switch to List, Gantt, Calendar, Activity, Pivot, and Graph views.
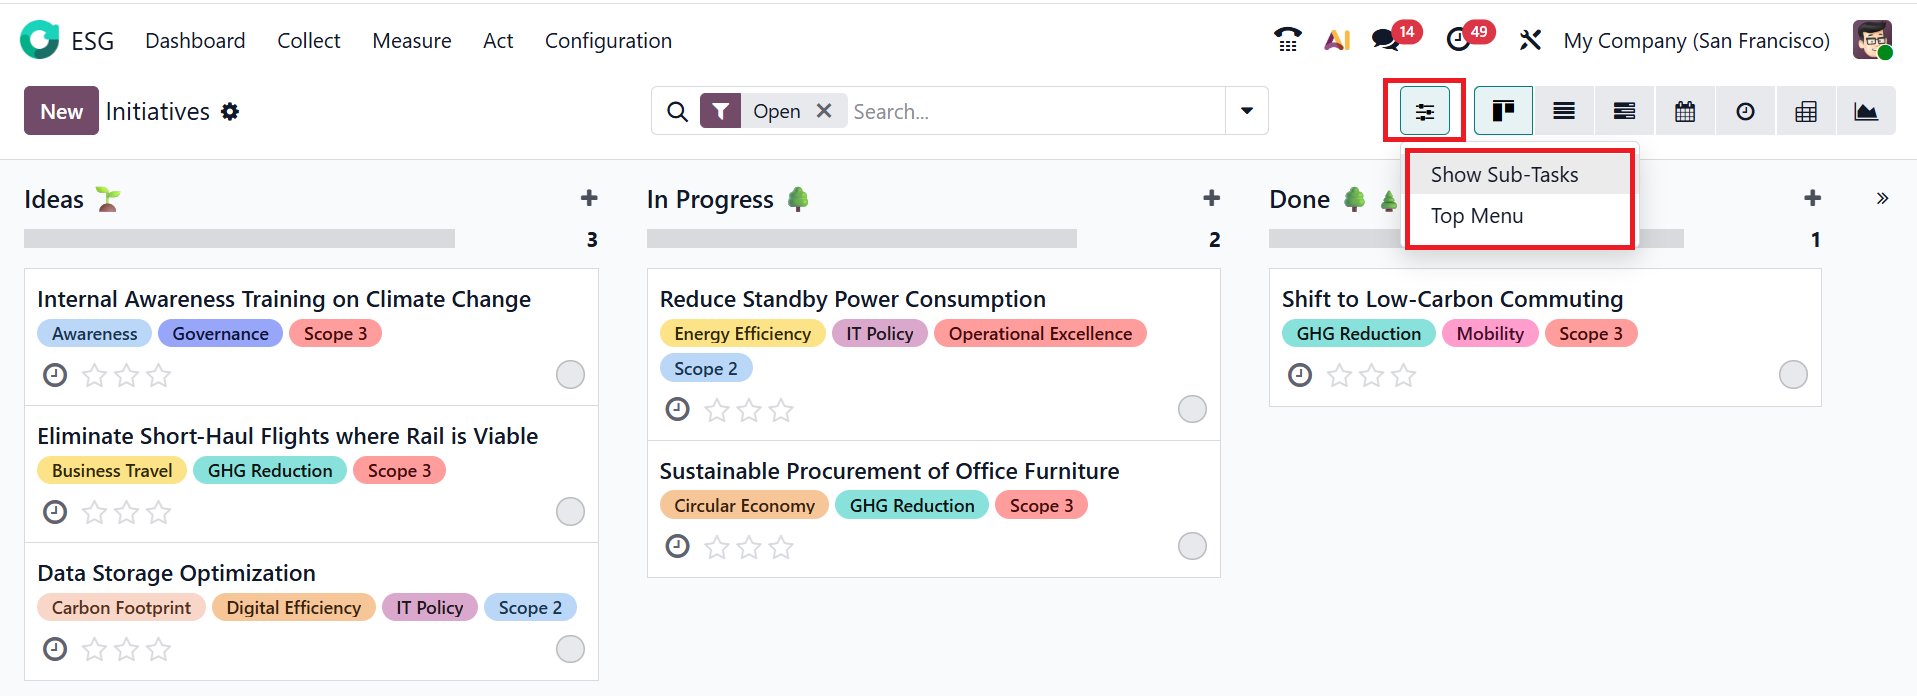
Click the toggle button to display Sub-Tasks and the Top Menu on the dashboard.
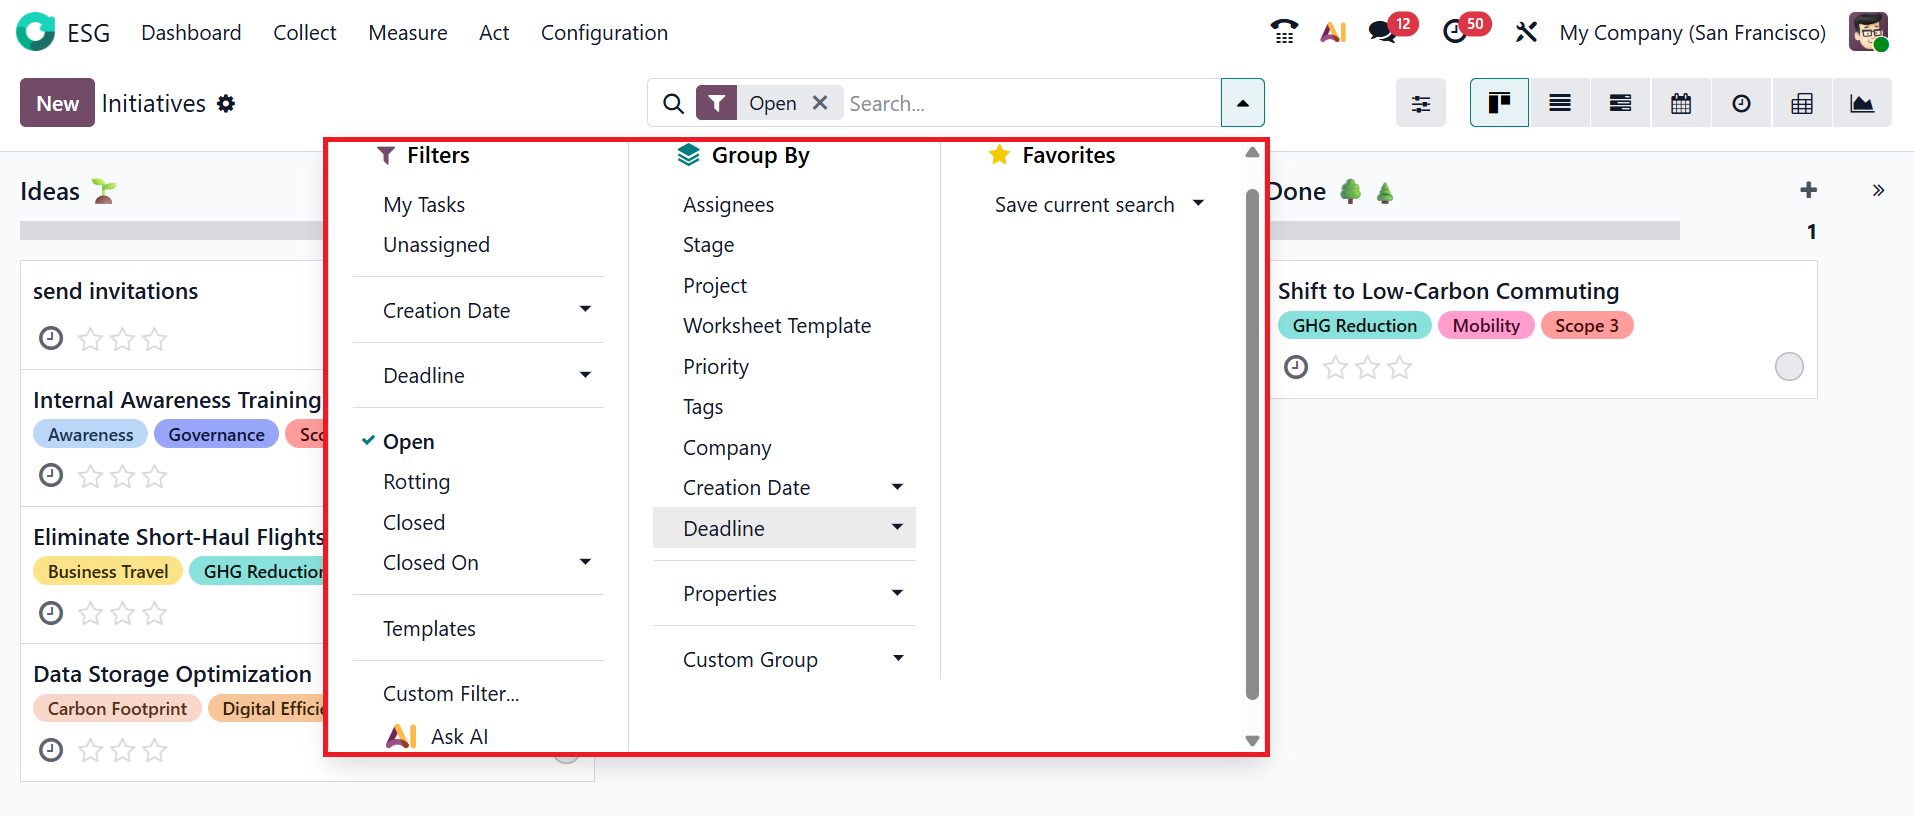
To view the Filters, Group By, and Favorites options, click on the drop-down menu in the search bar. Under the Filters section, you can view the options such as My Tasks, Unassigned, Creation Date, Deadline, Open, Rotting, Closed, Closed On, Templates, Custom Filter, and use Ask AI for AI assistance. Under the Group By section, you can view options such as Assignees, Stage, Project, Worksheet Template, Priority, Tags, Company, Creation Date, Deadline, Properties, and Custom Group. Under the Favorites option, you can save the current search for further use.
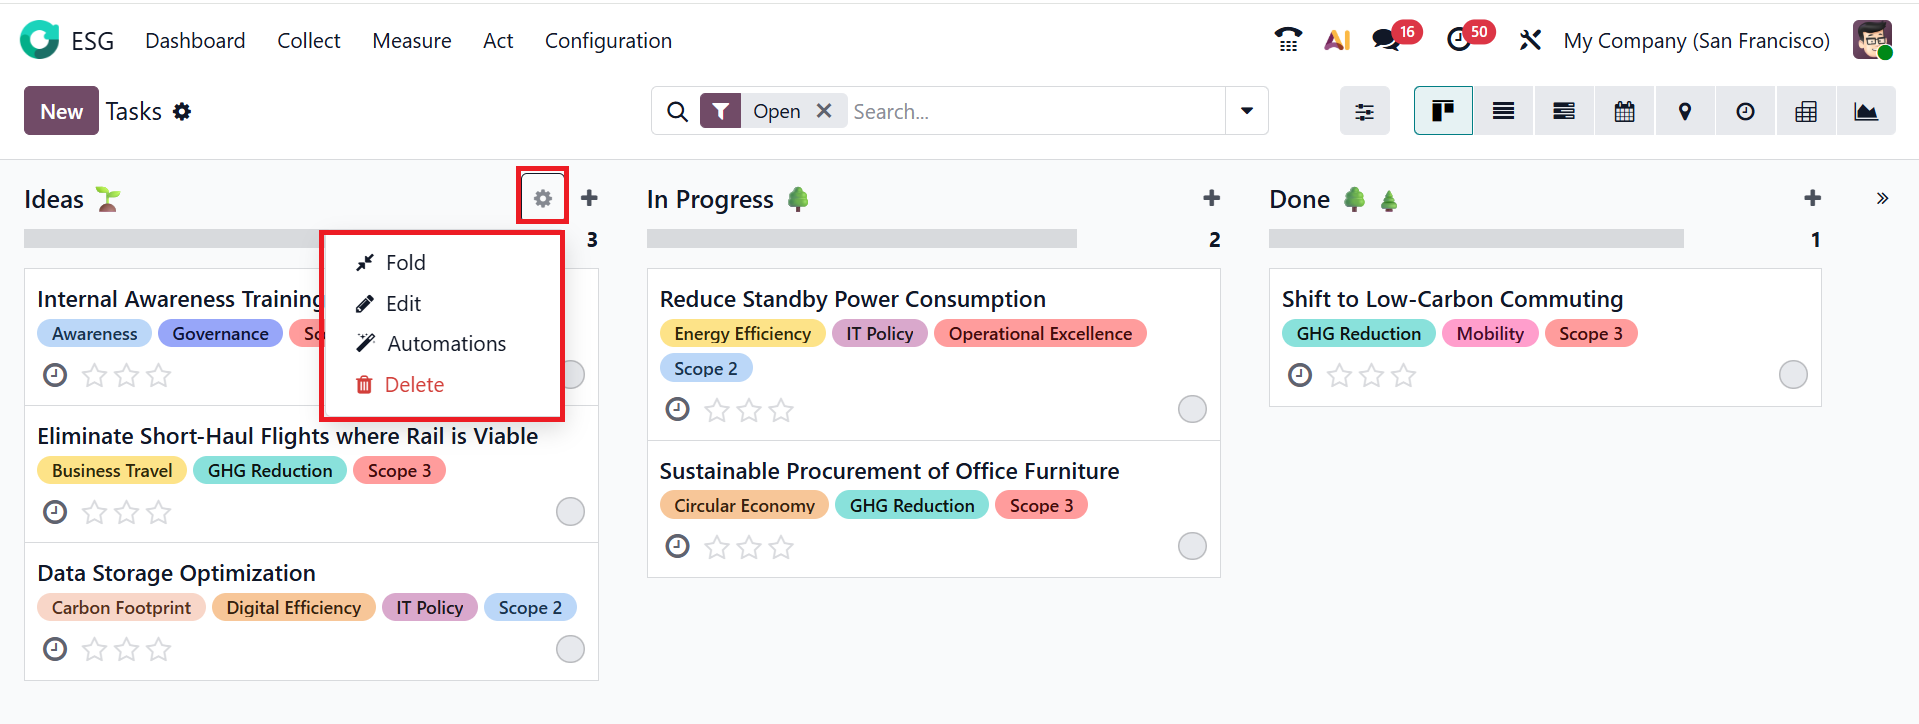
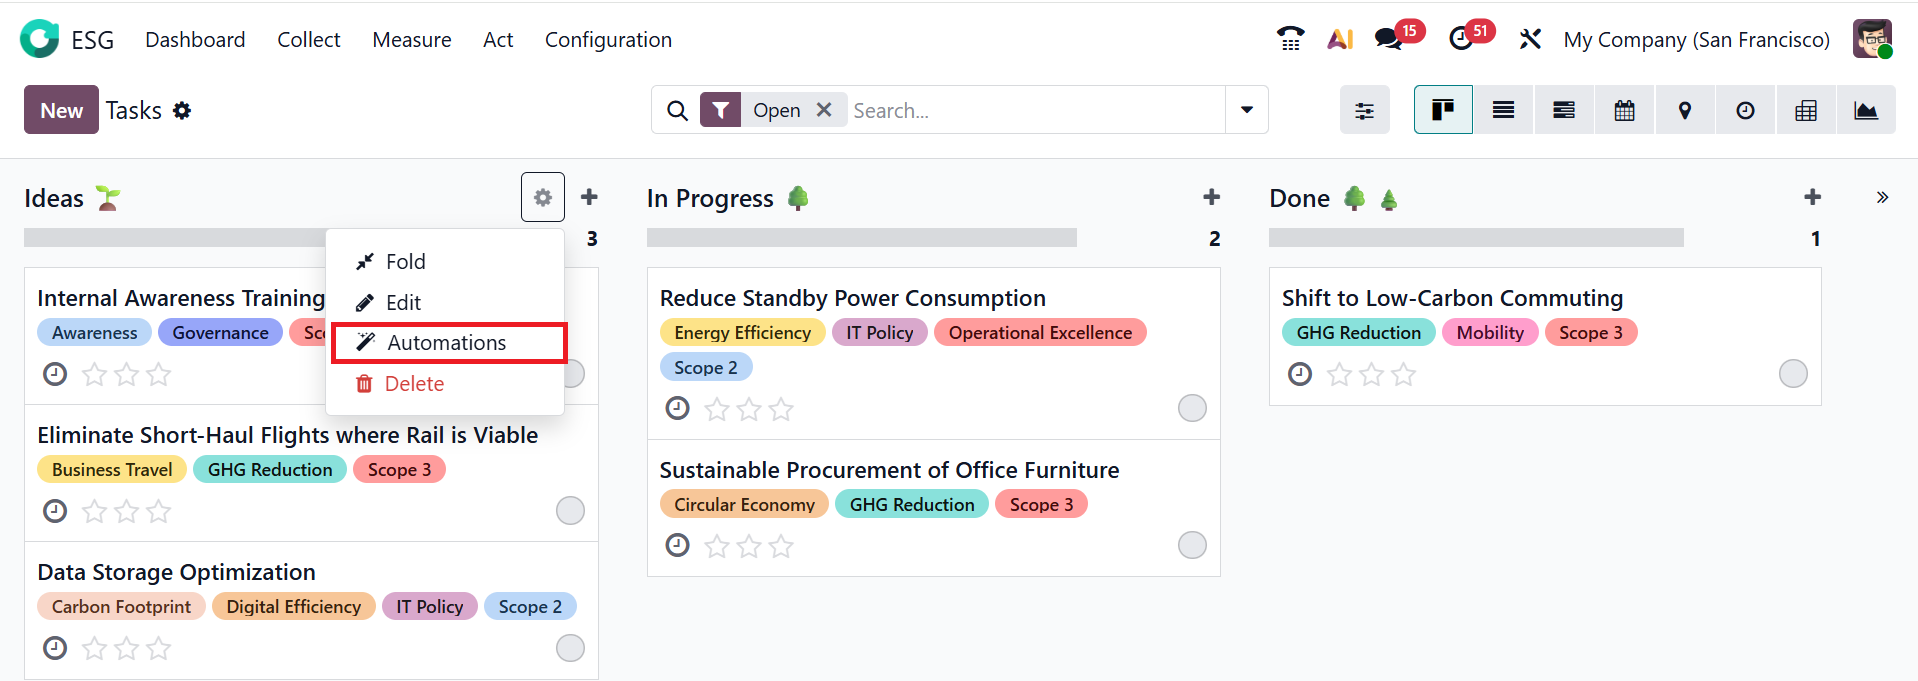
Click the gear icon to access settings for each stage, including Fold, Edit, Automations, and Delete options.
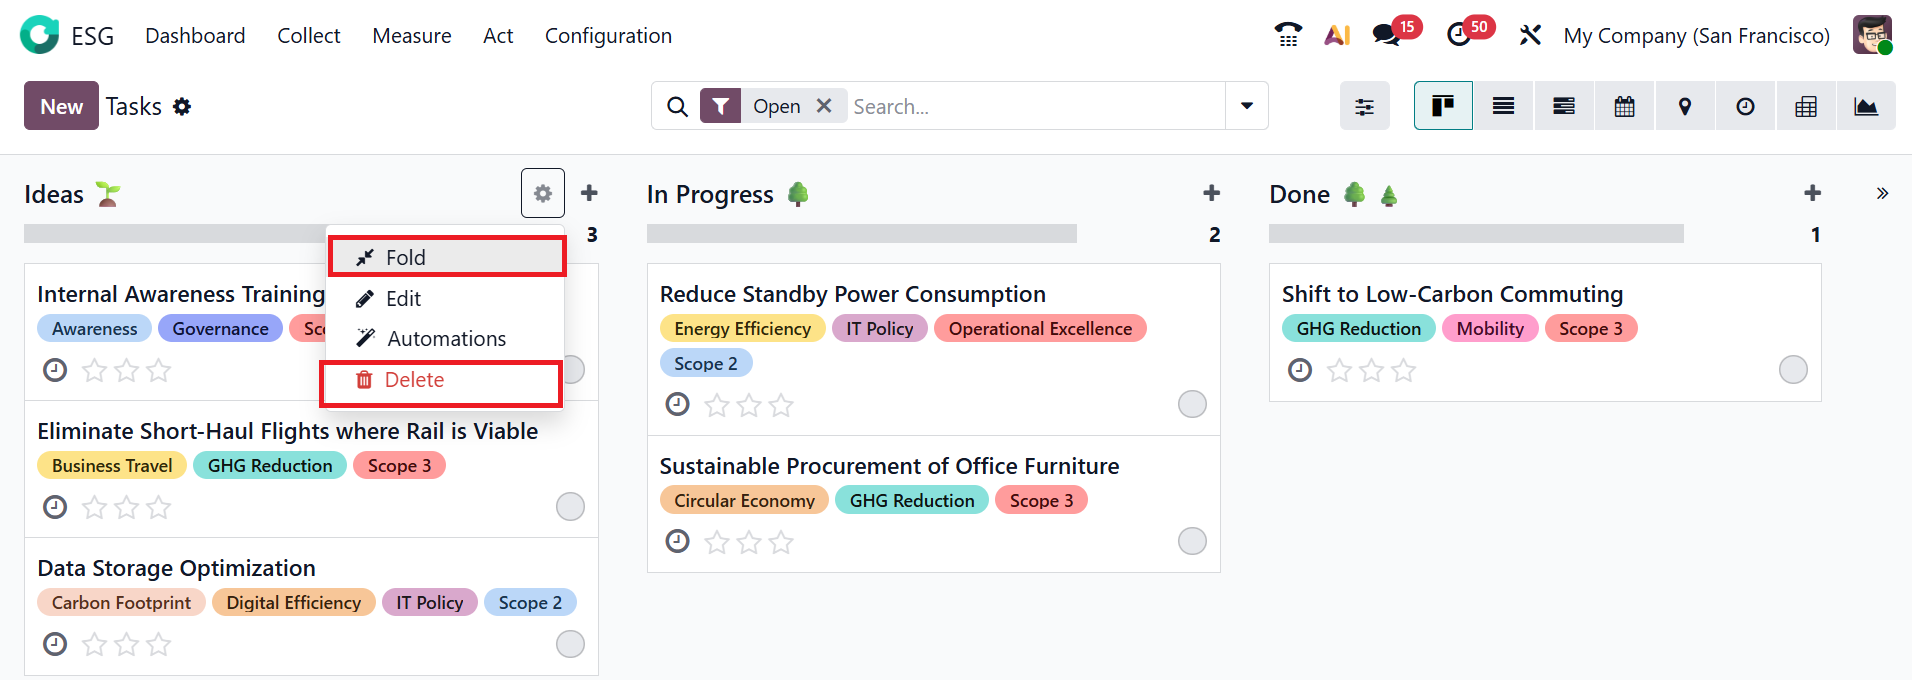
Click on the Fold button to temporarily hide a stage in a Kanban view. This helps you focus only on the stages you need to see and makes the ESG initiatives dashboard less crowded. To permanently delete a stage, click on the Delete button.
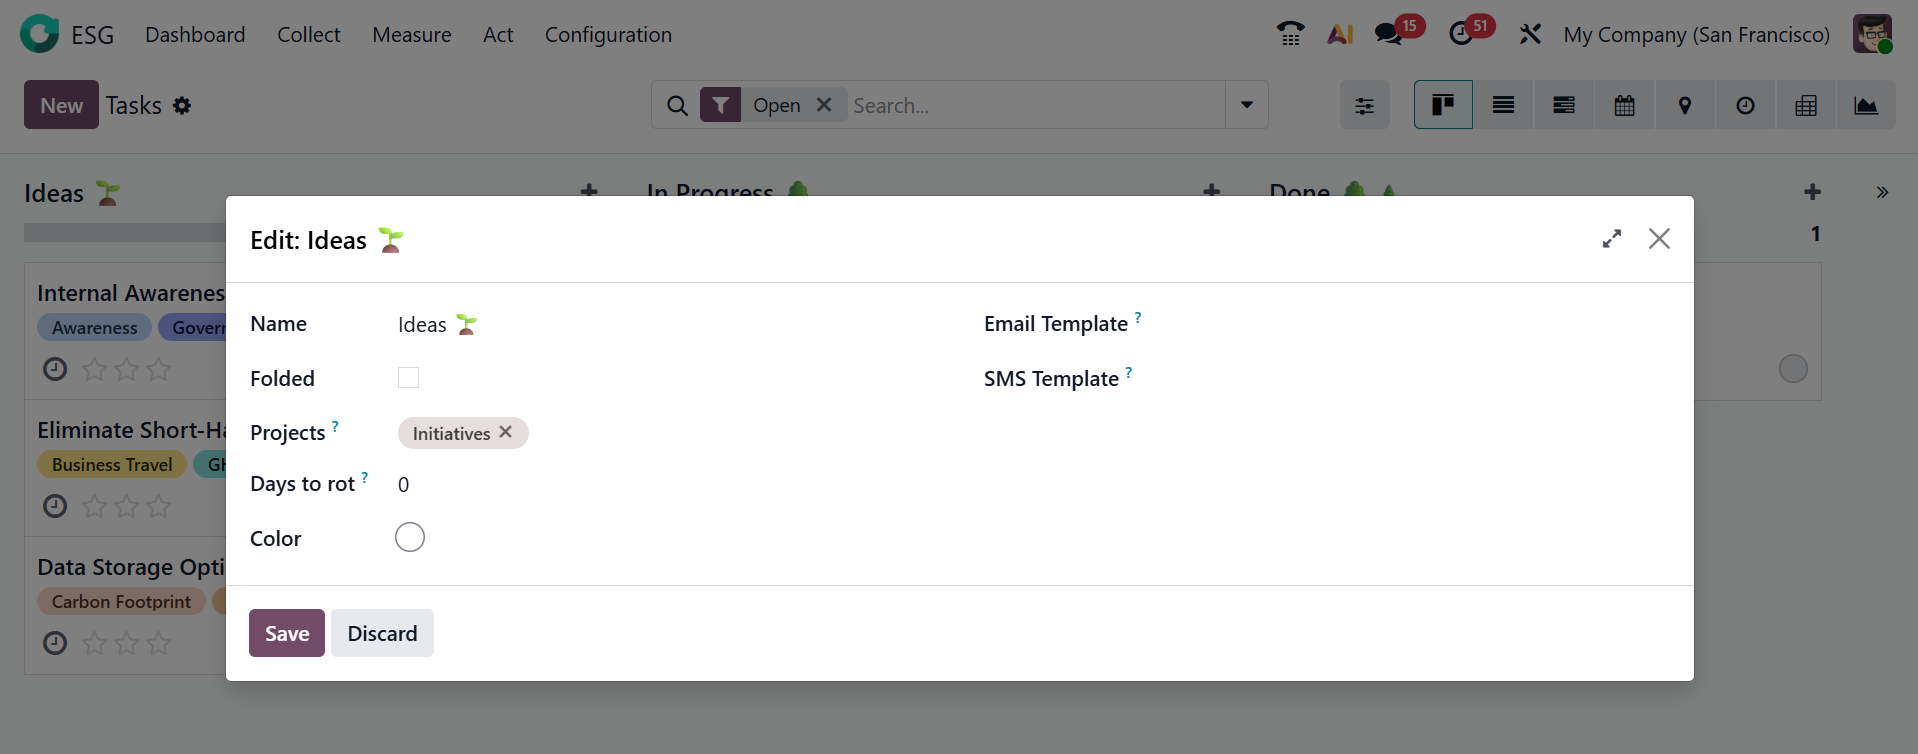
Select the Edit button to update the stage details. A pop-up window will open, allowing you to edit the stage name. To fold the stage, enable the Folded option. In the Projects field, you can view the project where the stage is located. In the Days to rot field, you can add the number of days the tasks in this stage have become stale. You can also add a Color to your stage. In the Email Template field, Odoo will automatically send the email to the customer when the task reaches the stage. In the SMS Template field, Odoo will automatically send the SMS Text Message to the customer when the task reaches the stage. Then, click the Save button to apply and save your changes.
Click on the Automations button to perform tasks that run automatically without manual work.
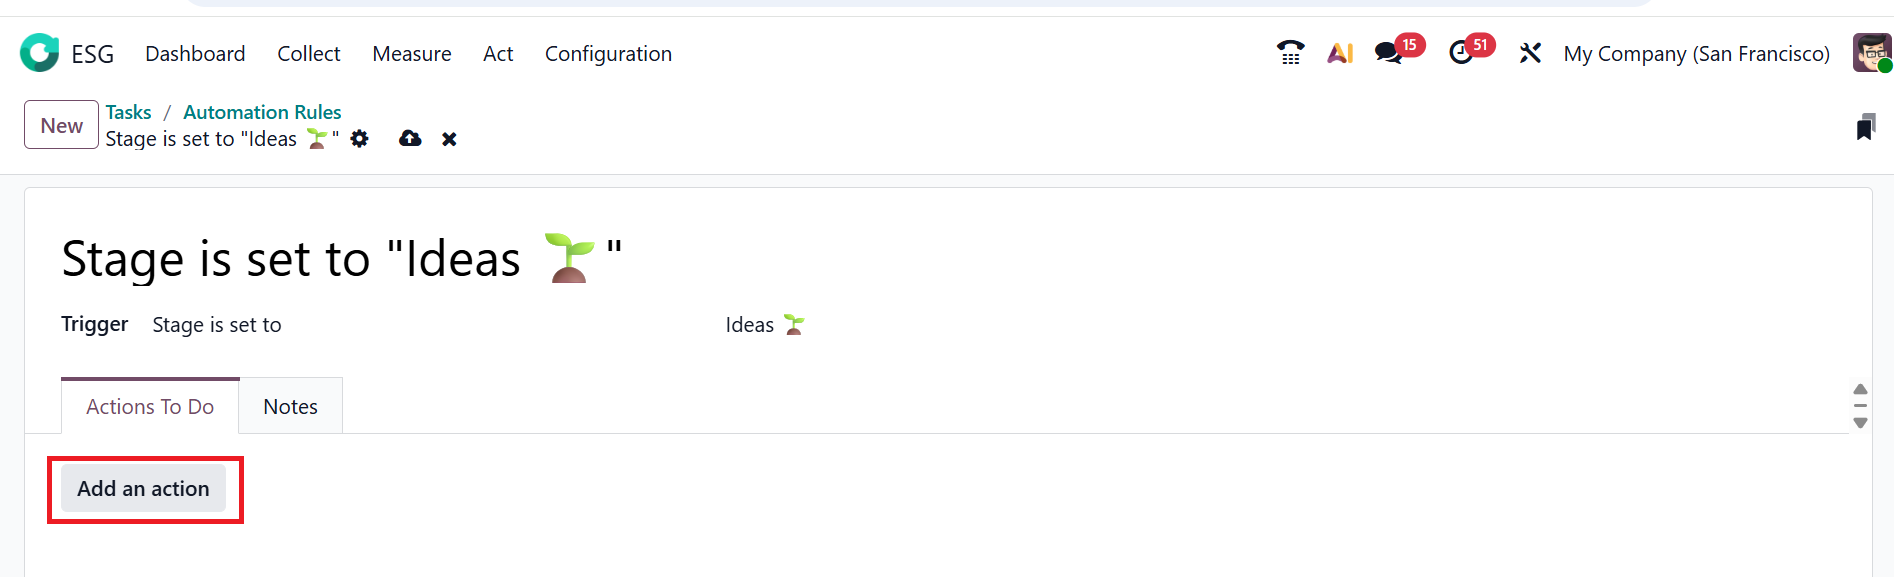
To set up a new automation rule, click the New button.
Set an explicit name for the automation rule. Here, the automation rule will activate in the Ideas stage. In the Trigger field, select a condition that activates the automation. Then, select a stage that will activate the automation rule. Under the Notes tab, add details about the automation rule for reference. In the Action To Do tab, click Add an Action.
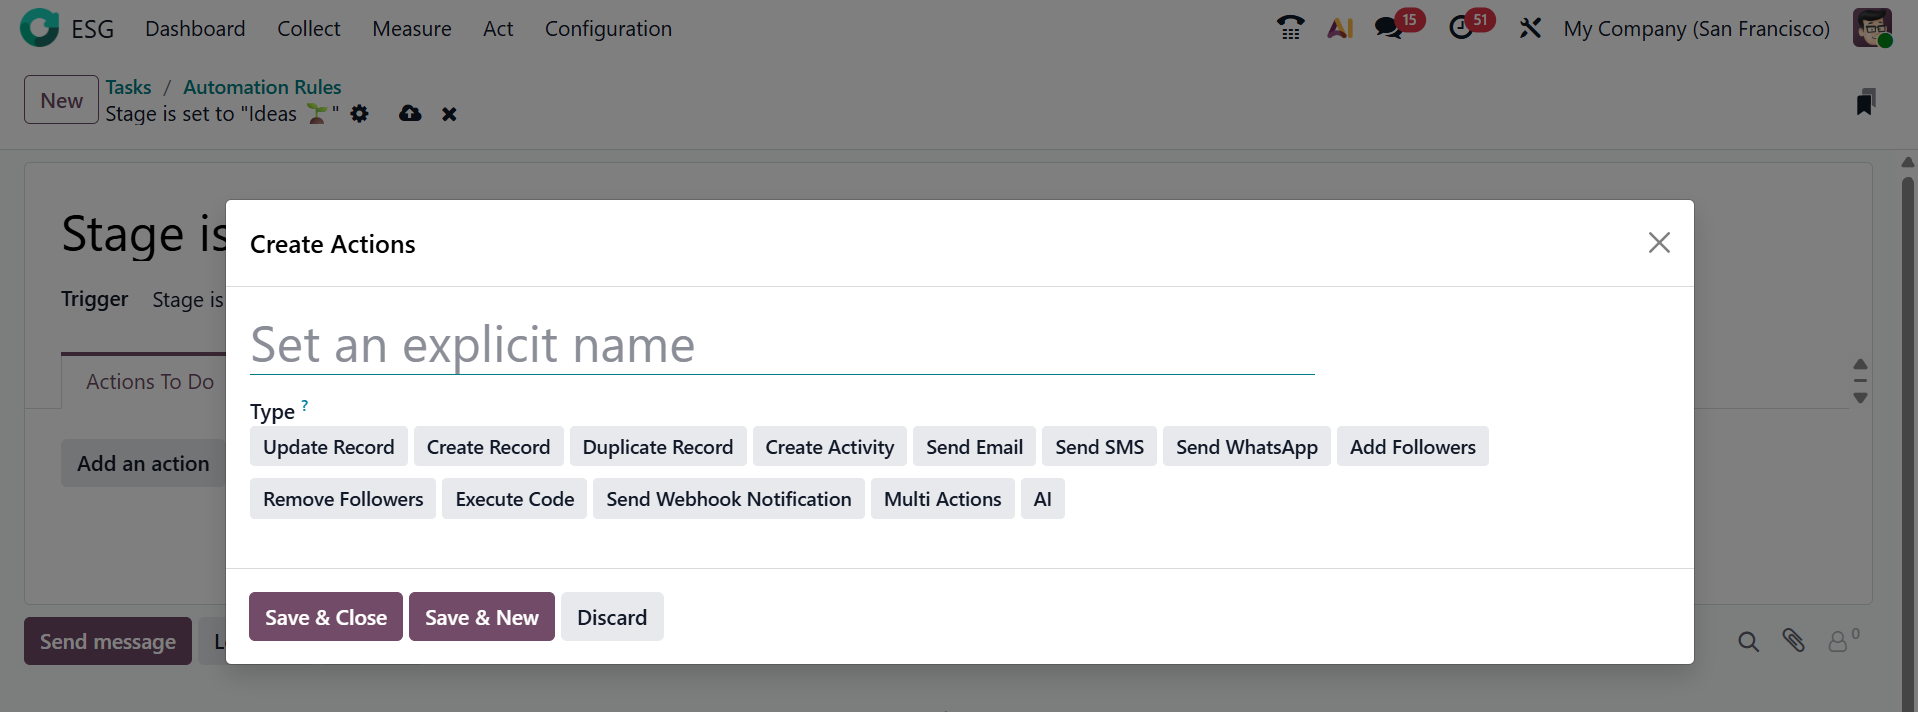
A pop-up window will open where you can name the action and select a server action from the Type field. Afterward, click Save & Close, Save & New, or Discard.
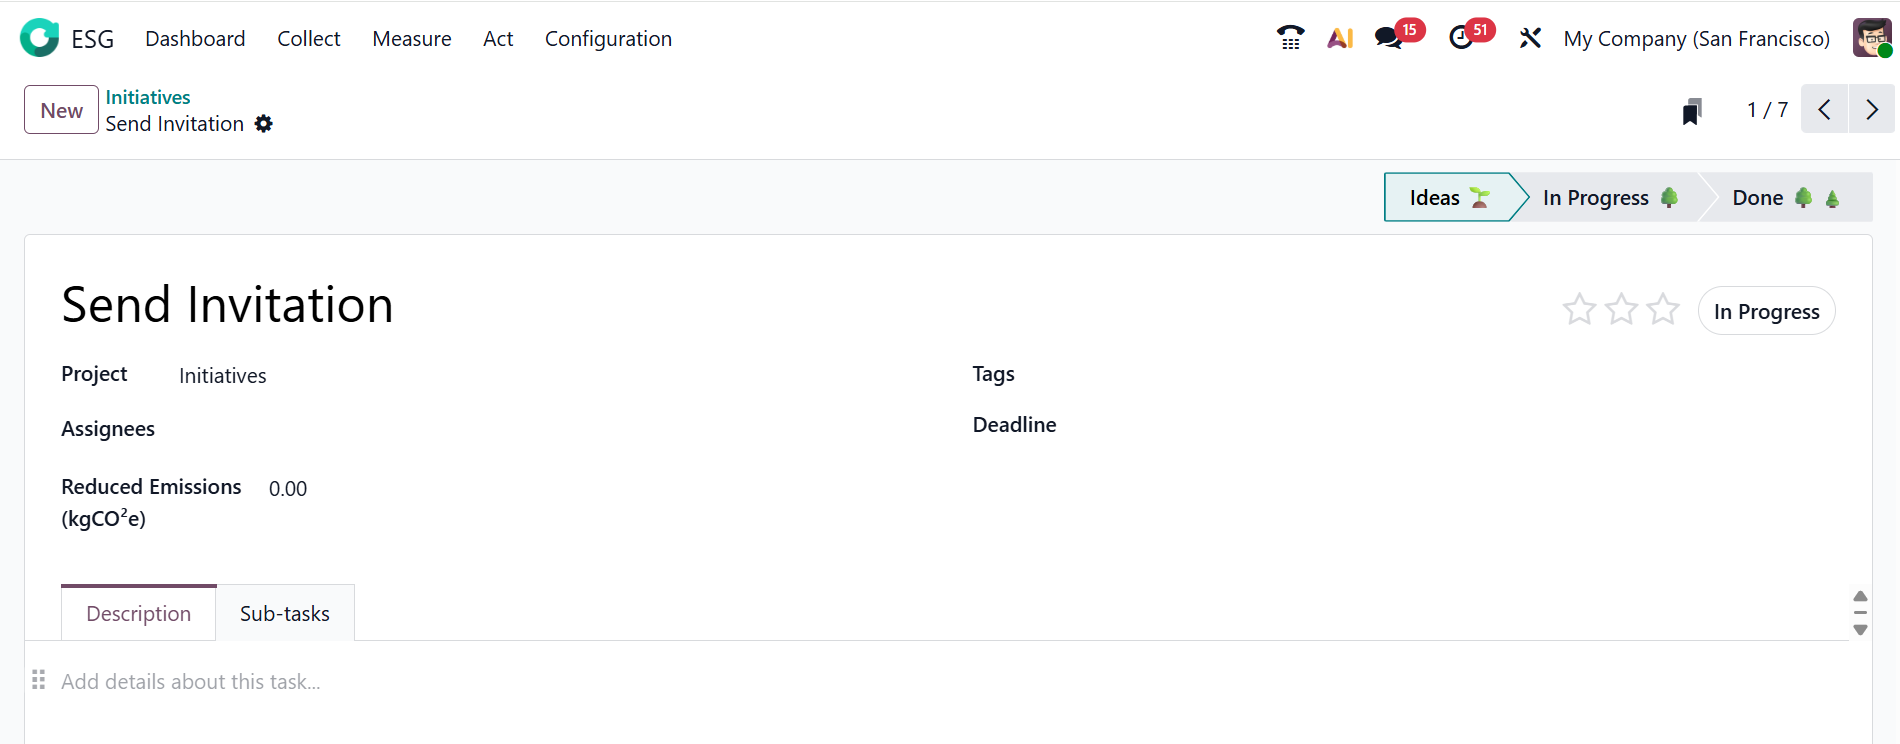
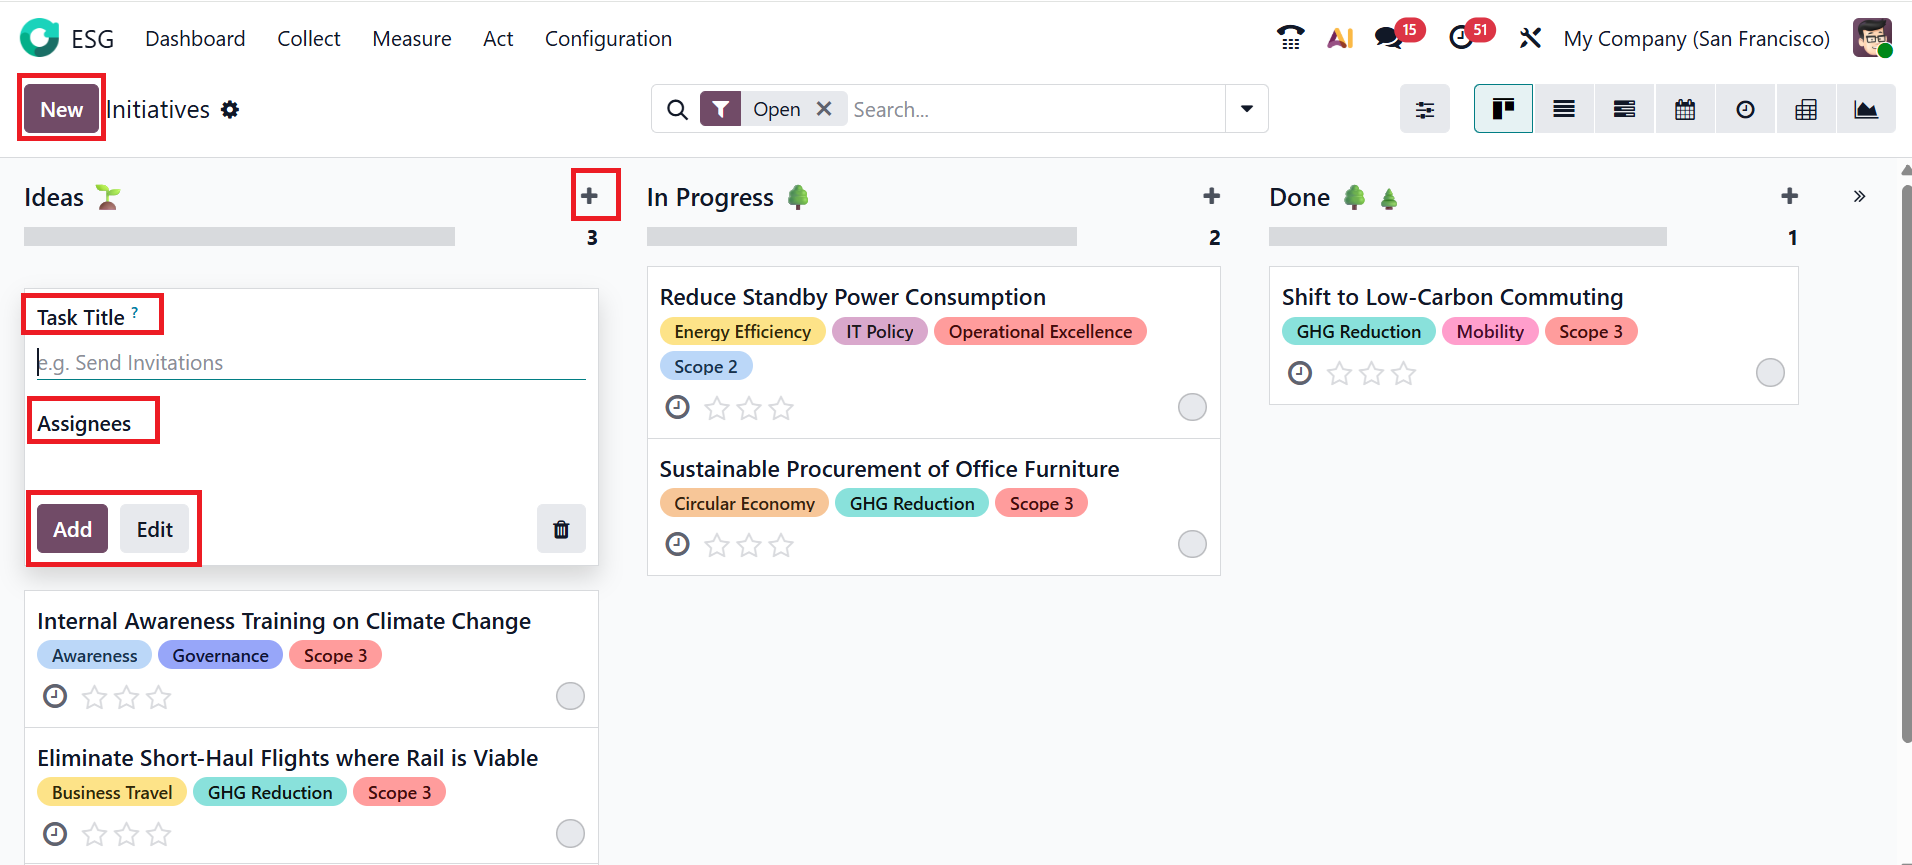
To create a new task, click the + button or the New button. Under the Task Title field, add a title to set the new task. Add a responsible person for your task under the Assignee field. Select the Add button to assign the task to the stage. To edit the task, click on the Edit button as shown below:
Here, you can edit the newly created task, which was already mentioned in the above sections.