Configuration
Odoo 19's Field Service module offers several configuration options to better task administration, billing, and documentation. As you can see from the screenshot below, the "Settings" icon offers some fundamental field service setting options.
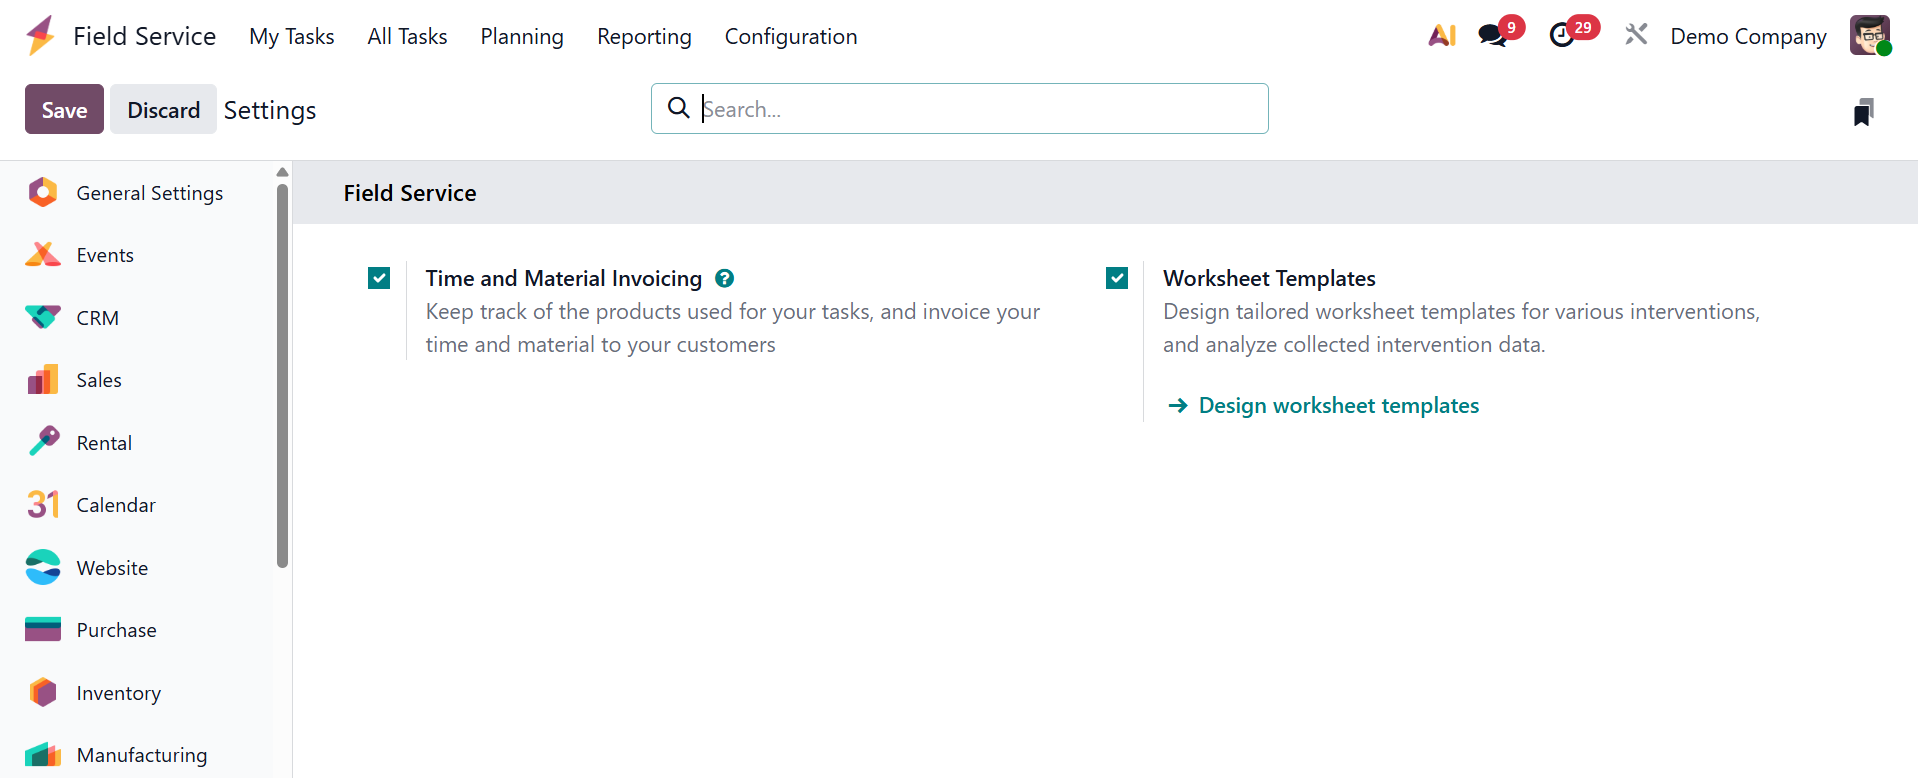
The "Time and Material Invoicing" feature, which enables precise tracking of supplies and materials used during service operations and automatic billing based on actual time spent and resources consumed, is one of the settings window's important features. Businesses that provide services and charge by the hour or by the item used may find this very helpful.
Custom worksheet templates can be created and managed for various field service tasks using the "Worksheet Template" option, guaranteeing quality and consistency. In managing field service operations, these settings offer more professionalism, flexibility, and control.
4.1 Project
Every field service can be linked to a specific project. The "Configuration" menu allows you to create and manage projects. Details on previously completed projects, including name, worksheet template, company, start and end dates, allotted hours, project manager, and stage, are shown.

As shown in the screenshot below, the "New" button enables the development of new projects by specifying the Task Name, Customer, Company, Tags, Planned Dates, Allocated Time, and the Project Manager.

Any overview of the project's goal can be given using the "Description" tab. As shown in the screenshot below, the "Settings" tab allows for the configuration of analytic accounts, task visibility, milestone tracking, timesheets, planning, invoicing, and document sharing.

The project can then be viewed by invited internal users, all internal users, or both portal users and all internal users by selecting the "Visibility" option.
The Visibility setting decides who can see the project and its tasks. There are three options:
- Invited Internal Users: Only certain internal users who have been specifically invited are able to view the project.
- Invited Internal and Portal Users: Clients and other invited external (portal) users can see the project.
- All Internal Users: Whether invited or not, every internal user in the organization can see the project.
- All Internal Users and Invited Portal Users: Selected invited portal users and all internal users can view the project.
The Documents Folder option enables you to link a project to a particular folder in the Odoo 19 Documents application when the "Documents" feature is enabled in the project's settings.
The Settings tab's "Default Service options" is probably a generic header or section that includes a number of toggles and fields to specify the default features and behavior for tasks generated under that particular field service project. It can be selected from the drop down menu.
Under the"TASKS MANAGEMENT" section, you have the options, like:
- Recurring Tasks: For recurring service requirements, automatically create field service tasks on a predetermined frequency.
- Task Dependencies: Assure correct workflow order by linking tasks so that one must be finished before another may begin.
- Milestones: Important checkpoints used to monitor significant deliverables and stages of progress in a field service project.
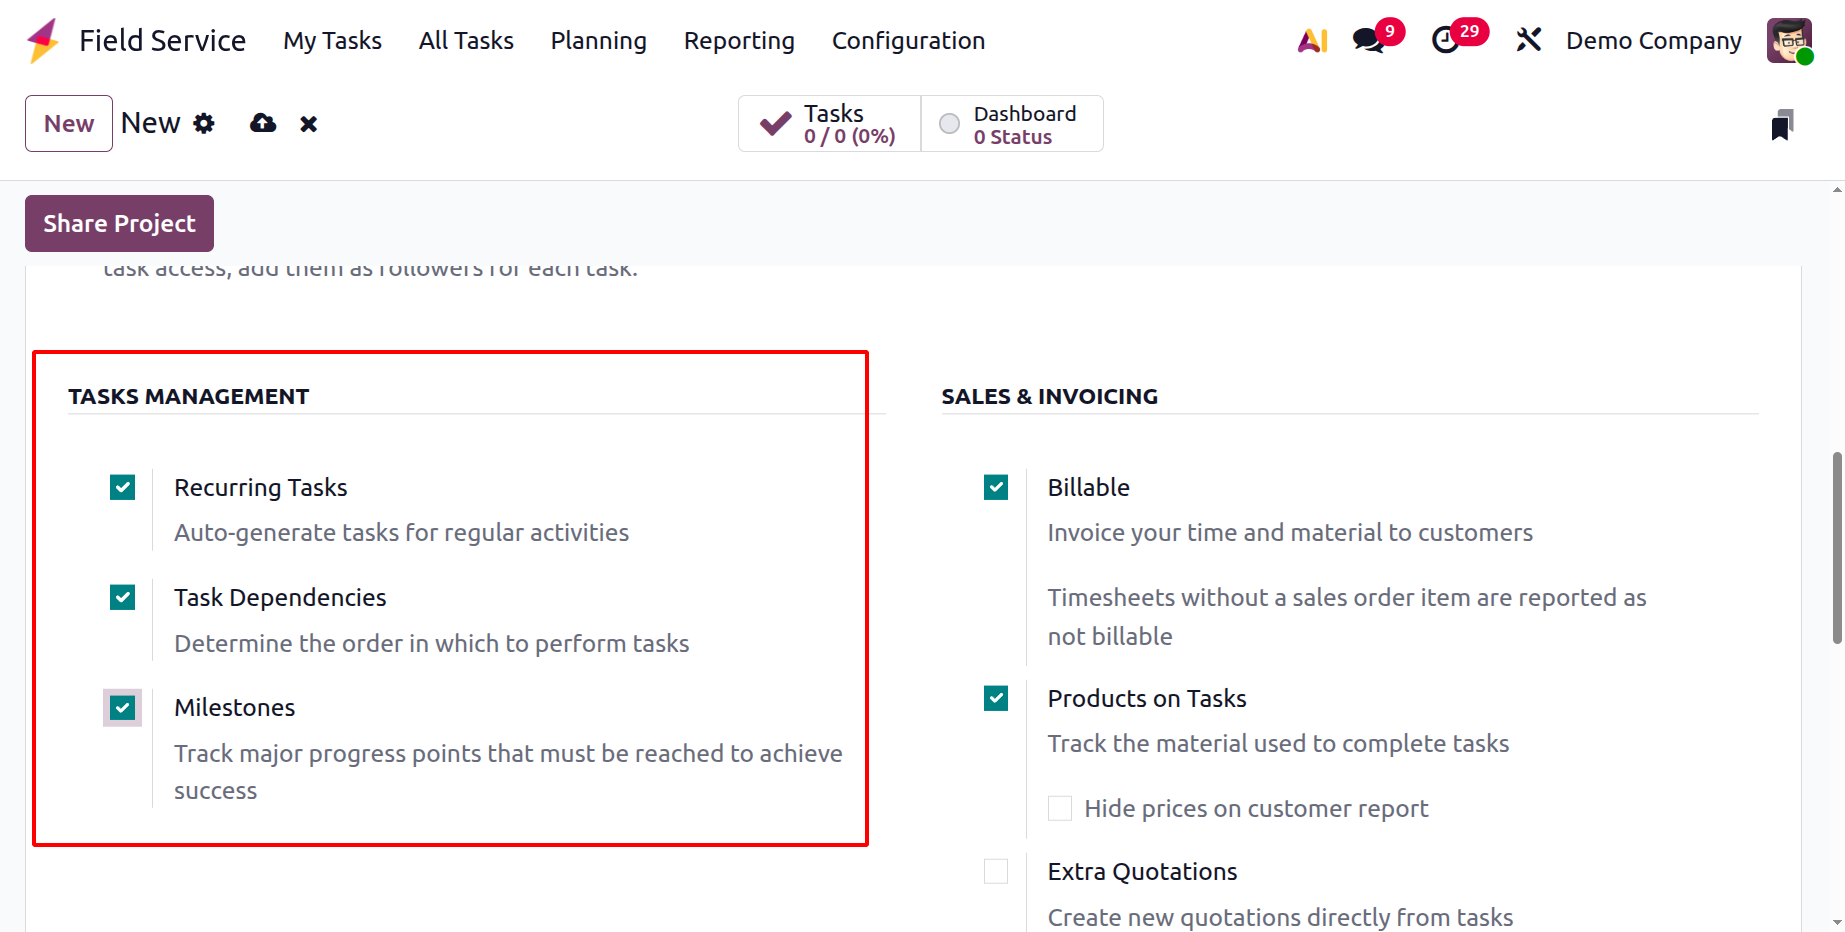
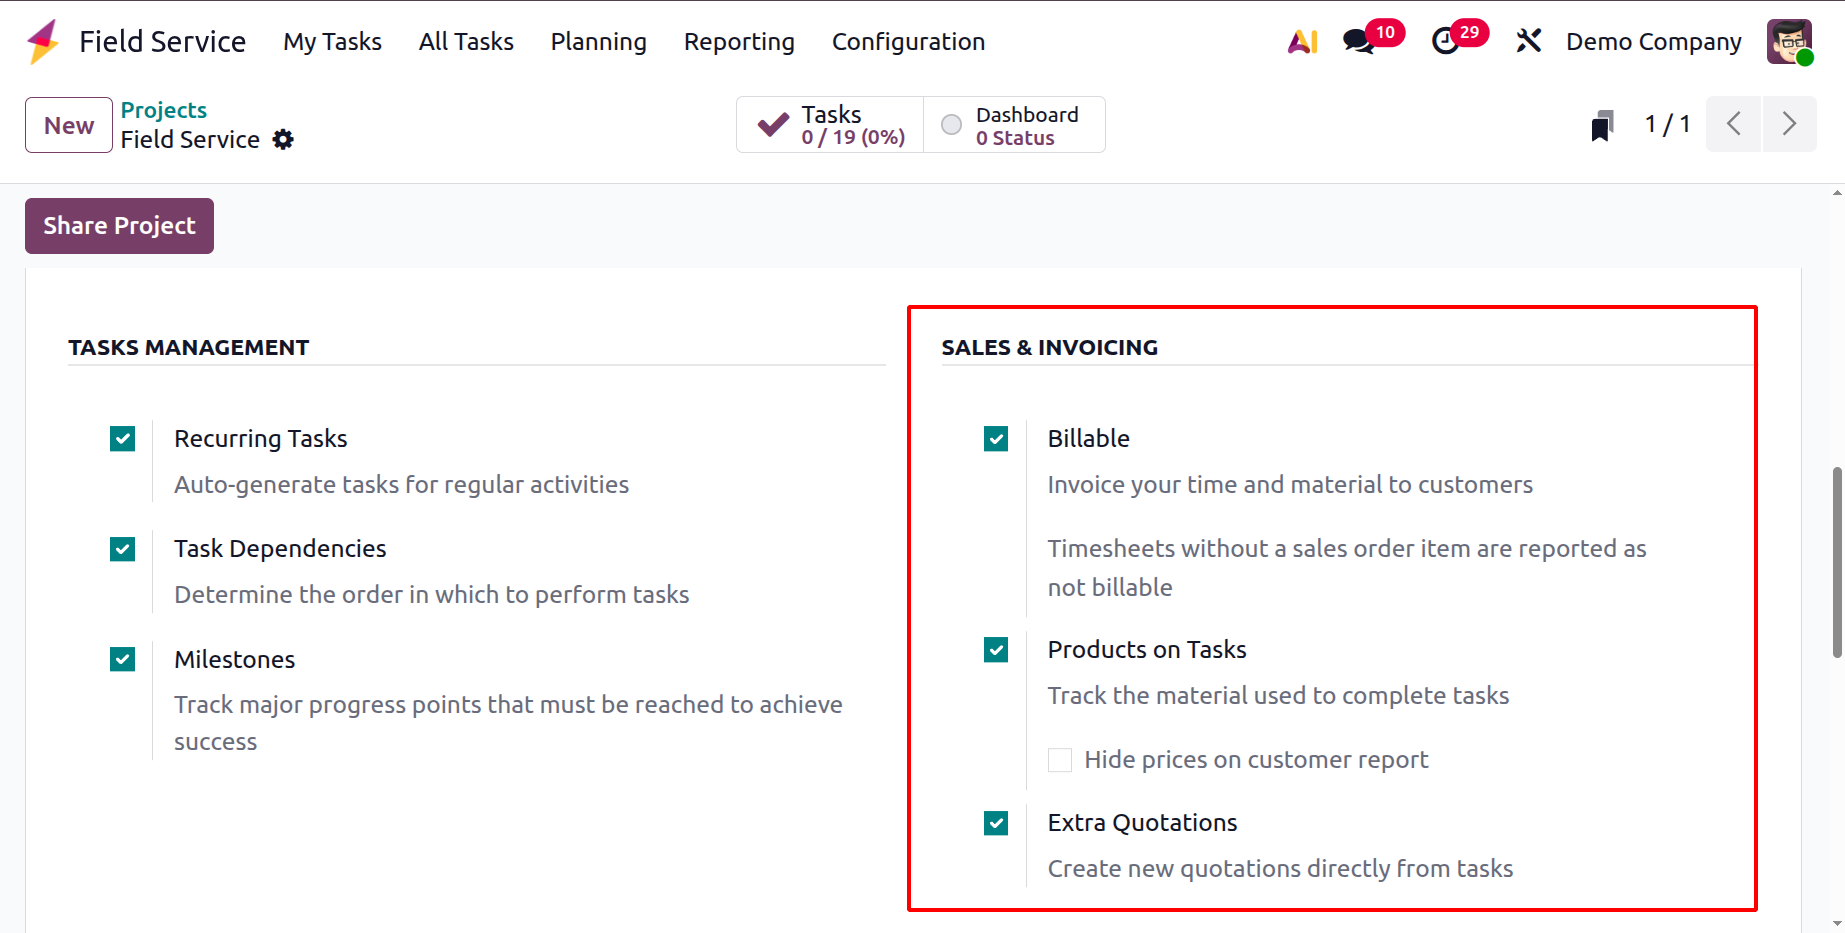
Turn on the "Billable" option to send an invoice for time and materials to the relevant customer. Materials used in activities can be tracked with the "Products on Tasks" option. When the "Hide prices on customer report" option in Odoo 19 Field Service is activated, the product and unit prices are not displayed in the field service report that the customer is shown or signs. If more products or services are required during the project, outside of the original order, you can build and send an additional sales quotation straight from a field service task using the Extra Quotation option in Odoo 19 Field Service (Project settings).
Under the TIME MANAGEMENT, you have the option of a timesheet. Technicians can record the amount of time spent on a field service task using a timesheet.
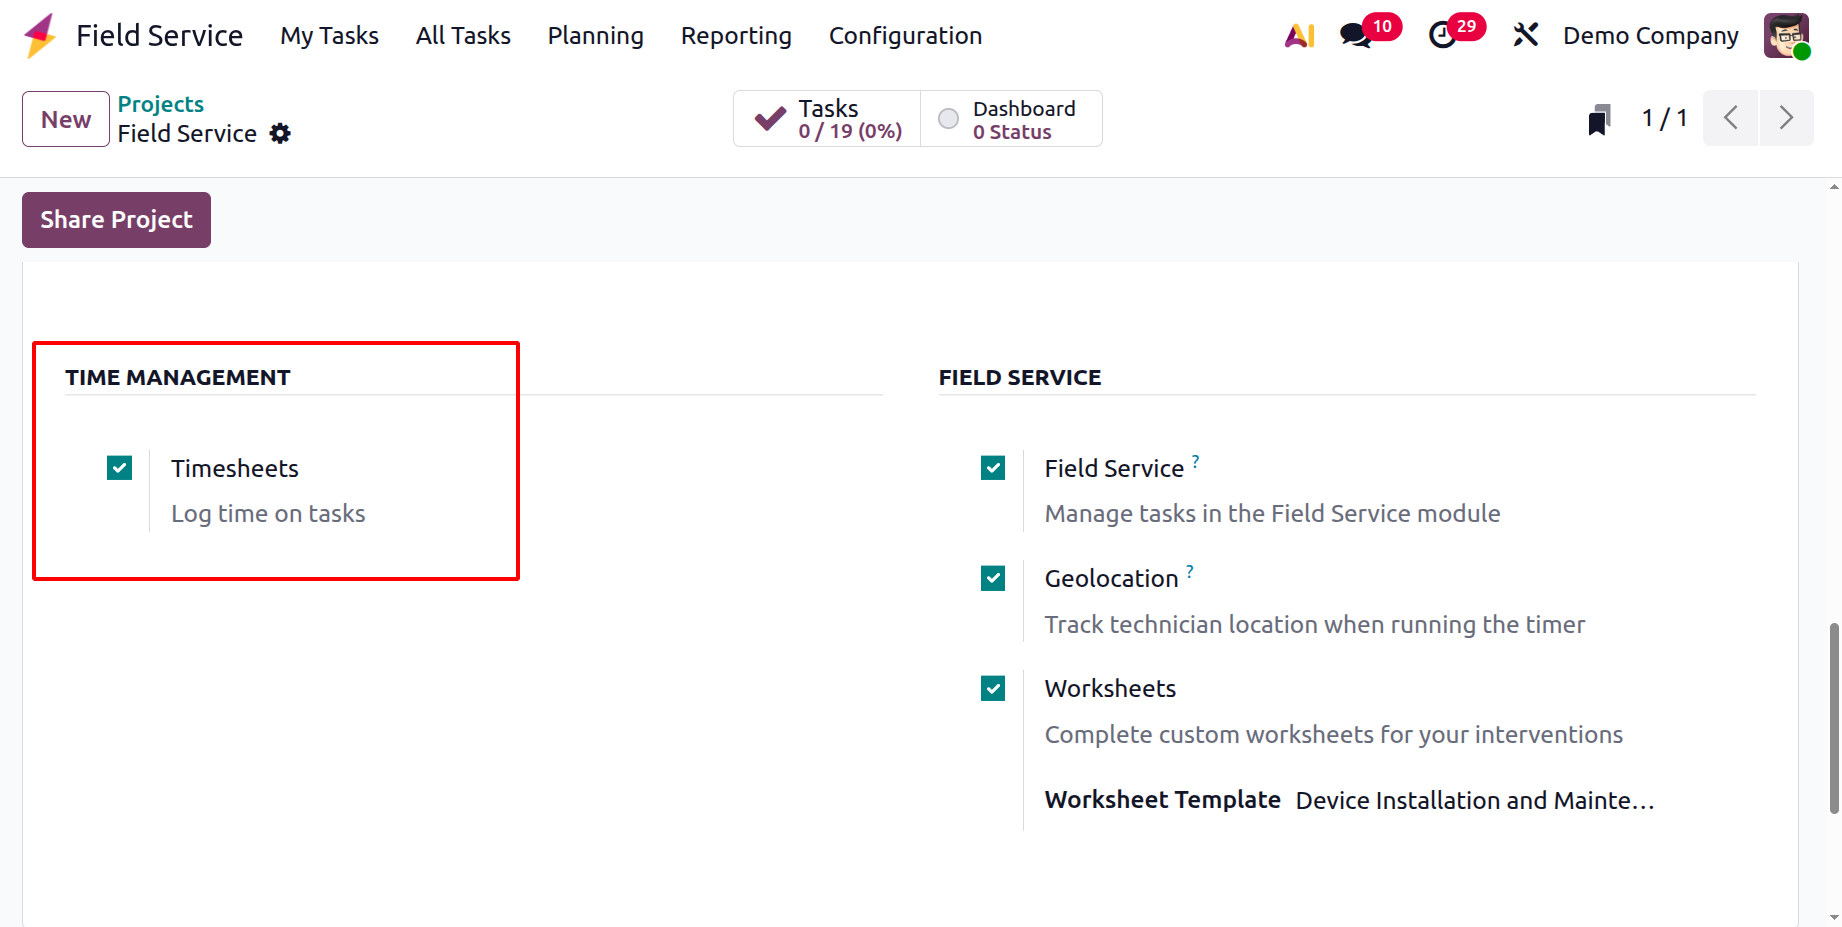
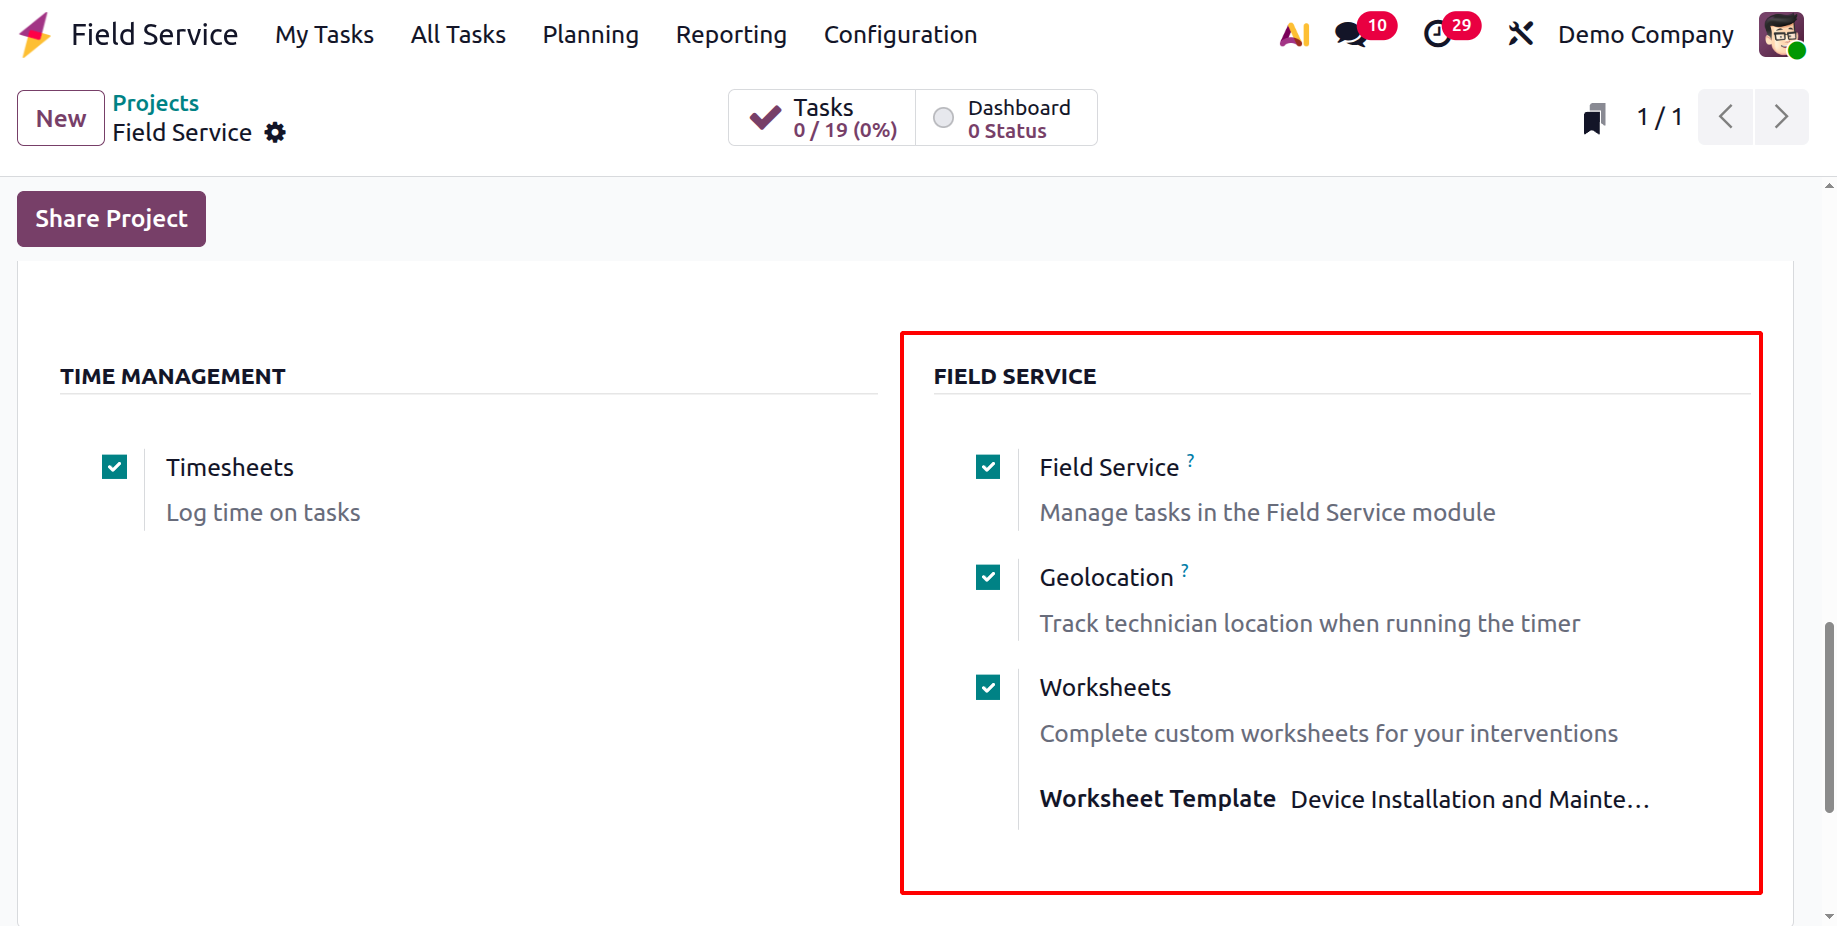
Under the FIELD SERVICE, you have the options, like:
- Field Service: Enables field service functions to oversee technicians and jobs on-site.
- Geolocation: Records the technician's location at the beginning or end of a field assignment.
- Worksheet: Gives technicians a digital form to enter customer signatures and job details.
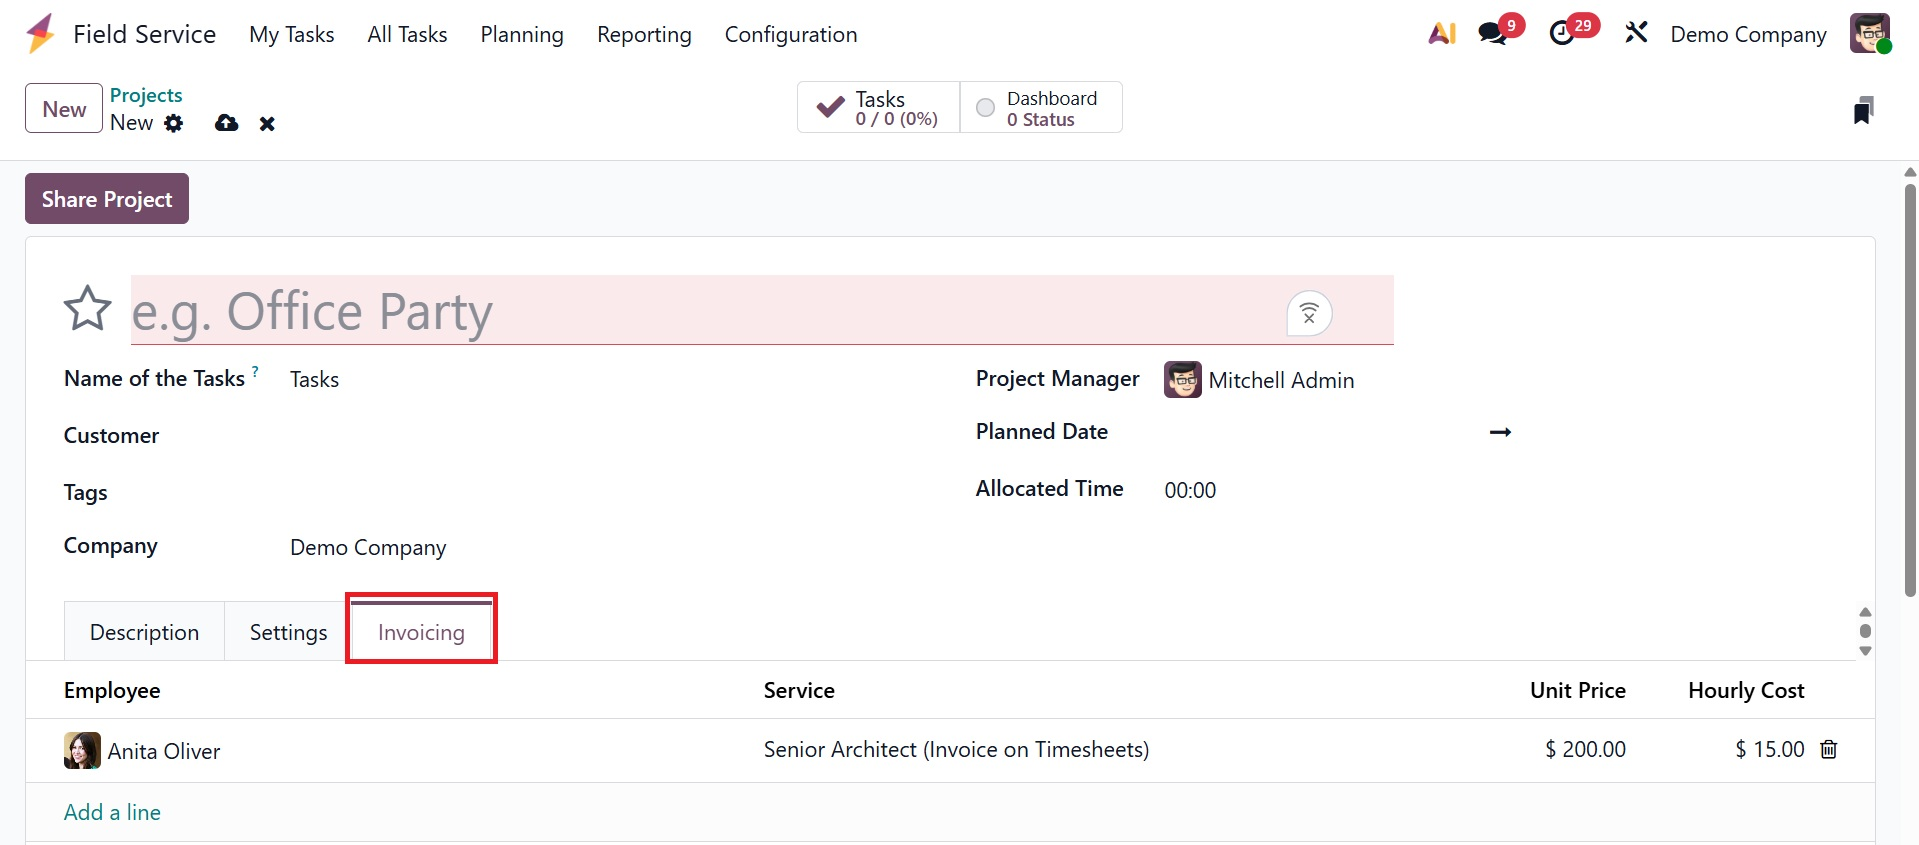
The Default Service, which is utilized by default for charging time spent on a task, can be configured for the invoicing process using the "Invoicing" page. As shown in the screenshot below, this service may be customized for each task by choosing a particular sales order item and adding Employee, Service, Unit Price, and Hourly Cost.
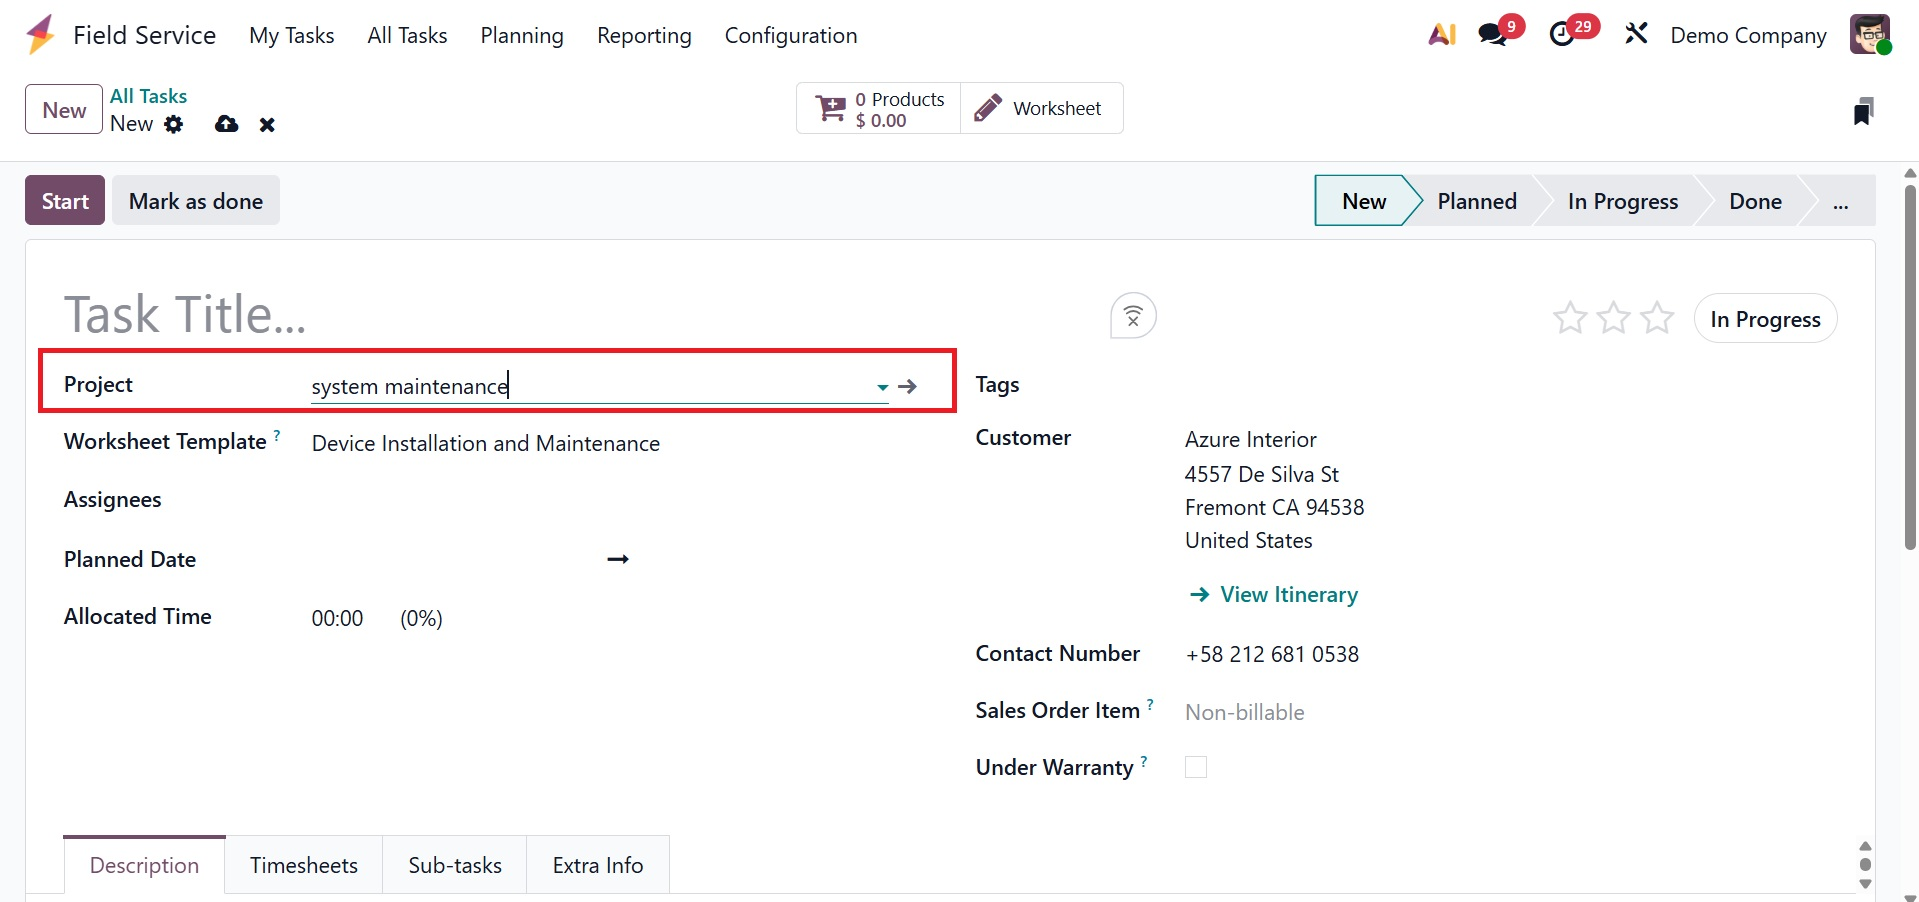
You can use this specific project for your subsequent field service assignment once the data has been saved, as shown below.
When the project is finished, you may use the "Share Project" button to share it with other colleagues or collaborators.
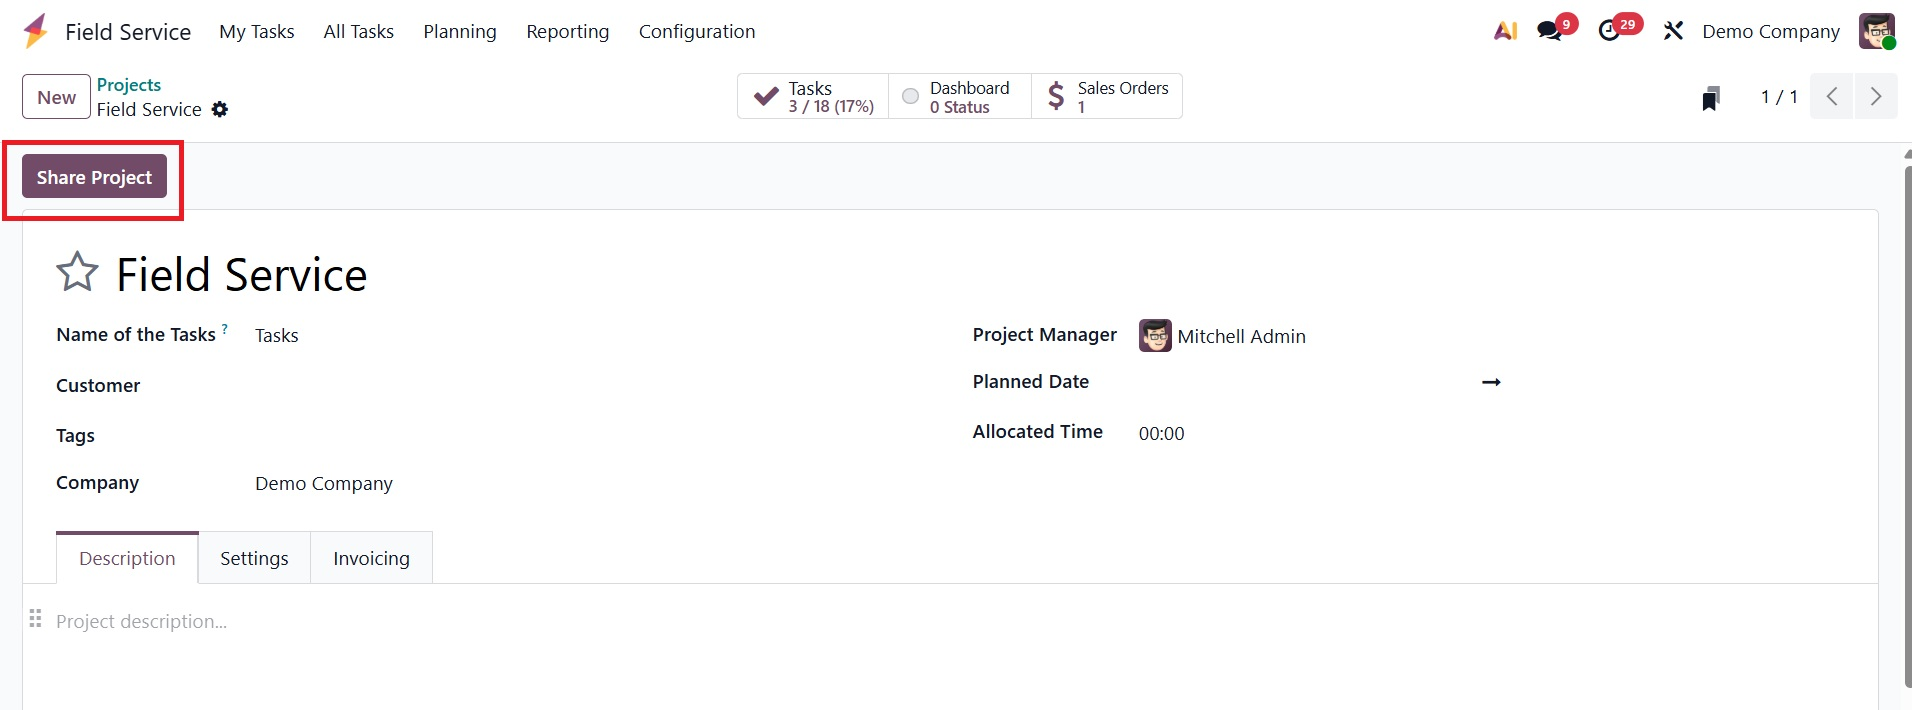
On selecting the option, you will get the pop-up, as shown below.
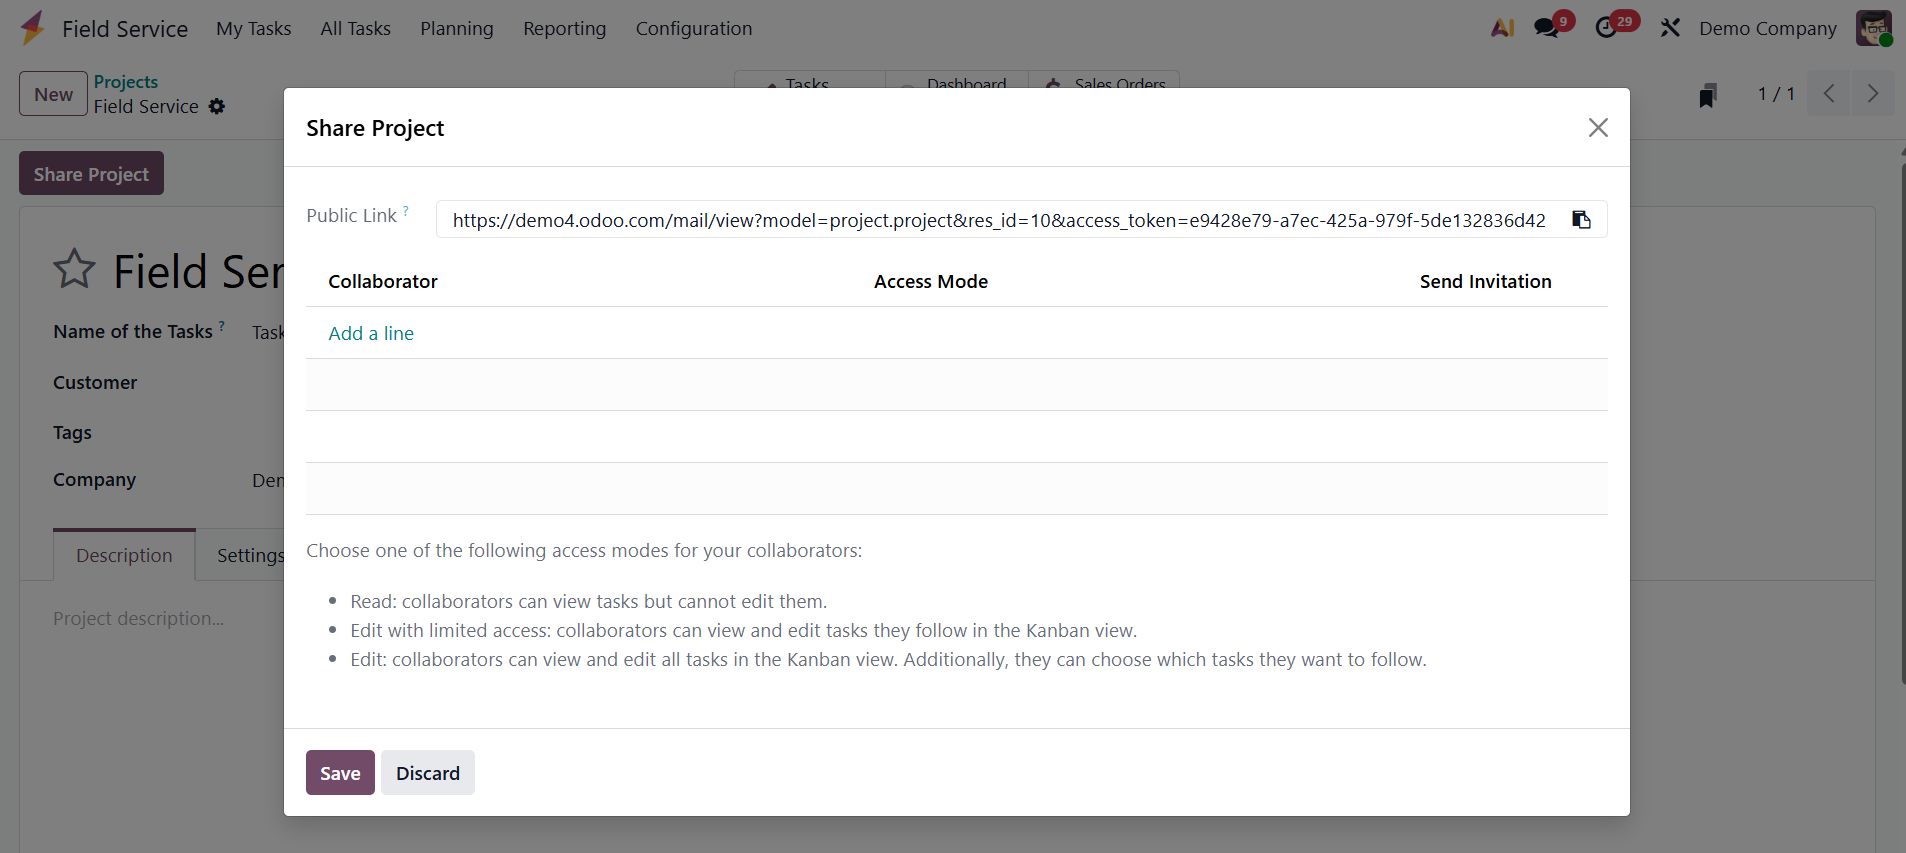
After this is configured, a "Share Project" button shows up, bringing up a pop-up window with the following choices:
- Public link: A direct connection that gives read-only access to the project to anyone who has it. High-level stakeholders or broad monitoring can benefit from this.
- Add Collaborators: This fea
ture lets you set an individual's access level and specifically invite others (internal or external) using their email addresses. Typically, the accessible modes consist of:
- Read: Although they are unable to make any changes, collaborators are able to view all tasks and project information.
- Edit with Limited Access: Only the particular tasks that they have been assigned as followers can be viewed and edited by collaborators.
- Edit: Every task in the project can be seen and edited by collaborators.
Here, you can view different smart tabs, such as task and dashboard.
A quick link to a comprehensive view or list of every task connected to that particular project can be found on the Tasks smart tab (button). On selecting the task smart tab, you have the page, as shown below.

A thorough summary and analysis of the project's progress and performance indicators may be found on the Dashboard smart tab (button). Here, you can view the status of the projects, which can be shared with the stakeholders.
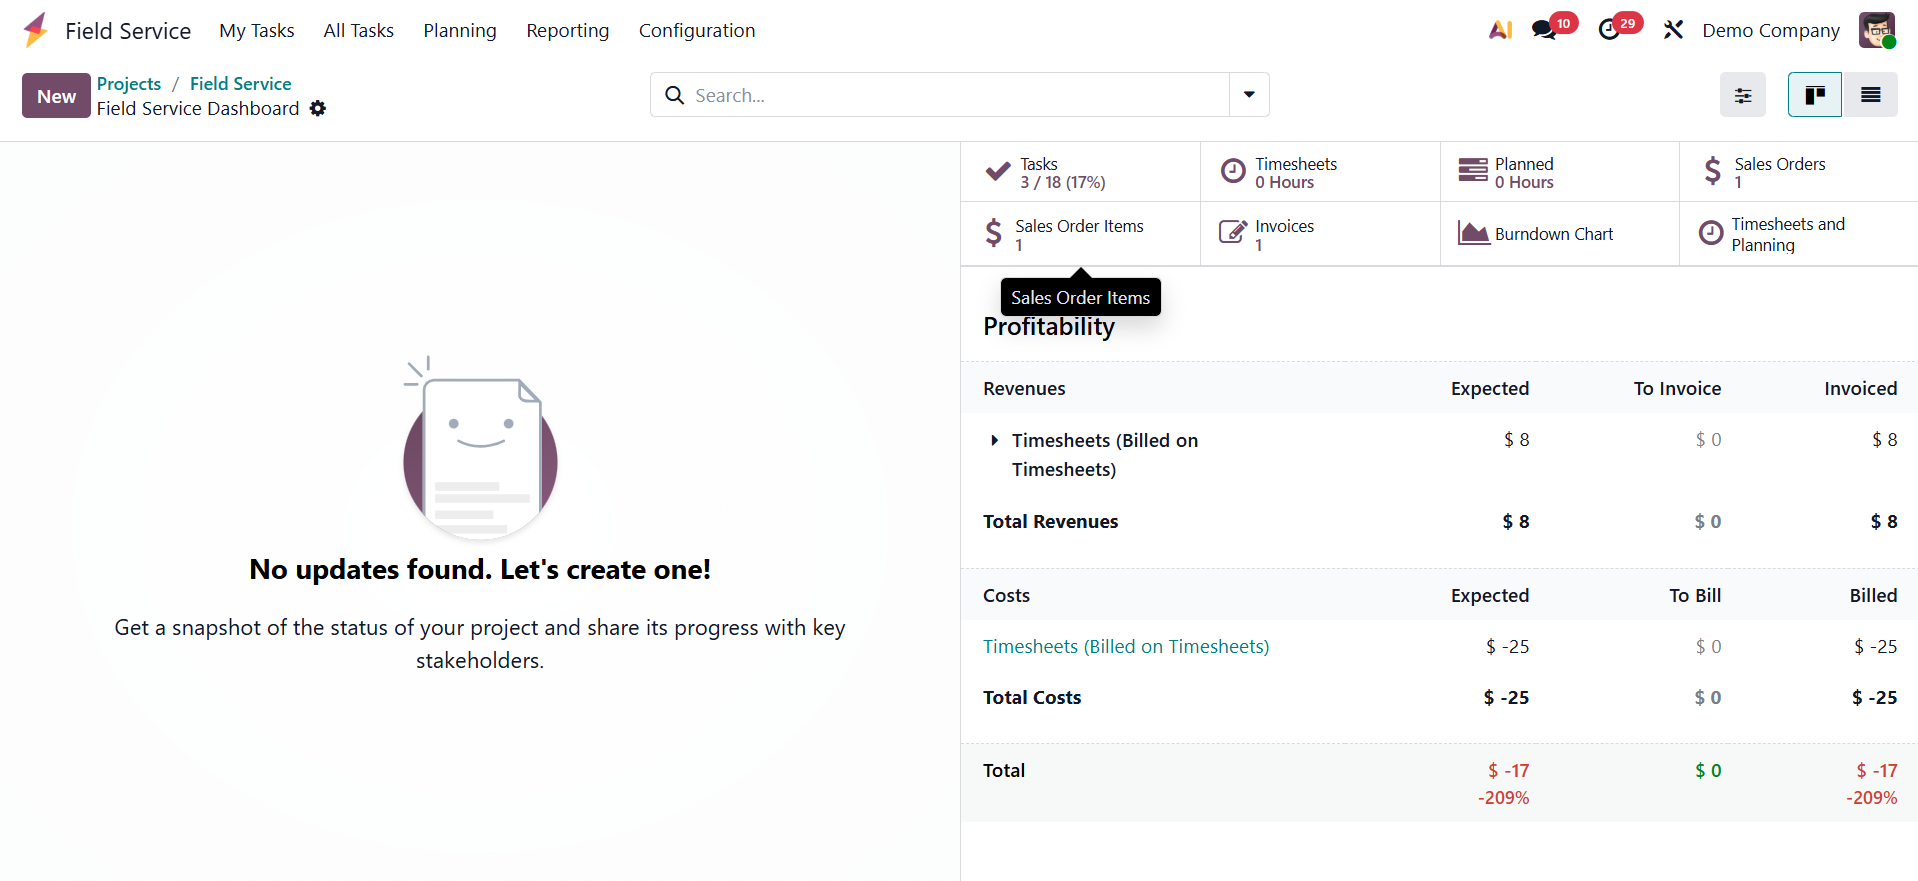
Here, you will get the details regarding the tasks, timesheets, planned, sales order, sale order items, invoices, burndown charts, timesheets and planning, respectively.
- Tasks:Shows the total number of field service tasks linked to the project.
- Timesheets: Displays the logged working hours recorded by technicians for the project.
- Planned: Shows the planned working hours or scheduled time allocated for the project.
- Sales Order / Sales Order Items: Opens the sales order and its related service or product lines connected to the project.
- Invoices: Displays invoices generated for the services or products linked to the project.
- Burndown Charts: Shows a progress chart comparing planned work vs. completed work over time.
- Timesheets and Planning: Gives a combined view of recorded timesheets and scheduled planning slots for the project.
Below that, you have the Profitability option to have a comparison between the revenue and cost as well.
On selecting the Settings icon, you will get the options like, timesheets, request signature, duplicate, archive, delete, and convert to template options, as shown below.
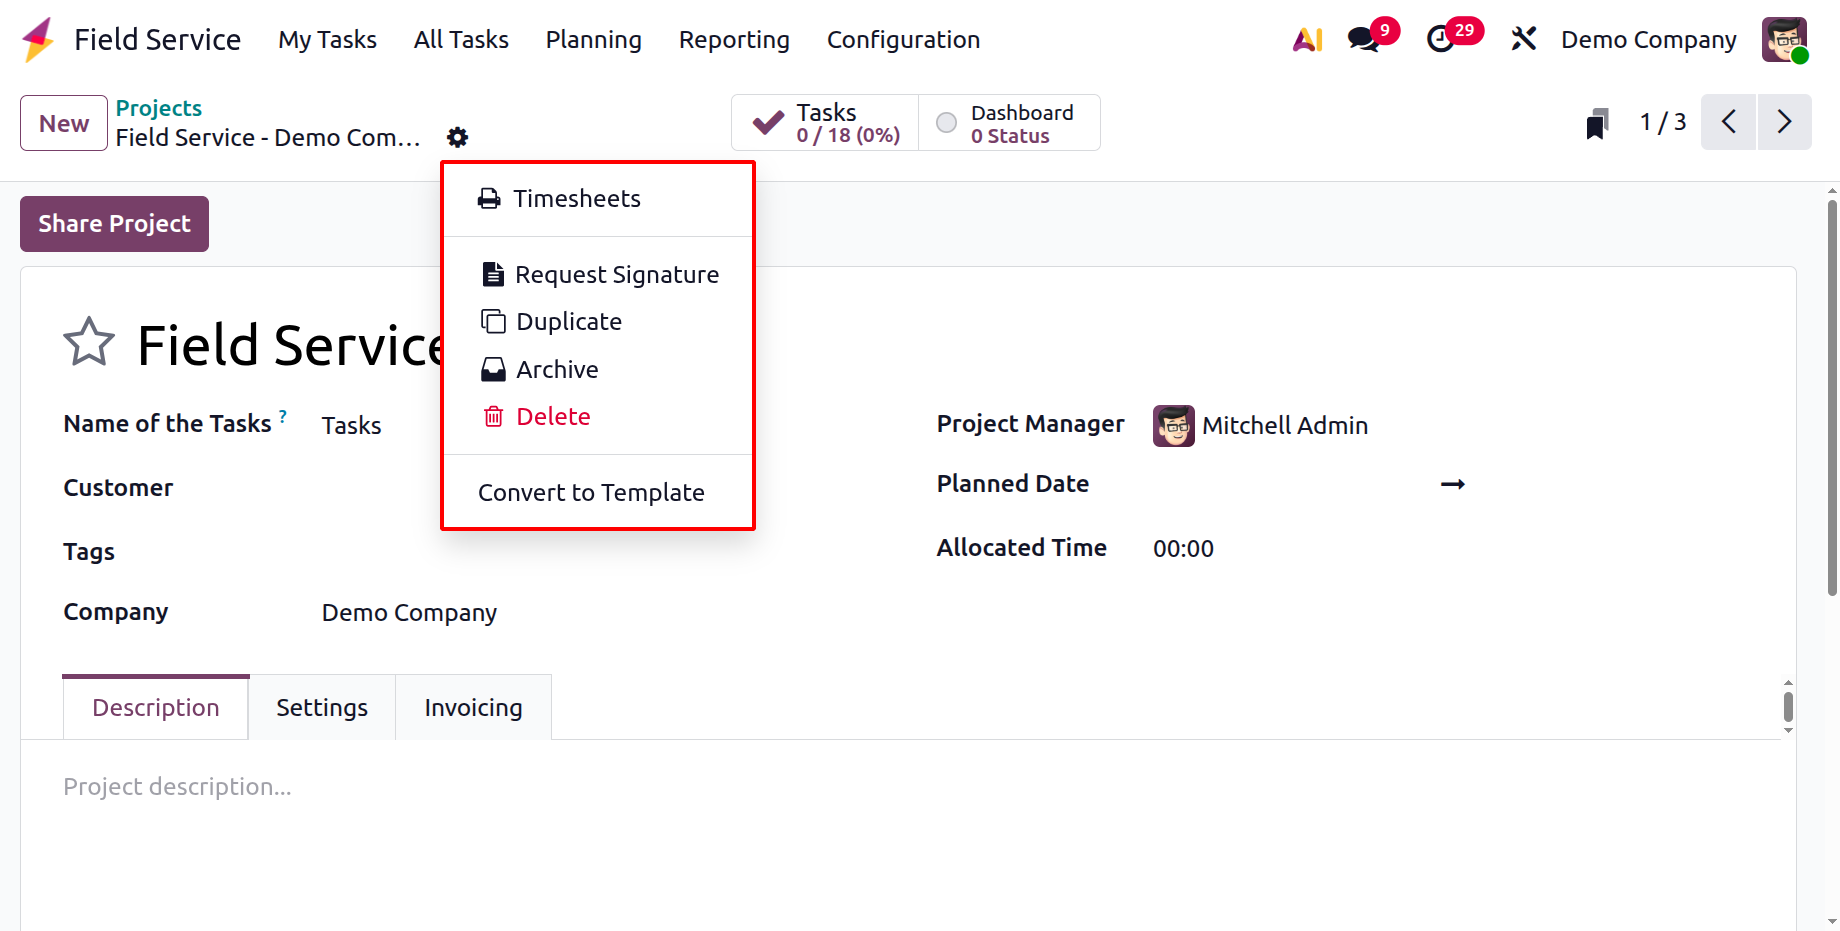
- Timesheets: Display and track the amount of time spent on project-related tasks.
- Request Signature: Sends a request for a digital signature to a user or client for approval.
- Duplicate: Makes a duplicate of the current project, including its structure and settings.
- Archive: Removes the project from active listings without erasing it.
- Delete: Removes the project and all of its data from Odoo permanently.
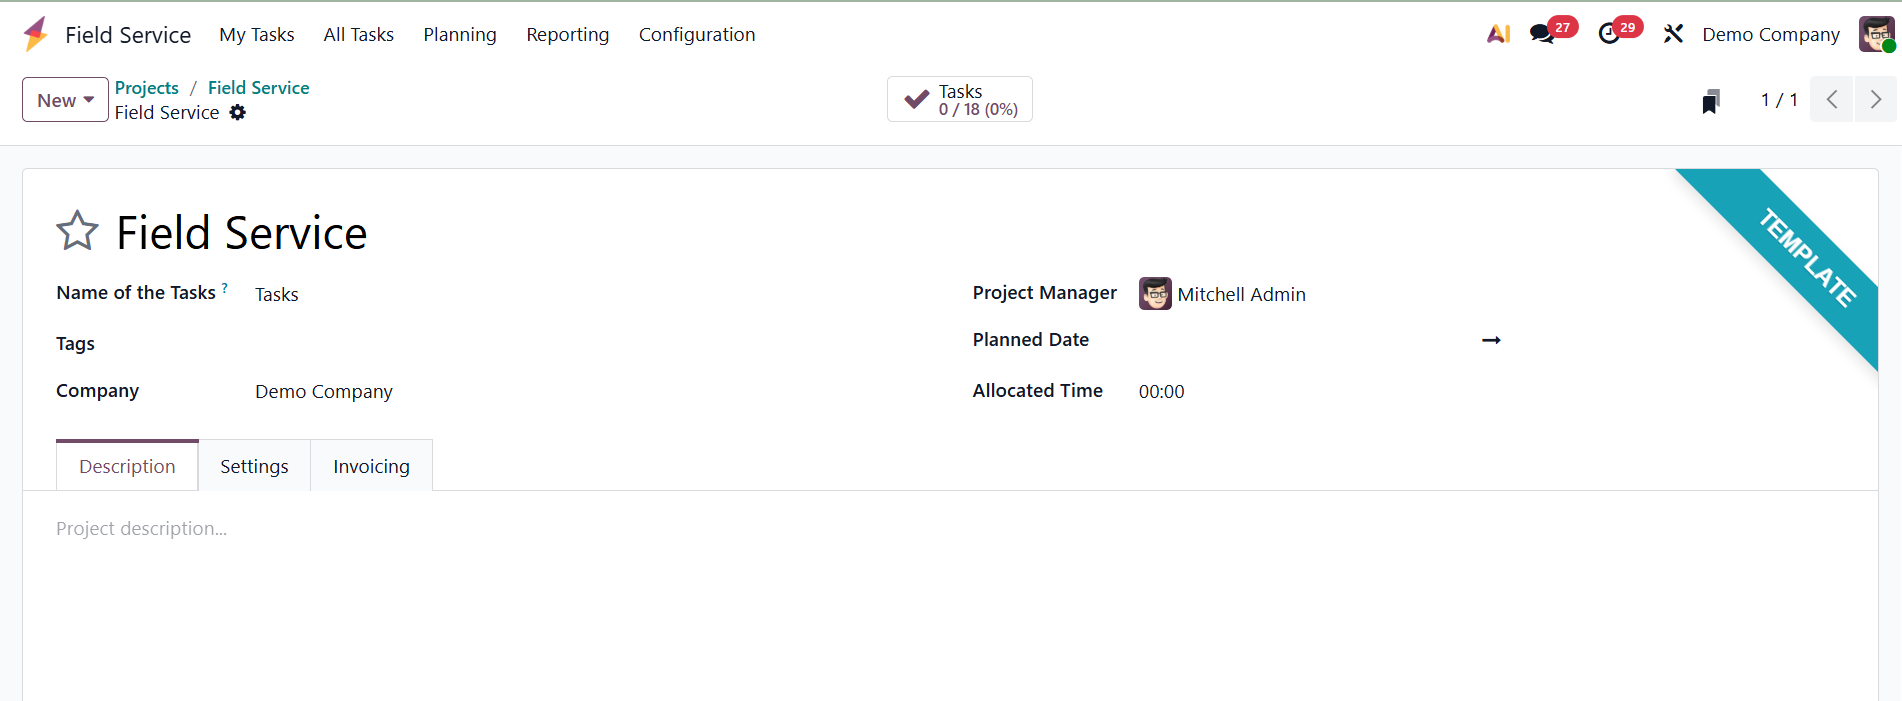
- Convert to Template: Makes the project into a template that can be used again for other projects. On selecting this option, you will get the page marked as a template.
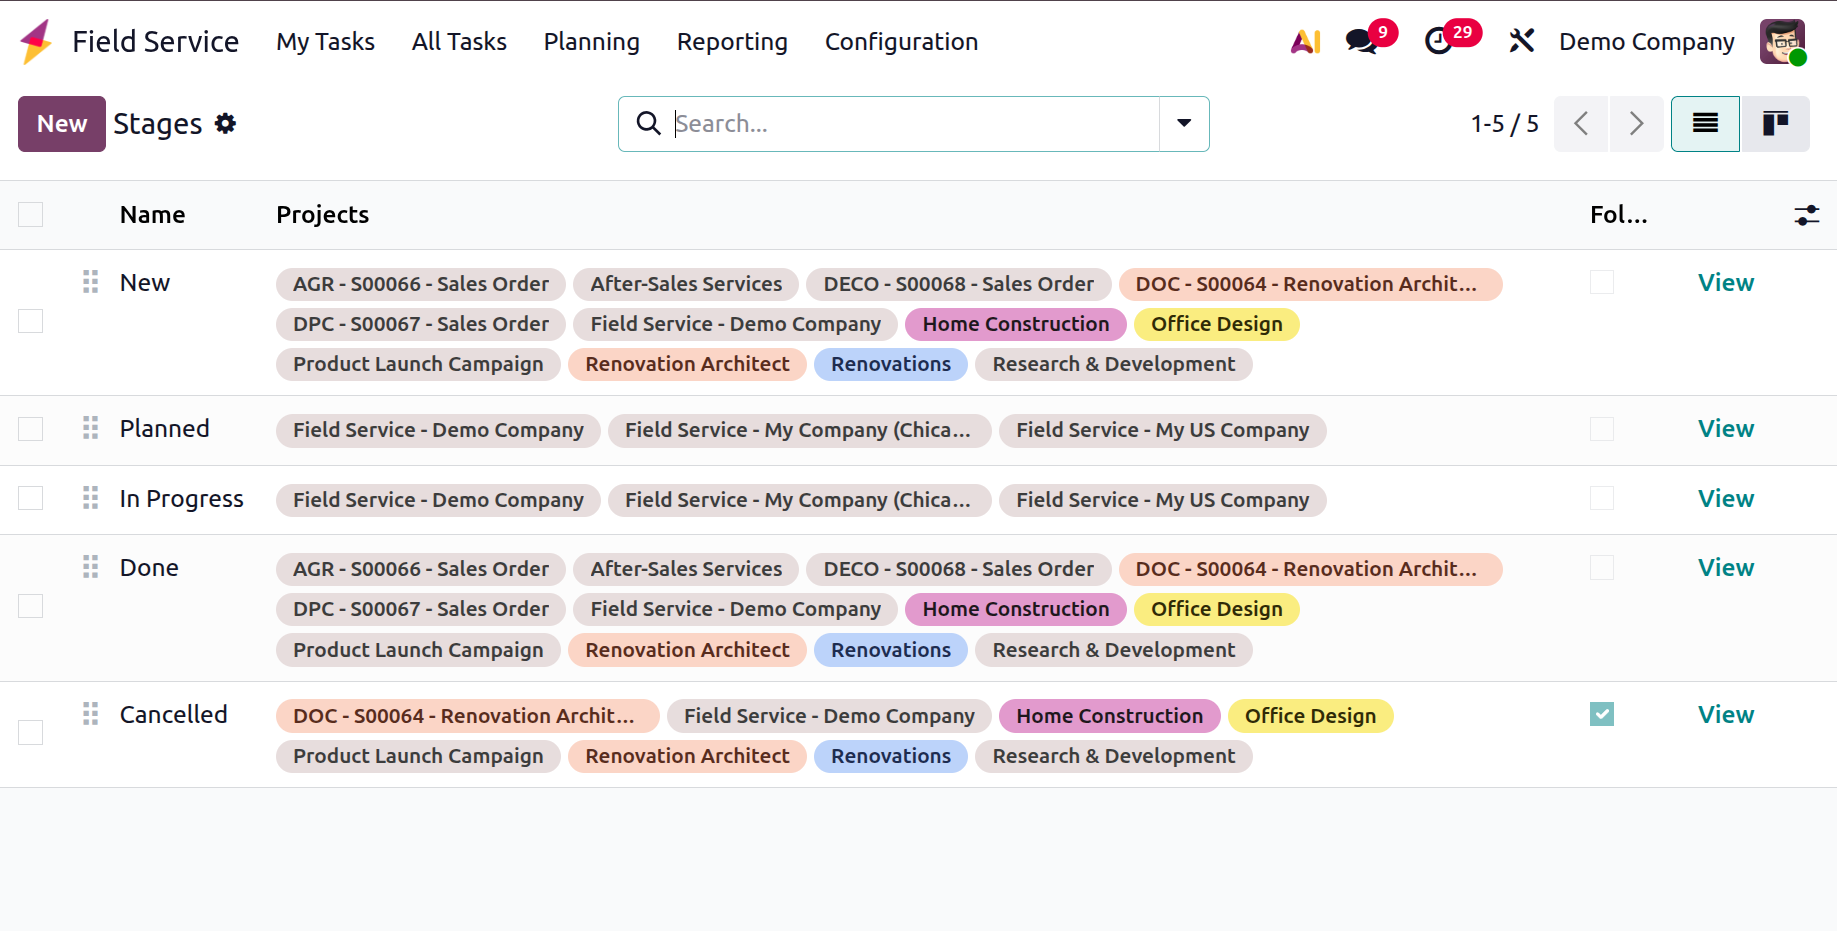
1.2 Stages
Users can control different "Stages" designed to methodically manage field service tasks under the "Configuration" menu. Customers' notification templates can be set up, and stages can be connected to certain projects. As seen in the screenshot below, you can simply create new task stages and modify the stage name and projects that comprise this specific stage by using the "New" button.
On clicking the View icon, you will get the creation window, as shown below.
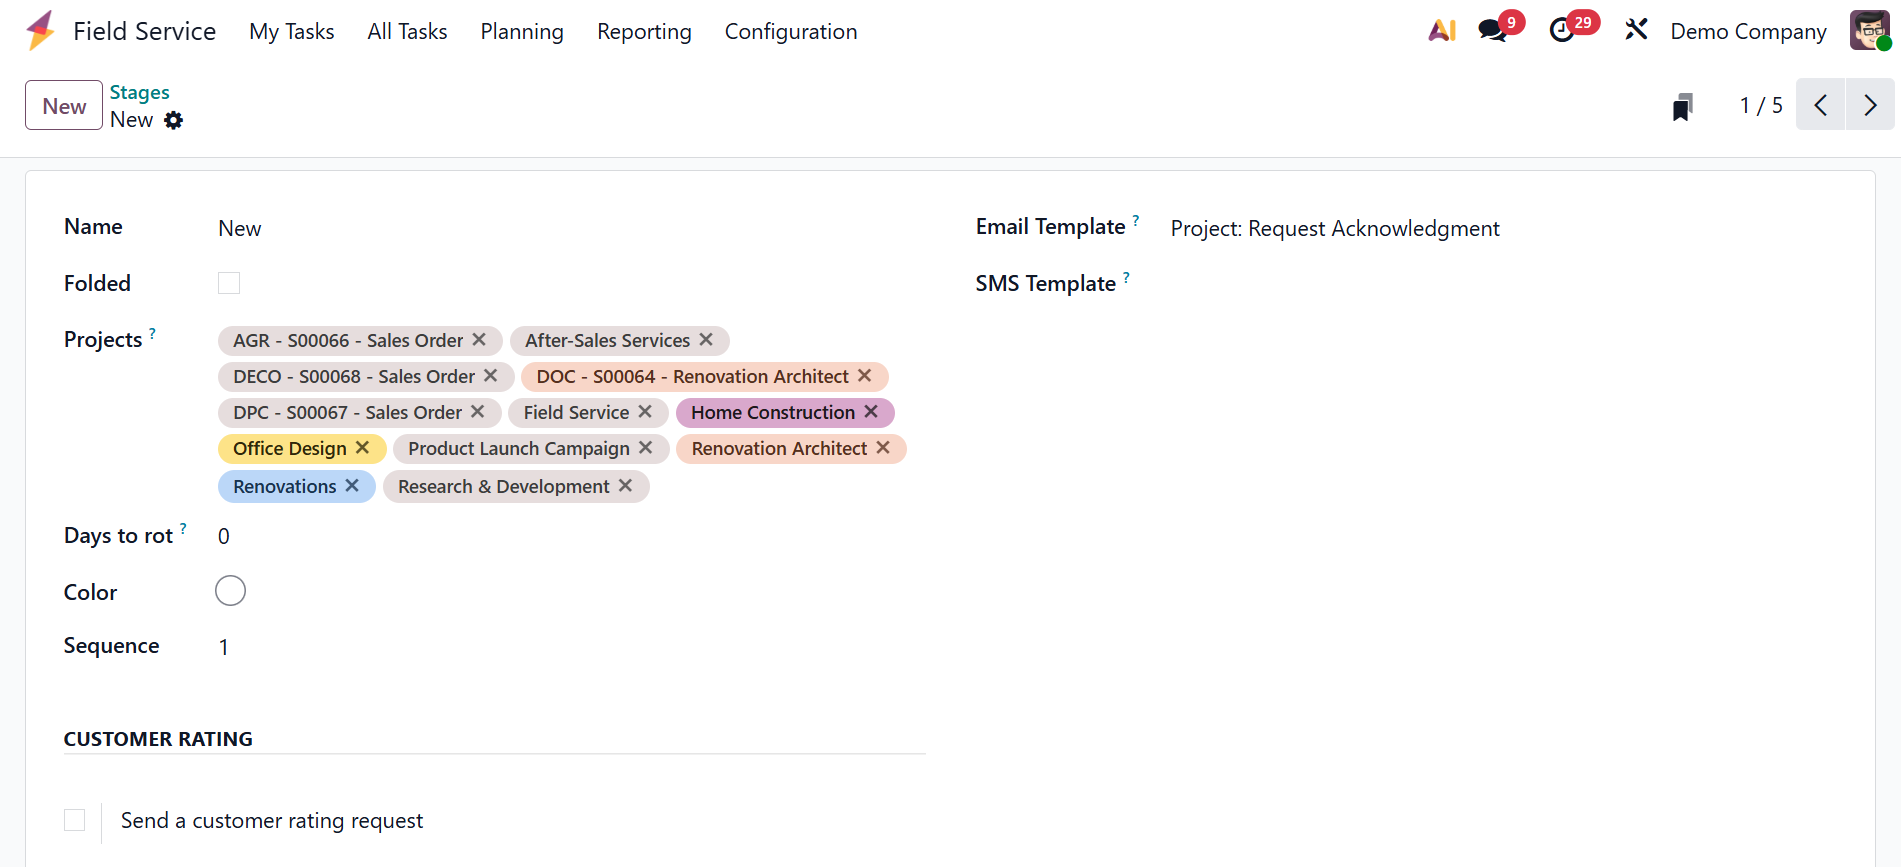
- Name: Indicates the stage's title or label (e.g., To Do, In Progress, Done).
- Folded: Determines whether, in the task Kanban view, the stage should appear compressed when there are no tasks within it.
- Projects: This feature lets you allocate the stage to particular field service projects so it only shows up when necessary.
- Days to Rot: Indicates how many days must pass before a task in this level is highlighted or designated as past due.
- Color: On the task Kanban board, you can select a color to graphically represent the stage.
- Sequence: Determines the sequence in which steps are displayed, starting with lower numbers.
Then, you have the customer rating option, as shown below.
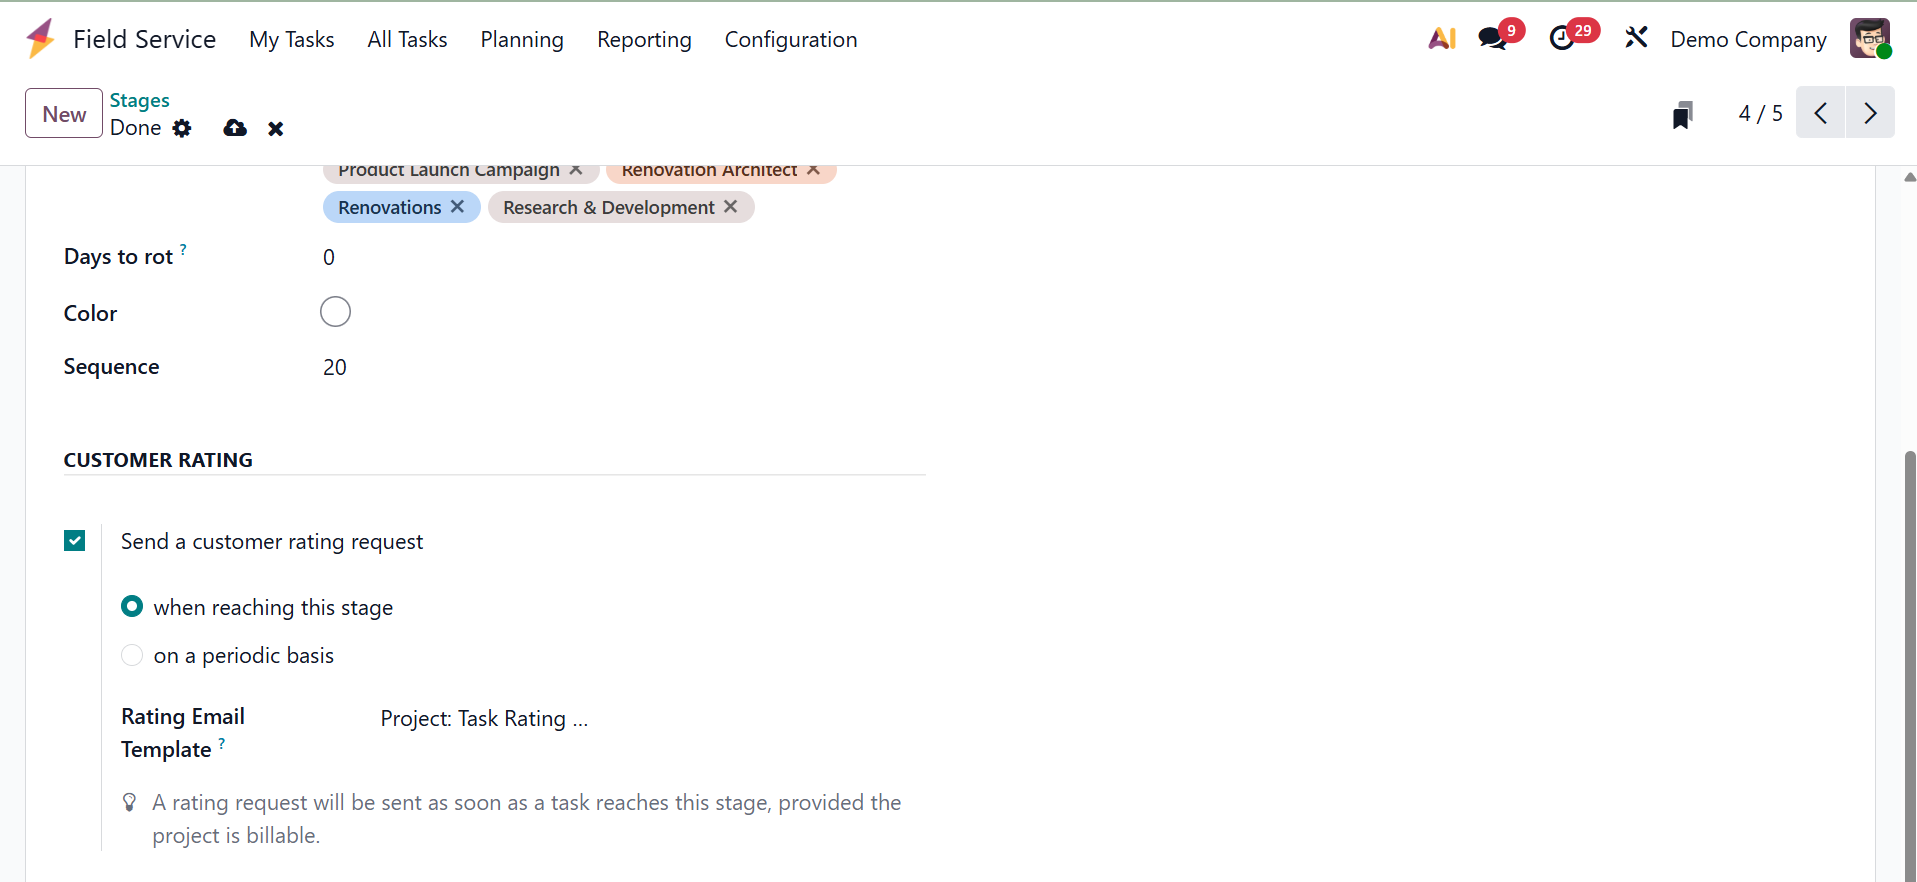
You can associate a particular Rating Email Template to a stage by using the Customer Rating option in the Odoo Field Service stages settings. The system automatically sends a satisfaction survey email to the client linked to the task when a task or ticket is moved into a stage with this option selected (usually a "Done" or "Closed" stage).
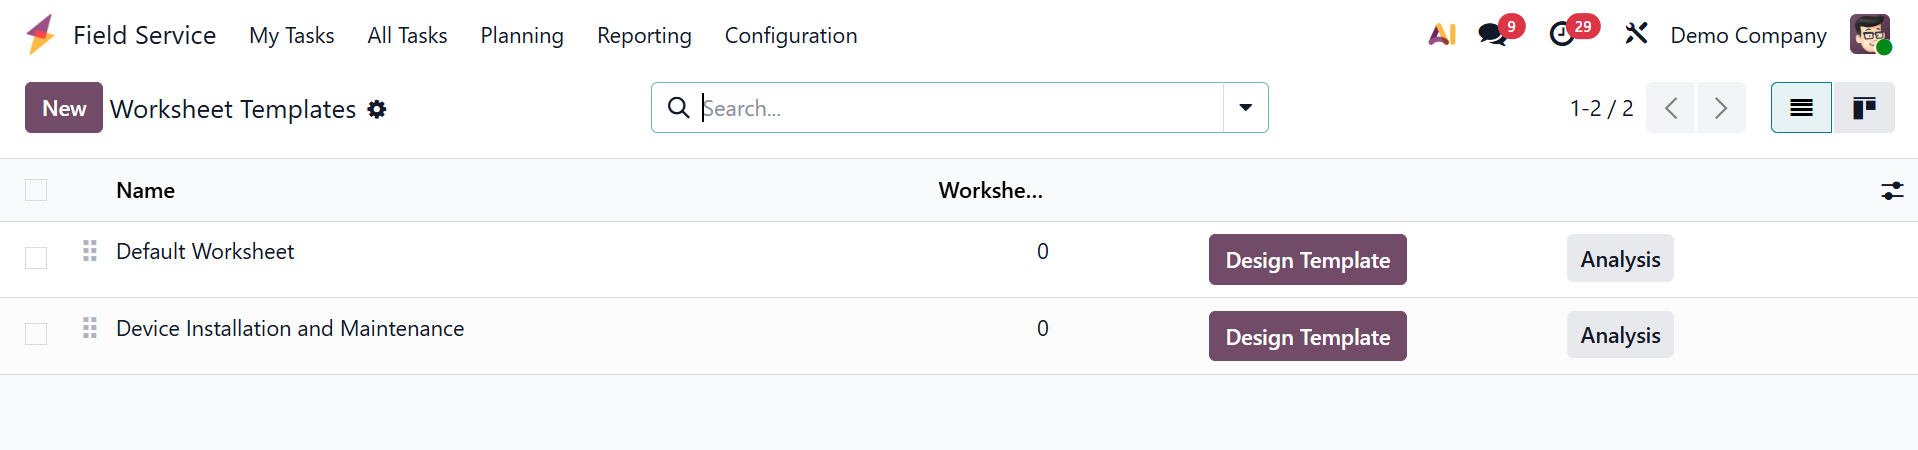
1.3 Worksheet Template
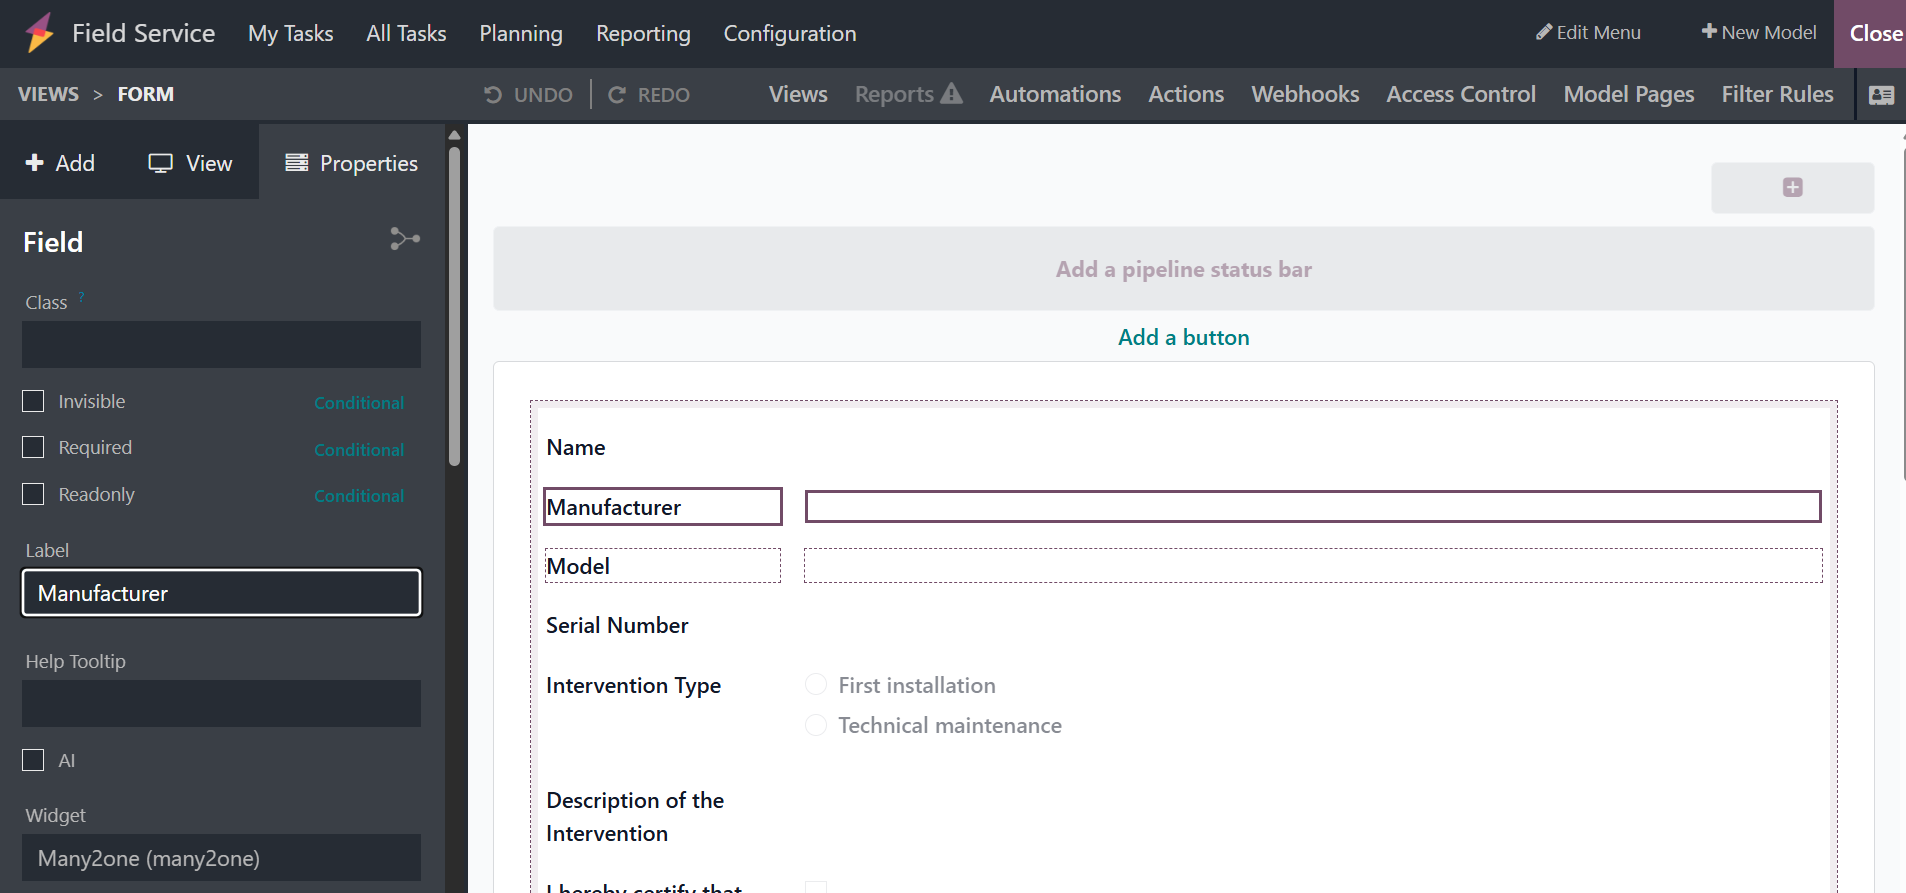
The "Worksheet templates" make it easier to organize field service operations. Worksheets, color, company, and name are all displayed in pre-configured templates. New templates can be generated using the "New" button and tweaked via the "Design Template" option.
After entering the required information, click the "Design Template" option to change the worksheet template's look and content. The Odoo 19 Studio application permits designing.
A new window with sophisticated editing capabilities and a template tailored to your specific service requirements will be presented to you.
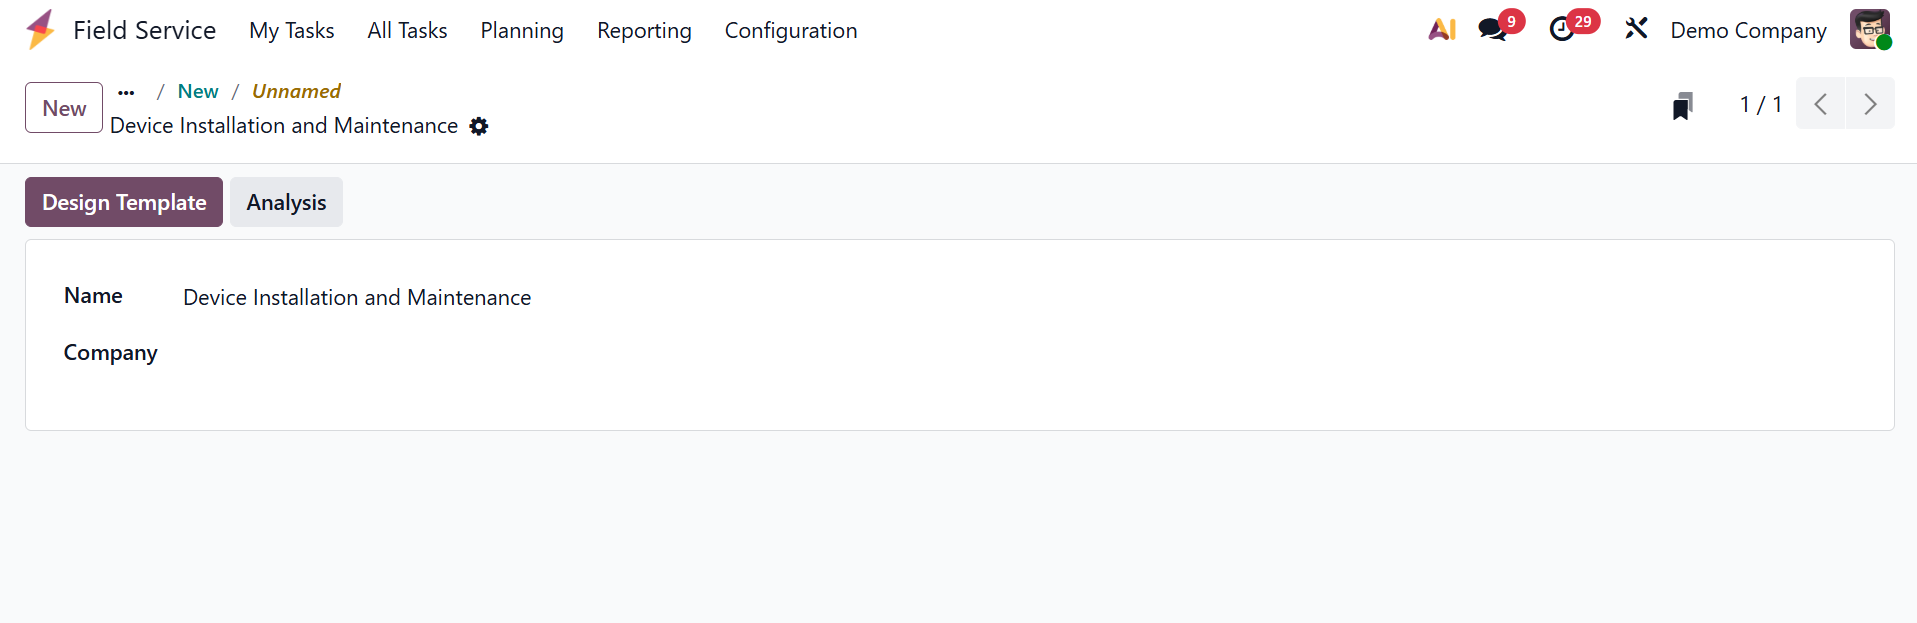
The "Analysis" option is a feature that lets users create reports and learn more about how that particular template's worksheets are used and completed, as shown below.
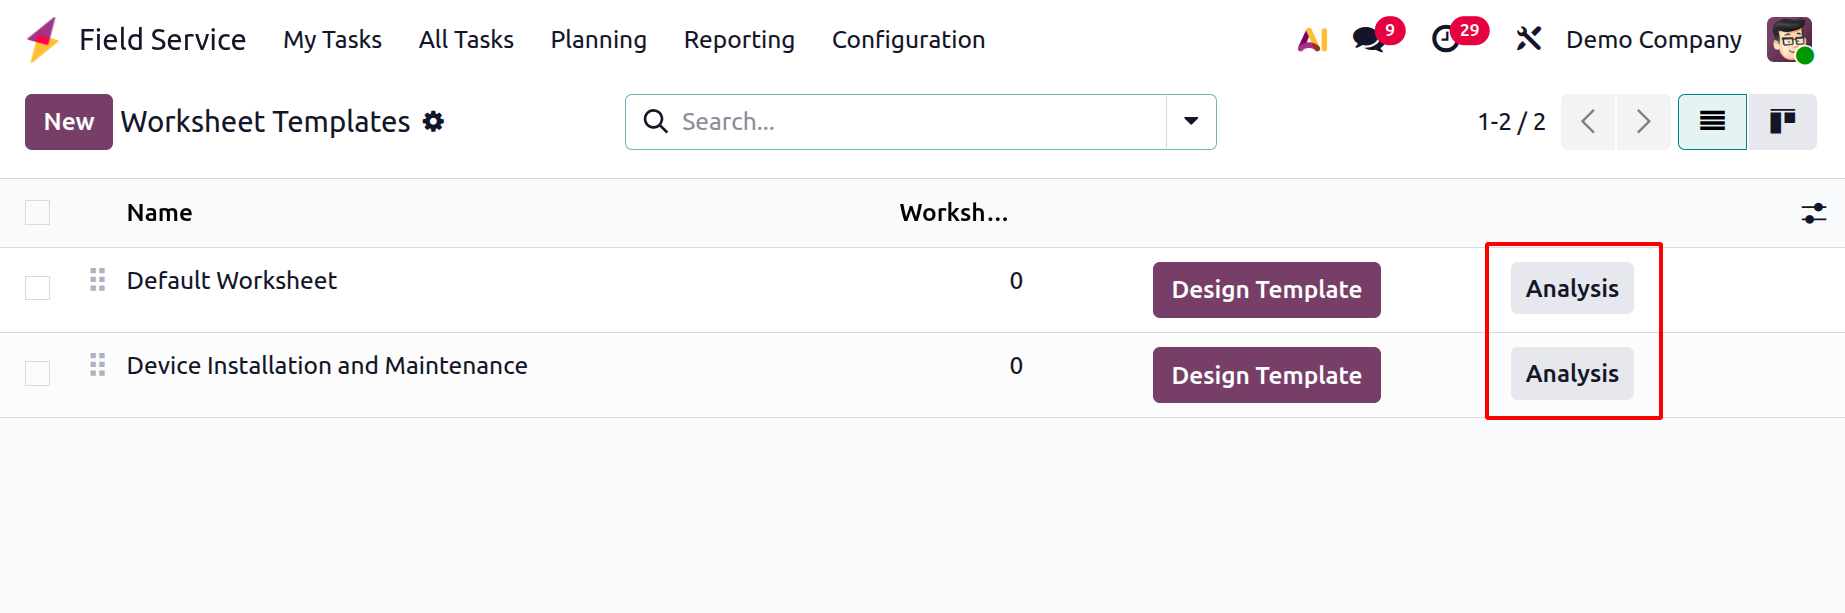
Two important buttons appear after creating and saving a worksheet template: "Design Template" and "Analysis." The "Design Template" option lets you use Odoo Studio to customize the worksheet's layout and content, however the "Analysis" button has a different function.
The template can be used again for developing new field service tasks, ensuring consistency and speed. Tasks completed with this template can also be analyzed by using the "Analysis" option, providing useful information regarding performance and utilization.
1.4 Product
As seen in the screenshot below, you may utilize the "Products" box in the Field Service module to establish and manage all goods used during field service operations, including equipment, parts, and consumables, to ensure accurate monitoring and invoicing.
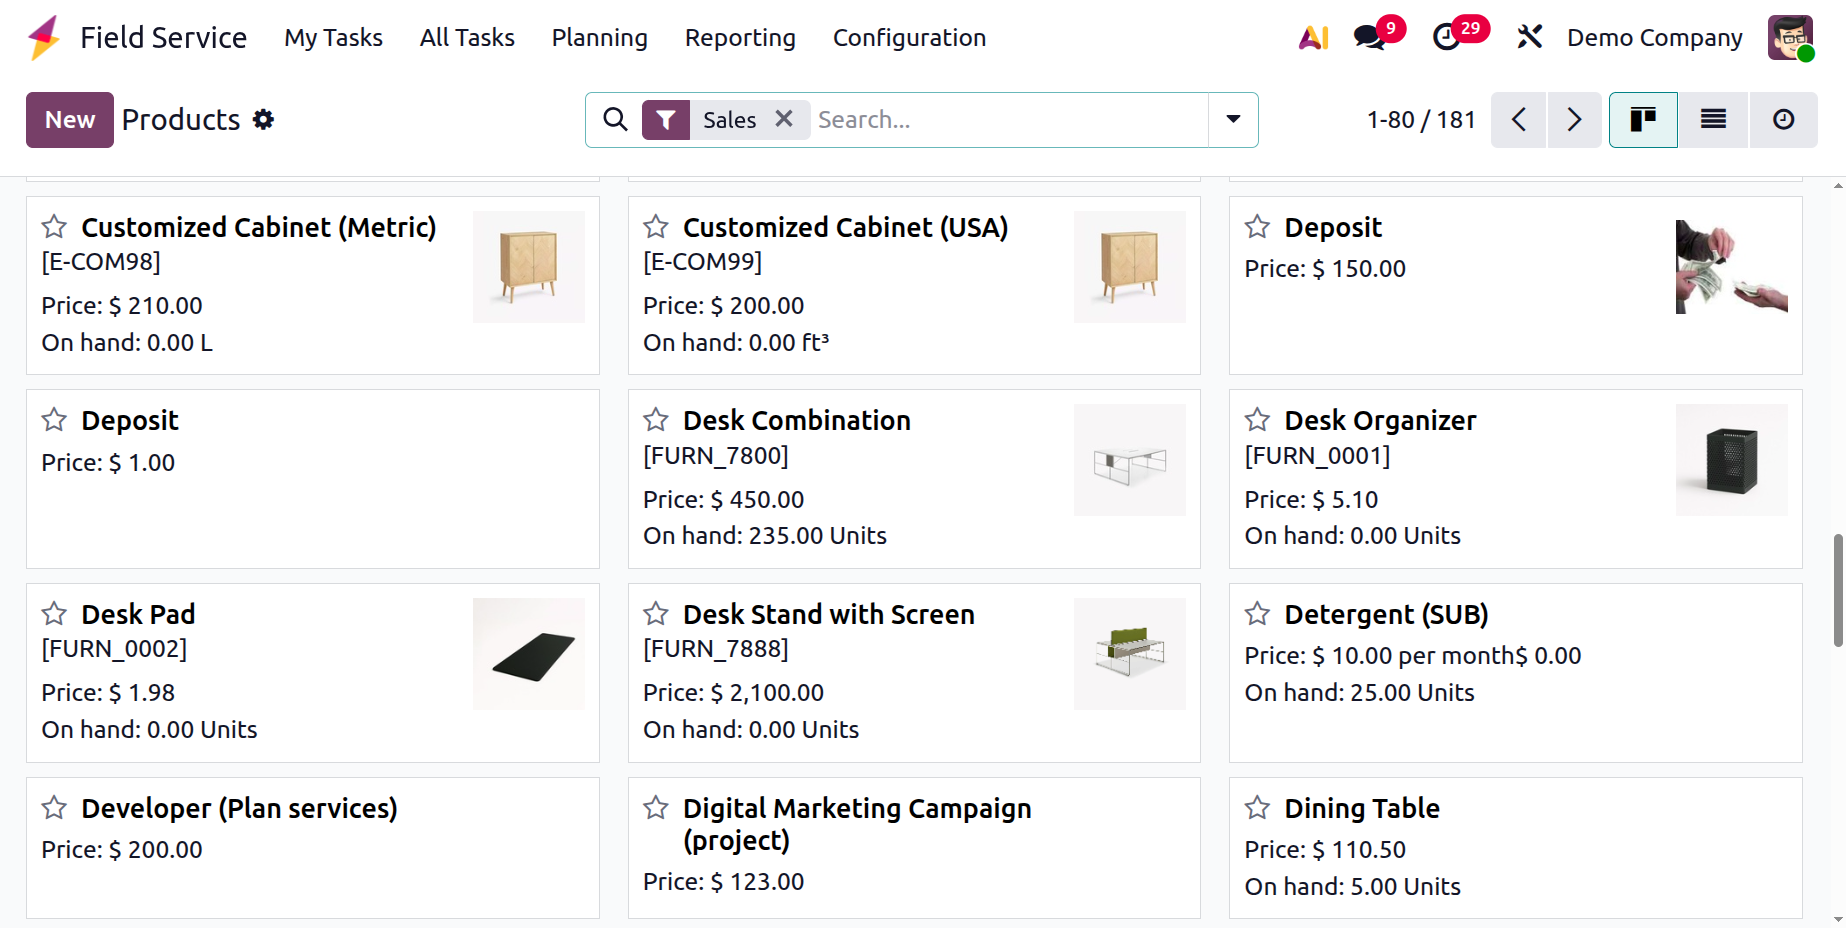
The procedure of developing a new product is comparable to that of developing a new product in every other Odoo module.
1.5 Tags
To enhance overall task management, Odoo 19's Field Service module employs tags to arrange, filter, and classify tasks. Tasks can be labeled by users according to factors like type, equipment, location, or priority. The "Tags" pane of the "Configuration" menu allows you to customize the tags. Click the "New" button and enter the tag name and color to create a new tag, as seen in the screenshot below.
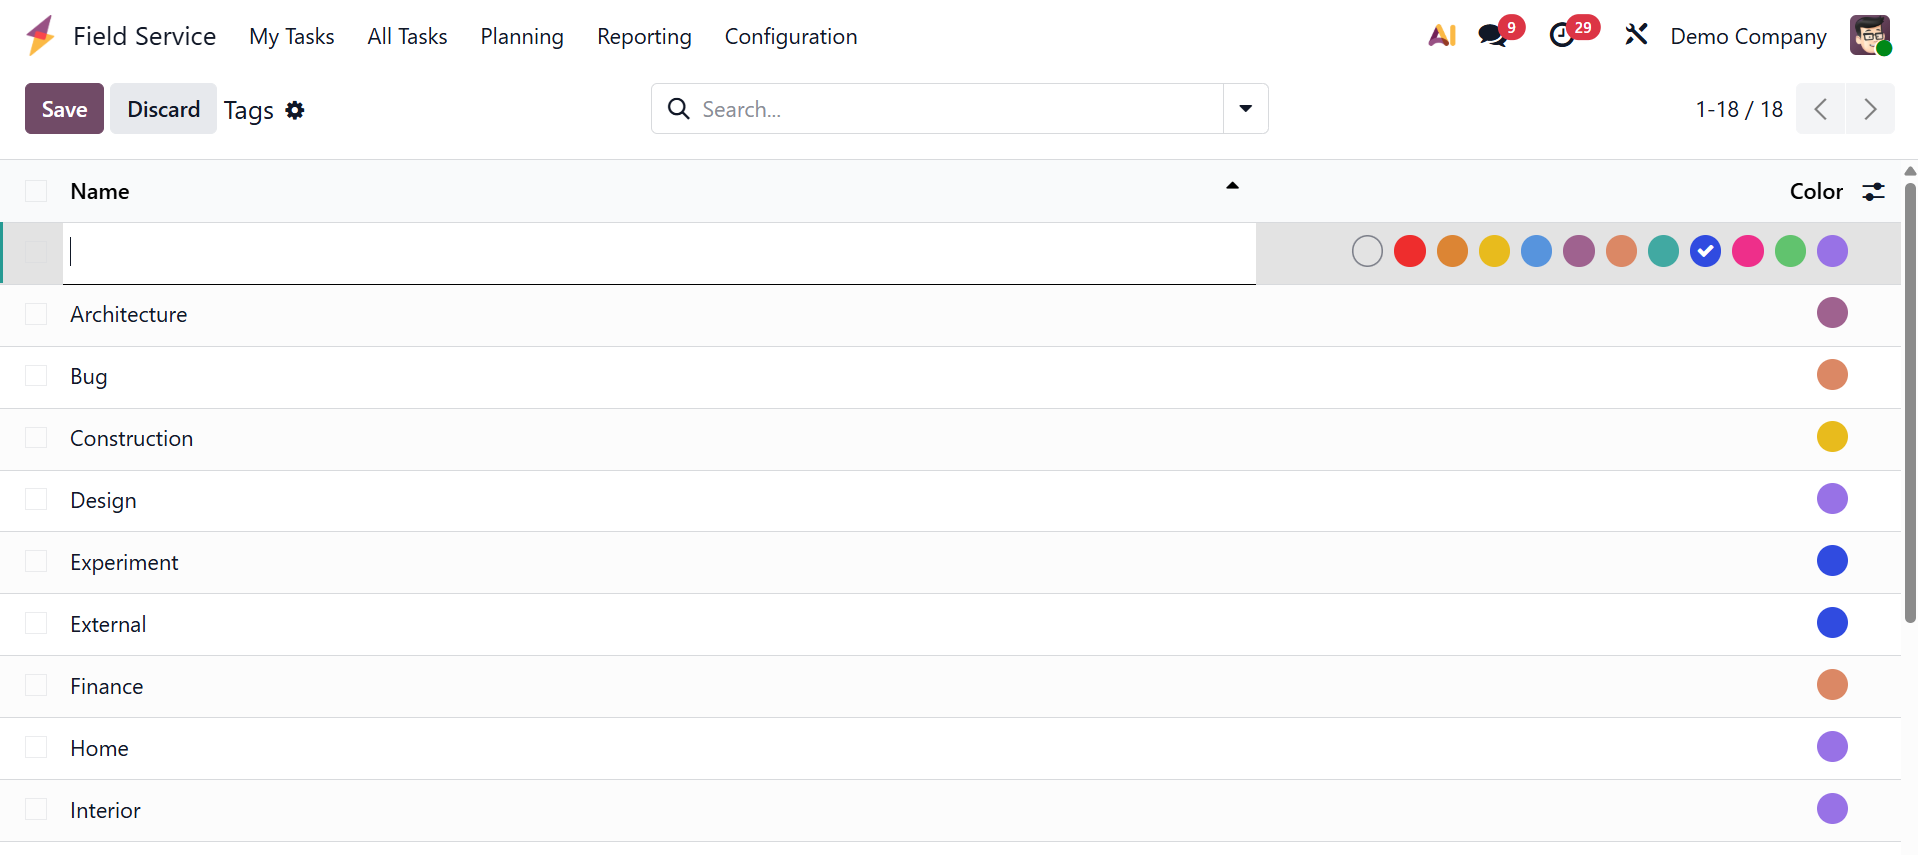
Both highly specialized and general tags are possible. Technicians and managers can find and prioritize activities according to their supplied labels by applying them directly to tasks and enabling filtering and grouping in views such as kanban, list, and calendar.
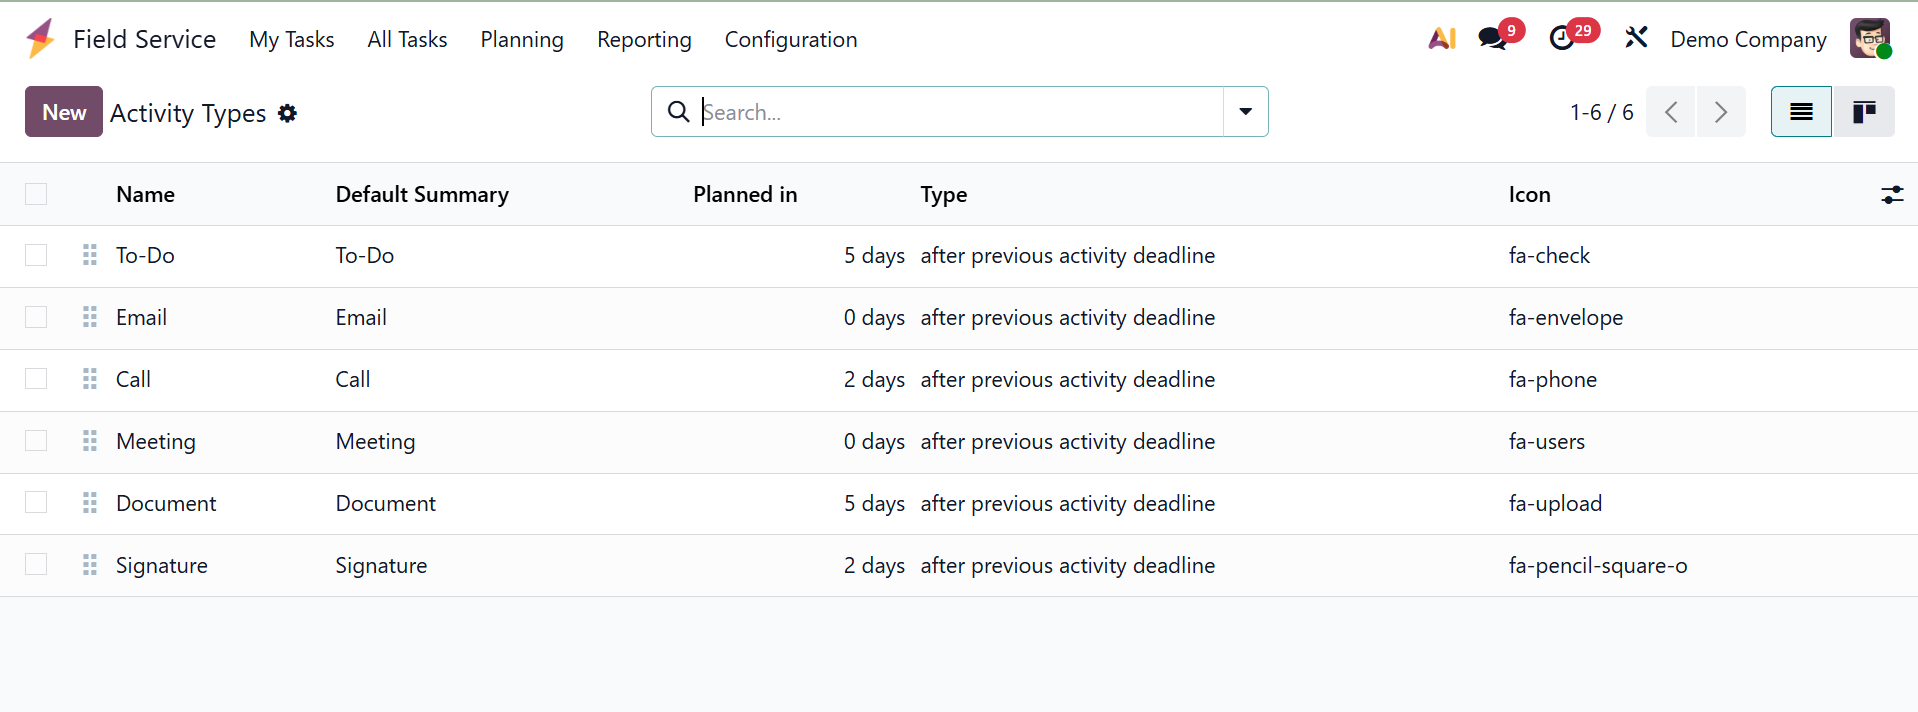
1.6 Activity Type
The "Activity Types" in the Field Service module are used to define and manage various follow-up tasks or reminders that may be scheduled in connection with field service tasks. Calling, emailing, scheduling a meeting, or planning a site visit are a few examples of the activities. As seen in the screenshot below, you can view the dashboard of every activity plan along with its Name, Default Summary, Planned Date, and Type.
Fill out the form blanks to begin creating a new activity type after clicking the "New" button. Entering the name of the activity in the specified "Name" field is the first step in creating a new Activity Type in Odoo Field Service. After naming the activity, you may choose the appropriate Action from the list. Every action has the potential to initiate specific activities, including reminders, the automated labeling of an activity as finished when a document is uploaded, or the activation of a calendar view. Uploading a document, calling, meeting, reminding, requesting a signature, filing a tax report, or doing nothing are your options.
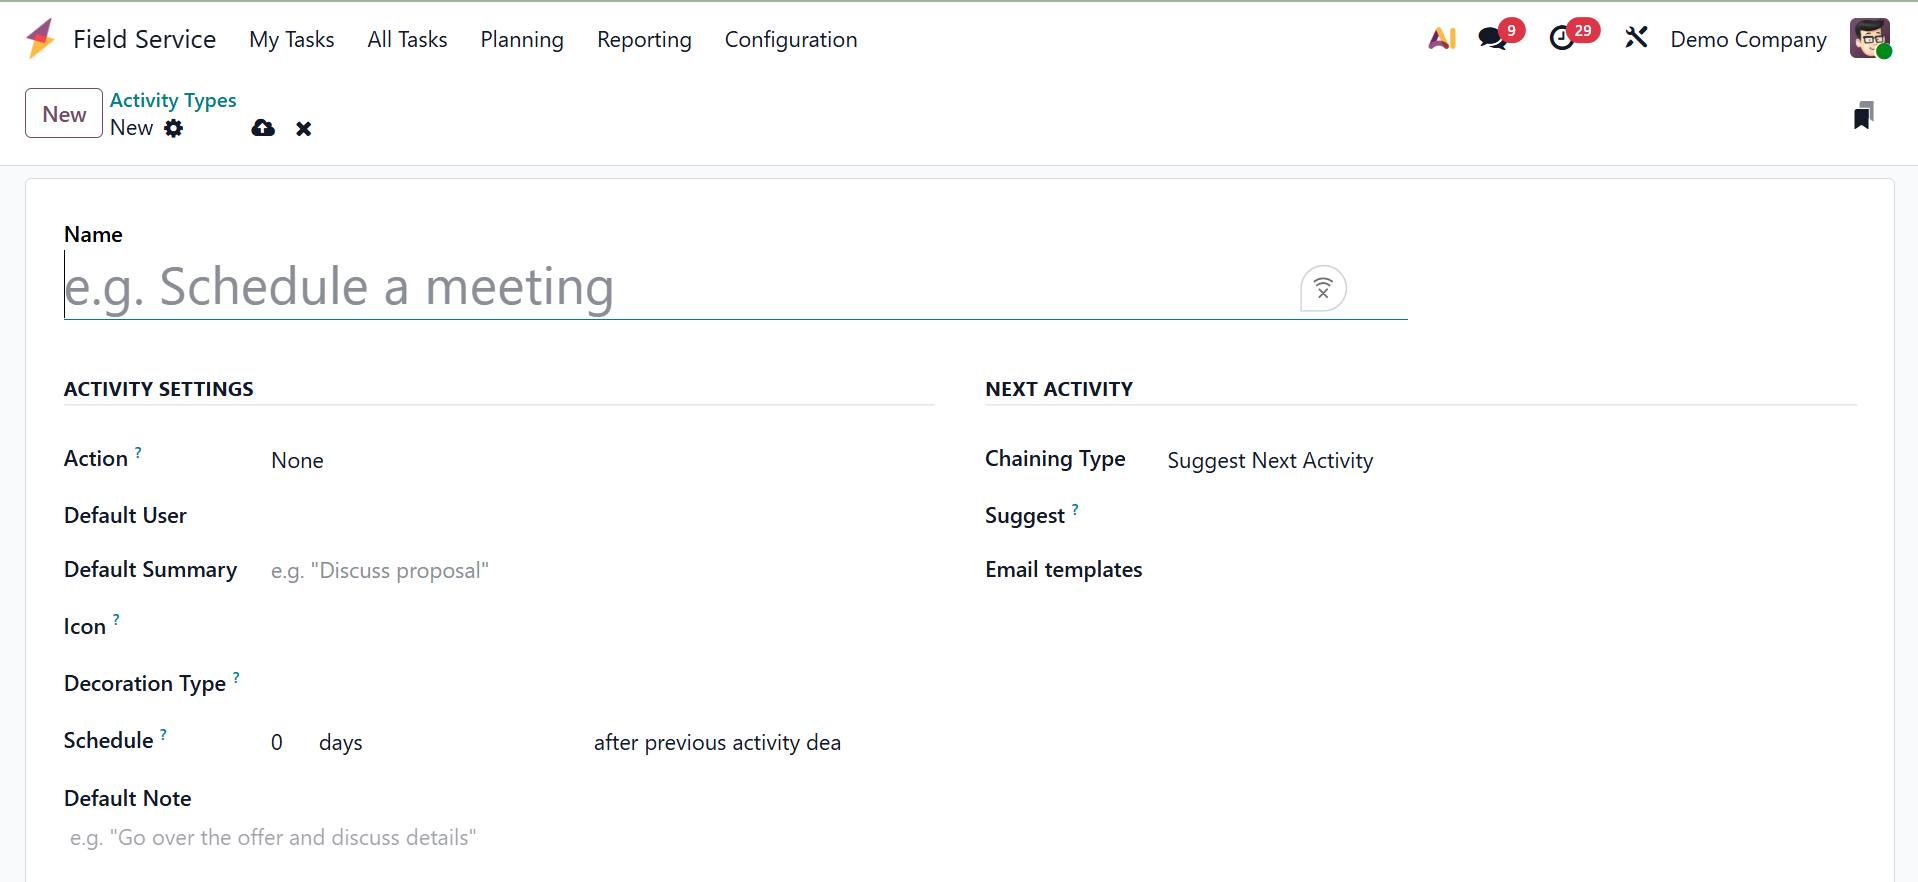
Next, you may specify a Default User who will oversee this activity type and an Action that restricts the activity type to that particular model. For activities of this kind, the Default Summary section will automatically fill in a brief summary. Enable the Keep Done option and include a helpful context about the activity type in the Default Note section to visually identify the activity type in the completed state.
The behavior of the next action in the sequence can be specified in the "NEXT ACTIVITY" tab. In the "Chaining Type" column, you can choose between Trigger Next Activity and Suggest Next Activity. If you choose Suggest, Odoo will recommend the next task to you after the current one is completed. The next task will be created automatically after the current one is completed if you choose the "Trigger" option. Lastly, you can assign the schedule timing of the triggered activity that follows the prior activity deadline inside the "Schedule" field and supply an "Email Template" relevant to this specific activity type. You can use them for upcoming projects or tasks once the activity type configuration process is finished.
1.7 Activity Plan
By generating predetermined activity sequences, the 'Activity Plans' function aids in automating and streamlining work follow-ups. These plans serve as organized workflows that lead teams through standardized, sequential processes for every kind of task. As seen in the screenshot below, the dashboard will display every activity plan that is accessible along with its name and number of steps.
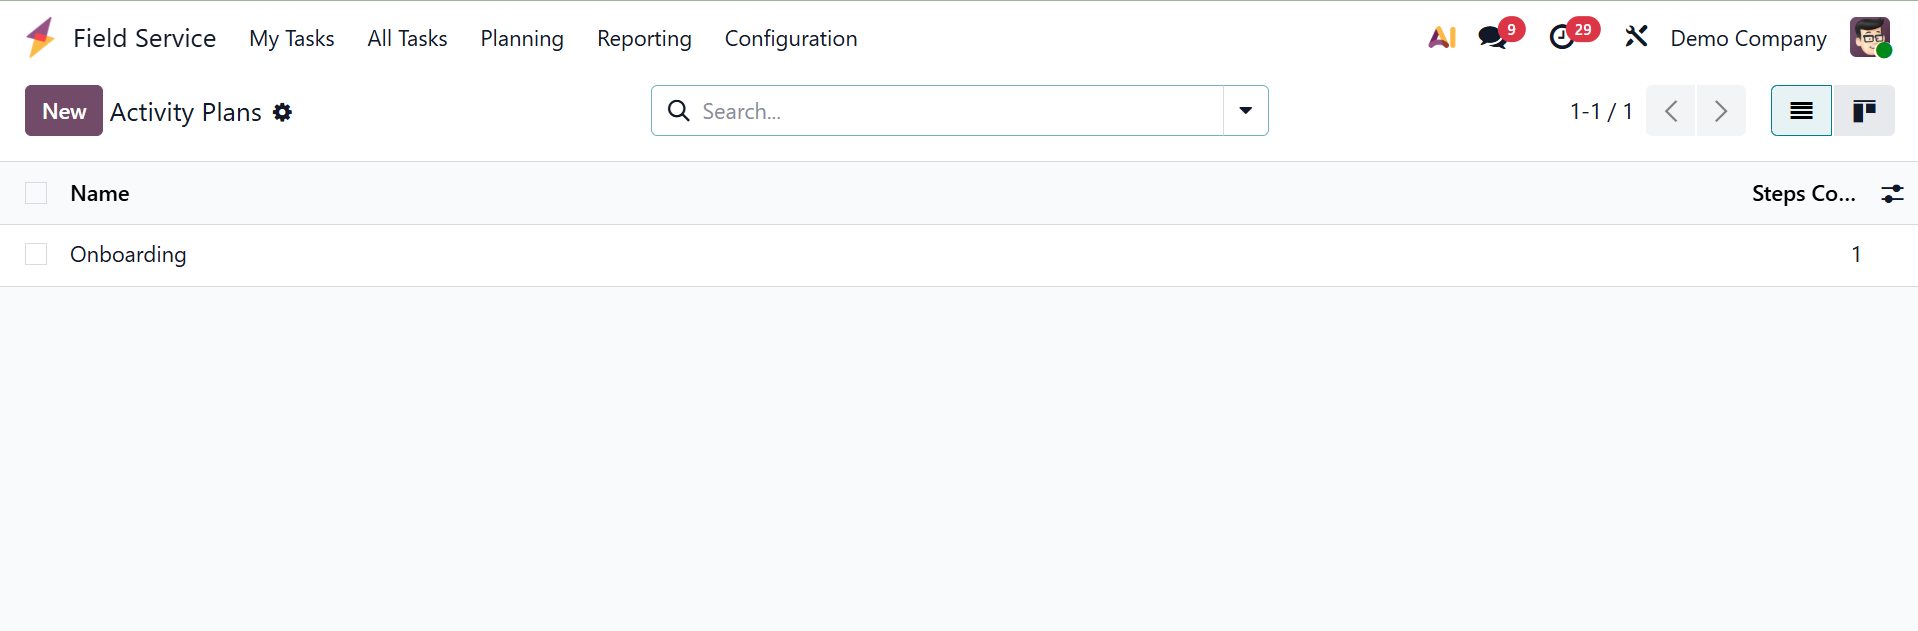
You can click on the ‘New’ button to create a new activity plan and adjust the details including the Plan Name, Model and Company.
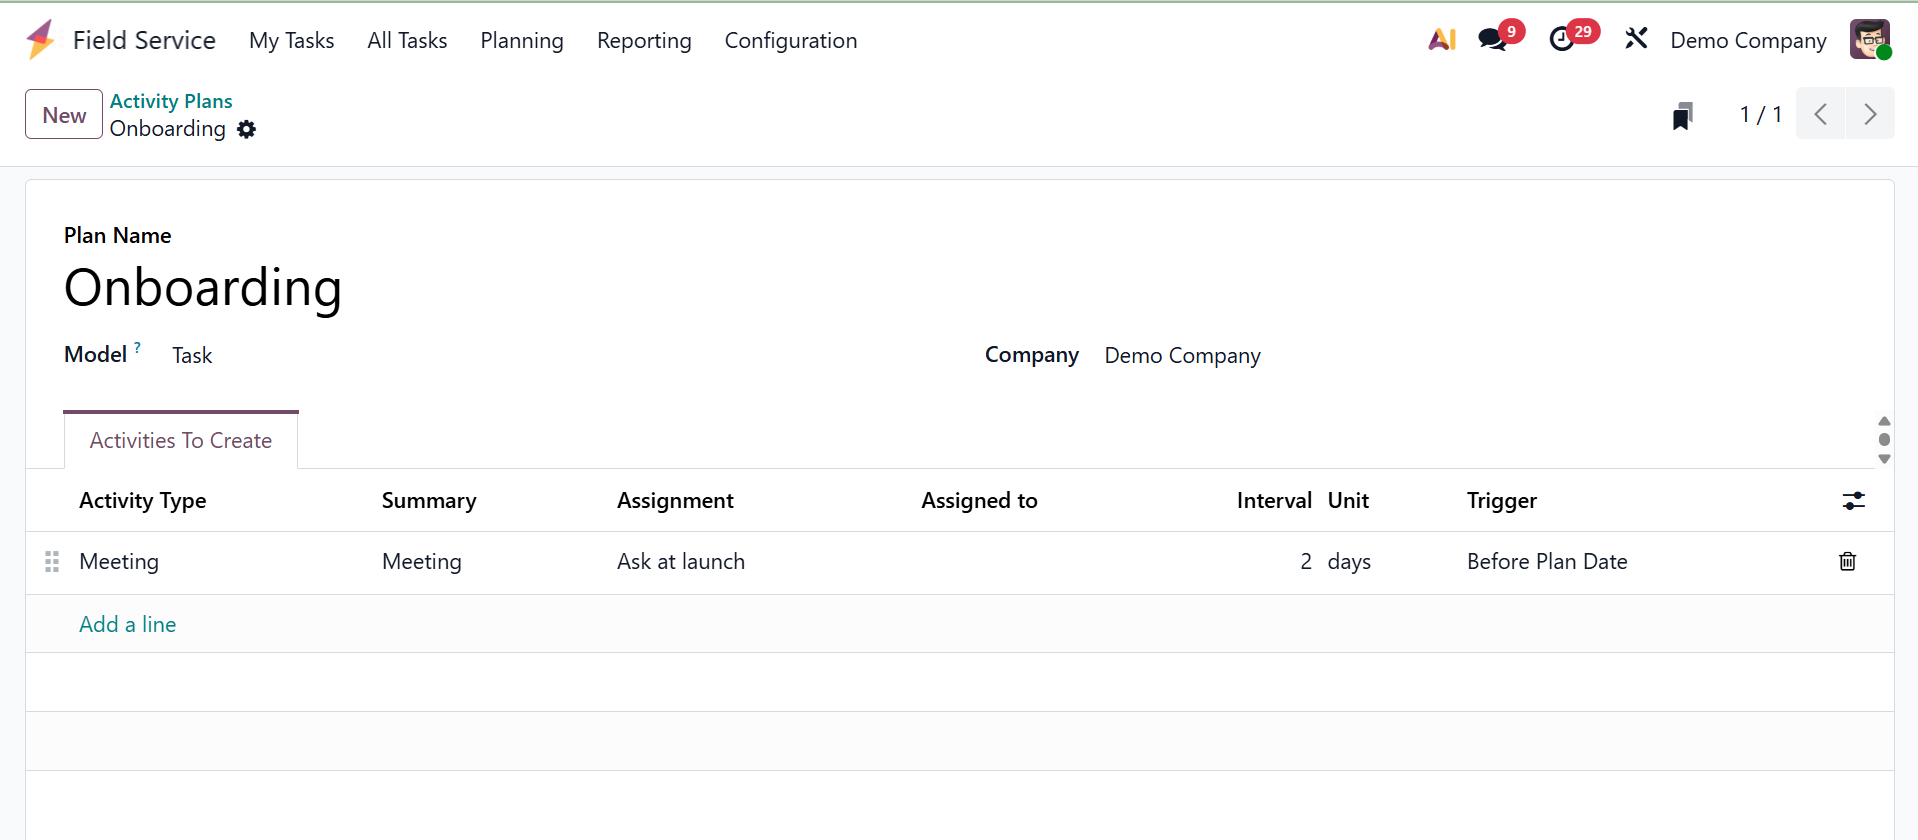
To carry out the activity plan stages on the "Activities To Create" tab, you must next select the Activity Type, Summary about the activity, Assignment, Assigned to, Interval Unit, and Trigger options. Once the data has been saved, you can use these activity plans to better plan and carry out a field service task.