Configuration:
The Configuration option in the Project module allows users to control Settings, Projects, Project Stages, Task Stages, Tags, and Activity Types. When building projects and tasks, we thoroughly reviewed several of the Settings menu settings.
1.1 Settings
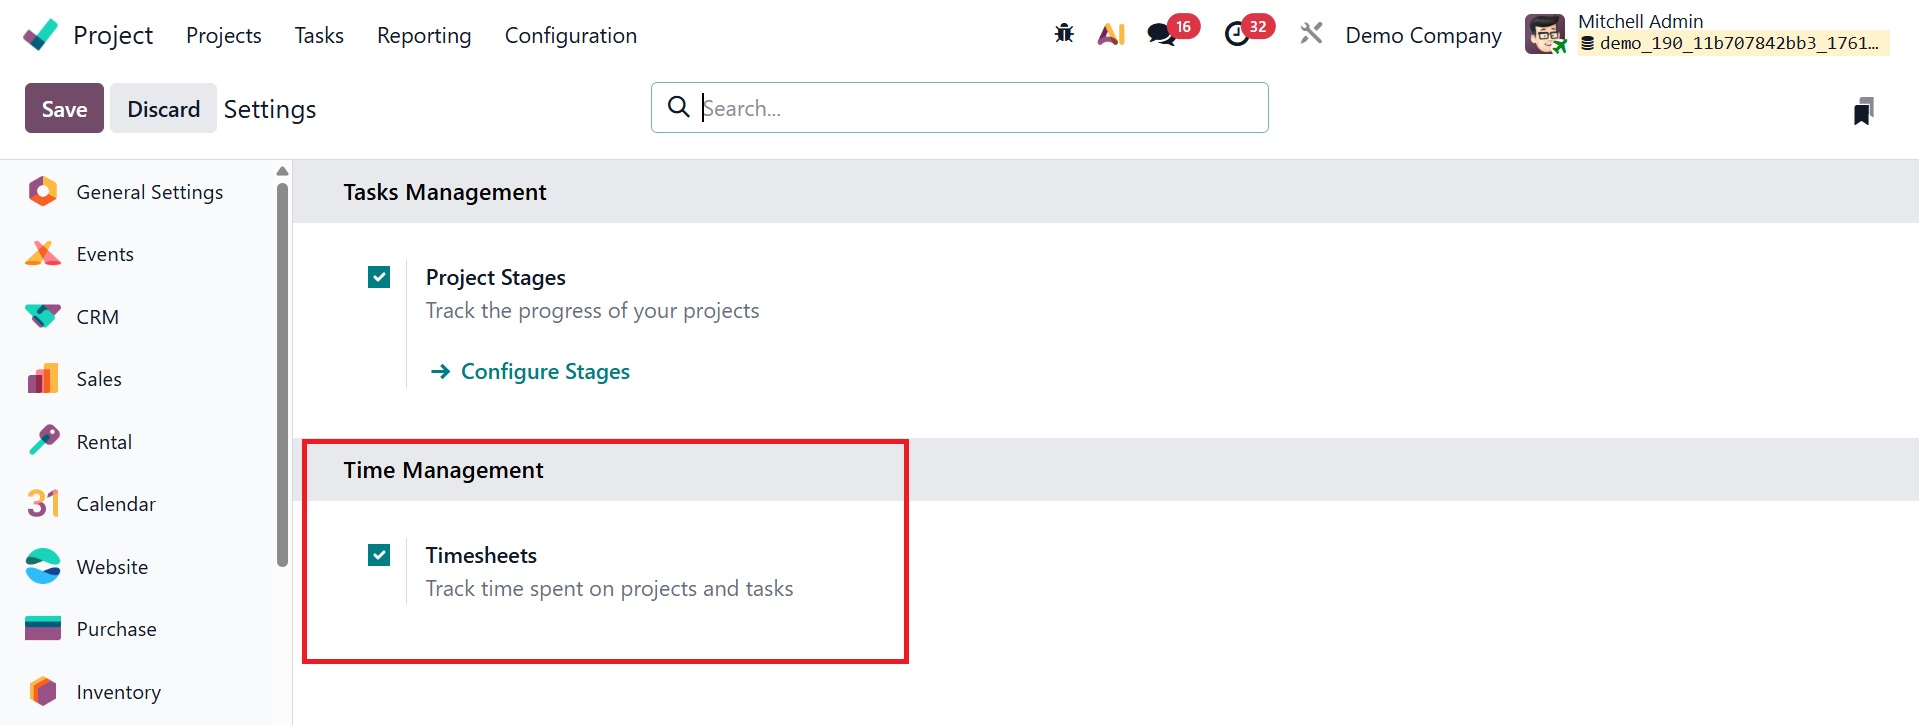
As seen in the image below, you have two options under the settings option. One is Project Stages and the other one is Timesheets.
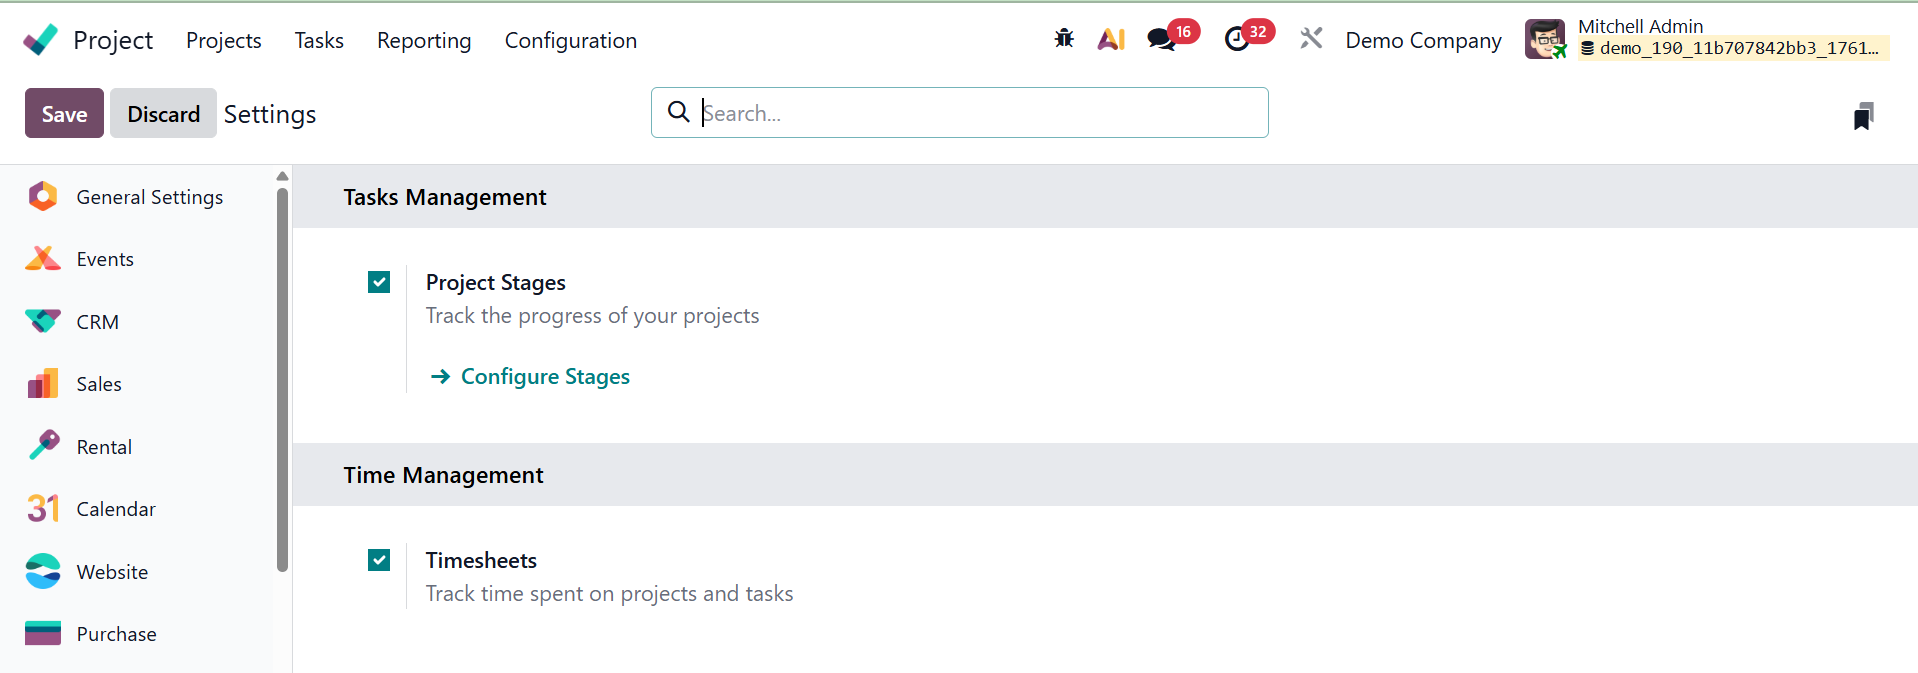
Project stages efficiently track your projects' advancement. You can arrange your projects based on their present state.
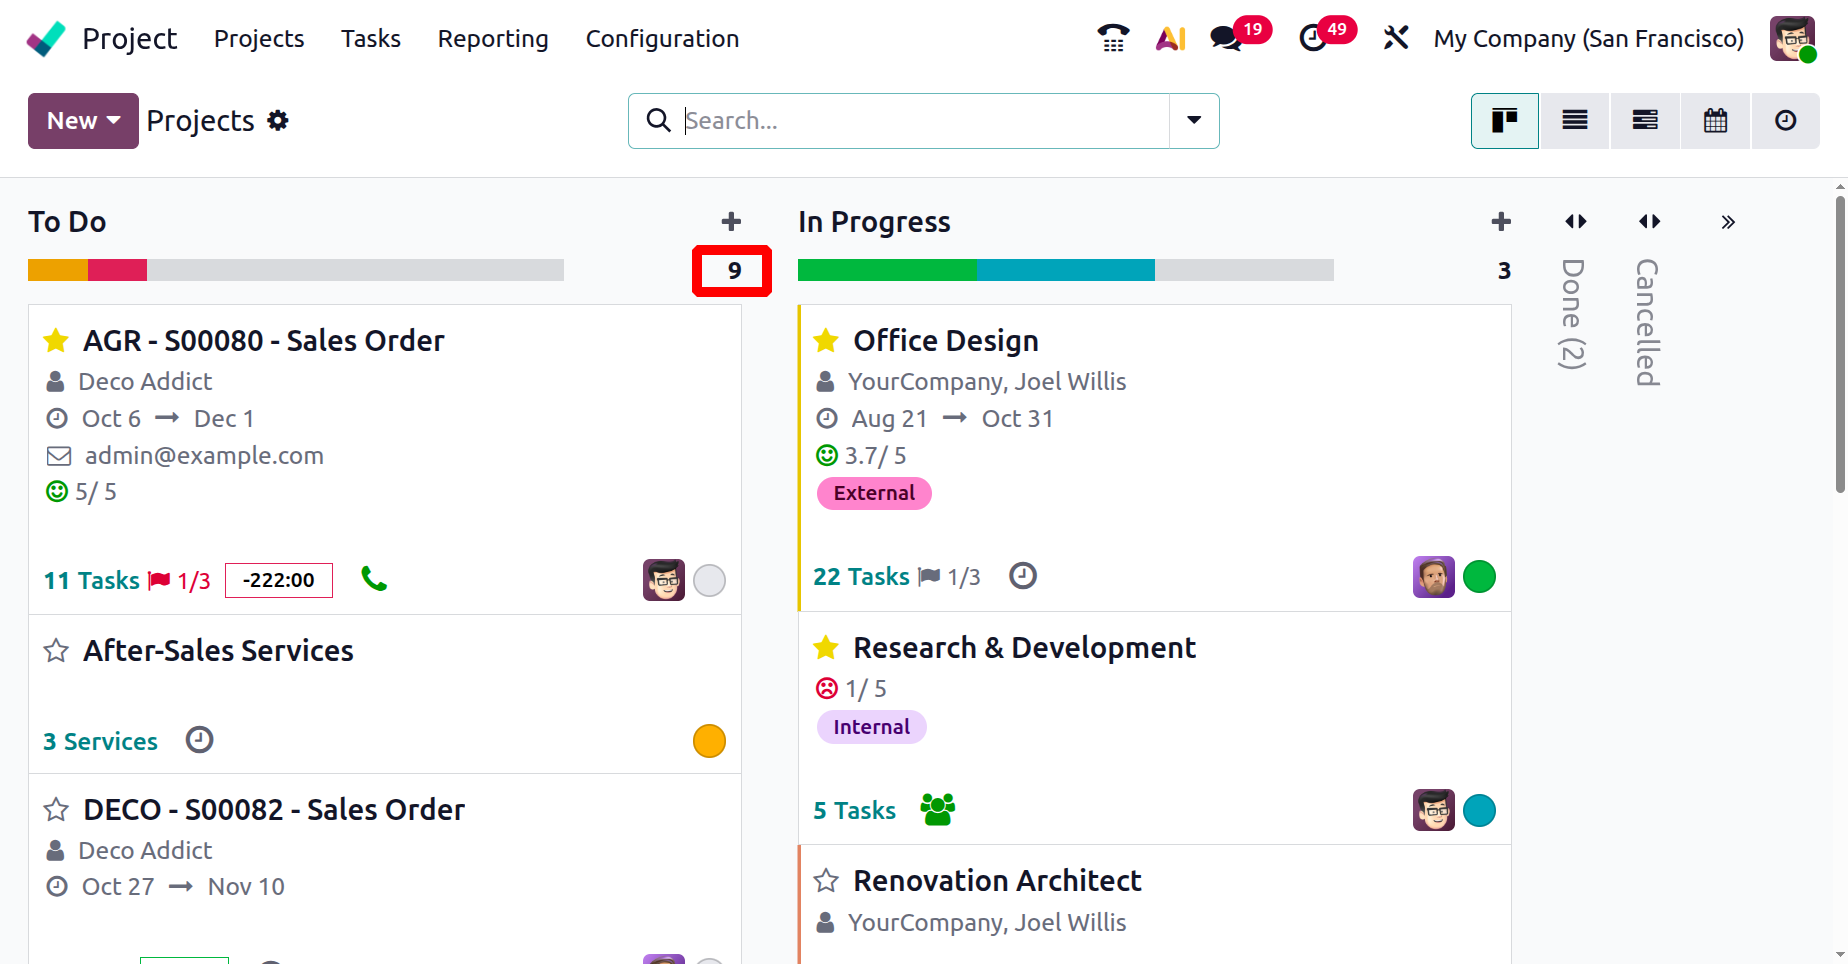
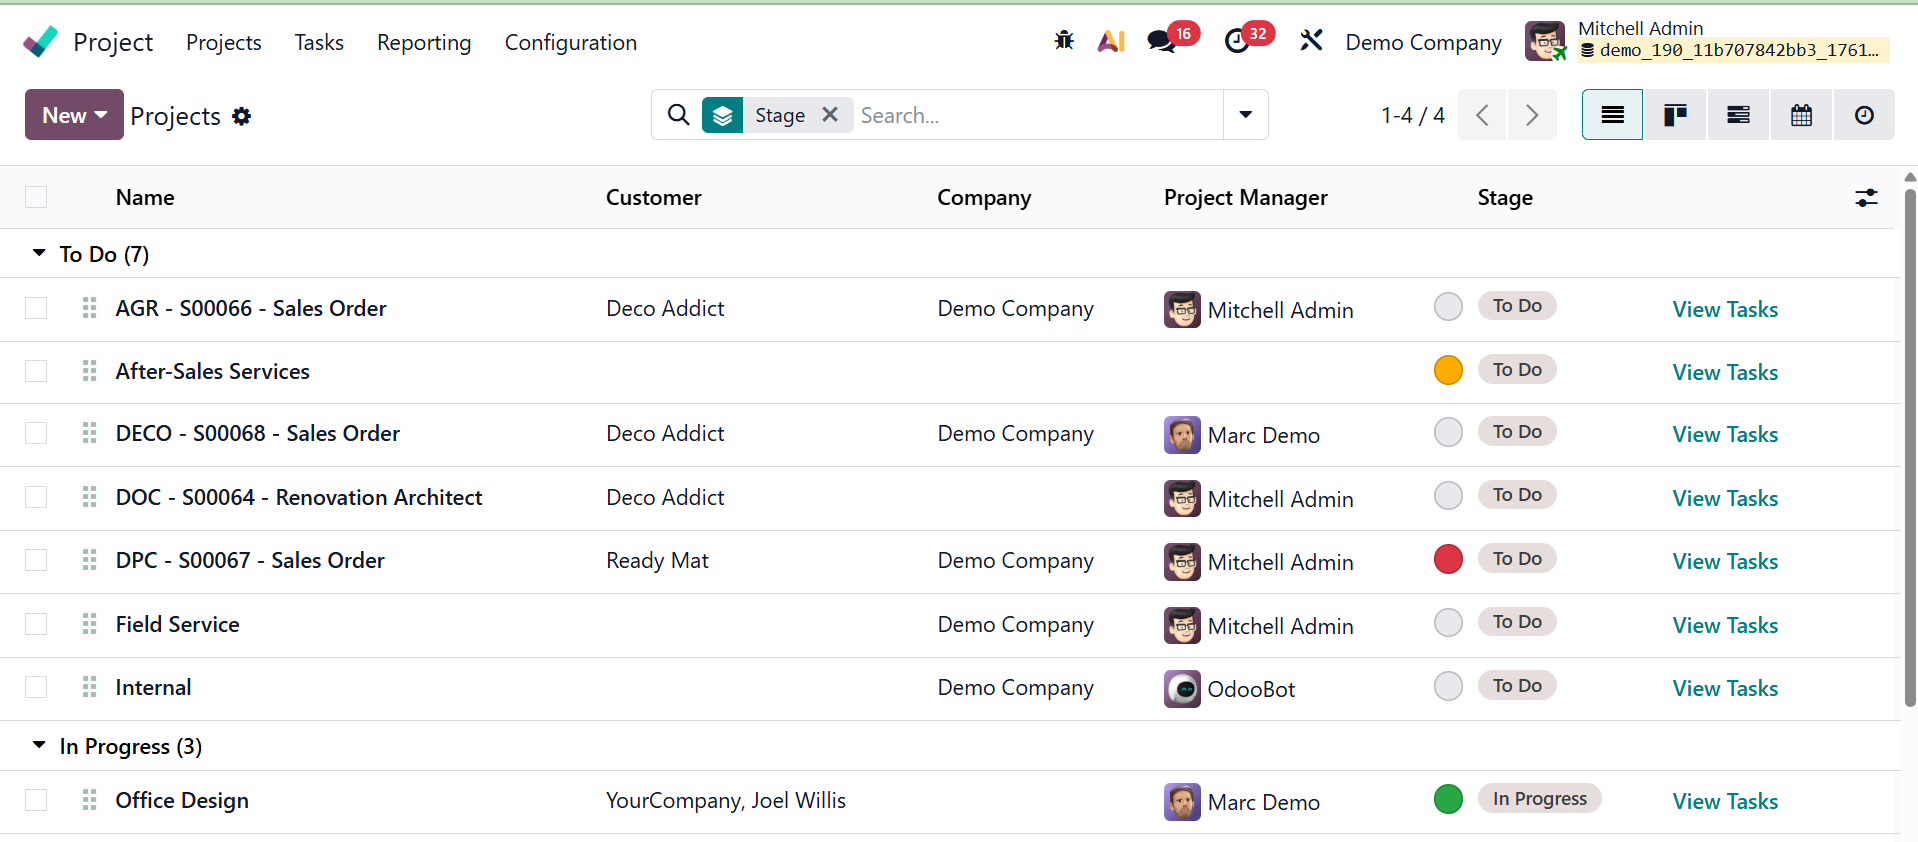
If the Project stages are enabled, then the Project dashboard view will change as shown below. Inside the dashboard the projects are arranged on the stages as shown below.
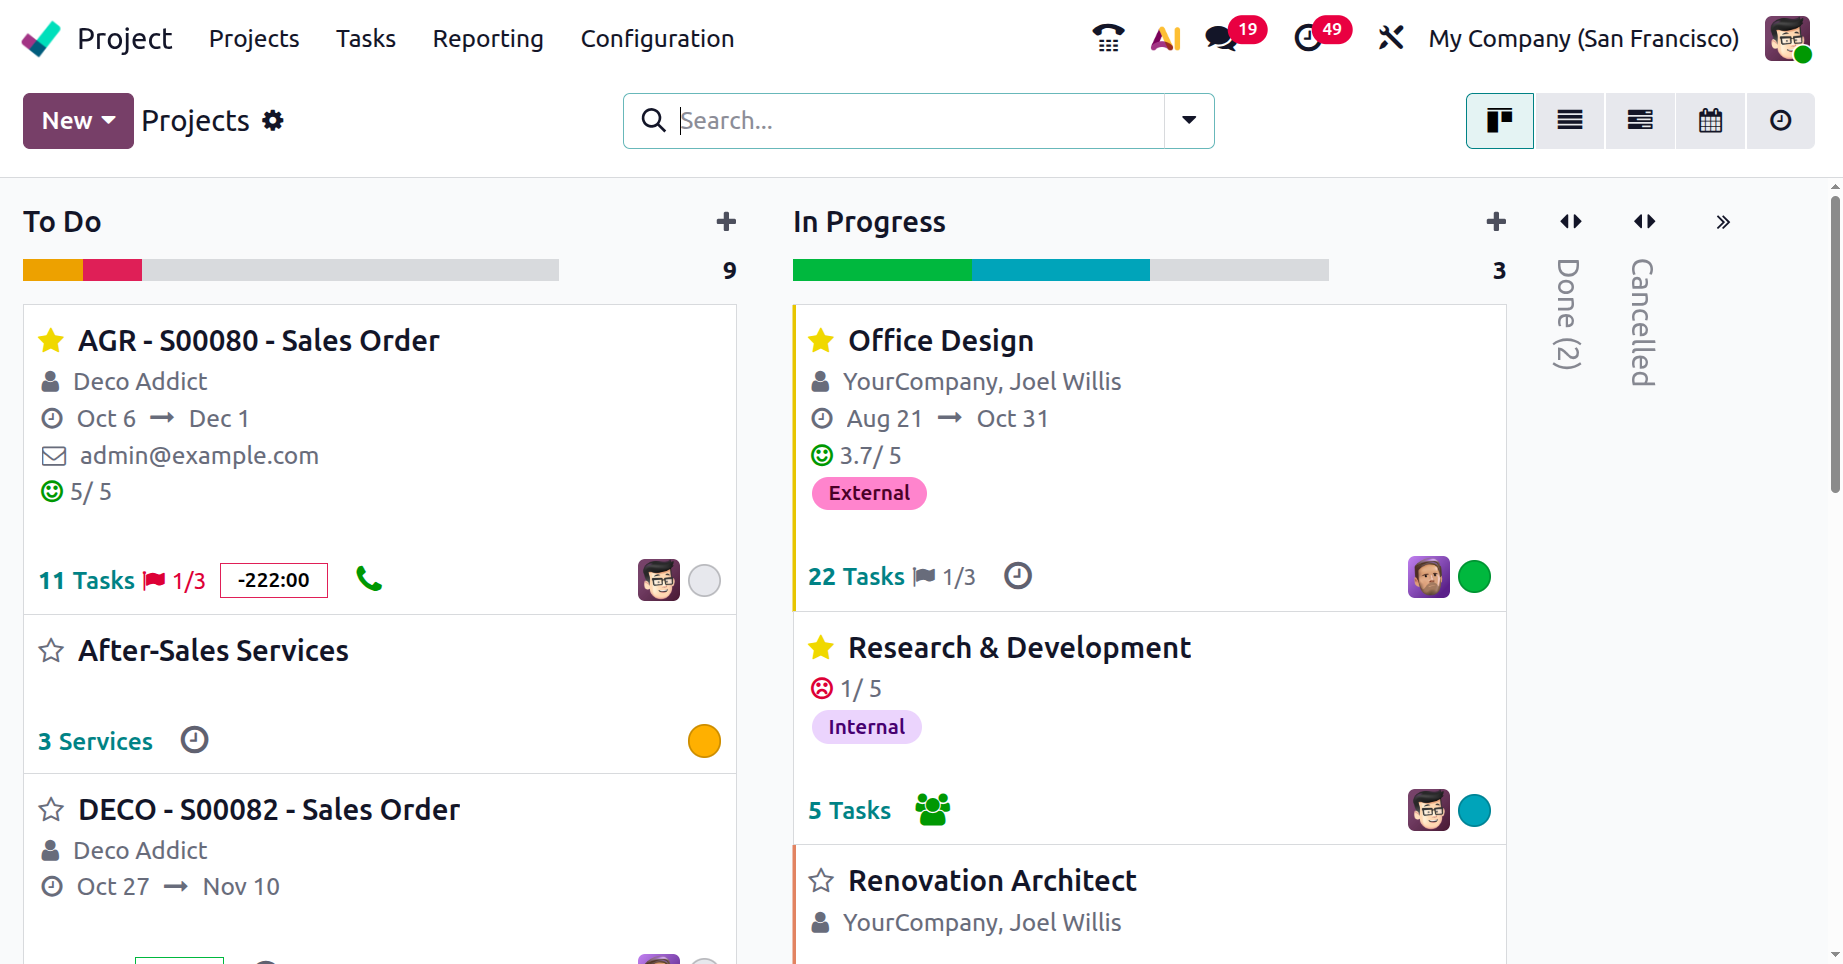
The colors on the stage are shown on the basis of the project status. The total number of projects in each stage are shown as marked below.
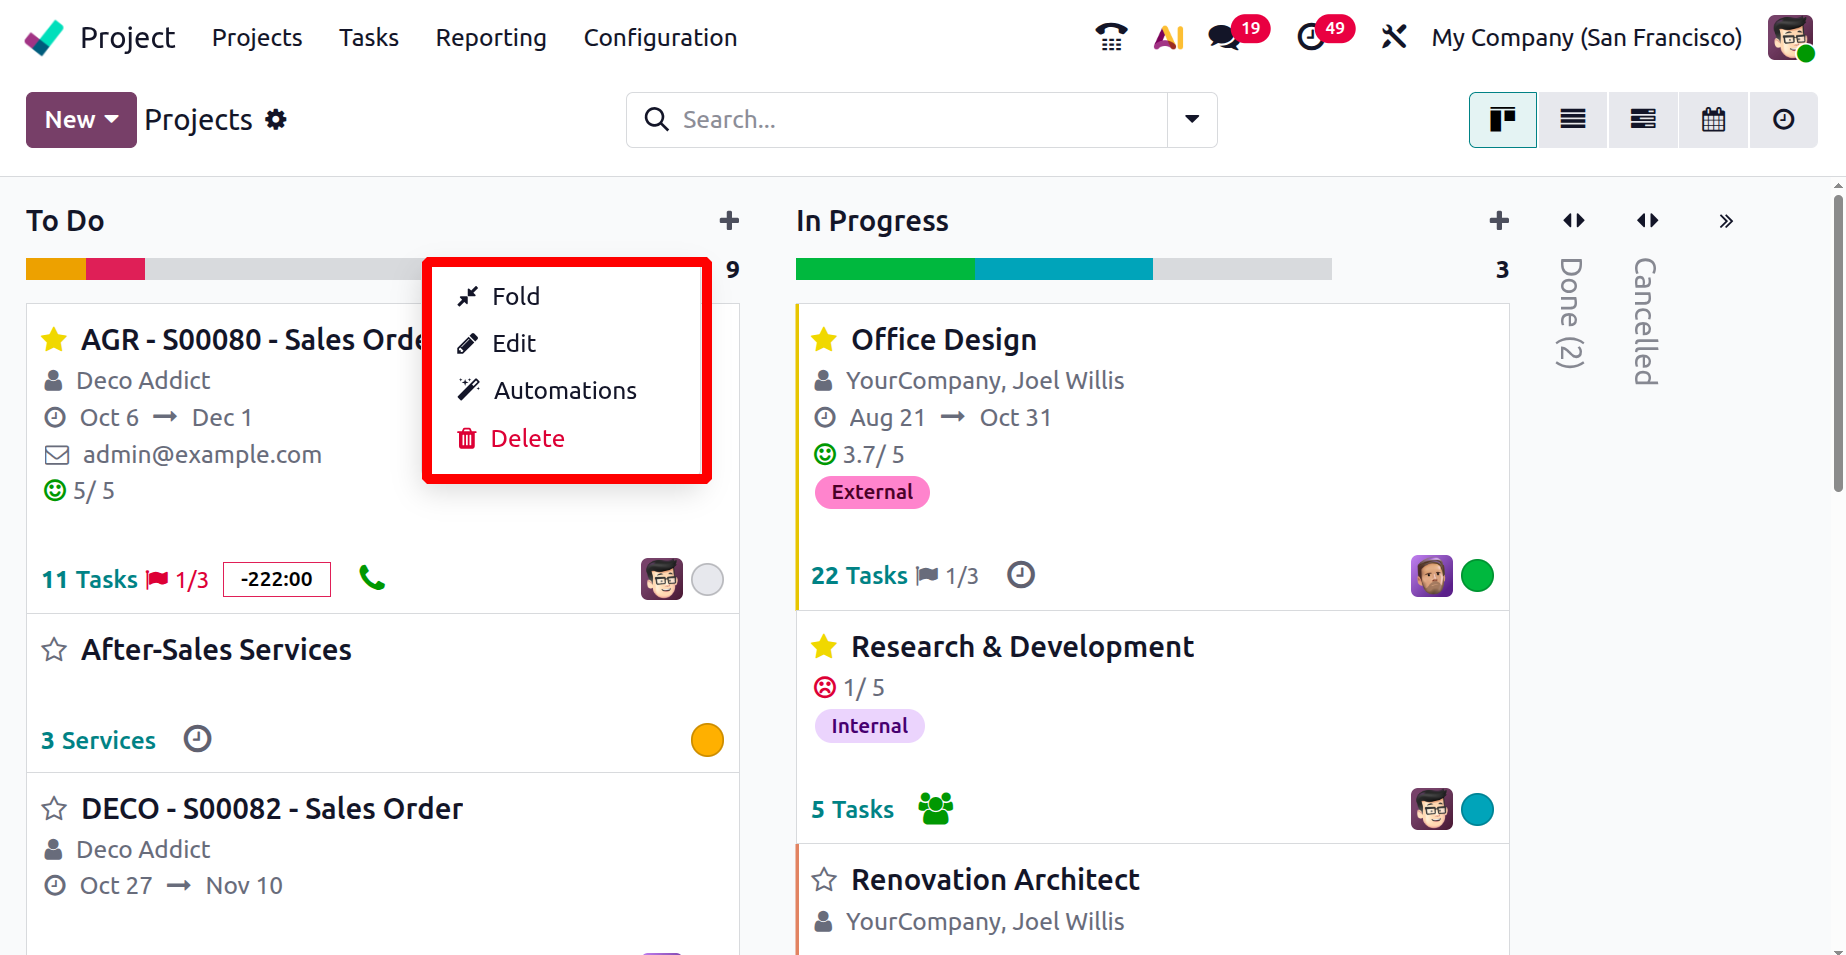
The gear icon also contains the Fold, Edit, Automations and Delete options.
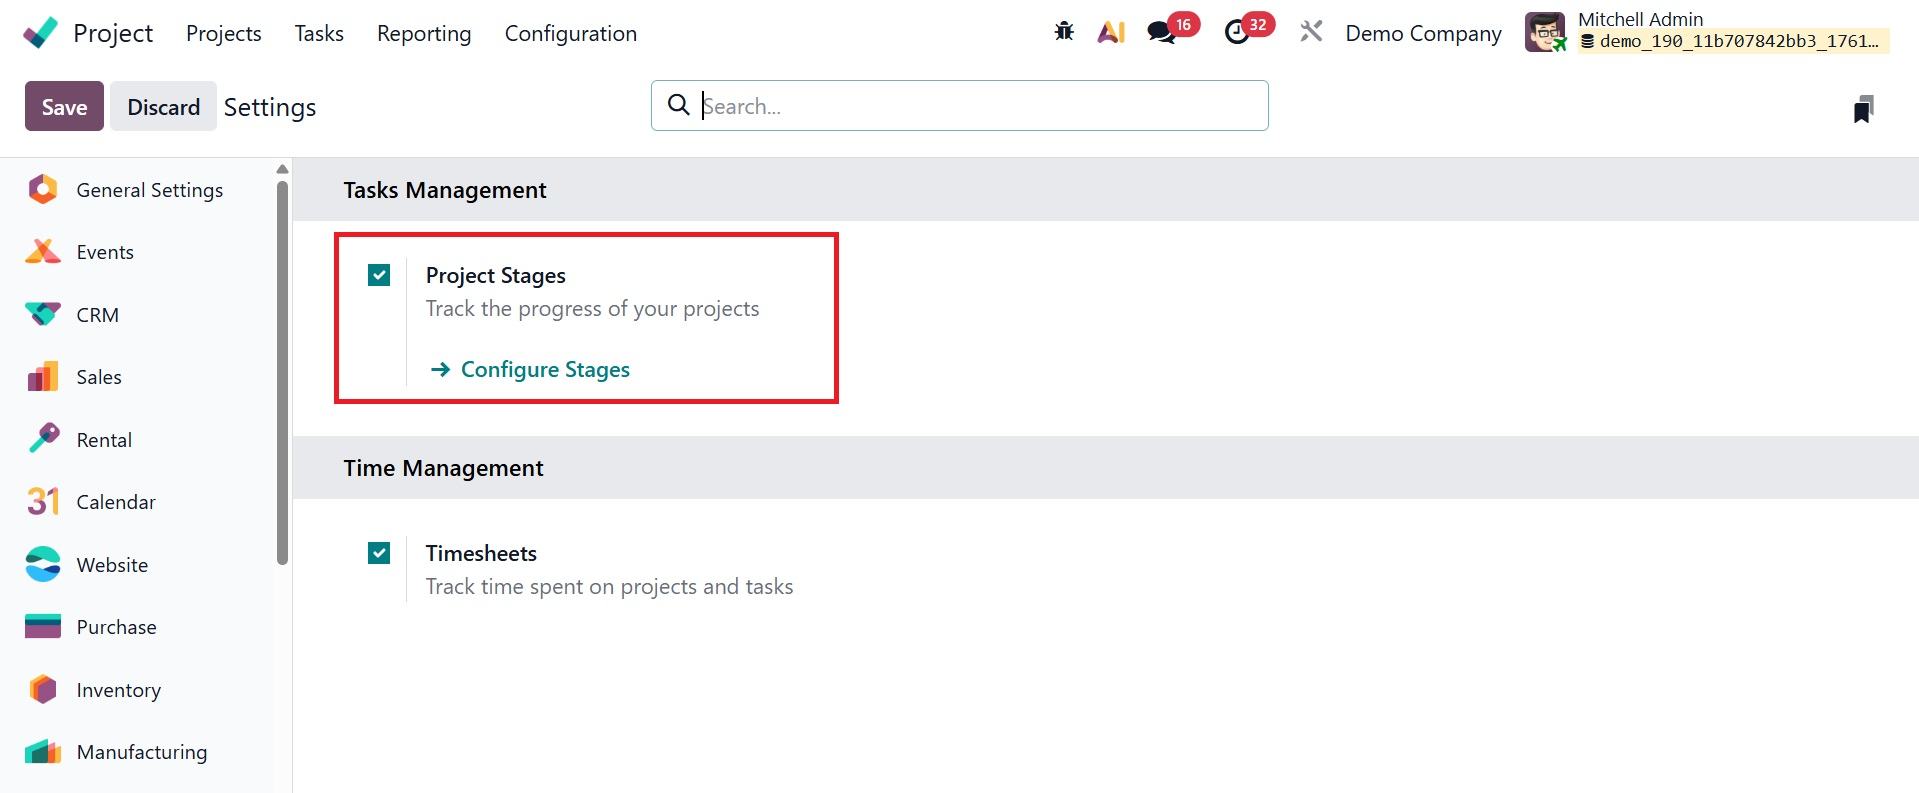
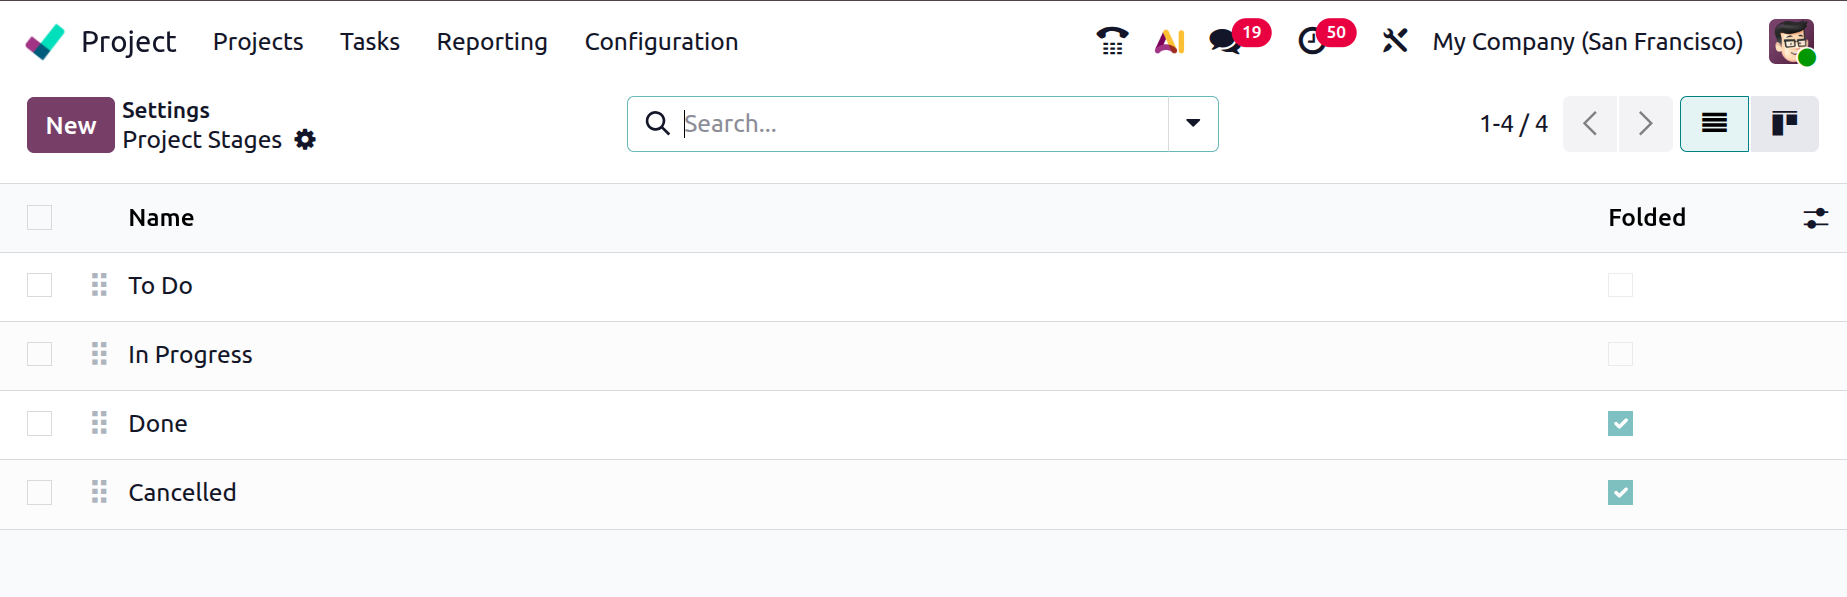
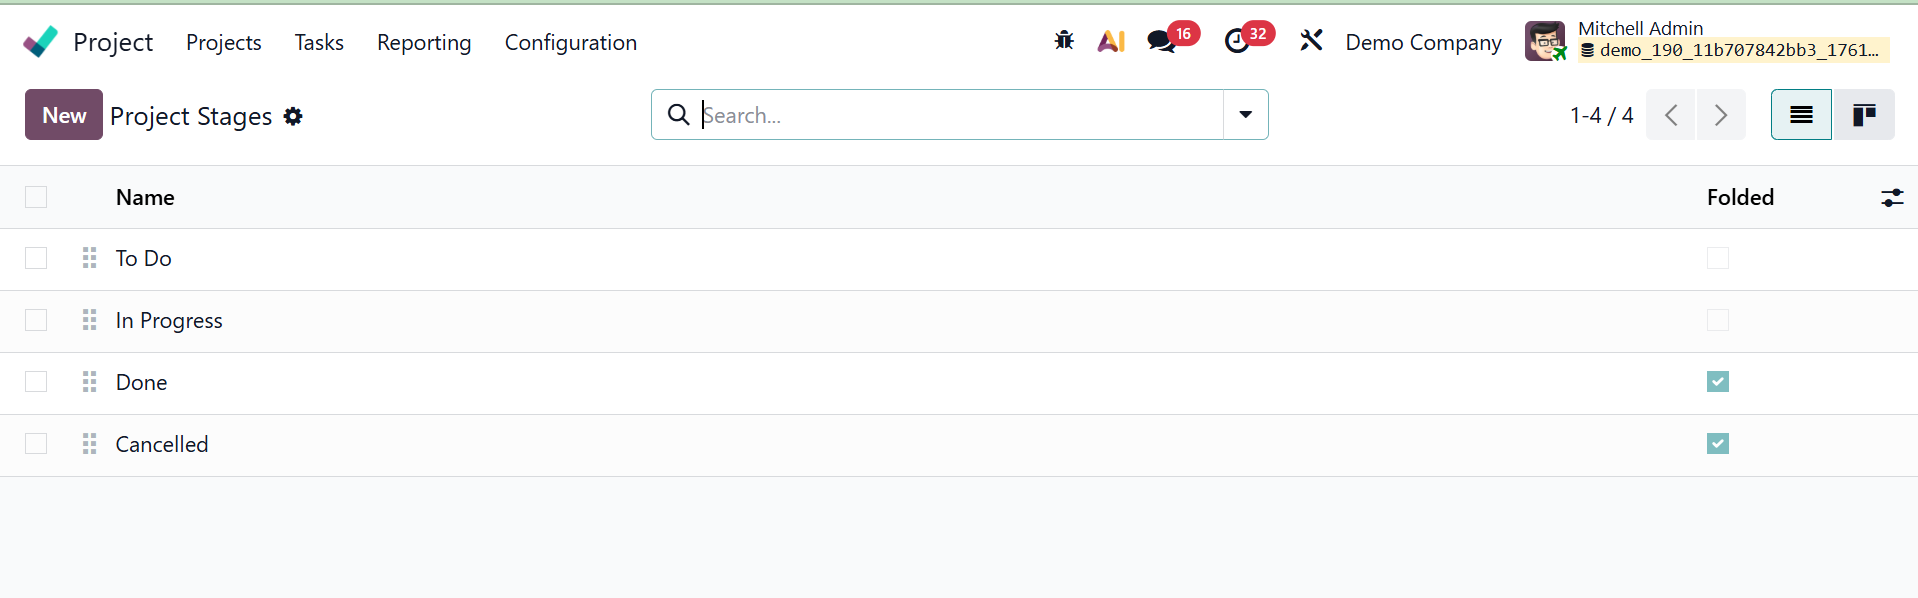
Click on the Configure Stages, then which will redirect to the Project Stages.

The pre-configured stages for your projects will be displayed on this platform. The project stages' names are listed below. By selecting the New option, you can add a new project stage.
When you select this button, a new line will appear beneath the current project stages, where you can describe the new project stage. If you want to fold this step in the project's Kanban view, turn on the Folded in Kanban field. To save the new level, click the Save button.
Once this feature is activated, the Project Stages option will show up in the Configuration menu of the module.
The time management option, which allows you to monitor the amount of time spent on activities and projects, is located beneath that.
1.2 Project
You may create, examine, and manage all of your company's projects with the Project option.
It lets you set up the project name, customer, company, project manager, stage, and communication and progress tracking parameters.
Creation of a new project is the same as explained under the project menu. There, you are provided with a drop down menu to cretae a new project and select a project template, as shown below.
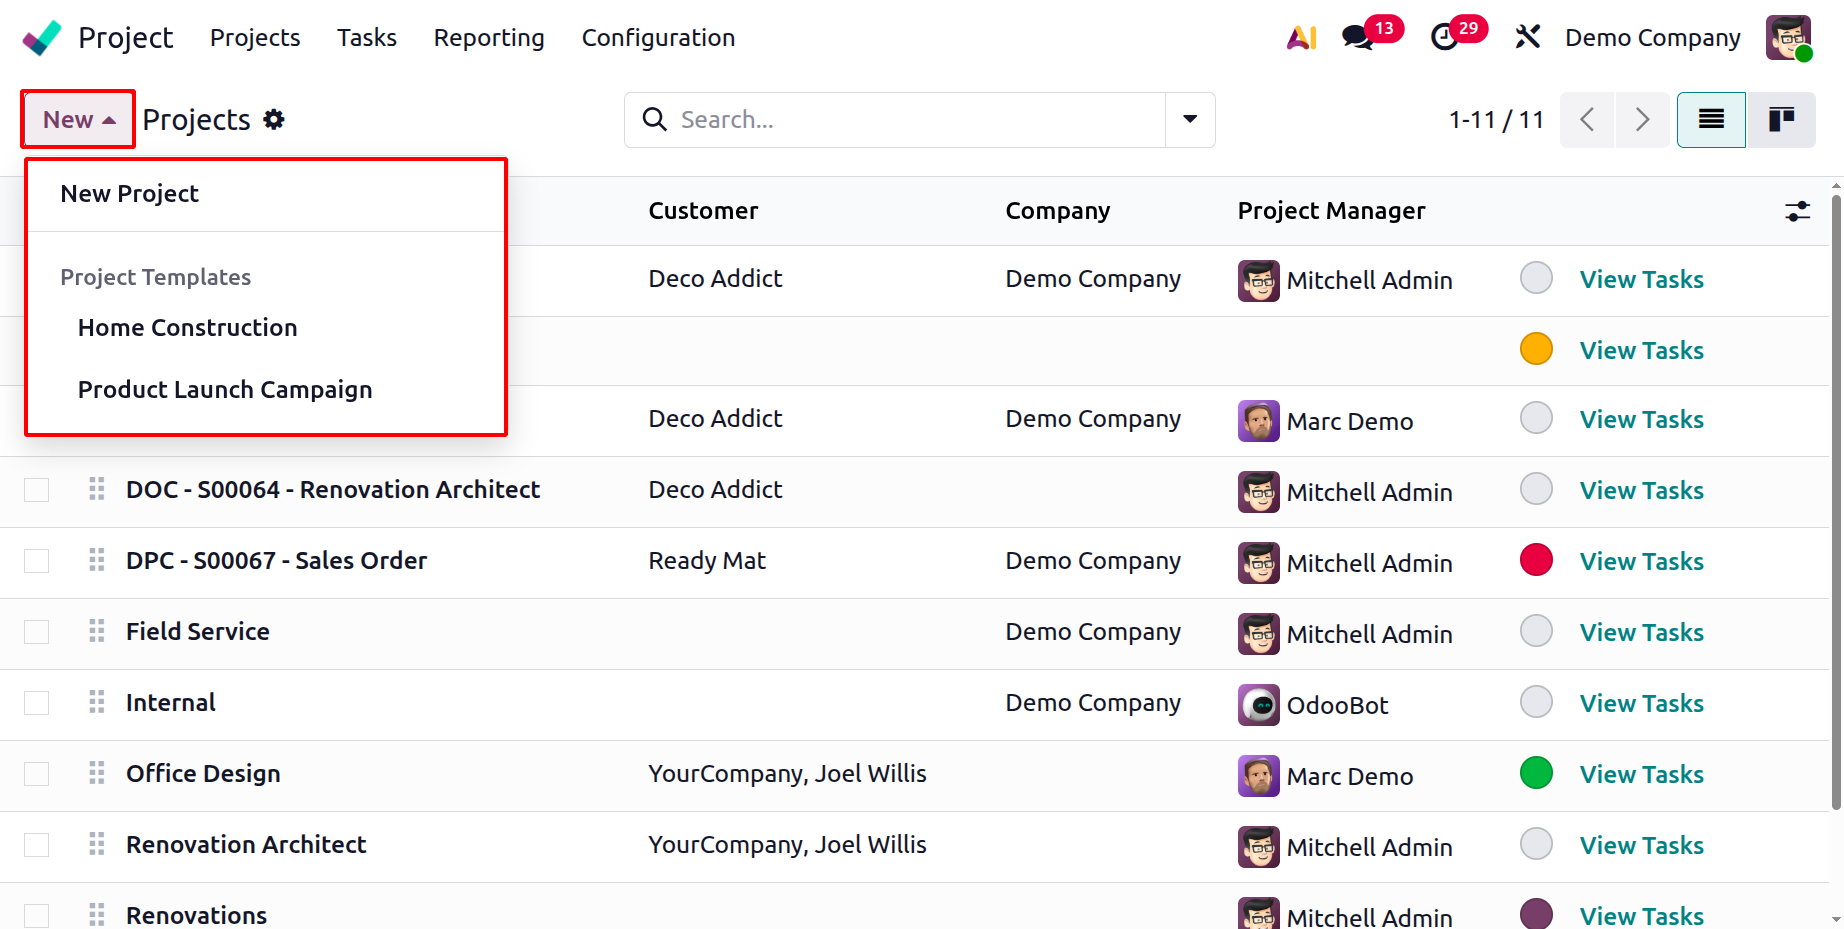
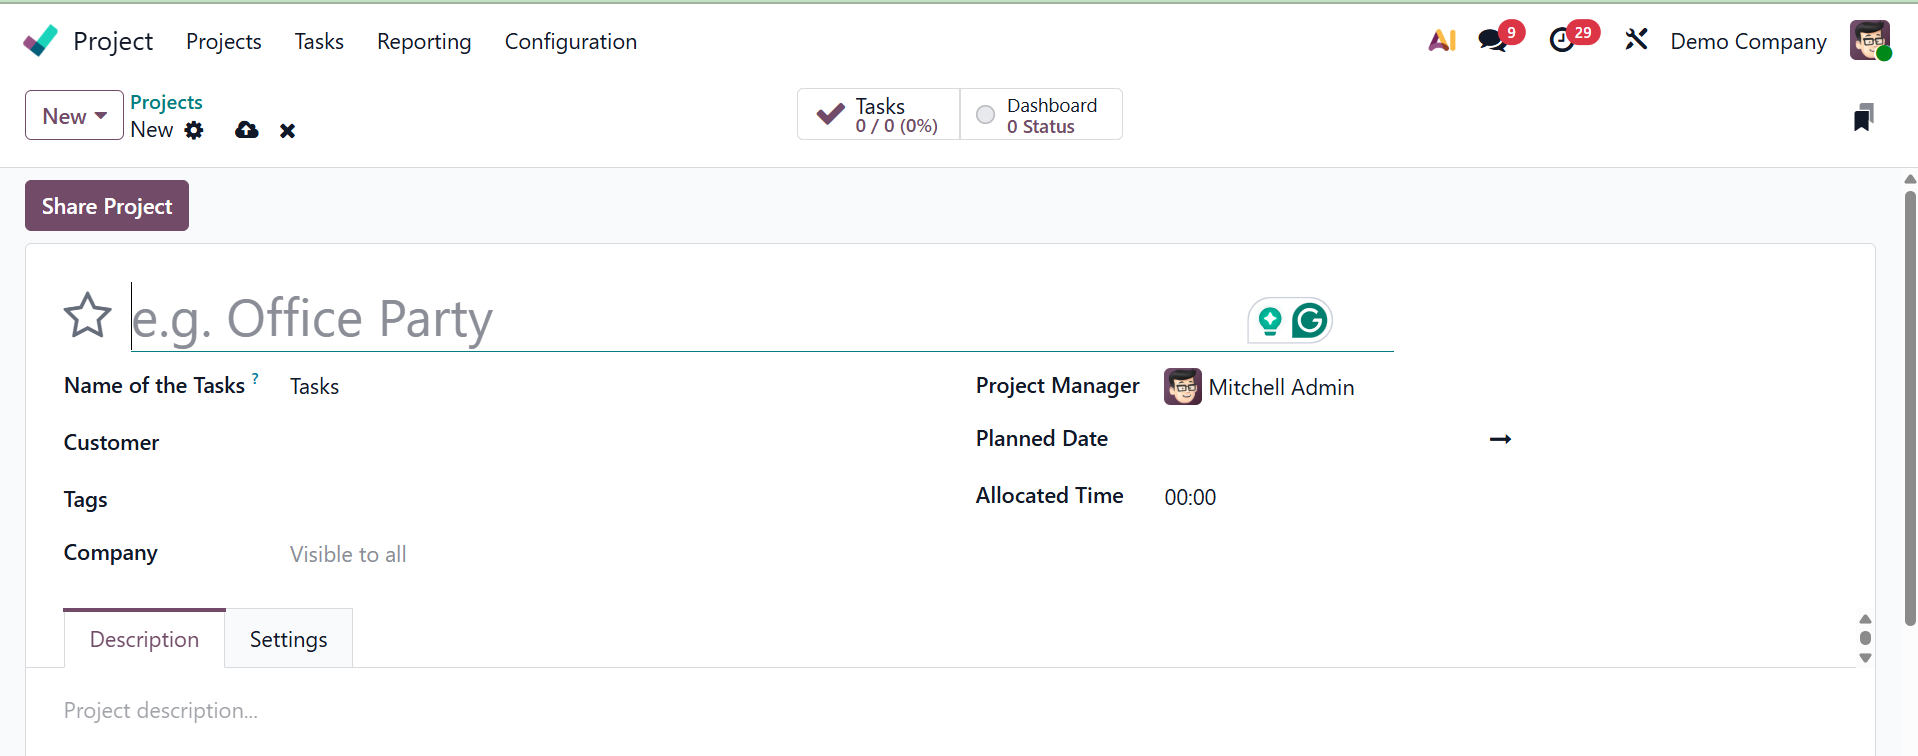
On selecting the New Project option, you can easily create a new project by providing the following details.
During the project creation process, you have the option to choose a saved project template. This will save time and provide consistency across related projects by automatically populating the project with the tasks and configurations specified in the selected template. To create a project from a Template, select the project template option, where you get a pop up, as shown below.
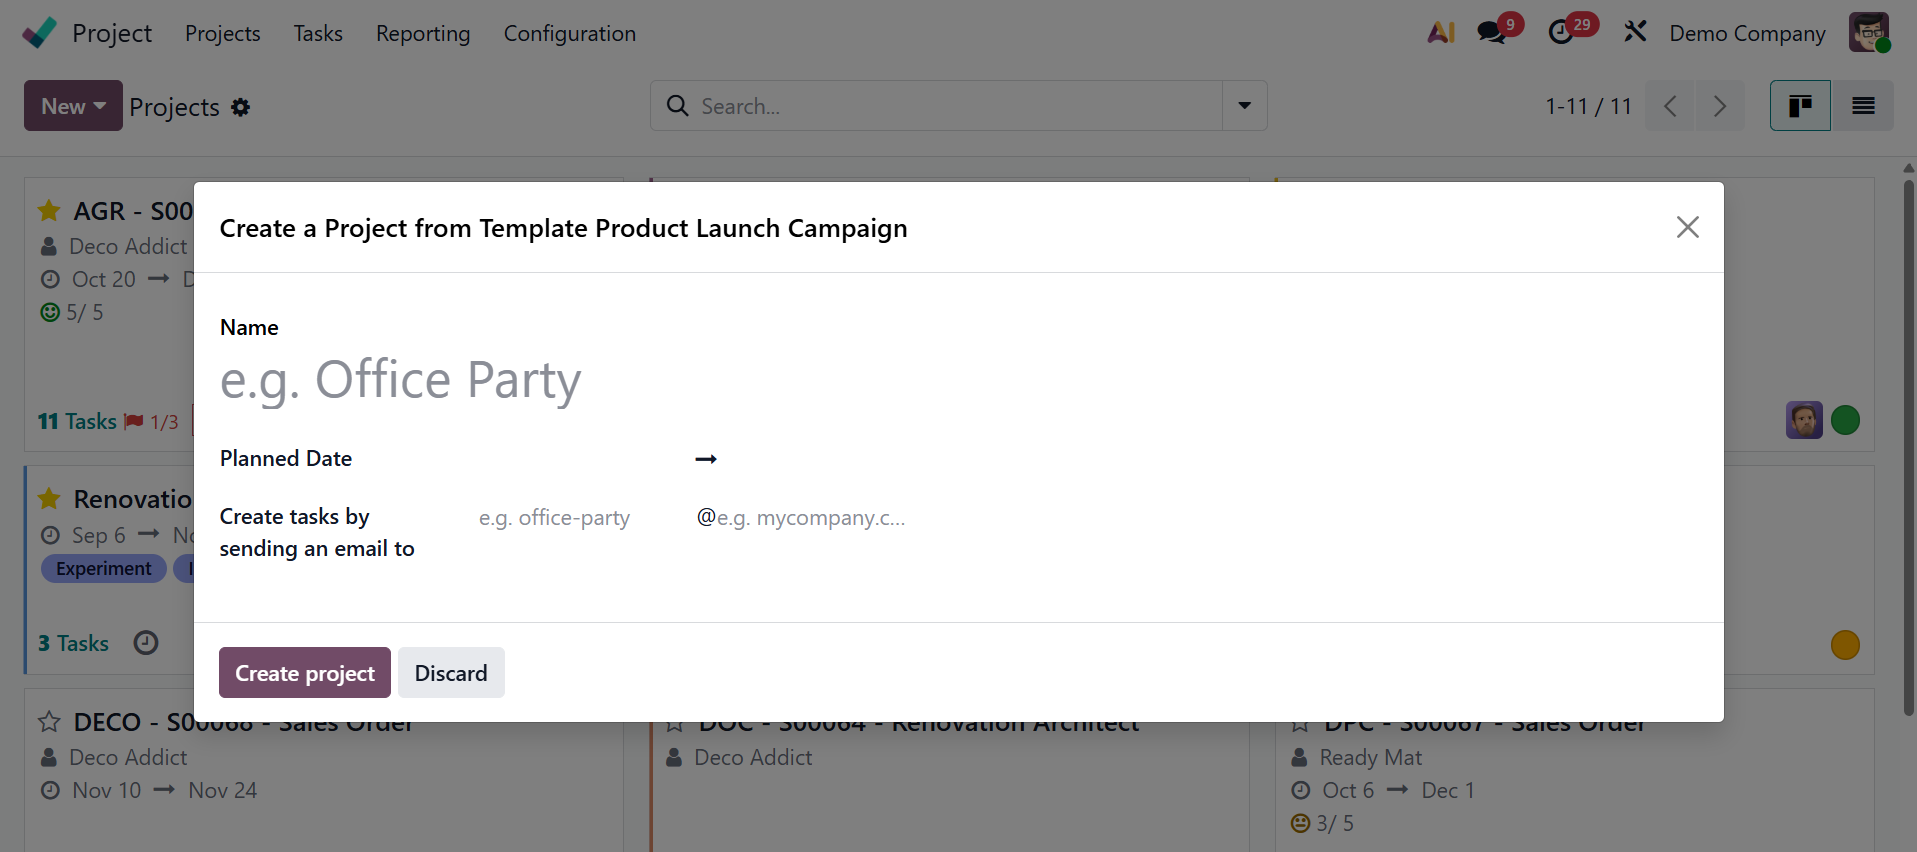
The "Create a project from Template" or similar option is usually seen next to the conventional "Create Project" button when starting a new project. From the available options, choose the project template you want. To save time and provide a consistent structure, the new project will be constructed using all of the pre-defined components from the selected template.
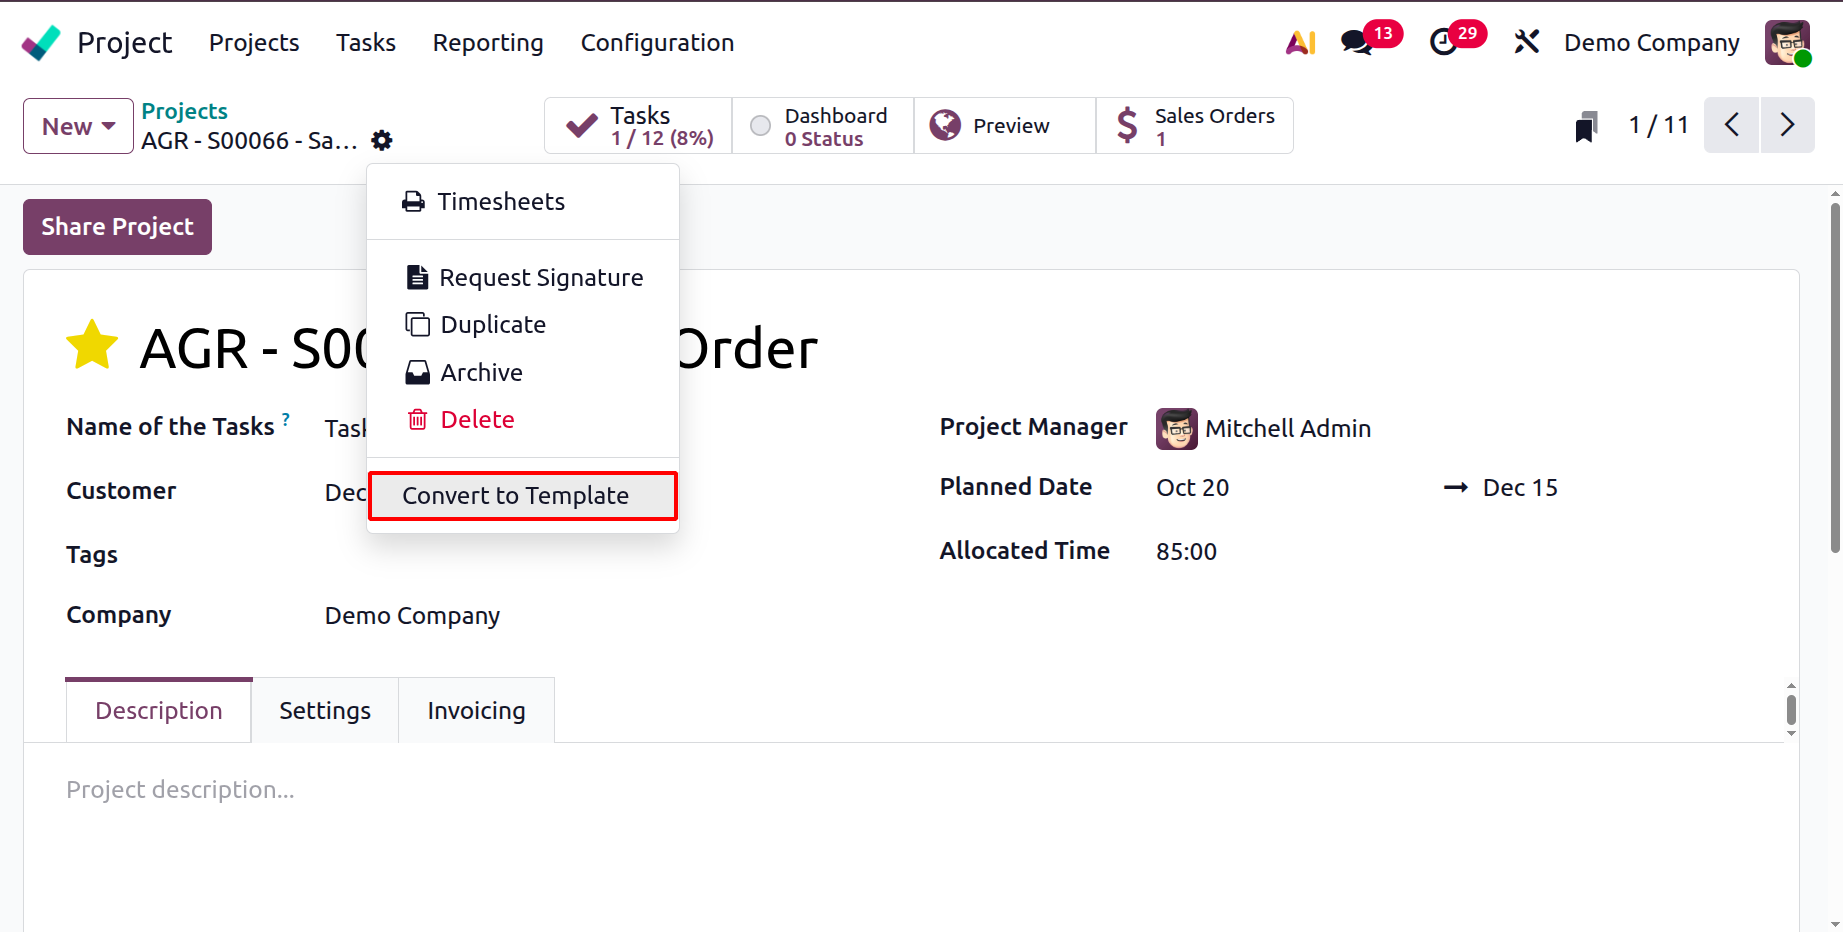
You can also make use of the convert to template option, as shown below.
1.3 Project Stages
The various stages that a project goes through from start to finish are referred to as project stages. These stages can be created, edited, and managed by users, who can also decide whether to fold a stage in the Kanban view.
1.4 Task Stages
When creating tasks for a project, we talked about adding new task phases. An alternate platform for task stage management is accessible through this module's Configuration menu. If you divide activities into phases based on their current stages, tracking them will be simple.
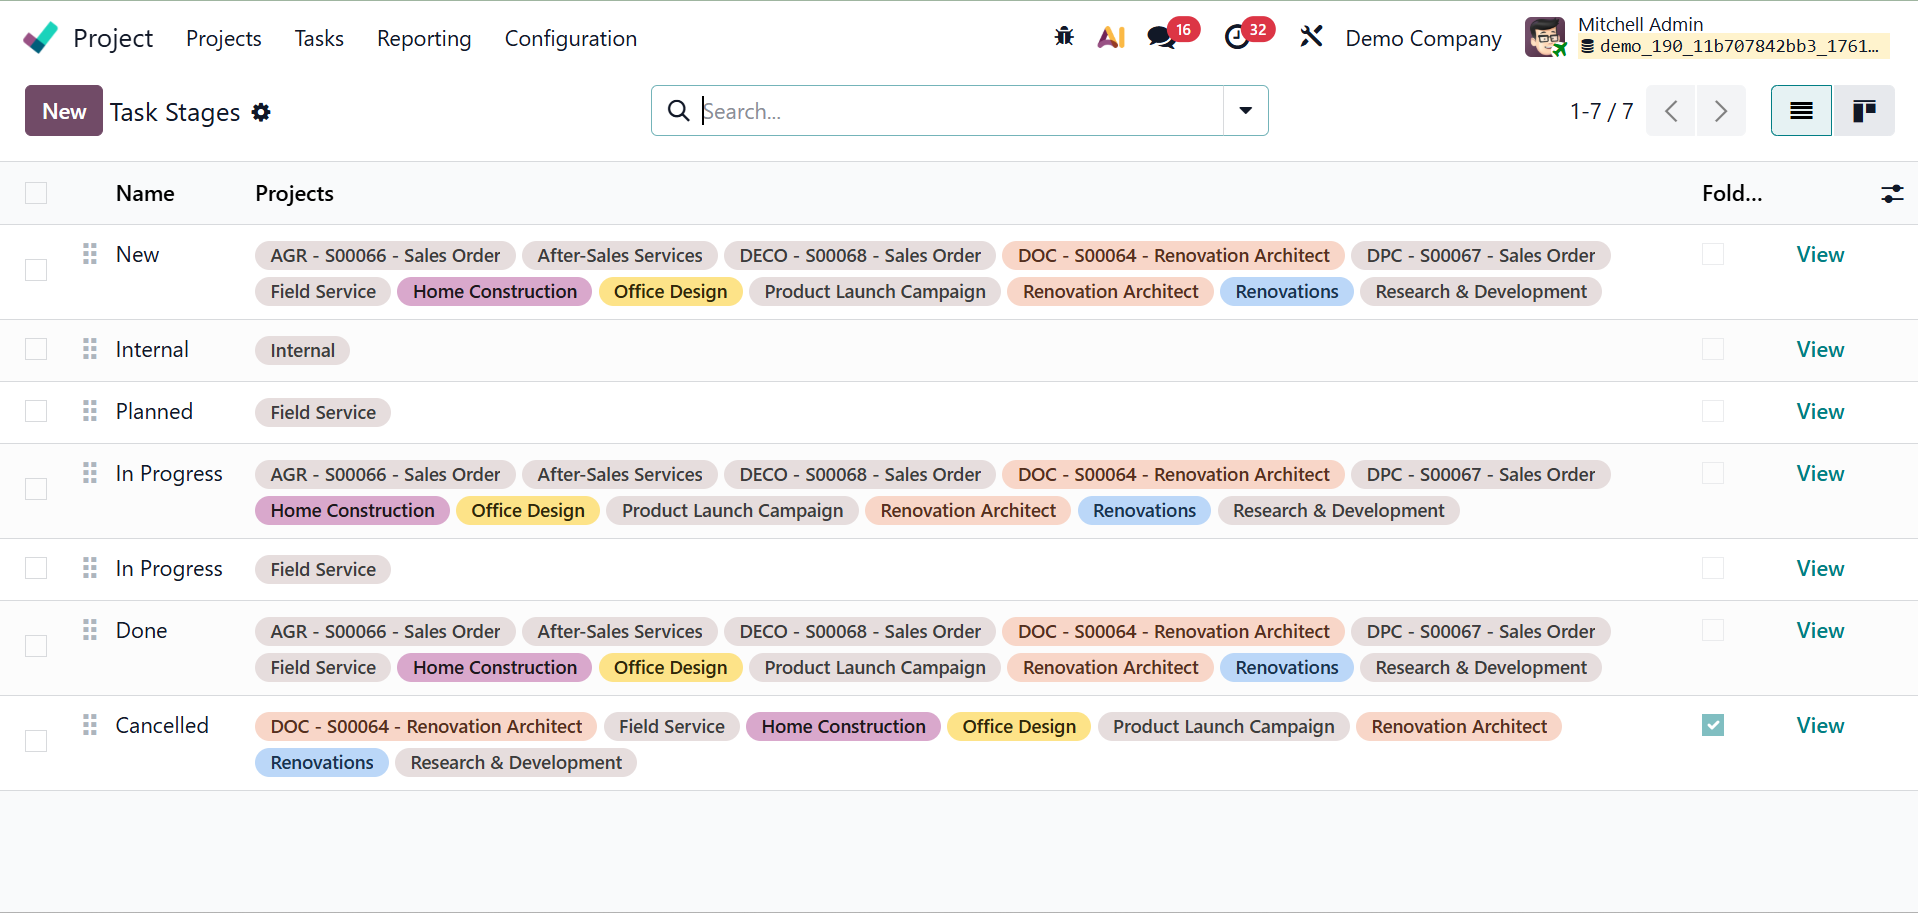
The Name and Projects of each Task stage are displayed in the list view of the task stages, as seen in the screenshot above. Clicking the New button will reveal a form view where you can add a new task stage.
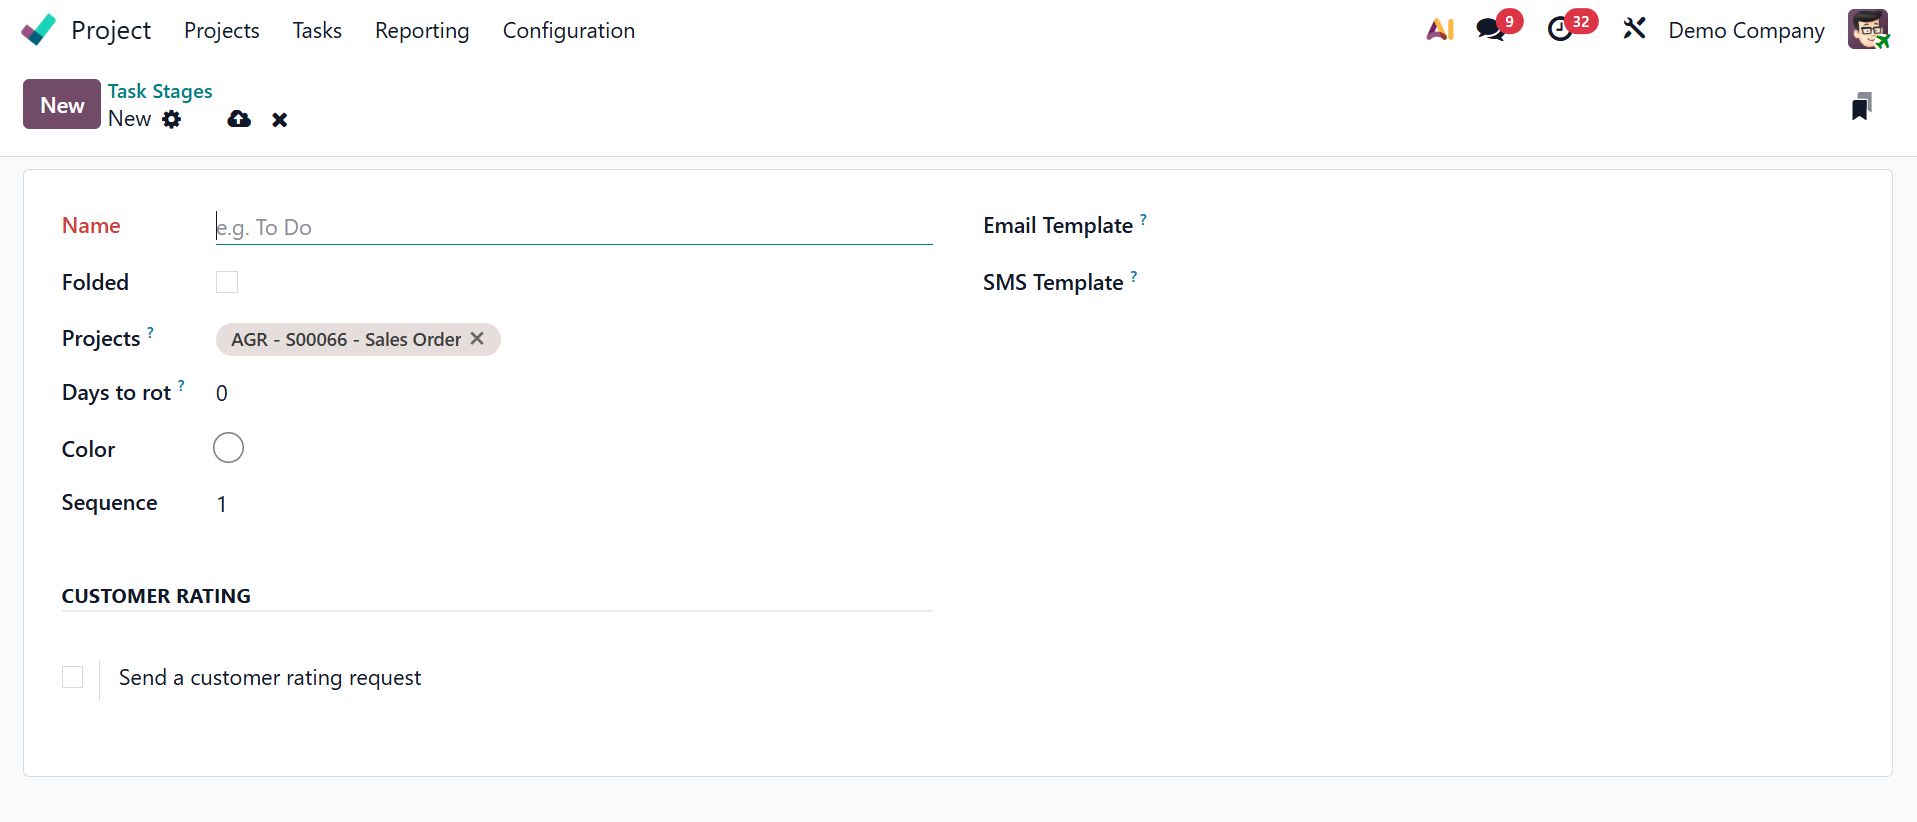
In the designated space, name the task stage. If necessary, you can modify the stage's sequence number here. Activating the Folded in Kanban option will fold this stage in the Kanban view.
number here. Activating the Folded in Kanban option will fold this stage in the Kanban view. The Projects tab allows you to designate which projects you wish to add this stage to. The other options here include,
- Color → Enables you to visually organize or distinguish jobs on the Kanban board by giving the stage a color.
- Email Template →When a task enters this phase, it automatically sends a pre-programmed email (for example, updating a client on progress).
- SMS Template → When a task reaches this point, it automatically sends a pre-written text message.
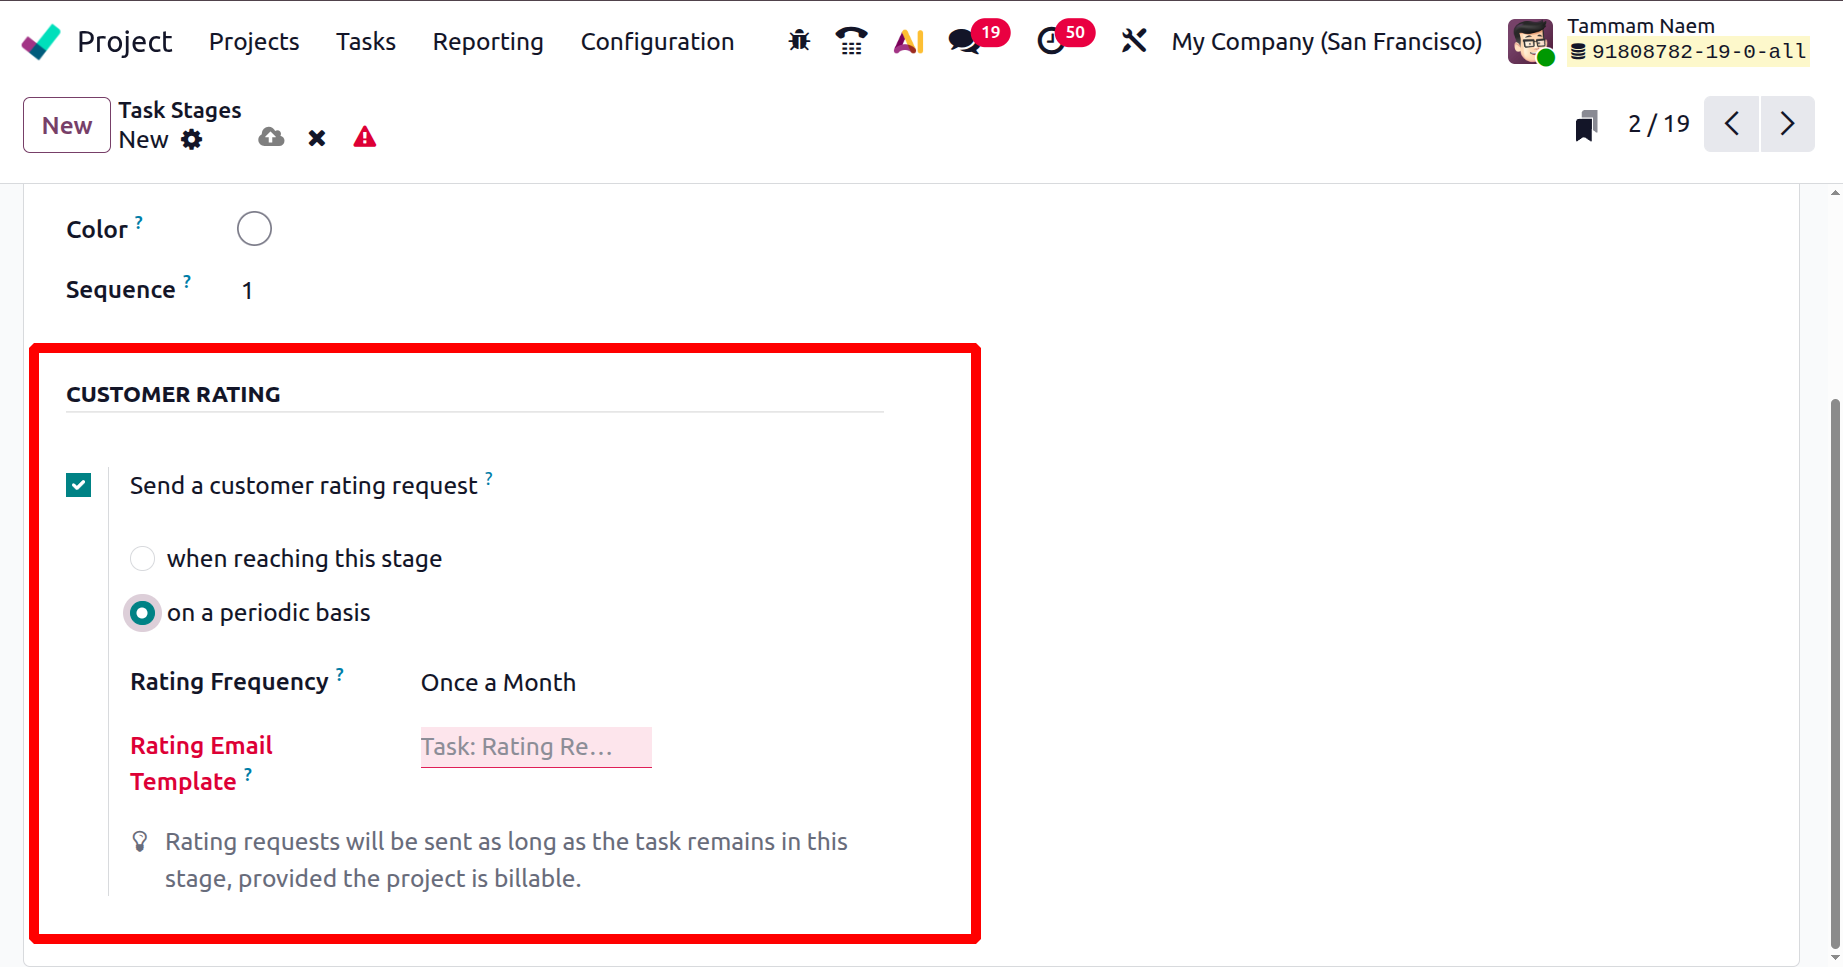
Customer Rating It enables you to get ratings or comments from the client after the task is finished or reaches this point. There, you can activate a customer rating request option, which can be set as when reaching this stage or on a periodic basis. You can also set a rating frequency here. Then, a rating email template can be added as well, as shown below.
1.5 Tag
Generally speaking, using tags is a smart way to facilitate searches. Most Odoo 19 modules have tag configuration options. The Project module's Configuration menu also has the Tags option, as can be seen below.
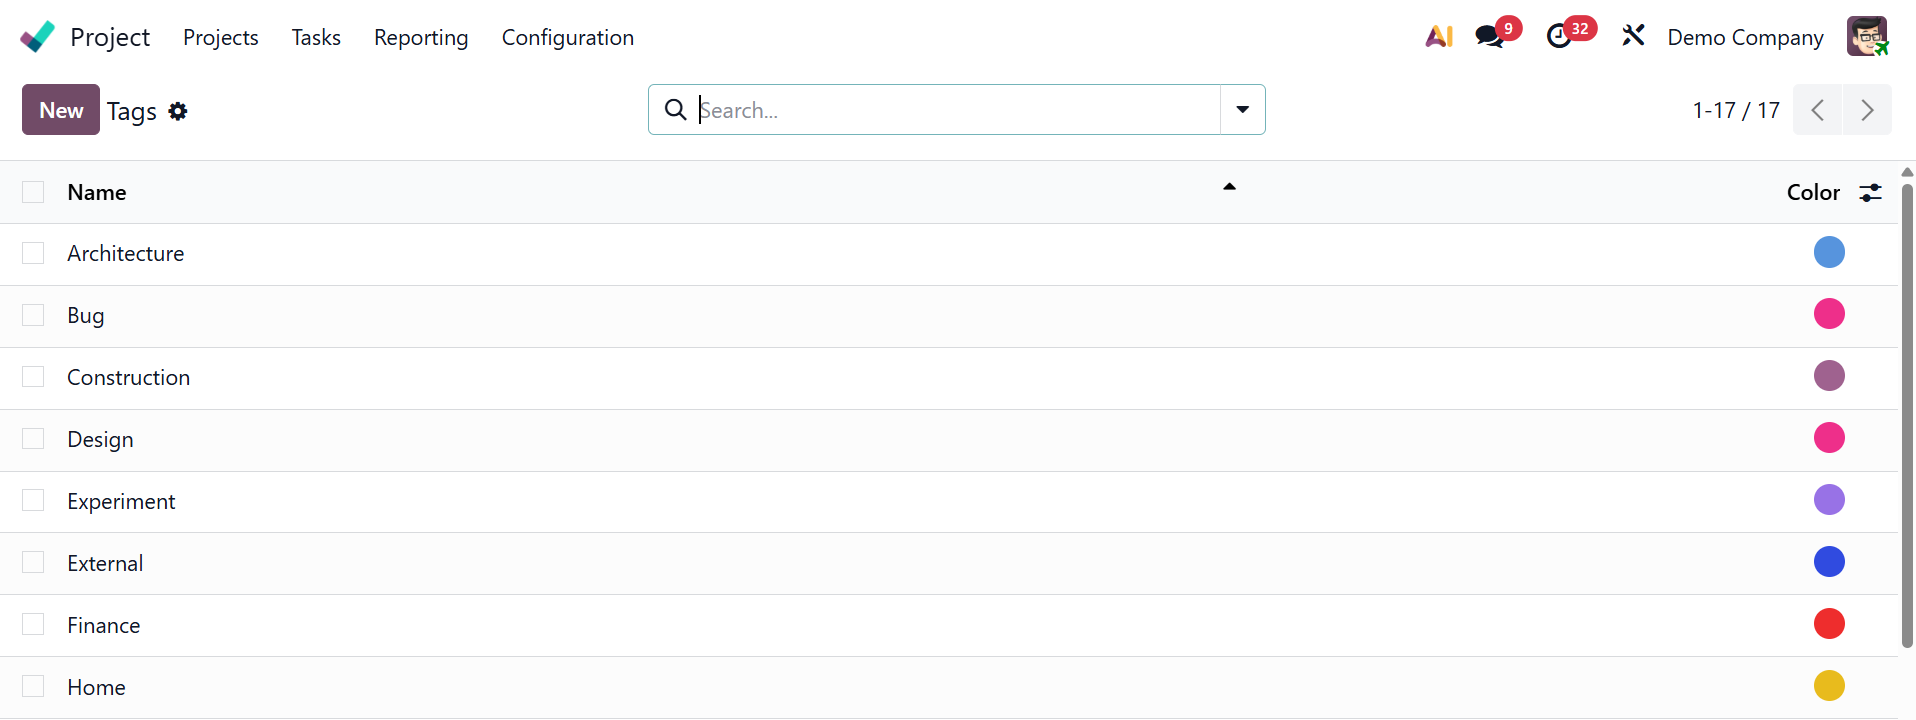
When you click the New button, a new line appears where you can input the name of the new tag. To save the updated tag, click the Save button.
1.6 Project Roles
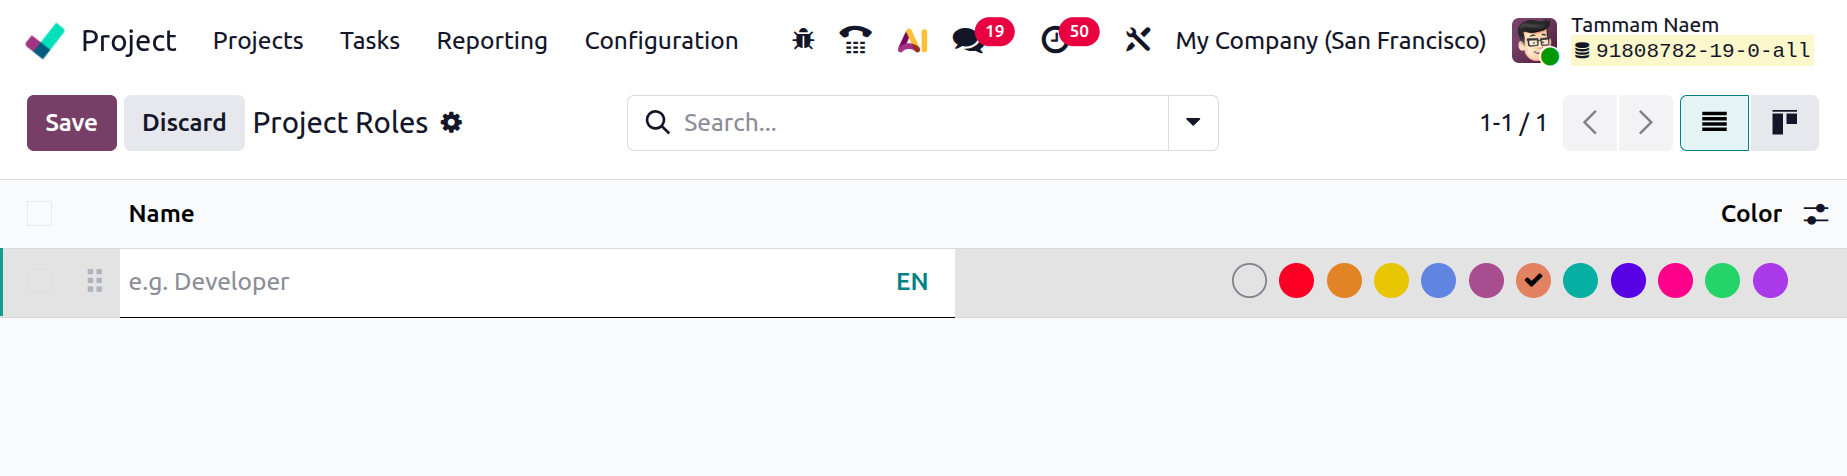
To specify particular roles or duties that team members may have within a project, utilize the Project Roles option, as shown below.

Click on the New button to add a new role. Add the Role name then choose the colour.
1.7 Activity Types
Scheduling phone calls, emails, and meetings may be crucial while working. Thus, these activities can be configured using the Activity Types in the Configuration menu. Additional types of activities can be added by using new buttons.
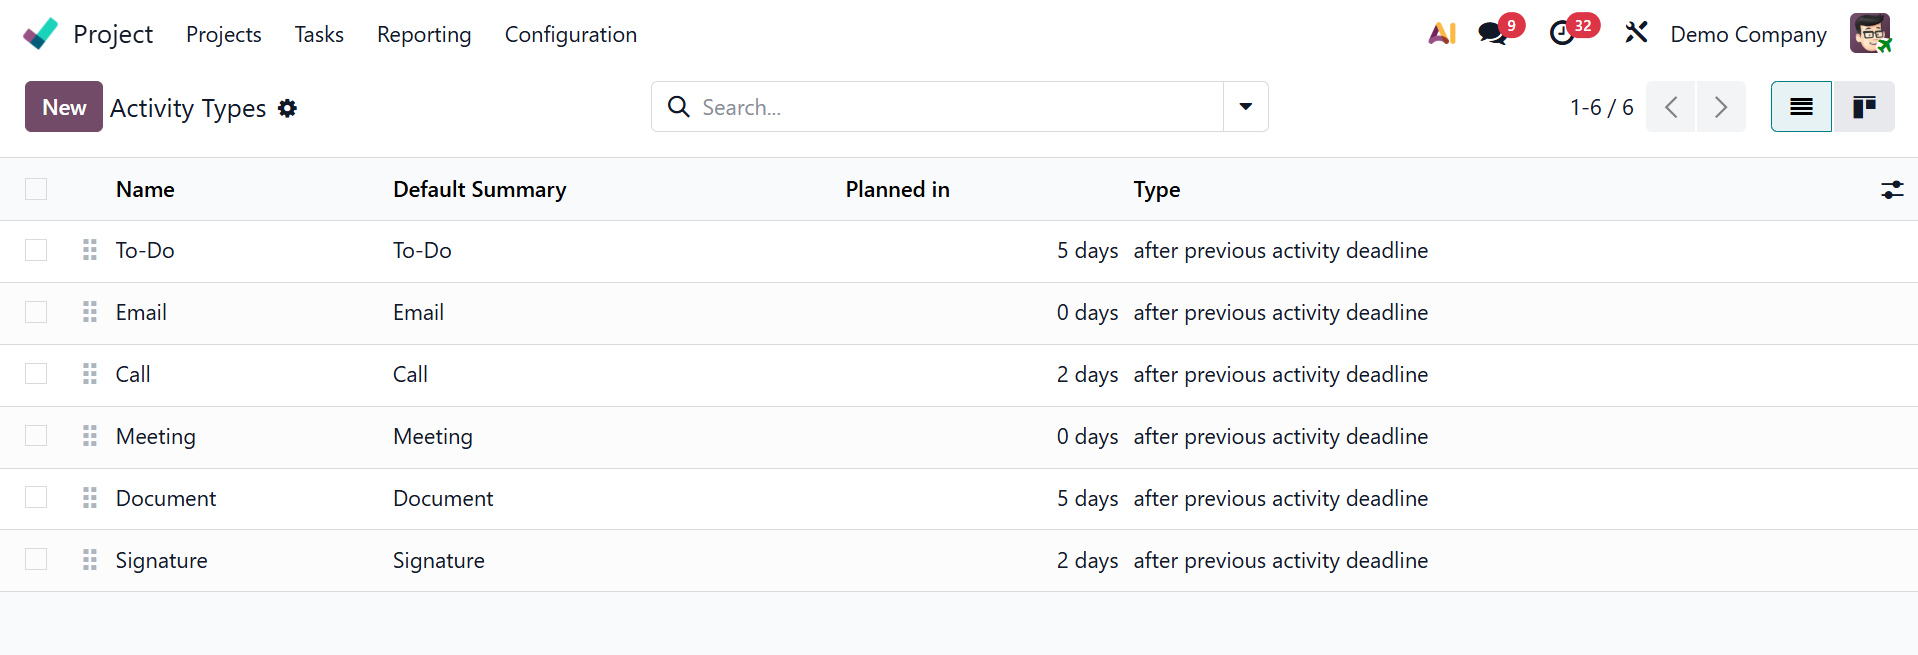
It is necessary to provide the following: the email template, timetable, activity name, default user, model, default summary, icon, decorating kind, chaining type, recommendation, and action to be carried out during the activity. As a result, the process for creating an activity is the same for all modules. You have those as mentioned above in the activity settings.
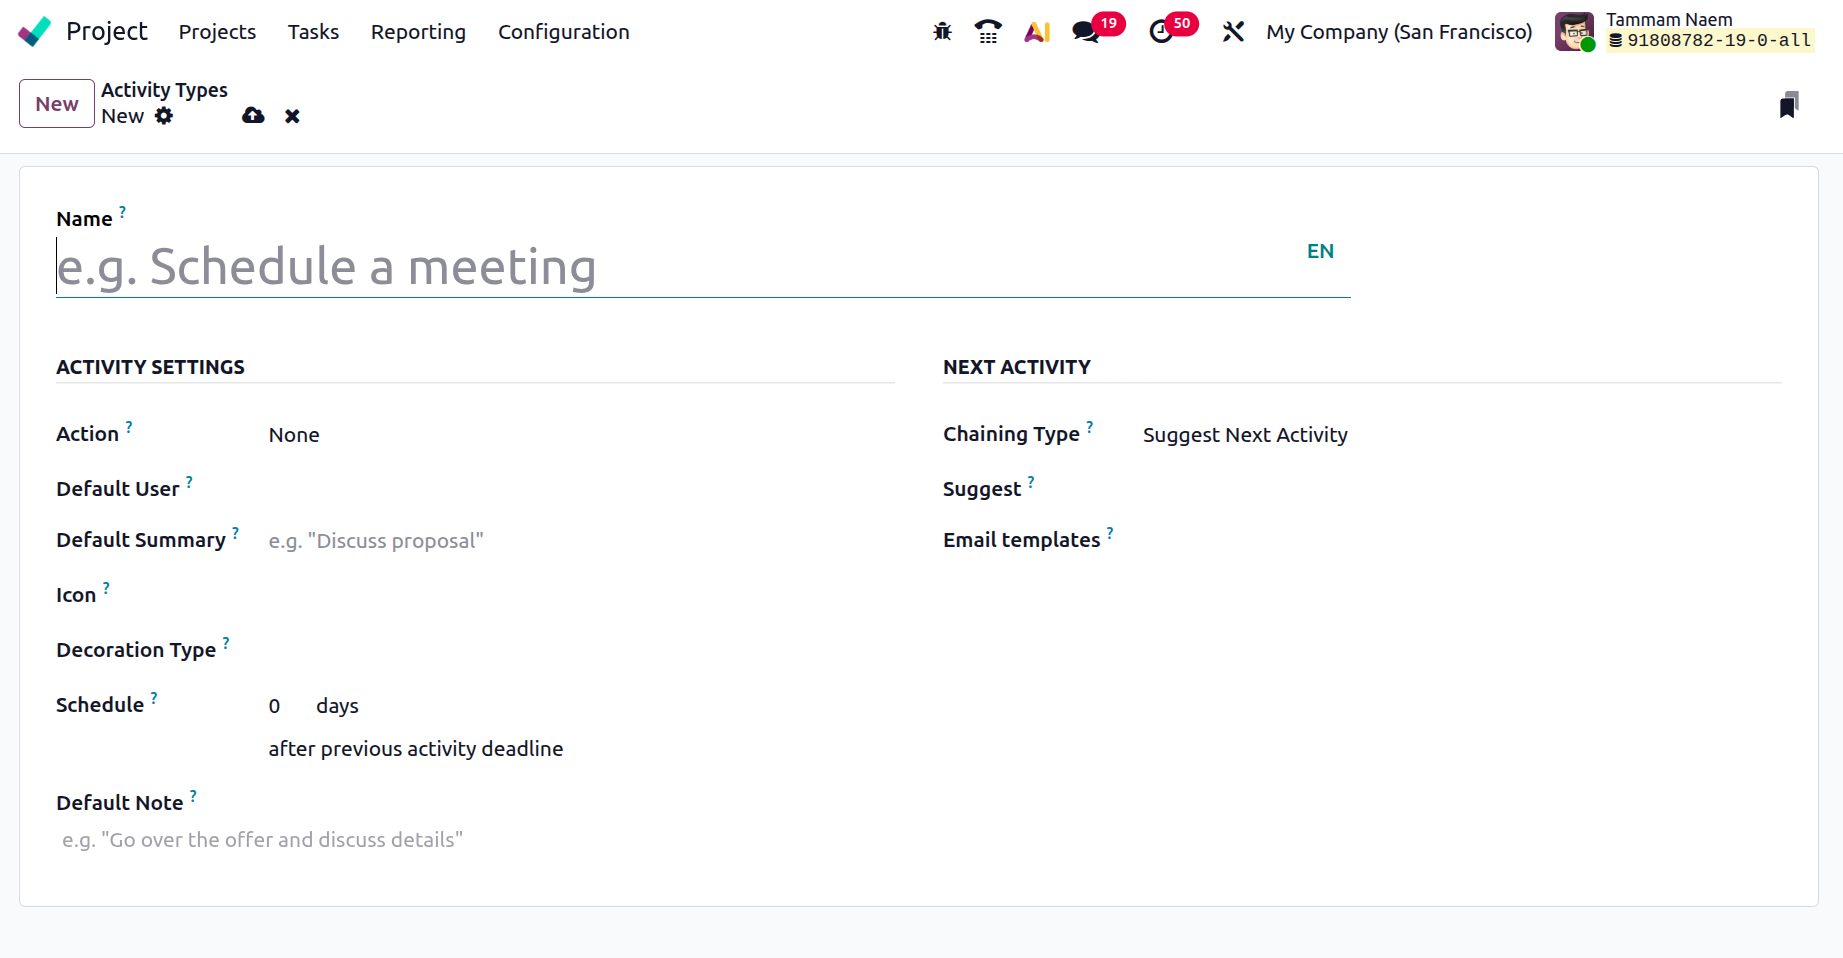
- Action:Indicate the action that the activity initiates, such as "Reminder," "Upload Document," "Phone Call," or "Meeting."
- Default User:Indicate which user is used by default for this action.
- Default Summary: Type in the activity's default summary.
- Schedule: Allows you to specify the default time or delay (e.g., two days after a task is created) for when the activity should be scheduled.
- Default note: When this activity type is chosen, a pre-written message or instruction is displayed automatically.
- Chaining type: Specifies what will happen once the activity is finished, such as whether to do nothing or automatically create another activity.
- Suggest: Provides a suggested next step to direct the process (e.g., “Follow-up call” after “Send email”).
- Email template: Allows you to attach a pre-made email format that will be used automatically for this activity when you send an email.
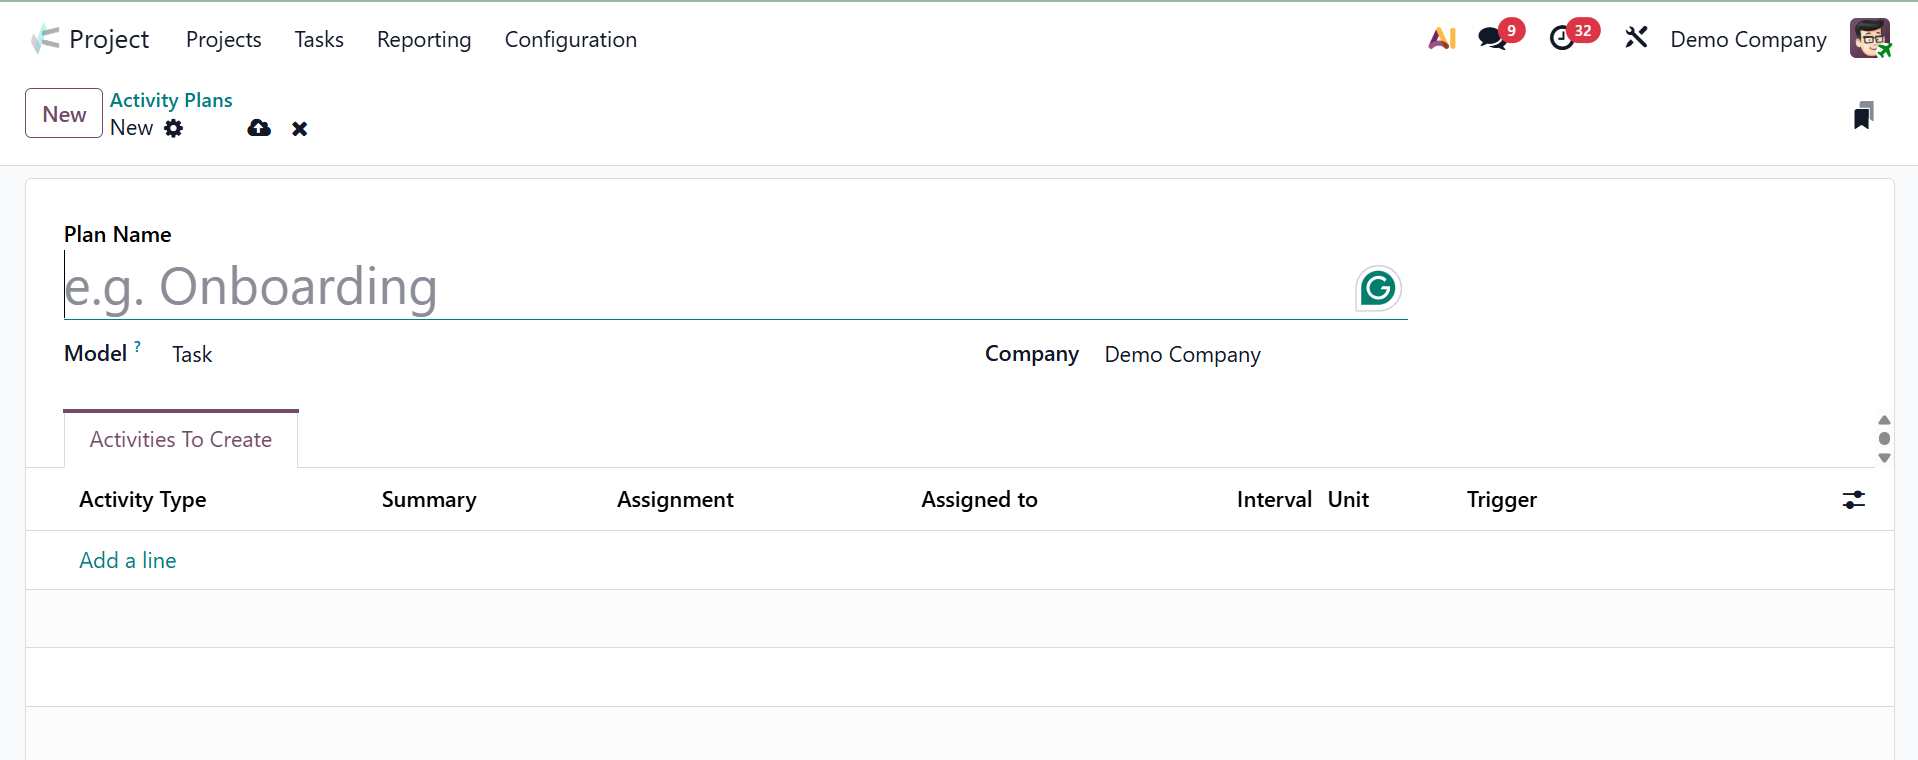
1.7 Activity Plan
Additional activity planning can also be incorporated into the design to complete the task. To add such plans, choose the Configuration menu's Activity Planning option. Next, select the New option to add a new plan.
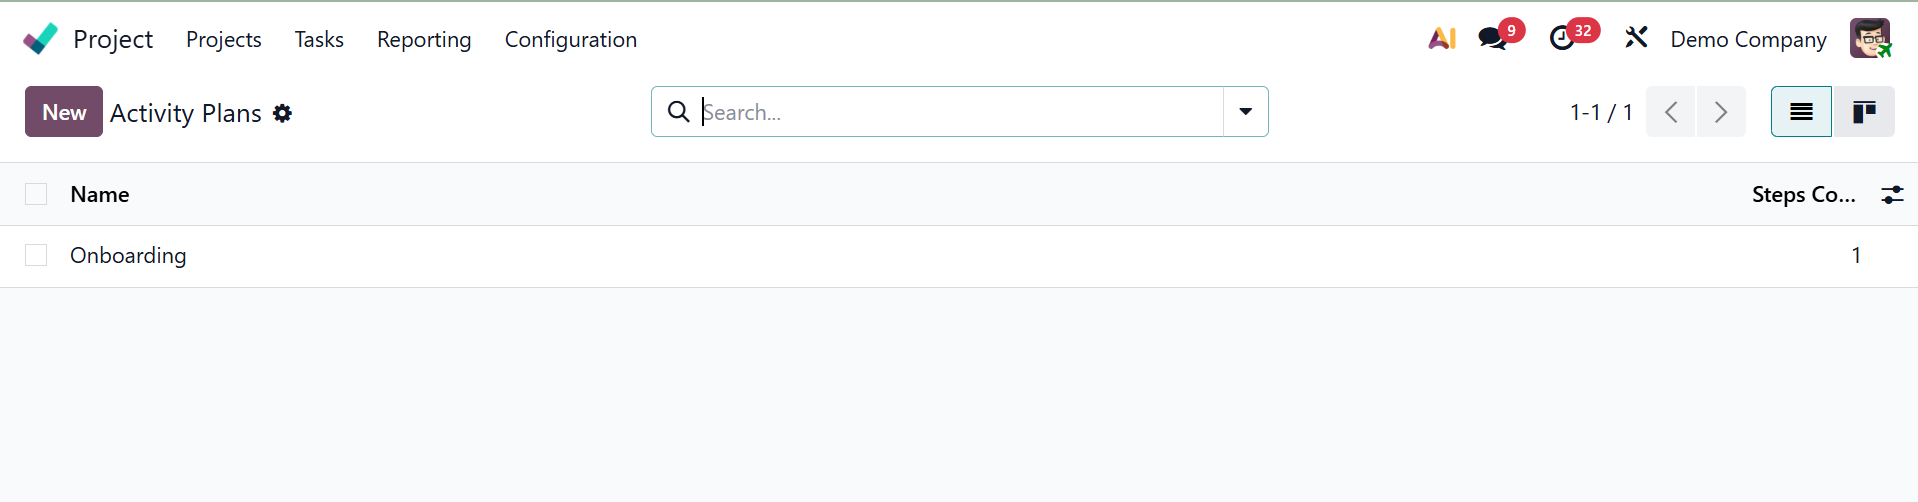
First, identify the company and the strategy. Next, use the Add a line option to add the Activity Types to the Activity To Create tab.