Quality Control
Under the quality control, you have the options, like, Control Points, Quality Checks, and Quality Alerts.
1.1 Control Points
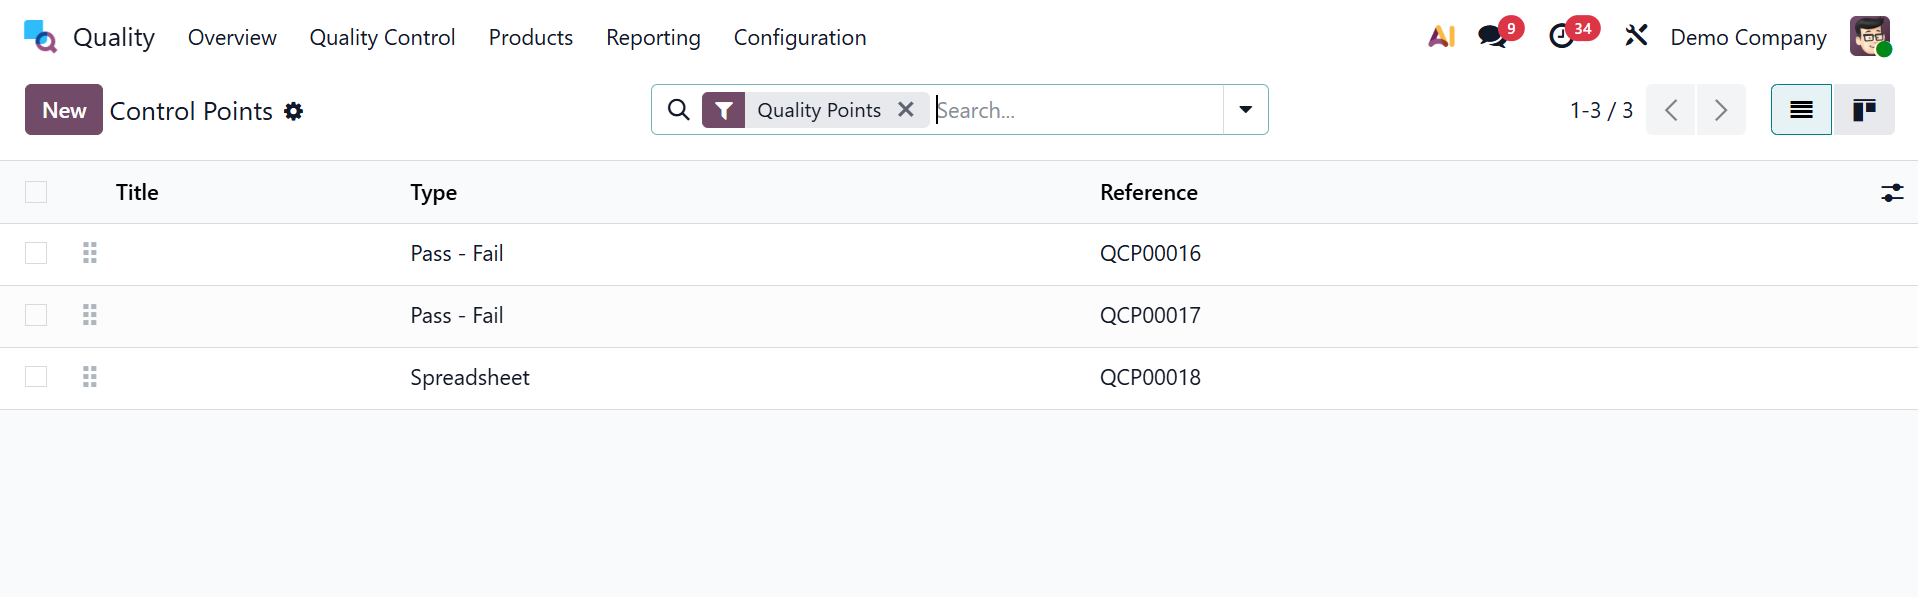
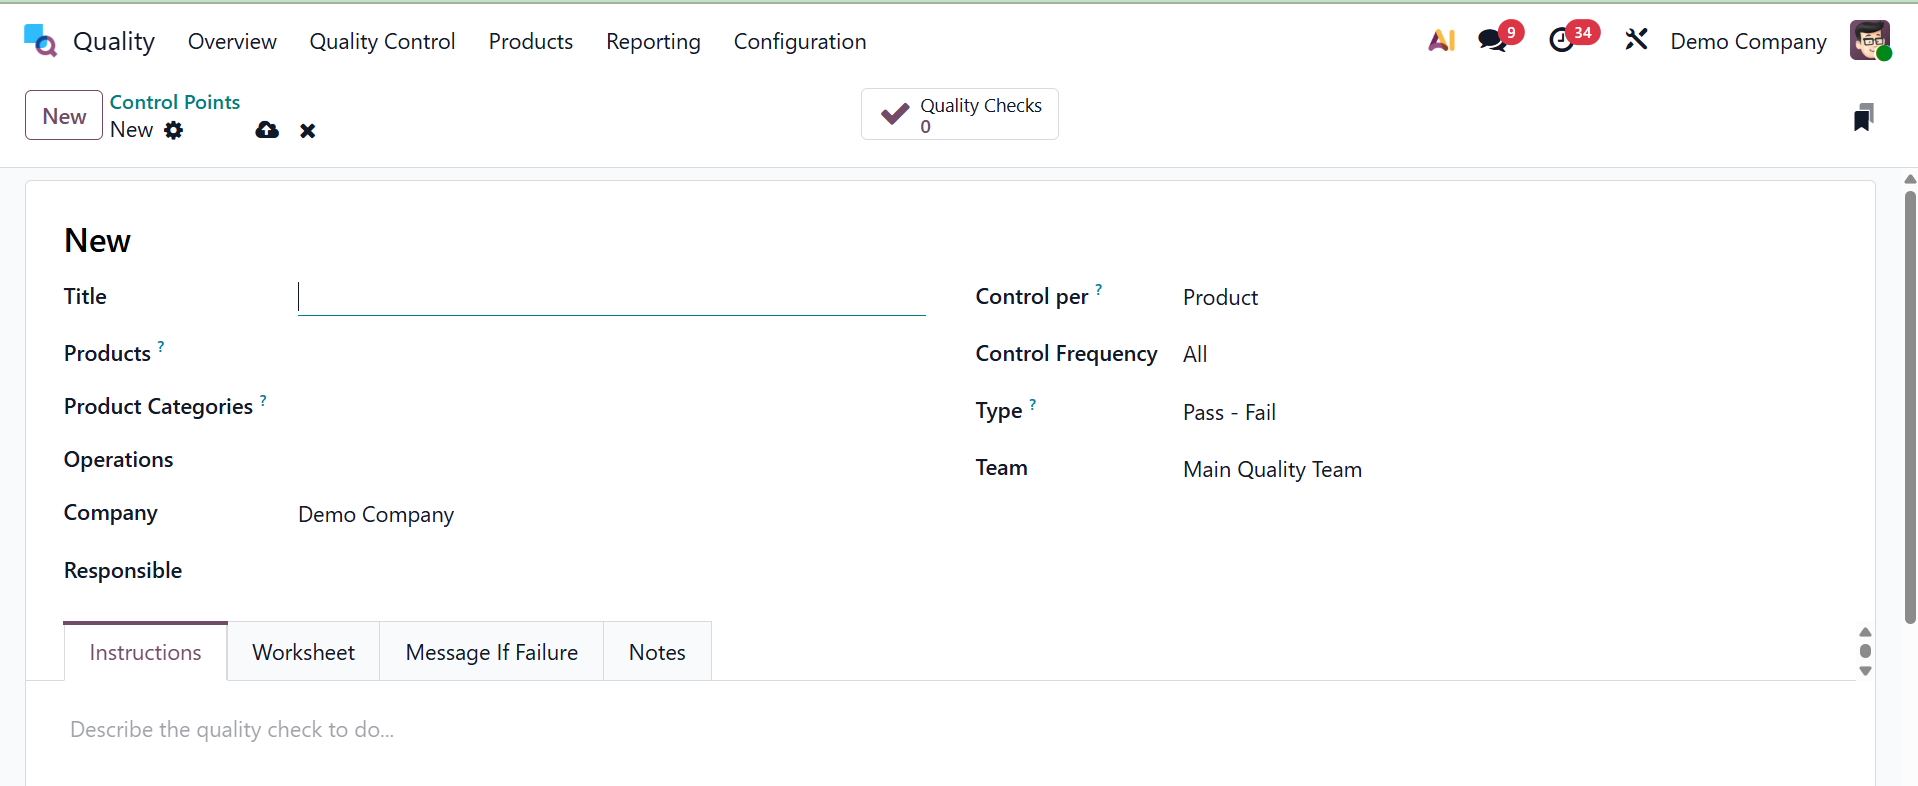
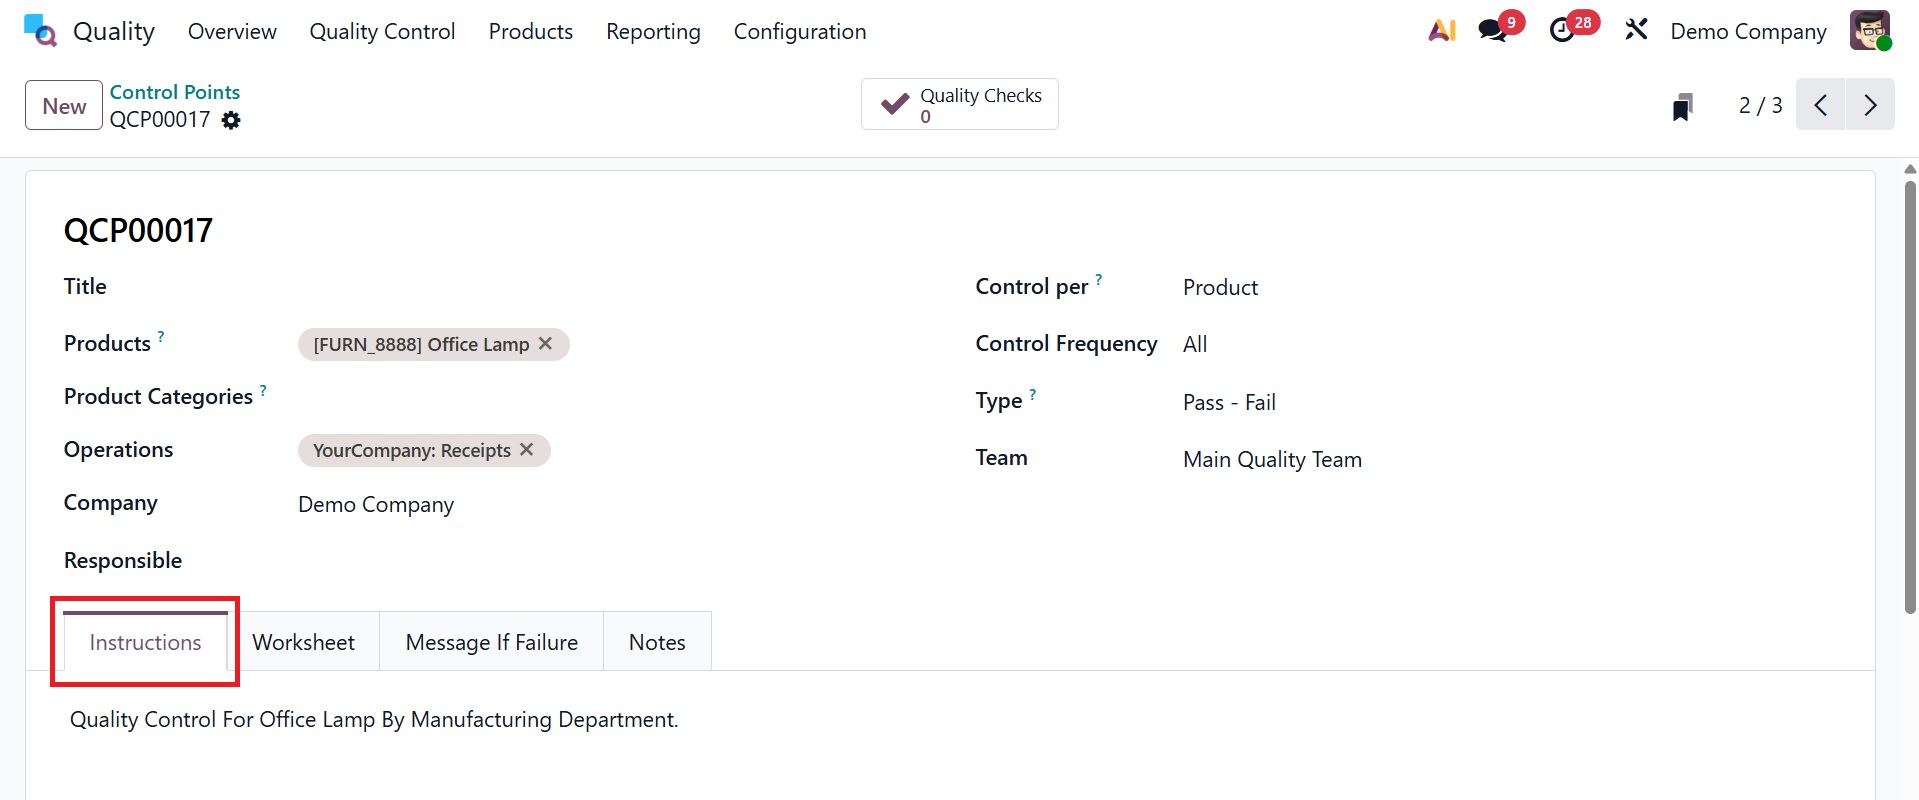
The stages where an item needs to be inspected are reached with the use of quality control points. It is simple to determine how to evaluate a product's quality. To access these standards, choose the Control Points option under the Quality Control tab. The List view of the Quality Control Points window defines each quality control point's specifics, including Reference, Products, Control Per, Team, Title, Company, Type, etc. When you select a Quality Control point from the list, you will receive comprehensive information about that particular point.
Click the New button to create new Quality Control Points.
There are several settings related to the open screen that you might peruse. Enter the name that was chosen for the quality control point in the Title field. The Products field can then be used to choose the products that are used on the quality control point. Additional Quality Control Points are triggered by products that belong to the product category of your choice. Users can list the product category that applies to certain products in the Product Categories field.
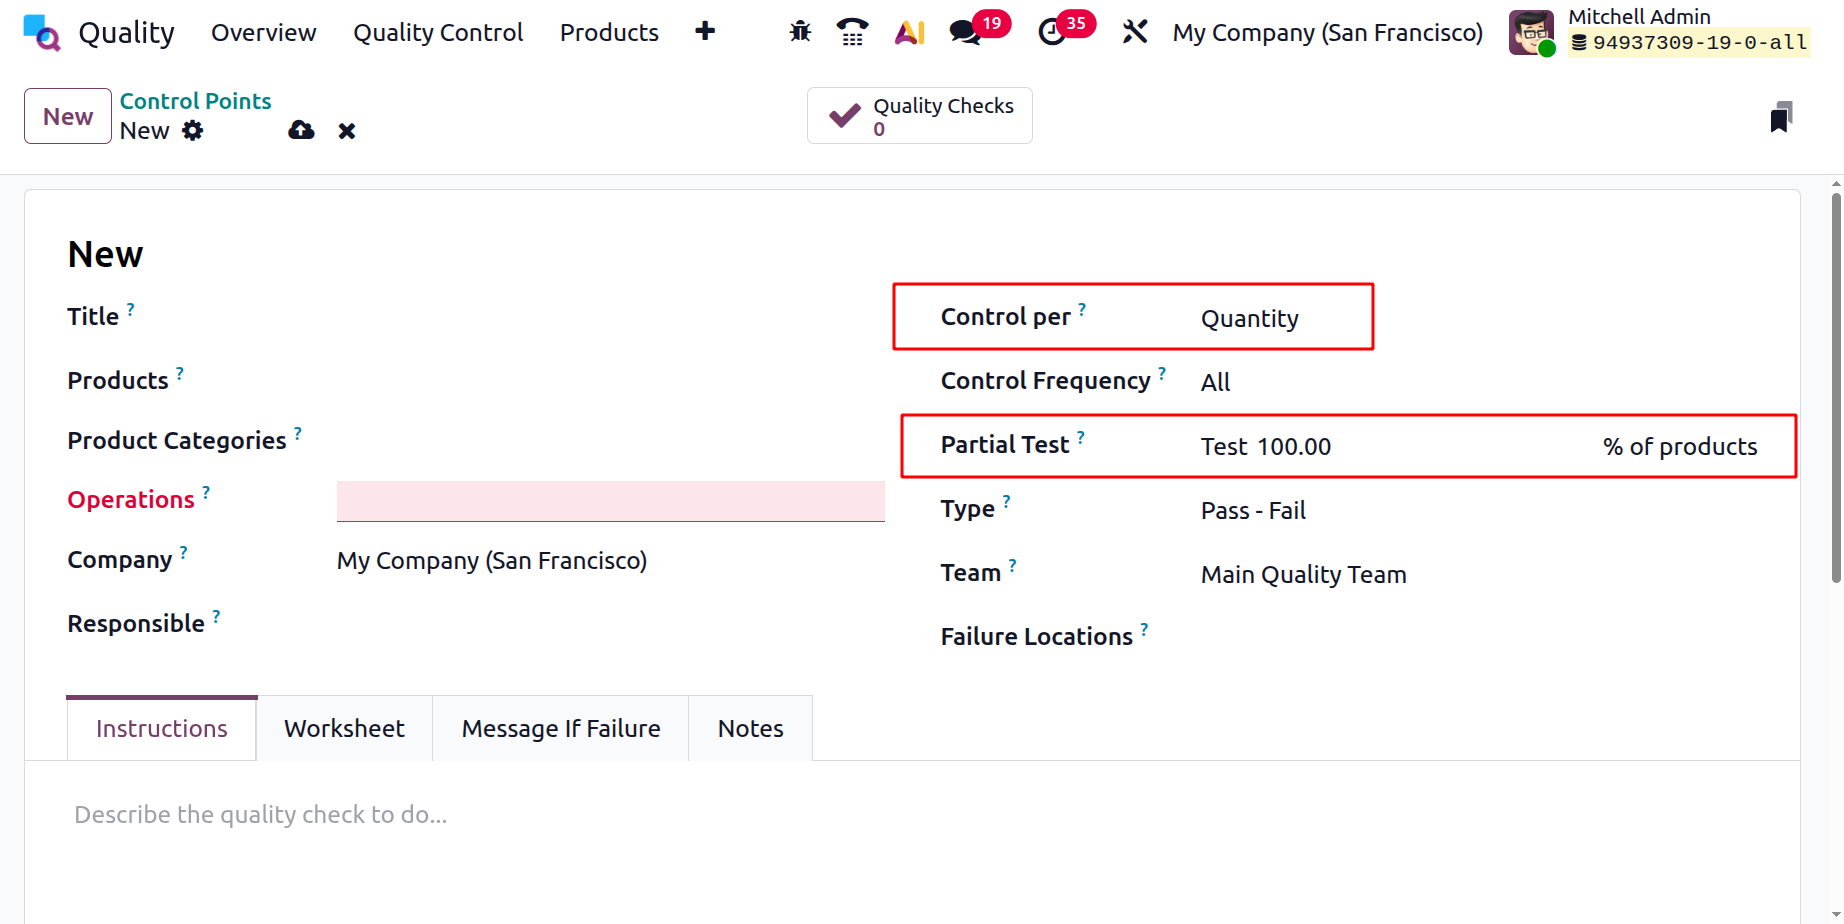
In the Operations field, you can choose the stage where quality is to be assessed. Next, select the business associated with your producing quality control point in the Company section. Additionally, you can specify the quality check request based on the Product, Operation, and Quantity for each field in the Control.
You can request an operation-level quality check if you select the Operation option under Control per field. You can obtain the quality check depending on the product if you select the Product option. To request a quality check on the number of a recently registered product, select the number option under Control per field. A Partial Test option, which is displayed when Control per Quantity is chosen, enables the quality check to be carried out on a portion of the required quantity rather than testing it all at once.

Users can specify certain intervals for quality checks using the Control Frequency field. Periodically, all, or at random intervals may be received.
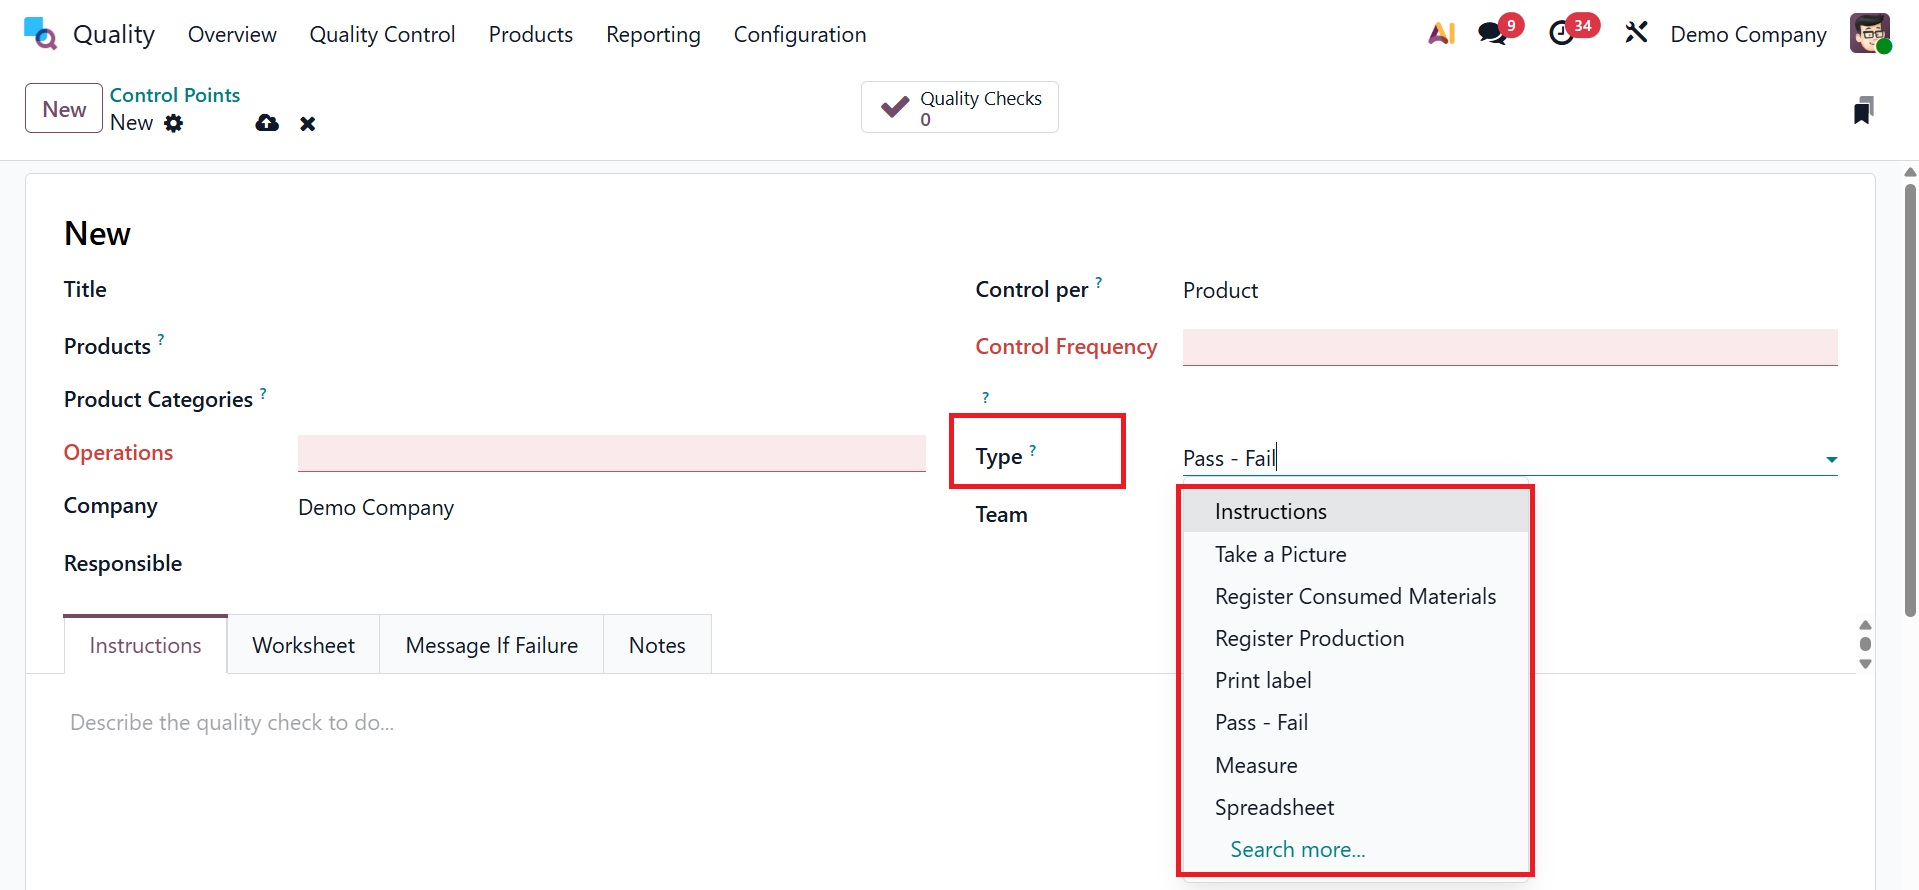
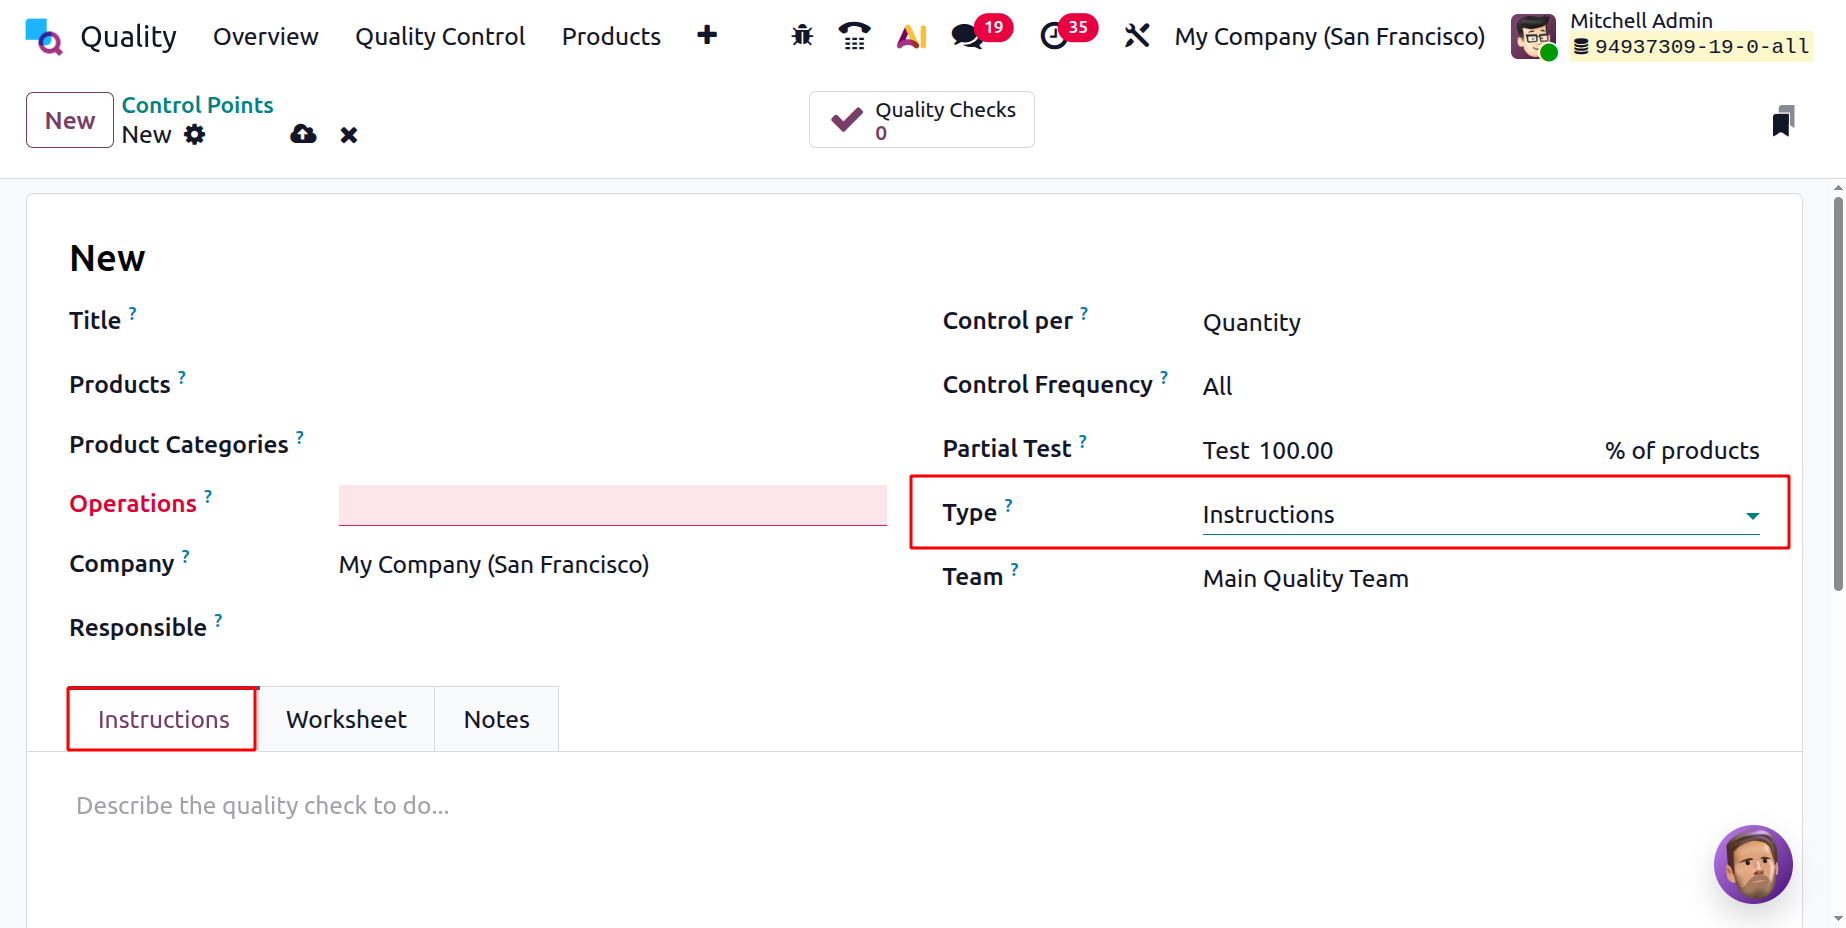
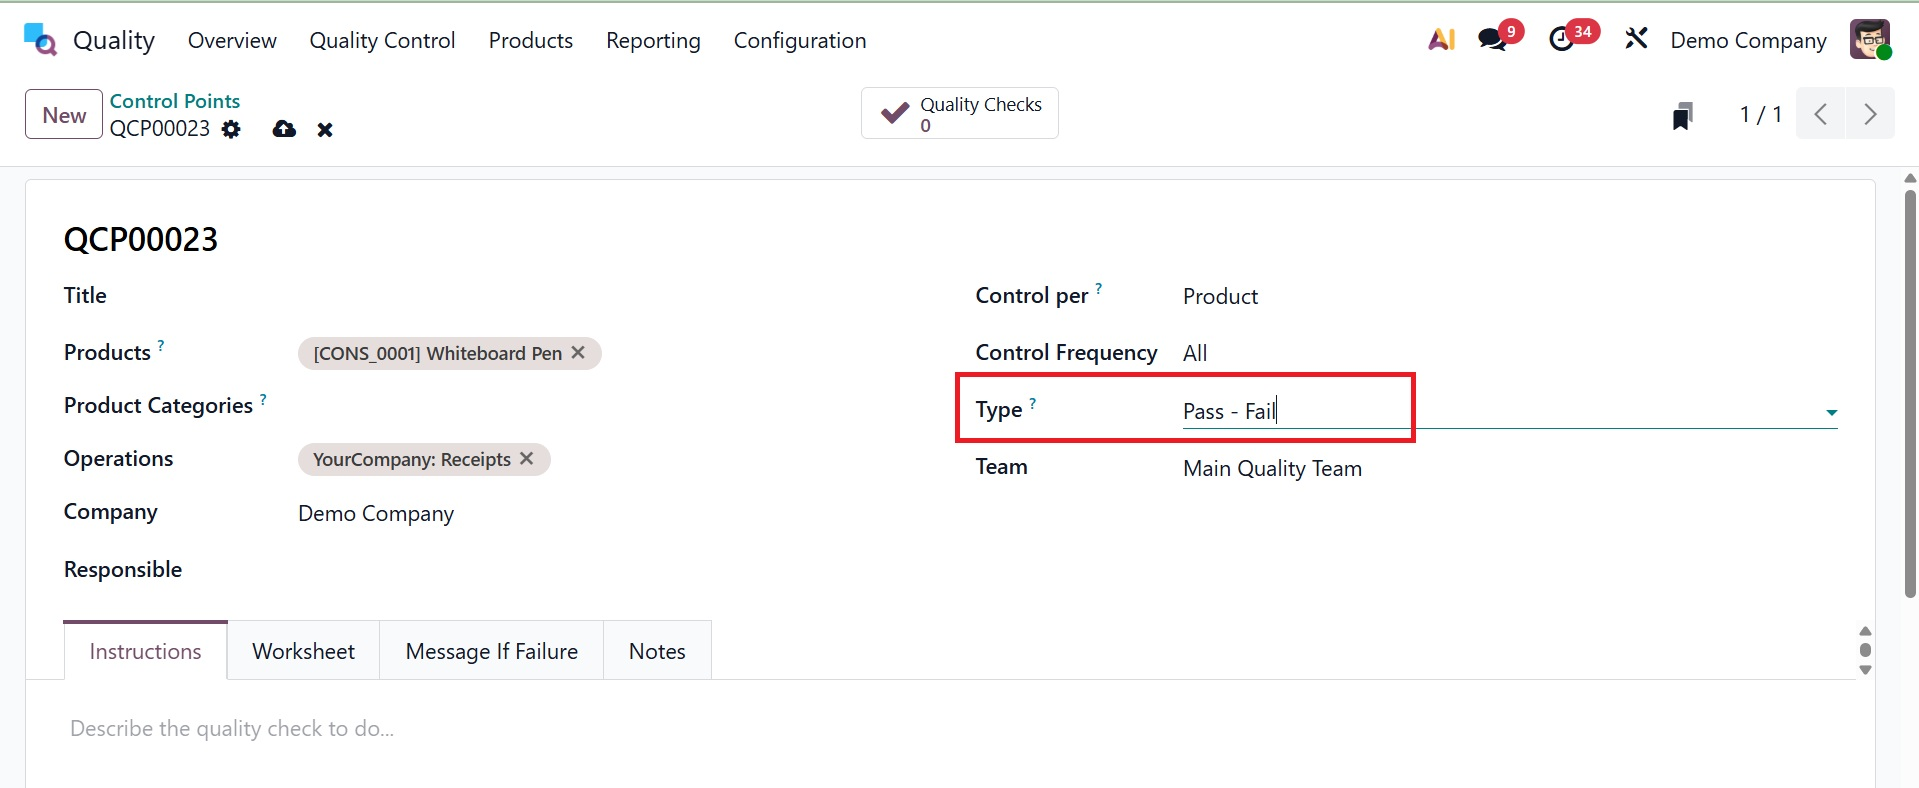
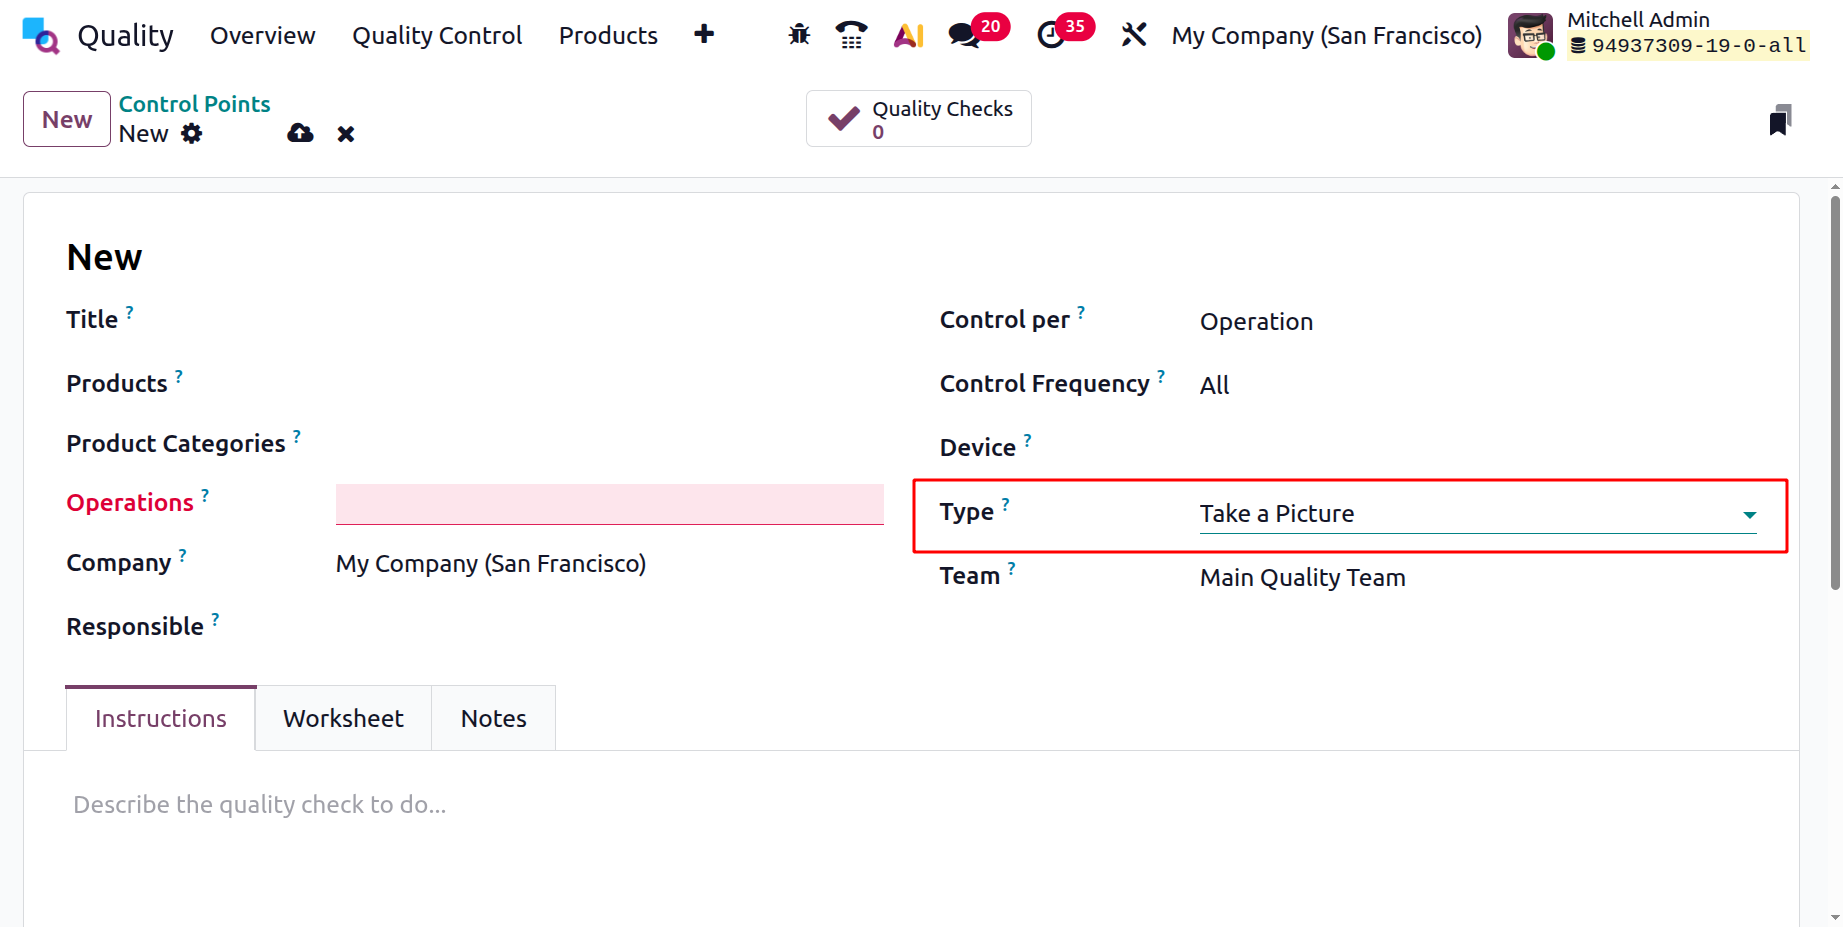
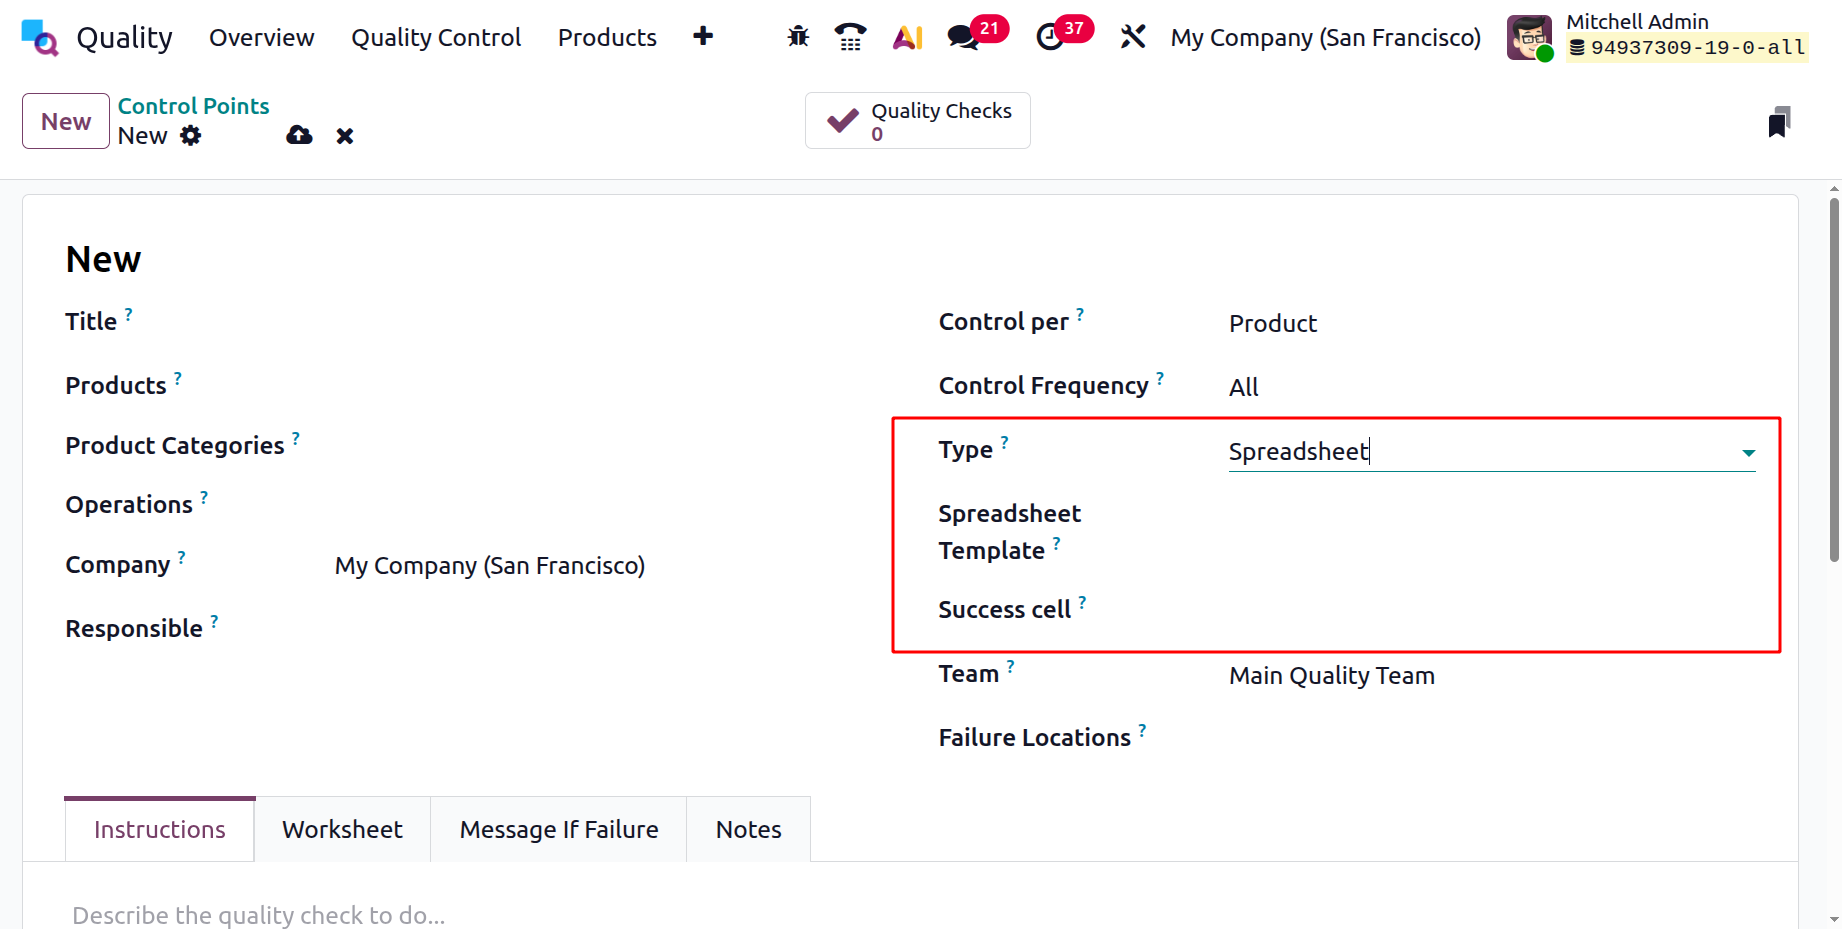
We can specify the quality control point's category using the Type parameter. Instructions, Take a photo, Register production, Pass-Fail, Measure, Spreadsheet, and Worksheet are all included. When doing a quality check, you can use the aforementioned types.

For example, you can check pass and fail choices when performing quality checking by entering Pass-Fail in the Type column. This allows you to determine whether a product will succeed or fail.
Let's examine each kind in more detail.
- Instructions:Odoo 19's instructions quality checks ensure that operators adhere to predetermined instructions or recommendations throughout the manufacturing process. By using standardized methods, businesses may maintain accuracy and uniformity in their production operations. These inspections prevent errors, reduce variability, and ensure that products are manufactured in accordance with standards.
Quality checks for instructions can be handled in a number of ways. If a quality check is related to a production order, inventory, or work order, it can be completed right away. Alternatively, the check can be completed directly from the page.
Choose a quality check, then follow the directions to finish it.
- Pass-Fail: In Odoo 19, pass-fail quality checks determine whether a product meets predetermined criteria. By comparing a product to predefined quality criteria, its success or failure is ascertained. Pass-fail tests provide a quick and easy way to evaluate product quality, allowing businesses to identify non-conformities and take prompt corrective action.
A text box that enables the developer to enter specific requirements required for a product to pass the test is included in pass-fail checks. Pass-fail quality checks can be created in two ways. Building a single check by hand is the first alternative. Second, a Quality Control Plan (QCP) can be configured to automatically generate inspections at predefined intervals.
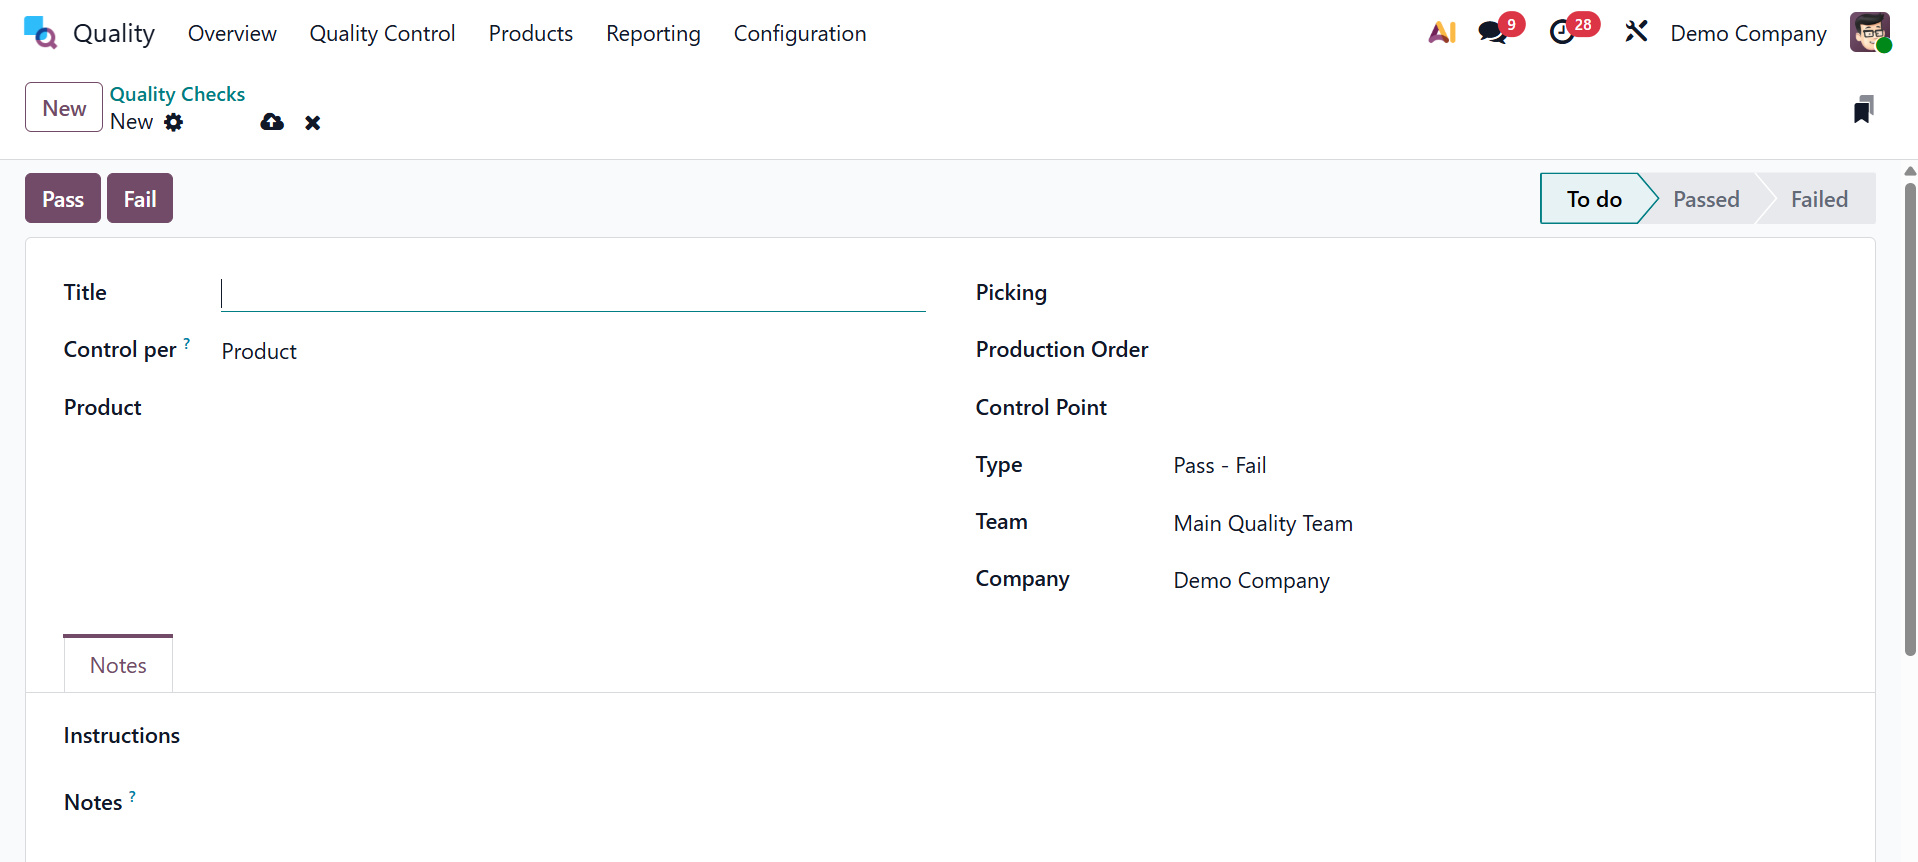
To begin a single Pass-Fail quality check, follow these steps:
After choosing Quality > Quality Control > Quality Checks, click "New".
From the Type drop-down option, choose the Pass-Fail quality check type.
The pass and fail alternatives will then appear, as seen in the picture below.
From the Team drop-down menu, choose the quality team responsible for managing the check. Go to the Notes tab and include instructions on how to carry out the quality check and list the requirements that must be met for the check to be considered successful.
Click the "Pass" button in the upper-left corner of the page if the requirements are met. On the other hand, select the "Fail" button if the requirements are not fulfilled. Use these procedures to create a Quality Control Plan (QCP) that creates Pass-Fail quality tests automatically:
Click "New" after selecting Quality > Quality Control > Control Points.
Select the Pass-Fail quality check type from the Type drop-down menu.
From the Team drop-down field, choose the quality team assigned to manage the checks produced by the QCP.
Type instructions on how to perform the quality check and what criteria must be met for the check to be considered successful in the Instructions text area.
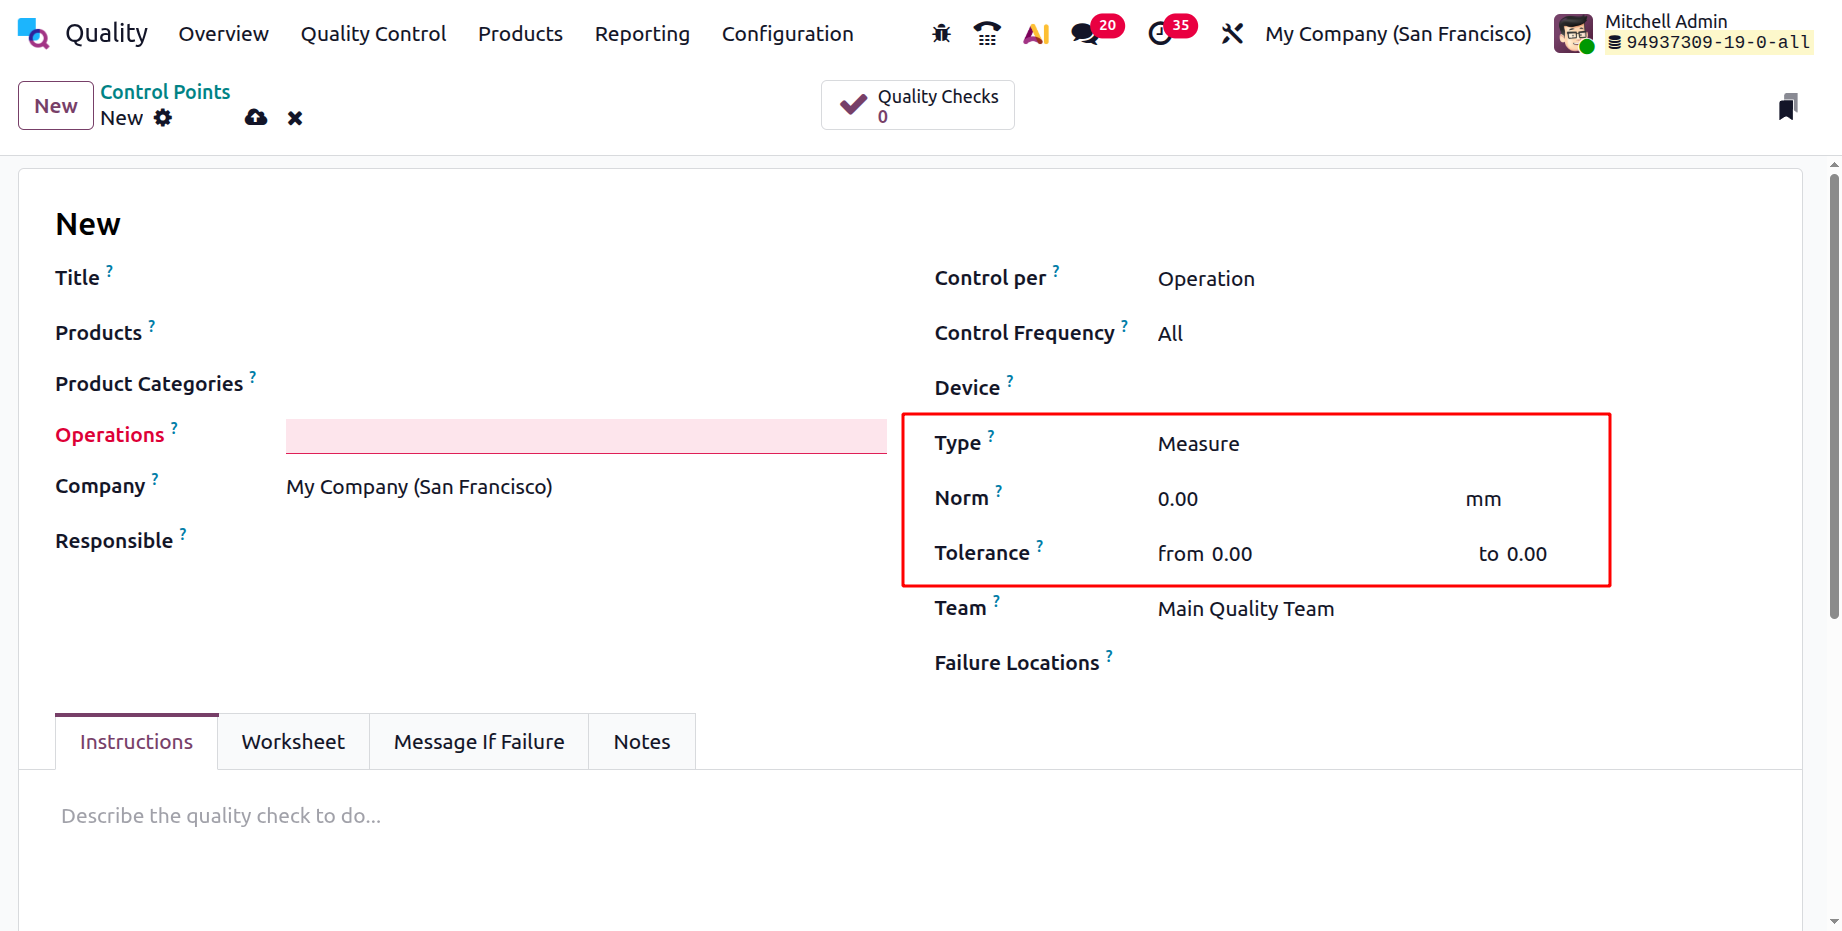
- Measure: Measurable evaluations of product characteristics including weight, volume, and dimensions, are part of measure quality checks. Businesses may specify precise measurement standards and tolerances for any product attribute in Odoo 18. Products are evaluated in relation to these standards during production to make sure they fulfill the necessary requirements. Measure quality checks give firms reliable measures that enable them to confirm the quality of their products and their compliance with requirements.
The recorded measurement must be within a given Tolerance range of a Norm value in order for the quality check to be successful. Measure quality checks can be created in two primary ways. Making a single check by hand is one approach. As an alternative, checks can be automatically generated at predetermined intervals using a Quality Control Plan (QCP).
Use these procedures to produce a single Measure quality check:
- 1.Click "New" after selecting Quality > Quality Control > Quality Checks.
- 2. Select the Measure quality check type from the Type drop-down menu.
For quality checks, Norm and Tolerance are used to specify acceptable measurement ranges, particularly for measure-type controls like weight, temperature, and dimensions.
It is essential for maintaining constant product quality and minimizing flaws in manufacturing, receiving, or delivery.
The ideal or target value anticipated for a certain quality metric is known as the Norm. It specifies what the ideal measurement is. The permissible range of deviations from the norm is defined by tolerance.
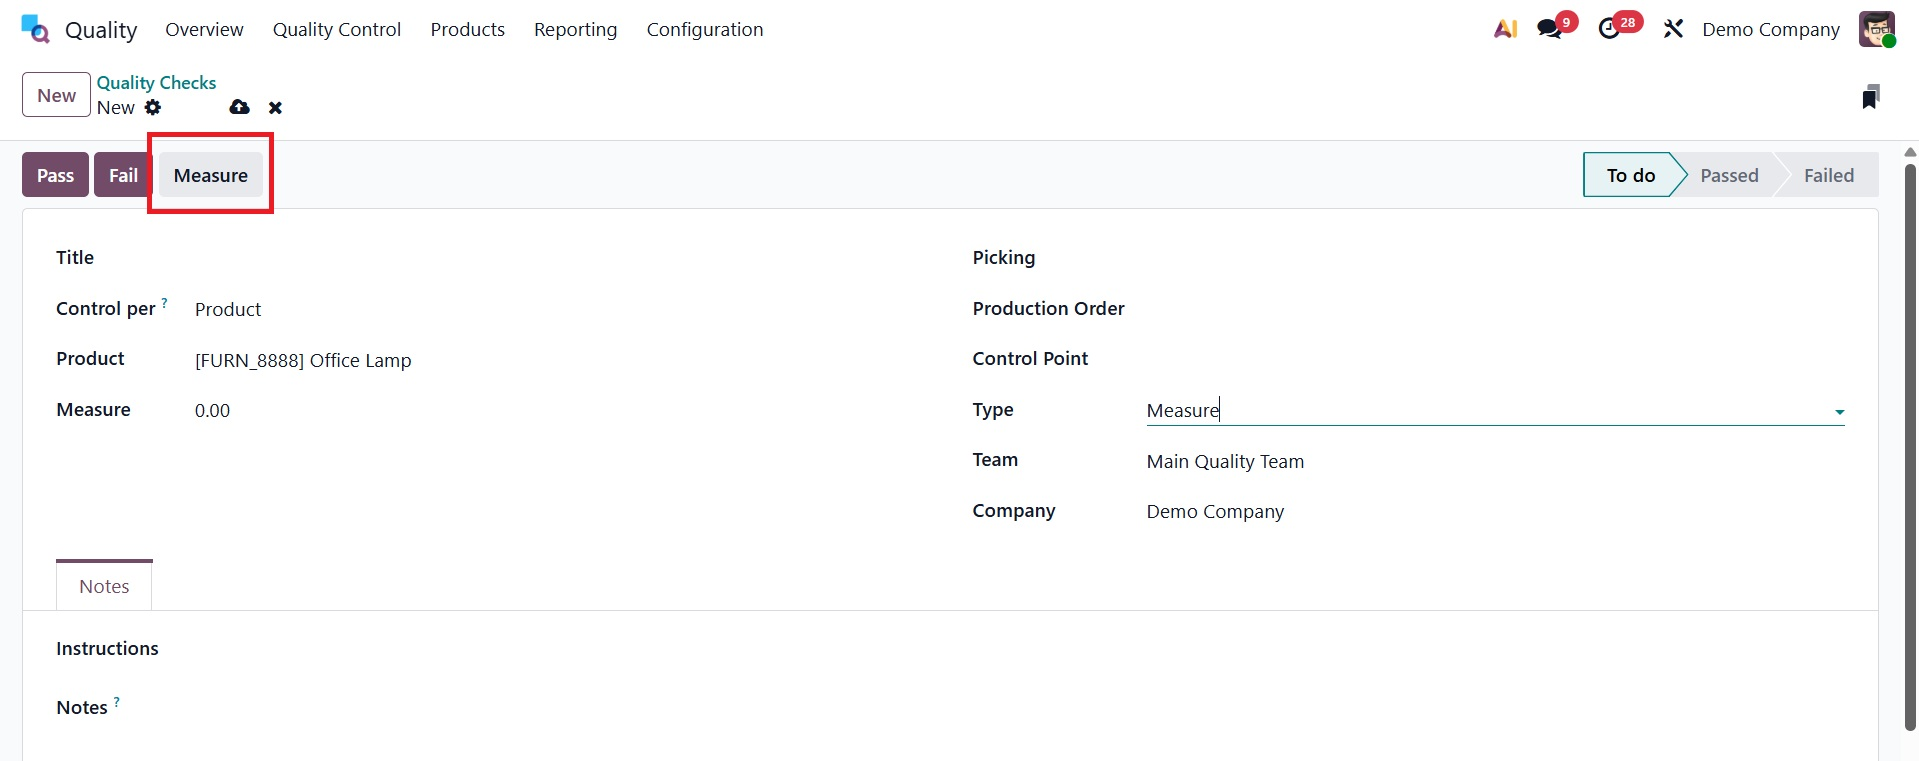
Then, you will get the measure option, as in the image below.
From the Team drop-down menu, choose the quality team responsible for overseeing the check.
Choose the Notes tab and provide directions on how to take the measurement in the Instructions text field.
After getting the measurement, put the value in the quality check form's Measure area. To manually determine if the check succeeds or fails, click "Pass" or "Fail" in the upper-left corner.
- Take a Picture: In Odoo 19, quality checks comprise capturing images of goods or manufacturing procedures for visual evaluation. Businesses may visually analyze product quality and discover flaws or anomalies by adding picture capture equipment into quality inspections. Problems like surface imperfections, irregularities, or departures from quality norms can be detected in photos through analysis. By delivering visual verification and permitting extensive inspections, take-a-picture quality checks boost quality control initiatives.
In order for the quality team to review "Take a Picture" checks, a picture must be attached to the check. There are two ways to set up Take a Picture quality checks: either manually create each check or set up a Quality Control Plan (QCP) to generate checks automatically at predefined intervals.
To create a single Do a picture quality check, complete these steps:
Click "New" after selecting Quality > Quality Control > Quality Checks.
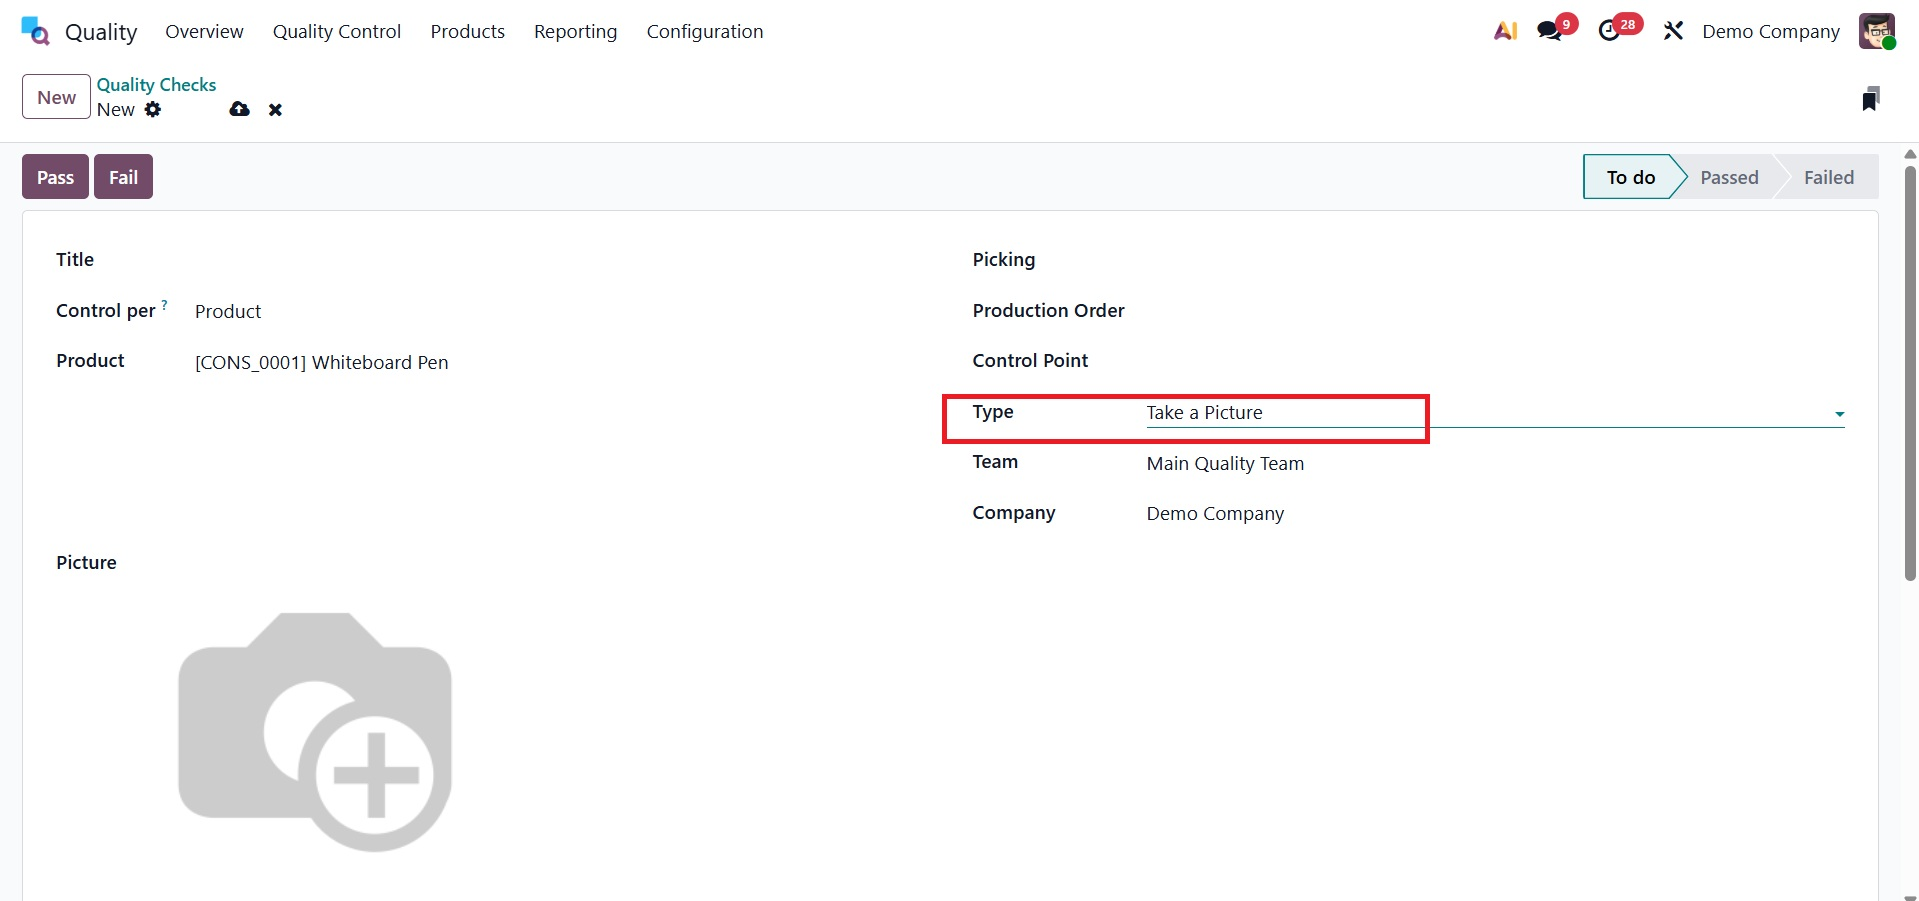
Select the Take a Picture quality check type from the Type drop-down box.
Select the quality team in charge of managing the check from the Team drop-down menu.
Give instructions on how to shoot the shot in the Notes tab's Instructions text field.
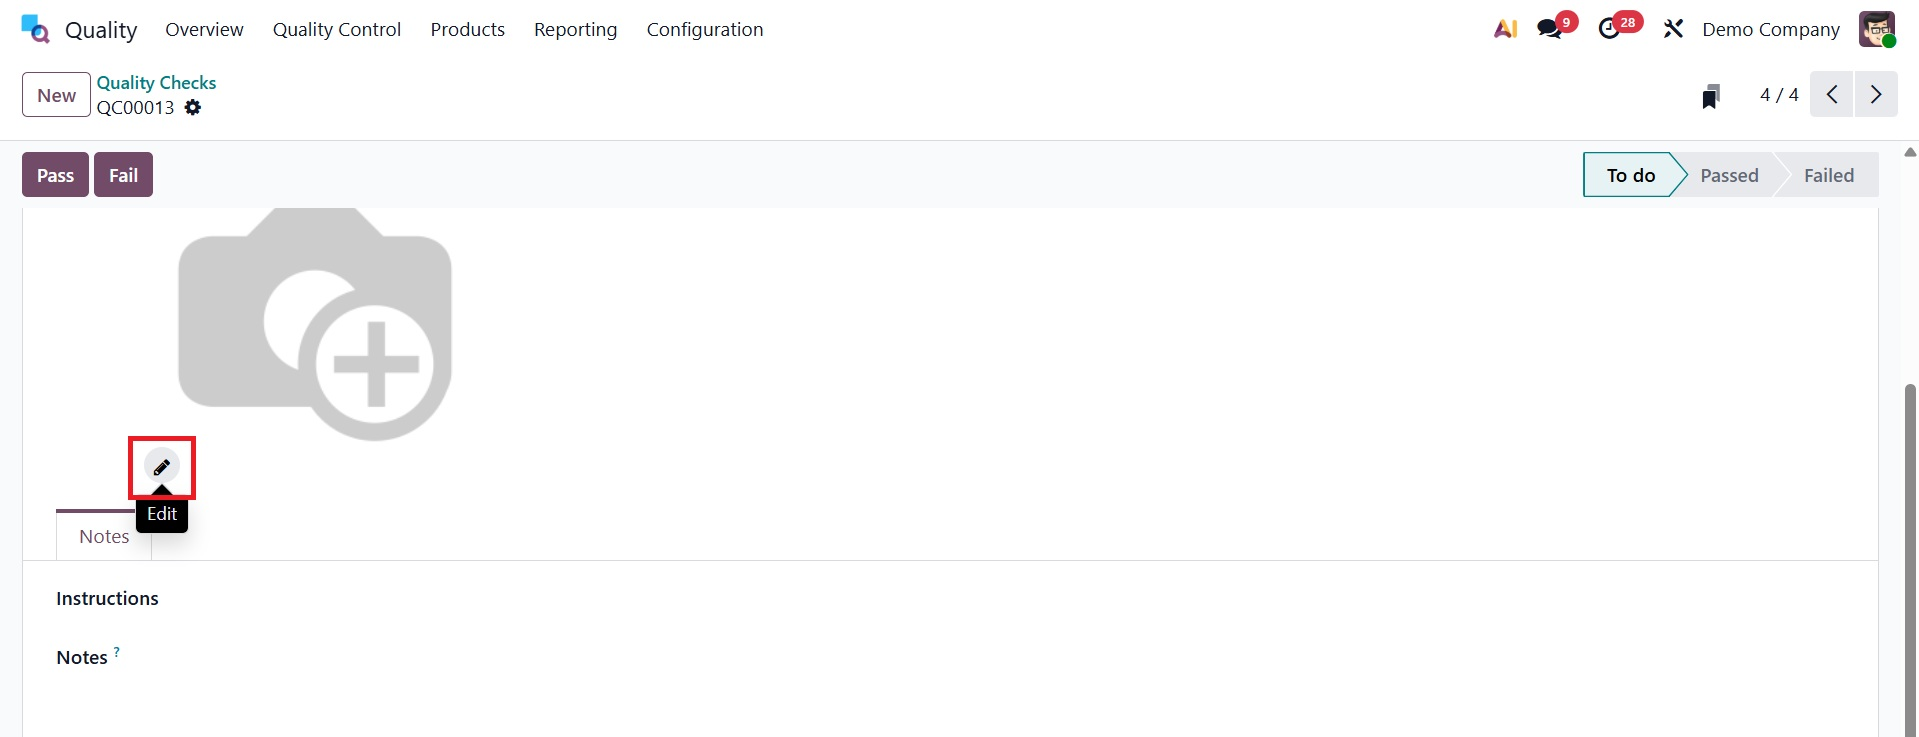
On the check's page, you can perform a "Take a Picture" quality check by following the instructions. Make sure the image is stored on the computer, tablet, or other device being used for the quality assessment.
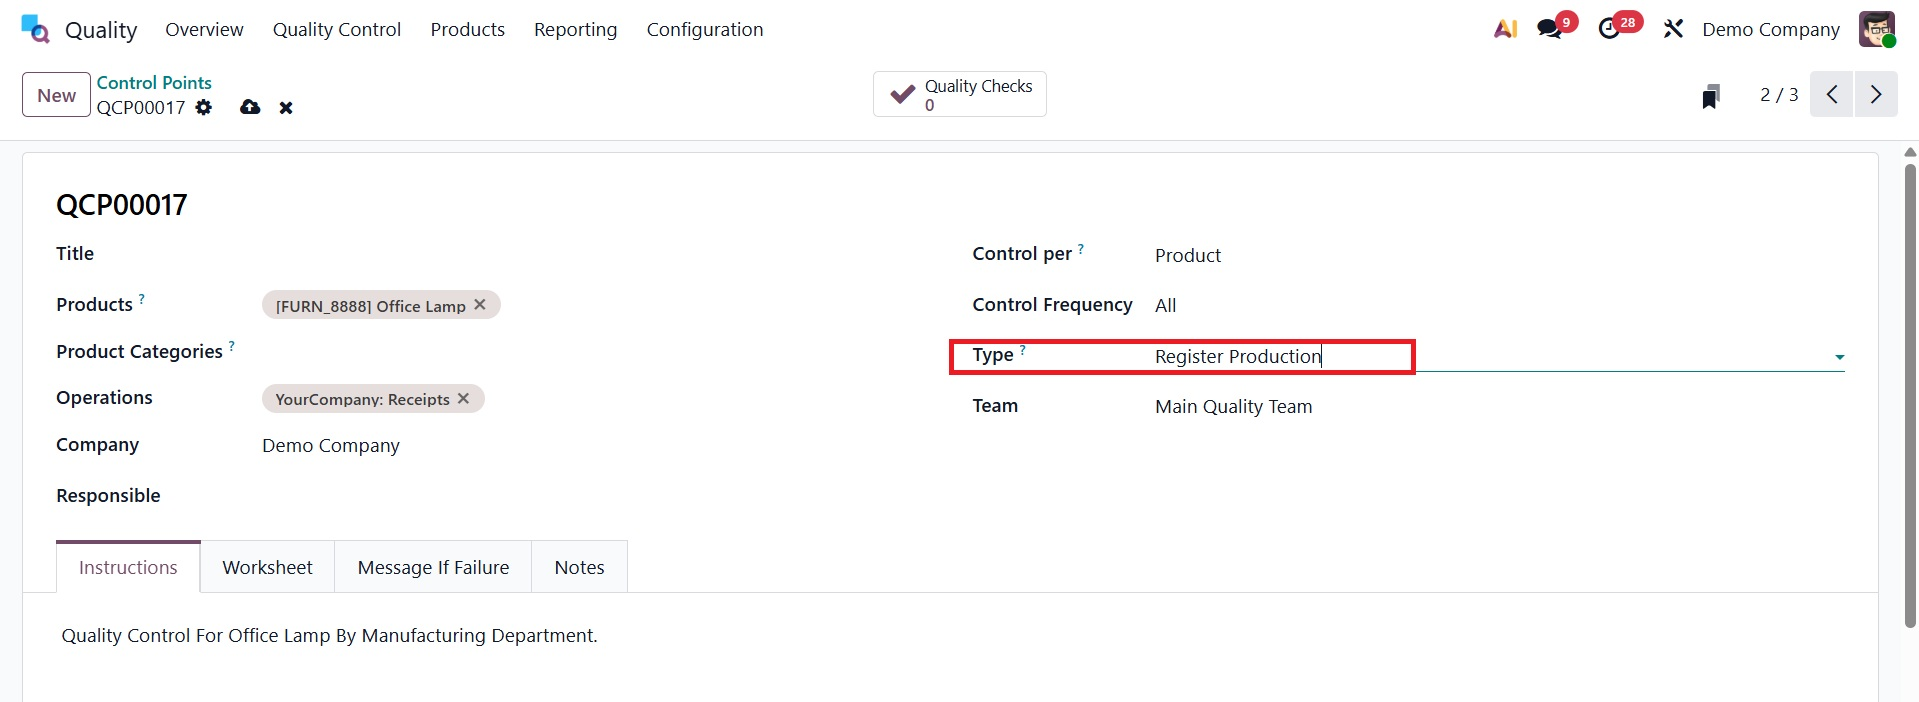
- Register Production: "Register Production" type QCPs are quality checks that occur during the production process. These checks ensure that commodities fulfill quality requirements throughout the production process.
Select the type as register production for the type, like in the image below.
The type guarantees quality throughout the complete production process. Reduces defects before final assembly. improves compliance with quality standards. enhances the traceability of faulty products.
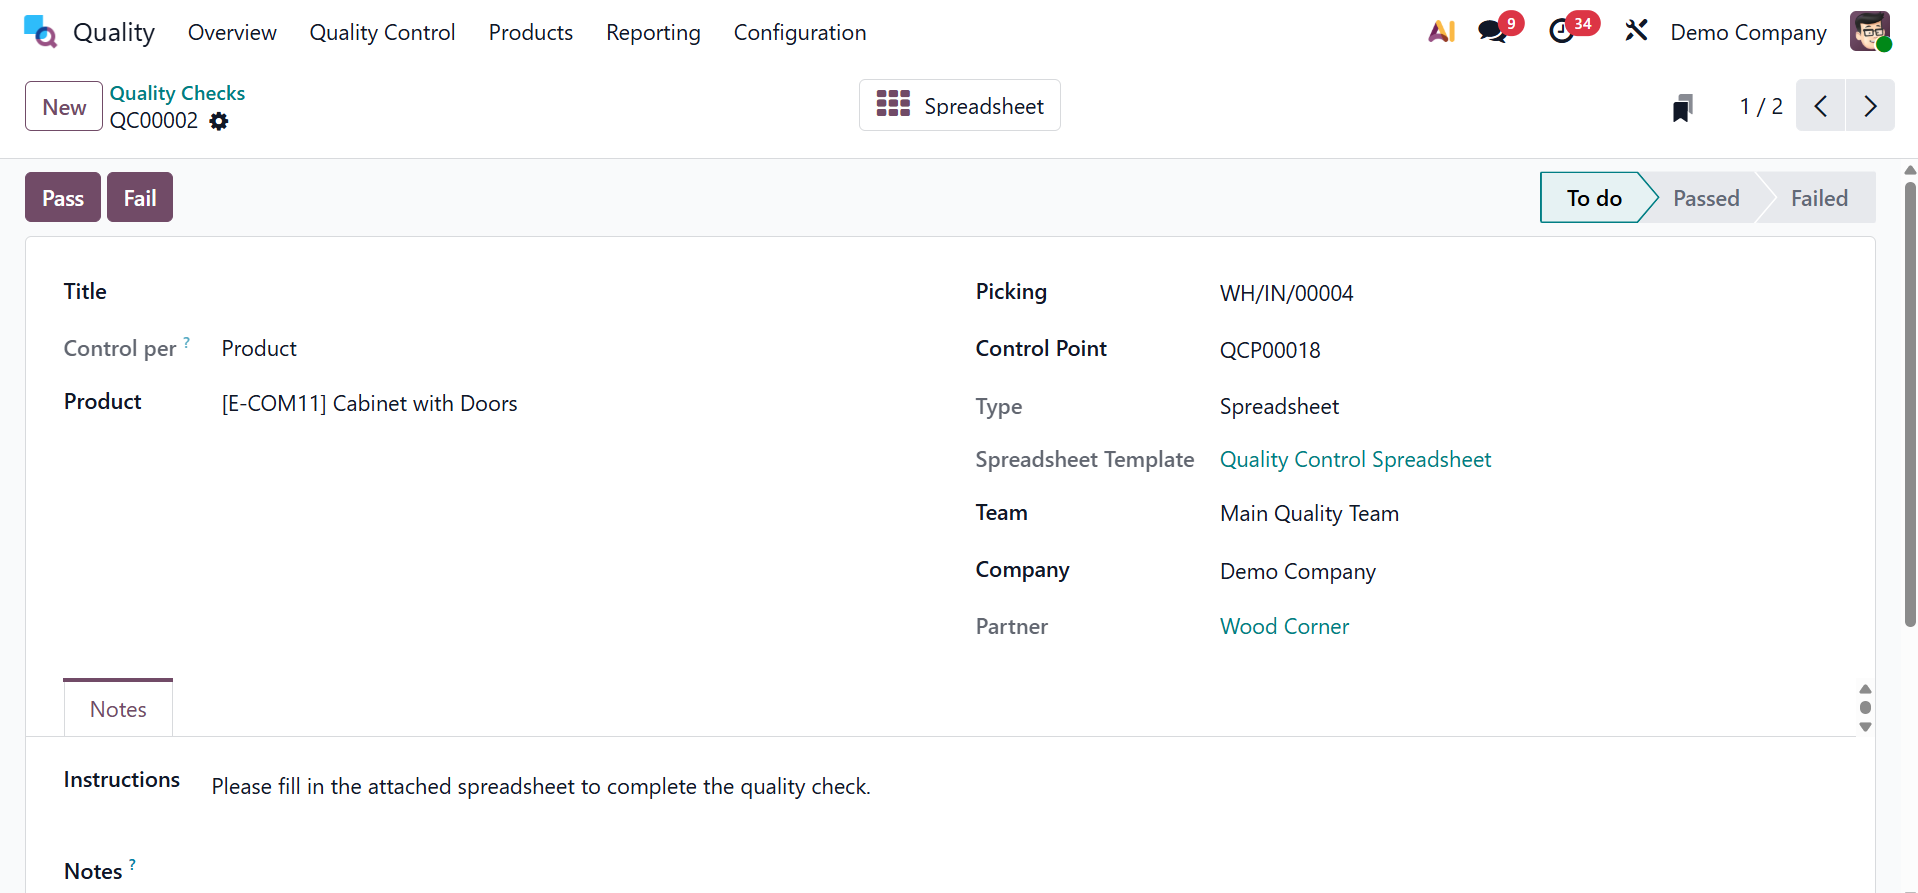
- Spreadsheet:The "Spreadsheet" type of Quality Control Points allows users to record many measurements in a tabular (spreadsheet) format. This is important for sophisticated quality checks that require the systematic collecting and analysis of numerous data points. Spreadsheet templates allow you to easily construct spreadsheets without beginning from scratch.
The layout, computations, and logic of a quality check are specified in a bespoke Excel-like document called a spreadsheet template, which is generated with Odoo's inbuilt spreadsheet editor.
It is applied when a more complicated quality control approach is necessary, one that goes beyond simple measurement checks or yes/no or pass/fail assessments.
The success cell option is a specific cell reference in the spreadsheet that instructs Odoo where to check for the pass/fail outcome. Here, you have the options like,
- Spreadsheet Template – Selects the predefined spreadsheet layout that will be used to perform and record quality checks.
- Success Cell – Specifies the exact cell in the spreadsheet whose value determines whether the quality check is marked as passed or failed.
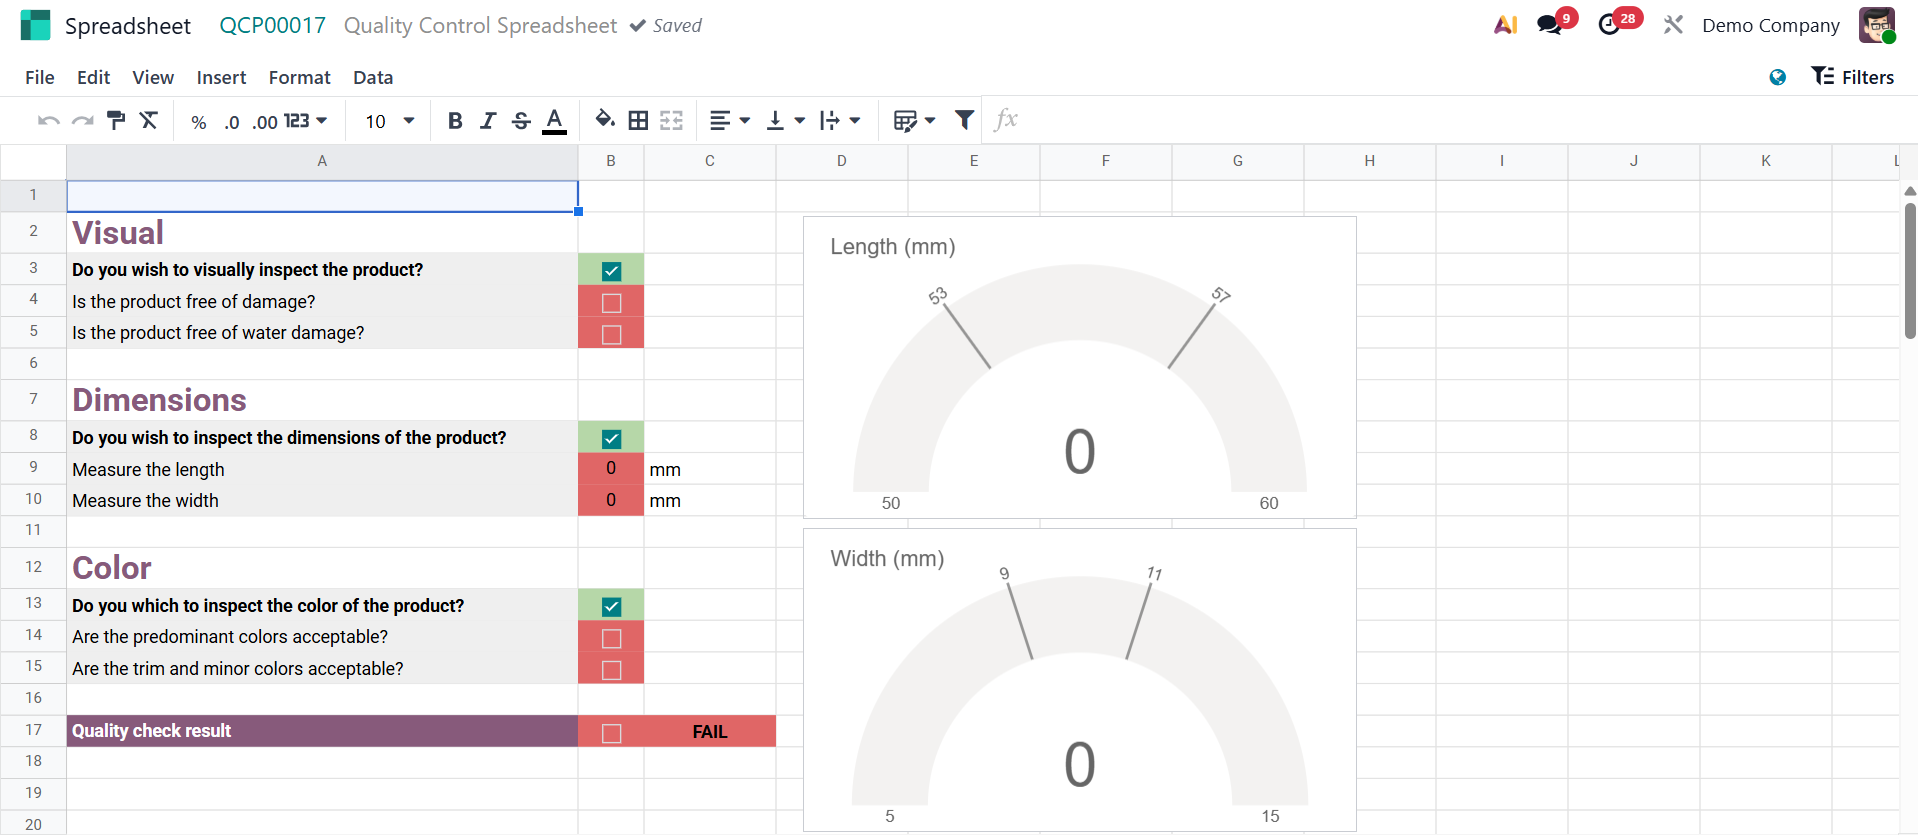
On selecting the type as spreadsheet, you will get the spreadsheet template option and a success cell. On supplying the spreadsheet, you can travel to the quality control spreadsheet using the internal link, and the page will be, as in the image below.
Ideal for industries like food processing and pharmaceutical manufacturing that rely on accuracy. Maintaining comprehensive documentation makes it easier to monitor changes in production parameters and aids in compliance audits.
These are the sorts of quality control points in odoo 19 Quality. To assess the quality control point, select your team in the Team box. Additionally, fill in the Responsible field with the name of the person in charge of your quality control point. The Step Document option allows you to use the operation sheet's Custom or Specific page as the source document.
We can provide more details about the quality control points in the Instructions tab. The majority of instructions will outline the necessary product quality inspections.
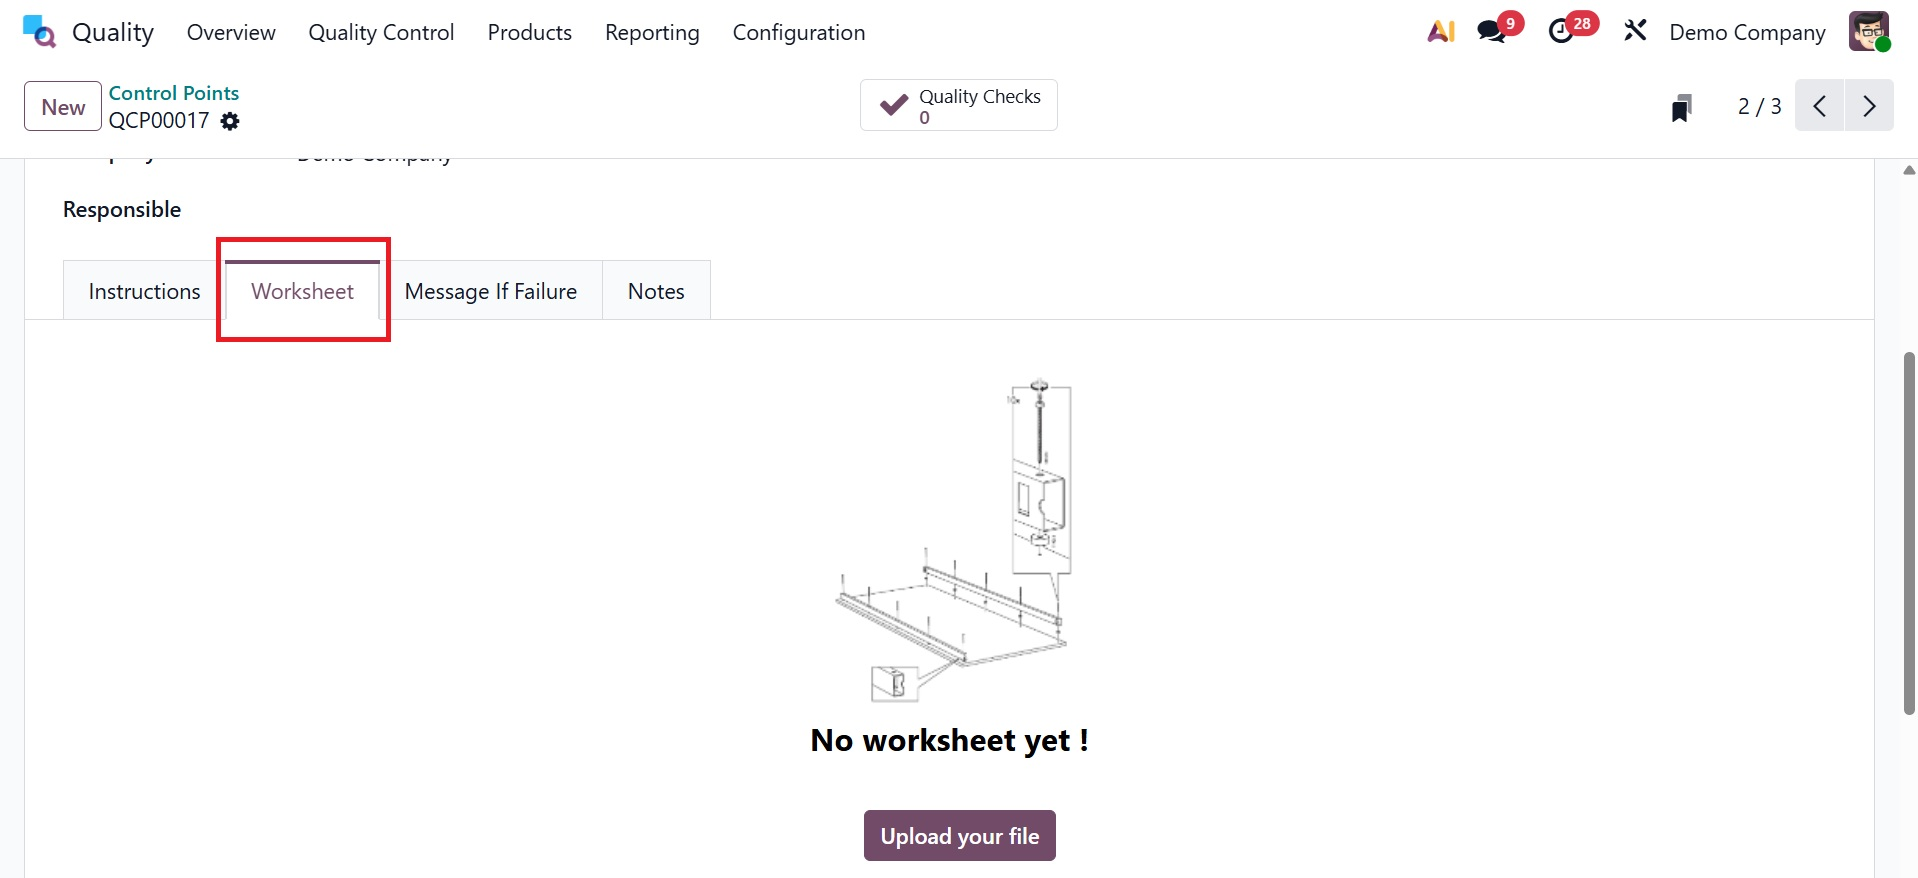
You can also add the Worksheet using the Add your File option.
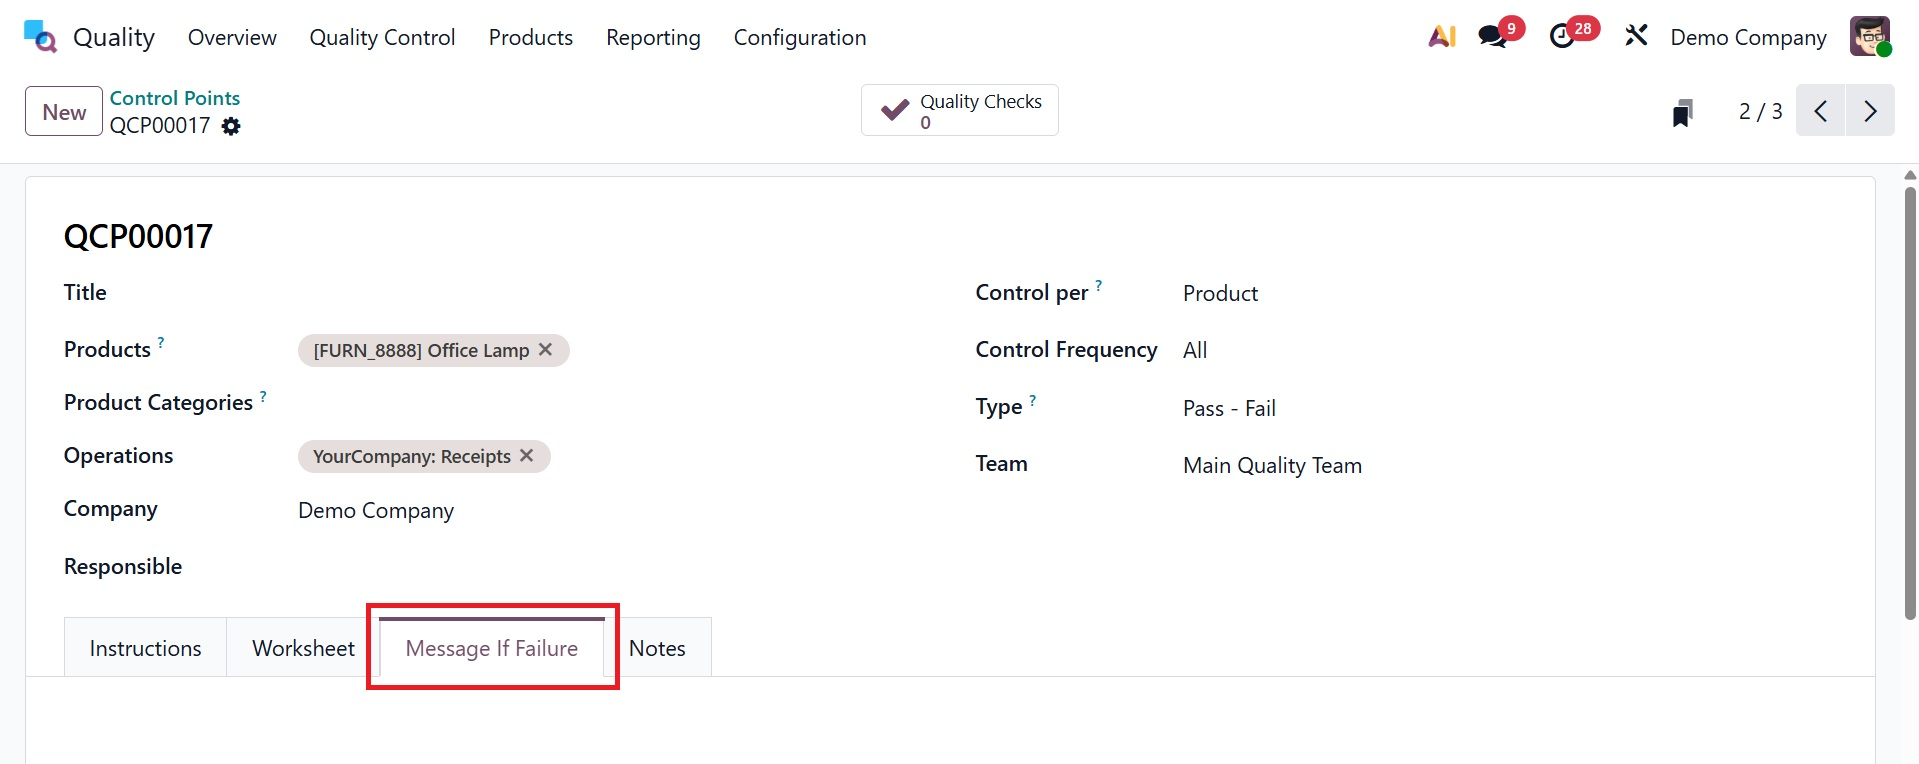
You may also enter any product failure message in the Message If Failure tab.
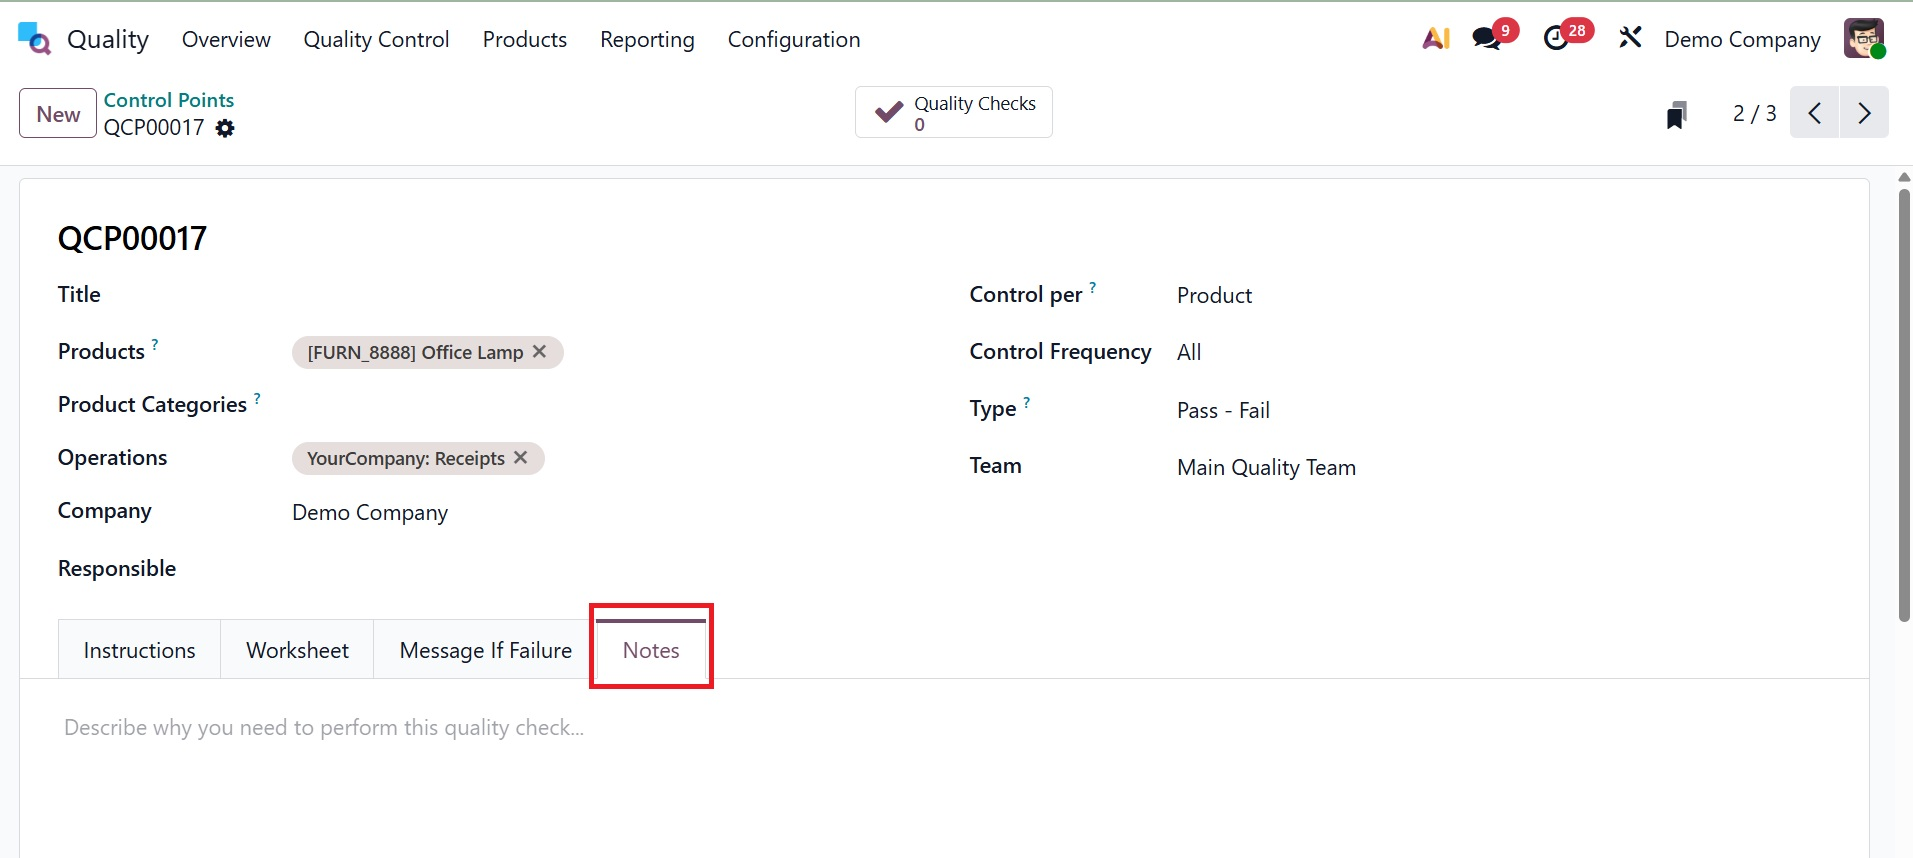
Include the information needed to conduct the quality check in the Notes tab.
In Odoo 19 Quality, all applied data is immediately saved. Users can retrieve the created sample in the Quality Control Points window.
1.2 Quality Check
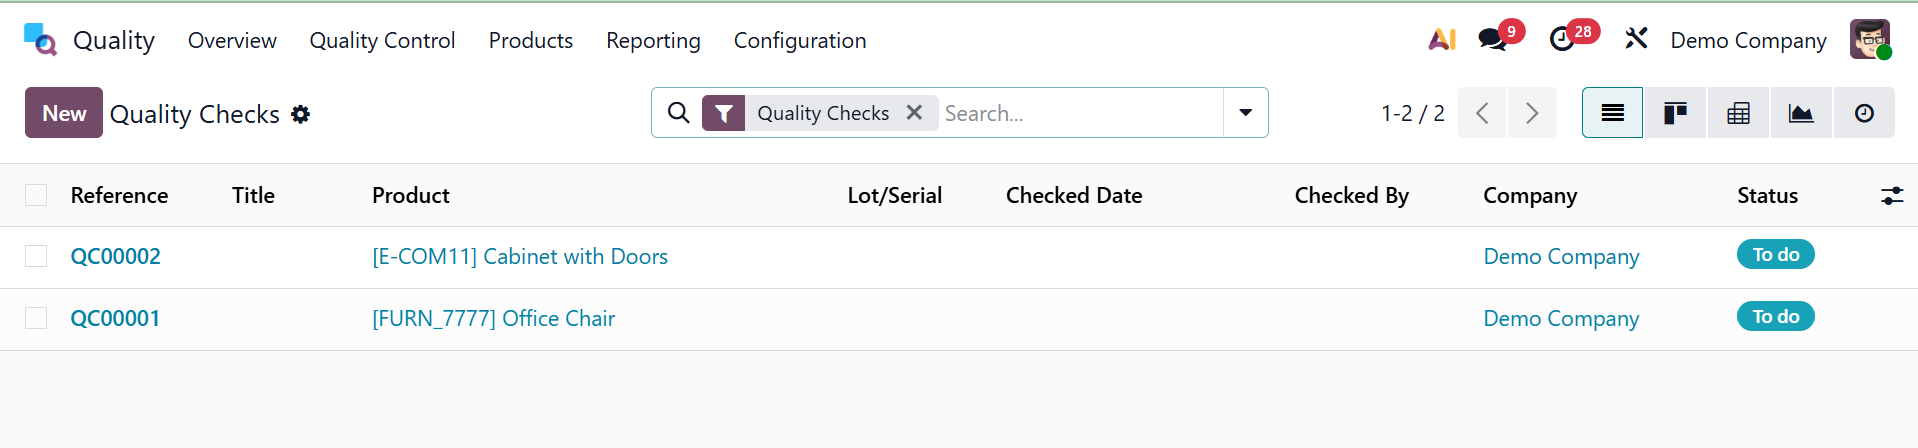
Quality checks are conducted to discover needed flaws in a given product or service. It gets automatically generated upon production transfers and orders. When you select the Quality Checks option from the Quality Control tab, you can get details about all the things that need to be verified in your firm. Each product's data, including Reference, Product, Team, Lot/Serial, Status, etc, must be verified, as we can see in the List view.
By clicking on the New button in the Quality Checks window, a new quality check can be simply established.
You can choose the commodity to be validated under the Product field on the open screen. Determine the steps for each field's quality checks to follow. Executing quality tests at the level of quantity, product, or operation is uncomplicated. Next, on the Picking field, indicate the main warehouse where manufactured goods are processed.
In the Production Order section, you can choose the order number of the item. You can also choose the product's point ID in the Control Point box. Next, select your group for quality control in the Type field. You can select Worksheets, Print Labels, Instructions, Measure, Pass-Fail, and other types. Select the Team to verify the product's quality in the Team field. After the team has been selected, choose the firm name from the Company field.
Users can get more details on product quality checks under the Notes tab. Additional remarks on your quality check can be readily placed in the Notes and Instructions areas accessible in the Notes tab.
The Quality Checks window's Pass and Fail buttons let you know whether the product passed or failed a test. These buttons allow users to choose the product's quality check status. Pressing the Pass button marks the stage as Passed. On the other hand, the stage might be seen as unsuccessful, and the Fail button describes the product failure.
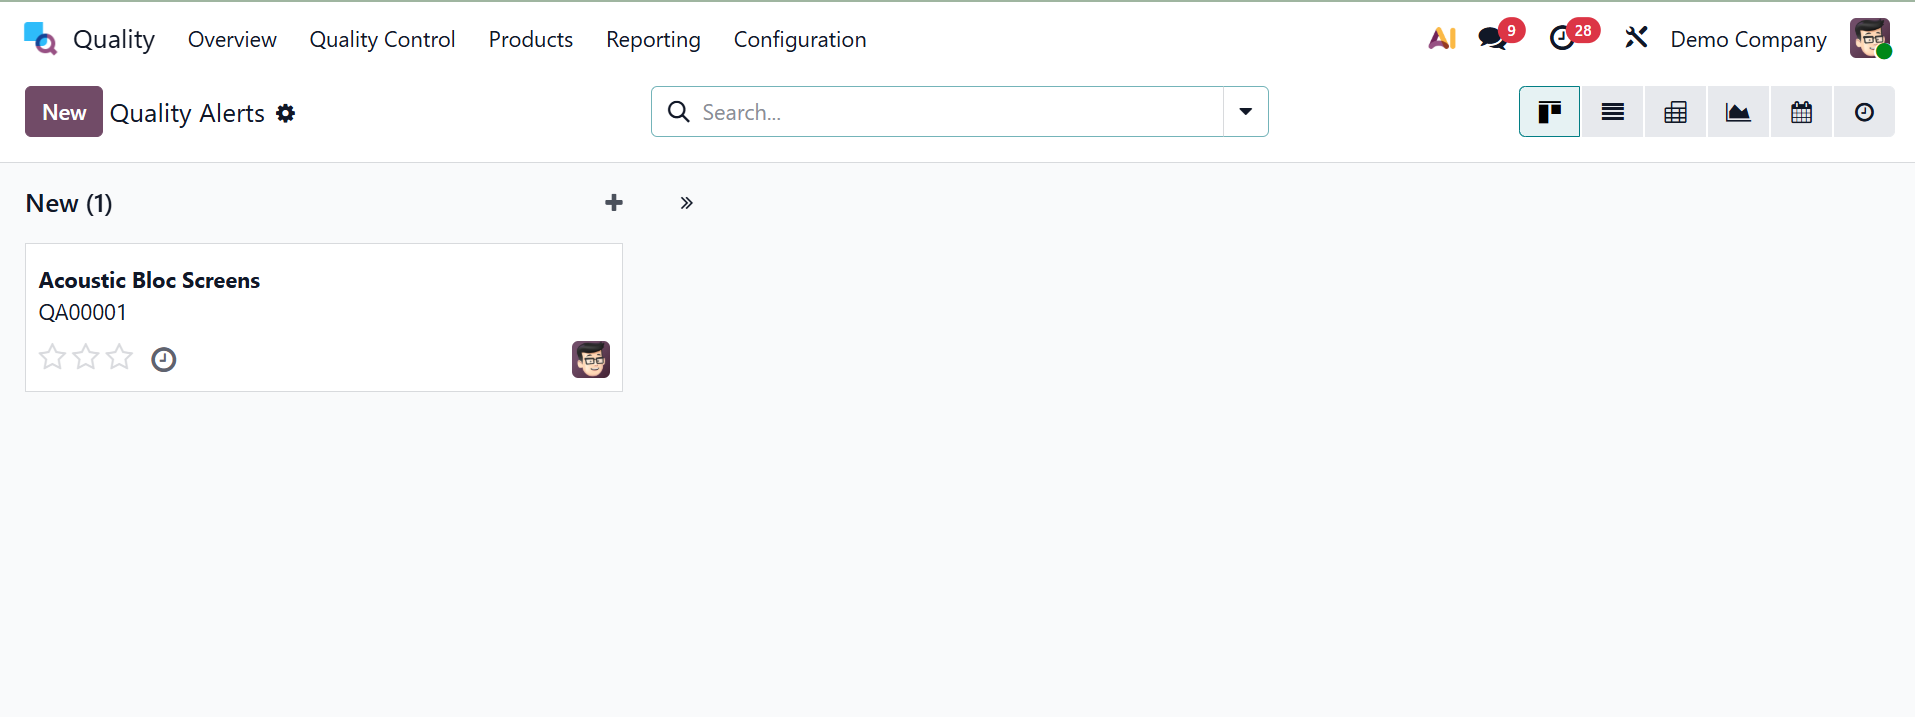
1.3 Quality Alert
The Quality Checks window's Pass and Fail buttons let you know whether the product passed or failed a test. These buttons allow users to choose the product's quality check status. Pressing the Pass button marks the stage as Passed. On the other hand, the stage might be seen as unsuccessful, and the Fail button describes the product failure.
he List view displays each alert's individual details, such as Name, Work Center, Responsible, Date Assigned, Team, etc. Here, Add Stage allows you to create and add a new workflow stage to track the progress and status of quality alerts. Under the settings icon, you have the options like,
- Fold –Collapses the selected quality alert stage to hide its records from the main view.
- Edit – Opens the selected stage for modifying its name, sequence, or configuration.
- Automation – Allows you to define automatic actions or rules triggered when a quality alert enters this stage.
- Delete – Permanently removes the selected quality alert stage from the workflow.
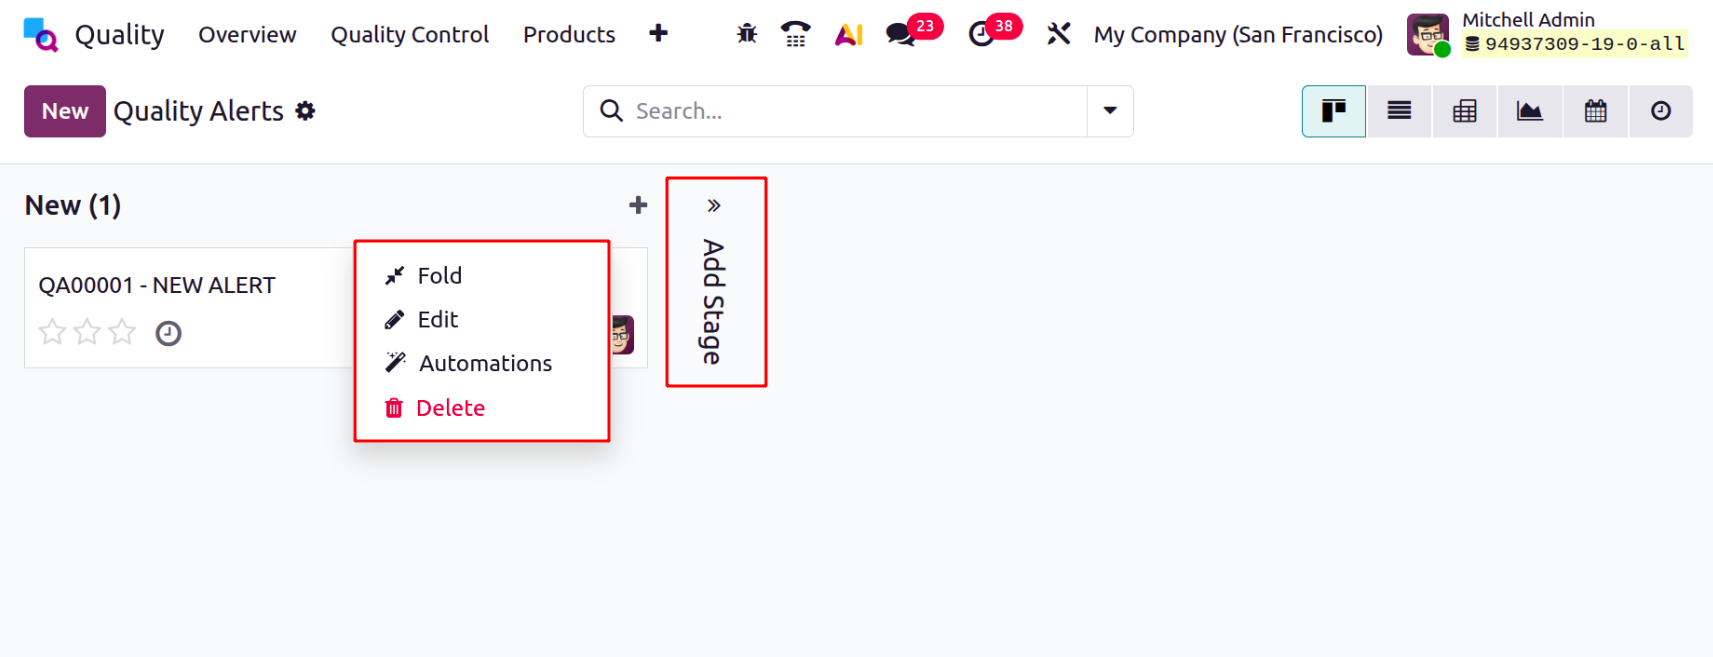
Click the New icon in the Quality Alerts panel to start a new alarm.
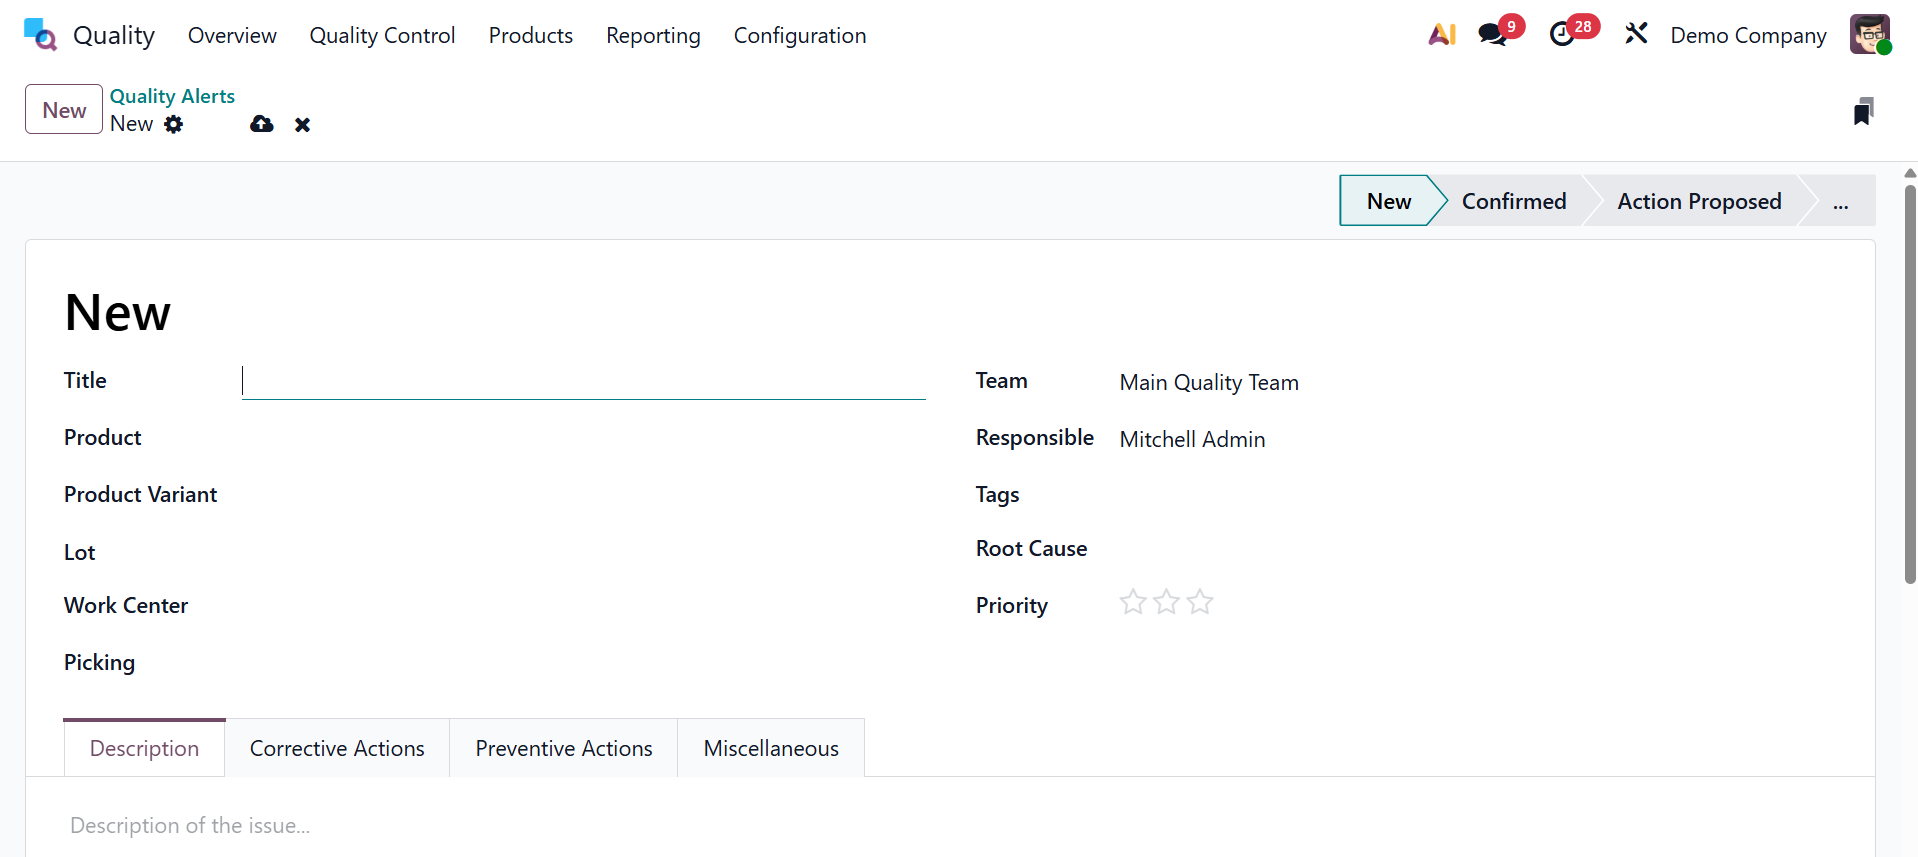
On the given page, we can fill in numerous details. Let's examine the specifics of each option in the Quality Check window individually below:
- Title: You can provide the name of the quality alert in the Title line.
- Product: The Product line offers a list of all the merchandise of your organization. Under the Product option, choose the precise product for which you require a quality alert.
- Product variant: "Variant" is a product type with numerous sizes and colors. Choose the variant that matches the selected commodity in the Product variant area.
- Lot: A lot number is a distinguishing number for a specific item or quantity of an item produced by one manufacturer. The Lot box allows the user to enter the product's lot ID.
- Work Center: Every production activity takes place at a work center. Choose the work centre field that best symbolizes the core hub of your product or piece of equipment.
- Picking: Picking is the transfer number where the quality needs to be guaranteed. To trigger the quality warnings, you can input the picking id of your products.
- Team: Assign a team to check the quality alerts for the items. Users can provide the team name in the Team area.
- Responsible: Choose the user in the Responsible section who confirms the quality inspections of the goods/services.
- Tags: A tag that is affixed to particular goods in order to identify them. You can choose the tags required for the creation of high-quality alerts in the Tag option.
- Root Cause: We can include the cause of the quality warnings in the Root Cause. You can choose from a variety of causes, including work center failure, work operation failure, parts quality failure, etc.
- Priority: The star icon under Priority can be used to modify the priority of quality alerts. The main backend team will soon fix the original problem.
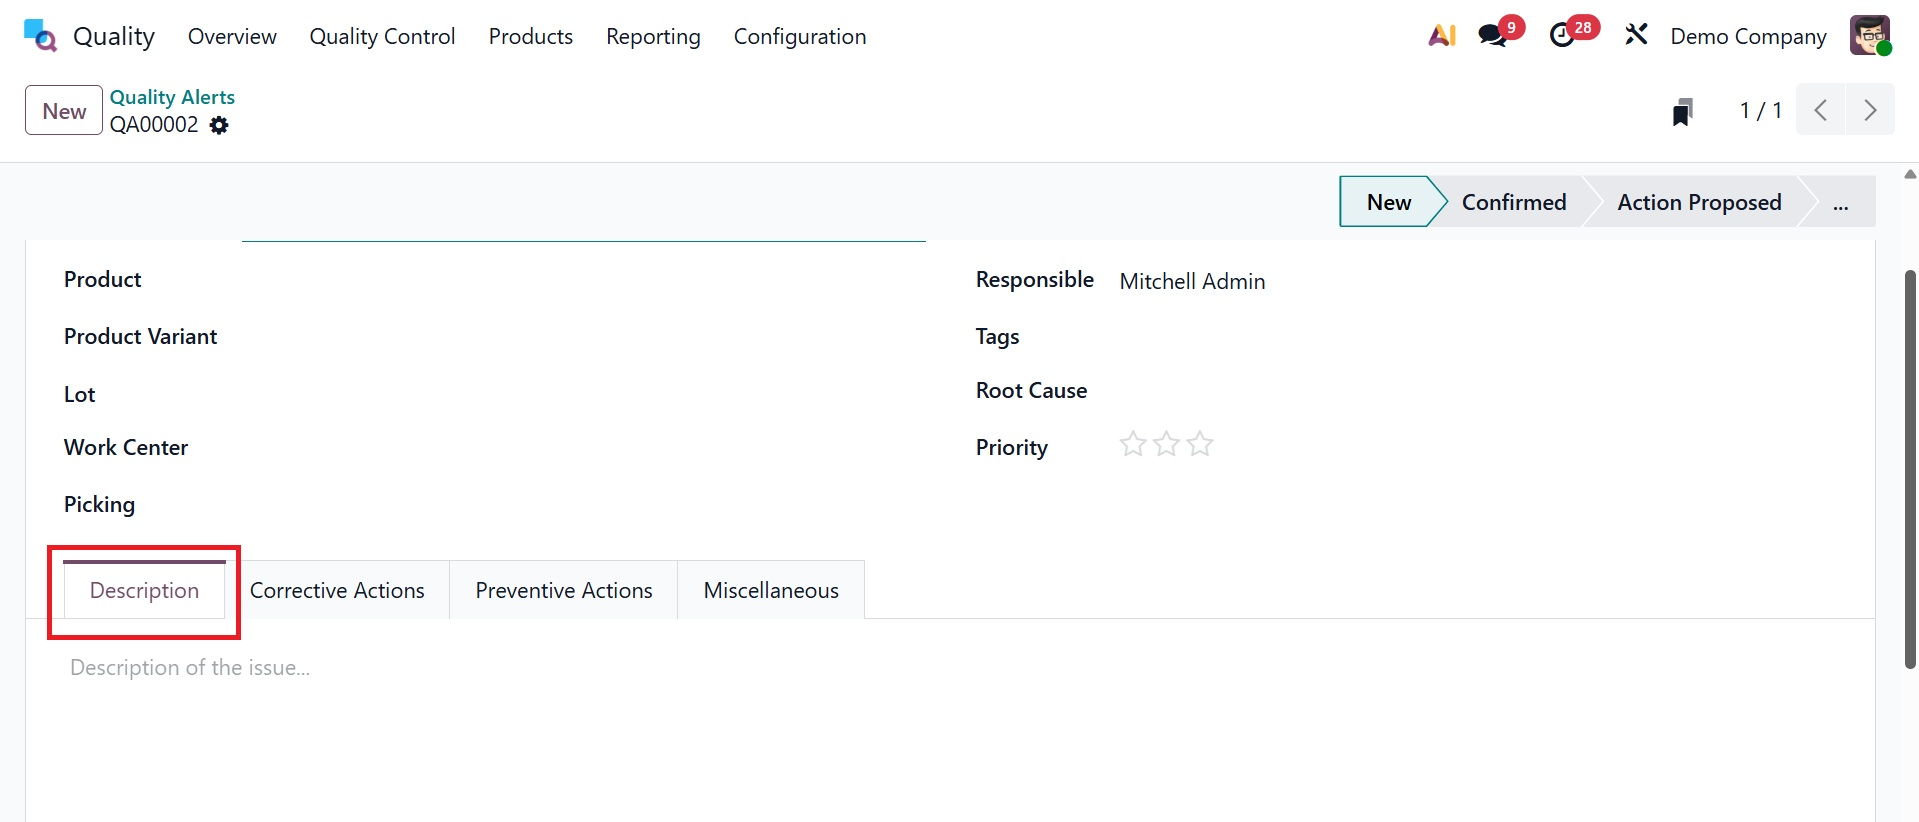
- Description: On the Description tab, the root of the issue can be easily identified.
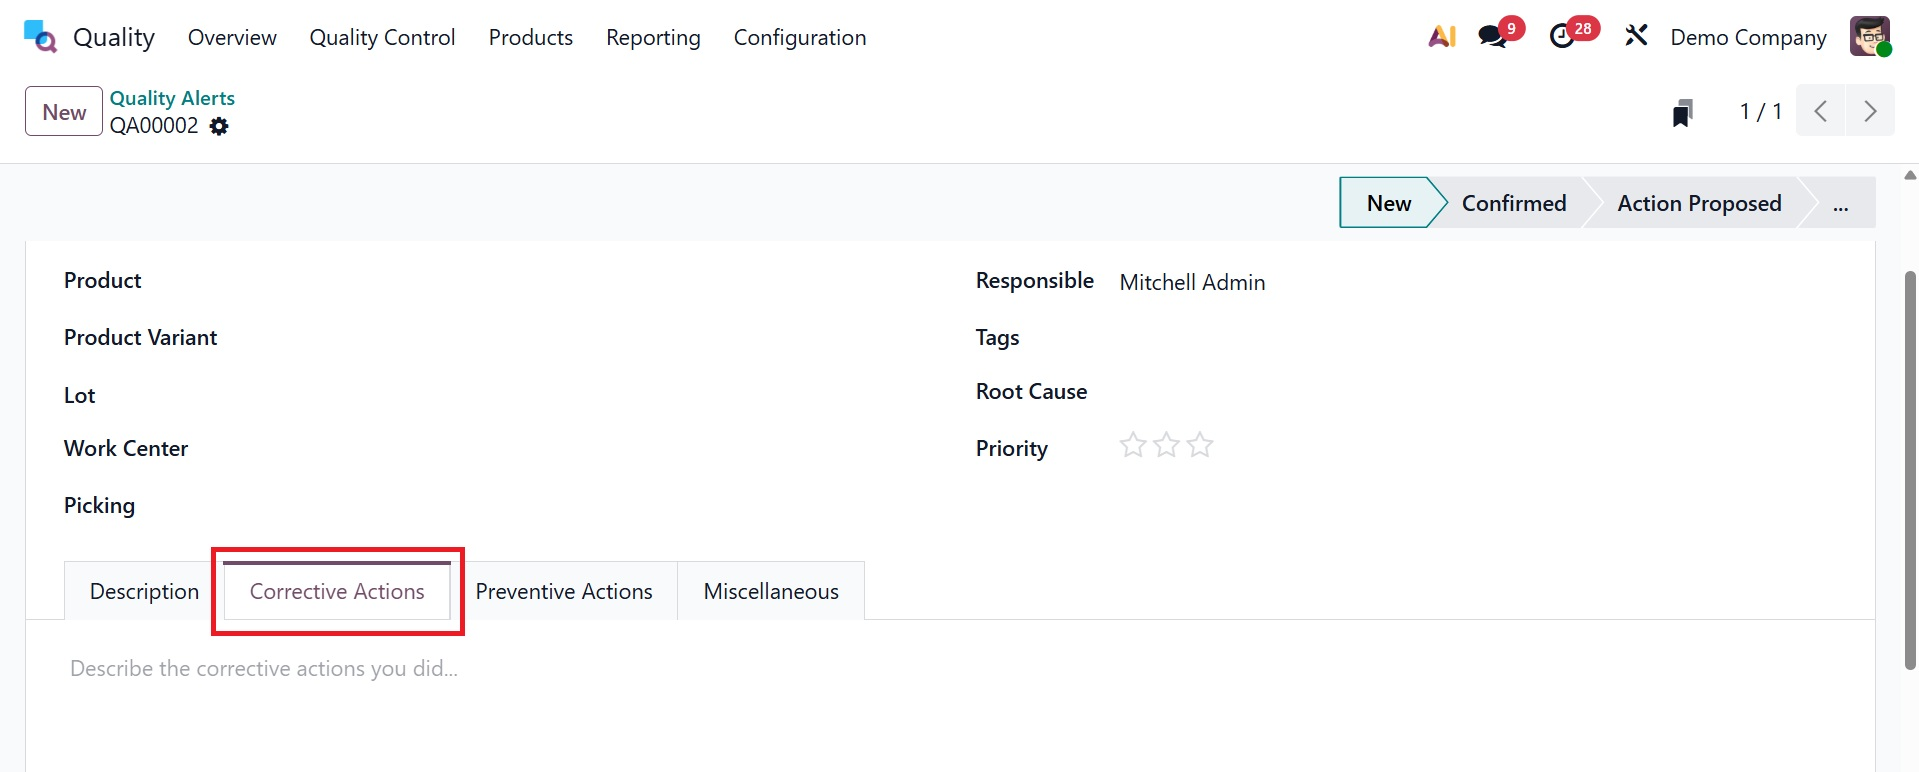
- Corrective Actions: You can describe the steps taken to address issues with the product on the Corrective Actions page.
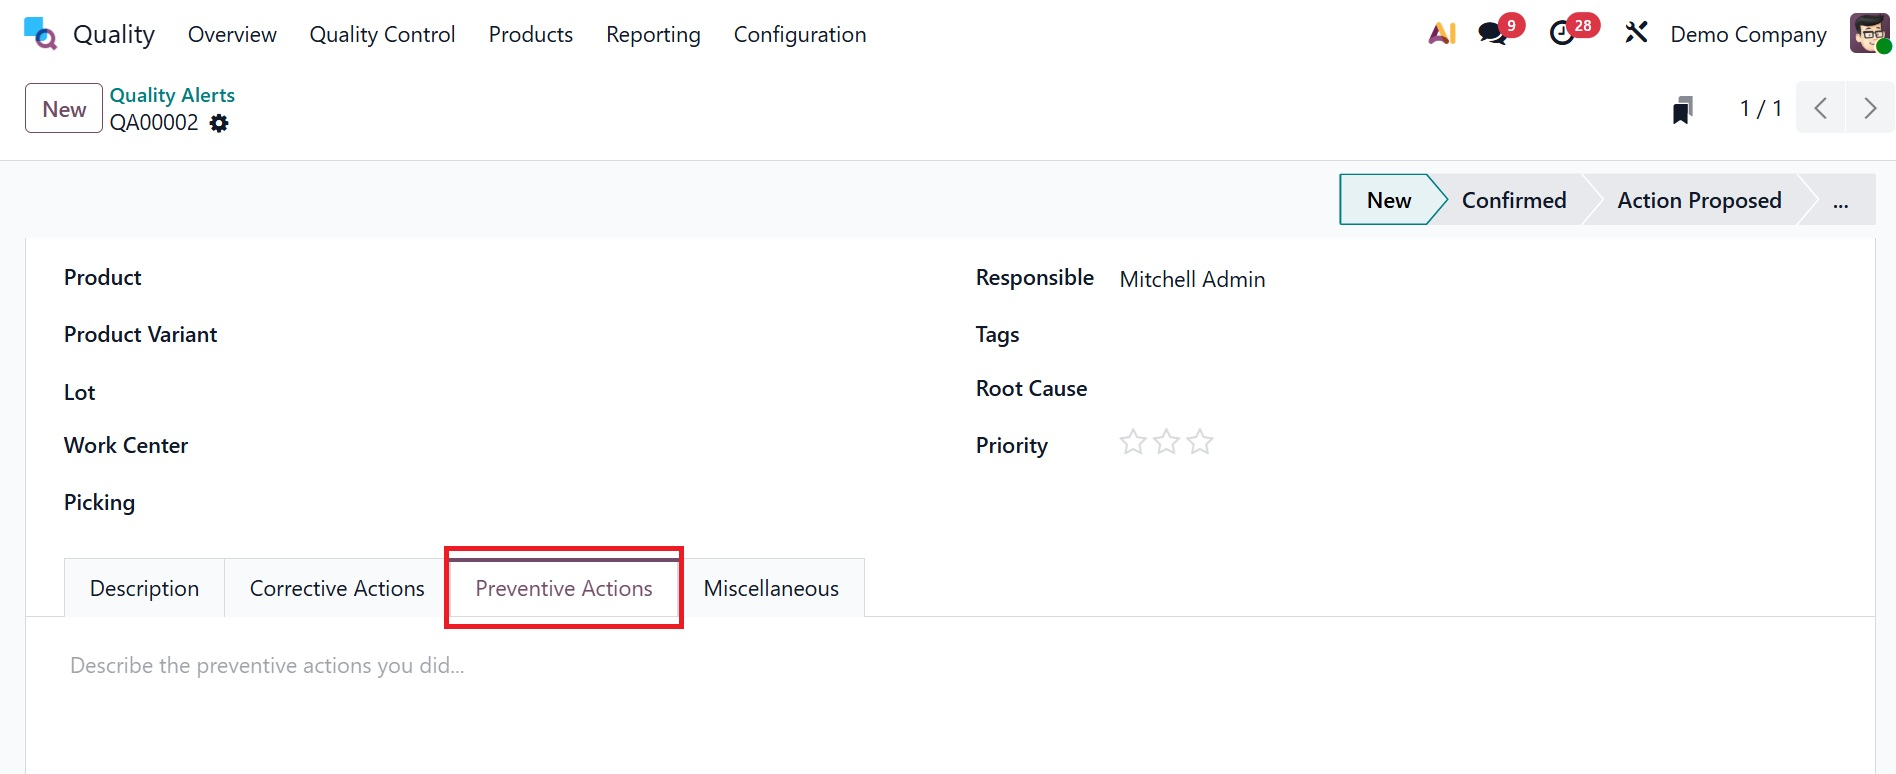
- Preventive Actions: The Precautionary Measures tab below outlines the steps you must take to prevent your commodity's quality failure.
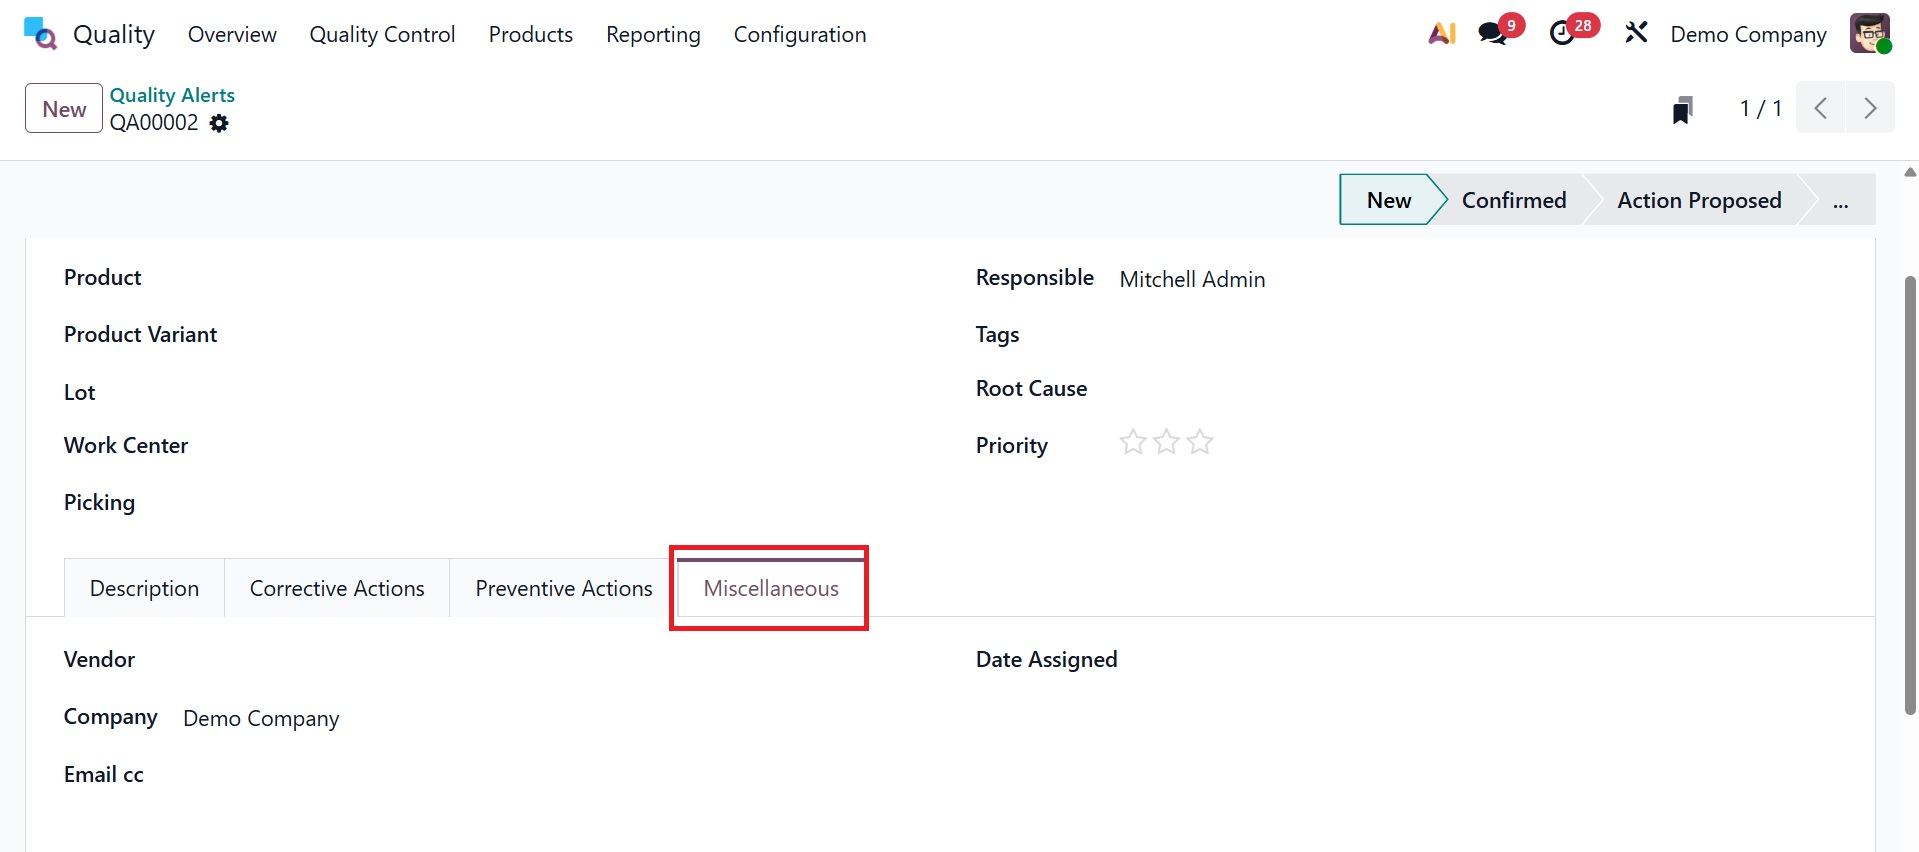
- Miscellaneous: The Miscellaneous tab enables you to access information regarding a firm, an allocated date, a vendor, and an email address.
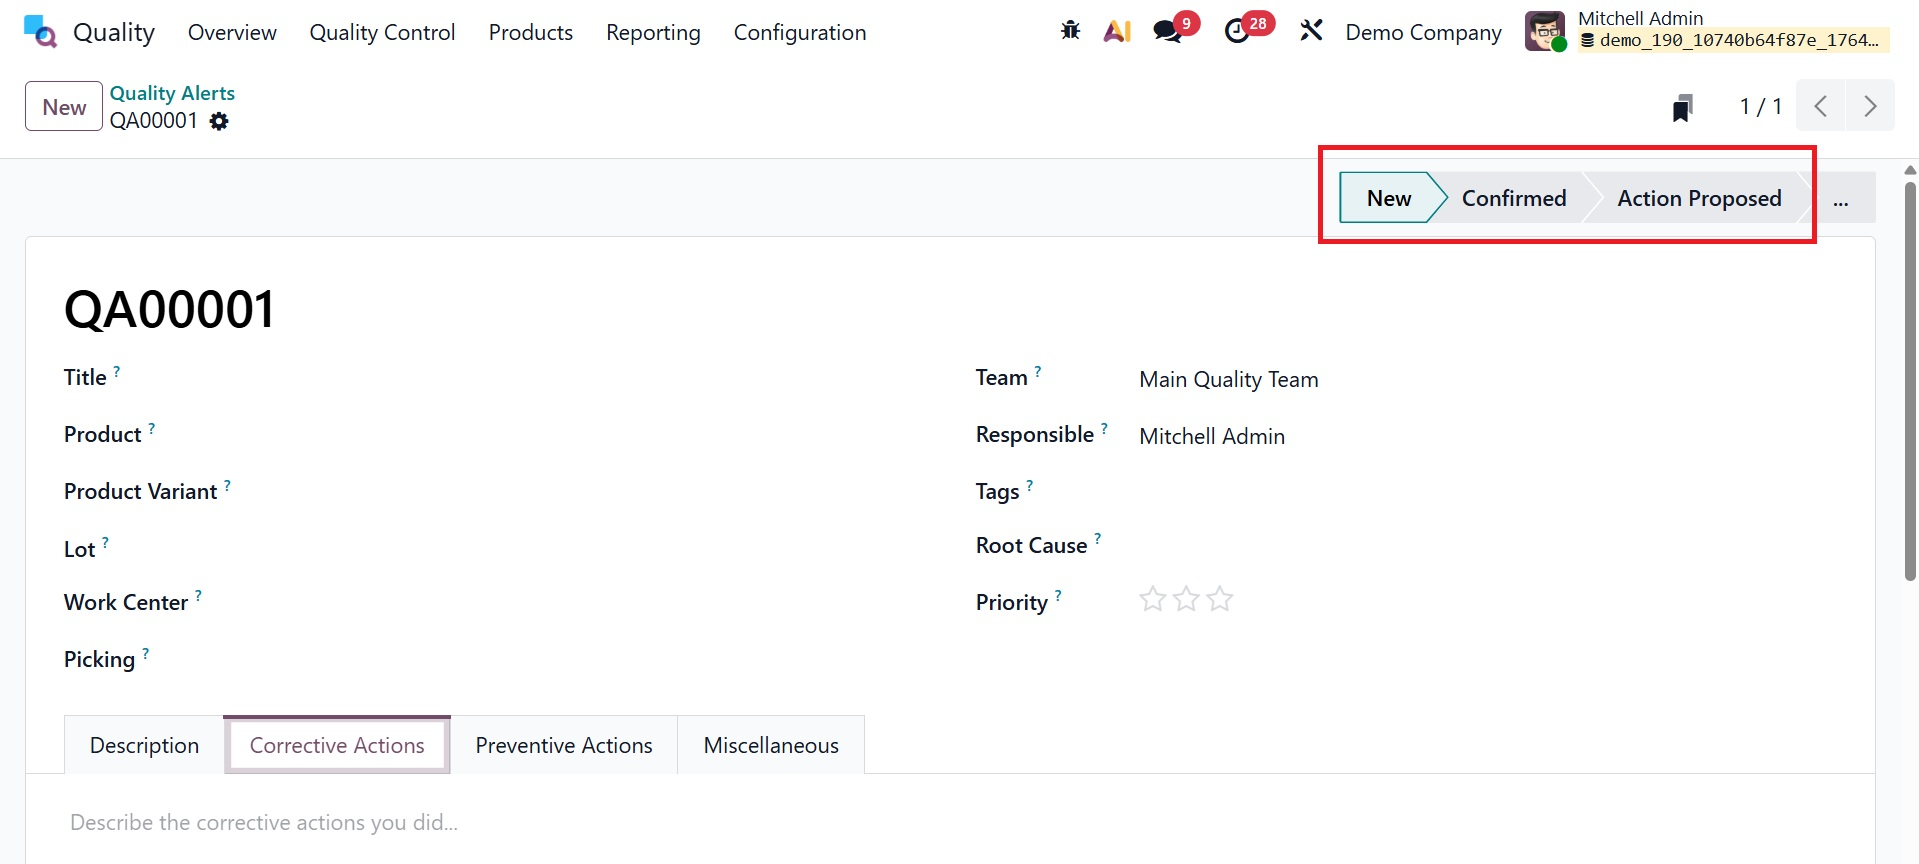
Every entered value is manually inserted into the Quality module of Odoo 19. Every procedure has a different set of Quality Alert phases, such as New, Confirmed, Action Proposed, and so on.