Rental Orders
The Rental module manages every task necessary for rental operations. The rental module offers features for managing rental orders, creating rental estimates, and creating invoices and payments in addition to looking for products that are rental-eligible. The page for the rental module will look like the example below.
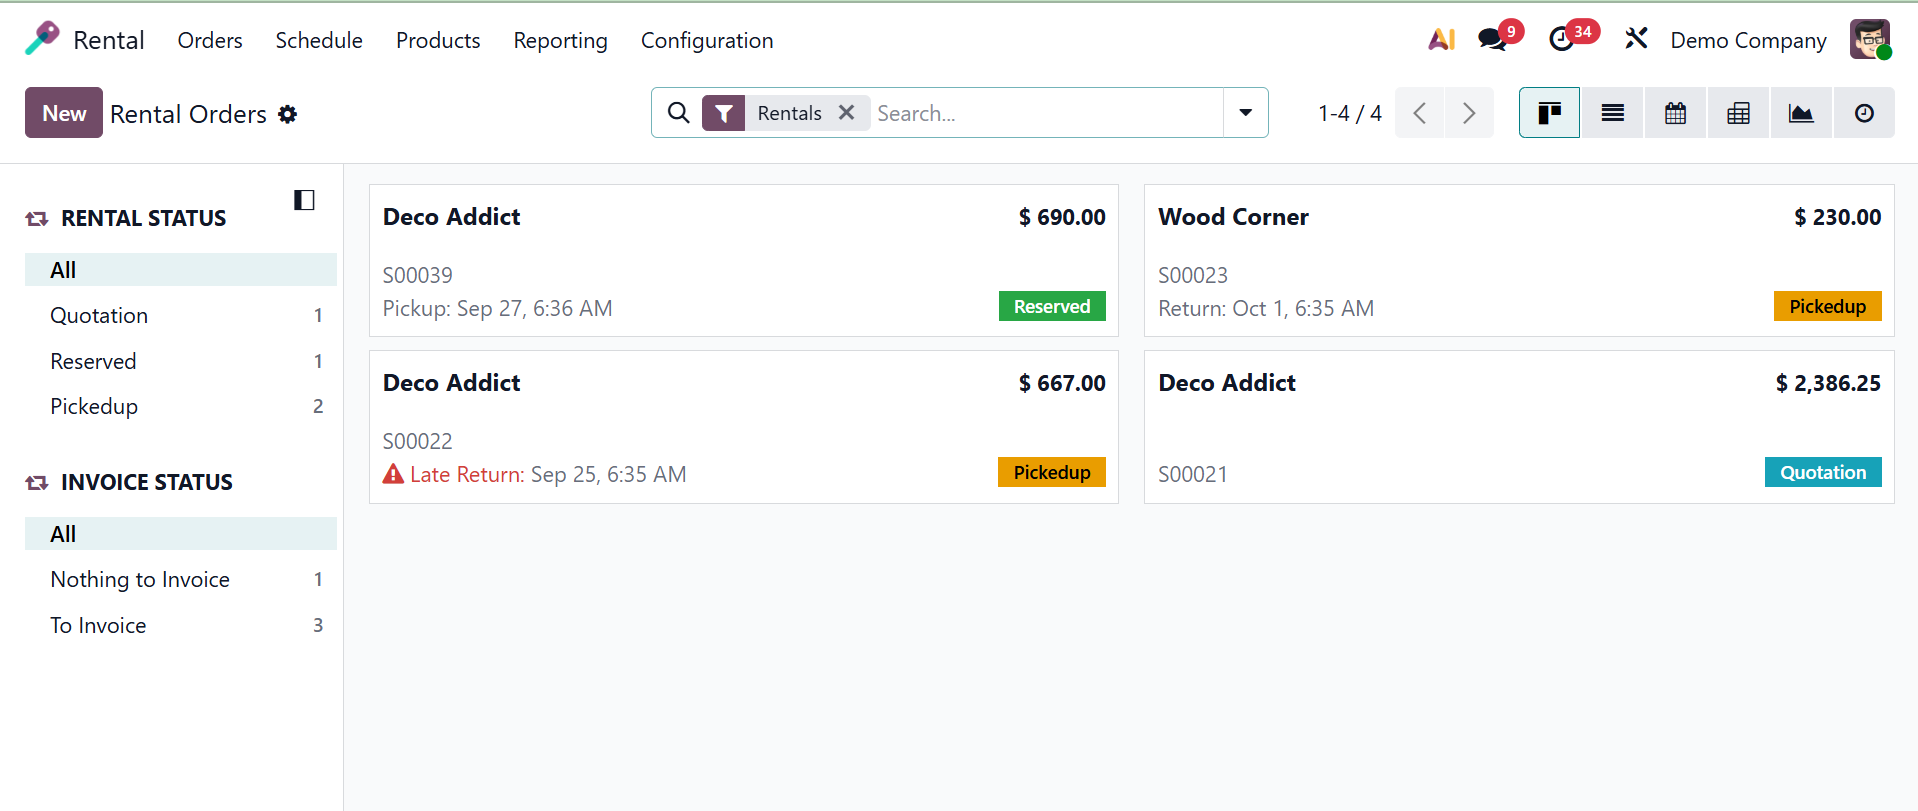
You'll learn more about the individual in charge of the rental products and those that have previously been produced. The Kanban view of the site displays the rental and invoice statuses on the left side of the screen. Rental statuses include Quotation, Confirmation, and Picked up, among others. Invoice status includes all, nothing to invoice, and to invoice. Here, you have some filters, and group by options as well.
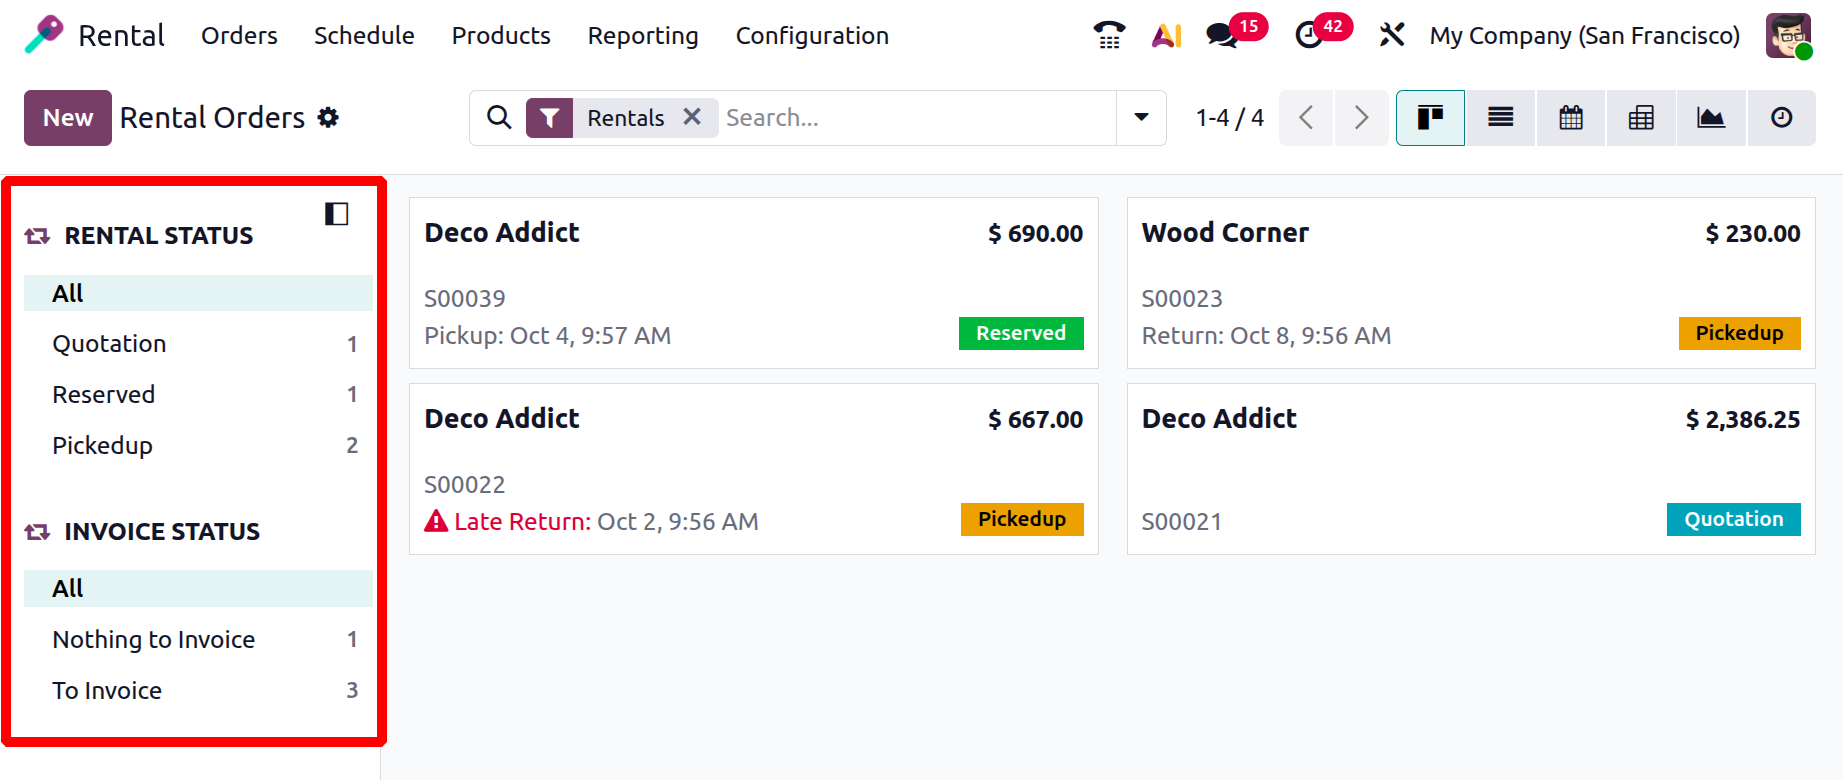
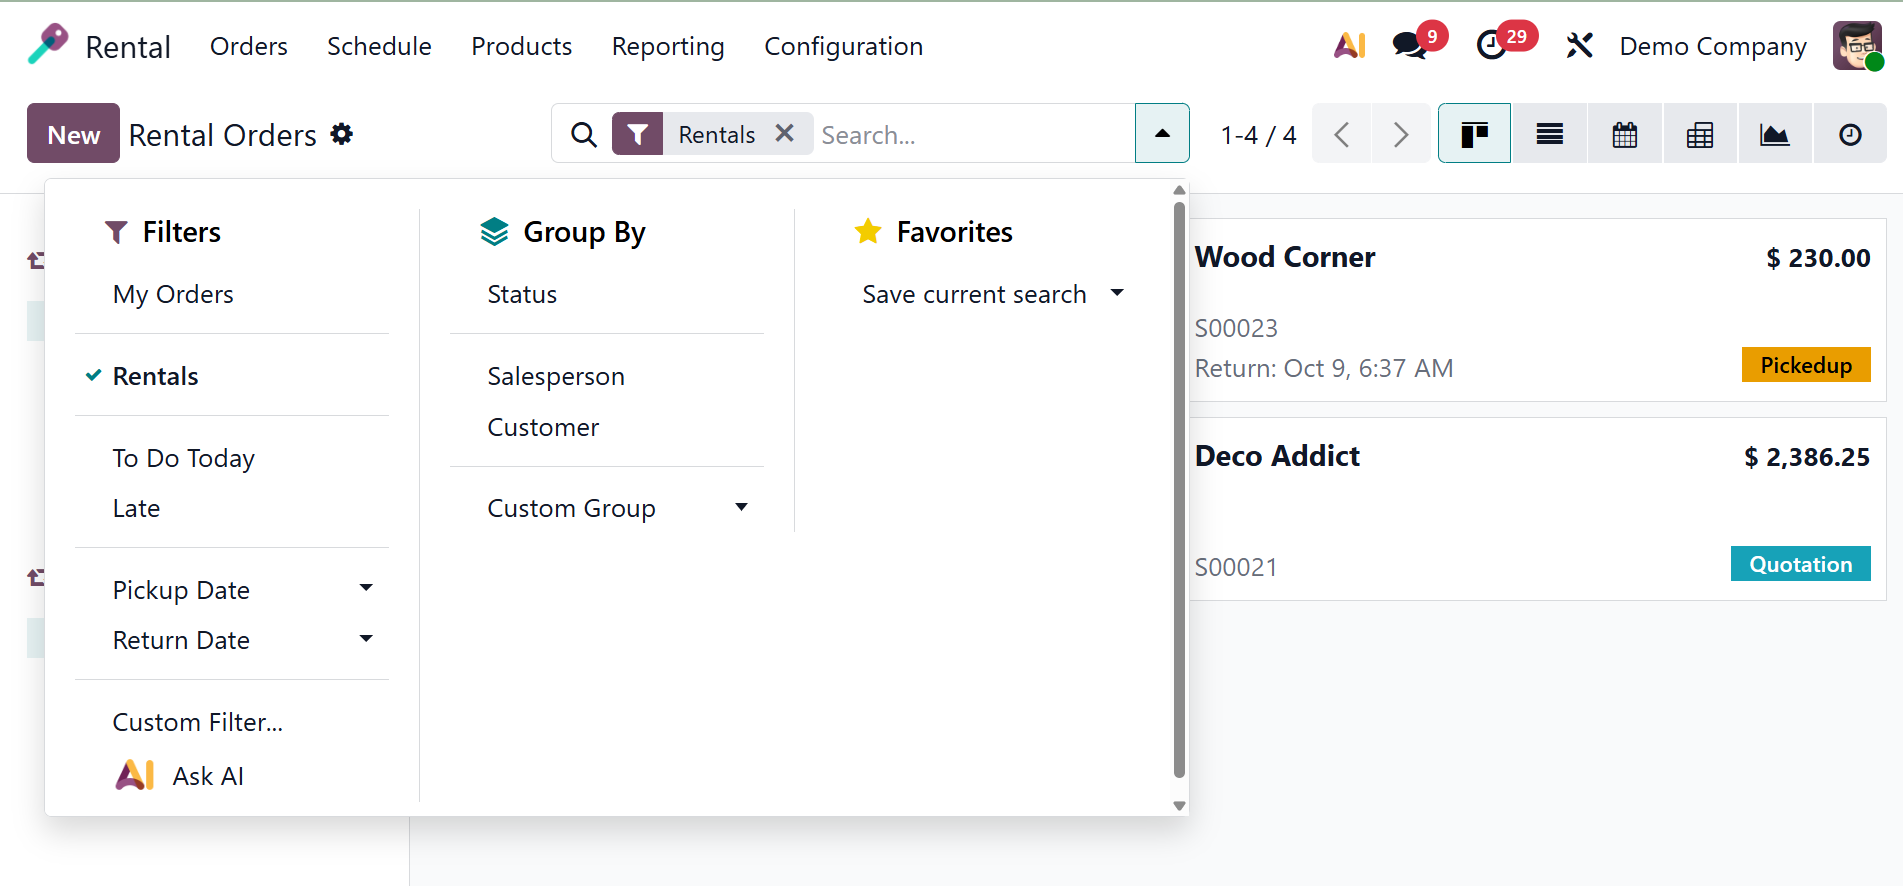
The filters include my orders, rentals, todo today, late, pickup date, return date, custom filter, and ask AI. under the group by, you have the options like, status, salesperson, customer, and custom group, respectively. The favorites option can also be made use of.
The page is also available in List, Pivot, Calendar, Activity, and Graph views. Just choosing the New symbol will allow you to place a new rental order.
The screen below will appear when you choose the New option to create a new rental.
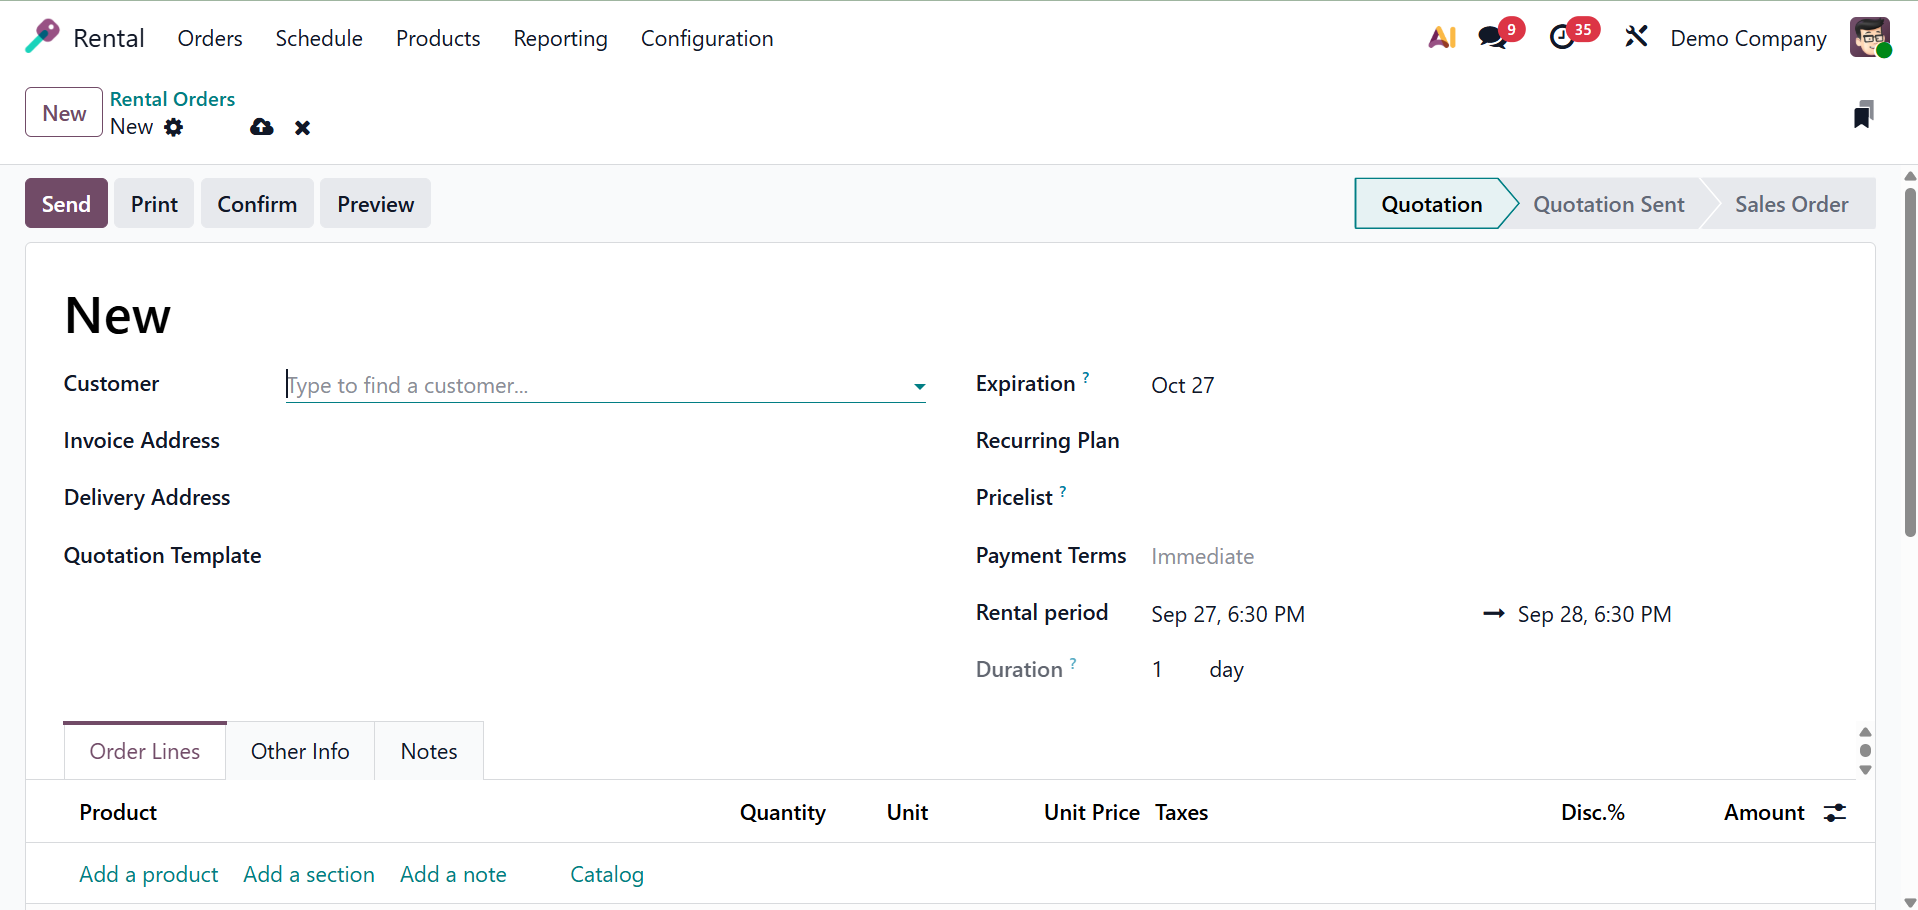
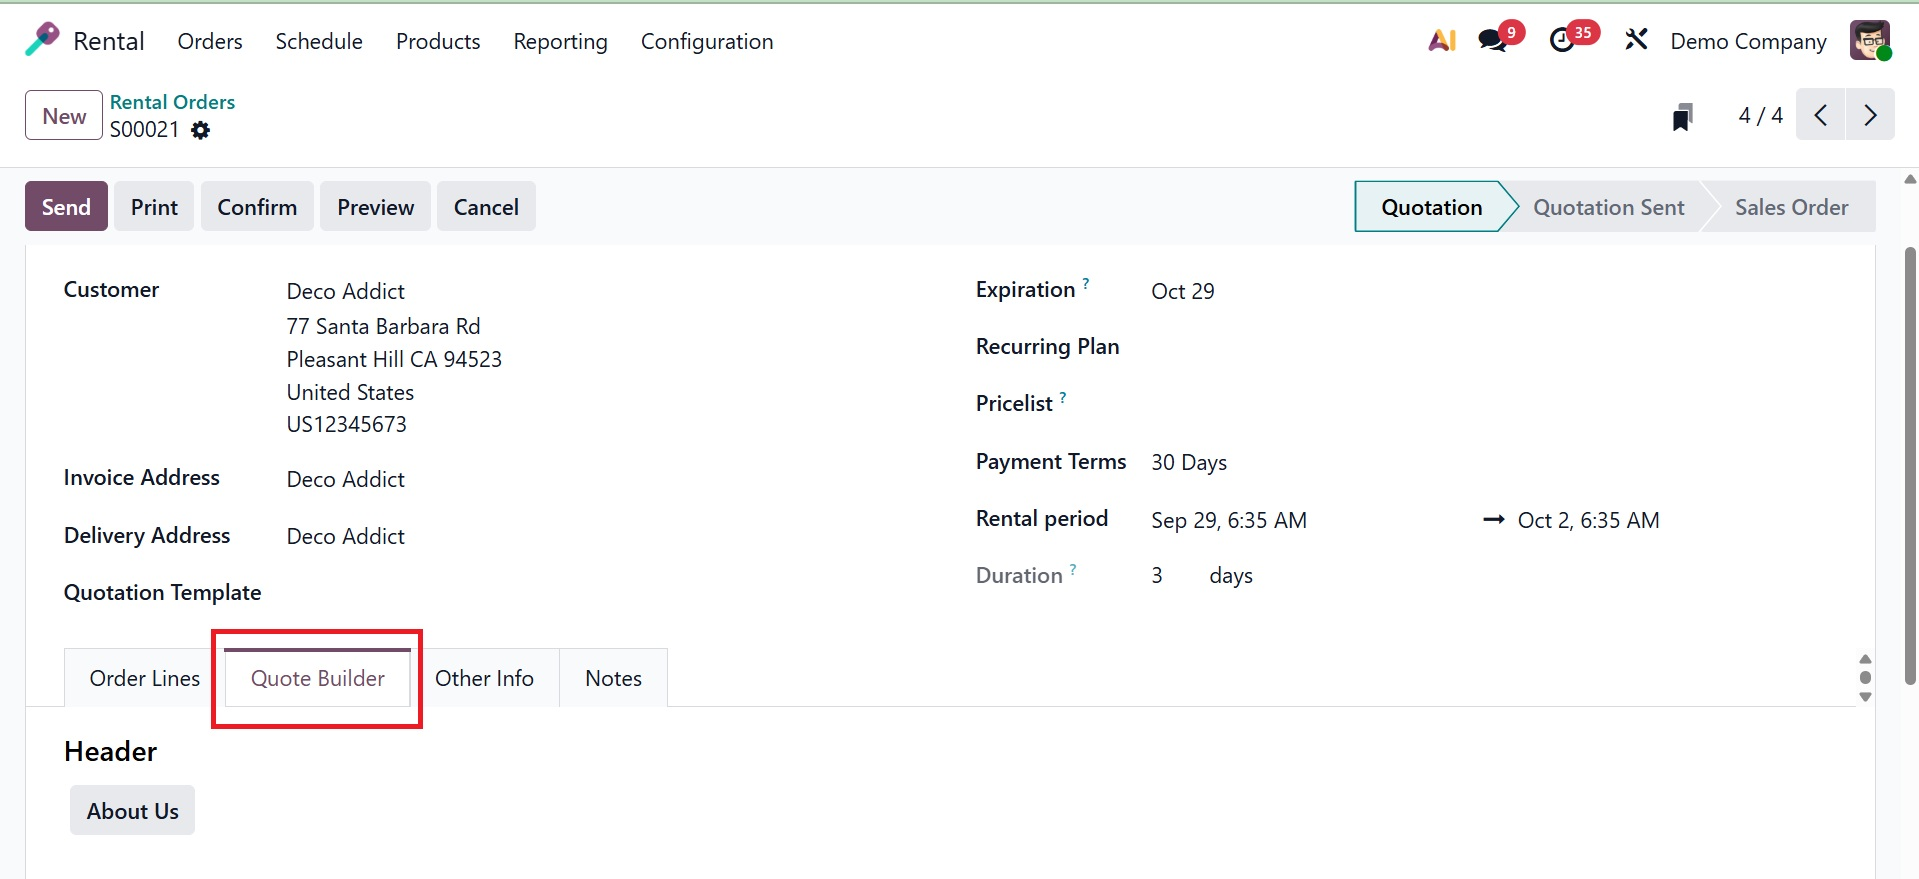
The customer's name, the invoice and delivery addresses, the expiration and recurring plan, the price list, and the payment term are all entered on the creation page. The quotation template can be added then. The Rental Period and Duration choices allow businesses to choose the start and end dates of a rental, ensuring proper scheduling, pricing, and availability tracking.
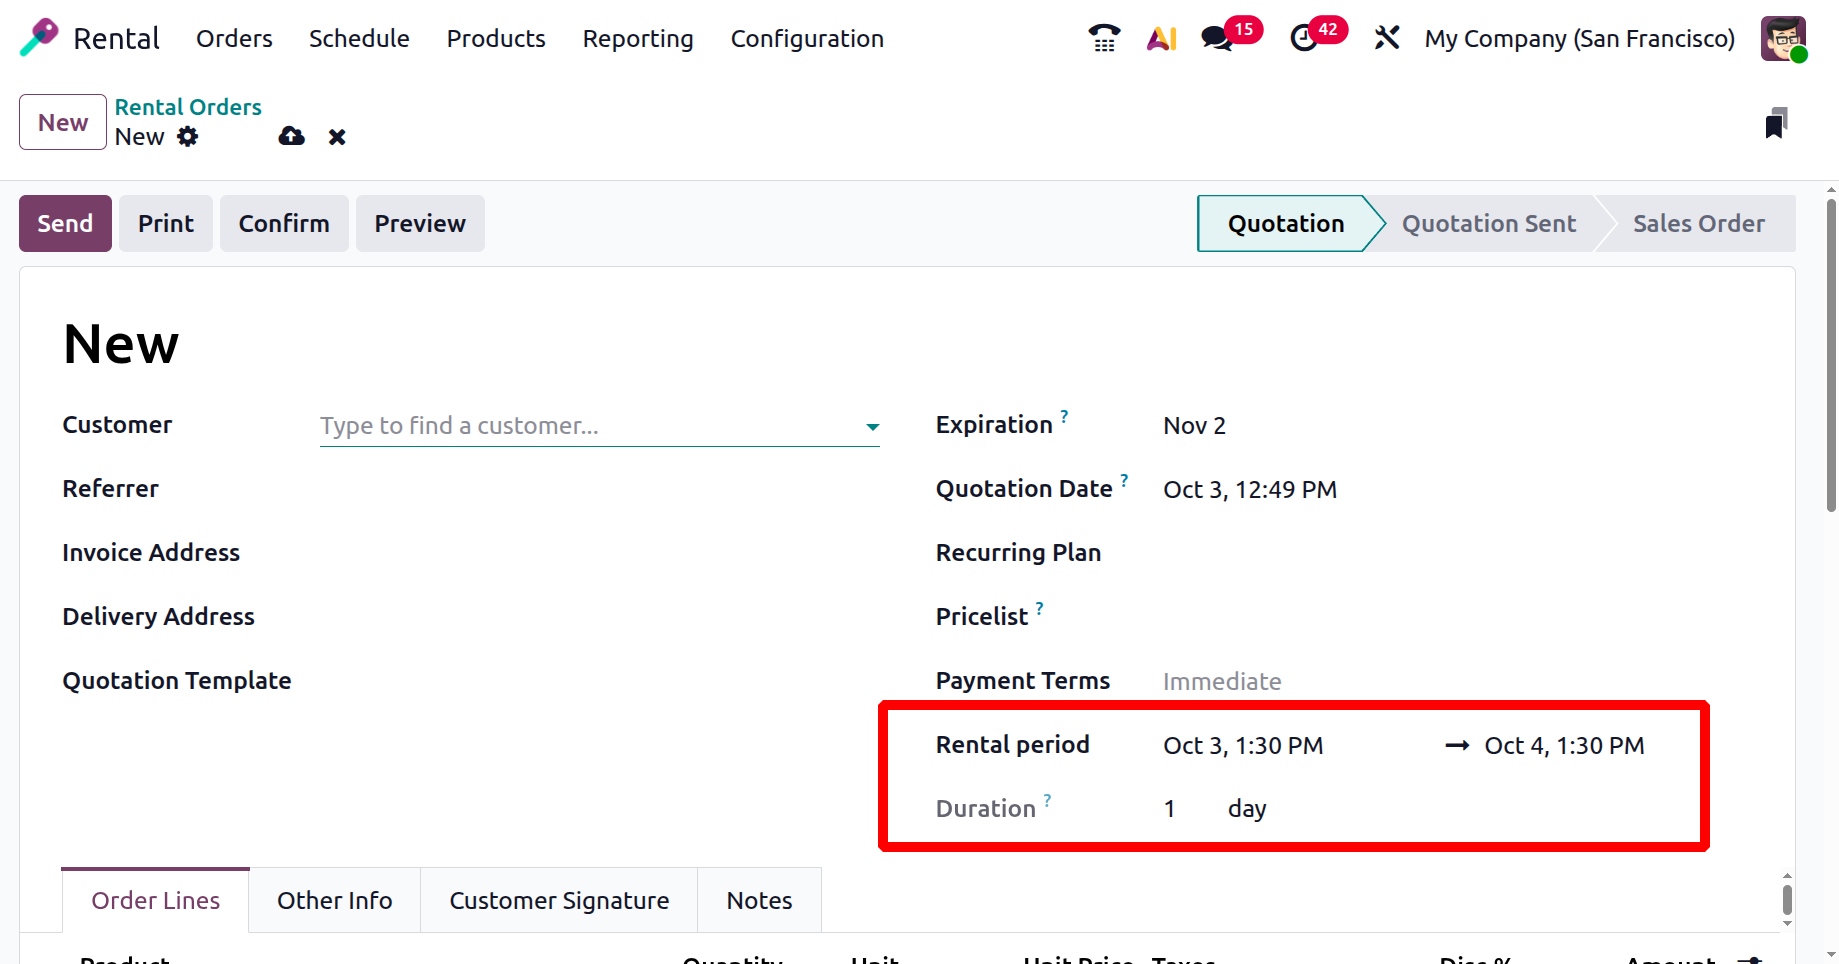
The rental period specifies the beginning and ending times of the rental. The Duration option allows businesses to bill customers based on time-based pricing (hourly, daily, weekly, or monthly).
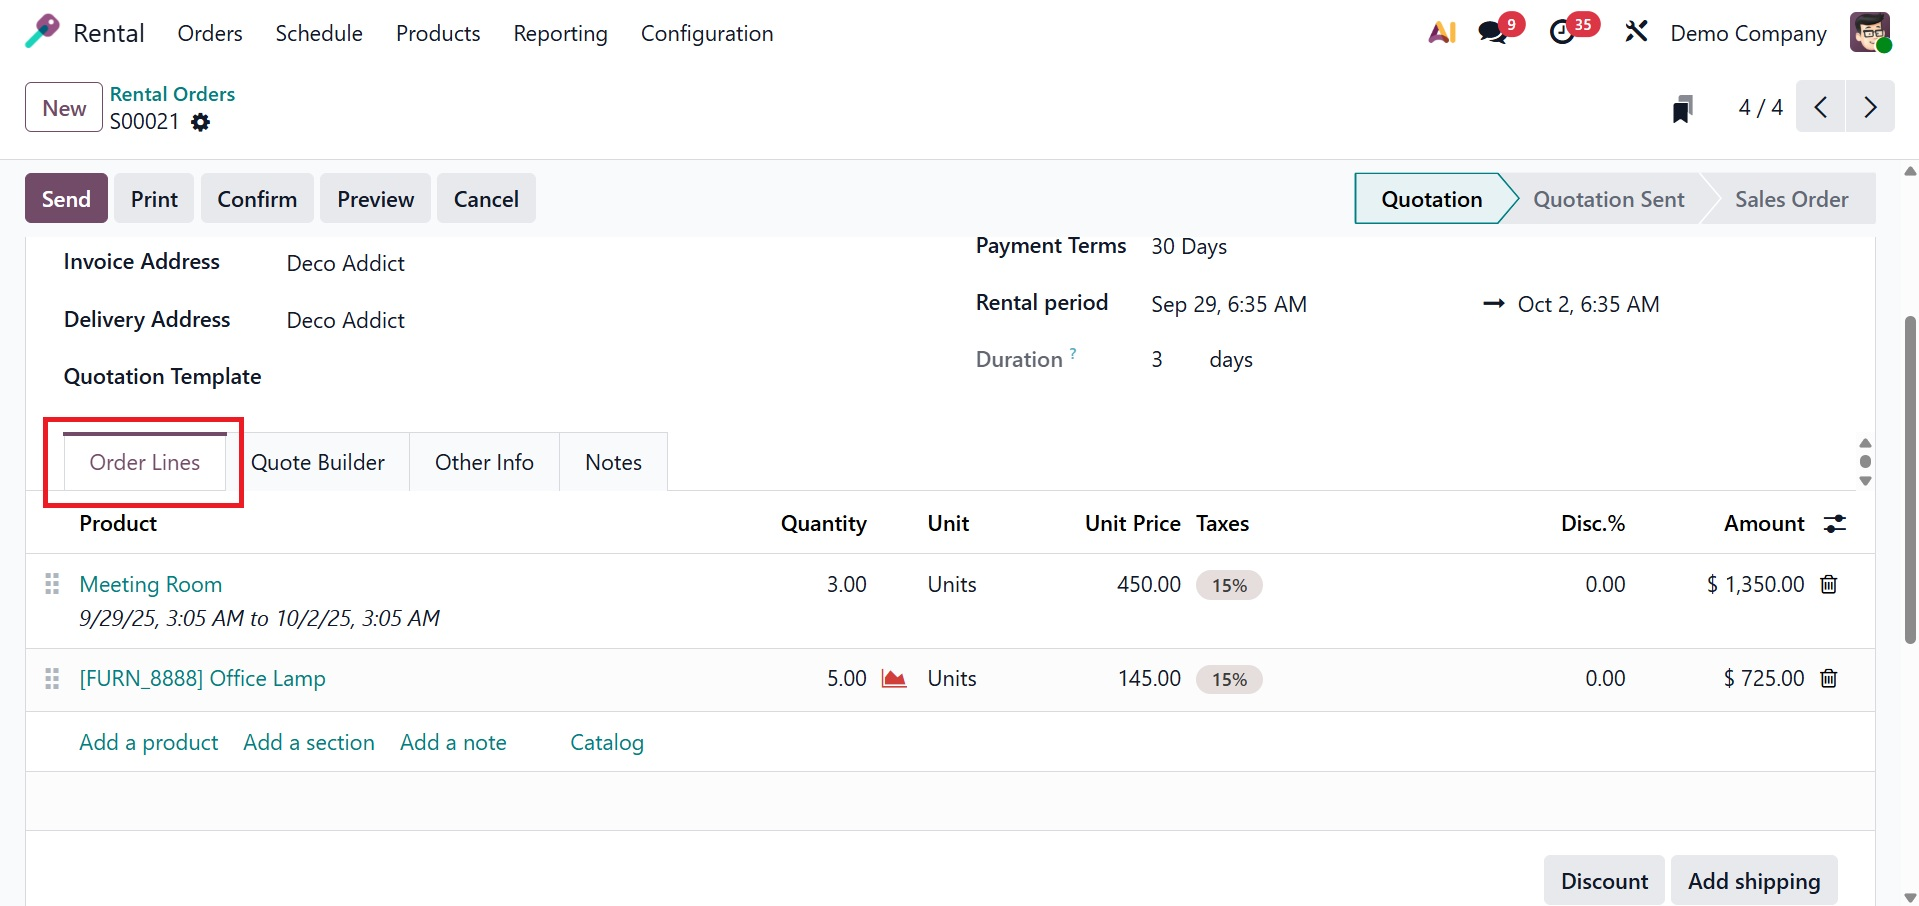
You can fill out the following tabs: Order lines, Other Info, and Notes. A list of products along with their description, quantity, unit price, taxes, discount amount, and subtotal will be shown when you select the Order Lines option. You can quickly add a new product to the displayed list by selecting the Add a line option. Now, a new window similar to the one below appears when you select a particular item from the provided list.
The full amount of rent will be paid to you after the additional item has been added to the list. The processes for the sales order are identical to those for the others.
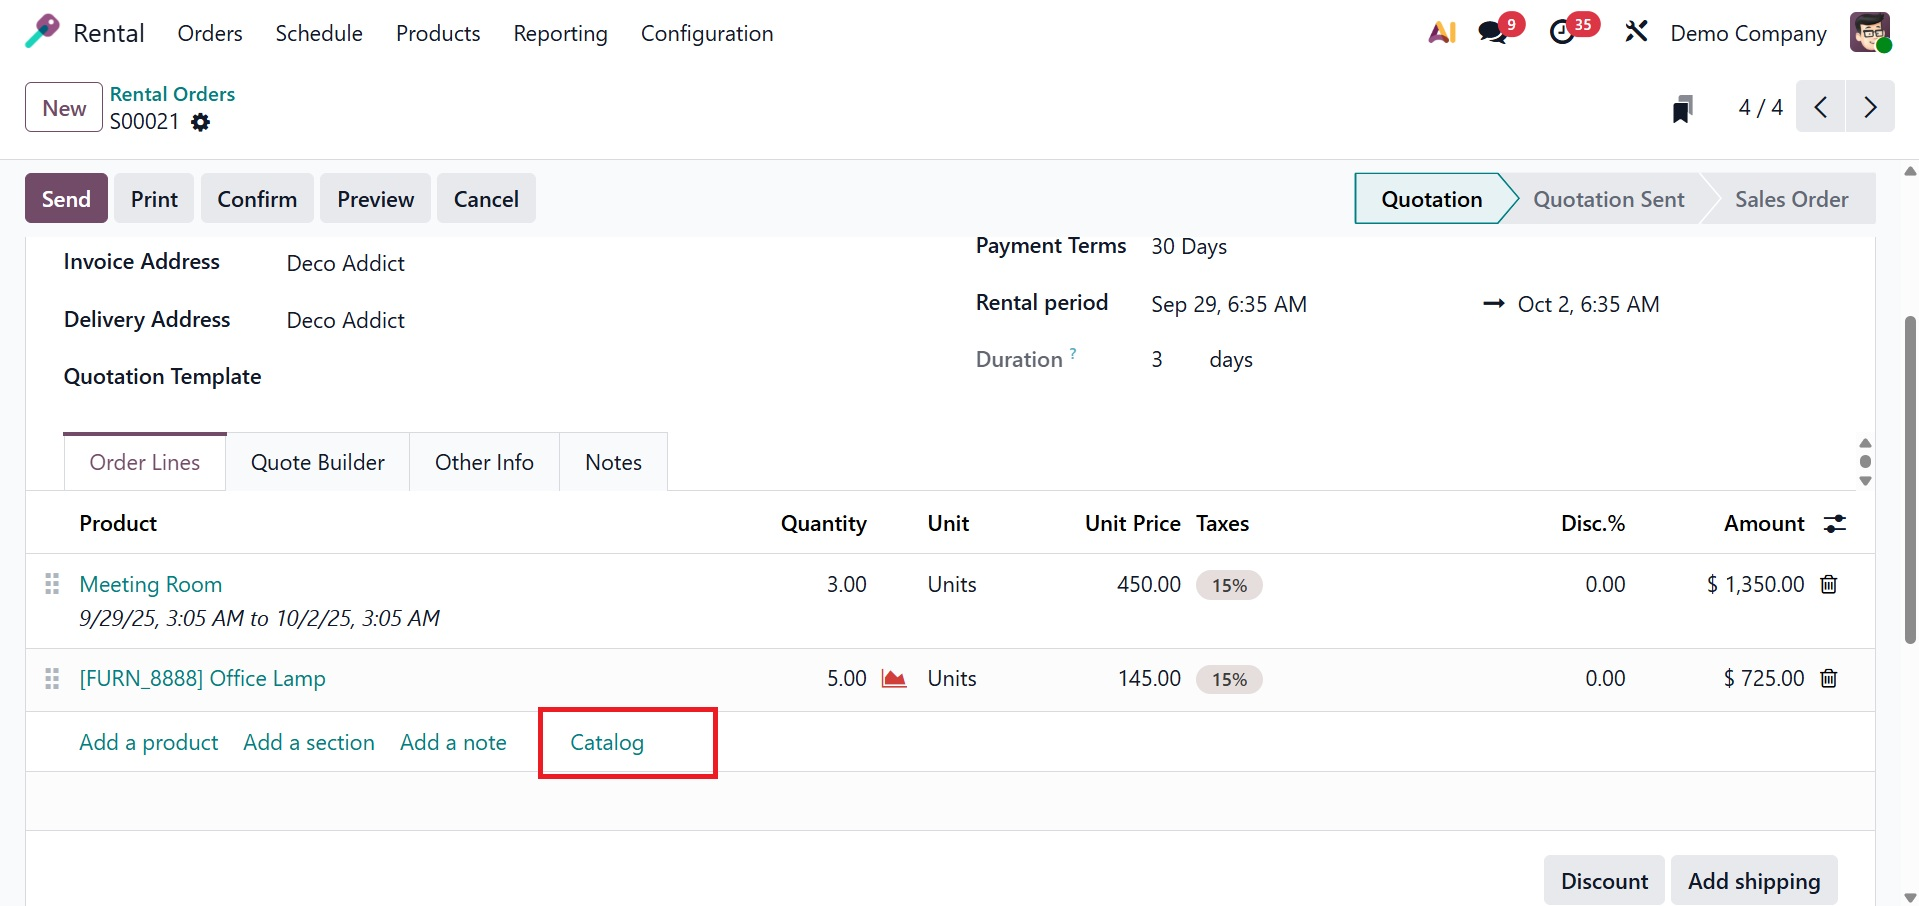
Add a Section allows users to add sections inside the order line, and the Add a Note allows users to add some additional notes. Users can access the Product Catalog page by selecting the Catalog option in the Orderline, as shown below. Users have categories for every product category and feature to make item selection simpler for customers.
On selecting the option, you will get the list of products, as shown below.

With the help of the Quote Builder tab in a rental order, you can add text, photographs, and sections to make the quotation unique and more than just a list of rented items. For that, you can make use of the Quote builder tab, as shown below.
Other Info is the next tab, and it has choices for sales, invoicing and payment, deliveries, and tracking. The following information is included in the SALES section: salesperson, sales team, company name, and confirmations of online payments and signatures to activate, Customer reference, tags, and print variant grids.
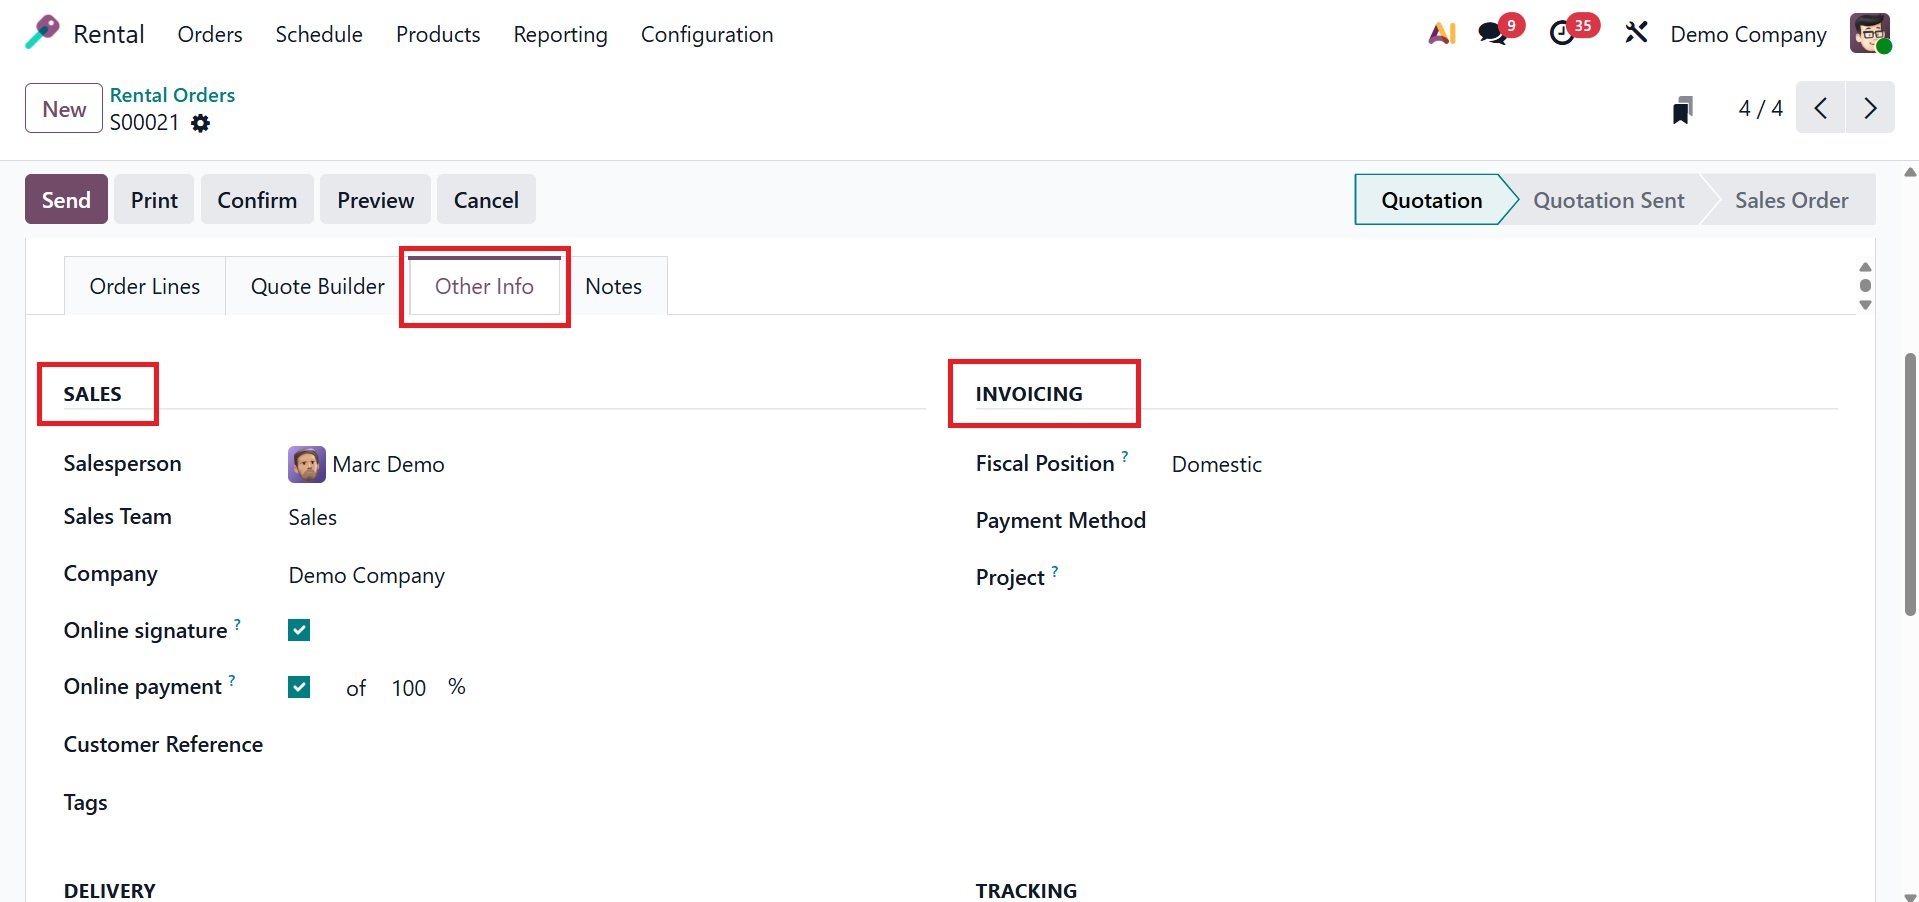
You may access the Fiscal Position, payment method, invoicing journal, and Project, which assist in the administration of analytical accounting and tax requirements, in the INVOICING area, as in the screenshot above. The Fiscal Position determines the tax rules that apply to a rental order based on the client's location, tax exemptions, or specific fiscal policies. The Project field links the rental order to an Odoo Project in order to manage rental income, costs, and resource allocations for specific business operations. You may now select the Shipping Weight, Warehouse, Incoterm, Incoterm Location, Delivery Date, and Shipping Policy under the DELIVERY option, as shown below.
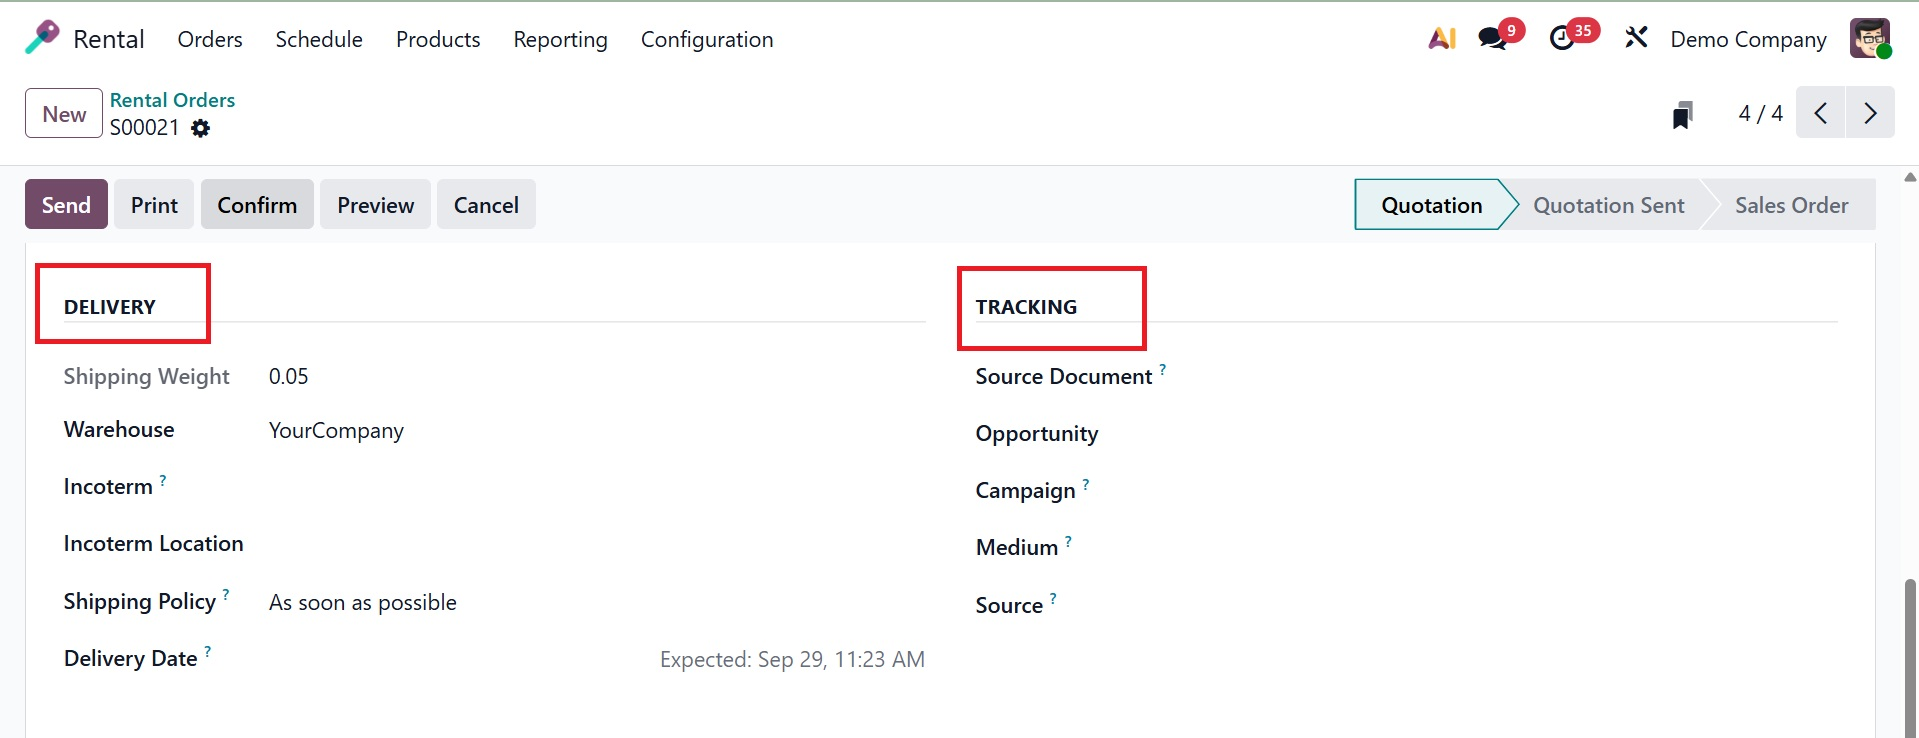
The final choice, TRACKING, enables us to specify the source document, opportunity, campaign, medium, and source in the appropriate manner, as shown above.
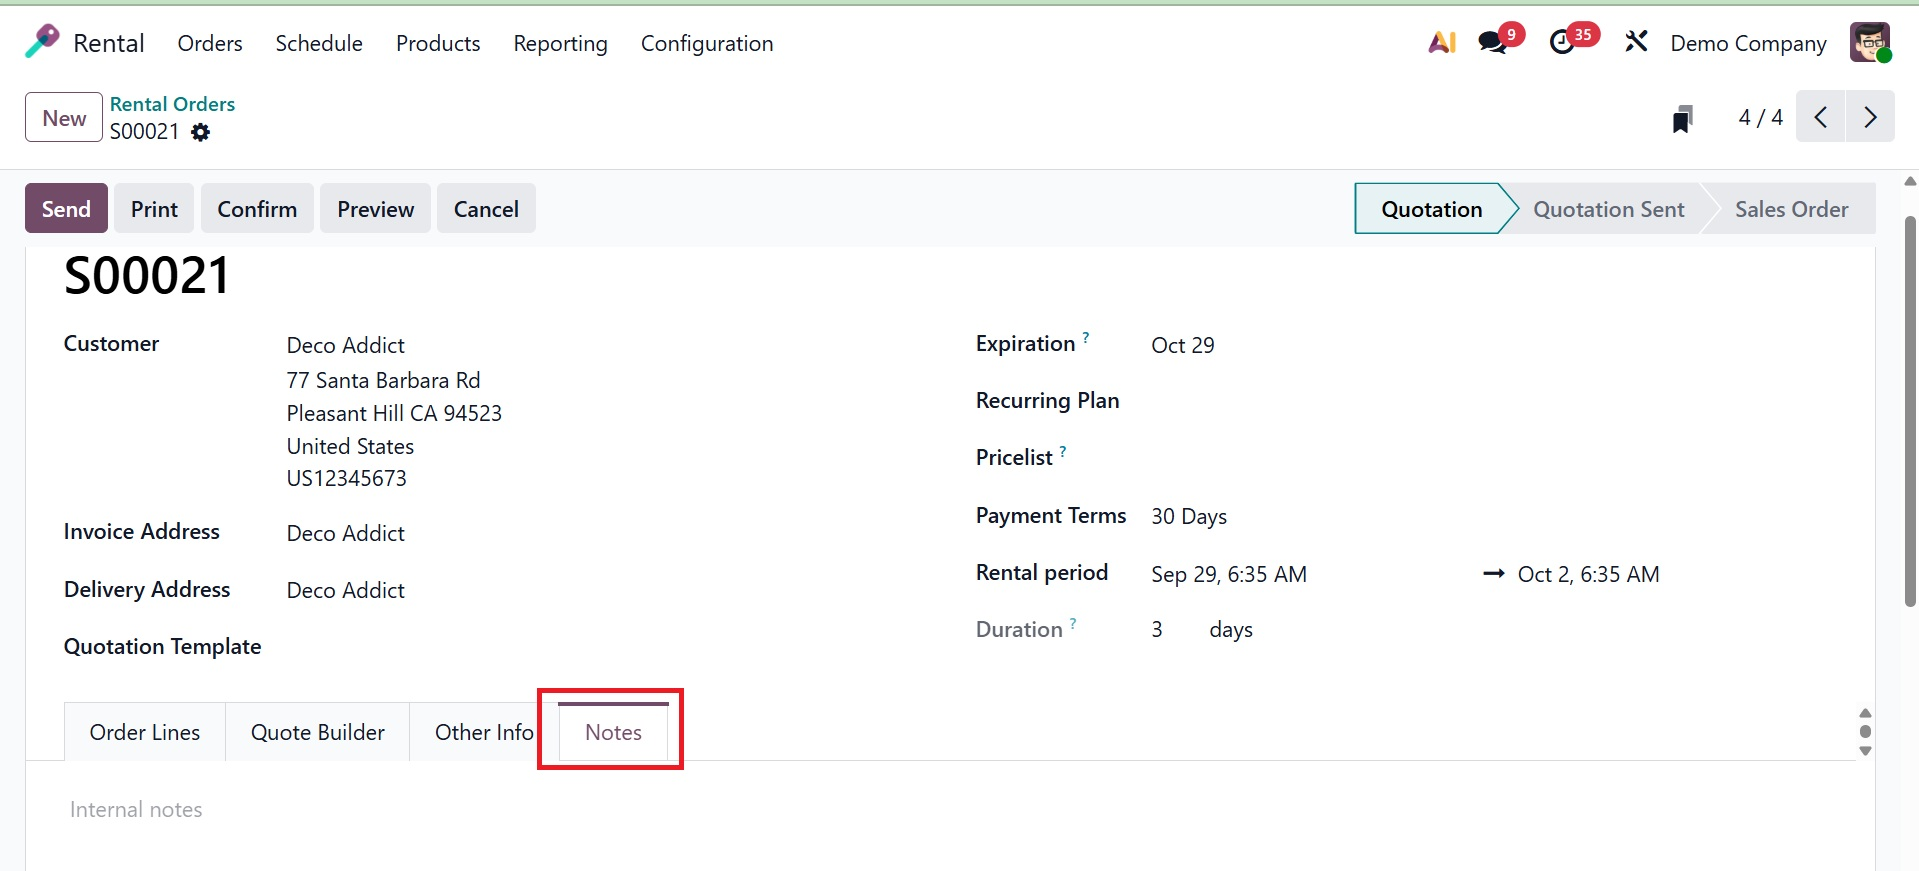
Users can include internal remarks on the rented items under the Notes tab.
You can access the save icon after entering all required information. The produced quotation order can then be sent by email using the Send option, as seen below.
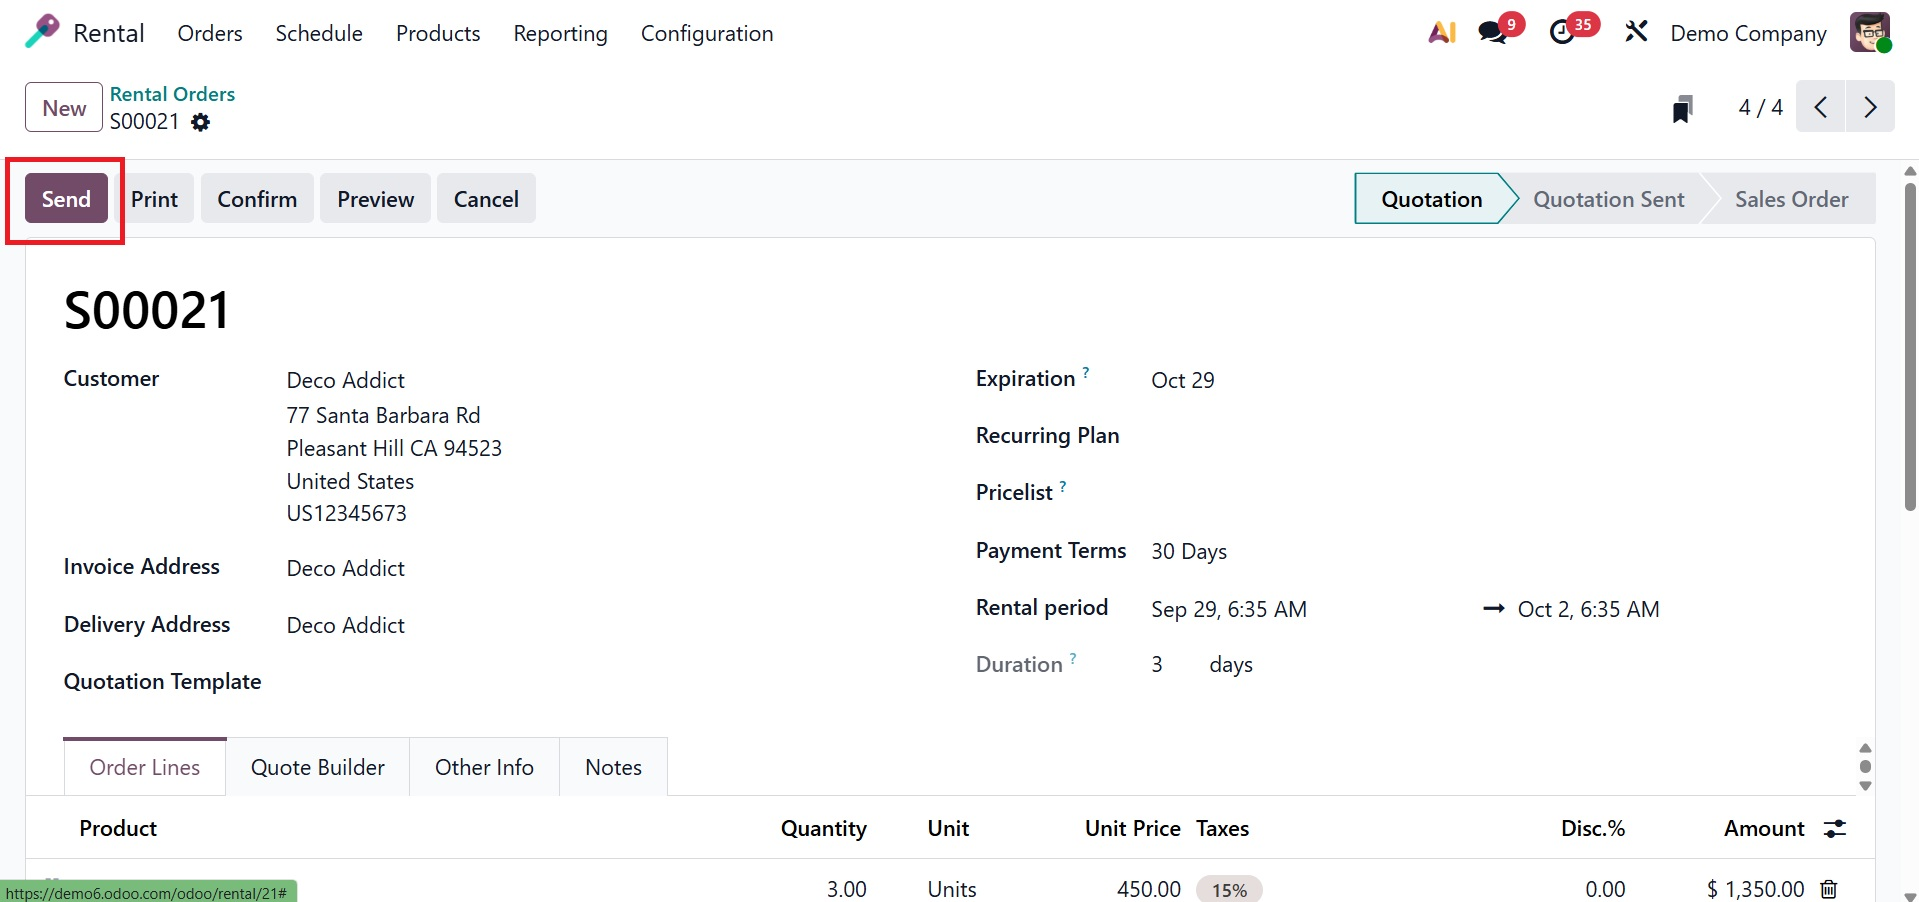
As shown in the above image, you can quickly select the Confirm option once you receive confirmation from a specific customer. The page shown in the screenshot below will appear after the rental item has been verified. Businesses can handle reservations more effectively and avoid duplicate bookings by doing this. The status indicated as Sales order is shown here.
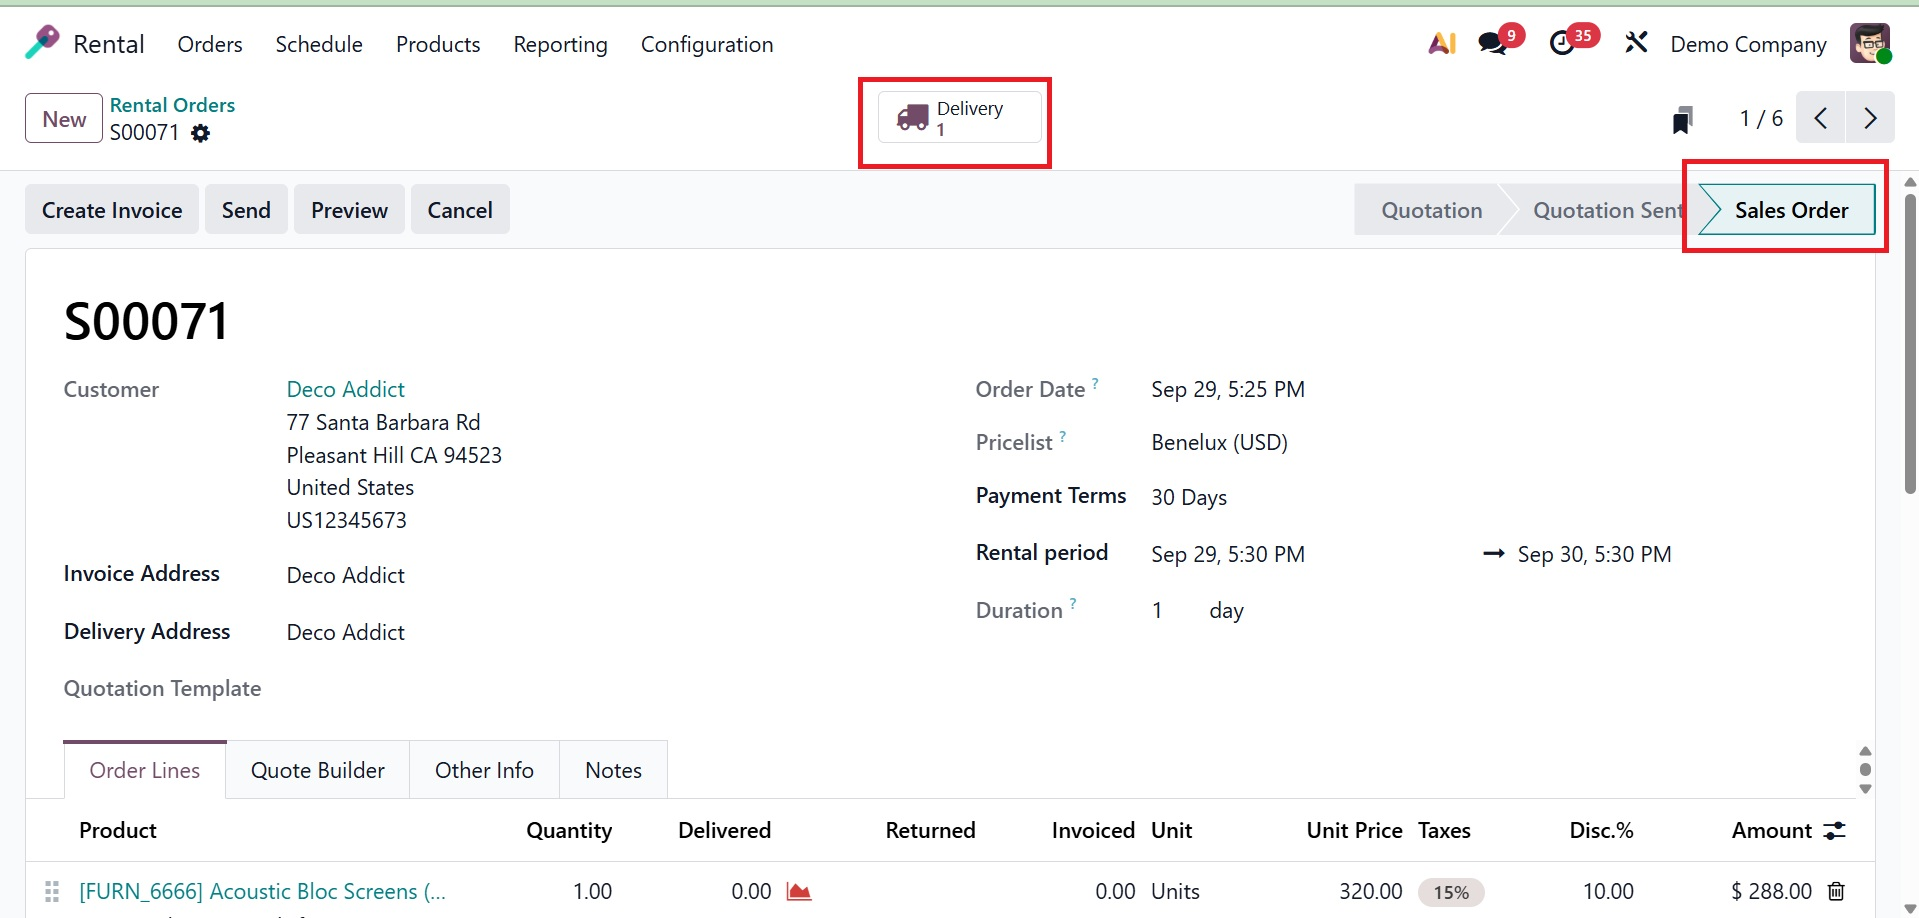
After the delivery was verified, a single delivery transfer was made in the Delivery Smart tab. As we can see here, it is in the Waiting stage, as shown below.
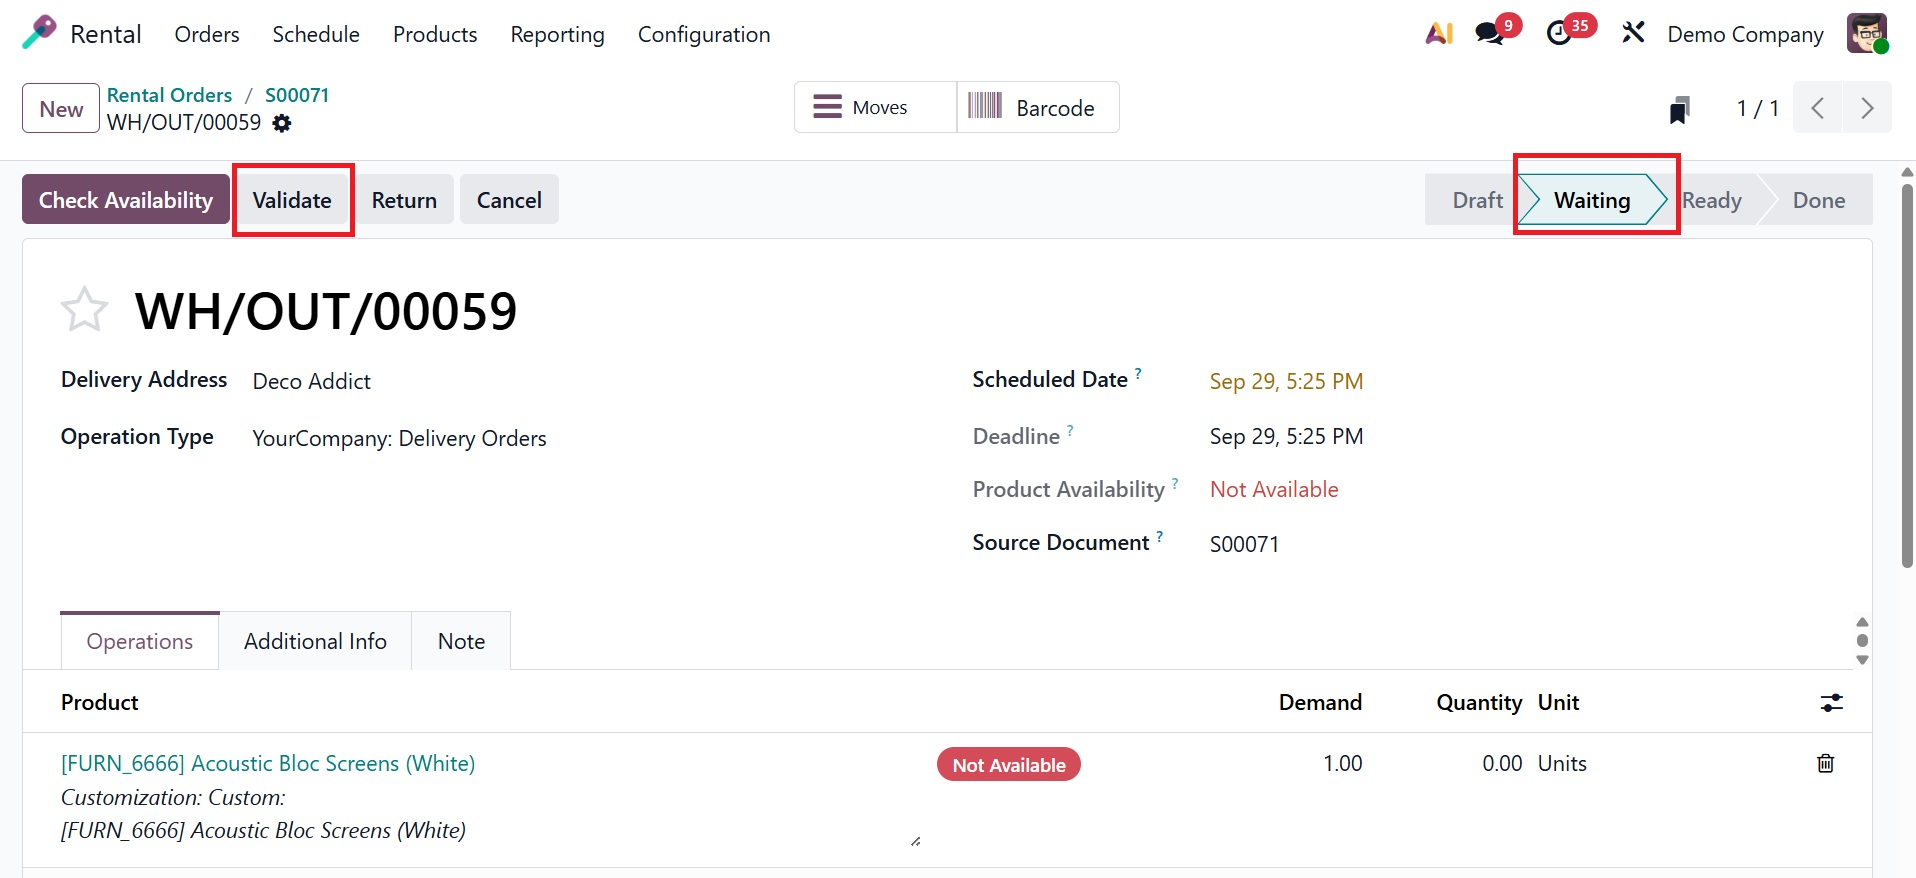
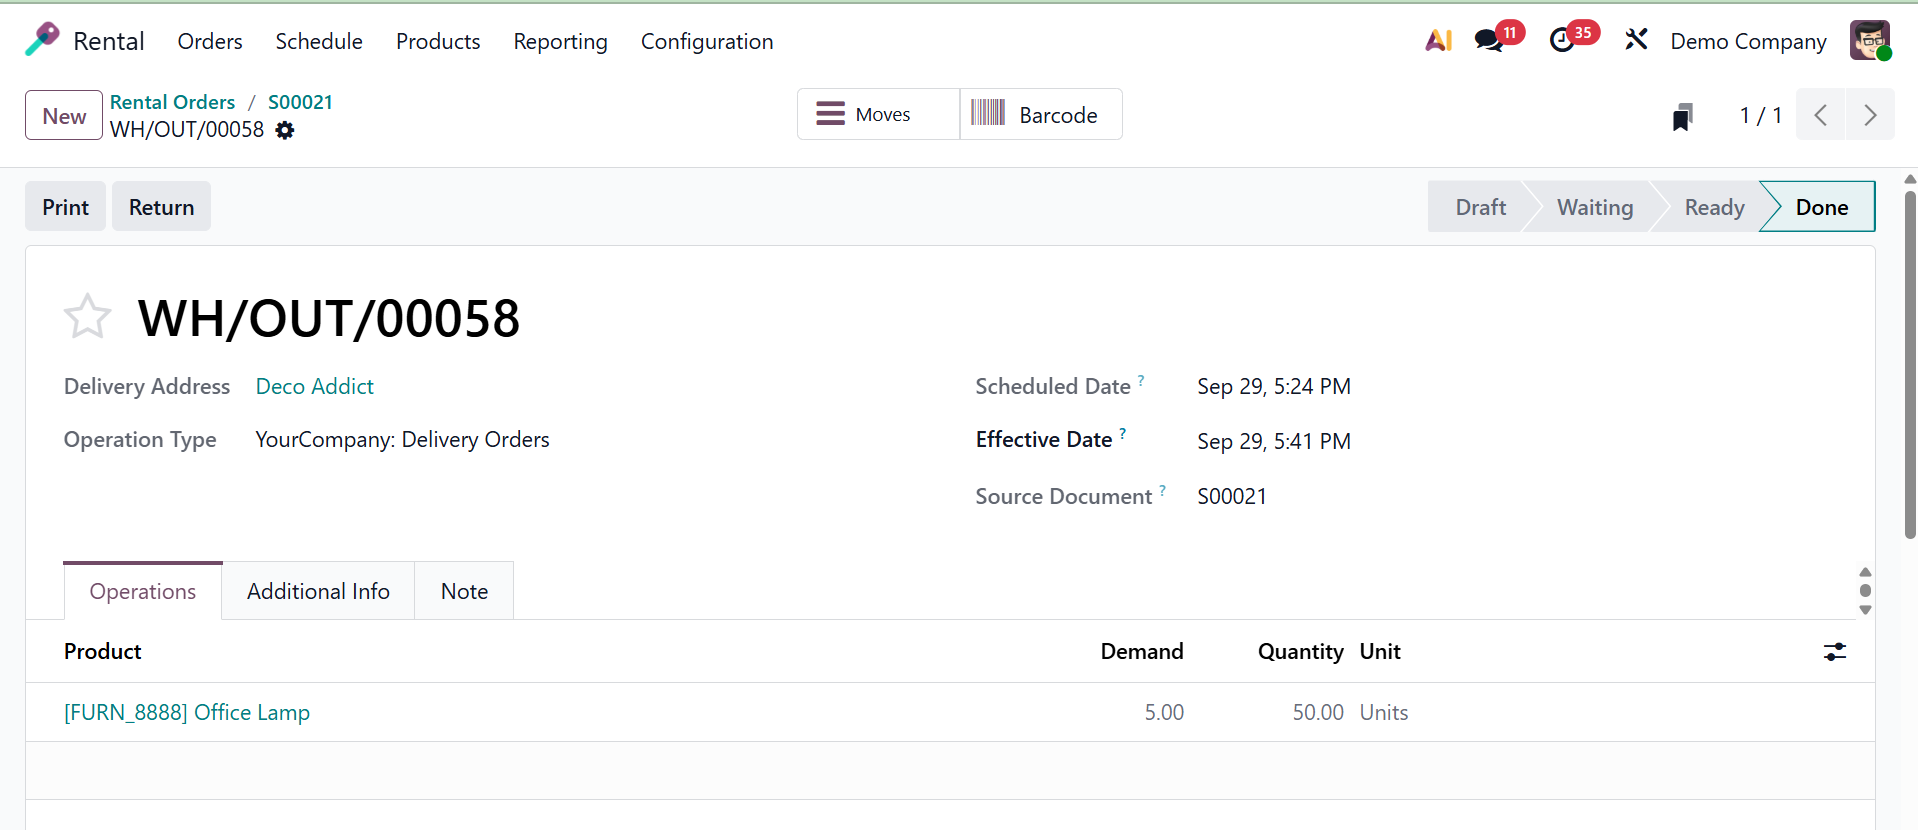
Use the Validate icon to verify delivery to complete the order. And then, the stage changed to Done stage.
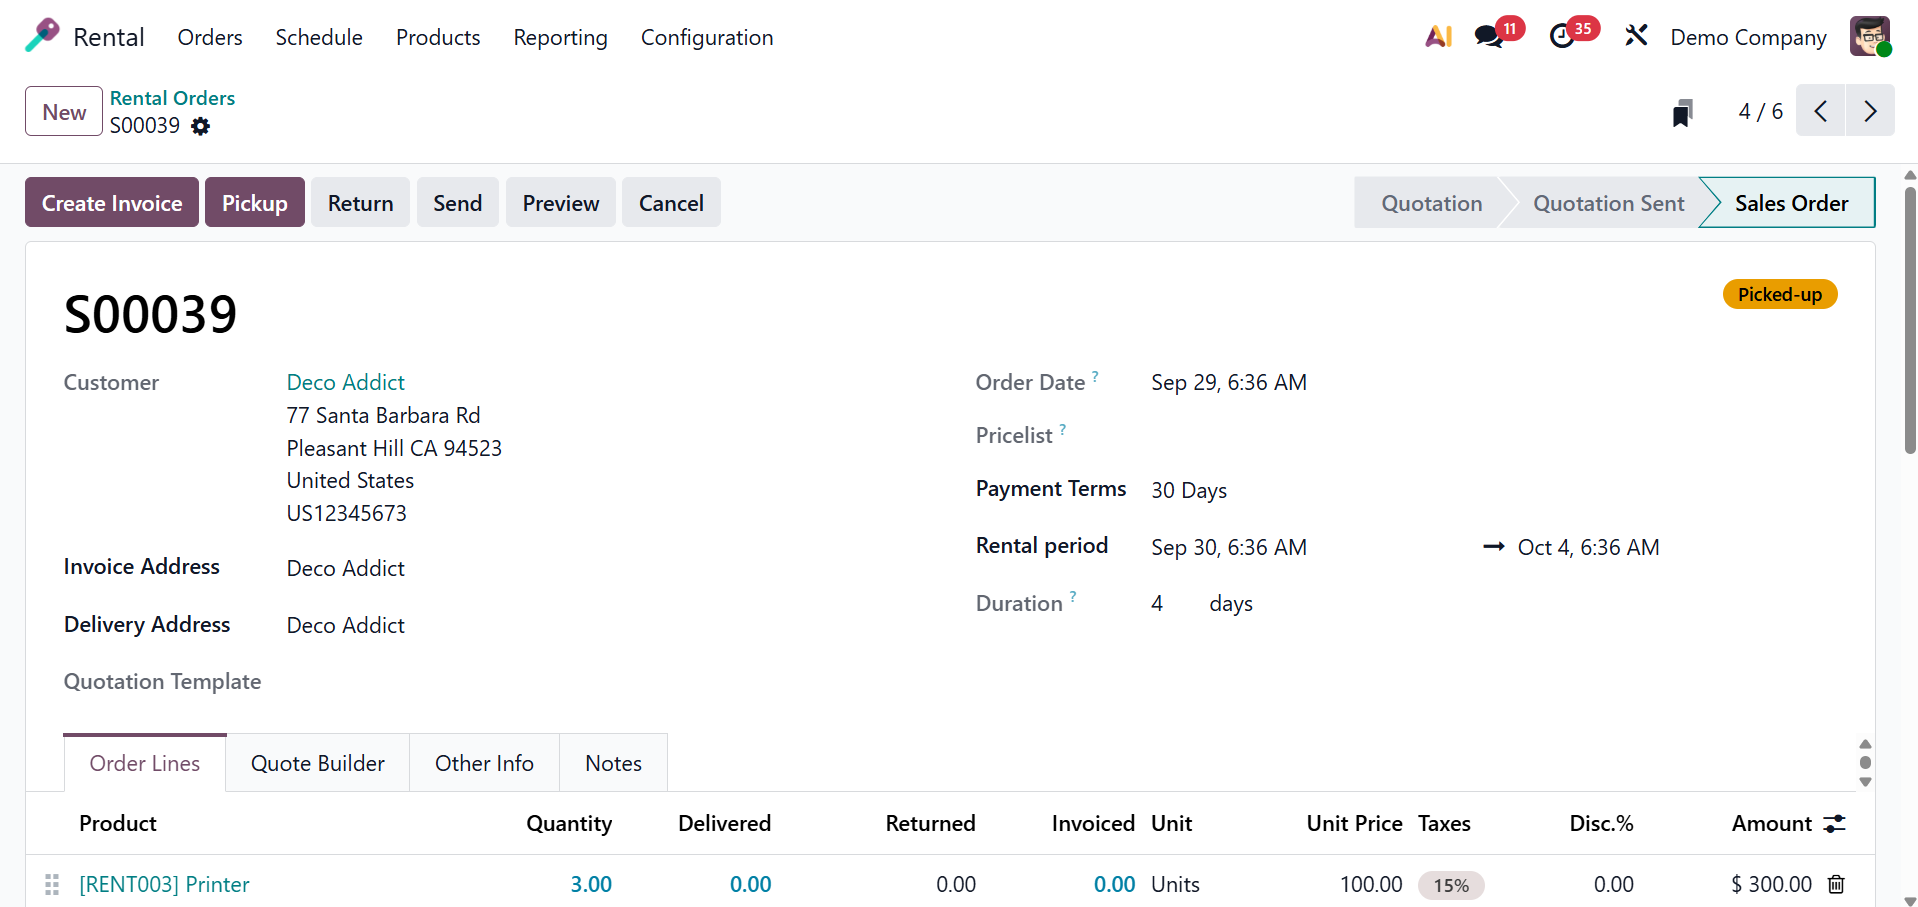
Now, back to the sales order page, there, using the pick up option, Odoo allows you to handle both the first Pickup (when the customer picks up or you deliver the products) and subsequent Return (when the items are returned) when you validate a rental order.
The rented items are moved from your warehouse to the consumer during the Pickup phase, which initiates a stock transfer.

On selecting the Pickup option, you will get the stage shown as Picked-up, as shown below.
The Return option can be chosen when returning the rented item after the allotted rental time has passed. The status will be shown as Returned.
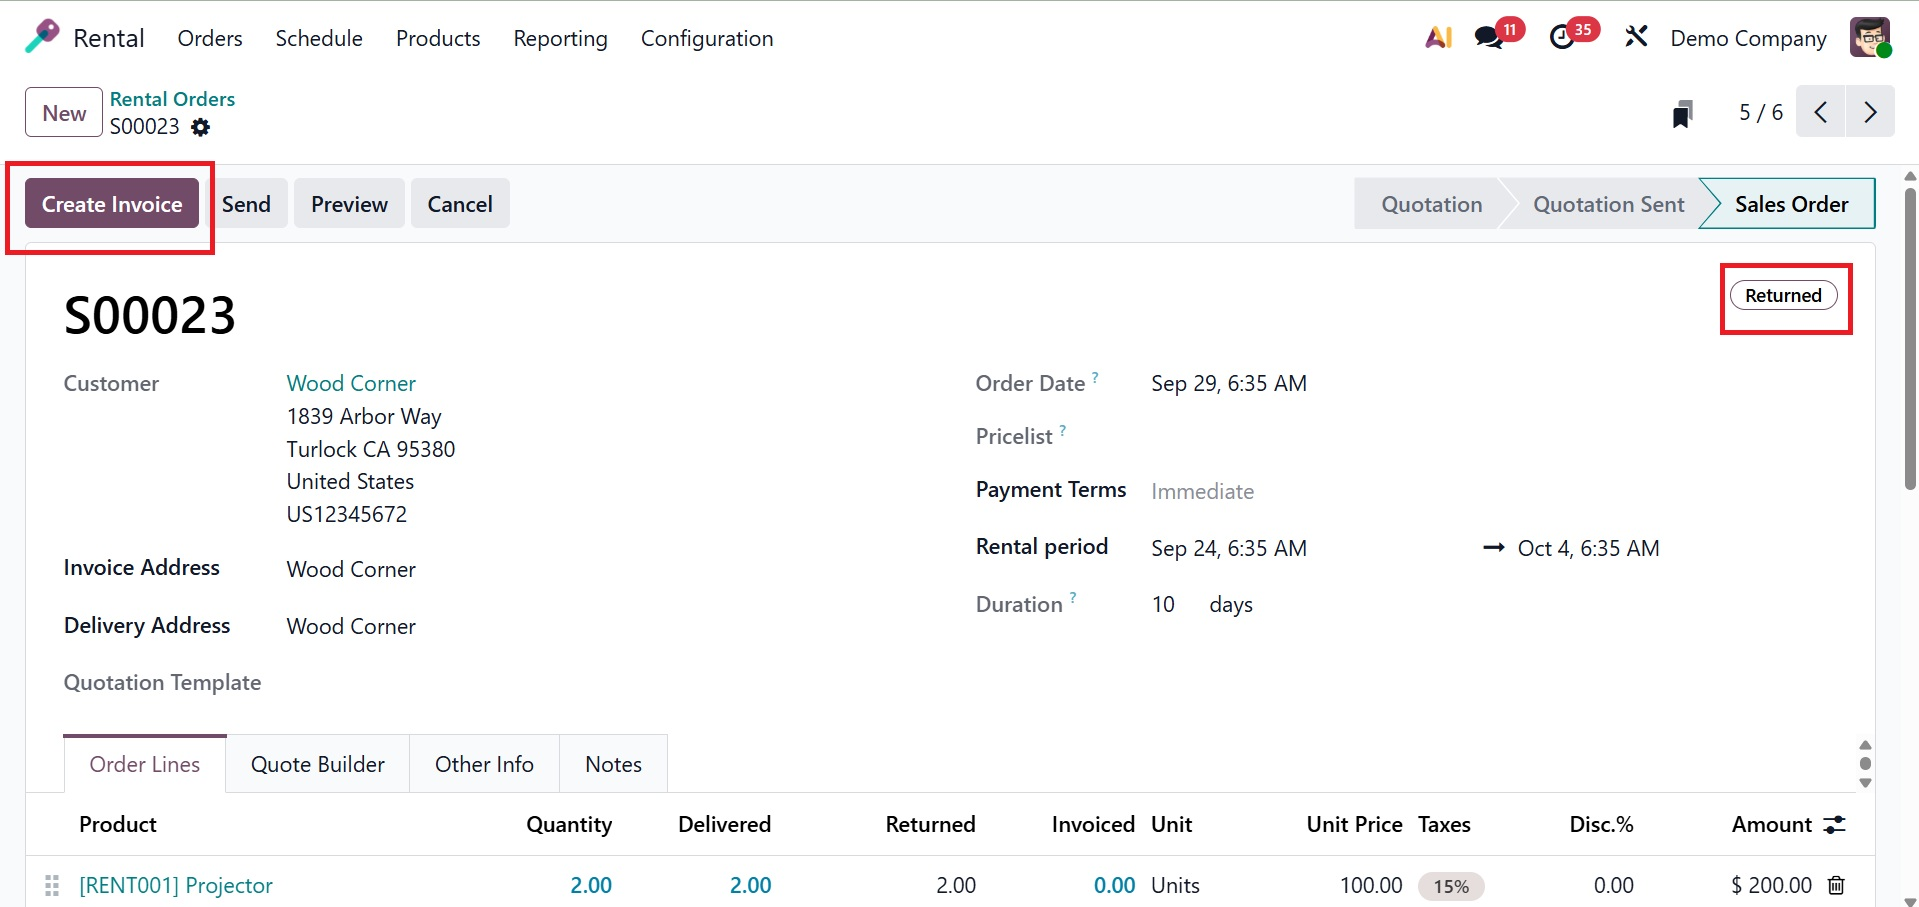
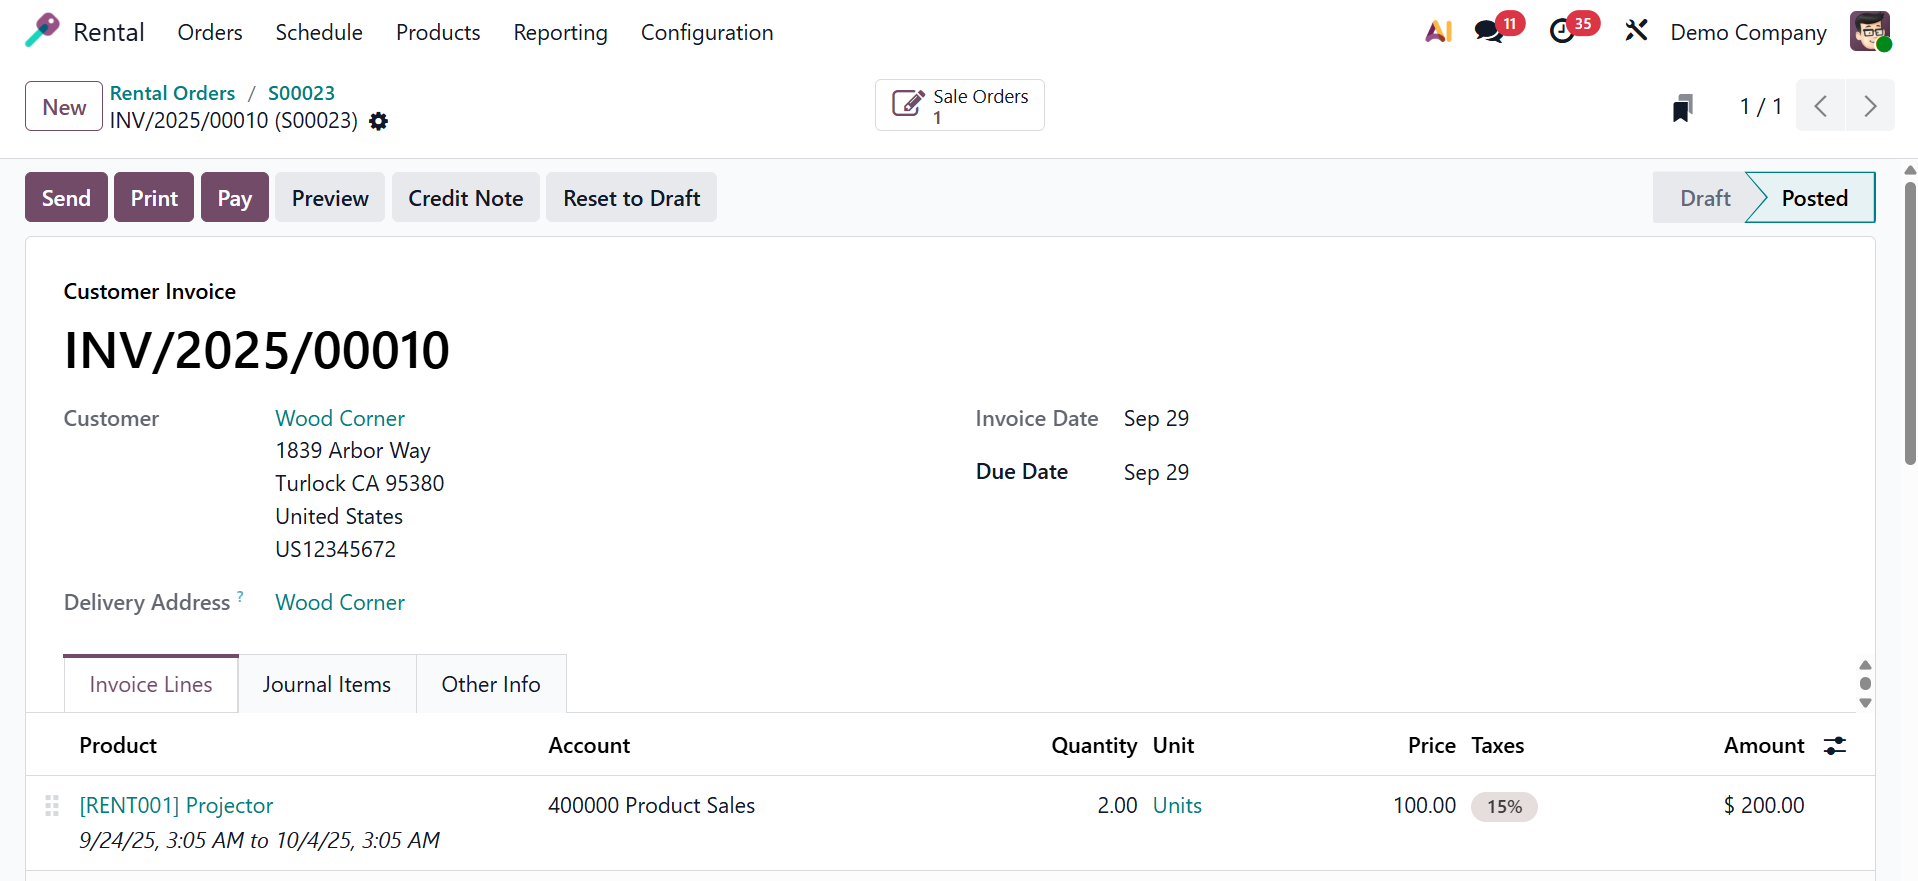
Customers can create invoices for a specific product by using the Create Invoice option. It is then simple to register the payment using these generated invoices.
1.1 Customers
The business or person renting the products from you can be specified using the Customer option.
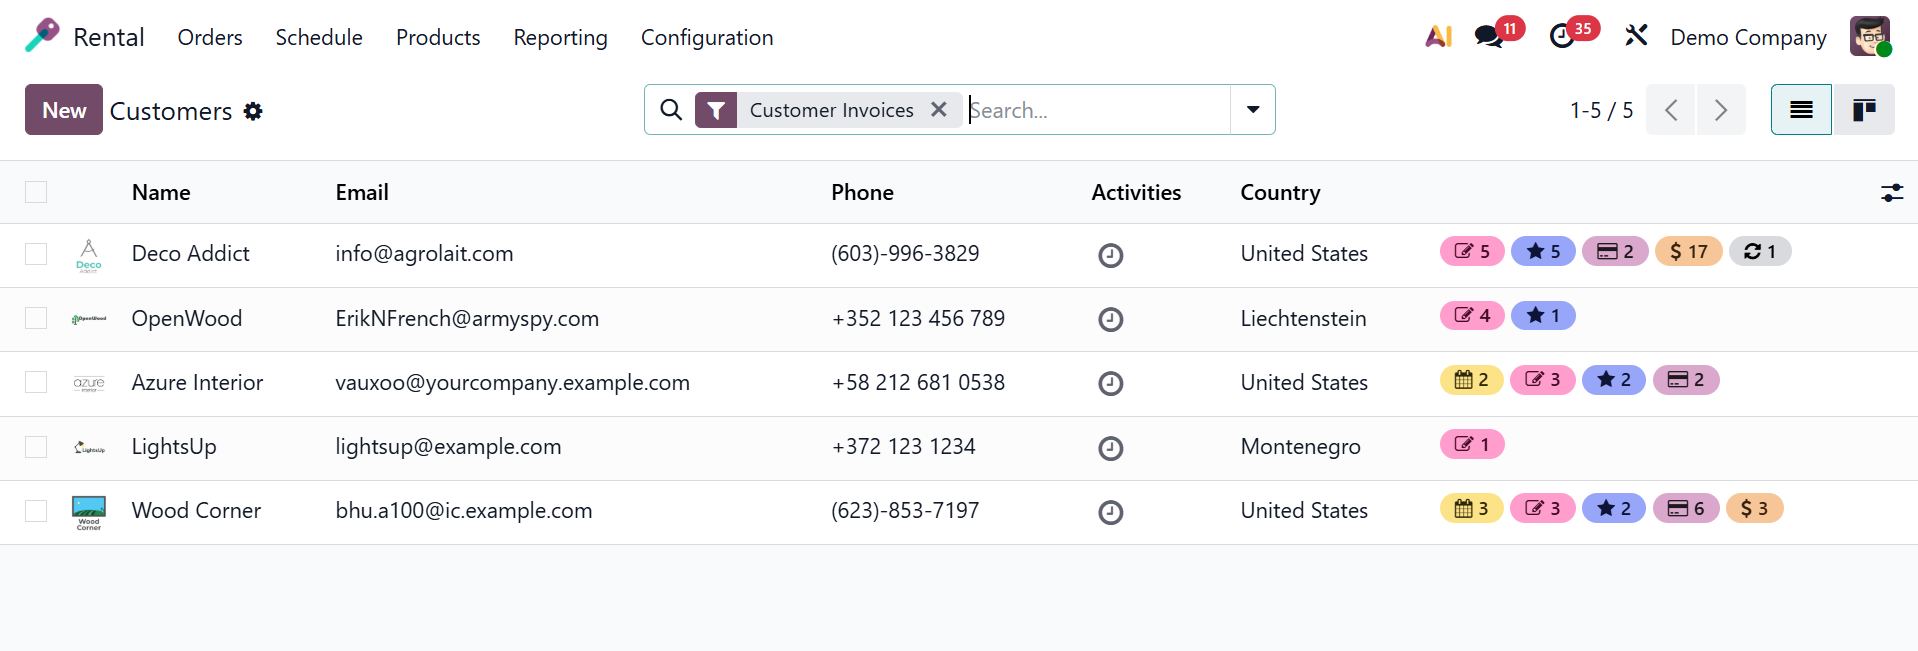
Customer information is crucial for tracking transactions, managing rental orders, and ensuring smooth operations.
1.2 ToDo
The Orders menu with the ToDo option appears when you return to the rental module's main page, as seen below.
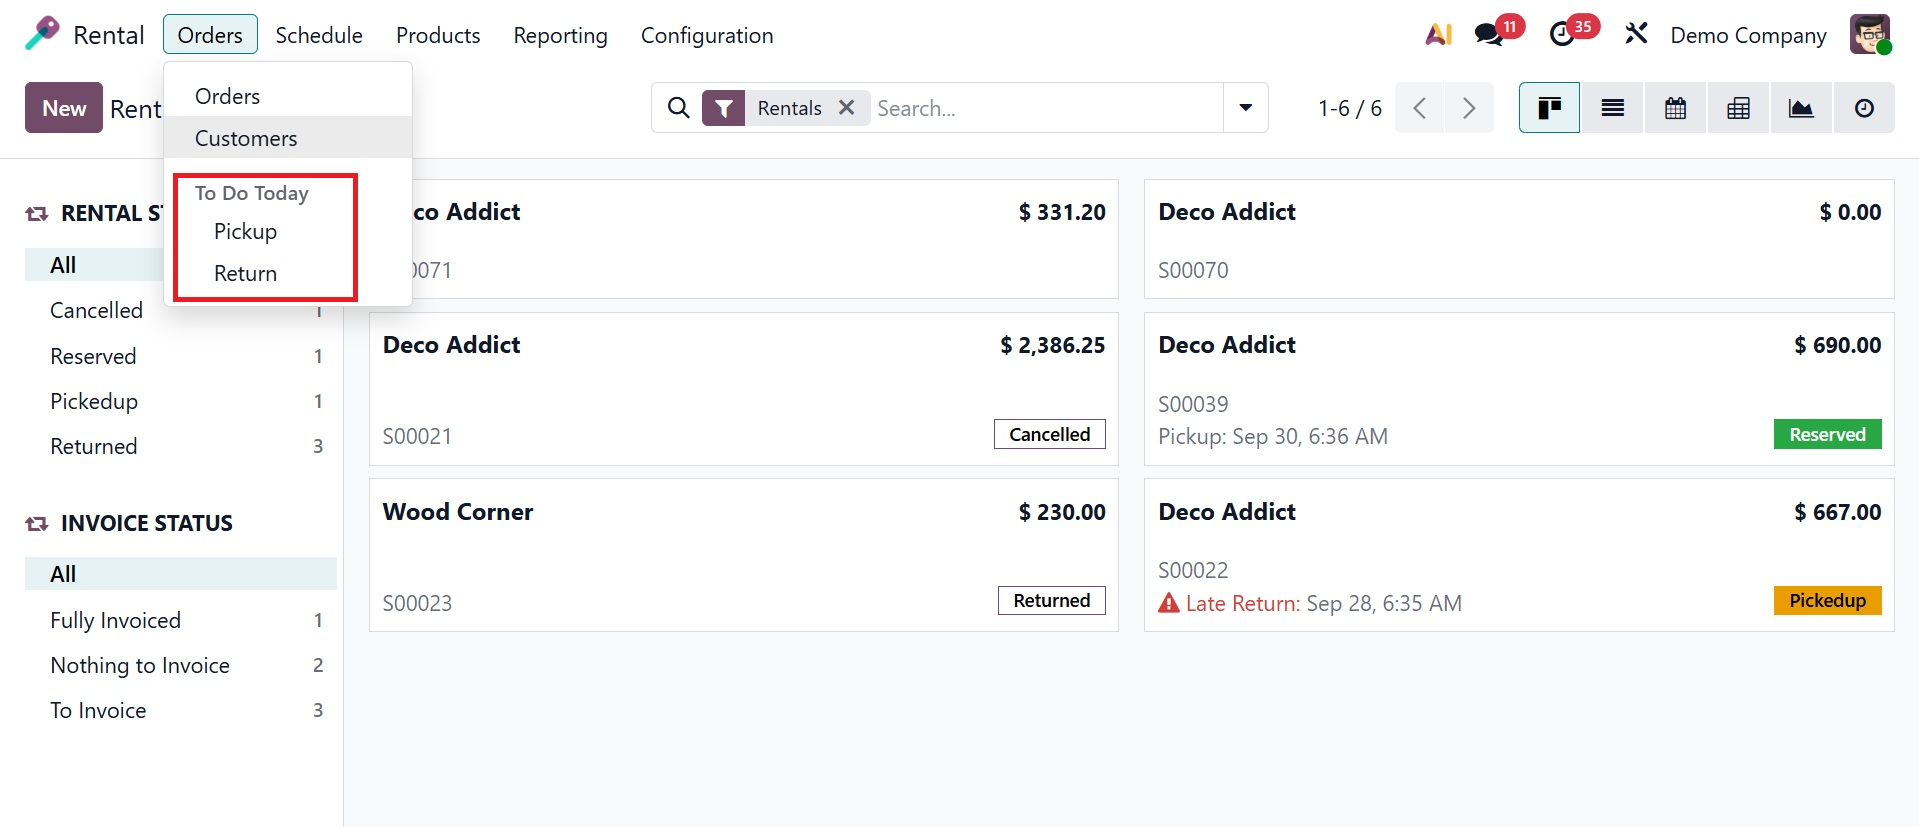
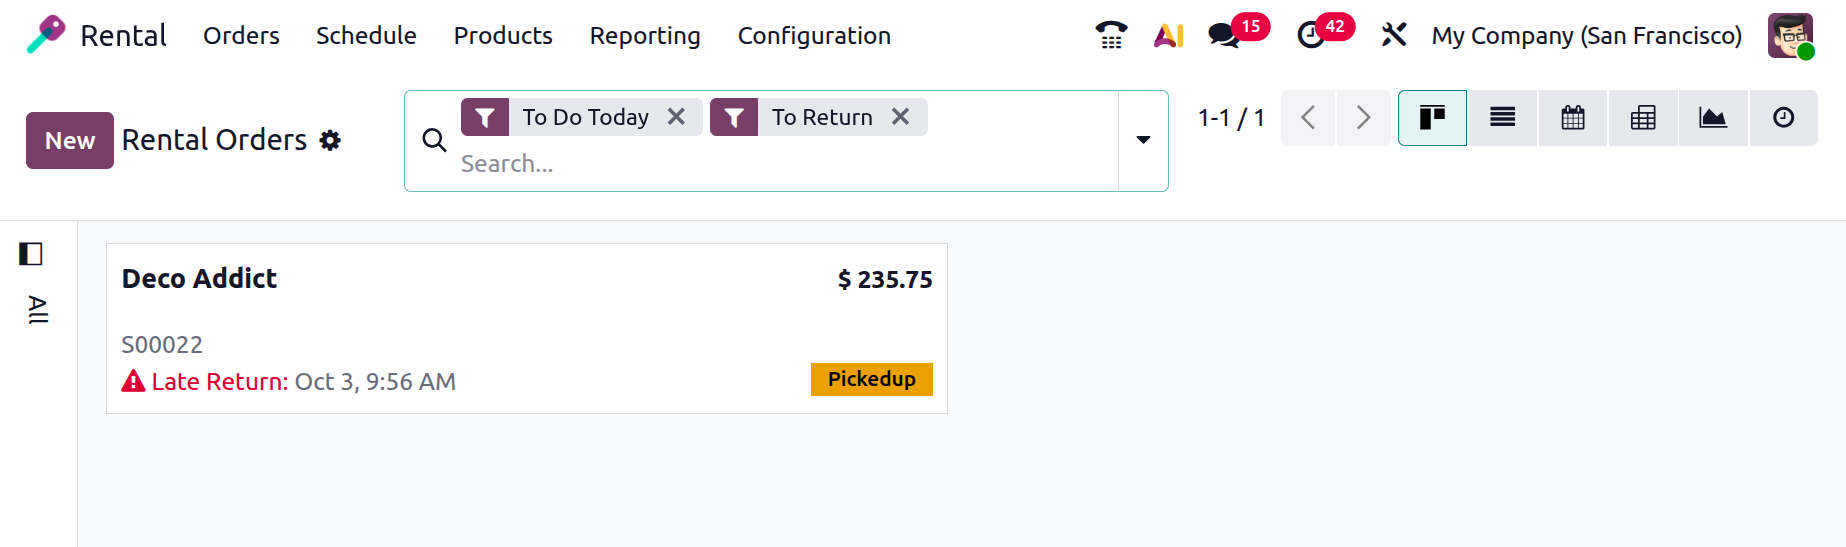
The ToDo Today option in the orders menu has several sub-options, including Return and Pickup.
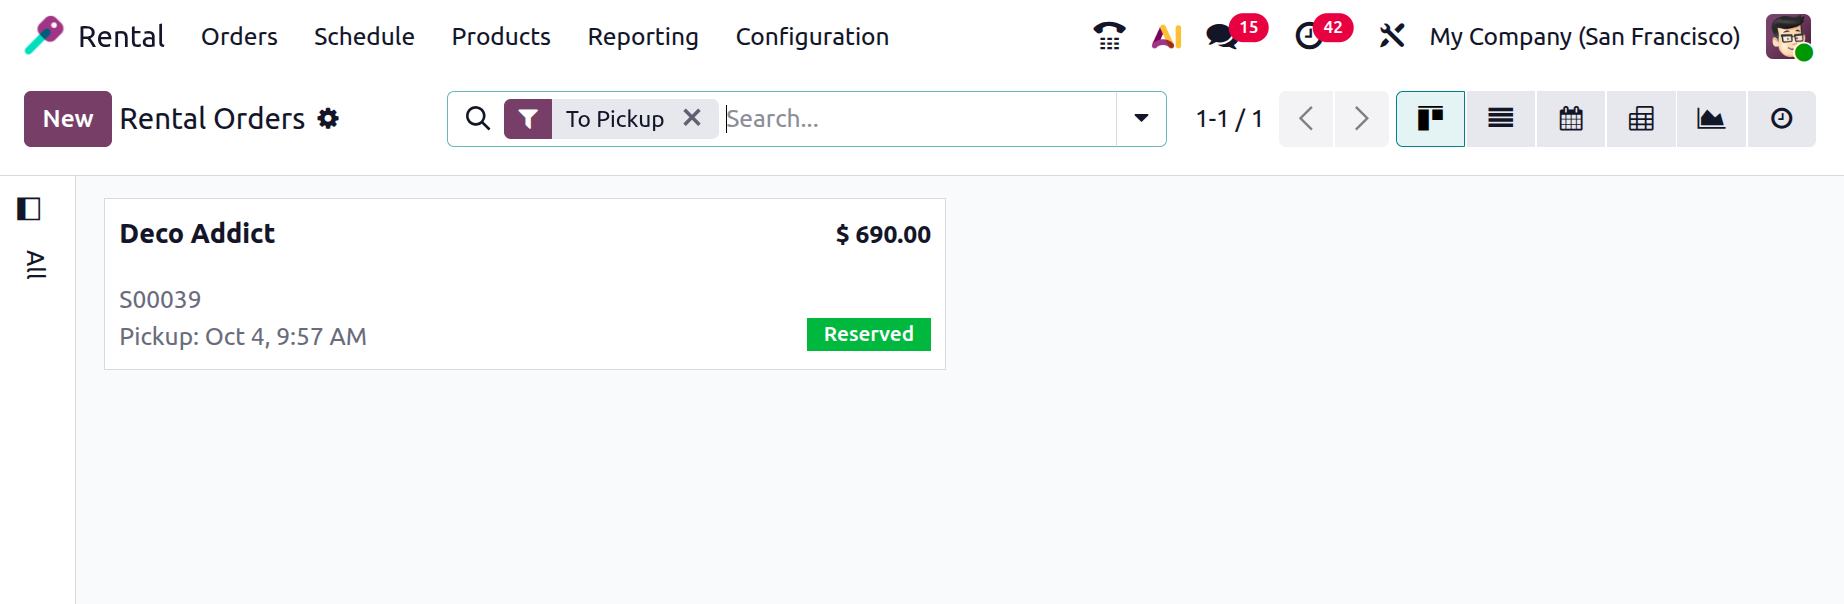
All rental orders with planned product pickups for today are listed under Pickup. Which means details about the product that has to be picked up are provided on the pickup page as shown below.
The items that have been returned after the rental time are displayed on the return option. Rental orders with returnable items that are due today are shown in the return lists.