Subscription Management
1.1 Subscription
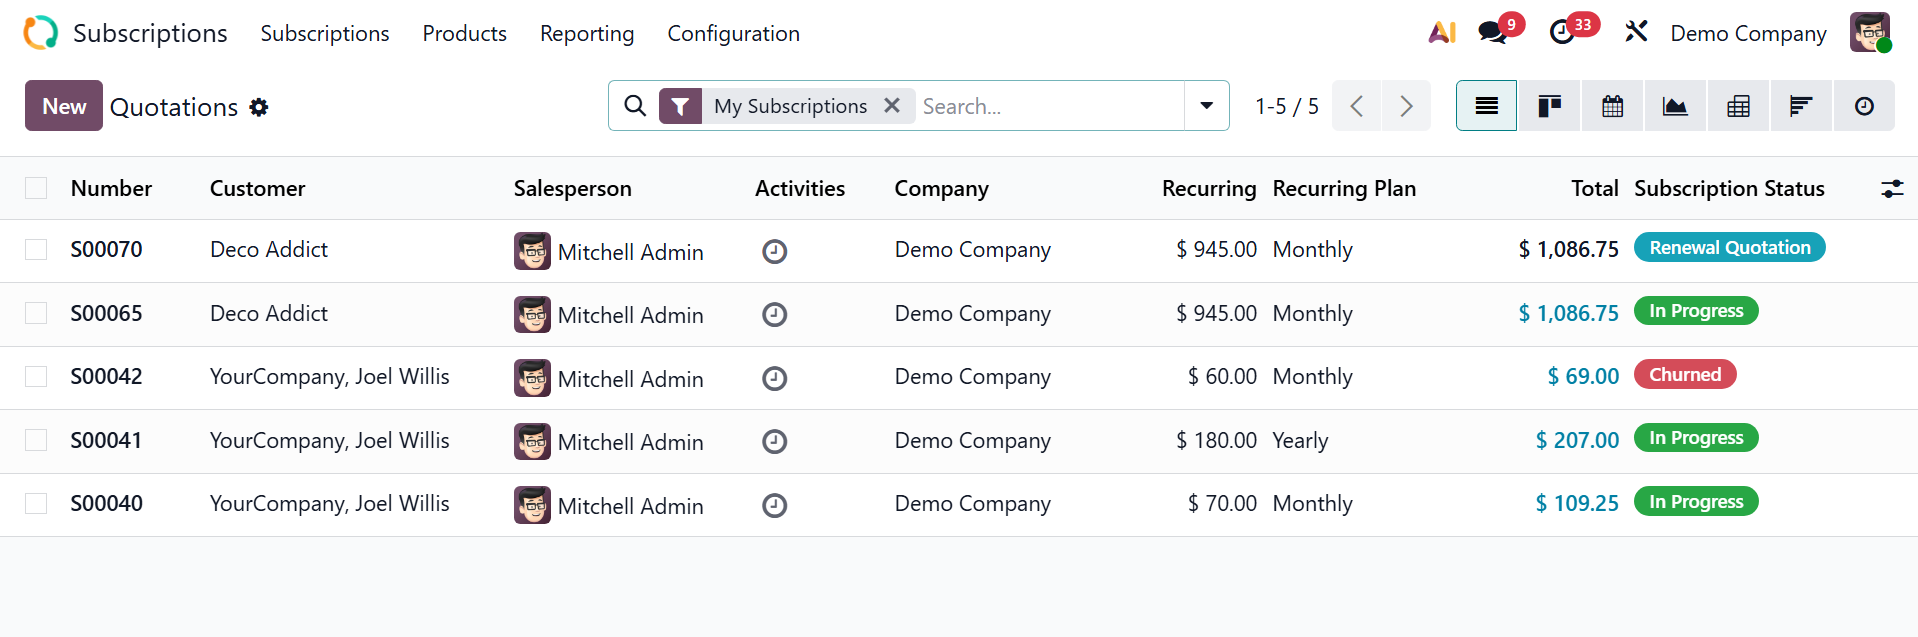
As seen below, clicking the Subscription symbol will take you to the module's main dashboard.
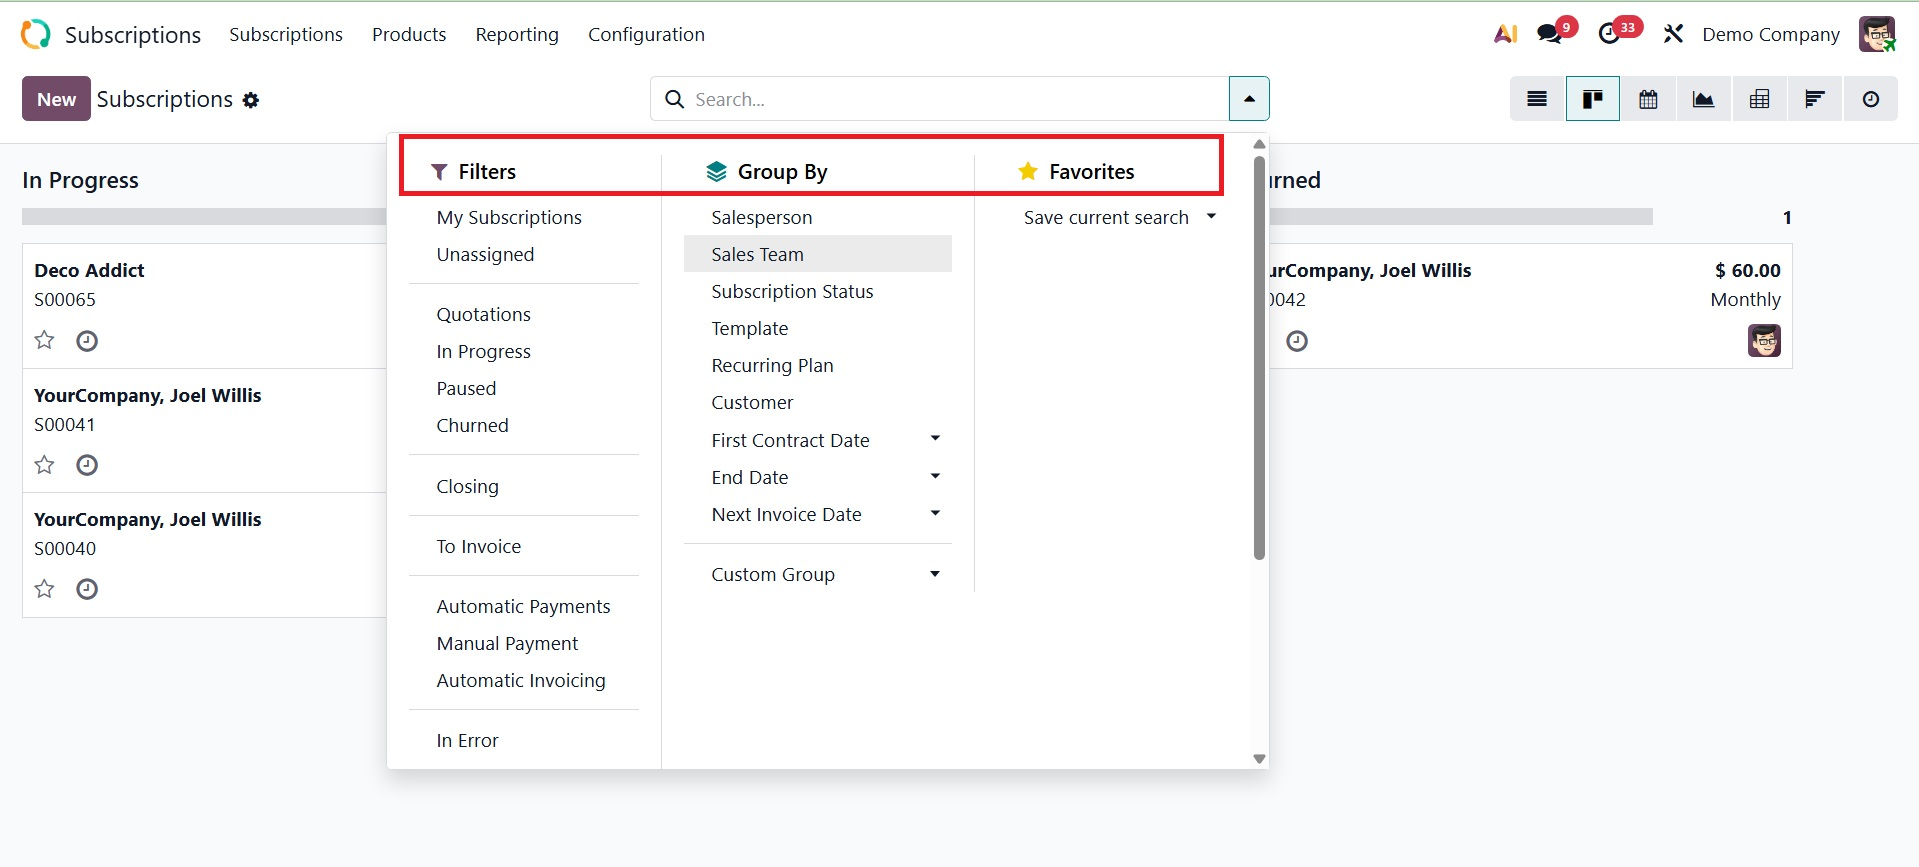
There are several filters available, including My subscription, Unassigned, Quotations, In progress, paused, churned, closing, to invoice, automatic payment, manual payment, automatic invoicing, and in error. The Group By option, which offers choices for Salesperson, Sales Team, Subscription status, Template, recurring plan, Customer, first contract date, End Date, Next Invoice Date, and Custom Group, respectively. You can also include them into favourites if required.
In addition to the list view, you may also switch it to a Kanaban view, Pivot, Graph, Cohort, and Activity view. The list view will be, as in the screenshot below.

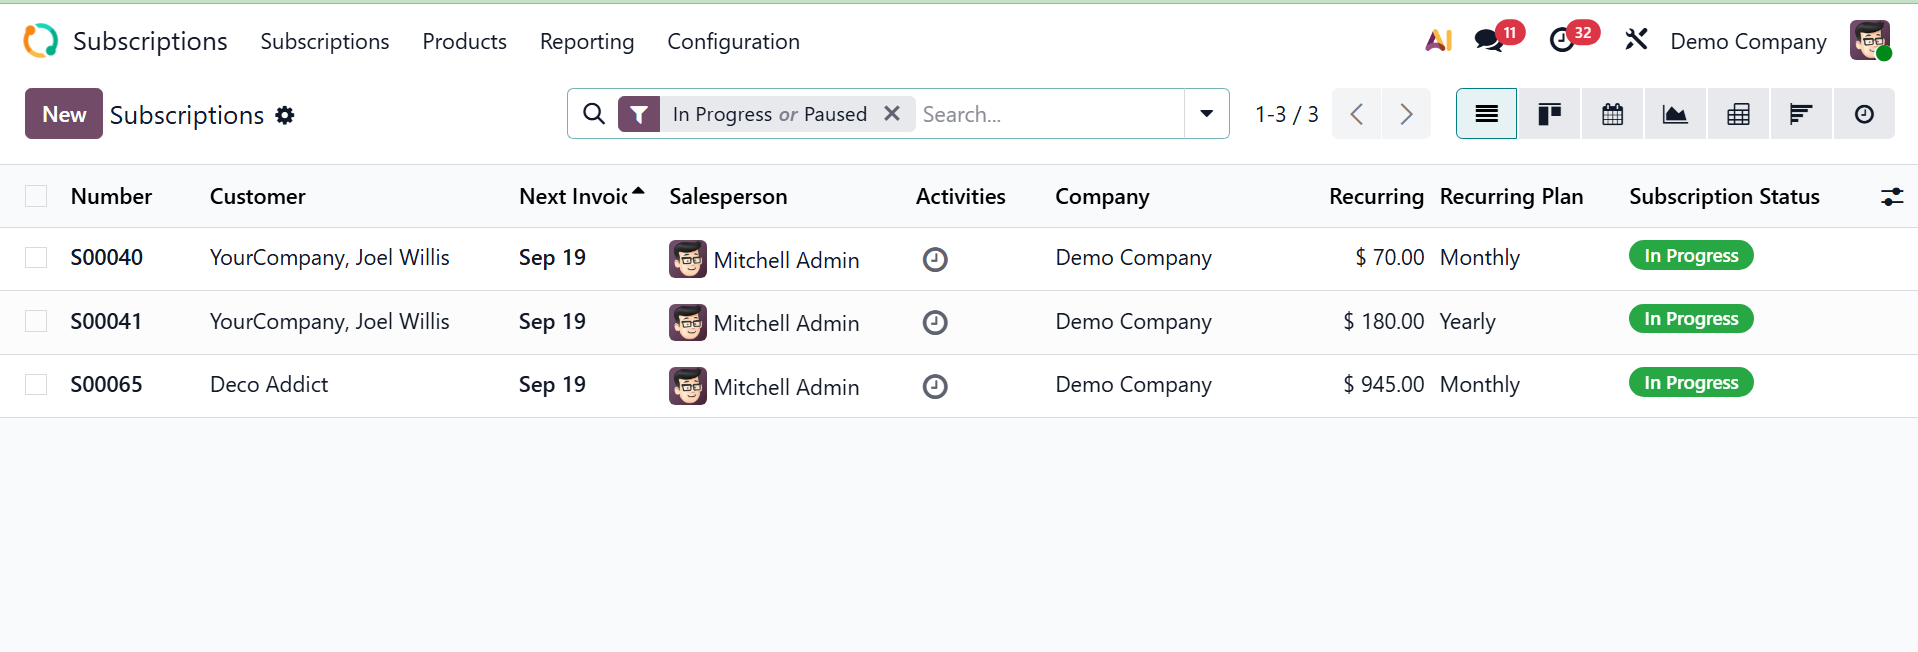
Here, you will get the details like, reference number, customer, next invoice, salesperson, activities, company, recurring, recurring plan, and subscription status, respectively. The pivot view will be, as in the screenshot below.
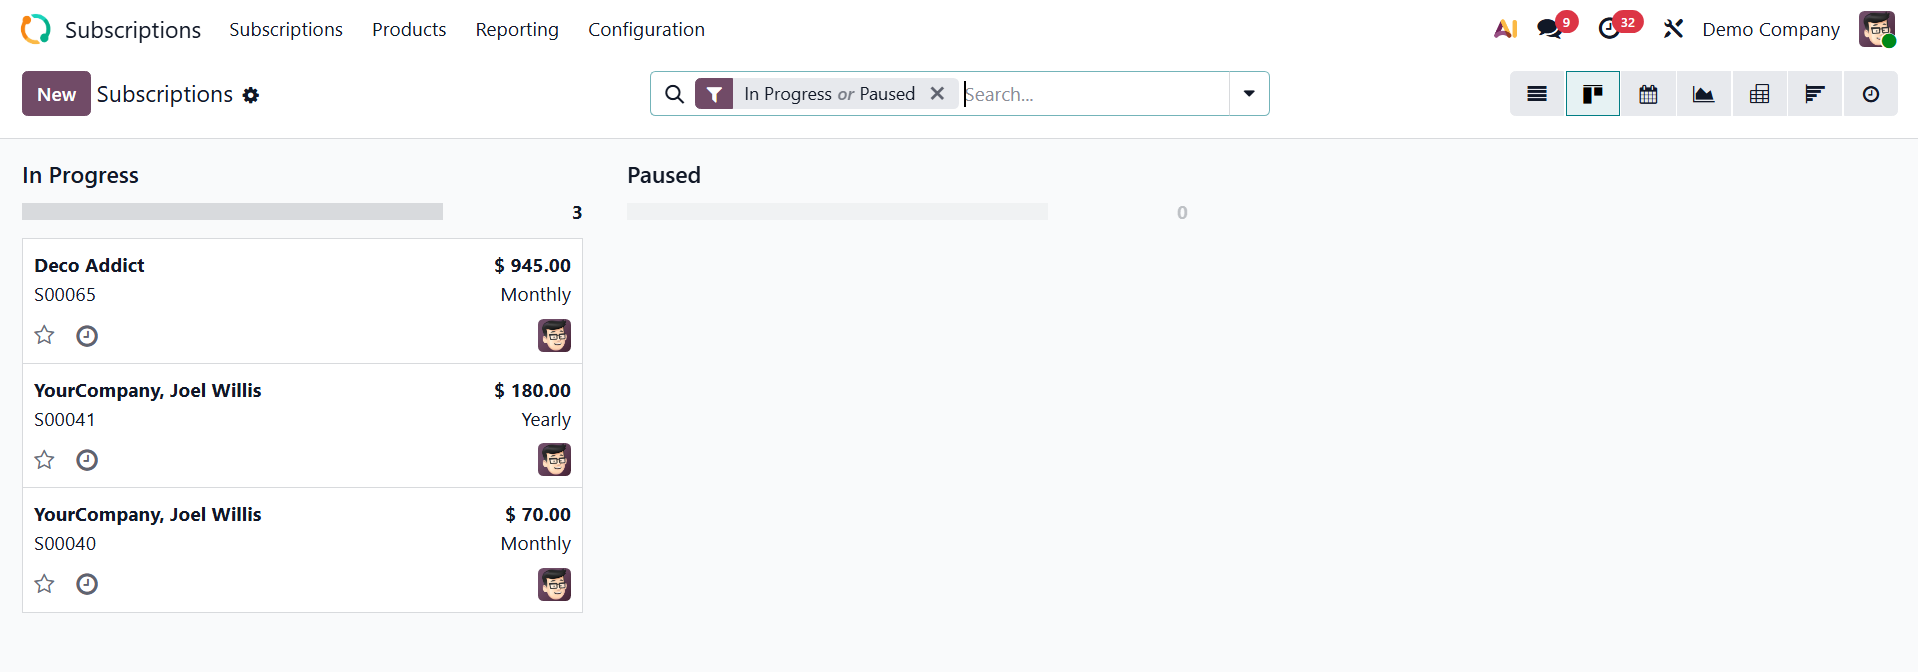
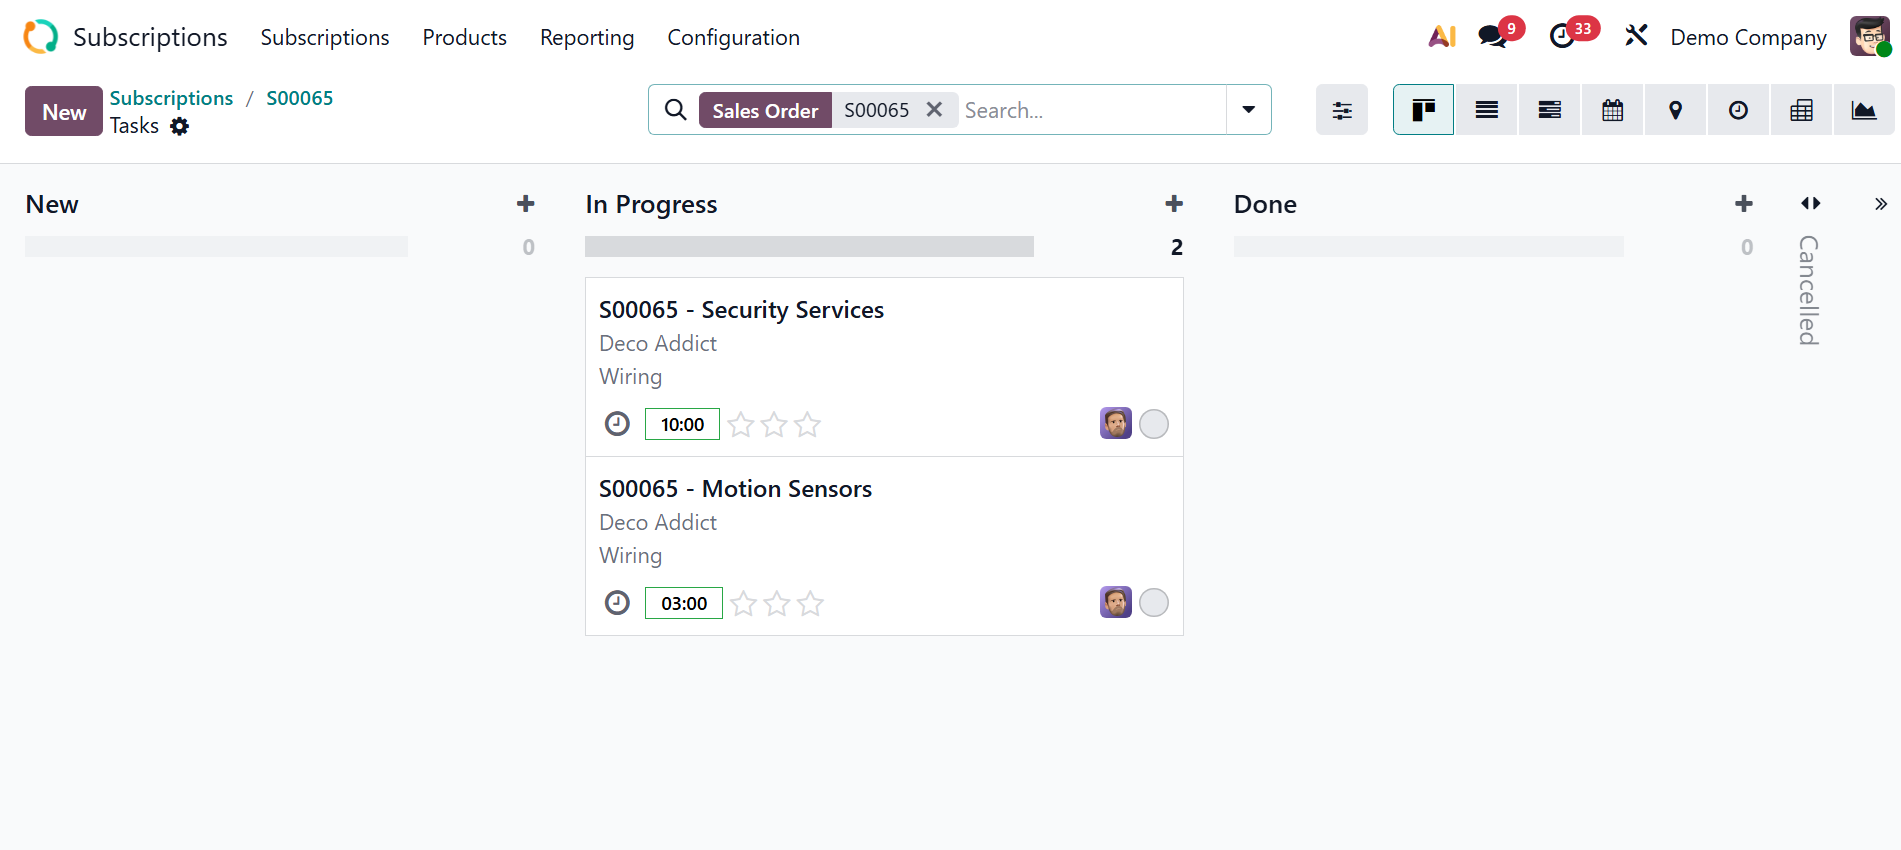
The Kanban view on this platform allows you to look at different clients' subscriptions at different levels. Here, you have the details regarding the name of the customers, recurring plan, recurring amount, and many more. You can examine the subscriptions of various customers under various phases using this platform's Kanban view. To construct further stages, you can make use of the New icon as well.
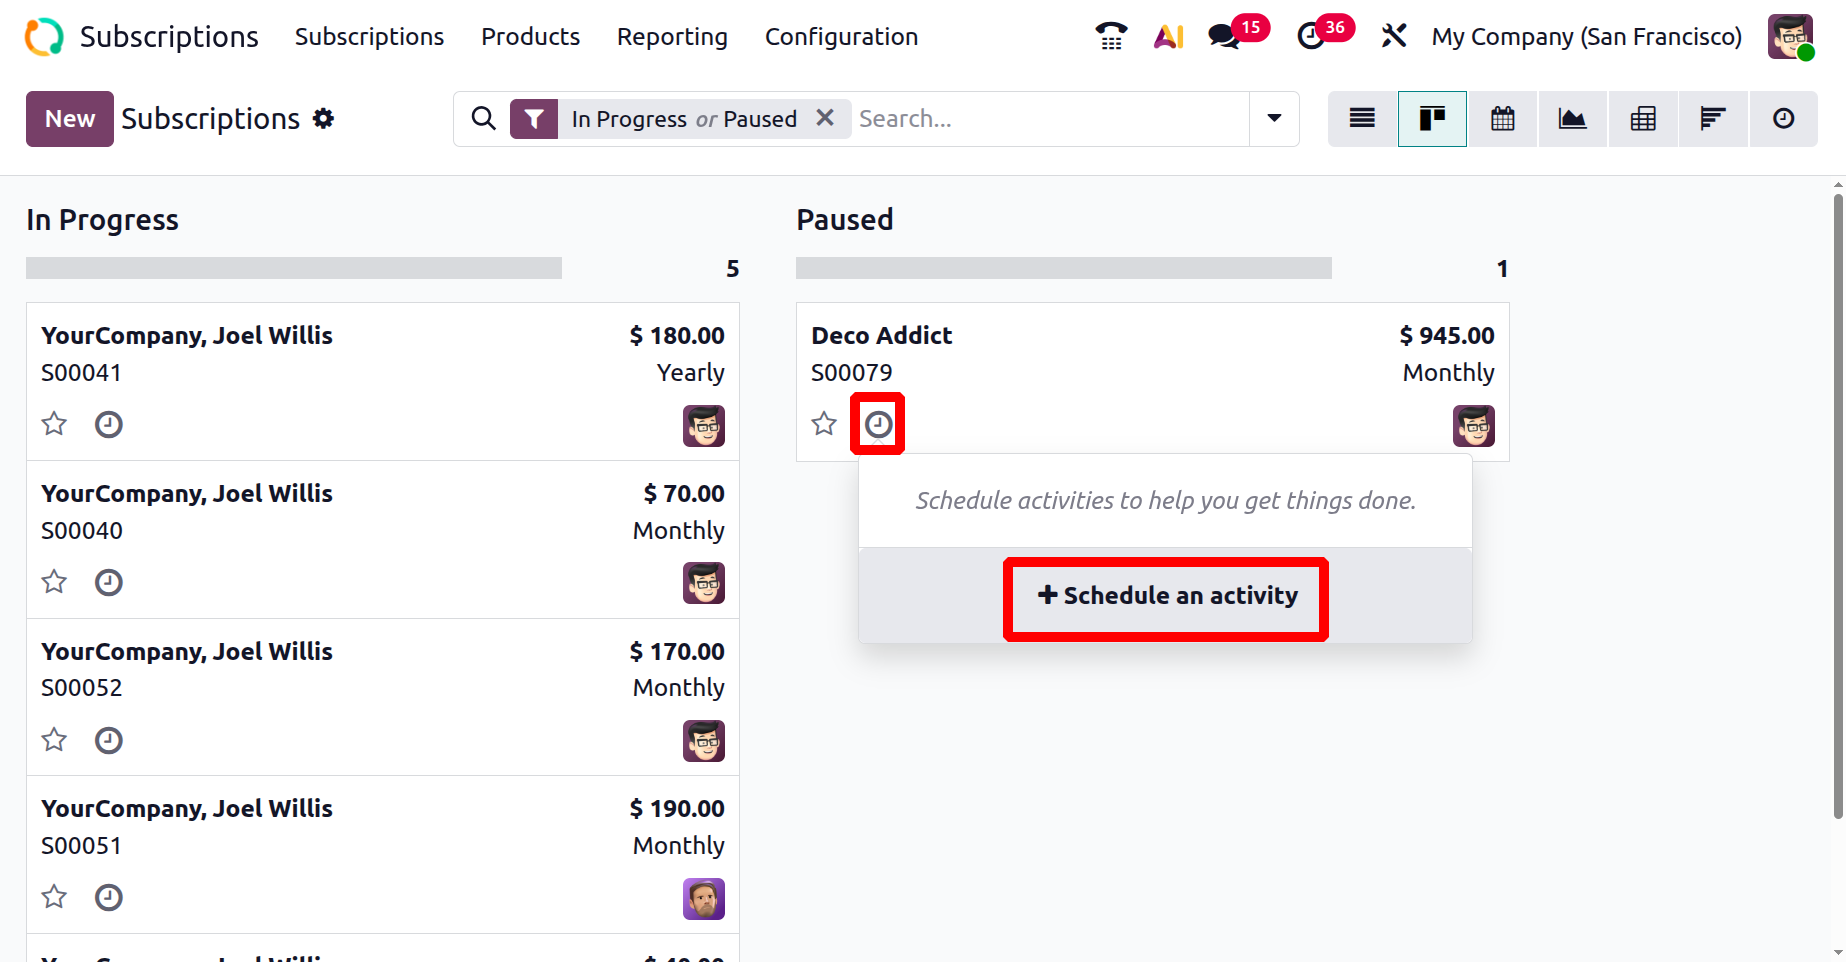
Each subscription comes with a clock symbol that you may use to schedule different activities for the subscriber.
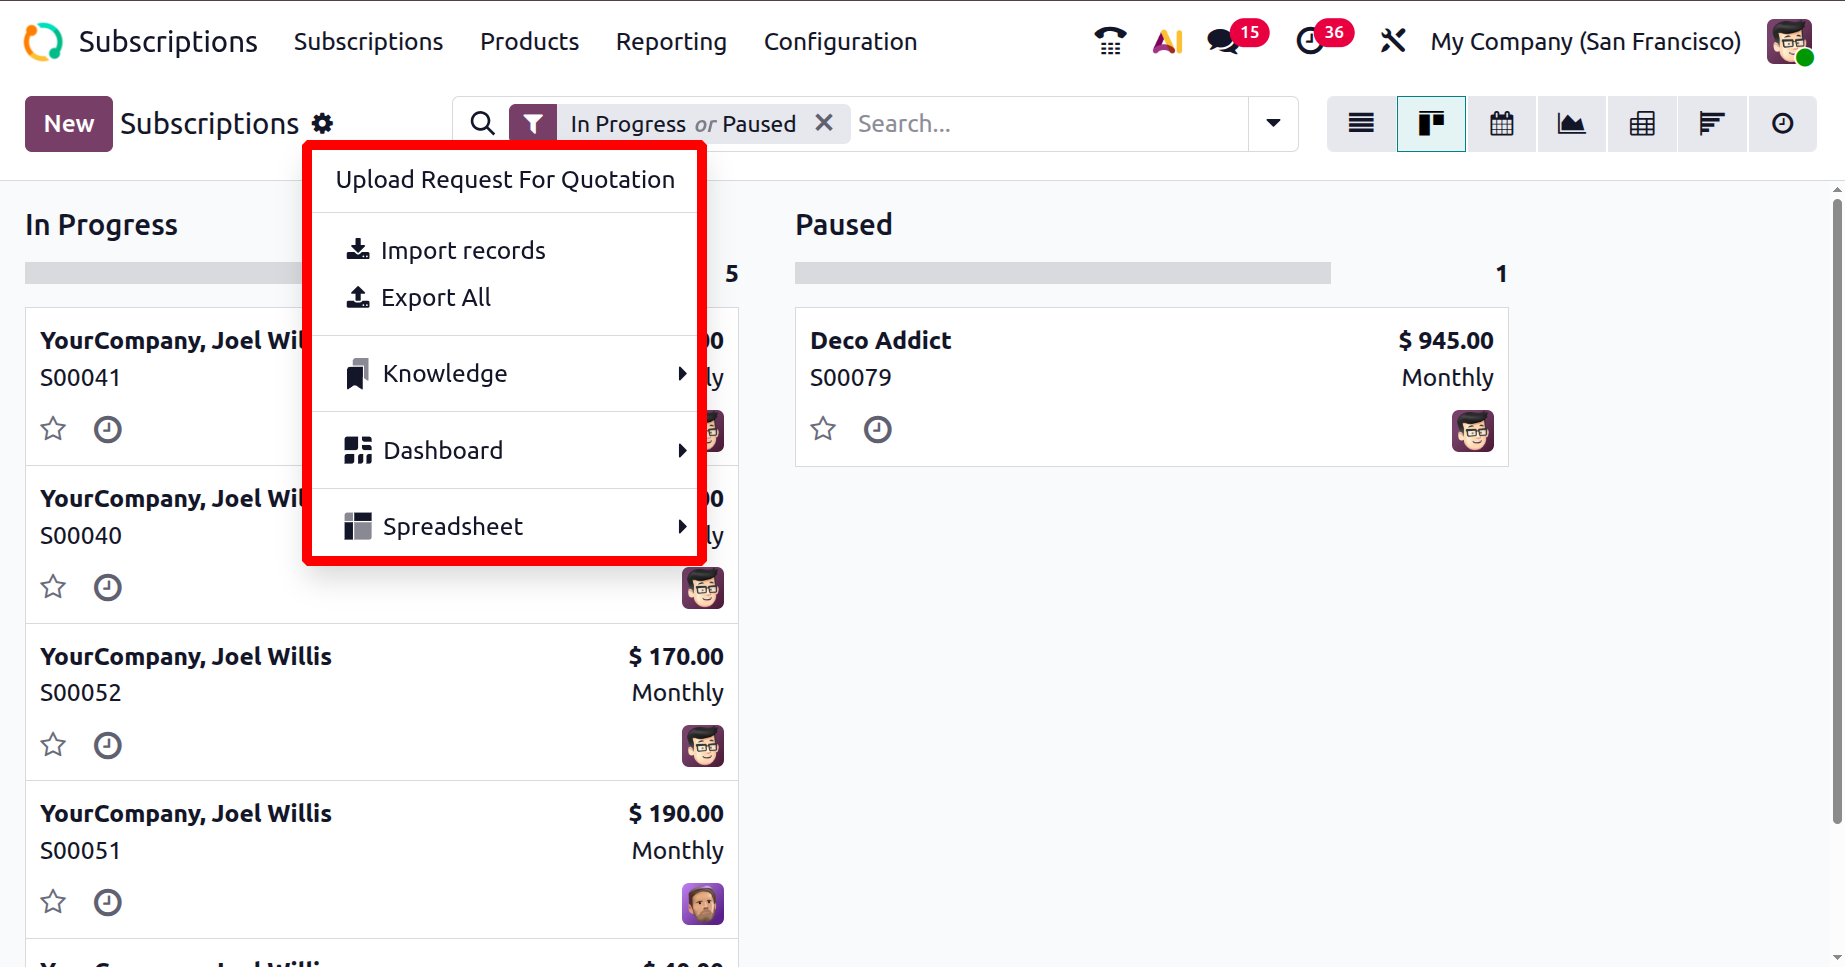
The fold and automation option are available under the settings icon in each stage, as shown below.
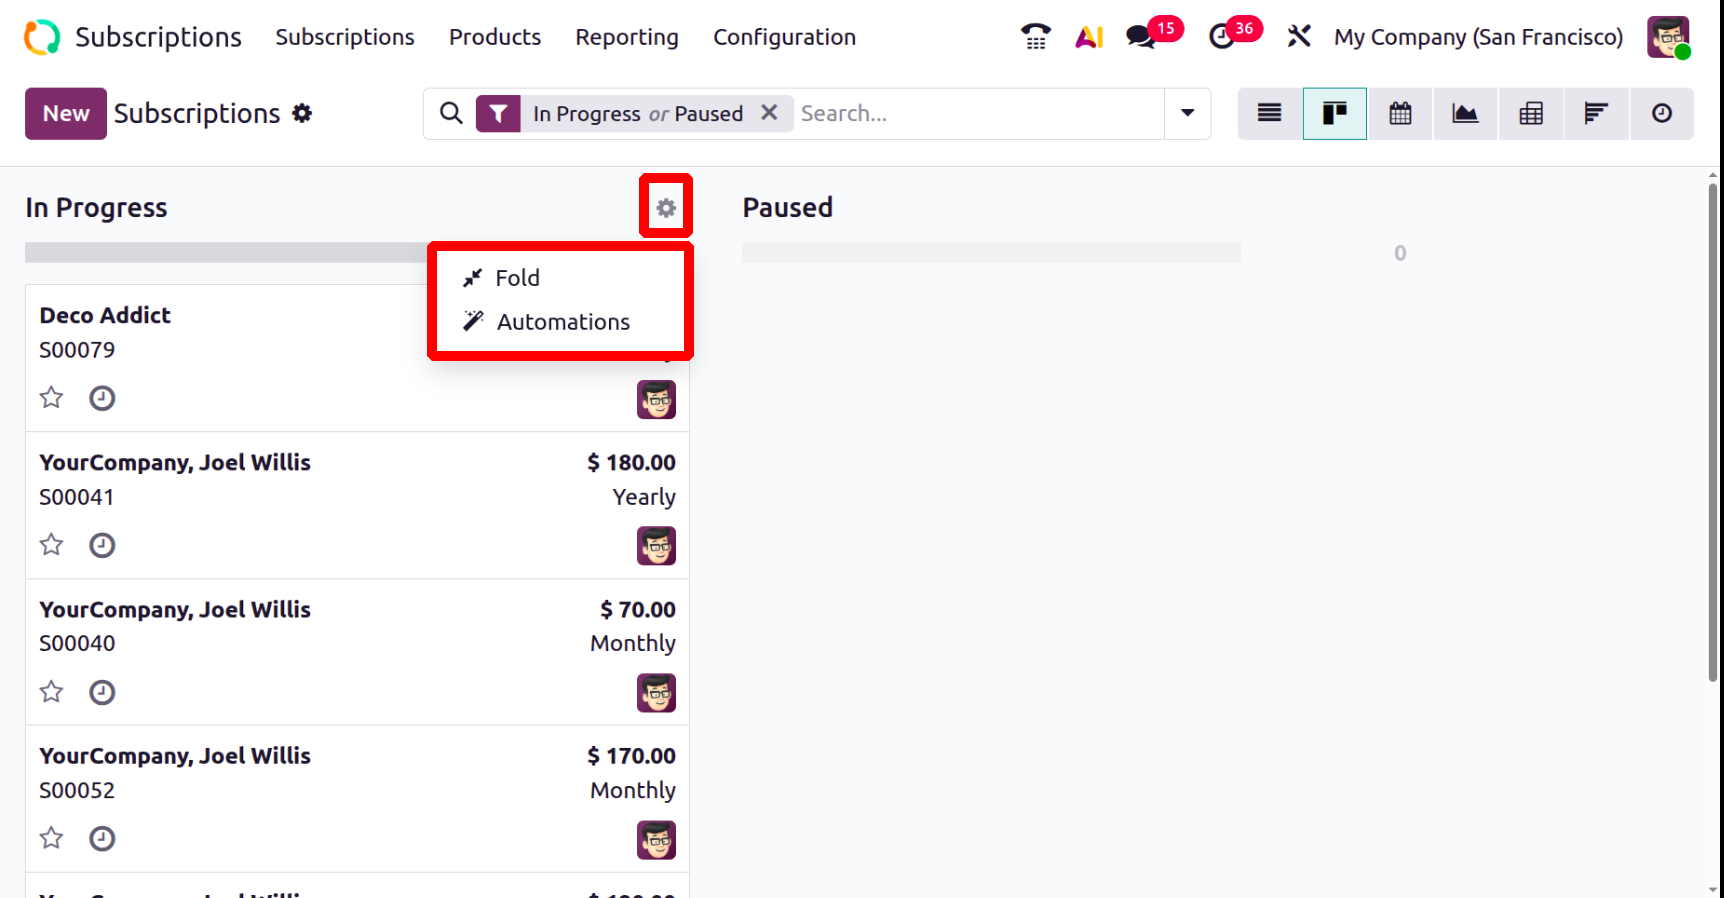
The Fold option, which appears beneath a subscription settings icon, usually conceals a particular item from the user's main view, like a step in a CRM pipeline. The Automation options set up rules to carry out operations automatically in response to specific triggers, including client activity.
As shown below, under the settings icon of the subscription page, you are provided with some options:
- Upload Request for Quotation (RFQ): Add a quotation file you got from a customer or supplier into Odoo.
- Import Record:Bring in subscription details from an Excel/CSV file.
- Export All: Download all subscription data into a spreadsheet.
- Knowledge :Open shared notes, guides, or FAQs about subscriptions.
- Spreadsheet :Check and analyze subscription data in a sheet inside Odoo (like Excel.
- Dashboard: See a quick summary of subscription performance (sales, renewals, revenue, etc.).
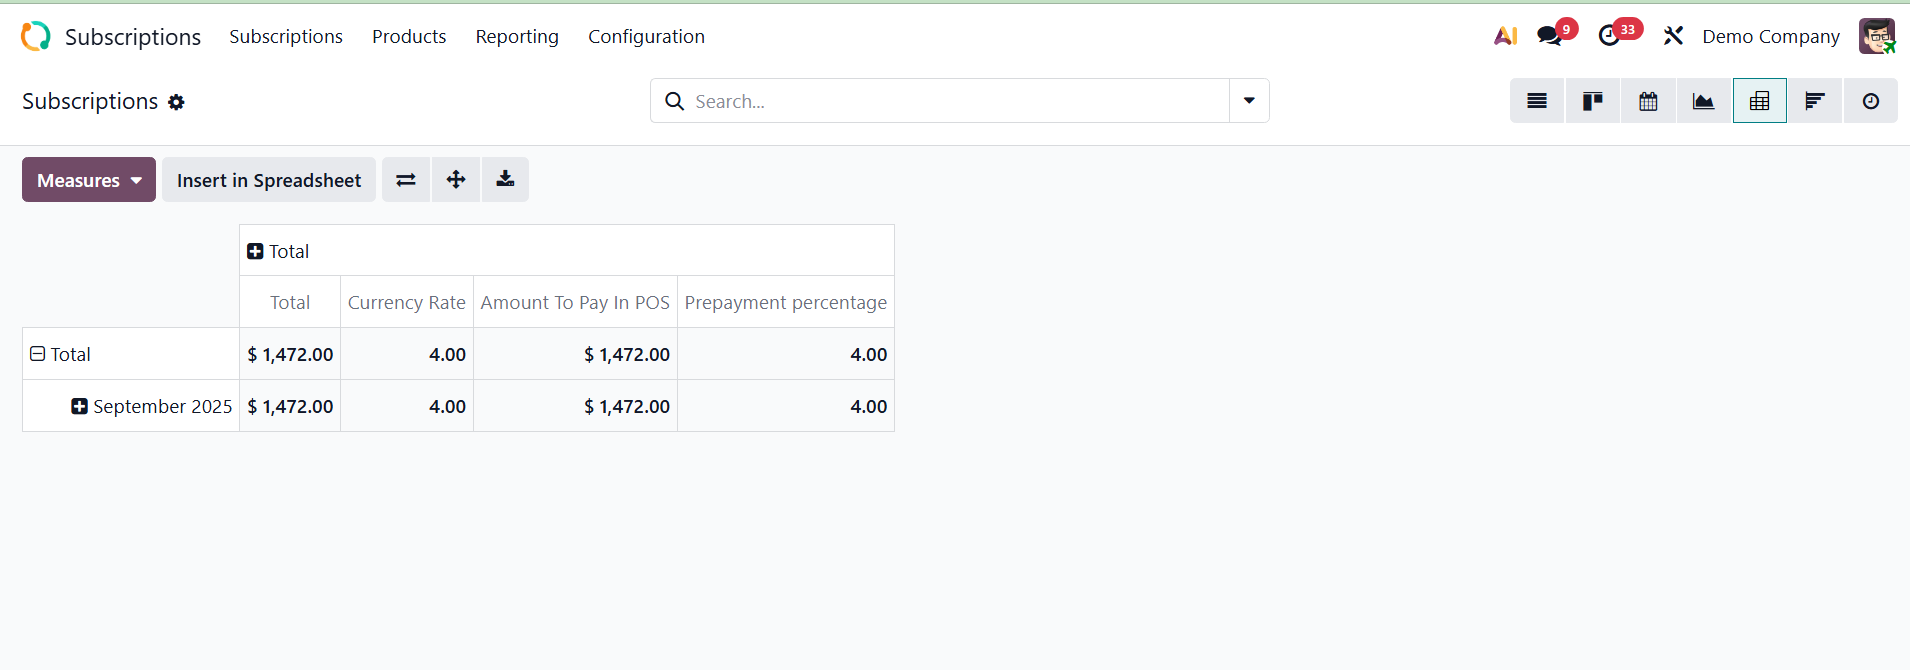
In this pivot view, you will get the details on adding the required measures provided.
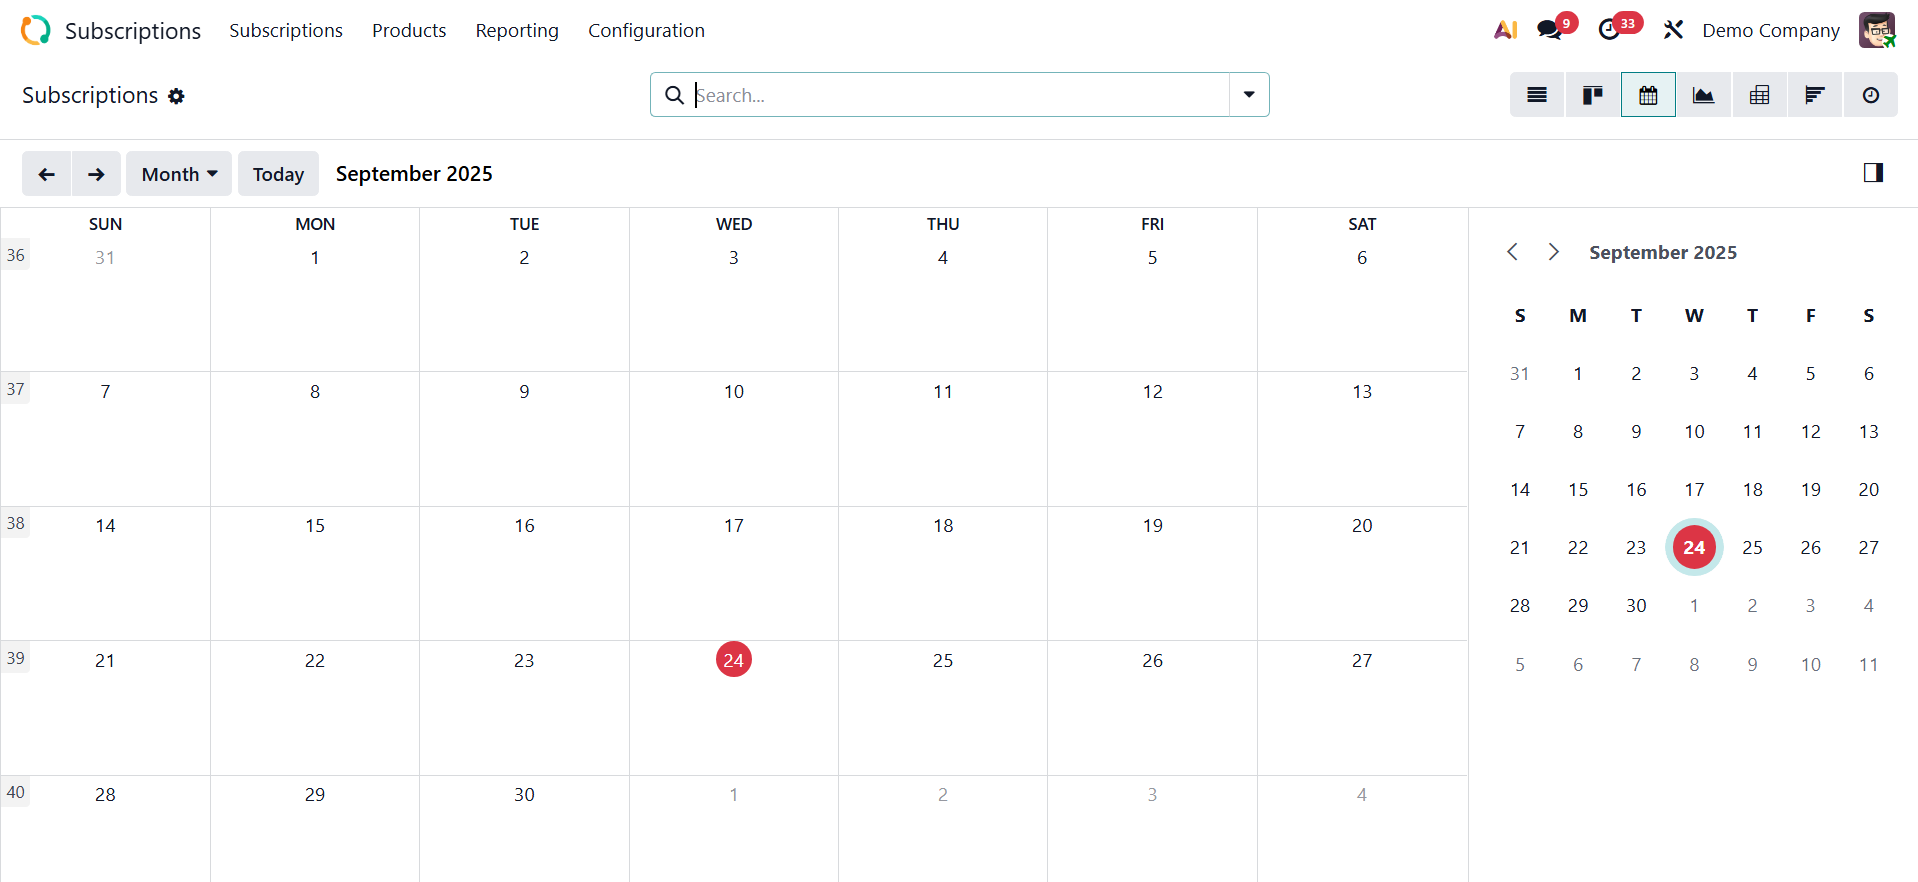
The calendar view will be, as in the image below.
Now, you have the graphical view, as shown below.
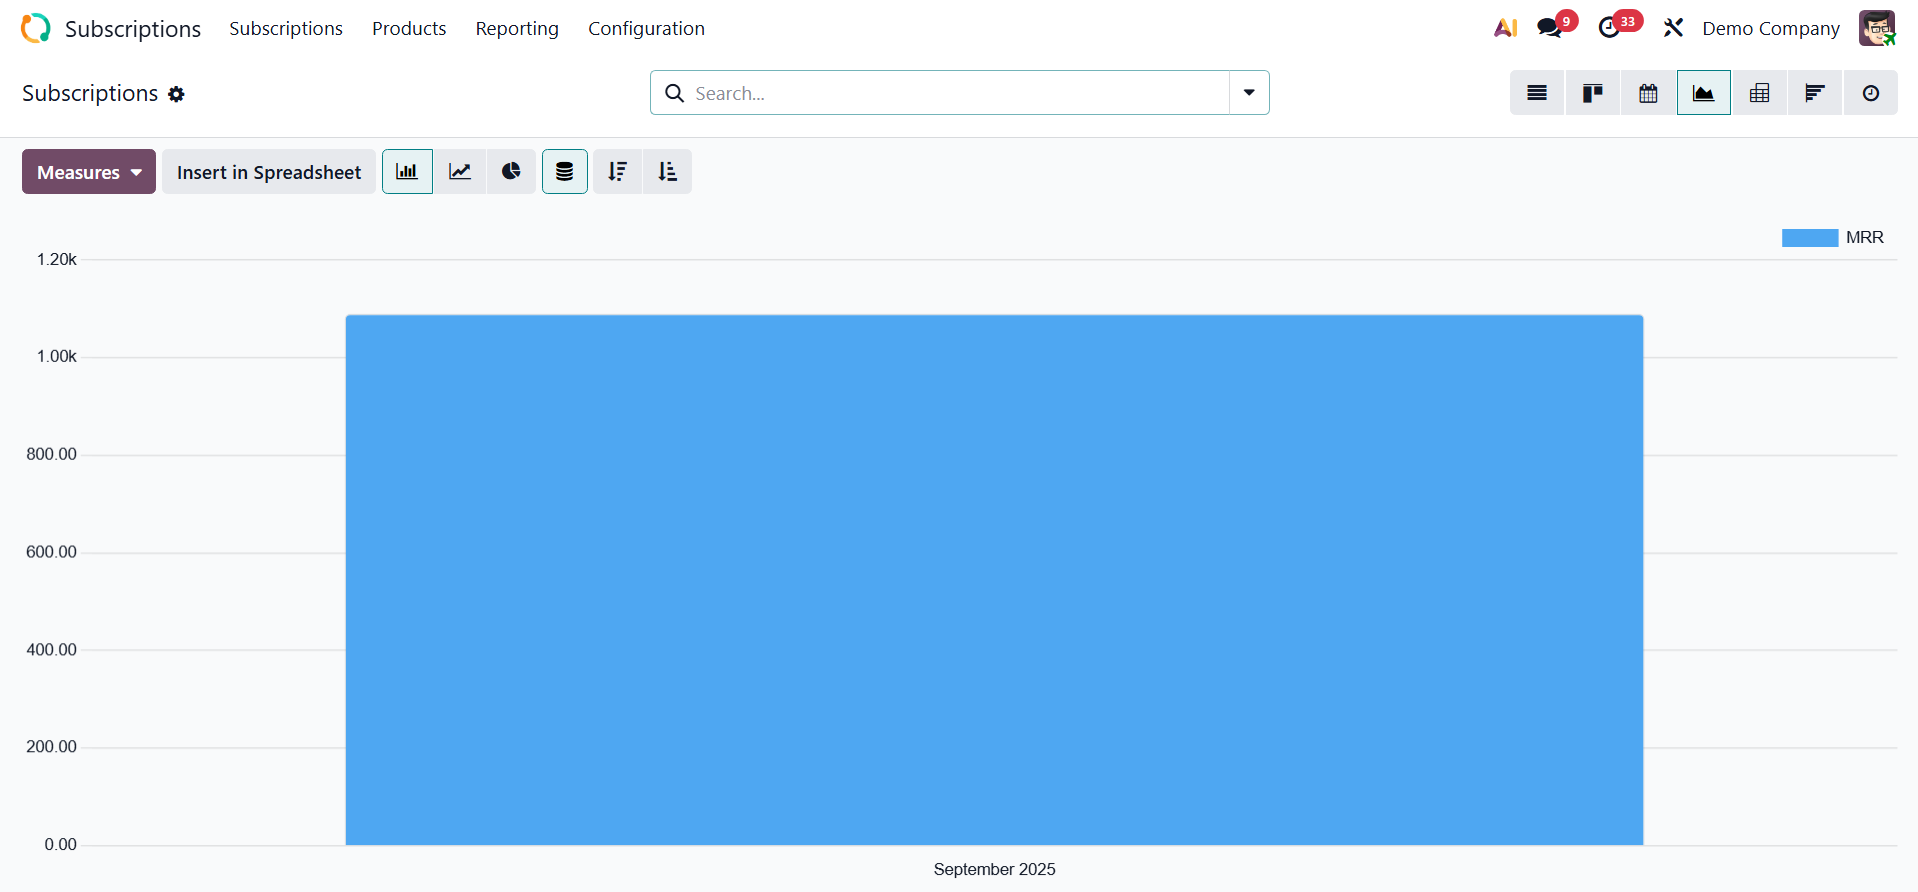
This view facilitates the management of time-based processes, tasks, appointments, events, and bookings. Next, there is a cohort view, as in the image below.
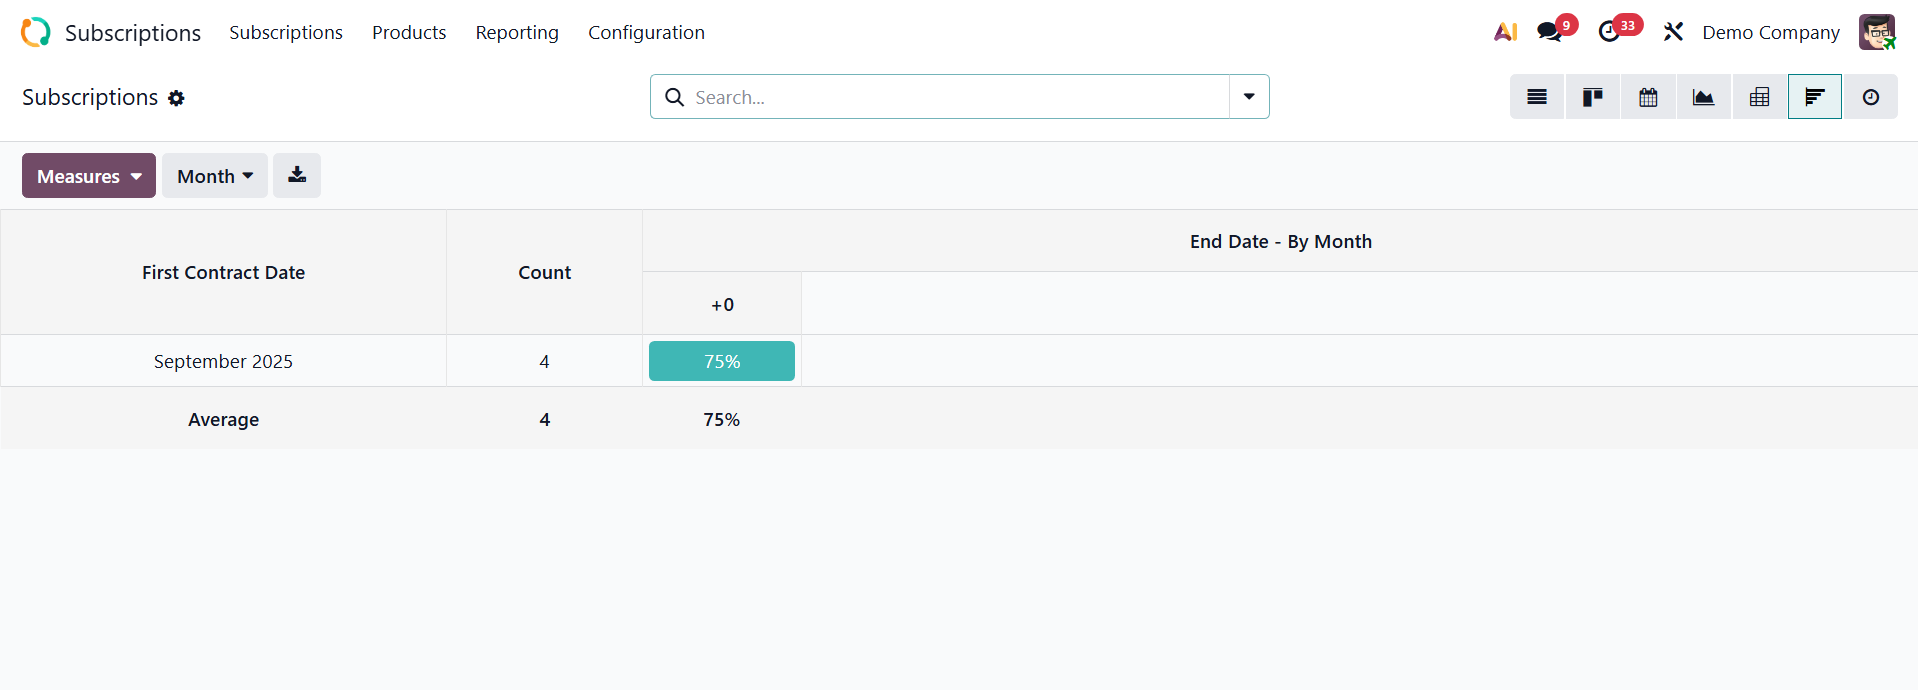
A cohort view would enable the analysis of subscription-related metrics. Here, you have the first contract date, count, and end date by month.
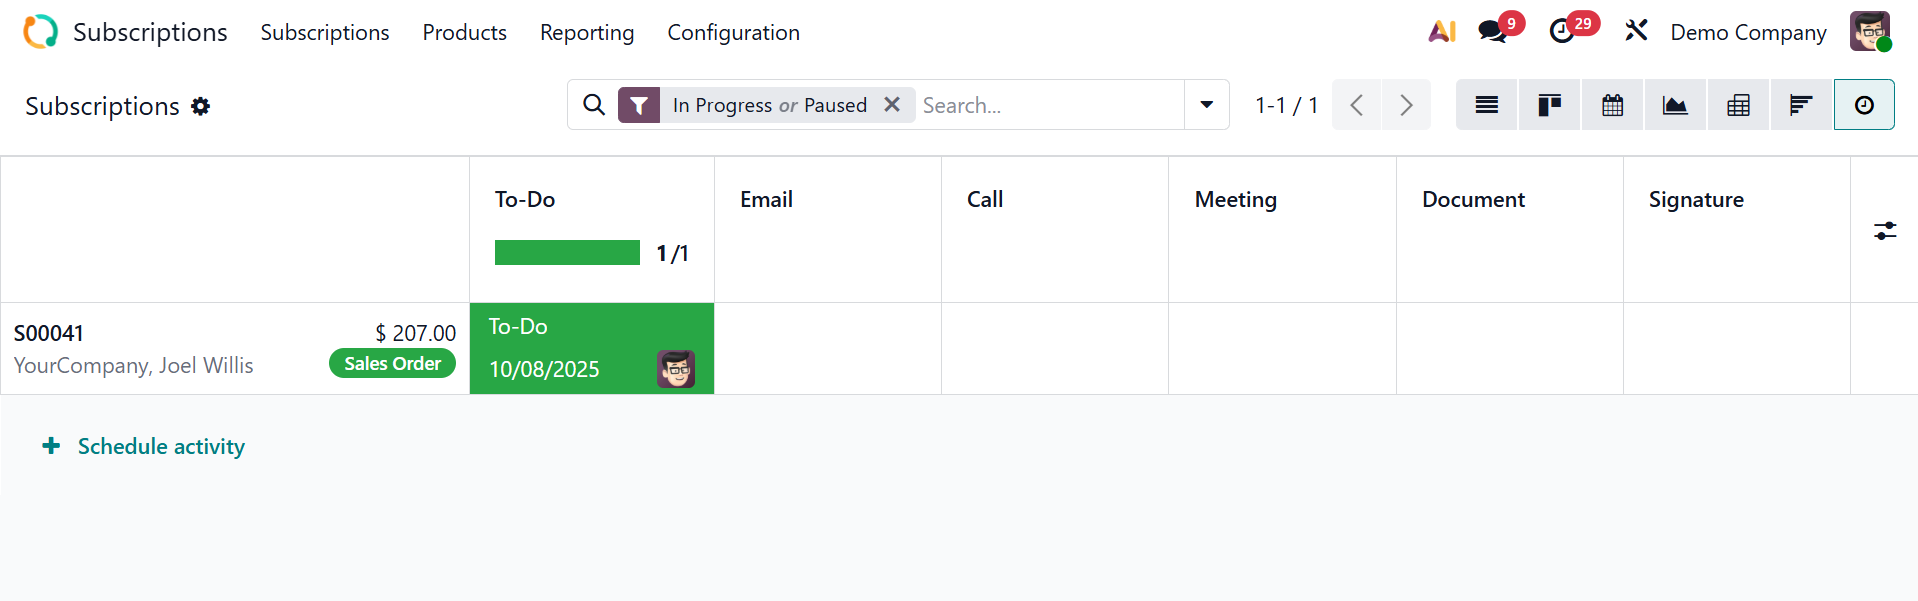
The next view is the Activity view, as shown in the screenshot below.
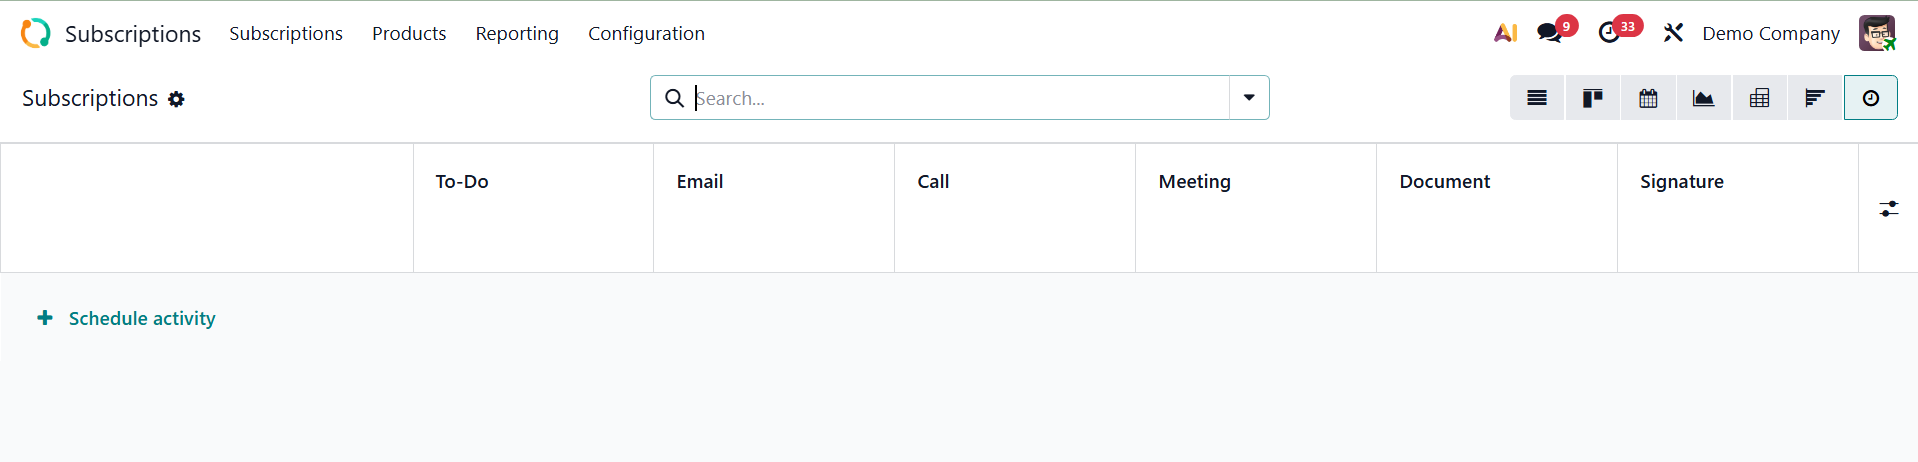
The columns in this list view show every activity that is offered, and the horizontal entries show each individual record. You can schedule a new activity using the schedule activity icon. Activity scheduled subscription will be viewed here, as shown below.
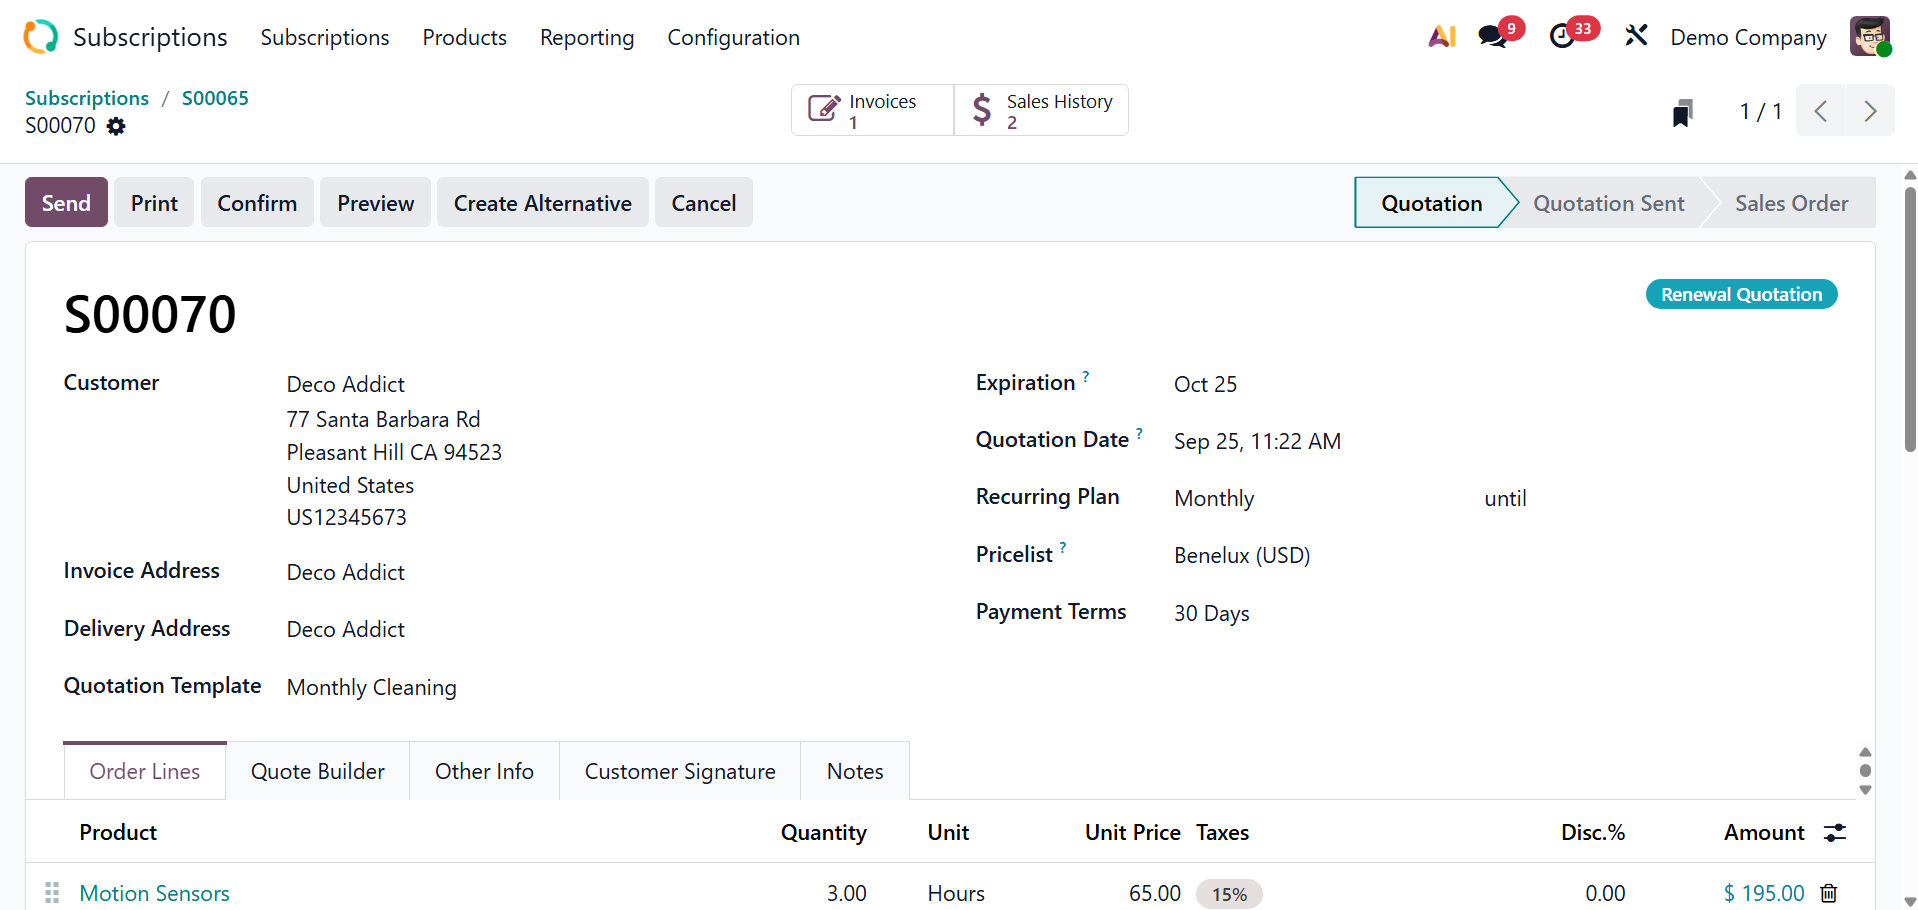
Now let's begin a new subscription by clicking the New button. We must enter the customer's information in the form displayed above, including name, invoice address, delivery address, and Quotation (monthly cleaning or yearly cleaning).
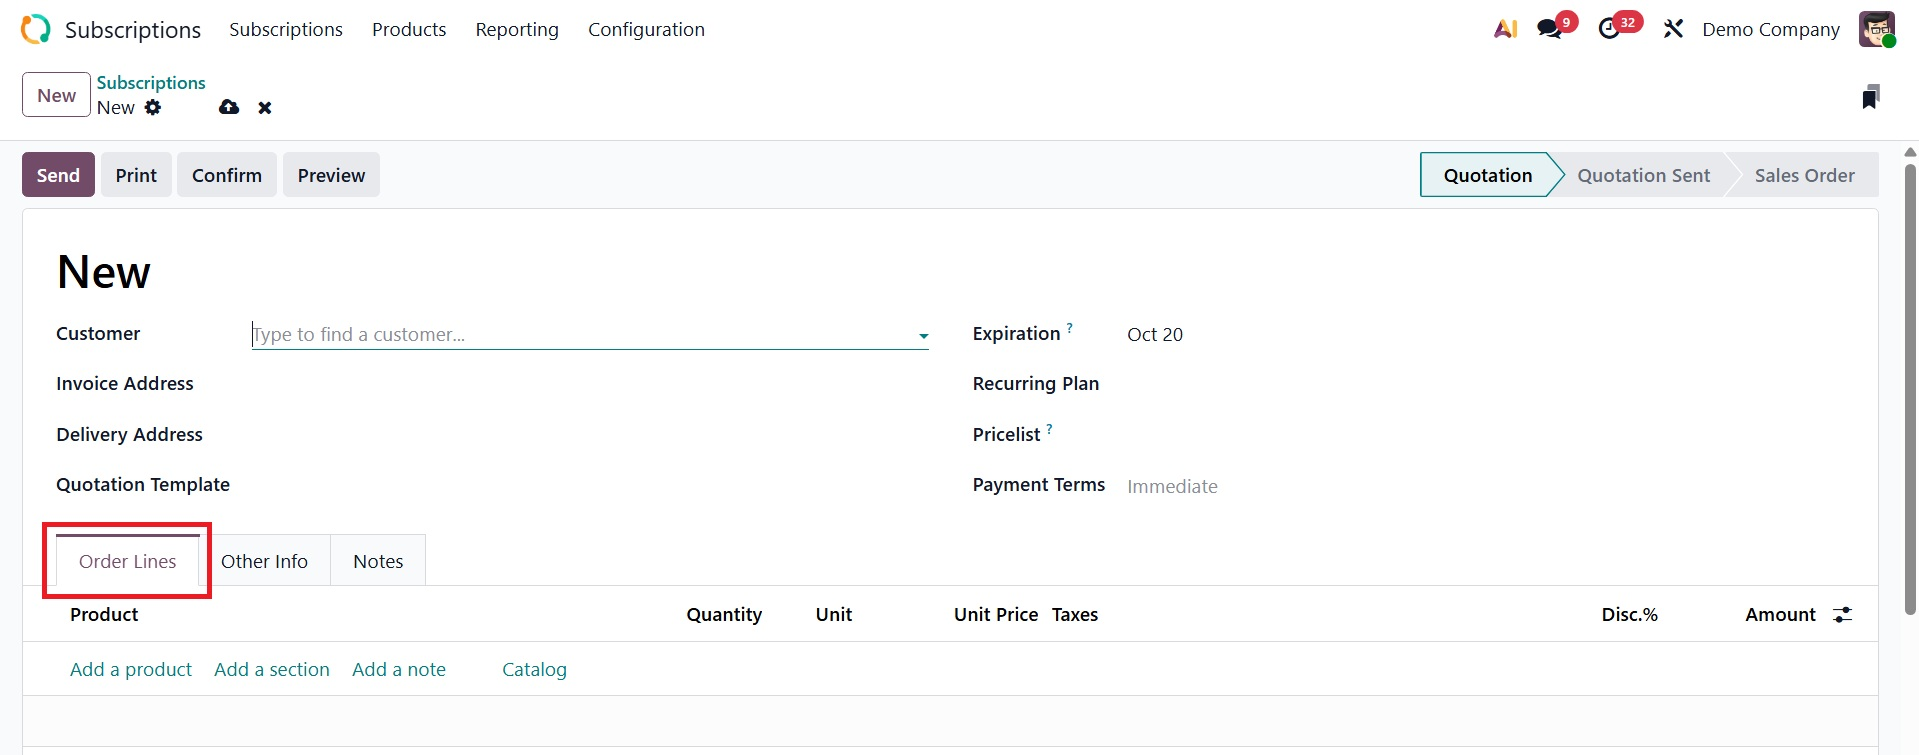
- Customer: field on the subscription form that indicates which Odoo partner—a person or business—will be invoiced for the subscription service.
- Invoice Address: The customer's billing address. Invoices produced by the subscription will be mailed here.
- Delivery Address: The address at which the product or service for which you have subscribed will be delivered or carried out. The billing address and the service delivery address may be different (for example, billing goes to head office, service is delivered at branch office).
- Quotation Template: The sales quotation that started the subscription is referred to as the quotation (Monthly Cleaning or Yearly Cleaning). It guarantees the subscription adheres to the fee and length specified in the terms of service, including whether the customer signed up for a monthly or annual cleaning plan.
- Expiration: The precise day that the membership offer expires is known as the "expiration date."
- Quotation date: it is the date when the subscription’s quotation (or offer) is created and sent to the customer.
- Recurring Plan: it specifies how frequently the subscription will renew and be billed (monthly, annually, etc.).
- Price lists: apply particular prices or discounts to subscription items based on promotions or client categories.
- Payment Terms: it establishes the necessary payment window (such as "Net 30"), indicating the due date for the subscription invoice.
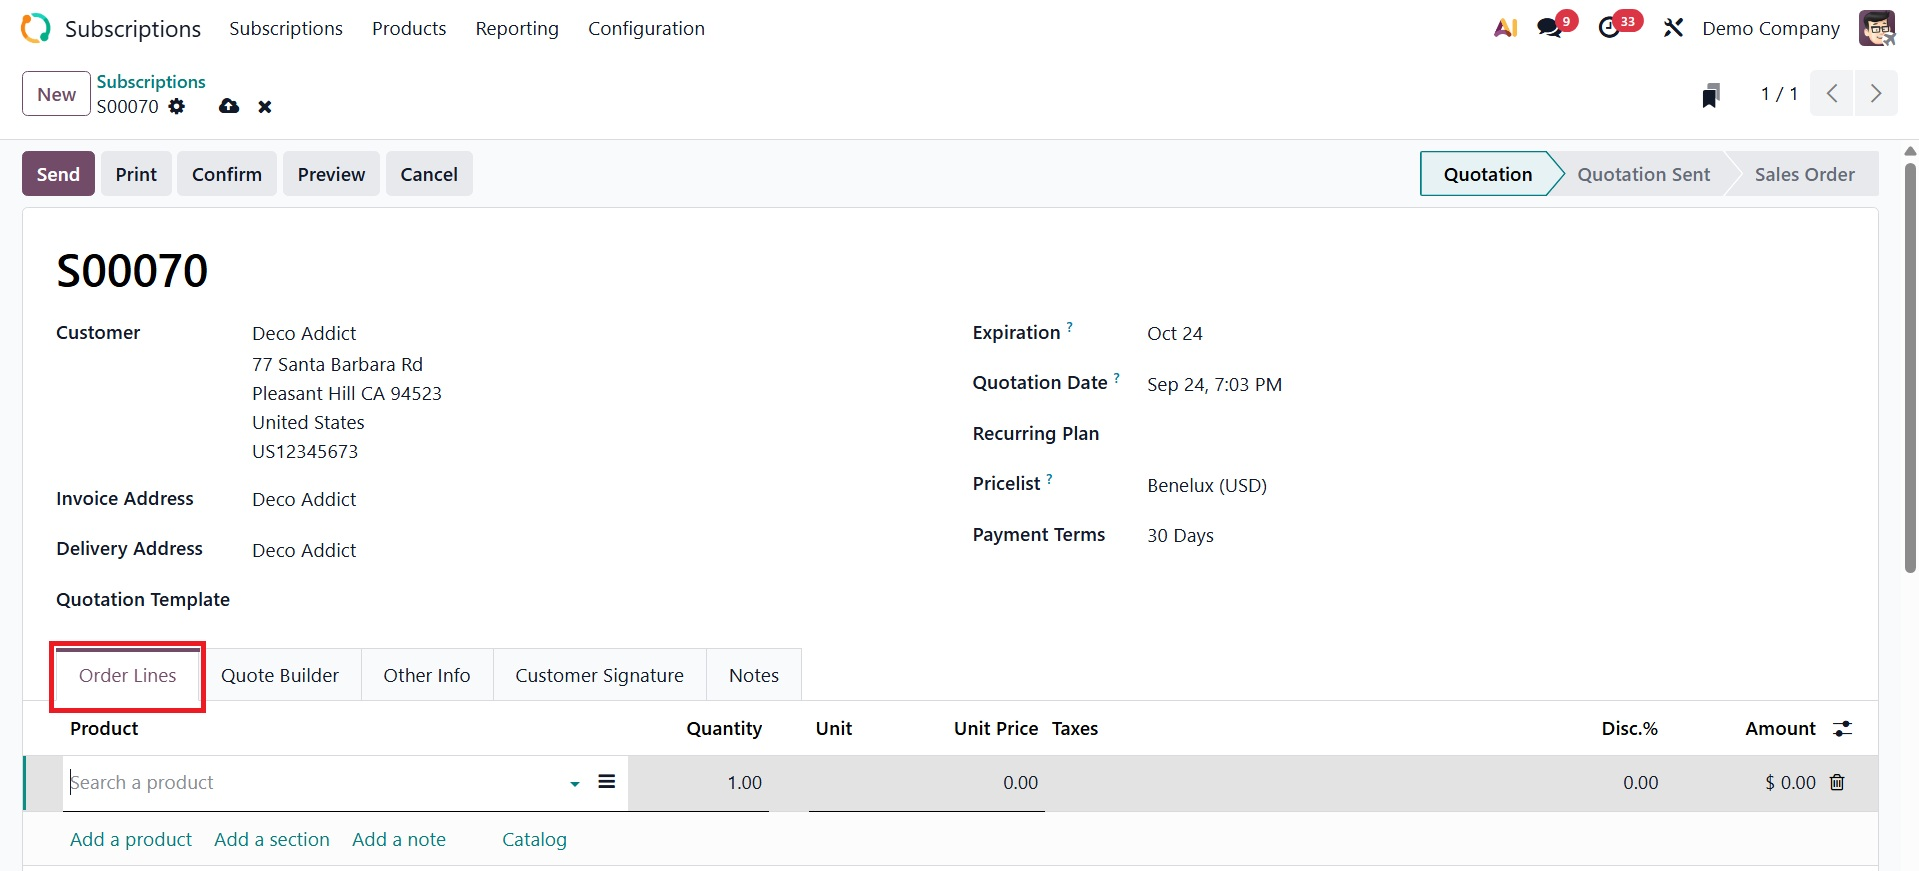
Each subscription product can be listed separately using the Order Lines tab. To add a line for this, click the Add a Line option. This tab shows the product details, quantity, unit, unit price, discount, and amount, respectively, as shown below. Here, you can also make use of the Add a Section, Add a note, and Catalog options.
Add a Section organizes subscription products, Add a note allows for textual comments or details within subscription lines, and Catalog options provide a method to select and add products from a pre-defined product catalog, rather than adding them manually one by one.
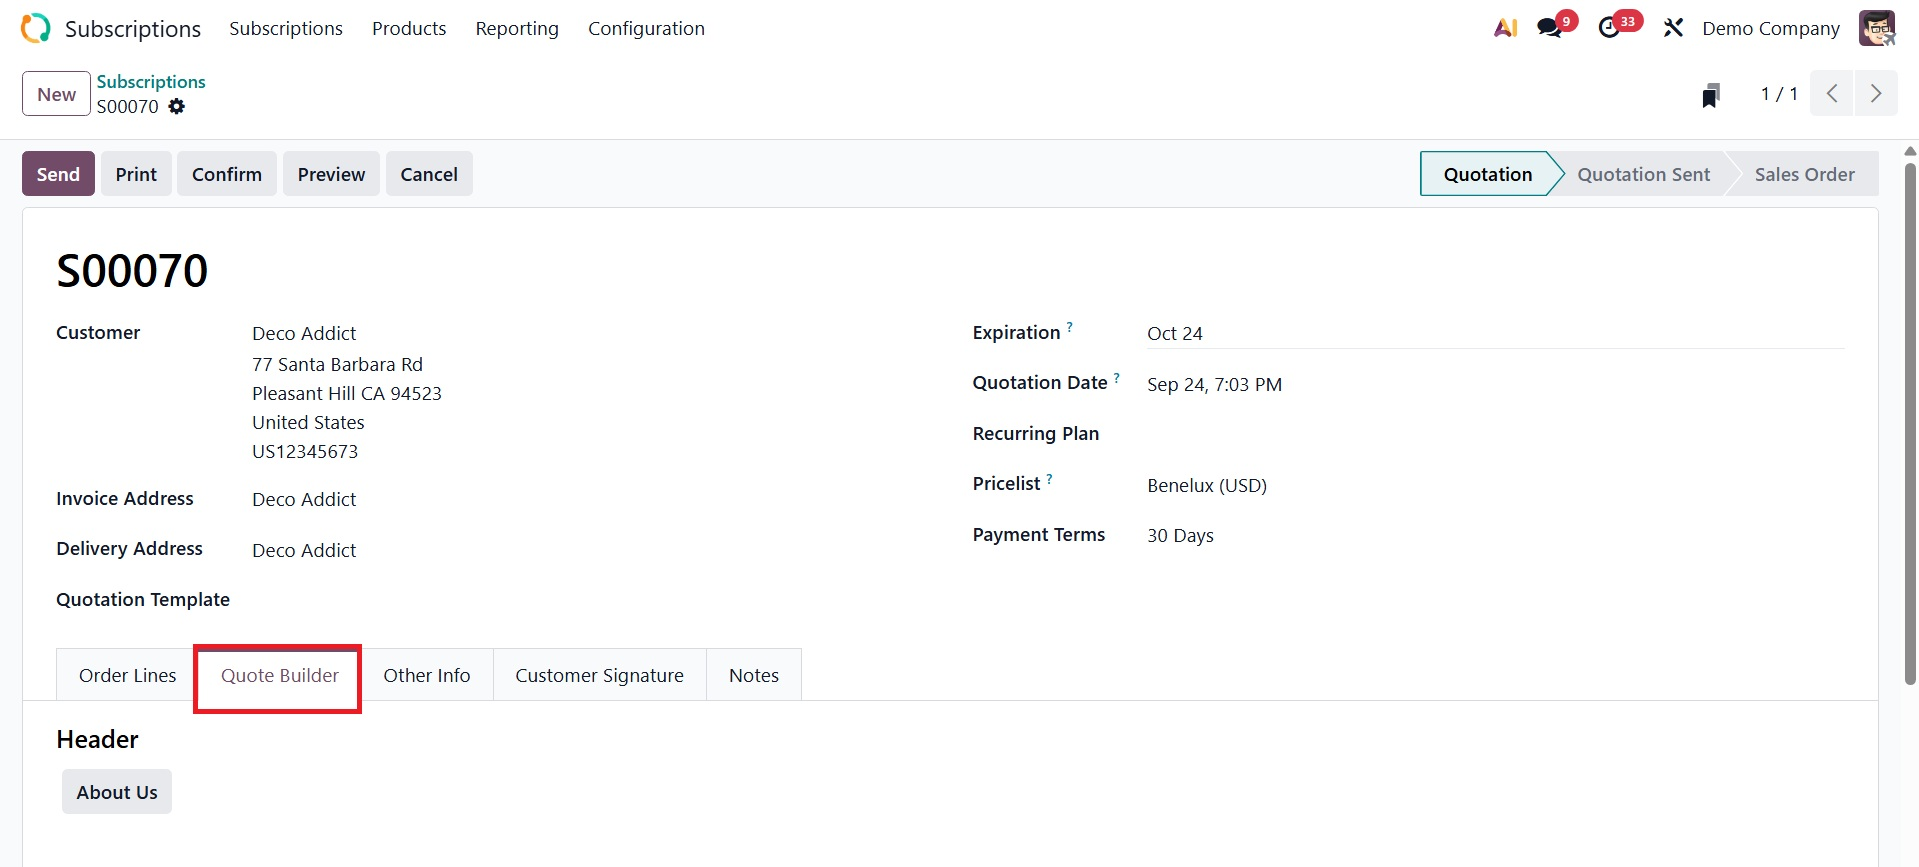
With the help of Quote Builder, businesses can generate aesthetically pleasing and educational quotes that highlight not just product costs but also other information about the business, goods, and services.
The Other Info tab is where you can enter data pertaining to sales, delivery, tracking, invoicing, and payments. Under the SALES session, you can assign a Salesperson and Sales Team to manage this subscription. The company name will be included in the pertinent field. If you want to let the customer sign and complete payment online, you can turn on the Online Signature and Online Payment option from the Online Confirmation box. You can choose which tags are suitable for this particular subscription under the Tags section.
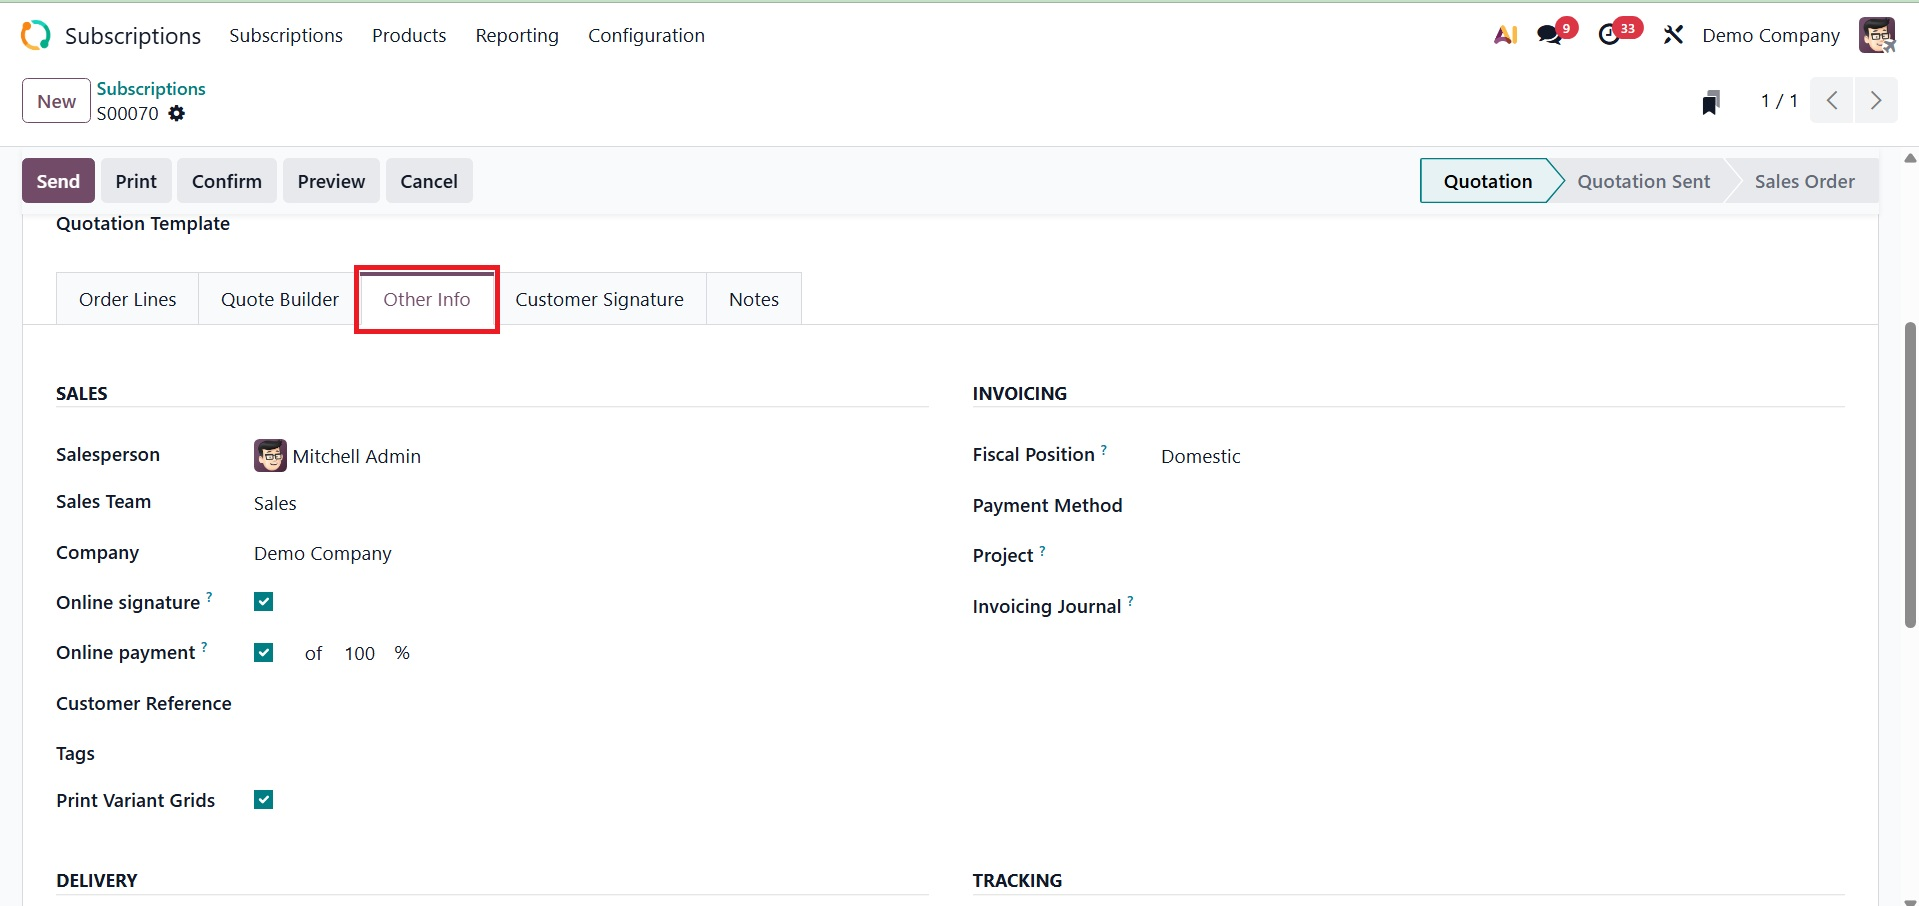
- Print Variant Grid:If enabled, Odoo will show the product variations on printed subscription documents (such as invoices or quotes) in a matrix (grid) format. To make it easier for the customer to understand, the grid arranges the variants according to attributes (e.g., Sizes at the top, Colors along the side) rather than displaying each one line by line, as shown below.
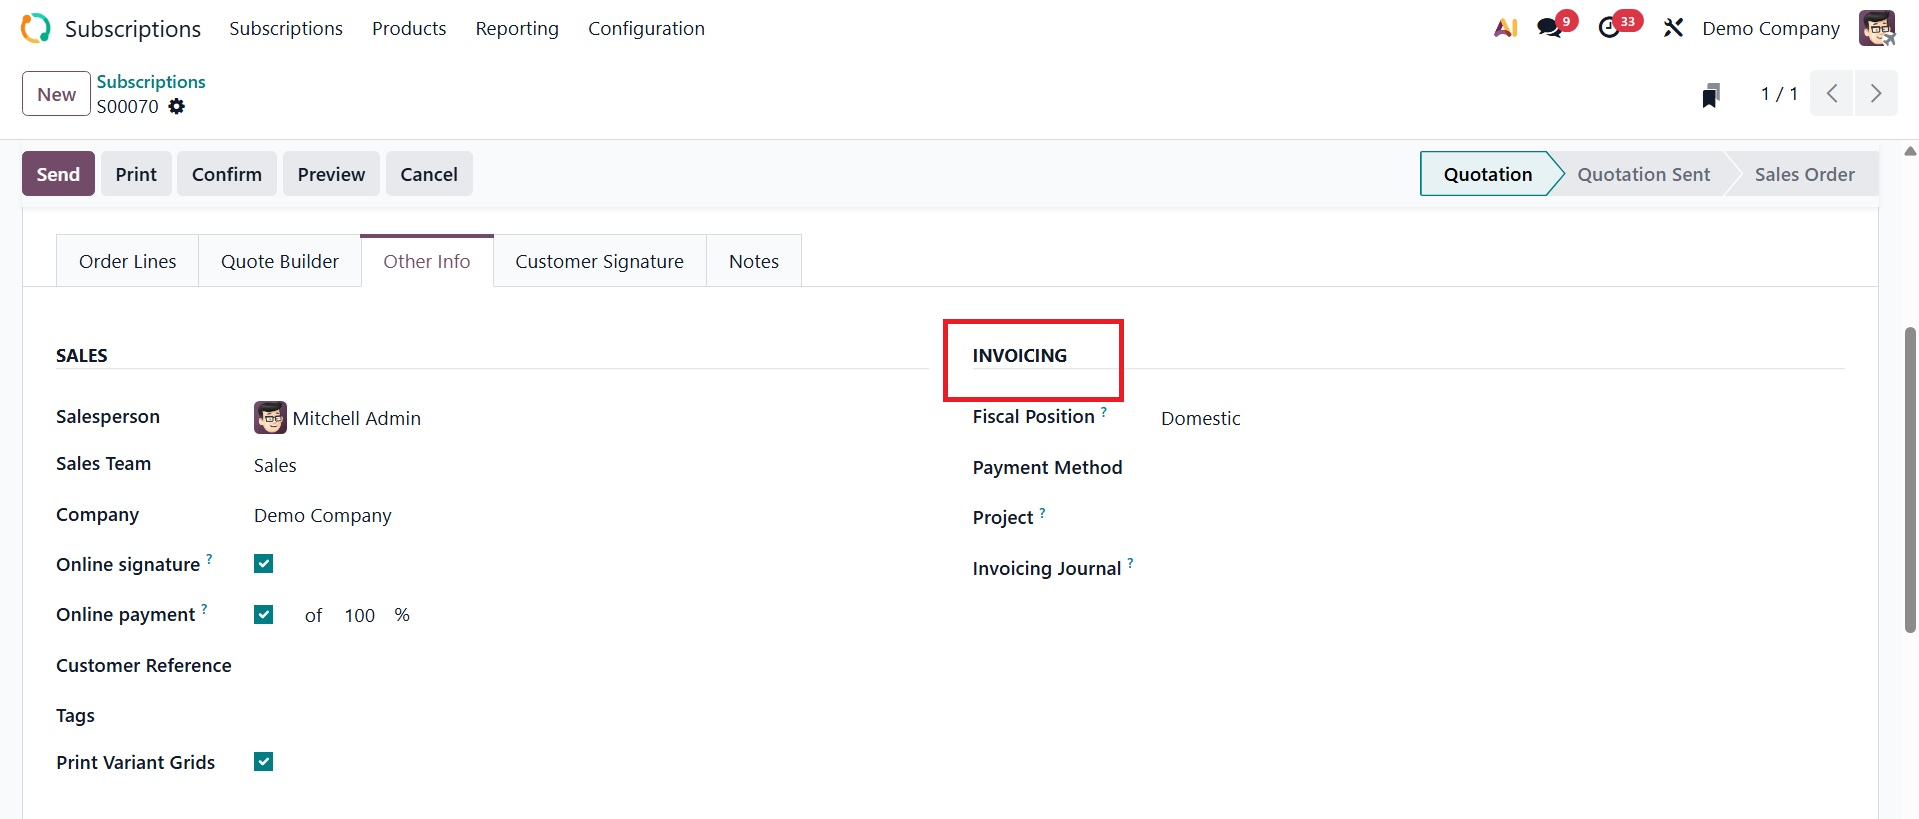
Under the Invoicing tab, you have the following details, as shown below.
- Fiscal Position: Assign a specific tax and account mapping to the subscription, impacting the taxes and accounts recorded on invoices generated for it.
- Payment method:Specify the default method by which the customer will pay for the subscription.
- Project: Associate the subscription with a specific Odoo Project to track related tasks, time, and progress.
- Invoicing Journal: Designate the specific accounting journal (e.g., Sales Journal, General Journal) that will be used for the journal entries when an invoice is generated from the subscription.
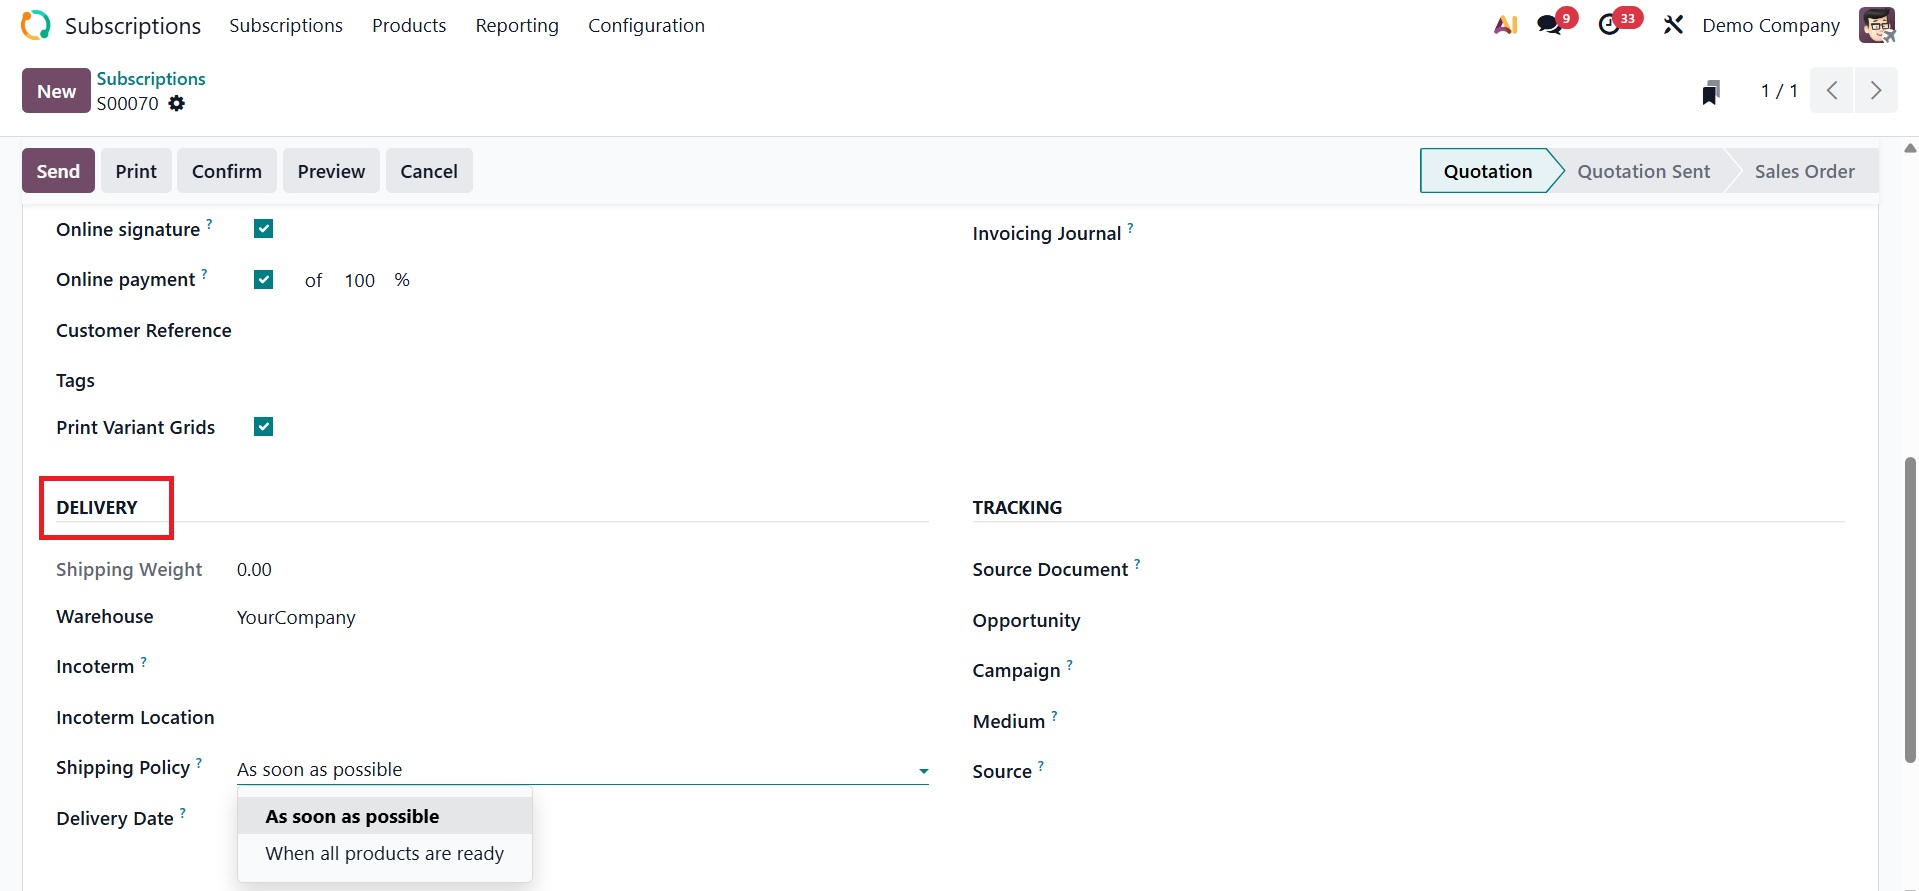
Under the Delivery field, you have options such as shipping weight, warehouse, Incoterms, Incoterms location, shipping policy, and delivery date.
- Shipping Weight:The total weight of the products in the subscription. Used to calculate shipping charges.
- Warehouse: The place (your warehouse) from where the products will be sent to the customer.
- Incoterm: An international rule that explains who pays for shipping and who takes over during transport (you or the customer).
- Incoterm Location: The exact place linked to the Incoterm (for example, the port, city, or warehouse where responsibility changes).
- Shipping Policy: Decides when to ship:
- As soon as possible- Either ship products as soon as they are available (even if some are missing),
- When all products are ready- Or wait and ship everything together once all items are ready.
- Delivery Date: The date when the customer is expected to receive the products/services.
For tracking purposes, you can input the relevant data in the Source Document, opportunity, Campaign, Medium, and Source areas, as in the screenshot below under the TRACKING field.
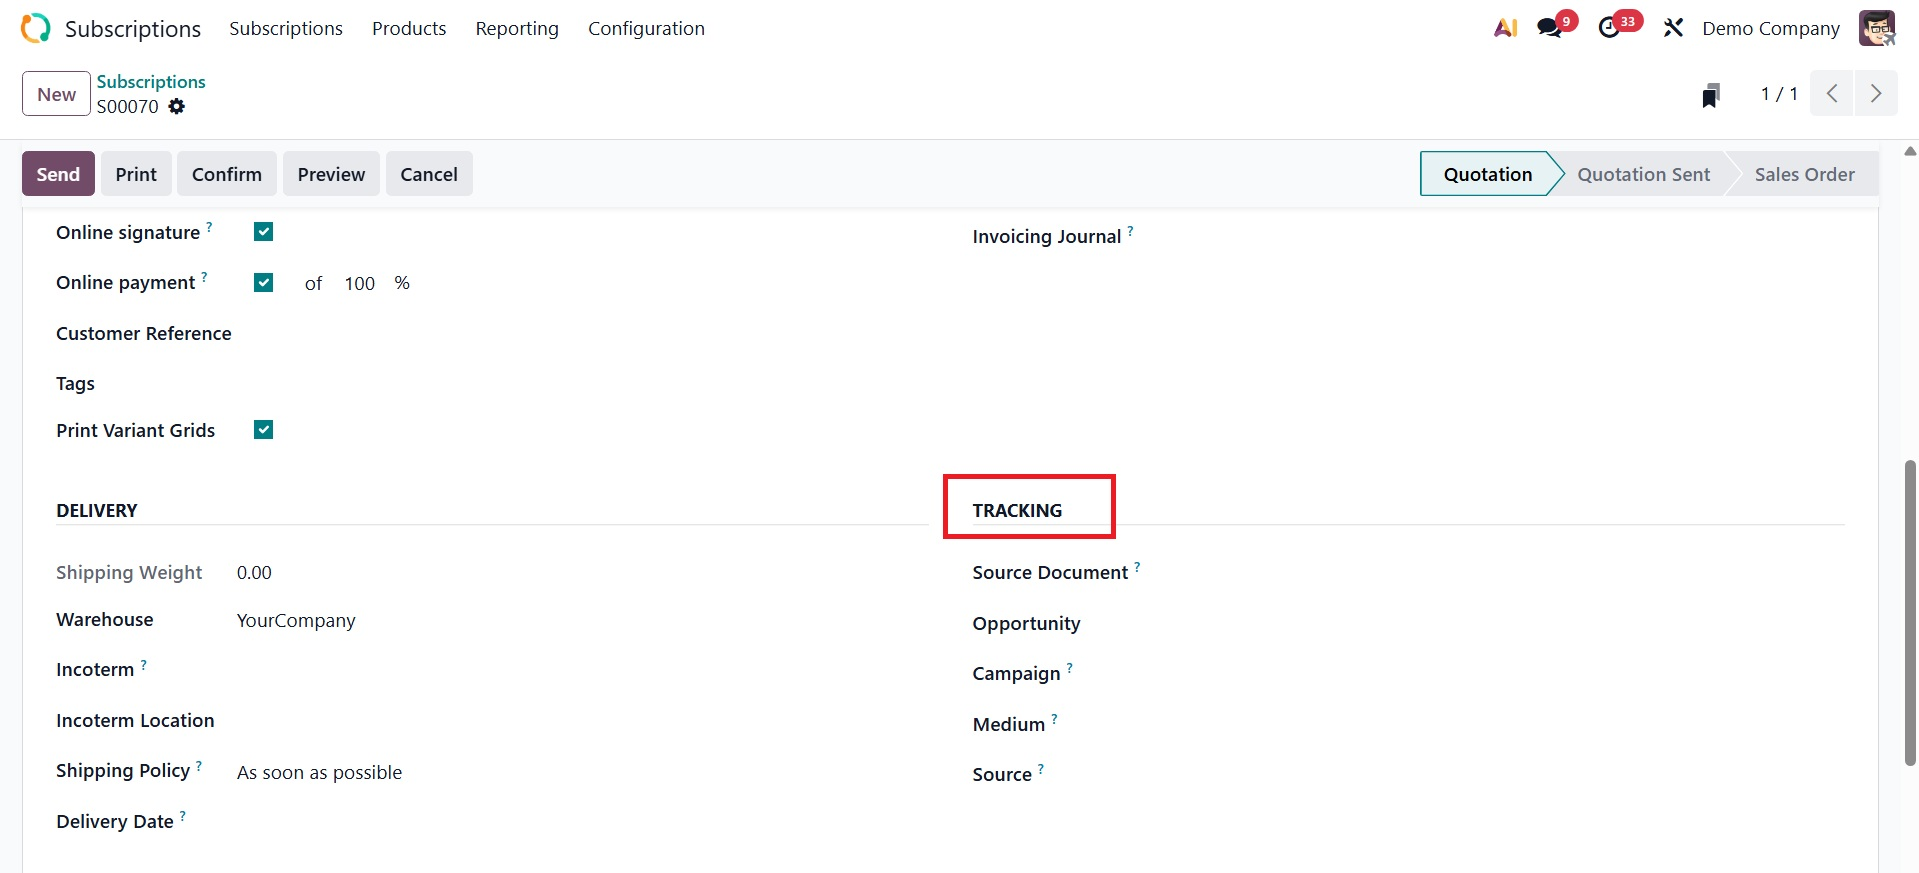
- Source Document:The contract, sales order, or quotation that initiated this subscription. It identifies the source of the subscription.
- Opportunity: This subscription's associated sales opportunity (lead) in the CRM. It facilitates tracking the sales transaction that led to the subscription.
- Campaign:The advertising campaign (e.g., "Email Campaign – Summer Offer") that attracted the client.
- Medium :The method of reaching the client, like a website, social media, or email.
- Source:The particular source that is located within the medium.
Then, you have the next tab named Customer Signature, as shown below.
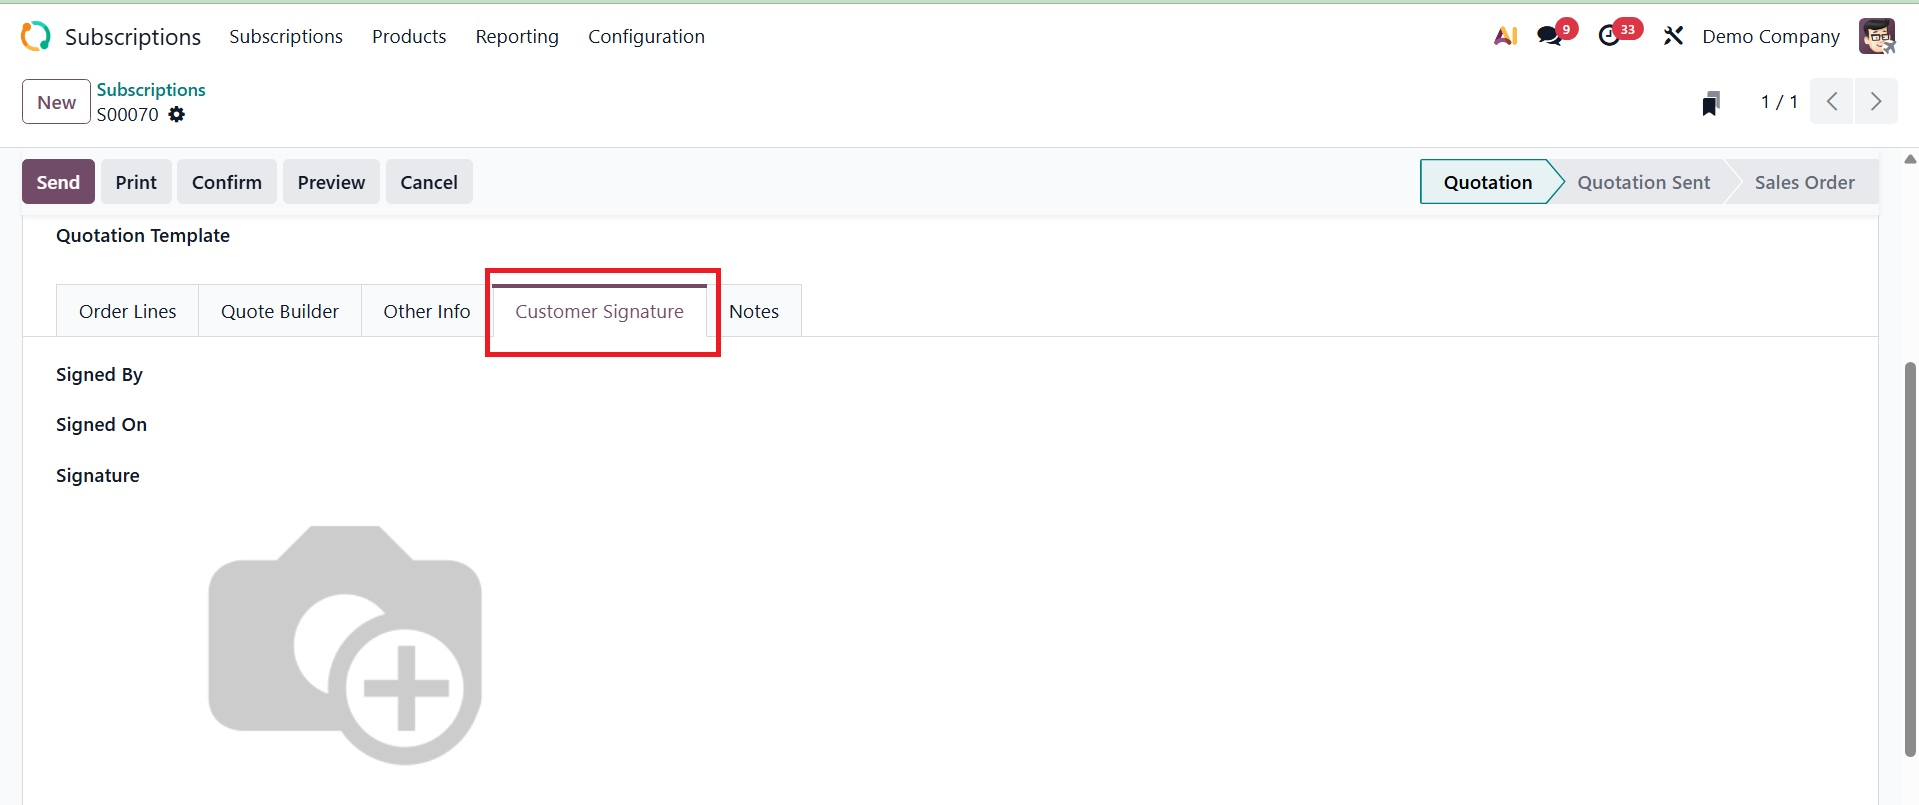
In this area, the customer's consent to the subscription is gathered and stored, typically via an electronic signature. It offers evidence that the client has agreed to the terms of the membership.
Among the sub-options are:
Signed by → displays the name of the subscriber who signed the contract.
Signed On → Shows the signing time and date of the subscription.
Signature → Saves the customer's real digital signature, whether it be typed, drawn, or uploaded.
Then, there is the Notes tab, as shown below.
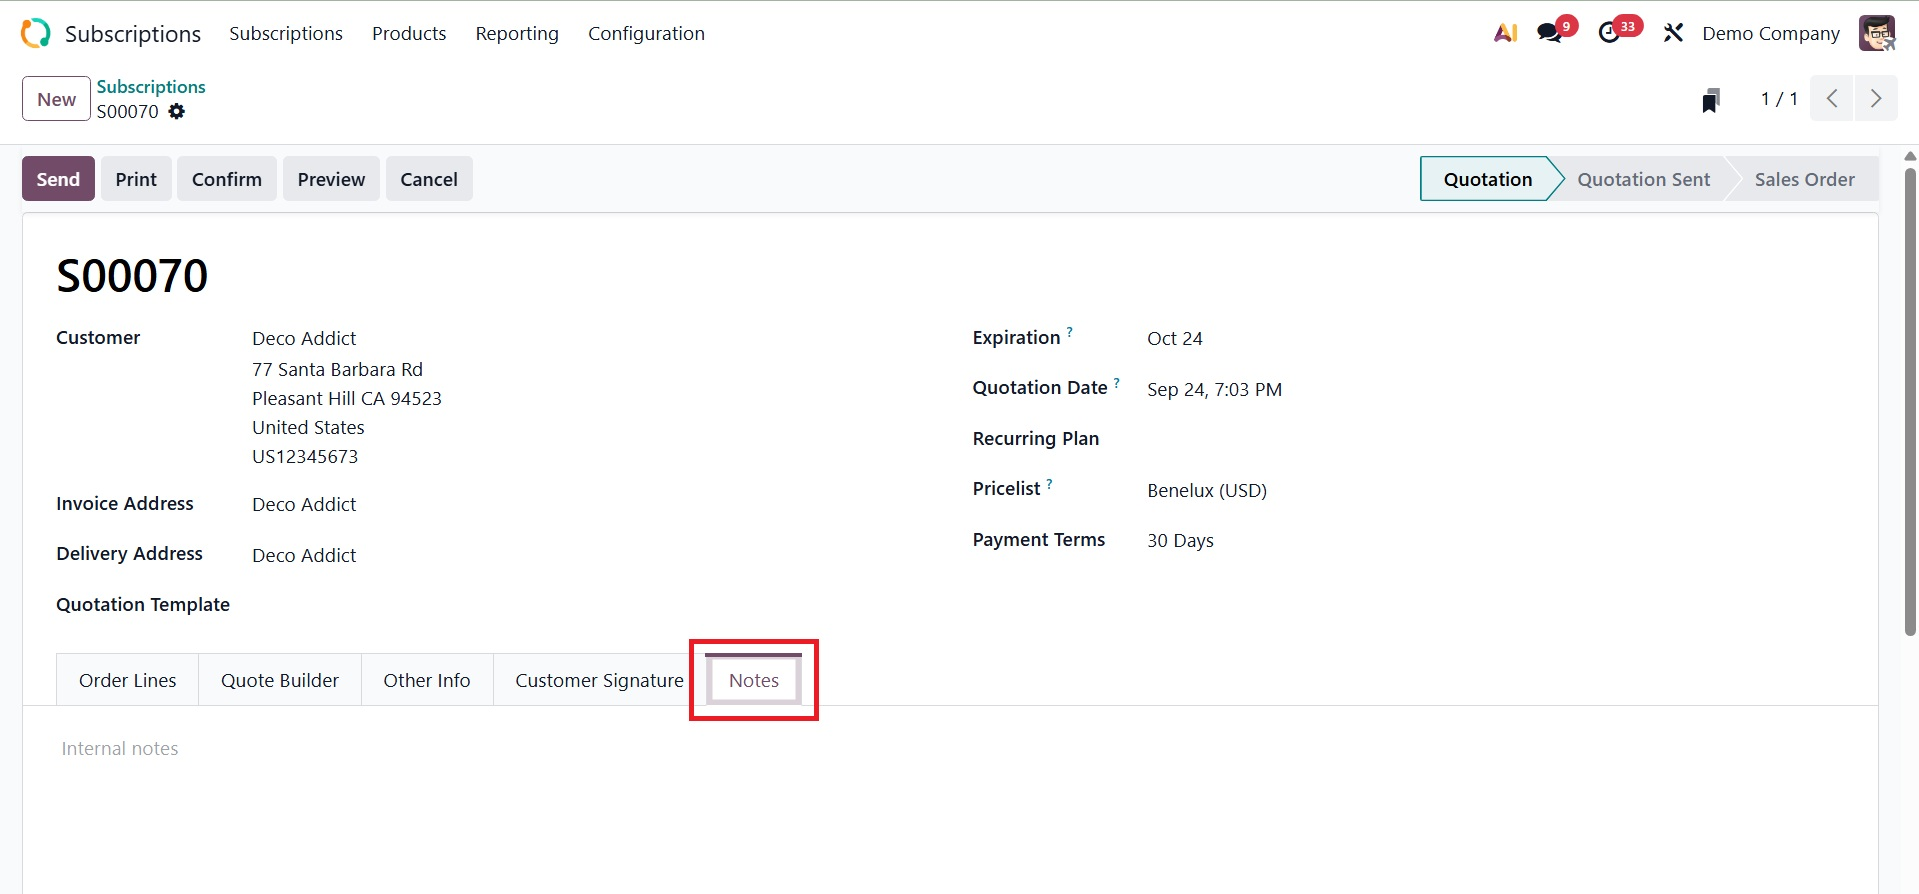
Additional information, instructions, or reminders not addressed by other subscription fields are stored under the Notes tab.
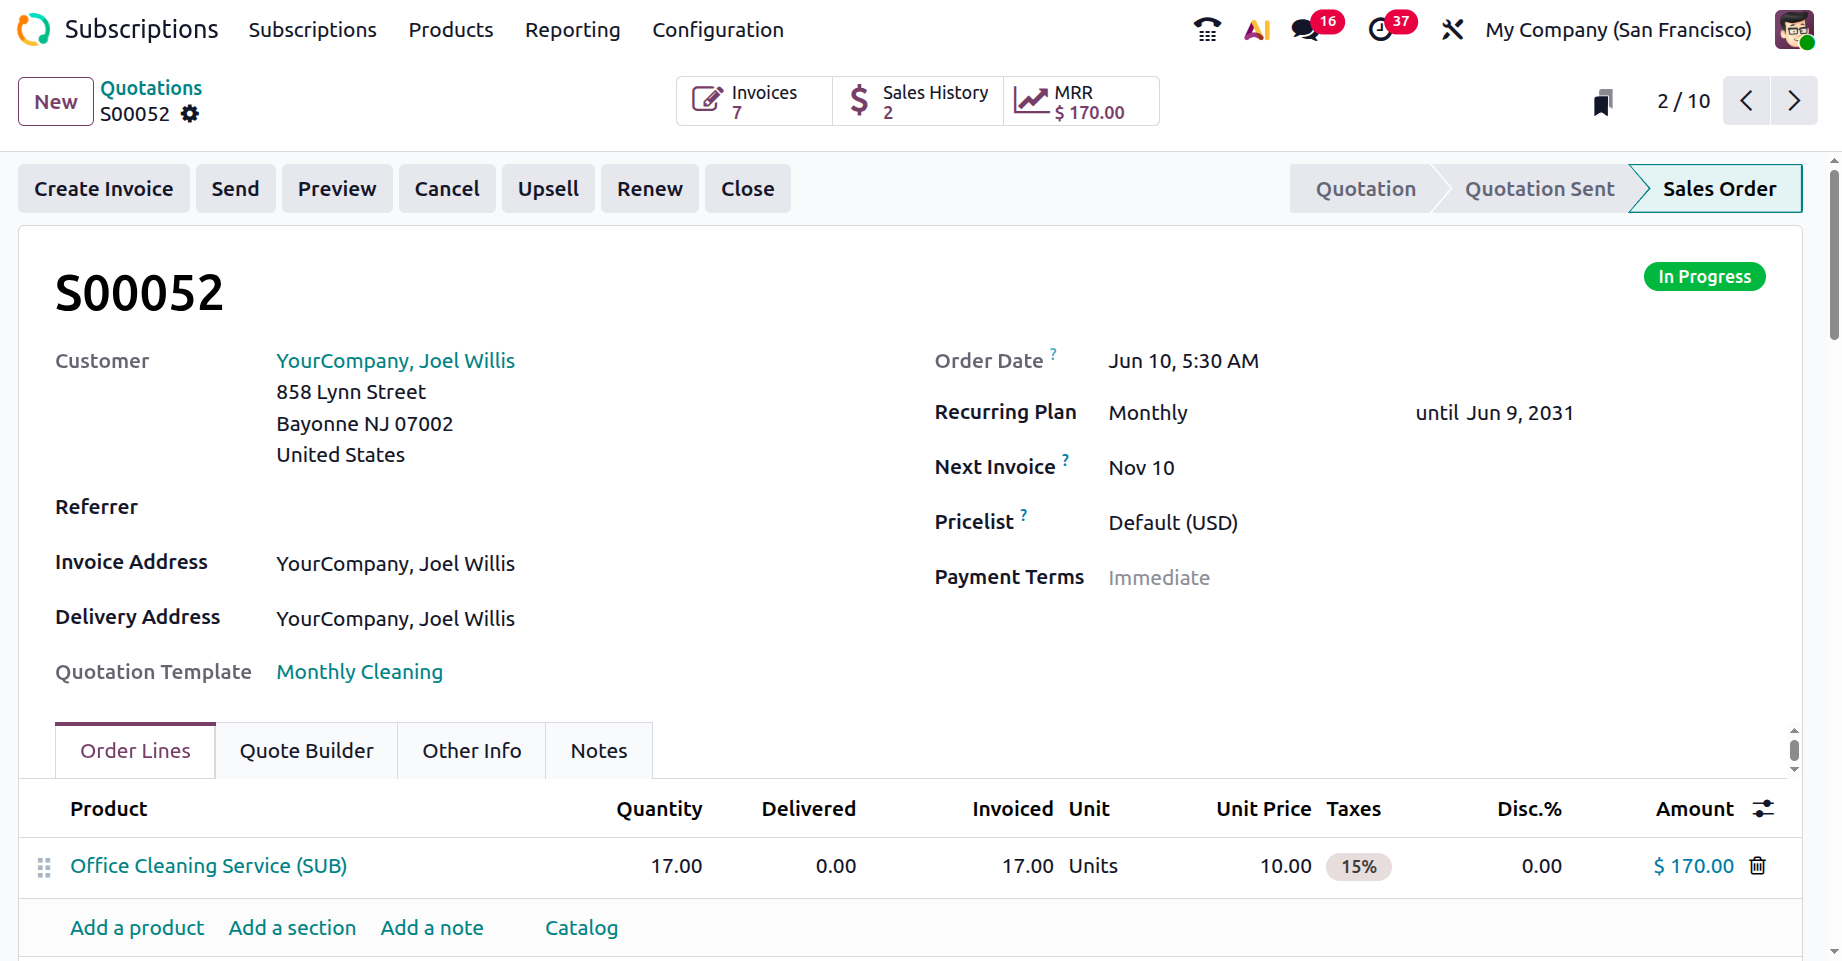
Once all the required information has been entered, you can click the Confirm button to validate the subscription quote.
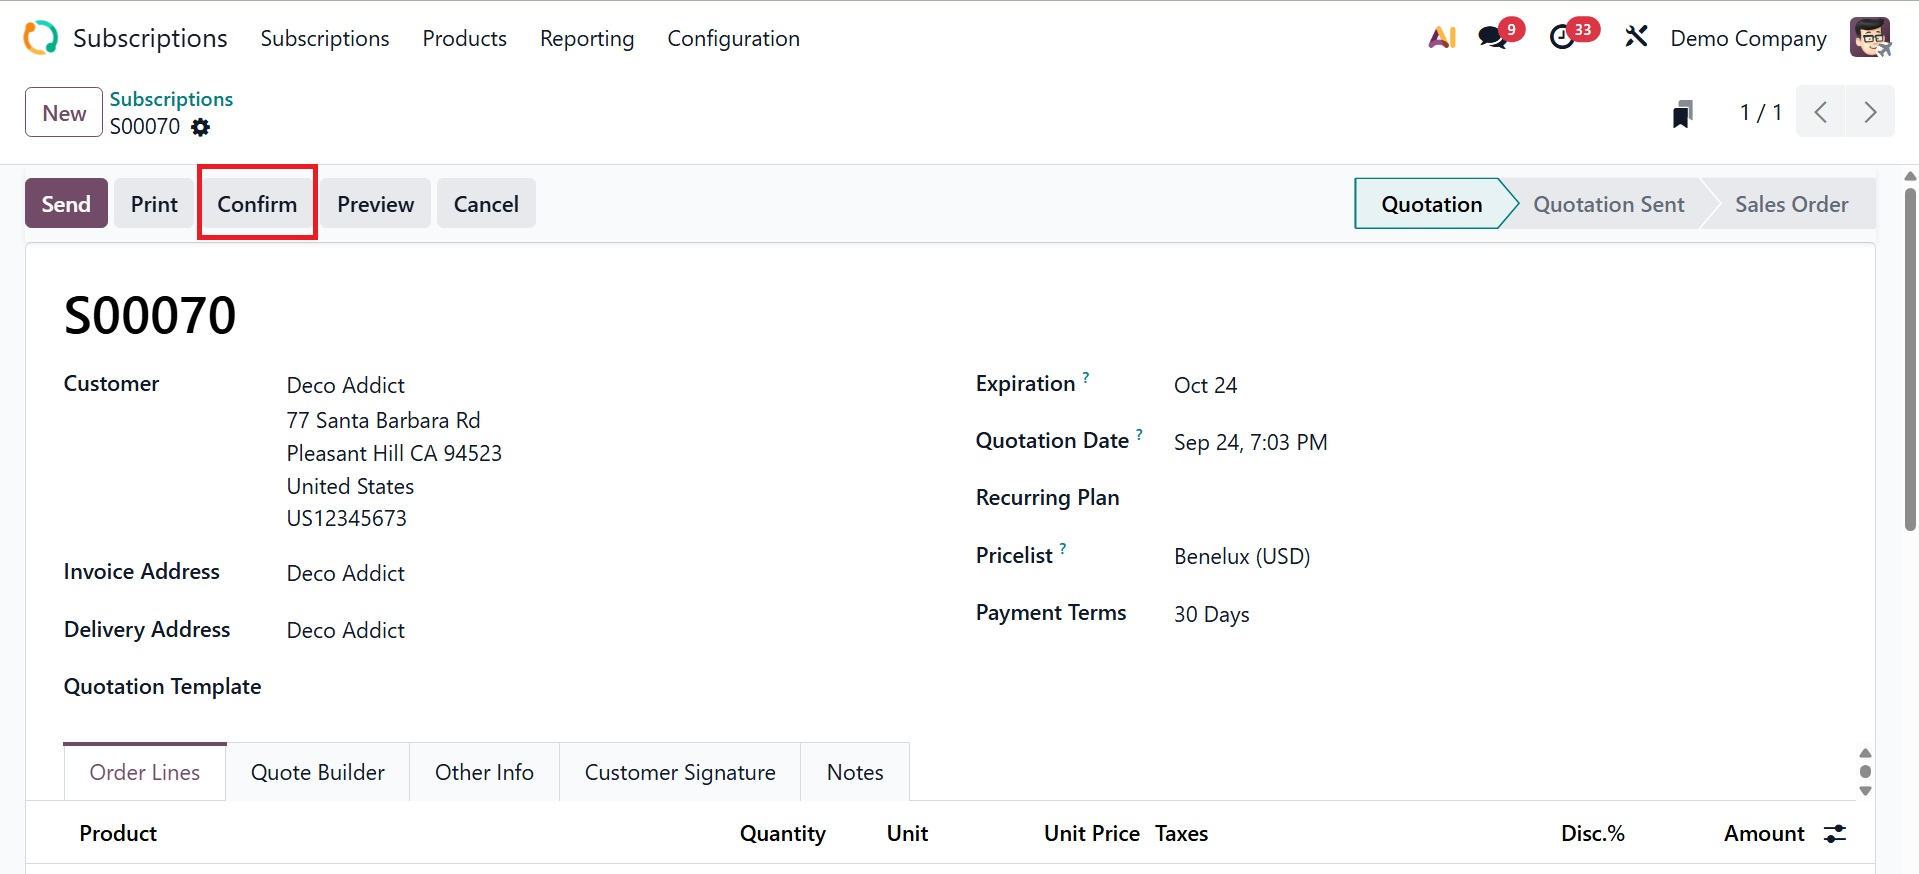
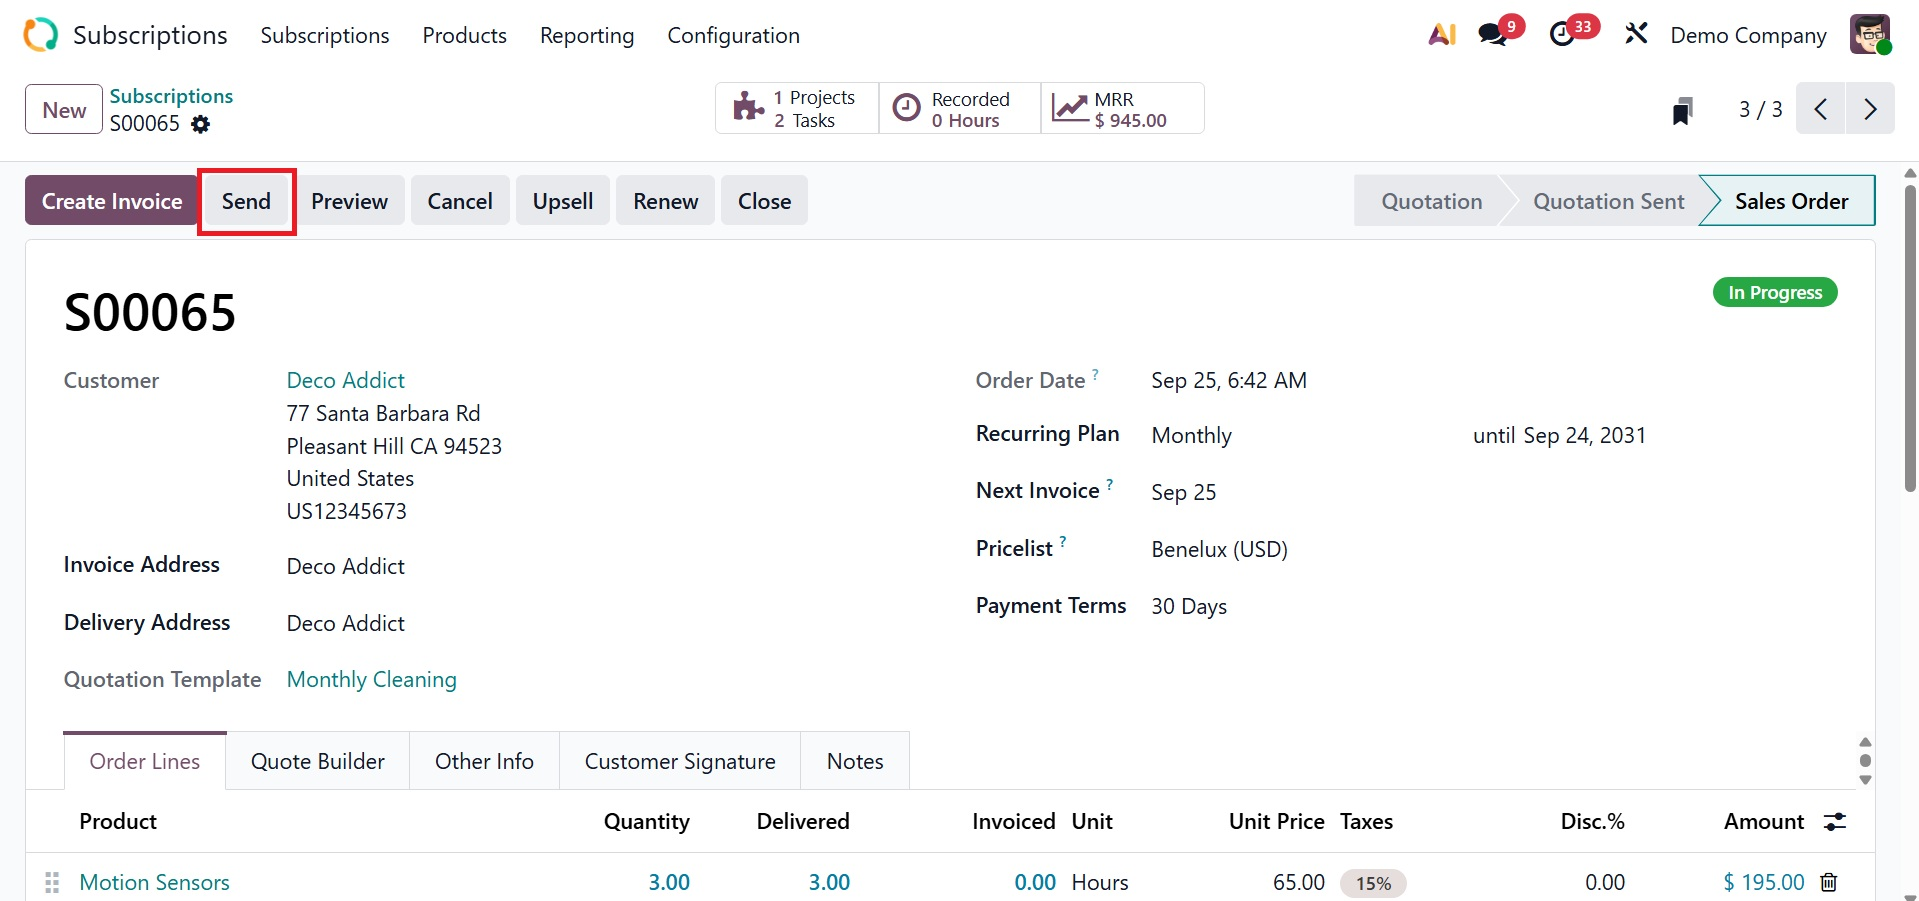
On confirming, the status changes to sales order. The Send option will transmit this quotation to the customer who has been selected.
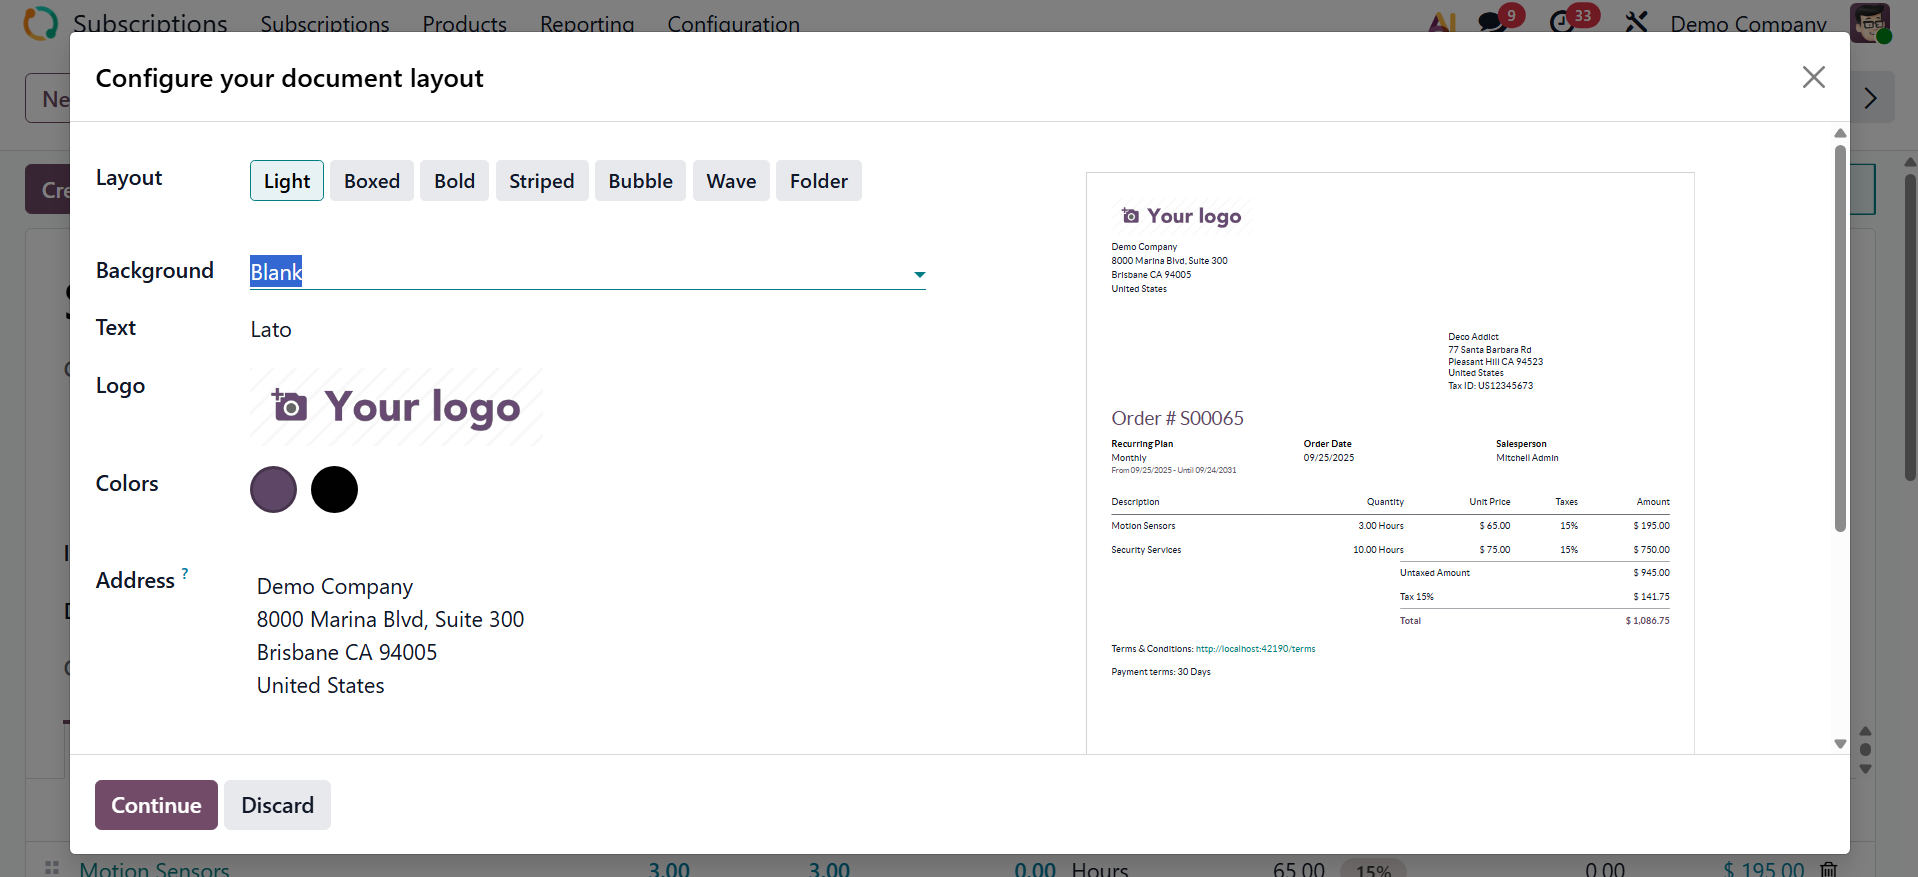
On selecting the Send option, you can have a pop-up window, where you can add the details regarding sending the mail.
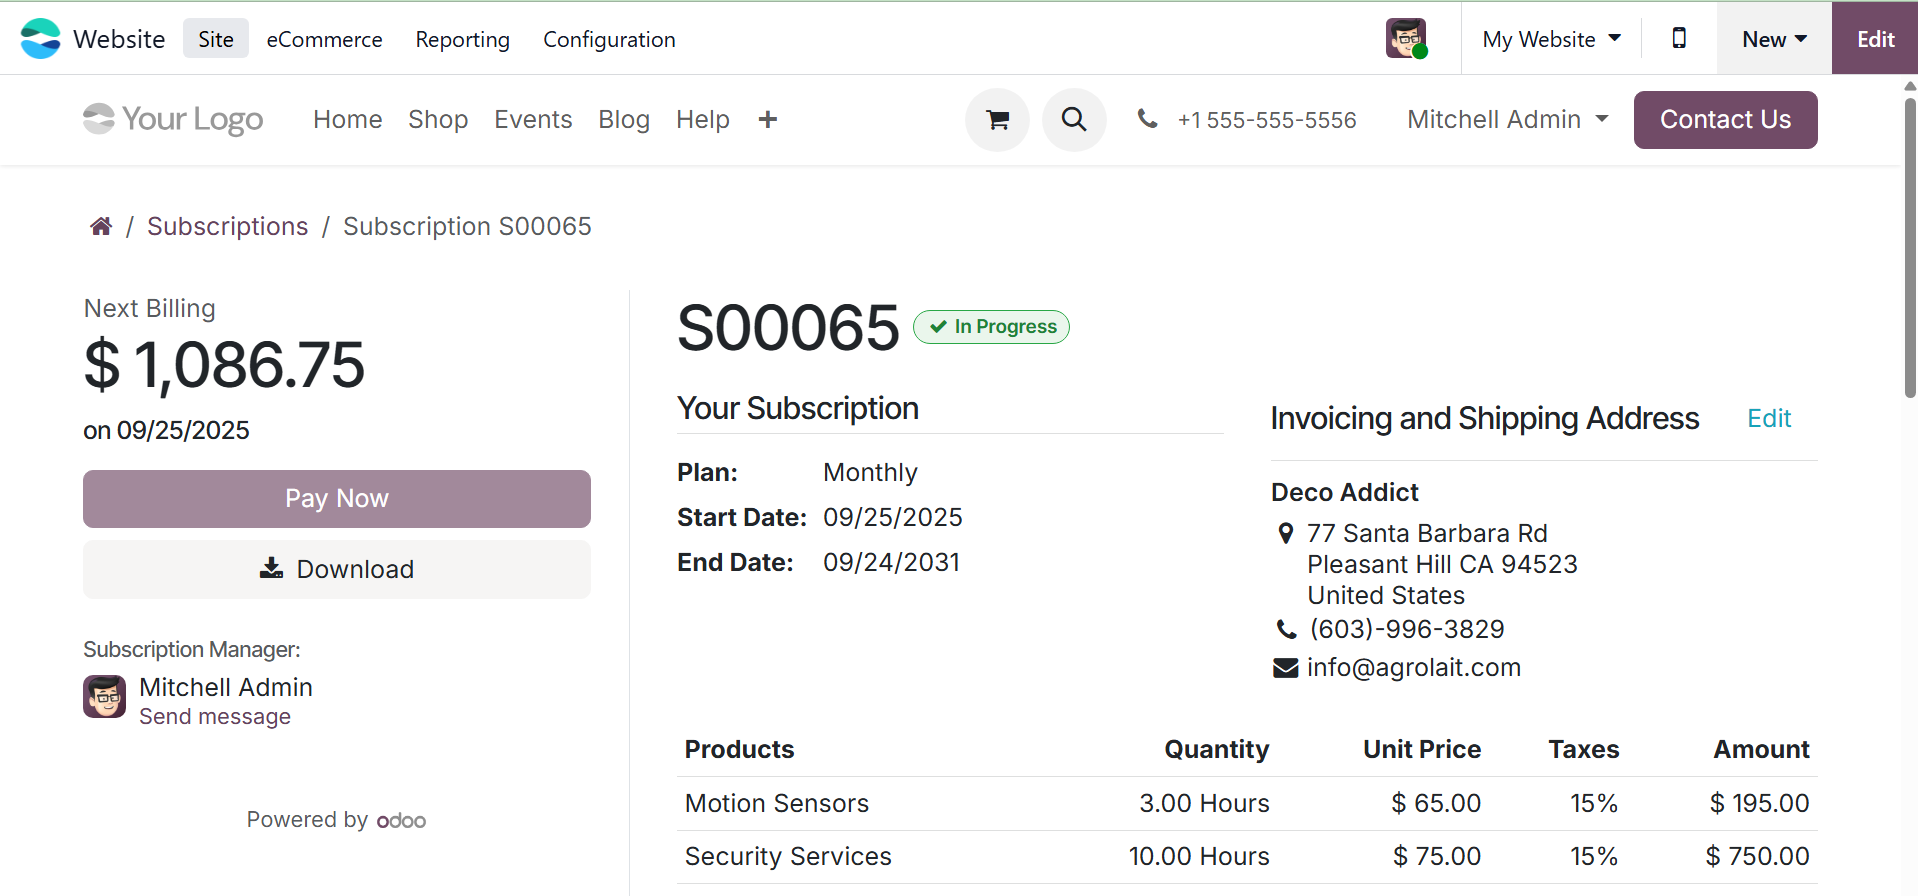
Now on clicking the Customer Preview smart button to see a customer's preview of the quote.
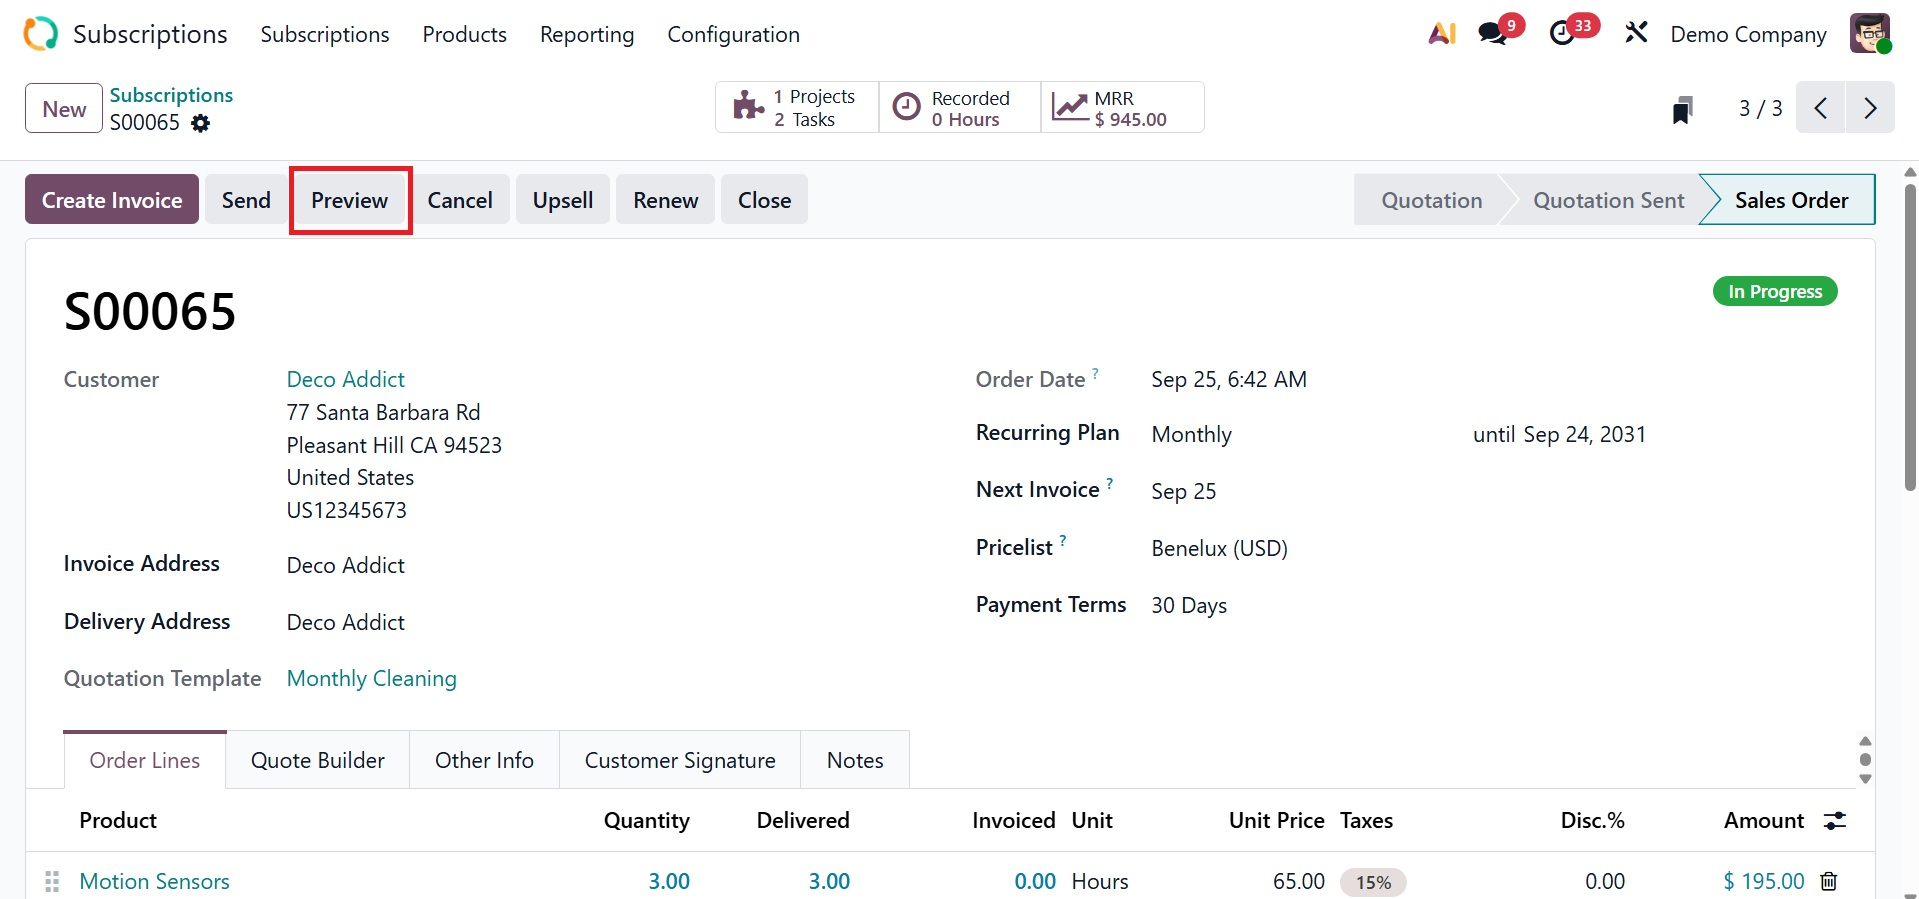
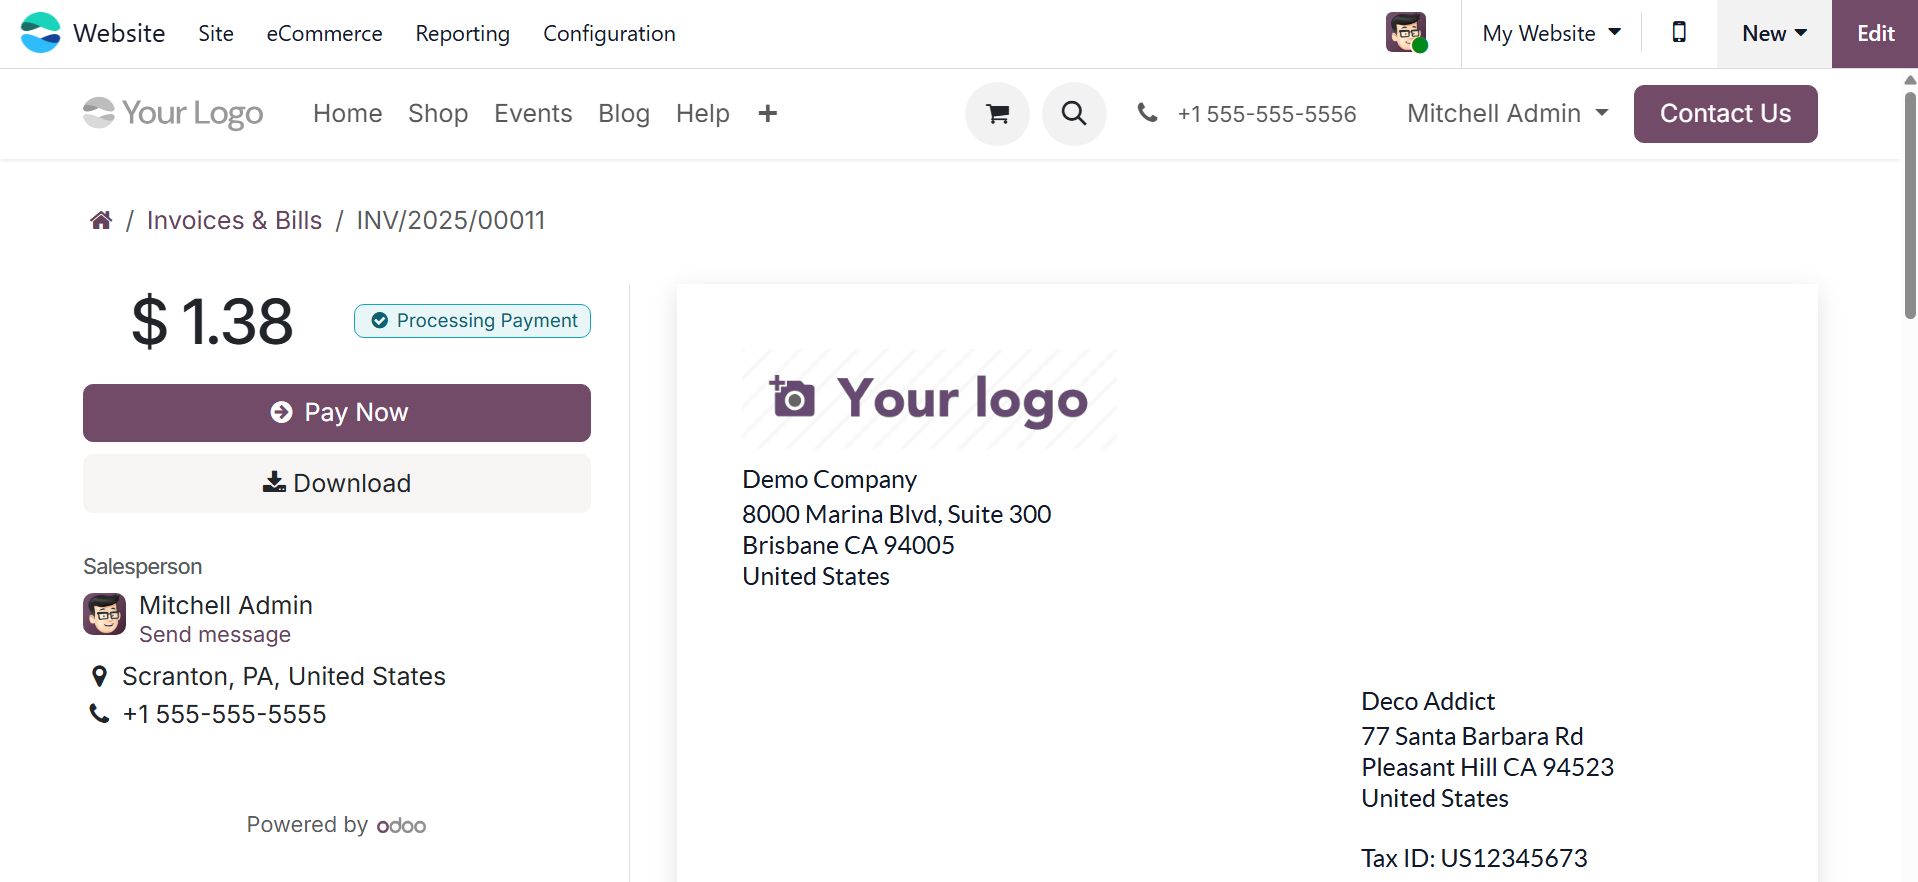
If the customer is satisfied with the quote, they can complete the online payment process using the customer preview box.
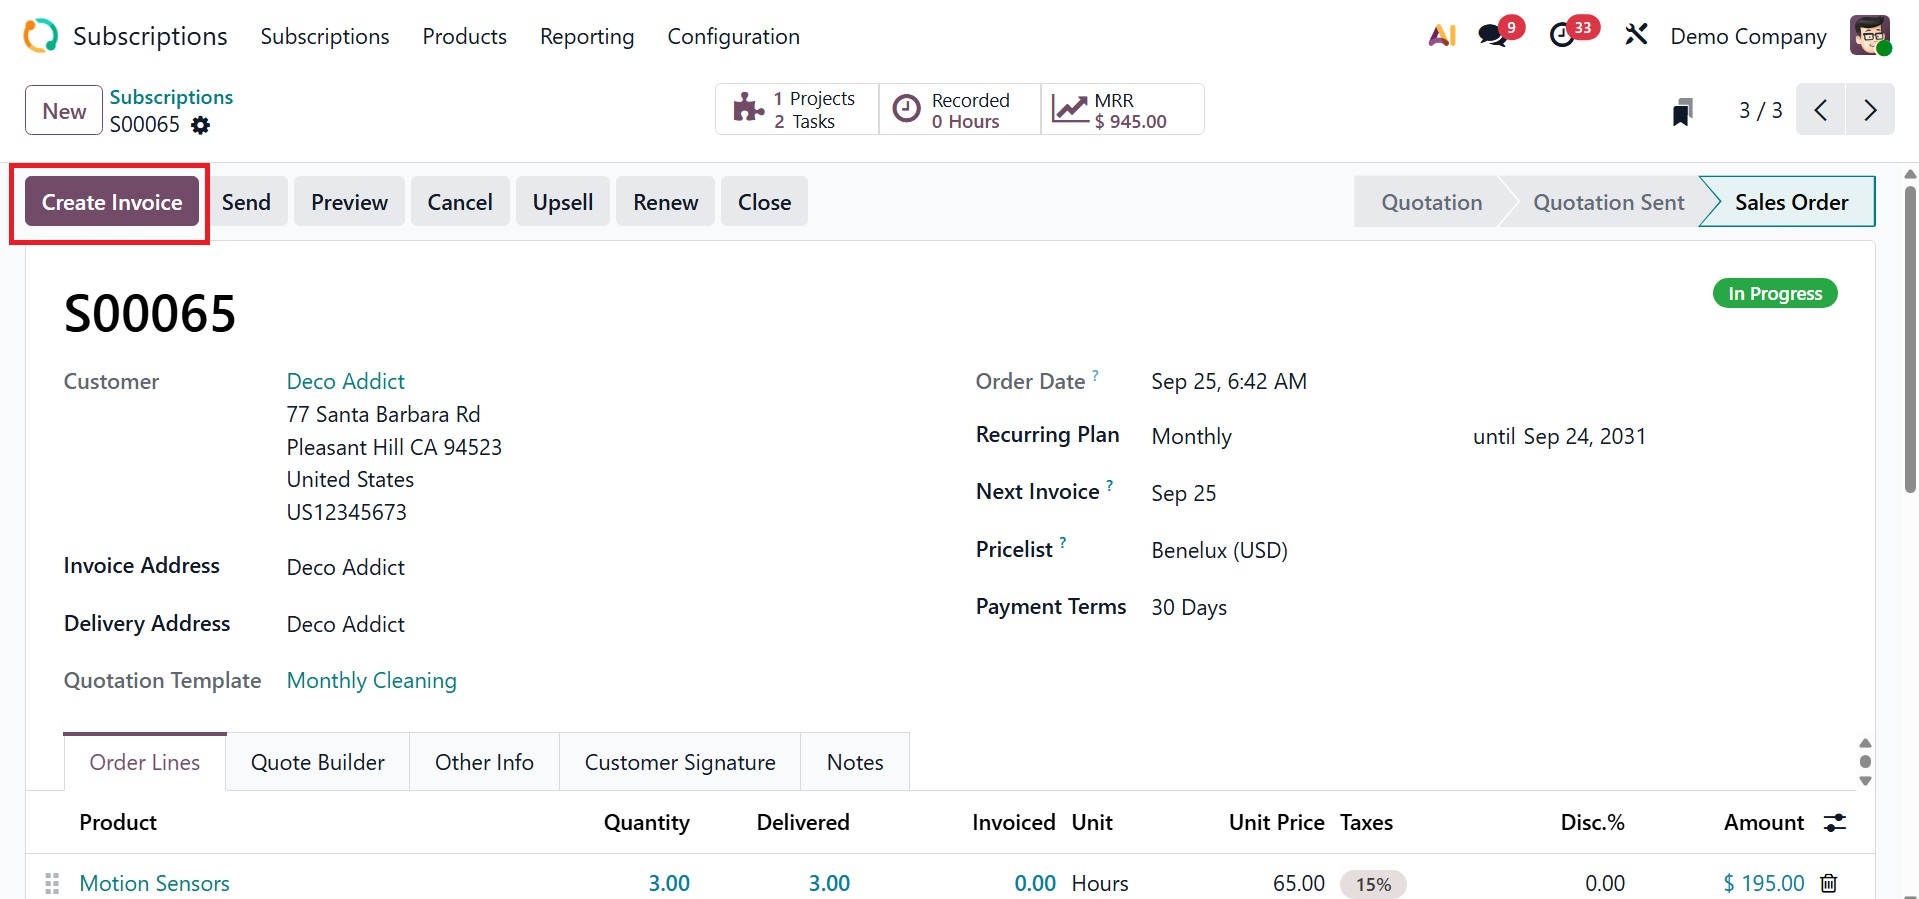
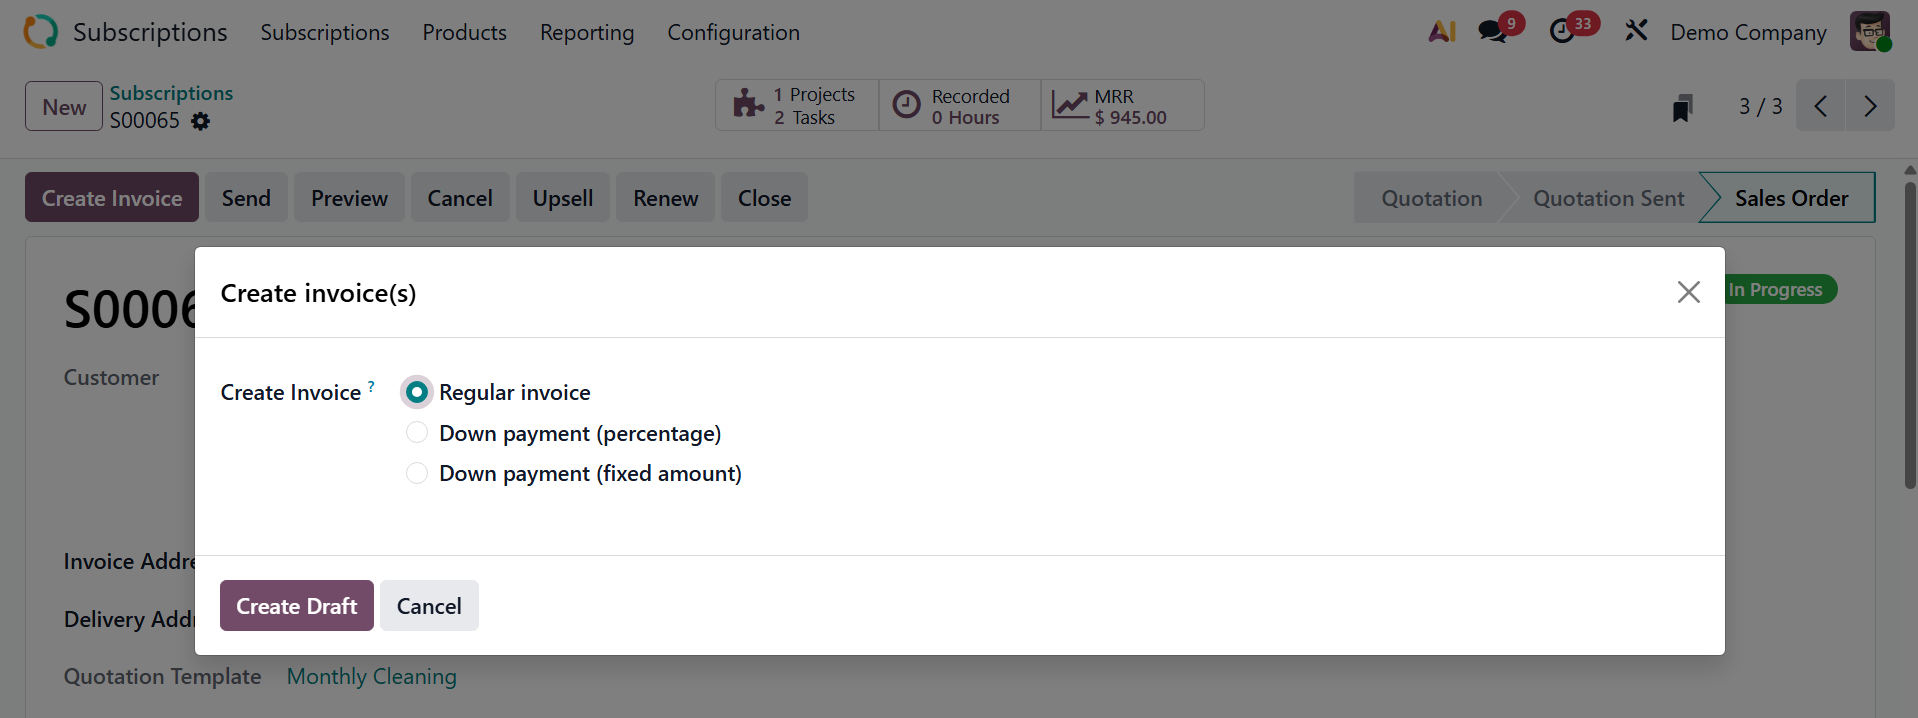
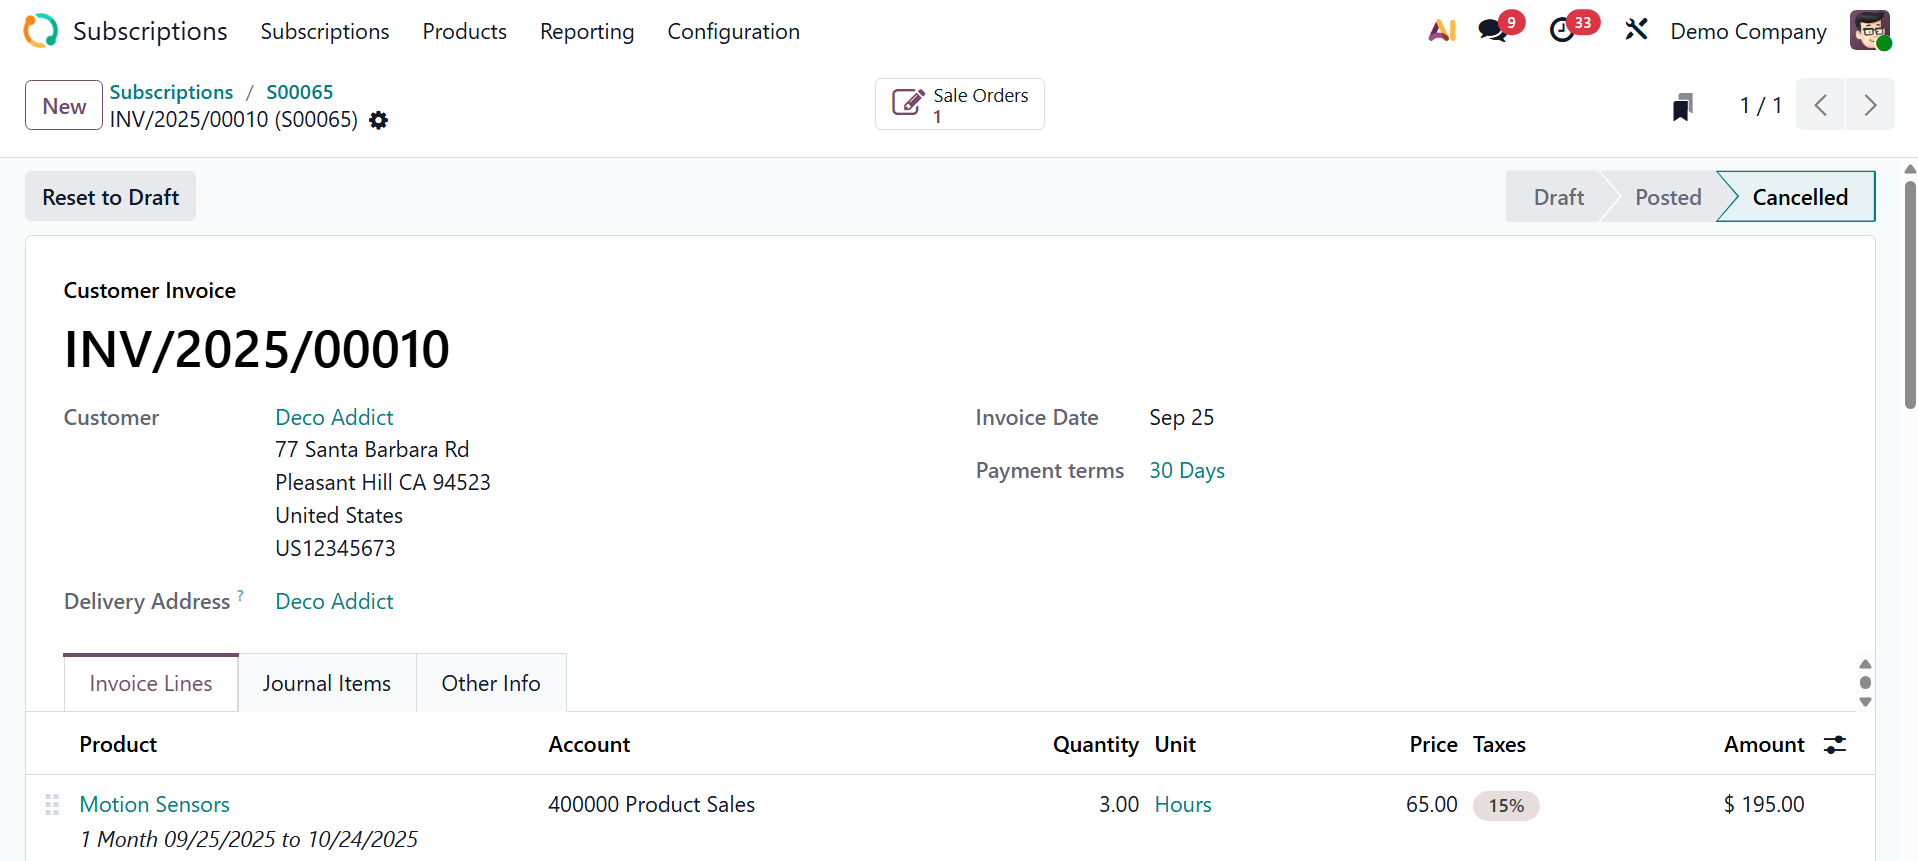
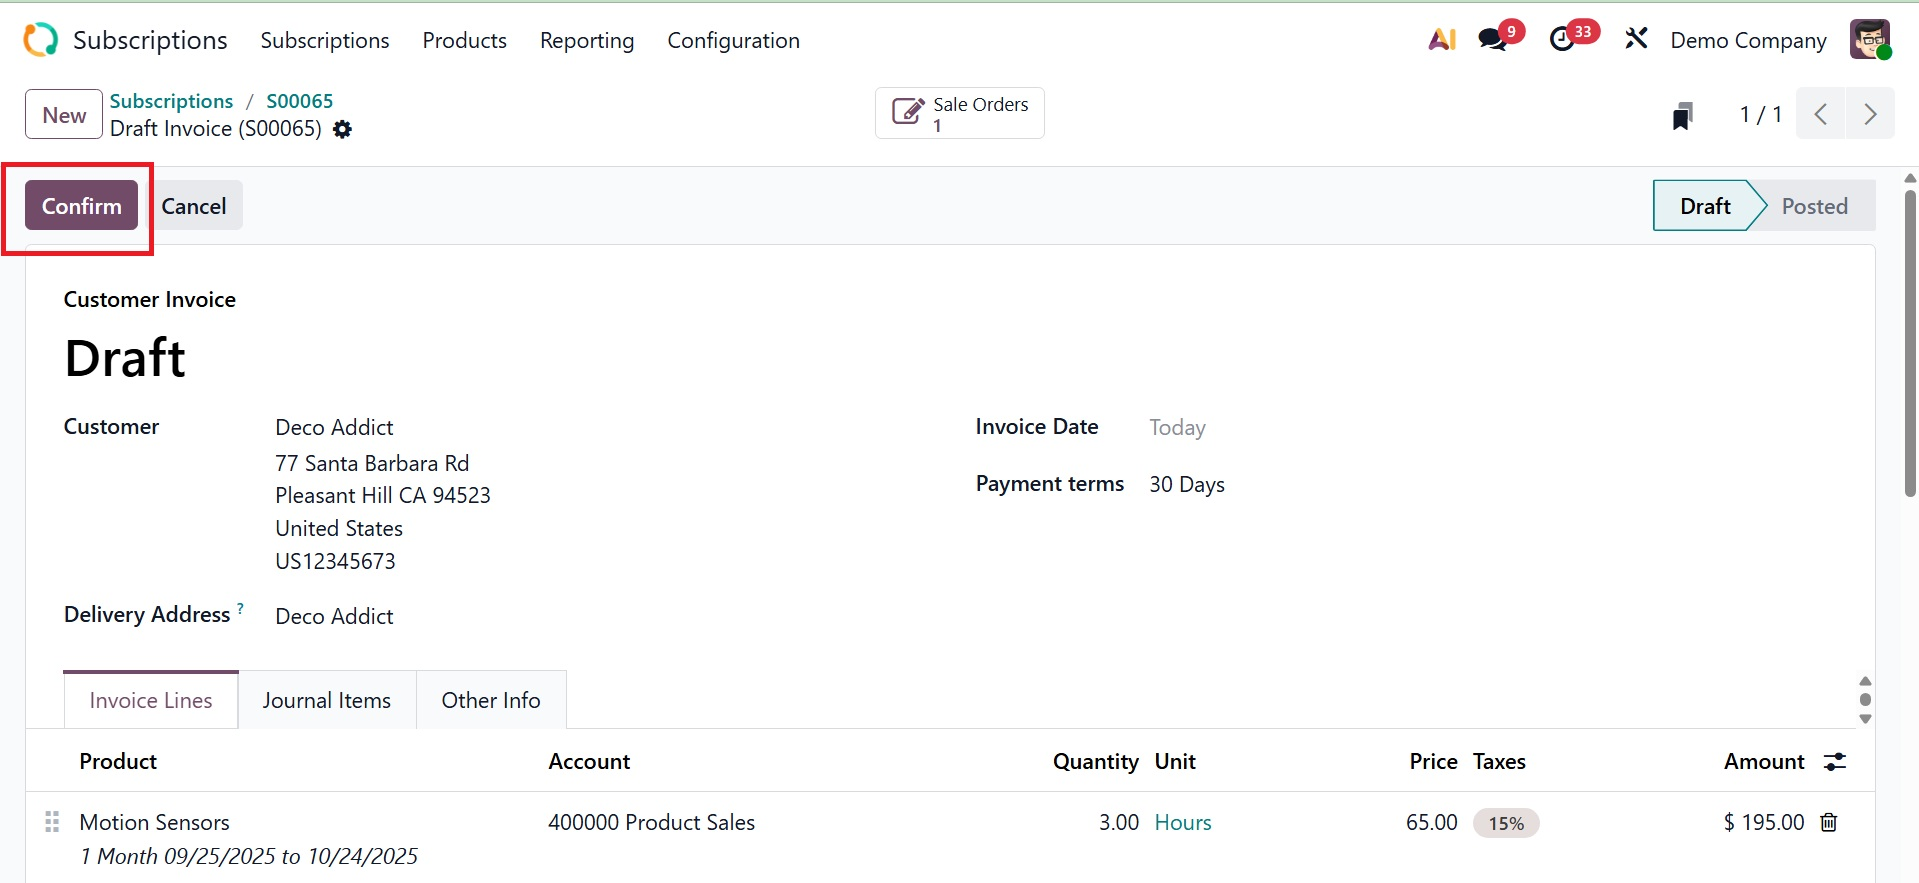
You can now generate an invoice for the sales order by clicking the Create Invoice button.
On selecting the option, you can have a pop-up to decide the payment method, as shown below.
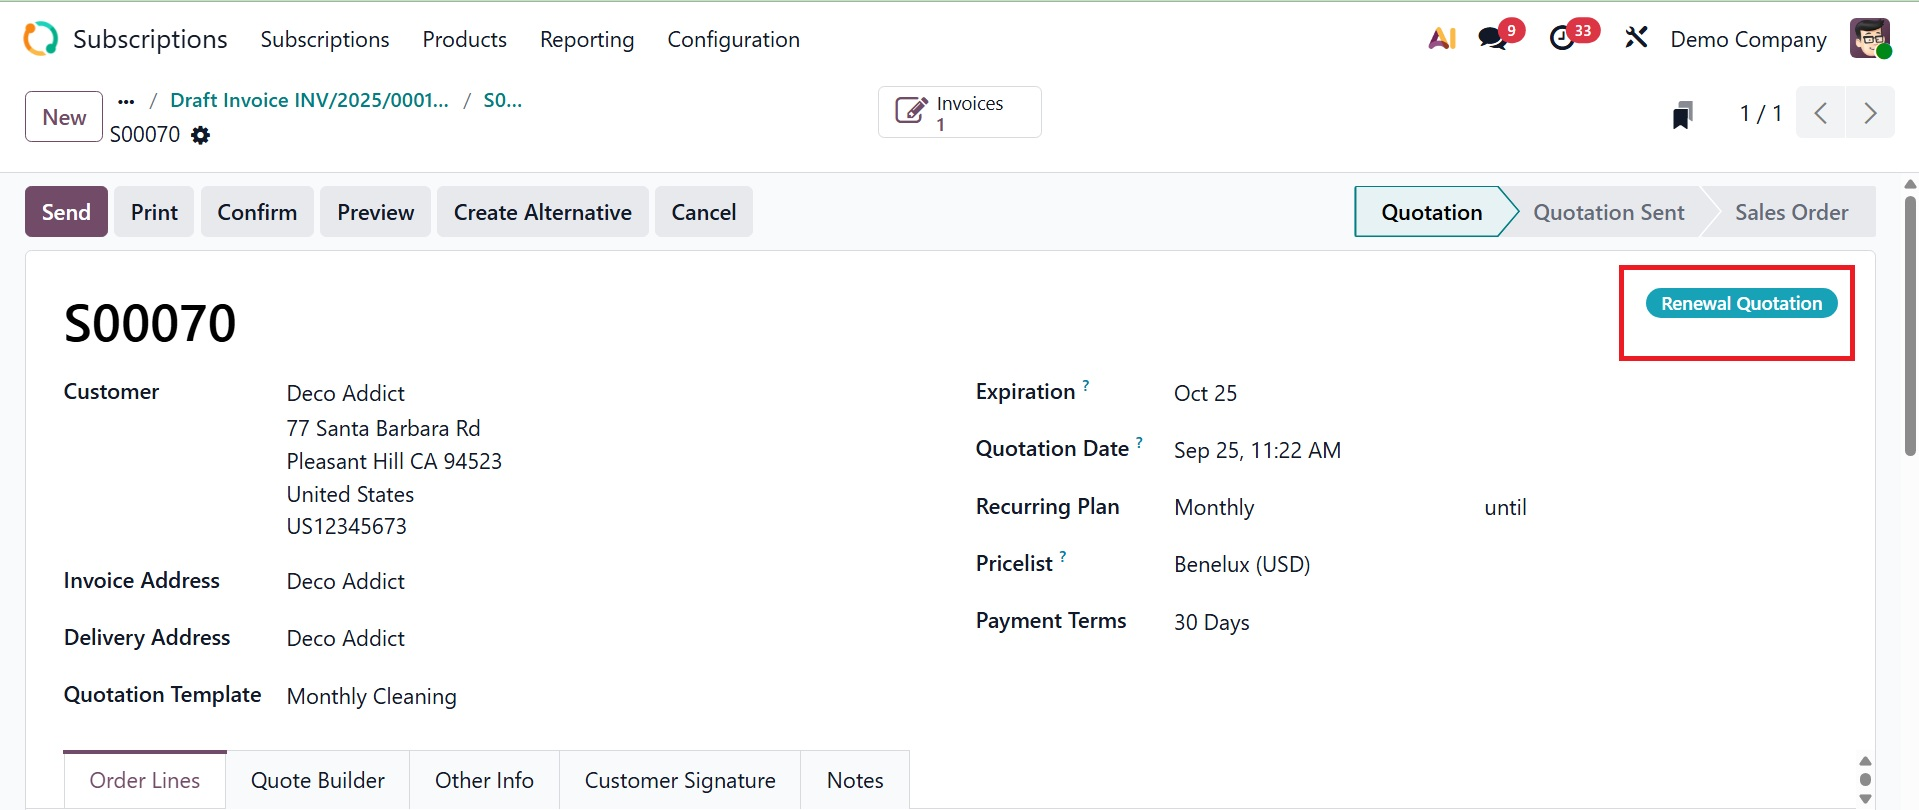
By selecting the Renew button, you can extend your subscription. On selecting the option, the stage changed to renewal quotation, as shown below.
When the customer first joins, use the Upsell button to provide them access to additional features. On selecting the option, you can view the status as upsell.
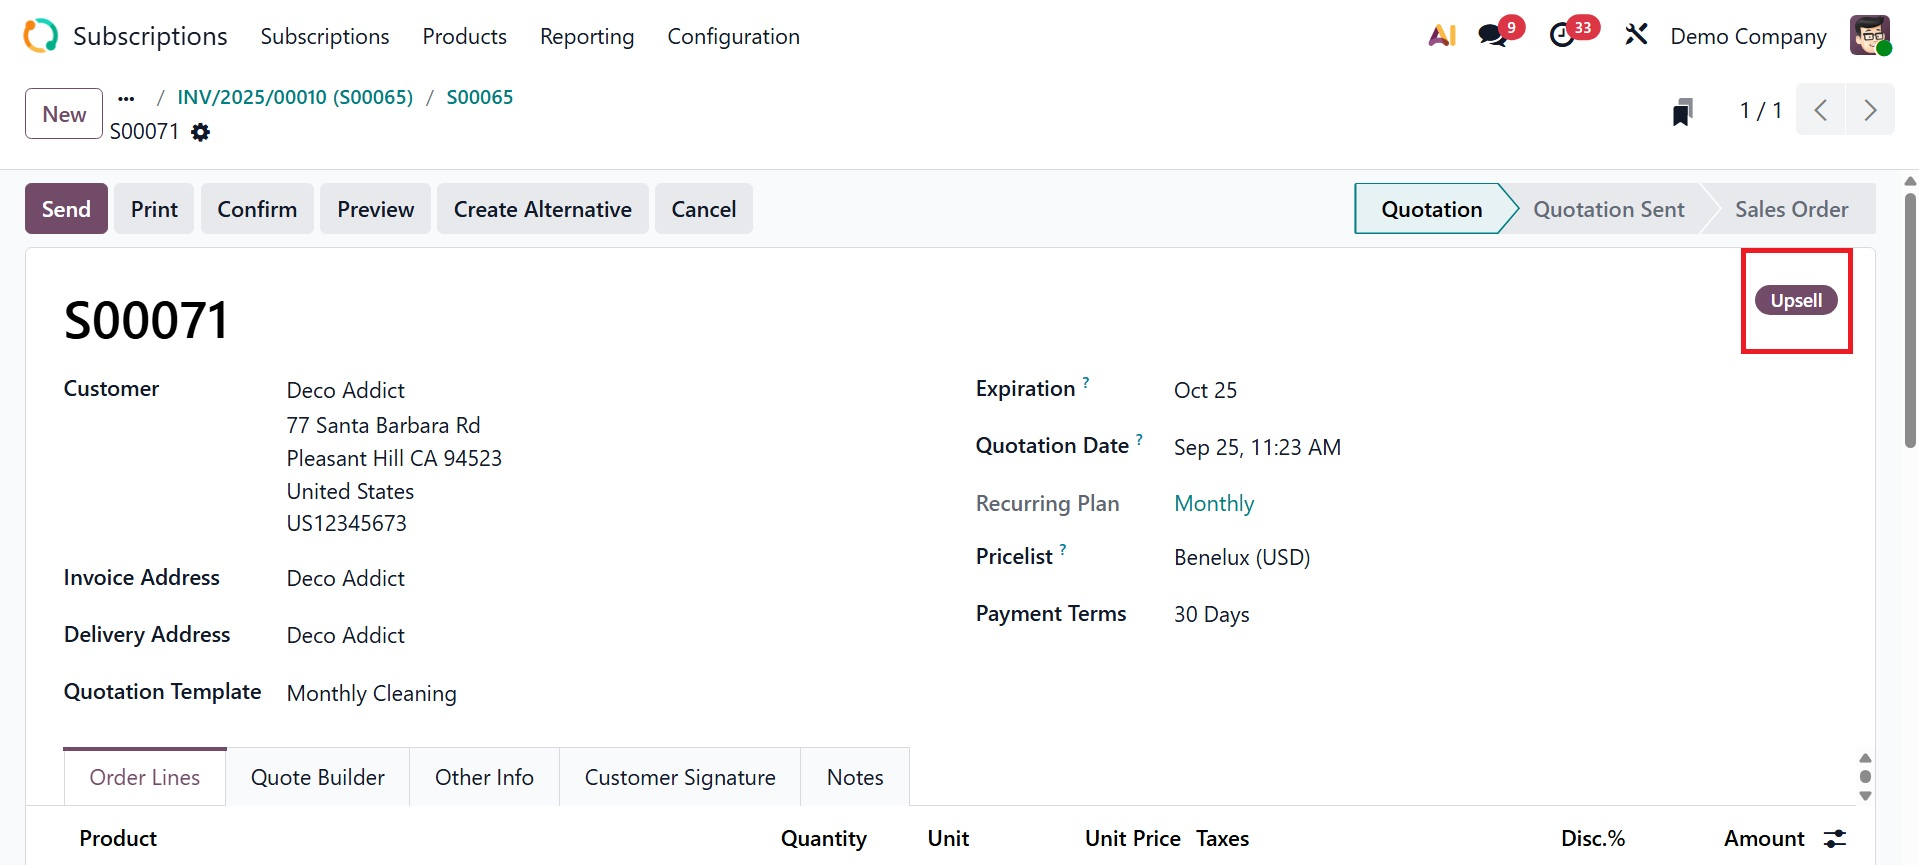
Upsell lets you propose additional products, services, or a higher subscription plan to an existing customer.
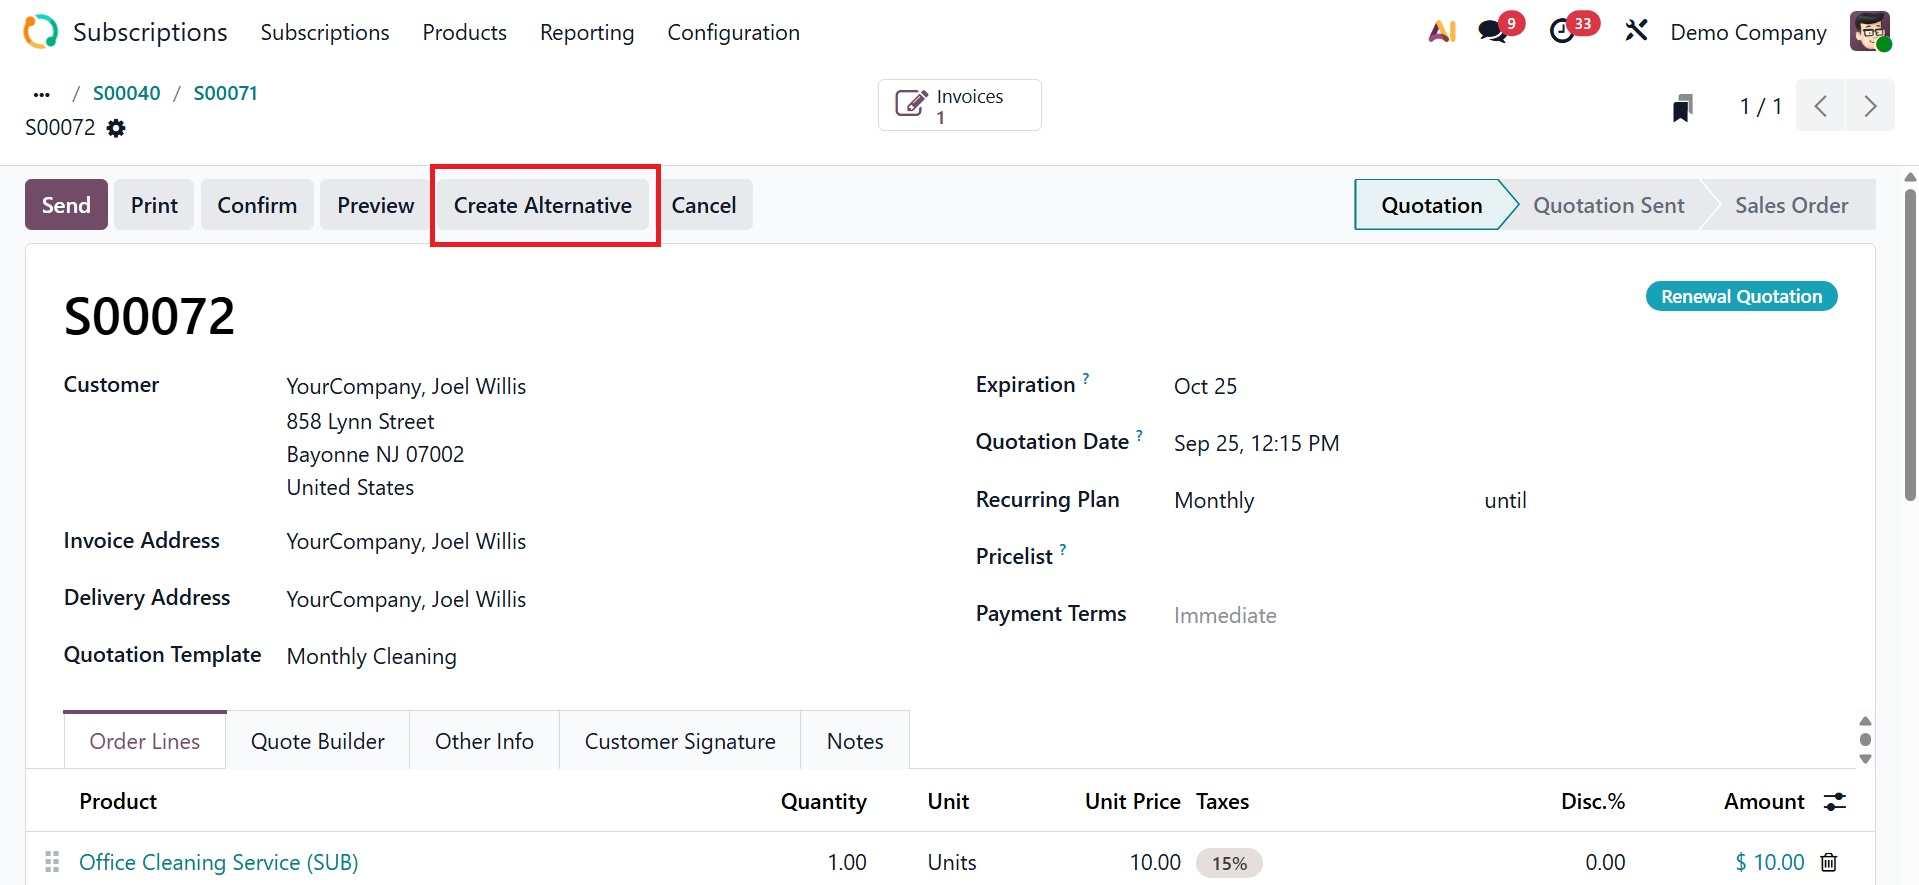
Odoo 19 now has a new feature called the Create Alternative button that makes it easier to create alternative quotations.
Now, you can see some smart buttons on the subscription page, as shown below.
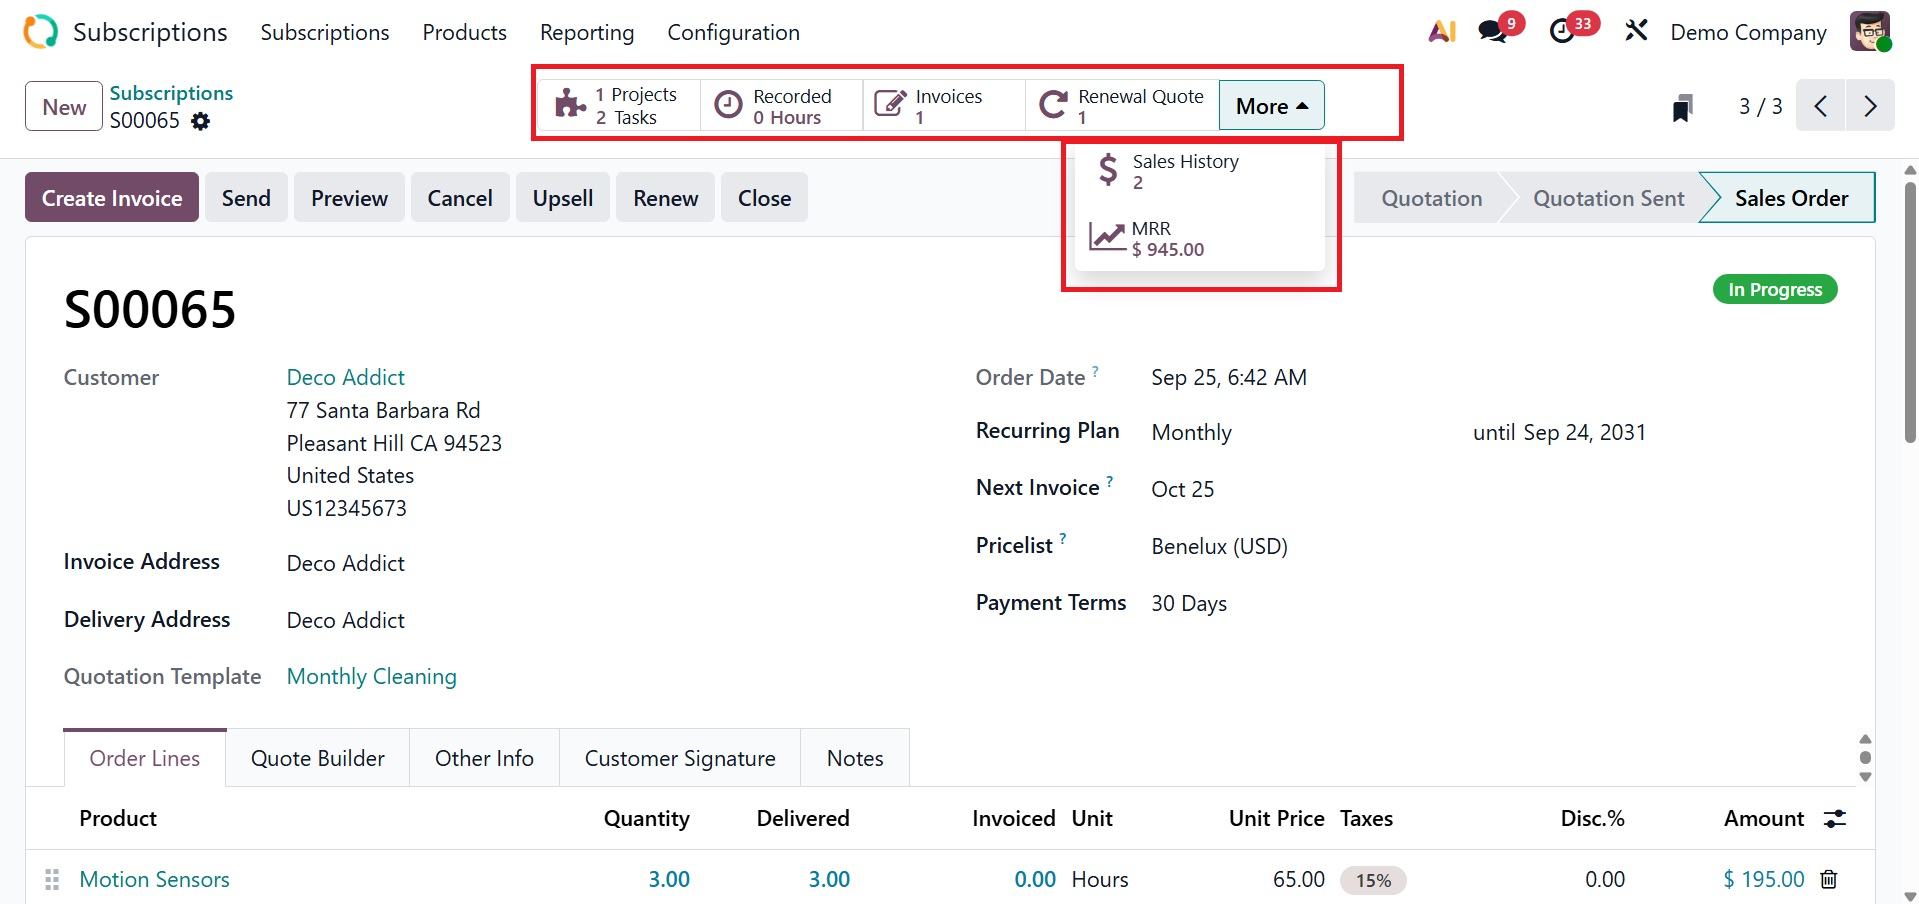
Project → Connects a project (in the Project module) to the subscription. helpful for services that require task or project monitoring as part of the subscription. On selecting the option, you will get the page, as shown below.
Recorded: Displays all of the subscription logs or recurring income entries from that subscription, such as billing cycles and activities.
Invoices → Presents every client invoice generated by the subscription.
Renewal Quote: This feature helps you prolong or continue your subscription by generating a renewal quote when the subscription period is about to expire.
Sales History provides insight into the customer's past purchases by displaying previous sales orders and quotes associated with the subscription.
MRR → The MRR smart button is a quick indicator of how much monthly revenue the subscription contributes to your business.
1.2 Quotation
You can create a quotation with subscription products using Odoo Subscriptions. On opening the option, you have the page with pre-configured quotations.
Create a new quotation as explained under the subscription section. When your quote is prepared, you may either confirm it or send it to your clients. It is preferable to send the quote to your clients via email for their approval before confirming it in Odoo Sales.
You may see what your consumers will see when they receive your quotation by selecting Customer preview.
Once it's finished, you may verify the quotation in Odoo Sales. After confirmation, it is in draft status. A sales order is marked as "in progress" once it has been verified.
1.3 To Renew
When a customer's subscription expires, they can renew it with the Odoo19 Subscription module. Renew your subscription if you want to keep enjoying the benefits after the expiration date. Odoo19 provides a unique framework for managing subscription renewals in the module. The module's Subscription menu has the option for subscriptions to renew.
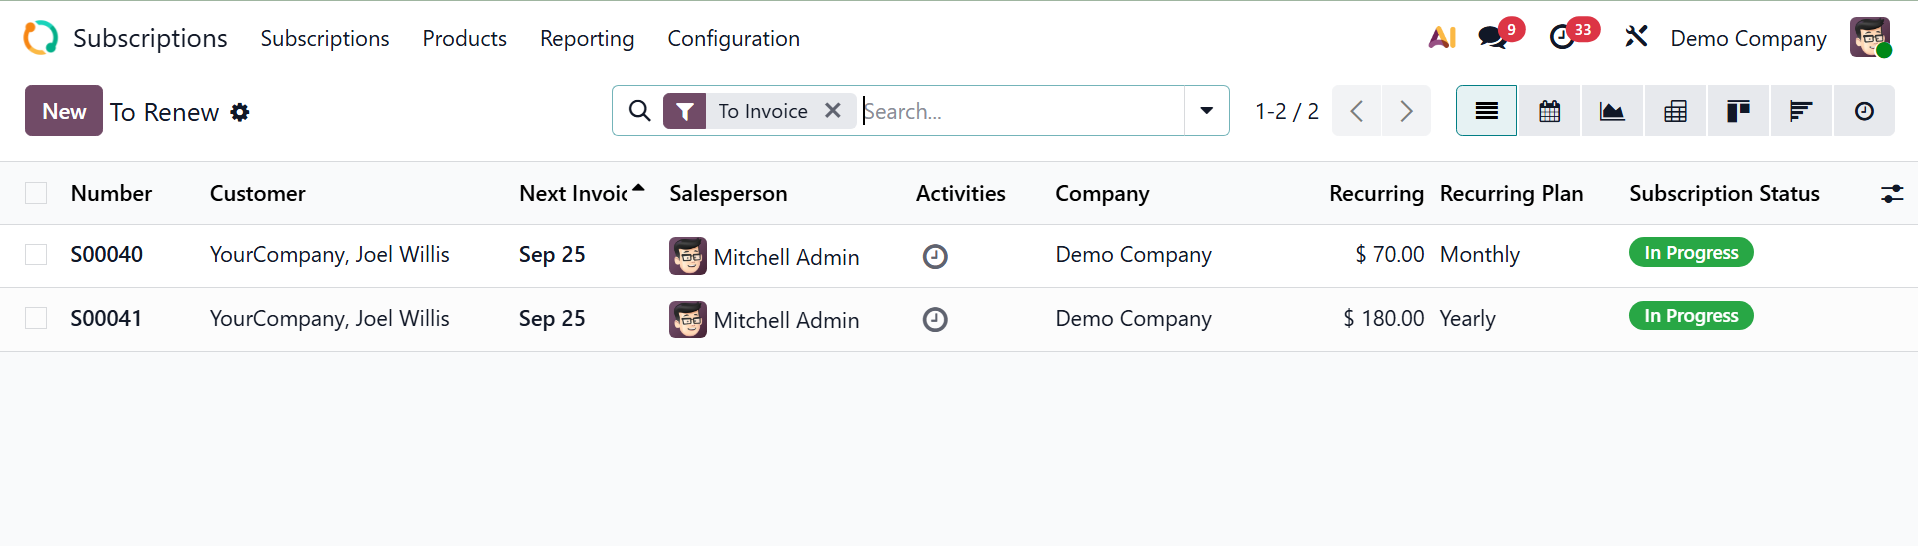
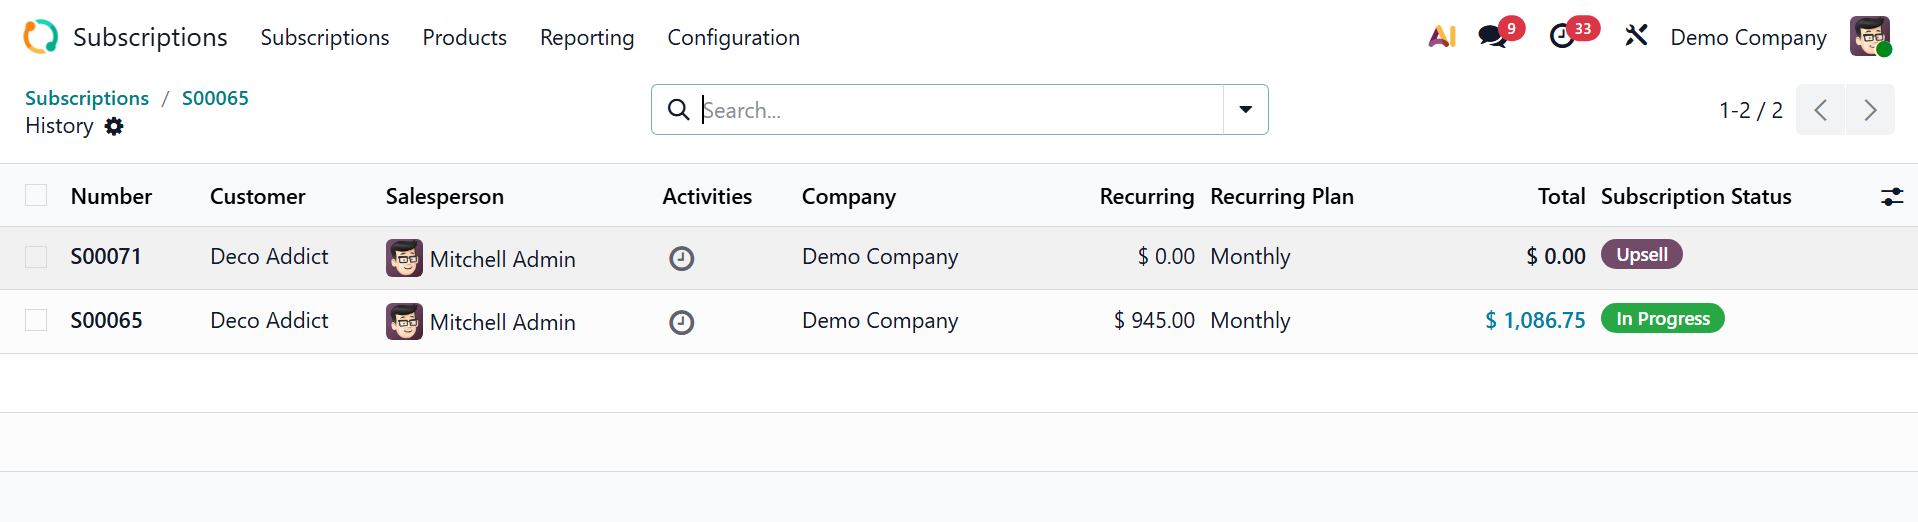
All of the expired subscriptions will be shown on this page. The list view shows the number, customer, next invoice, salesperson, activities, company, recurring, recurring plan, and subscription status. To manage the renewal of a subscription, you can select one from the window.
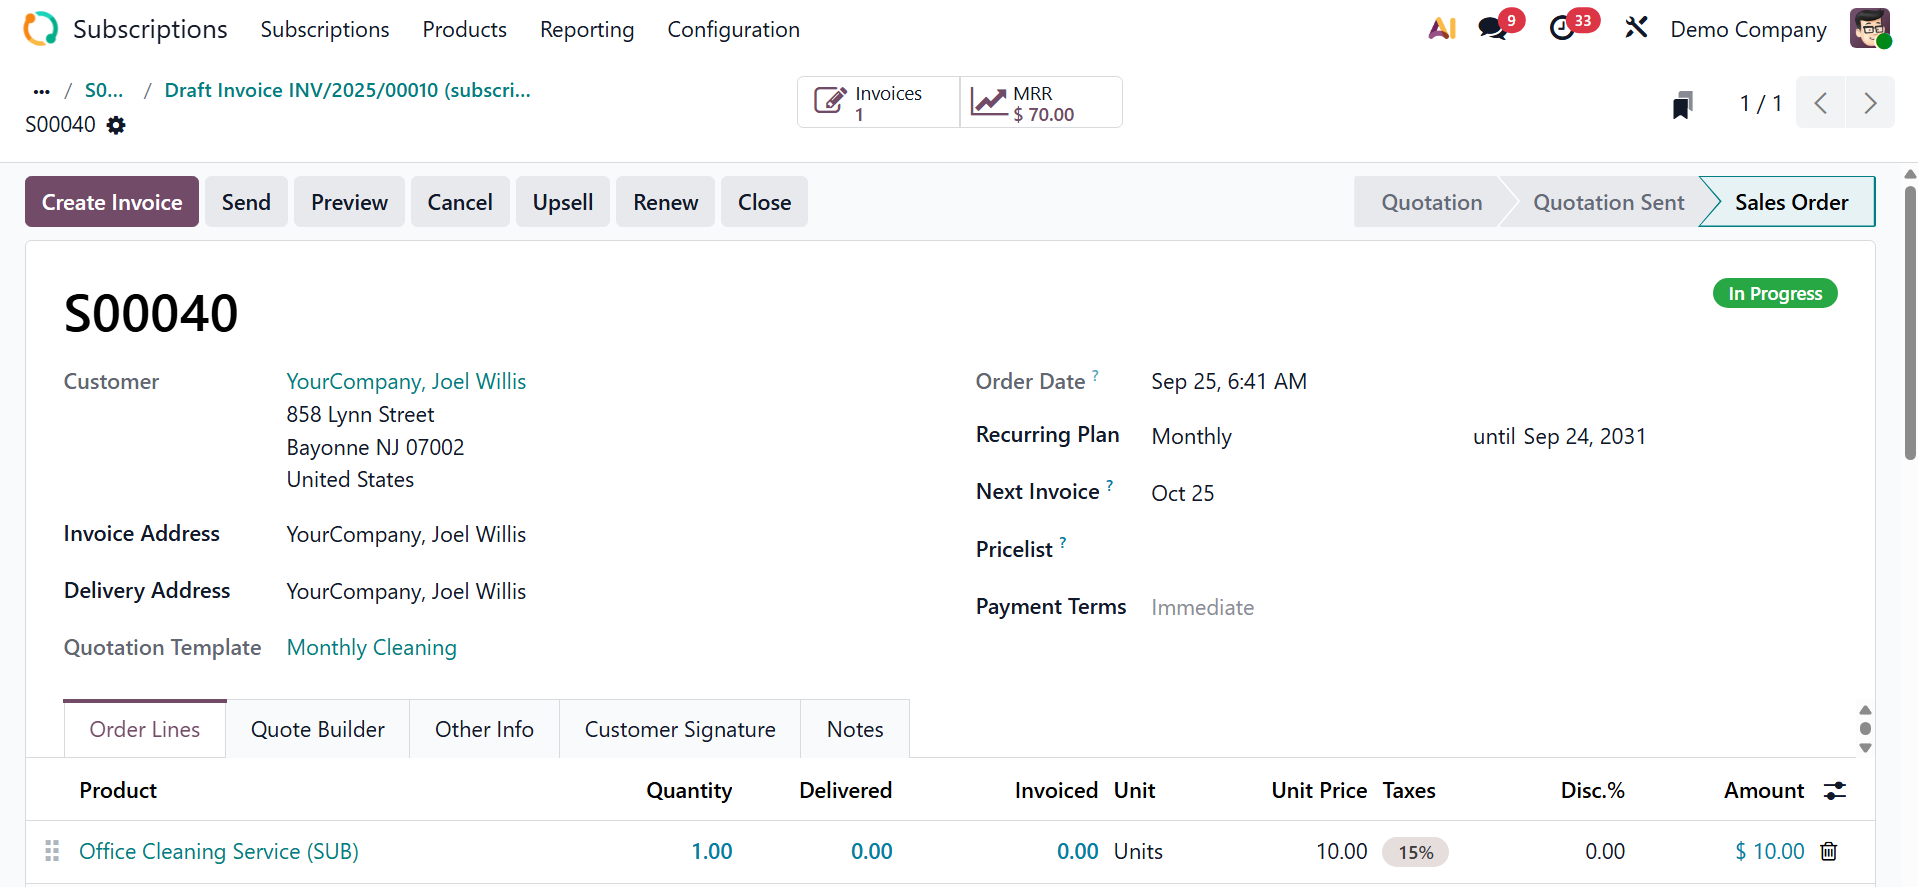
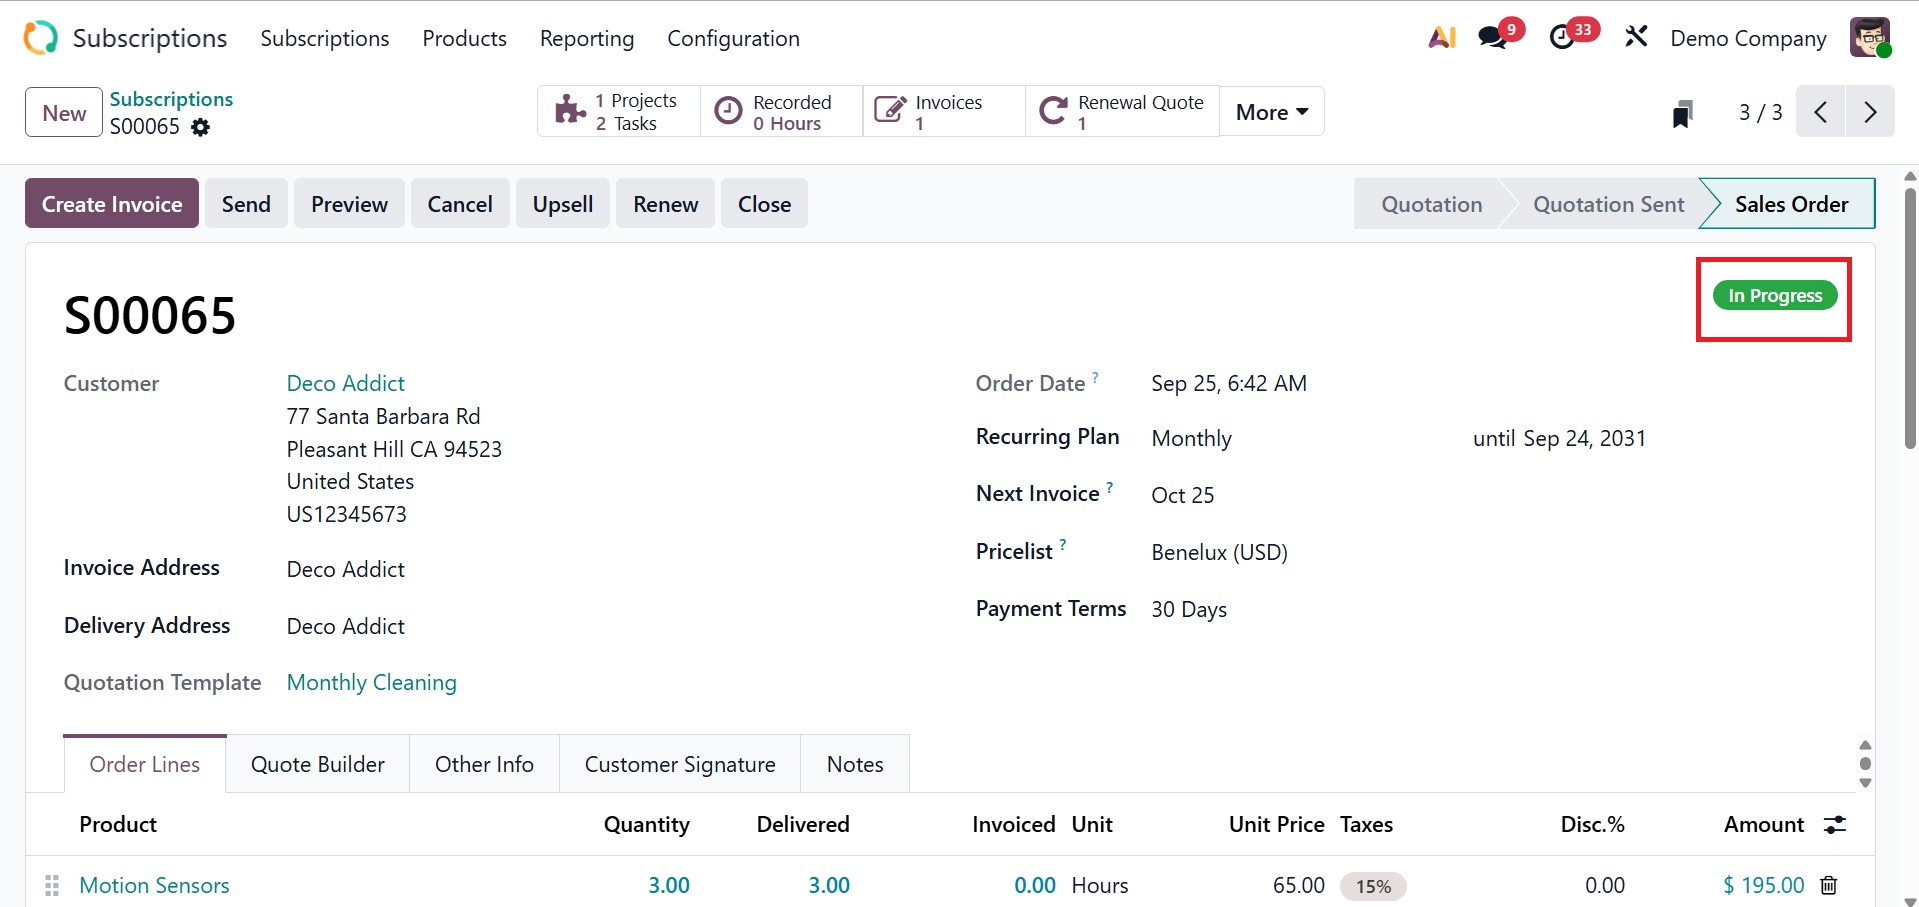
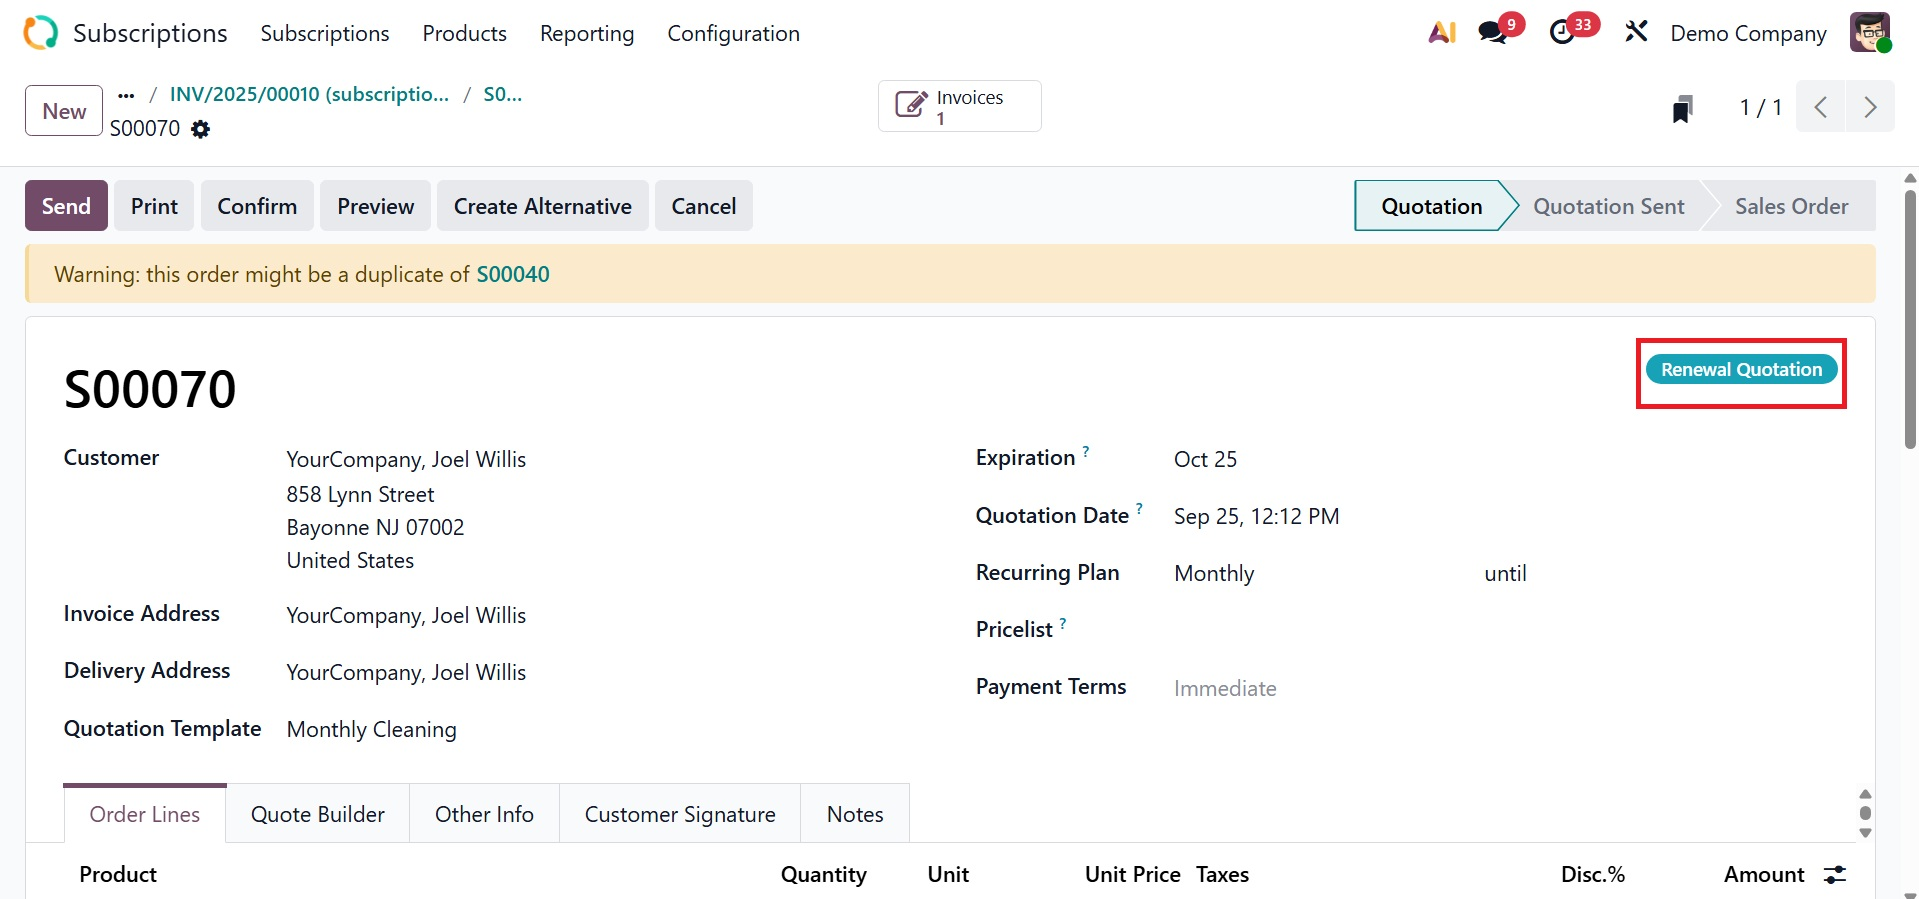
The form view of the renewal window will show up, as shown in the screenshot. You can view the subscription's current status here. The renewal transaction can be completed by clicking the Renew button. The sales order for the subscription renewal that is shown below will result from this.
This is the sales order for the subscription renewal. Click Confirm to finish the order and generate an invoice. After you send in your order confirmation, your subscription will be renewed.

The status of the prior subscription is Renewed. You will be able to renew your subscription through this approach.
1.4 Upsells
An effective marketing strategy for increasing sales of a company's products is the upsell. You can upsell current subscribers to new ones by incorporating additional offers and subscription items. You can use this to provide your clients with more useful and practical products. The Subscription menu of the module has the Upsells option. This platform will show the list of sales orders generated for upselling items.
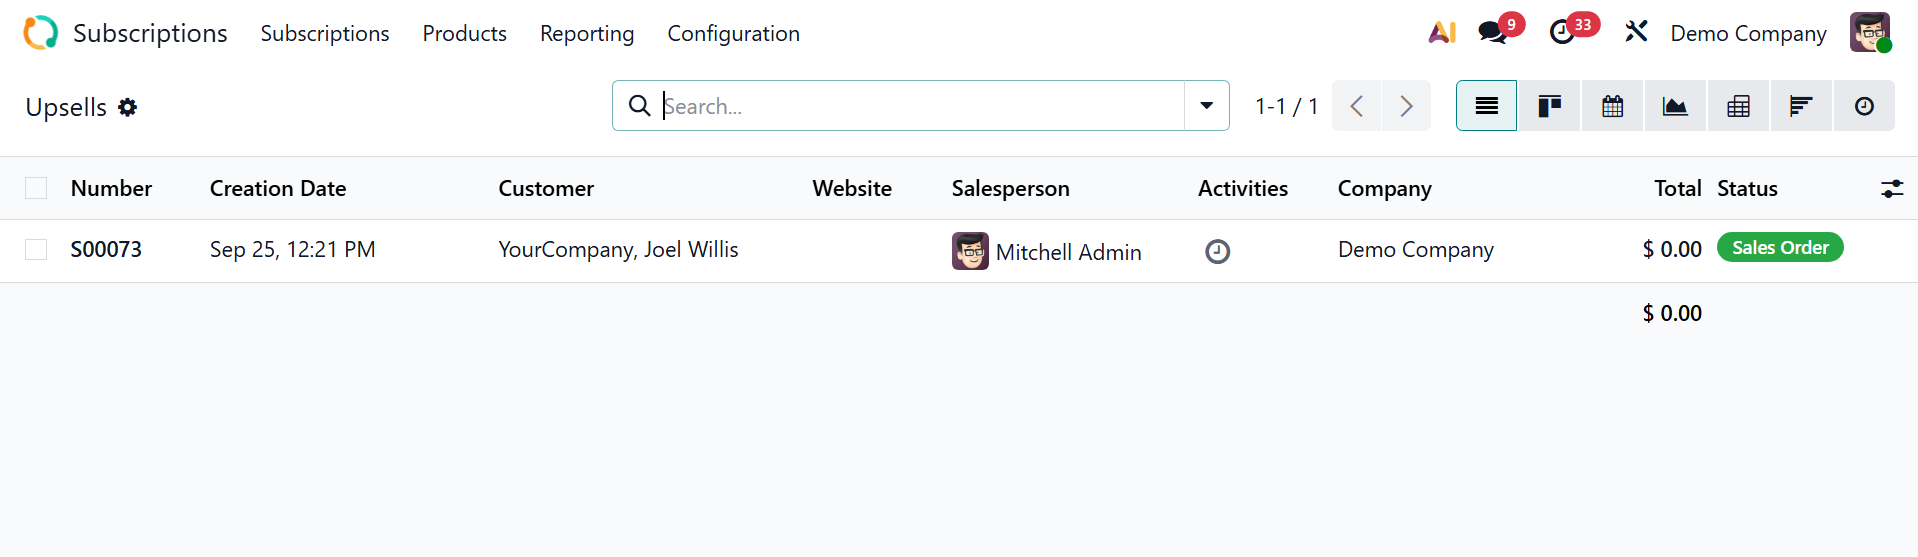
The pane shows the number, creation date, website, customer, salesperson, activities, company, total, and status.
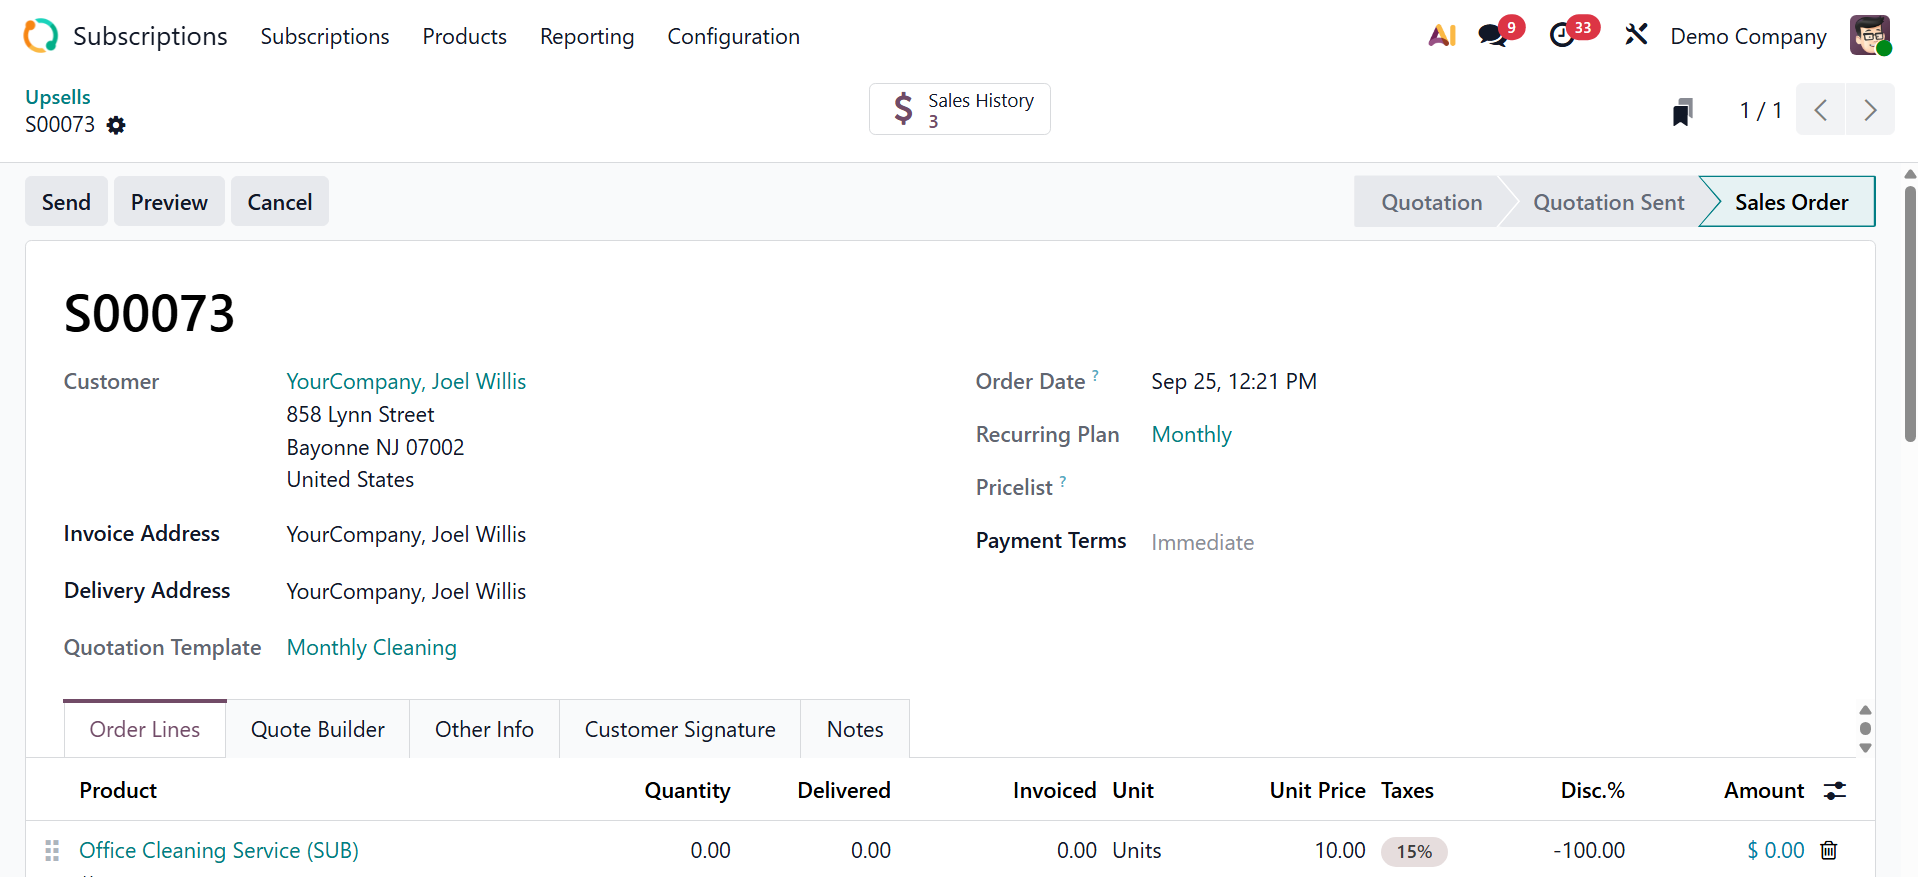
To add upsell products to an existing subscription, you may now select a subscription from the module's main dashboard.
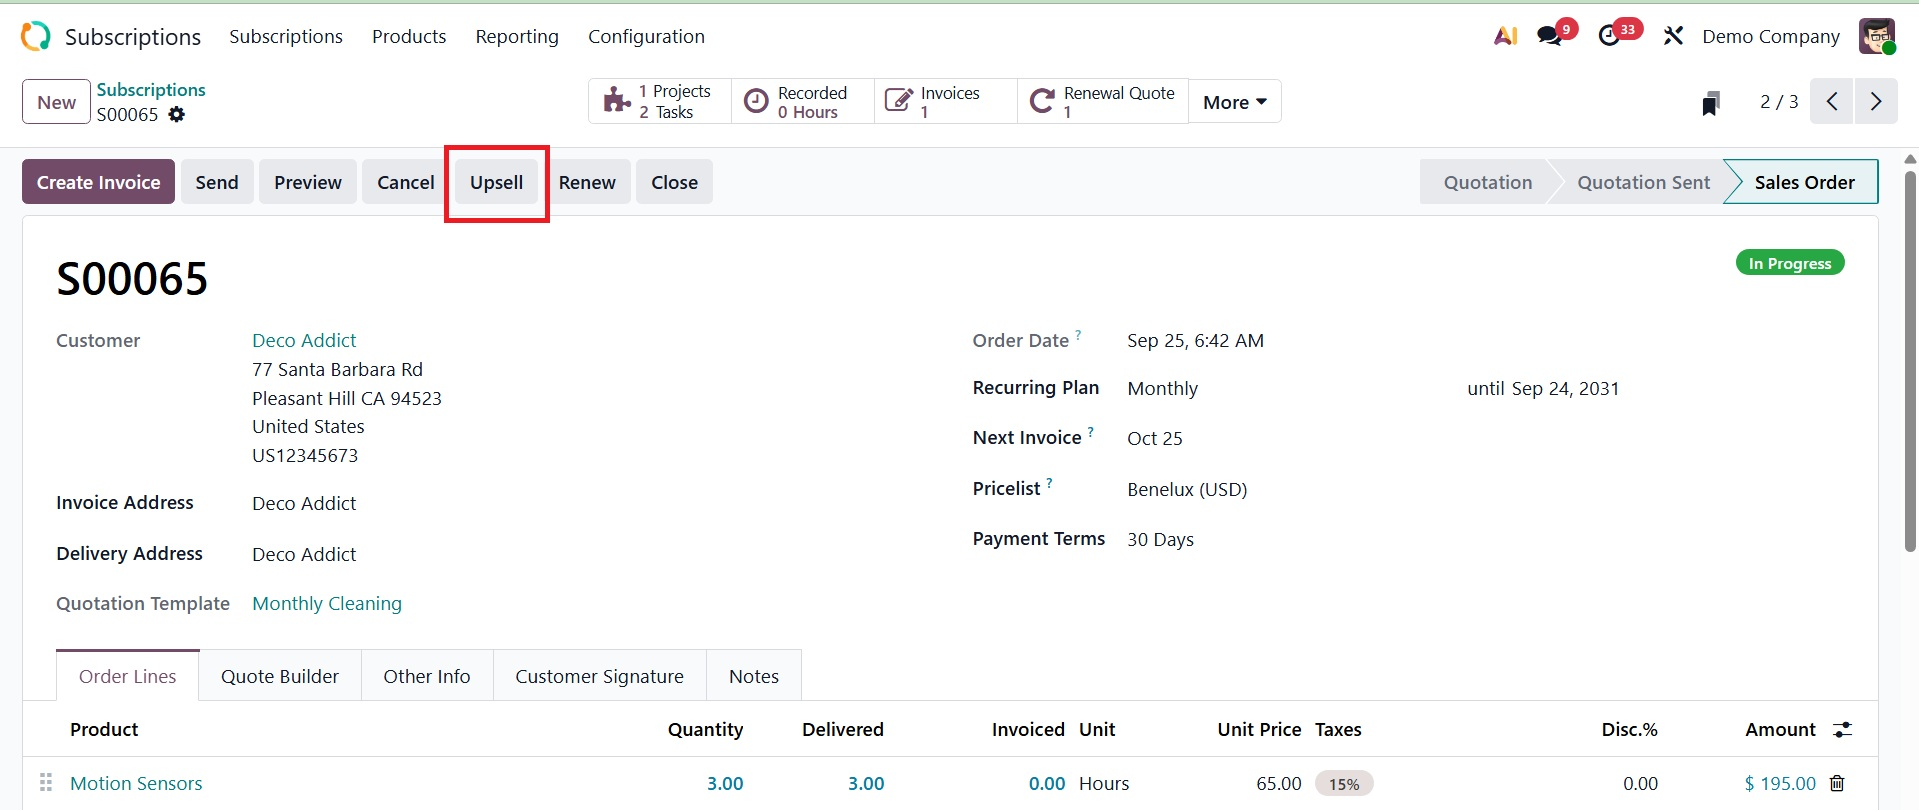
As can be seen in the image above, the Upsell button is situated in the form view. An upsell product quotation will appear when you click this button. It is possible to add new products to this quotation. The quotation for the new products can be submitted to the appropriate customer for approval.
Once the client has given their permission, you can convert the quotation into a sales order by clicking the Confirm button. The new upsell goods will be added to the subscription as soon as you confirm the order.
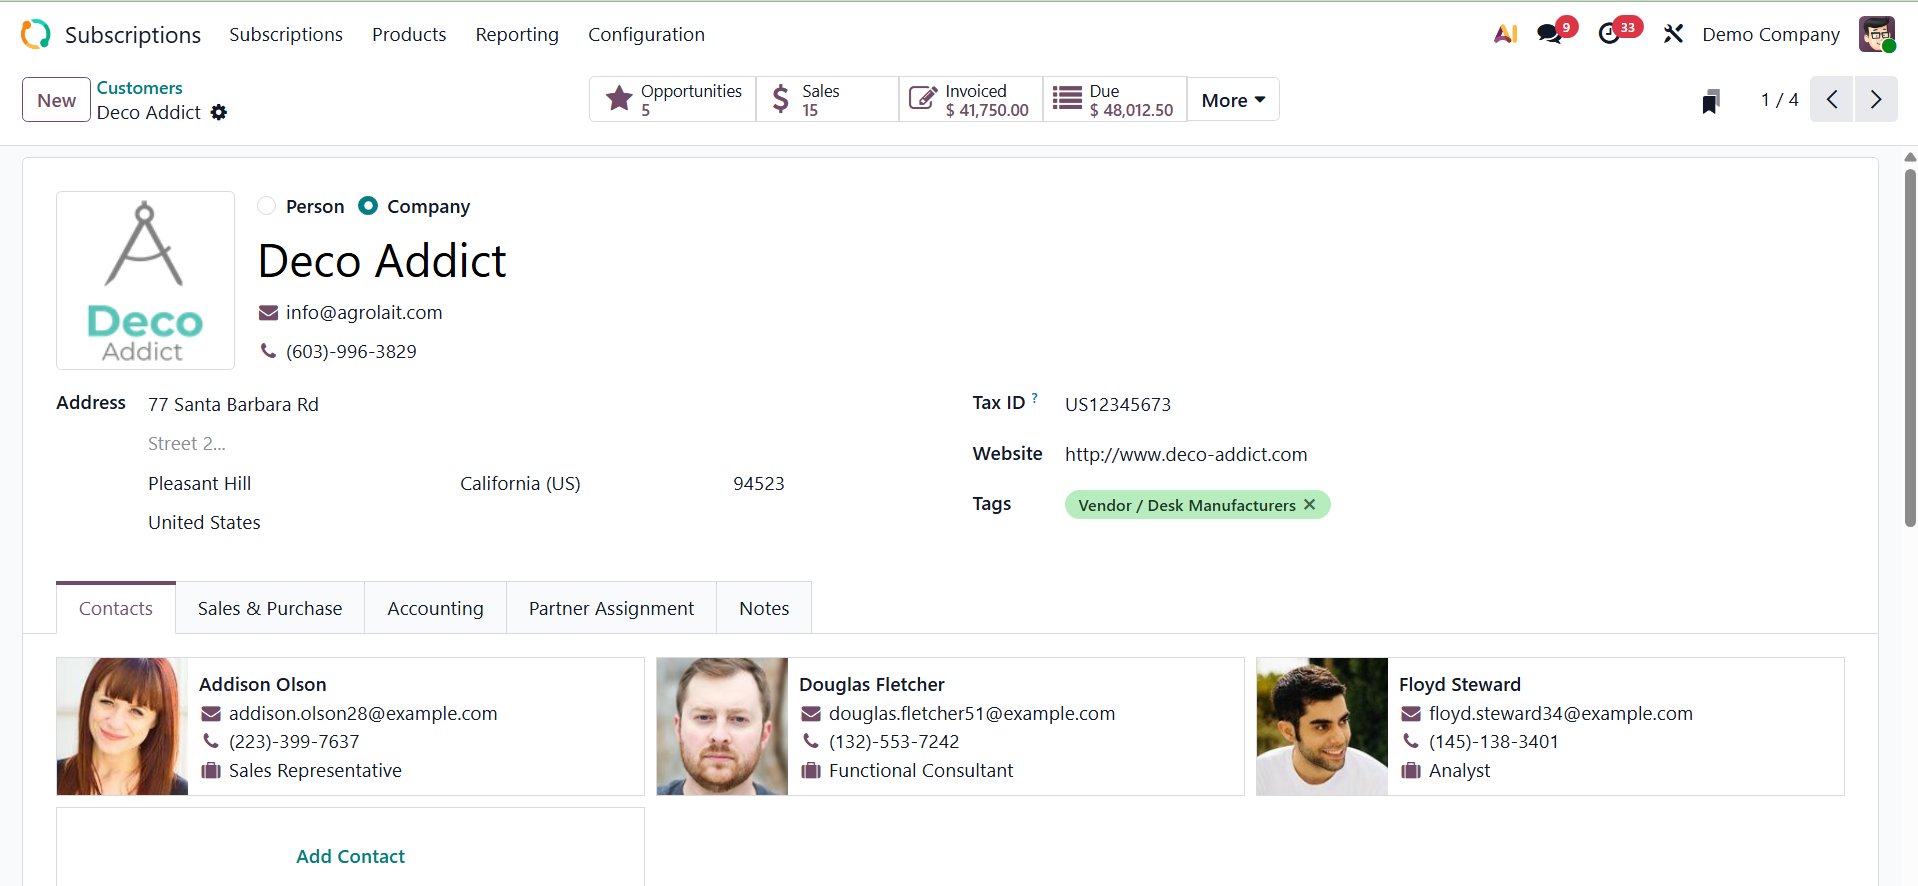
1.5 Customers
The Customer option refers to the customer (partner) record linked to the subscription.
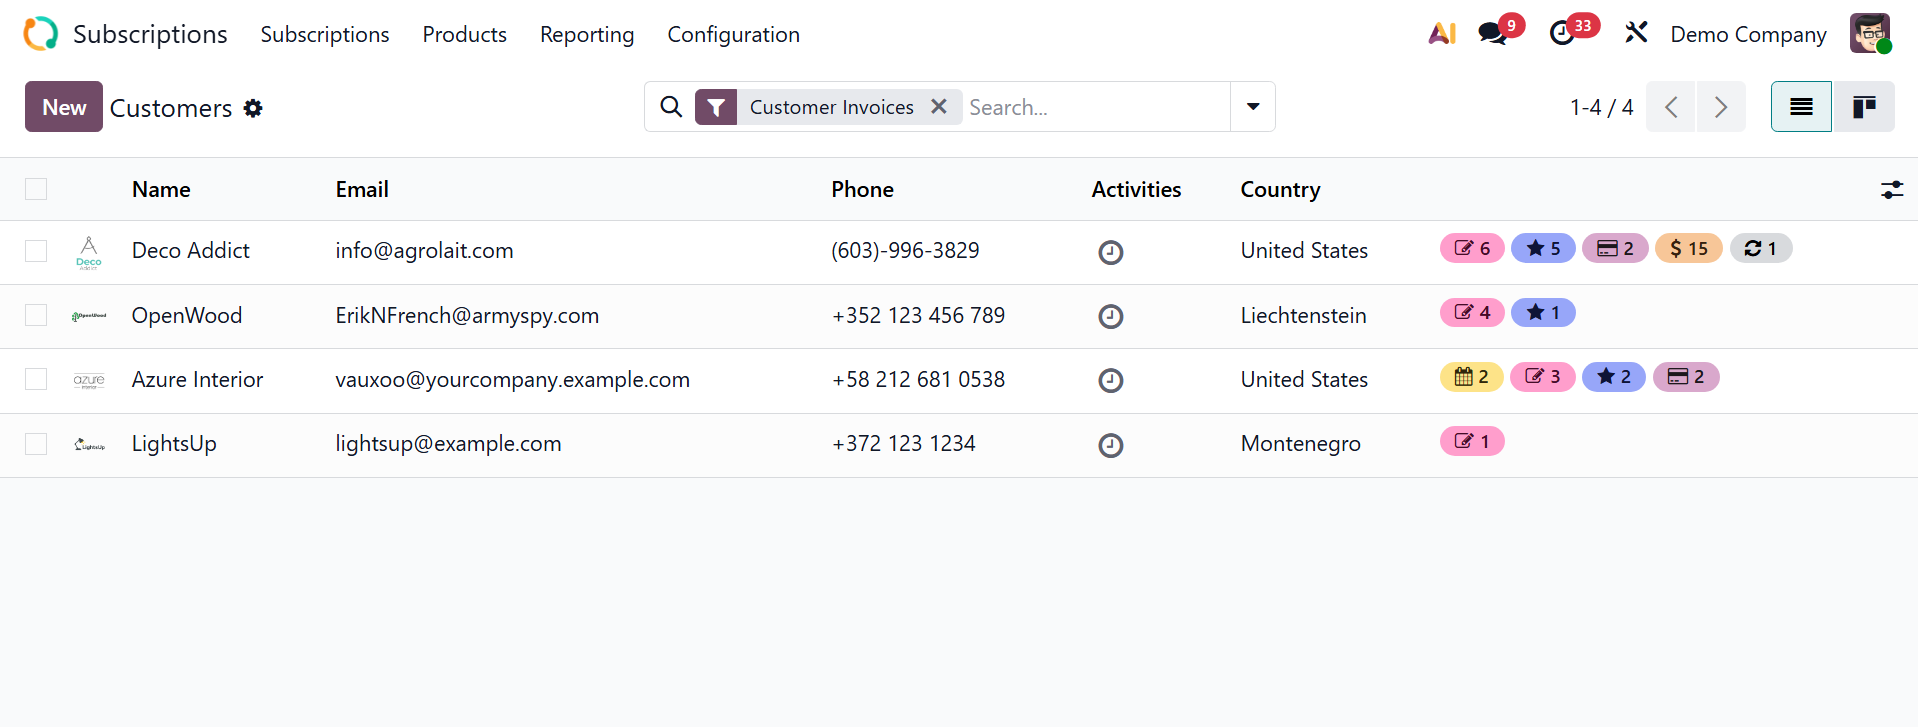
On selecting a particular one, you will get the details regarding the customer there.
The customer creation form is similar, which we already discussed in the Sales book.