Adding Menus and Views
Odoo has some good ways to define menu, sub menu, views and actions.The main attraction
is that a menu and sub menu can be created using both code and UI, making Odoo more
user-friendly.
A user can directly create a menu and submenu from the User interface of Odoo.
We can begin by constructing a menu using xml, or code.
For that, we can create a new module named hospital and also create a view directory on
the hospital module.
To add a view, we'll add an XML file to the module containing its definition.
1. Make an XML file to store the data records for the UI Views > patient.xml
2. Add a data file on the __manifest__.py and add the XML file in the data.
'data': ['views/view.xml'],
3. Add an action for the view.
<record id="Record_action" model="ir.actions.act_window">
    <field name="name">Name of Record</field>
    <field name="type">ir.actions.act_window</field>
    <field name="res_model">model.record</field>
    <field name="view_mode">tree,form</field>
    <field name="help" type="html">
        <p class="o_view_nocontent_smiling_face">
            Create a new record!
        </p>
    </field>
 </record>
name - Name of the action.
res model - The model in which the menu is created.
view mode – Various view modes. This mode must be defined by the preceding action.
view_id - The default view that must be loaded when the action is invoked is view id.
4. Add a menu item to the patient.xml file to visible to the users.
<menuitem id="menu_id"
         name="Menu Name"
         parent="parent_menu_root"
         action="record_action"
         sequence="10"/>
id - id of the menu
name - Name of the menu which is to be displayed
sequence - Sequence in which menu is displayed
Action - We use the id of the window action we created in the previous step
Parent - This is the identifier for the parent menu item
5. Add a view to the file
<record id="record_view_form" model="ir.ui.view">
    <field name="name">record.name.form</field>
    <field name="model">record.model</field>
    <field name="arch" type="xml">
        <form>
            <sheet>
                <div class="oe_title">
                    <h1>
                        <field name="reference_no" readonly="1"/>
                    </h1>
                </div>
                <group>
                    <group>
                        <field name="name_id"/>
                        <field name="date"/>
                        <field name="age"/>
                        <field name="gender"/>
                        <field name="note"/>
                    </group>
                </group>
            </sheet>
        </form>
    </field>
 </record>
name: To identify the view. Add human readable title as a name.
model: Identify the target model.
arch: This is the view architecture, where its structure is actually defined.
6. Add a tree view to the file
<record id="record_view_tree" model="ir.ui.view">
   <field name="name">record.name.tree</field>
   <field name="model">record.model</field>
   <field name="arch" type="xml">
       <tree>
           <field name="name_id"/>
           <field name="age"/>
           <field name="gender"/>
       </tree>
   </field>
</record>
7. Check on the UI.
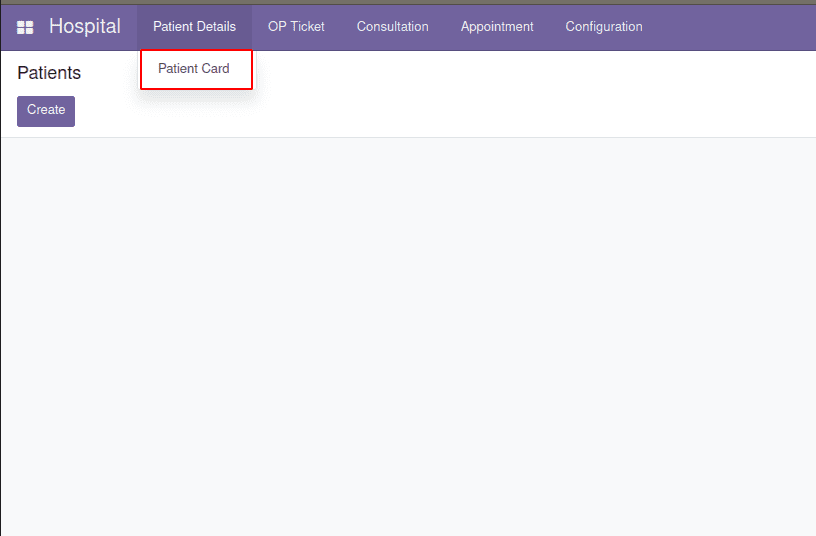
Menu for patient details can be see here.
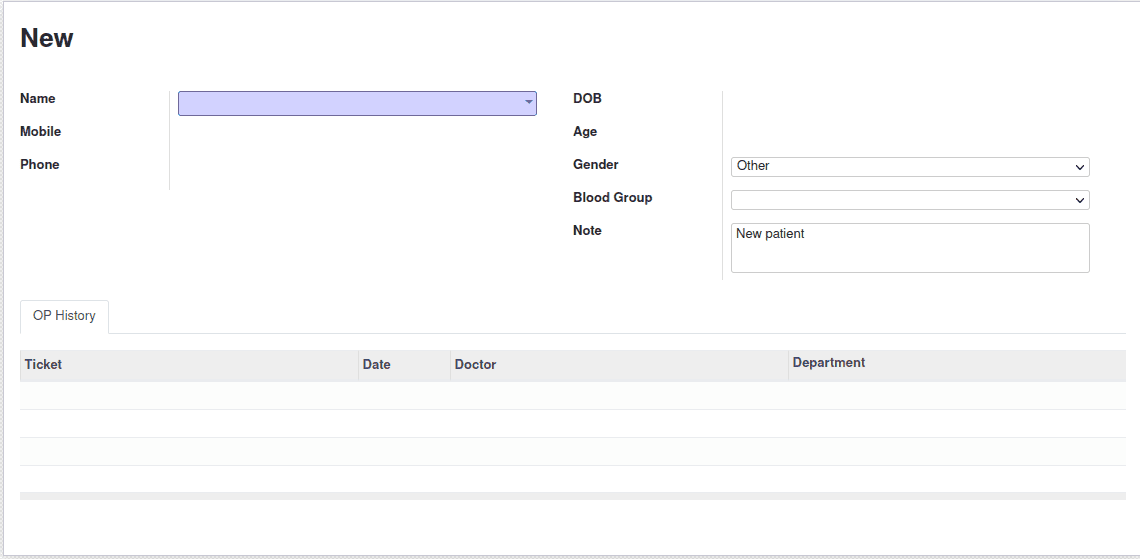
The image above shows the form view for the patient card.

The patient card tree view is depicted in the image above.
We can create a menu, action, and view in Odoo in this manner.