The Appraisals module in Odoo 19 Enterprise is a powerful HR tool designed to streamline performance evaluation and employee development. It enables organizations to plan, conduct, and track appraisals in a structured and transparent way. Managers can define appraisal cycles, set clear goals, and gather feedback from multiple sources, including self-assessments and peer reviews. Appraisals integrate smoothly with other HR modules to align individual performance with company objectives. By automating reminders, documentation, and reporting, the module reduces administrative effort while fostering continuous feedback, accountability, and a culture of growth across the organization.
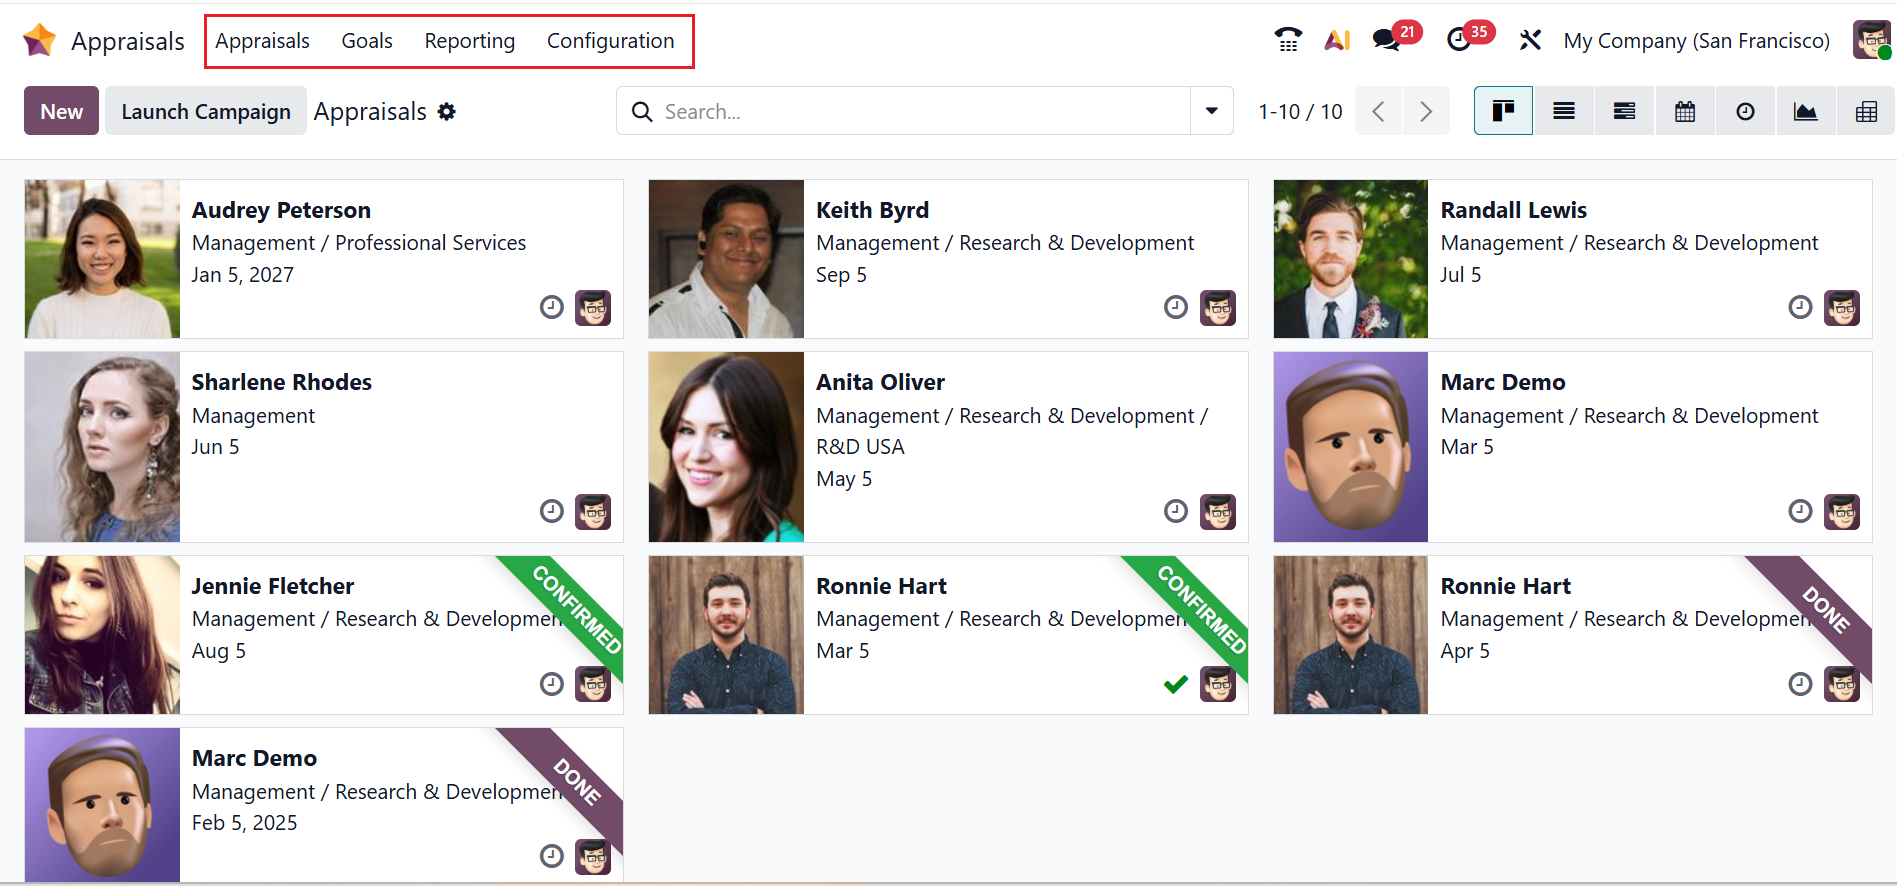
In the Appraisals module, you can see four menus: Appraisals, Goals, Reporting, and Configuration.
Appraisals
By default, the Appraisals menu displays the main dashboard of the Appraisals module. In a Kanban view, each employee profile is arranged as a Kanban card with details, including name, department, date, appraiser, and schedule activity icon.
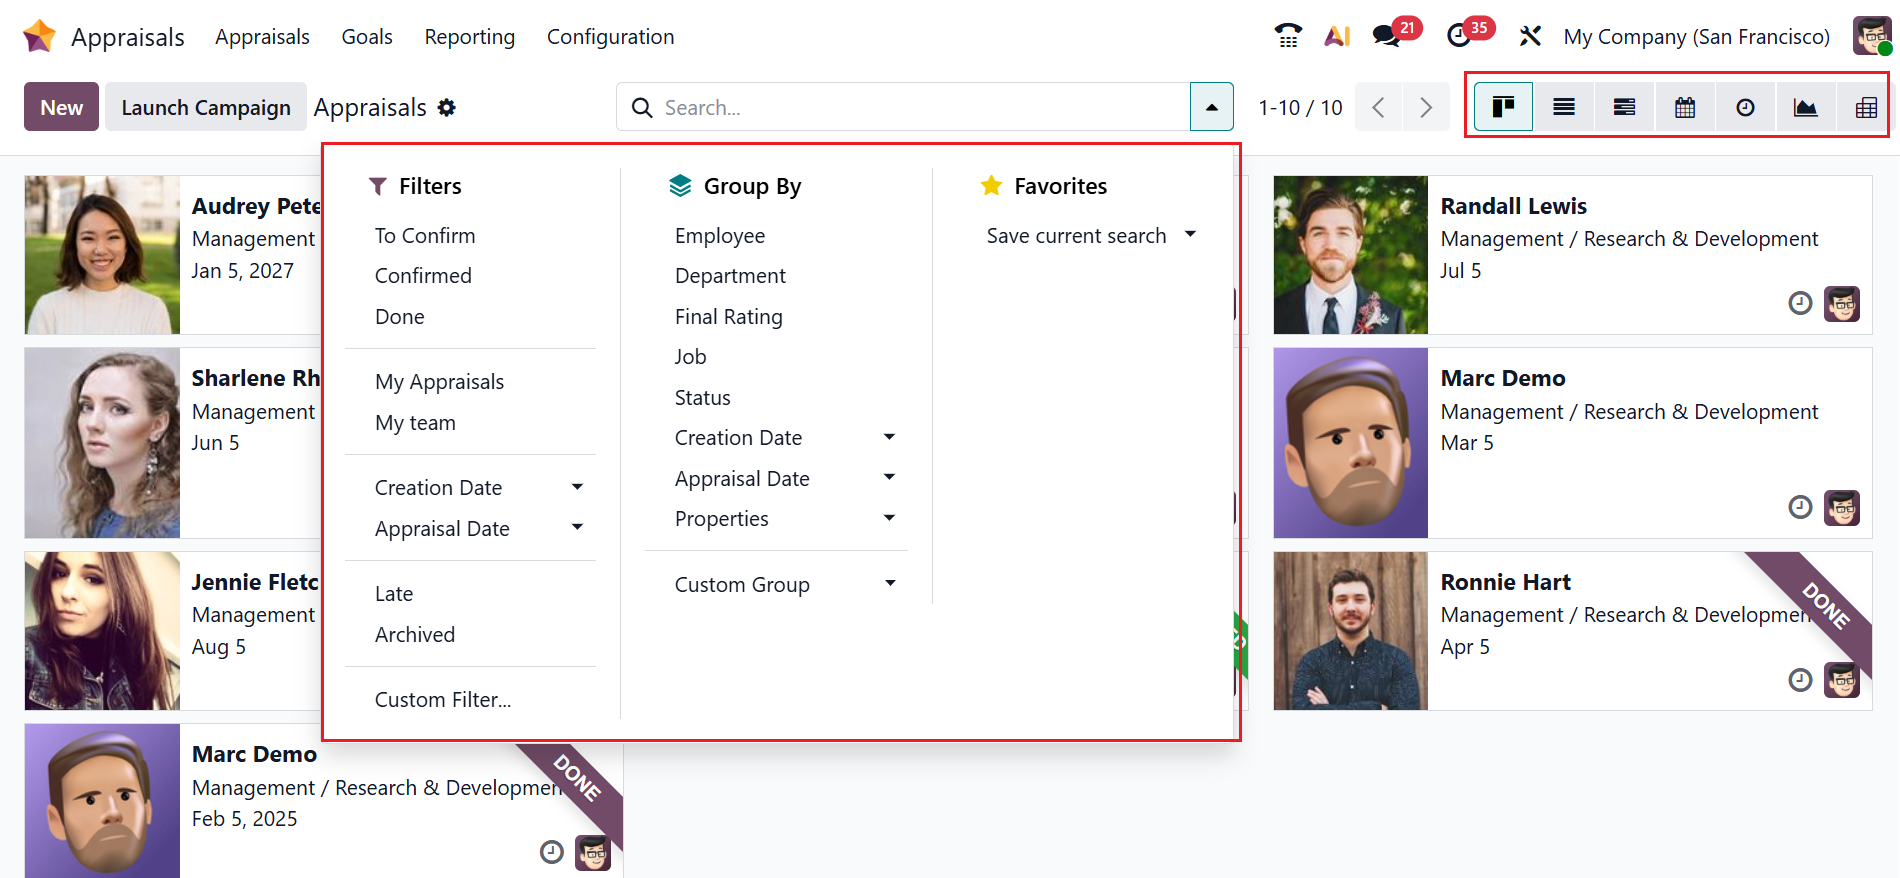
Click on the drop-down menu in the search bar to view options such as Filters, Group By, and Favorites. You can filter the data based on To Confirm, Confirmed, Done, My Appraisals, My team, Creation Date, Appraisal Date, Late, Archived, and to add a customized filter, use the Custom Filter option. You can group the data based on Employee, Department, Final Rating, Job, Status, Creation Date, Appraisal Date, Properties, and to customize a group, use the Custom Group option. You can also save the current search under the Favorites option. From the Kanban view, you can also change the view into List, Gantt, Calendar, Activity, Graph, or Pivot.
To create a new appraisal, click the New button. A form will open where you can choose the employee for evaluation. The Appraisers, Appraisal Date, Job Position, Department, and Company details will be auto-filled according to the selected employee. In the Template field, select an appropriate appraisal template. Once the employee is selected, the remaining fields on the configuration page will be automatically populated with details pulled from the employee’s profile.
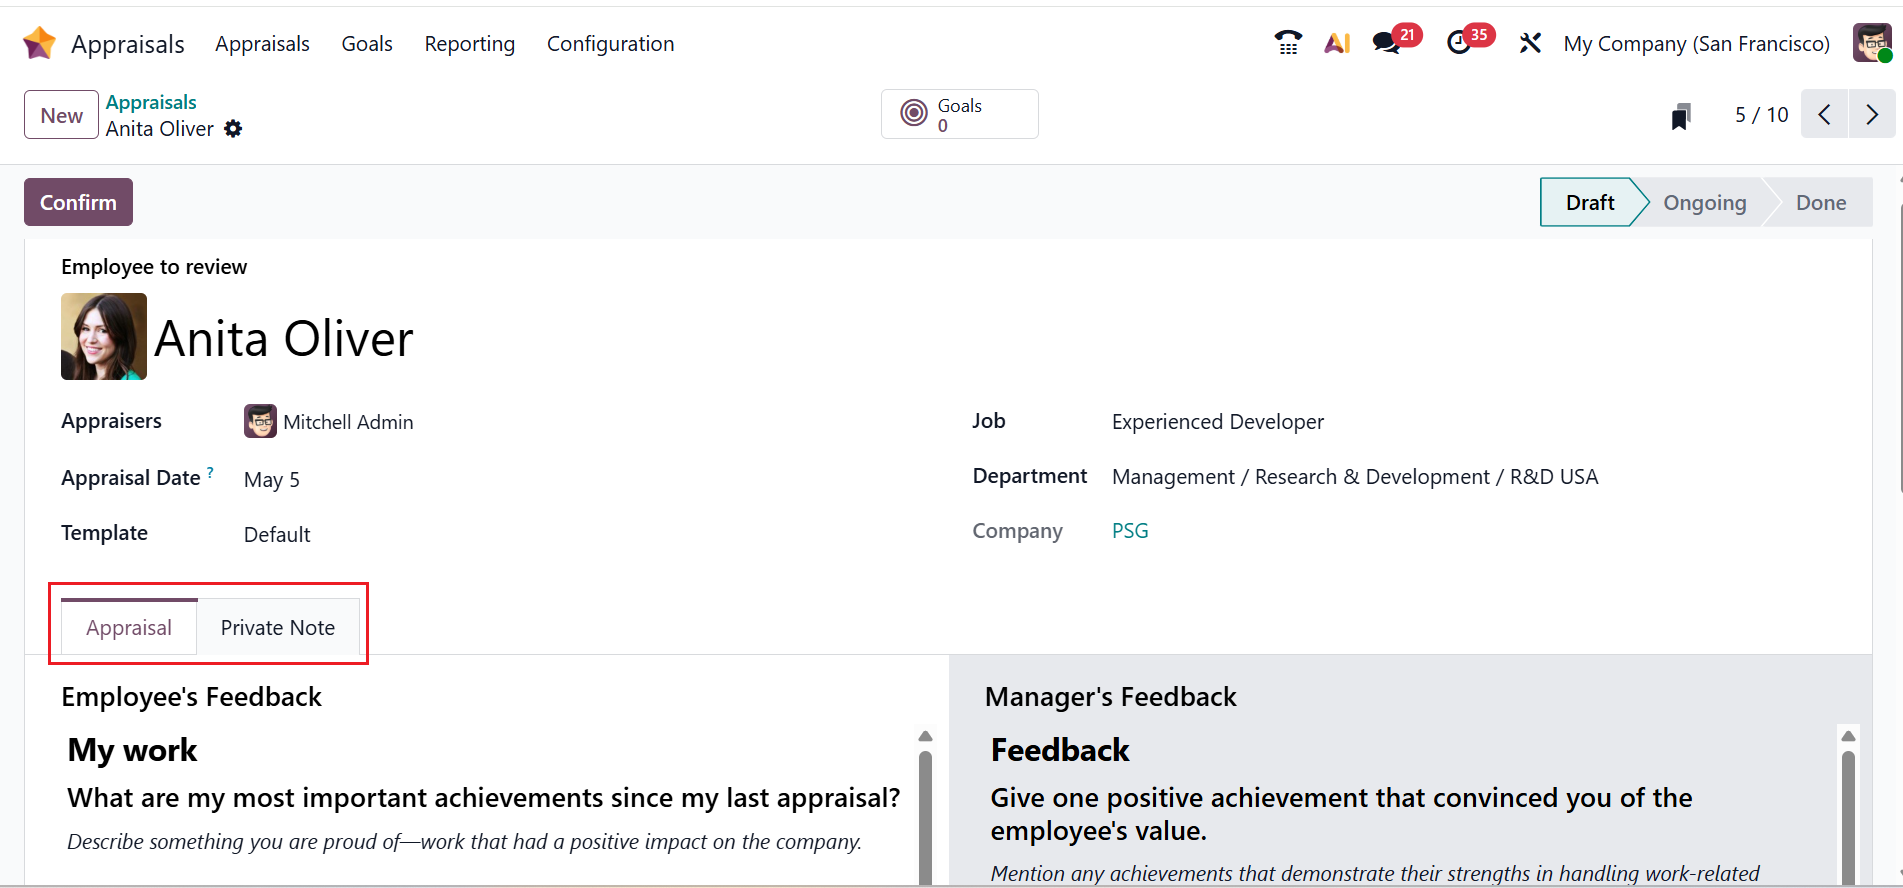
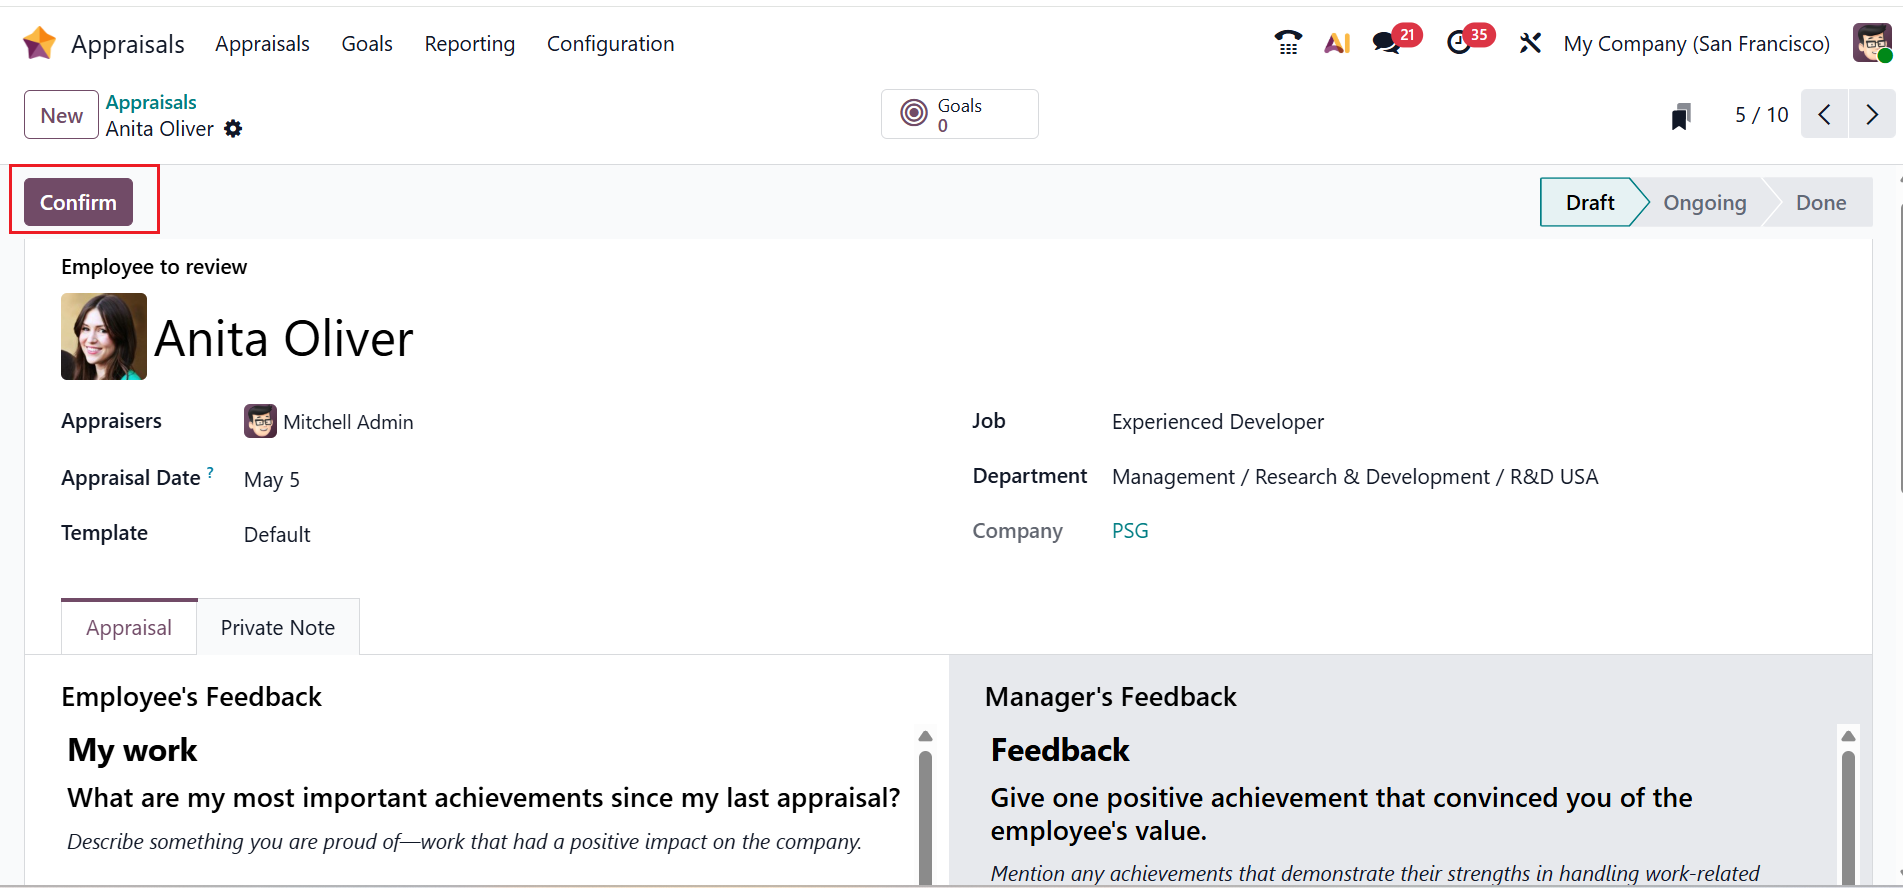
Under the Appraisals tab, you can view two sections with Employee’s Feedback and Manager’s Feedback. Under the Private Note tab, the managers can add a private note that is accessible to selected people only. To verify the employee evaluation, click on the Confirm button as shown below:
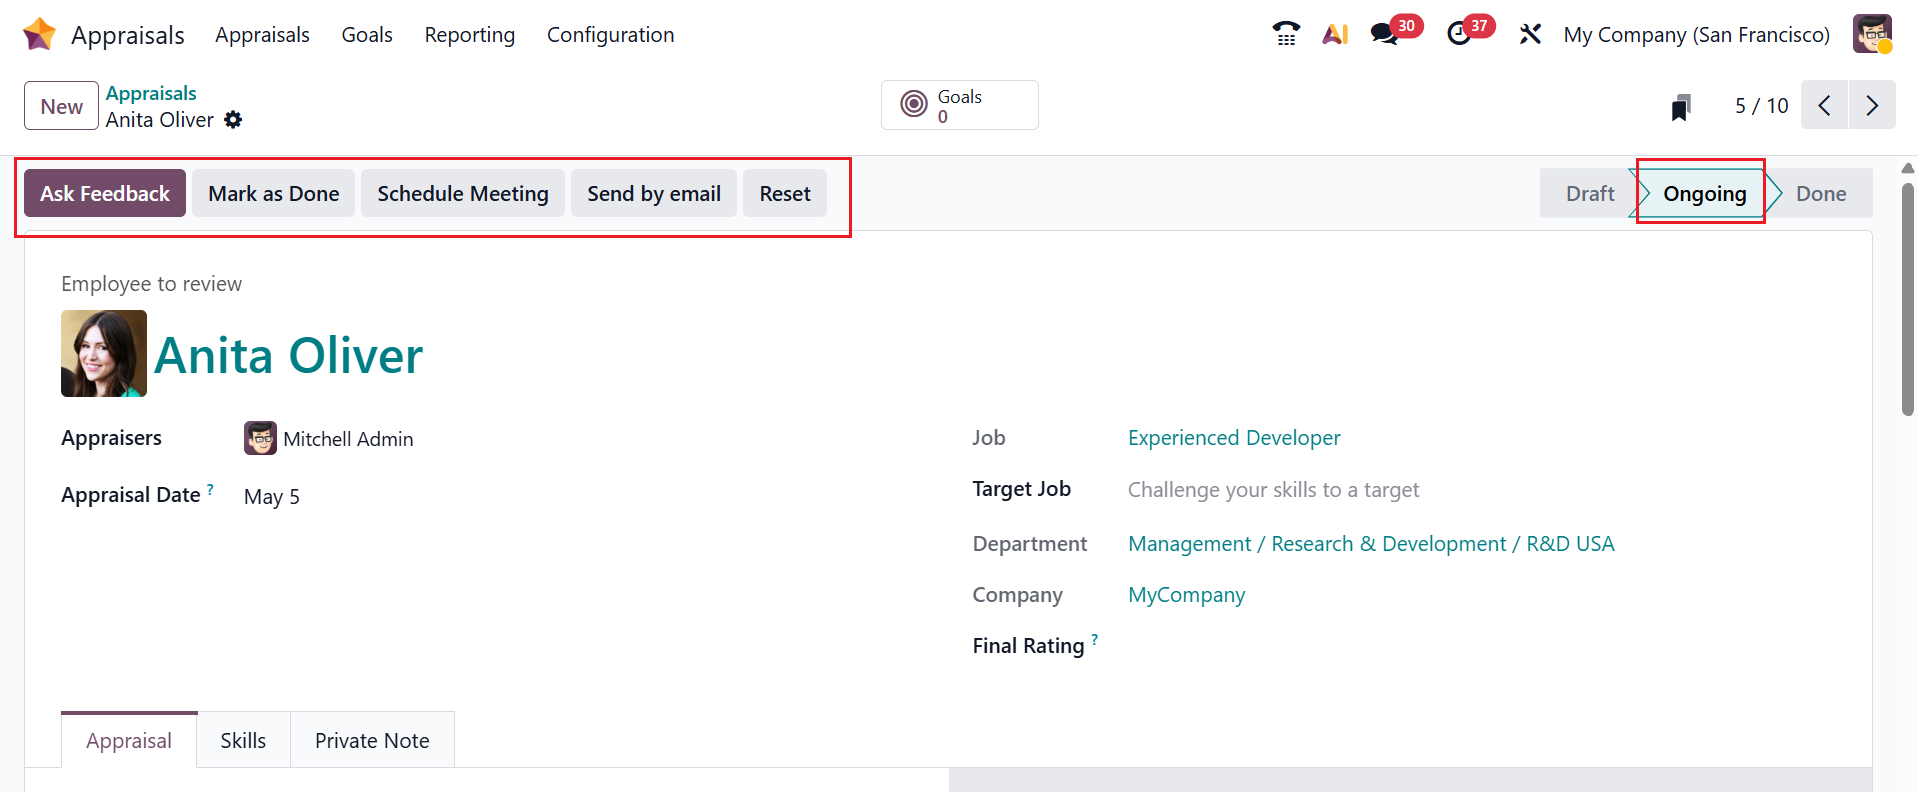
From the Draft stage, the appraisal moves to the Ongoing stage. Here, you can see new options after confirming the appraisal, such as Ask Feedback, Mark as Done, Schedule Meeting, Send by email, and Reset. To enquire feedback from the co-workers, click on the Ask Feedback button. This Ask Feedback button is available only after enabling the 360 Feedback from Settings.
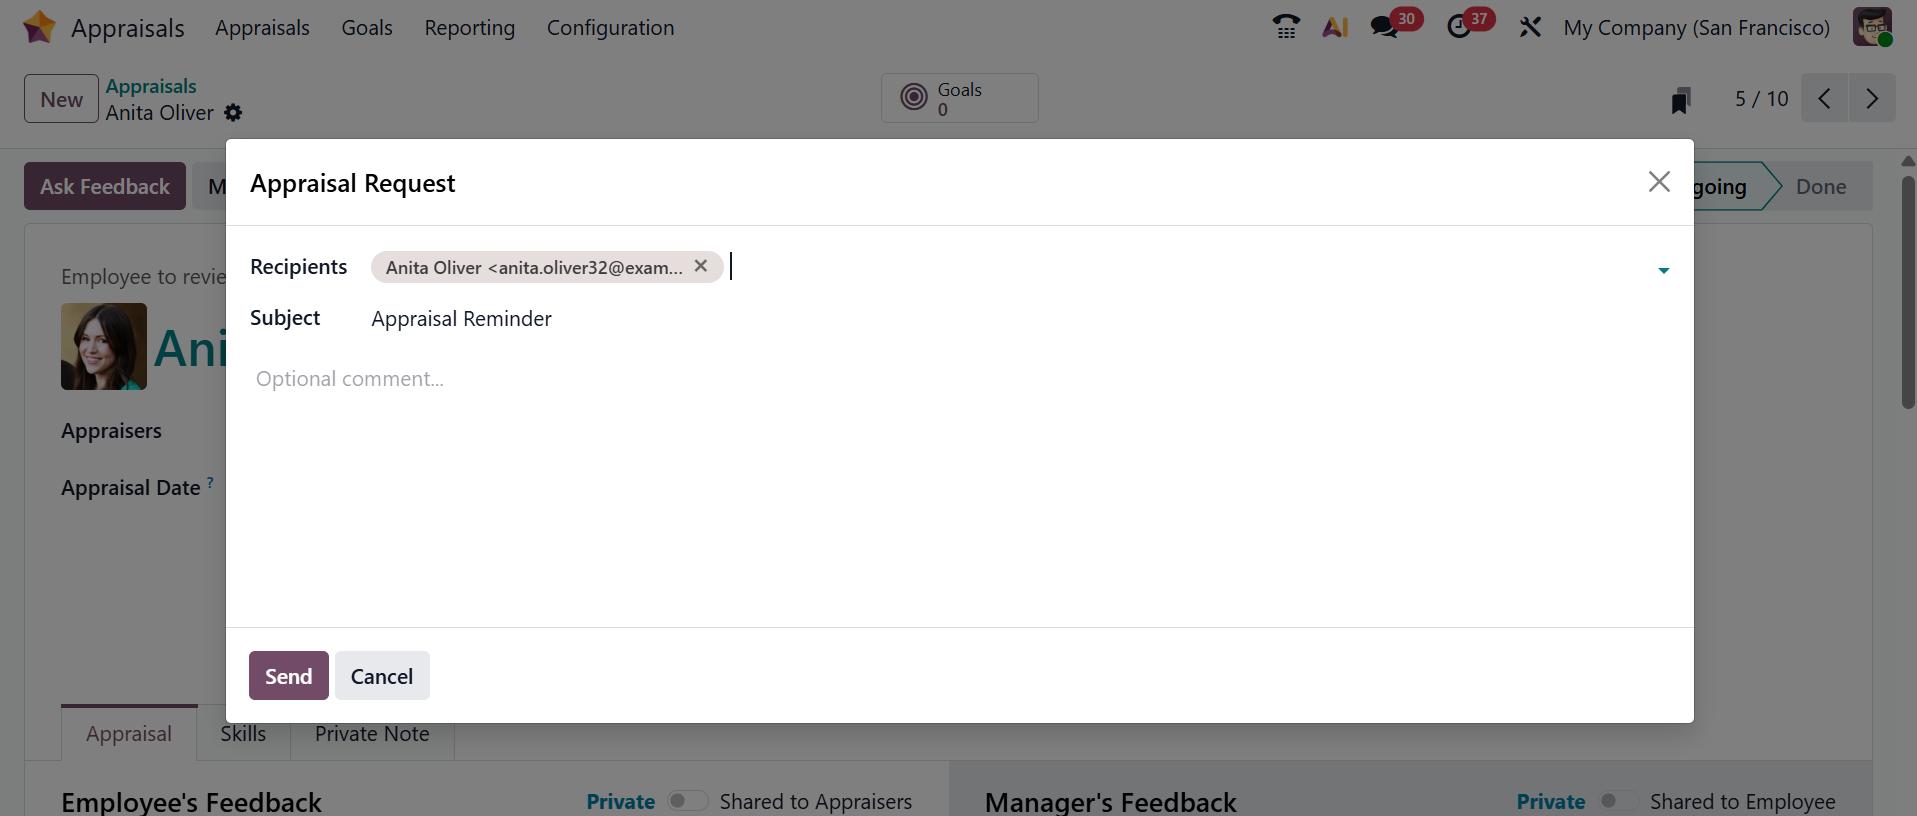
An email pop-up window will then be displayed, as illustrated below. The Survey Template, Subject, and the Answer Deadline options will be automatically filled based on the appraisal form. In the Recipients field, select the employees being asked to provide feedback. Next, enter your message and click the Send button.

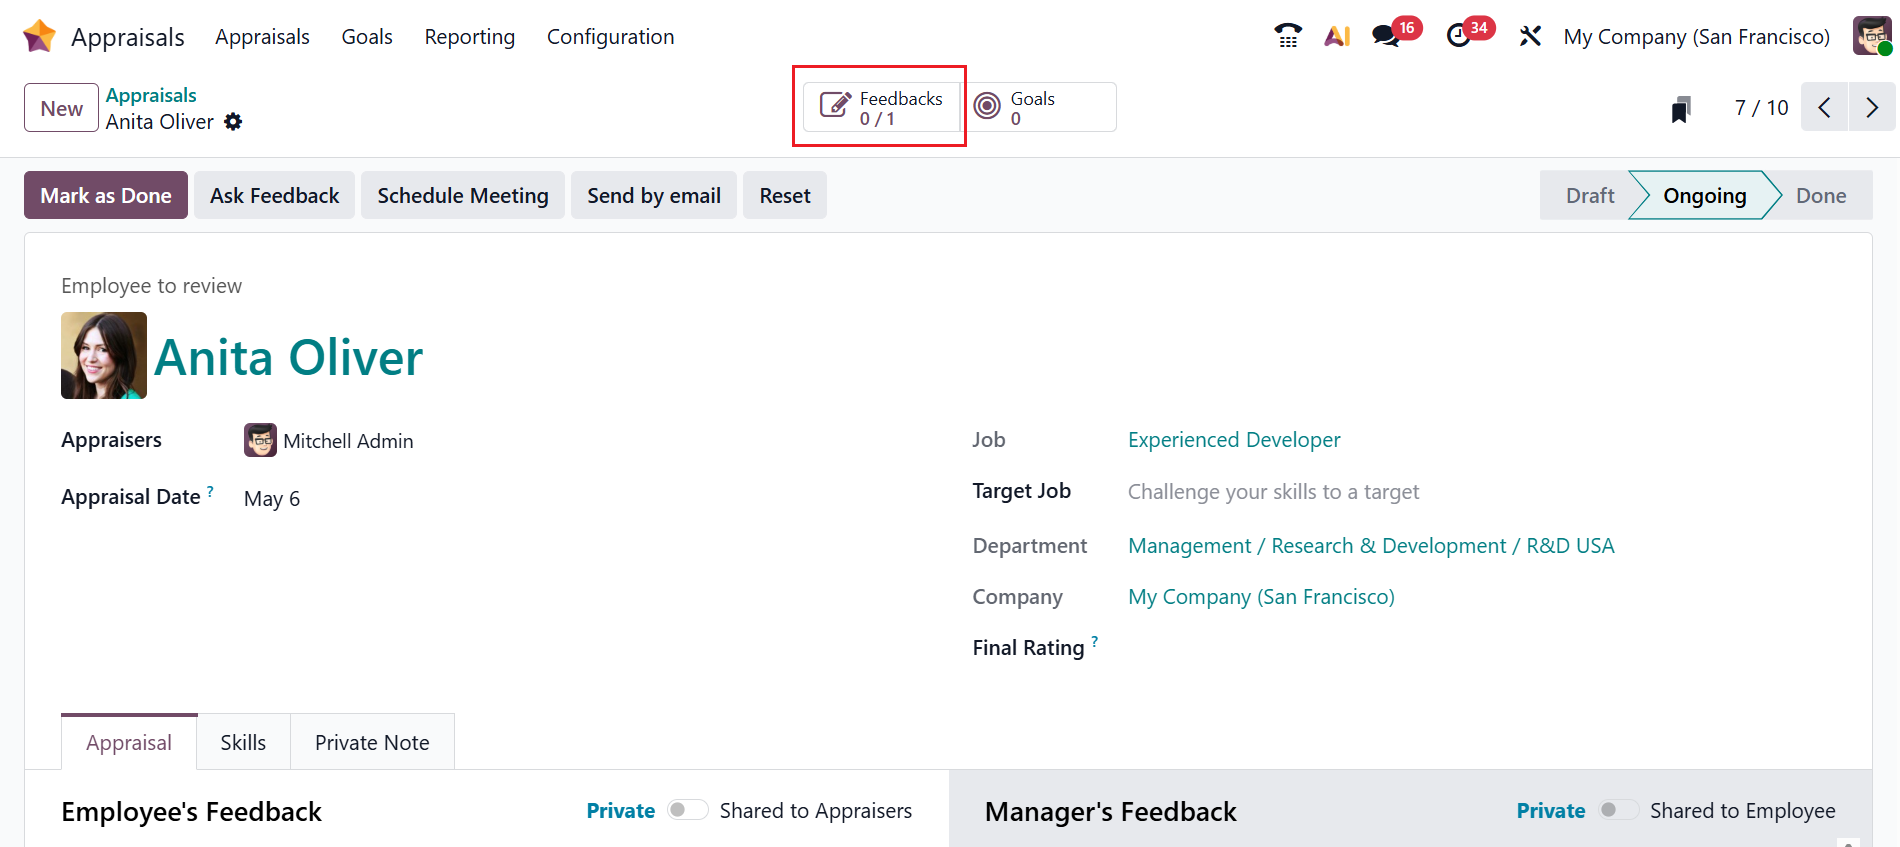
After sending the feedback, a new smart tab will appear, named Feedback. Under the Feedback smart tab, you can view all the feedback information.
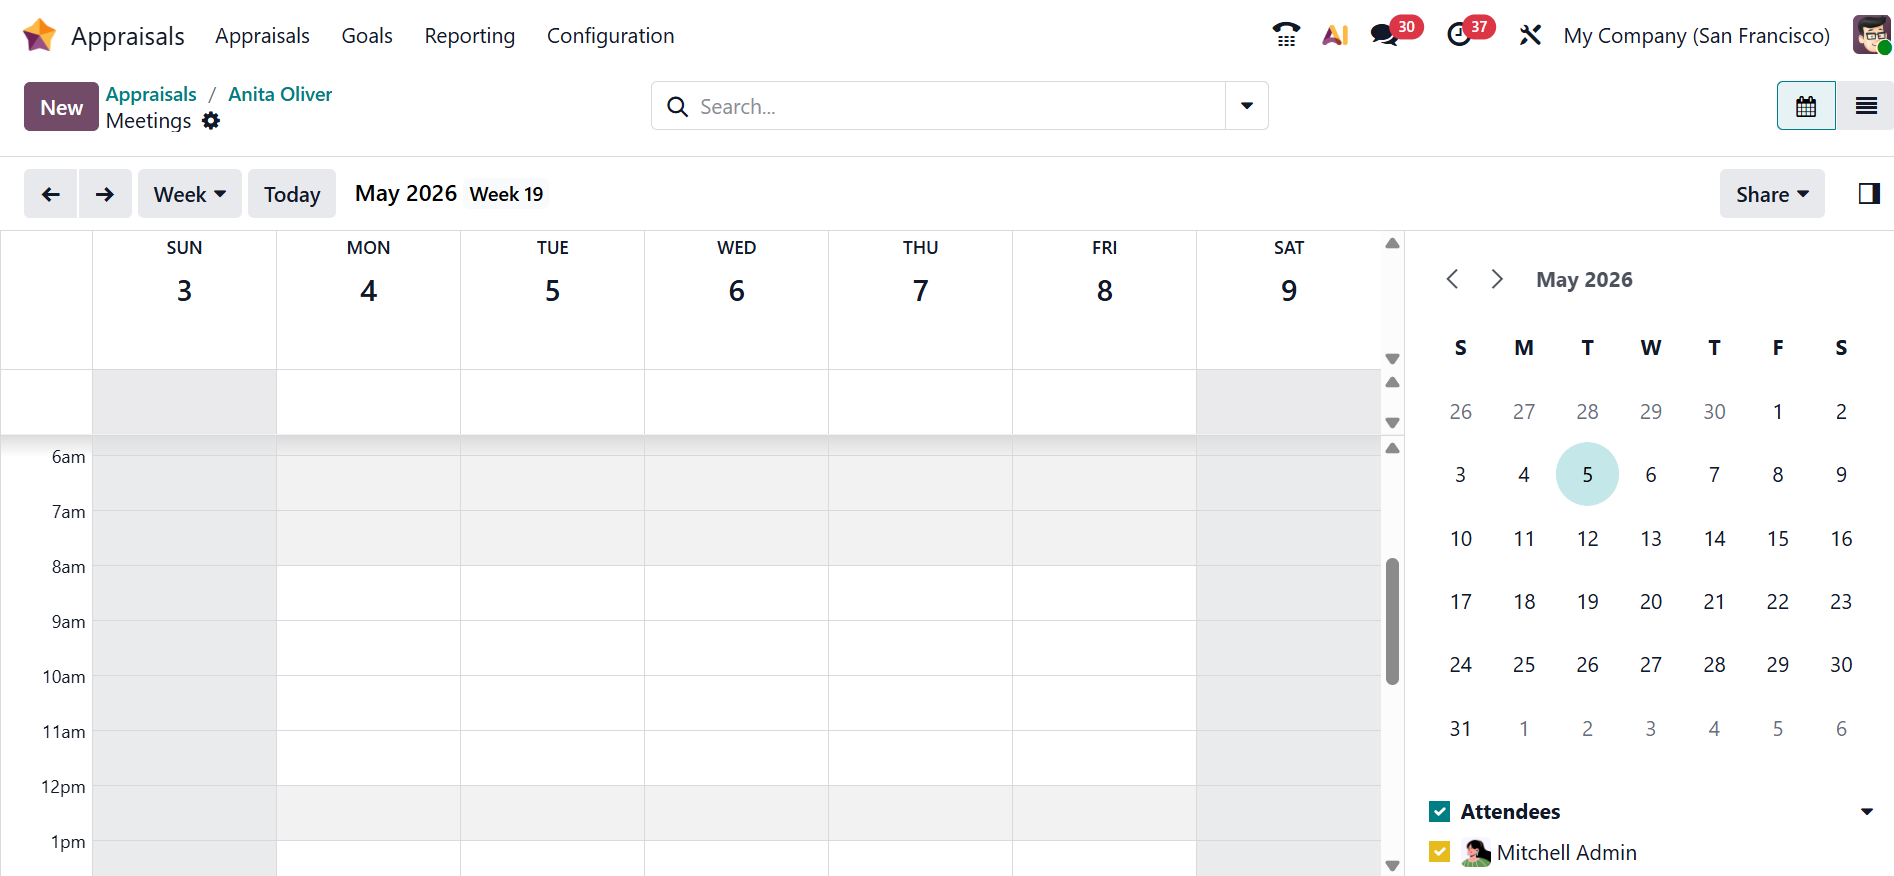
Clicking the Schedule Meeting button will open a new window, as shown below. Here, the manager can set up an appraisal discussion with the employee by choosing a date and time.
Clicking the Send by Email button will open a new pop-up screen, as shown below. Here, the manager can directly send the appraisal form or request to the employee.
Use the Mark as Done button to close the appraisal once all evaluations and discussions are completed. You can also reopen a completed or closed appraisal using the Reset button.
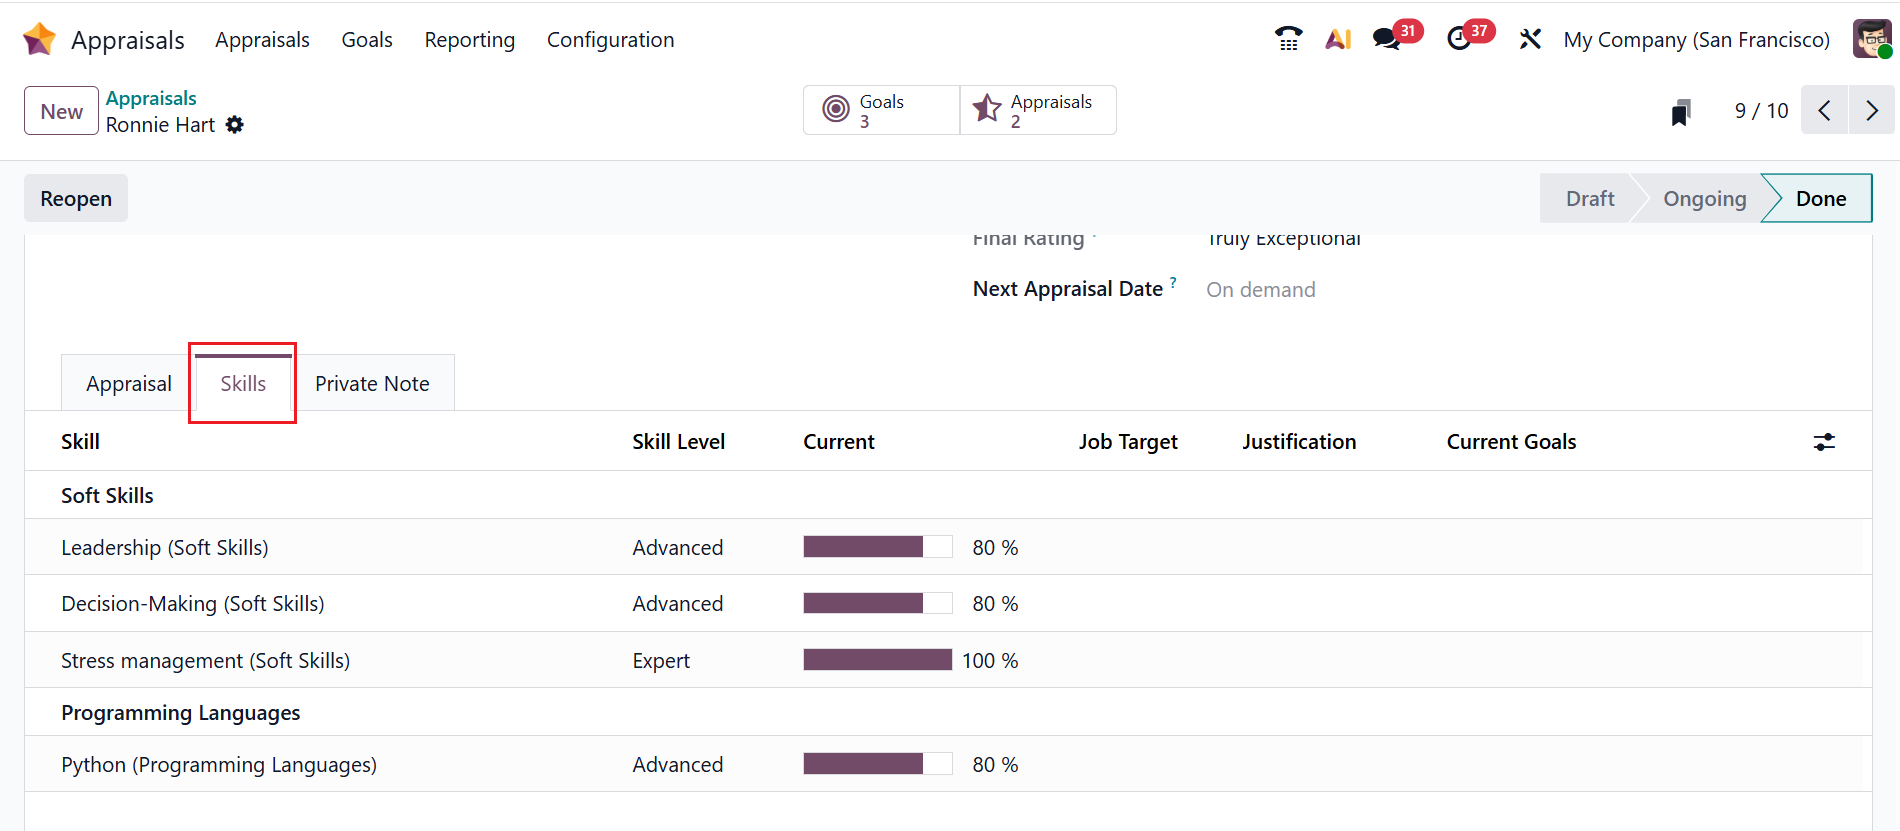
After confirming the appraisal, a new tab will appear named Skills, as shown below. Under the Skills tab, you can view the employee’s skills and their level.
Here, you can see two smart tabs, such as Goals and Appraisals
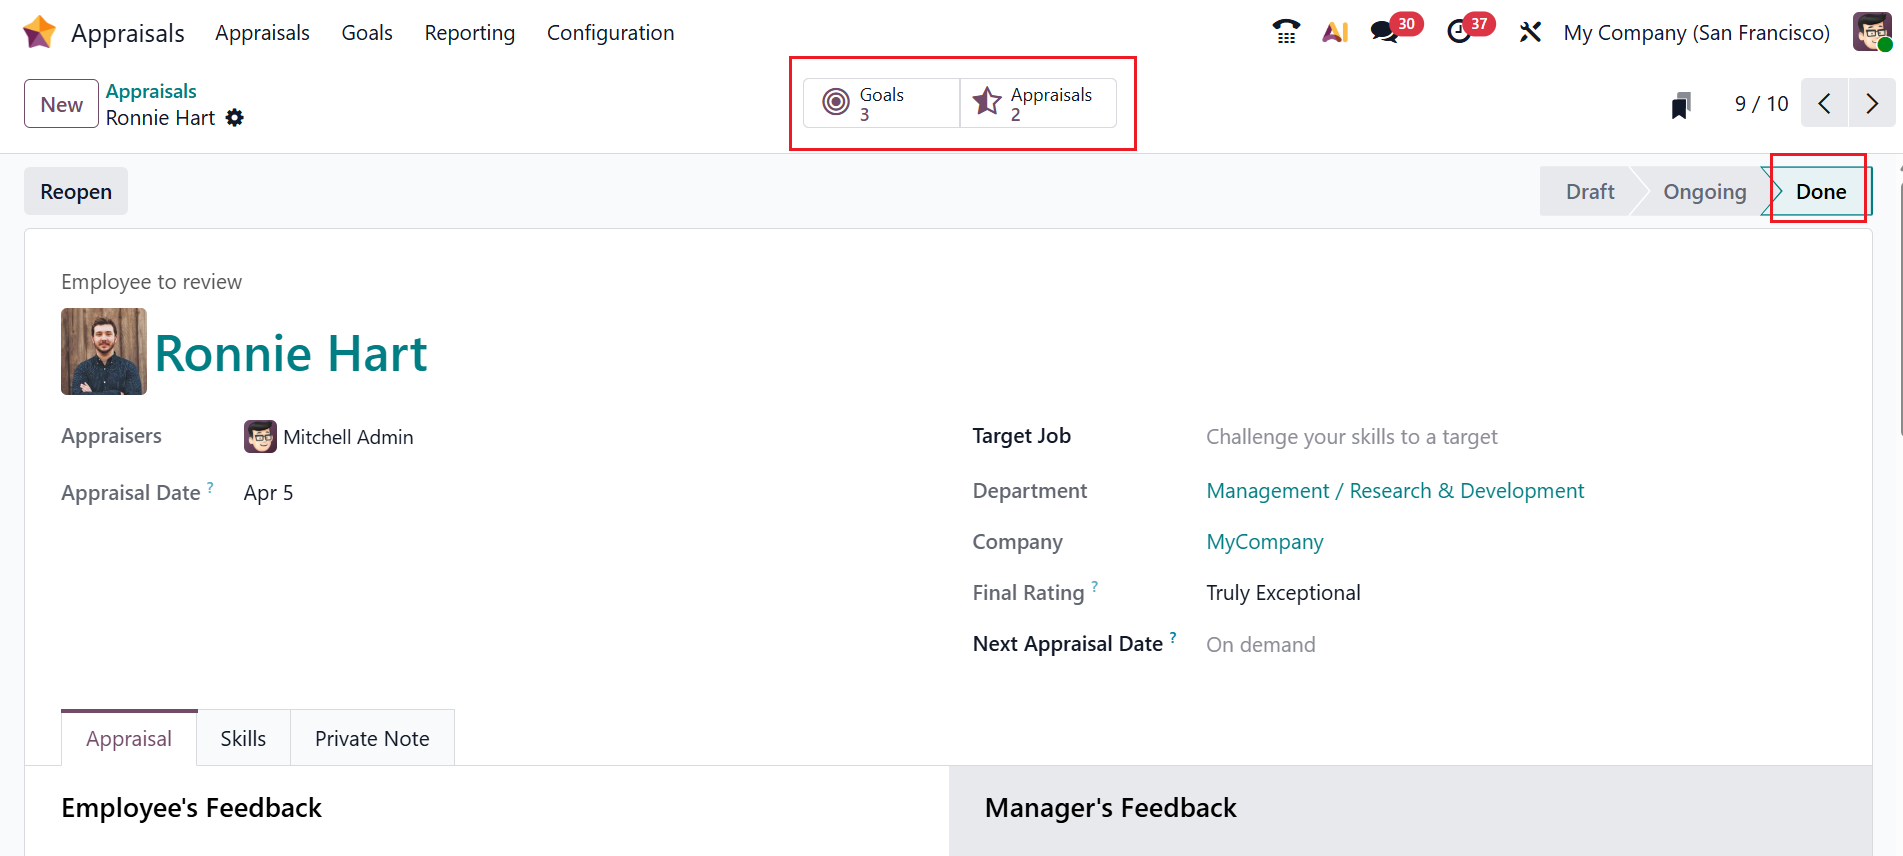
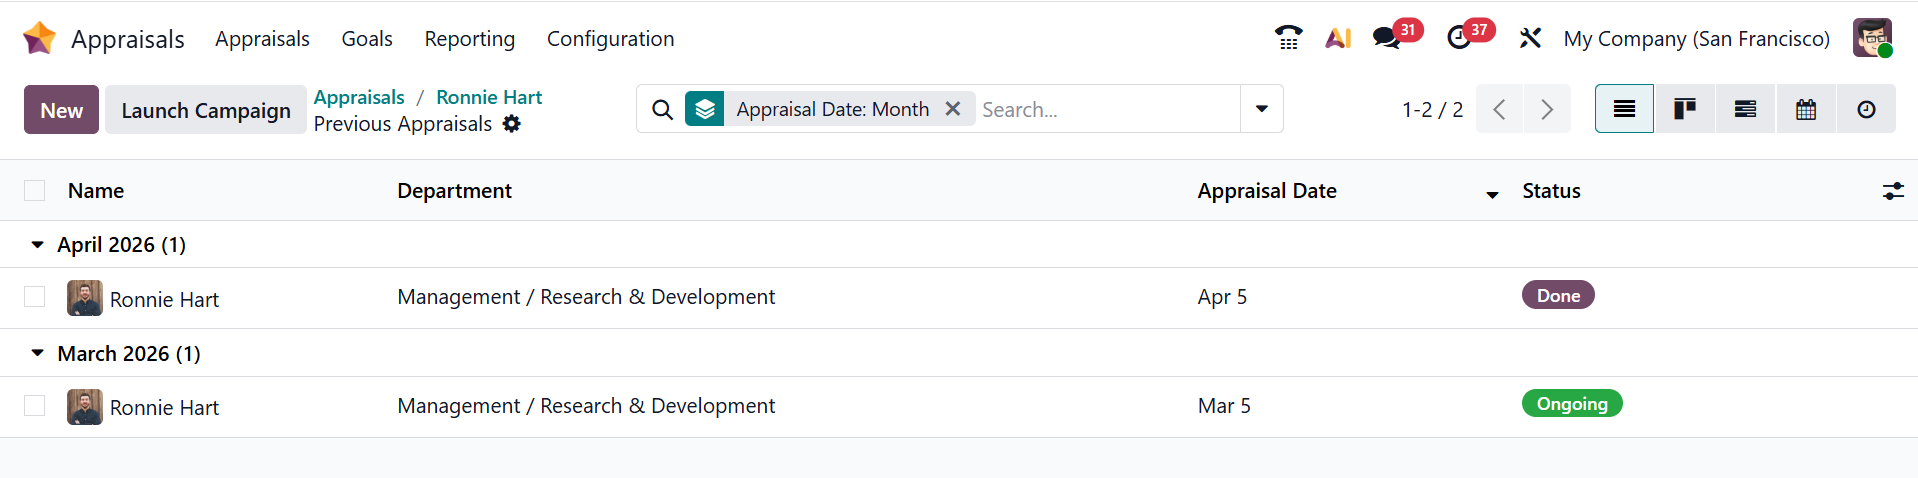
When you click on the Appraisals smart tab, a new window will appear as shown below. Here, you can see the total number of appraisals with details such as Name, Department, Appraisal Date, and Status.
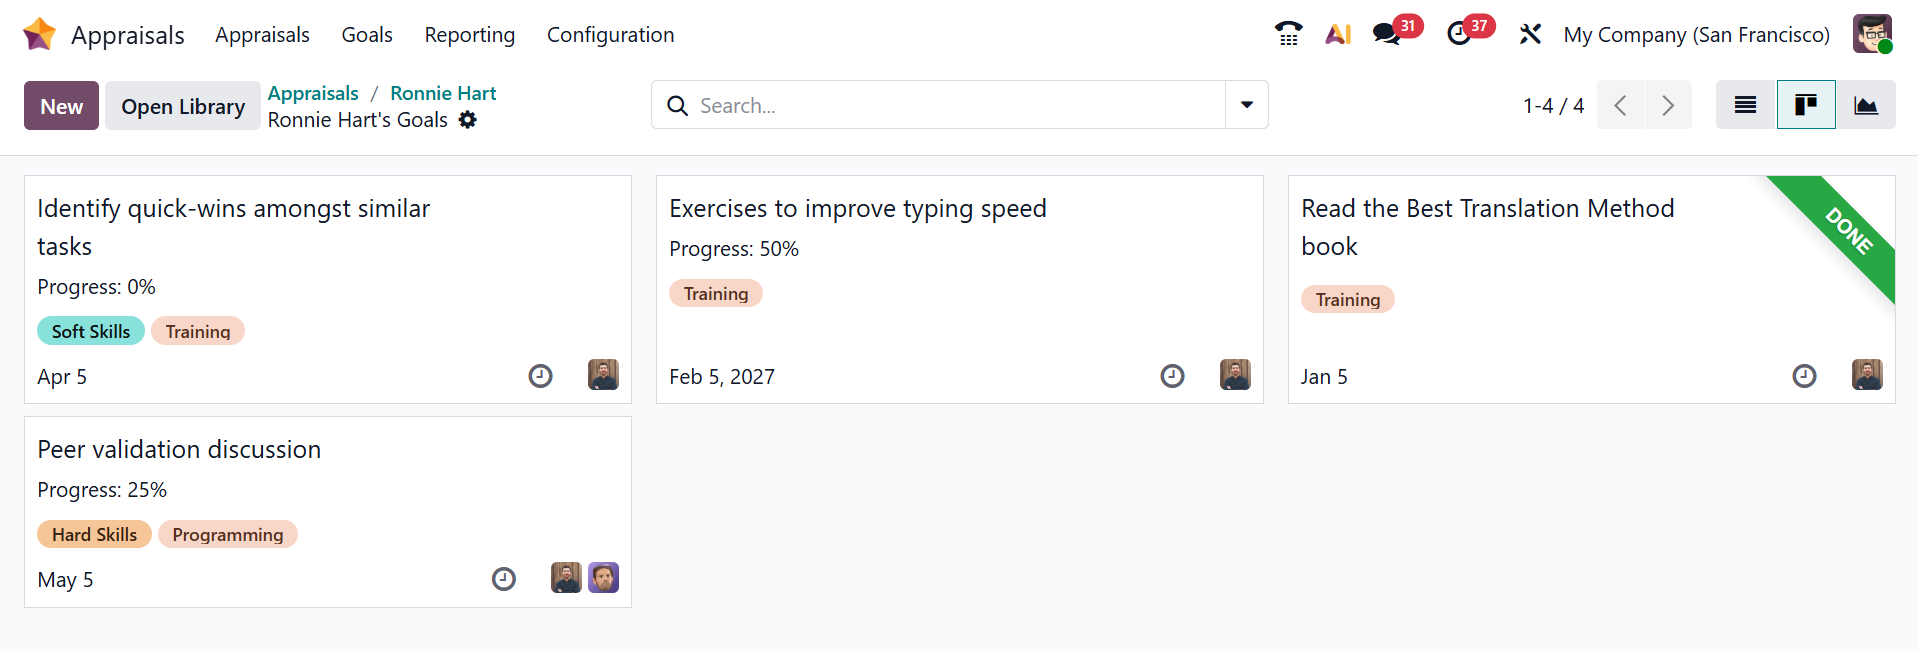
When you click on the Goals smart tab, a new window will appear as shown below. Here, you can view the employee’s goals.
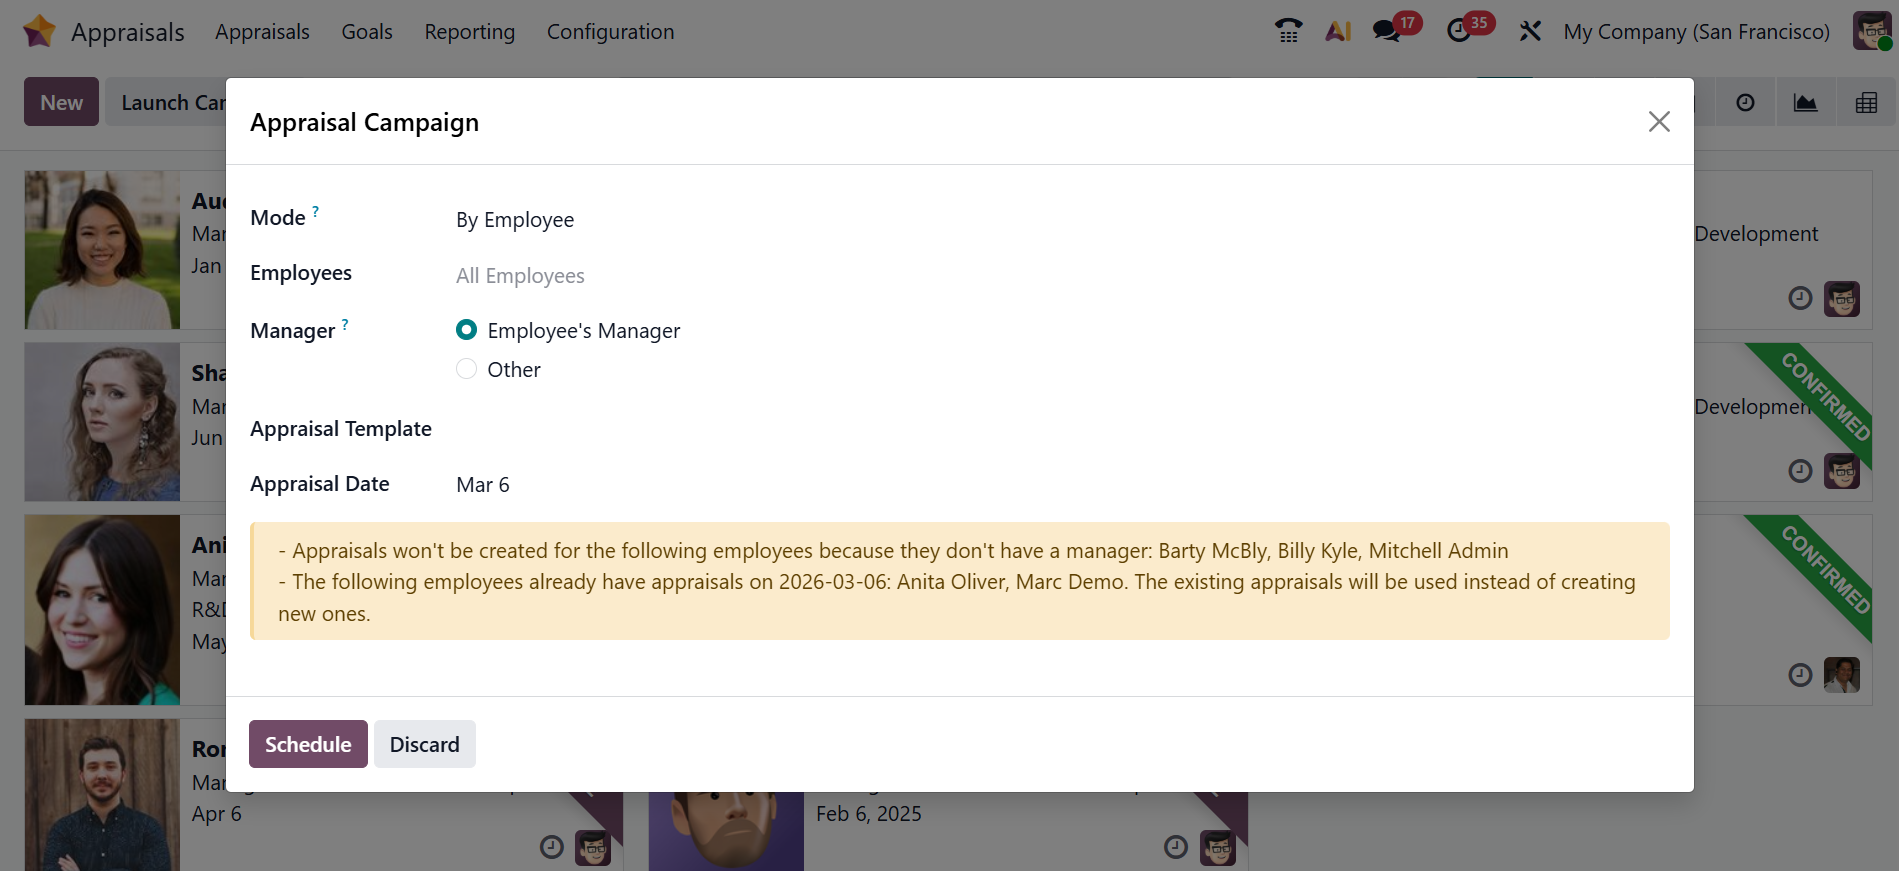
Clicking the Launch Campaign button will open a new pop-up window, as shown below. In the Mode field, you can create appraisals in batches based on By Employee, By Company, By Department, and By Company Tag. In the Employees field, select employees for the appraisal campaign. Select the Manager as the Employee’s Manager (appraisals will be conducted by the direct manager of the employee) or Other (appraisals will be conducted by the specified employees). Select an Appraisal Template and Appraisal Date for the campaign. Then, click on the Schedule button.