Odoo 19 consistently incorporates intriguing features for consumers with the release of its latest version. Odoo has evolved over the past few years to offer the fastest processing speeds and improved integration for handling multiple business activities simultaneously. The most recent addition to Odoo 19, the Knowledge module, will make it easier for employees to create and share articles and papers. This highly integrated module facilitates effective internal communication by acting as a knowledge source where staff members can exchange their expertise. This module allows you to write and distribute a range of articles and work-related content.
To suit your demands, the new Knowledge module can function as a collaborative library. The purpose of this module is to consolidate all dispersed business data and papers into one location for convenient access in an emergency.
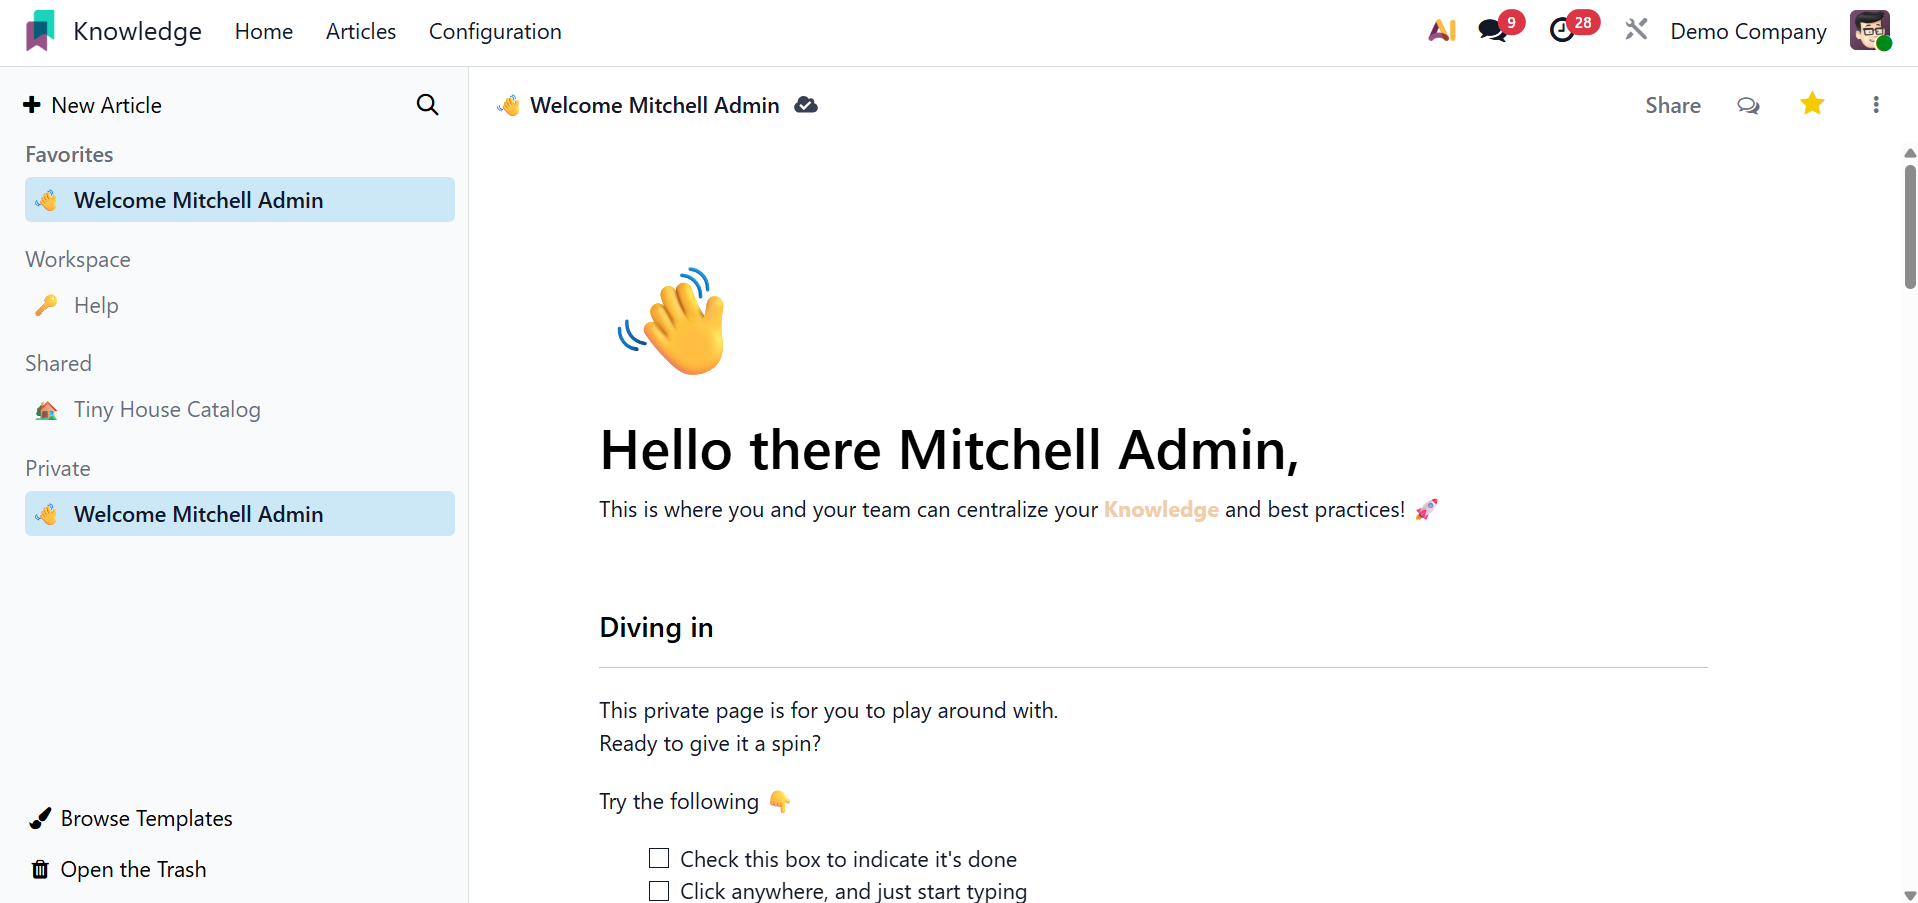
The home screen of your Knowledge module is displayed in the screenshot above. The module's menus are all located on the left side of the screen. To find items in this module, utilize the Search box. A new pop-up window, such as the one below, will appear when you click the search button.
The home screen of your Knowledge module is displayed in the screenshot above. The module's menus are all located on the left side of the screen.
1. Search
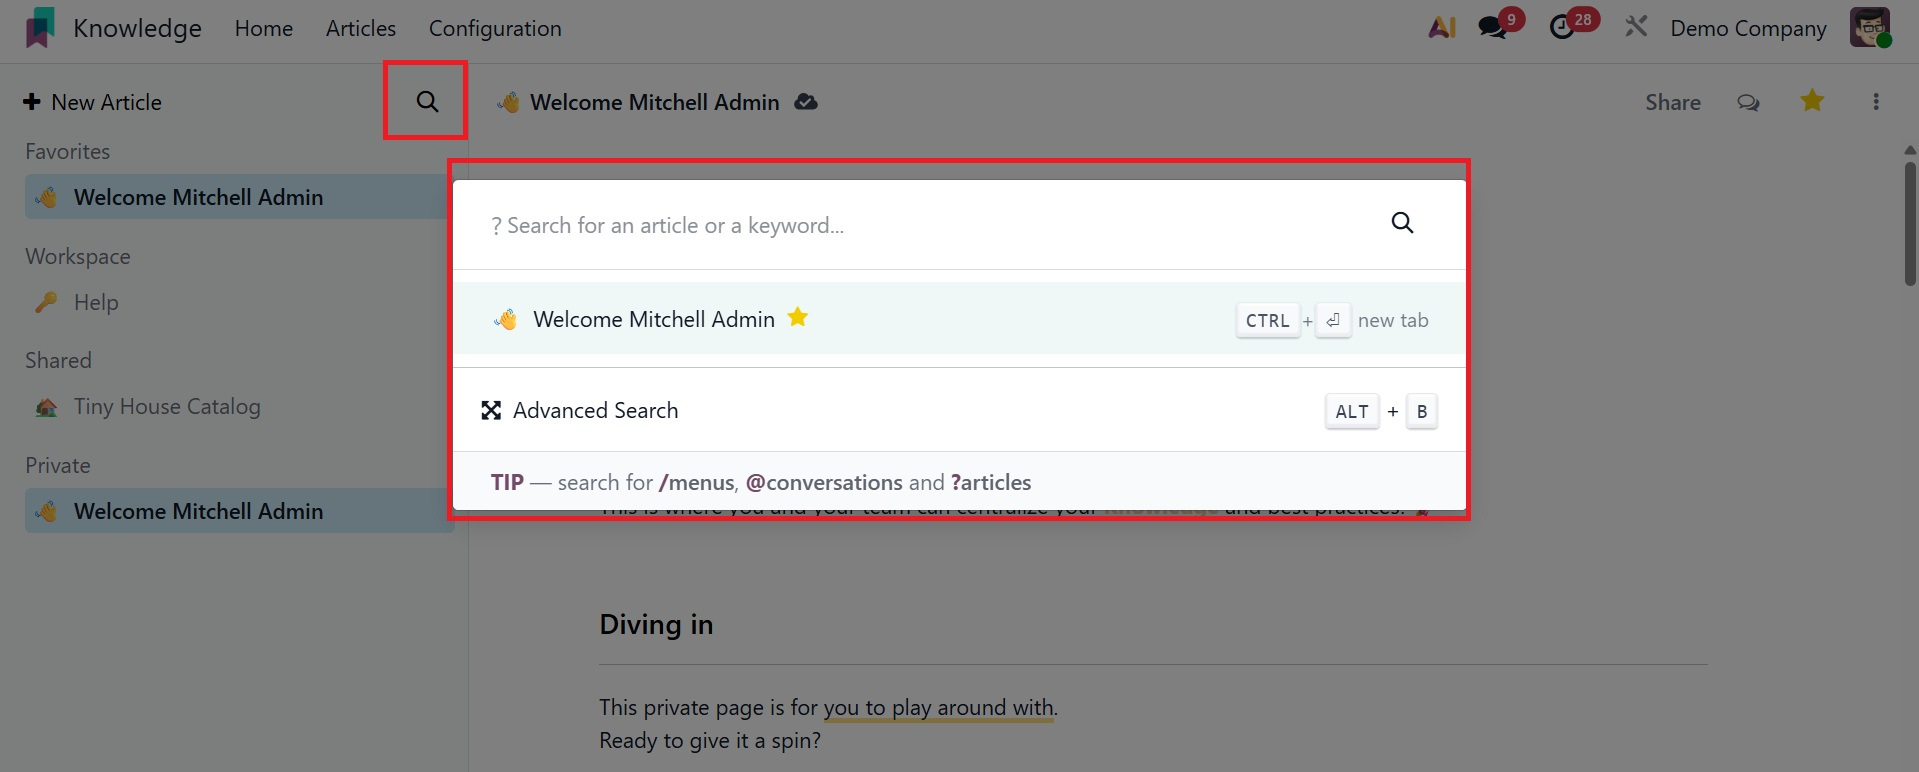
To find items in this module, utilize the Search box. A new pop-up window, such as the one below, will appear when you click the search button.
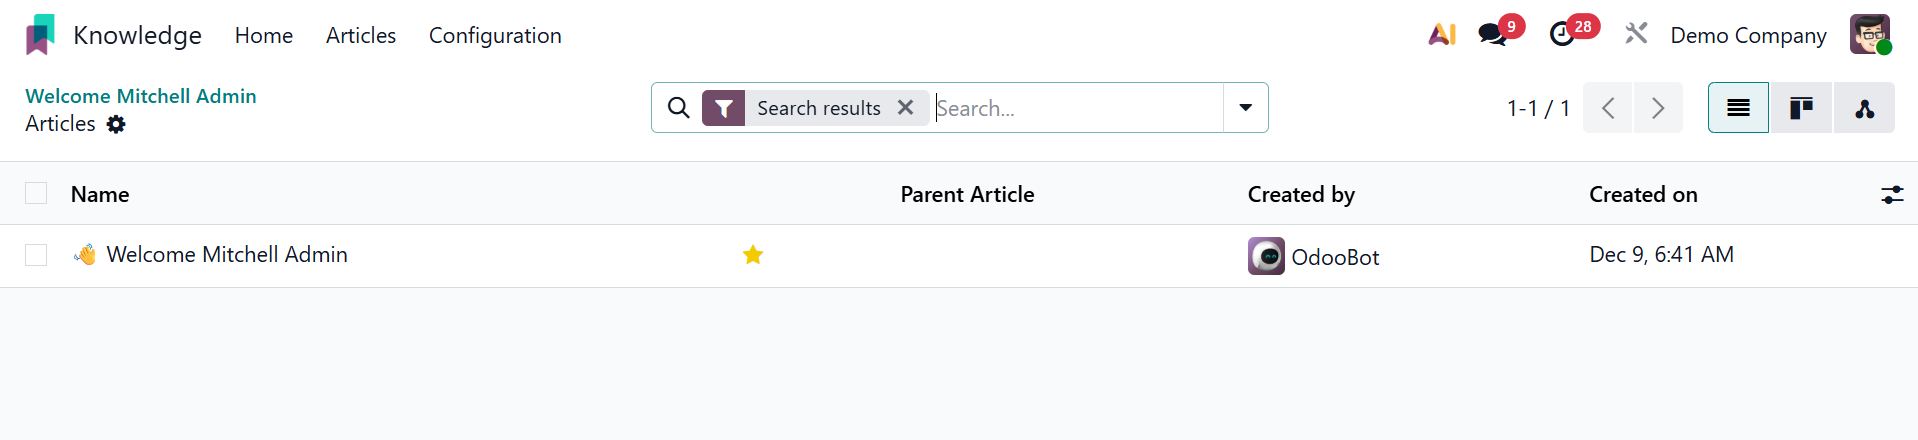
The articles' Name, Parent Article, Created By, and Created on details are displayed in the list view. By choosing the Search option from the module's main menu bar, you can open this window.
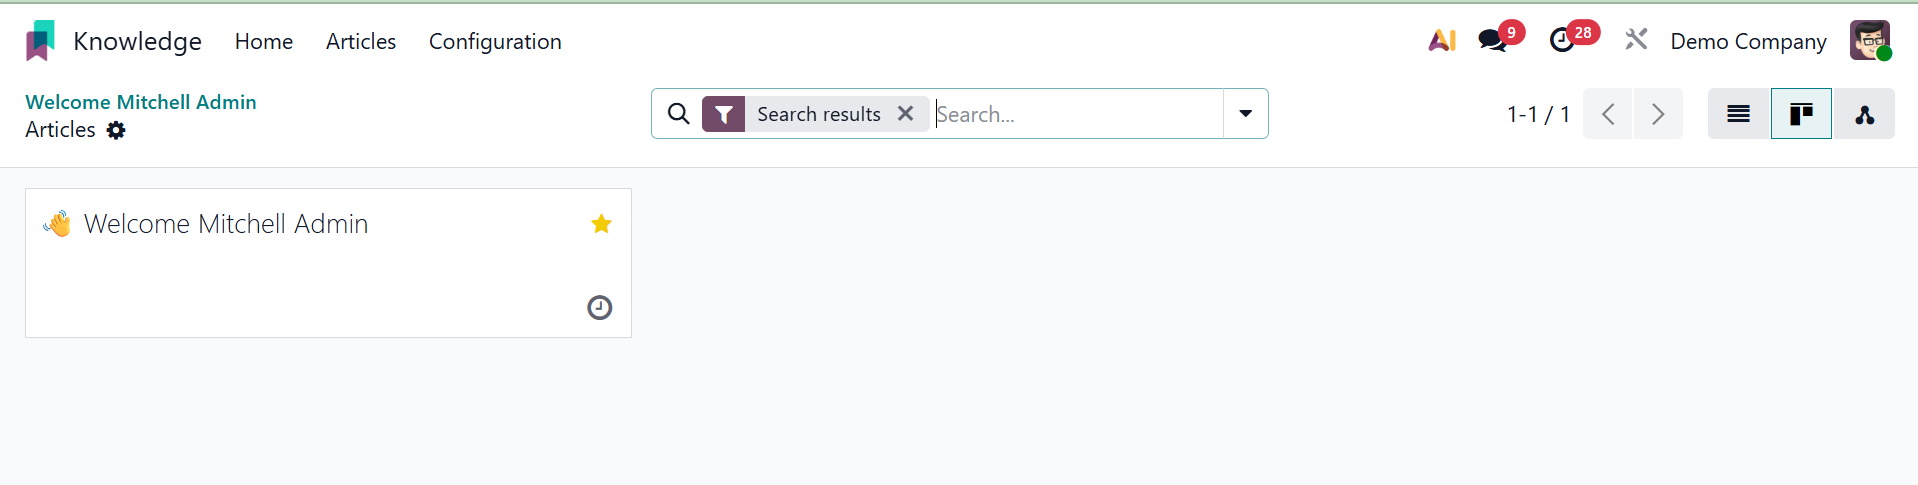
List, Kanban, and hierarchical views are also available for the page. The kanban view will look like the picture below.
Additionally, the hierarchy view will look like the screenshot below.

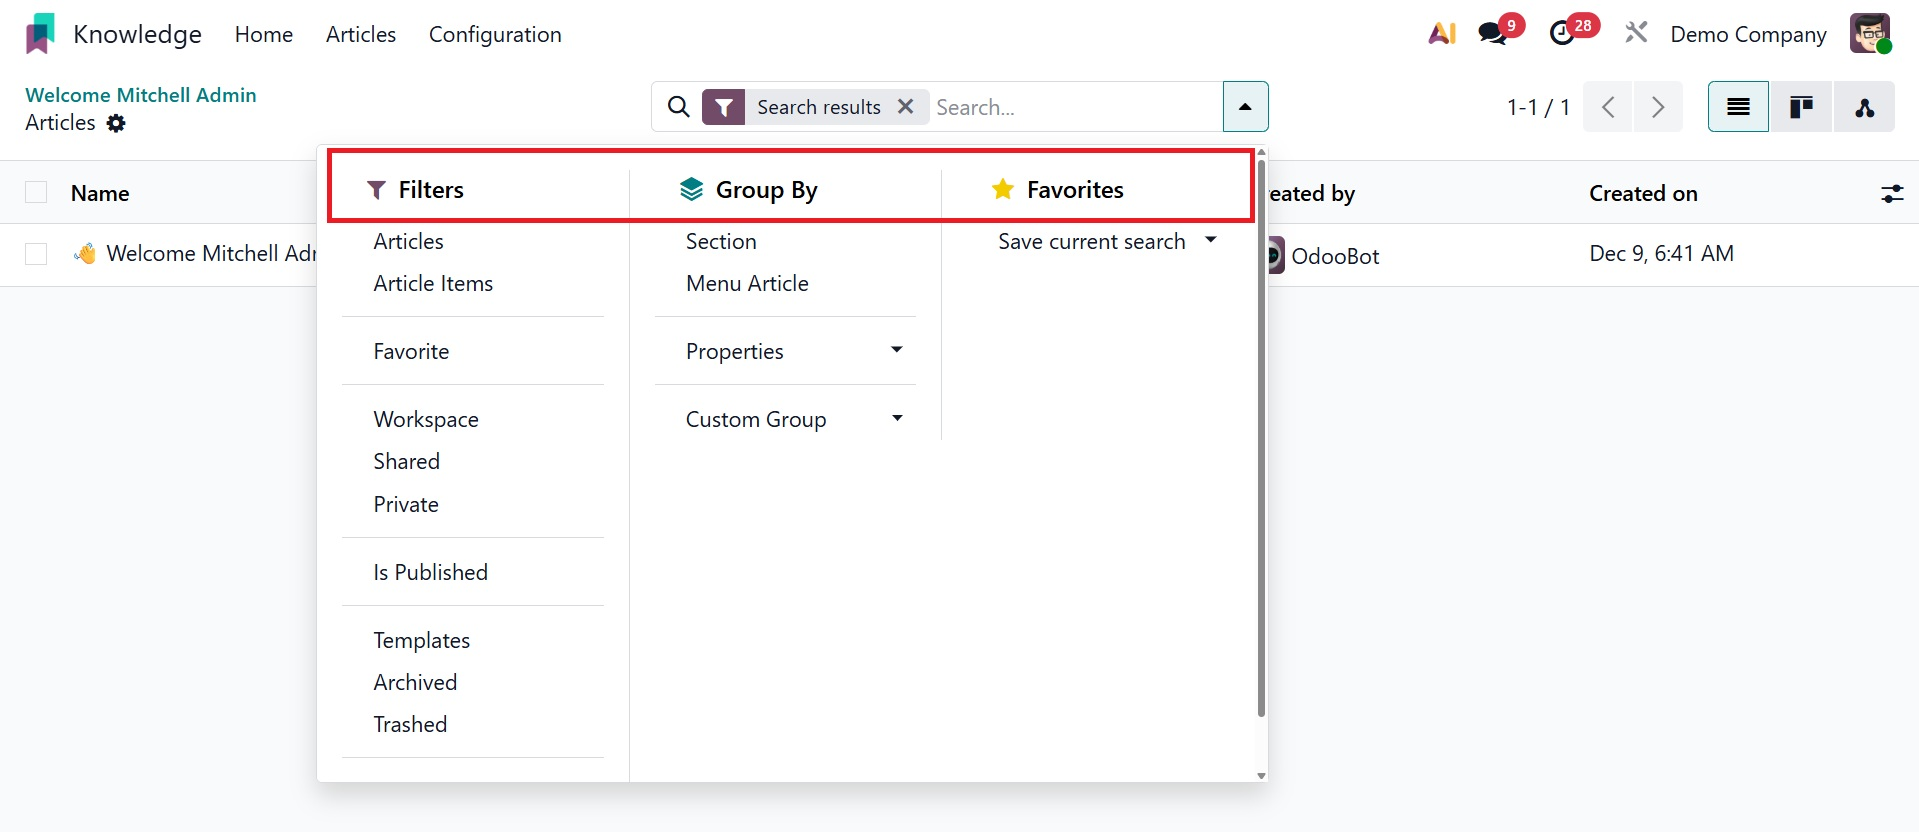
To locate articles, utilize the search bar. Article Items, Favorite, Workspace, Shared, Private, and Trashed are some of the article filters. By selecting the Add Custom Filter button, you may also add more than one custom filter to the articles. The default Group By option can be used to organize the articles by Section and Menu Article. To give articles a custom grouping option, click the Add Custom Group button.
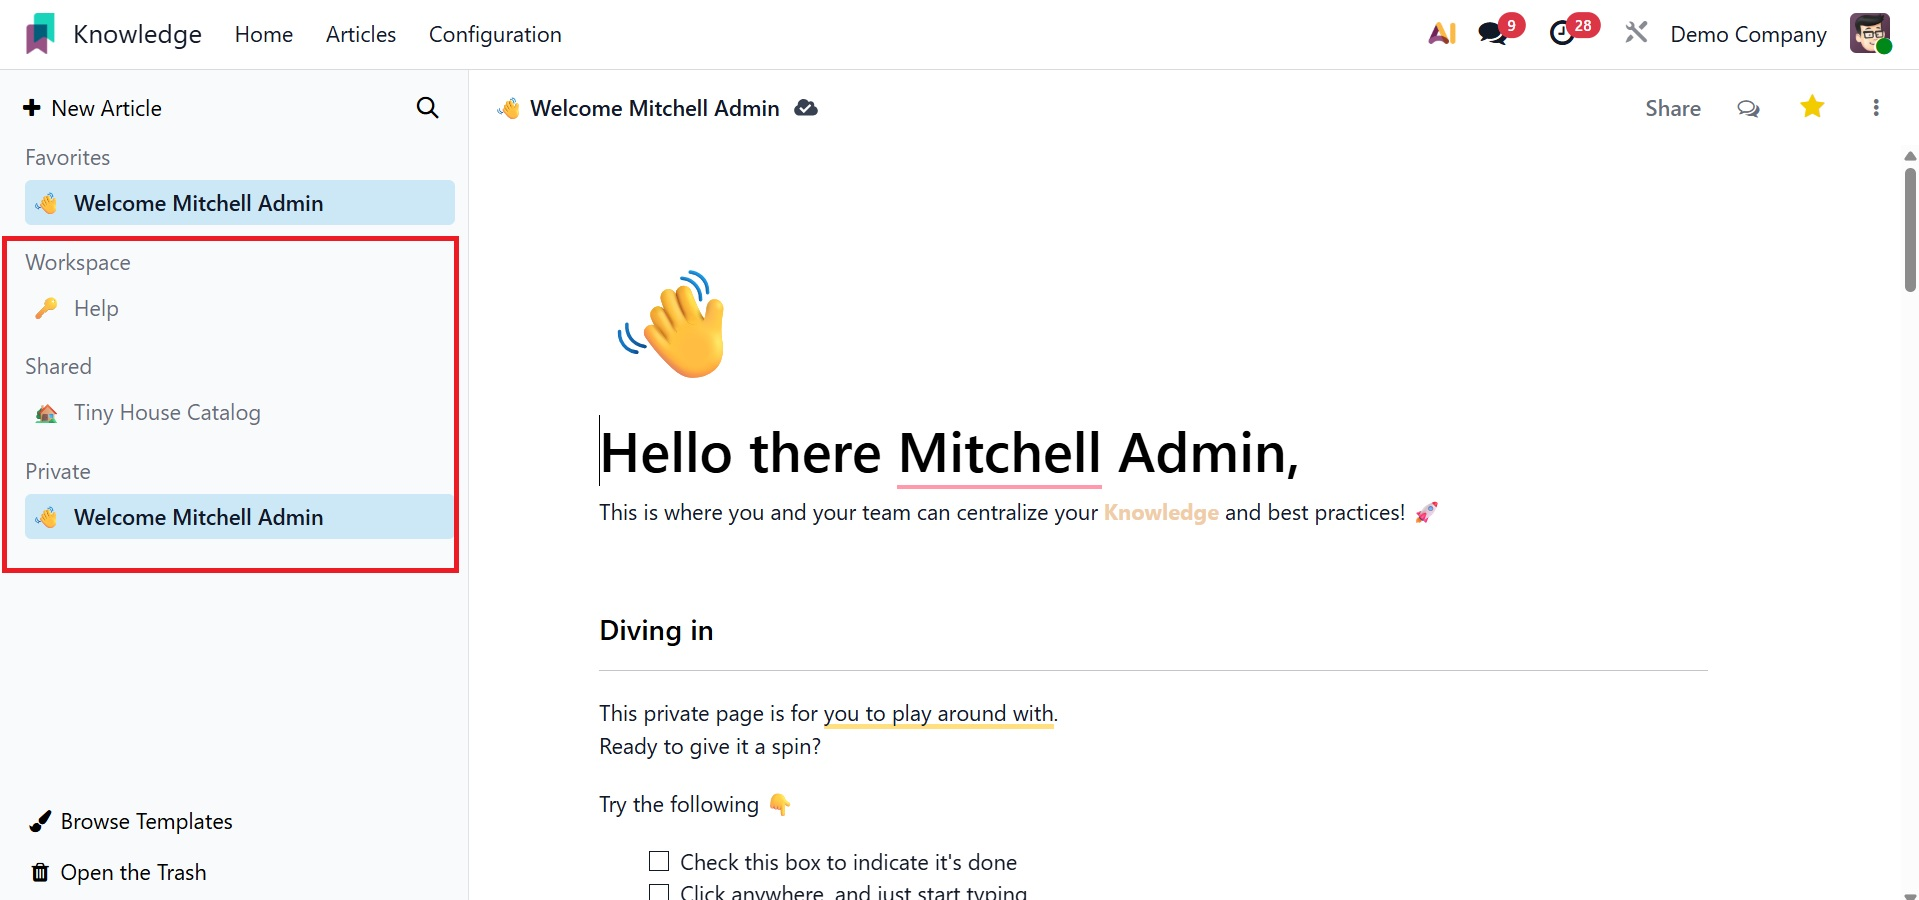
You can add articles to your favorite list by clicking the Star icon that appears on each item. From the home page itself, you can see a list of your favorite articles. Every article you have chosen will be displayed with the star icon in the Favorites menu on the left side of the screen, as seen in the image below.
Additionally, there will be distinct options for private, shared, and workspace articles.
Additionally, you can access the garbage options and use the browse template. While Open the Trash gives you access to a list of deleted articles that can be restored, Browse Templates lets you choose pre-made article templates to utilize as a starting point for new articles.
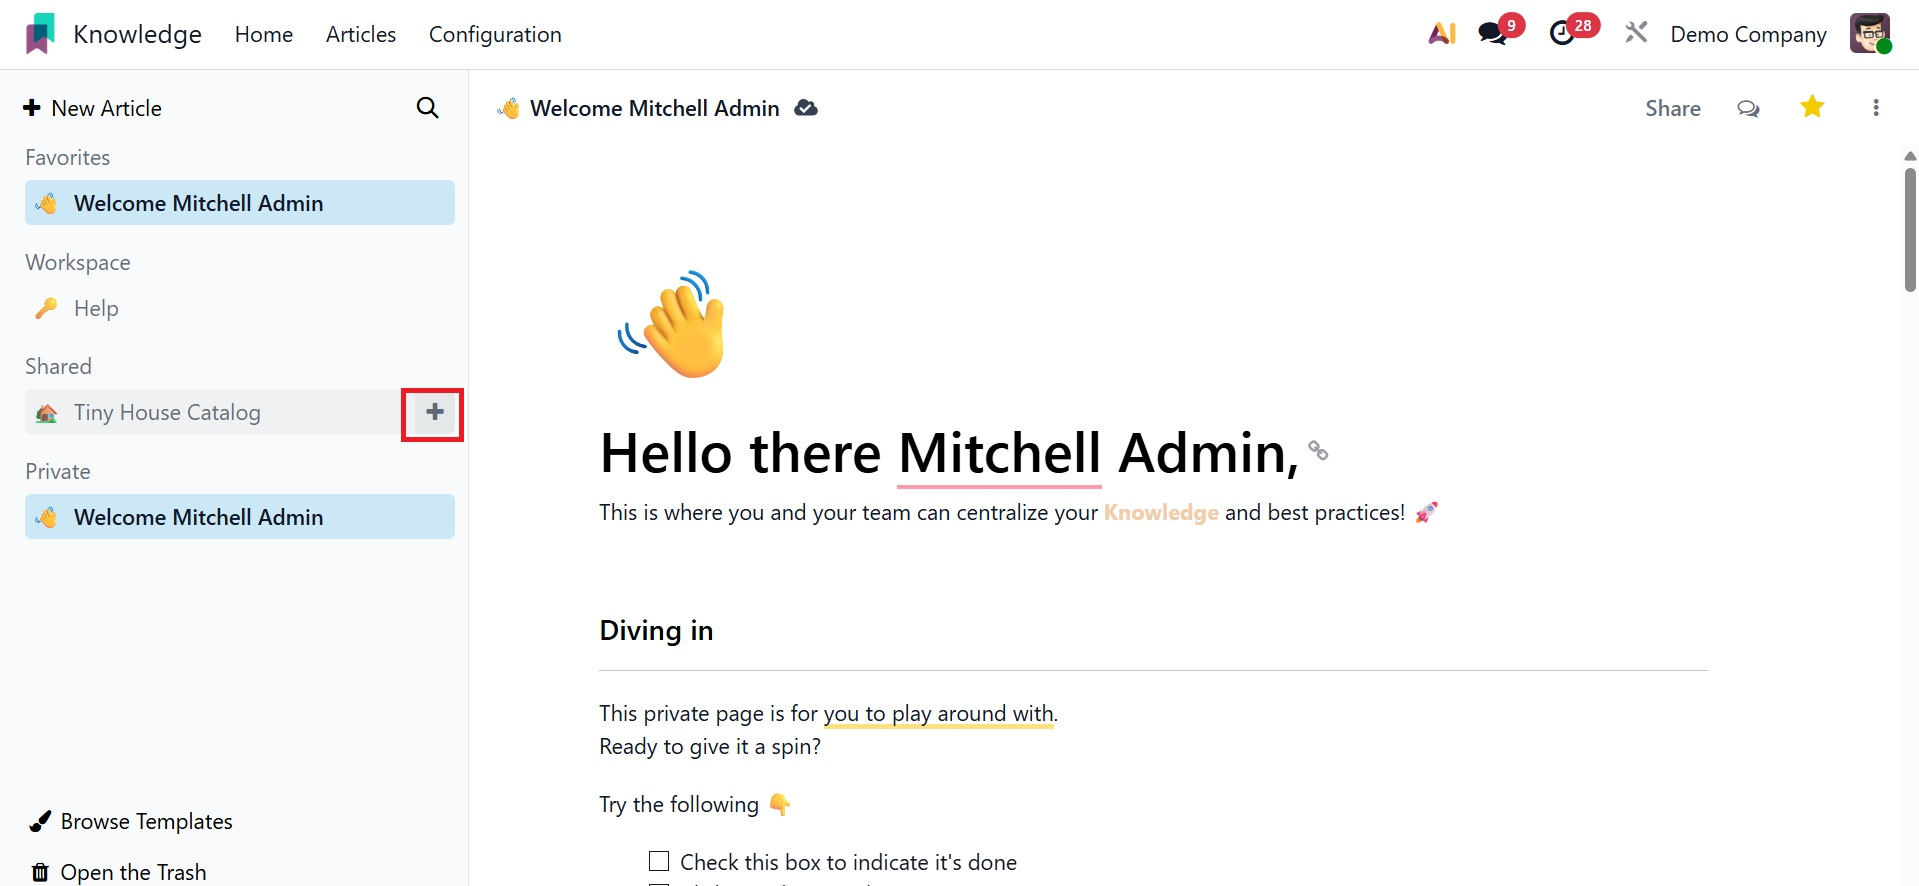
Everything is well-organized in this module. Move your cursor close to the Workspace menu to start a new article for your workspace. As you can see below, a plus icon will show up, opening a new window where you may start creating a new article.
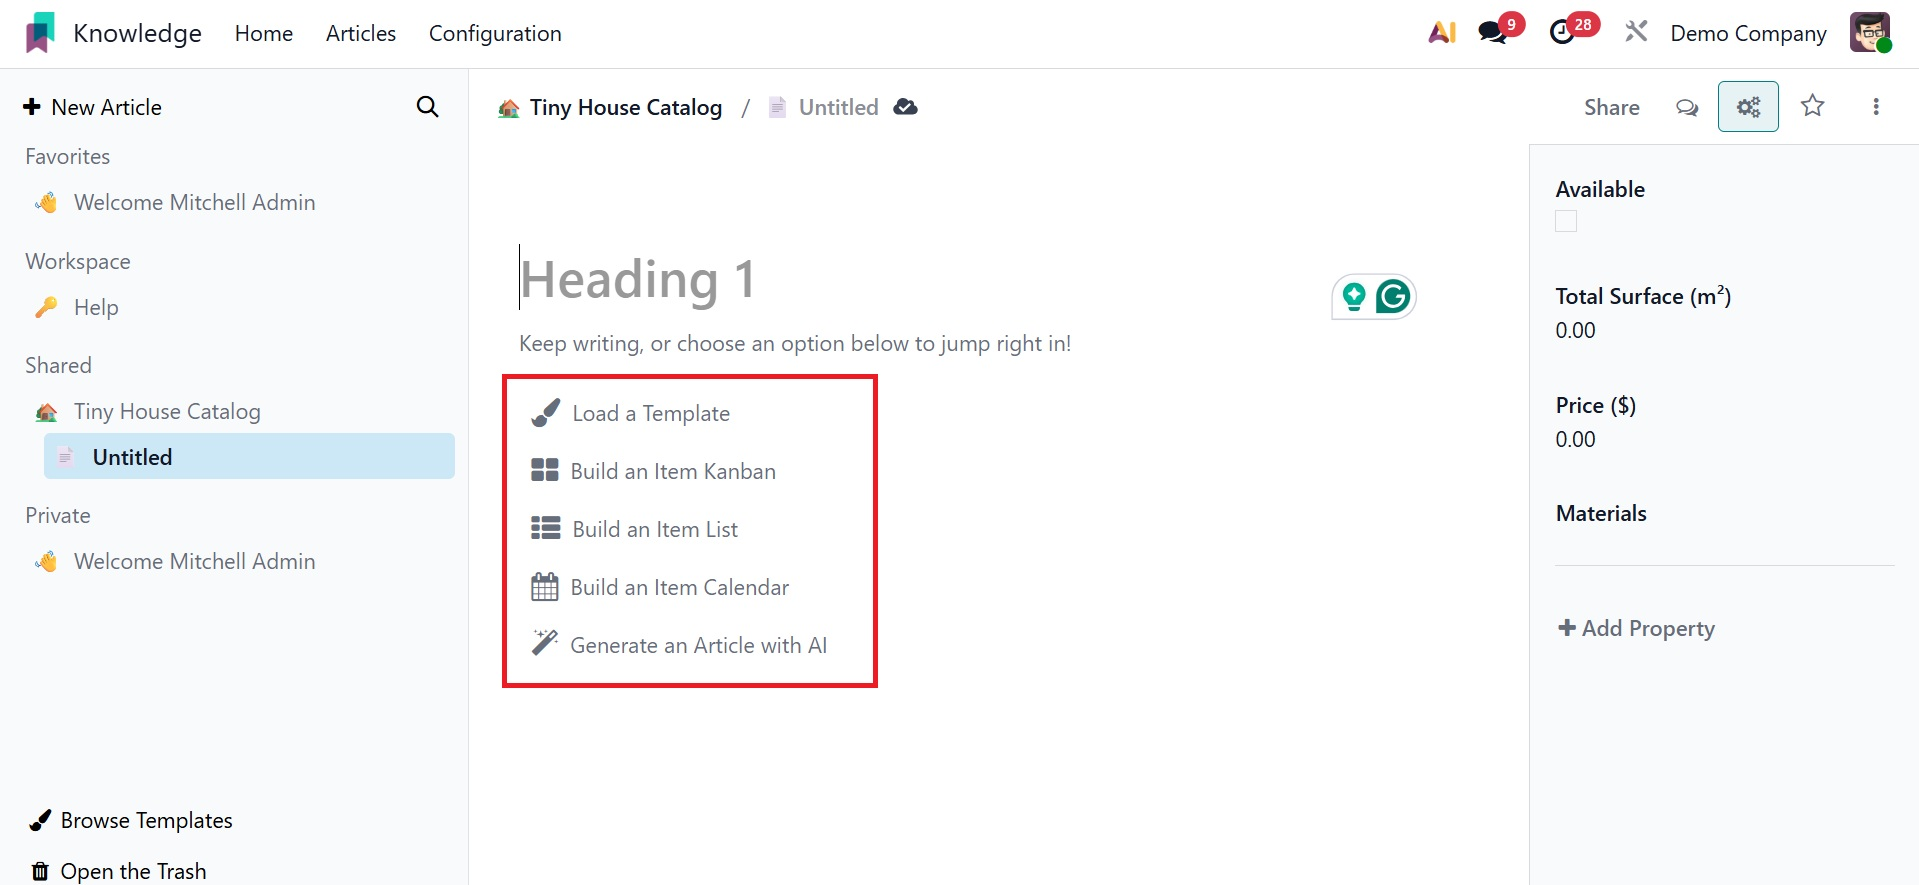
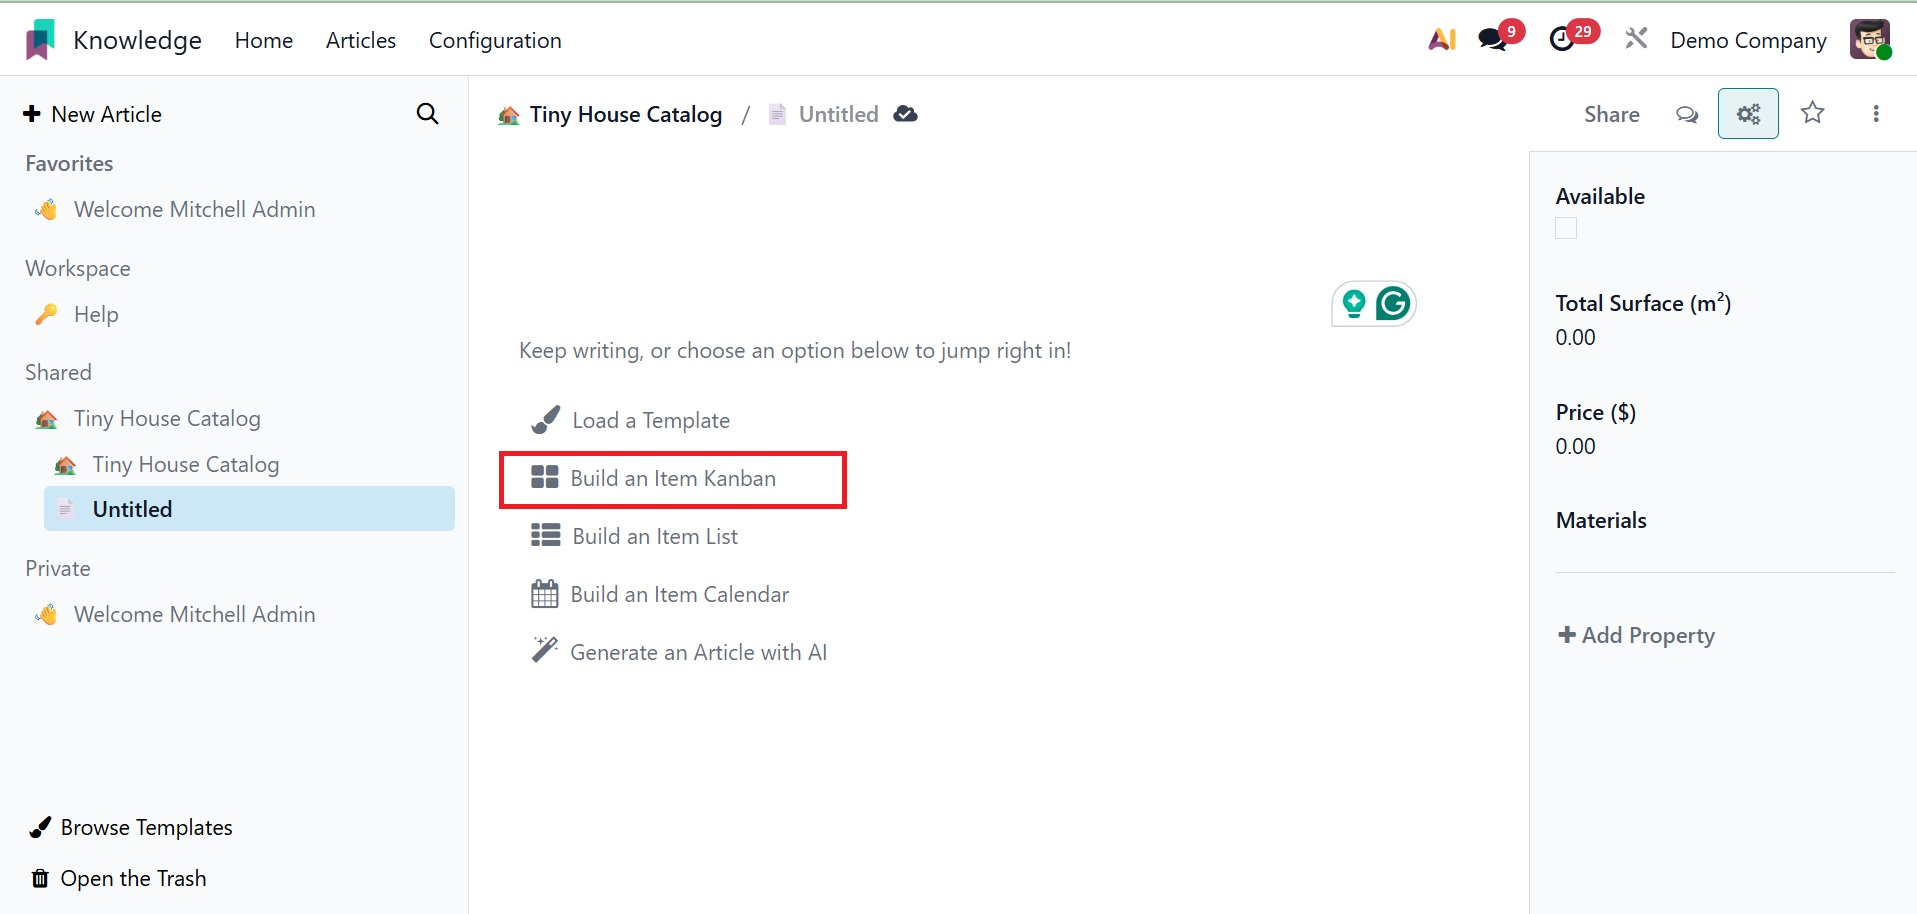
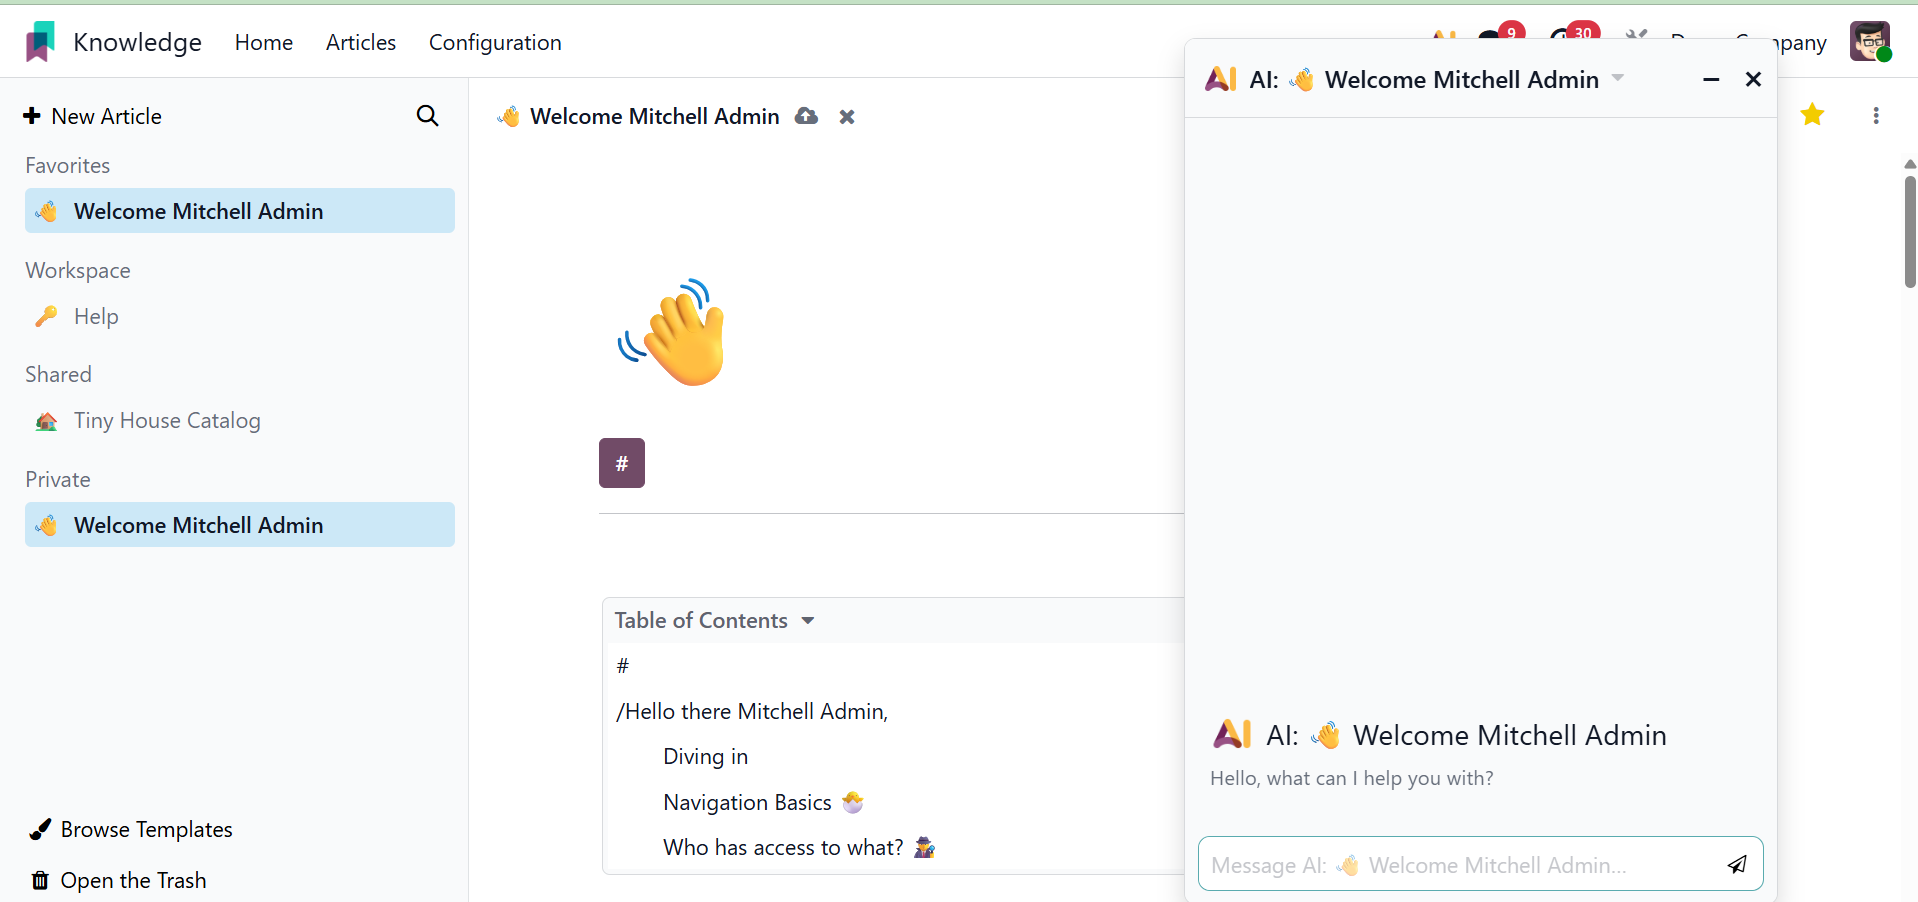
This box allows you to create a new article based on your requirements. Within the article box, users can add other features. Here are a few of them: Load a Template, Build an Item Calendar, Build an Item Kanban, Generate an Article with AI, and Build an Item list.
A new pop-up window will appear when you choose the Load Template option. Multiple categories of templates are shown on the left side of the window. Clicking the Load Template option allows users to add a template that they have chosen from the relevant category.
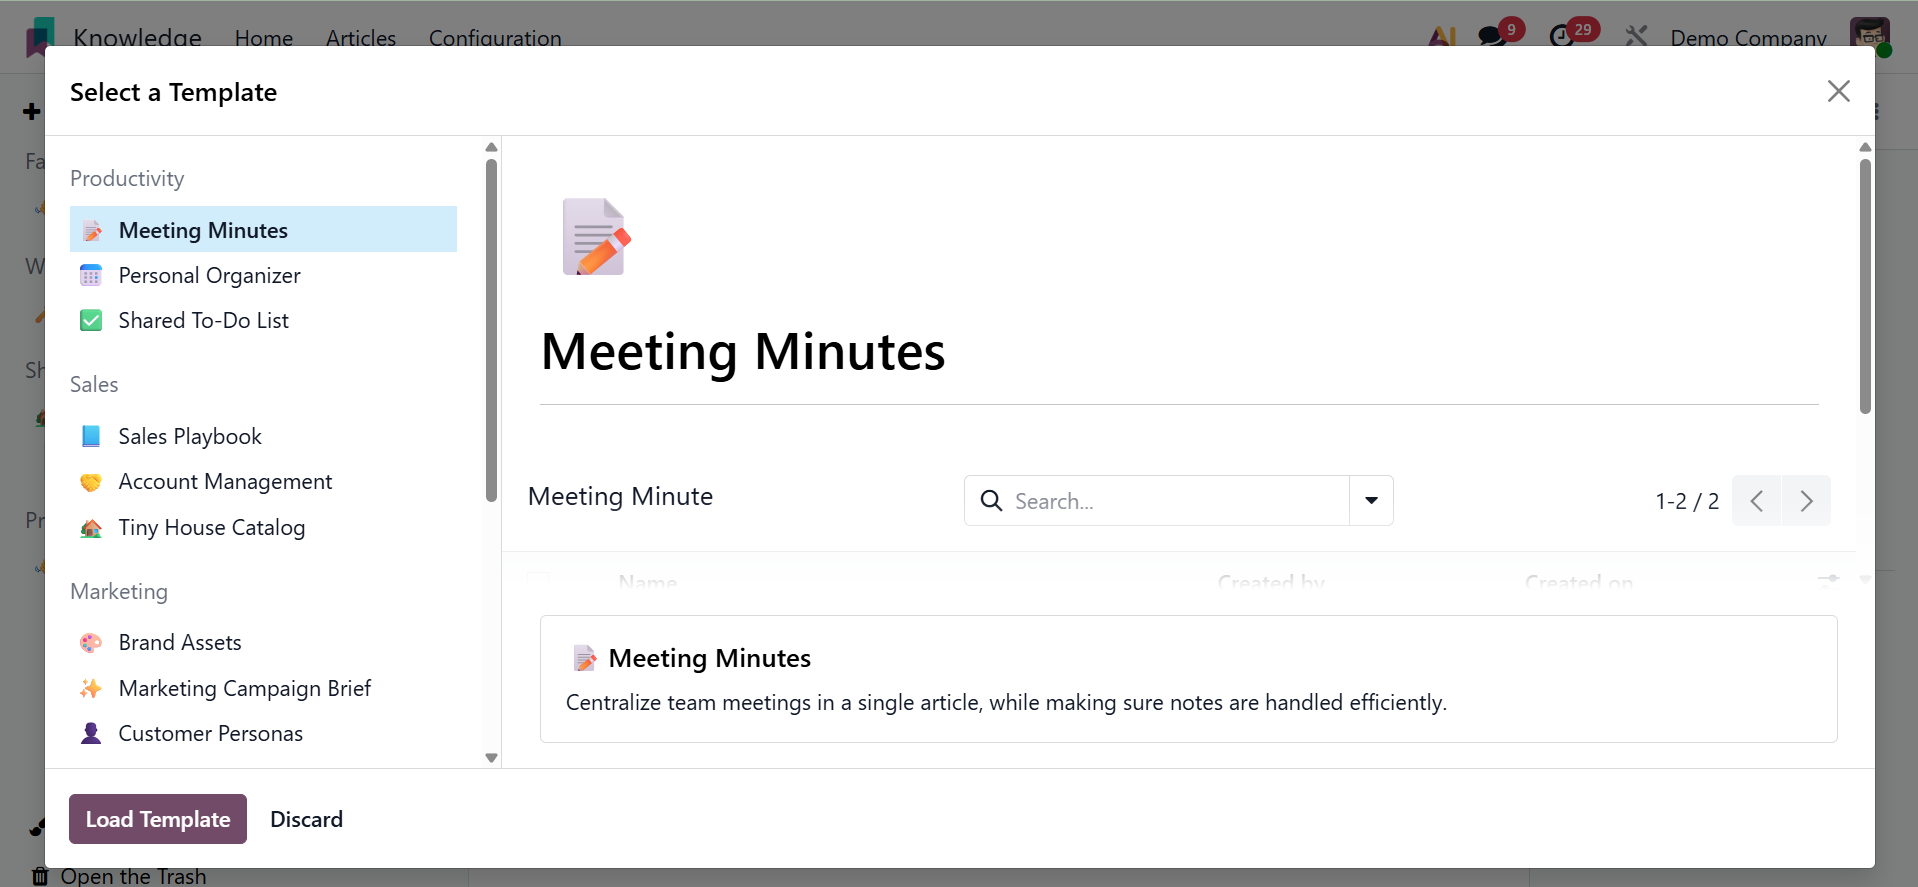
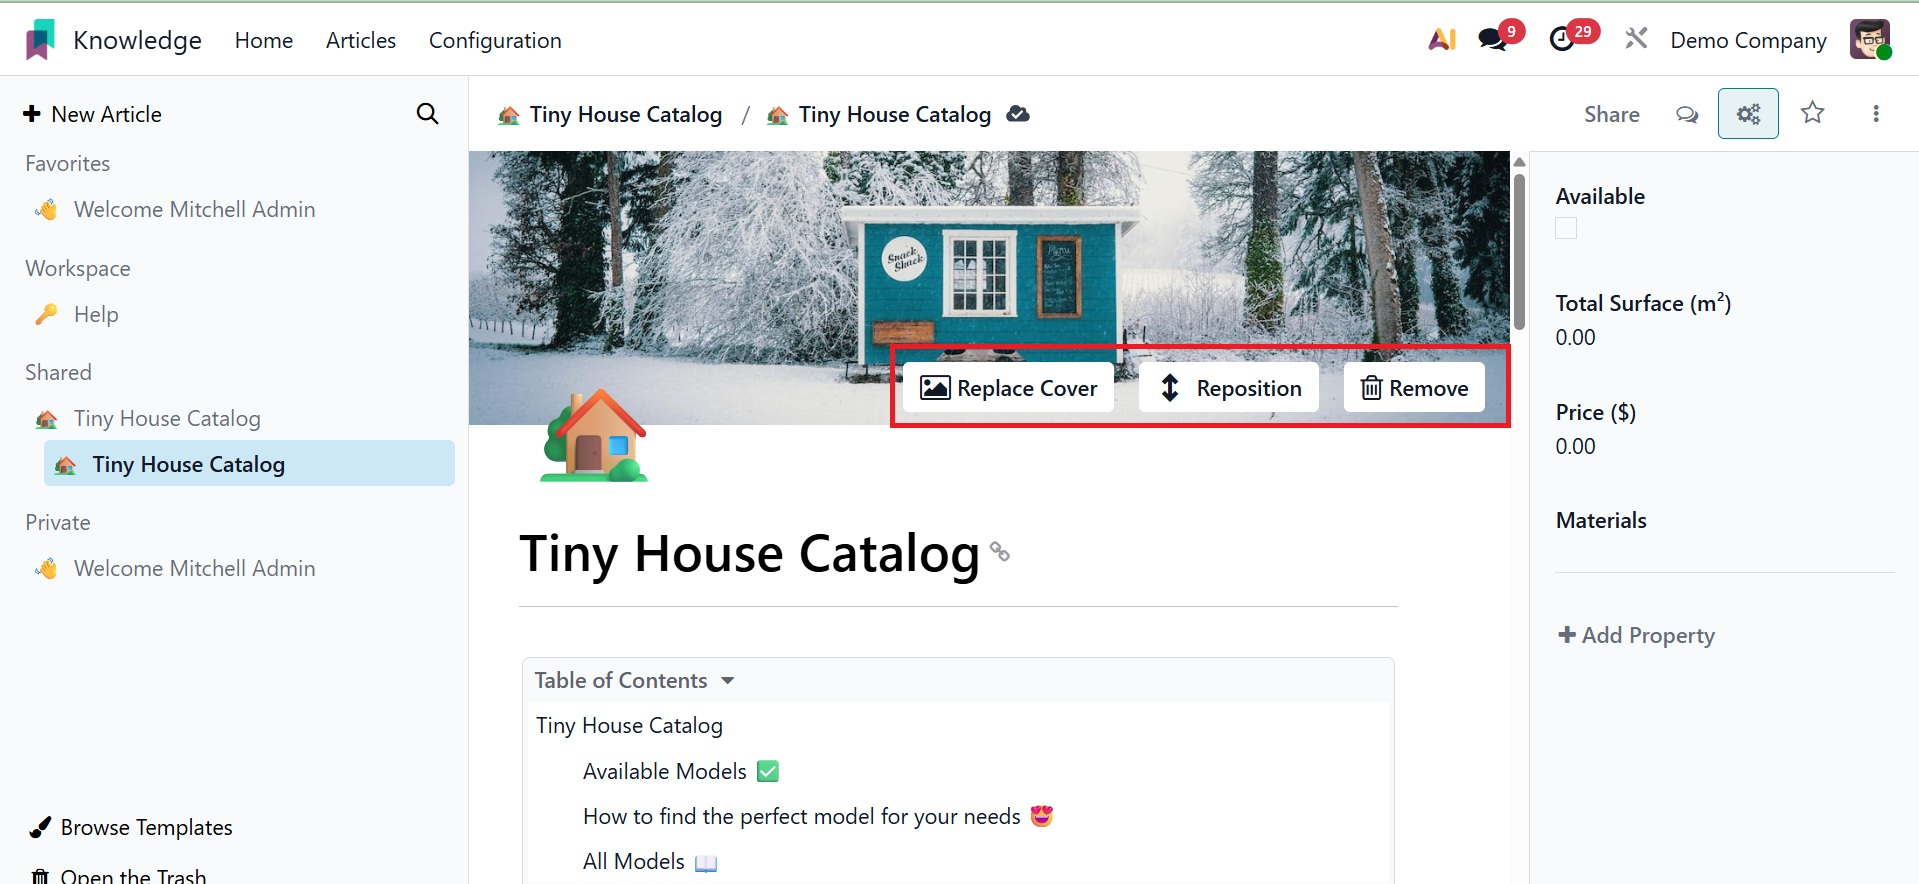
The article will then be automatically expanded using the chosen template. The article's image and content can be moved, changed, or deleted.
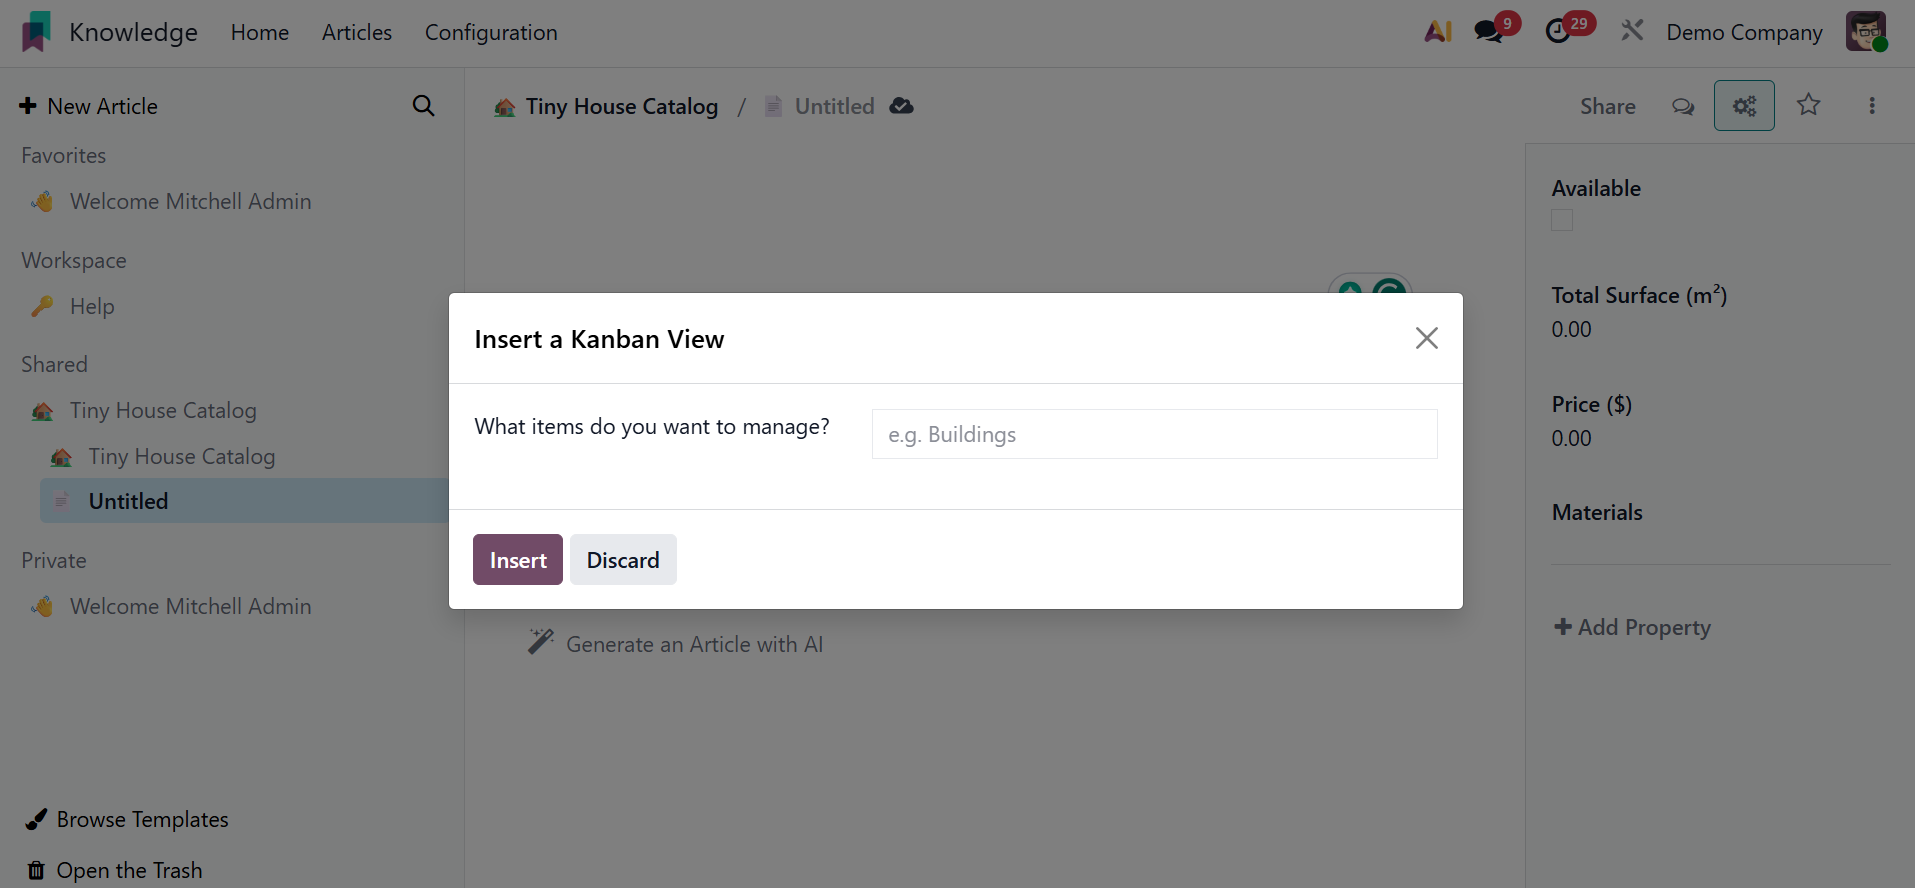
A dialog box asking you to add the items you wish to manage will appear when you click the Build an Item Kanban button.
Consequently, when you add an item, the Kanban view will be added depending on that item. Click the Insert button after that.
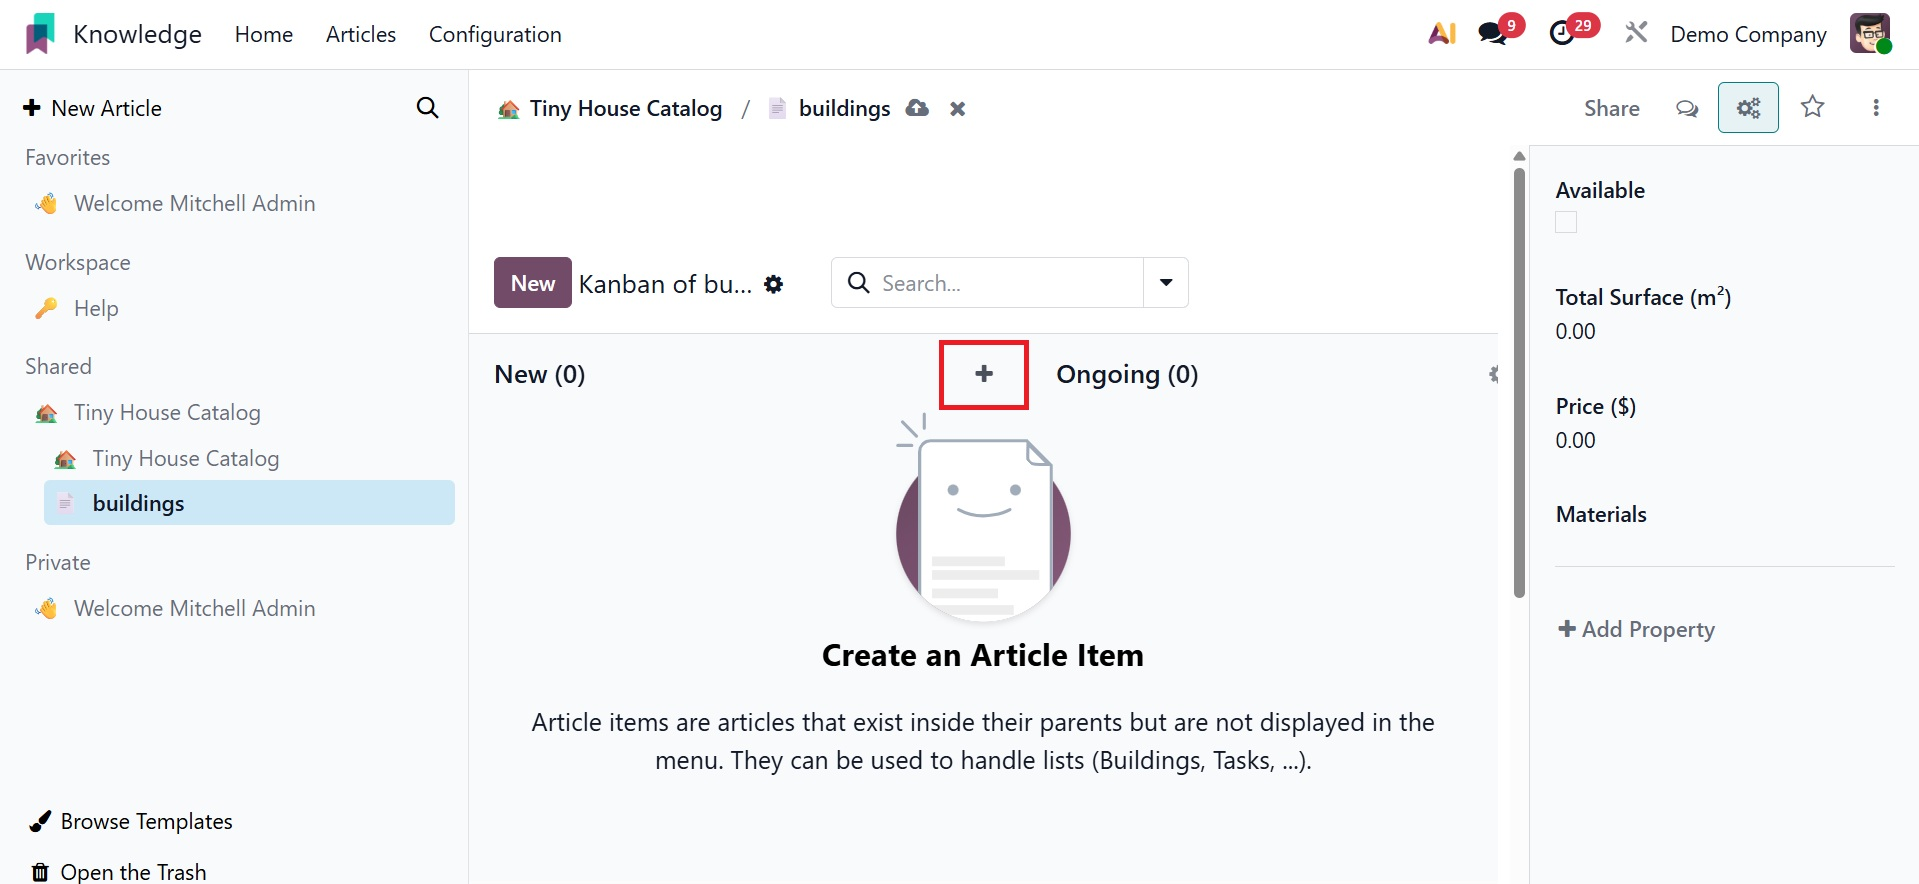
The paper will then incorporate the Kanban perspective. By default, the pop-up window displays the name that the user entered. The Open button can be used to rename it and open it in full-screen mode. Click the plus sign to add more stages to the Kanban display.
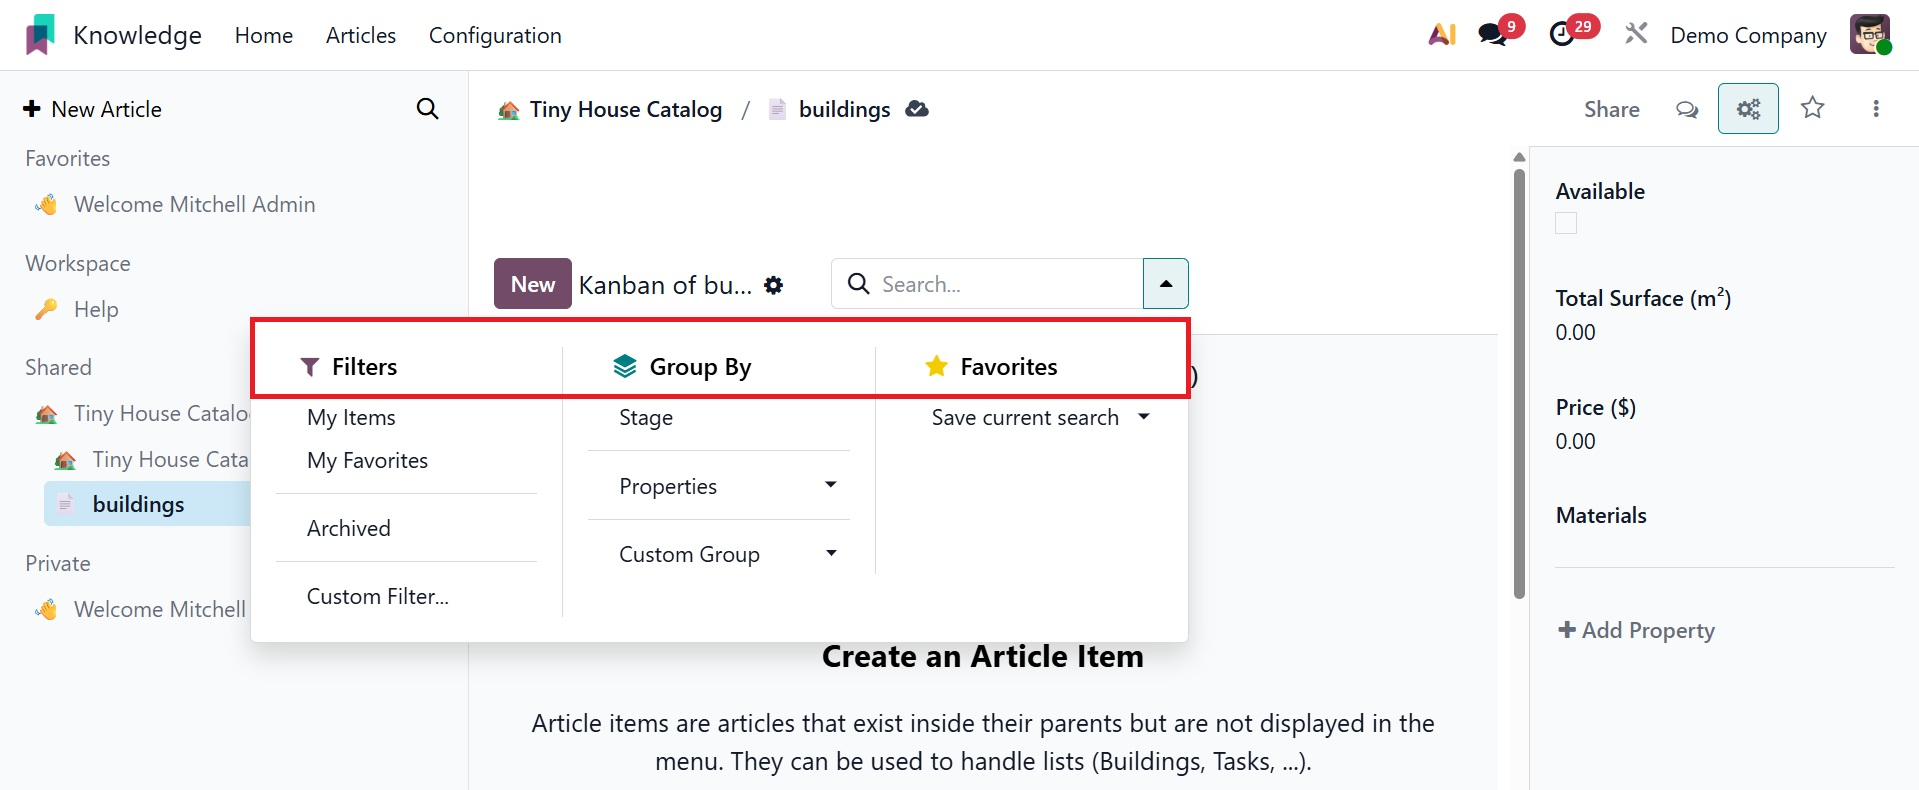
You can select the Filter, Group By, and Favorite options directly from the Search field.
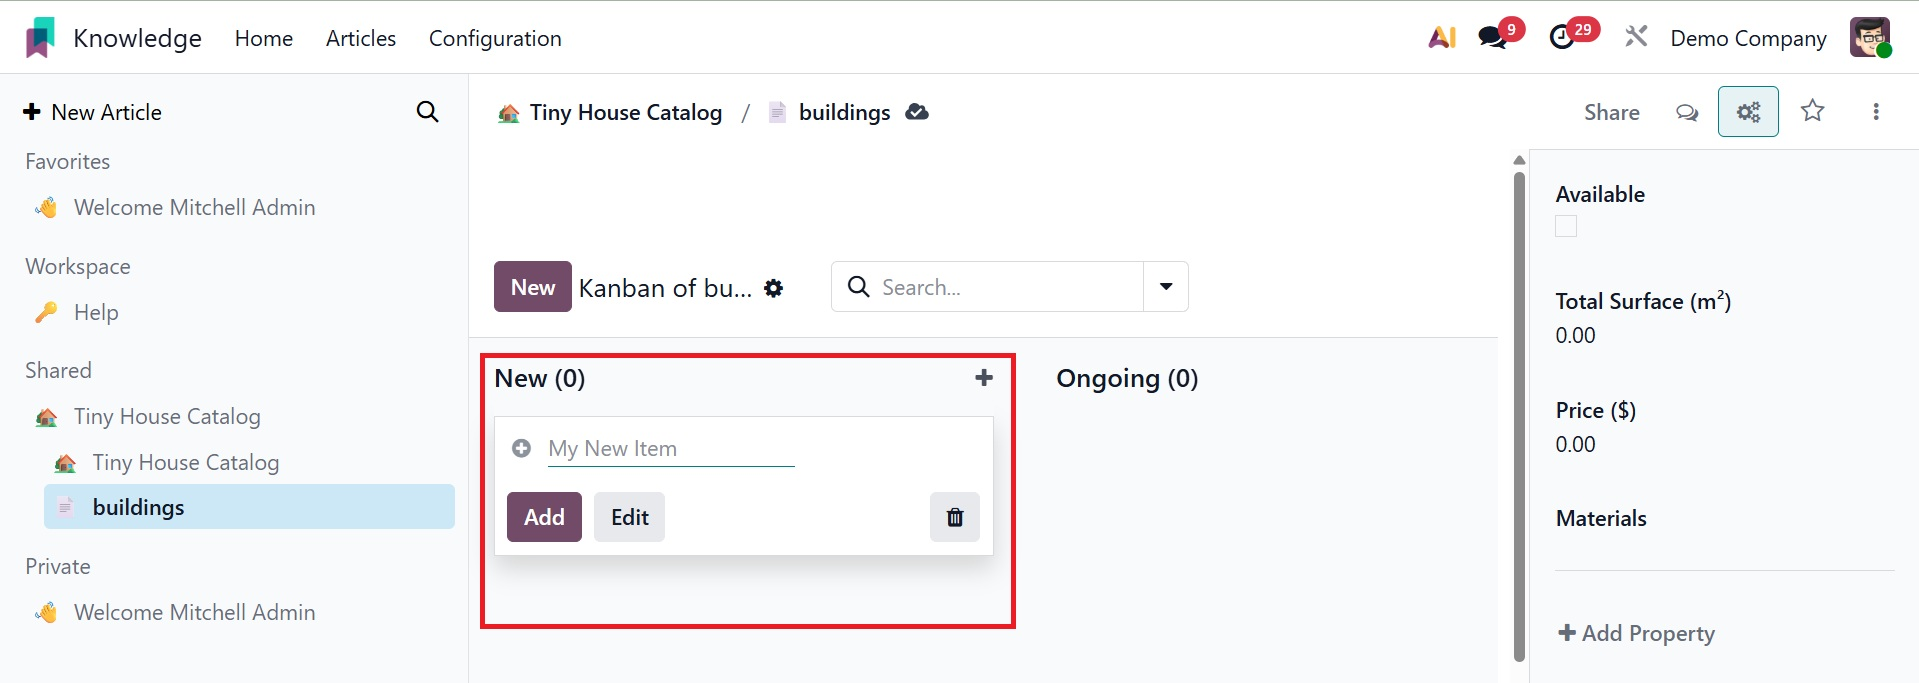
Then, to add new things, click the New button. Clicking the New button during the first step allows you to add a new object, as illustrated below.
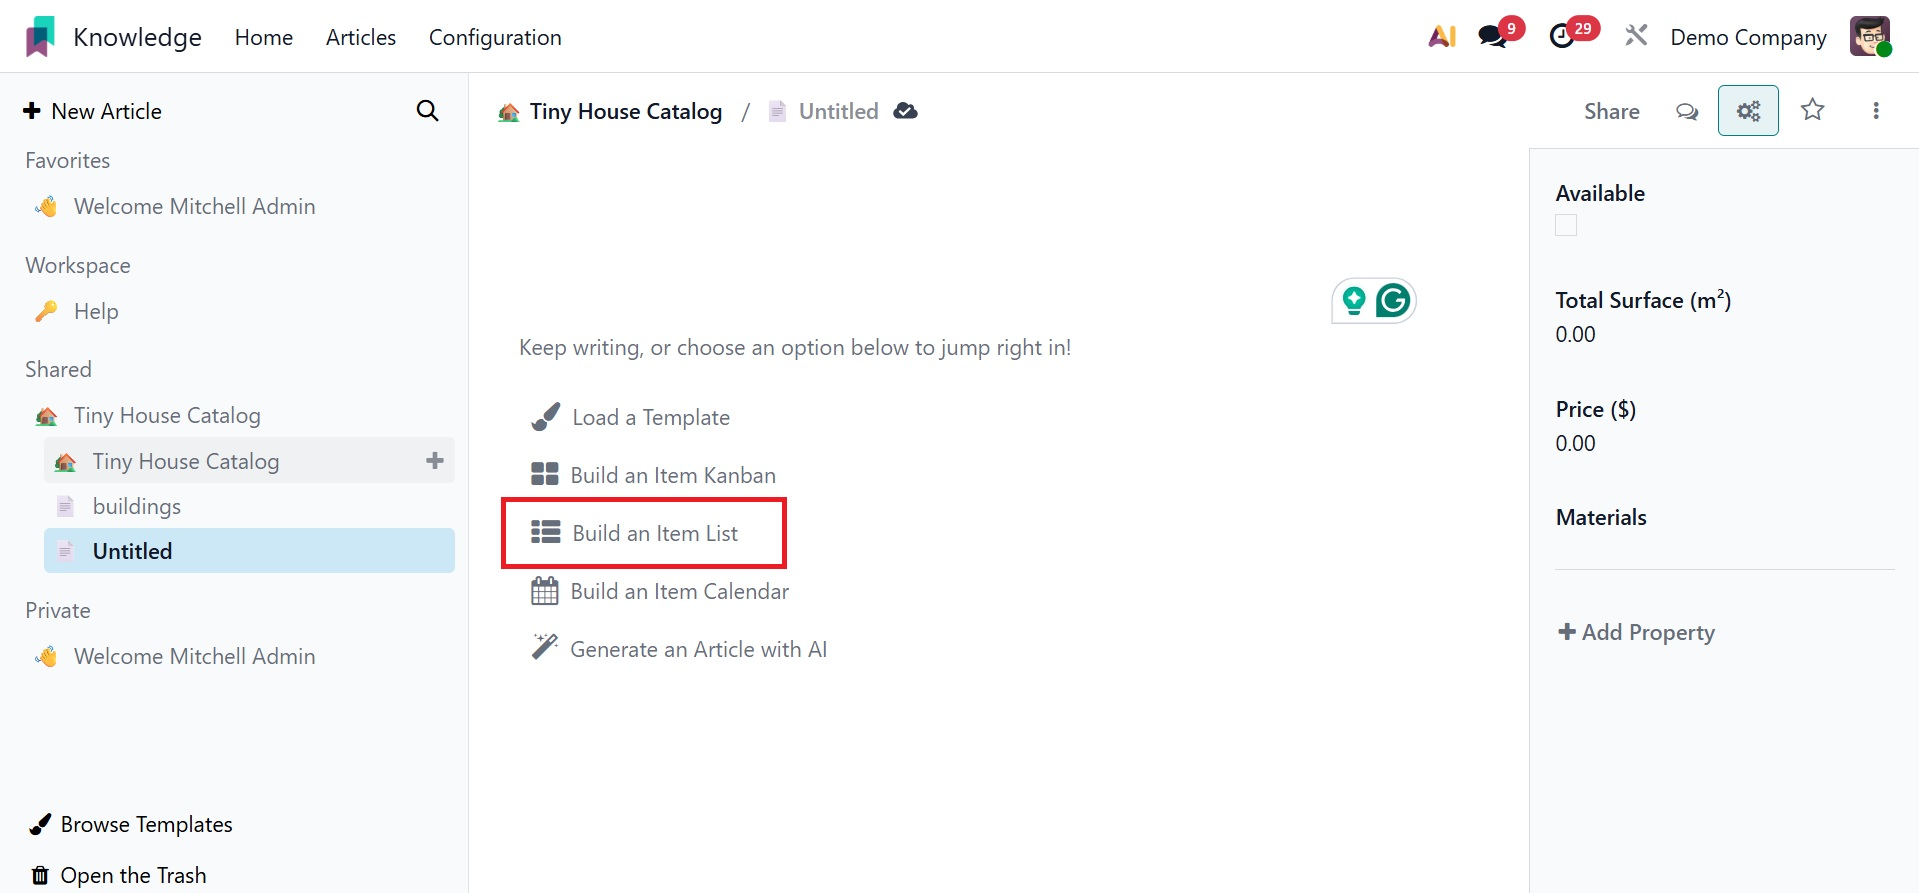
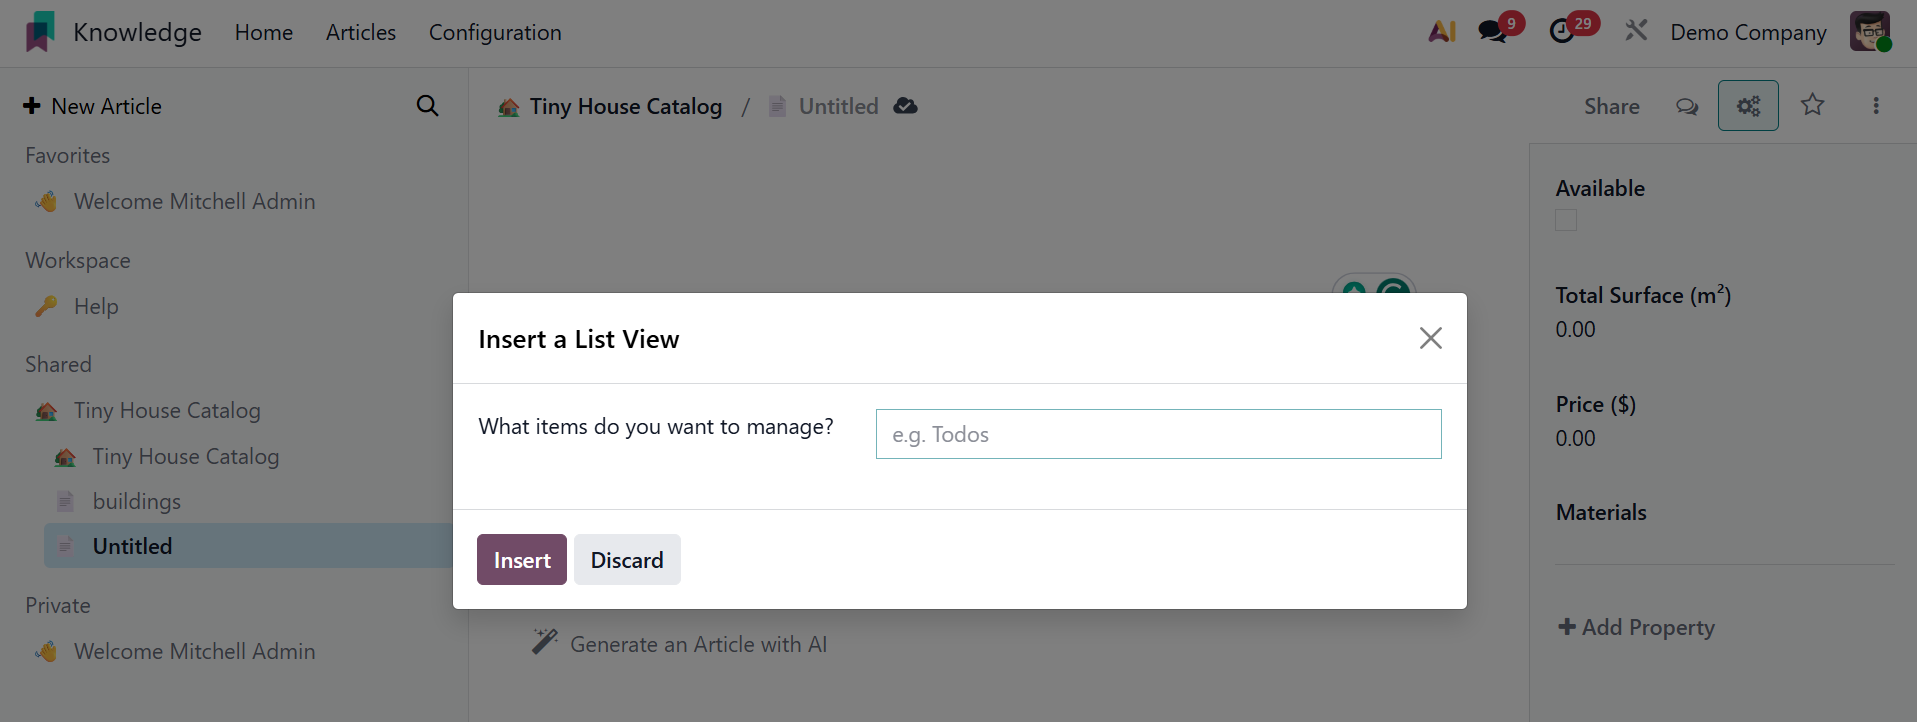
As previously mentioned, the user can add a new list view by specifying the item they wish to add in the pop-up box. Select the Build an Item List option.
Click the Insert button after that.
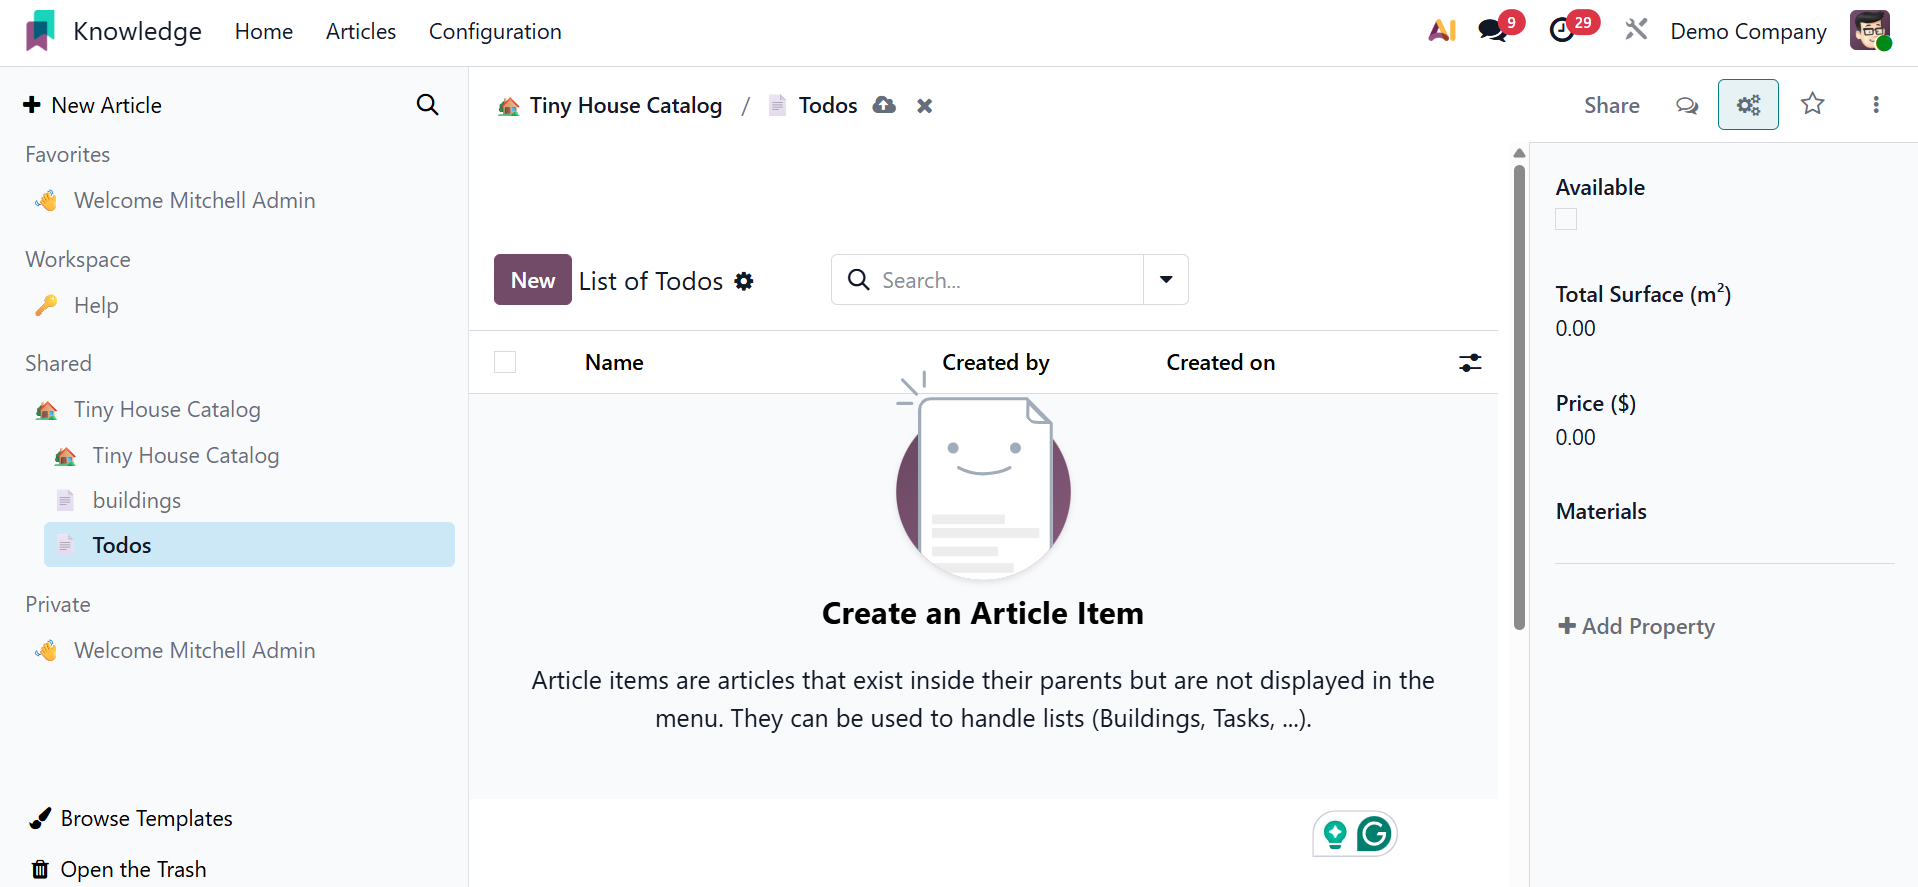
There, a listview with full-screen viewing and renaming capabilities was constructed. You can add new things by choosing the New button. This screen also displays the Search, Group By, and Favorite choices.
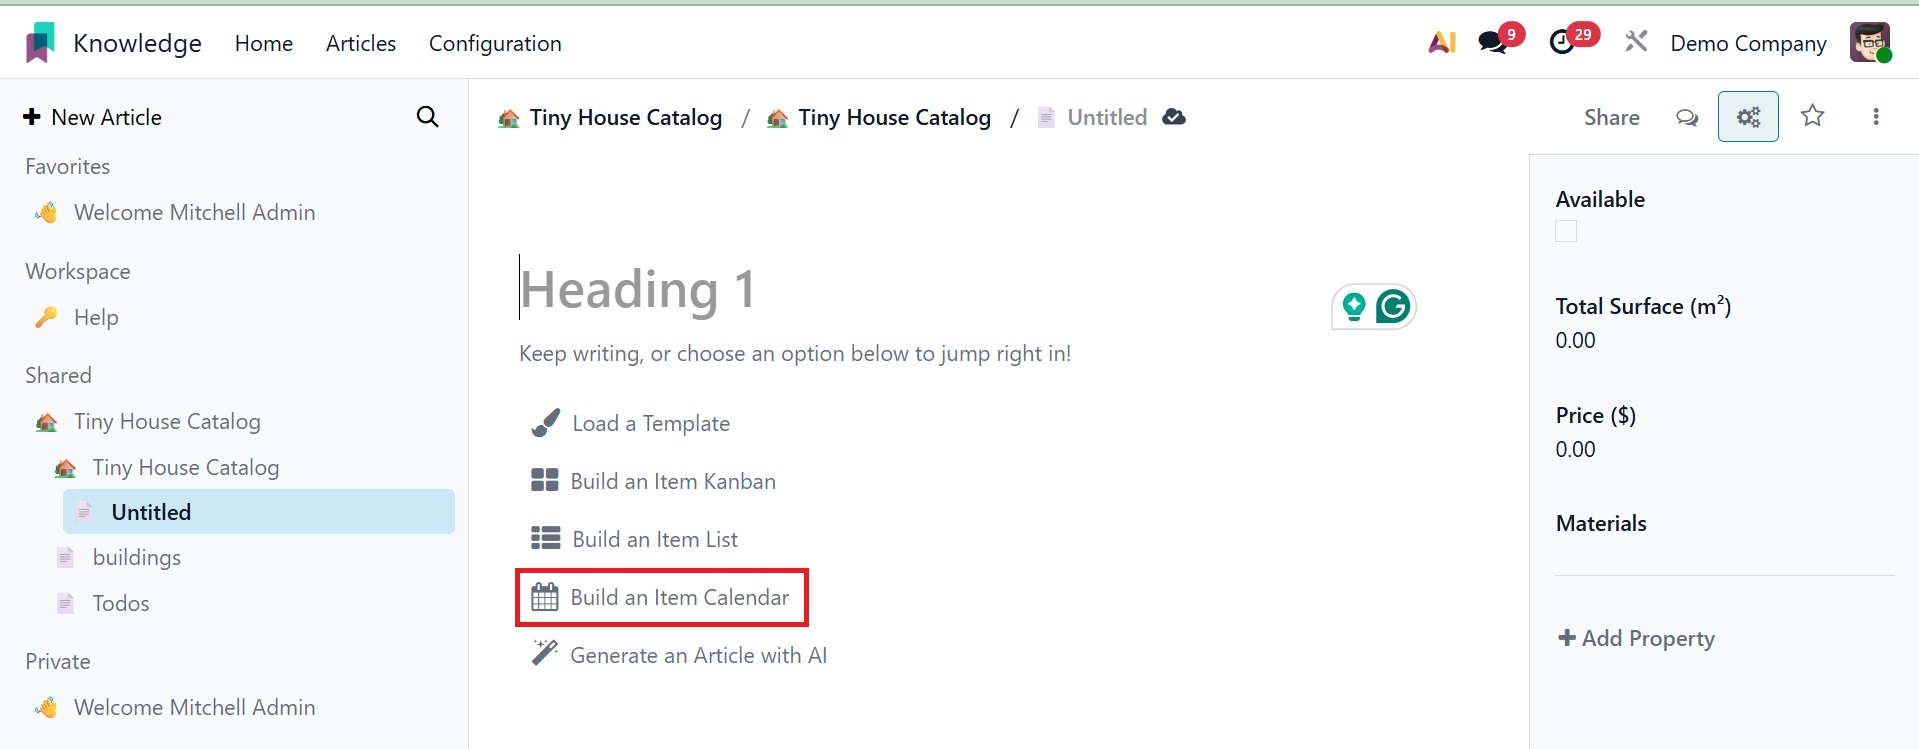
Similar to inserting a list view or a kanban view, the user must first specify which item or objects they wish to manage. Select the Build an item calendar option.
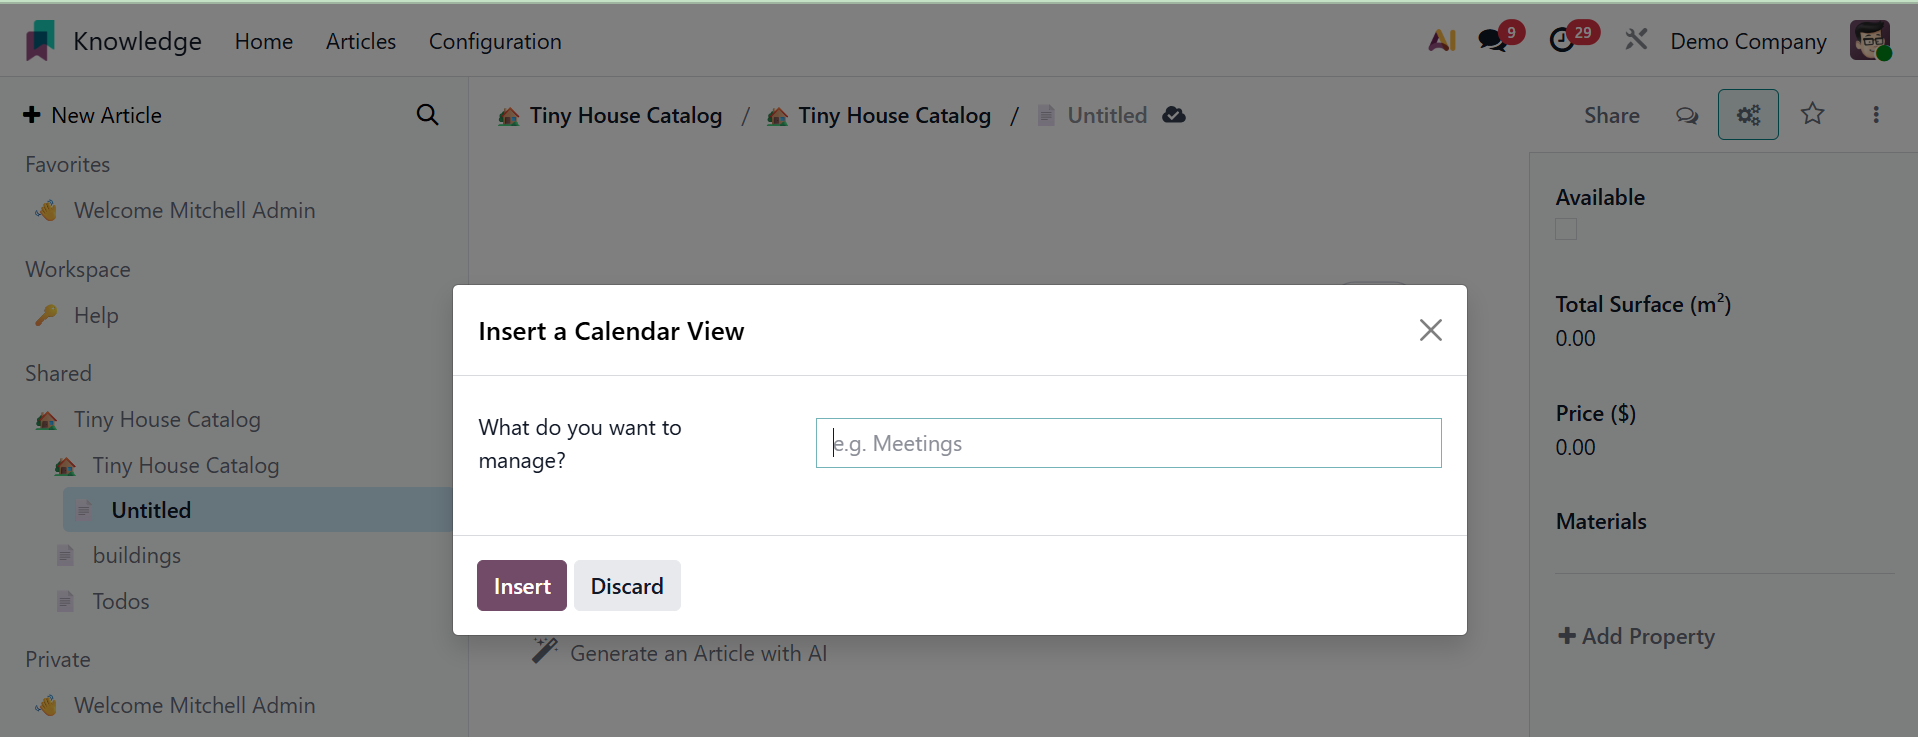
The appearance of the calendar will depend on the newly inserted item. Next, press the Insert button.
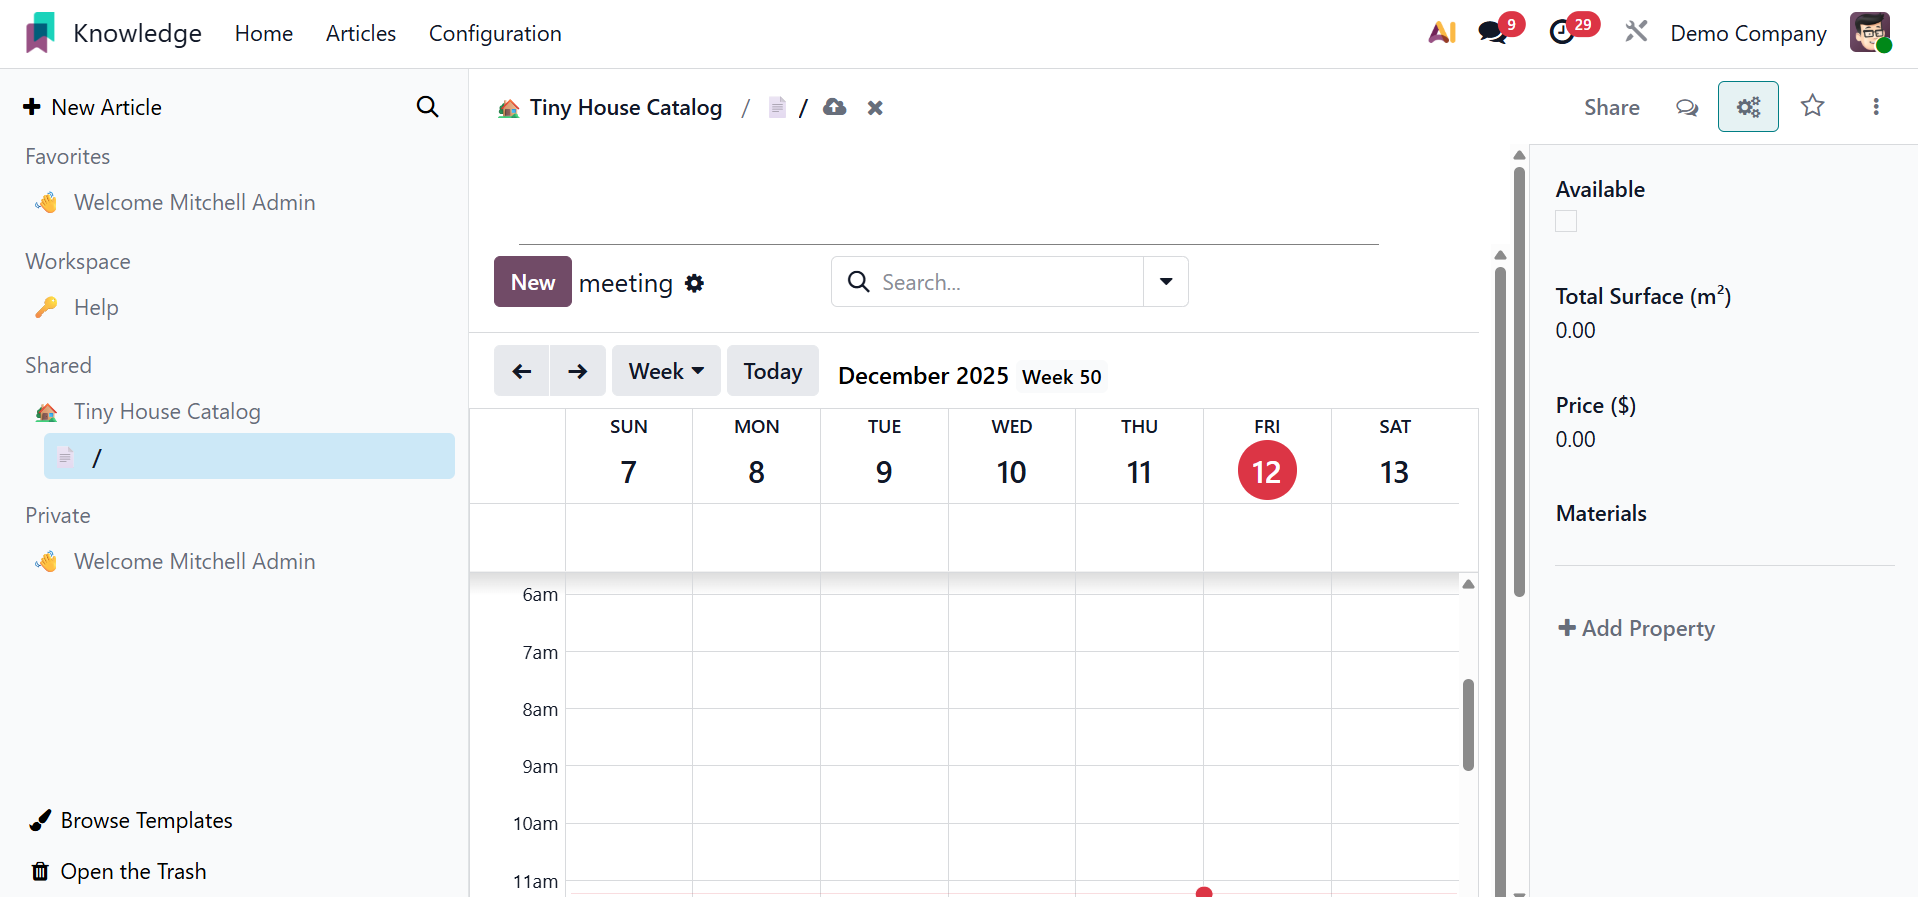
The screen will then display a new calendar. The calendar display can be configured to appear daily, monthly, or annually. Click the New button to add a new meeting.
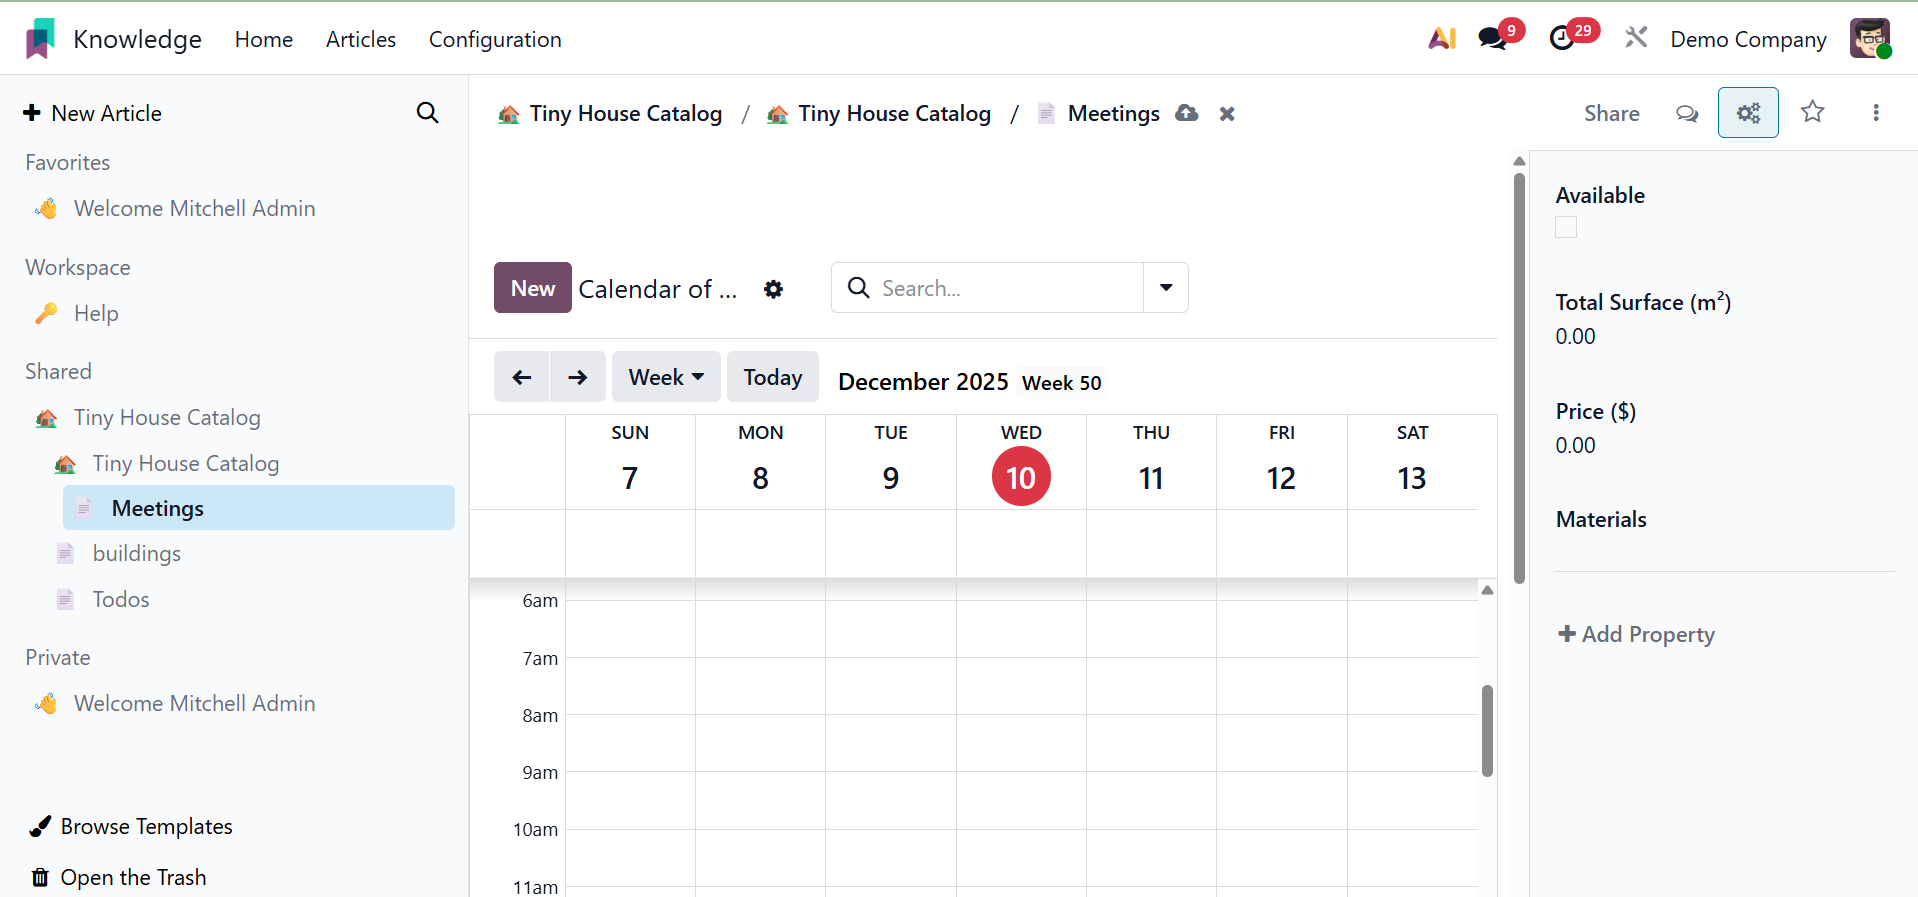
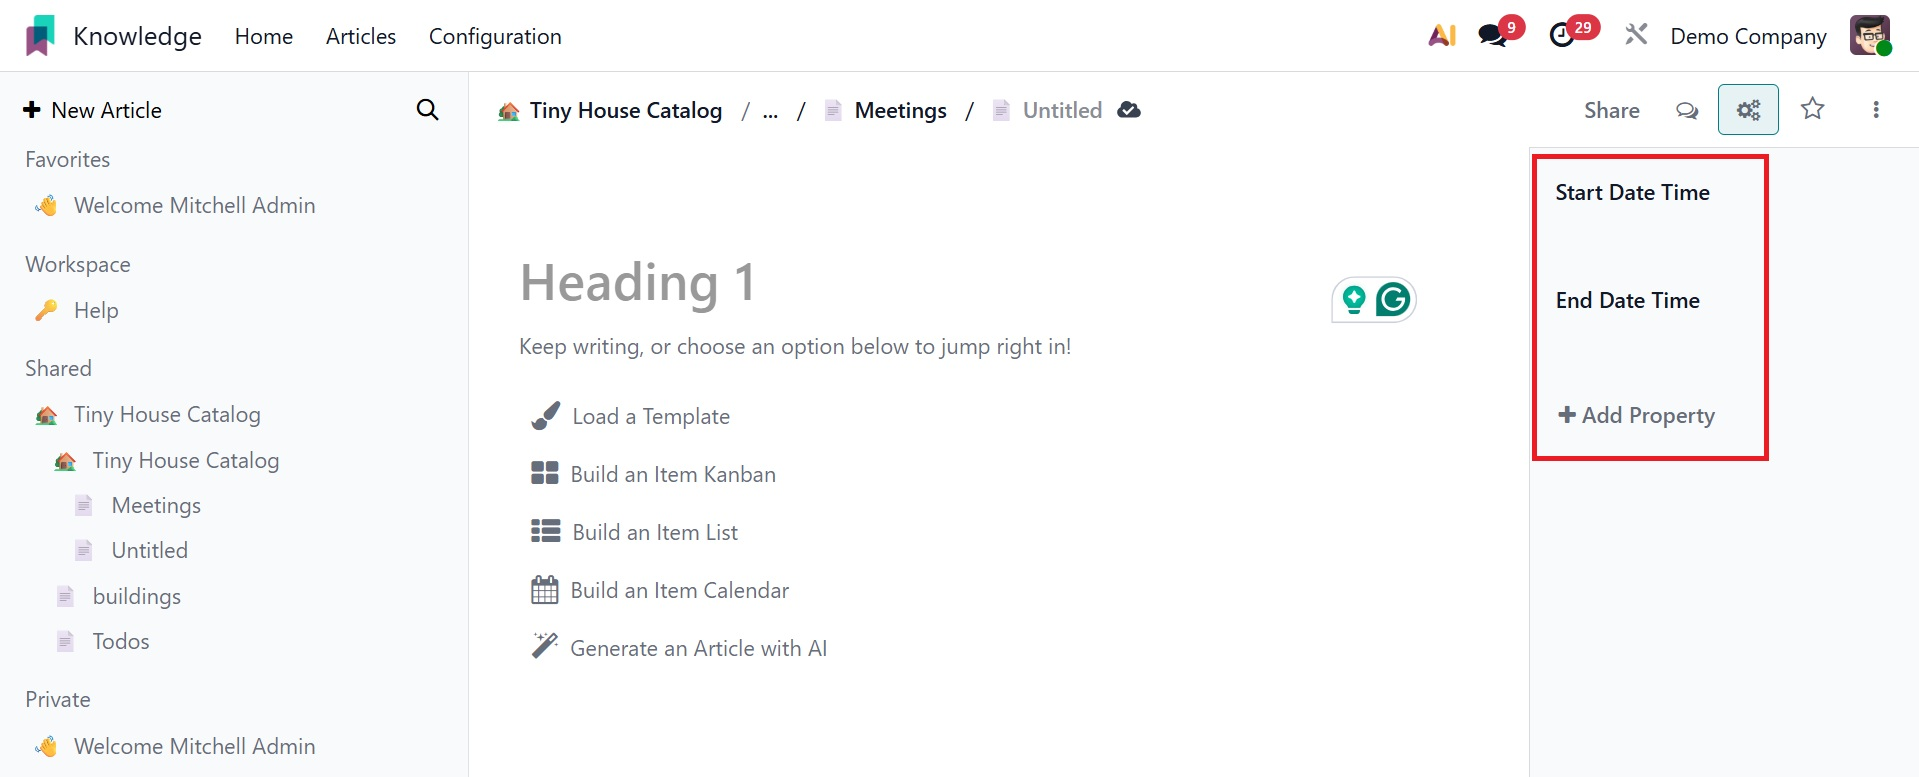
Next, add the title and the start and end times and dates. Click the Add Properties button to add properties.
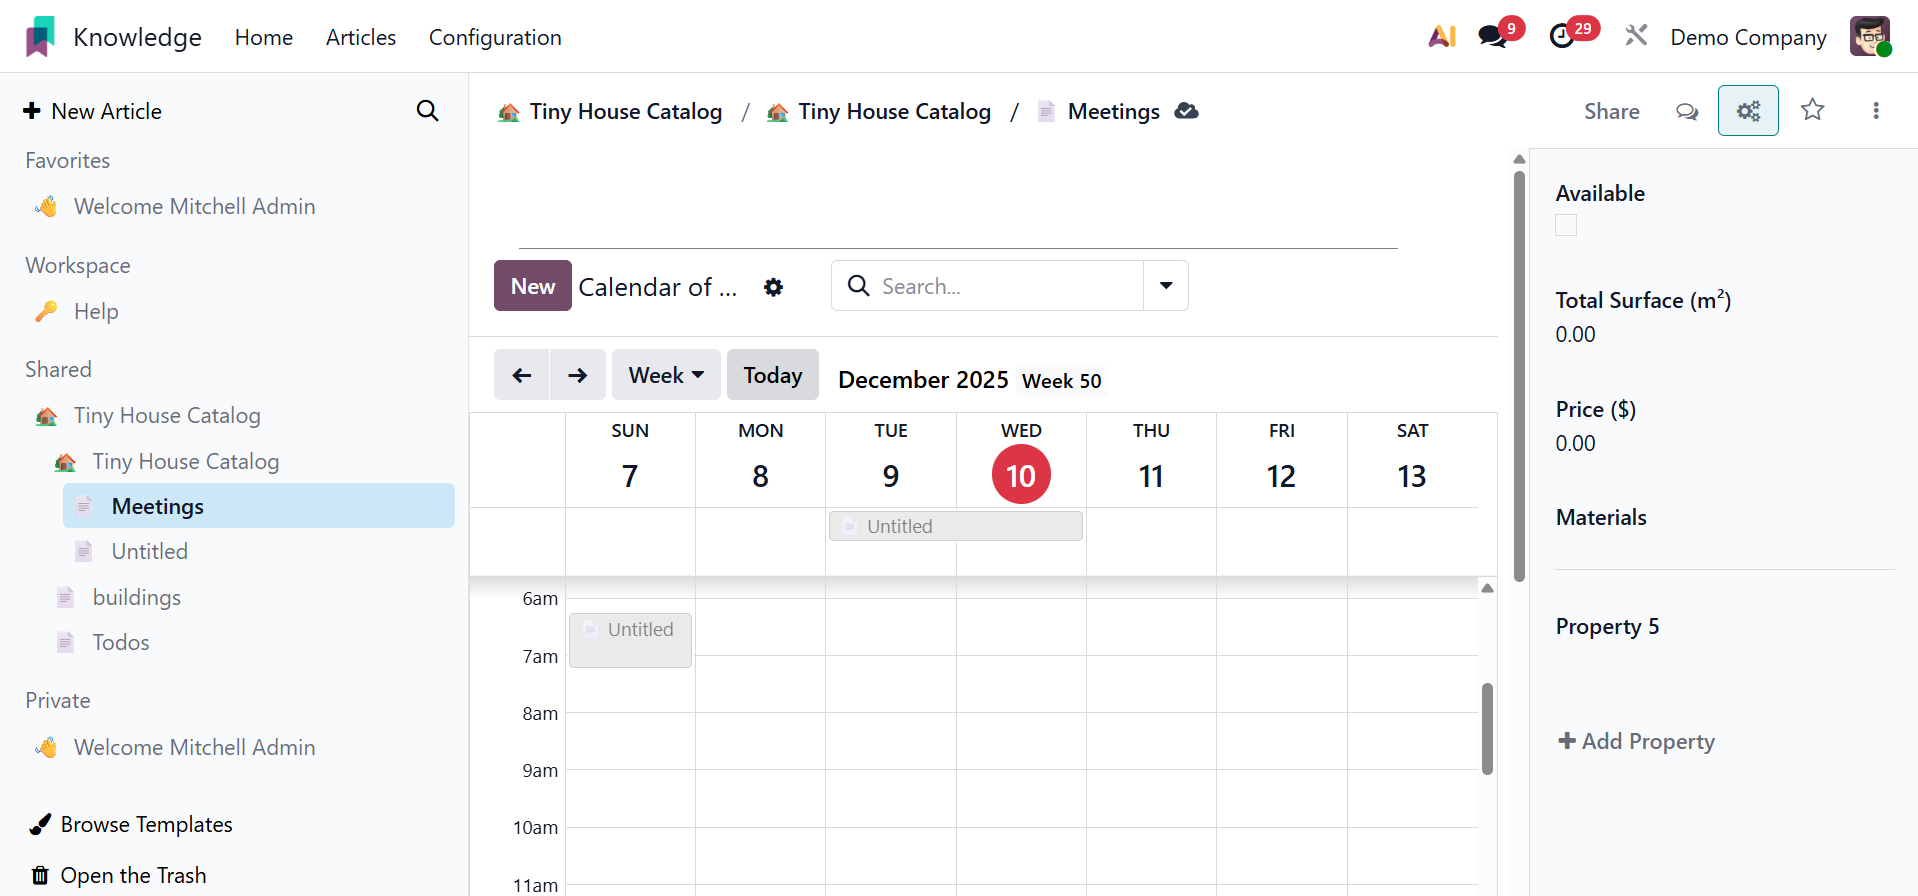
The generated meeting will show up on the calendar with the additional icon and image once it has been saved.
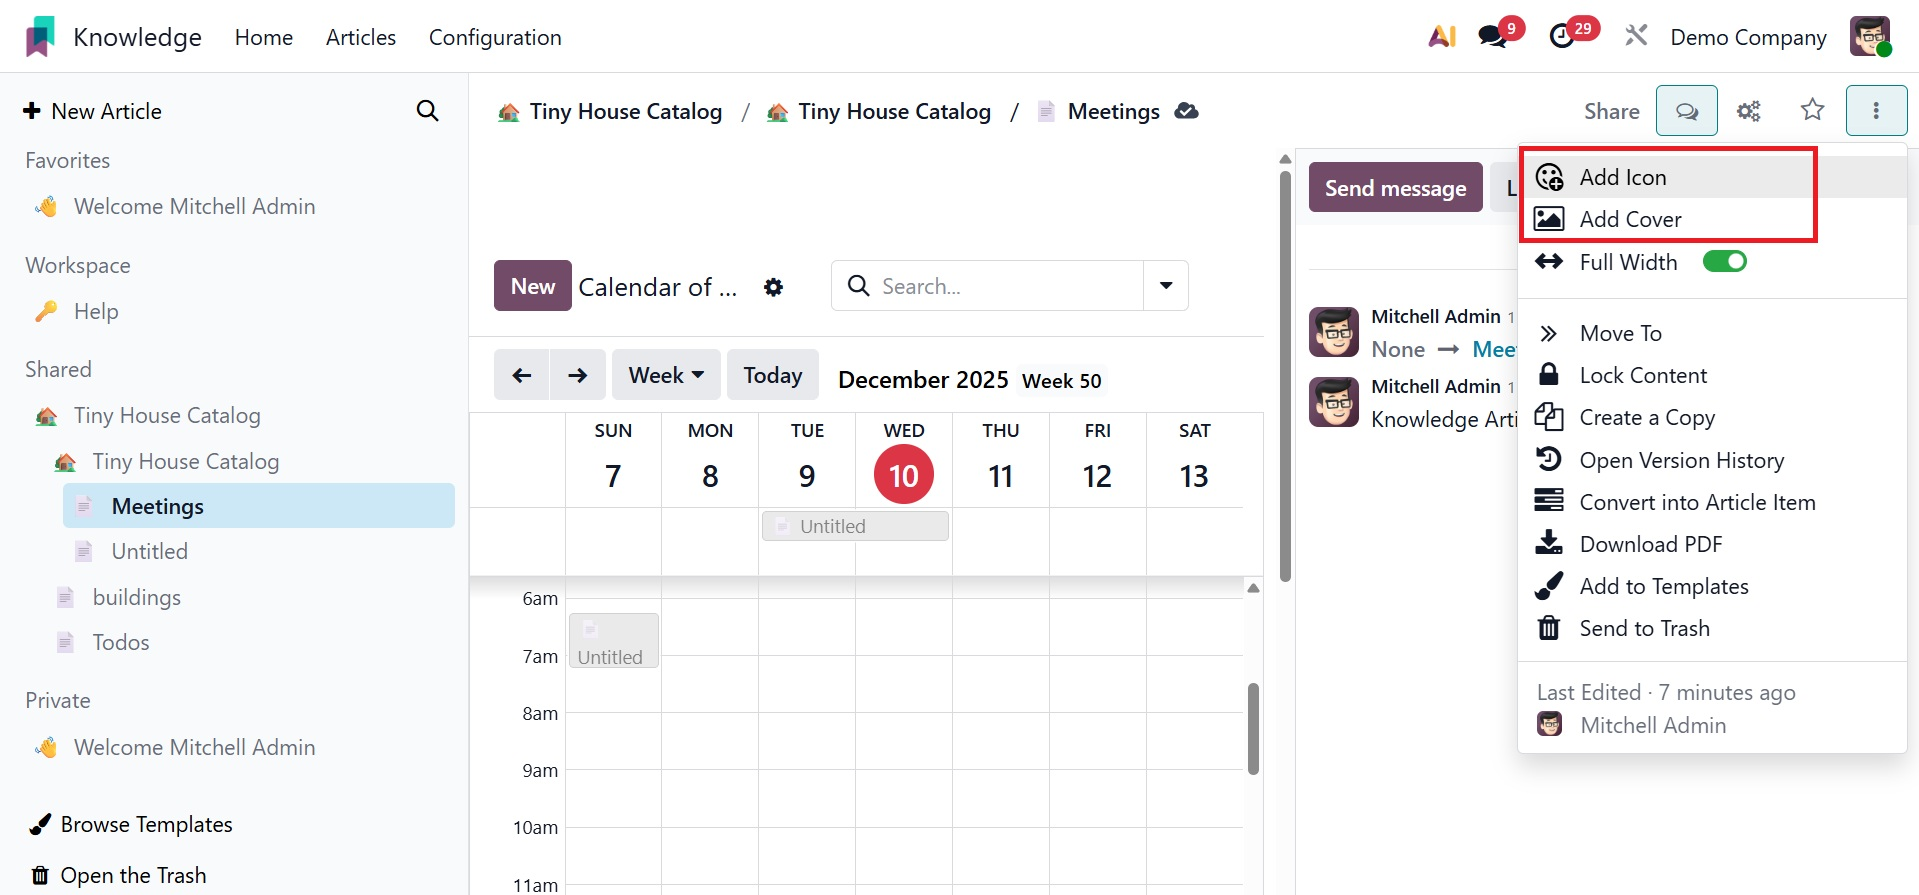
There may be a title for the article. That new article can have its properties, icon, and cover photo added.
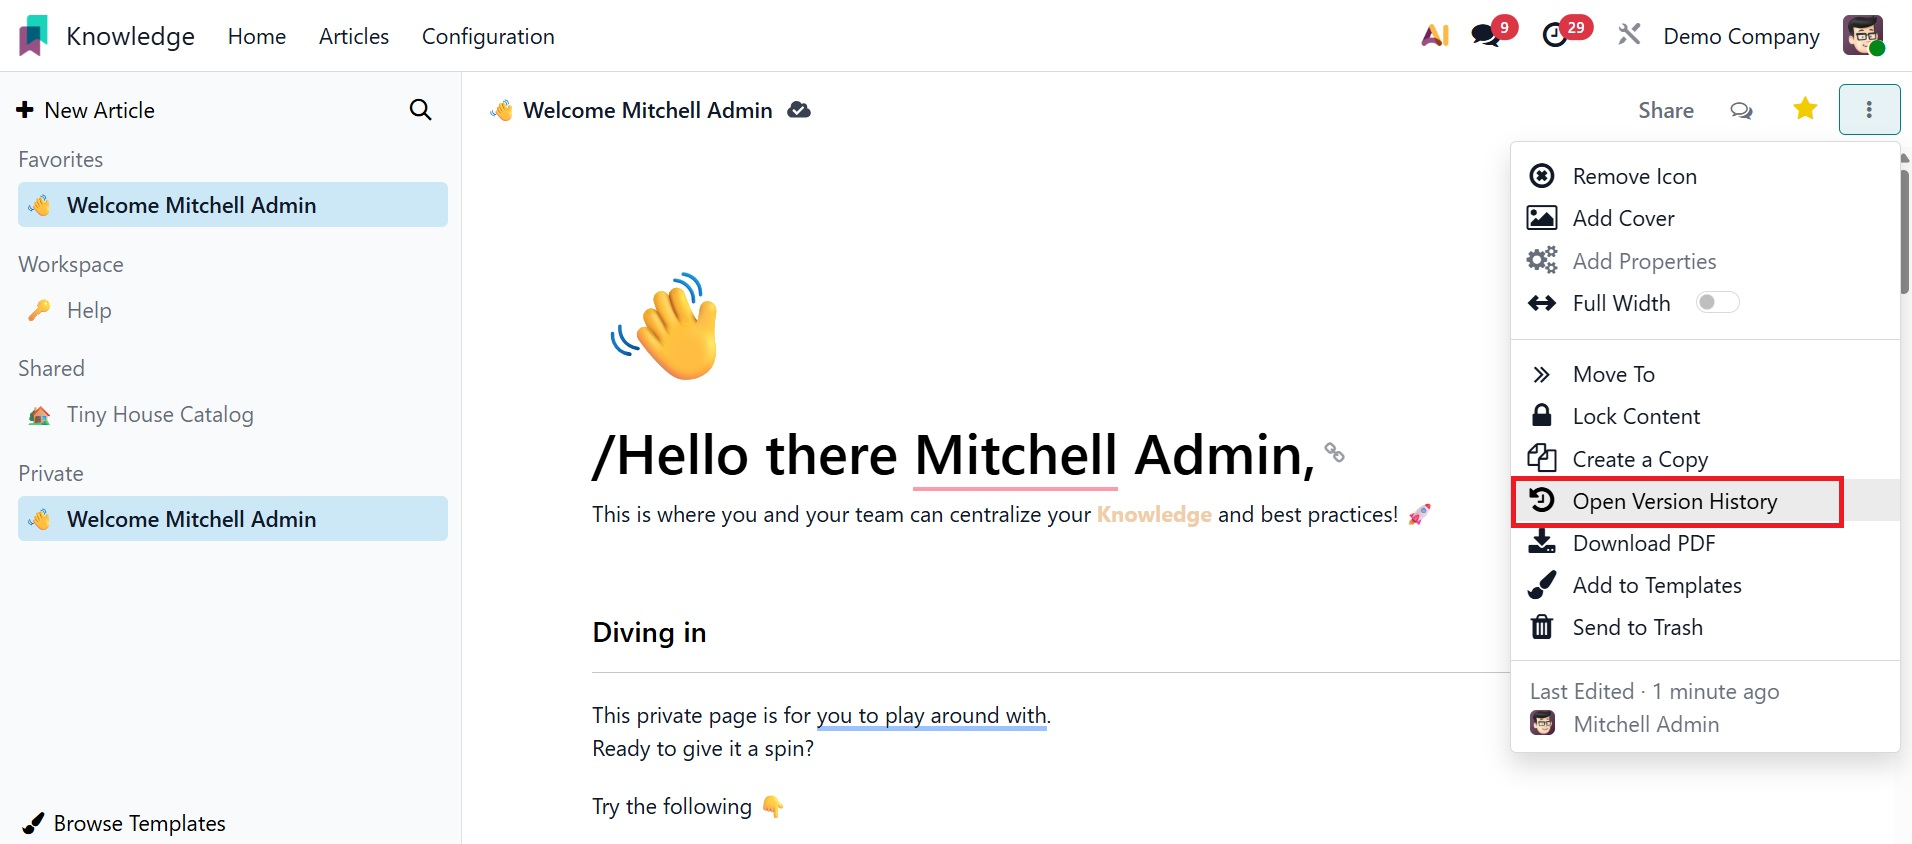
You may improve your writing while adding content to your article by using the / icon, which offers several alternatives. You can obtain the history by using the open history option.
You receive the details after choosing the option, as seen in the picture below.
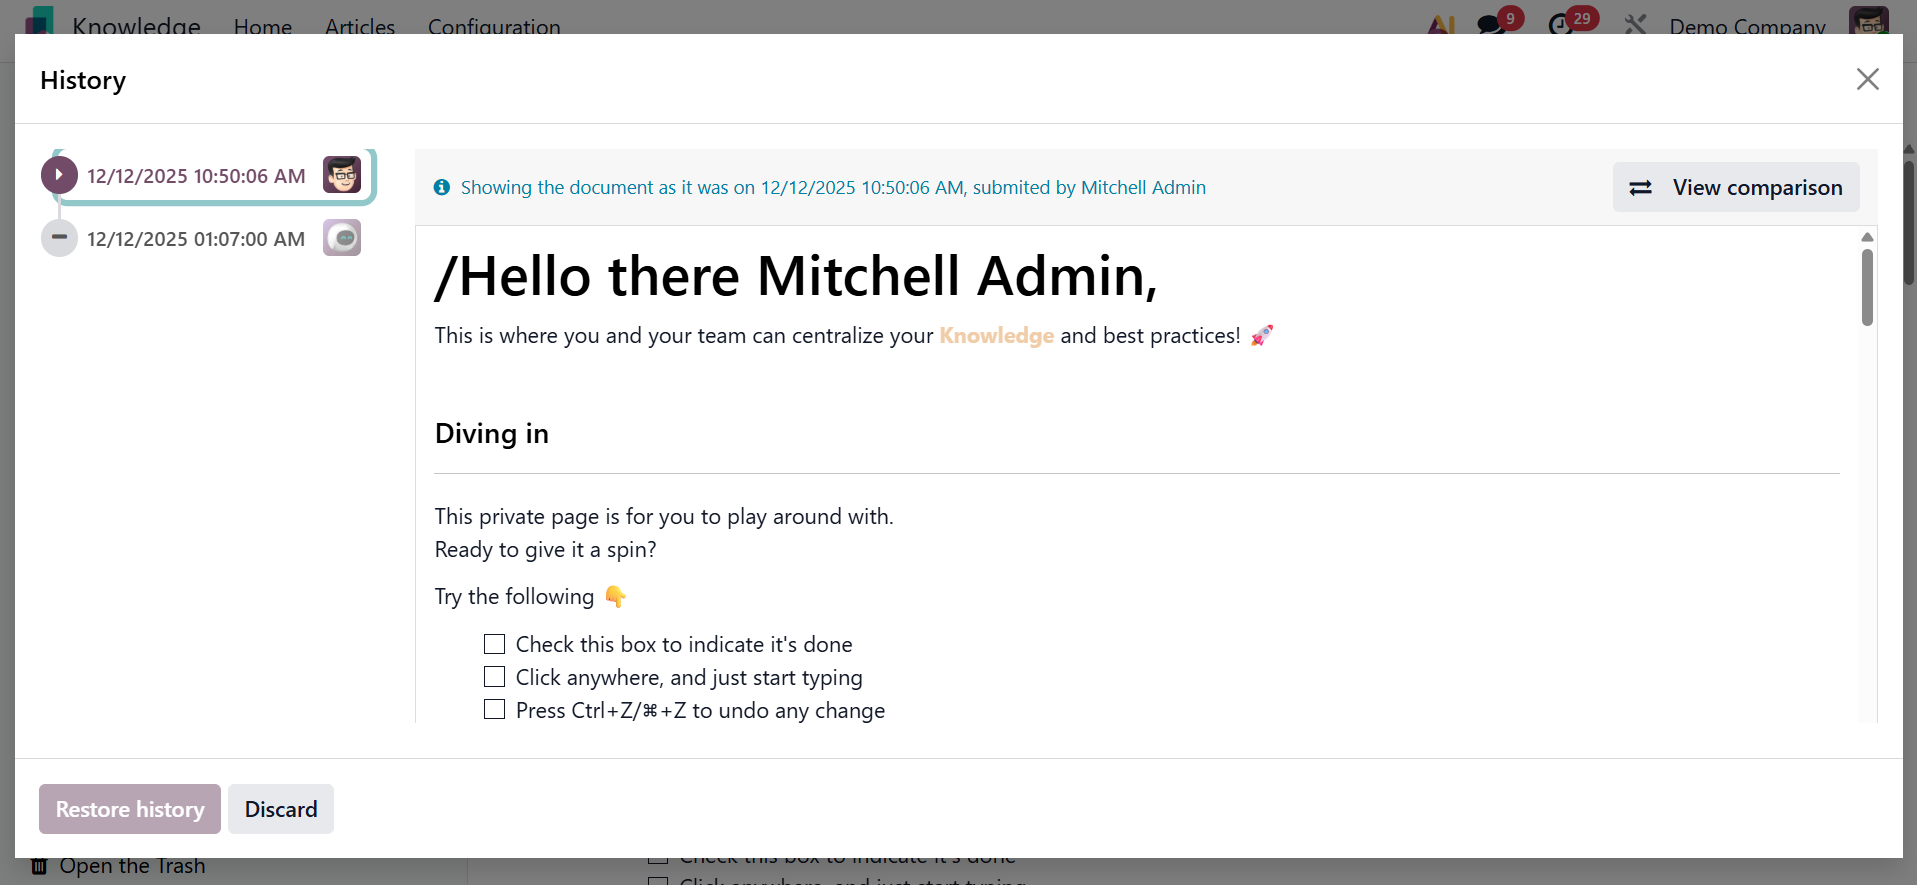
The restore history option allows you to restore the past.
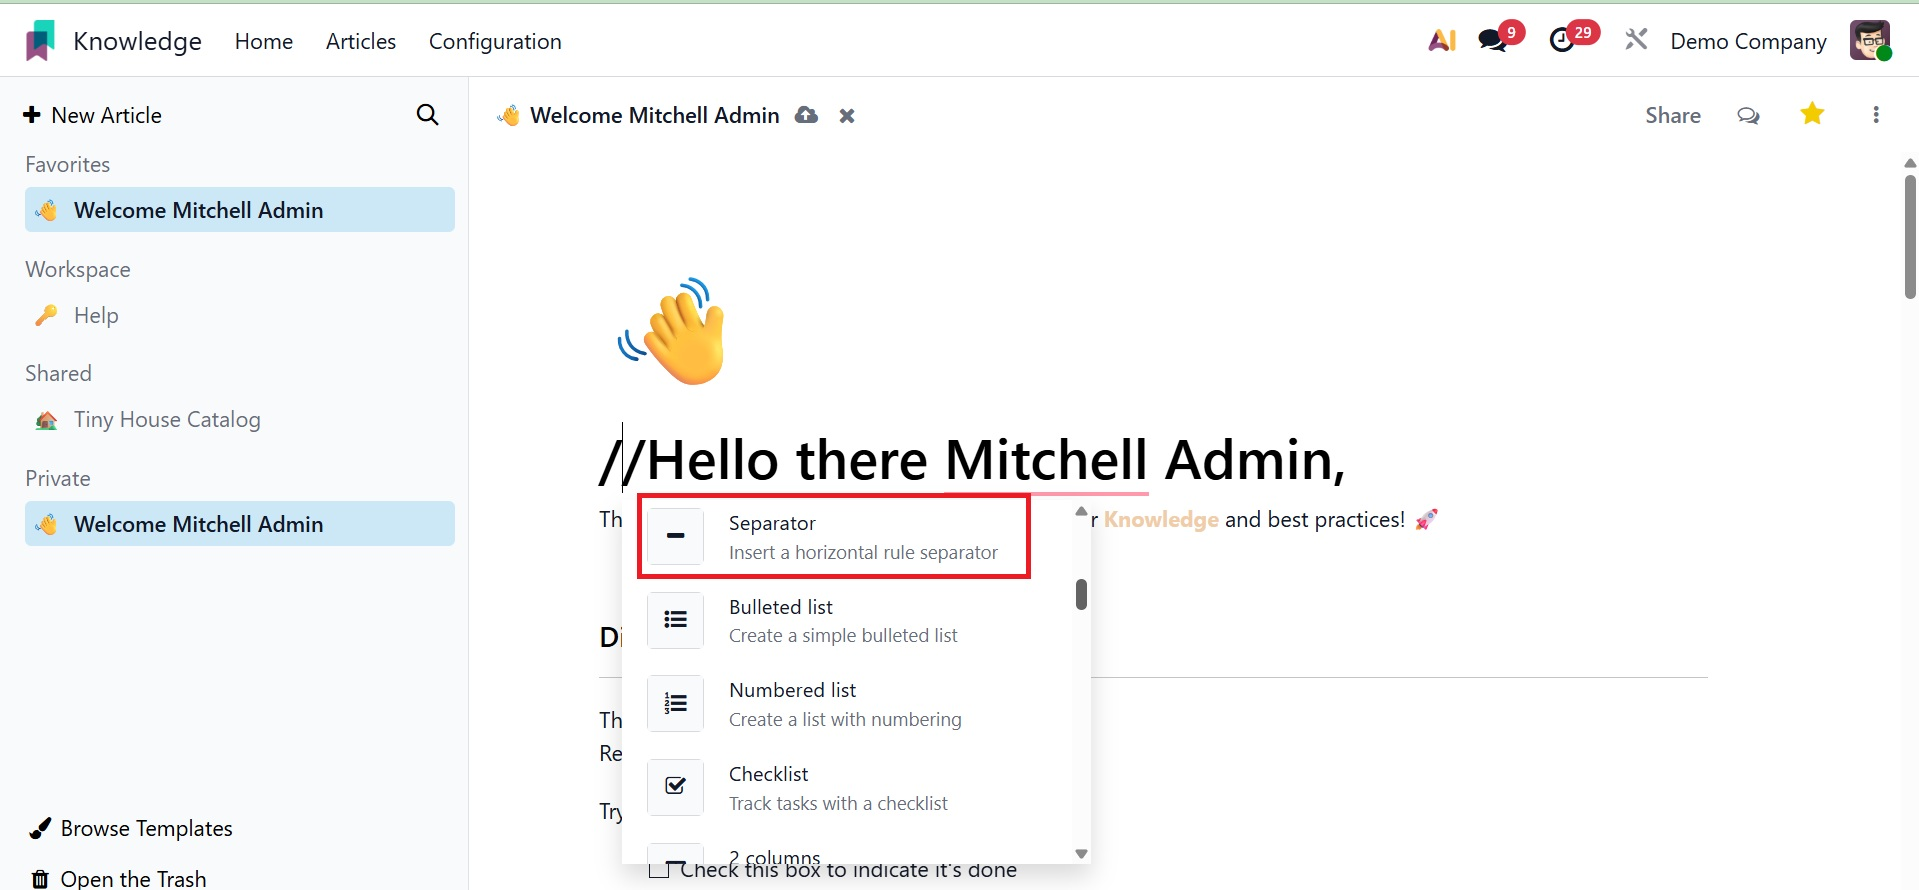
A separator line is used by separator tools to divide the two portions. Users can add a separating line to an article using the '/' separator.
Columns: Articles can have two, three, four, and more columns.
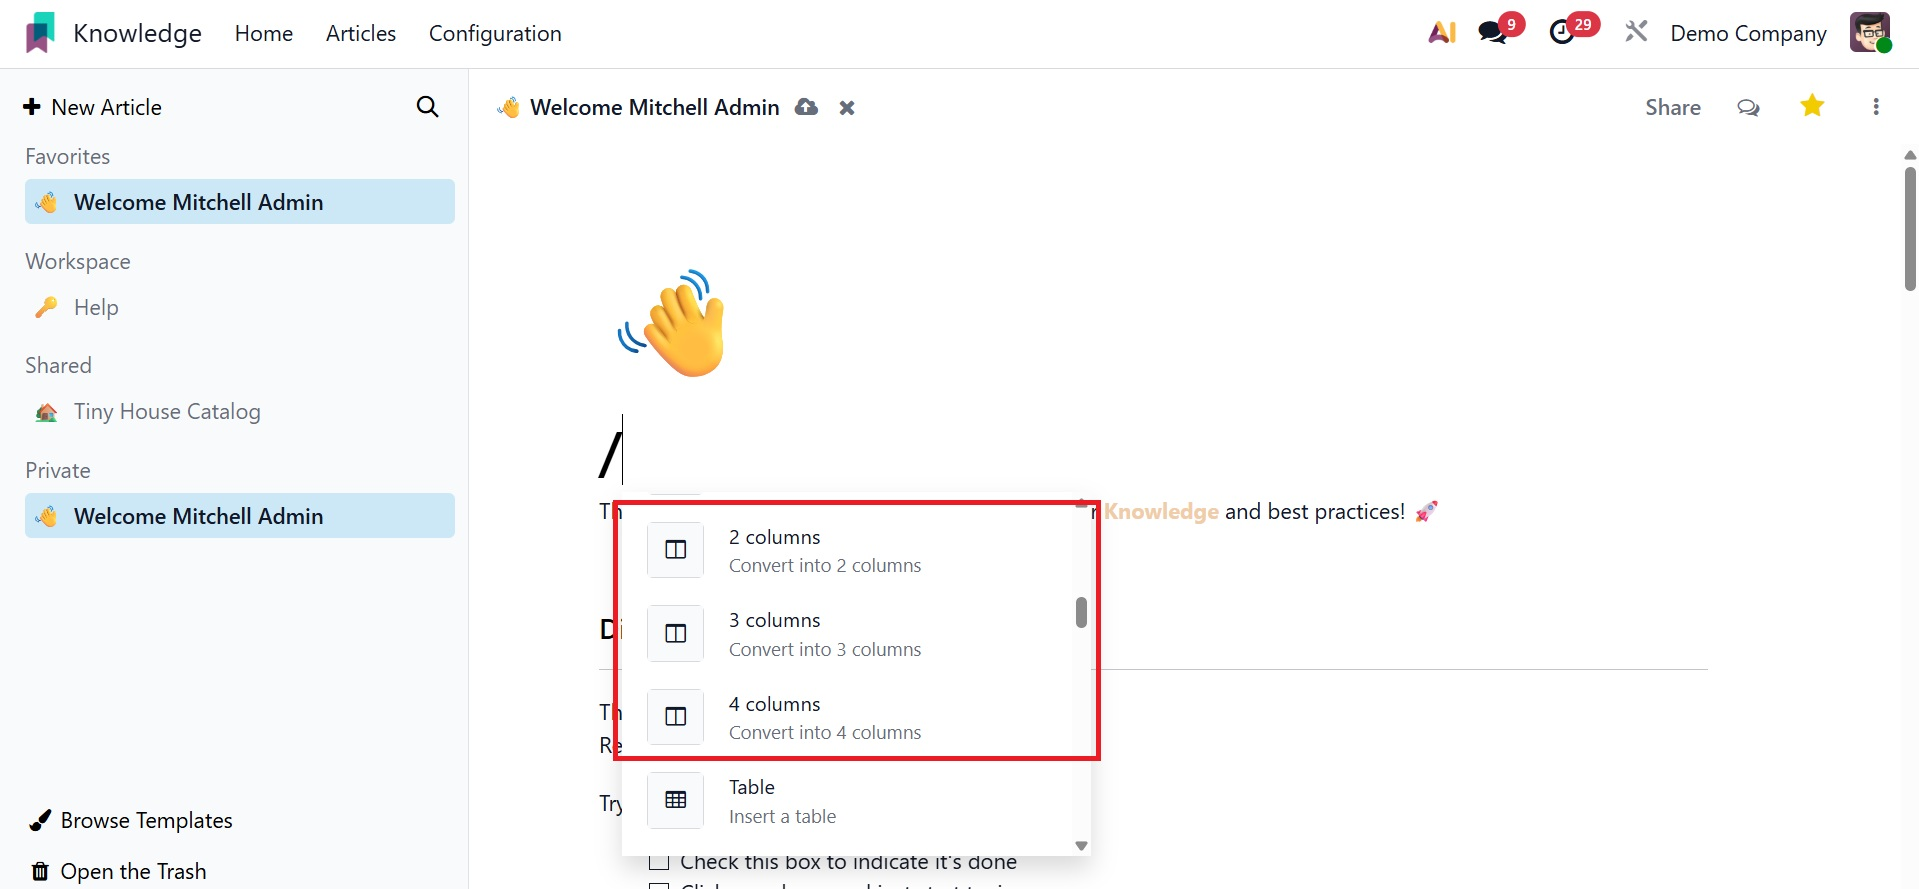
Table: Since some information should be recorded in a tabular format, a table is an additional tool for adding a table with rows and columns to your content. Adding a table to the article is made easier with the help of the '/' table.
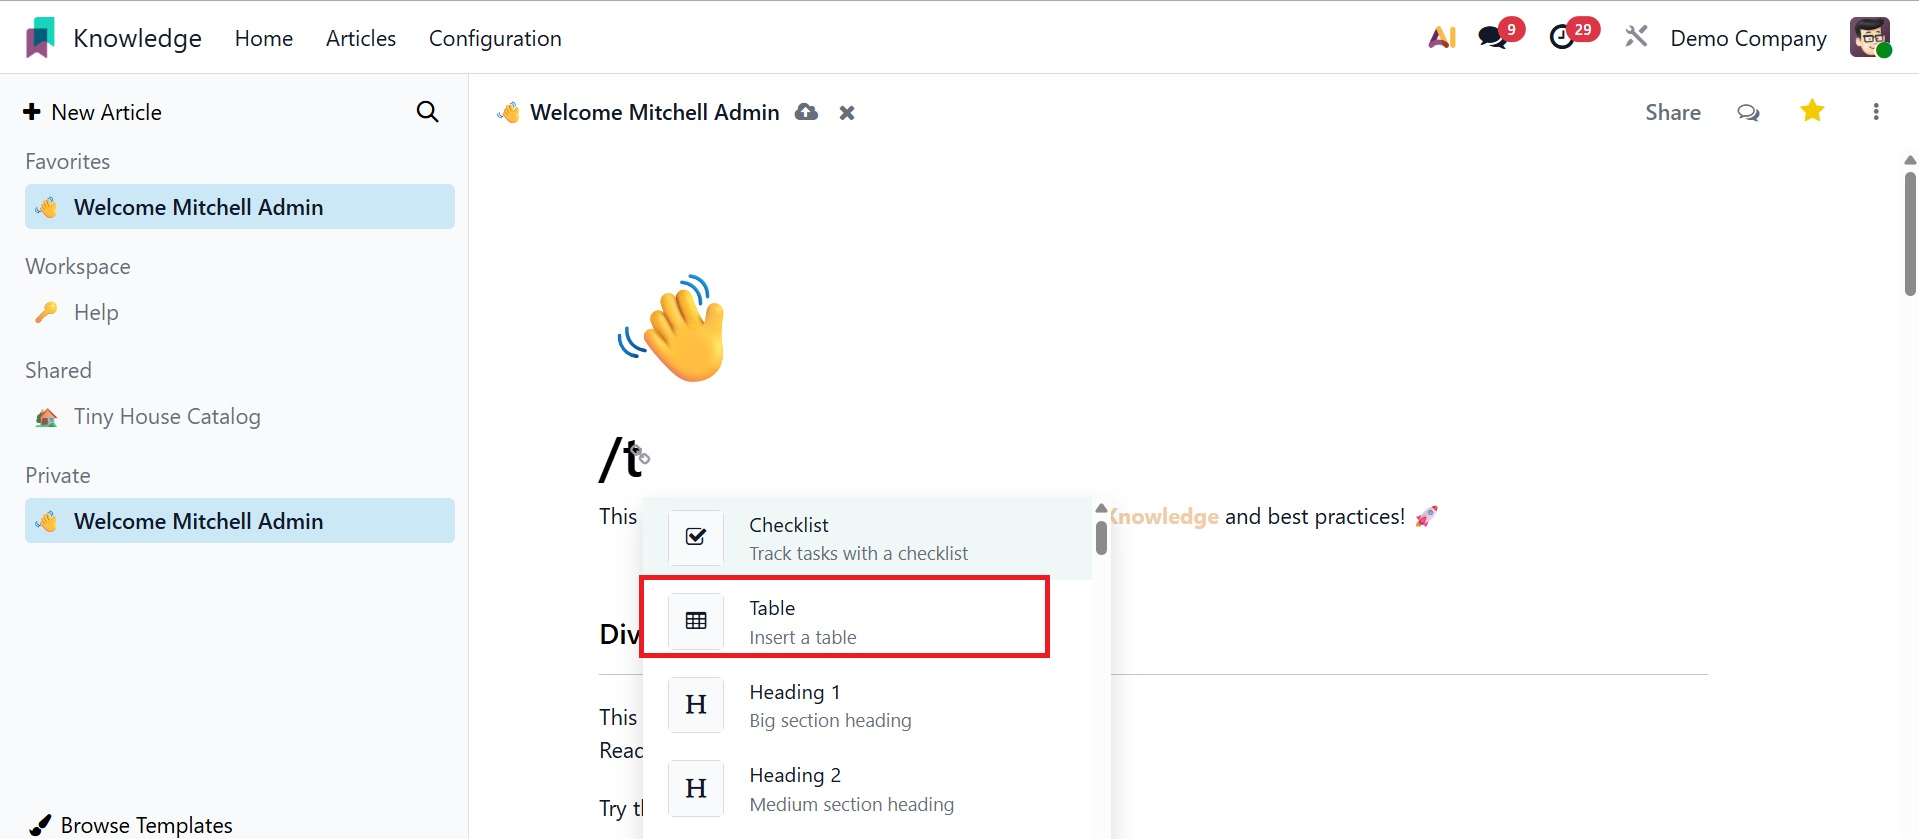
After that, the number of rows and columns needed for the table must be decided.
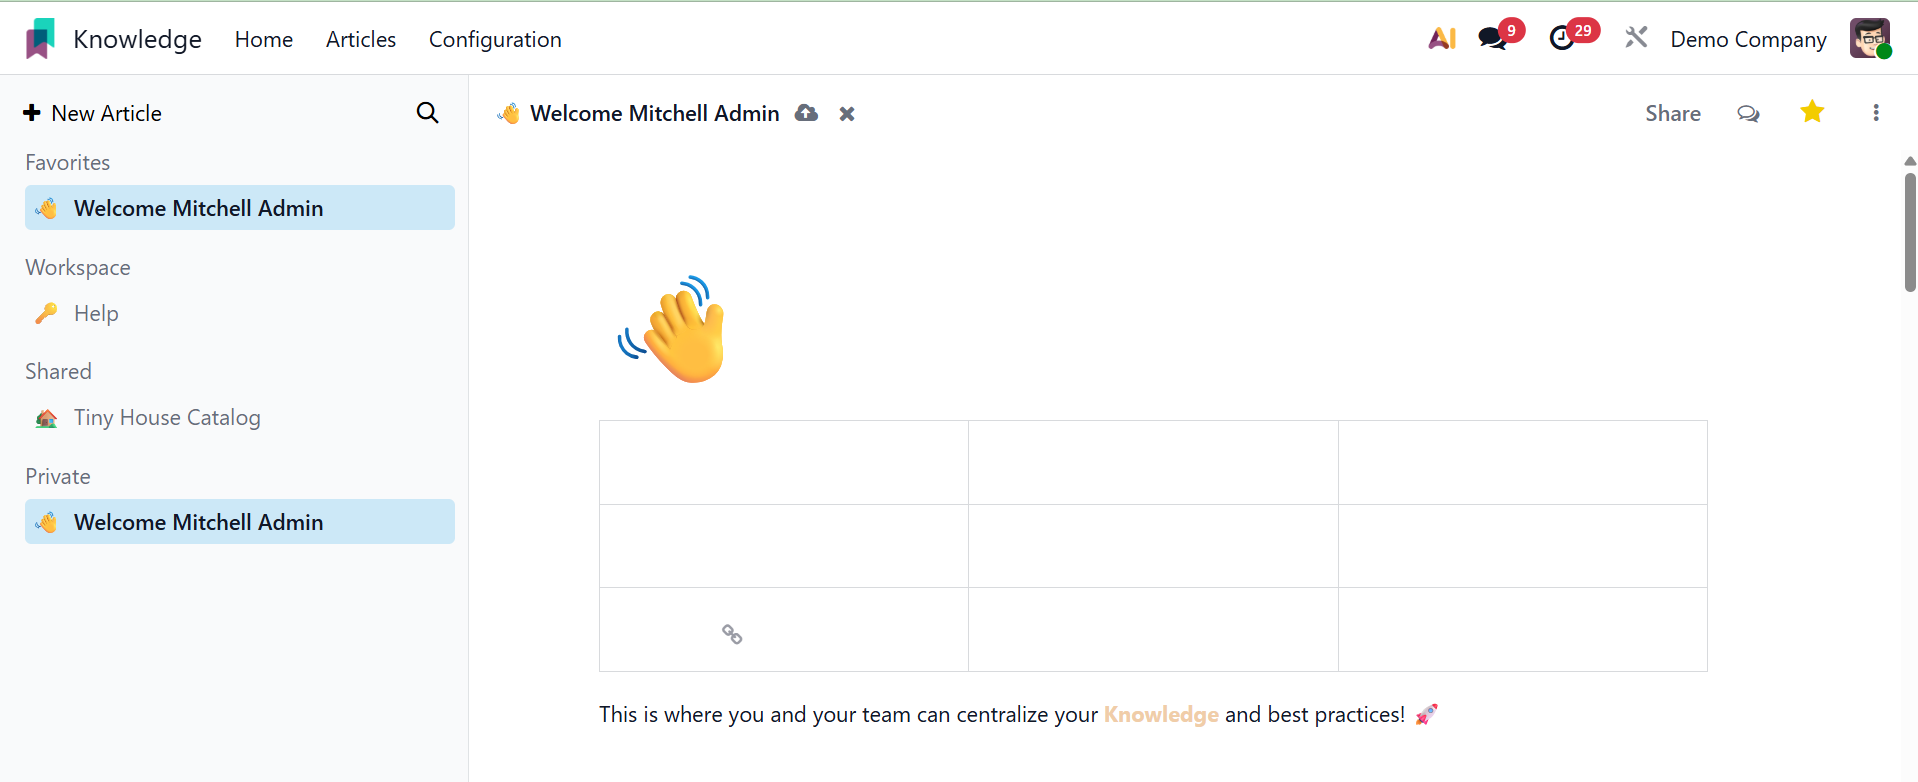
The structure of this table will include the designated rows and columns.
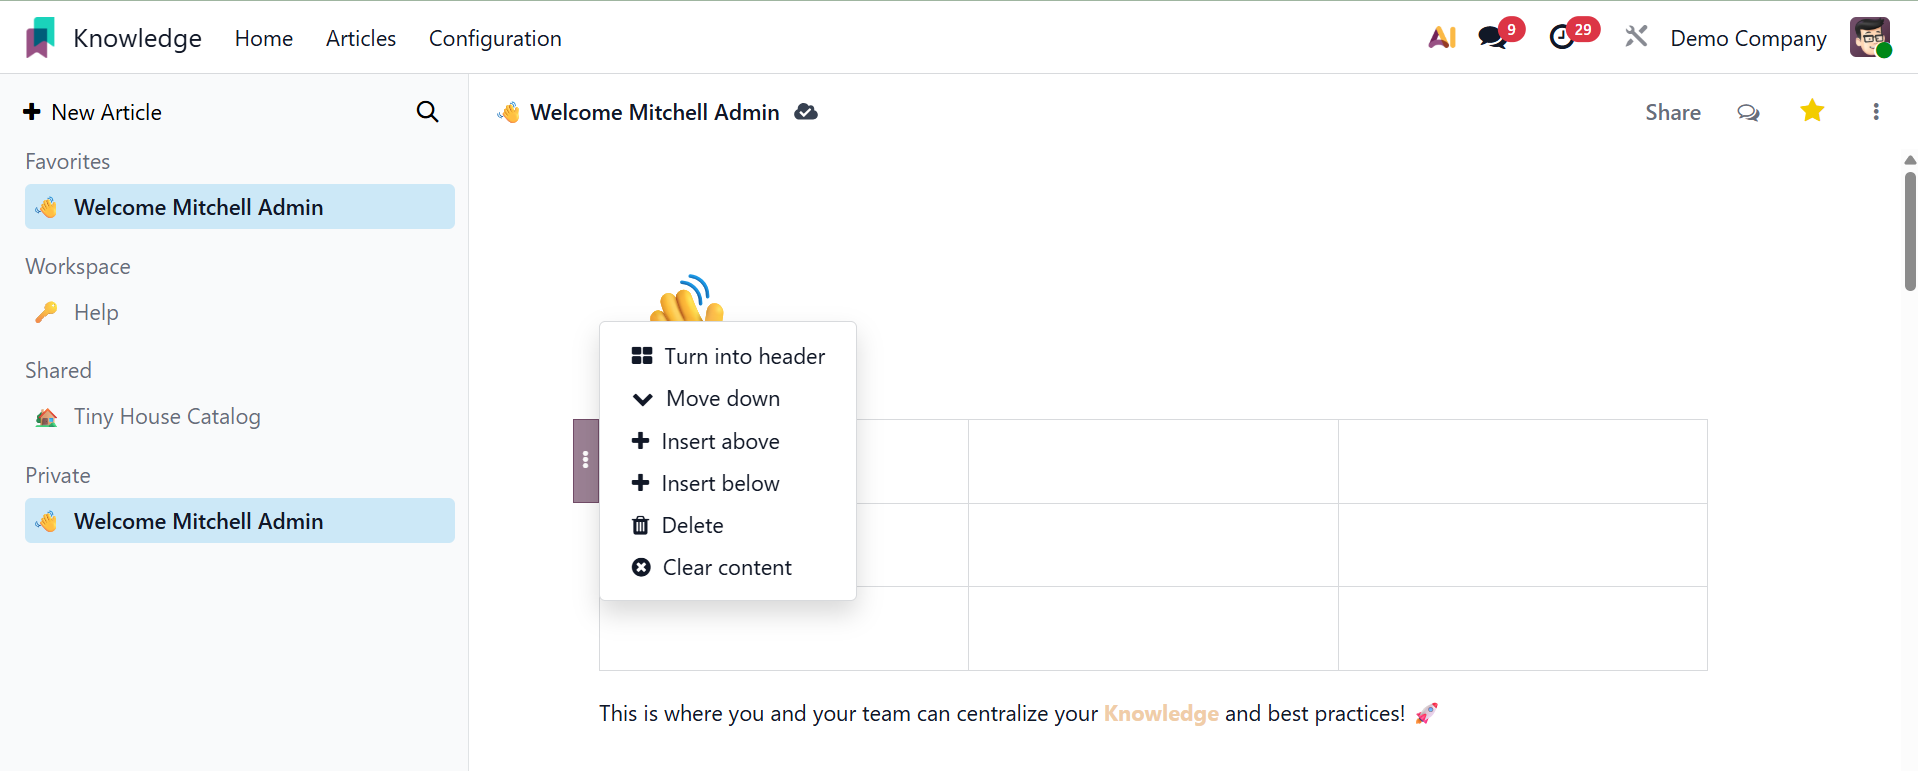
New rows can be inserted above or below, and existing rows can be shifted up or down. Likewise, columns.
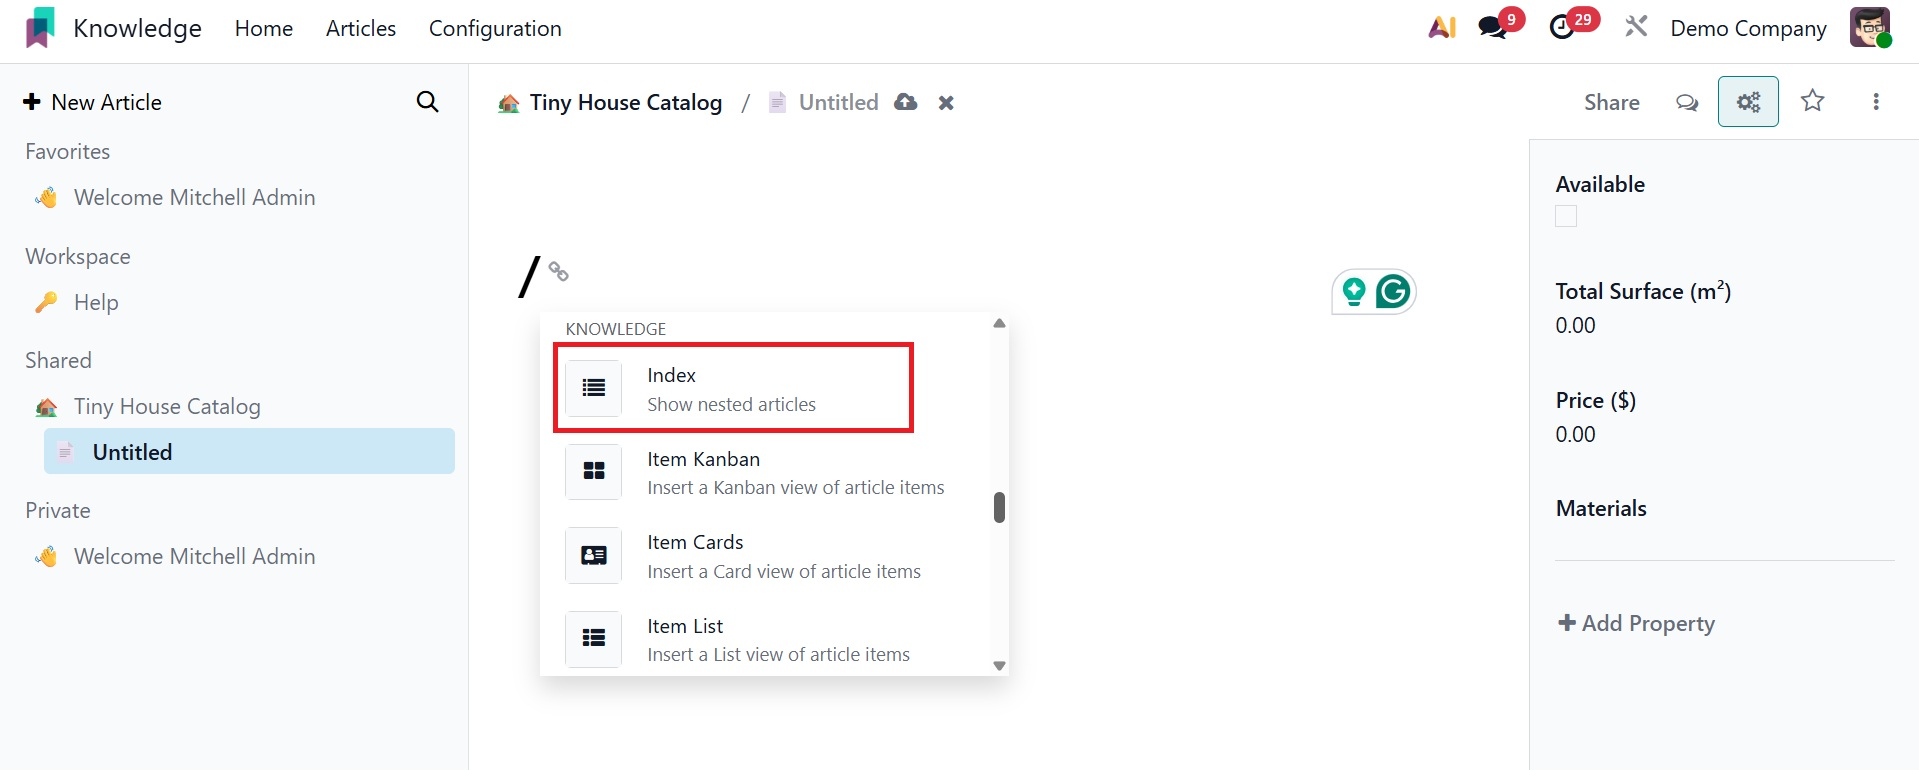
Index: The / index command only displays the first level of articles if an article contains sub-articles. It won't display the nested article even if it has nested with other articles.
Item calendar: this feature allows you to add an article item's calendar view, as seen in the picture below.
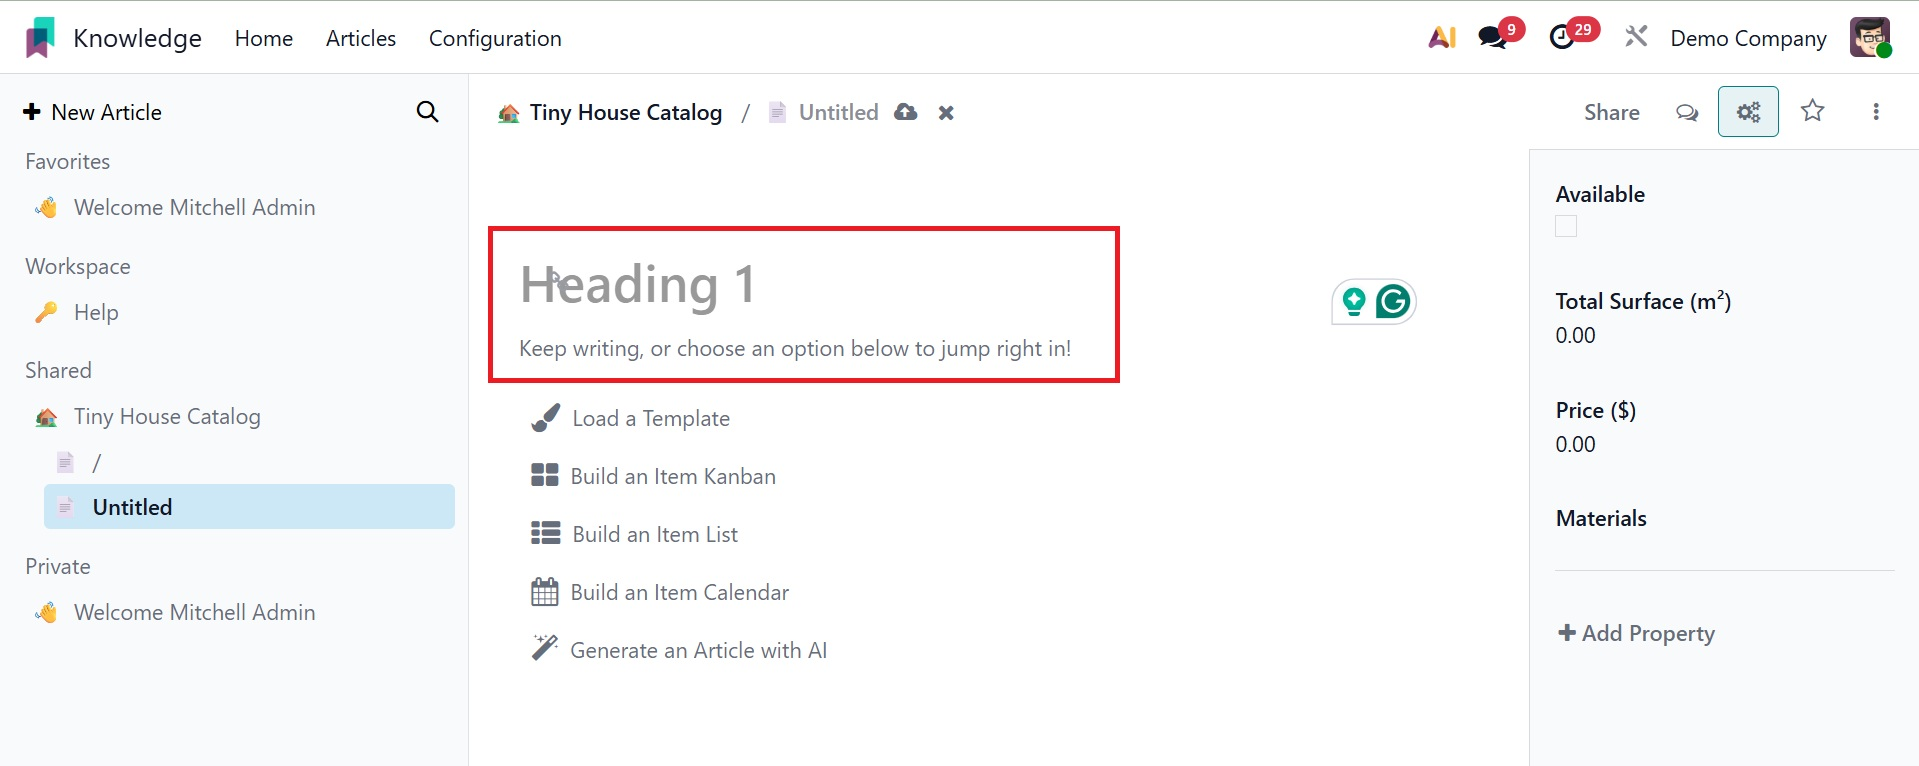
Heading 1: You can add large headers using this option.
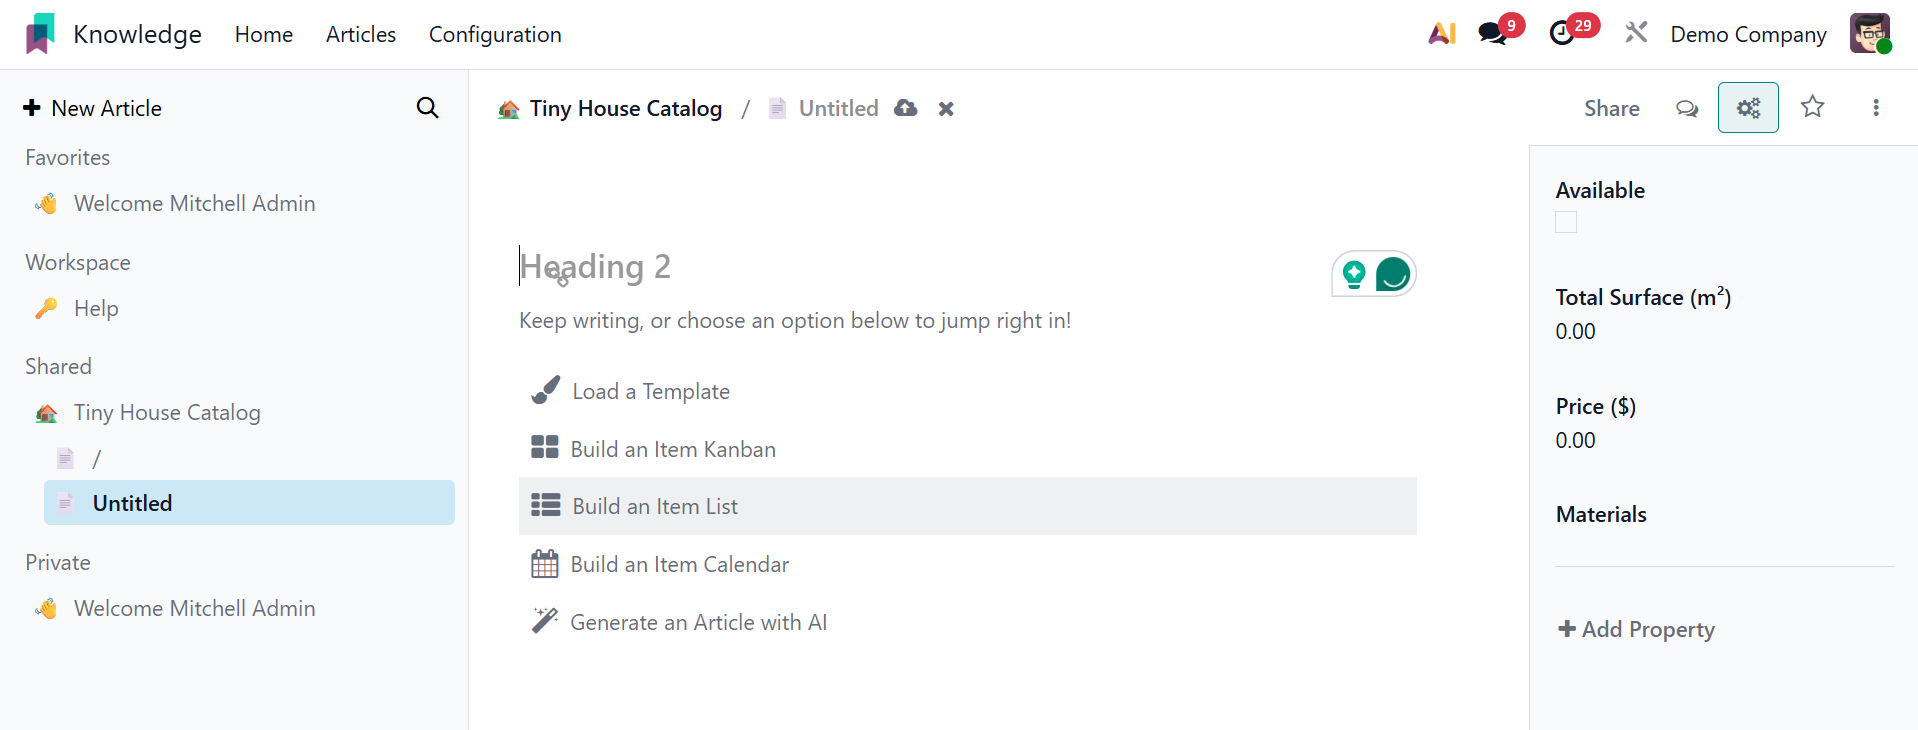
Heading 2: You can add medium-sized headings with this option.
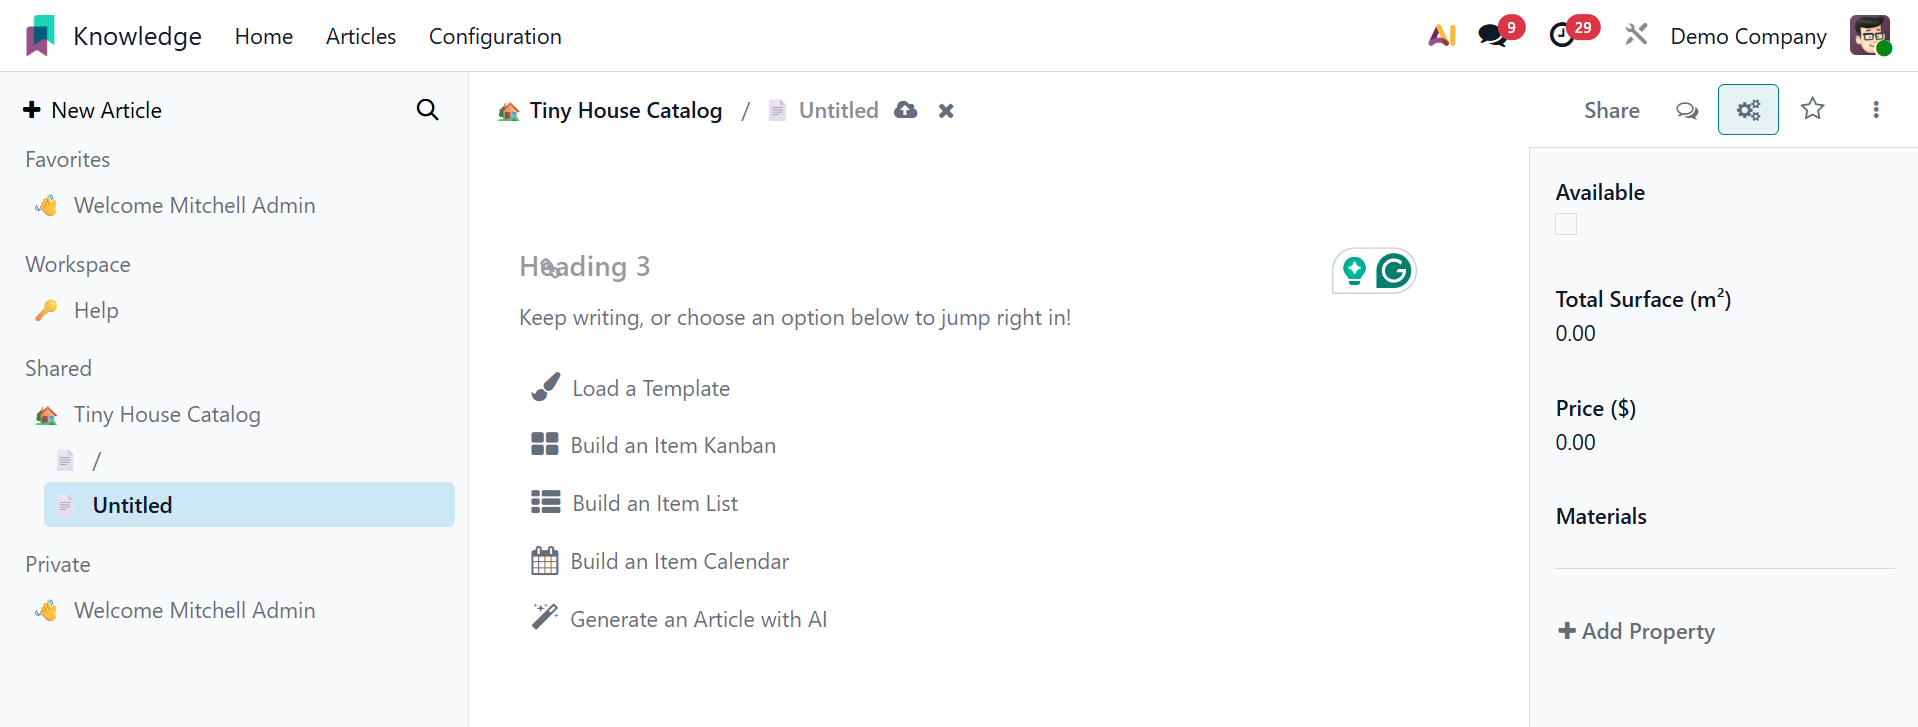
Heading 3: You can write brief headings with this option.
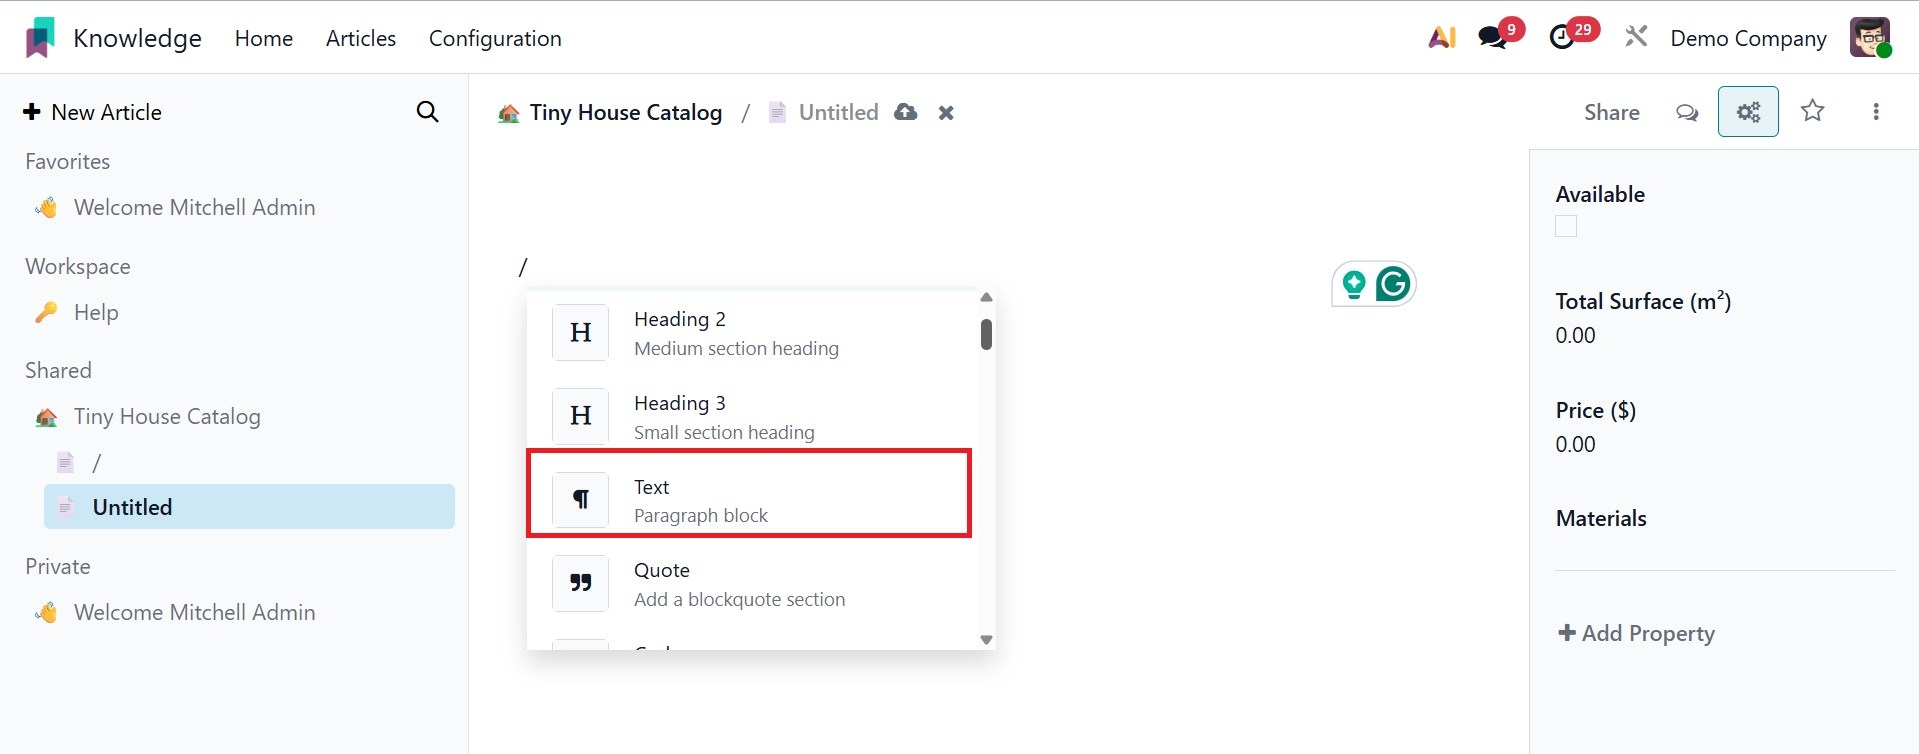
Text: You can add paragraph blocks with this option.
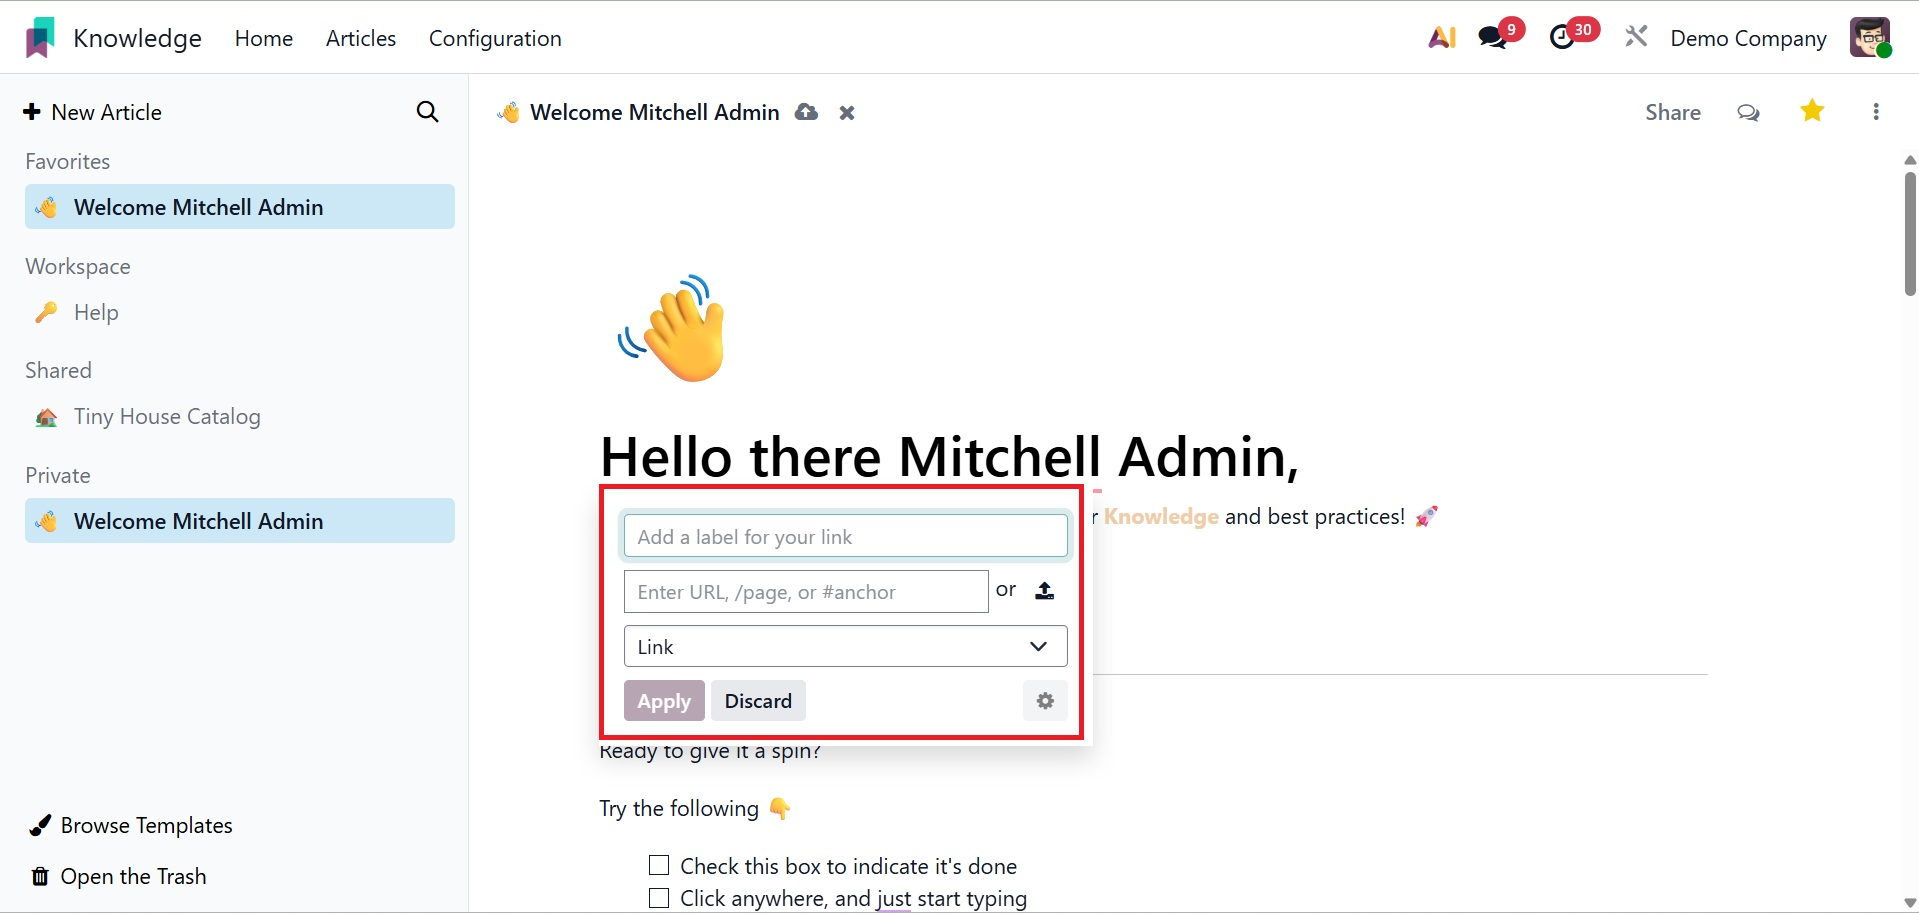
Link: As seen in the picture below, the option enables you to add the link via the pop-up window.
Button: Here, you may use the icon to add buttons to the page.
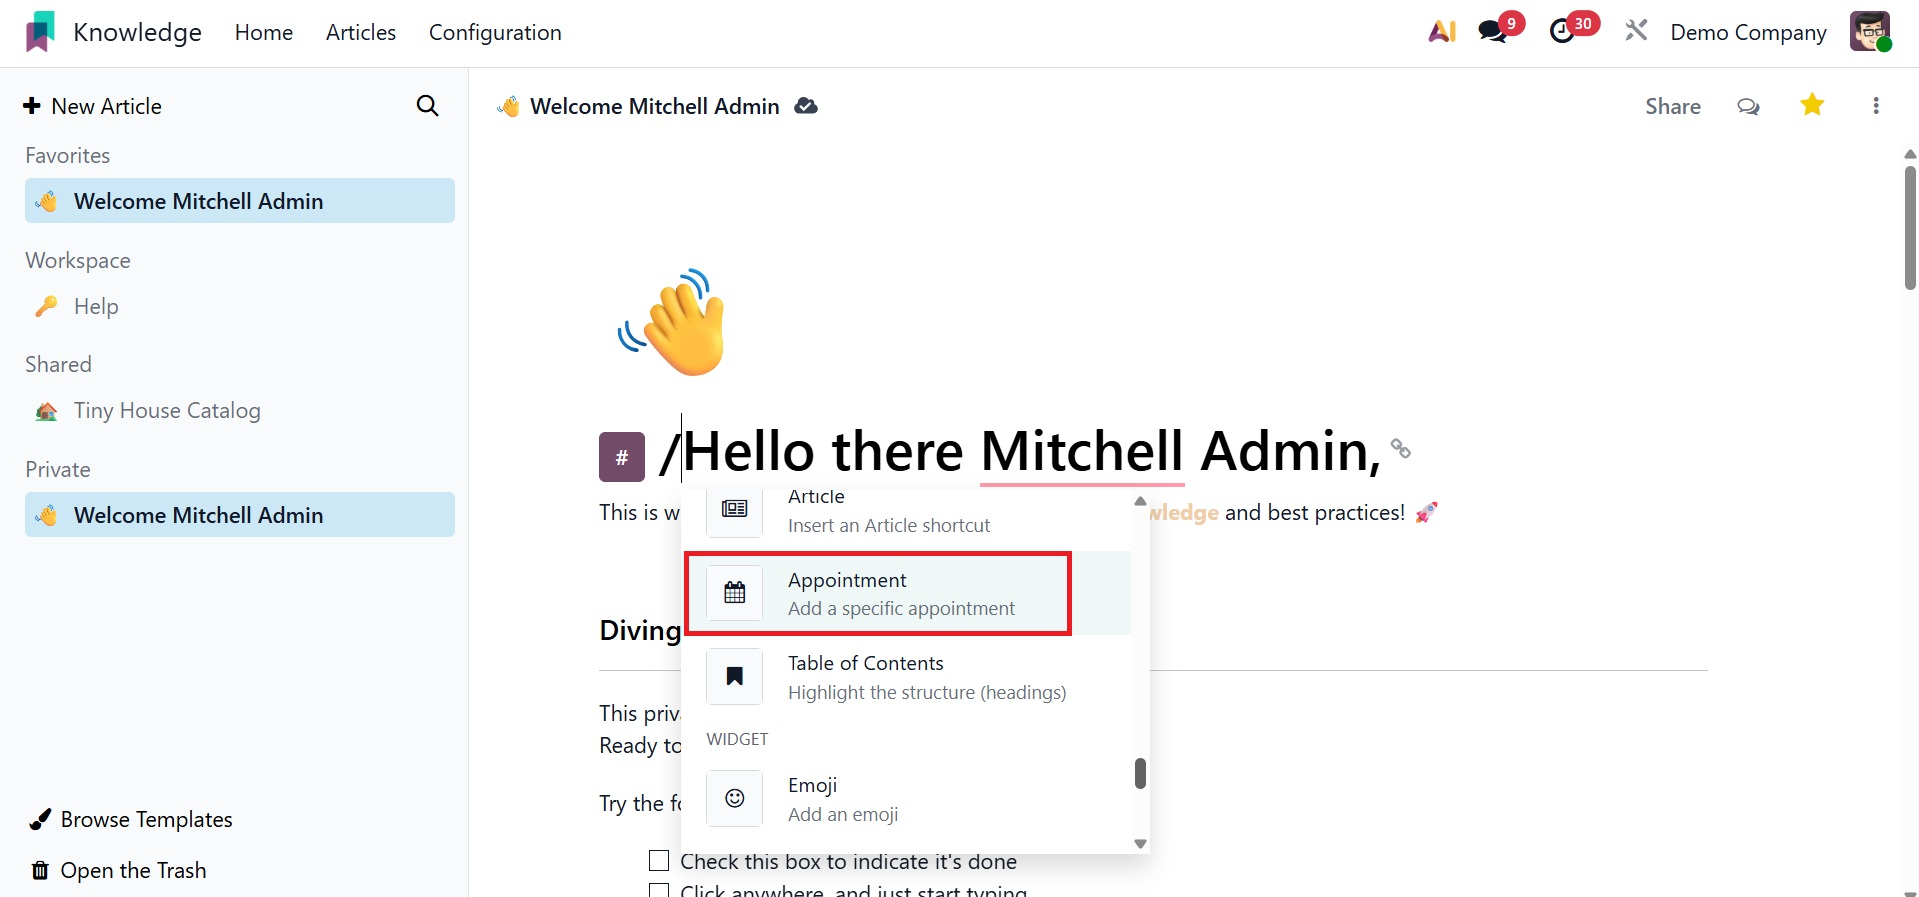
Article: You can add an article shortcut here.

Appointment: Use this icon to add a specific appointment.
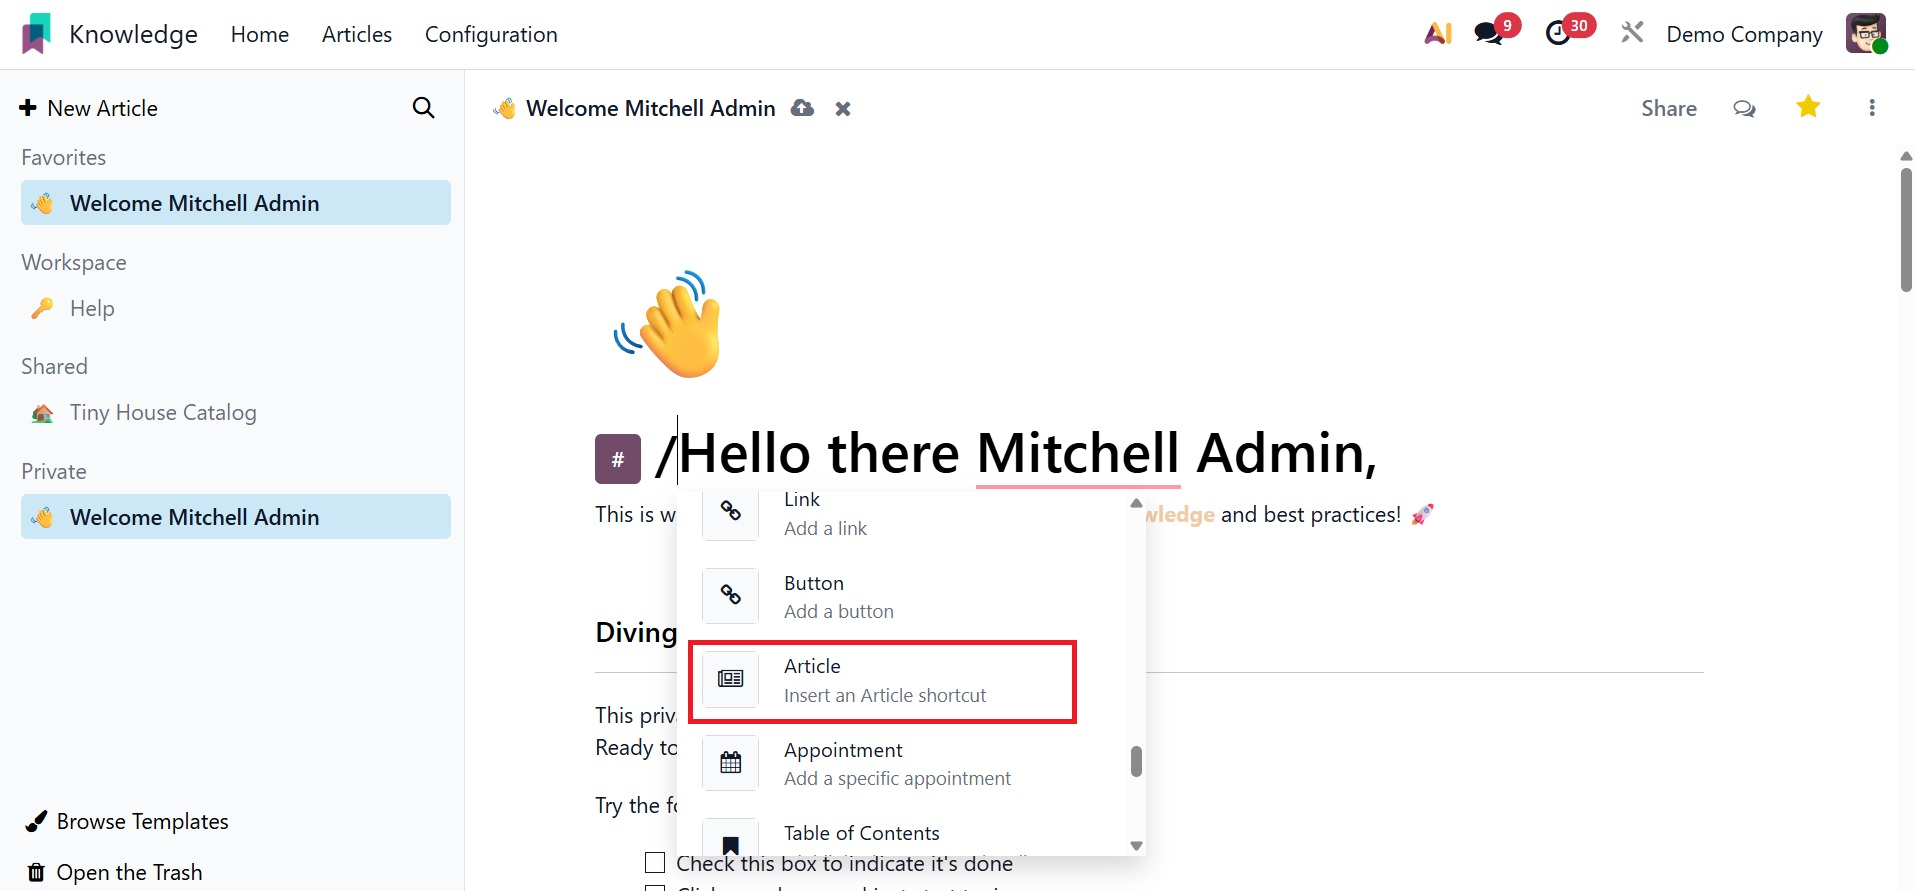
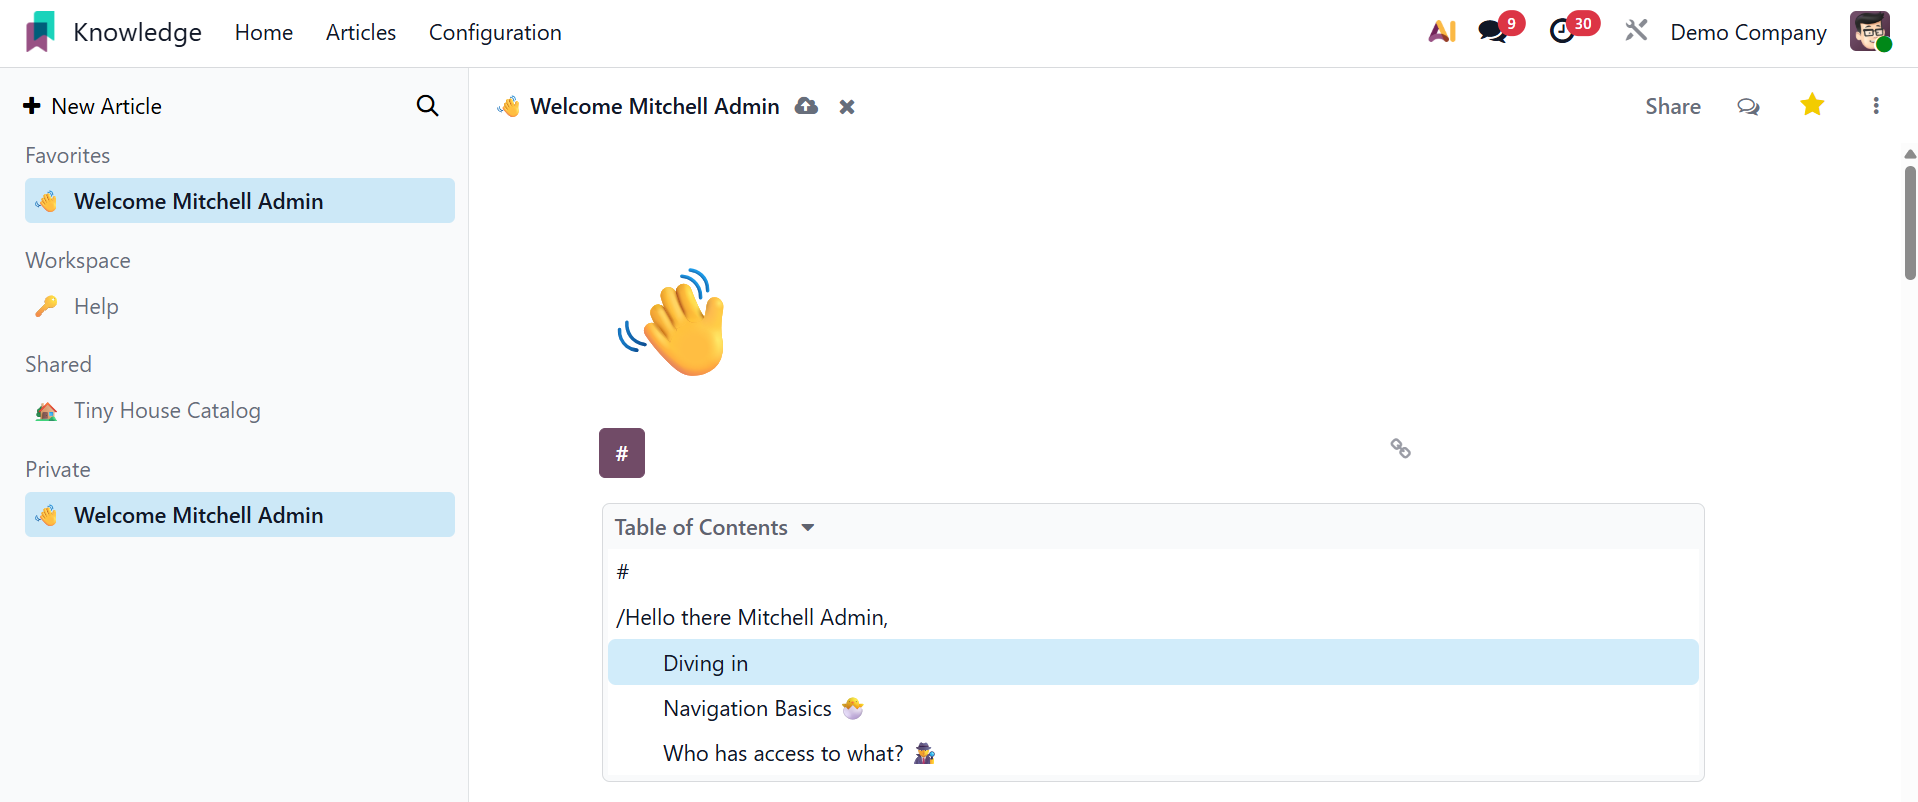
Table of contents: Emphasize the heading field's structure.
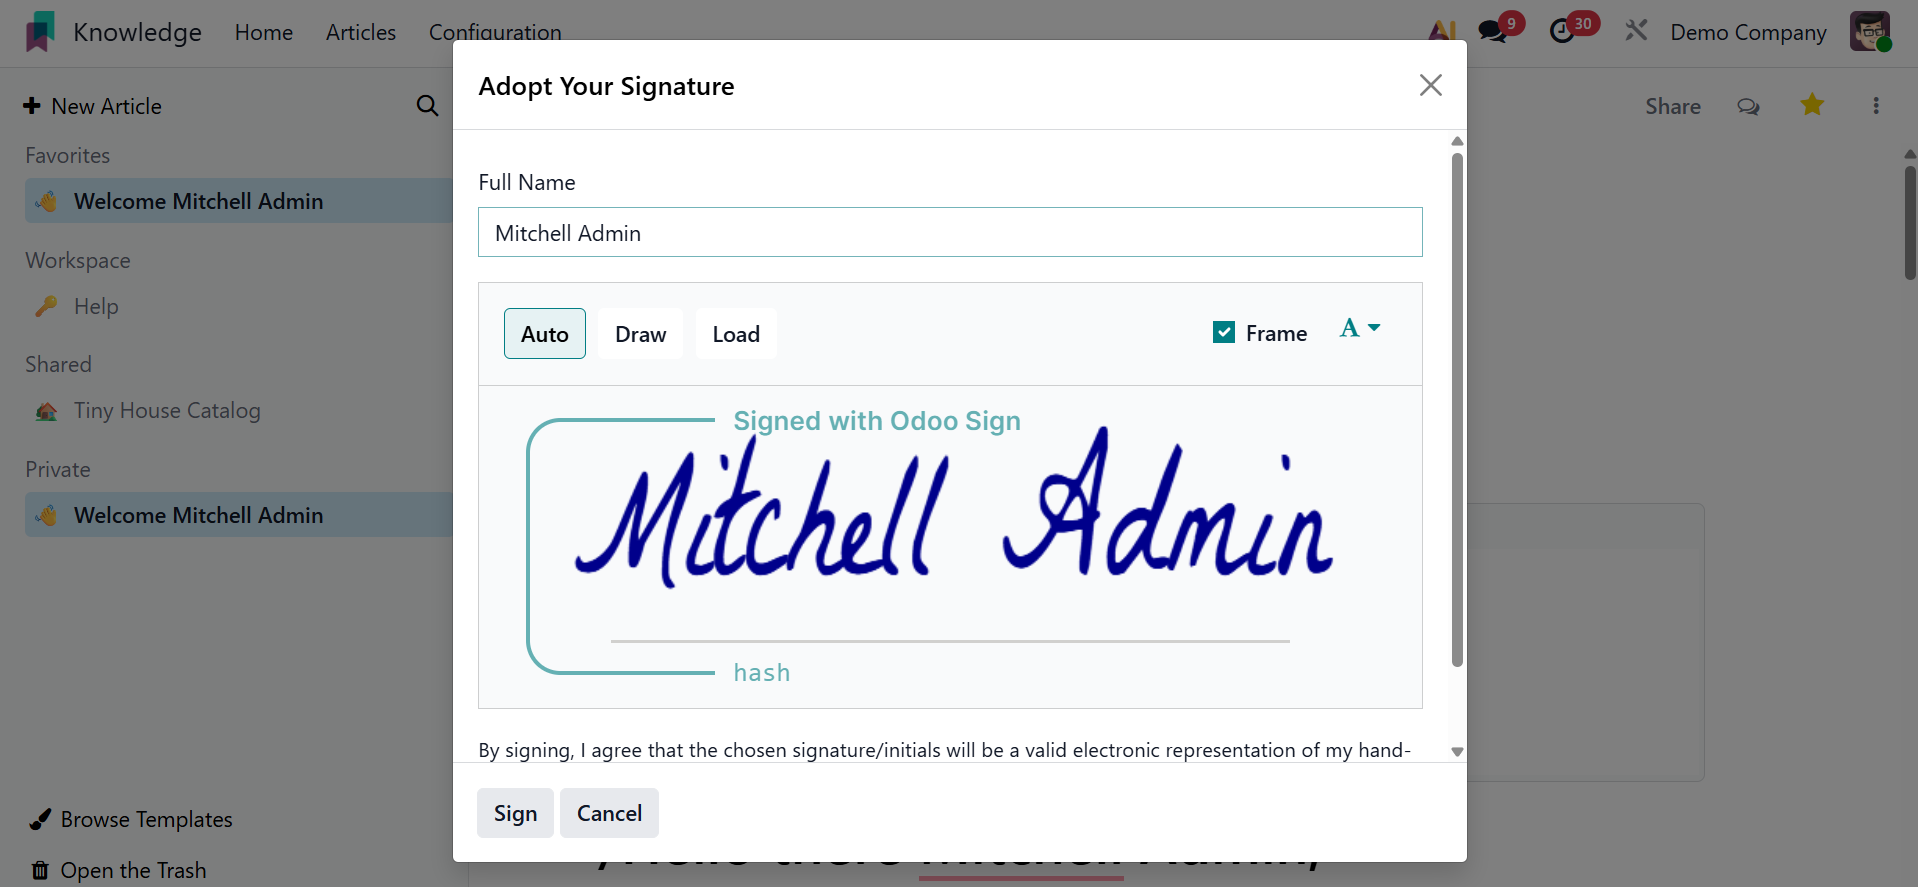
Signature: You are able to add your signature.
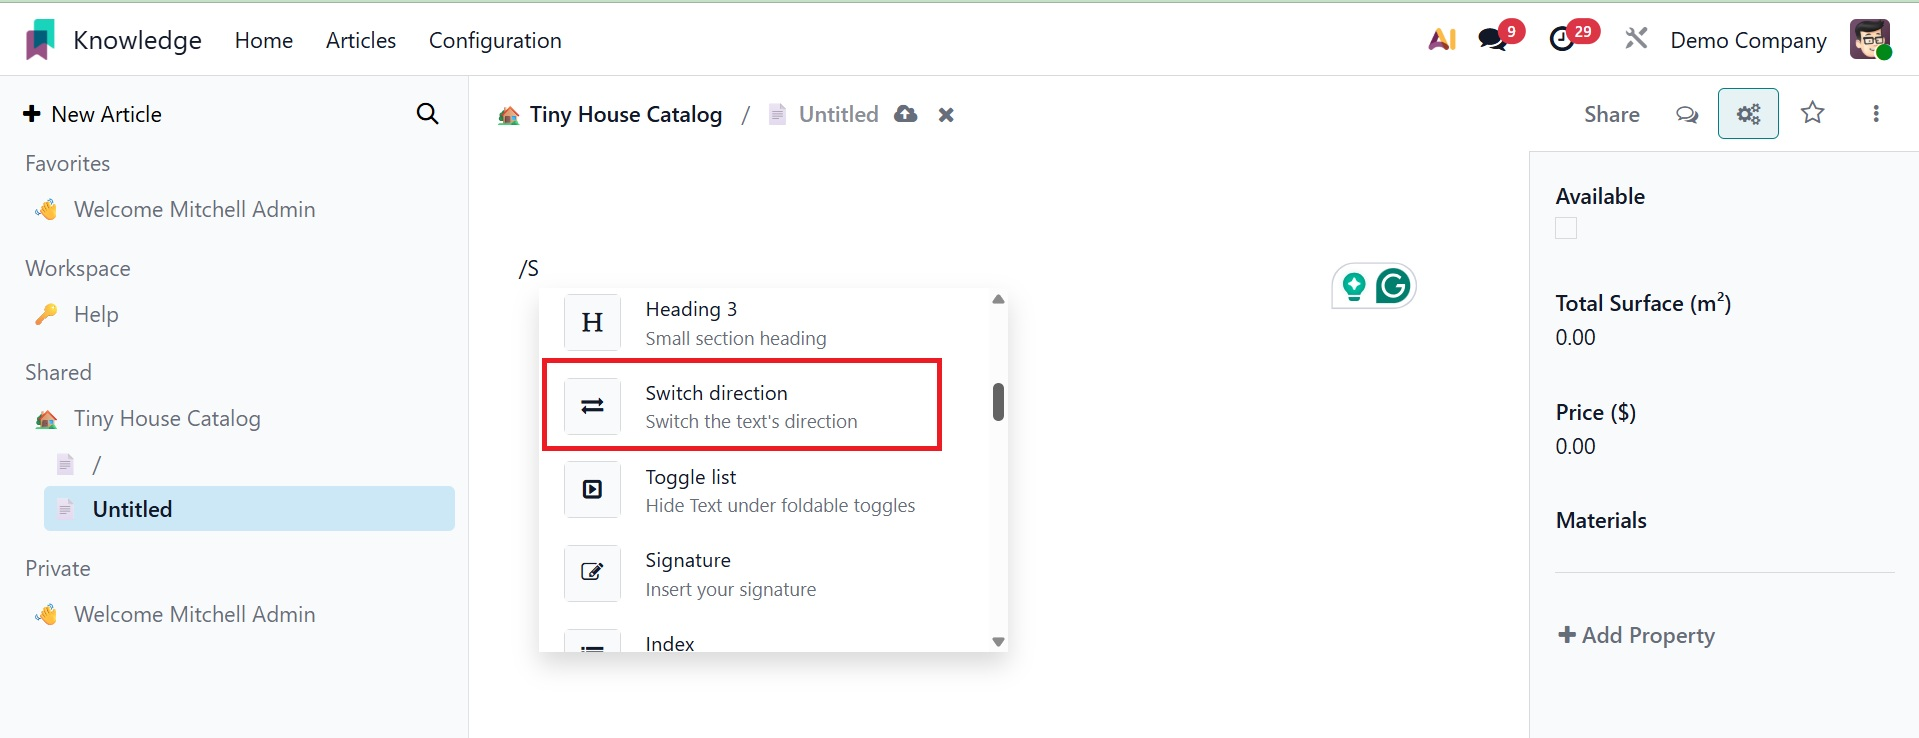
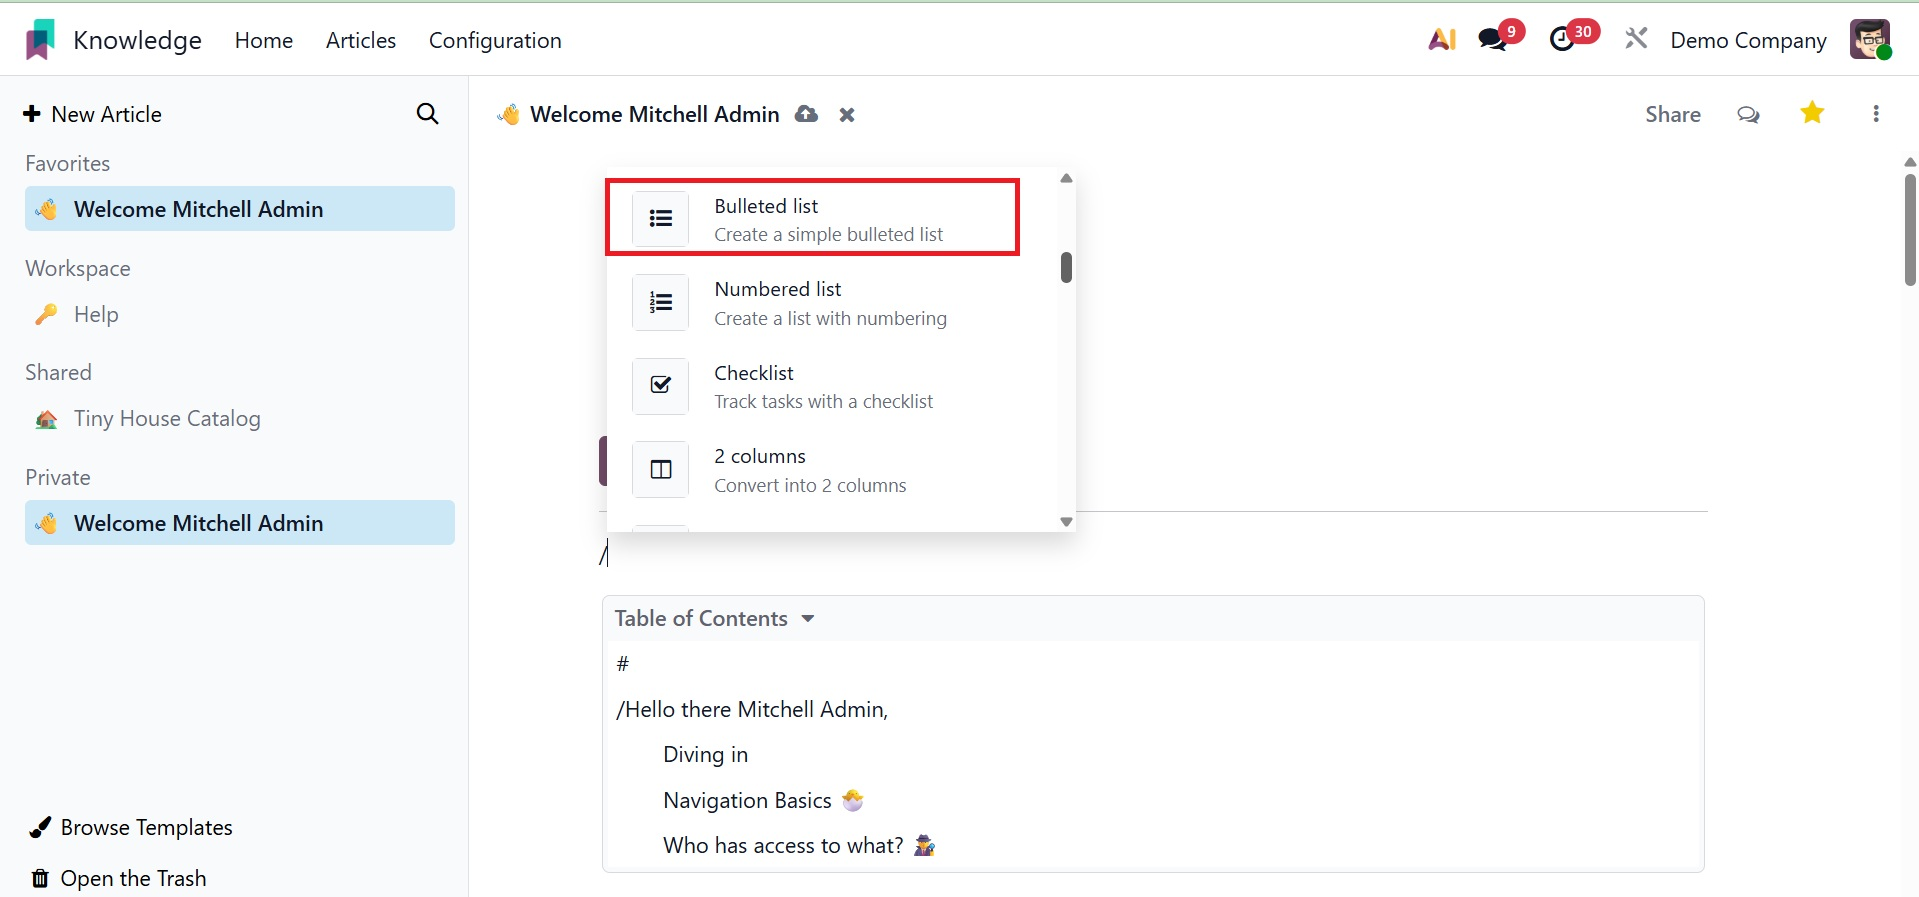
Users can include a variety of structures with the / attached, such as a bullet list, numbered list, checklist, table, quotation, separator, and columns, as shown in the image below.
You can add bullets when you choose the bullet list, as seen in the picture below.
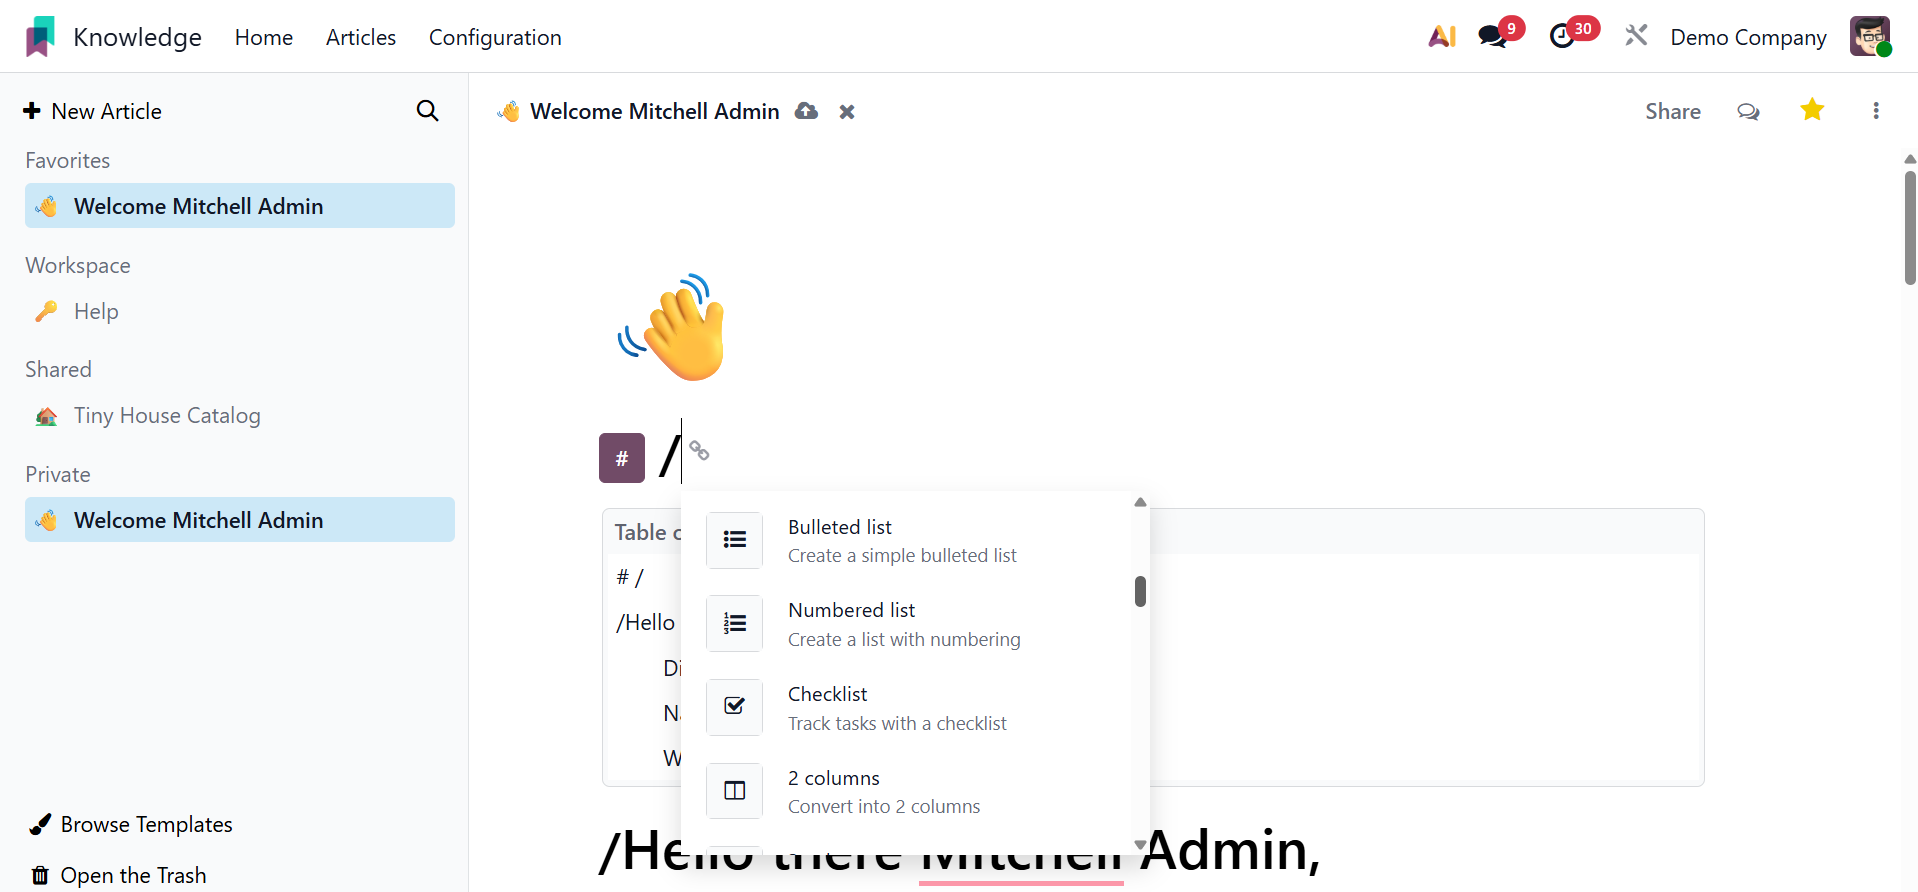
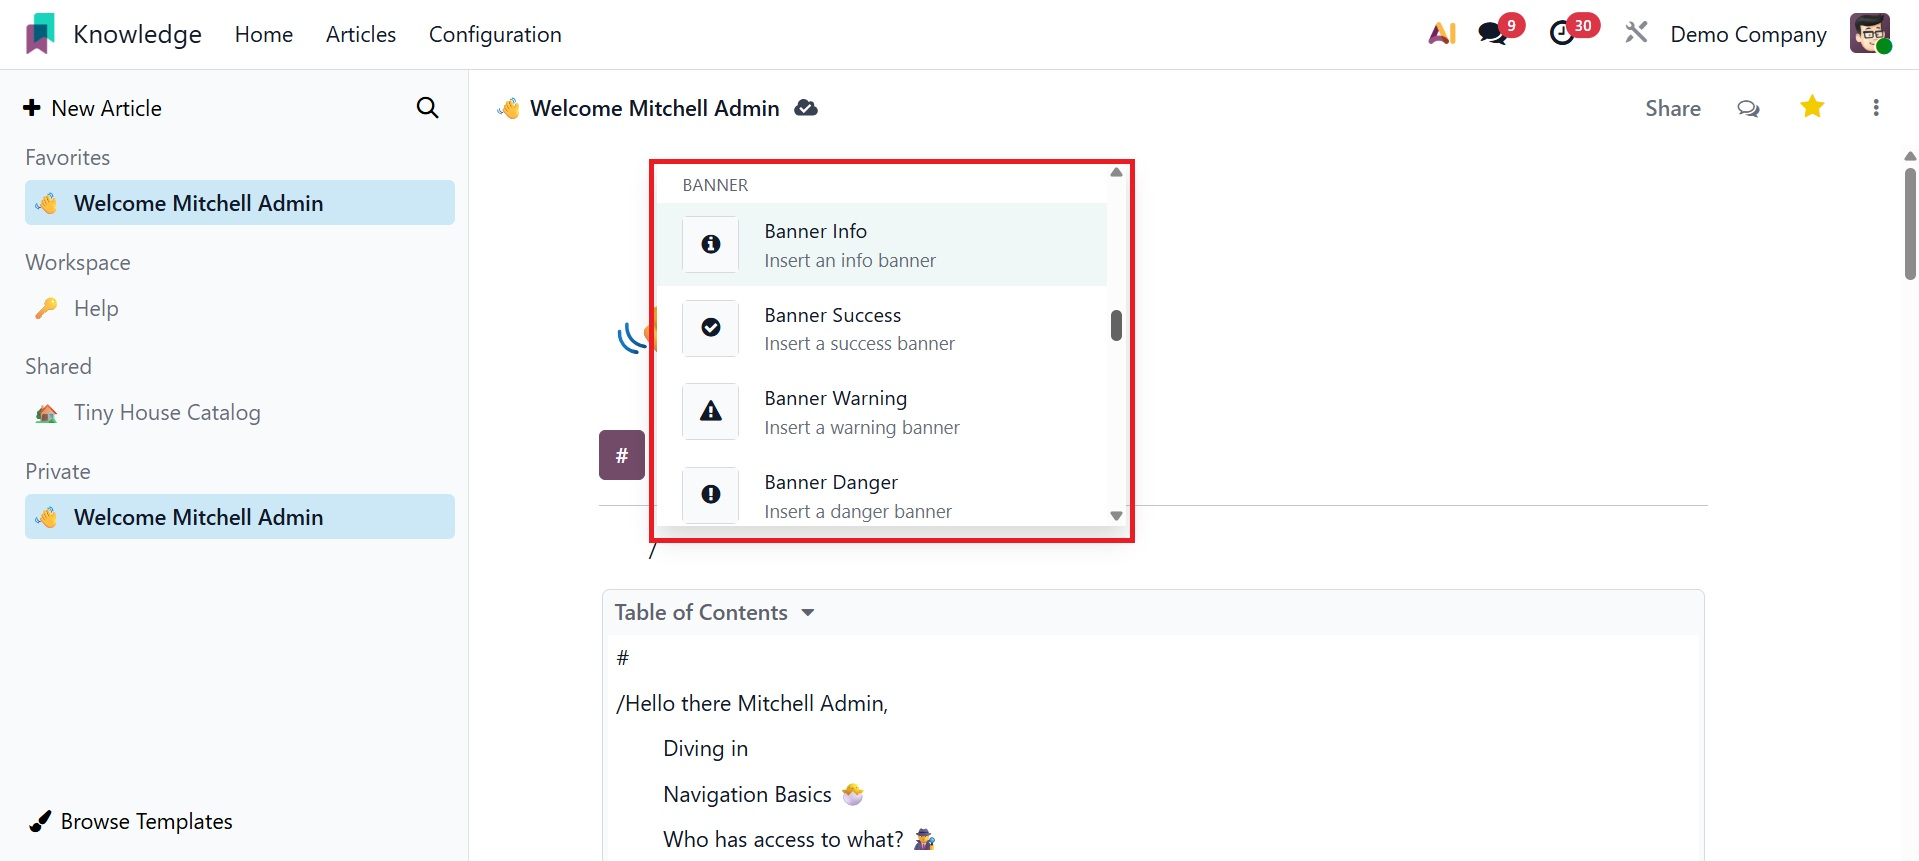
You can add numbers after choosing the numbered list. You can add a checklist by using the checklist option. You can use the page to add certain quotes. Additionally, the code option can be used to specify specific codes. Next, create an information banner by selecting Banner Info in the Banners section.
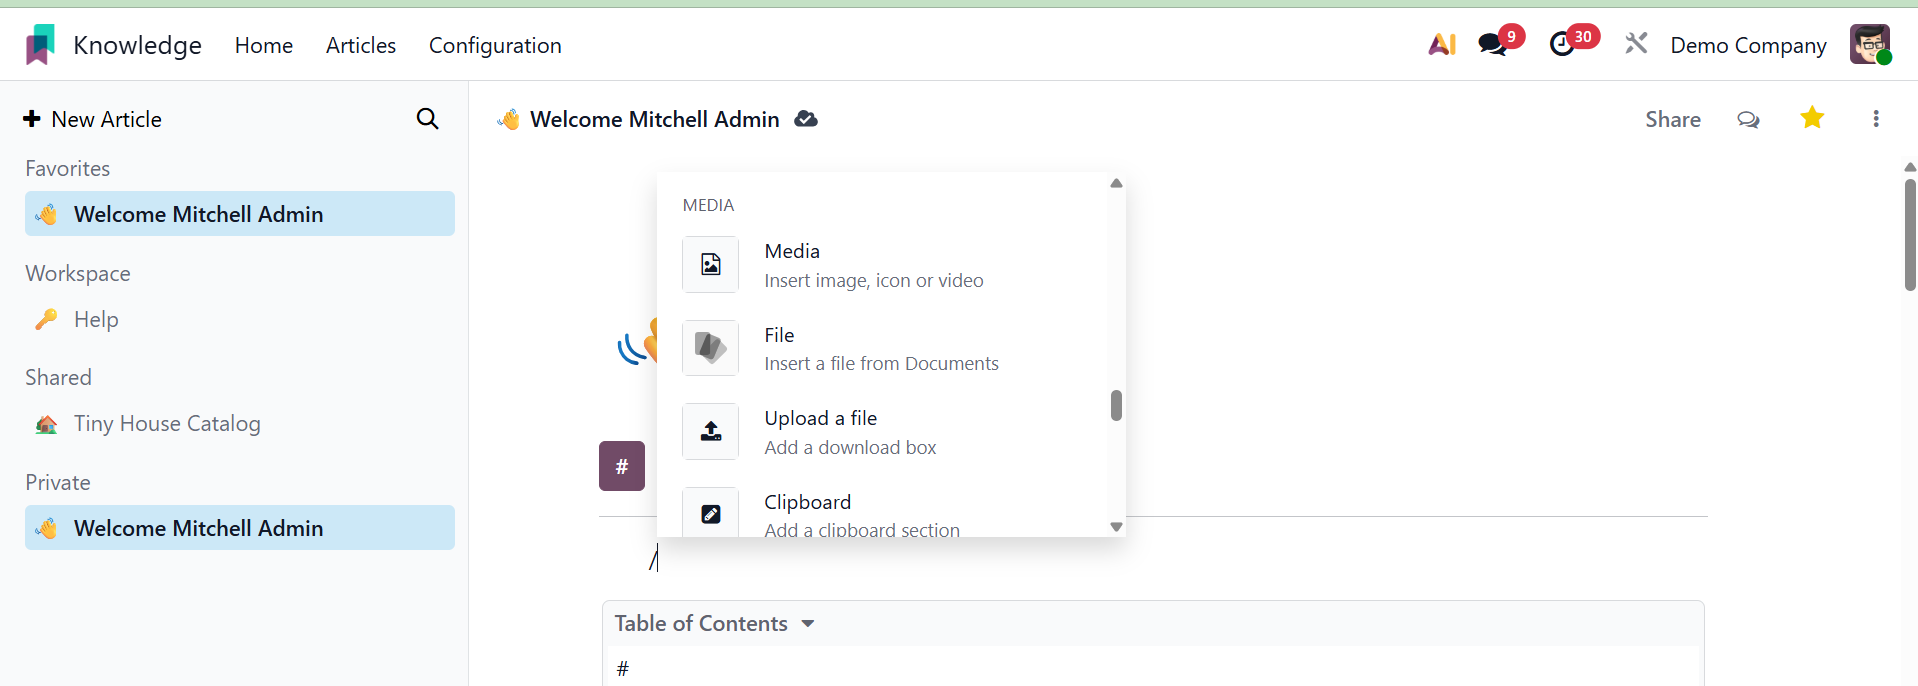
A success banner can be added using Banner Success. A flag of victory can be added using flag Warning. A risk banner can be added using Banner Danger. The '/' slash icon can be used to add media, like photos, videos, and articles, after the headings and content.
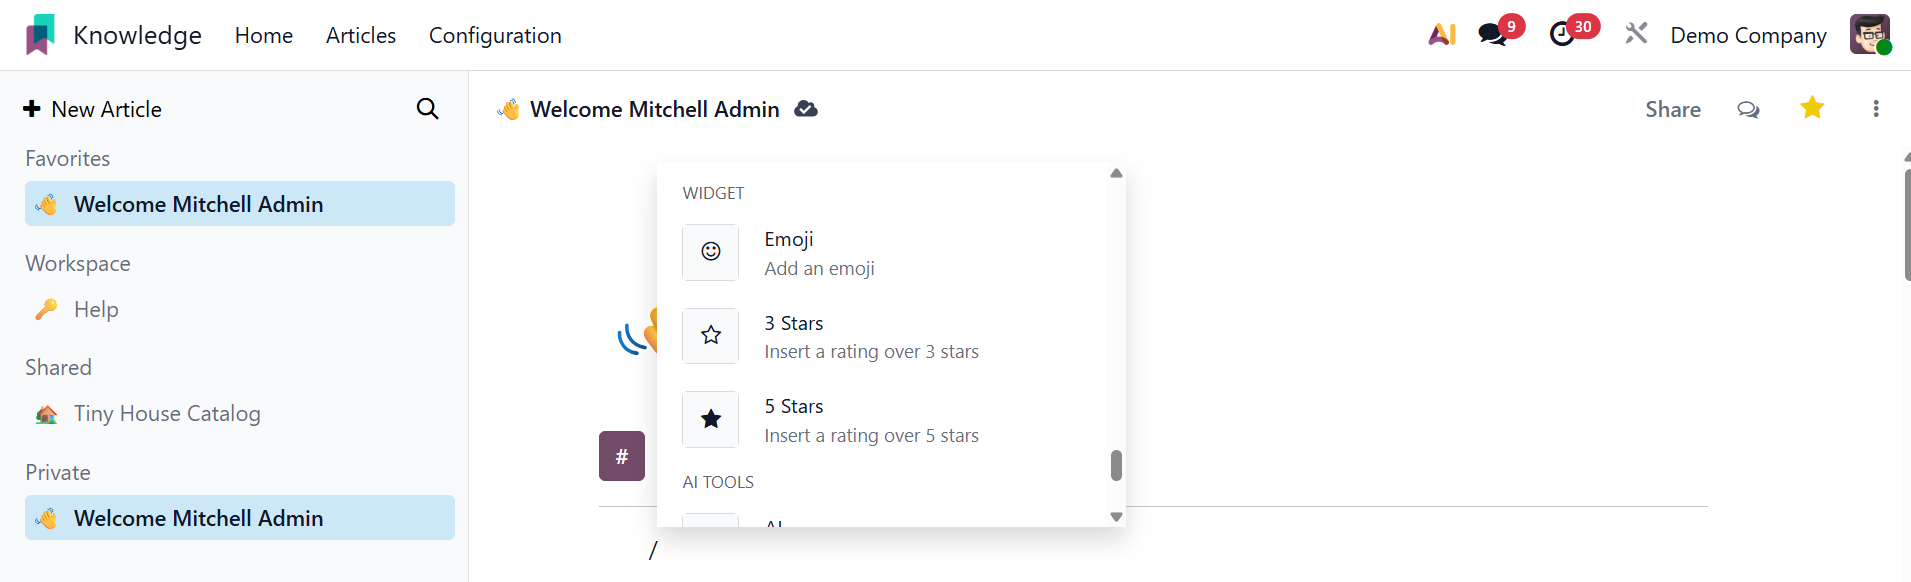
The article may contain widgets such as stars and emoticons.
Once the necessary topic has been entered to the search section, the material can be added to the article.
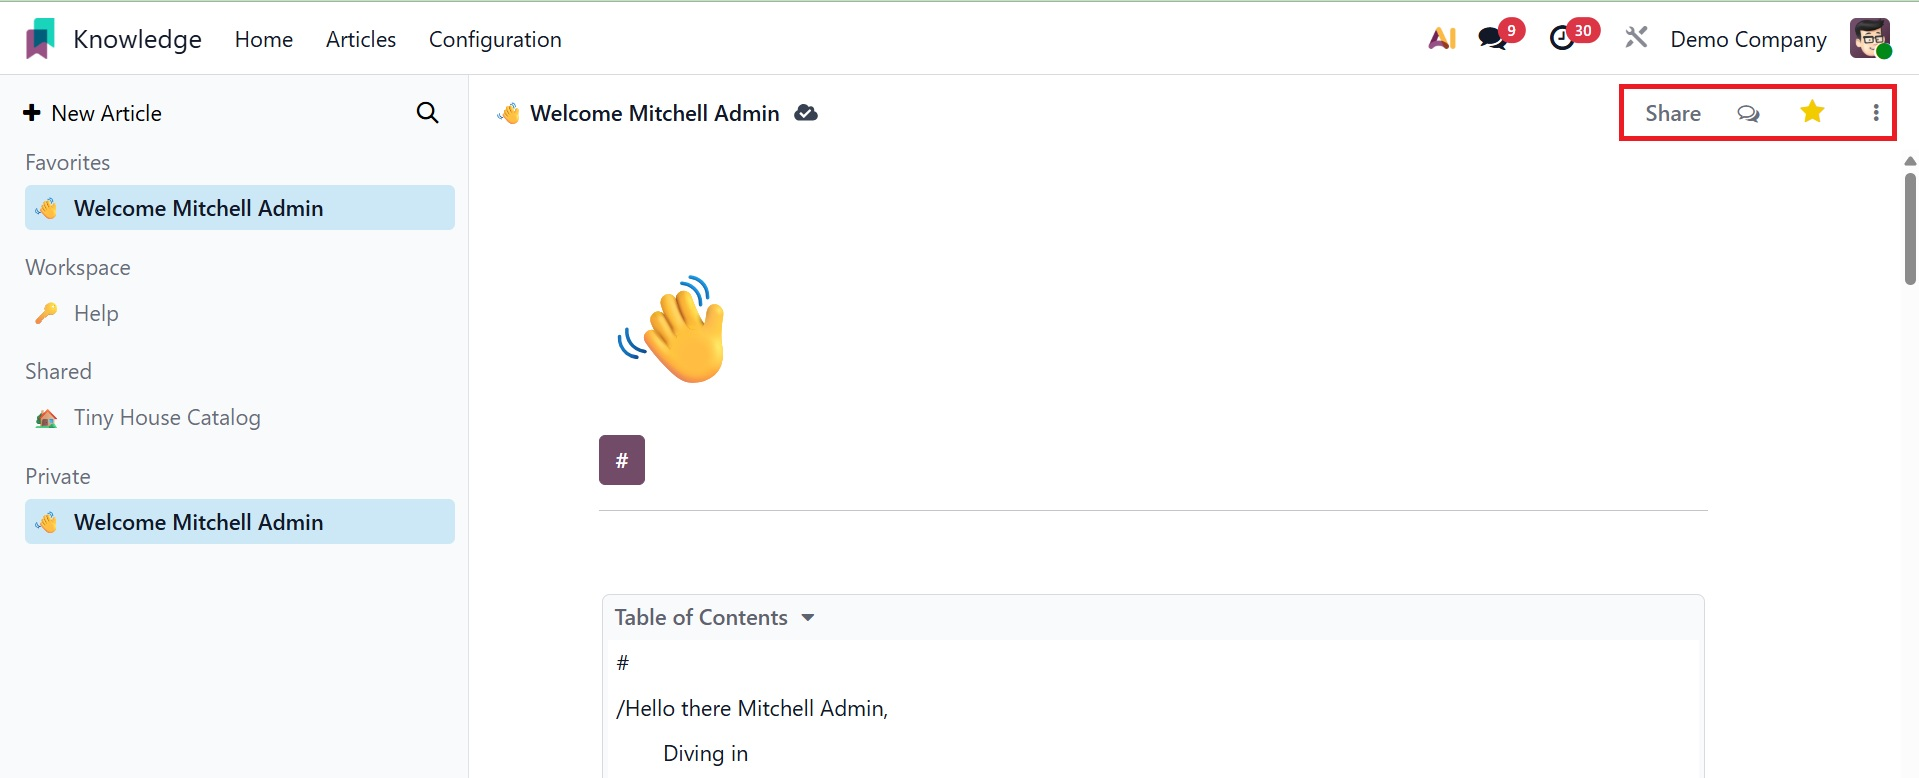
You can use the star icon to mark an article as a favorite once it has been created.
The Workspace platform article will be accessible to all database internal users. Setting an article's access rights in the Knowledge Module is simple. When the article is finished, you can click the Share icon in the upper-right corner of the screen.
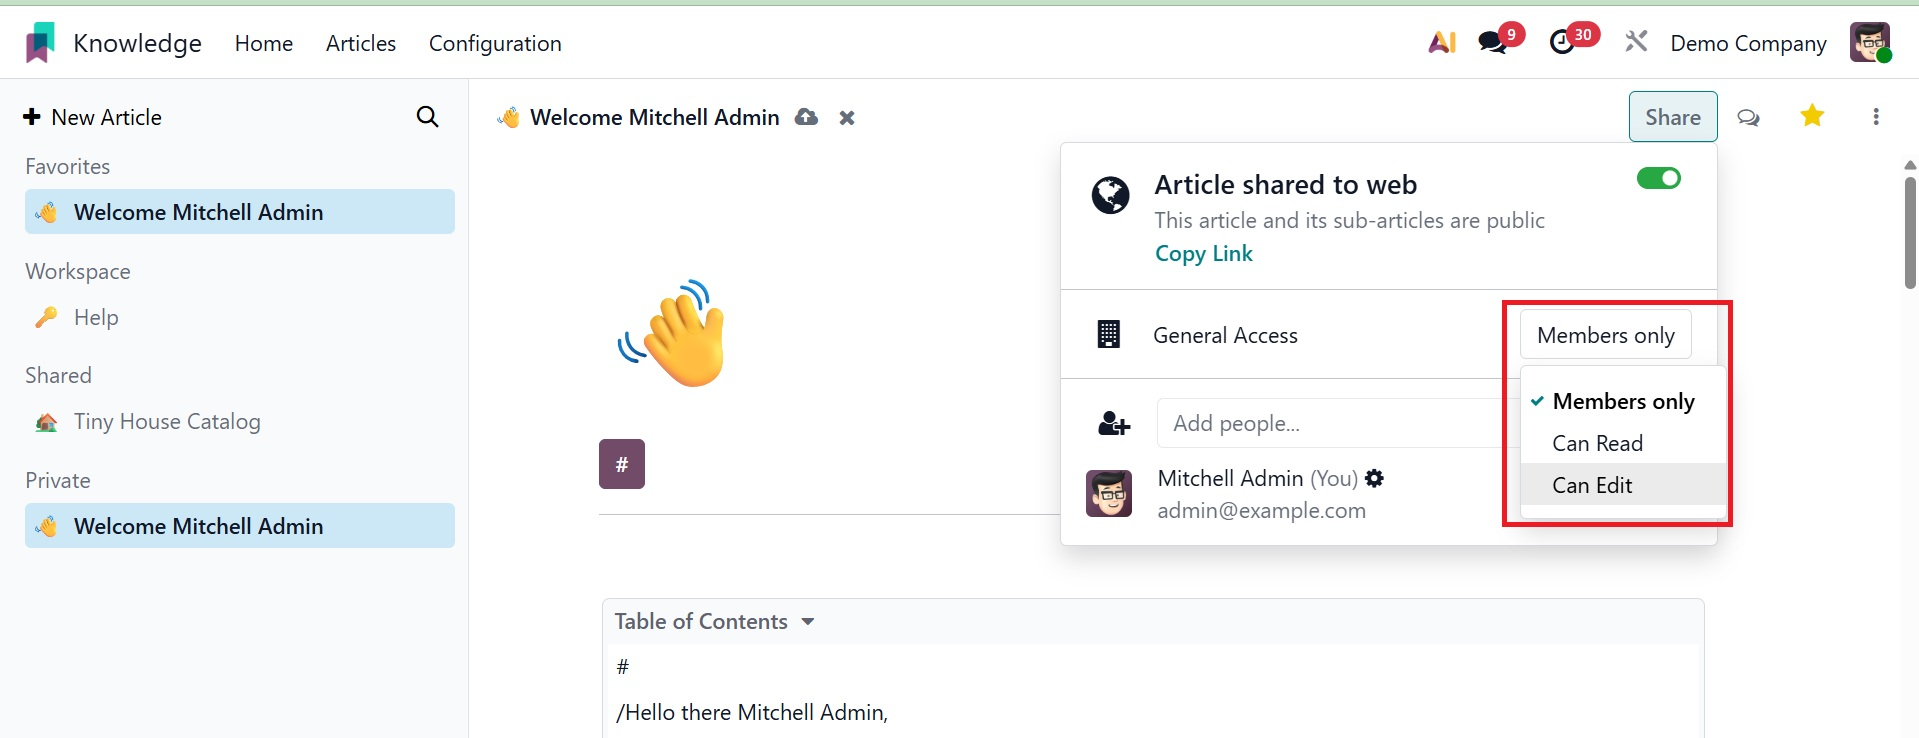
The initial permissions established for newly produced articles or workspaces, which specify who can see, edit, or administer the content by default, are referred to as the default access rights option. You can choose to read, modify, or have no access under that.
- Members Only:The article or workspace are completely hidden from the user or group.
- Can read:The article or workspace can be viewed by the user or group, but no modifications can be made.
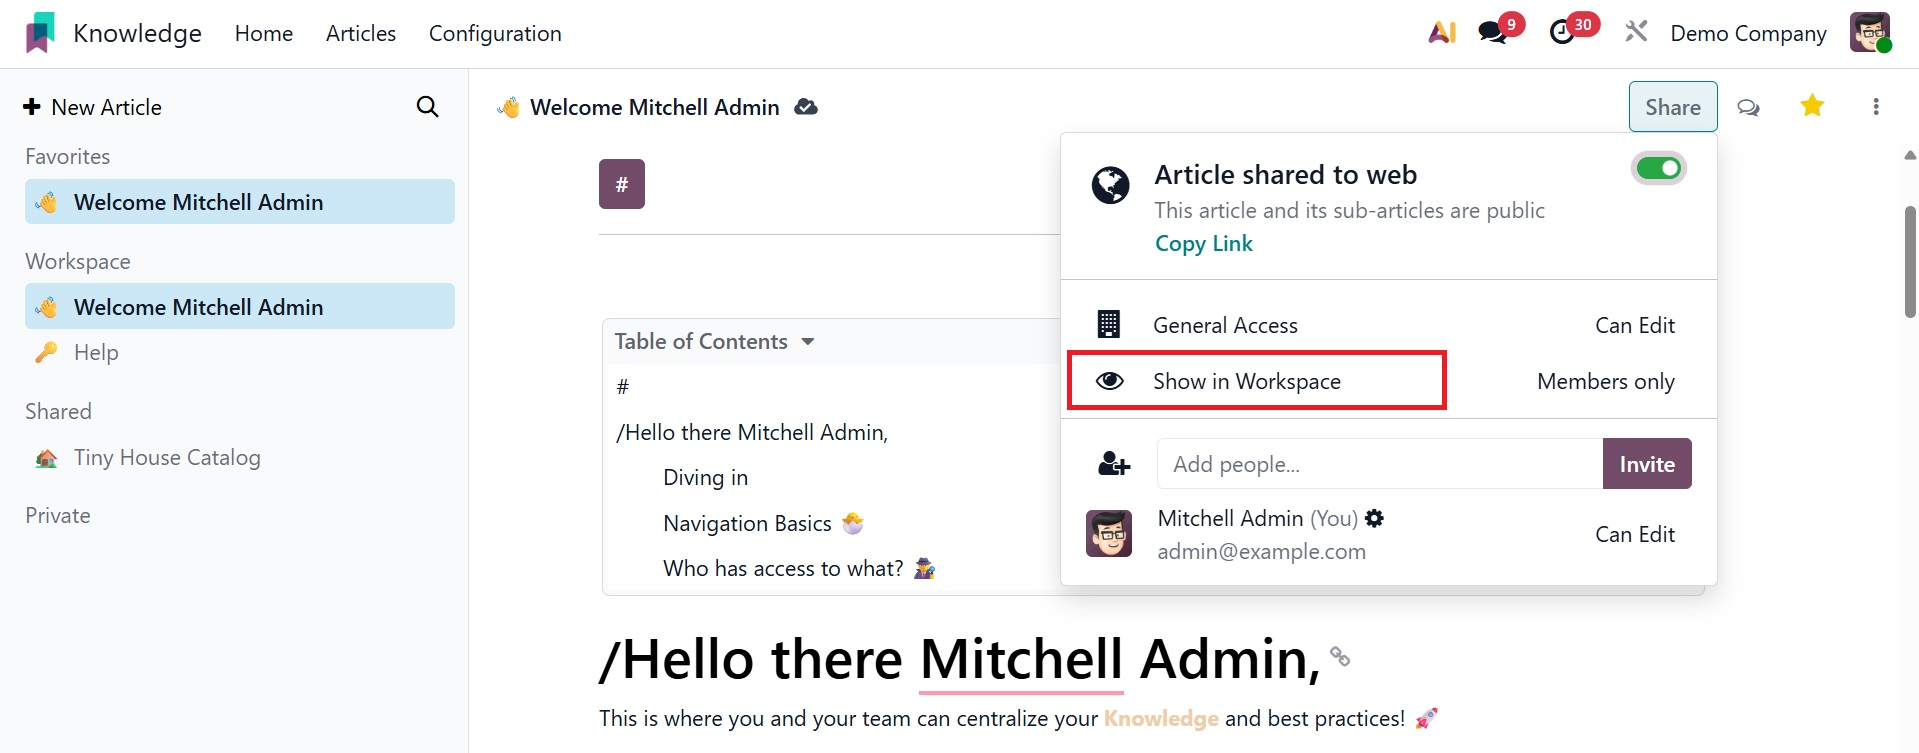
- Can Edit:The content is editable by the user or group. The show in workspace option appears when you choose the can edit option, as shown in the picture below.
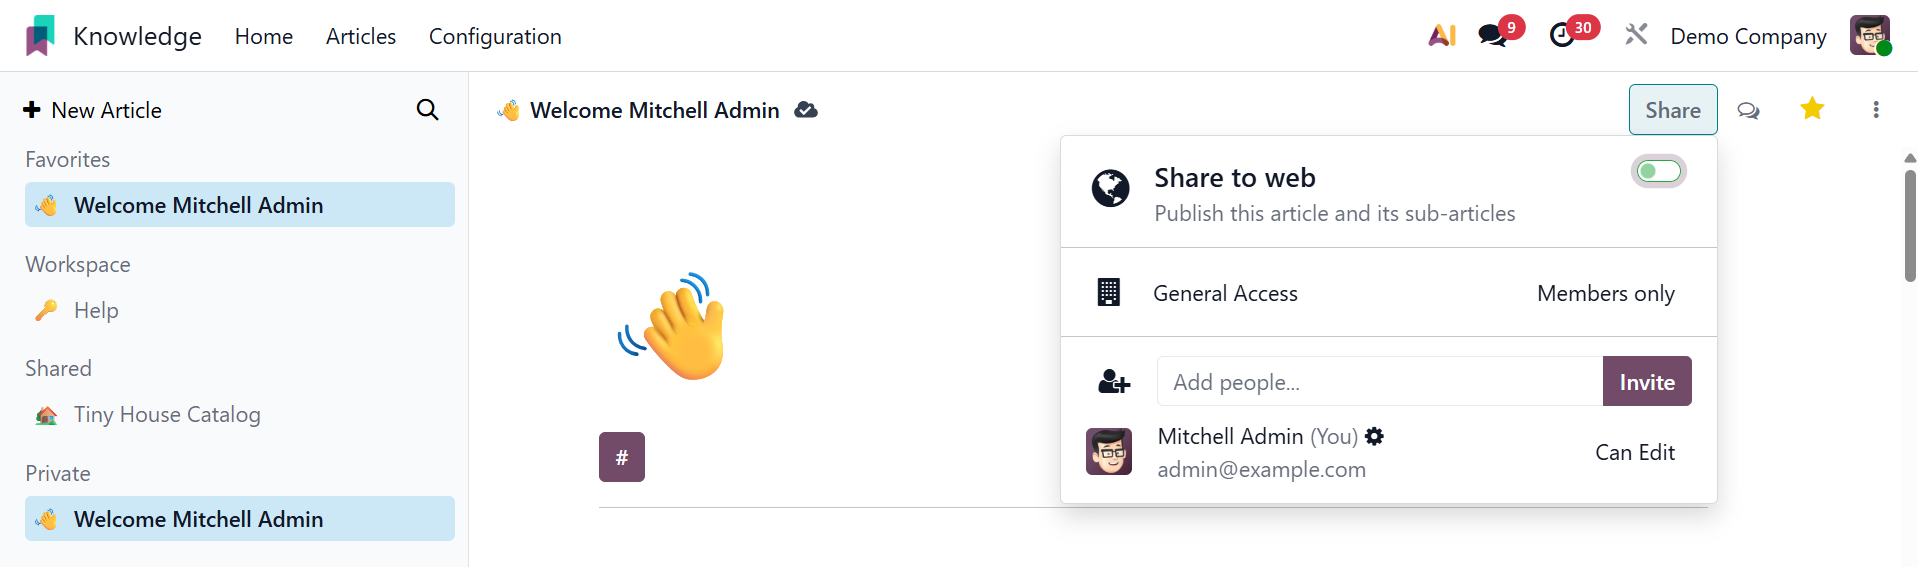
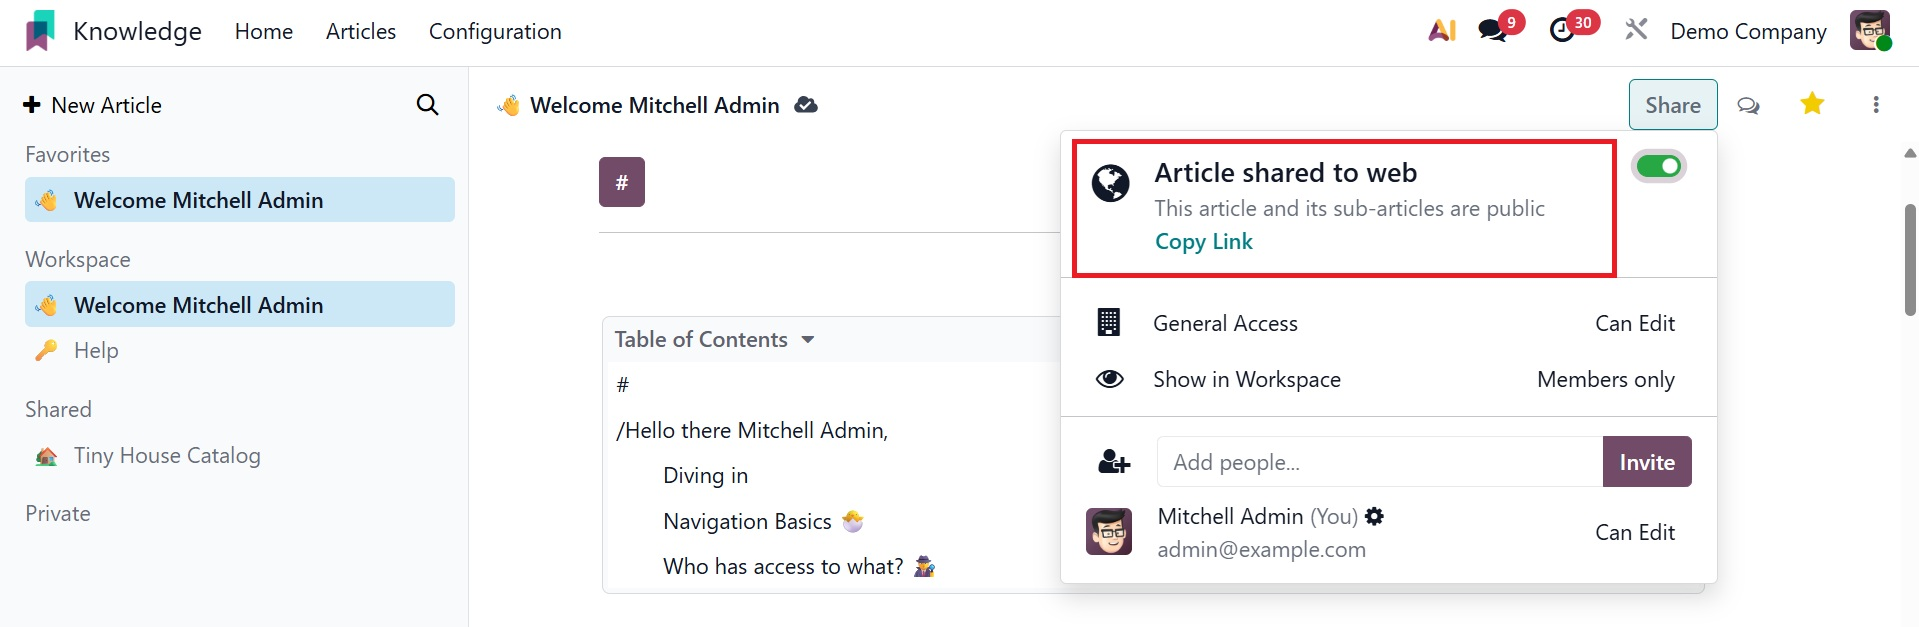
To manage who can view and edit articles, default access rights and show in workspace settings work together. "Members" or "Everyone" might be the visibility. You can make the item available to everyone by publishing it on the website and activating the Share to Web feature.
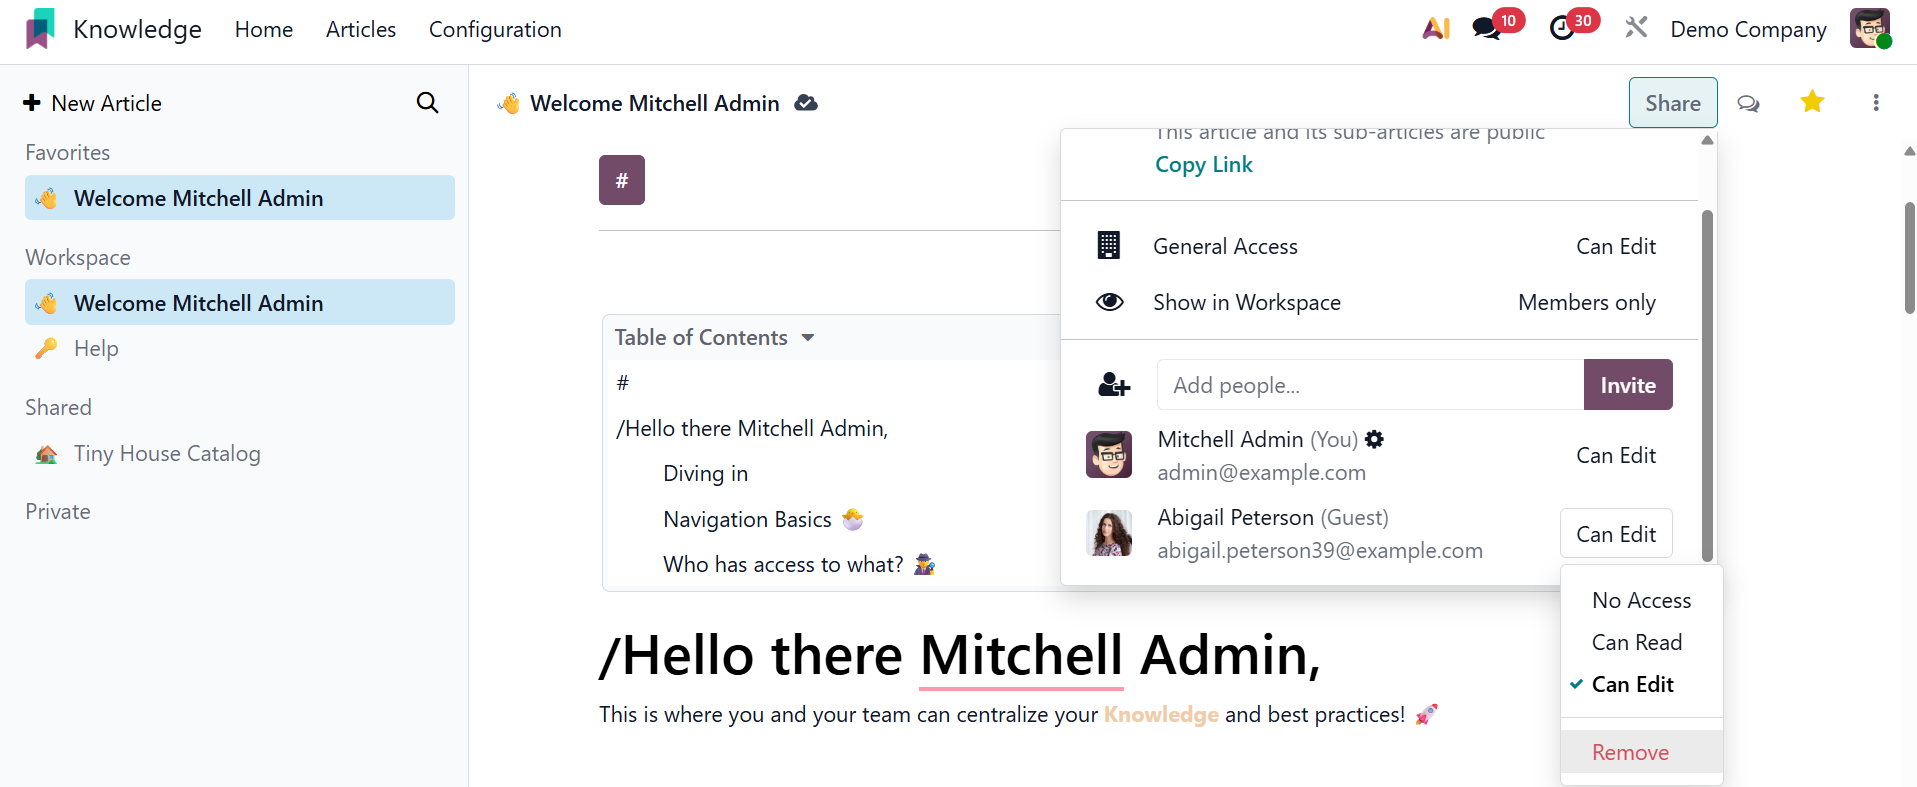
A link to an article that you can copy and distribute on other websites will be sent to you. Additionally, you can invite the editors or readers of the article by using the Invite button.
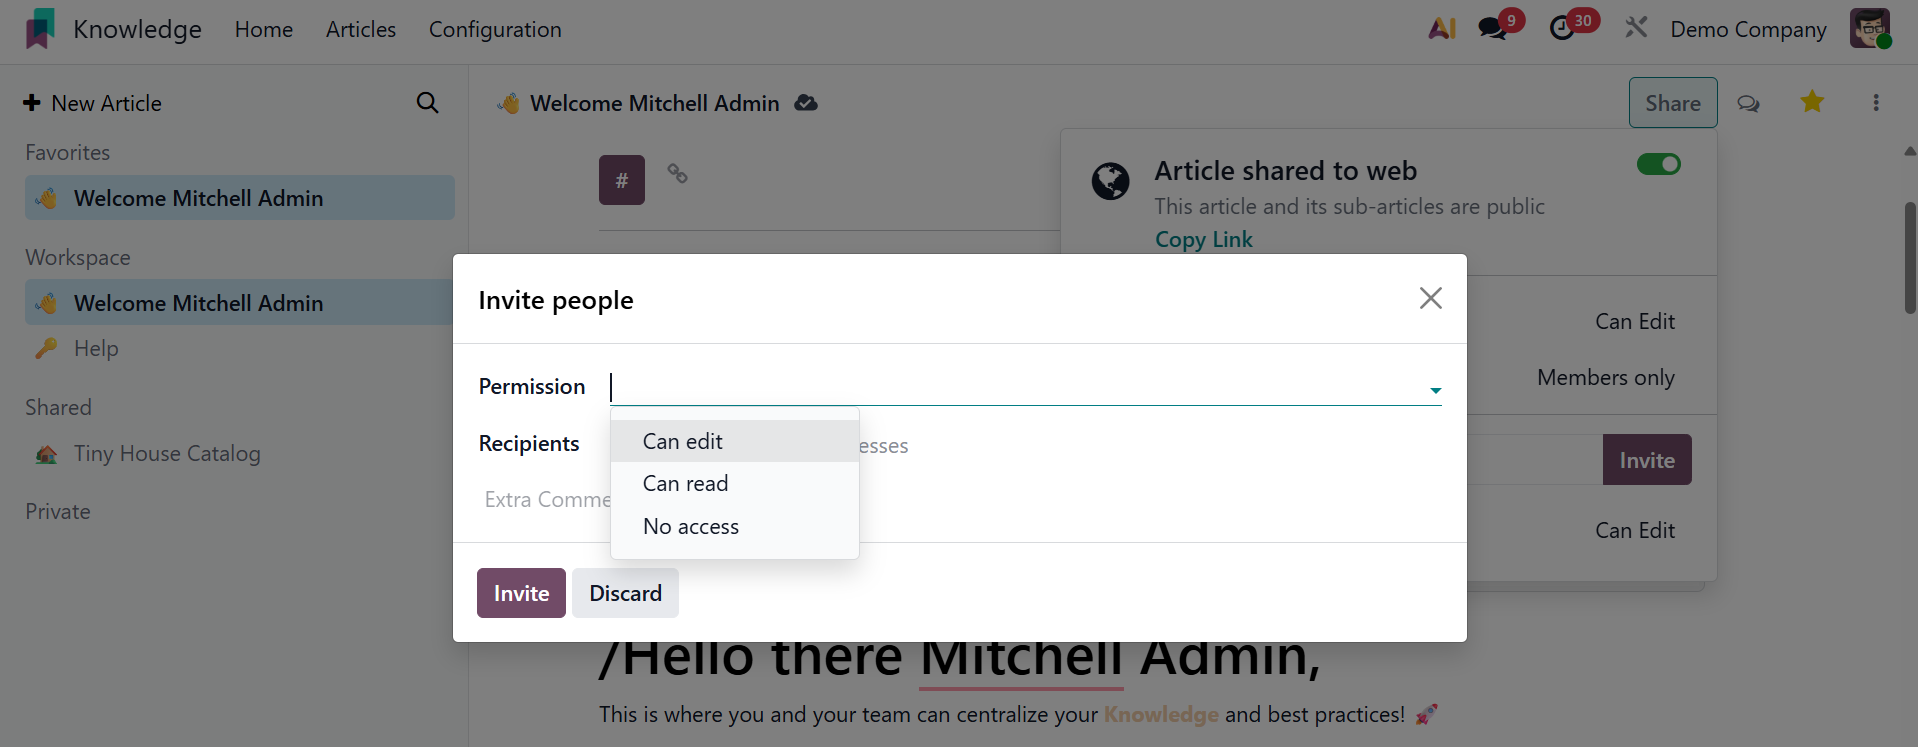
As seen here, a new wizard will emerge.
You can configure someone's access rights when you invite them. You can check the Can Read option in the Permission column to just permit reading access and prohibit modification of any type. Users will be able to read and edit the article if they choose the Can Write option. If the aforementioned individuals choose the No Access option, they will not be able to read or change this page.

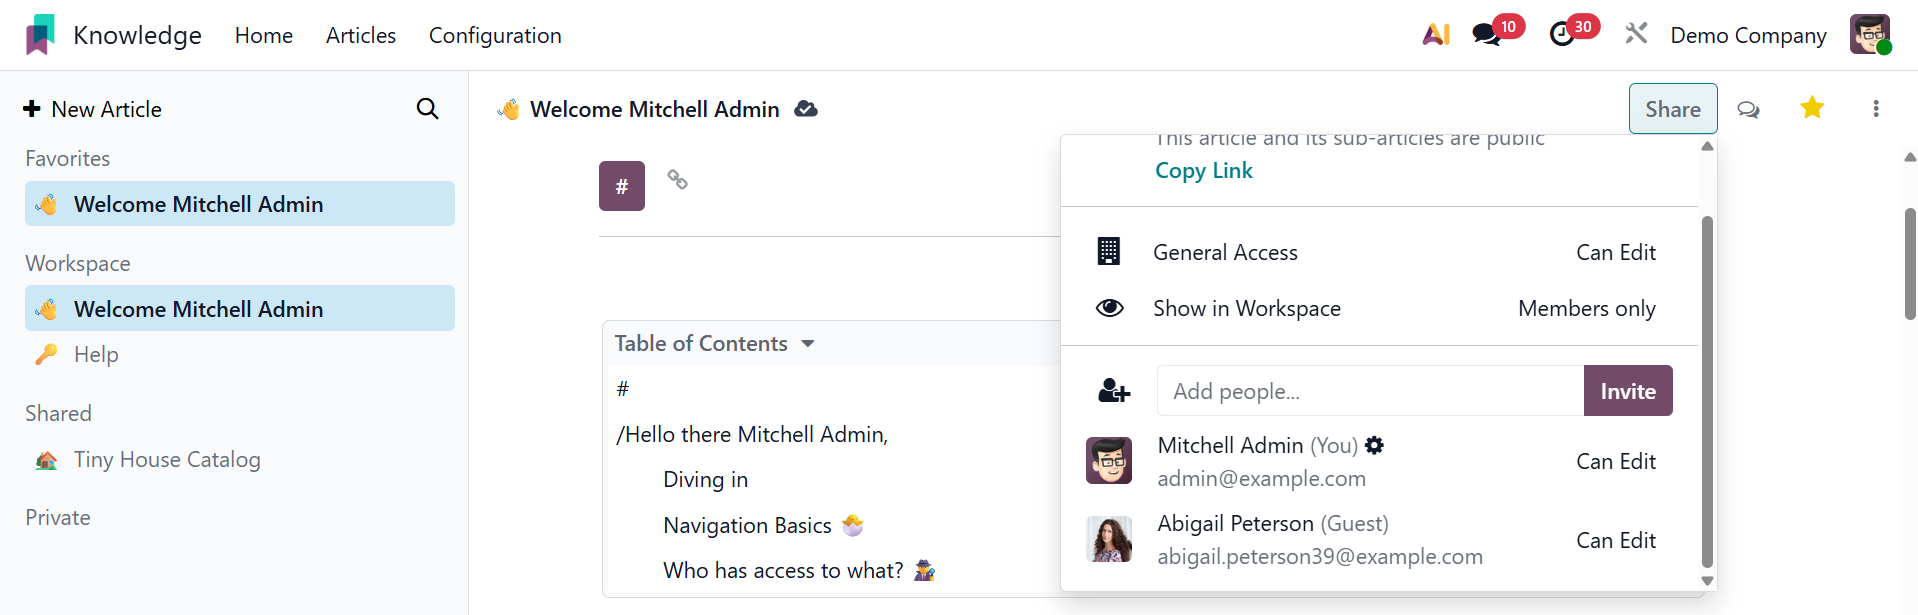
Once the recipients have been listed in the Recipients area, click the Invite button to extend an invitation. The list of users who have access to this post will now appear when you click the Share button, as seen in the screenshot below.
Clicking the remove icon will delete users from the list.
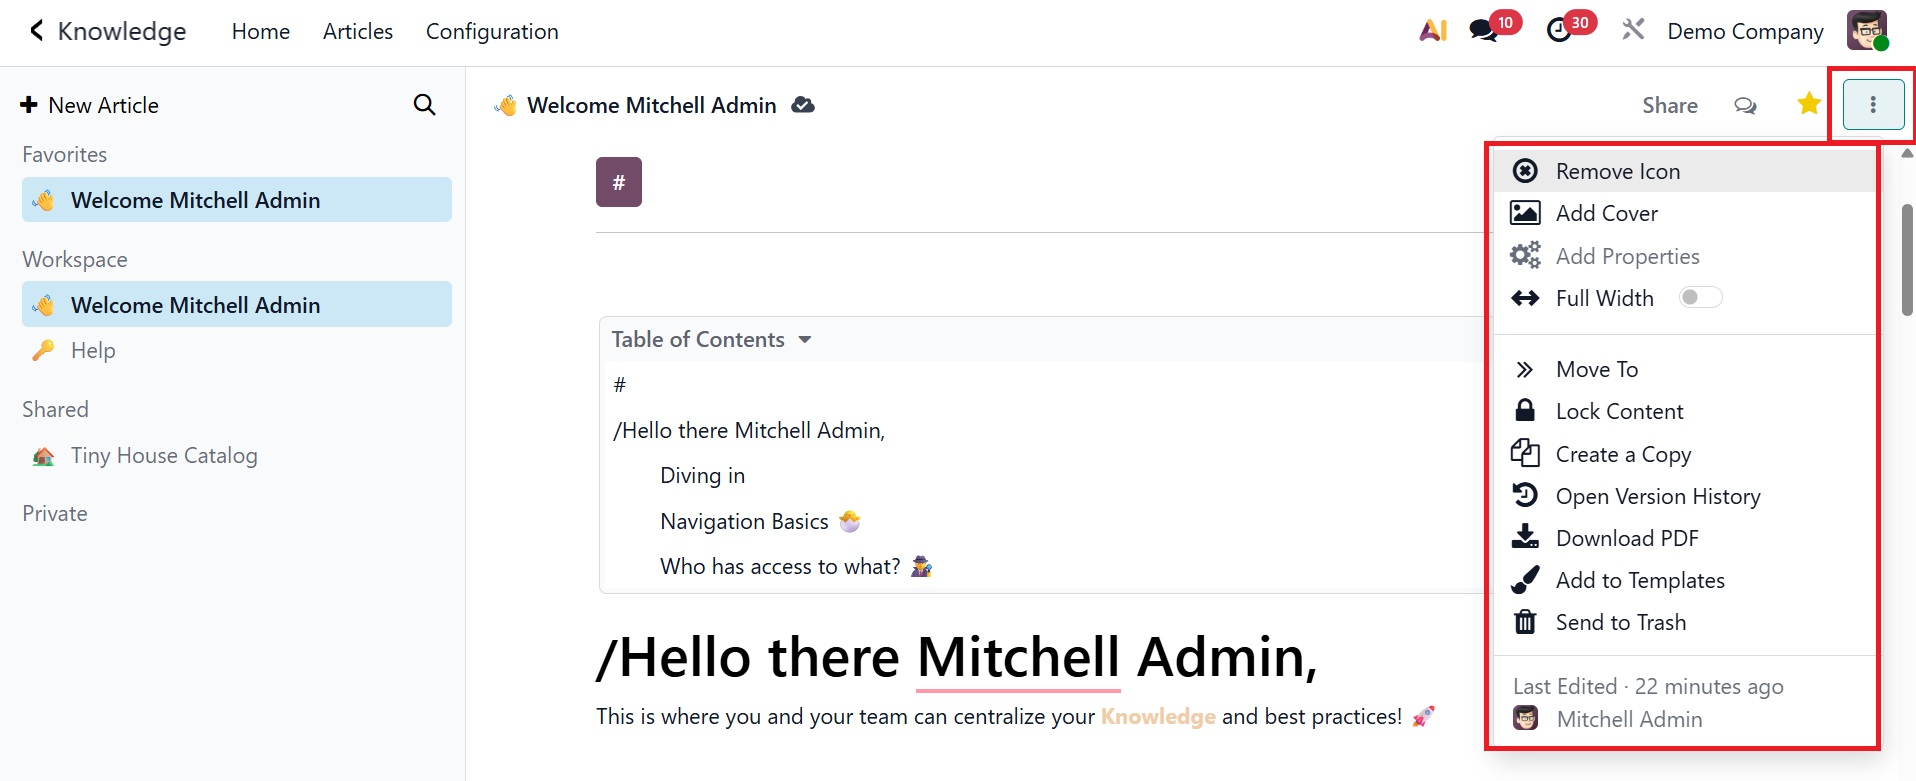
The three vertical dots in the upper right corner of the screen represent the various operating tools that Odoo provides for an article. These tools have several applications.
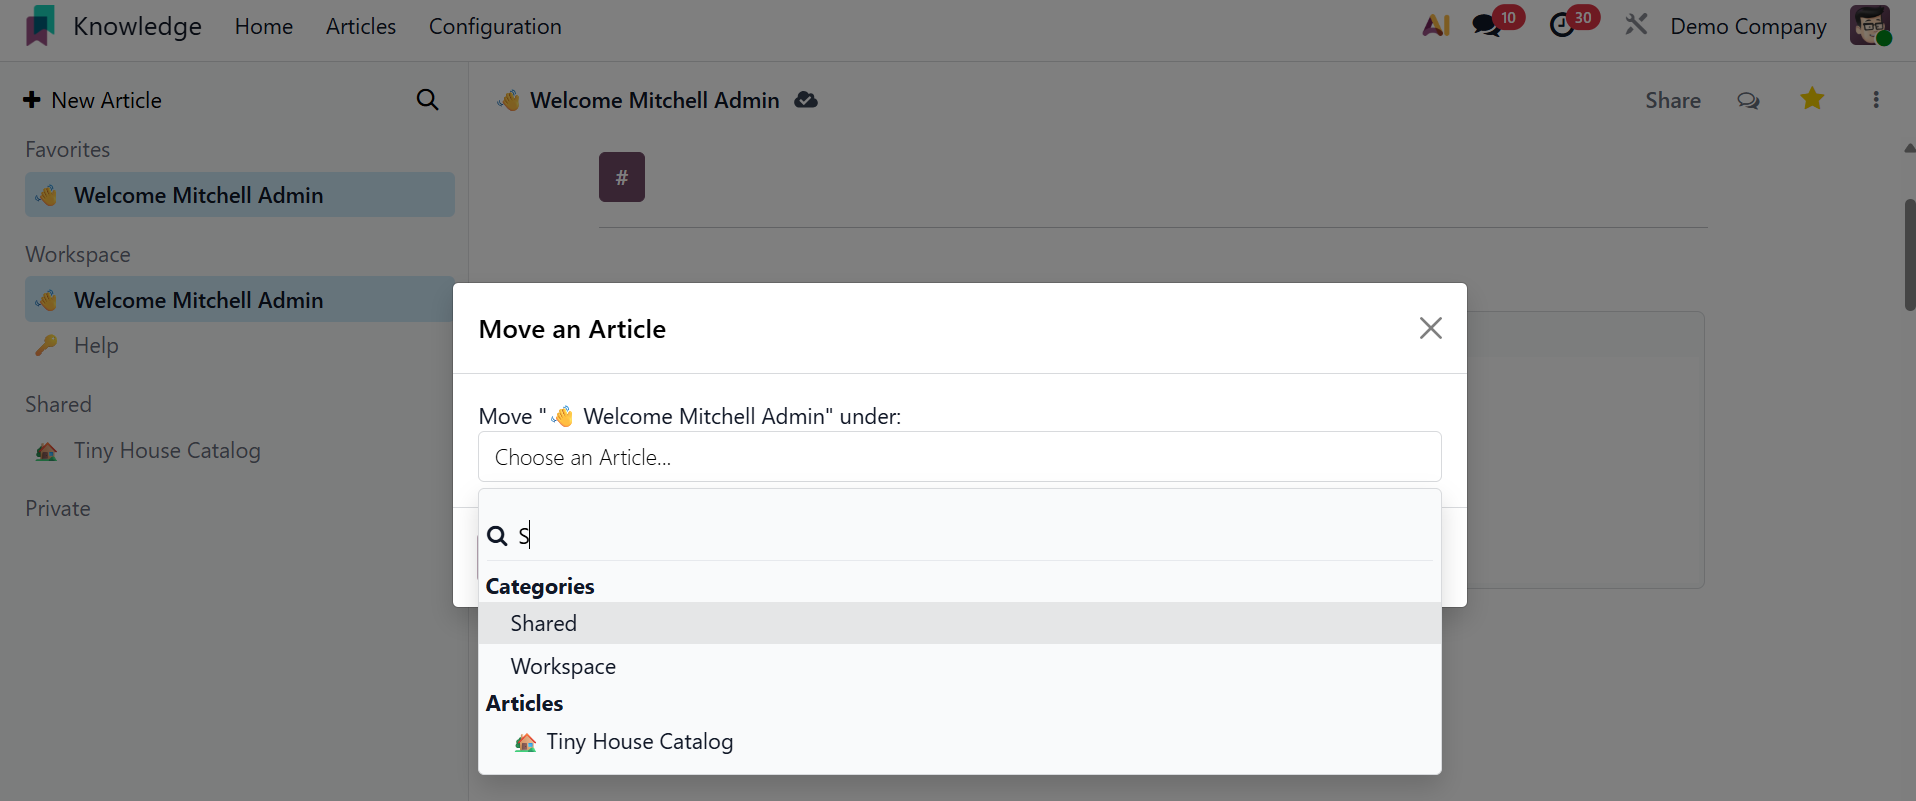
Choose the Move To option to move this article to a different folder. This will result in a pop-up box where you can choose an alternative parent article or folder, as shown below.
You can move this article from the current folder to the specified folder by clicking the Move Article button after entering the folder name.
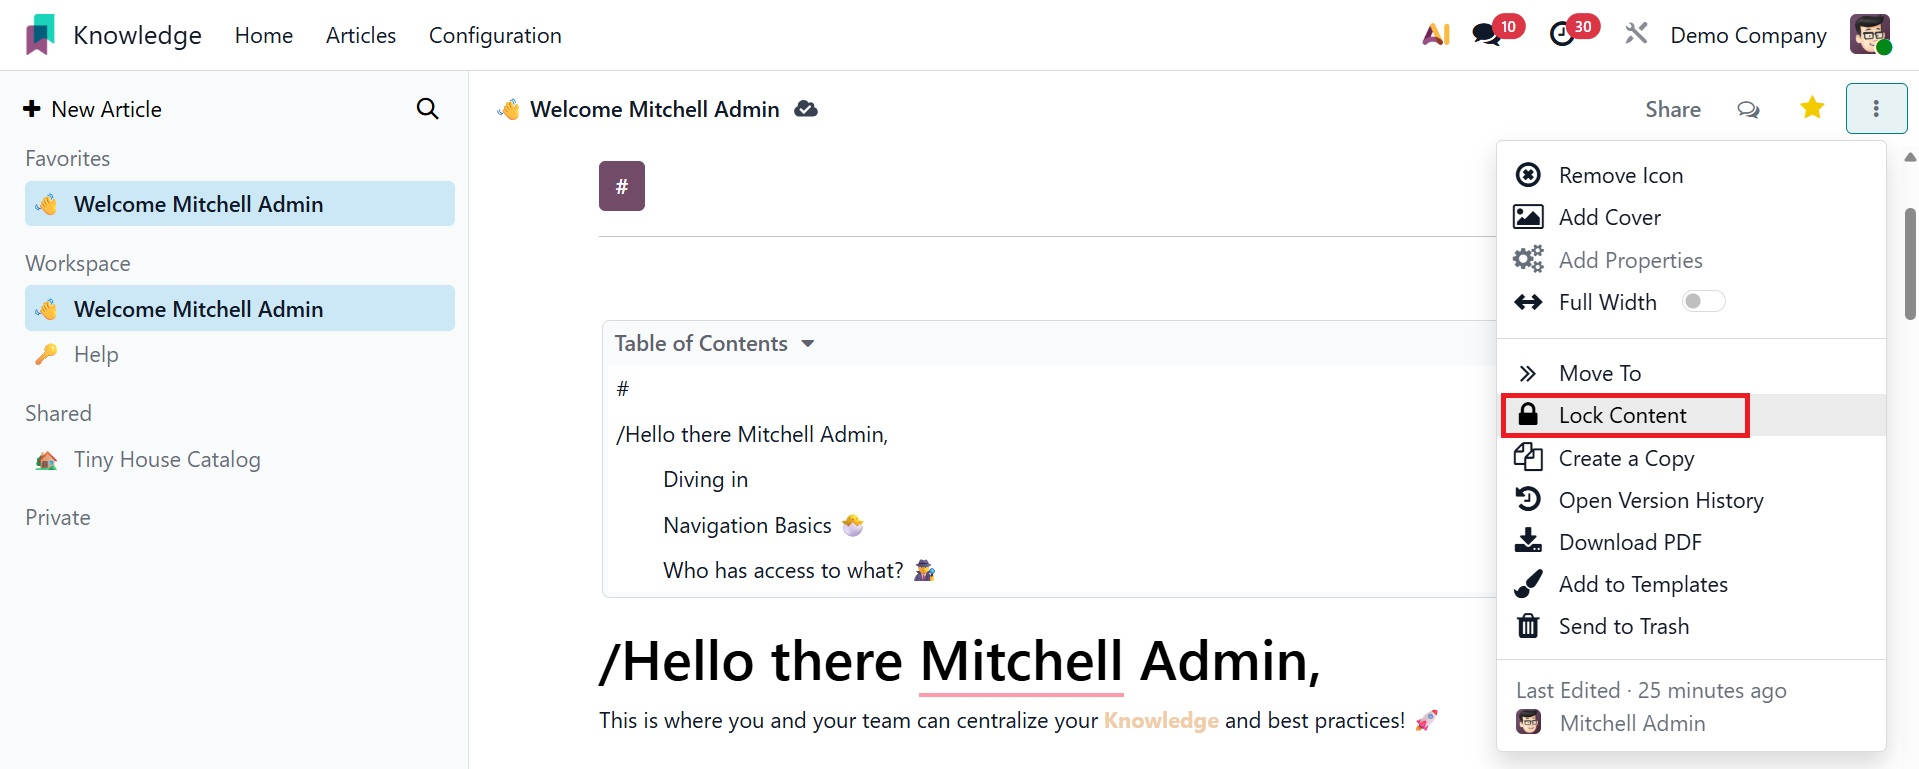
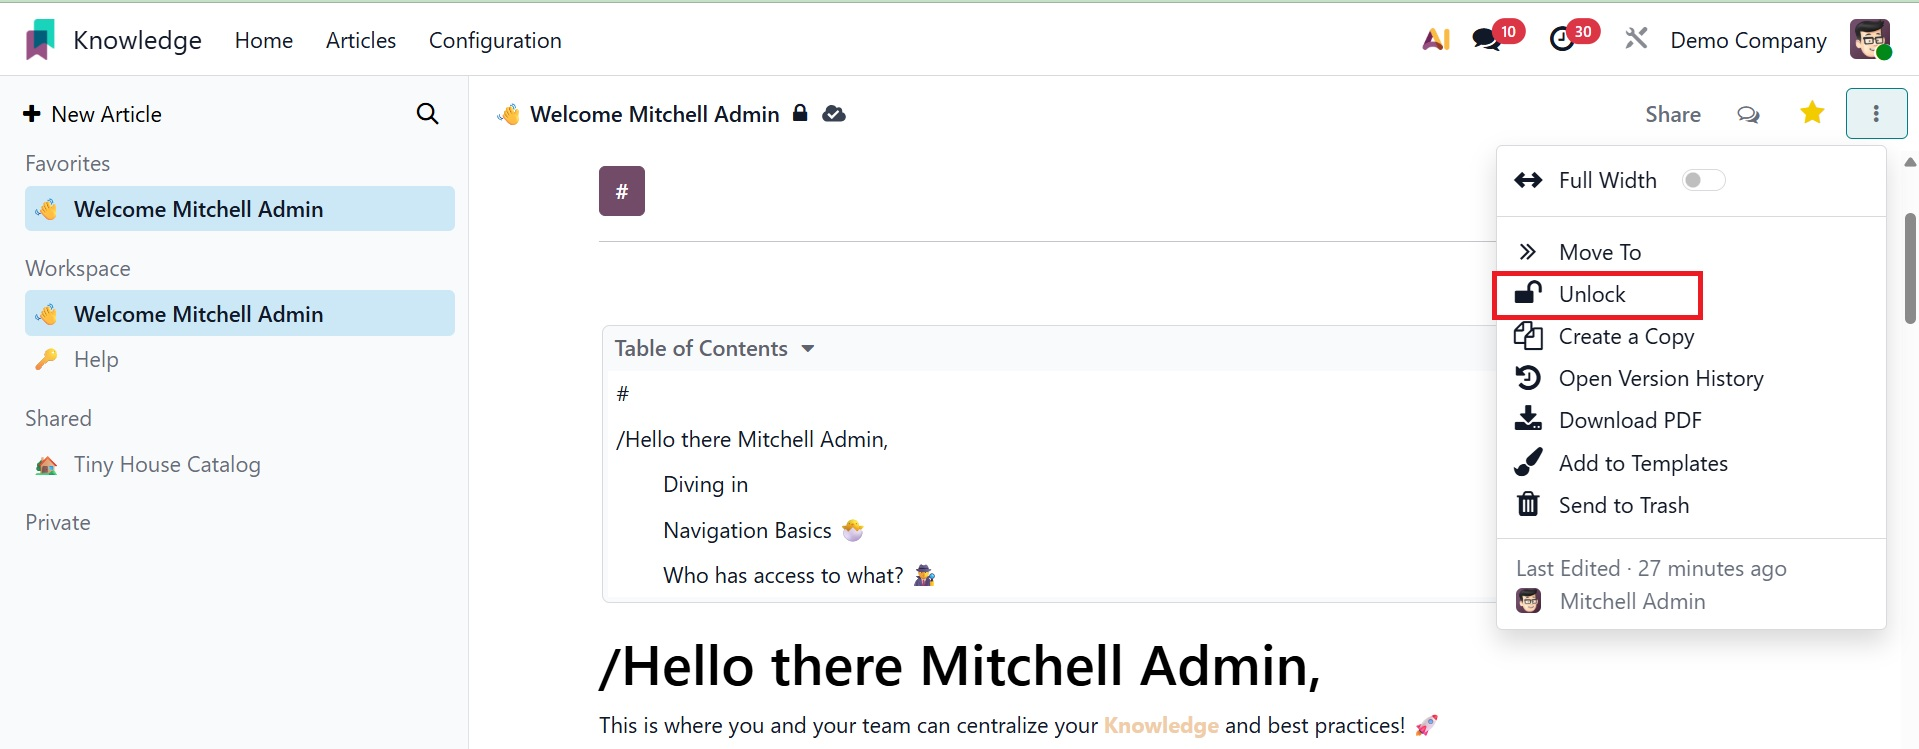
To protect your content, select the Lock option. A locked article cannot be edited in any way using Odoo19. These items can be unlocked by using the Unlock button.
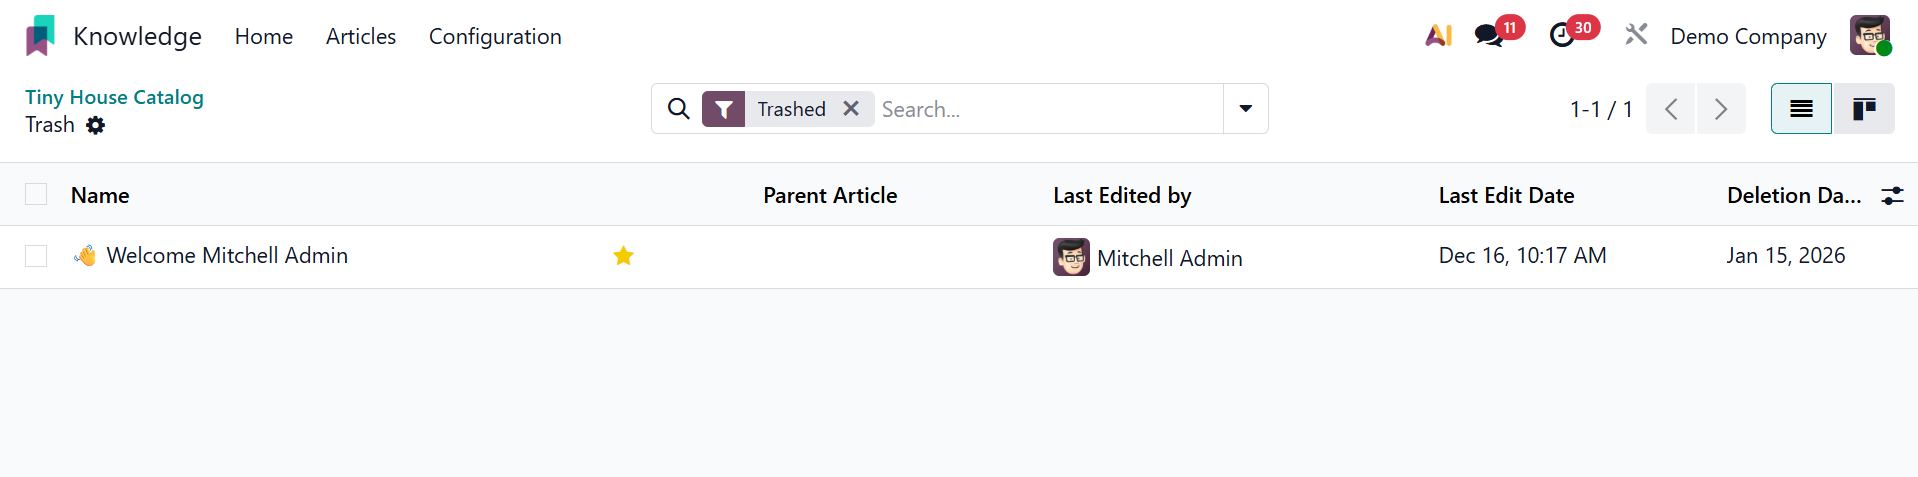
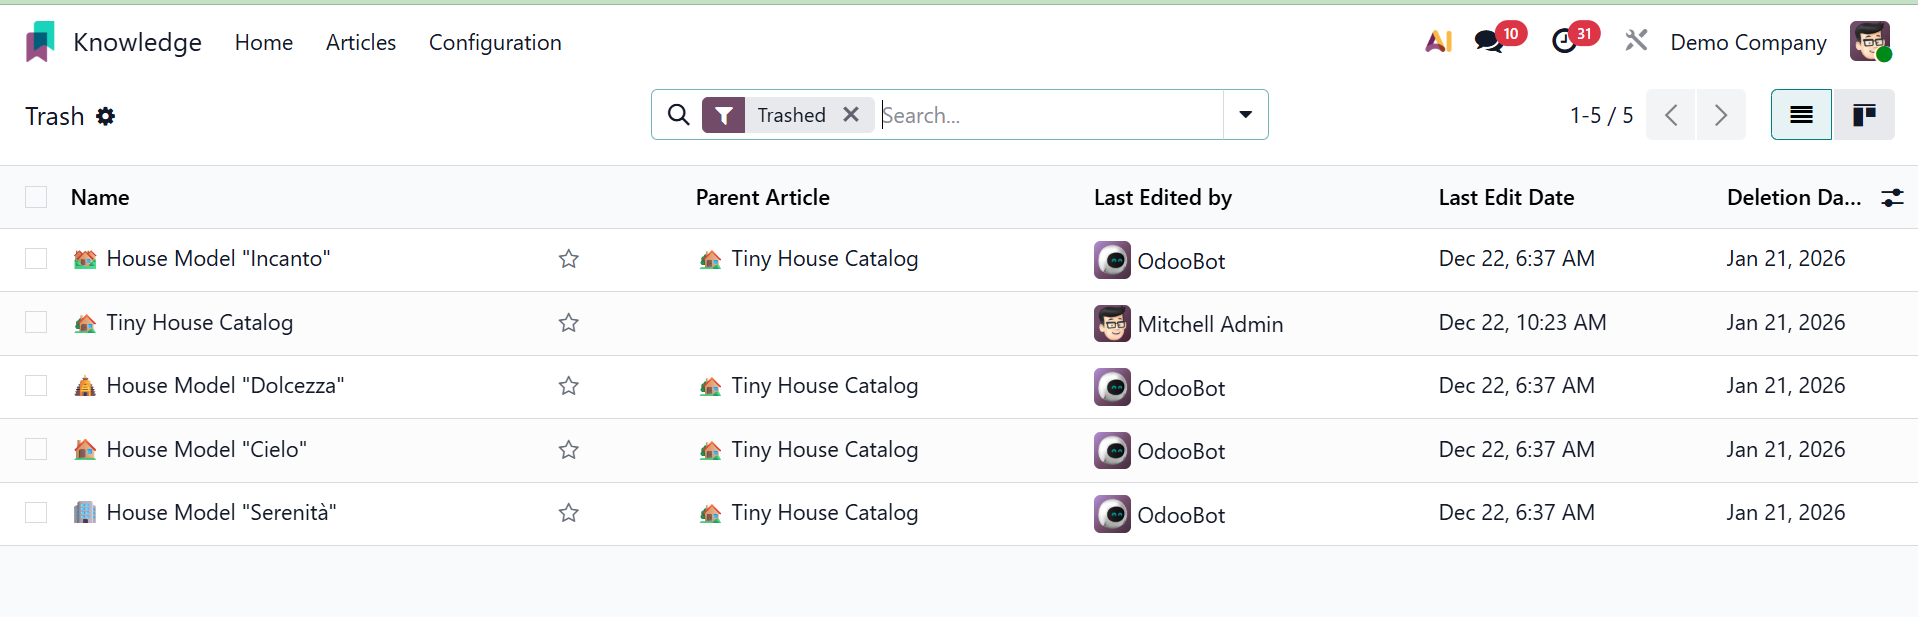
You can remove the article by clicking the "send to trash" button. It will be transferred to the Trashed folder, which can be seen from the Configuration menu, once you click the Delete button.
Each trashed article's name, parent article, last edited by, last edit date, and deletion date will all be included in the list.
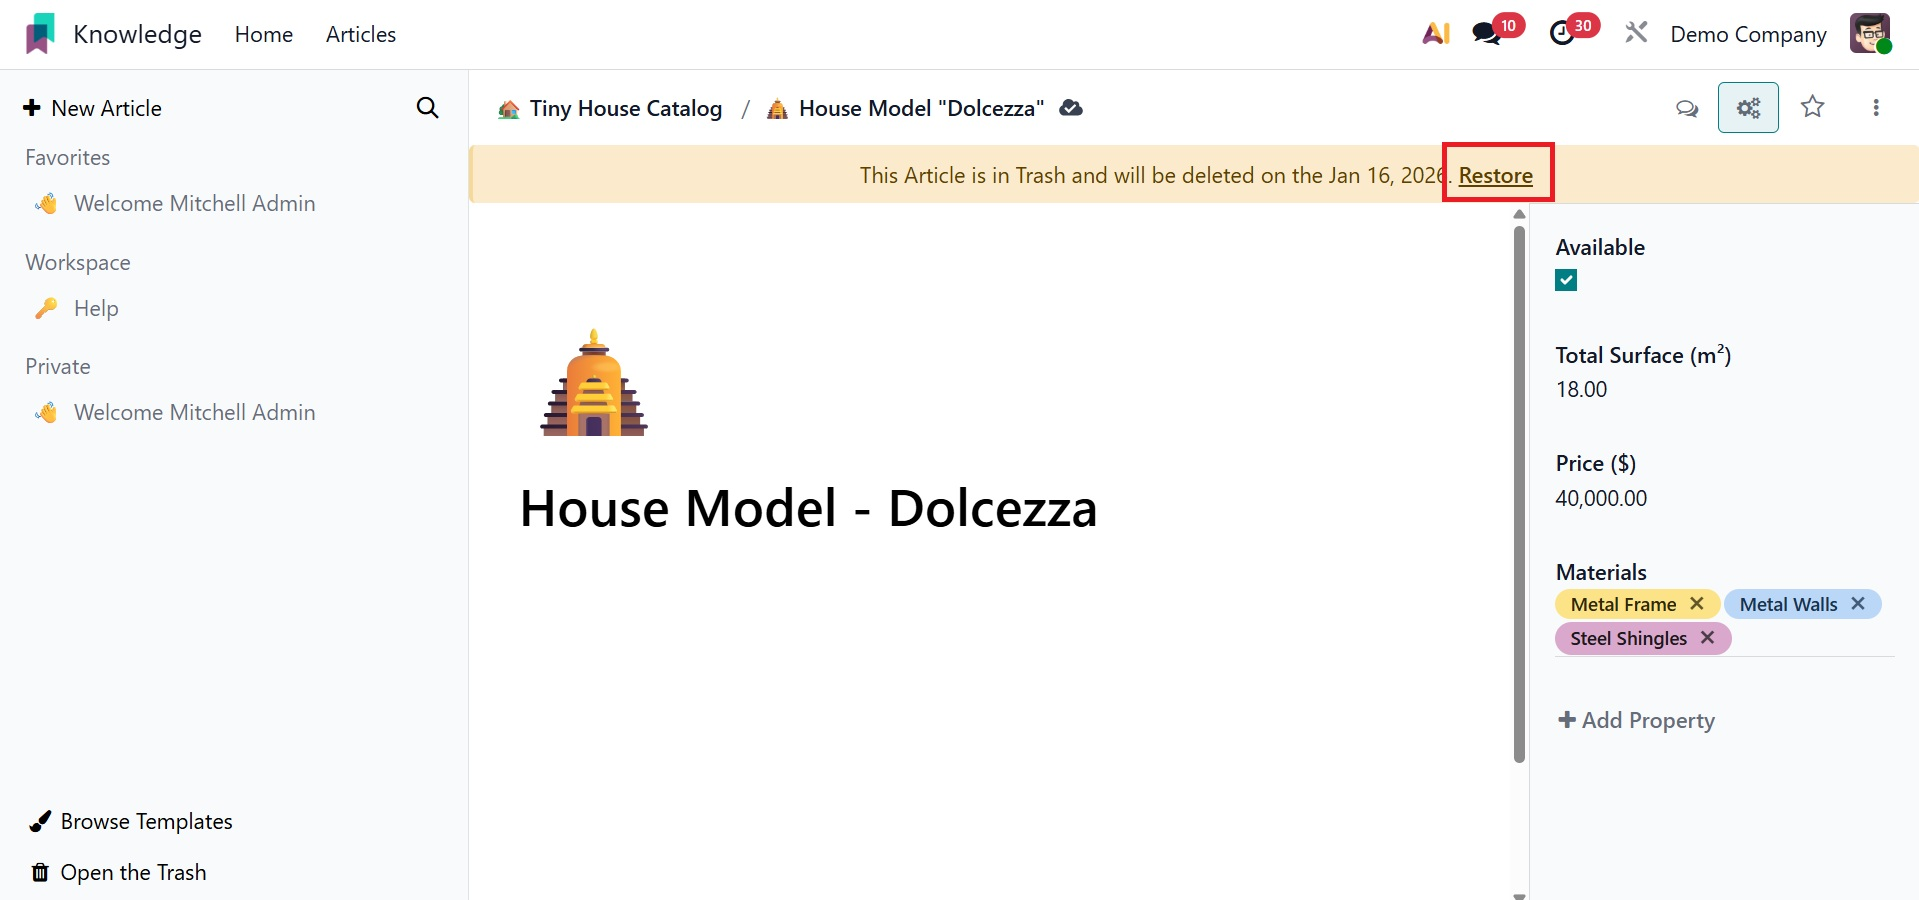
If you want to remove the relevant article from the trash, click on it.
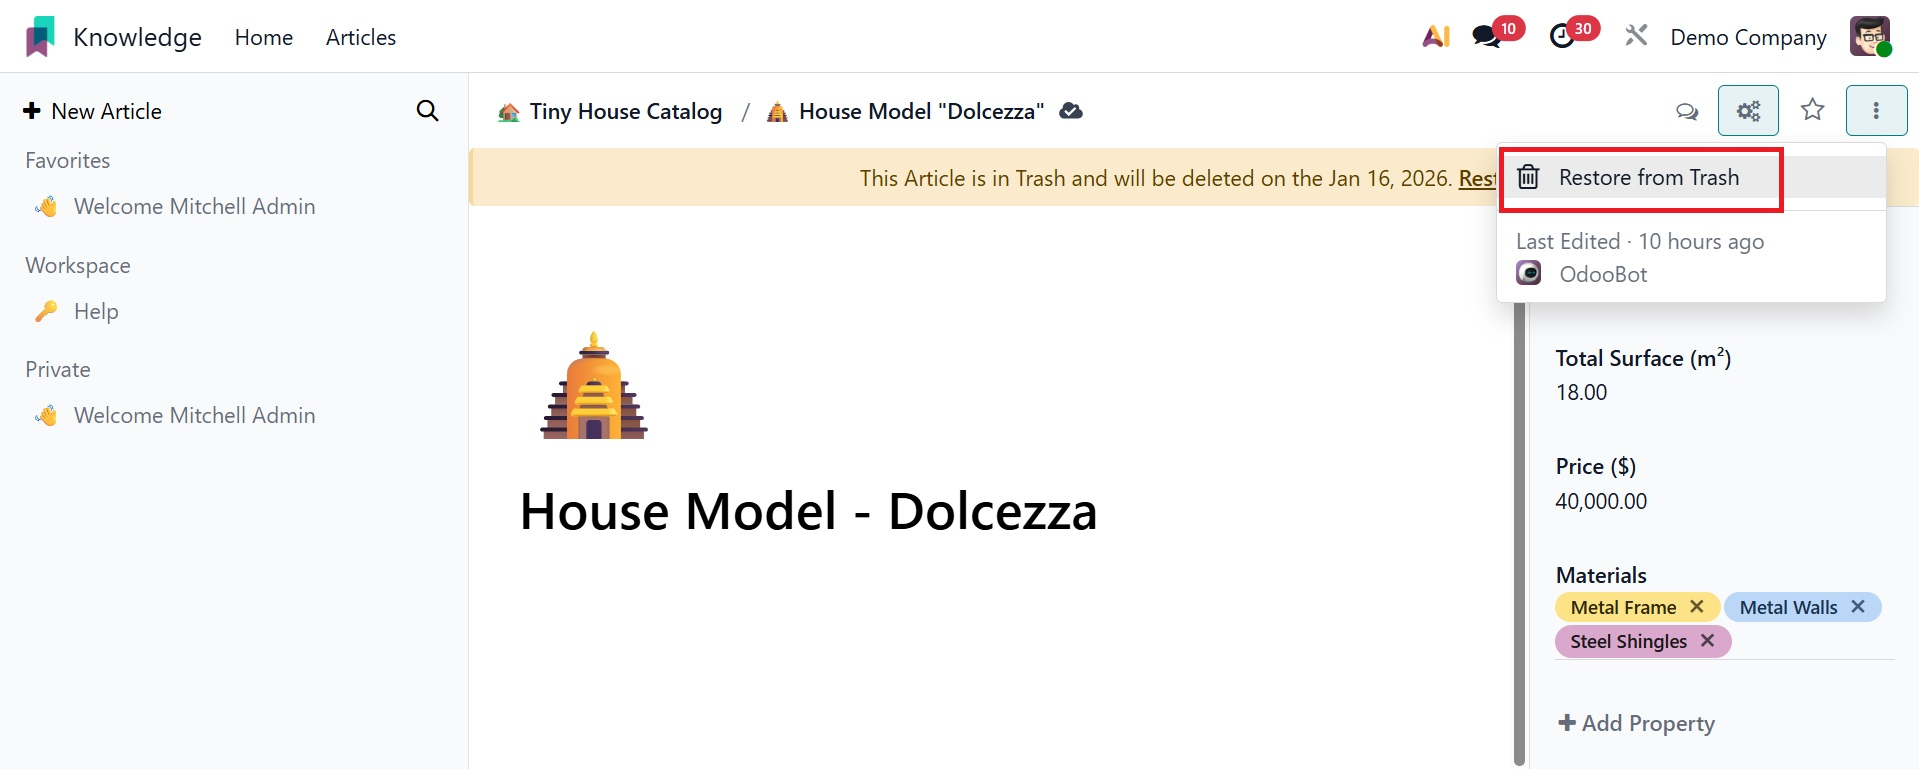
Odoo19 will retrieve the material if the "Restore from Trash" option is selected.
Before being completely erased from your database, the deleted articles will stay in your trash for an additional thirty days.
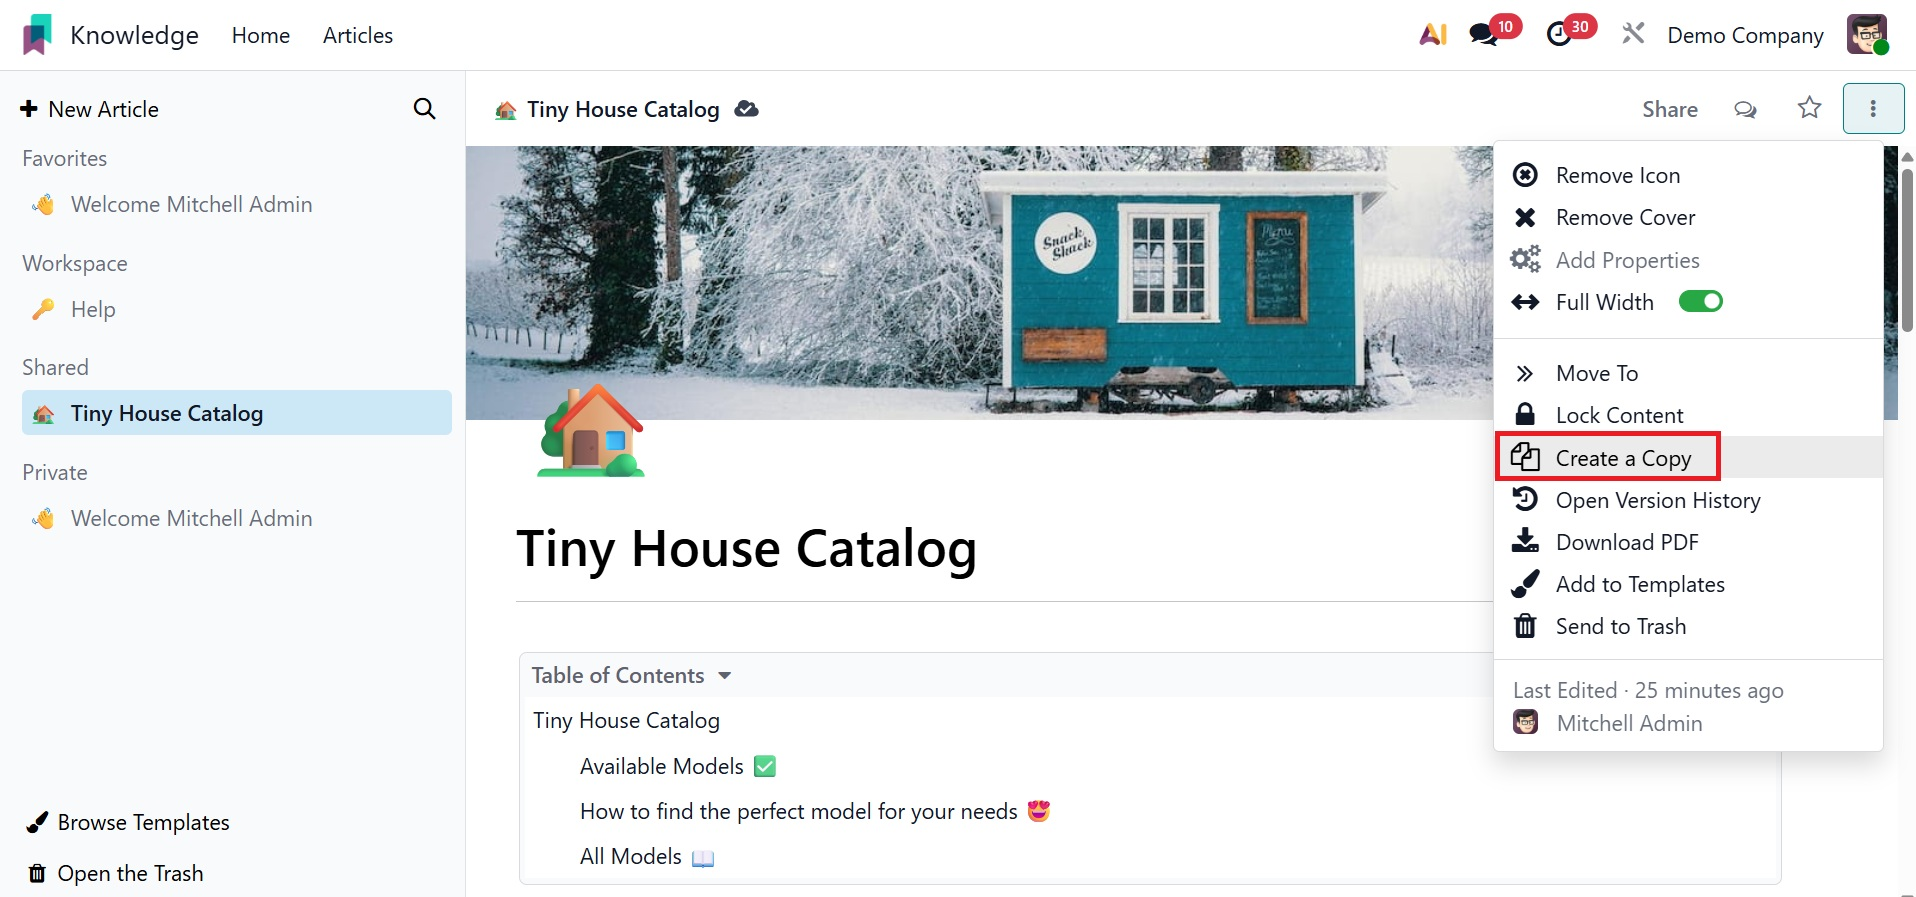
Click the Create a Copy option to make a copy of the article and save it to your private folder.
The article will appear in its full width if the Full-Width option is used. This operation tools menu also contains the article's Created By and Last Edited By details.
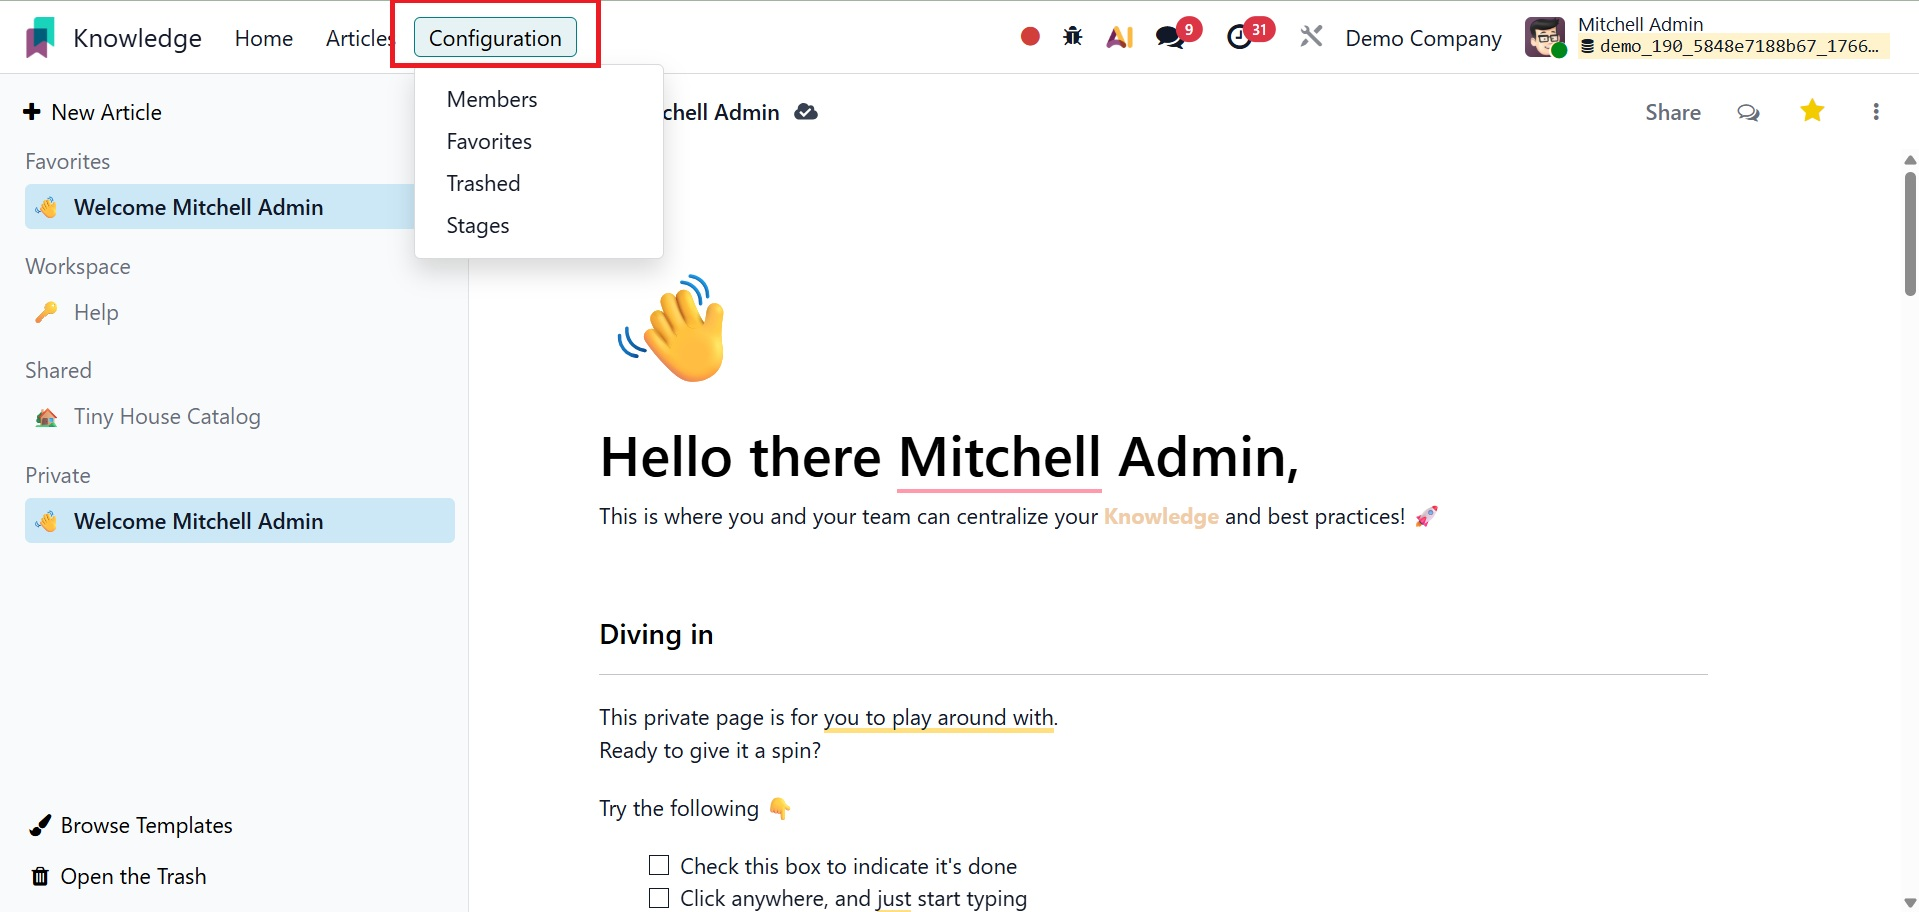
Configuration
Under the configuration, you have got some options like, members, favourites, trashed. And stages.
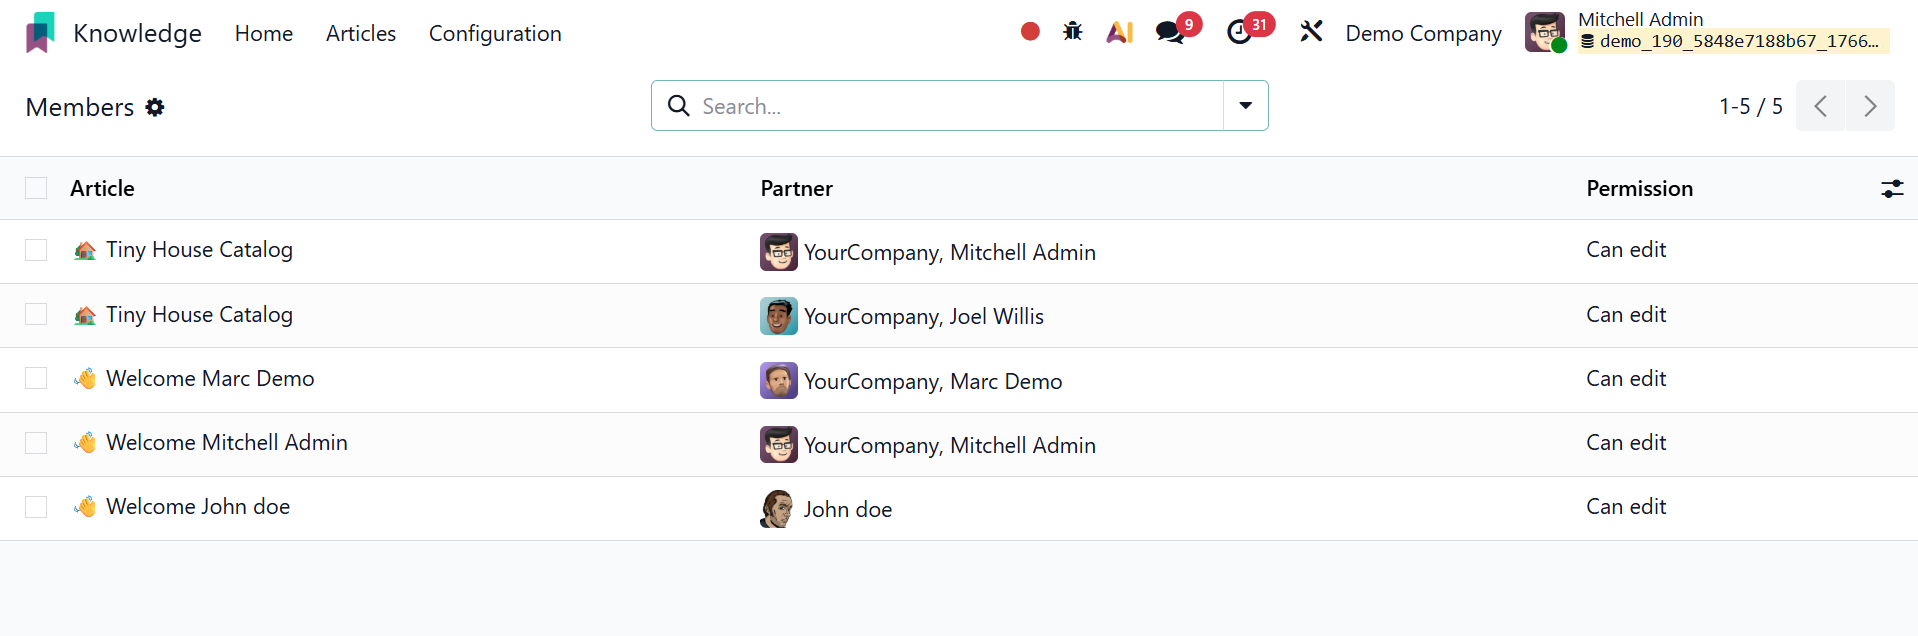
Members
Administrators can regulate who can see, produce, modify, or manage documents within the Knowledge workspace by using the Members option under the Configuration menu of the Odoo19 Knowledge module.
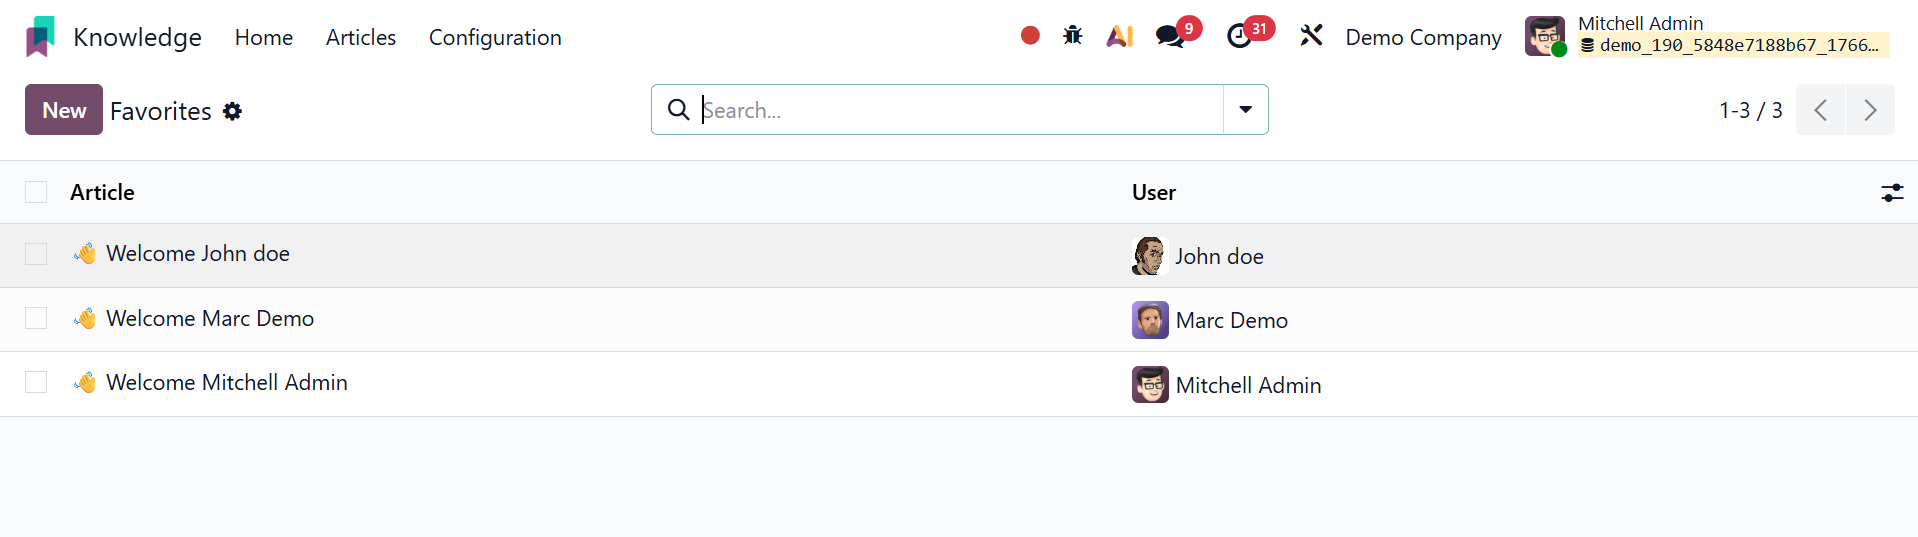
Favorites
Users can improve navigation efficiency and productivity inside the Knowledge workspace by marking, organizing, and quickly accessing frequently used knowledge articles using the Favorites option found in the Configuration menu of the Odoo Knowledge module.
Trashed
Authorized users can examine, restore, or permanently erase items from the Knowledge workspace using the Trashed option found in the Odoo Knowledge module's Configuration menu.
Stages
Teams may monitor the lifecycle and publishing status of knowledge articles by creating and managing article stages (such as Draft, In Review, or Published) using the Stages option under the Odoo 19 Knowledge module's Configuration menu.
You can easily and methodically produce and share information with your colleagues using Odoo 19's new knowledge management system.