Choosing a reputable VoIP service provider and connecting it with the Odoo platform are the two main steps in handling Voice Over Internet Protocol (VOIP) in Odoo. For smooth communication, the configuration includes establishing connection parameters and login credentials. Odoo 19 makes it easy to install features like client communication, sales calls, and support calls. By making it possible to log calls, create follow-up activities, and update client data, automation capabilities simplify procedures. Regular monitoring, adherence to security protocols, and expert support guarantee the seamless functioning and upkeep of Odoo 19's integrated voice-over IP system.
1. VoIP Management
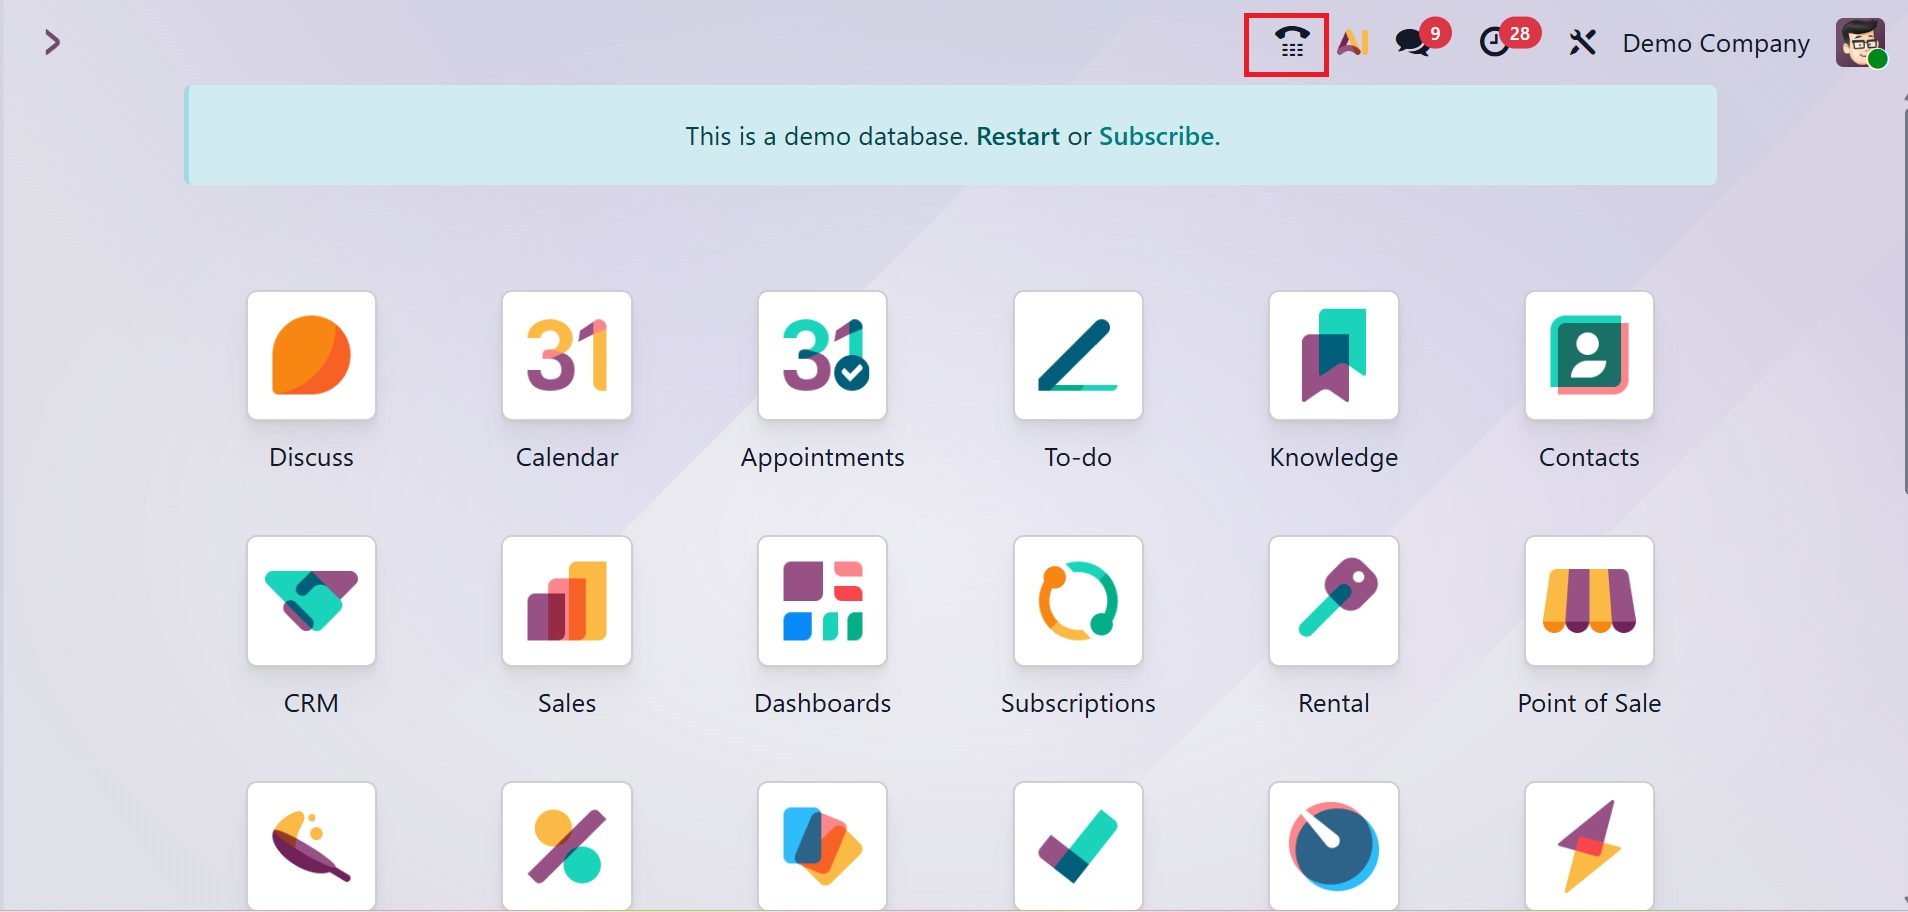
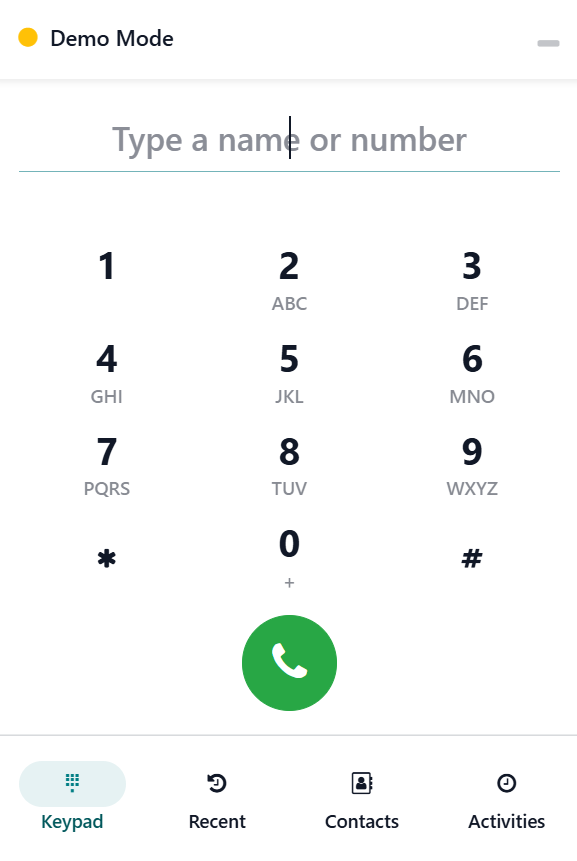
This VoIP module has made calling a customer in Odoo really easy. Making phone calls with business partners is made easier by the phone icon at the top of the screen.
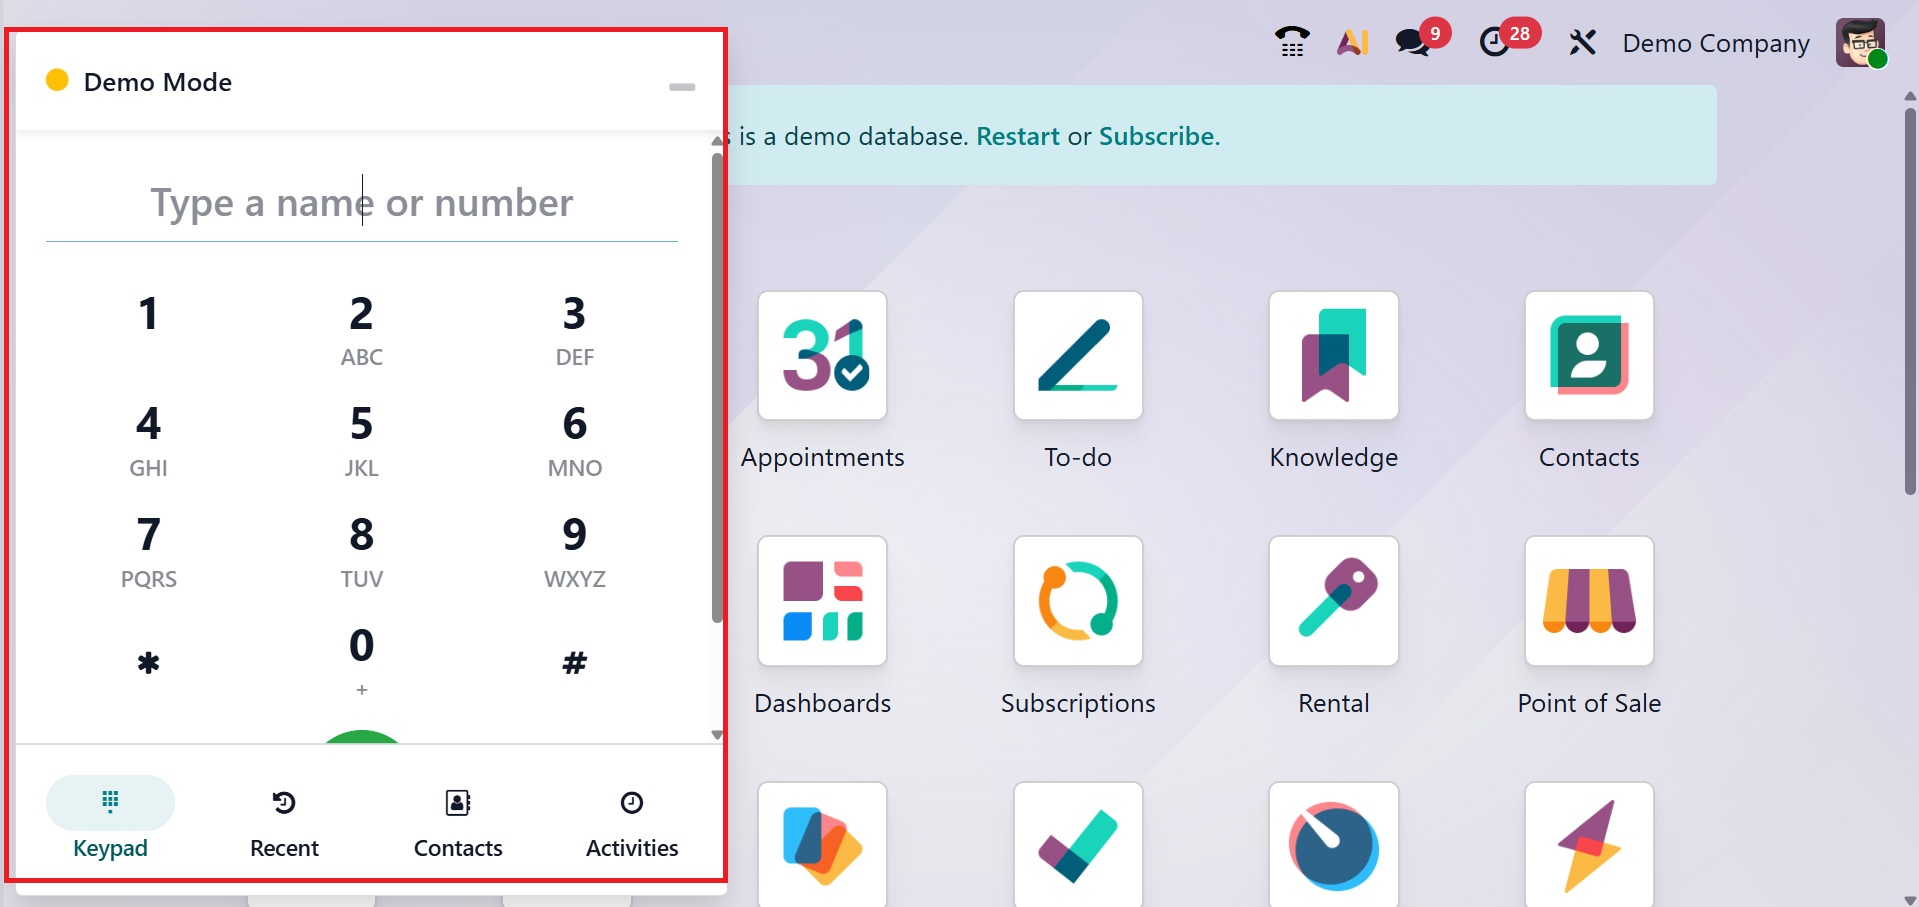
A tiny VoIP window will appear when the user clicks on the phone sign. Keypad, Contact, Activities, and Recent are the four tabs that make up the interface.
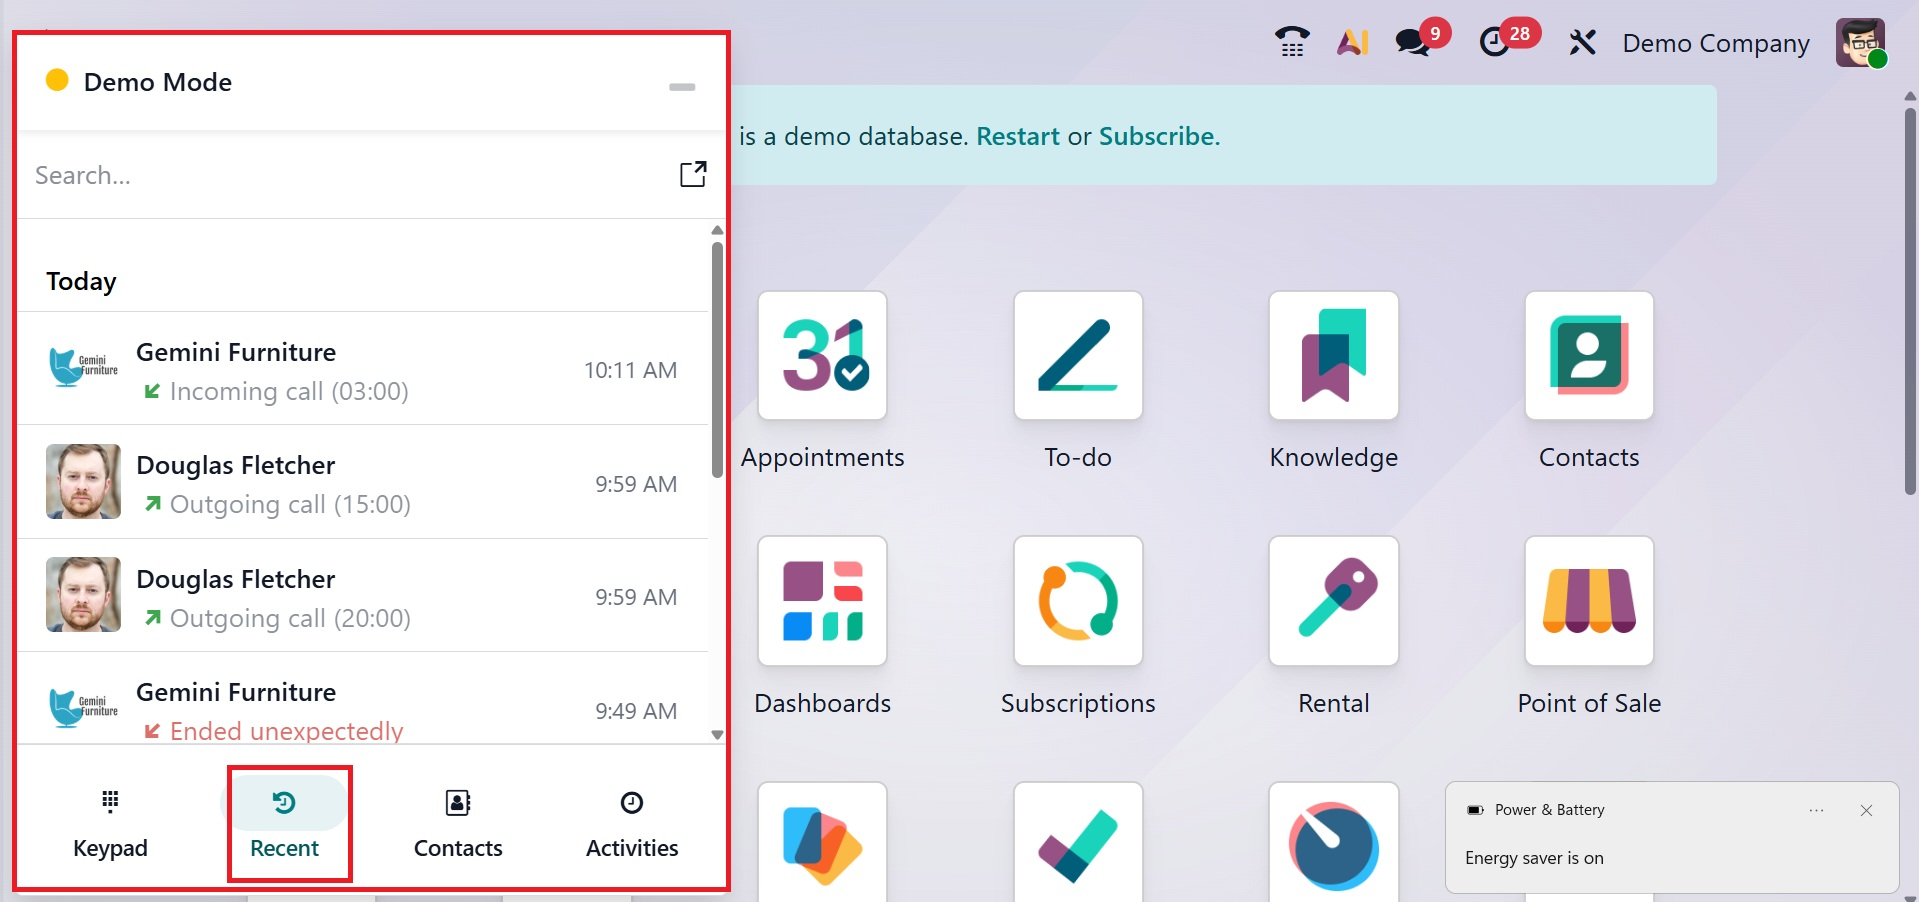
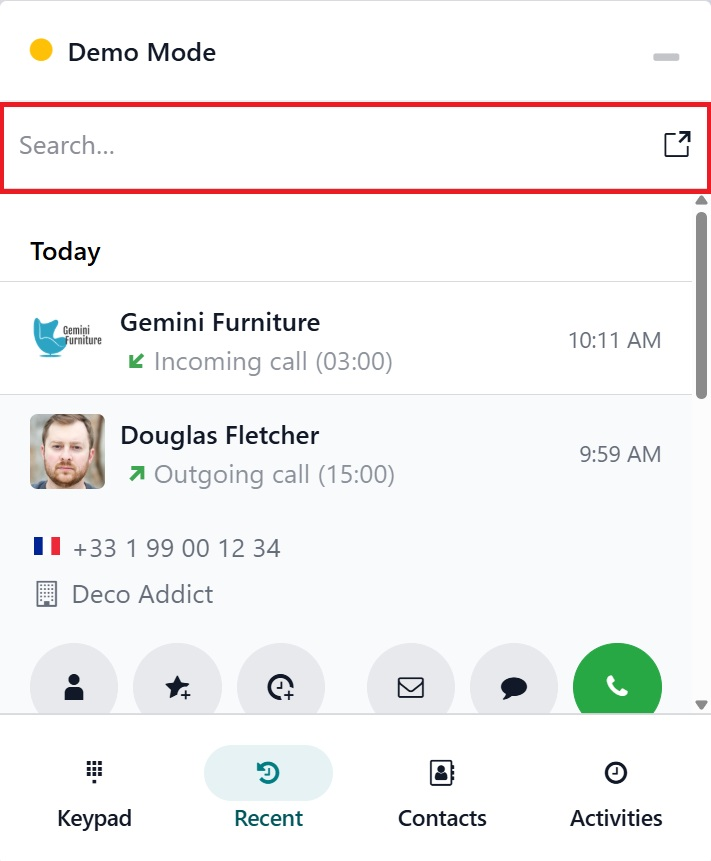
The Recent tab displays the most recent call history, as shown in the figure below.
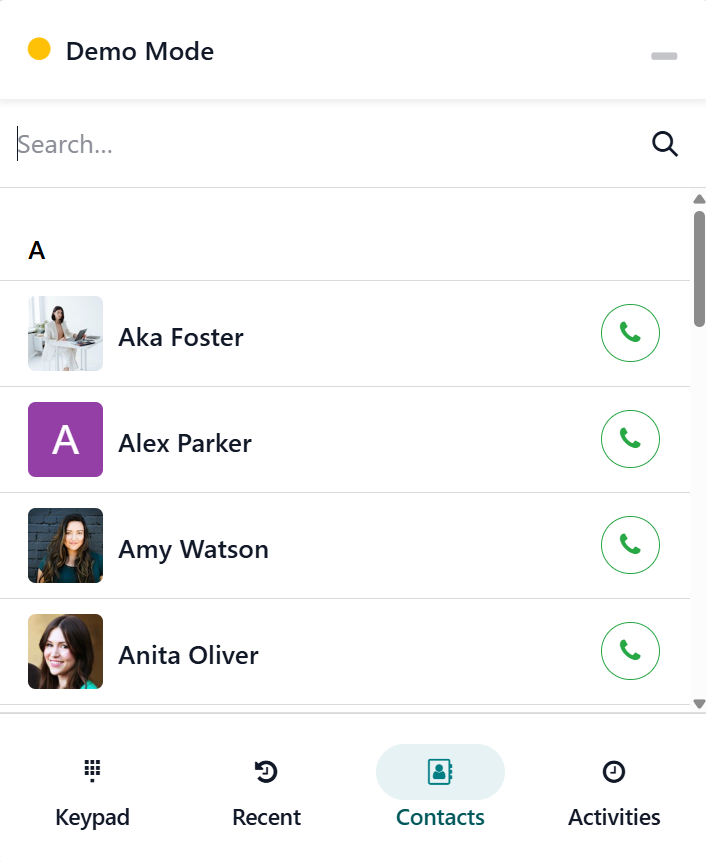
While the Contact tab displays a list of partner relationships, as shown below, the Activity tab displays the scheduled activities.
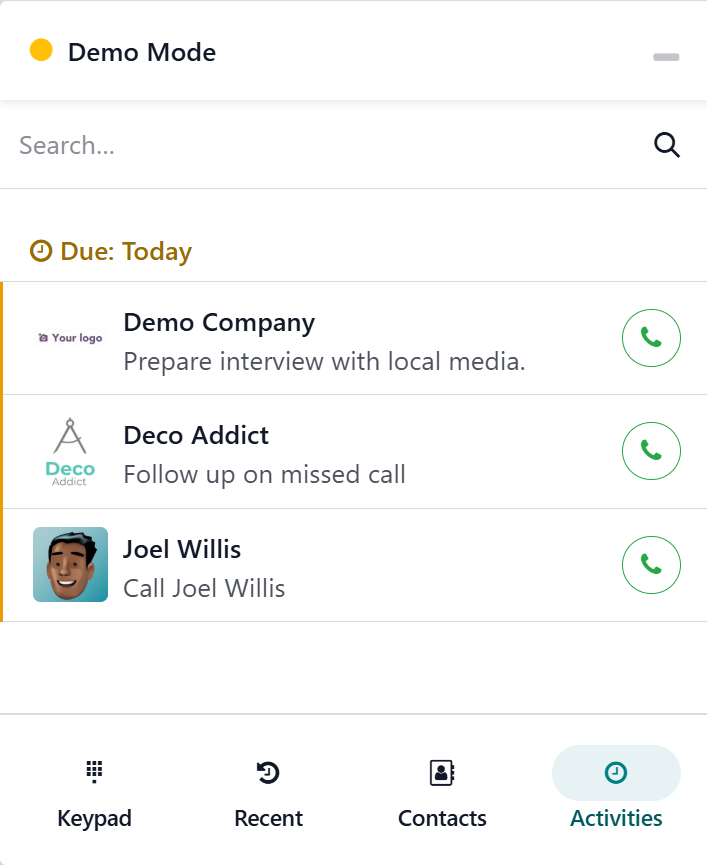
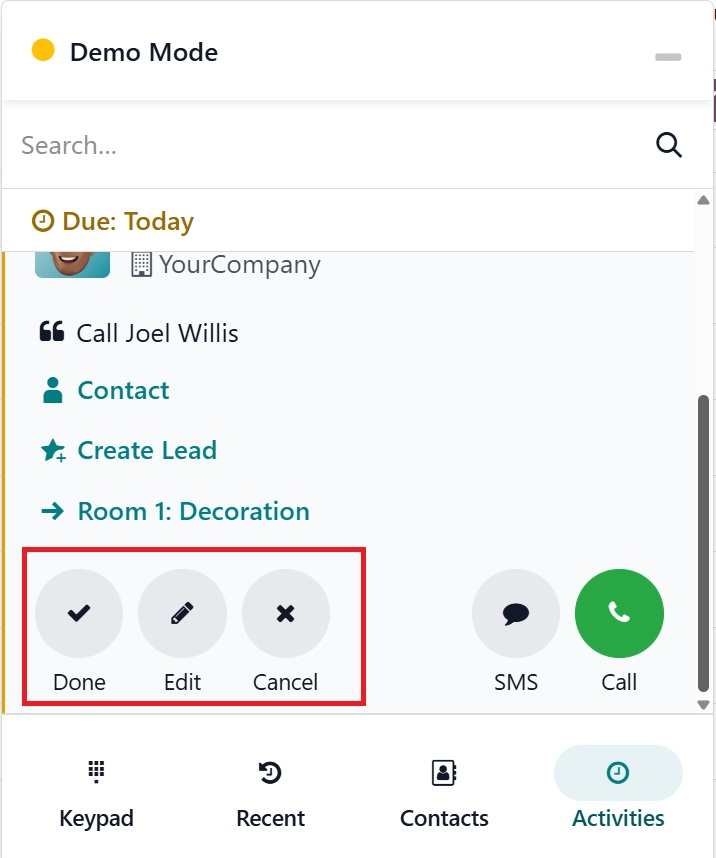
The Activities tab displays the due call logs, as shown below.
To find contacts, there is an additional search option.
A phone icon to call a selected contact, an option to send an email, and an option to send a text message are located beneath this page.
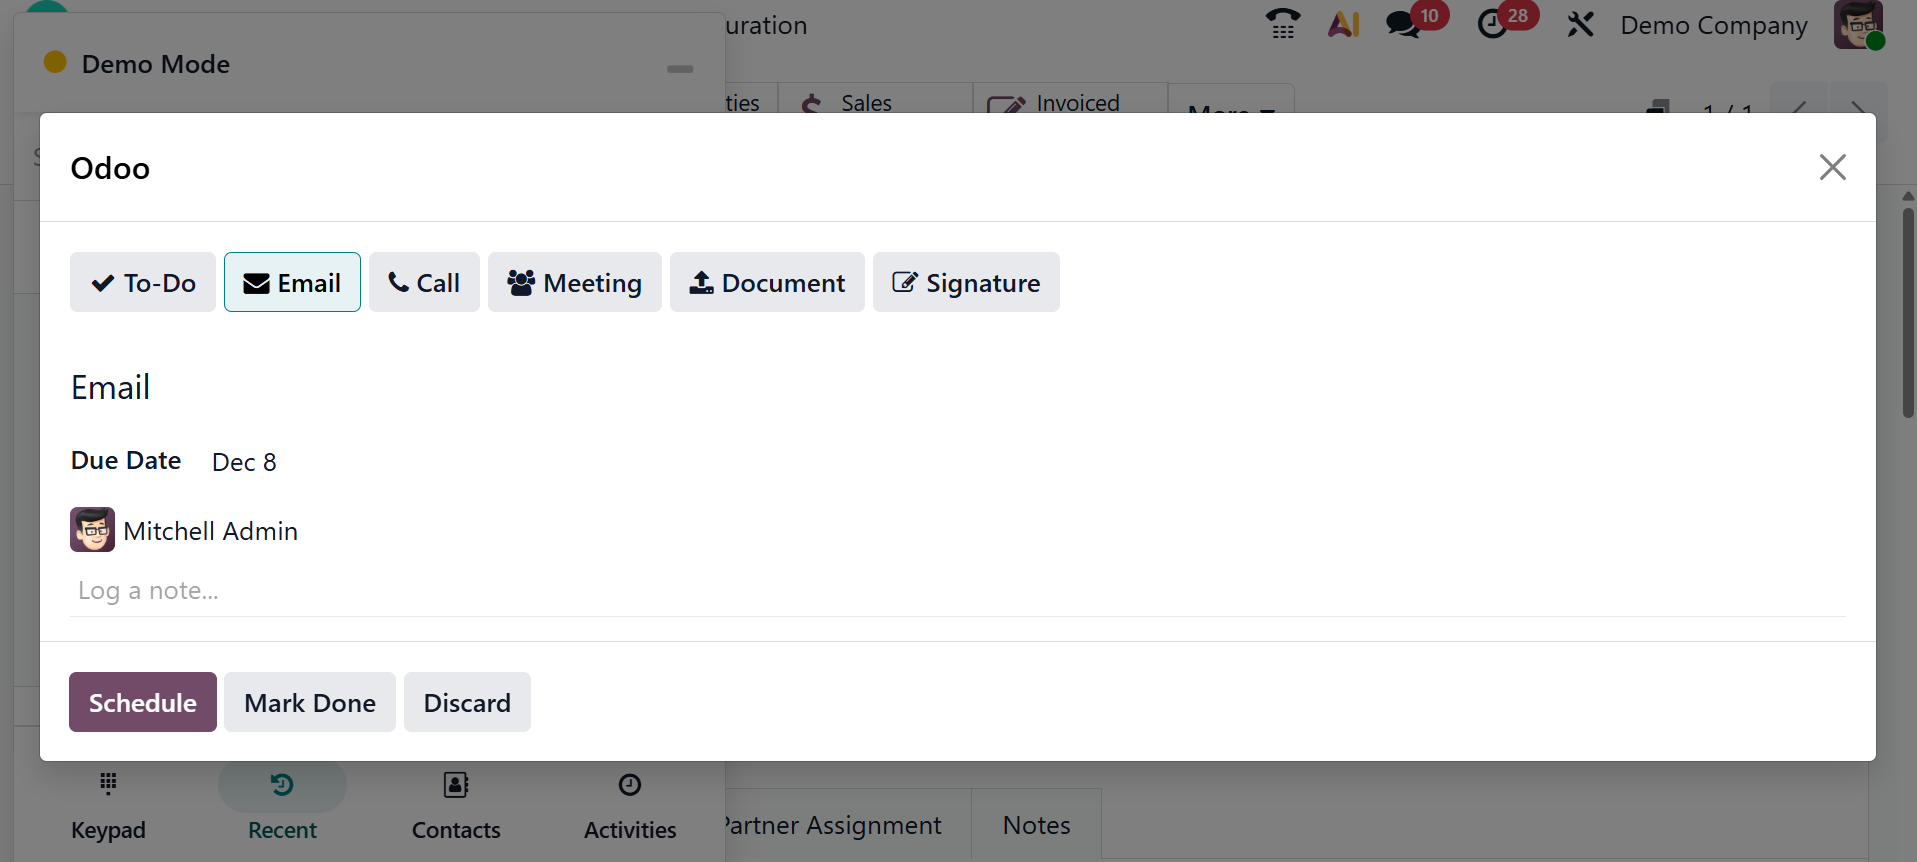
There are three more buttons— Done, Edit, and Cancel, as shown below.
Using the third button on the Activity screen, choose the Activity Type, Due Date, Summary, and Assigned Person to create new activities.