By combining table service, kitchen coordination, stock management, and customer engagement, Odoo 19's PoS module provides a powerful solution for running bars and restaurants. The solution increases customer satisfaction and service speed with features like inventory sync and kitchen displays.
Businesses may manage daily operations more effectively and provide a seamless client experience by configuring a bar or restaurant in the Odoo 19 Point of Sale (POS) system. Businesses can expedite order processing and minimize service delays by appropriately setting up restaurant floors, tables, menus, payment methods, and kitchen printers. Staff can swiftly collect orders, divide bills, handle table transfers, and track sales in real time thanks to the user-friendly POS interface.
Begin by developing an adaptable menu that allows for ingredient tracking and personalization. Define product categories using the "Products" menu, then use inventory integration to automate procurement.
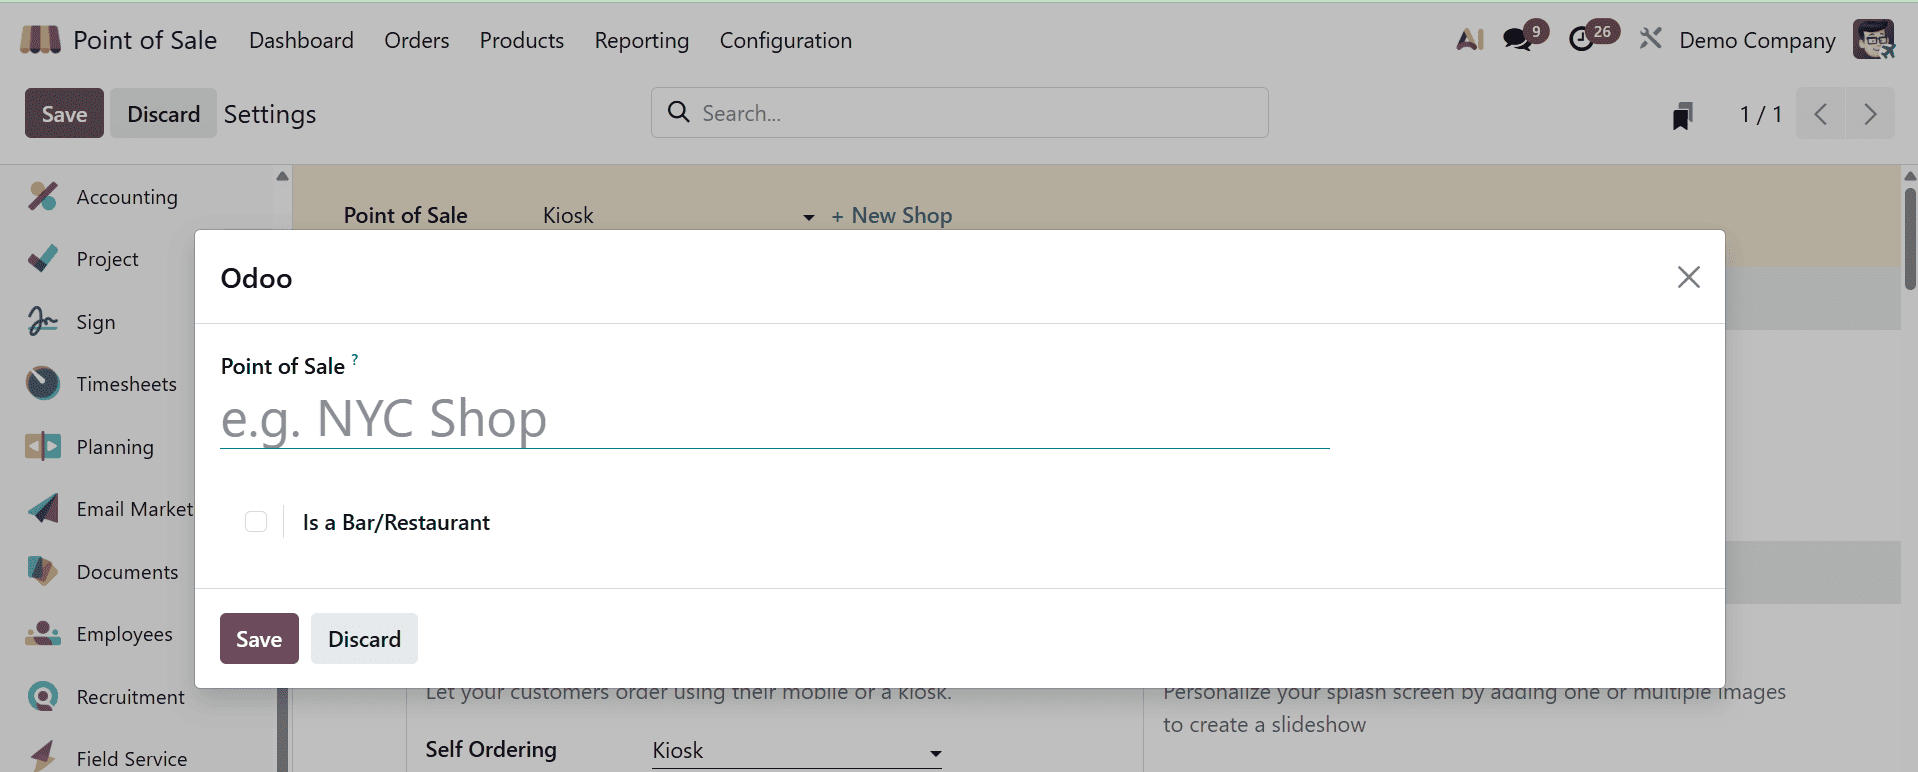
Navigate to the Configuration menu's Settings tab to open a new restaurant. Either choose "+New Shop" or choose an already-existing session. As seen in the screenshot below, type the name of the business, turn on the "Is a Bar/Restaurant" toggle, then press the "Save" button.
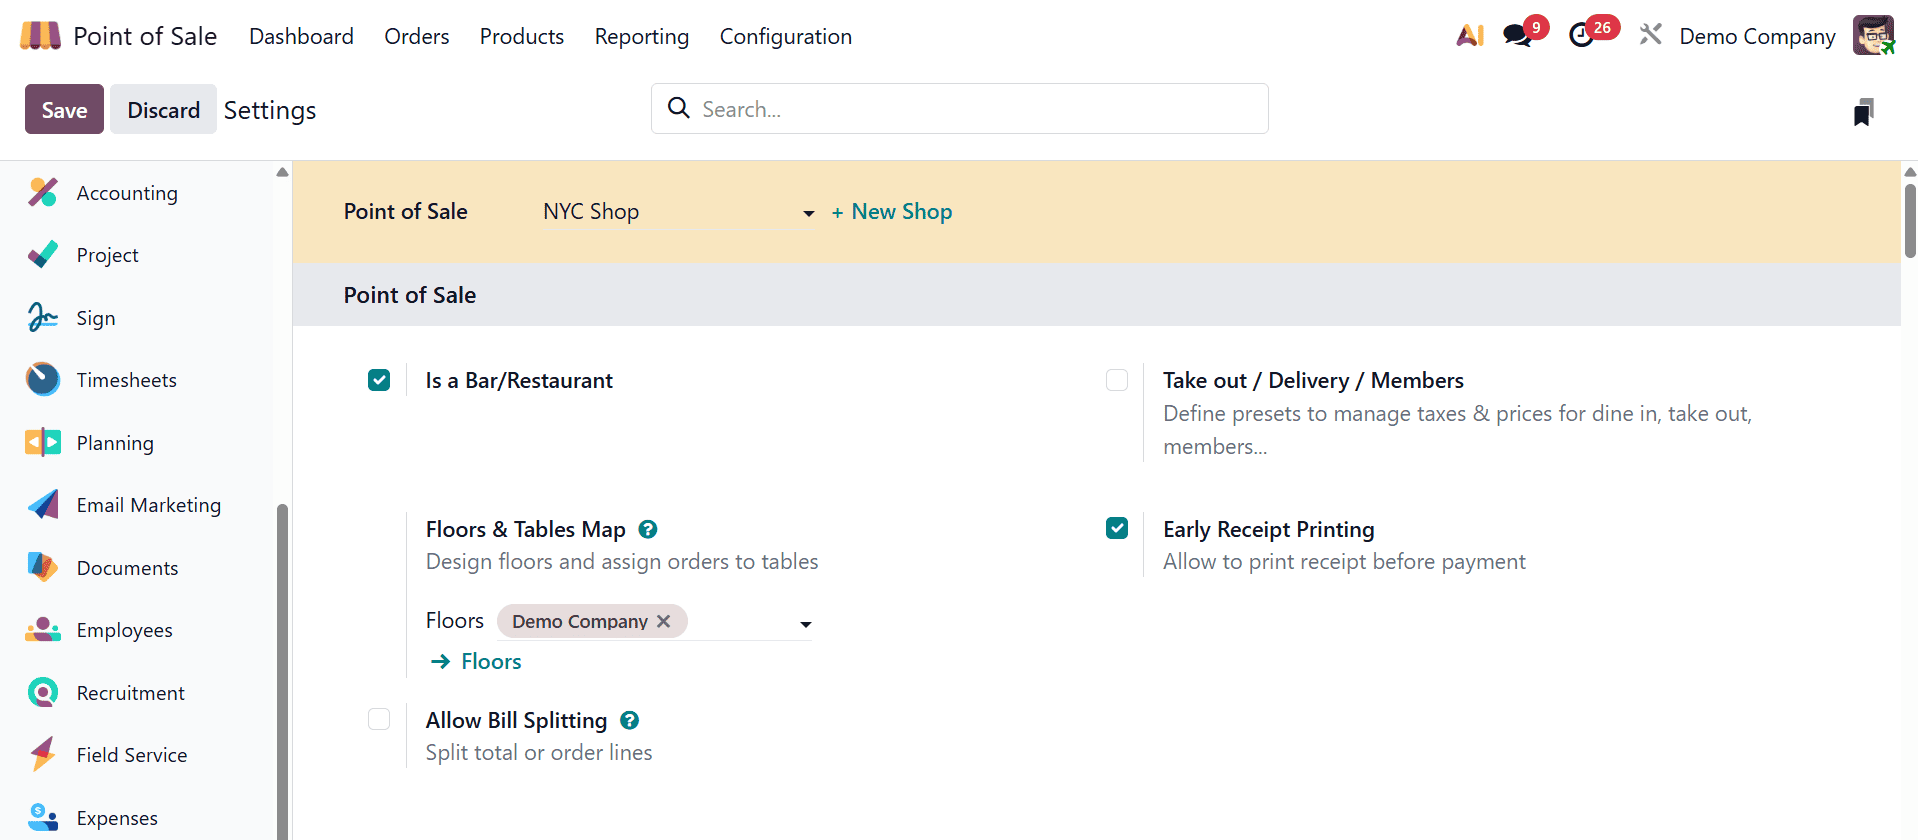
A few restaurant-specific parameters will appear under the settings window after the restaurant name has been saved. As seen in the screenshots below, start personalizing key restaurant elements using the "Point of Sale."
You may use the "Floor Plans" function in the "Configuration" menu of the Odoo POS module to design the layout of your restaurant.
You can print the receipt prior to the payment being made by using the Early Receipt Printing option in Odoo's PoS settings box.
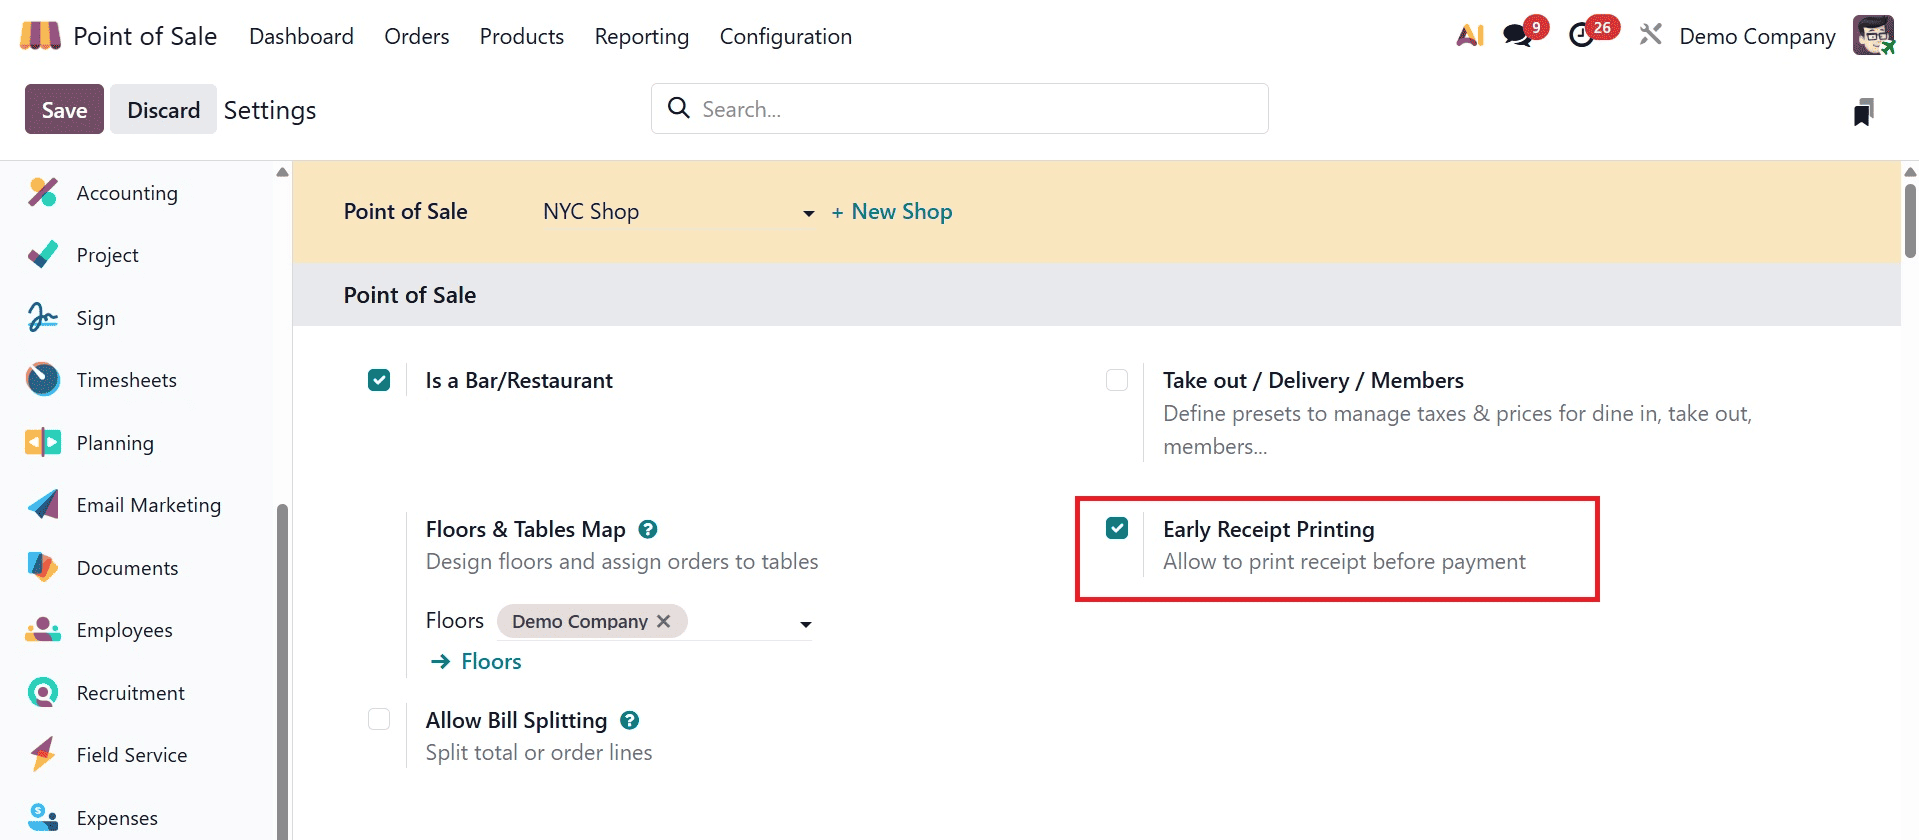
This can expedite service, facilitate the client experience, and guarantee accuracy.
Delivery, Takeout, and Members
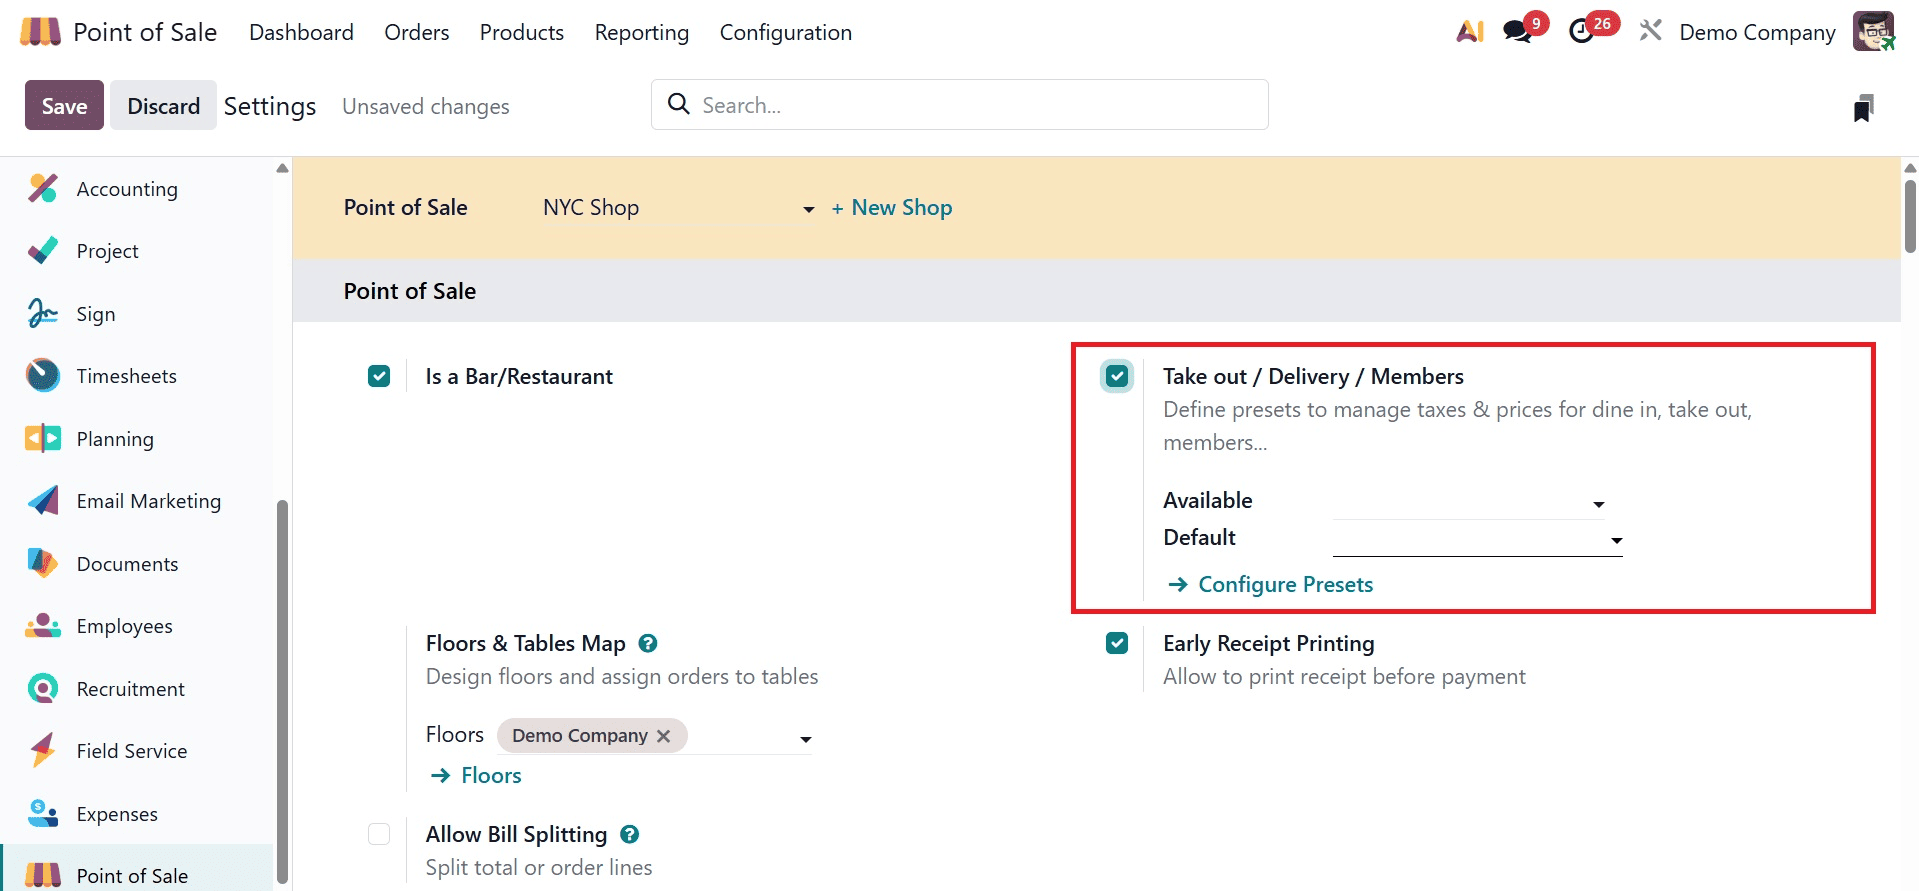
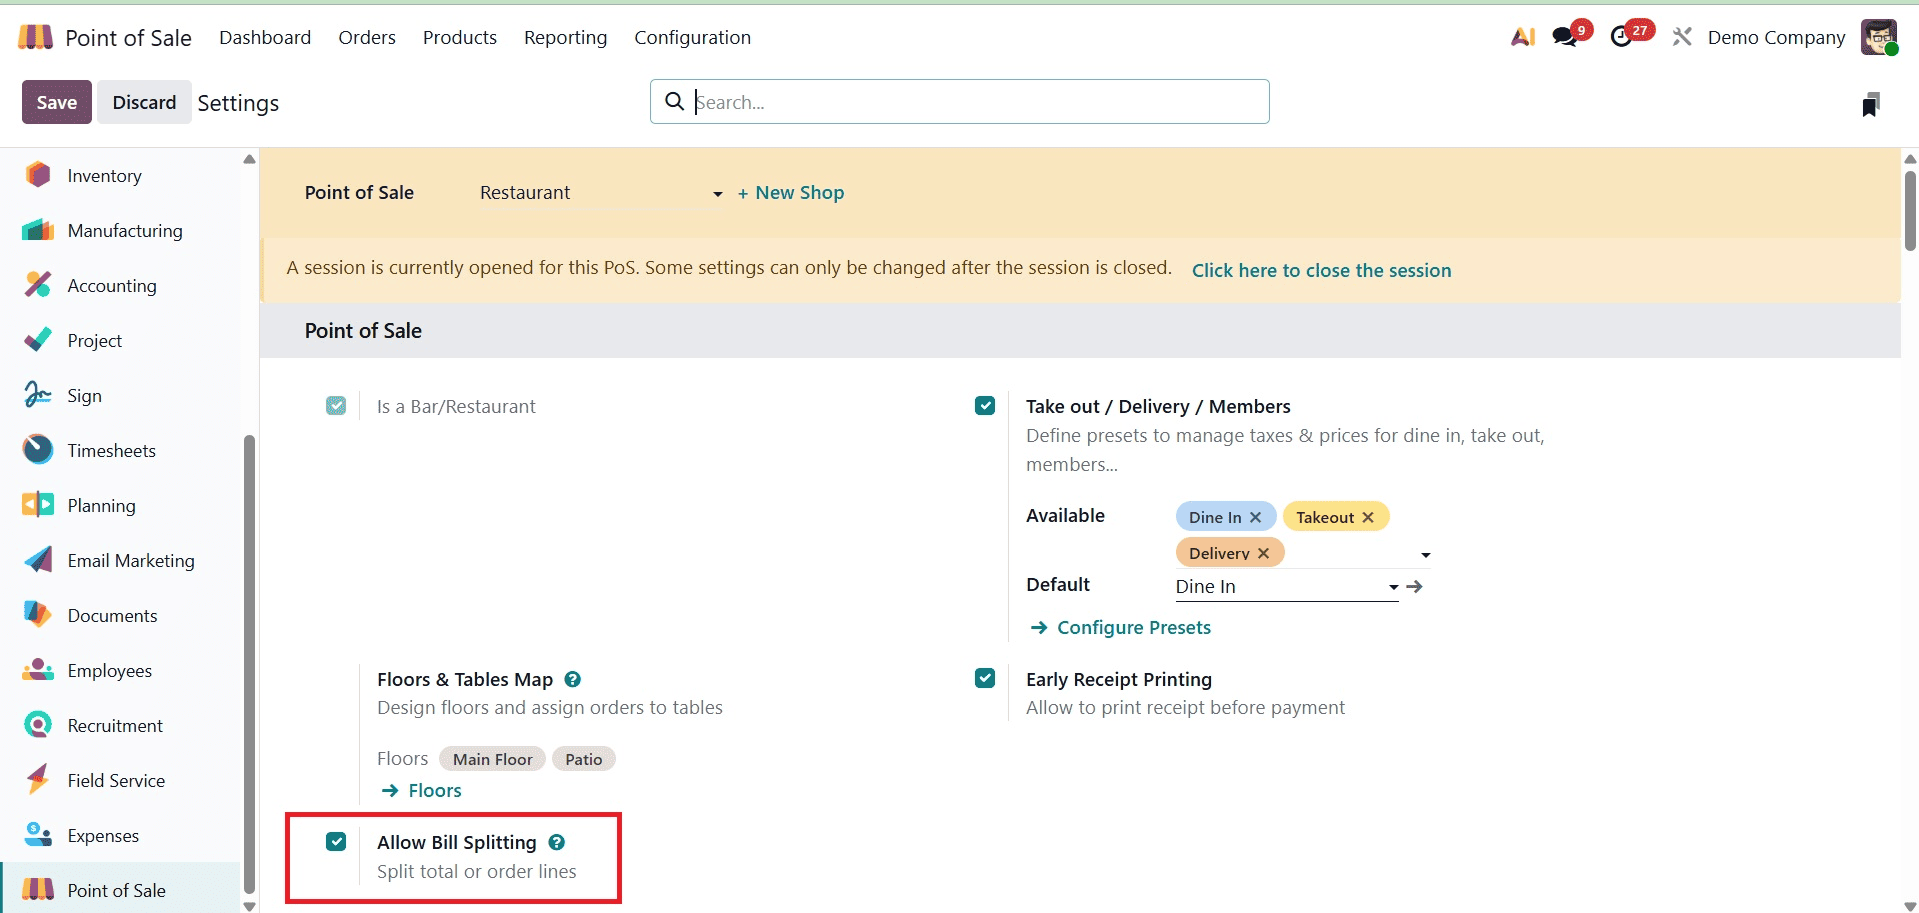
Your staff can distinguish between dine-in and takeout orders using the "Take-Out/Delivery/Members" option. Pricing, reporting, and tax computations are all impacted by this. By turning on the feature from the "Point of Sales" settings tab area, you can quickly customize the function. Then, as shown in the screenshot below, select the "Available" and "Default" preset settings to control taxes and rates for in-person, takeout, or package delivery services.
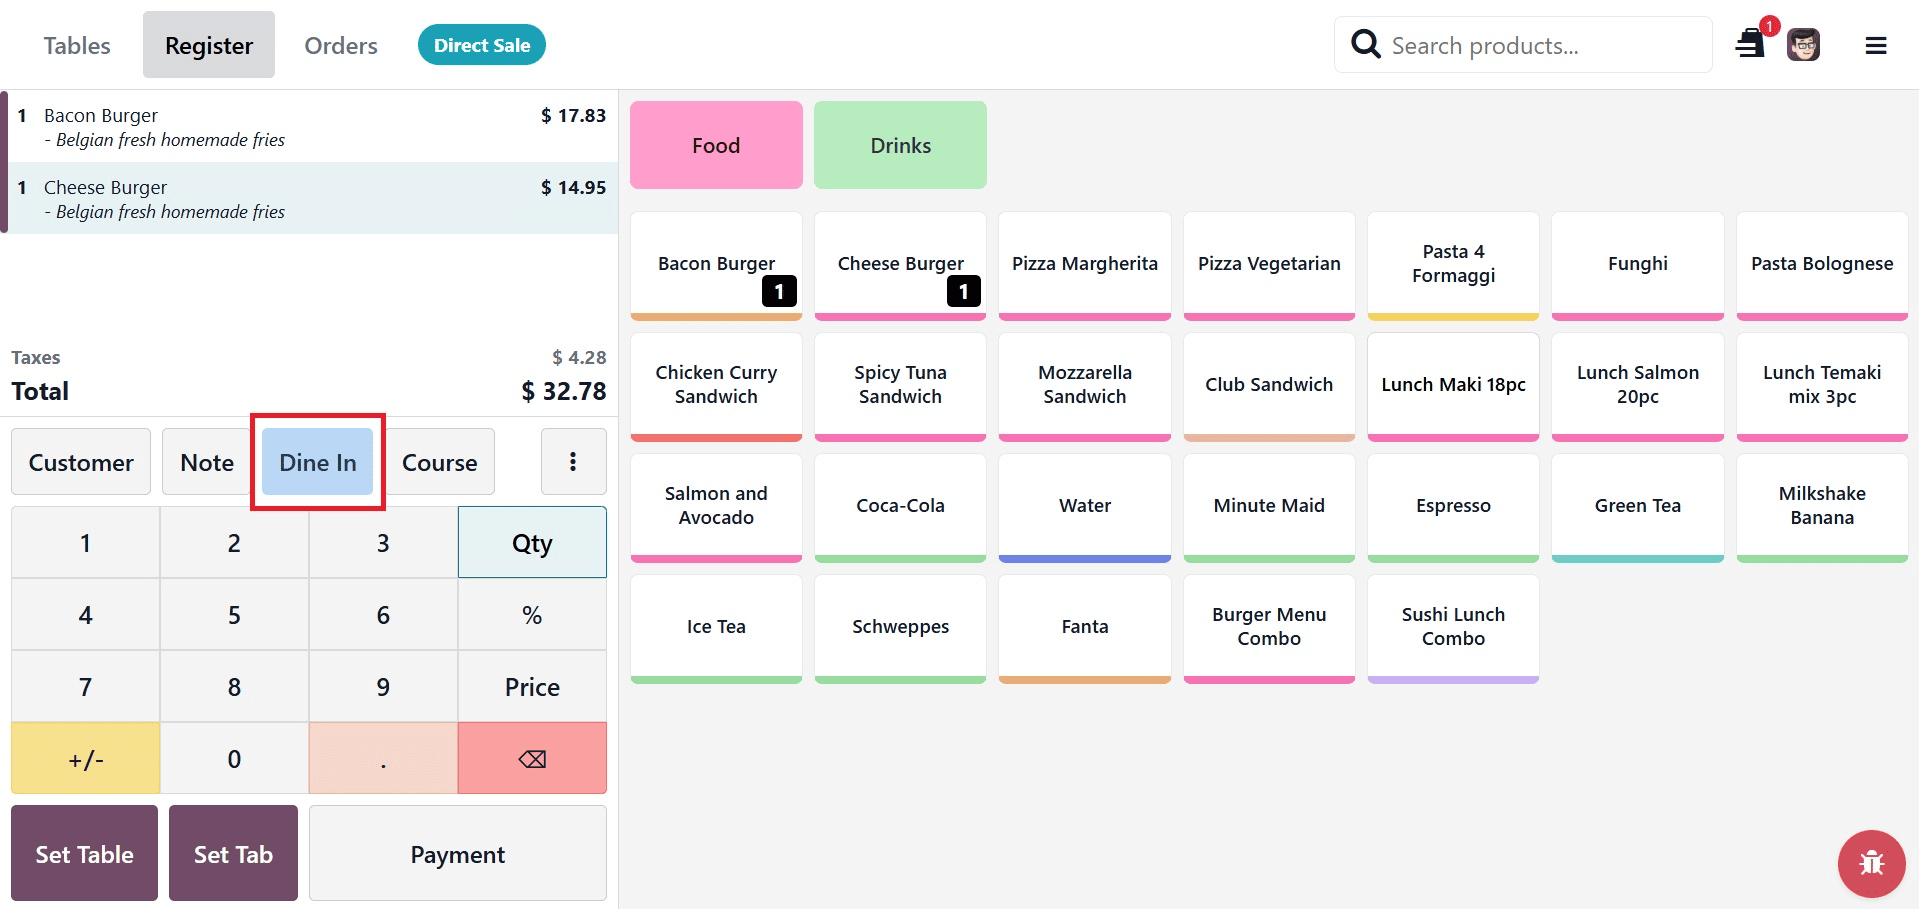
The preset options we discussed in the preceding section can be managed or created using the "Configure Presets" link. Then, as shown in the screenshot below, you select this function while dining at a restaurant by clicking on the POS interface's default presets button.
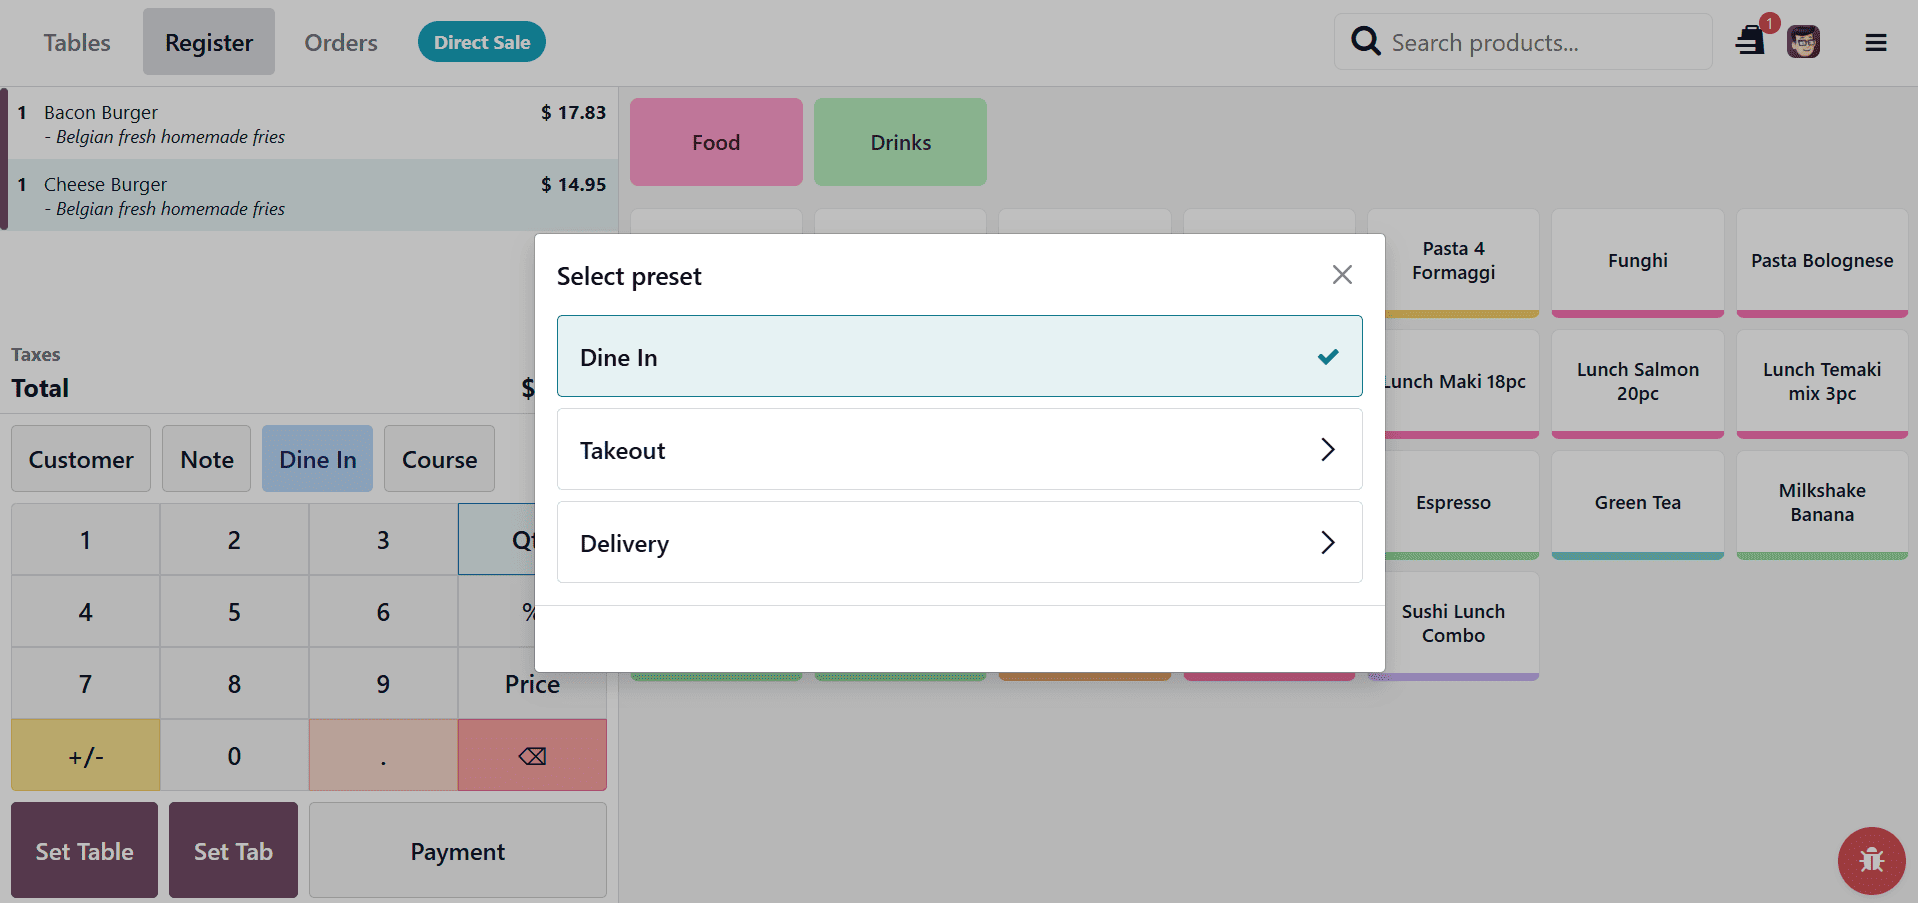
Then, as seen in the screenshot below, you can select the appropriate option from the "Select preset" selection list.
Additionally, Odoo enables the automatic application of distinct taxes for each of these presets by designating fiscal positions according to the order type.
The Odoo Point of Sale Module's "Allow Bill Splitting" feature enables users to split the total bill across several visitors. This makes group transactions easier and can be done by person or by item. You can begin using the feature for any POS Sales session after turning it on from the POS Settings panel.
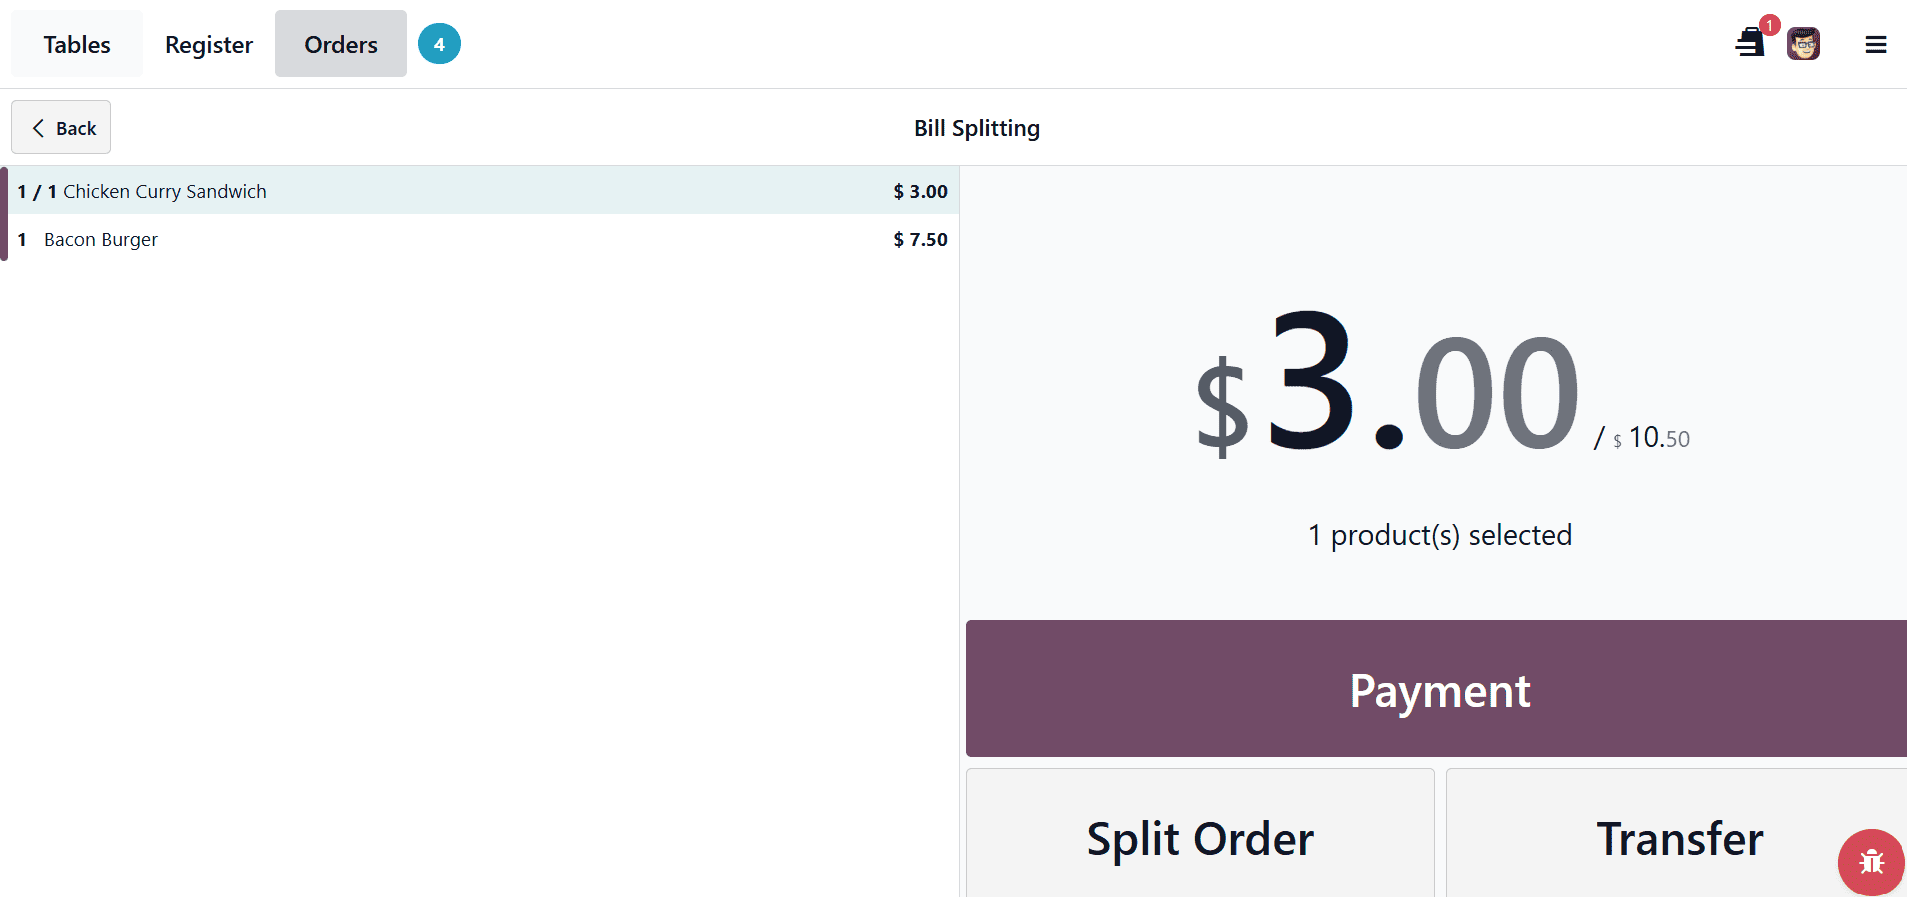
You can initiate a new restaurant session, choose items, and then click the "Action" (three-dotted) menu to utilize this feature. Next, as shown in the screenshot below, select the "Split" option from the list.

Click the "Split Order" button after selecting the item or items in the new window. After that, provide a customer the split share and finish the payment procedure.
You can create a bill that will be handled as a split bill after choosing a product and the associated customer. As seen in the screenshot below, each split bill will have labels such as 1B, 2B, and so on in the POS sales page, depending on how many parts the bill is divided into.
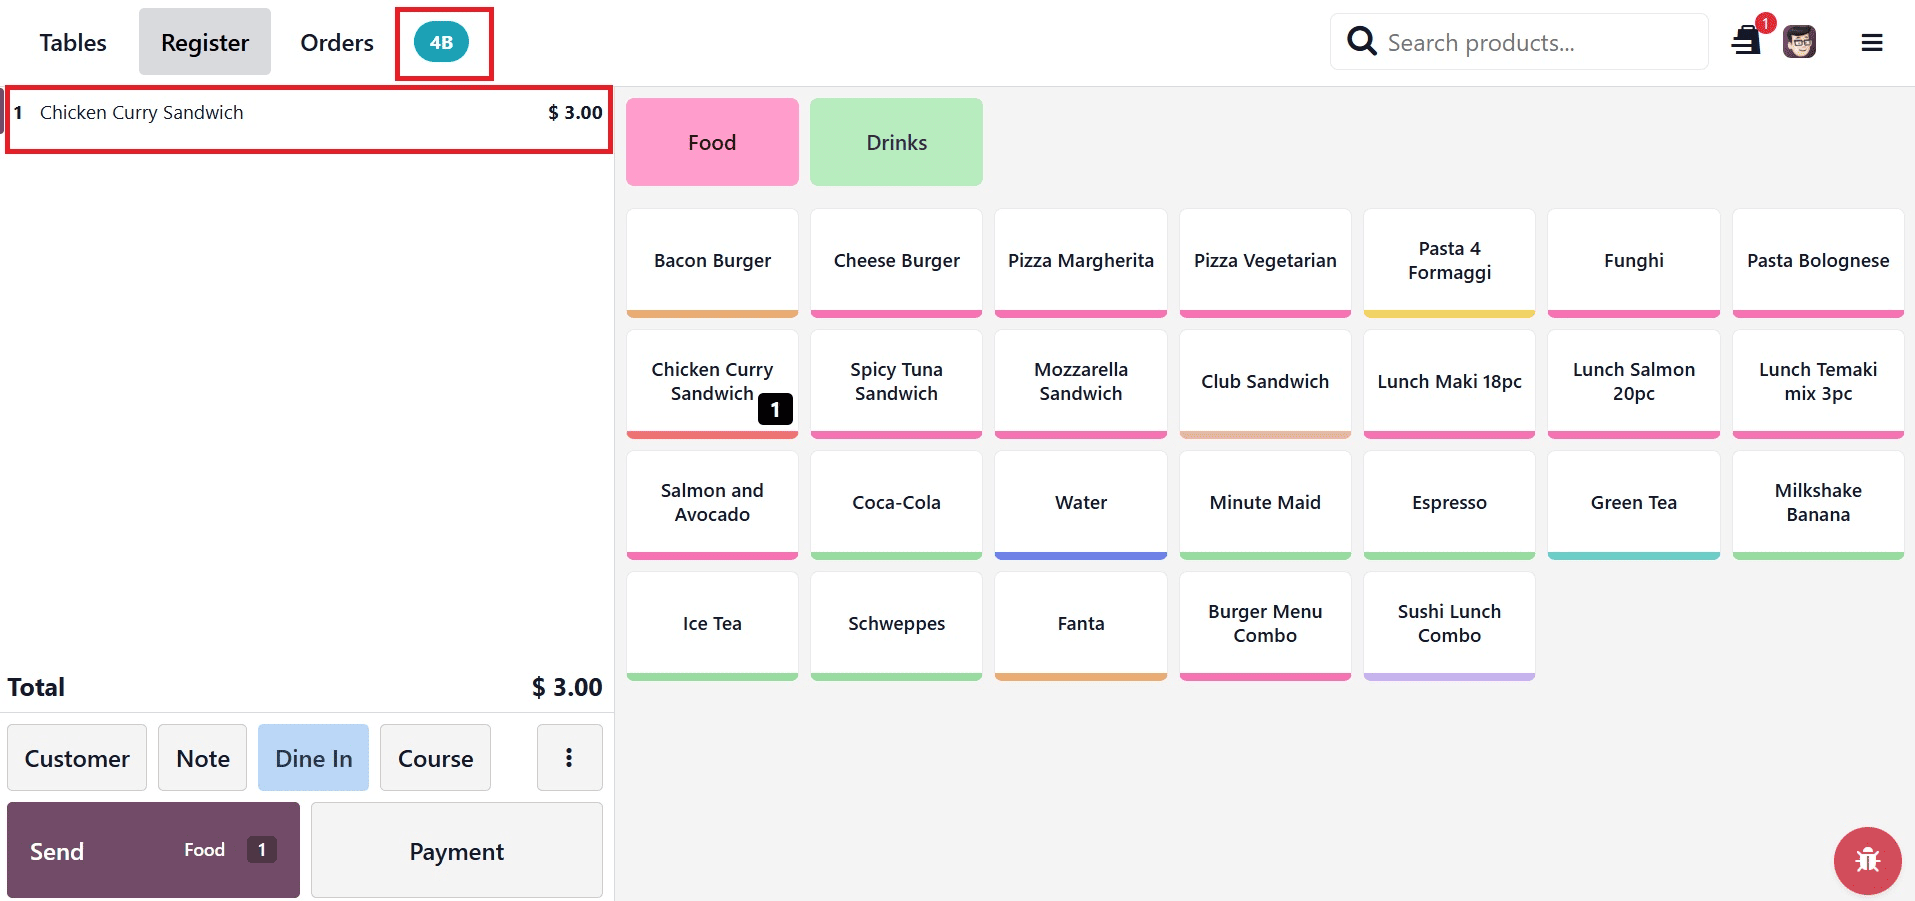
Until the entire bill has been paid, you can keep dividing it into the necessary amounts and repeat the procedure.
Mobile Self-Order & Kiosk System
Customers may browse, purchase, and pay using their mobile devices or in-store kiosks thanks to Odoo 19 POS's Mobile Self-purchase & Kiosk System, which minimizes employee participation. All orders sync straight to the POS and kitchen systems, and it supports both QR Menu and Kiosk Mode. For eateries, cafés, and retail establishments, this increases productivity, expedites service, and guarantees order accuracy.

The "Settings" window's "Mobile Self-Order & Kiosk" tab is where you may set up this feature. The self-ordering feature in your POS restaurant session will be turned off if you select the "Disable" option. Next, as shown in the screenshot below, choose the "Kiosk" option from the "Self Ordering" field menu.
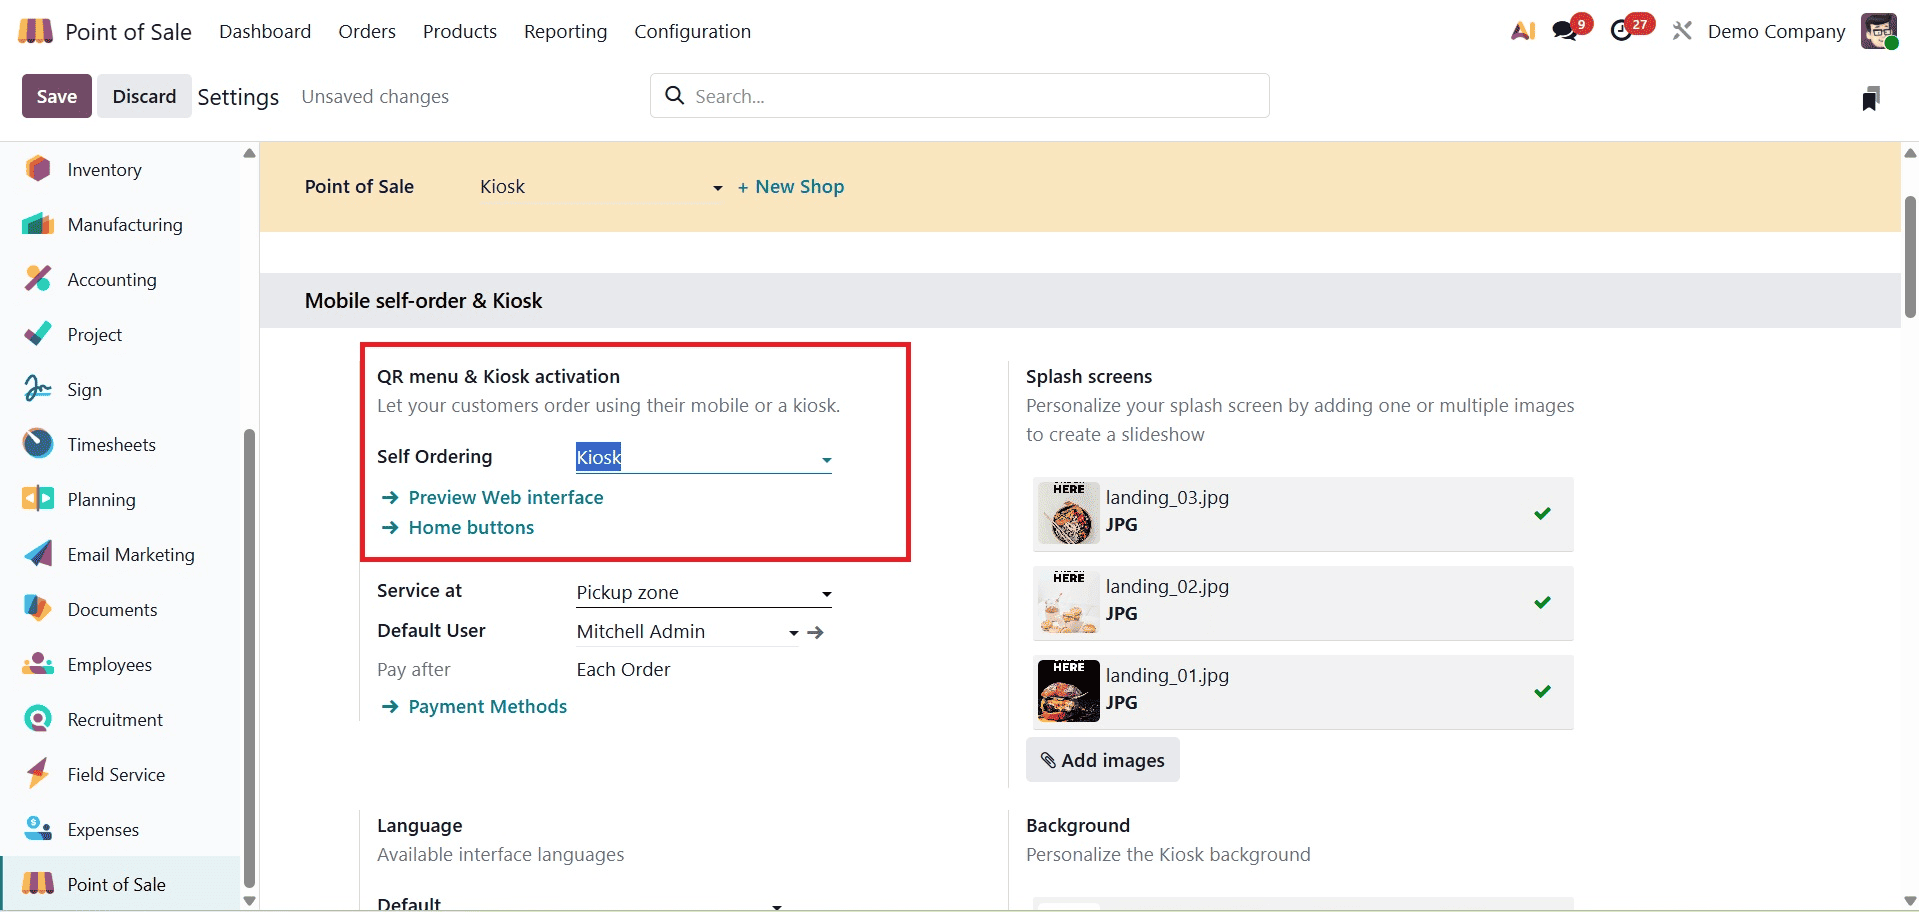
The kiosk layout can then be viewed by clicking on the "Preview Web Interface," as seen in the screenshot below.
The "Home Buttons" option can then be used to customize the Kiosk interface's home buttons. As seen in the screenshot below, this will launch the dashboard with all of the buttons that are available, along with their Label, URL, Point of Sale, Style, and Preview.
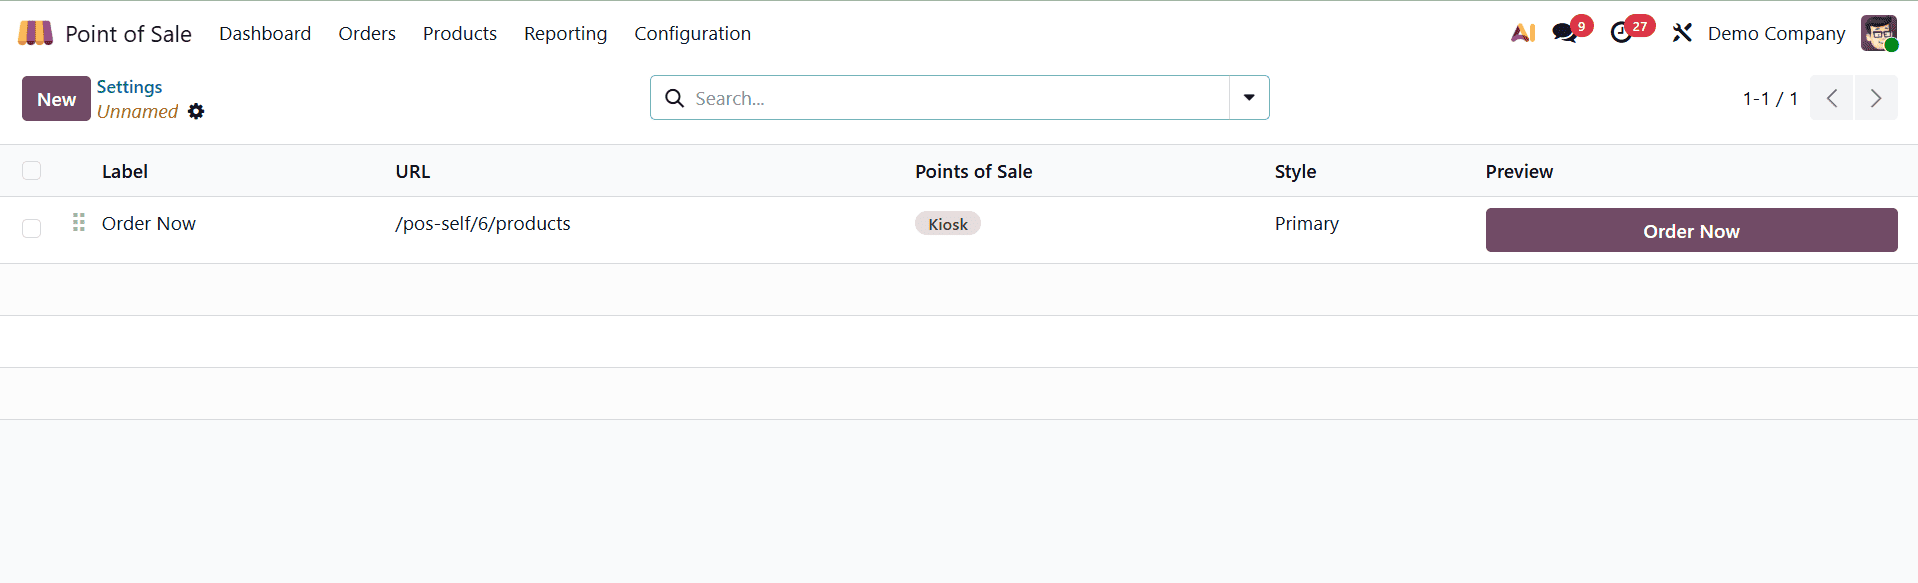
To create a button, specify its label, URL, and style, as well as preview it, click the "New" button. Next, click the "Home" button to view the kiosk's homepage, or click the "Order Now" button to select a product from the catalog. Additionally, you can alter the buttons to suit your needs.
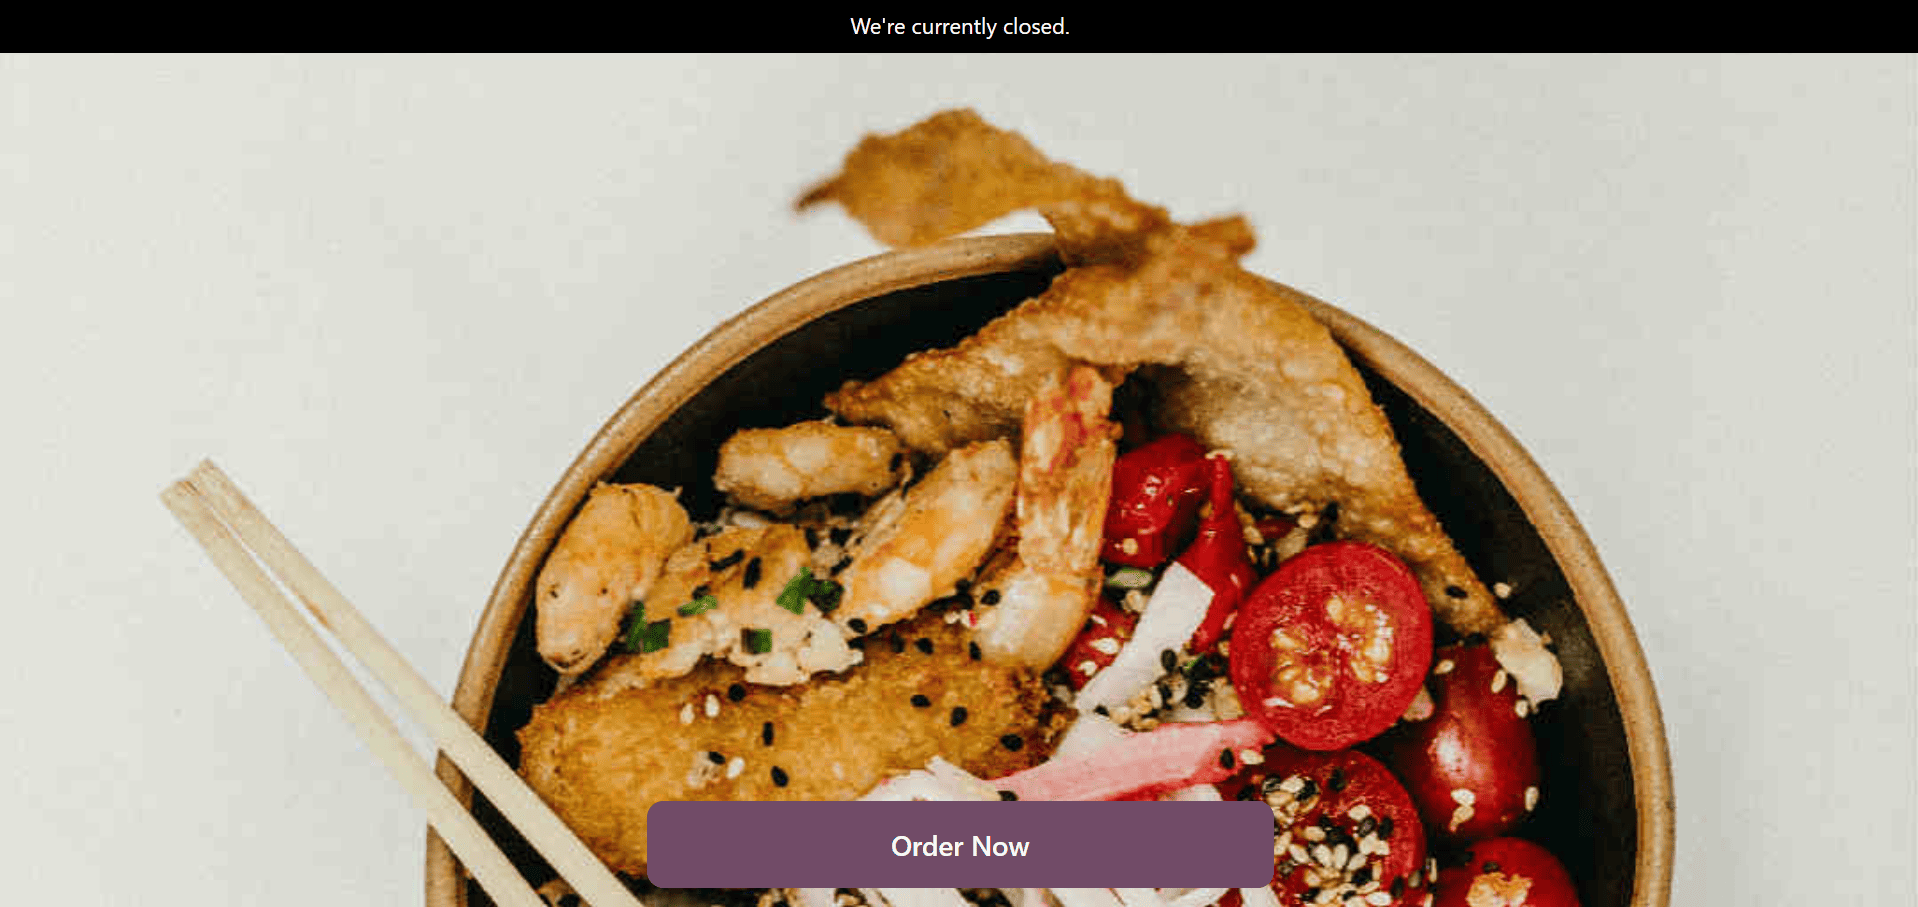
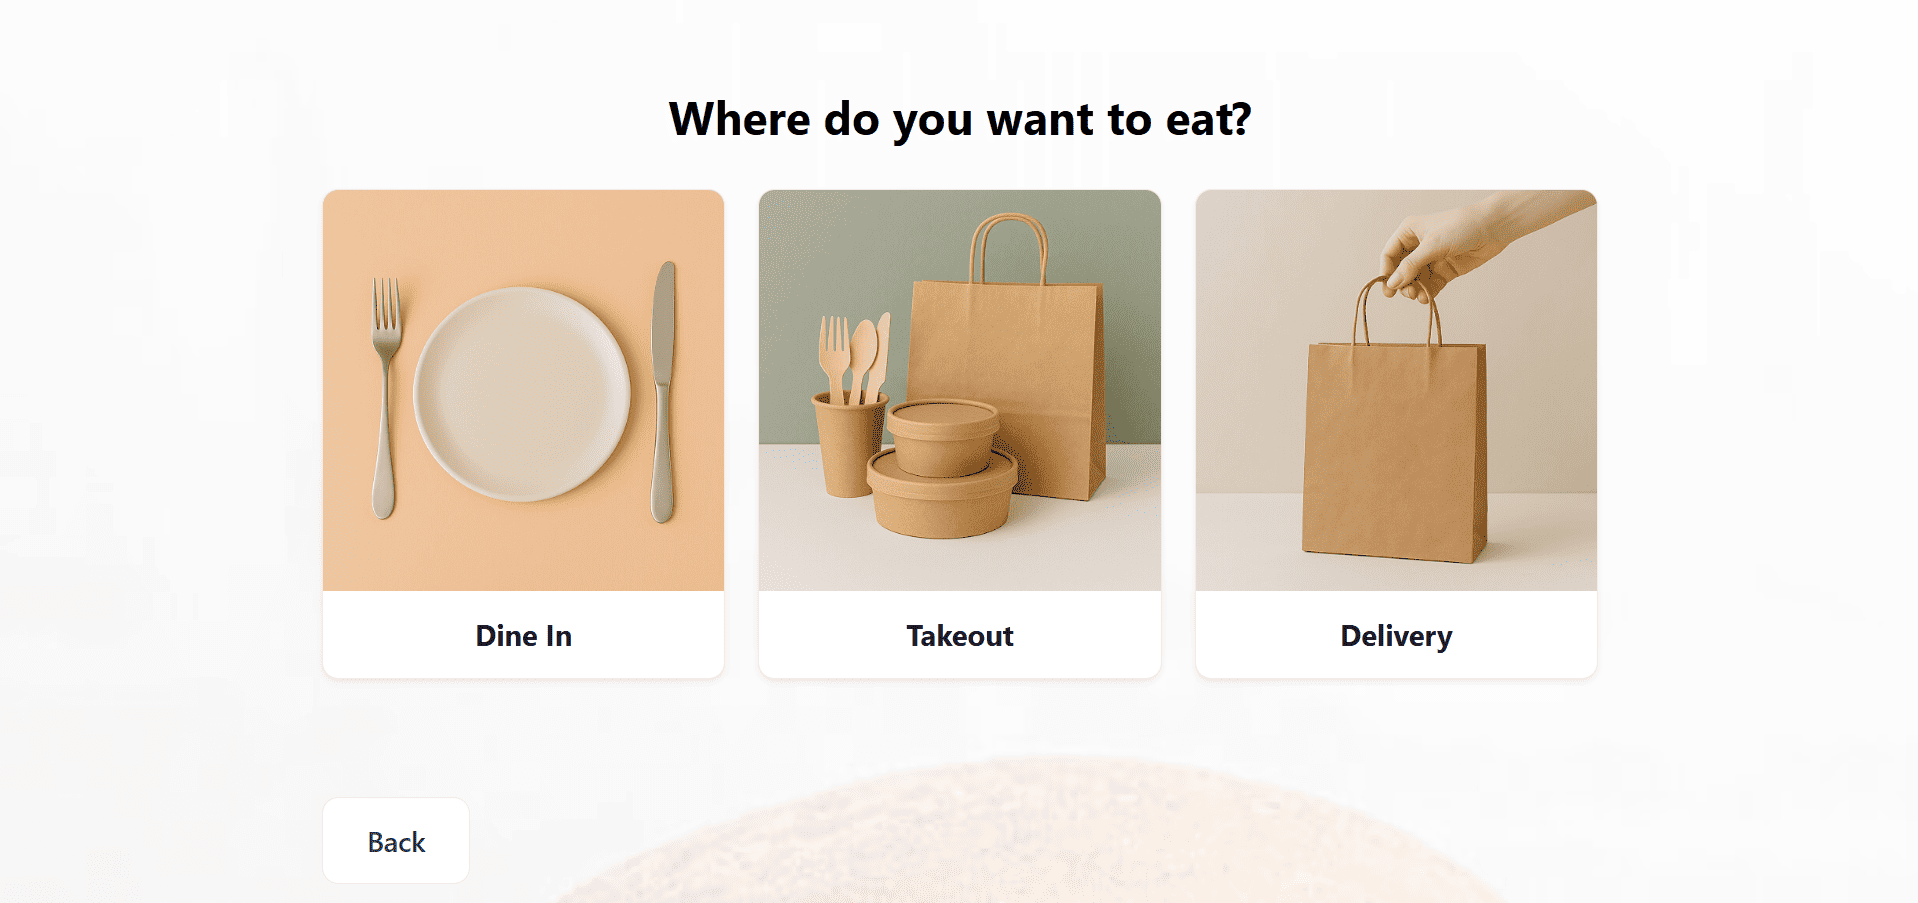
As seen in the screenshot below, the primary page of the kiosk interface is where you may select preset options like Dine In, Takeout, Delivery, etc.

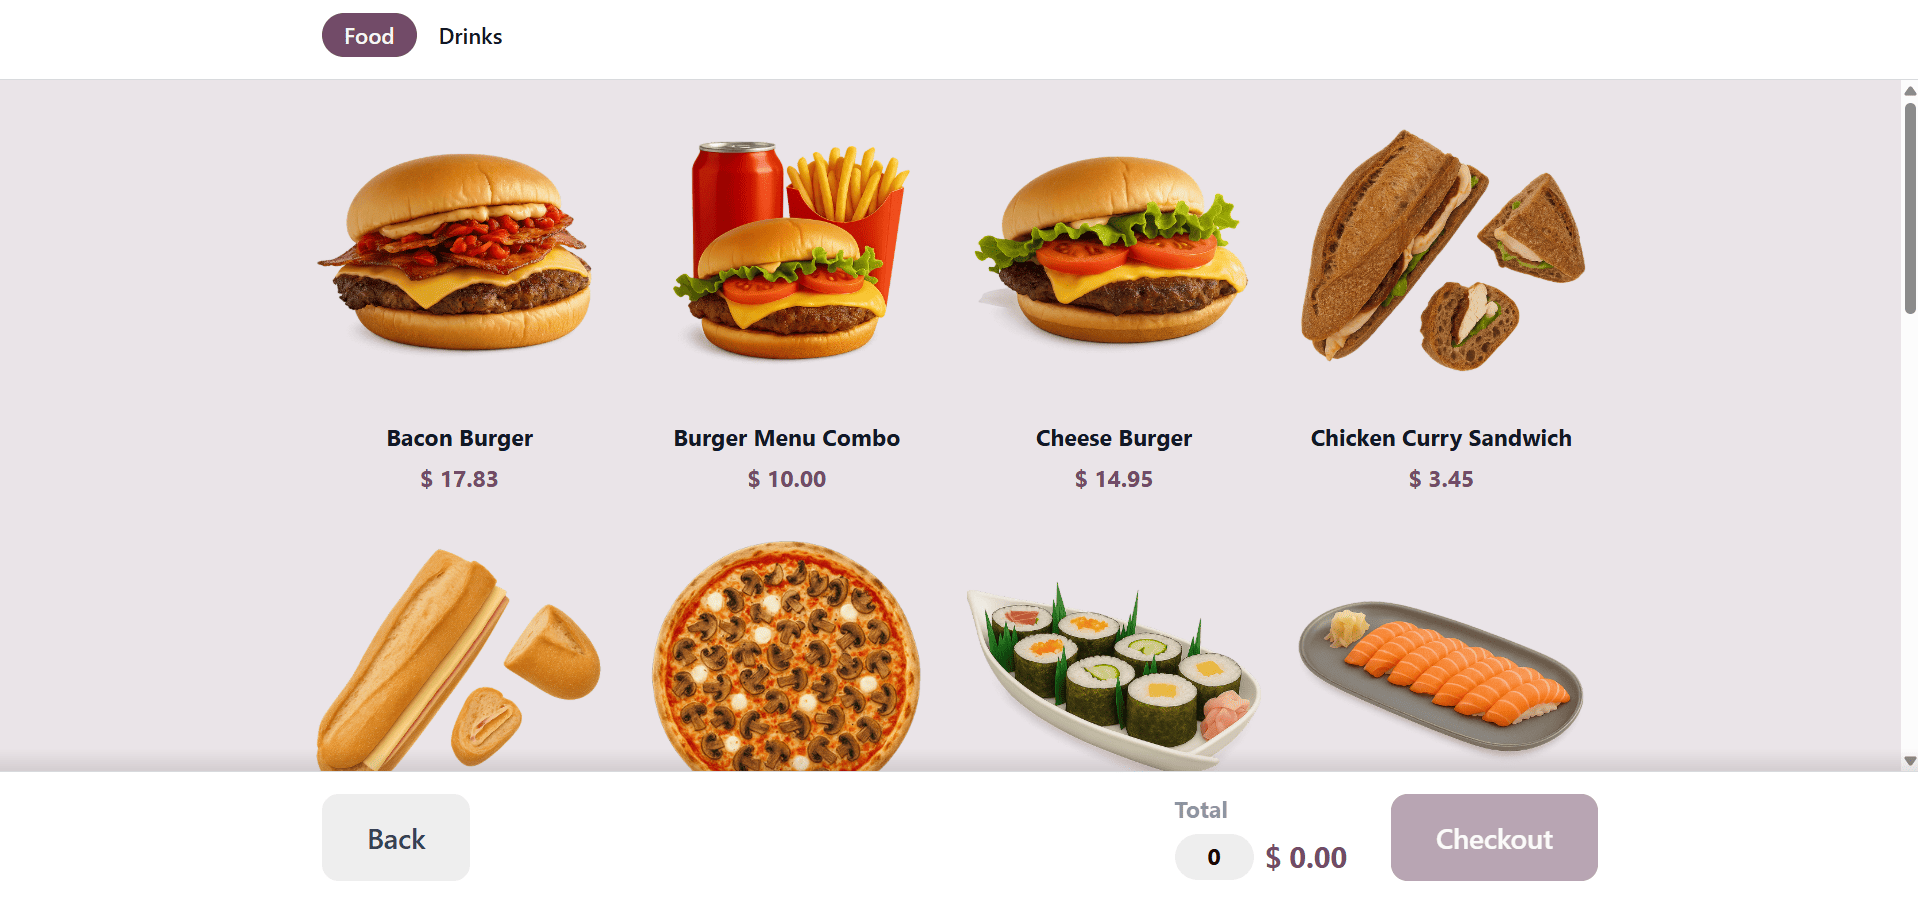
Once the order method has been selected, the product catalog will show up, so that you can select the items and move on to the following stages.

You can designate a self-ordering location and select whether consumers pay after delivery or after each order by using the "Self Ordering at" option. An IoT device can be configured using the "Launch On" option.
Other self-ordering options, such as "QR Menu" and "QR Menu + Ordering," are also supported by Odoo and may be found under the same settings menu.
For eateries looking to minimize employee contacts, the "QR Menu" option is perfect. Customers can use their phones to place orders and view menus. The "QR Menu" is an option for self-ordering. Some configuration links will be created as a result, as shown in the screenshot below.
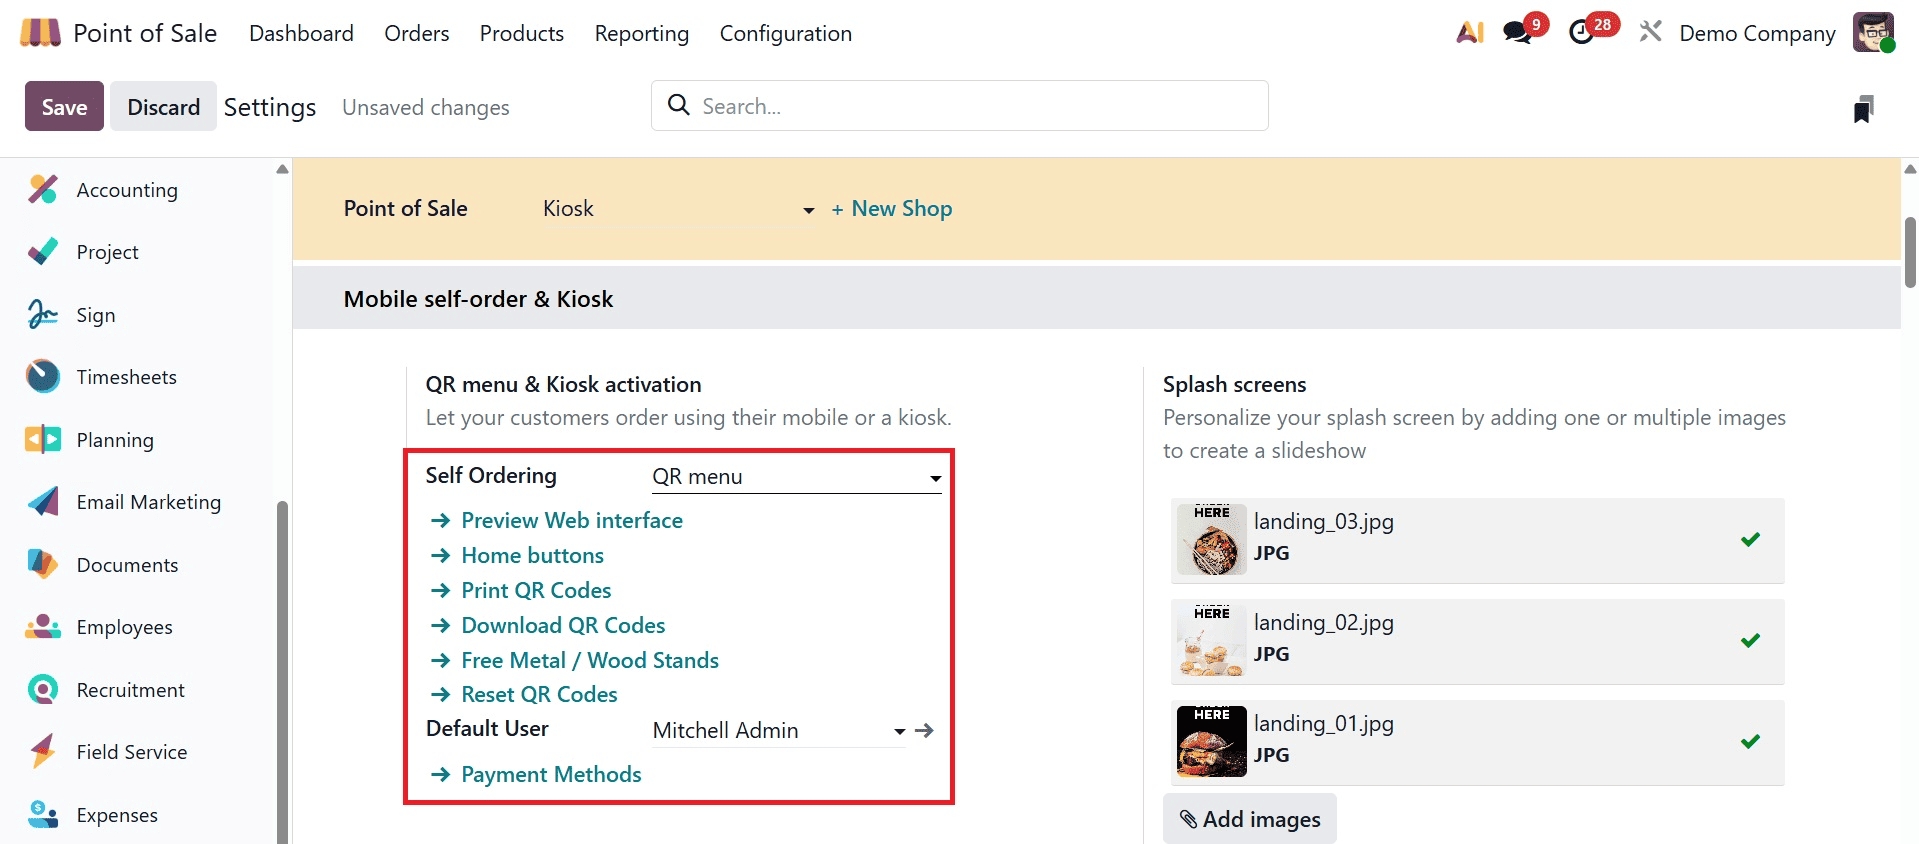
The links supplied allow you to preview the web interface, set payment methods, print and download QR codes, and get a free metal/wood stand.
Clicking the "Download QR Codes" button will automatically create and download the appropriate amount of QR codes based on the number of tables and floors in your restaurant. Choose the "Print QR Codes" option to print them. Odoo will generate the codes based on your table configuration and download them to your computer.
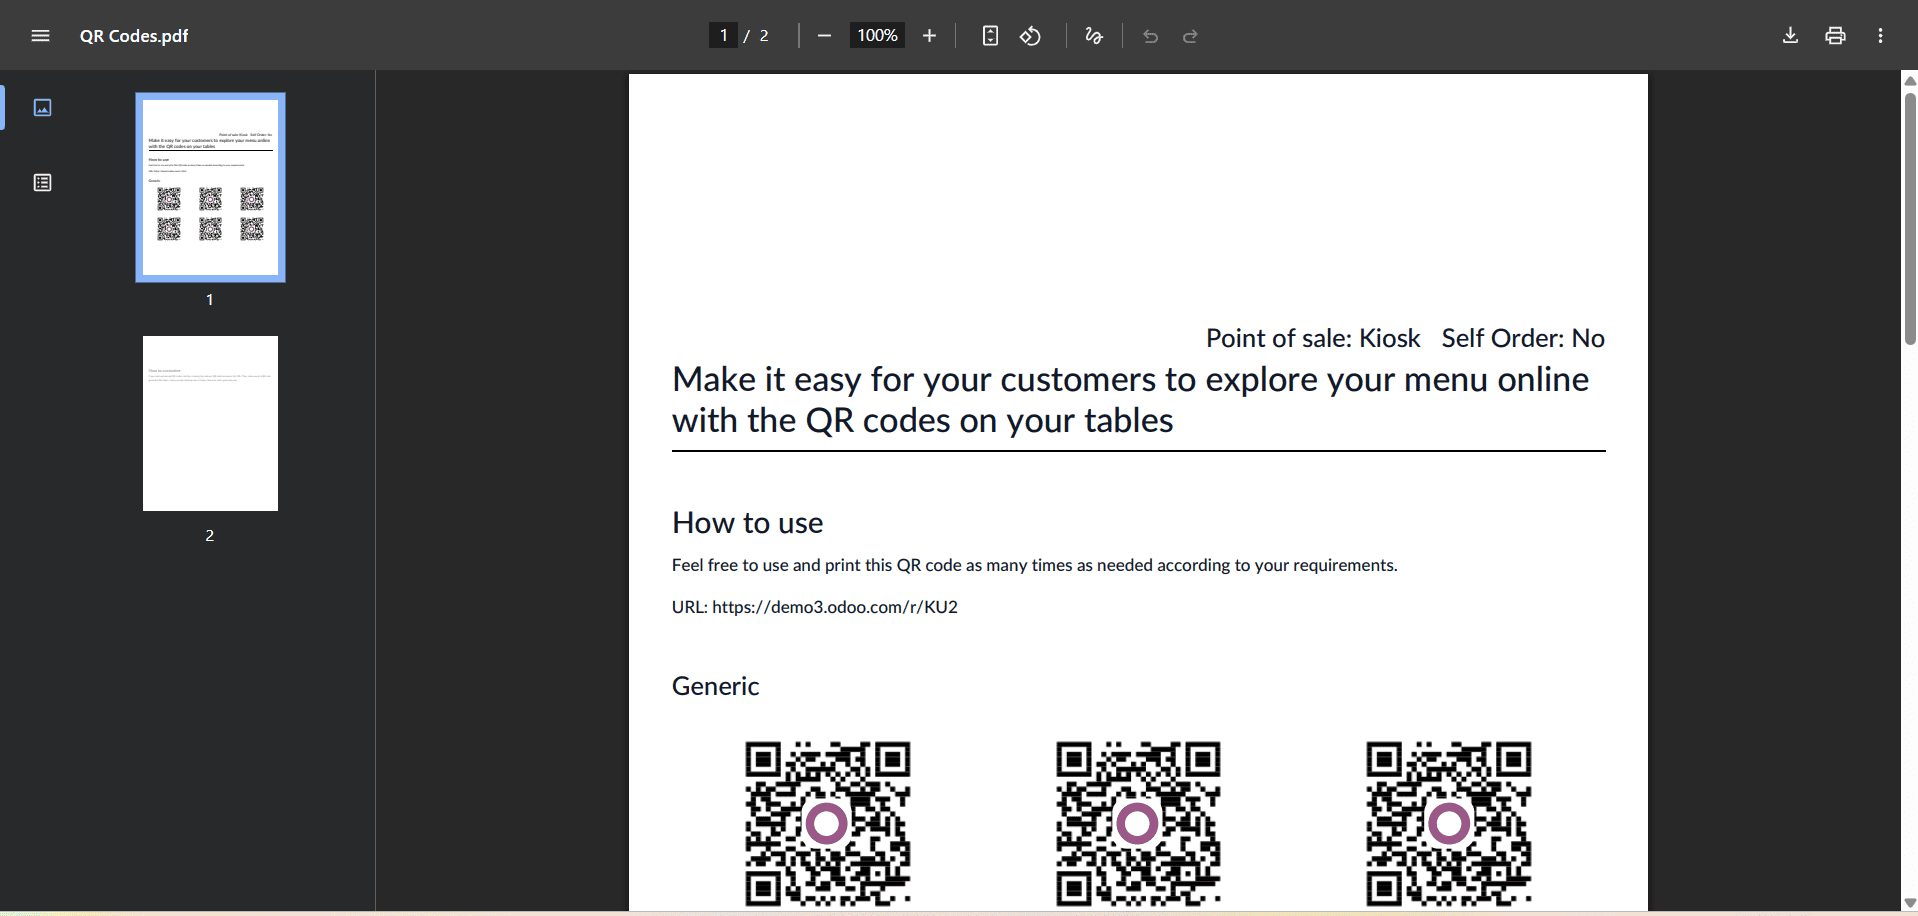
After that, you may post these QR codes throughout your eatery for patrons to scan with their phones. This speeds up service and lessens staff workload by opening a digital menu where they can browse things, personalize their order, and place it directly.
Click the "Payment Methods" button to configure payment choices for kiosk orders. As seen in the screenshot below, this will launch the dashboard with all of the available payment options.
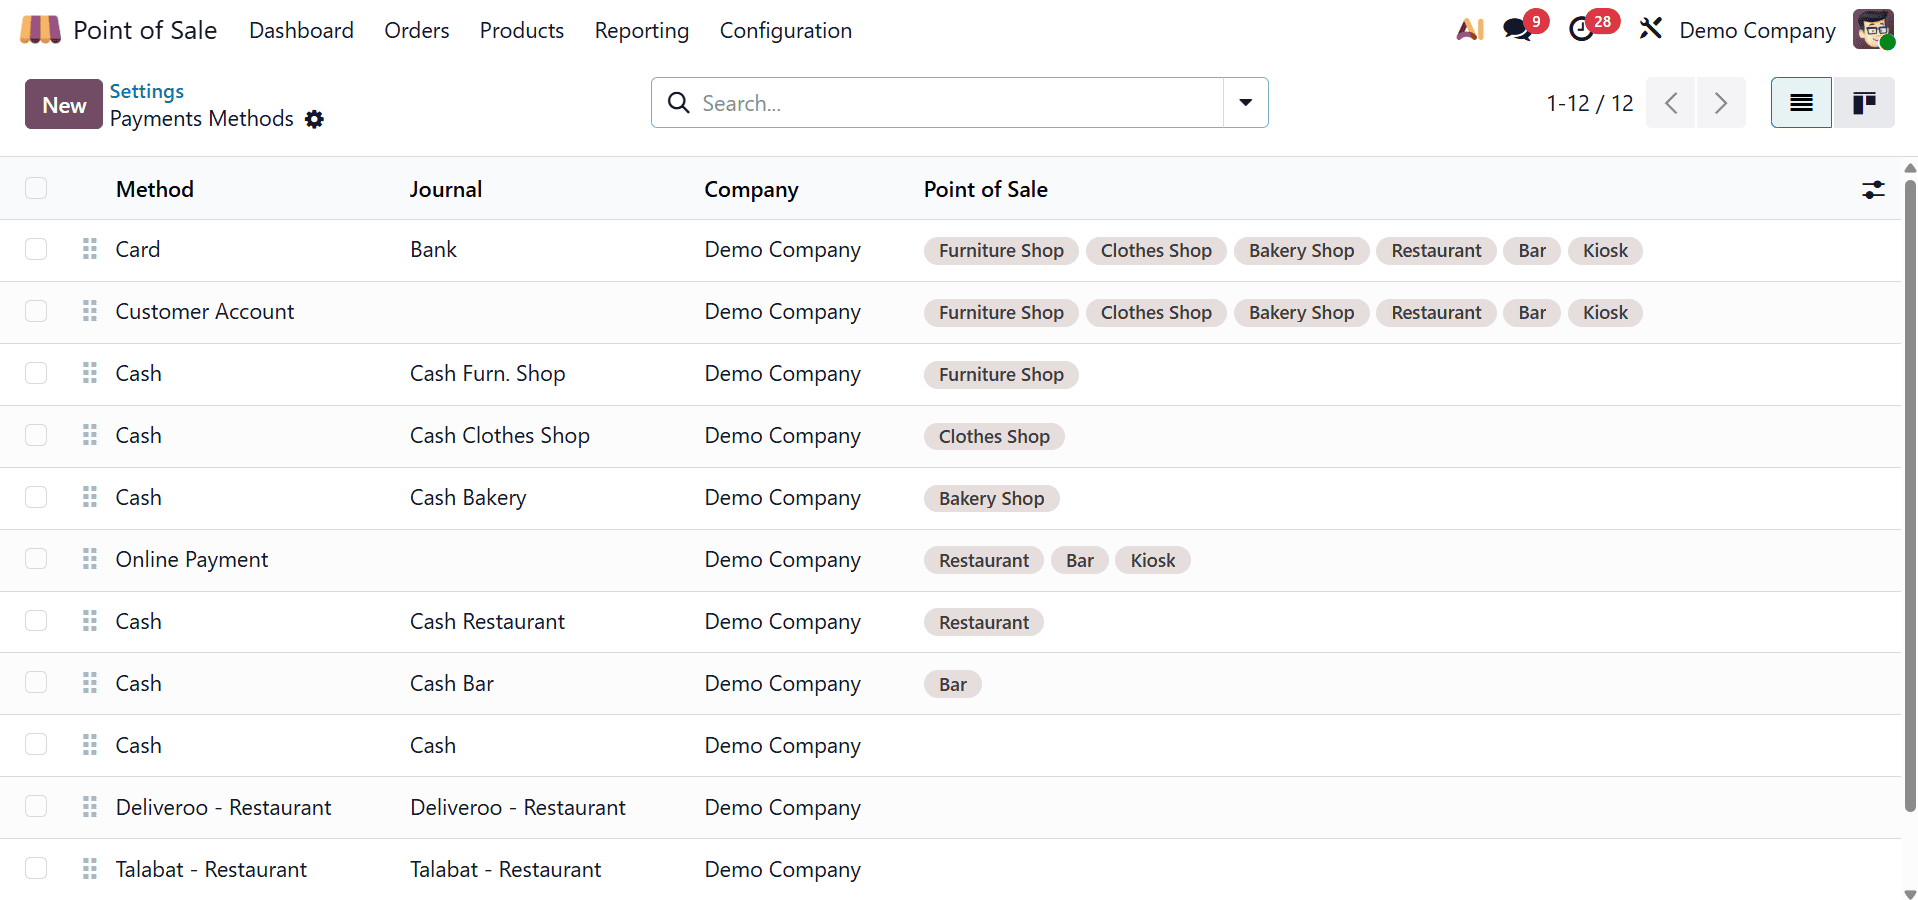
You can then select from the available alternatives or make a new one by choosing "New," giving it a name, and turning on Online Payment and Customer Identification if necessary. As shown in the example below, you can also adjust specifics like the Journal, intermediary accounts, and integration settings.
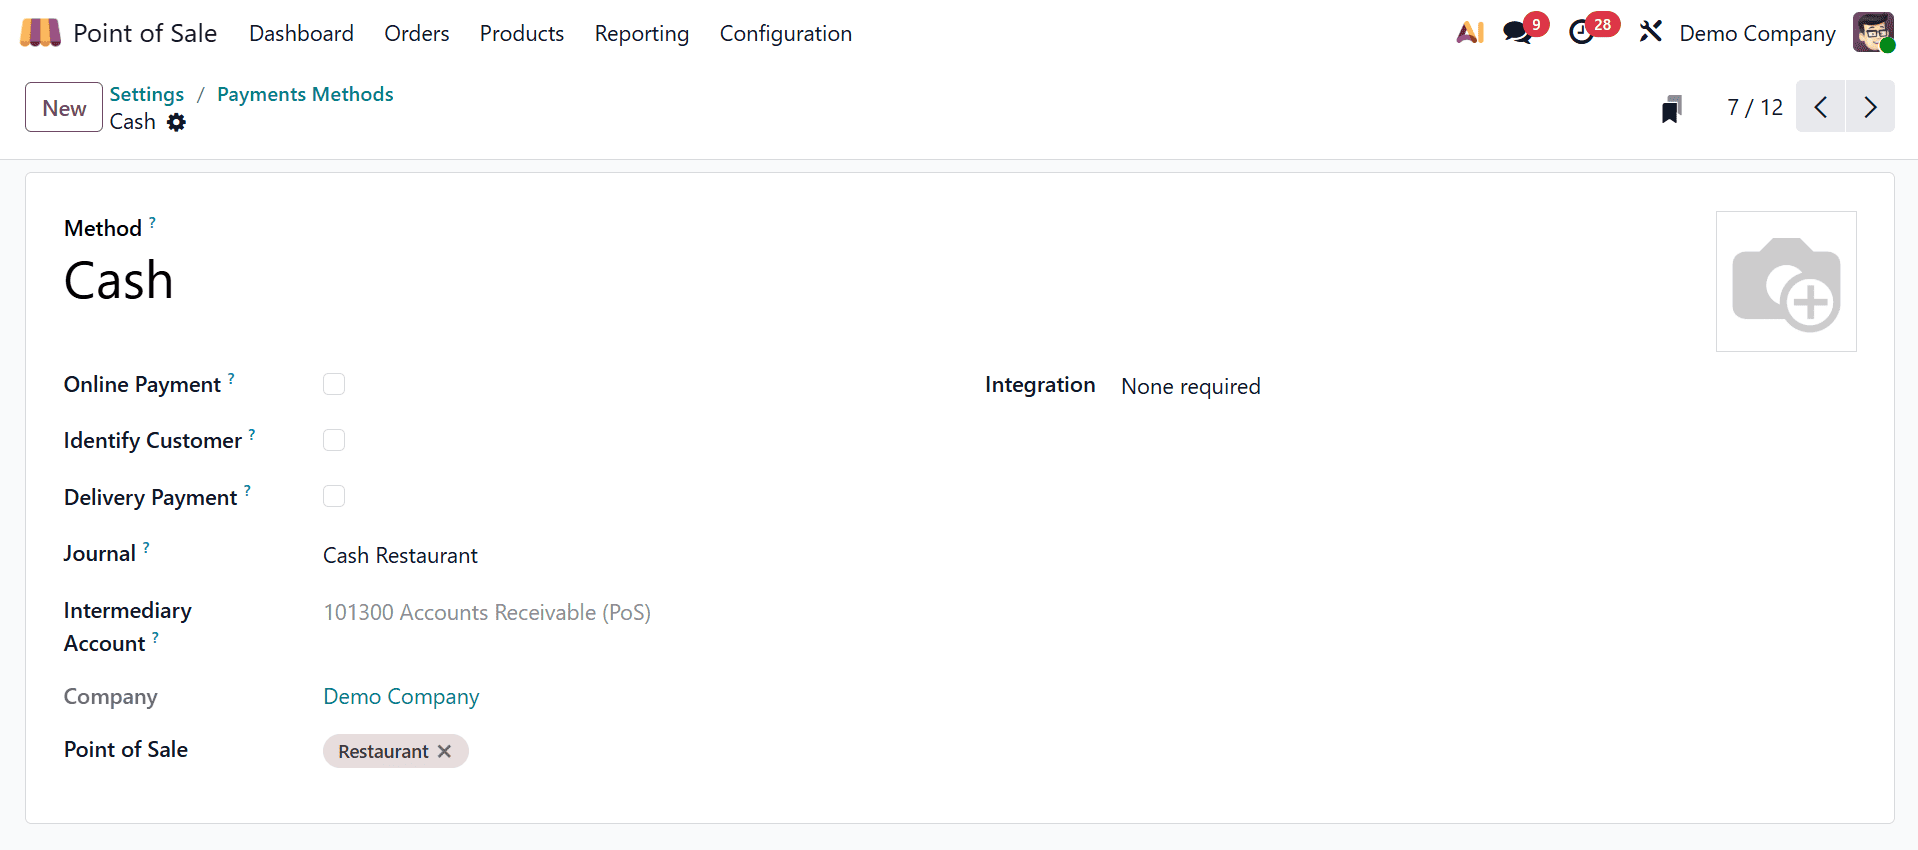
The Point of Sale Settings section contains the complete instructions for configuring payment methods.
Odoo 19 POS's "Free Metal/Wood Stands" function probably means printing the QR codes for your restaurant and putting them in wooden or metal stands. Customers may easily scan the QR codes and place orders from their phones by placing these stands on tables.
As seen in the screenshots below, when you click on the "Free Metal/Wood Stands" link, a form view will open where you can enter the required details, such as your contact information and shipping address, in addition to the designs for the metal and wooden supports.
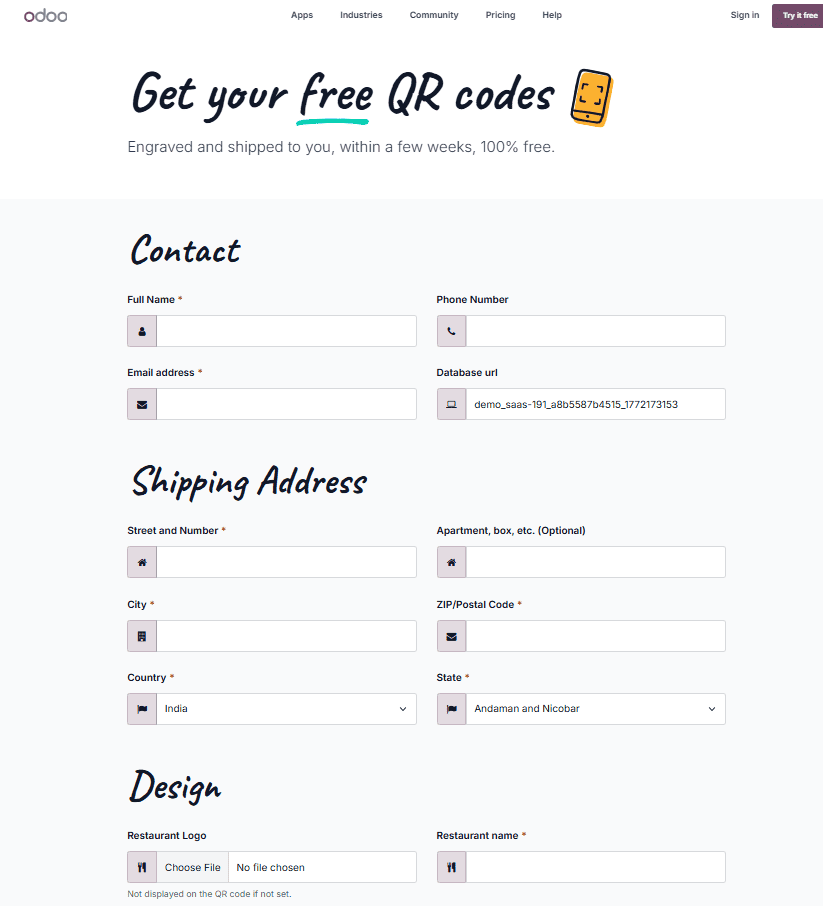
Once the information is complete, you may use the "Order" option to place your order for the stands.
Splash Screens, which are popup messages in Odoo's Point of Sale (POS) module, improve overall communication and operational flow by delivering important information like order overviews, promotional offers, payment reminders, or customer guidance. By choosing the 'Add photos' option under the Splash Screen photos section, you may add eye-catching splash screen visuals to the kiosk view to customize the interface.
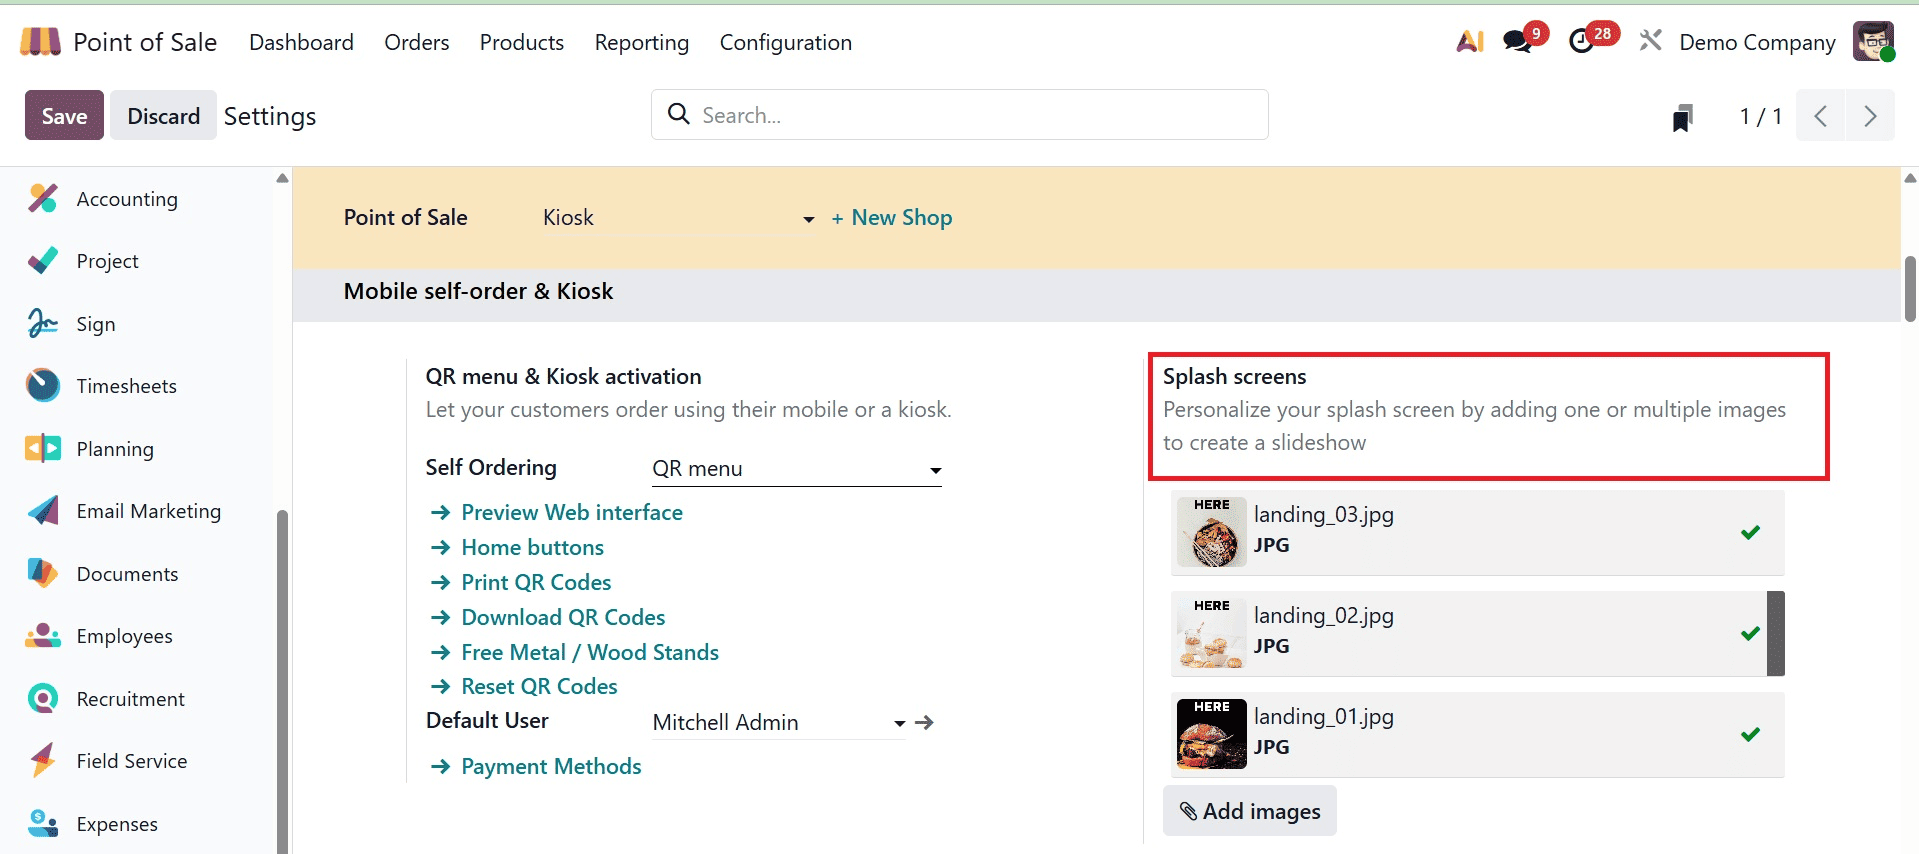
When you click this button, the file manager on your device will open and you can upload the image you want to see when using the kiosk.
Using the same "Add images" button, you can manage the splash screen's visuals by deleting previously uploaded images and adding new ones. Additionally, by uploading a store picture using the "Set background image" option located under the "Background" field, the Kiosk store's identity can be improved. As seen in the screenshot below, these pictures will appear when the kiosk interface is opened.
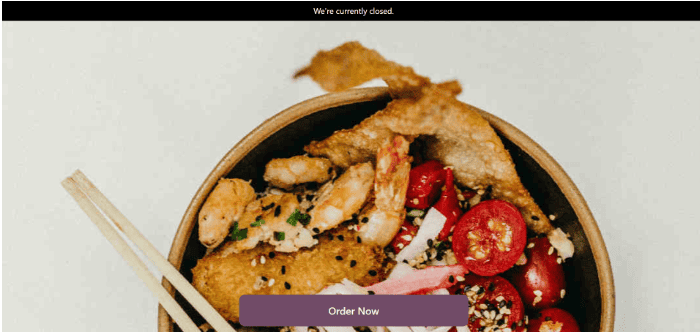
Customers can browse product listings and choose tables using the "Order Now" button to place their orders during active POS sessions once all changes have been saved. After that, orders will show up under the relevant live session.
Through its interactive and user-friendly design, the Kiosk Interface in Odoo's Point of Sale platform makes self-service ordering possible, greatly reducing staff workload and enhancing customer satisfaction. Go to the POS Dashboard Menu and choose Kiosk Session to start a kiosk sales session.
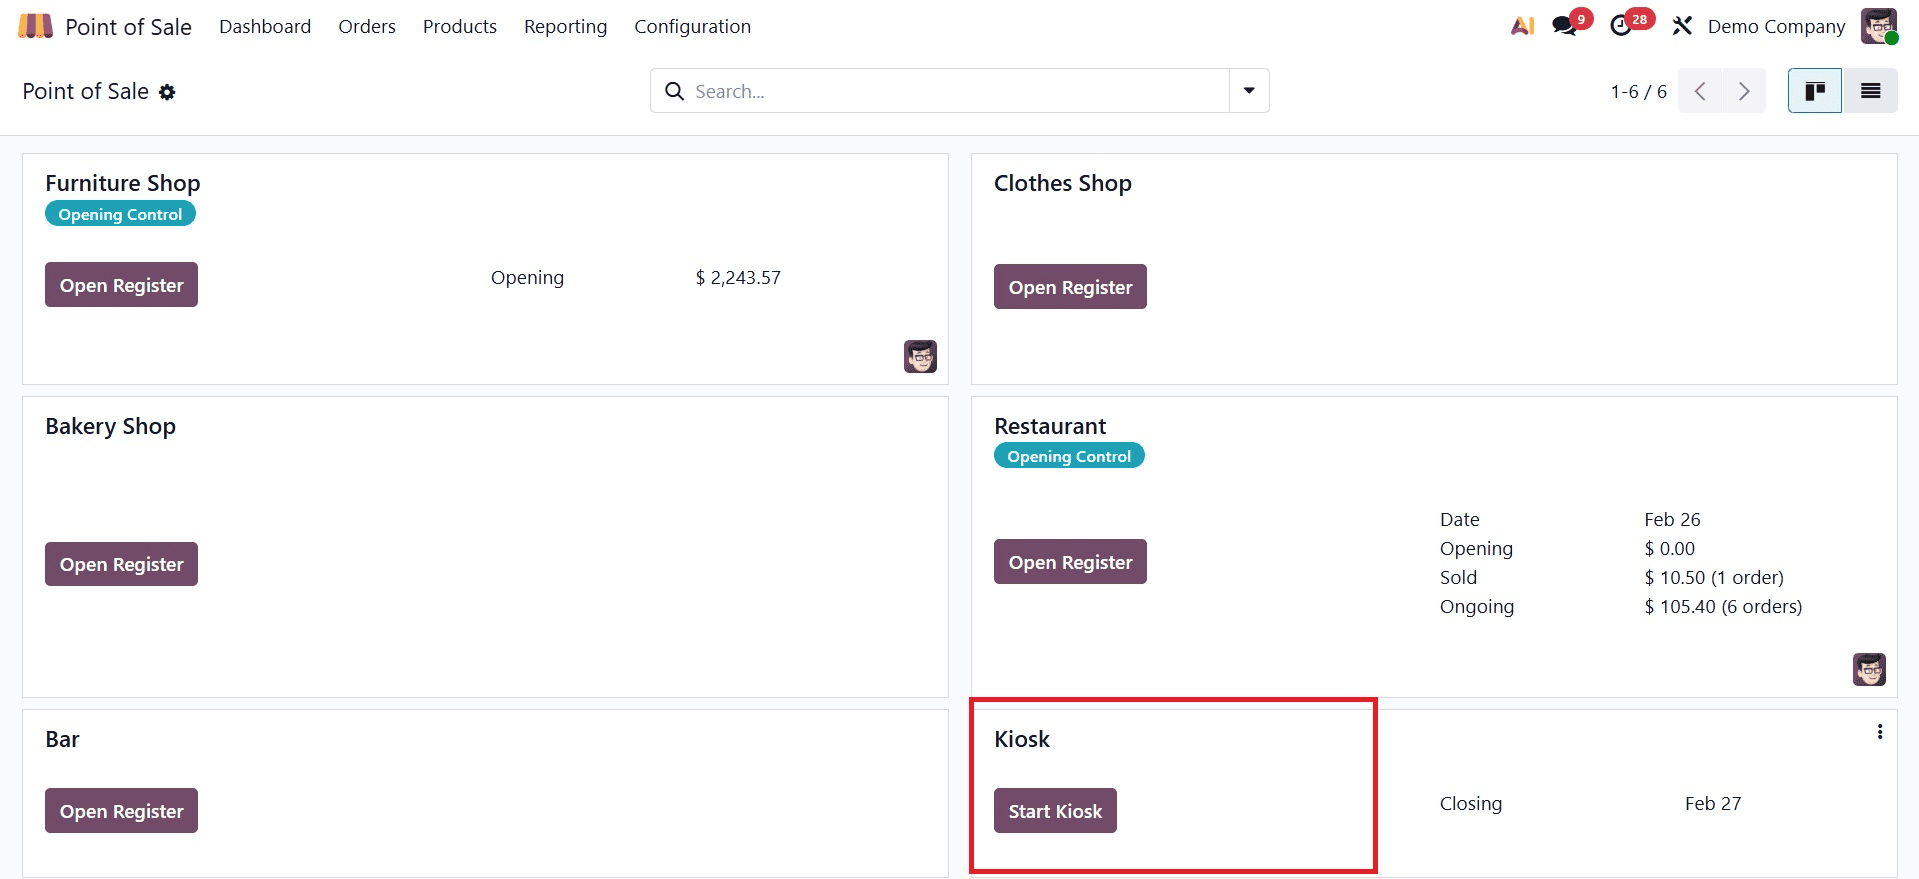
Click "Start Kiosk" from the dashboard to start the session after setup. As seen in the screenshot below, this will take you to the Kiosk interface.
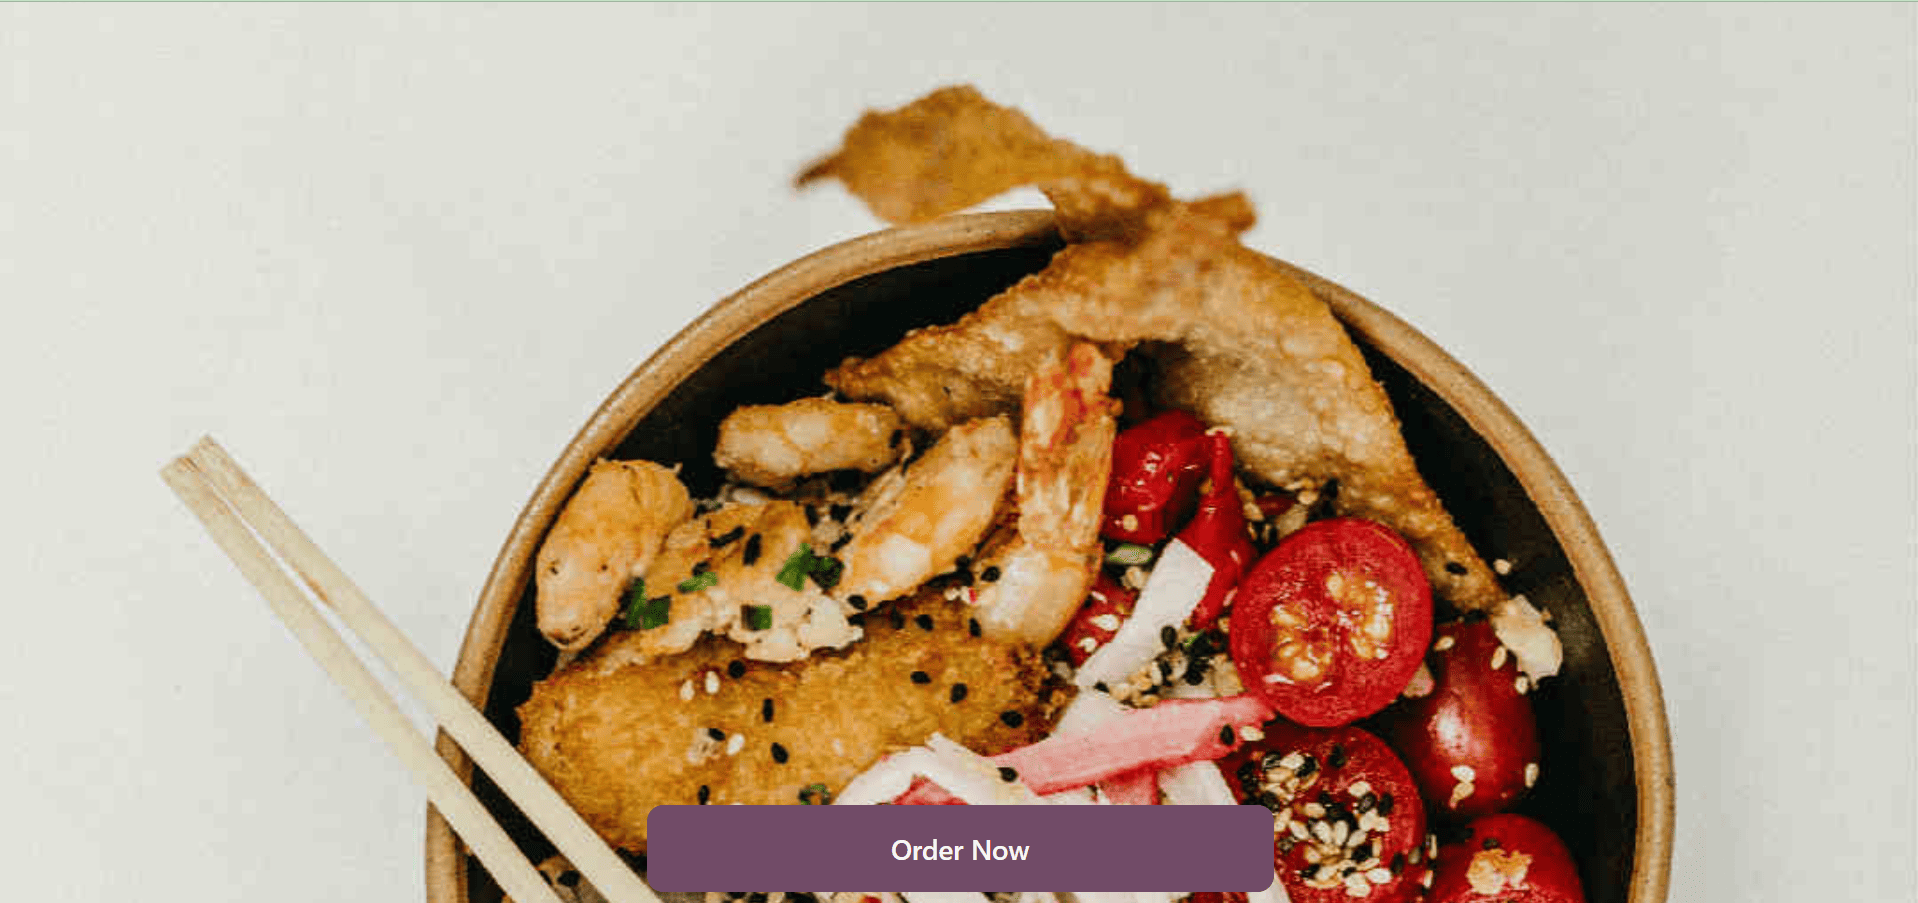
As seen in the screenshot below, you must choose one of the preset options from the homepage, such as Dine In, Takeout, or Delivery.
To begin browsing products, click the "Order Now" button. After choosing your things, click the "Checkout" button to complete the ordering process, as seen in the screenshot below.
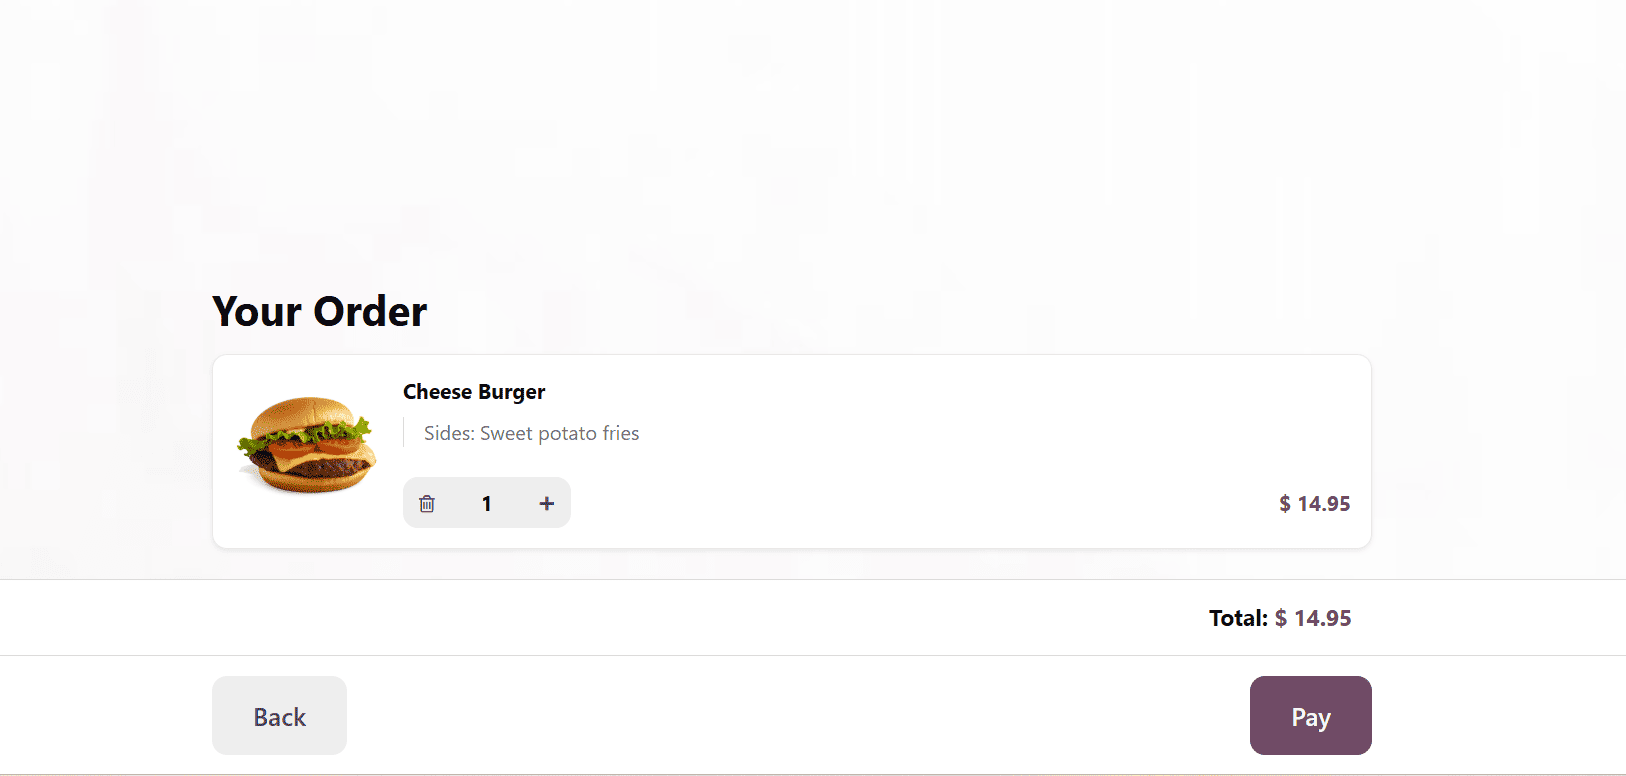
As shown in the screenshot below, after placing your things in your cart and clicking the "Order" button to complete the order.
A tracker number, which serves as a special identification for every order, session, or receipt, must then be entered in the "Enter your tracker number" section.
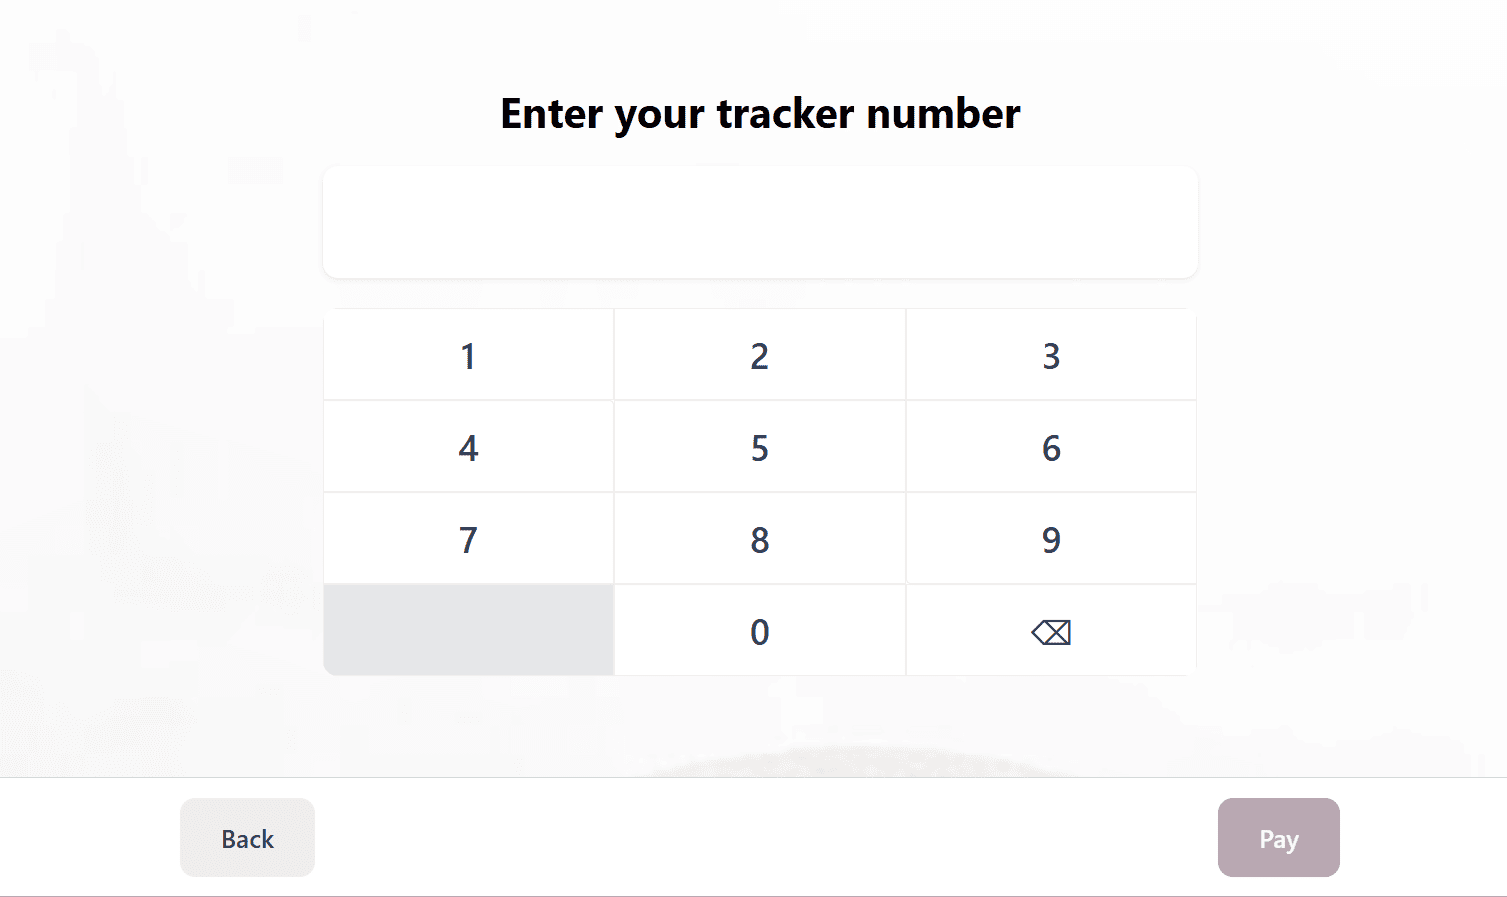
This tracker number facilitates filtering and reporting, aids in order tracking for accounting, stock, and customer service, and frequently shows up on receipts for convenient reference during returns or questions. Then, you can scan the provided QR code to pay the bill.

Customers can then pick up their orders and pay at the front counter of the store.
Businesses can increase overall operational efficiency and expedite order handling, table service, and billing by configuring a bar or restaurant in the Odoo 19 Point of Sale (POS). Staff can serve clients more quickly and correctly with features including floor and table management, fast order processing, and several payment choices. All transactions and stock adjustments are immediately recorded when coupled with the inventory and accounting modules of the Odoo Point of Sale system, offering real-time insights into sales and performance.
All things considered, setting up a restaurant or bar in Odoo 19 POS offers contemporary hospitality firms a complete digital solution. Odoo's adaptable features and smooth integrations enable restaurants and bars to boost customer happiness, increase operational efficiency, and confidently expand their businesses.
To read more about Overview of Bar or Restaurant Configuration in Odoo 18 Point of Sales, refer to our blog Overview of Bar or Restaurant Configuration in Odoo 18 Point of Sales.