Expense Management
Managing your employee’s daily expenses is a tough task. Accessing all the expense reports and keeping the receipts is
also not easier. The Odoo expense management module helps you to handle all the expenses including travel expenses, office
supplies, other employee-related expenses, and many more. The Odoo expense dashboard keeps all the expense details in one place
and saves time on expense reports. You can also submit soft copies of the receipts for approval. This module makes all the operations including create, validate, approve or refuse expenses with just a click.
First of all, you should install the module from the Odoo applications menu.
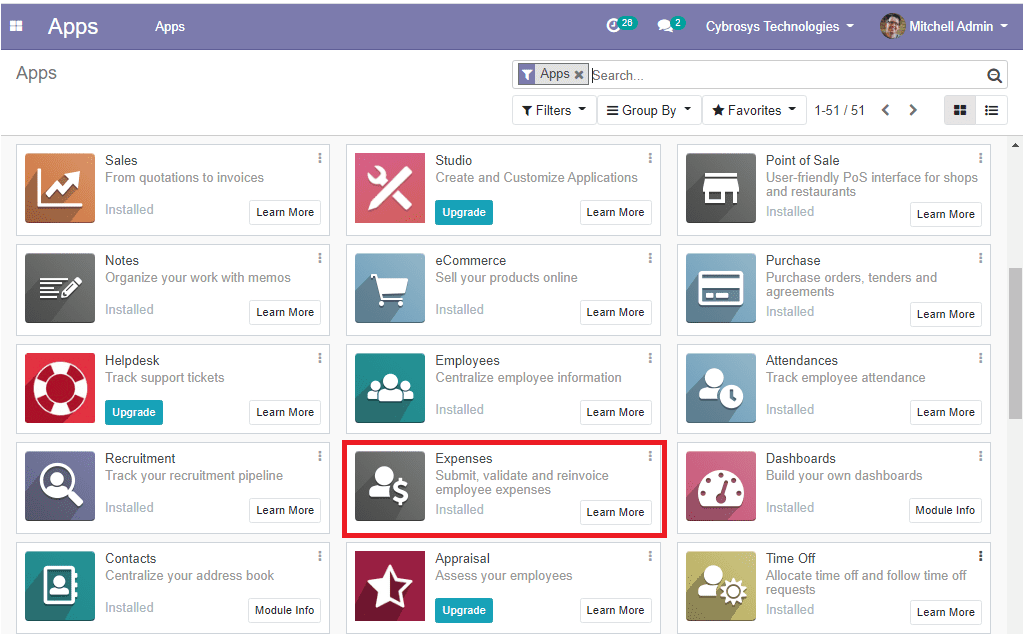
Now you can access the expense dashboard by clicking the expense module. In the dashboard, you can view the expenses described in the platform along with the details such as expense created date, description, employee details, account details, status, and many more.

Configuration
For getting all the features of this module you should need to activate the certain options in settings. For doing so you can go to Expenses -> Configuration -> Settings.
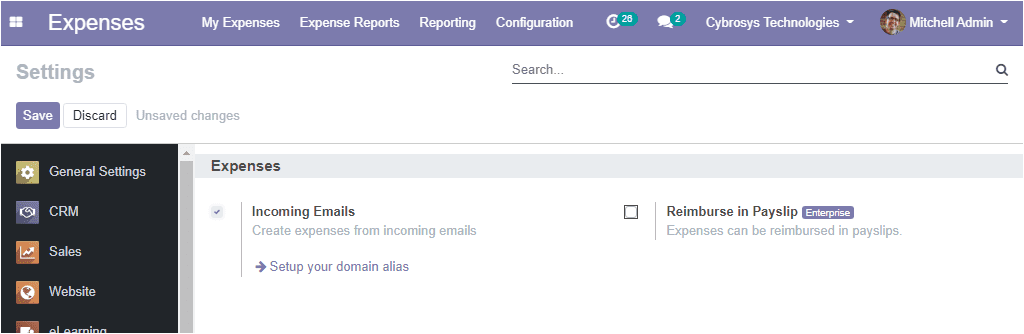
Here in this window, you can view the option incoming Emails. For activating the feature you have to check the box near the option and click on the save button to save the changes. Activating this option will enable the employees to record their expenses by email.
So far we were discussing the configuration of the features of this module now let us move on to the expense products configuration.
Expense Products
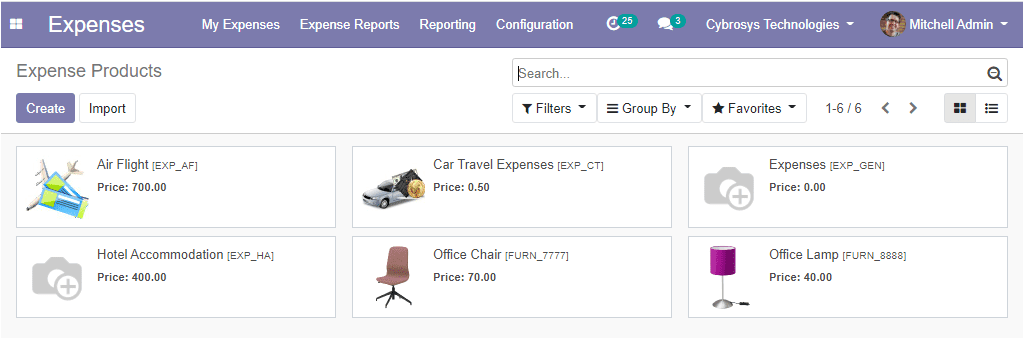
In the expense module, Odoo manages the expense types as the expense products.The expense products can be configured in the platform by
taking the route Expenses-> Configuration -> Expense Products.
The image of the window is depicted below where all the expense products described in the platform are listed.
You can select the create option for creating new expense products. In this window, you can provide the details such as the product name,
product type, cost, company details along with the internal reference. Moreover, you can specify the invoicing policy and the re-invoice
expenses can be selected. This option is required when the specific expense is for a client. If the expense is for our own company purpose,
then we can enable the ‘No’ option. The ‘At cost’ option is for the situations where the company is invoicing the exact expense amount to
the client and you can set the ‘Sales price’ option if the company is adding a profit margin to the expense cost and invoicing it to the
client.
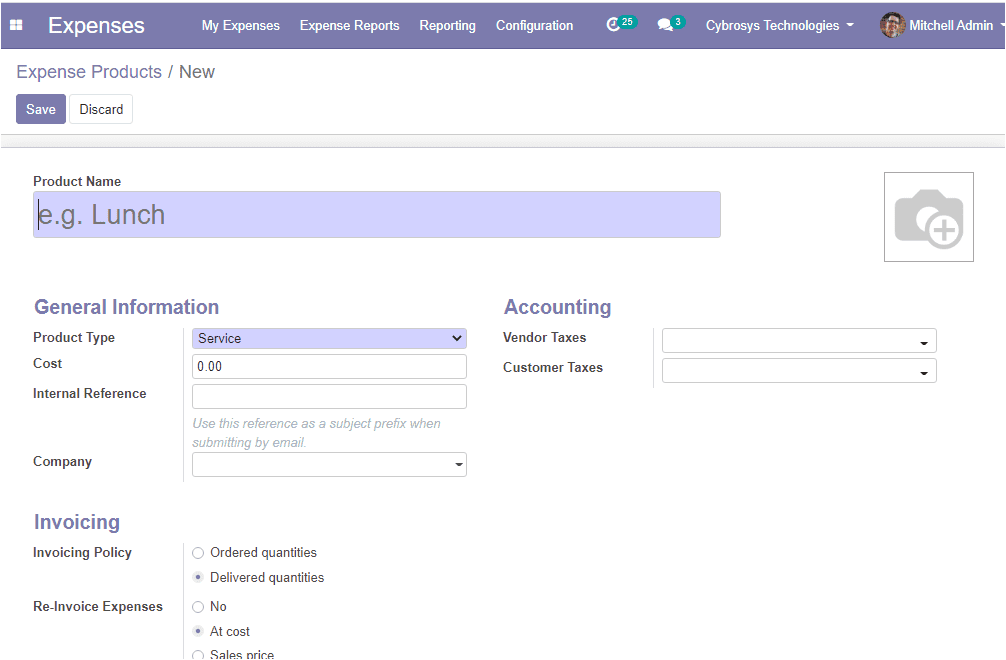
At last, you can mention the accounting details such as vendor taxes and customer taxes.
So far we were discussing the expense products window and now we can discuss how to create expenses in the module.
Generate an expense
In the Odoo platform, you can manage different types of expenses.
Create single expenses
This can be done by going to Expenses -> My expenses -> Create.
For creating an expense the employee should fill the fields in my expenses window. You can provide the description of expenses and the product field describes the expense type. In addition to this, you should specify the unit price along with the quantity. Also, the total amount should be mentioned. Moreover, you can allocate the bill reference, date along with employee name, and company details. The image of the window is depicted below.
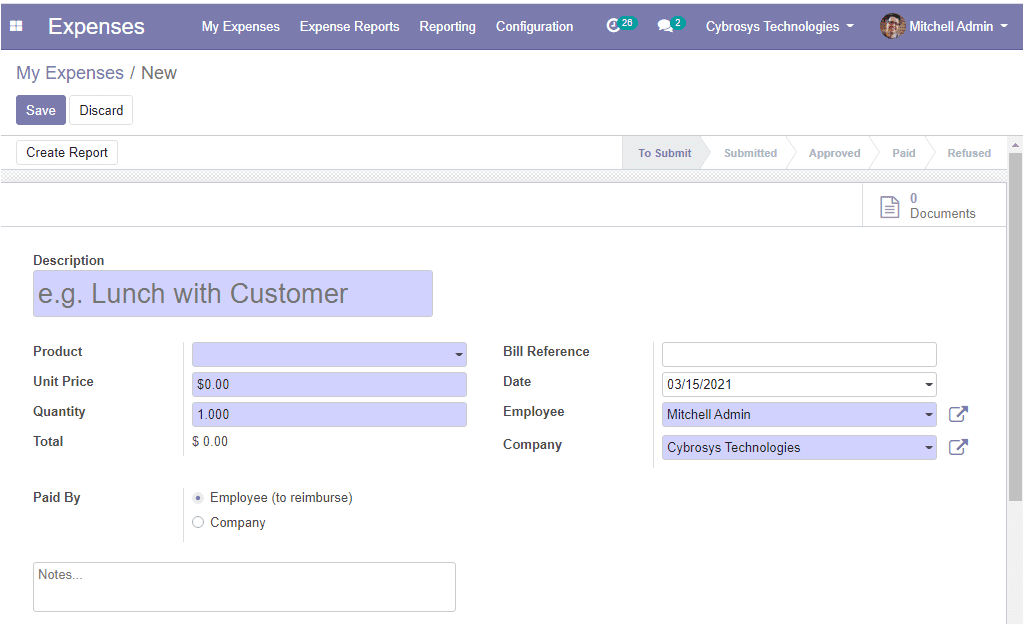
Finally, you can mention whether it is a person or company that made the payment should be made to. After filling in the all required fields you can save the details. Now you will be able to attach the document and you can create the report by selecting the respective icons available in the top left corner of the window

After attaching all the required documents you can submit them by selecting the submit to manager option available as in the image of the window depicted below. Here in this window, you have the provision to add more items to the same expense bill that can be done by selecting the edit button. As soon as the employee submits the expense report he/ she will be able to review the status of the report.
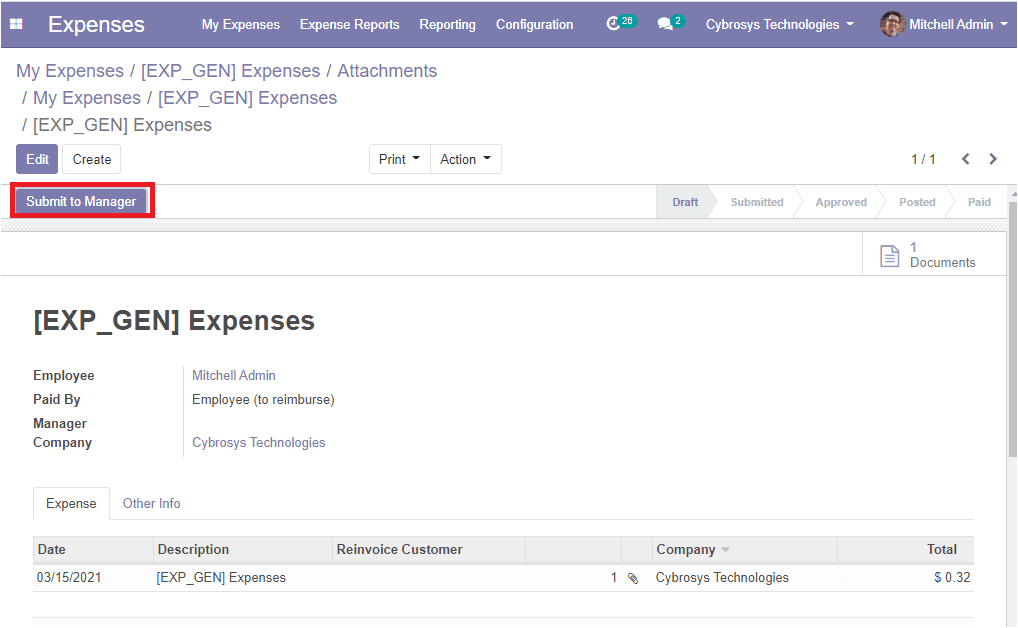
Note: if the report was submitted by the employee, further steps have to be completed by the manager. It is the manager who has responsibility for approving or rejecting the report. Additionally, he has the provision to ask for more documents or explanations in the form of comments.
So far we were discussing how to generate an expense in the module and now let us move on to the My Expense Reports option.
My Expense Reports
My Expense Reports window can be accessed by taking the route Expenses -> My Expenses -> My Expense Reports.
Here in this window, you can view all the expense reports described on the platform along with the details such as the expense report name, employee name, created date, total amount, the status of the report, and company details. The image of the window is depicted below.
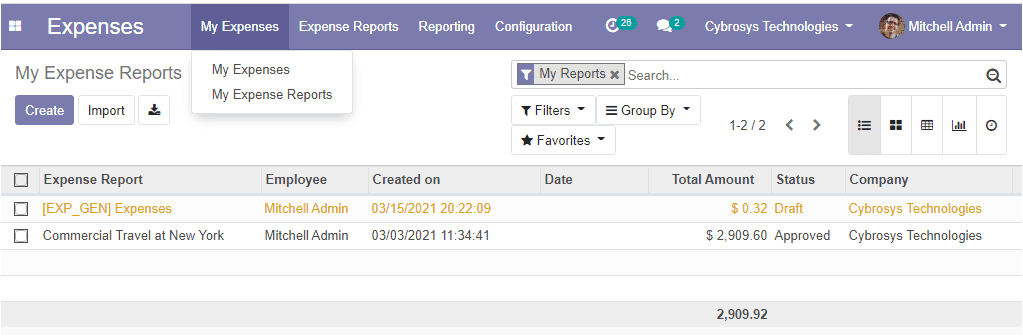
You can also create new reports by selecting the create option. The image of the creation window is depicted below where you can provide the expense report summary. You can also allocate the employee name and company details. Moreover you can add expense lines under the expense tab.

As we clear on my expense window and now let us discuss my expense reports window available in the module.
To Approve
Once the employee submits the expense or expense reports to the manager for approval, the remaining procedures have to be completed by the manager. He can either approve the expense or refuse.
Now let us discuss the To Approve window available on the platform.
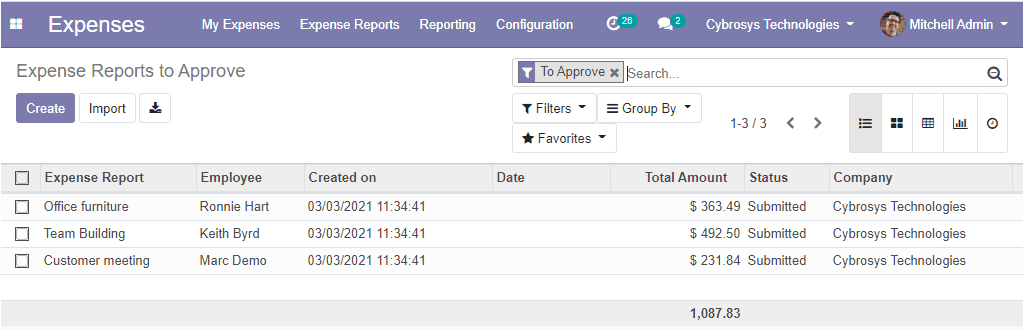
For accessing this window you can go to Expenses -> Expense Reports -> To Approve. The image of the window is depicted below.
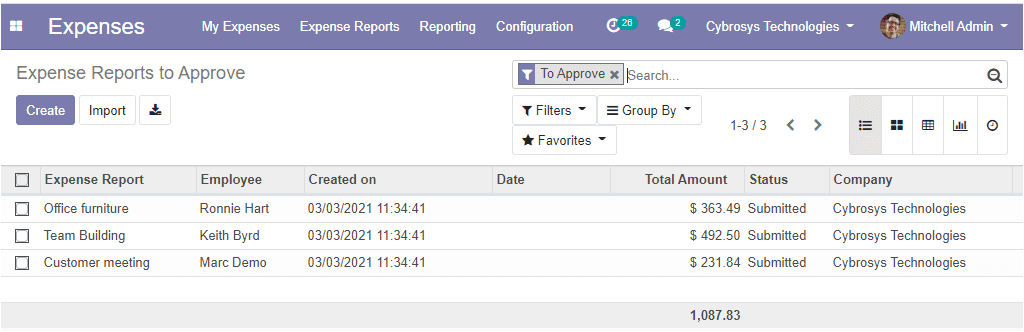
The manager can view all the expenses and the expense reports that are waiting for his approval. Moreover, the manager has the provision to select all the requests by a particular employee and approve it all at once. The image of the window is depicted below.
If the manager approves the expense report and posts it, the employee can view the status changes from Submitted to Approved.
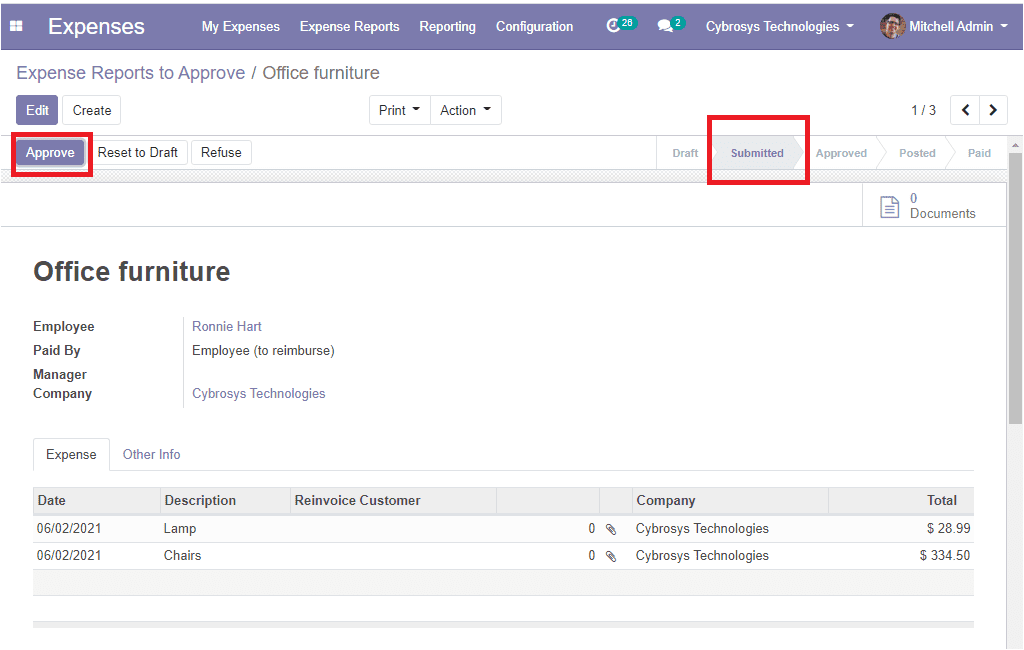
The image of the window is shown below where you can view the status as Approved.

Upon clicking the Post Journal Entries button, the expense gets posted. Now the company accountant can reimburse the amount to the employee.
So far we were discussing how to approve the expenses and now we can move to the expense analysis option of this module.
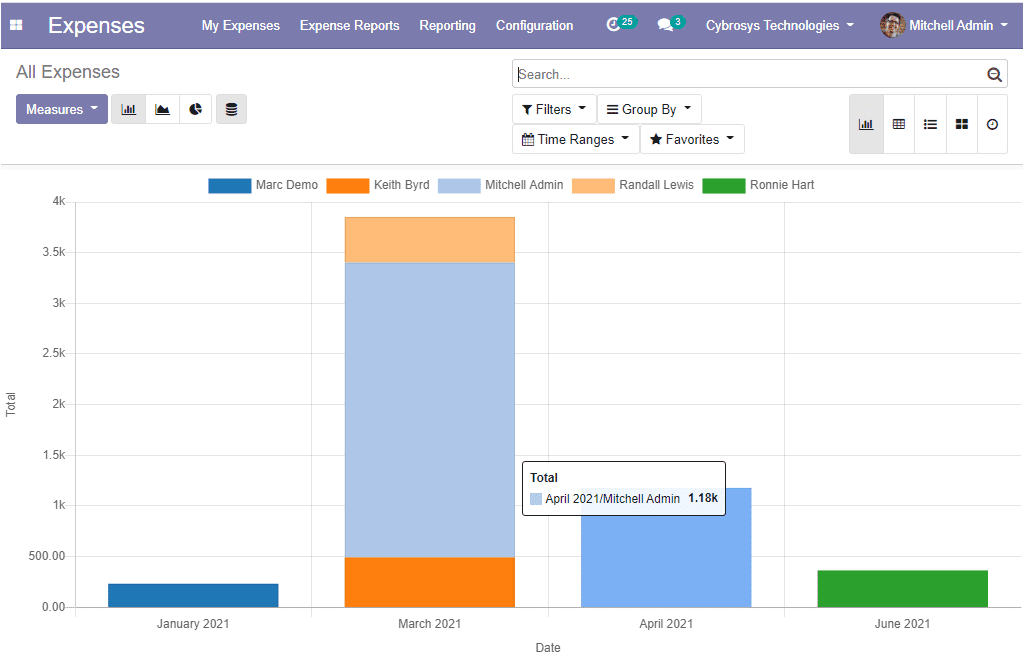
Expenses Analysis
Expenses analysis is an available feature under the reporting tab of the expense module. This feature allows us to analyze the expense reports at a glance. Here you have all the default and custom features and you can view the reports in different views such as bar chart, line chart, pie chart.
The Odoo expense management module can simply manage all the expenses in a company. With this useful module, you have a clear overview of your company’s expenses. The module will be a helping hand to employees, managers and the accountant of a company. It can be easily integrated with other modules such as employee, project, invoicing, and fleet management.