Website
The easily manageable Odoo platform holding a multi-purpose open-source website builder application that gives an insight into the creation of complex websites in a simple way. The module provides us with both front-end and back-end usability and is highly recommended for business proprietors who need a back-end solution for recurrent publishing and updates. Moreover this module can be easily integrated with the company inventory.
With this module you can create and customize websites for your companies and can manage all the operations with your own perspectives. We can use the website for multi-purposes such as publishing information about your company, as an e-commerce site, HR recruitment portal, as a customer portal, job portal, and many more. Here we are going to discuss the various functionalities of this website builder module in the platform.
Let us have a glimpse of the main features of this module.
- The intuitive system helps you to create and design your website with more features and functionalities.
- It is a straightforward, simple, and flexible website building application and you can insert different text styles, fonts, and many more.
- The building block system will help you to design your website for your own. You can create your website from scratch by dragging and dropping the default building blocks available.
- Can edit the content of your website directly from the front end.
- Can create, edit, update the text content in the same manner as in the word processor.
- Keyword suggestions and meta tag tools will improve your website’s ranking on search engines and increase traffic.
- The link tracking and multi websites option will be a helping hand to the users.
- Analyze the leads by google analytics.
- Website language translations are possible.
- Live chat facility with a pop chat window.
- Can share the website through social media.
- Design Odoo templates with ease.
- Create the website layout from the best one displayed.
- Easily can change the themes and the different themes are available in the Odoo app store.
So far we were discussing the features of the Odoo Website module and now let us discuss how to manage multi - websites.
Managing Multi- websites
The Odoo platform with its user-friendliness and customizable features will allow you to create, design, and manage multiple websites for your organization. Each website created by Odoo works with independent aspects and each one possesses its own unique designs, themes, headers and footer, pages, languages, working parameters such as products, blog posts, slides, events, live chat channels, and so on.
Now let us see how this module is working.
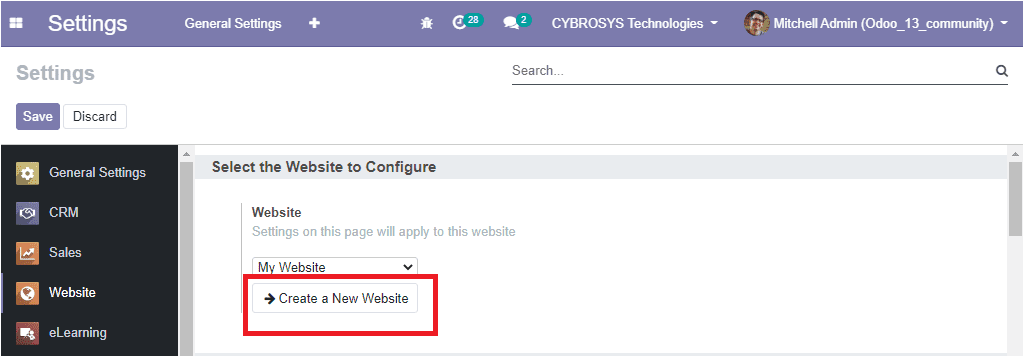
The multiple websites for the company can be configured in the settings menu of the website module. Here you can see the option to create a new website where you can create and add a new website.
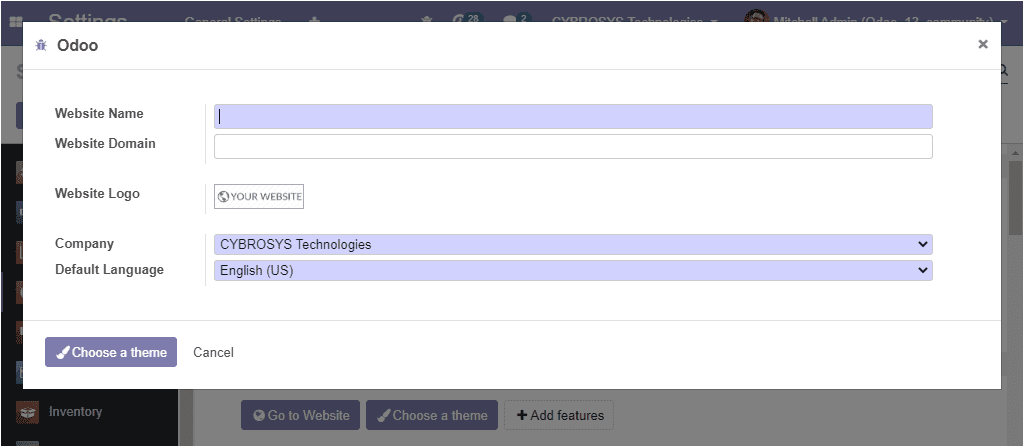
Upon selecting the create a new website option you can view a new window as shown below and where you can provide a name for the website, allocate website domain, and can insert a website logo. The company responsible for the website operations can be assigned from the list of companies operated in the platform along with the default language.
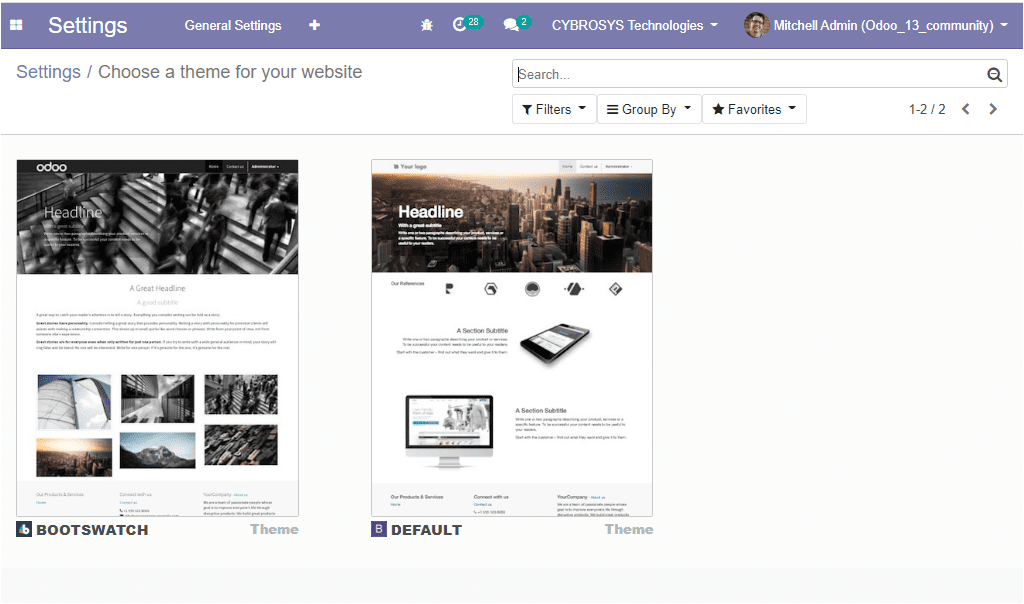
Now you can select the Choose a theme button available in the pop-up window and you will be directed to a new window where you can see different themes for your website and you can select a theme for your website.
If you have chosen a theme for your website you will be directed to the company website which has been created now. Now it is in the editing stage and we can click on the Edit button available in the top right corner of the window to start designing.
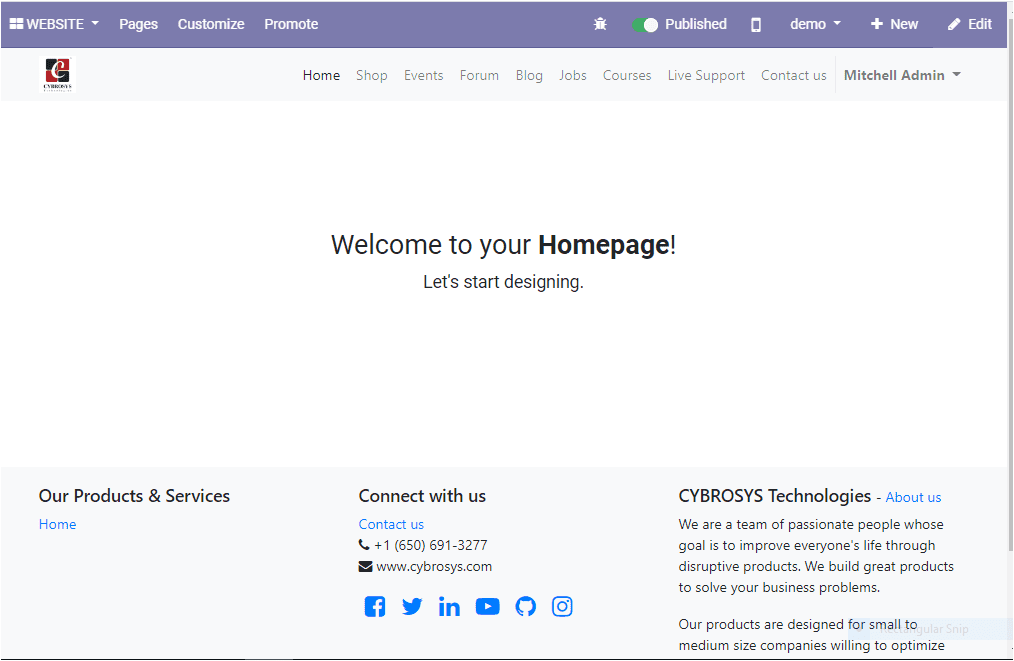
On this home page you can see the company details along with the company motto.
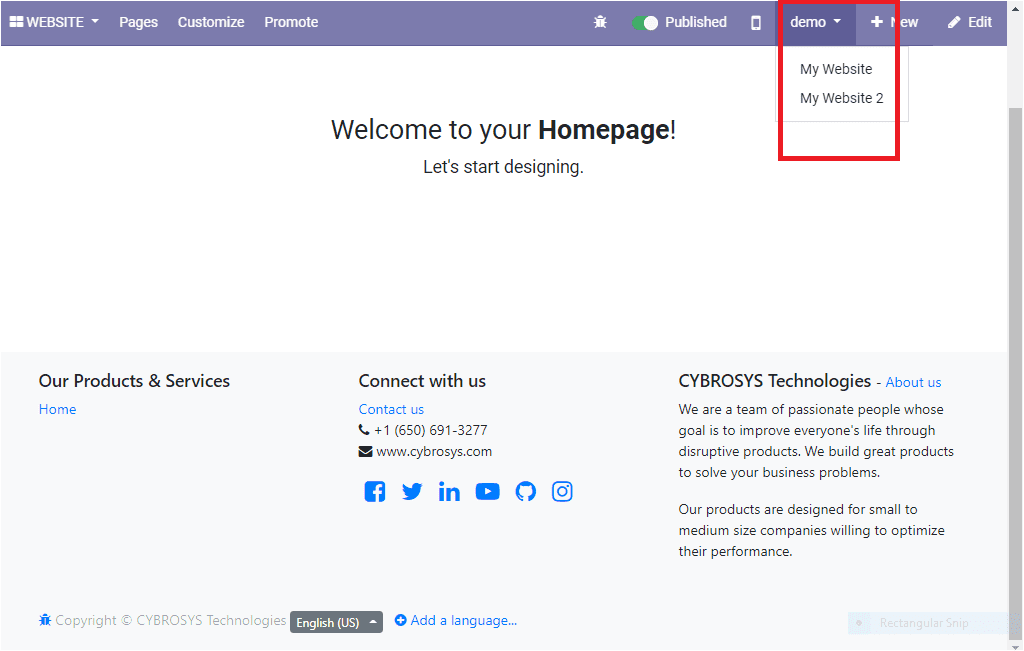
In case you are using multiple websites, you can easily move from one to another directly from the front end of the platform. For that you can simply select the website icon available in the taskbar and you will be depicted with a dropdown menu with website names.
So far we were discussing how to manage multi websites in the Odoo platform and now let us move to the next section on managing multi-languages for your website.
Managing Multi-languages
Odoo is a worldwide online platform that allows its worldwide users to add multiple languages to their websites through the useful feature of multi-languages. This allows the customers to view the company website in their regional language. The language translation feature in Odoo allows its users to go international.
For accessing this feature you should configure this option in the settings page of the website module.
For doing so, you can go to Website -> Configuration -> Settings.
The image of the settings window is depicted below.
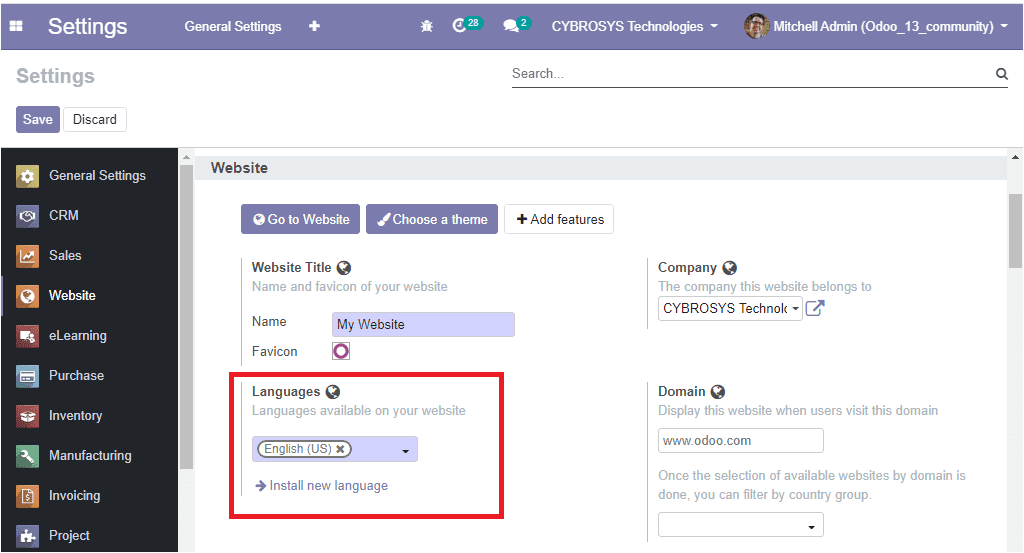
Here in this window you can describe the languages that you need on your website and you can install new languages to the platform by clicking the Install new languages option. If you are clicking on this button, you will be depicted with a new pop-up window where you can specify the language, and if you are enabling the option Overwrite Existing Terms, your customized translations will be overwritten and replaced by the official language. Additionally you can choose the website which is to be translated. After providing all the required information you can select the Load button for loading the translation. Then if you go to the website dashboard you can see the current language and the provision to change into new.
As we clear on how to manage multi-languages for your website using Odoo platform and now let us have a discussion on how to create a website page in the platform.
Building your website page
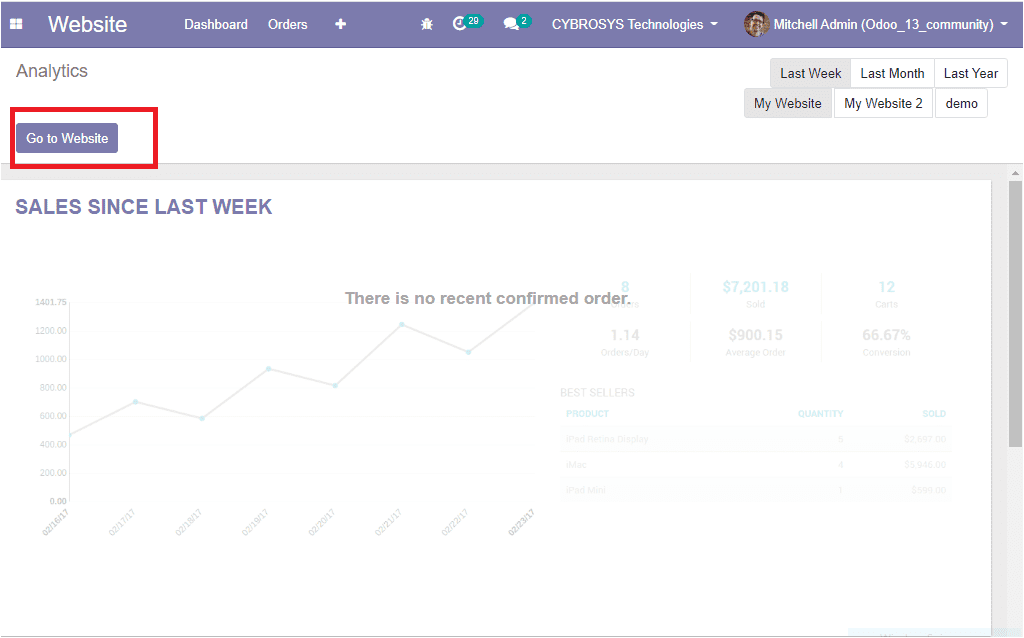
The Odoo platform allows you to build your own website page for your company website. If you enter the website module, you can see a home dashboard as shown below and in the dashboard you can view the option to go to the website. By clicking on this button you can enter the company website which has been created.
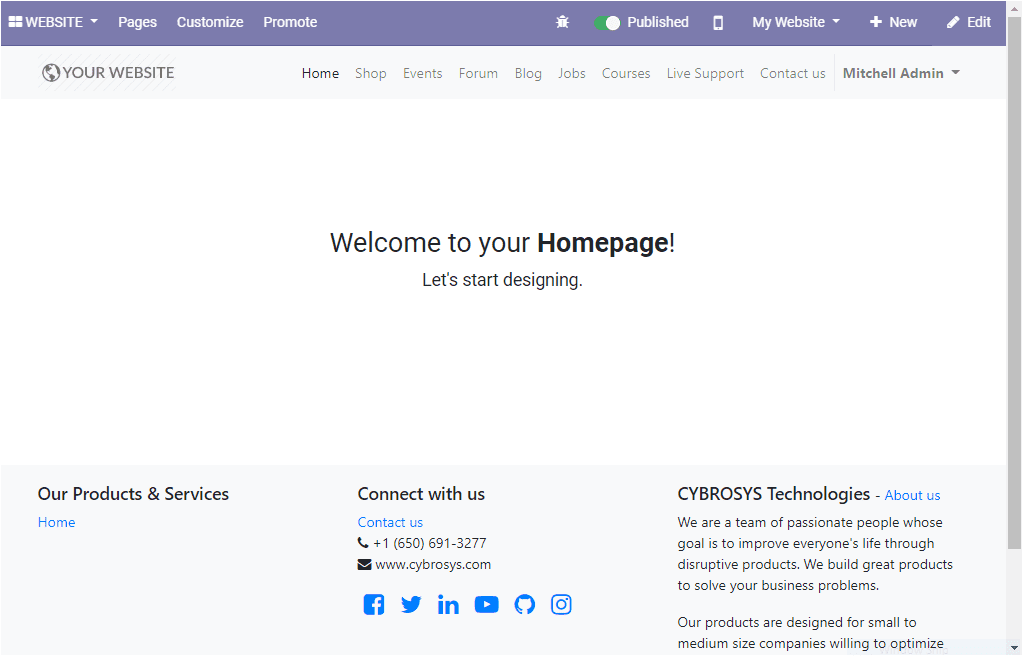
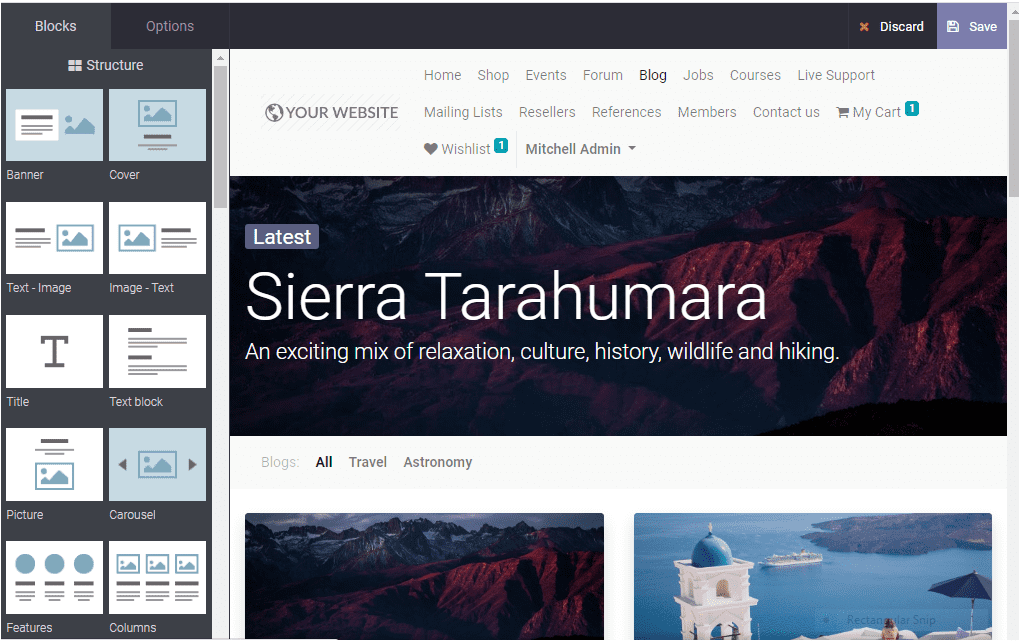
The below image depicts the home page of the website and you can manage your page by clicking on the edit button available on the top right corner of this window.
Now you will be redirected to a new window where you can edit and configure the website page. In this editing page you will be provided with all the tools that are needed for designing a page. On the left side of this page you can view so many building blocks and what you need to do is simply drag and drop the contents.

Here you have various default options and it will help you to customize your websites.
Initially you can select the theme corresponding to the website’s purpose. After selecting the theme you can start to create the homepage of your website. Using the different designing tools you can make your website more colorful and attractive.

Once the theme of the website is fixed you can start to edit the various pages of the website using the different default options as shown in the below image.
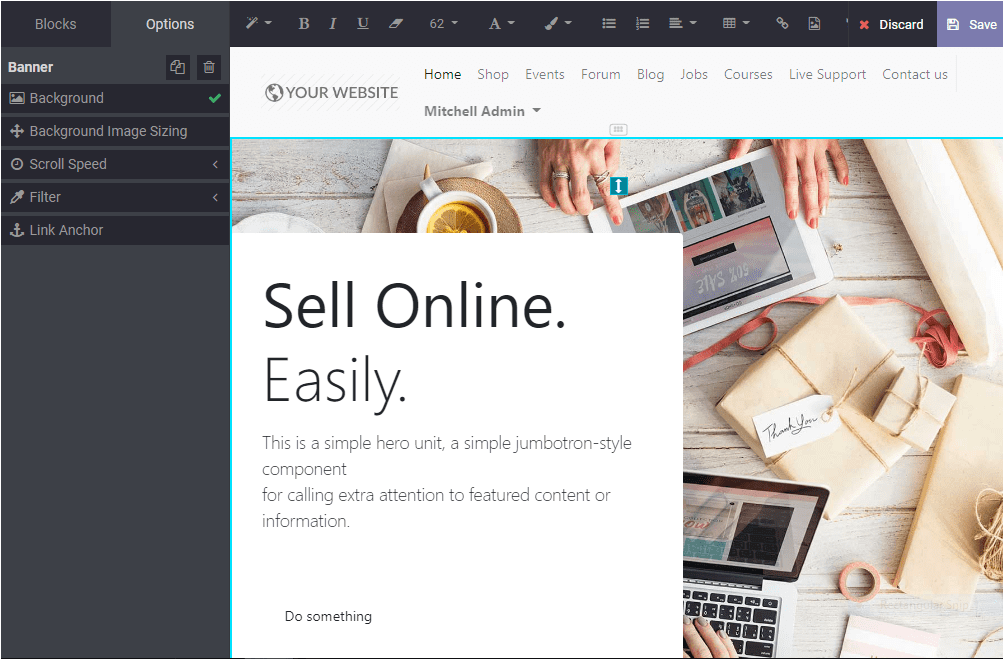
Under the options tab you have the options to set background, background image sizing option, scroll speed, filter, link anchor and many more. Additionally you can remove the blocks by clicking the remove option.
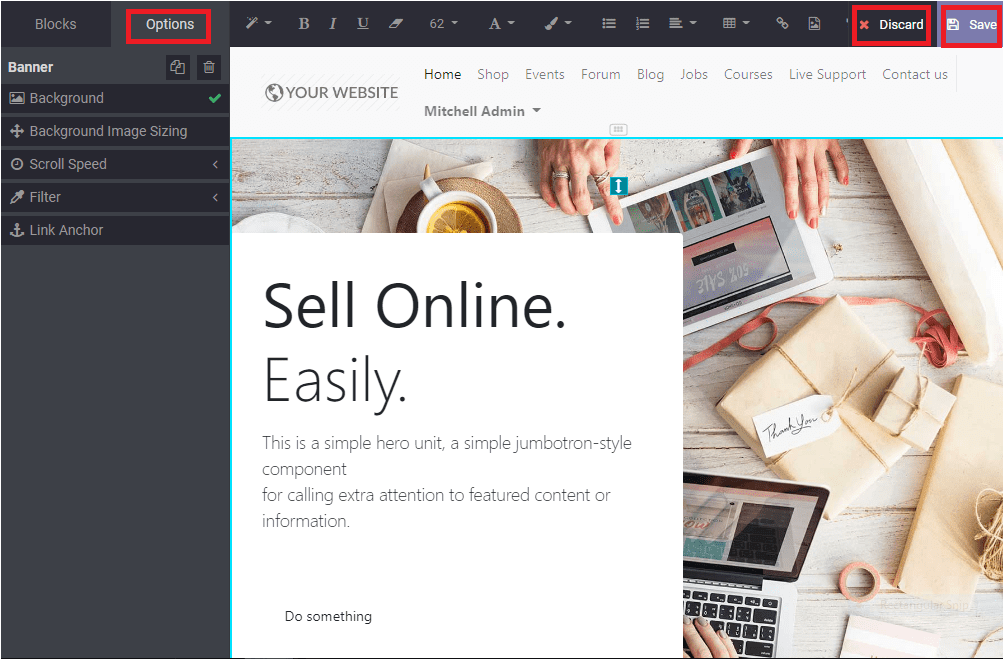
Once the editing is completed you can save the page and you can view the preview of the website. You are also able to discard the editings done.
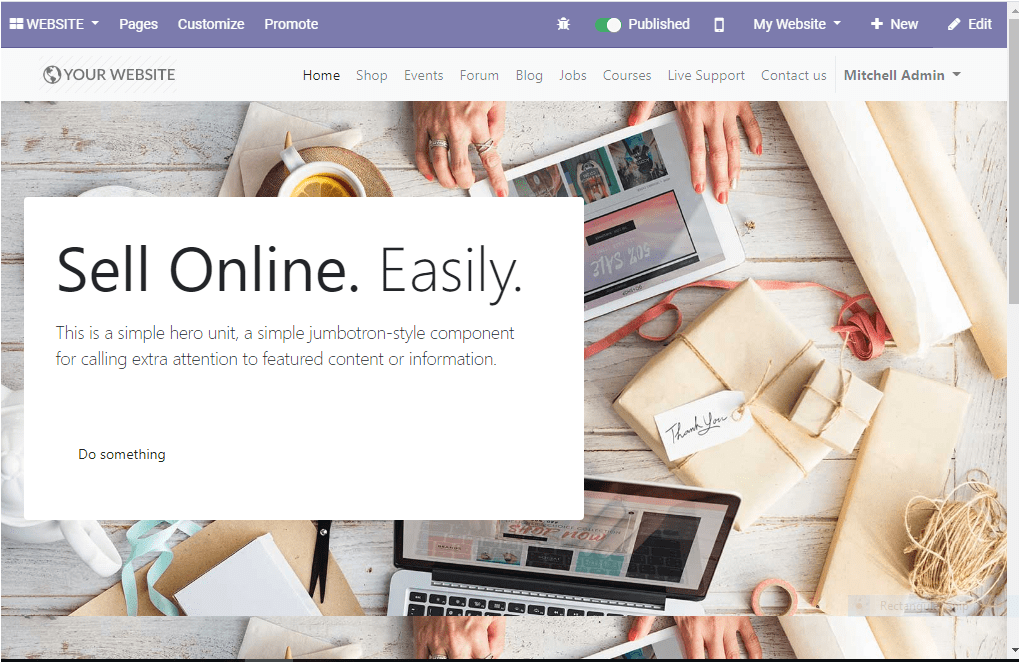
Now the website home page will look like the below image.
So far we were discussing how to build your own website page and now let us see how to customize your page.
Customize Menu and Appearances
Menu and Page Customization
Using the Odoo platform you can easily make changes in the appearance of your website. For that you can edit the pages by using the edit menu available from the Pages menu.
Website -> Pages -> Edit menu
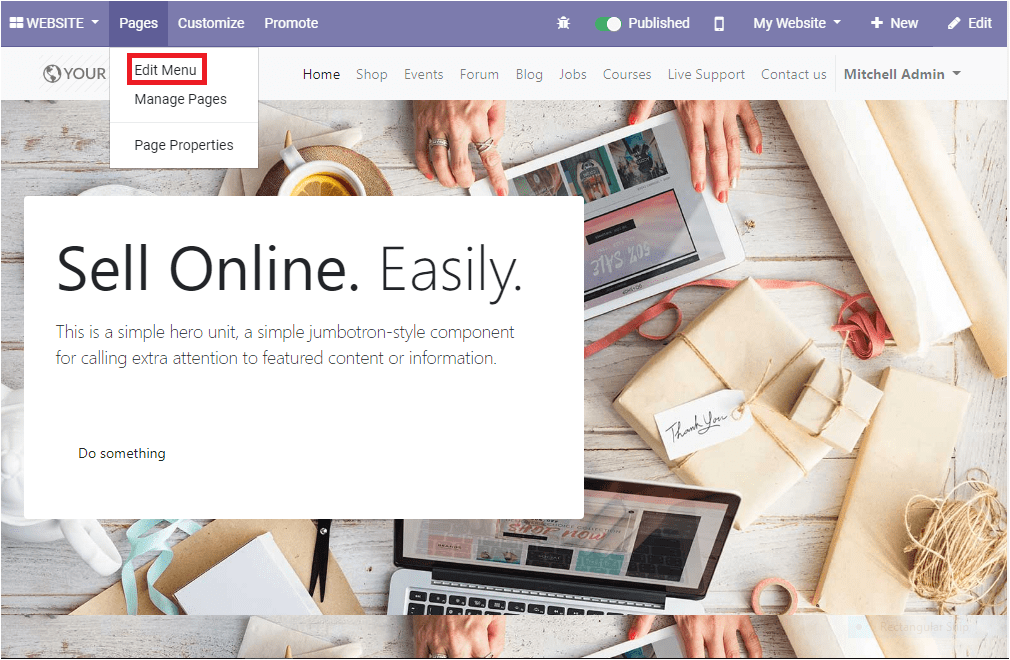
Create a new menu
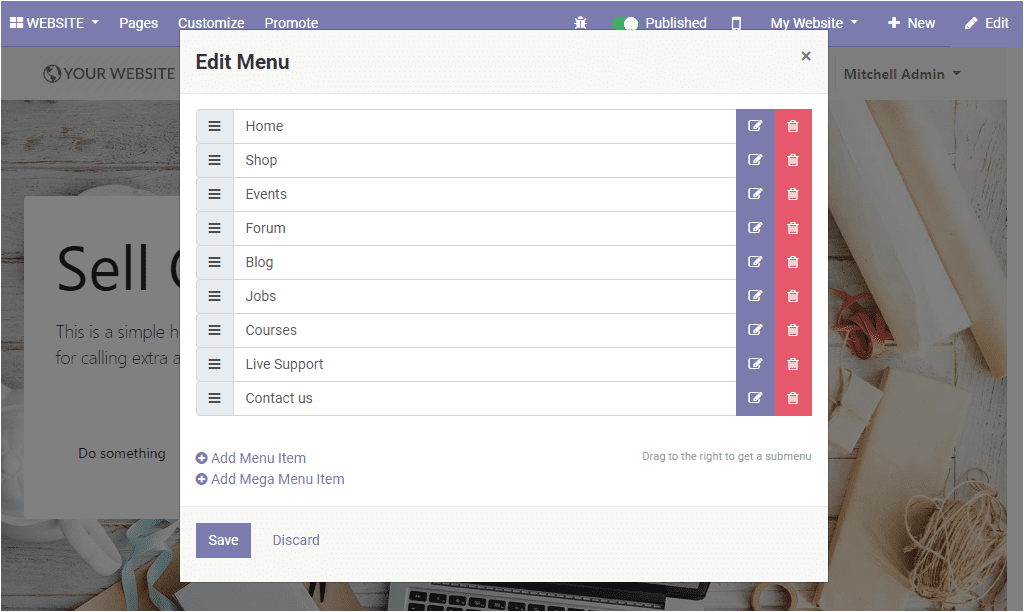
If you are selecting the edit menu you can view a new window where you can add the menu to the home page and you have the choice to remove the ones not required.
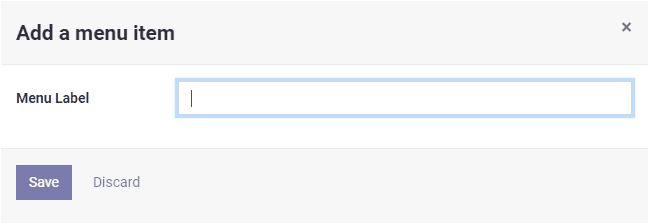
Upon selecting the Add Menu Item option you will be depicted with a menu item window where you can provide the menu label and the page URL or the email address. The image of the label creation window is depicted below.

The platform also provides another option to add a mega menu label to the website of a page by selecting the option Add Mega Menu Item. The image of the window is depicted below.
So far we were discussing the features available under the option Edit menu and now we can discuss how to create and manage pages within the website.
Manage Pages
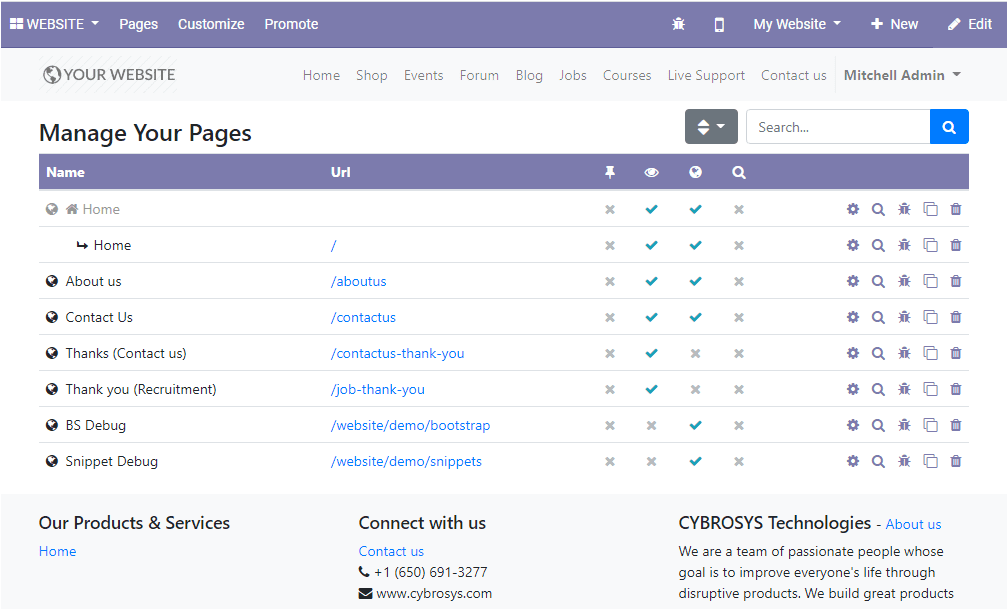
Under the pages option, we have another option Manage Pages and using this option you can create and manage the pages within the website. Here you can access various management options, optimize SEO operations for this page, clone the page or delete it, and edit code in the back end.
As we clear on how to customize the menu and pages of your website and now we can discuss the appearance customization.
Appearance Customization
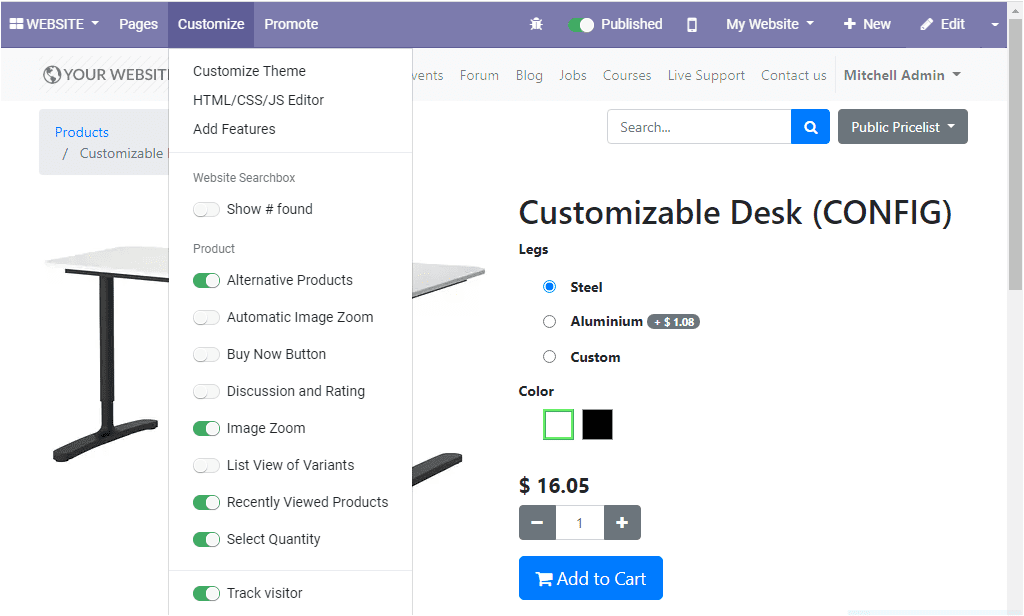
The appearance of the website will make an impression on your customers or visitors. The Odoo platform provides you with various customization options which will give the insight to design the appearance of your website in a very attractive and professional way. The features can be accessed from the Customize option available on the website page.
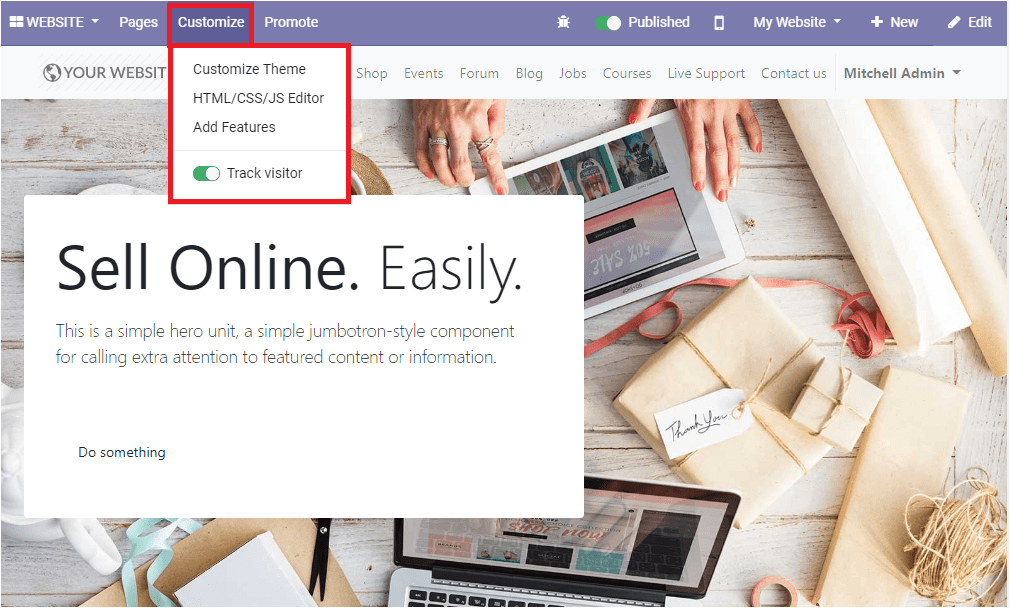
Under the customize window you can view the options customize theme, HTM/CSS/JS Editor and Add Features option. Additionally, you have the visitor tracking option as shown in the above image.
Now let us discuss how to list your product on site.
List your product on site
Listing the products on your company website is an easy task in the Odoo website module. This can be done by selecting the New option available on the homepage of your website.
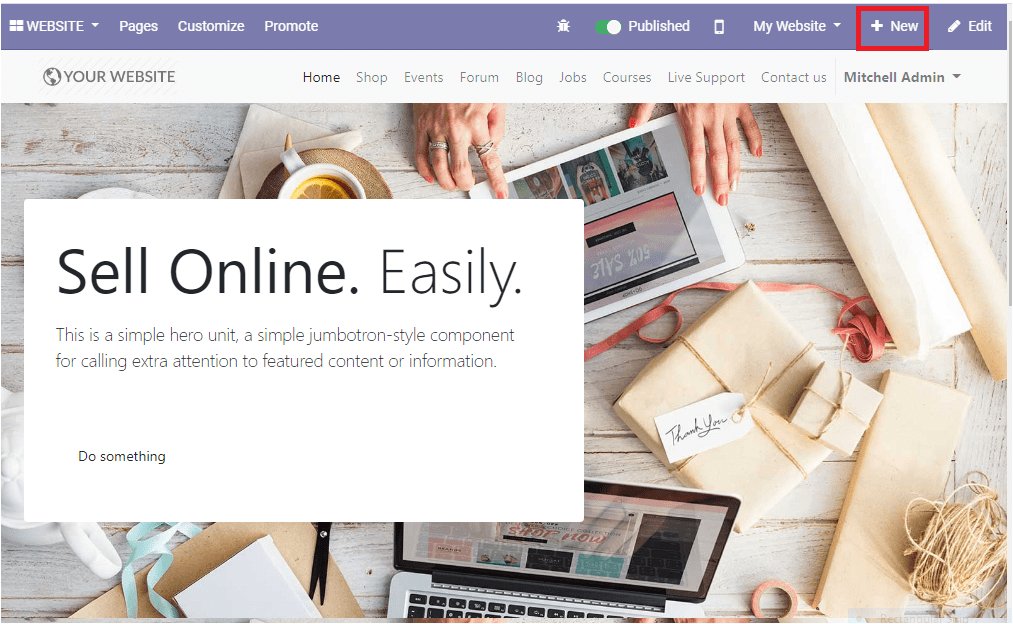
The selection of the option New will leads you to the new window as shown below
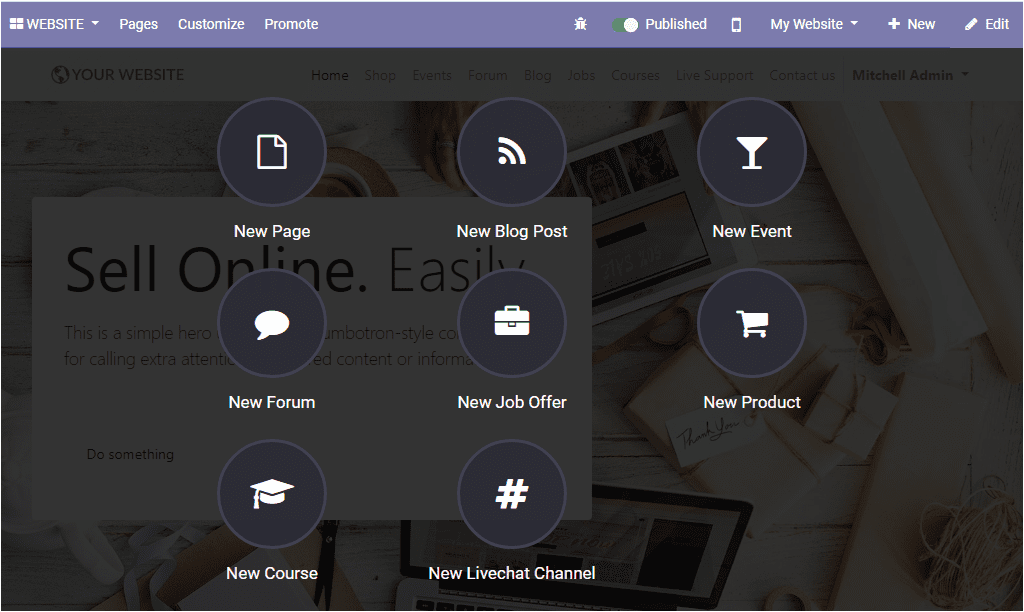
where you can select the New product icon displayed. Now you will be redirected to a product description window as shown below.
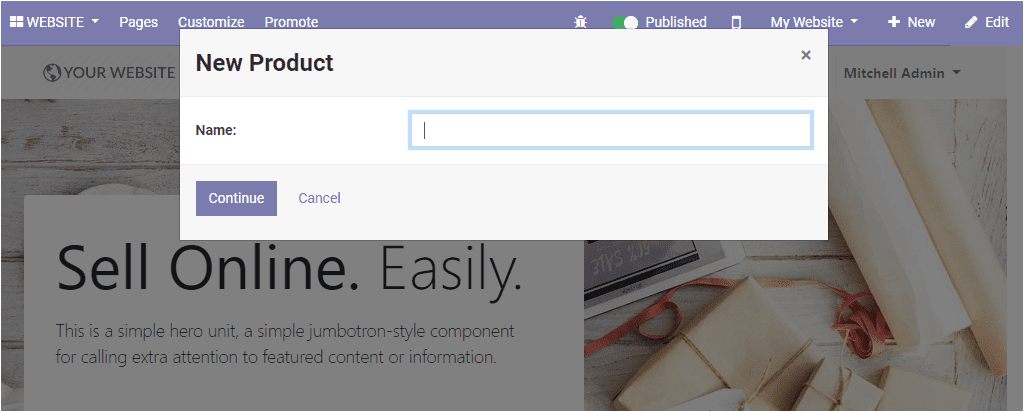
Here you can provide the name of the product and if you want to describe the product you can select the Continue option. Now you will navigate to a new window as shown below where you can insert the image of the product, price of the product along with a short description of the product that will also appear on documents. Additionally, the preview of the recently viewed product details is also visible in the same window.
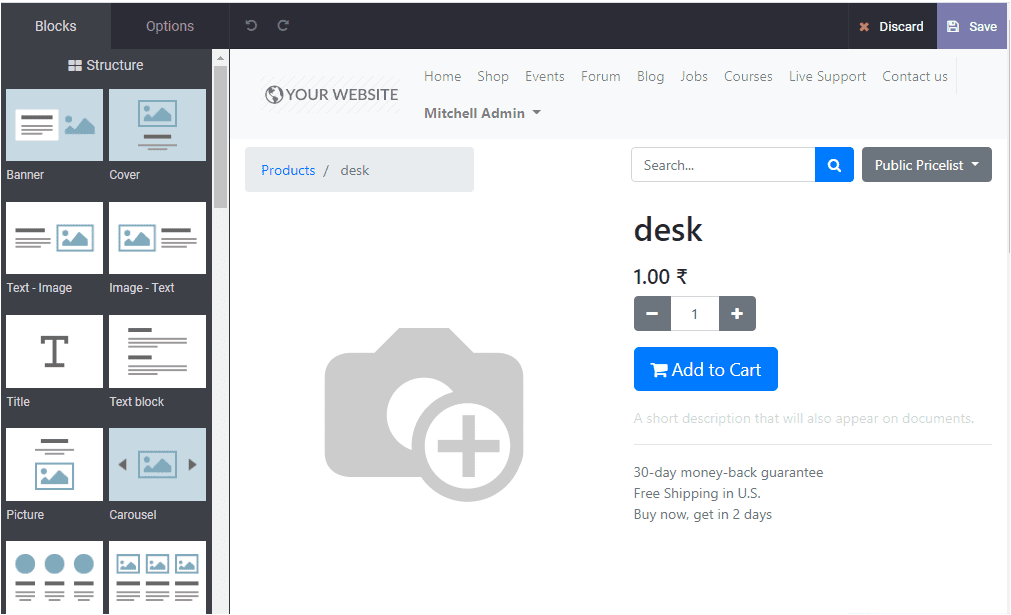
A variety of building blocks are available for the product description and you can easily design the product page and can make the window more attractive. After providing all the required descriptions and editing you should save the website description. Then you will be depicted with a new window where you can view an icon unpublished / published. Via tapping this icon you can make the presence of the product on the website.
Product catalog customization
The product catalog defined on your website can be customized in accordance with the needs of your company using the different options available. This product catalog of the website can be accessed by clicking the Shops page of the dashboard. The image of the product catalog window is depicted below.
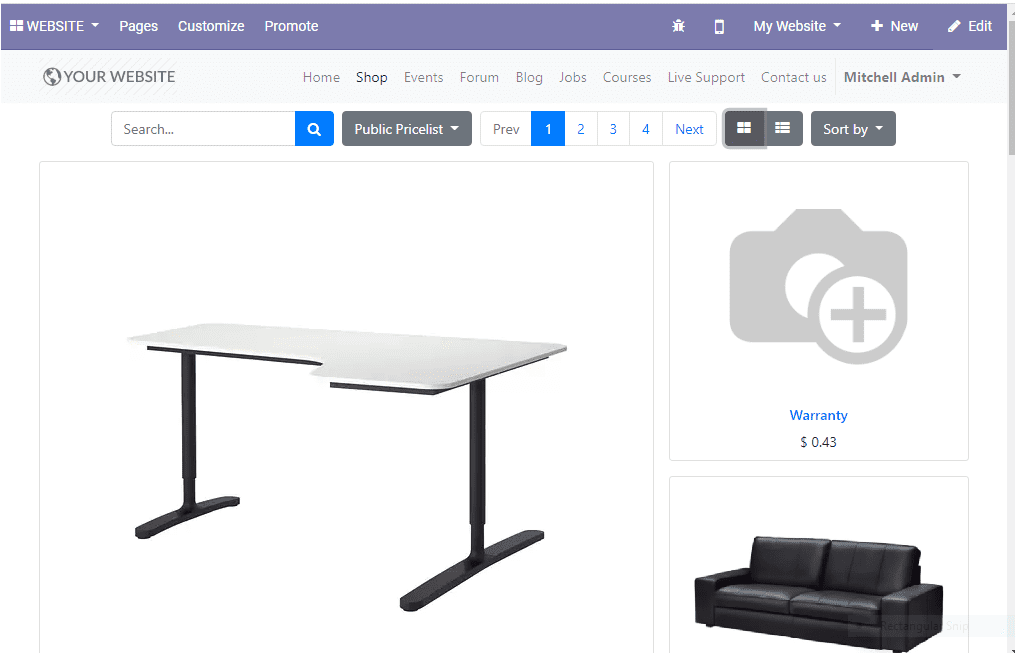
This page can be viewed in both list view and grid entry and also have the sort by option. You can customize the product catalog by choosing the various options available under Customize tab.
You can specify attributes and website categories. The advanced features such as Wishlist and Comparison list will provide your customers with a good experience in shopping. Let us discuss these features in detail.
Product Comparison
You can access the product comparison option under each product represented by a double arrow icon as shown below.
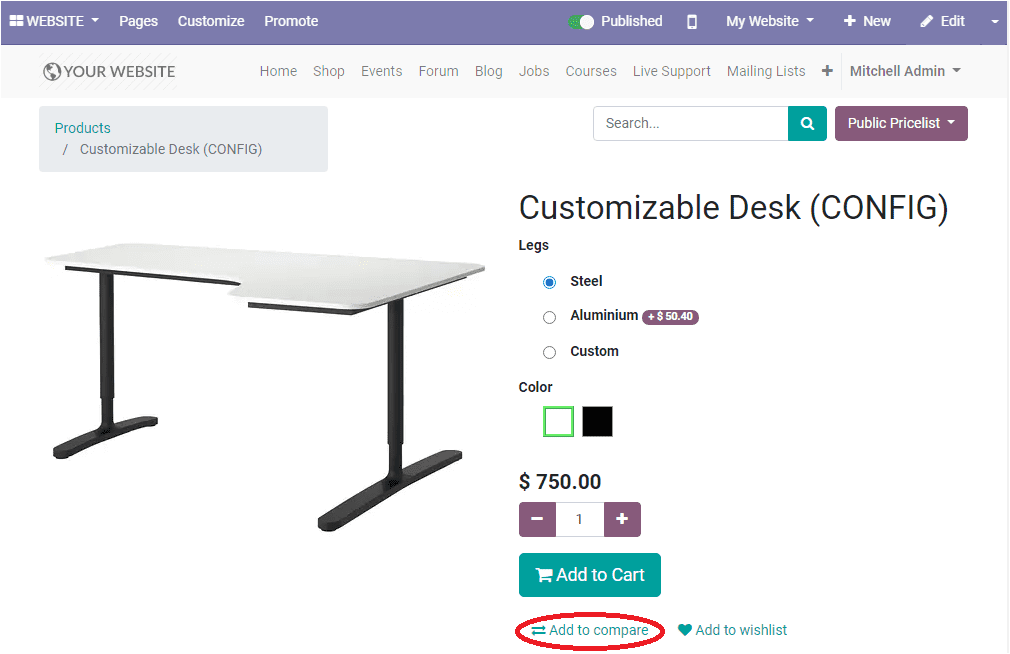
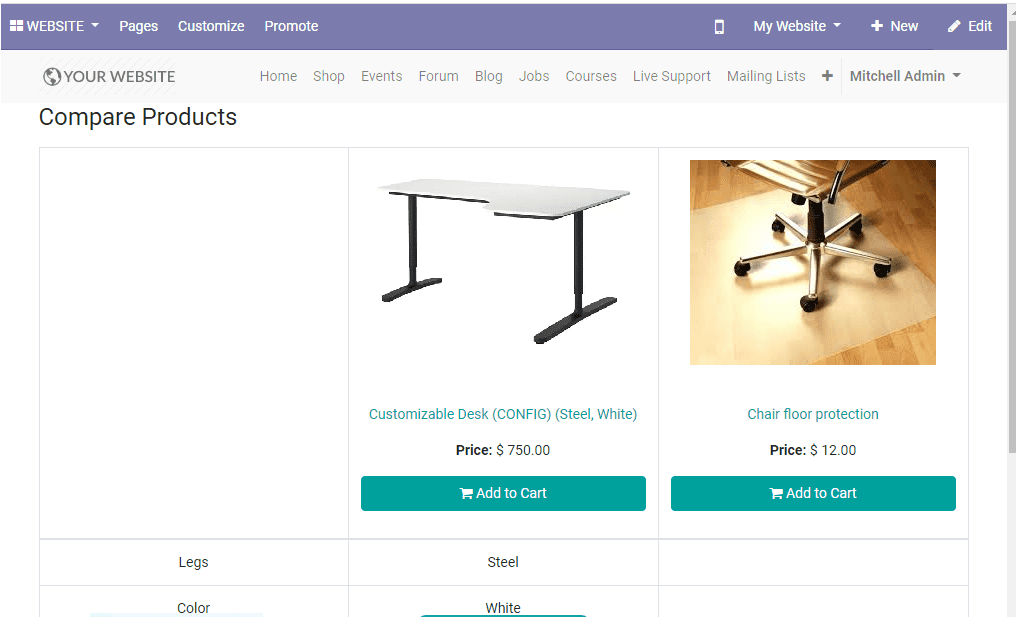
By clicking this icon you can add your product to the compare list and you have the provision to add multiple products to compare. After adding all the products you can select the compare window where you can see all the products that are added to compare.
Now let us discuss the Wishlist functionality in the platform.
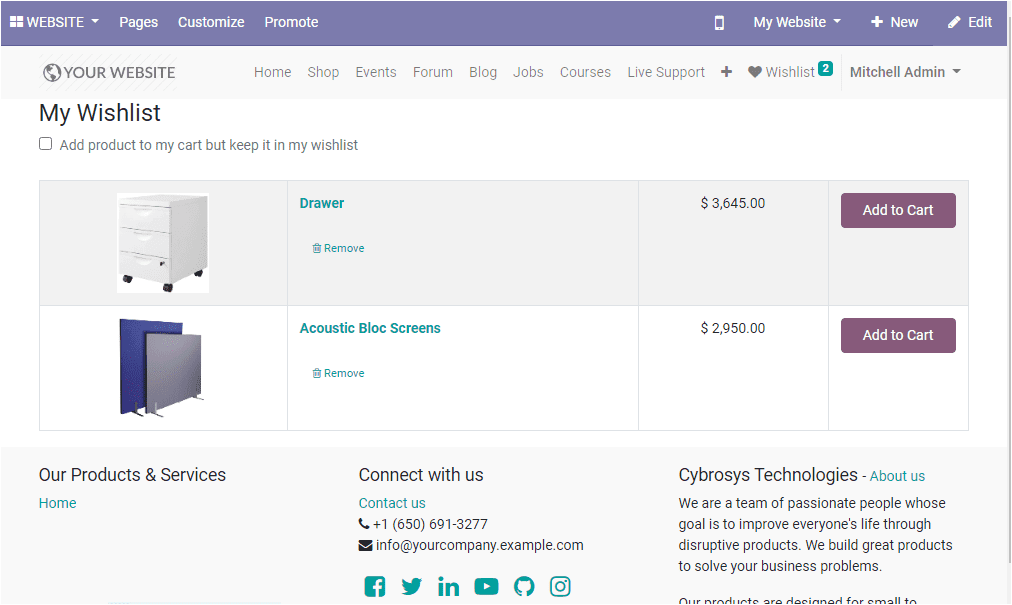
Wishlist
The wishlist option available on the platform can view under each product as depicted with a heart symbol that will allow you to save your products in a separate space before heading them to the cart. It will help to choose the correct product before moving them to the website shopping cart. The wishlist menu can be accessed from the dashboard and where you can view all the products that are added to the wishlist.
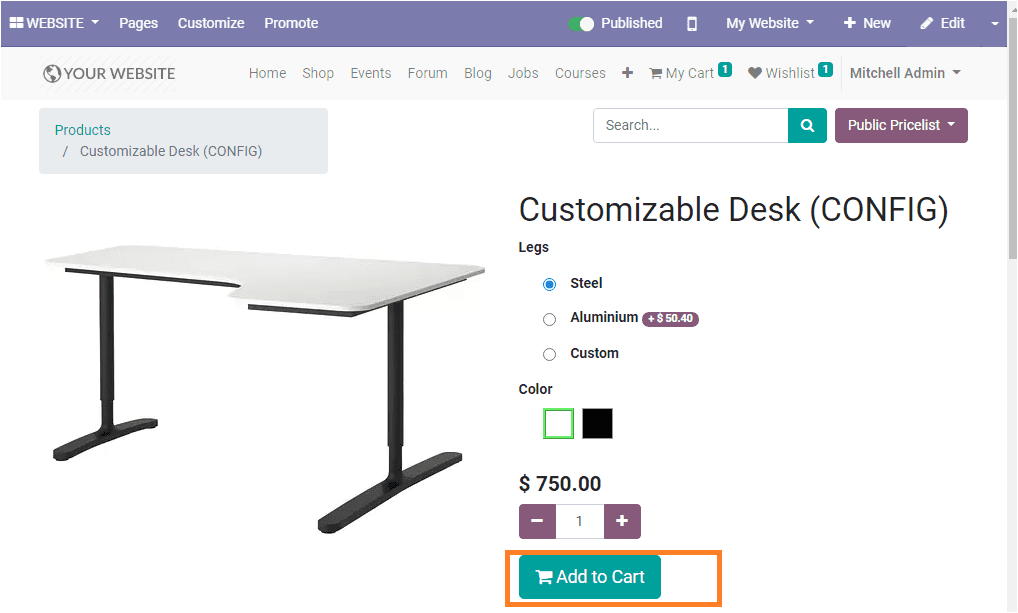
Add to cart
The add-to-cart option in the platform allows you to add the products directly to the cart menu. If the add to cart option is enabled you can access the option under each product being displayed, the image of the window is depicted below.
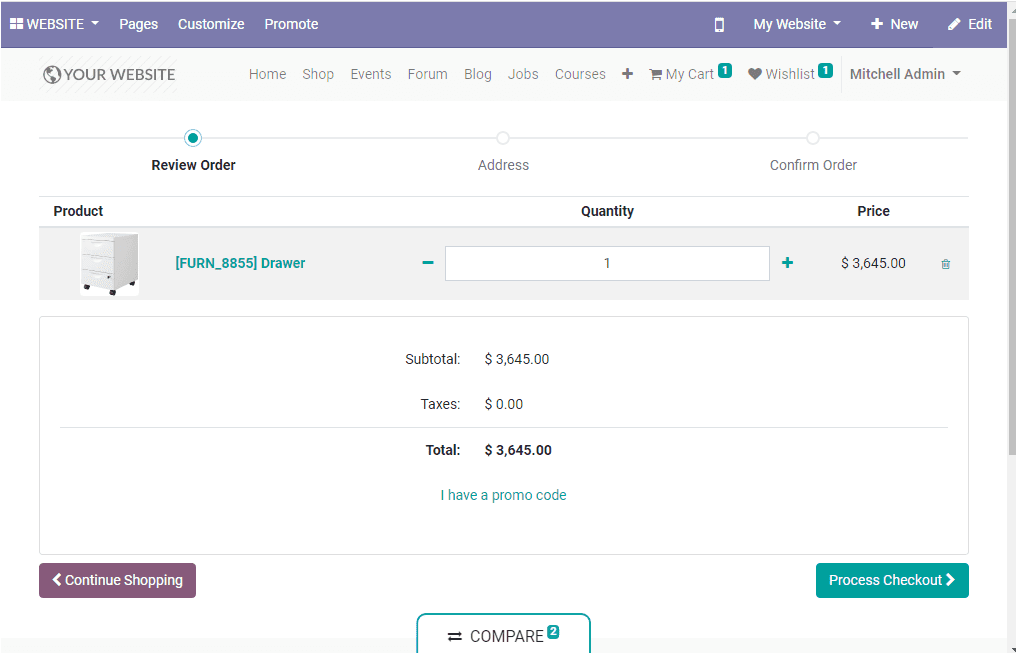
The add-to-cart window of this platform is shown below and where the customer can view the product that is added to the cart and the customer can verify the cart with product details, price, and quantity. The continue shopping option will allow shopping more with additional products. In addition, the customer can also enter the promo code if it is provided.
After verifying the details by selecting the icon Process Checkout the customer can choose the Pay now an option available on the next window as shown below.
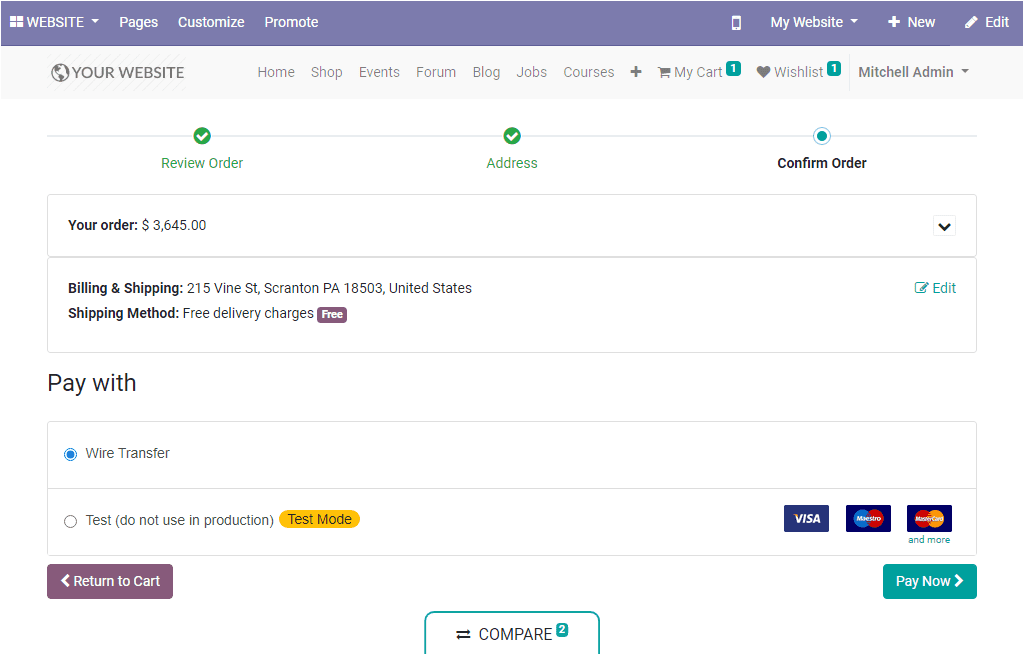
The payments can be conducted by the various payment acquirers described in the platform. Here you have a chance to return to the cart to check the details.
Publish specific content for the website
The Odoo platform allows the user to publish specific content such as the blog, forum, product descriptions, and much more content for the company websites from the front end of the operation. Also, you have the provision to describe the details, edit the views, attributes and publish it on the website.
We discussed the possibilities of publishing content from the front end of this platform and now we can discuss how it was created in the back end. The blog posting pages can be created in the back end by selecting the blog menu from the website dashboard. In the dashboard, you can select the blogs icon and you will be depicted with a blog posts window where you can select the create option available. In this creation form, you can mention the blog type and can provide a title and subtitle for the blog along with tags.
Under the publishing option, you can provide the author-name, publishing date, last contribution, and last updates if already published one which is going through editing.

So far we were discussing how to publish content on the Odoo website application and now let us have a look at how to create and customize the product catalog page of the website.
Customizing your product catalog page
In the Odoo website module, you can create and customize the product catalog page of the website by accessing the pages menu available from the configuration tab of the module. The image of the window is depicted below.
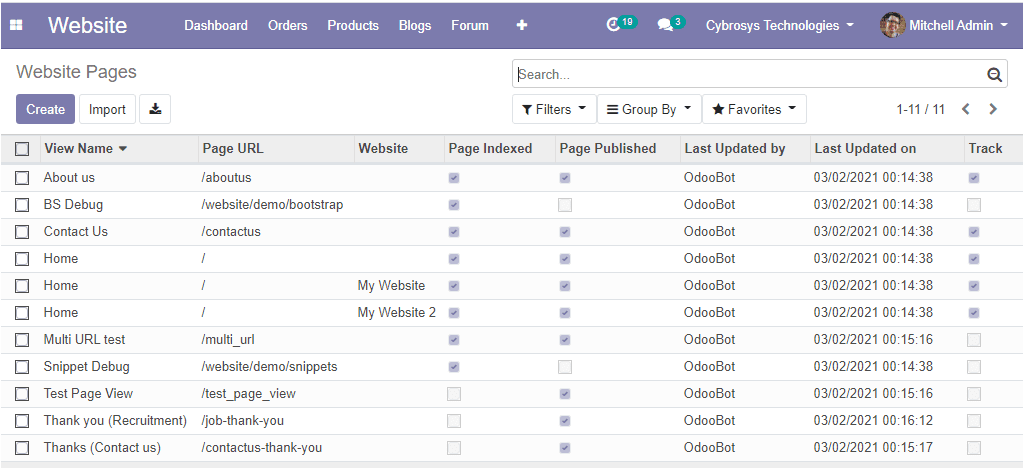
In this window, you can view all the pages described in the platform and can create a new one by selecting the create button available. The image of the creation window is shown below.
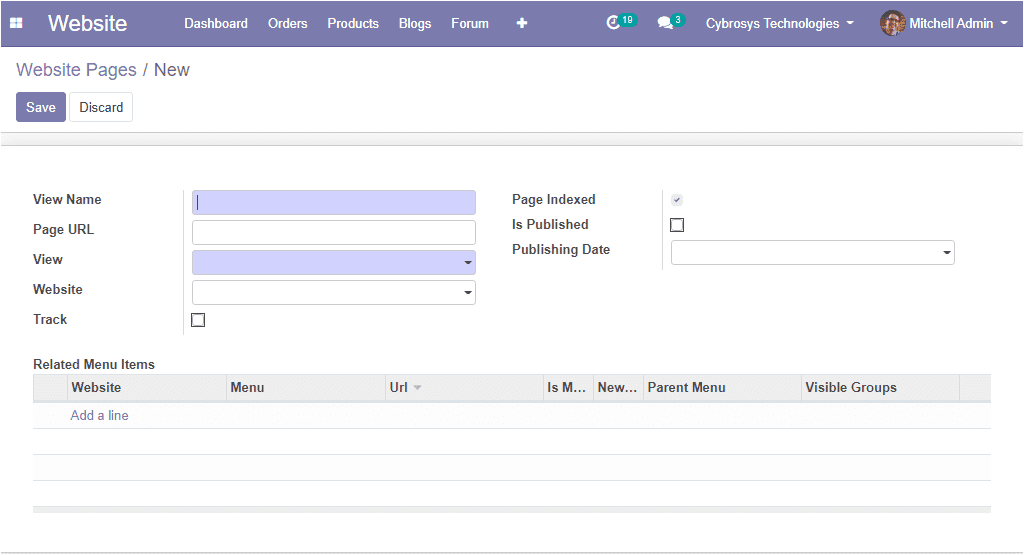
Here you can allocate a view name, page URL, view, and website in the allowed space. Also, you can enable the options track, page indexed, is published along with the publishing date. Additionally, the related menu item can be added by selecting the add a line option available.
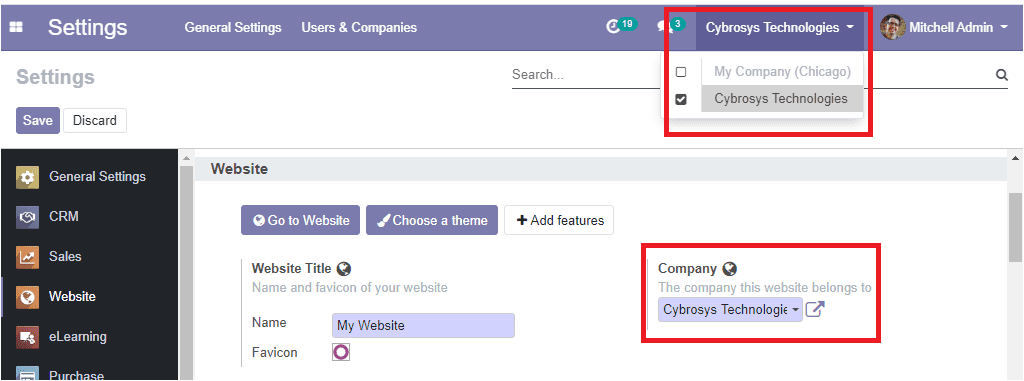
Multi companies
Odoo allows you to manage multiple companies on the platform. If you are dealing with multiple companies, each website can be linked to a specific company in your system. It will be a great advantage for the company websites that only the company-related data appear on the website and the website editors can manage only the pages of the company to which they belong to.
Configure your E-commerce website
In the modern ‘techie’ world an e-commerce website acts as the Online platform for a business company to introduce themselves with access to their products and services 24*7. The Odoo platform provides an e-commerce website for the company operations and you have the provision to create and manage one using the platform.
Product accessibility
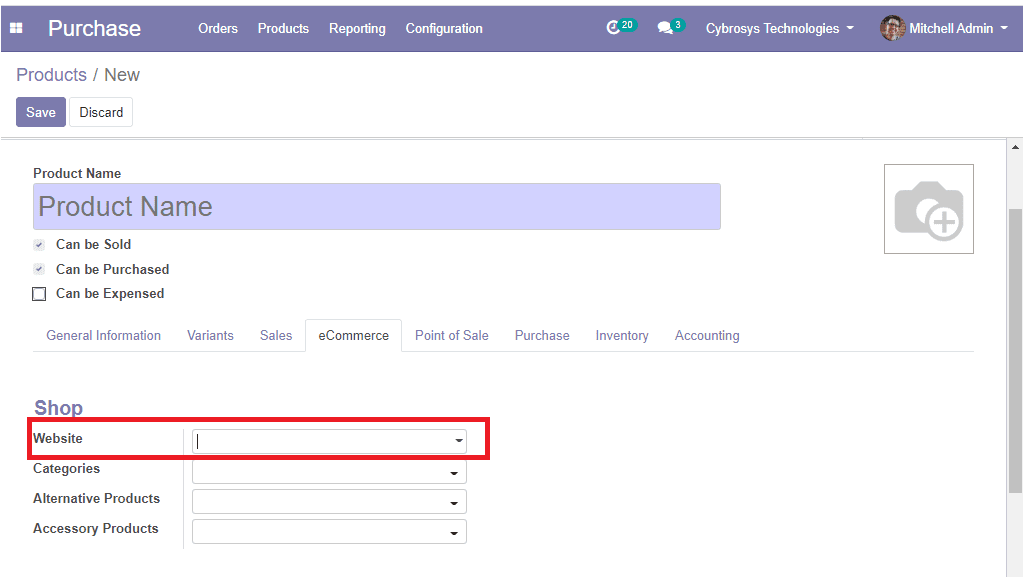
In Odoo you can set your products to be accessible for a single website and not for all the company websites if you have multiple website operations. In the product creation window, you can view the e-commerce tab, and here you can provide the website description. Here all the company websites are listed out and you can select the suitable one.
Pricelists
The price list option in Odoo allows you to maintain separate price structures for different regions by creating multiple pricelists. The pricelist menu of the website module can be accessed from the product menu. The image of the window is depicted below.
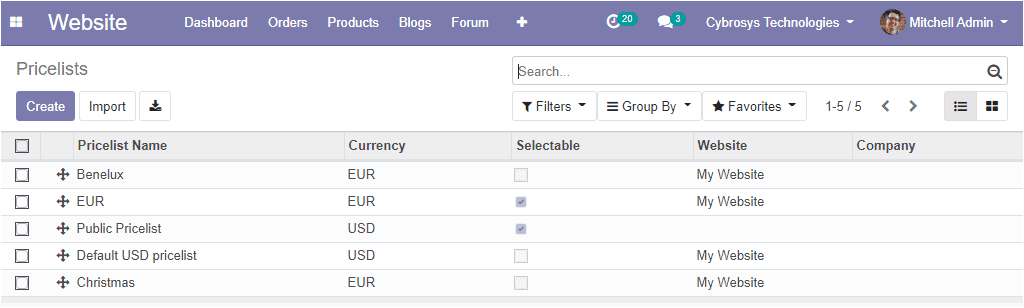
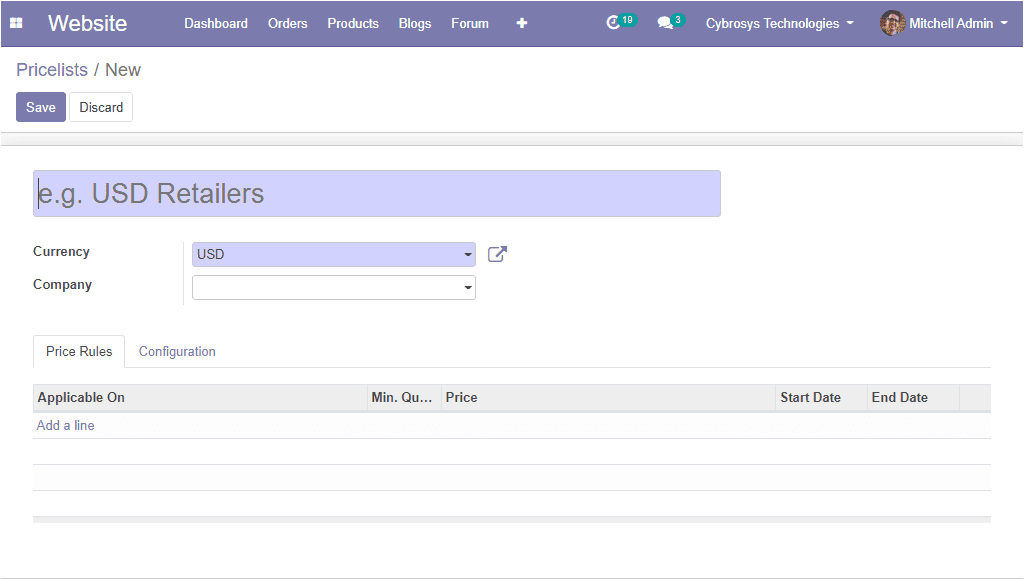
In this window, we can see the various pricelists described in the platform along with the pricelist name, currency, website, and company details. You can also create a new one for the respective website operations by selecting the create icon available. The image of the window is depicted below.
Payment acquirers and delivery methods
This module provides a separate menu for dealing with the payment acquirers and delivery method operations. It can be configured in the configuration window of the website module.
A website is an inevitable part of a company and the Odoo ERP software recognizes the need for an efficient website building module. This module is the right choice for those looking for the perfect website builder. The Odoo website module can handle all website activities such as creating an e-commerce website, a customer relationship management portal, company websites, and many more.