Lunch
The Odoo lunch module is a well-organized ERP application for lunch management. This module is designed to manage the food distribution system within an organization. Especially in the case of multinational companies where the companies offer lunch for their employees and the company needs to manage the menu and the food items ordered by the employees. These types of situations can be handled by this module.
Managing and ordering different food items for different employees is always a difficult and time-consuming task. There is no doubt that the lunch module is one of the simplest modules on the platform but, this module will give the insight to manage all your employee’s lunch-related worries.
The first step that you need to do is to install the Lunch module from the Odoo app list.
On entering the module you will be directed to the dashboard. In the dashboard, you can find the already created food orders and you can view the categories and vendors on the left side of the same window as depicted below.
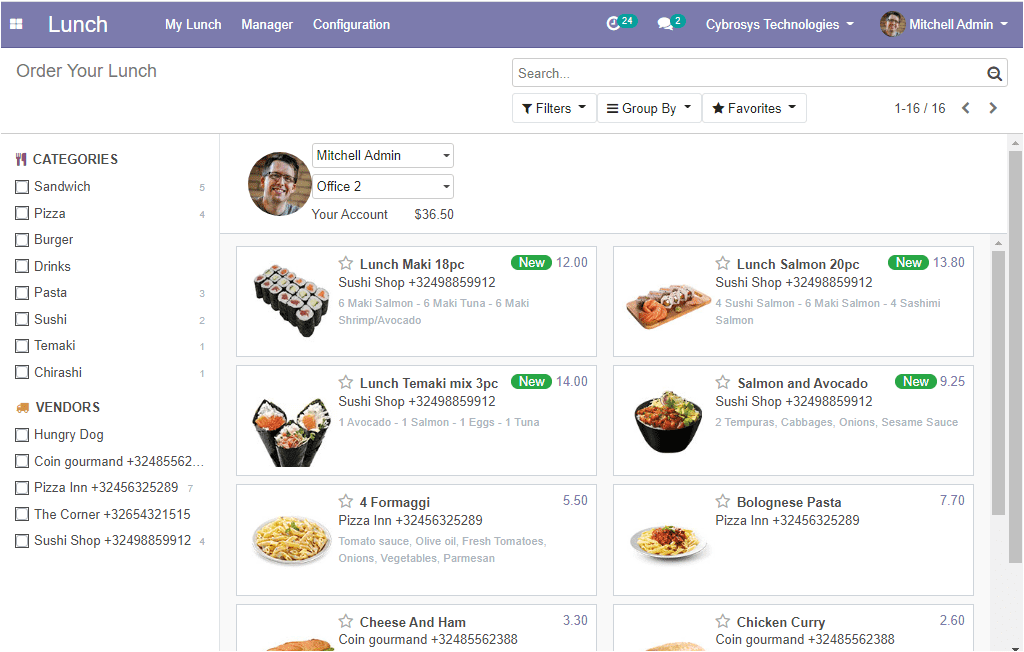
Odoo makes it easy to categorize the lunch orders with a set of parameters. In addition, options to filter, group by, and favourite search are also available in the module.
Now you have to create a product list in the lunch module. Let us have a look at how to create a product list in the lunch module.
Products
First of all, you need to configure the products
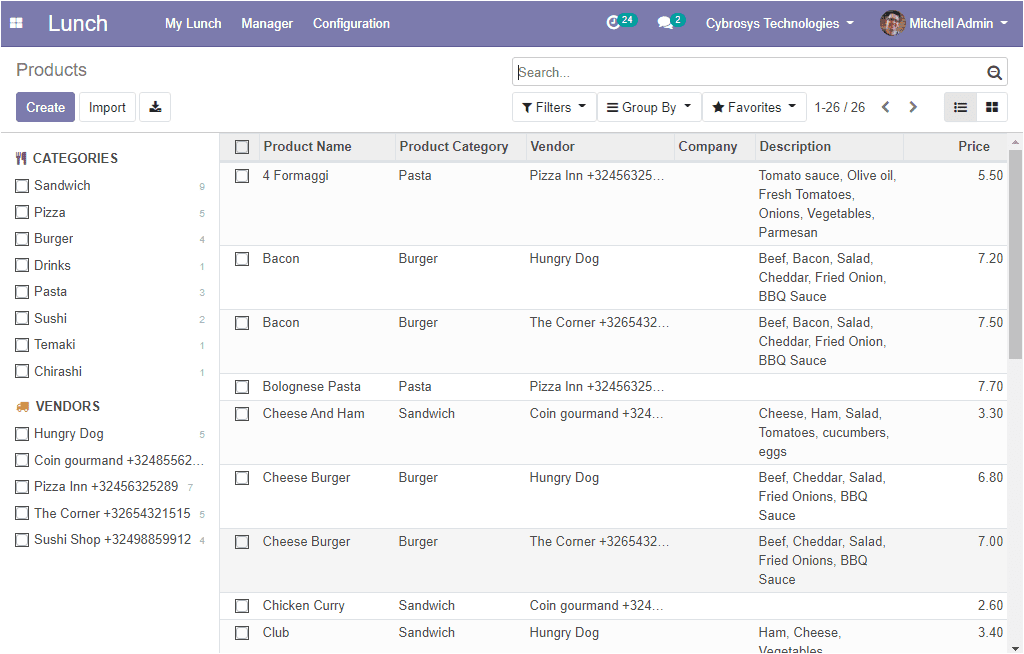
So as to configure products you can go to Lunch -> configuration -> Product. The image of the window is depicted below. Here in this window, you can see all the products described in the platform. The product name, product category, vendor details, food description, and the prices of each product is described in the window.
You can click on the create button to configure new products. The product creation window is depicted below.
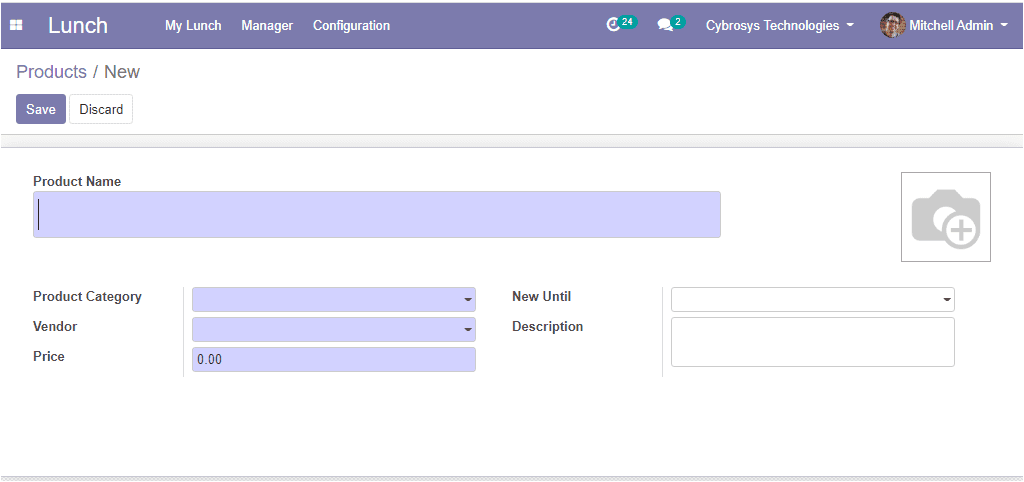
In the product creation window, you can add the product name, product image, product category, the vendor of the product, price, and a small description of the product. Moreover, you can set the order’s validity by clicking the New Until option. Once you have entered the details click on the Save button to add your product to the product list.
So far we were discussing the product configuration in the platform and now we can go to the product category option.
Product category
You can also configure the product category by going to Lunch -> Configuration -> Product categories. The image of the window is depicted below.
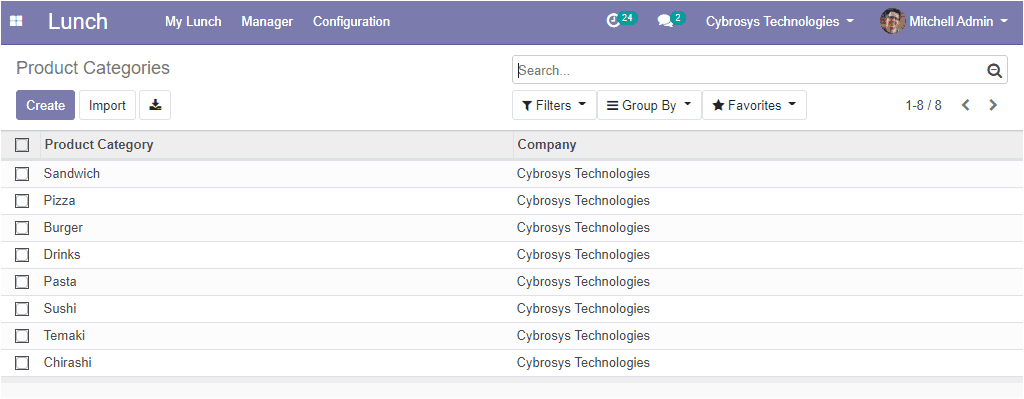
In this window, you can see all the product categories described in the platform and you can create new categories by selecting the create icon available.

Here on this platform, you can also create alerts that will help you to remember to order food items. Let us have a look at this feature.
Generate Alerts
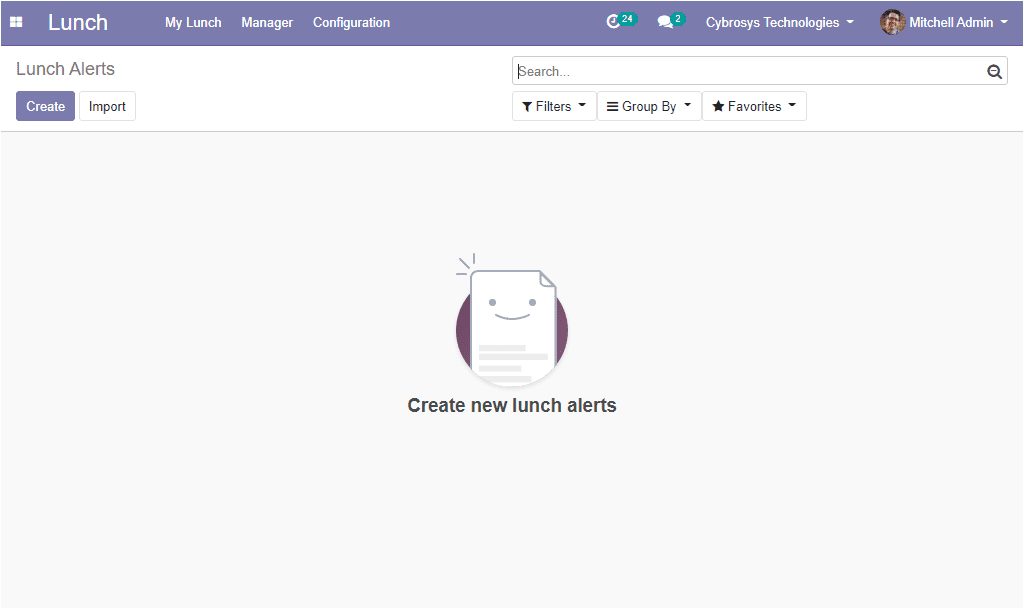
There might be some situations where employees may forget to order food items. This may lead to delayed delivery. Here comes the importance of the Alerts feature in the Odoo Lunch module that will allow you to generate alert messages to avoid delays in placing the order. The image of the lunch alerts window is depicted below.
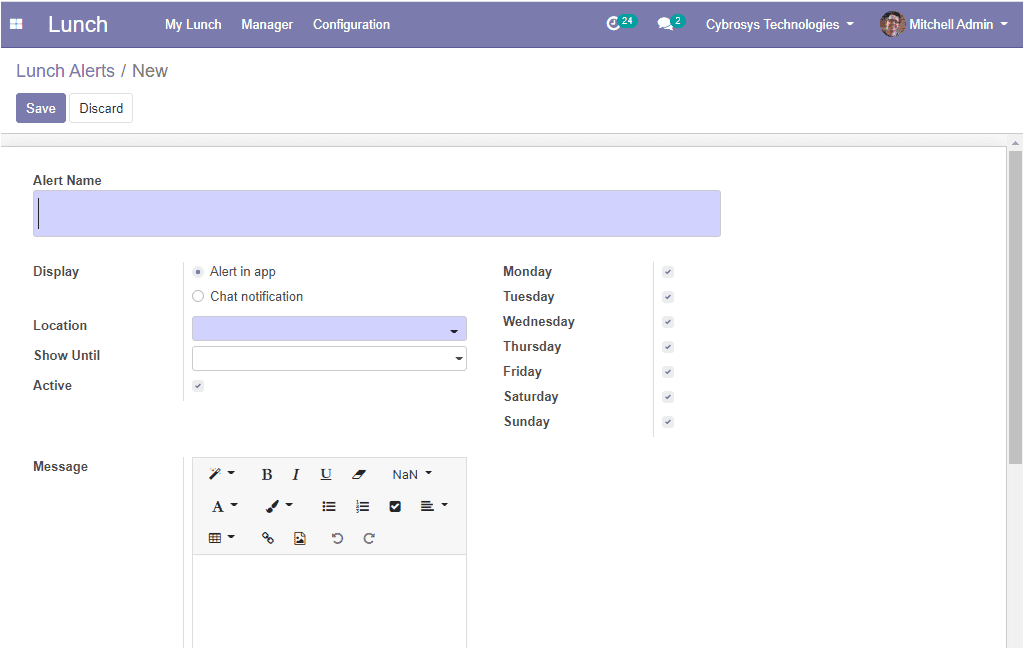
You can create new lunch alerts by selecting the Create icon. The image of the creation window is depicted below. Here in this window, you have to provide the alert name, and you can set the display of alerts as either Alert in app or chat notification. Moreover, you have the provision to set recurrence for the alert (days), message, location, and show until time.
So far we were discussing the Alert feature available in the module. Now we can discuss what are the steps for ordering lunch.
Ordering lunch
In the Odoo lunch module, you can find the My Lunch menu and by selecting this menu you can access the new order option for ordering lunch.
Lunch -> My Lunch -> New Order.
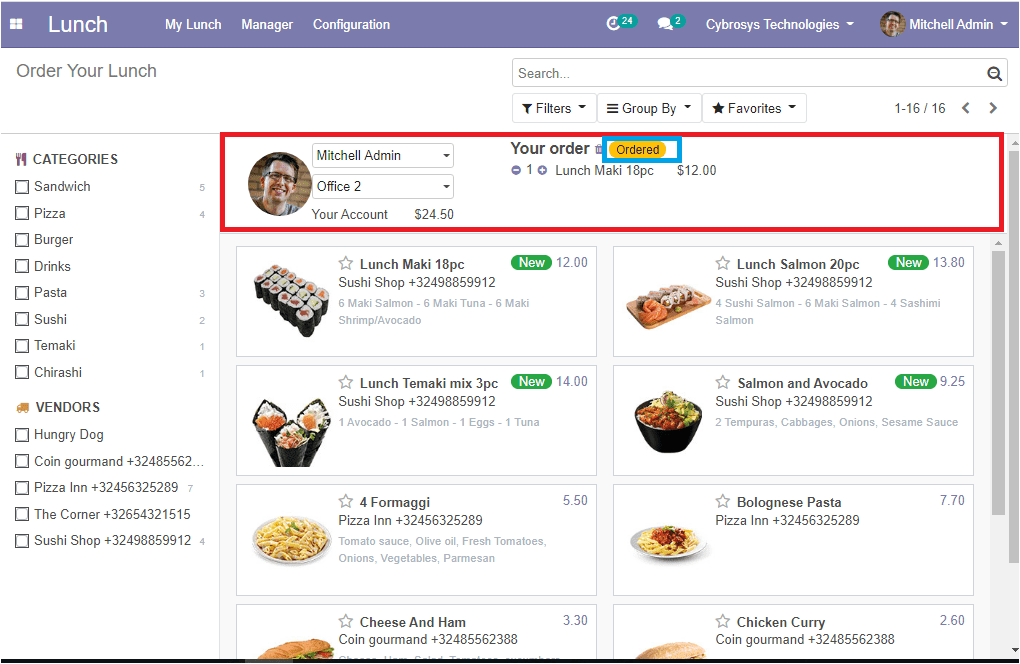
Once a new order option is selected you will be taken to the dashboard and where you can select the desired product from the product list. The image of the window for configuring your order is depicted below.
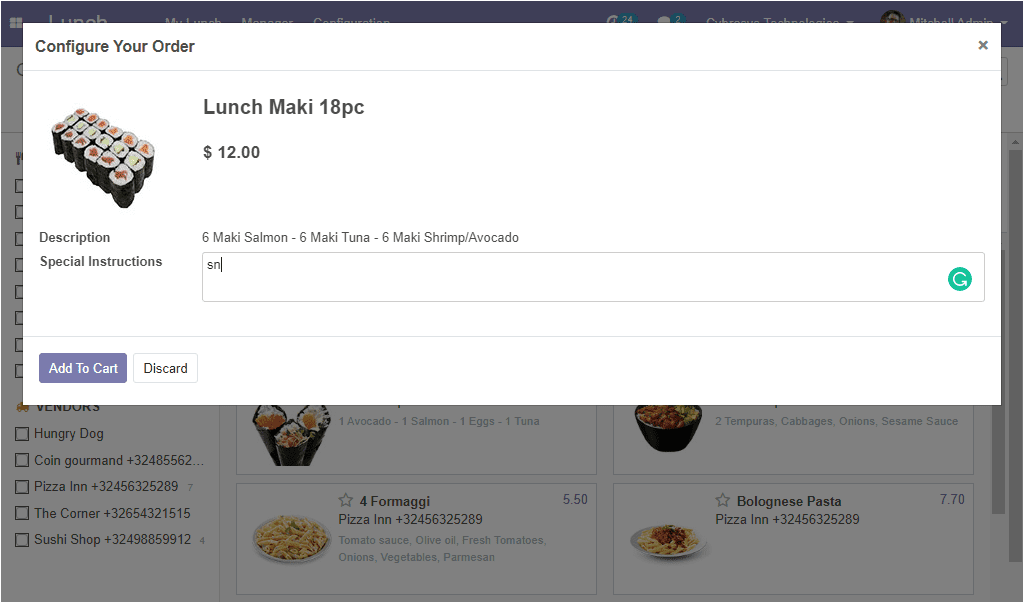
Now you can add the selected product to the cart and you can specify your special instructions on the provided space. Via selecting the Add to Cart button, your carted products will be depicted as shown below.
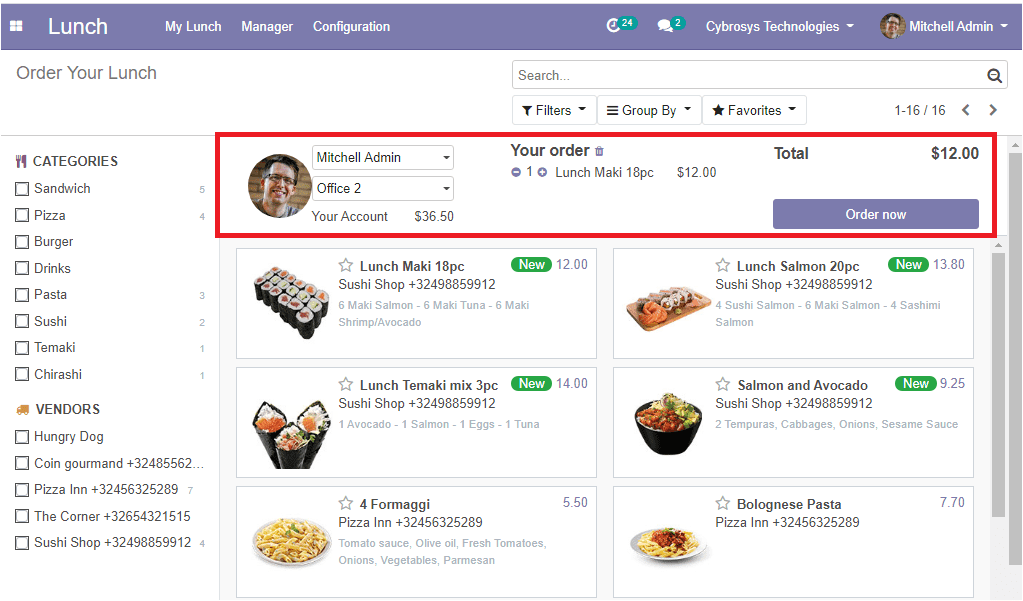
On clicking the Order now button you can place the order. Now the status of the item will be displayed as ordered.
Now you can view your created order under the Order History menu. This menu can be accessed from the My Lunch tab of the Odoo Lunch module.
Lunch -> My Lunch -> My Order History.
Here in this window, you can view all your orders. The order date, payment amount, product details, status of the product, company details, and other details are displayed here. The image of the My Order History window is depicted below.

As we clear on the steps of the ordering of lunch in the module and now let us have a look at the feature My Account History.
My Account History
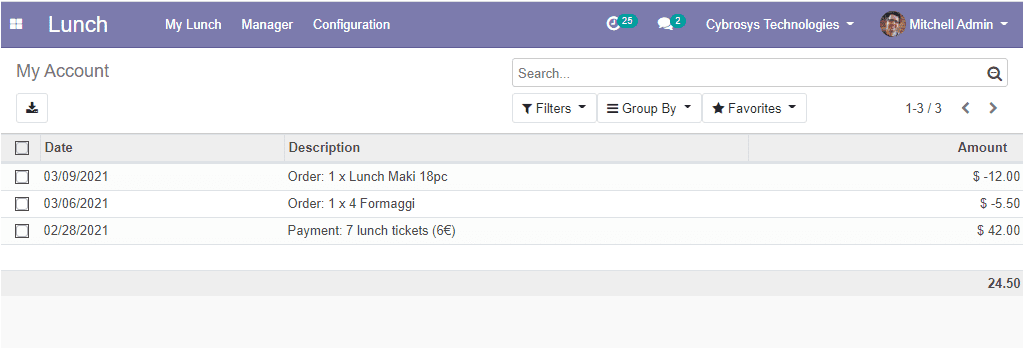
In the Odoo Lunch module, you have the provision to view all of your lunch account details. This feature can be viewed by going to Lunch -> My Lunch -> My Account History.
In this My Account History window, you can view the history of your purchase and the amount spent on each order. The date of order can also be viewed. Moreover, the window will help you to view the total amount you spent and the image of the window is depicted below.
As we clear the My Account History menu available in the module and now we can discuss what options are come under the Managers tab.
Managers
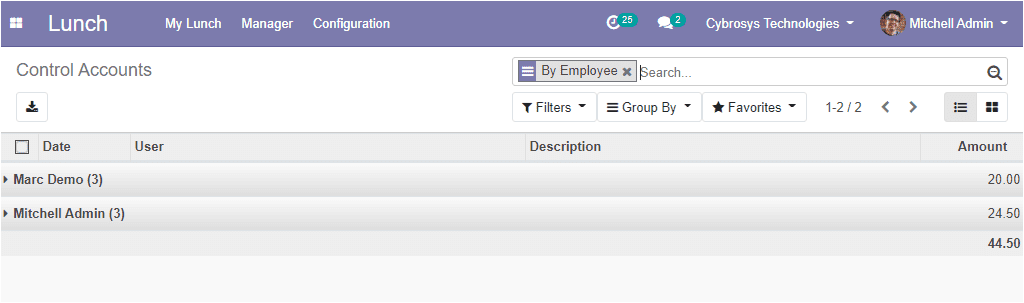
The manager can also view and manage all the user accounts by taking the route Lunch -> Managers -> Control Accounts. The image of the window is depicted below.
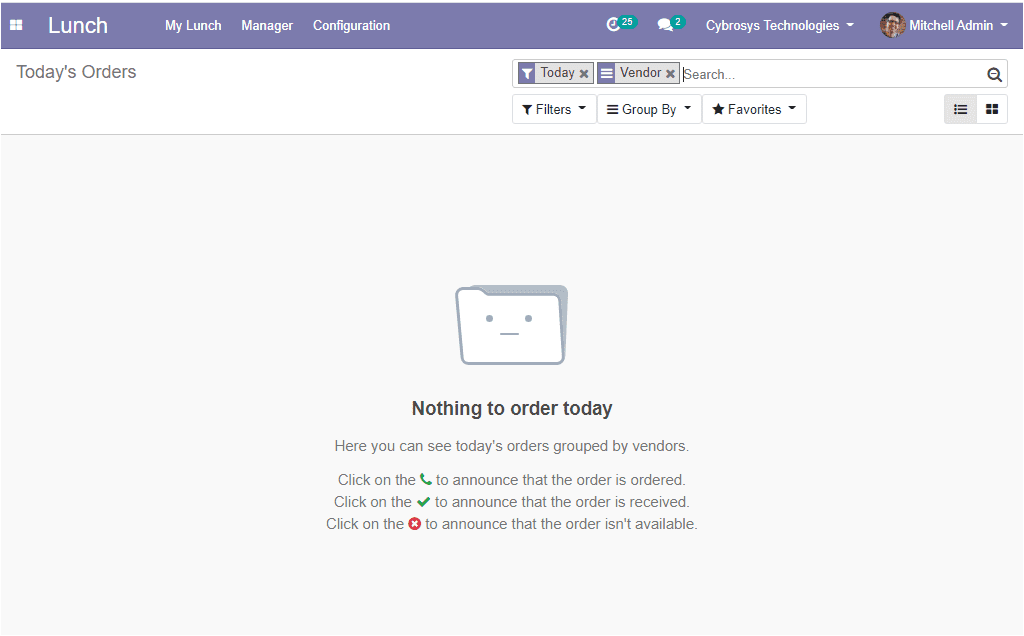
Odoo also enables the manager to view the orders by going to Today’s Orders. The image of the window is depicted below.
As we are clear on how can managers control the accounts and now let us discuss the cash moves option available in the module.
Cash Moves
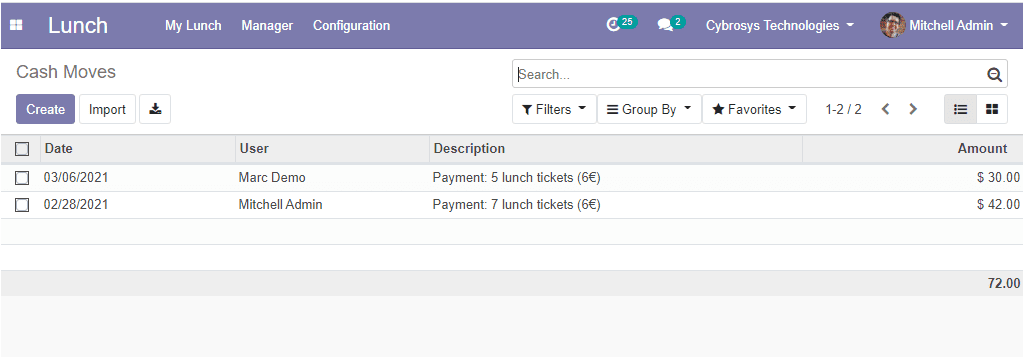
The feature Cash Moves also comes under the manager’s tab that gives the insight to track the cash moves. The image of the window is showcased below where you can view the user details, date along with the amount, and description of the payment.
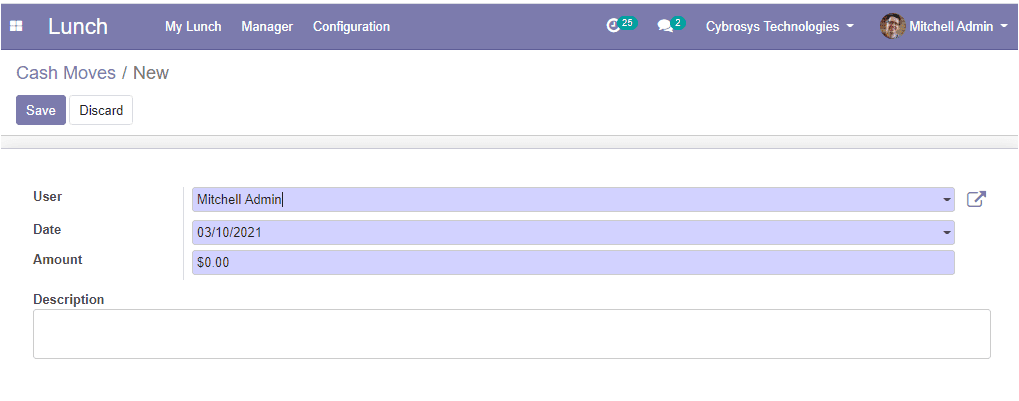
Here in this window you can see all the cash moves described in the platform and you have the provision to create new cash moves by selecting the create option. In this creation form, you can add the details such as user name, date, amount, and description. After adding the details you can click on the save button to save the created cash moves.
So far we were discussing the cash moves feature in the platform and now let us discuss how to create a vendor in the Odoo lunch module.
Create Vendor
You can create a vendor on this platform with simple steps. This can be done from the Lunch module -> Configuration -> Vendor. The image of the window is shown below.
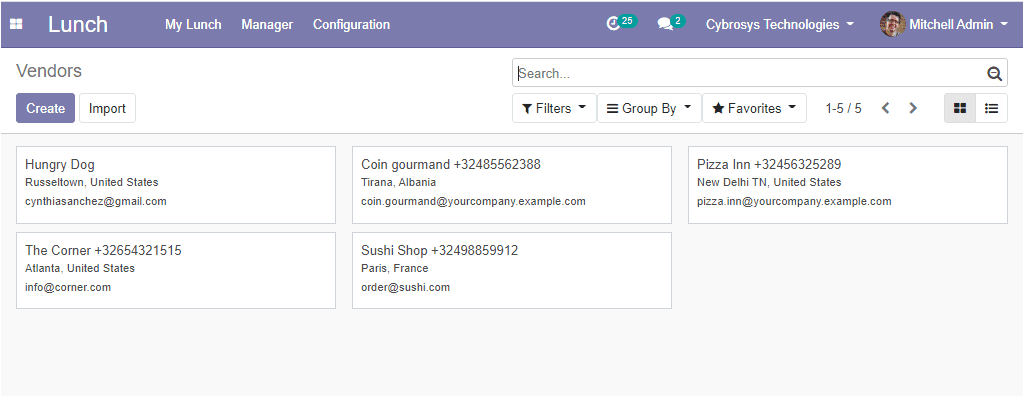
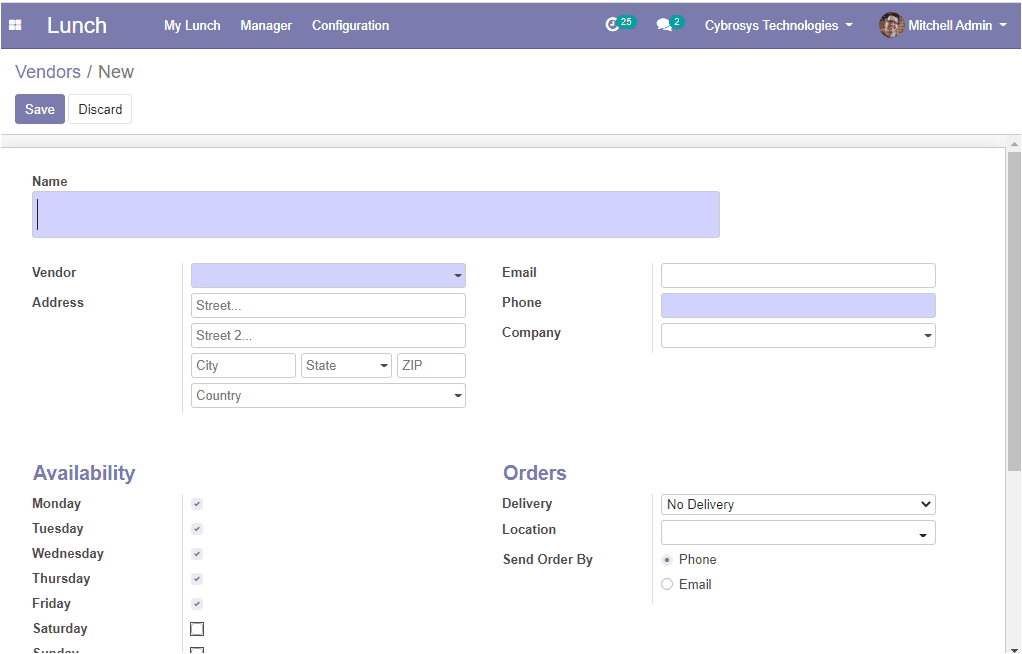
Here in this window you can view all the described vendors on the platform and you can create a new vendor by selecting the create icon. In this creation form, you can provide the details such as the name of the shop, vendor details, address, email id, phone number, company details. Additionally, you can define the order information along with the availability.
So far we were discussing how to create vendors on the platform and now let us discuss how to control vendors in the Odoo lunch module.
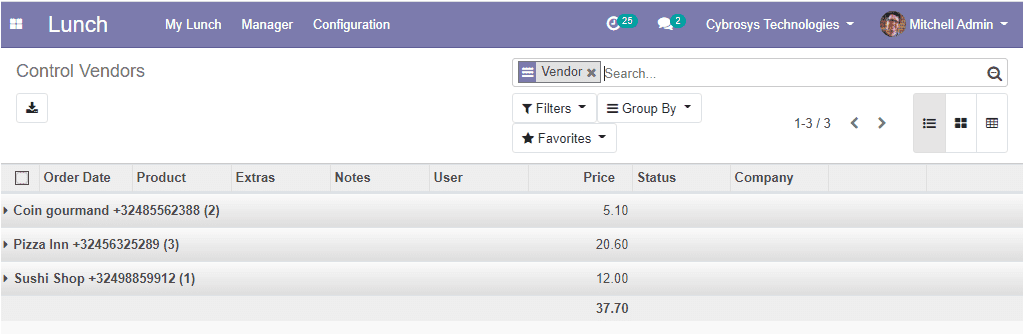
Control Vendors
Control vendors is an available feature in the Odoo lunch module and it will help you to manage more than one vendor. You can access the feature by going Lunch -> Manager -> Control Vendors.
The image of the window is depicted below.
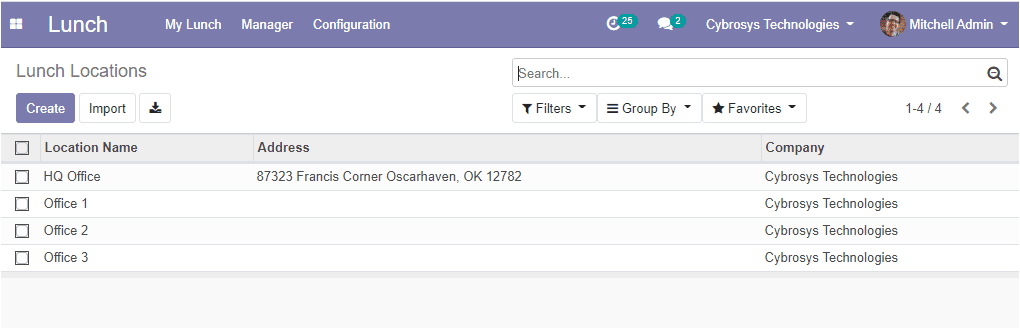
Lunch Locations
The configuration of lunch locations in the Odoo lunch module can be defined under the configuration tab of the module. This can be done by going to Lunch -> Configuration -> Locations.
Here in this window, you can see the existing locations and you can create new locations by selecting the create icon. The image of the window is depicted below.
Odoo 13 lunch module is a good platform for handling employees’ lunchtime and their food items. This application could be a great help for organizations that provide lunch for their employees.