New Projects
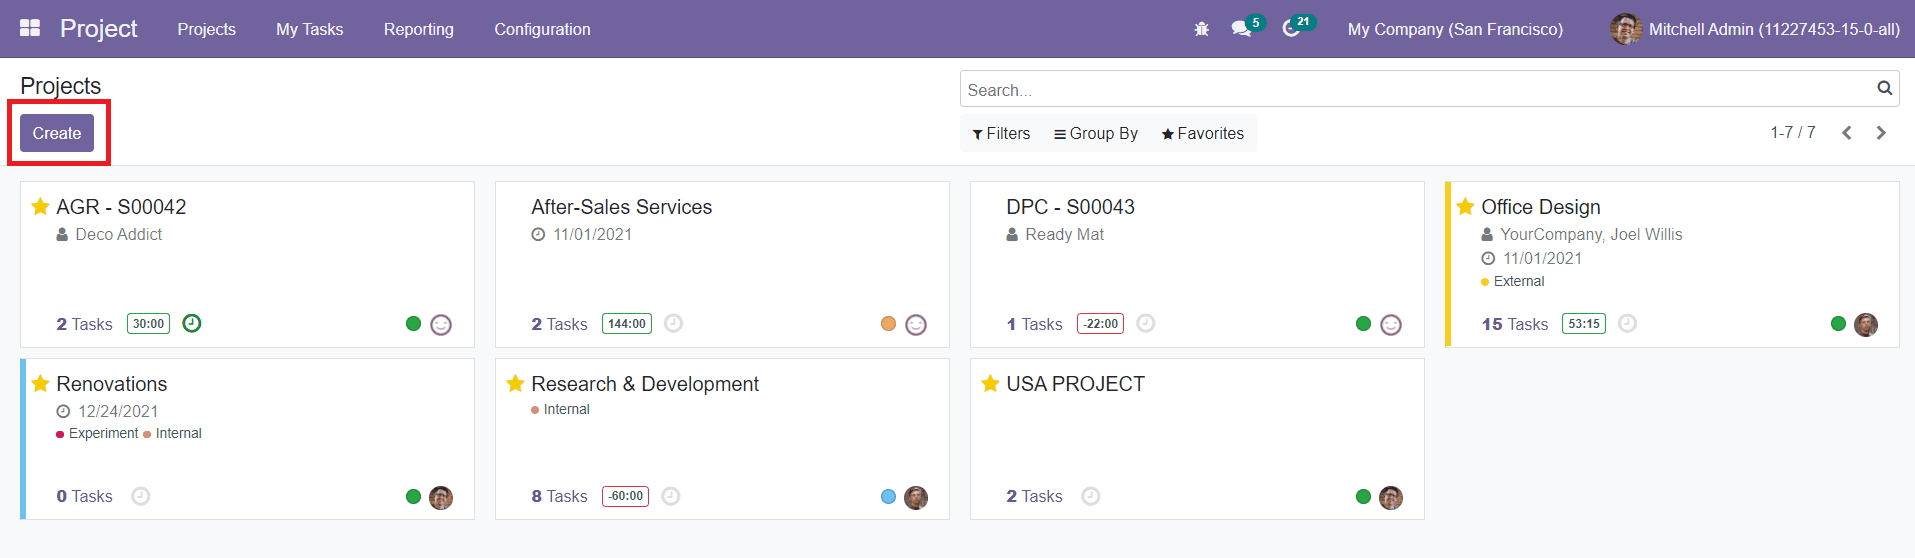
Odoo has enabled an efficient platform in the Project Management module to create new projects in easy methods. You can click on the ‘Create’ button from the main dashboard of the Project to create new projects on this platform.
By clicking on the ‘Create’ button, you will be able to get a pop-up window as shown below to mention the Project Name.
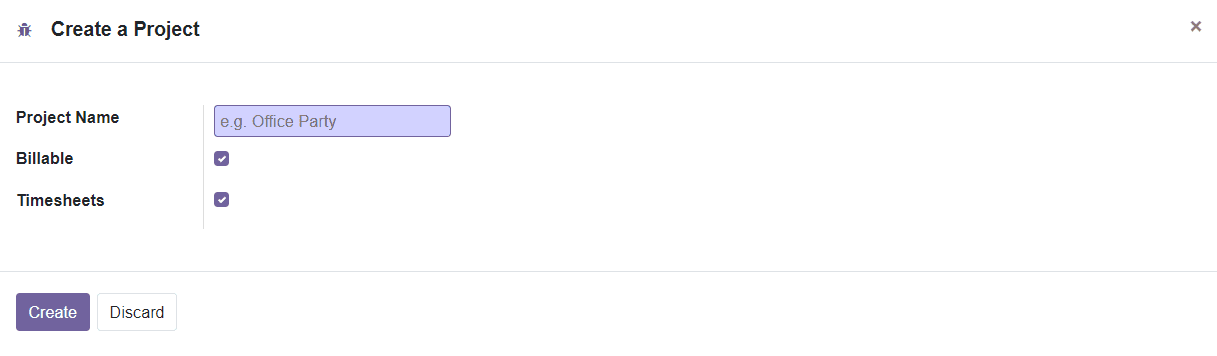
You can activate the Billable field to invoice your time and material from tasks. The Timesheets option will enable timesheeting on the project. By clicking the ‘Create’ button, you will be directed to a new page where you can add different tasks under this project.
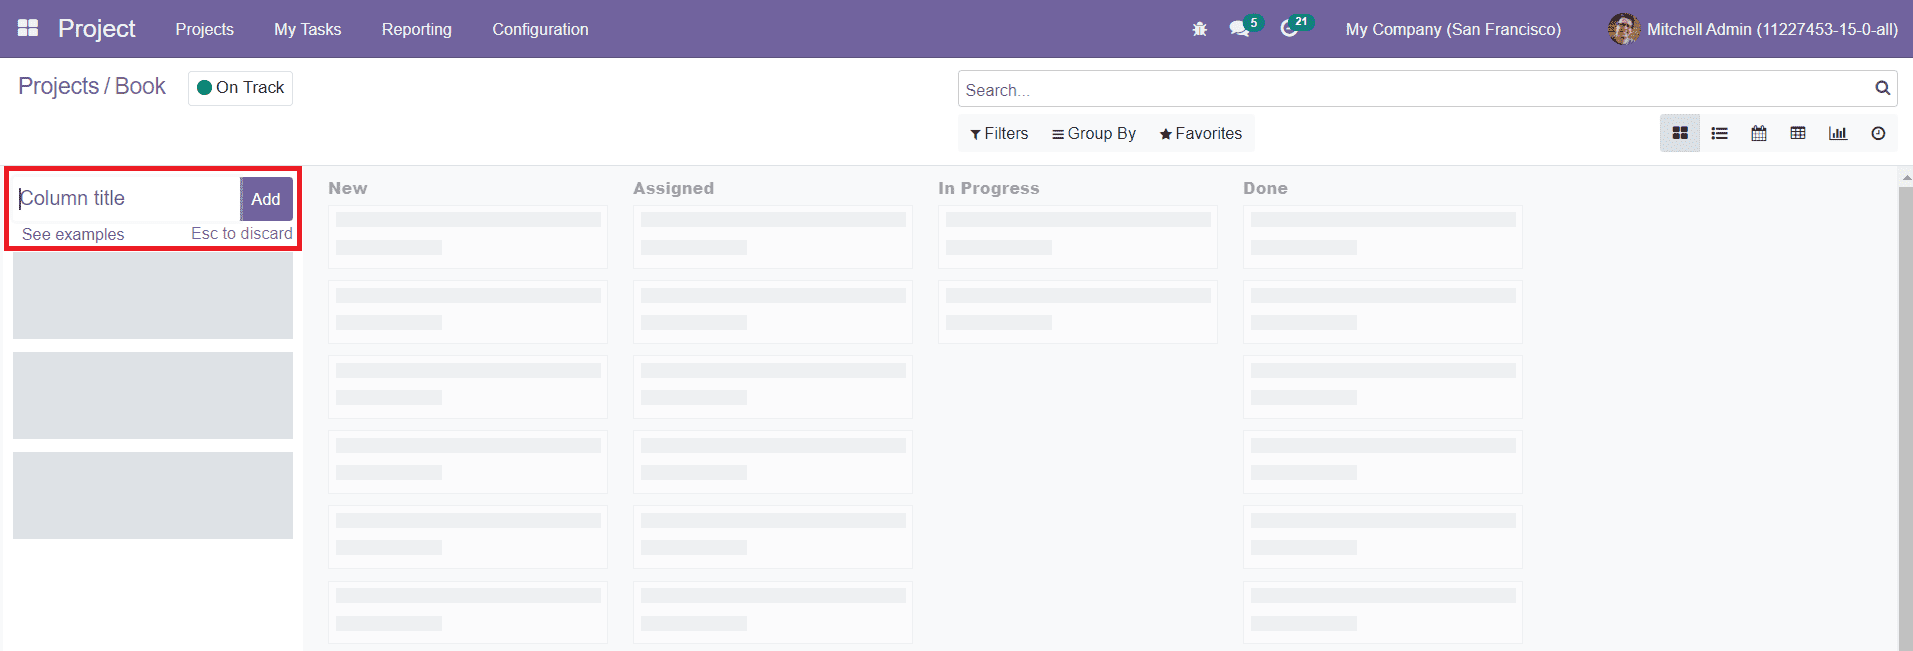
In this window, you can add different stages for the tasks. Specify the column title in the given field and click the Add button.
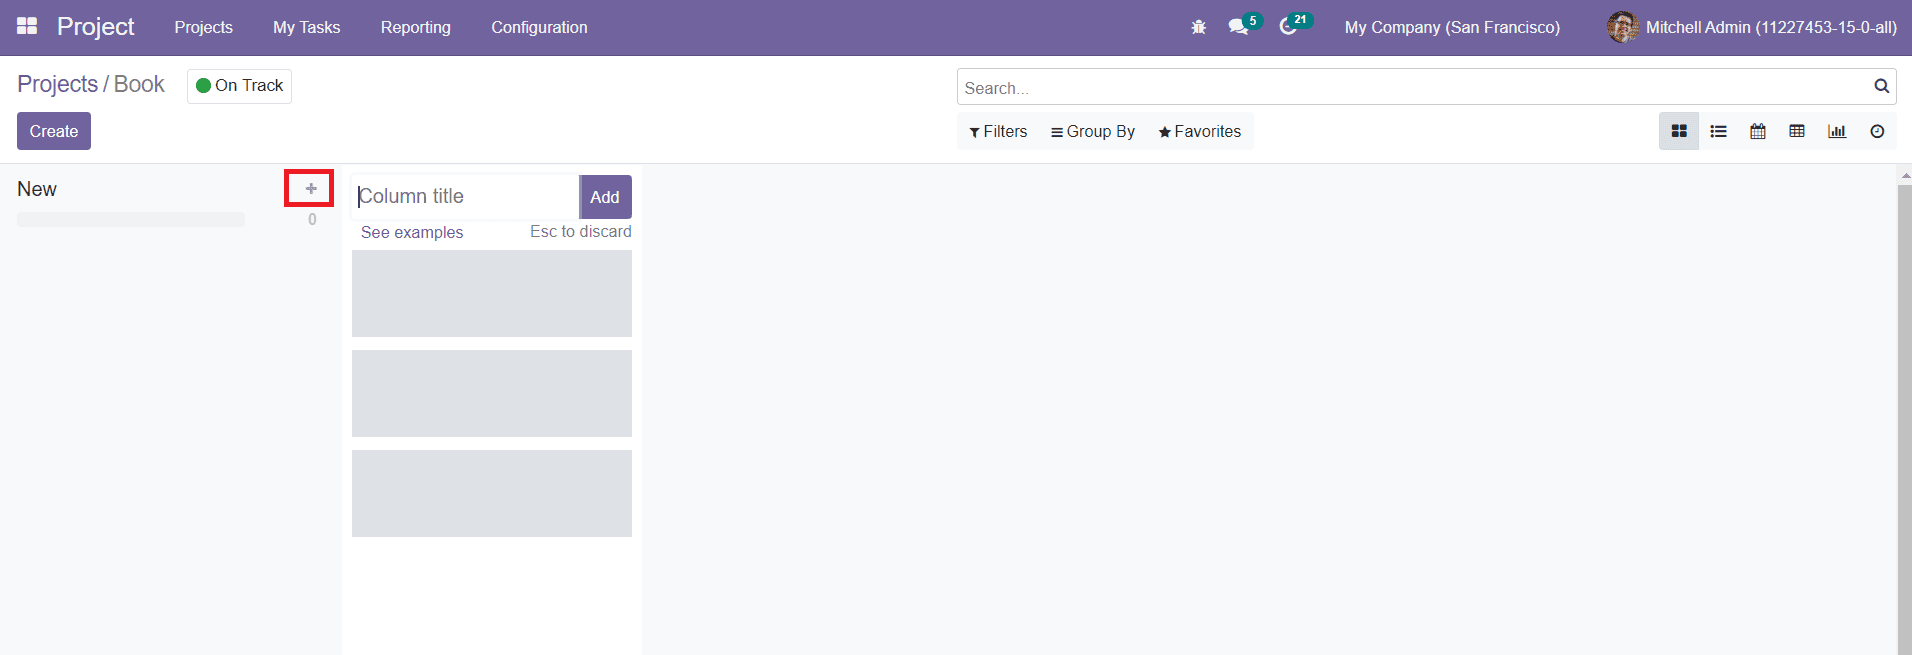
For example, we added ‘New’ as a stage for the project tasks as shown in the image above. You can create similar stages according to the progression in tasks. To add tasks under the specified stage, you can click on the ‘+’ icon.
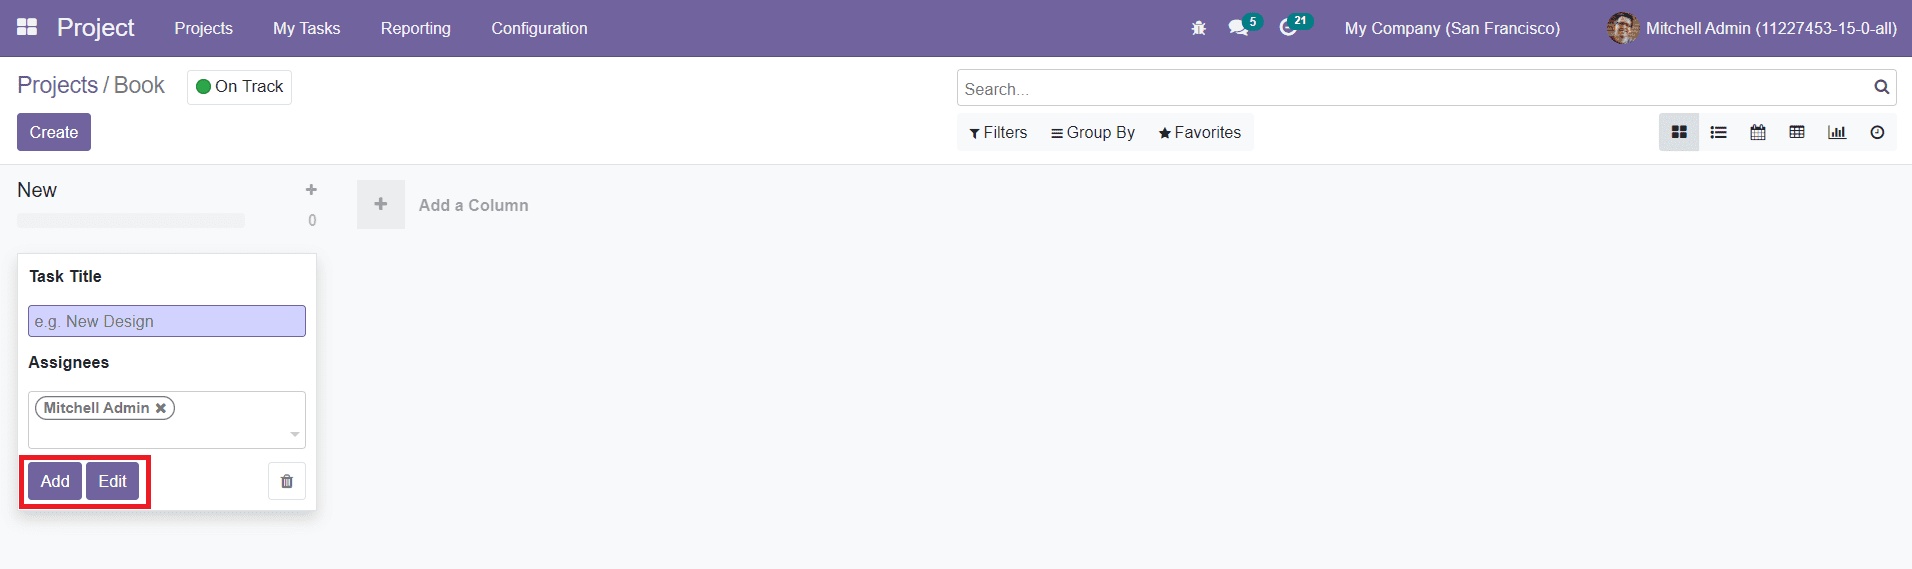
You can add Task Title under the respective stage along with the names of assigned employees. You can click on the ‘Add’ button to add this task to the selected stage and the ‘Edit’ button to edit the task.
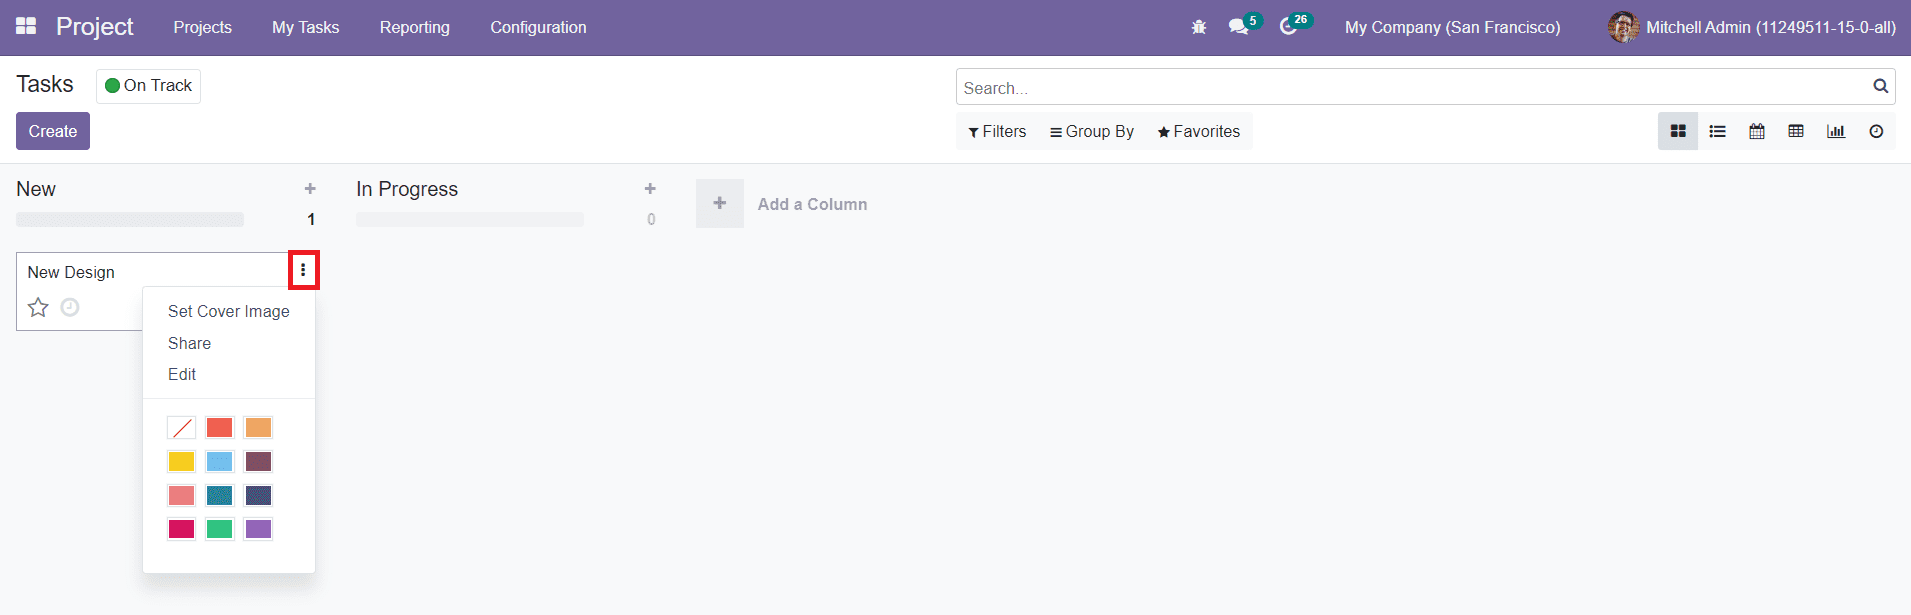
You will get the Set Cover Image, Share, and Edit options under the three vertical dots given on the top right corner of the newly added task.

By clicking on the Set a Cover Image, you will get a pop-up window to Upload and Set a cover image for your task.
Now, click on the newly added task to edit.
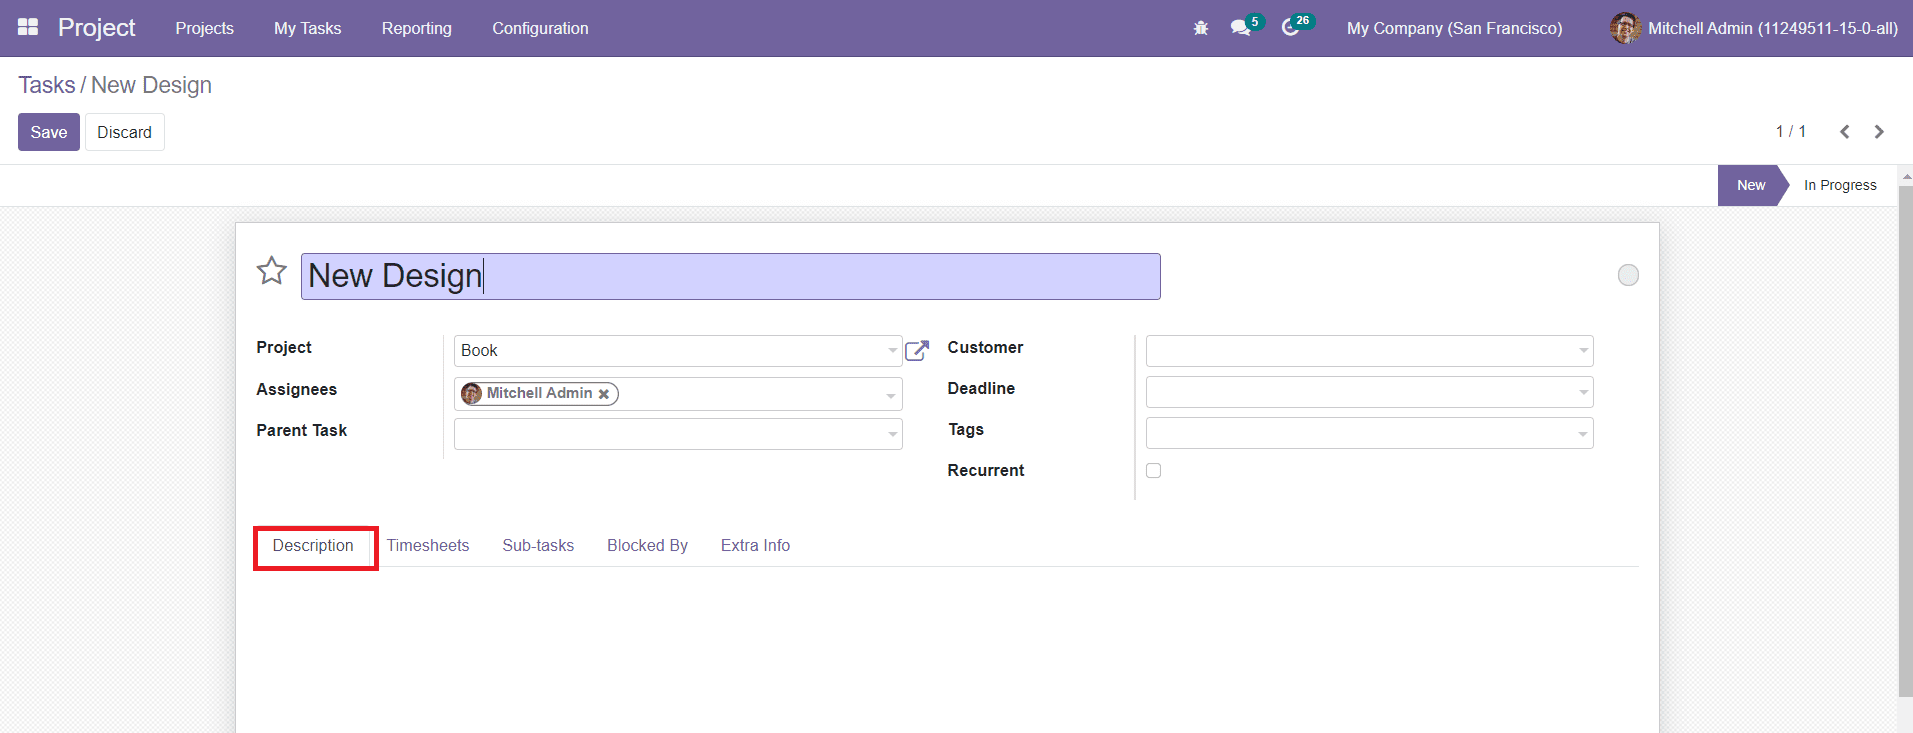
You will get the name of the task, Project, and list of Assignees in this window. You can allocate a Parent Task for this particular task. Add the name of the Customer, Deadline of the task, and suitable Tags in the respective fields. By selecting a Customer in the corresponding field, a new field called Sales Order Item will appear.
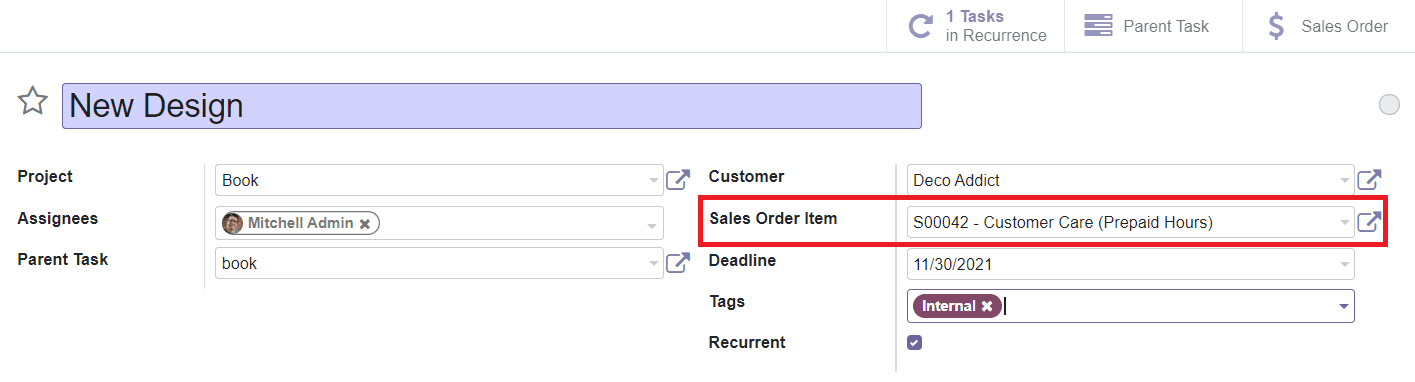
The time spent on this task will be added to this sales order item in order to be invoiced to the selected customer.
Activate the Recurrent field to repeat the task again in a regular interval of time.
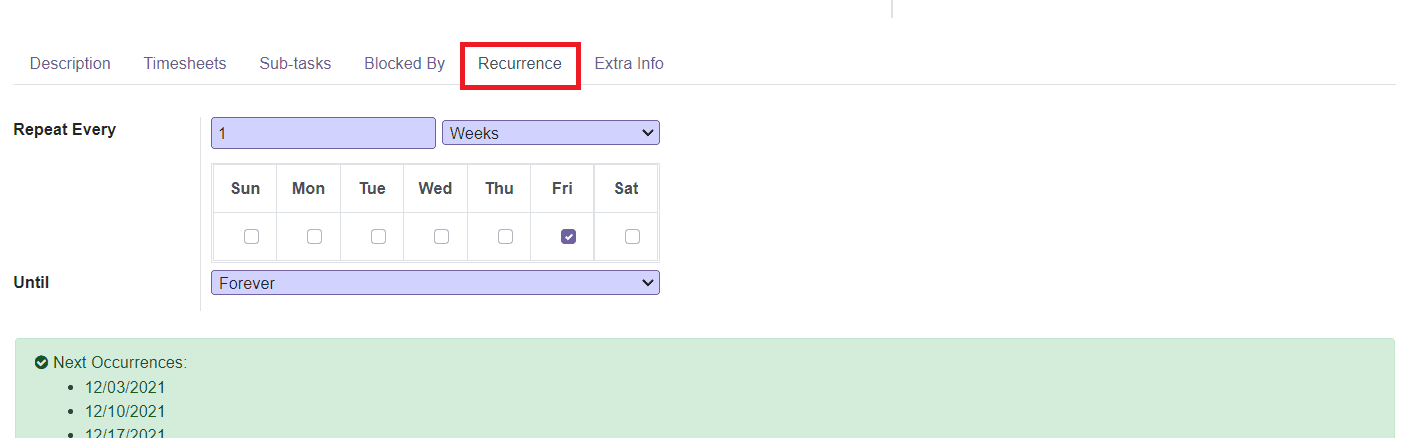
By activating this field, you will get a new tab called Recurrence where you can set the recurrence details. You can mention the number of times of the recurrence and the days of recurrence. You can set the recurrence forever, until an end date, or for a number of repetitions in the Until field.
Under the Description field, you can add a description of the task. The Timesheets tab can be used to mention the required time to complete this task.
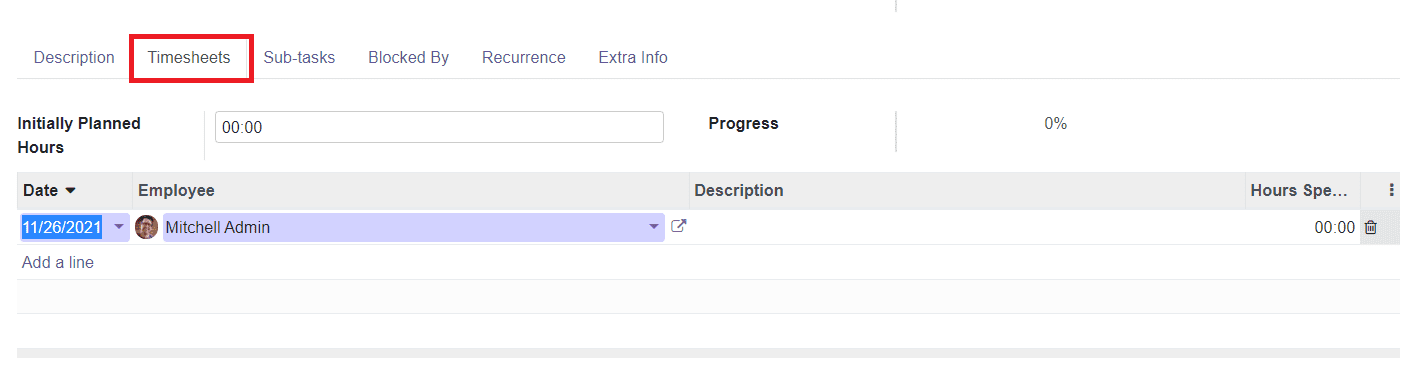
You can define the time planned to achieve this task in the Initially planned Hours field. The progress of the current task according to the recorded time can be seen in the Progress field. Using the ‘Add a Line’ option, you can record the time taken for completing the task by assigned employees.
You can add subtasks for the current task under the Sub-tasks tab. For this, you have to activate the 'Sub-task' option under the Task Management tab in the Settings menu of the module.
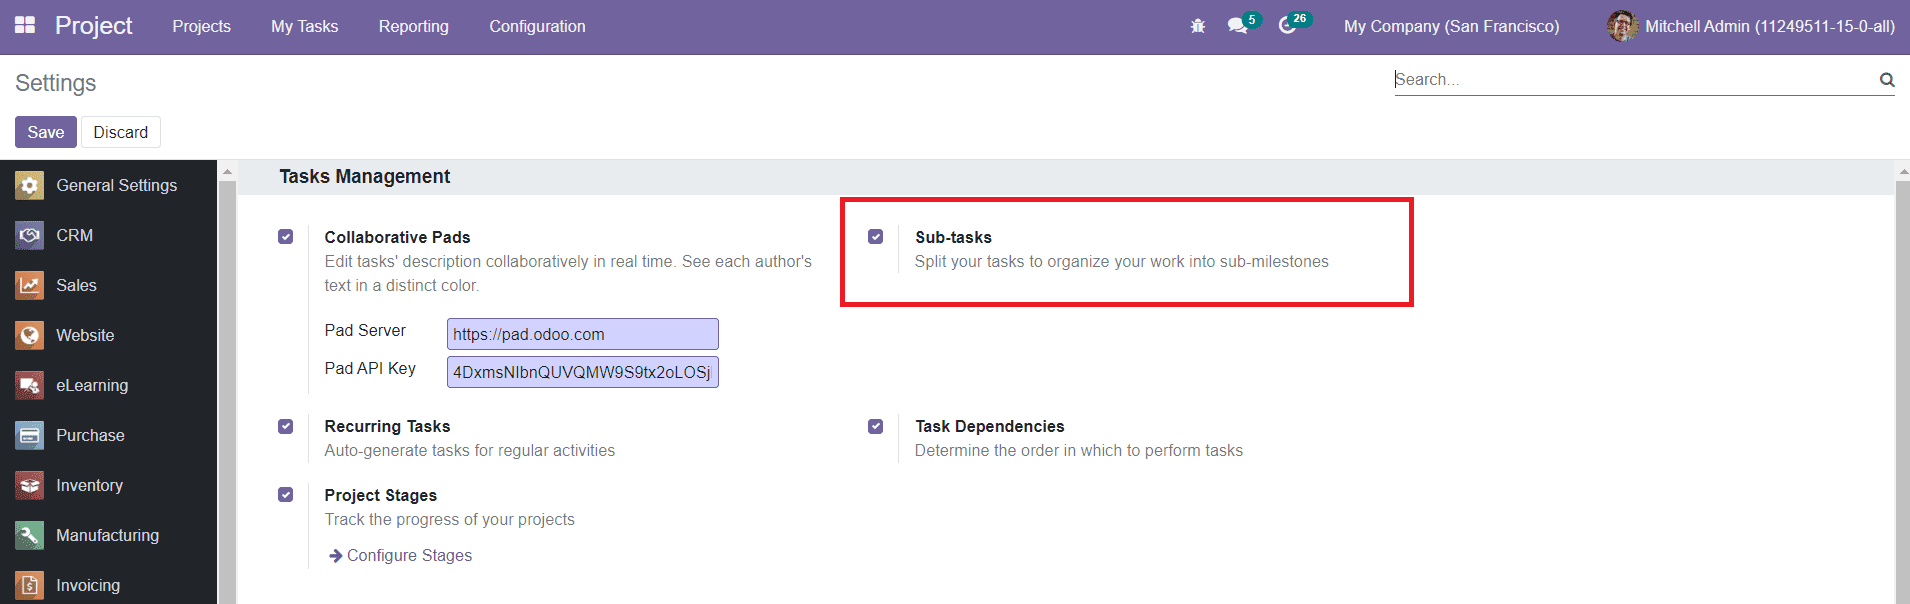
By activating this field, you can split your tasks to organize your work into sub milestones. You will get the ‘Sub-tasks’ tab under the new task creation window as shown in the screenshot below.
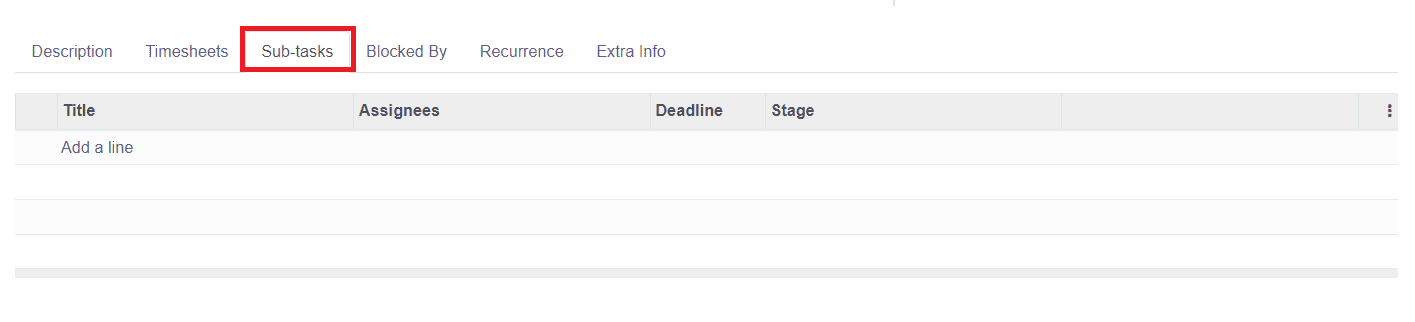
Using the ‘Add a Line’ option, you can specify the Title of the sub-task, Assignees, Deadline, and Stage.
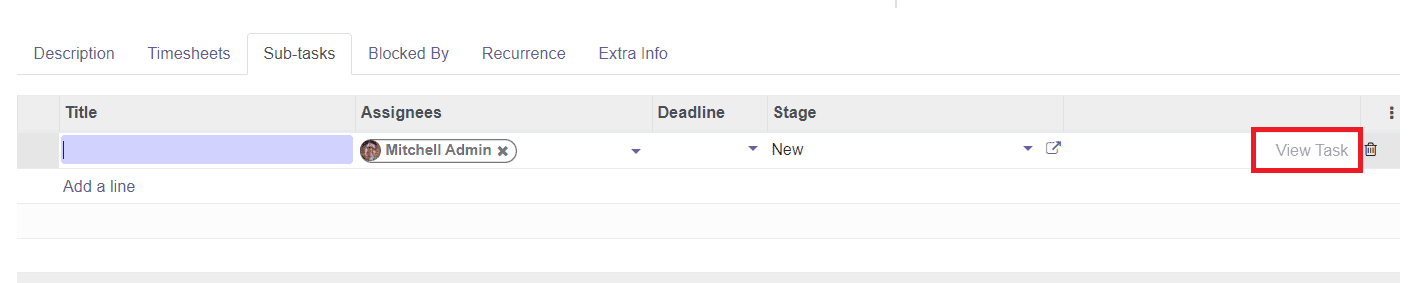
A ‘View Task’ option will activate in this tab after saving the main task which will lead you to a new screen that contains the details of the newly created sub-task.
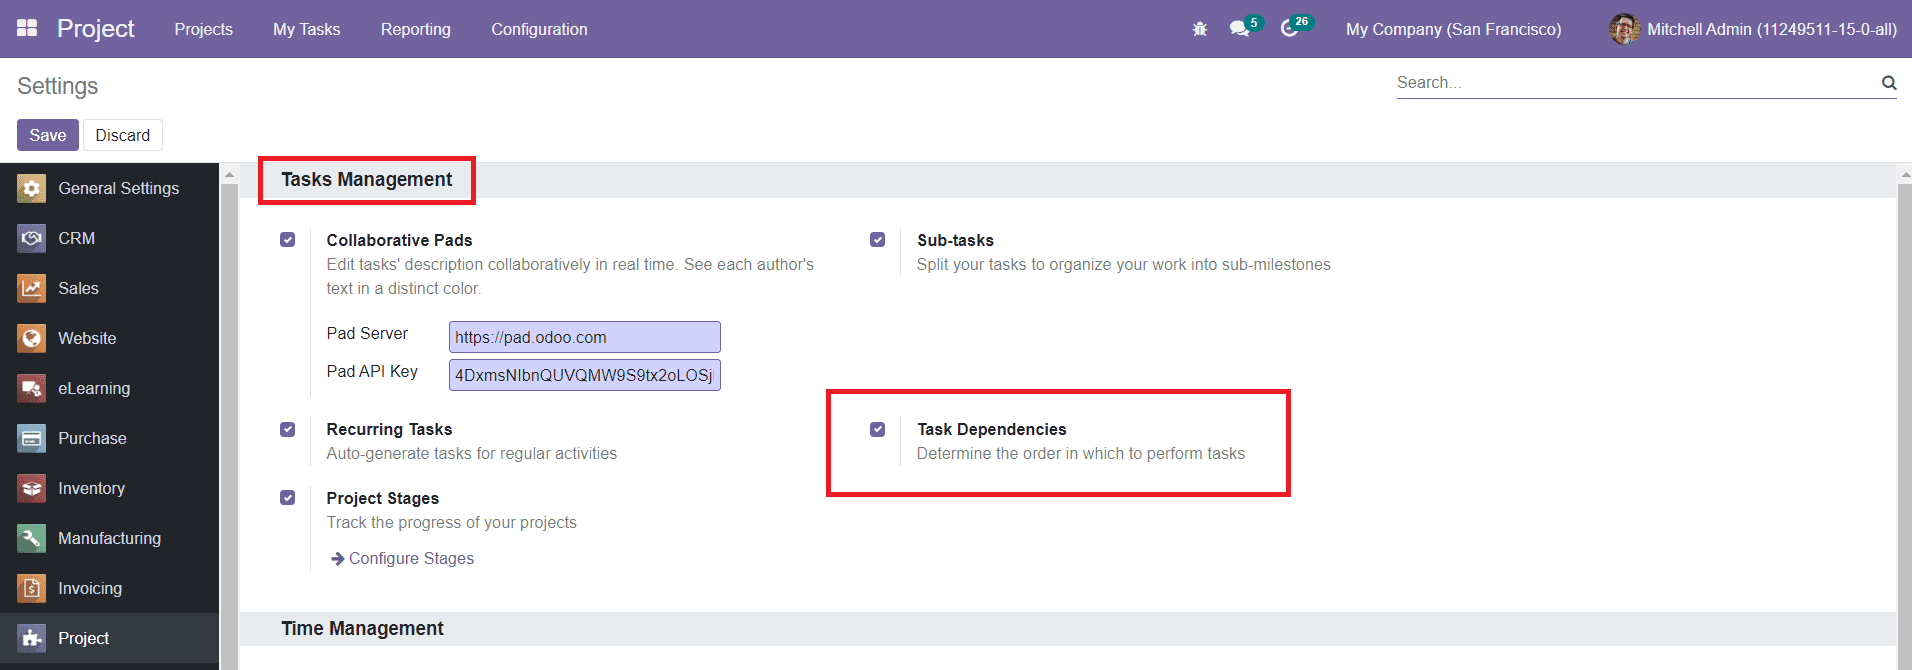
In the Settings menu of the module, you will get the ‘Task Dependencies’ option under the Tasks Management tab to activate. This option allows you to determine the order in which to perform tasks.
By activating this field, you will be able to get the Blocked By tab under the task description window.
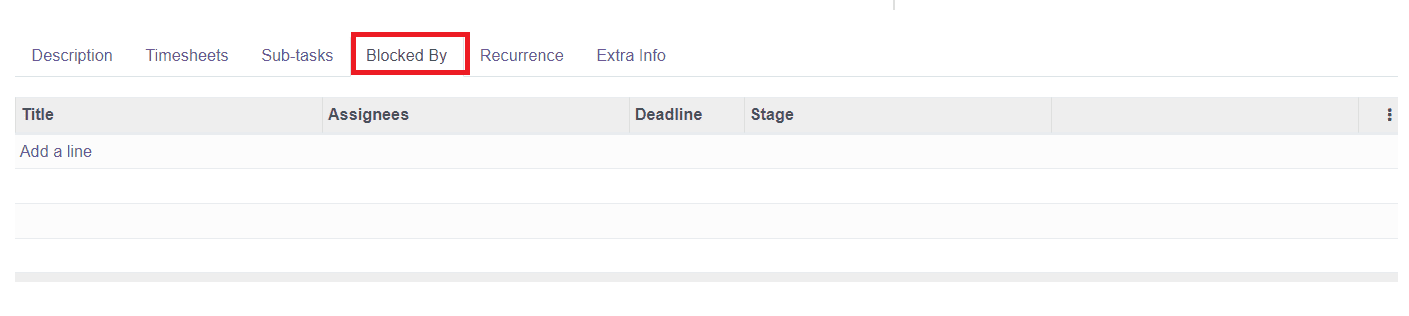
Here, you can add the list of tasks that you want to block in order to complete the current task before the blocked tasks.
Additional details about the current task can be configured under the ‘Extra Info’ tab.
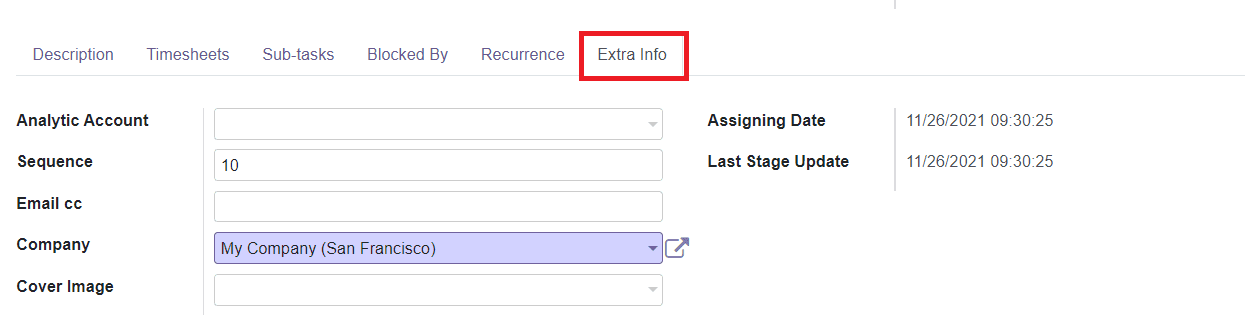
Here, mention the Analytic Account for the task to which this task is linked for financial management. You can use this account to record costs and revenue on your task. If empty, the analytic account of the project will be used. The Sequence field will give a sequence order when displaying a list of tasks. The Email cc field includes the list of cc from incoming emails. You can add the name of your company and cover image for the task in the respective fields. This tab will also show the Assigning Date and Last Stage Update details.
Now, click the ‘Save’ button to save the new task.
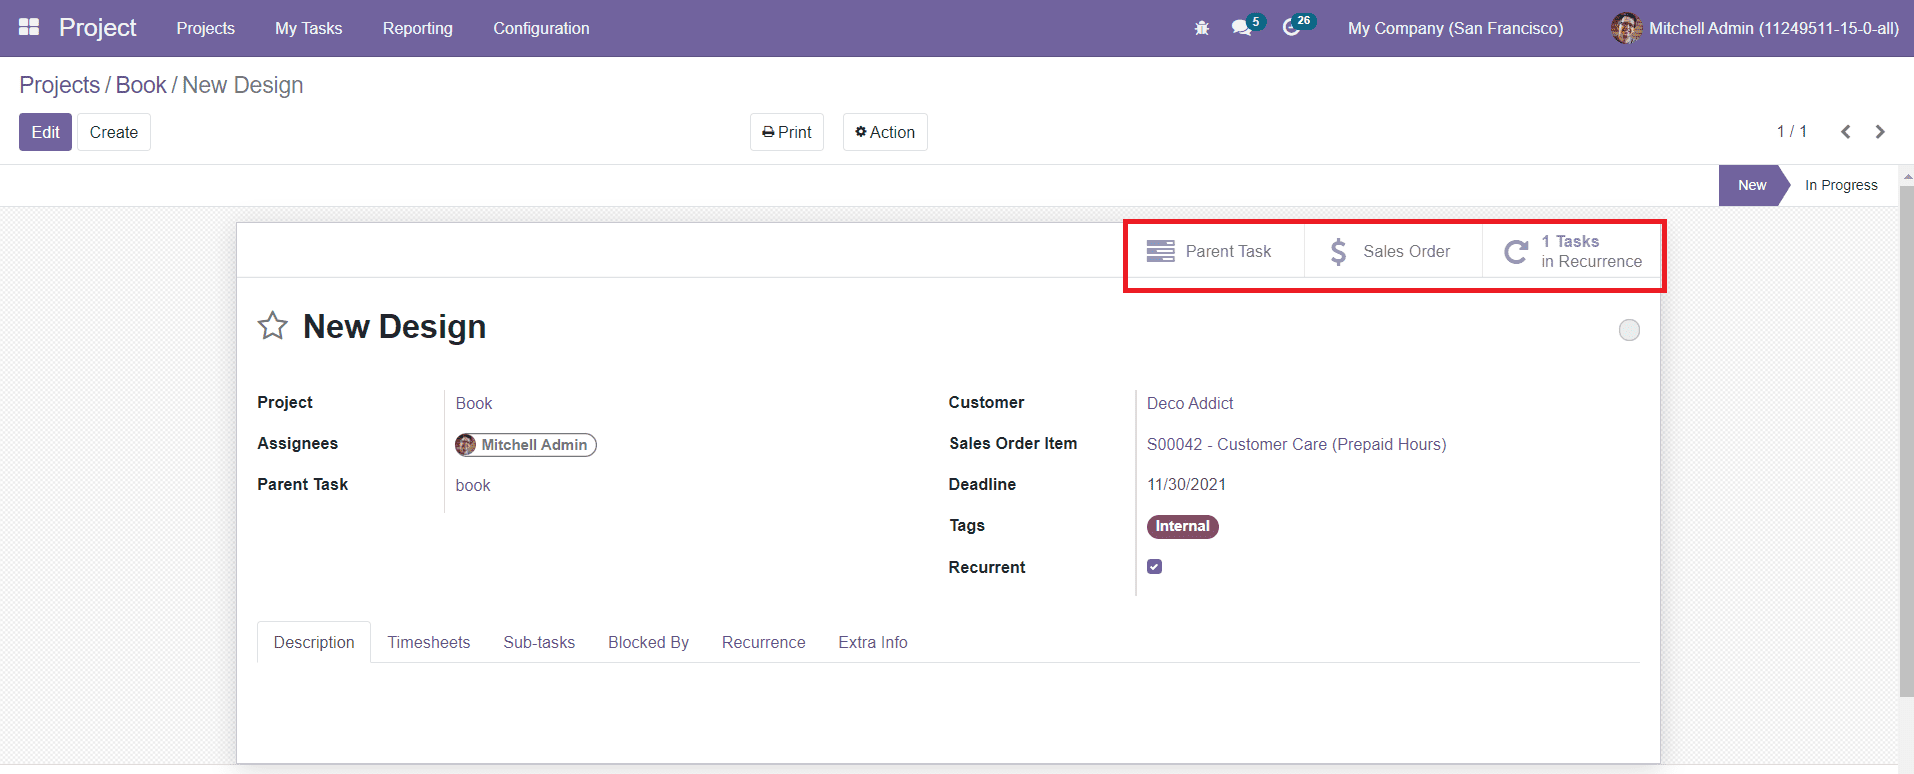
After saving the task, you will get advanced smart buttons on the top right side of the screen such as Parent Task, Sales Order, and Recurrence. Clicking on the Parent Task will show the configured parent task of the current task. The Sales Order button will show the sales details of the project. The recurrence details of the task can be found in the ‘In Recurrence’ option.
Under the Configuration menu of the module, you can create and manage new projects using the Project option.
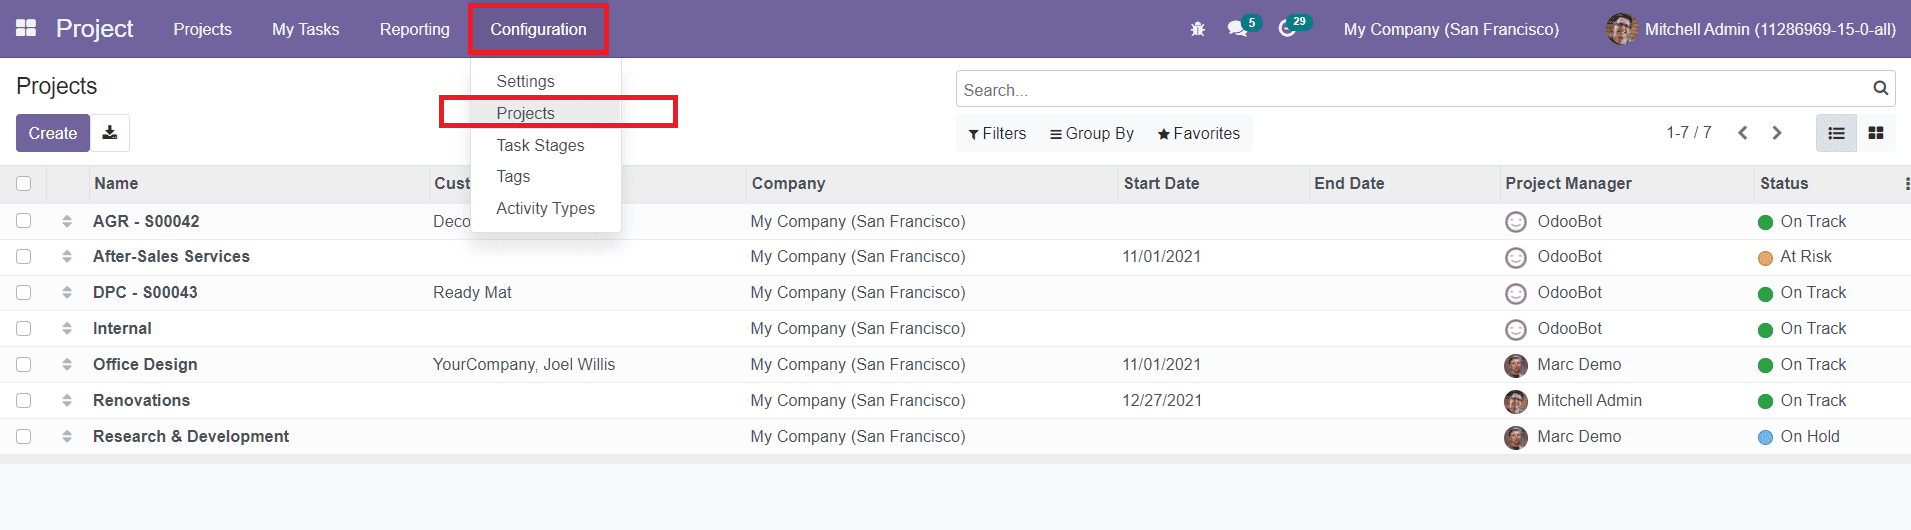
This window displays the projects which are shown in the main dashboard of the Project module. Now, click the Create button.
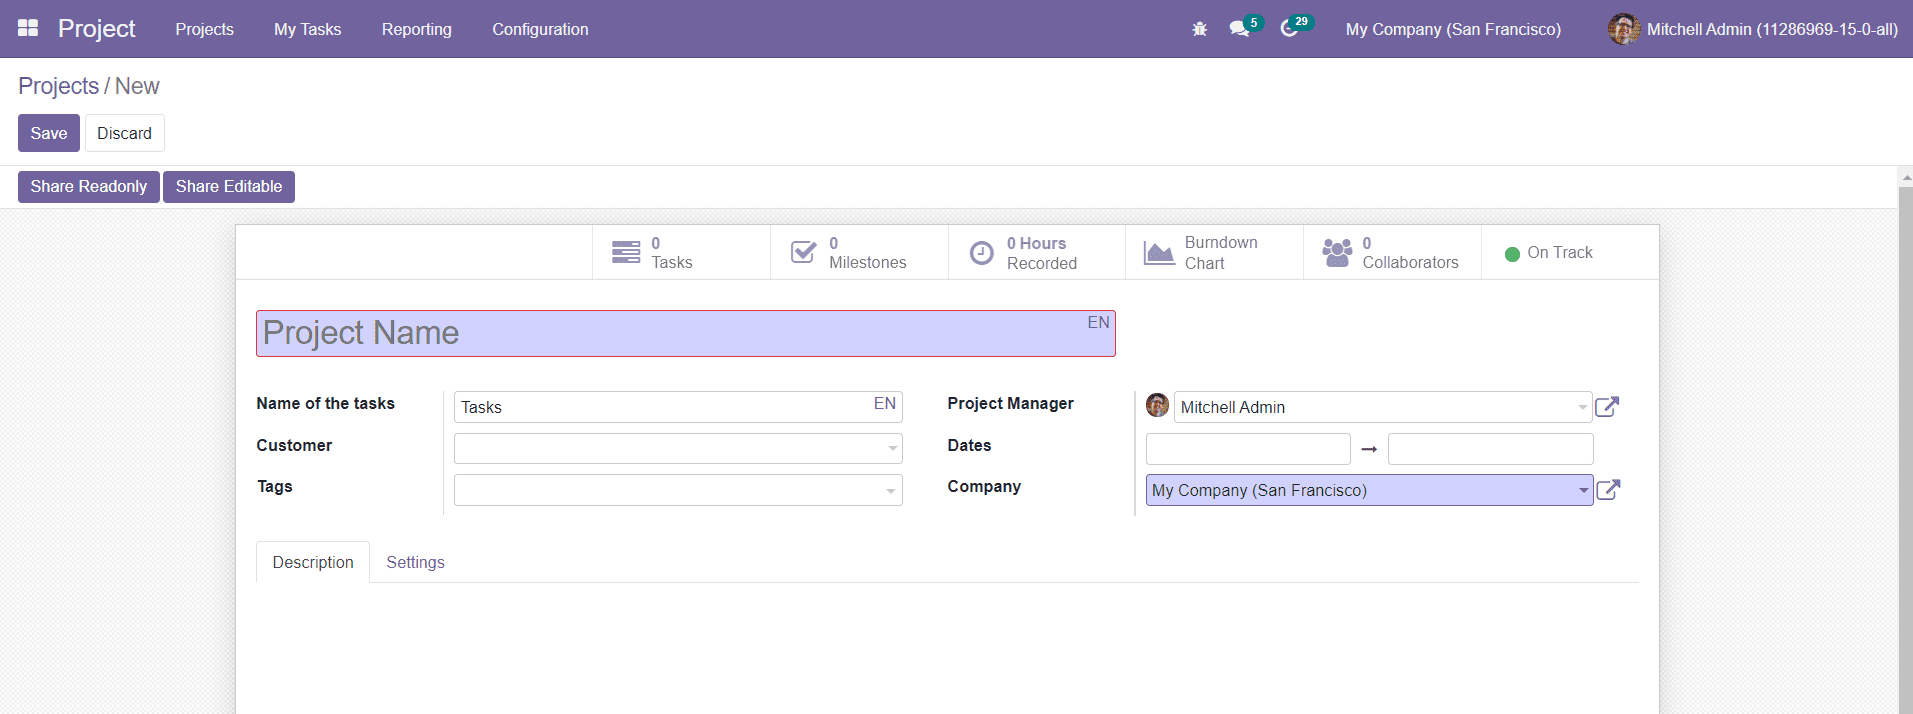
Mention the Project Name in the given field. In the Name of the Tasks field, you can specify the label used for the tasks of the project. Add Customer, Tags, Project Manager, Start & End Dates, and Company name. In the Description field, you can add a description about the project.
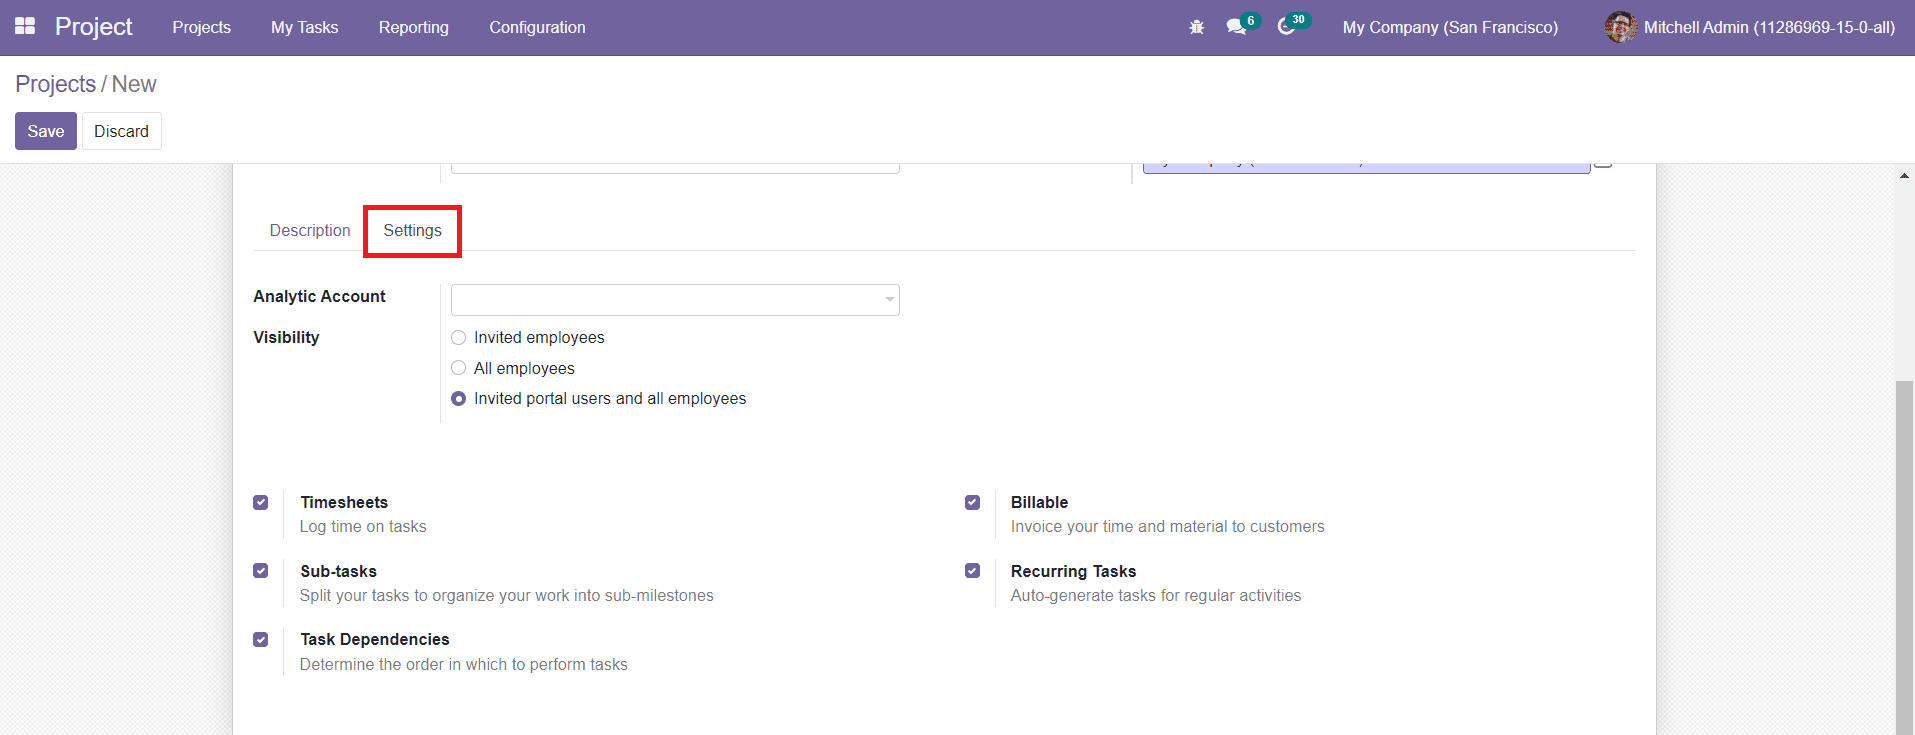
Under the Settings tab, define an Analytical Account for your project for financial management. In the Visibility field, you will get three options which are Invited Employees (only invited employees will see the followed project and tasks), All Employees (all employees can see the followed project and tasks), and Invited Portal Users and All Employees ( all employees and invited portal users can see the followed project and tasks).
Activating the Timesheets option will enable timesheeting on this project. Similarly, you can activate the following fields.
Sub-tasks: To split your tasks to organize your work.
Task Dependencies: Determine the order in which to perform tasks.
Billable: Invoice your time and material to customers.
Recurring Tasks: Auto-generate tasks for regular activities.
By activating these fields, you will get corresponding fields to define while creating new tasks under this particular project. Save the new project by clicking on the Save button.
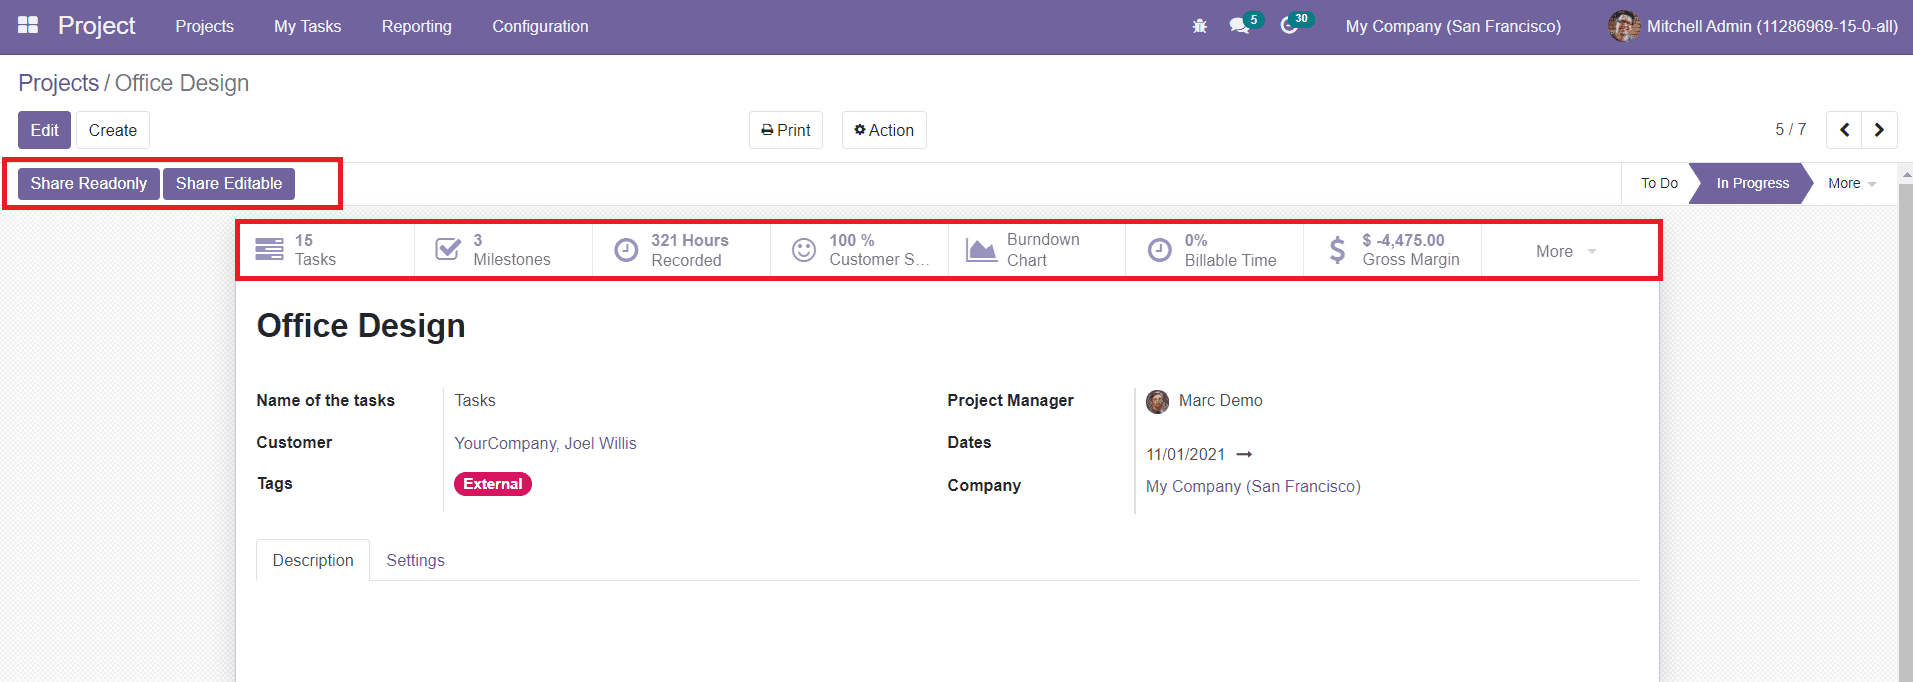
You can share this project with other people using the Share Read Only and Share Editable buttons. Sharing using the Share Readonly option will allow the recipient to only read the project. To give editing access to the recipient, you can share using the Share Editable button.
As you can see in the image, after saving the new project, you will get many smart buttons on the screen. The ‘Tasks’ option will show all tasks in progress under this project. The ‘Milestone’ button will show different milestones arranged for this project. The hours spent by each employee for this particular project can be found in the Recorded button. Similarly, you will get corresponding smart buttons to get the details about Customer Rating, Burndown Chart, Billable Time, Gross Margin, and Collaborators of this project.
The Gross Margin and Customer Rating buttons only appear after activating the corresponding options from the Settings menu.
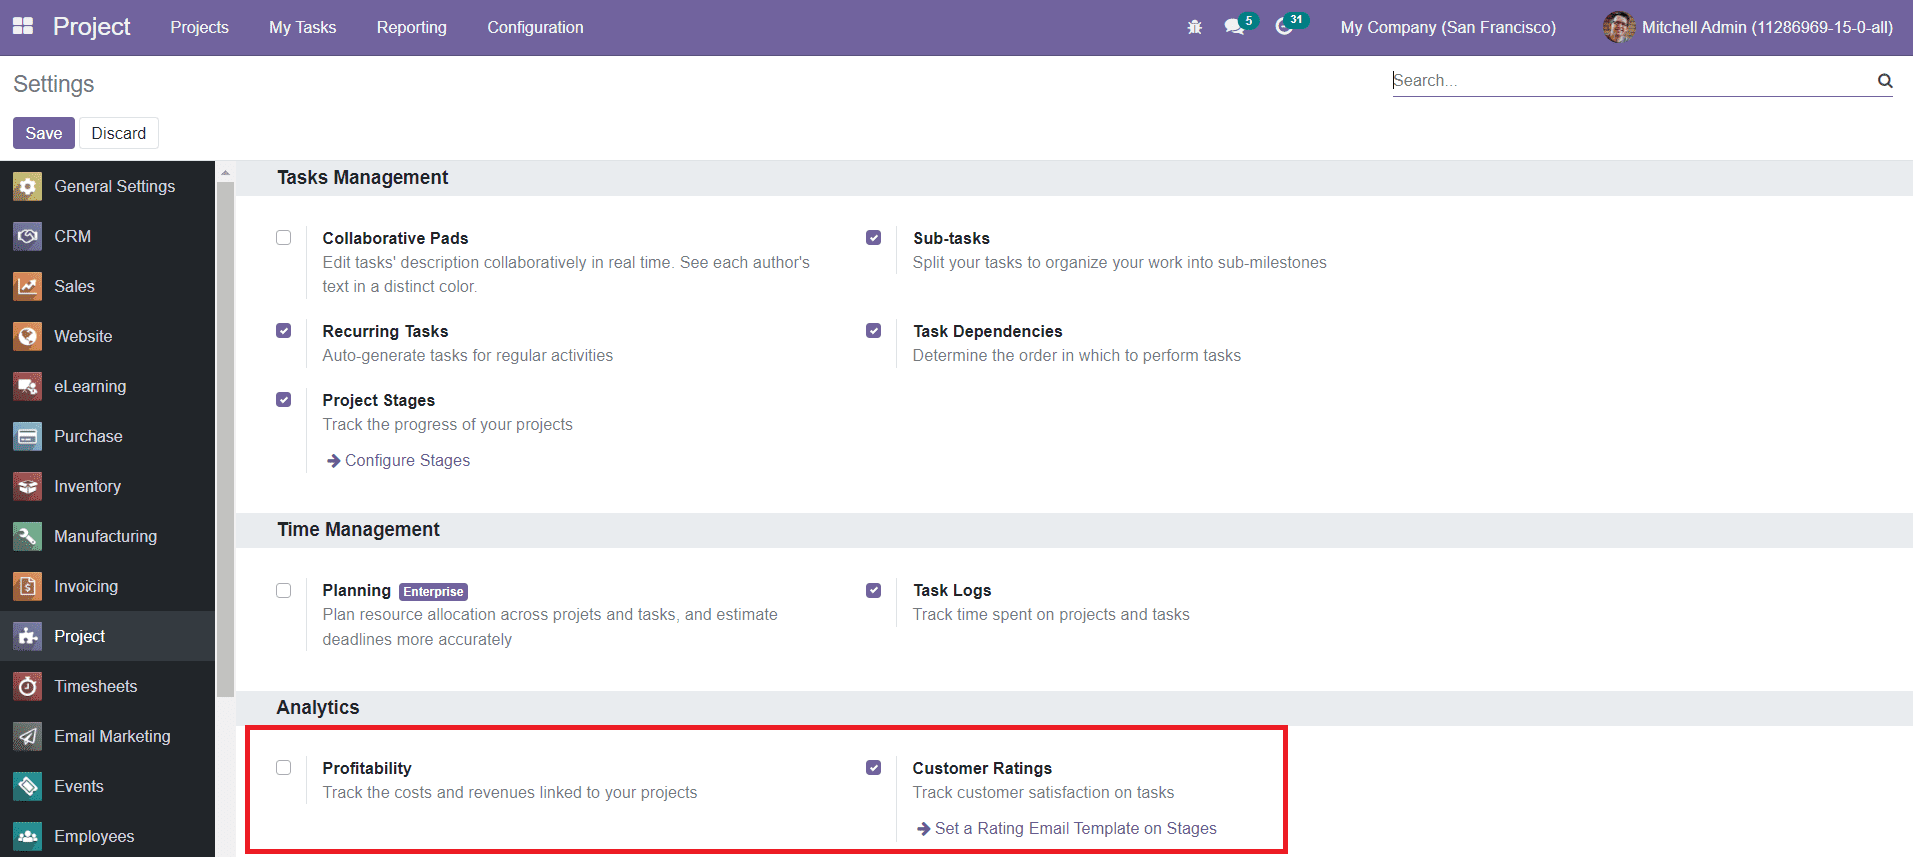
Under the Analytics tab, you can find the Profitability button to activate. This will track the costs and revenues linked to your projects. After activating this field, you will get the Gross Margin report on each project description window. Activate the Customer Rating option to track customer’s satisfaction on tasks.