Survey
Conducting surveys in a business program is really important to get valuable responses from customers about the products and services that the company provides. The feedback from customers will help you to understand the current trends and you can make changes in your business strategy accordingly. Surveys will help you to get knowledge about what exactly customers want. The Survey module in Odoo 15 can be used to collect responses from the audience by creating surveys. Using this module, you can understand the customer’s impressions, suggestions, expectations, and satisfaction towards the products and services you provide.
In Odoo 15 you can easily create surveys within a few steps. After creating surveys, you can test them to ensure accuracy. After completing the testing, you can publish the survey on your website. Odoo will collect and record responses in the Survey module automatically when customers submit their answers and you can use them to generalize the results. We will take a detailed discussion about the Survey module in Odoo 15 in this chapter.
When you open the Odoo Survey module, you will land on the main dashboard of the module which will display all created surveys as shown below.
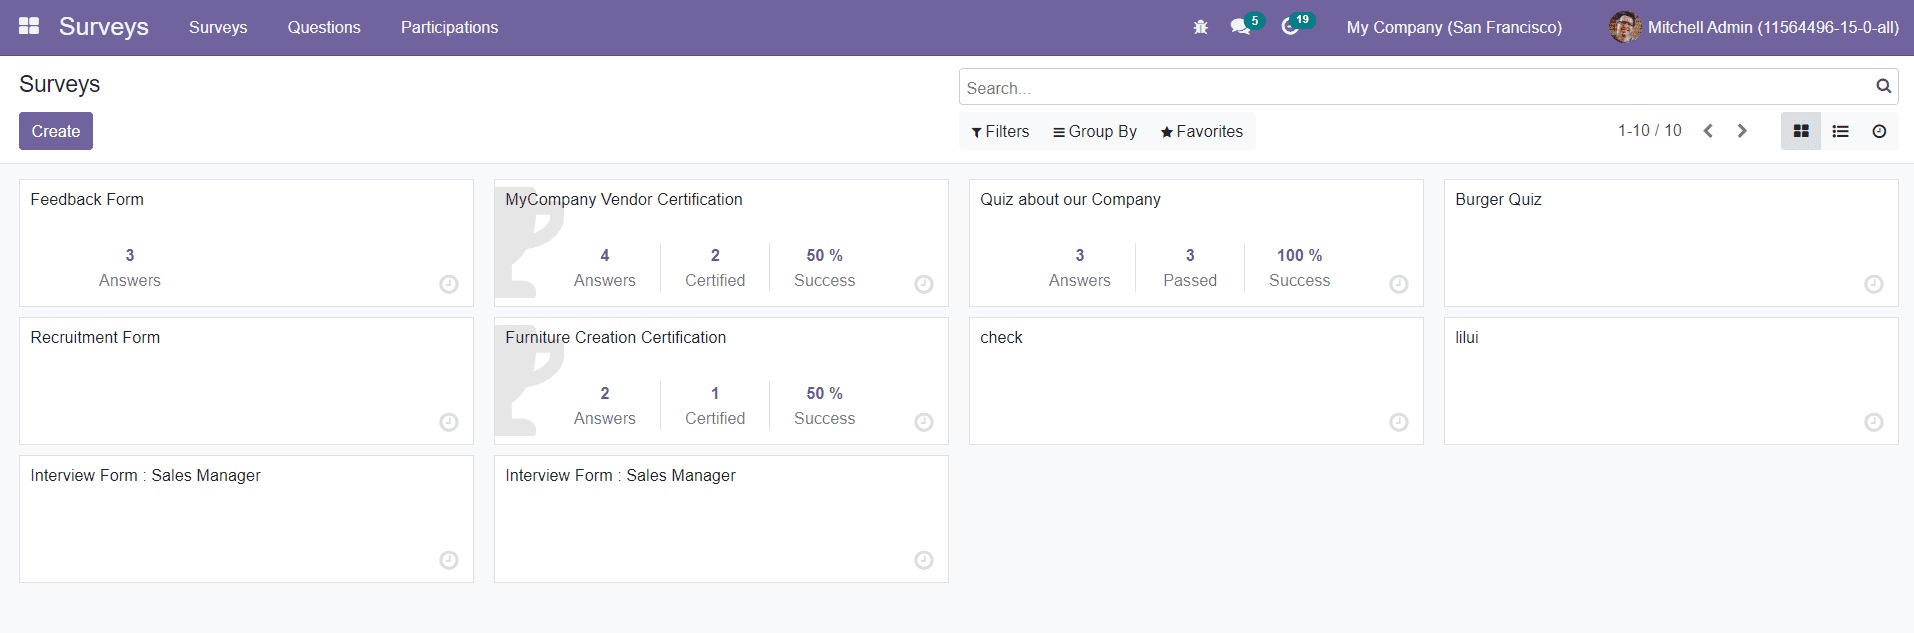
The Kanban view of this platform shows each survey separately along with its name, the number of answers recorded, certified, and success rate. You can also change the platform into List and Activity views.
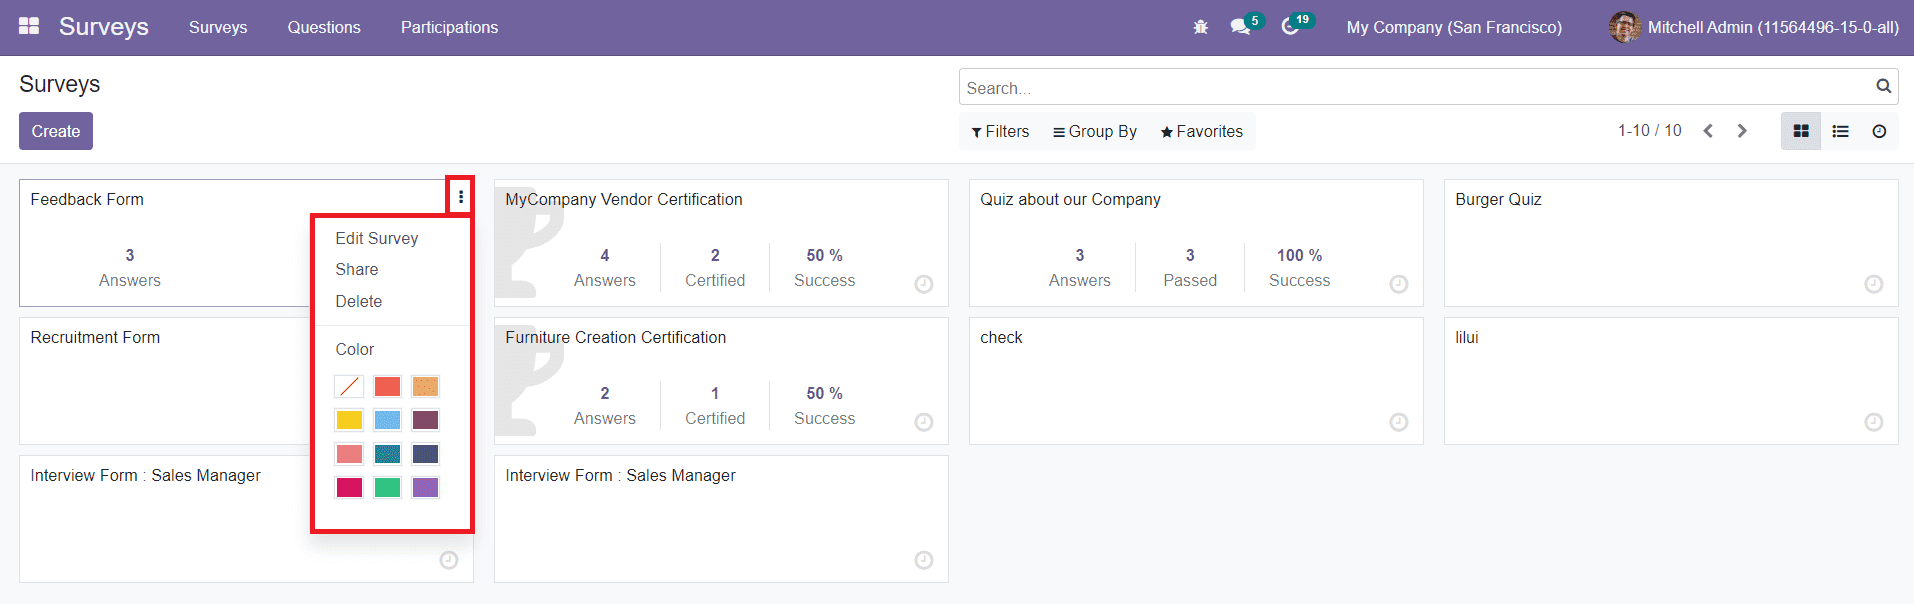
By clicking on the three vertical dots given on the top right corner of each survey, you will get the Edit, Share, and Delete options.
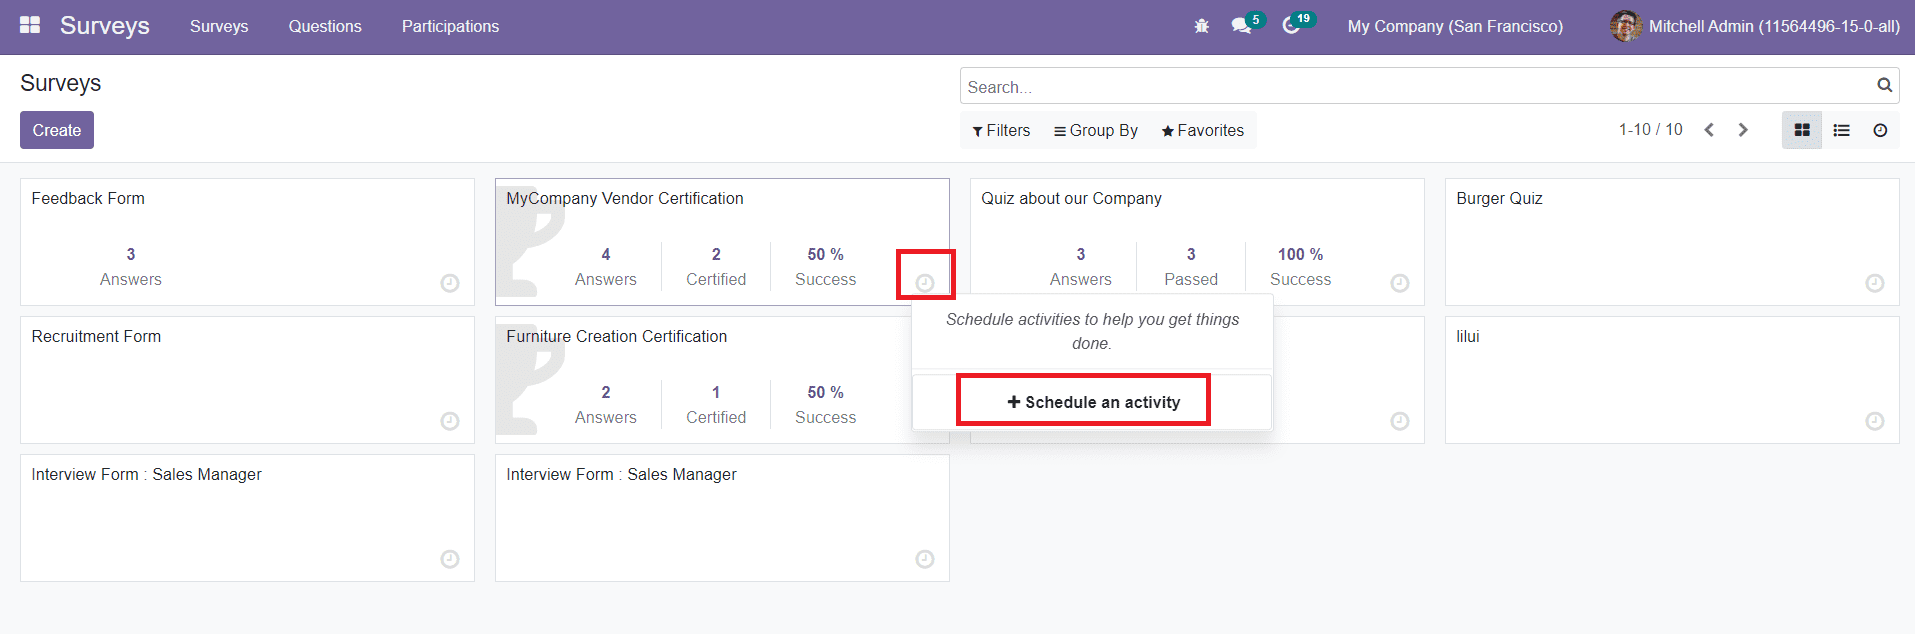
The clock icon shown in the screenshot can be used to schedule activities related to the respective survey. Now, let’s take a look at the creation of new surveys in the Odoo 15 Survey module.
To create a new survey, click on the Create button from the home dashboard.
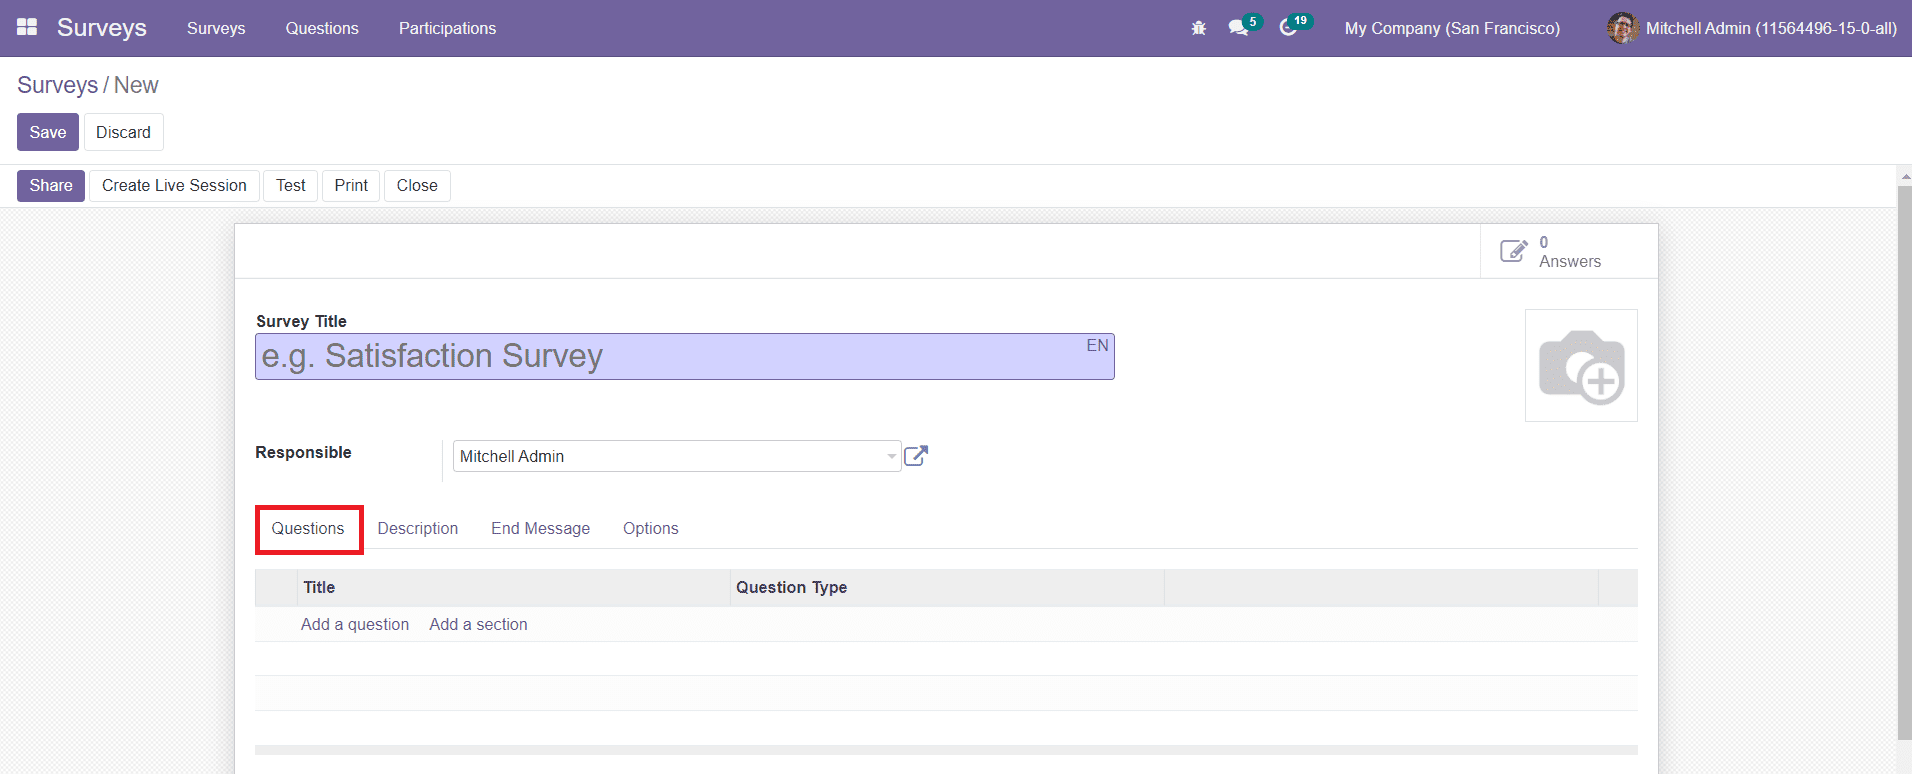
In the new survey creation window, you can give a suitable title for the survey in the Survey Title field. You can also upload an image for the survey in the specified field to make it more attractive. In the Responsible field, specify an employee who is in charge of this particular survey. Now, you can add questions for the survey in the Questions tab.
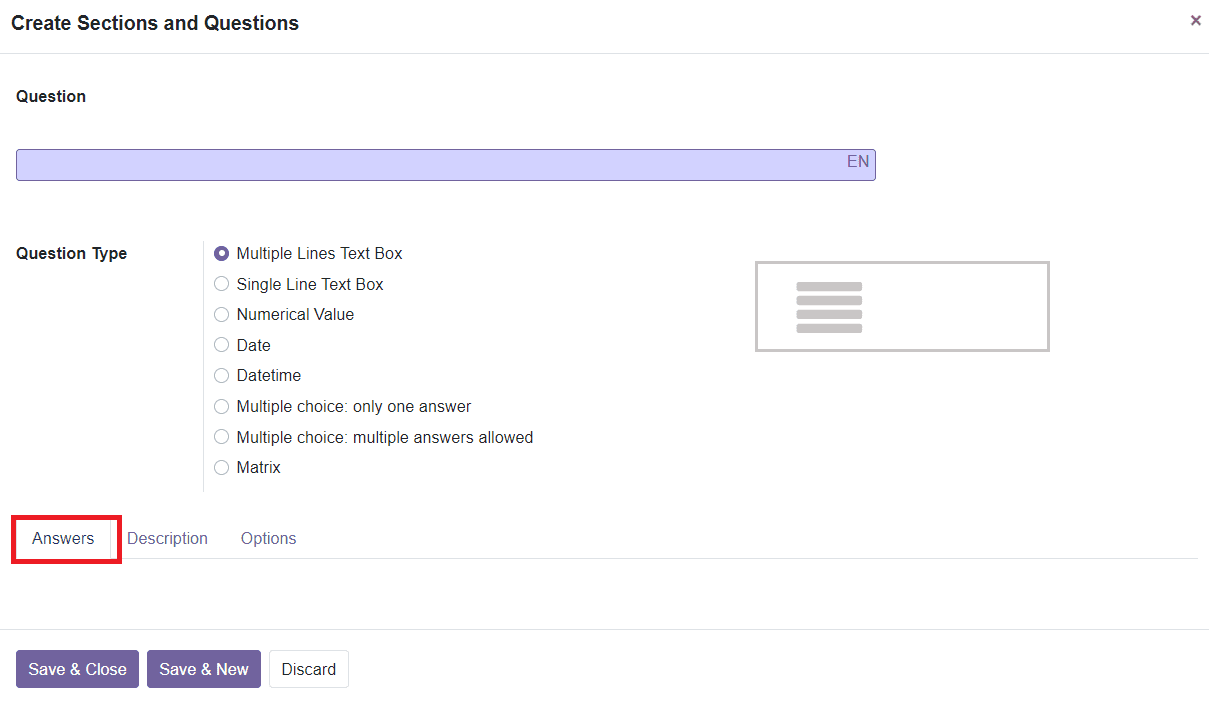
By clicking on the ‘Add a Question’ option, you will get a pop-up window as shown above. Here, you can specify the question along with the Question Type. According to the Question Type you select, the answering pattern will change. For example, by selecting the Multiple Line Text Box option, the respondent can write their response in multiple lines.
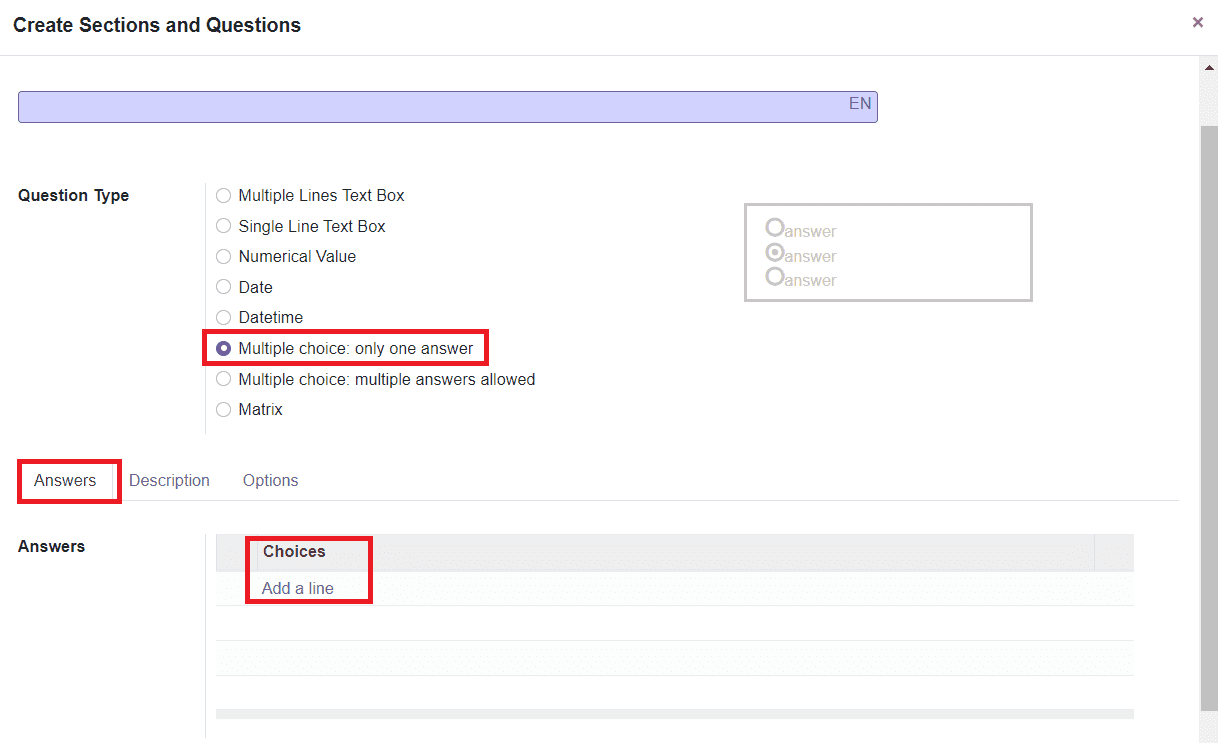
For the Multiple Choice question type, you can specify the choices under the answer tab. Similarly, you can select Single Line Text Box, Numerical Value, Date, Datetime, Multiple Choice, and Matrix as question types for your survey. Under the Description tab, you can add instructions about the questions. In the Options tab, you will get various options to define.
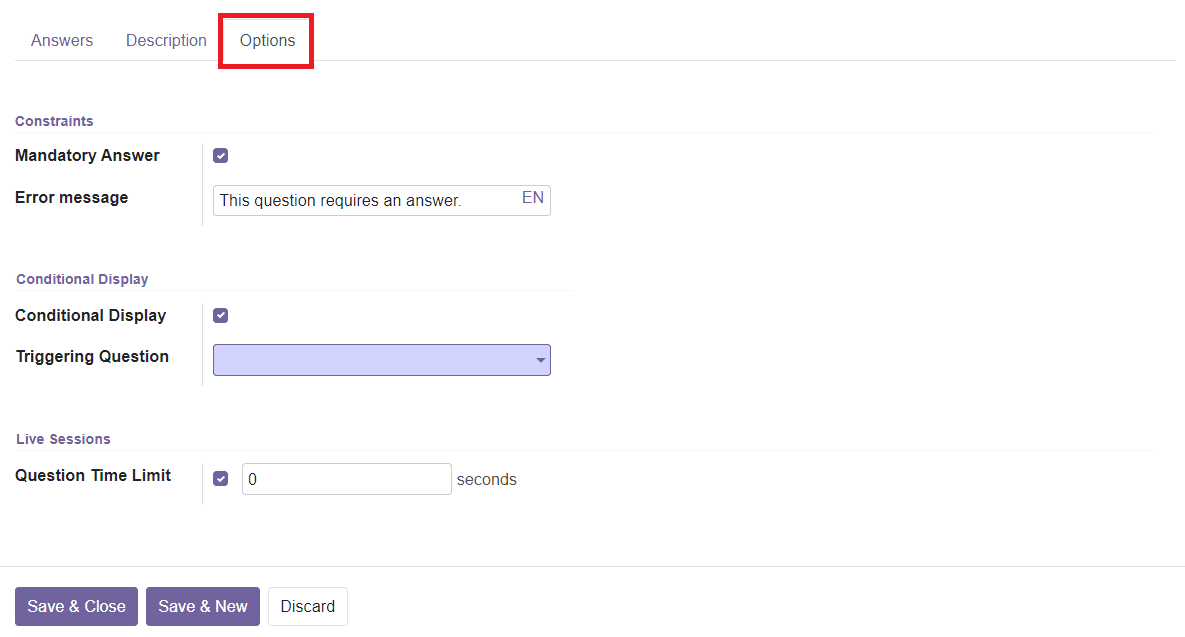
If the question requires a mandatory answer, you can activate the Mandatory Answer field. If the respondent doesn’t give an answer to this question, an error message will be sent. If the Conditional Display option is activated, this question will be displayed only if the specified conditional answer has been selected in a previous question. By activating this option, you will get the Triggering Question field where you can mention the question containing the triggering answer to display the current question. For a Live Session, you can mention the Question Time Limit in the specified field. The Options tab will display different options according to the Question Type you select.
After mentioning a question, you can click on the Save & Close button to add the question to your survey. You will get the Description tab in the survey creation window also where you can specify the instructions for the survey.
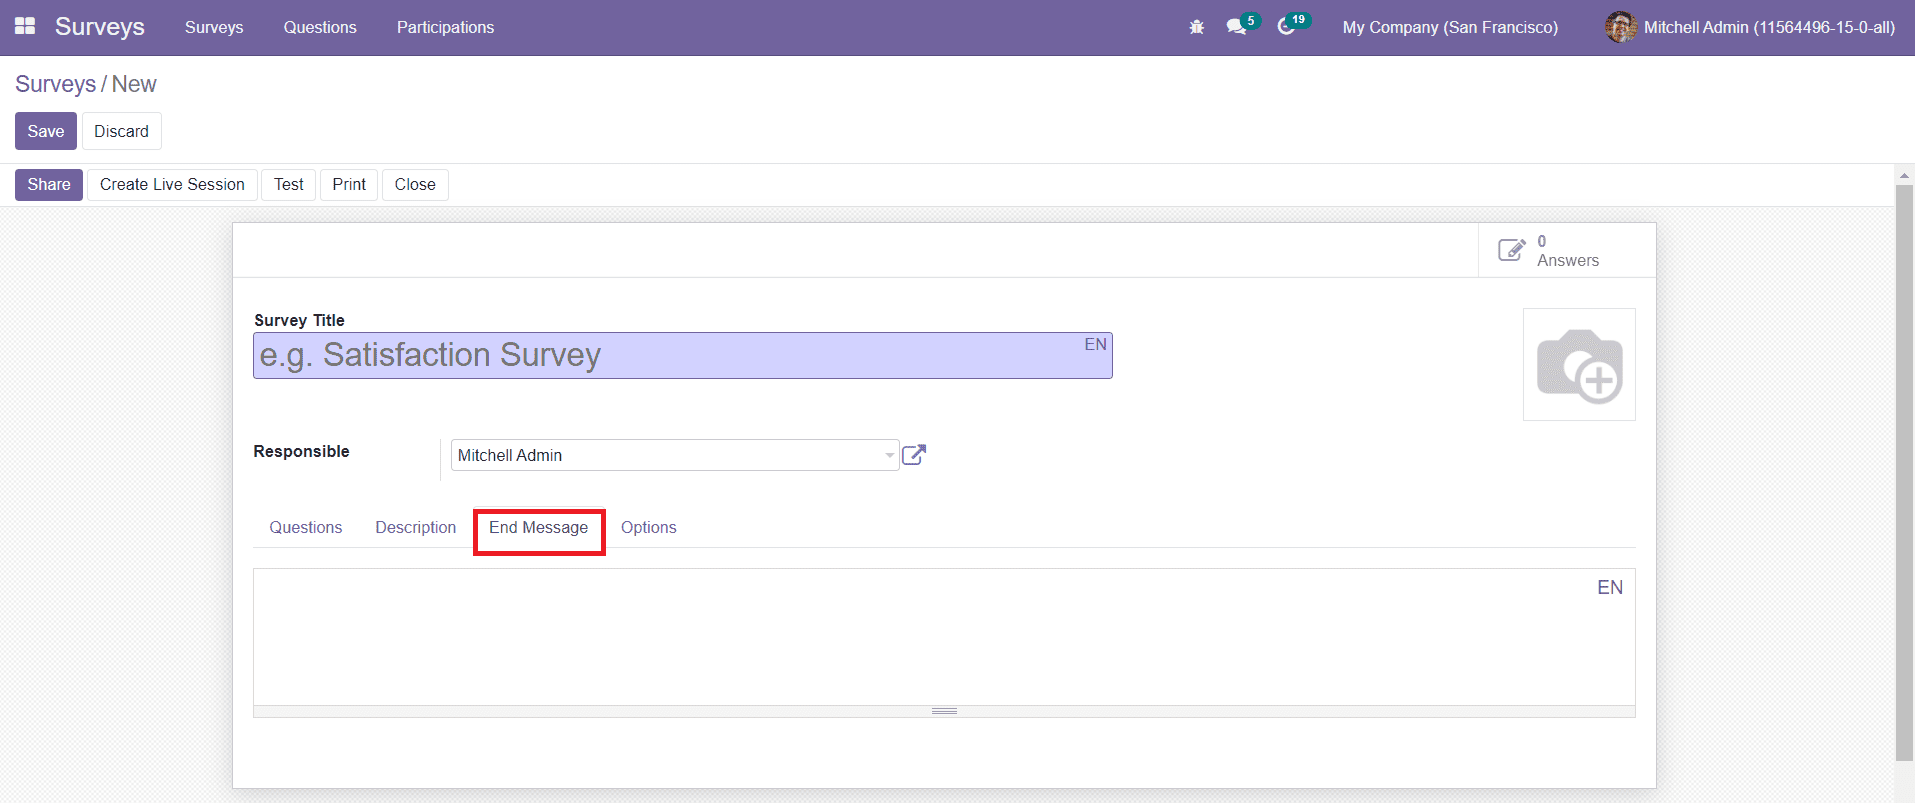
In the End Message tab, you can add a message which will show after the respondent completes the survey.
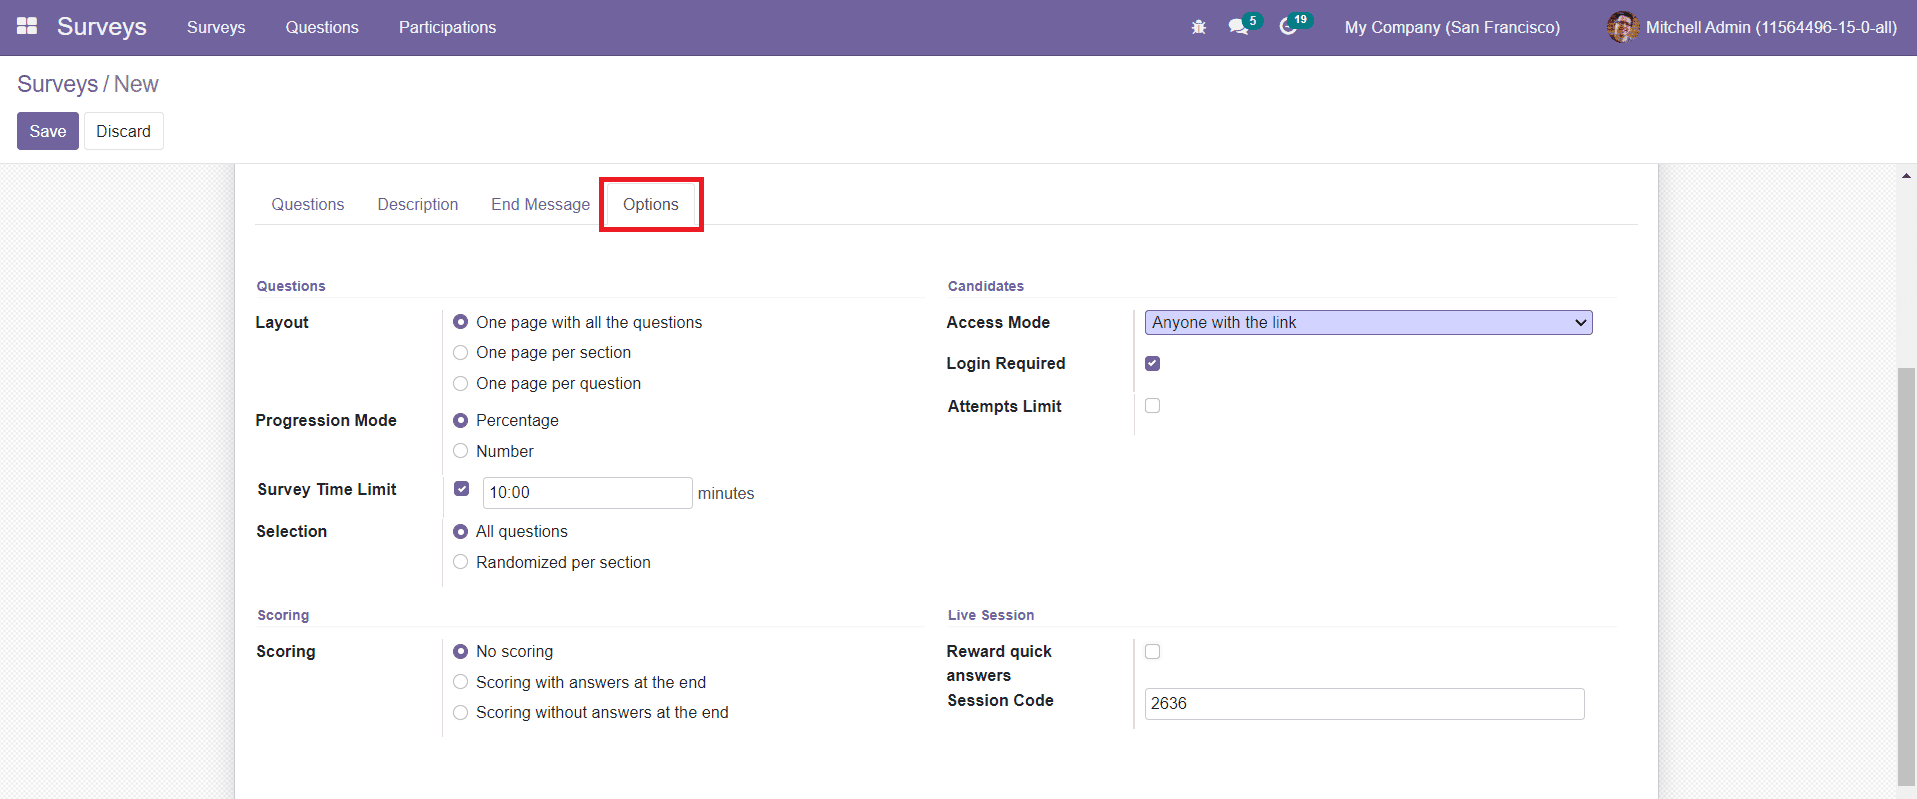
The Options tab will show various options such as Questions, Scoring, Candidates, and Live Session to define. You can select the Layout of the survey as one page with all the questions, one page per section, or one page per question. The Progression Mode of the survey can be set as Percentage or Number. If the Number option is selected, it will show the number of questions answered on the total number of questions to answer. Similarly, the Percentage option will show the percentage of questions attended. By enabling the Survey Time Limit, you can specify the time allowed for completing the survey. In the Scoring field, you can allow scoring with answers at the end or scoring without answers at the end. Or else, you can also set the No Scoring option for this survey.
In the Candidates Access Mode field, you can allow anyone with the survey link to attend the survey. You can limit the survey to invited people only by selecting the respective option from this field. If the Login Required field is activated, the user has to login before answering even with a valid token. You can activate the Attempts Limit option if you want to limit the number of attempts per user. The Reward Quick Answers can be activated to reward the attendees for their quick responses in live sessions. The Session Code displayed in the Live Session field will be used by your attendees to reach your session.
After completing all fields, you can click on the Save button to save the survey.
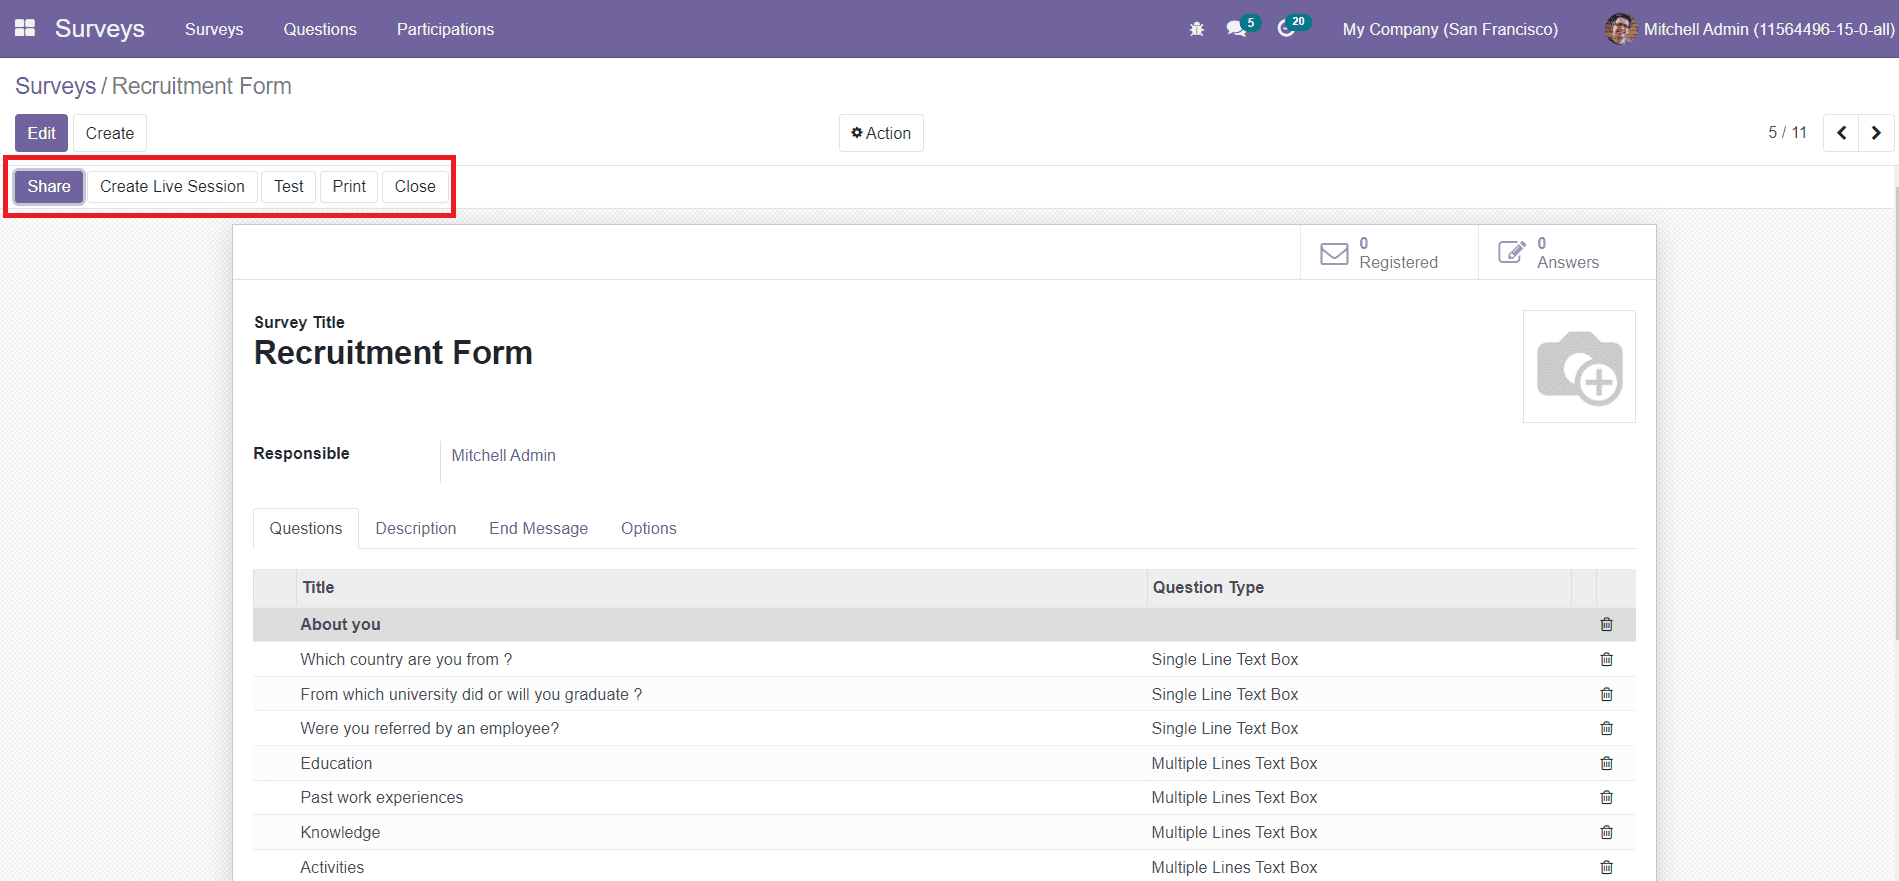
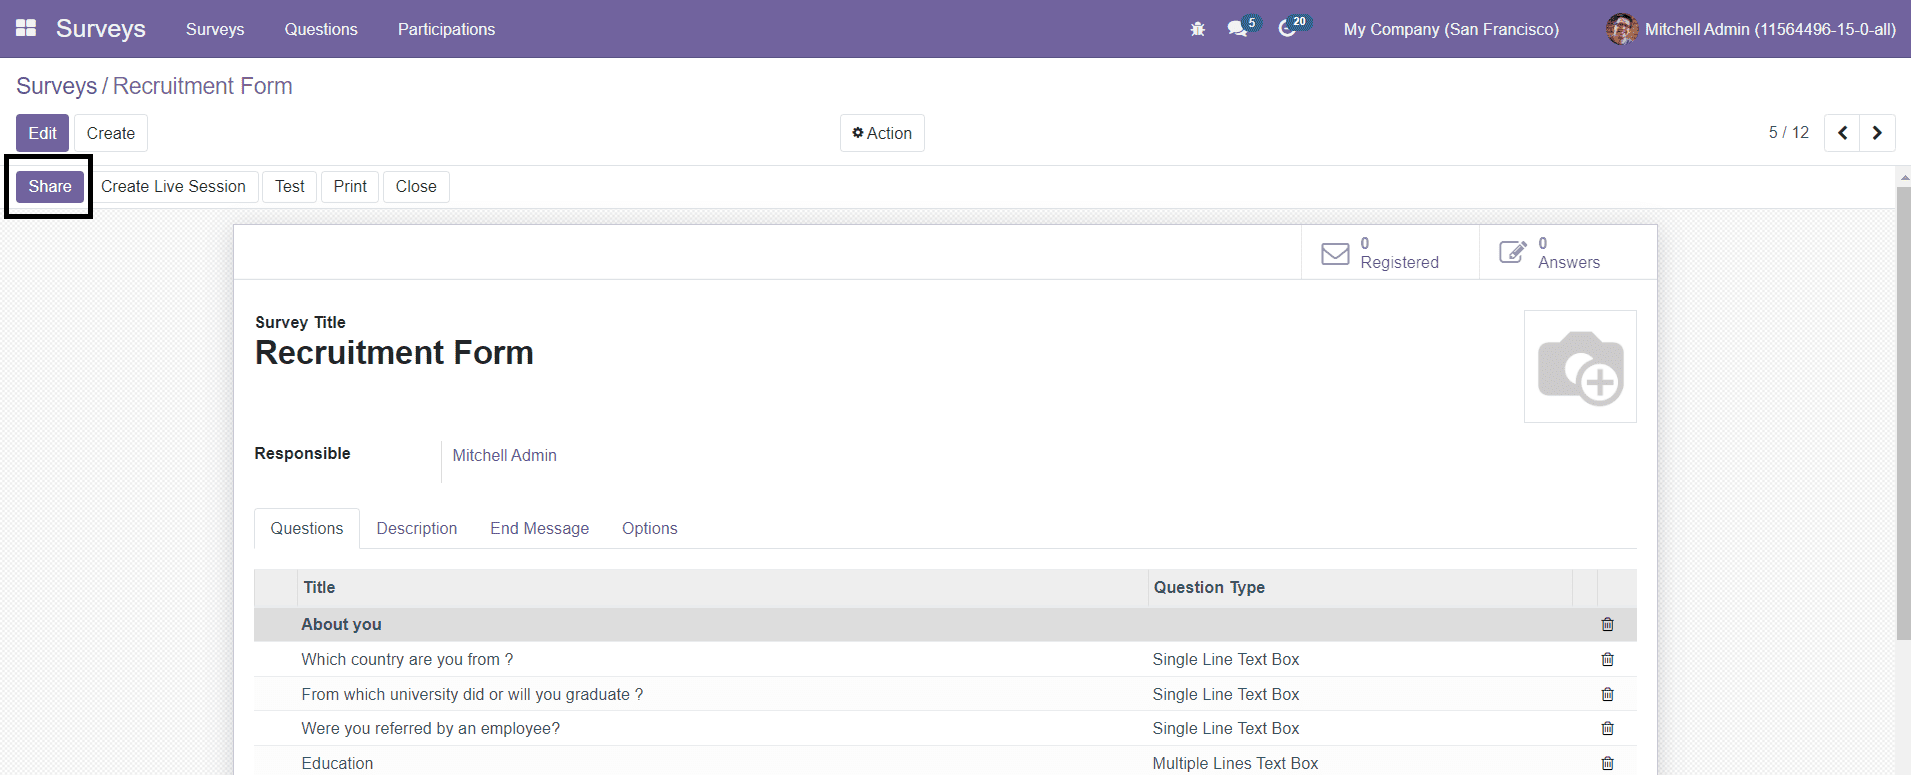
You will get the Share, Create Live Session, Test, Print, and Close buttons on the screen as shown in the image above. Before starting the actual survey, you can use the Test button to test the survey.
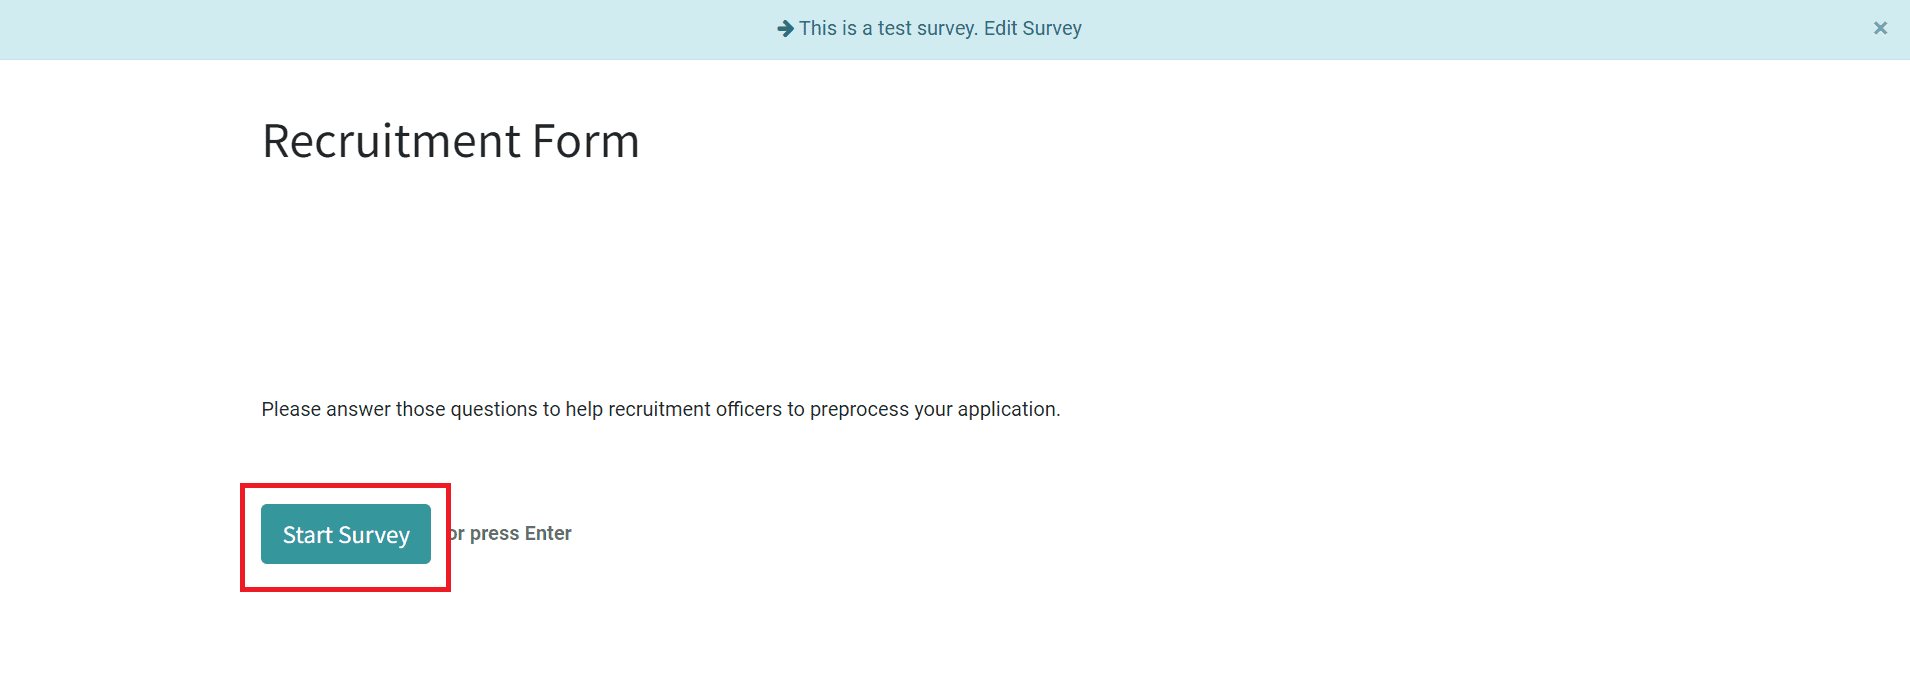
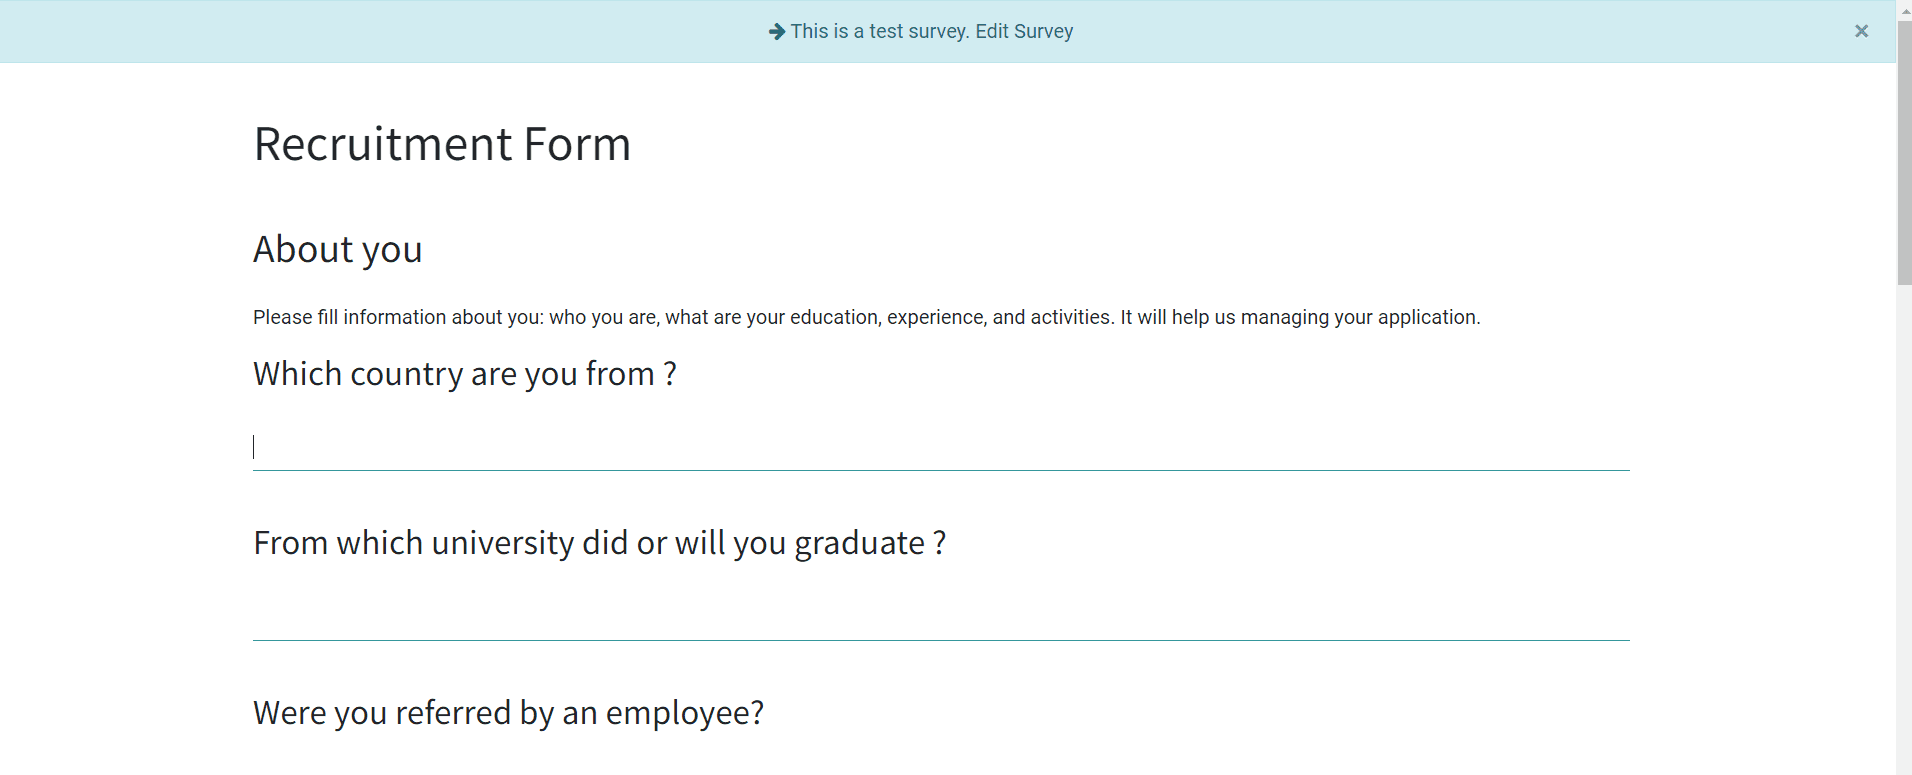
You can click on the ‘Start Survey’ button to start testing the survey. You can check the accuracy of each question by testing the survey.
After completing the survey, you can click on the Submit button.
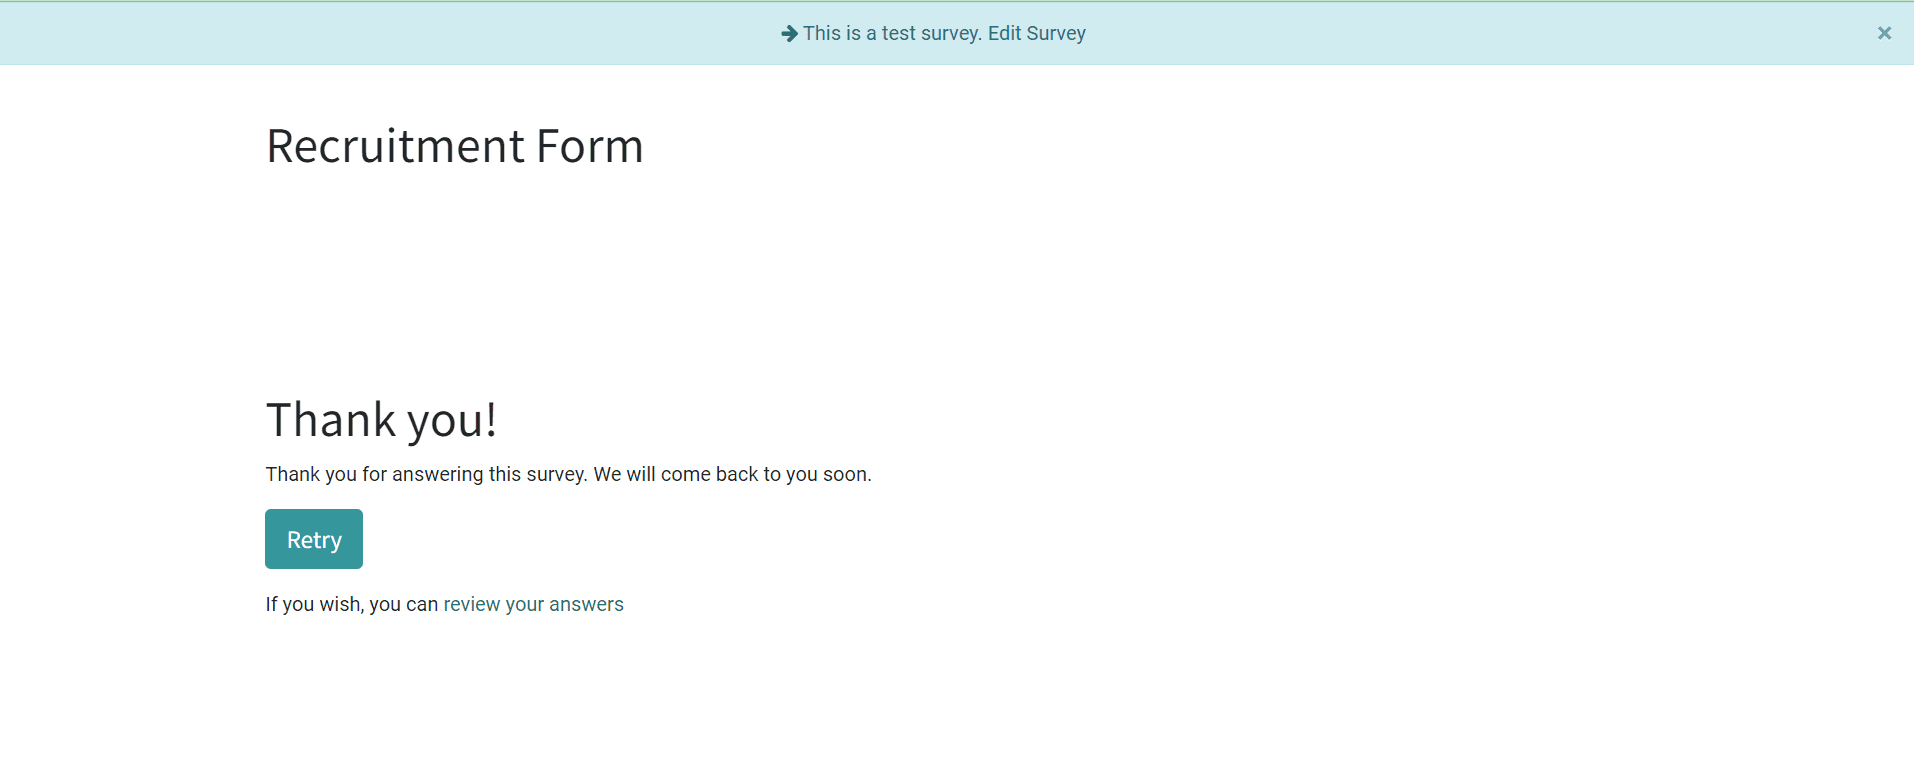
The window will show the Retry option to attempt the survey again and an option to review your answers. After completing testing, you can share the survey using the Share button.
By clicking on the Share button, you will get a pop-up window as shown below.
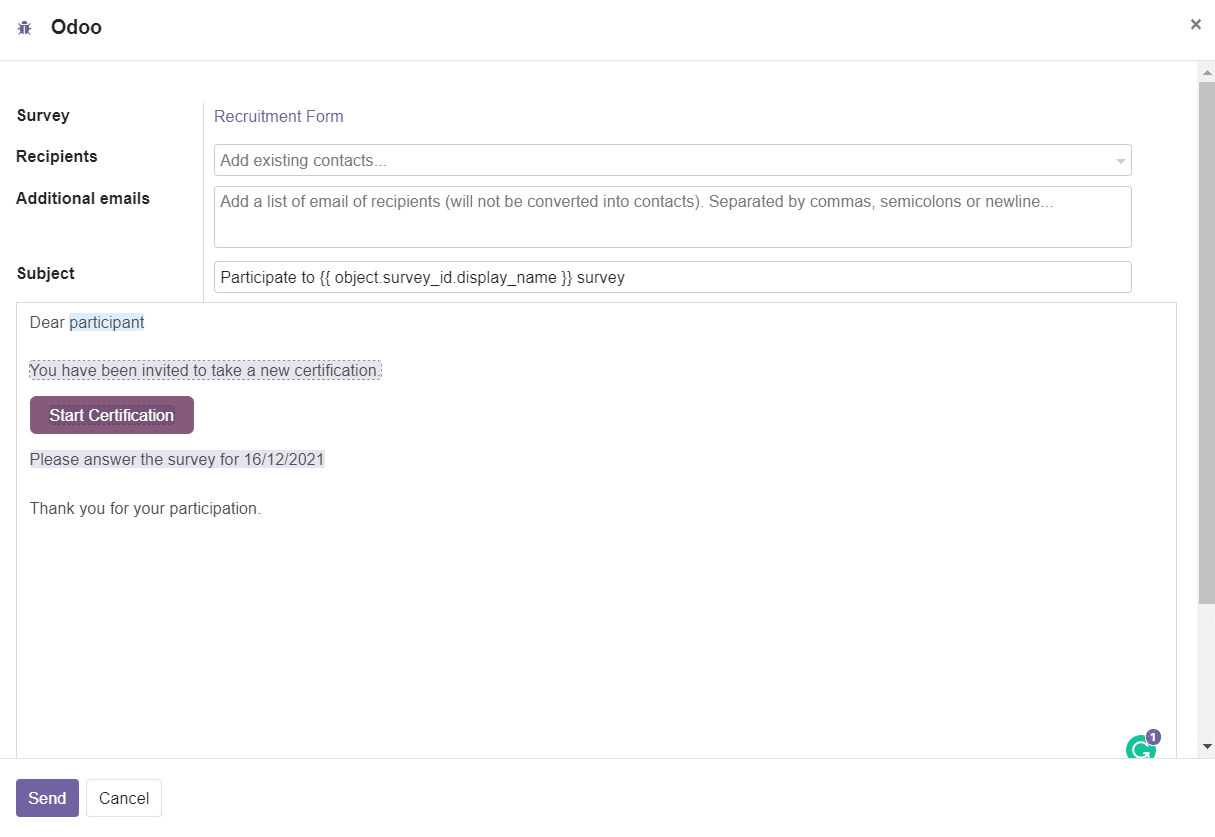
You can add Recipients and Additional Emails in the specified fields. You will also get options to add attachments and specify the Answer Deadline date on this window. Now, click on the Send button to send invitation mail to participate.
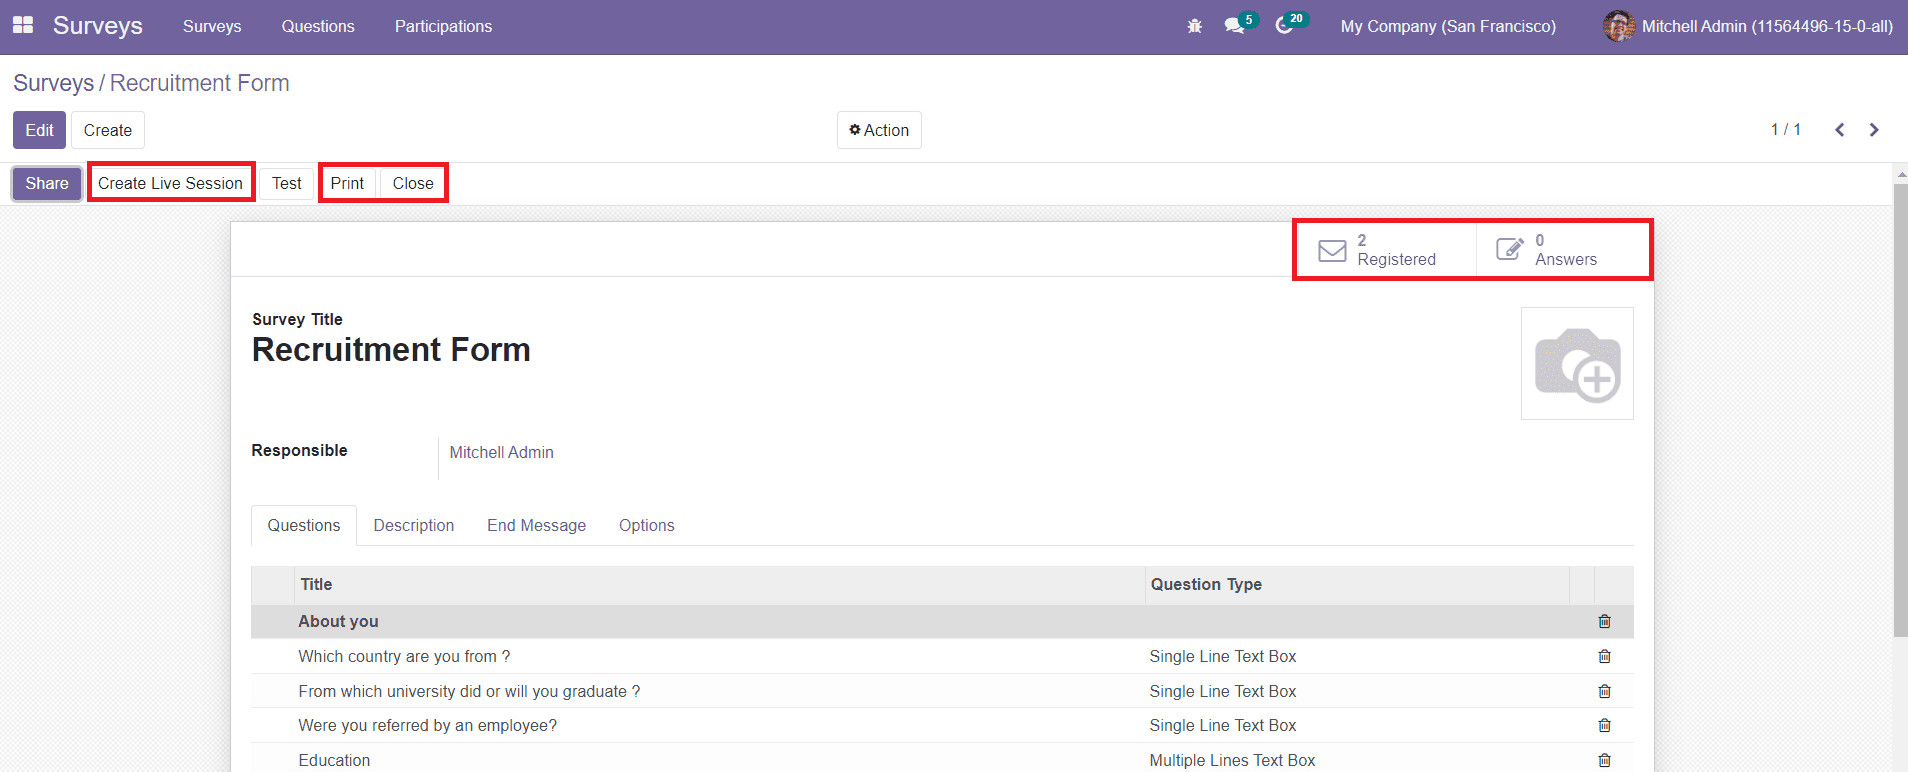
After sending invitation mails, you will get a new field on the smart tab which will show the details of the responses from the registered mails. The Answers button in the smart tab will record the responses from participants.
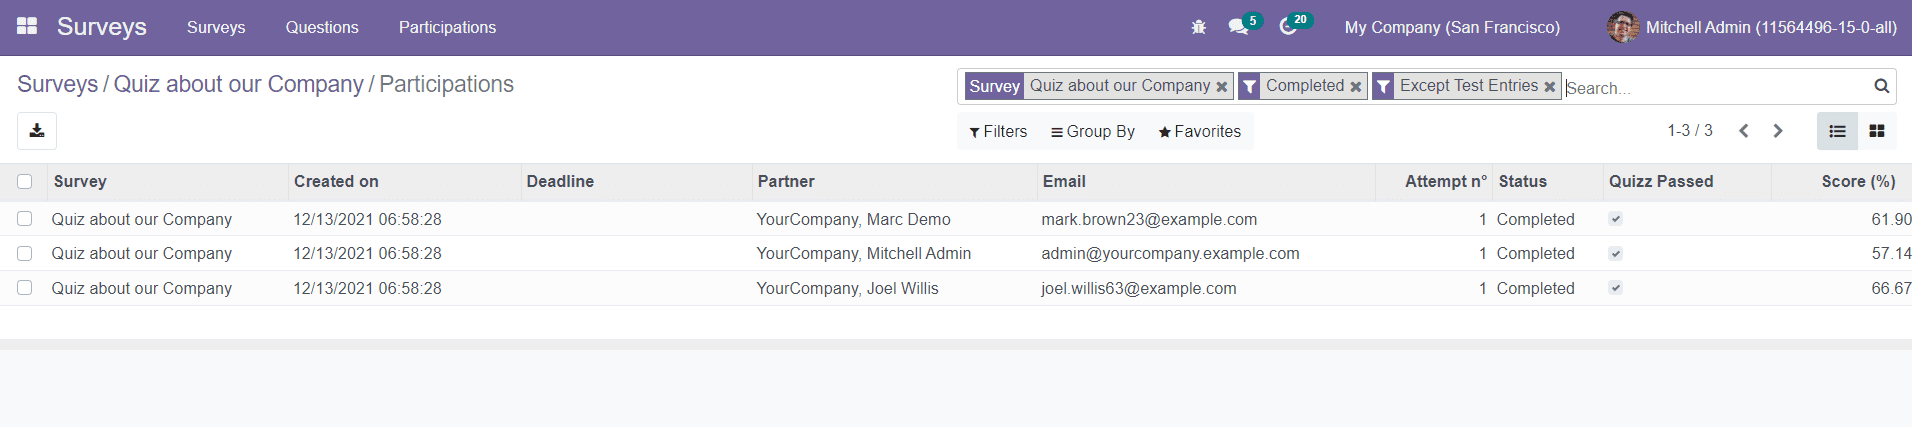
You will get the name of the Survey, Created on, Deadline, Partner, Email, Number of Attempts, Status, Quiz Passed, and Score of each participant on this window. To get their responses, you can click on the respective one.
Now, the Print button can be used to take a printout of the survey. You can close or end the survey by clicking on the Close button.
To start a live session for this survey, you can use the Create Live Session button.
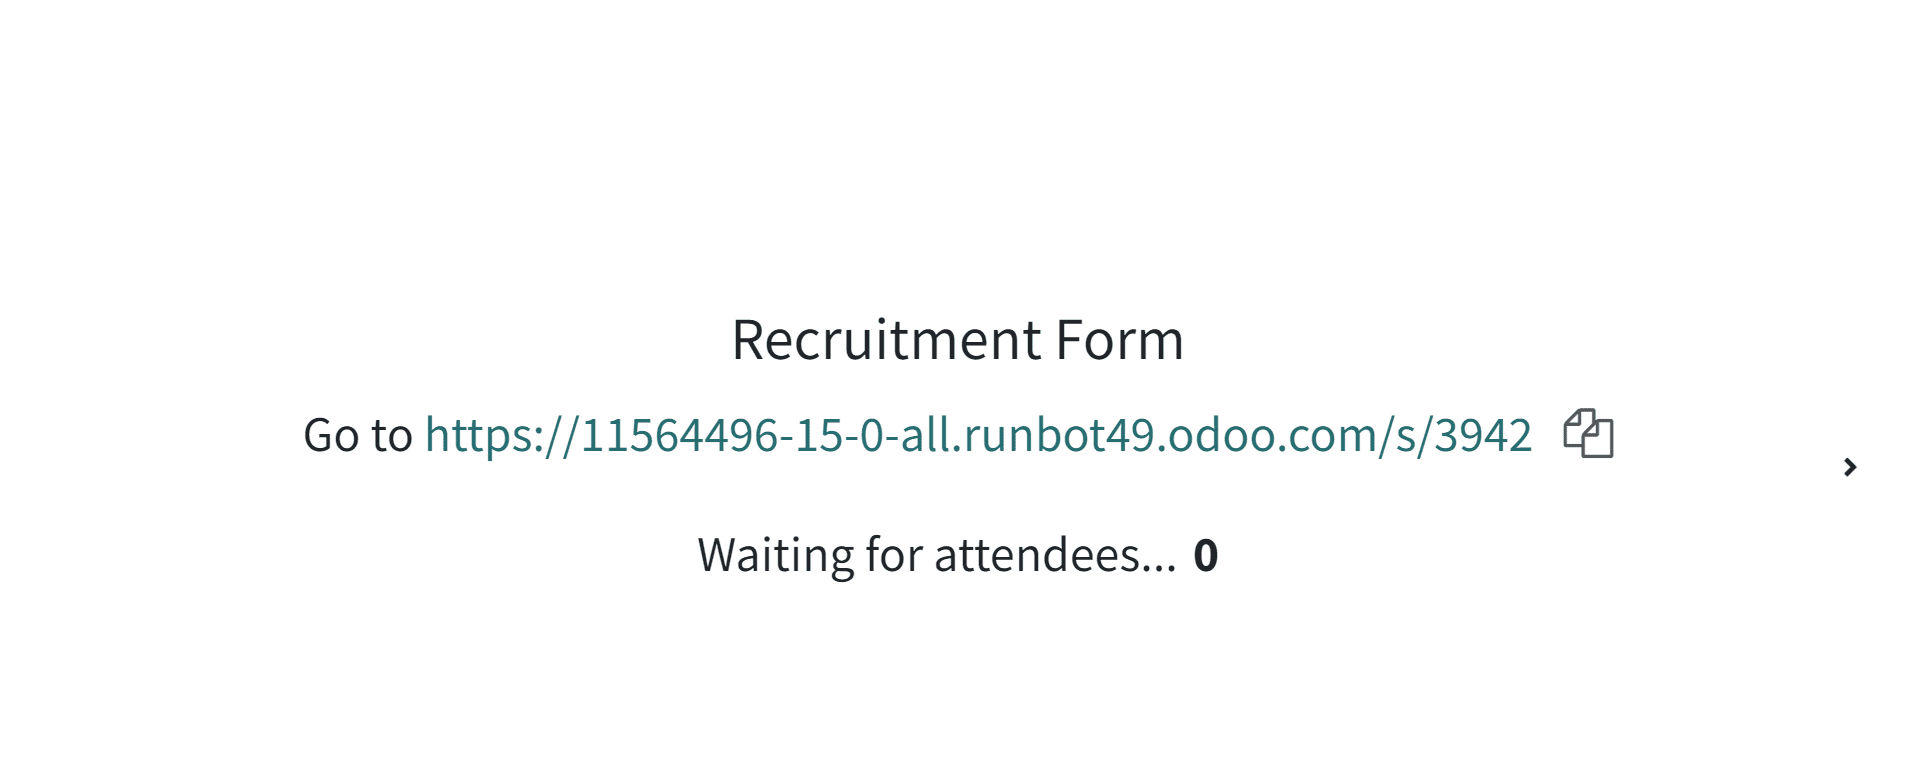
Using this option, you can start a live session with your attendees. You will get the See Result option on the screen after some attendees submit their answers.
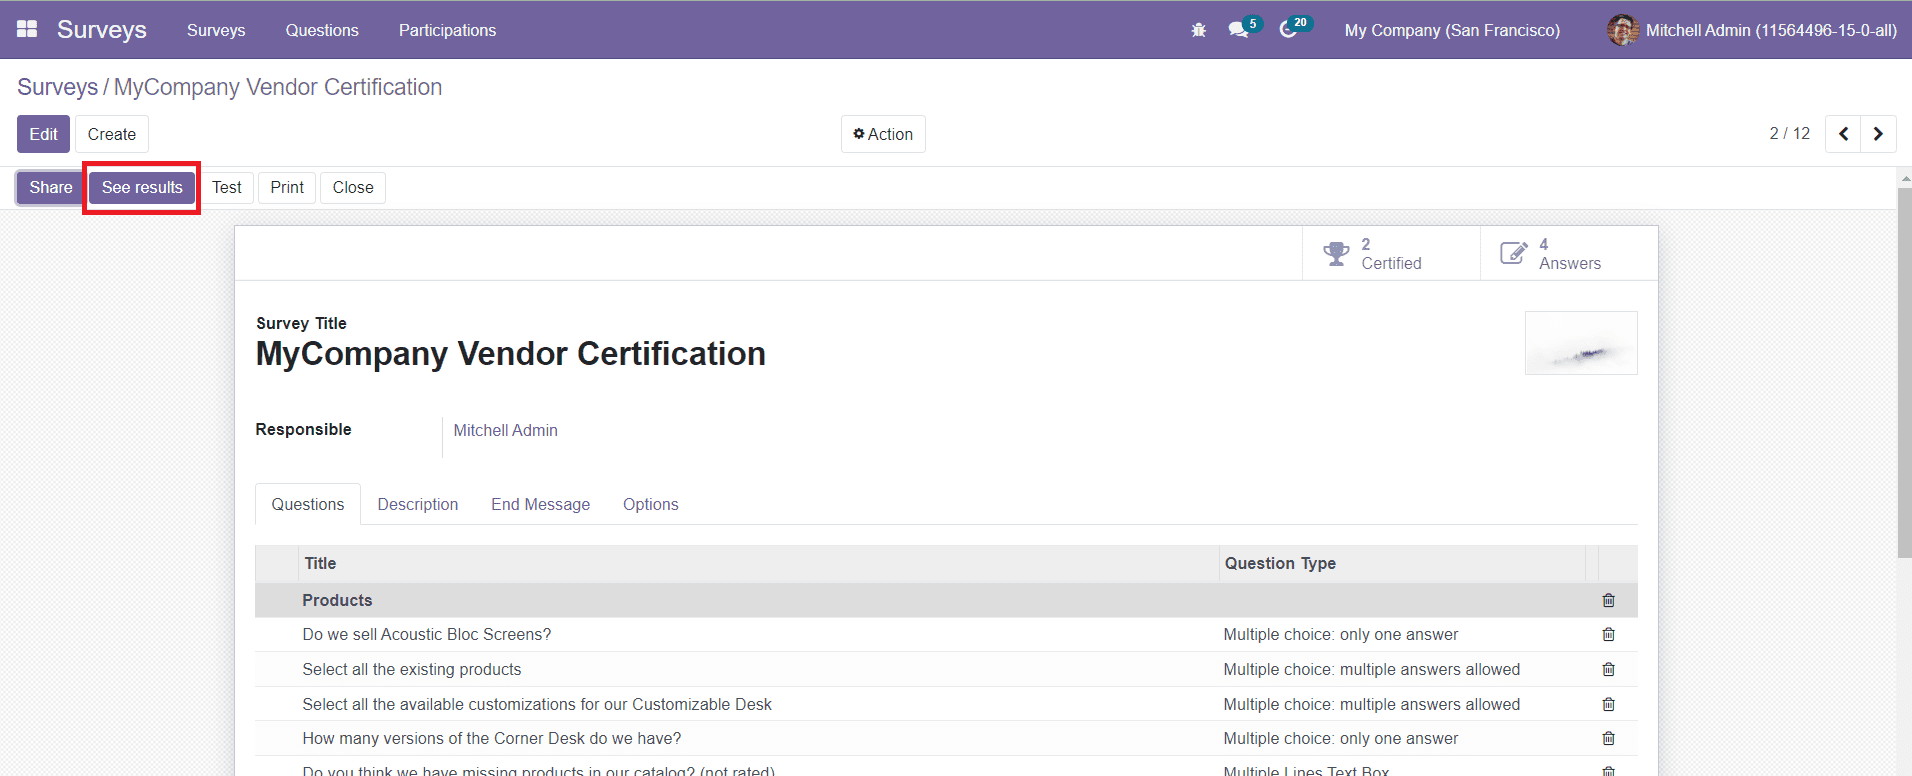
This button will lead you to a new window where you will get the results of the survey.
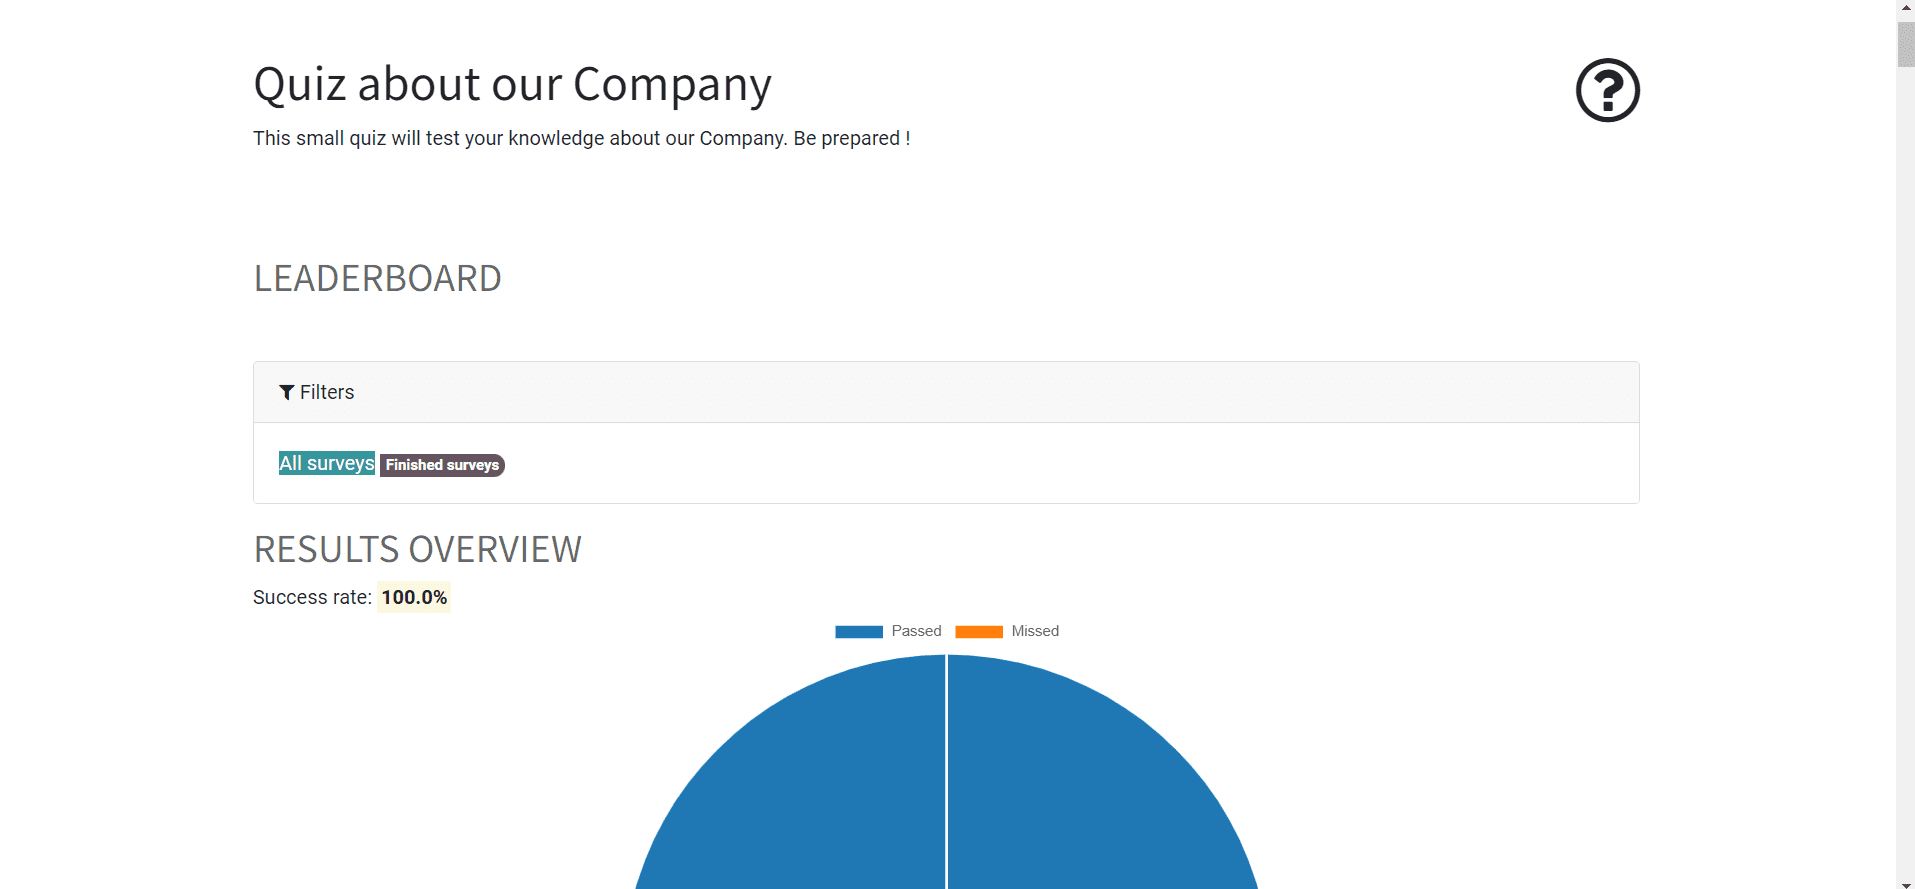

This is how we create and manage online surveys in the Odoo 15 Survey module.