Repair Orders
In the Repair module, you can create Repair Orders for the products which are completely or partially damaged. When you open this module, you will land on the platform which contains the Repair Orders created in this module. As you can see in the image below, the window can be viewed in Kanban, List, Pivot, and Graphical views.

The list of the Repair Orders will display the Repair Reference, Scheduled Date, Product to Repair, Customer, Delivery Address, Warranty Expiration, Sale Order, Company, and Status of the Repair Orders. You will get a Star icon on the left side of each Repair Order which can be used to add the respective Orders to your favorites. You will also get Filters and Group By options on this window to get the required Repair Order.
In order to create a new Repair Order, you can use the ‘Create’ button. By clicking this button you will get a new Repair Order creation window where you can add details about the Order.
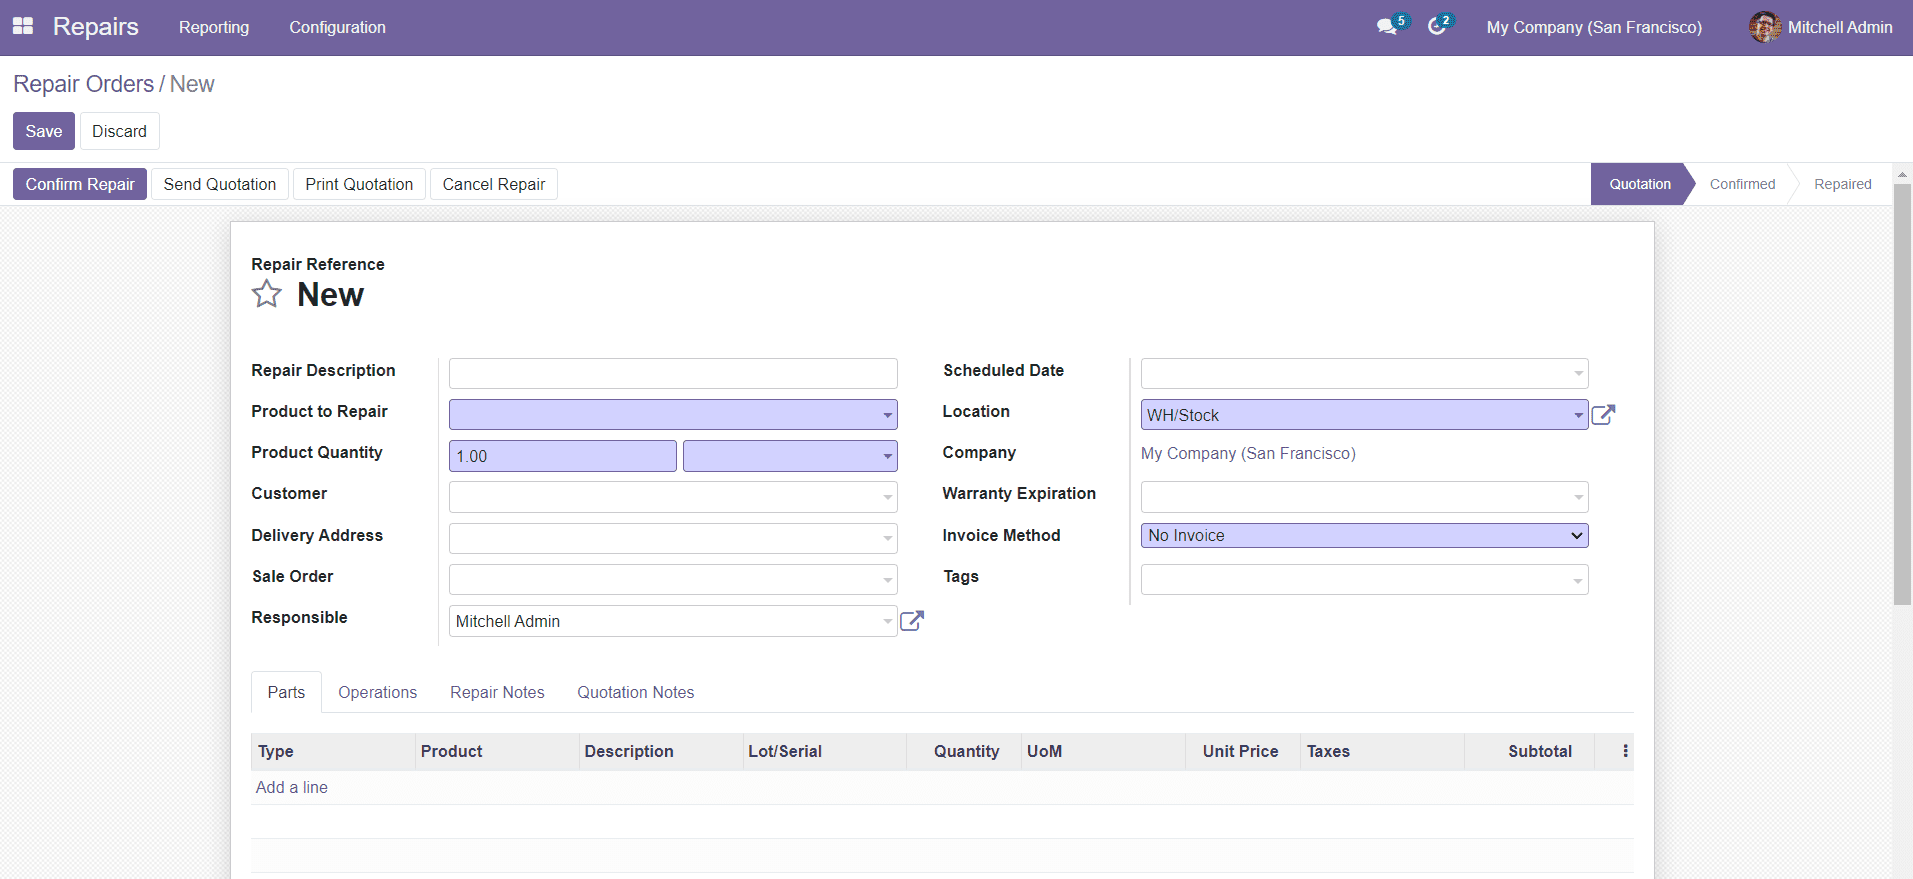
In the Repair Description field, add a brief description of the repair. You can add the damaged product which requires repairing in the Product to Repair section and mention the quantity of the particular product in the Product Quantity section. You can add the Customer to whom the Order will be invoiced and delivered. Specify the Delivery Address, Sales Order from which the Product to be repaired comes, and Responsible officer for this particular Repair Order in the corresponding fields.
You can schedule a specific date for the repairing activities in the Scheduled Date section. Mention the Location of the product, Company, and Warranty Expiration date. In the Invoice Method field, you can select No Invoice, Before Repair, or After Repair. We will discuss each of these options in detail later in this chapter. In the Tags field, you can configure suitable Tags for the Repair Order.
In the Parts tab, you can specify the Product Parts which are meant to be added or removed from the product in order to solve the damage.
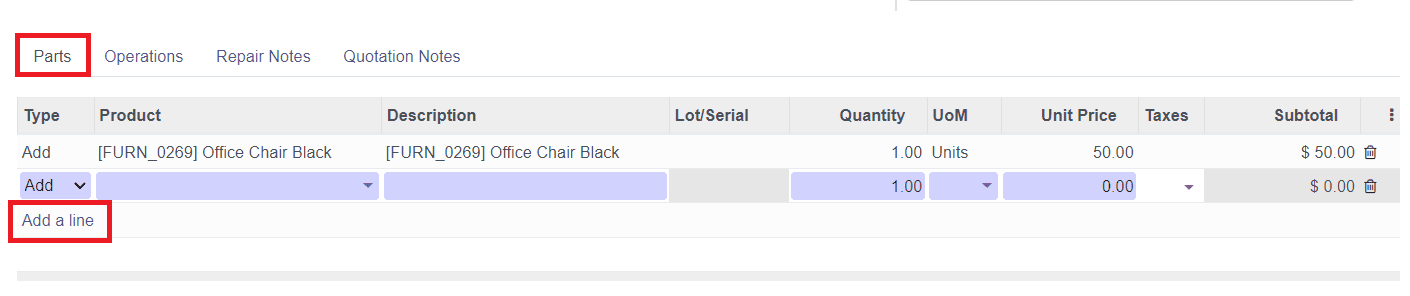
Using the ‘Add a Line’ option you can mention the Type, Product, Description, Quantity, UoM, Unit Price, and Taxes.
You can describe the Operations used for solving the damages in the Operations tab.

The Extra Info tab will show the products move from stock in the Move field. This tab will also show whether Repaired or not, and Invoiced or not in the respective fields.

In the Repair Notes, Odoo will allow you to add descriptions and instructions about the repairing works of the particular product.

The notes about the Quotation Order can be added under the Quotation Notes.

Now, let’s discuss the different Invoice Methods available for the Repair Orders in this module.
Invoice Methods for Repair Order
While selling a product to the customers most of the manufactures will offer a service or repair facility for the product they sell. For certain products, the company will offer a warranty that will offer free service or repair for a limited period of time. After crossing the limit the customer should pay for the services that the company provides. During the free service period, there is no need to generate an invoice but for the paid service period, it is important to generate an invoice.
Generally, you can generate invoices before and after the repairing works. The repairing charge may vary according to the degree of damages that happened to the product. Sometimes, you may have to purchase product parts to repair the product and you have to alert the customer about these extra charges by generating an invoice before repair. If there is no replacement needed for the product parts, you can easily generate an invoice after repair.
The Odoo Repair module will allow you to easily generate Repair Invoices. Using the Invoice Method given in the new Repair Order creation window, you can create invoices according to the types of invoices you selected and complete the payment procedure without any confusion.
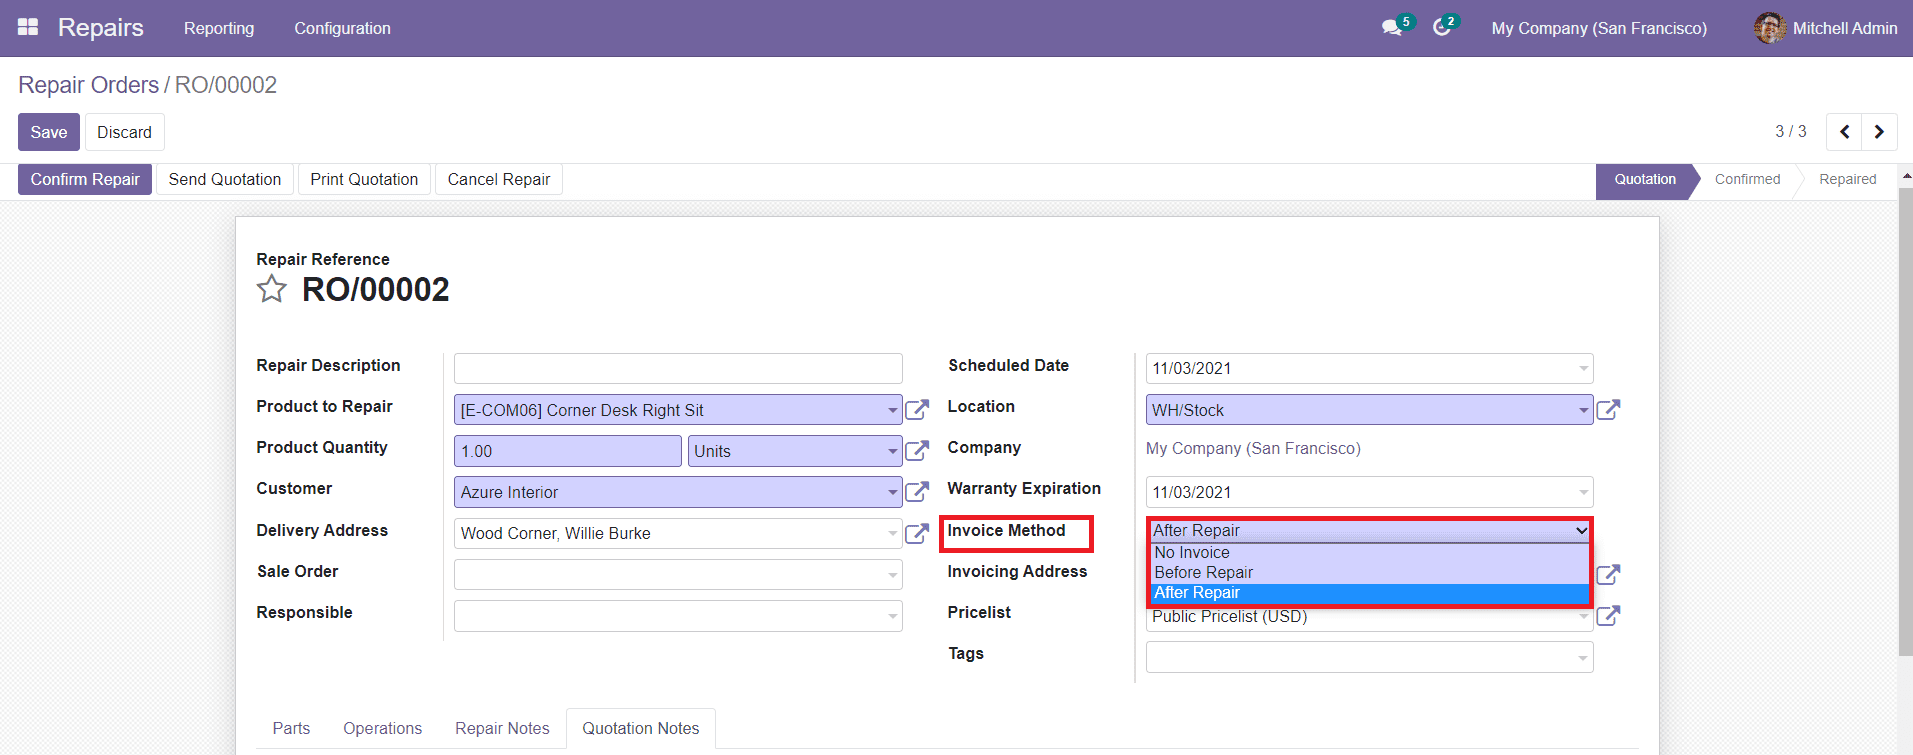
As you can see in the image given above, you will get three types of Invoice methods.
- No Invoice
- Before Repair
- After Repair
No Invoice
If the company is providing a free service offer for the selected products, then there is no need to generate any Repair Invoices. After completing all required fields in the Repair Order creation window, you can select the Invoice Method as ‘No Invoice’.
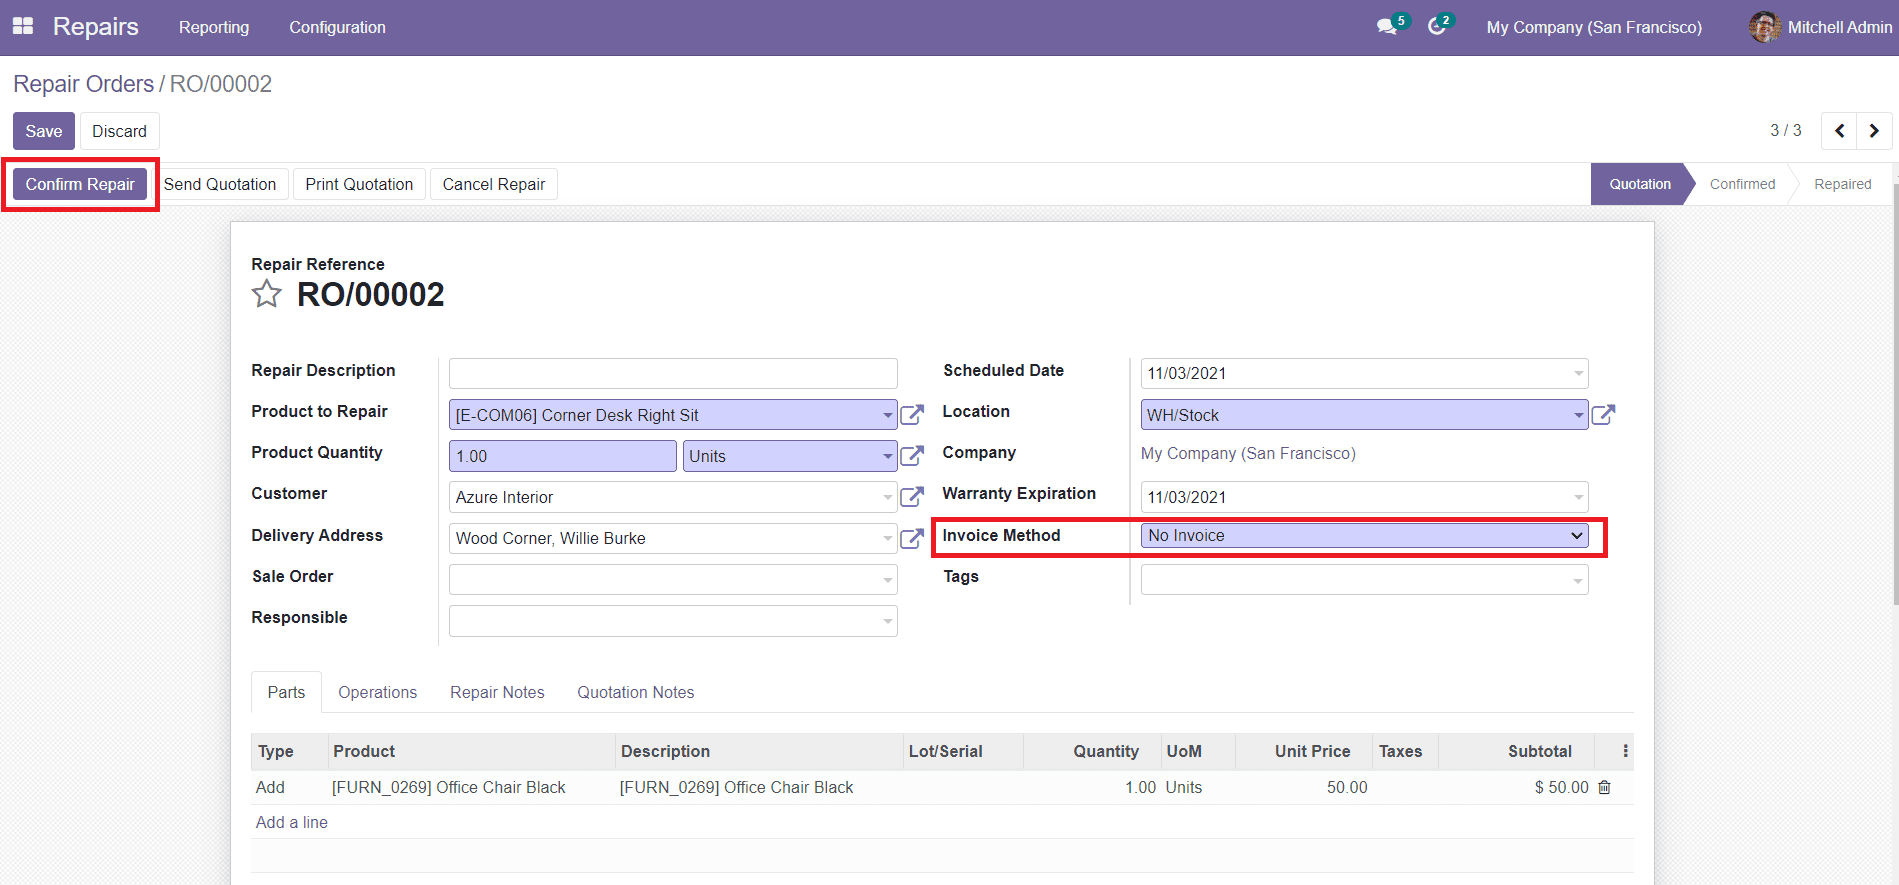
Now, you can confirm the Repair Order by clicking the ‘Confirm Repair’ option as shown in the screenshot above. By clicking this option, your order will be confirmed and the status will be changed from Quotation to Confirmed.
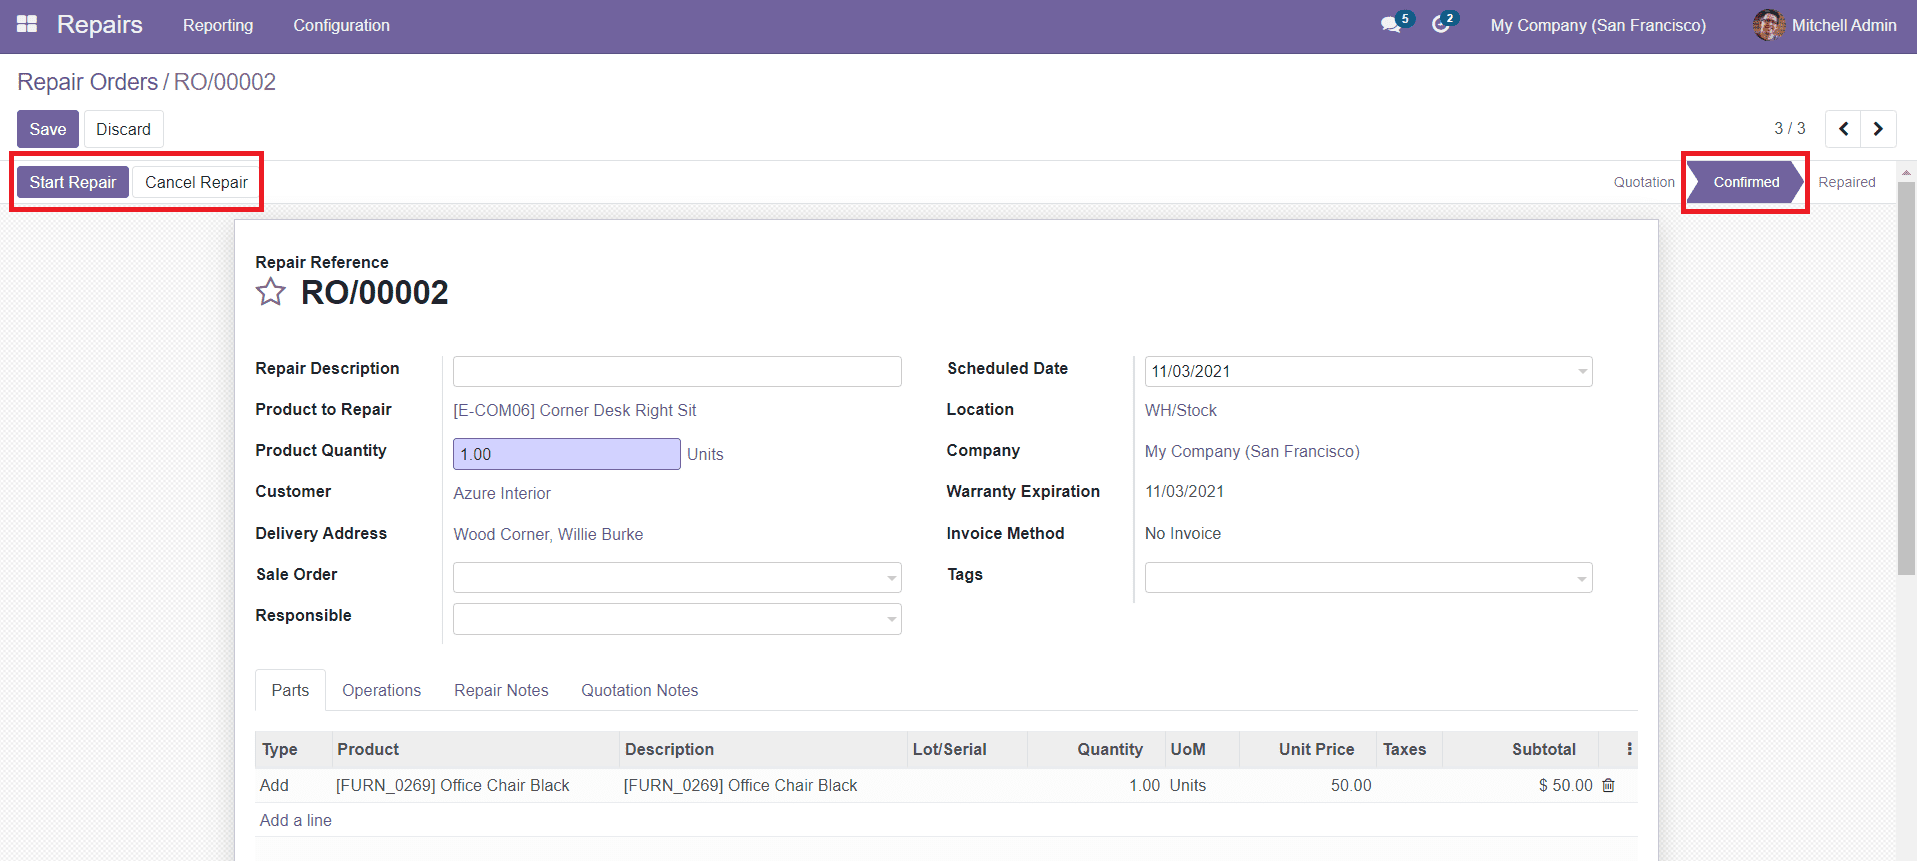
You can click the ‘Start Repair’ button when you start the repairing process. You can use the ‘Cancel Repair’ to cancel the particular repair. By clicking the Start Repair option, the status of your repair will be displayed as ‘Under Repair’ as shown below.
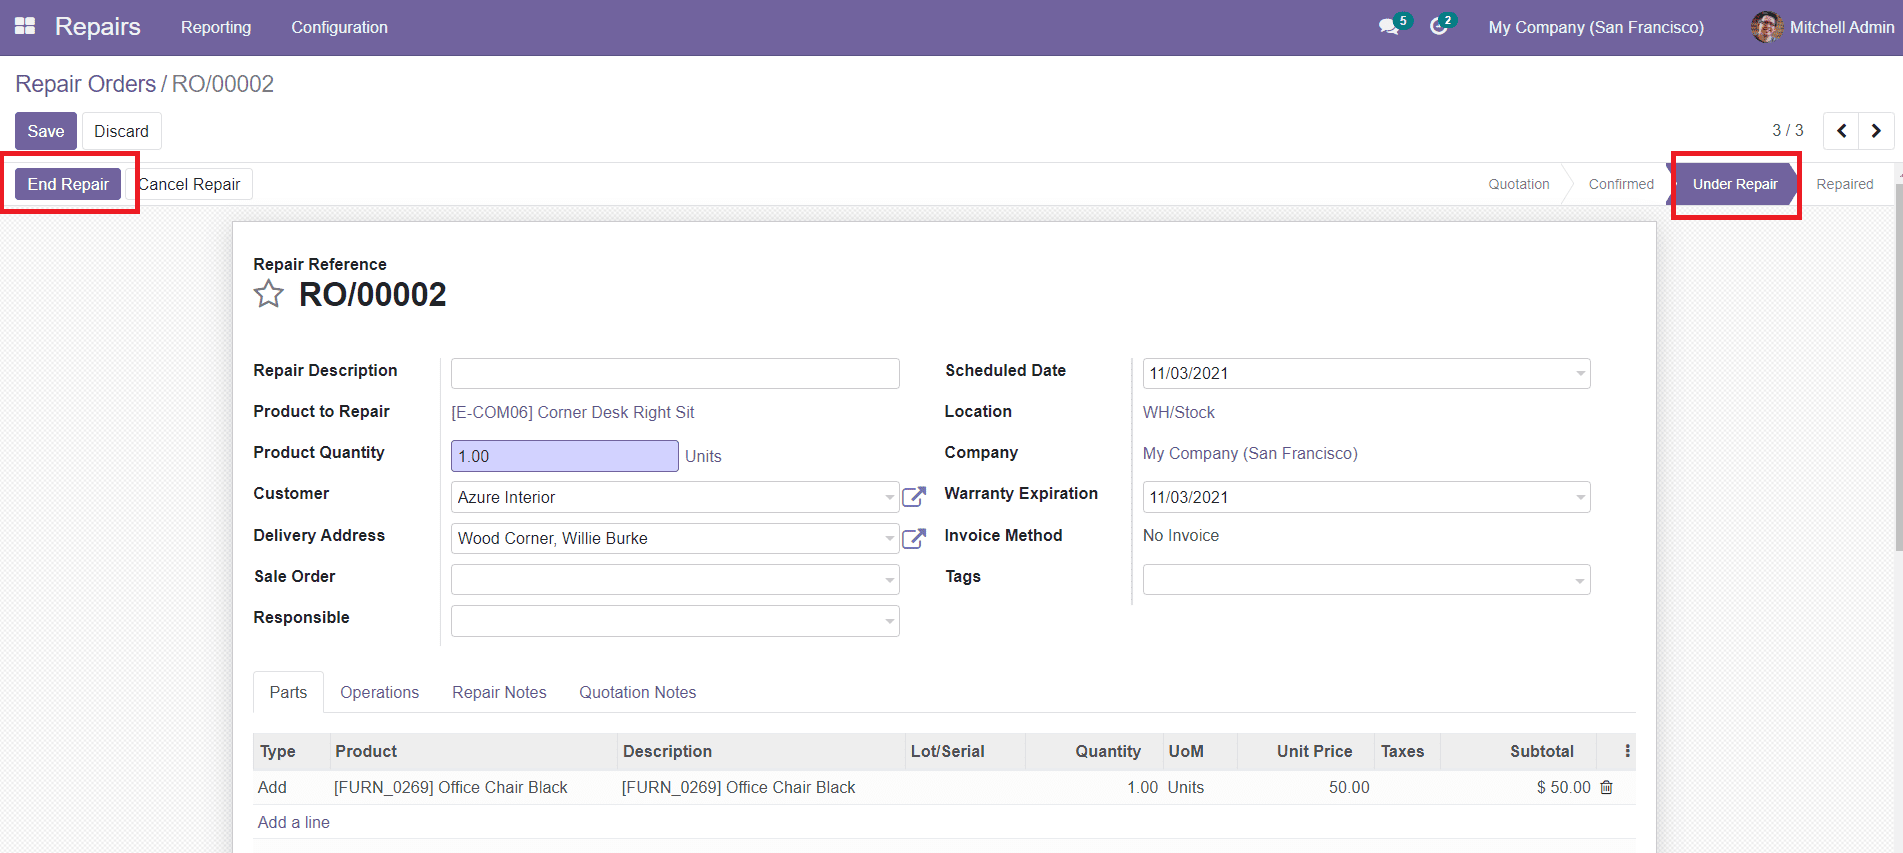
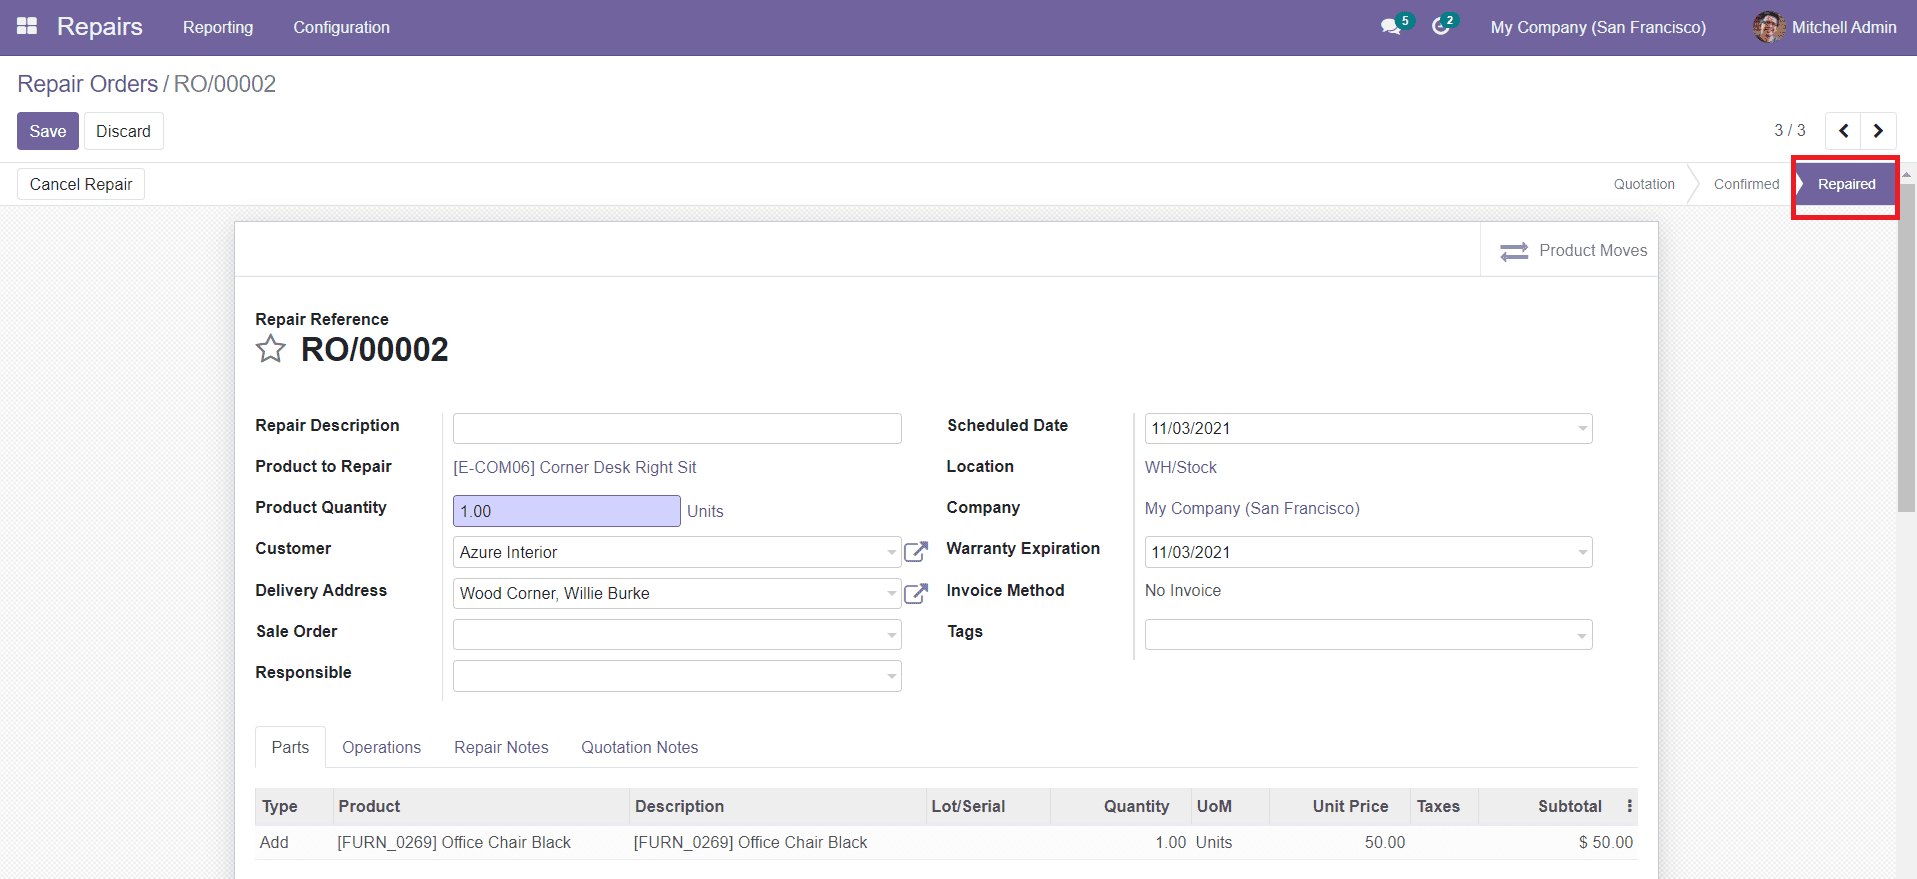
By completing the repair works, use the ‘End Repair’ button to complete the process and you can find the status of your repair as Repaired.
Before confirming the Repair Order, you will get the Send Quotation and Print Quotation options on this platform.
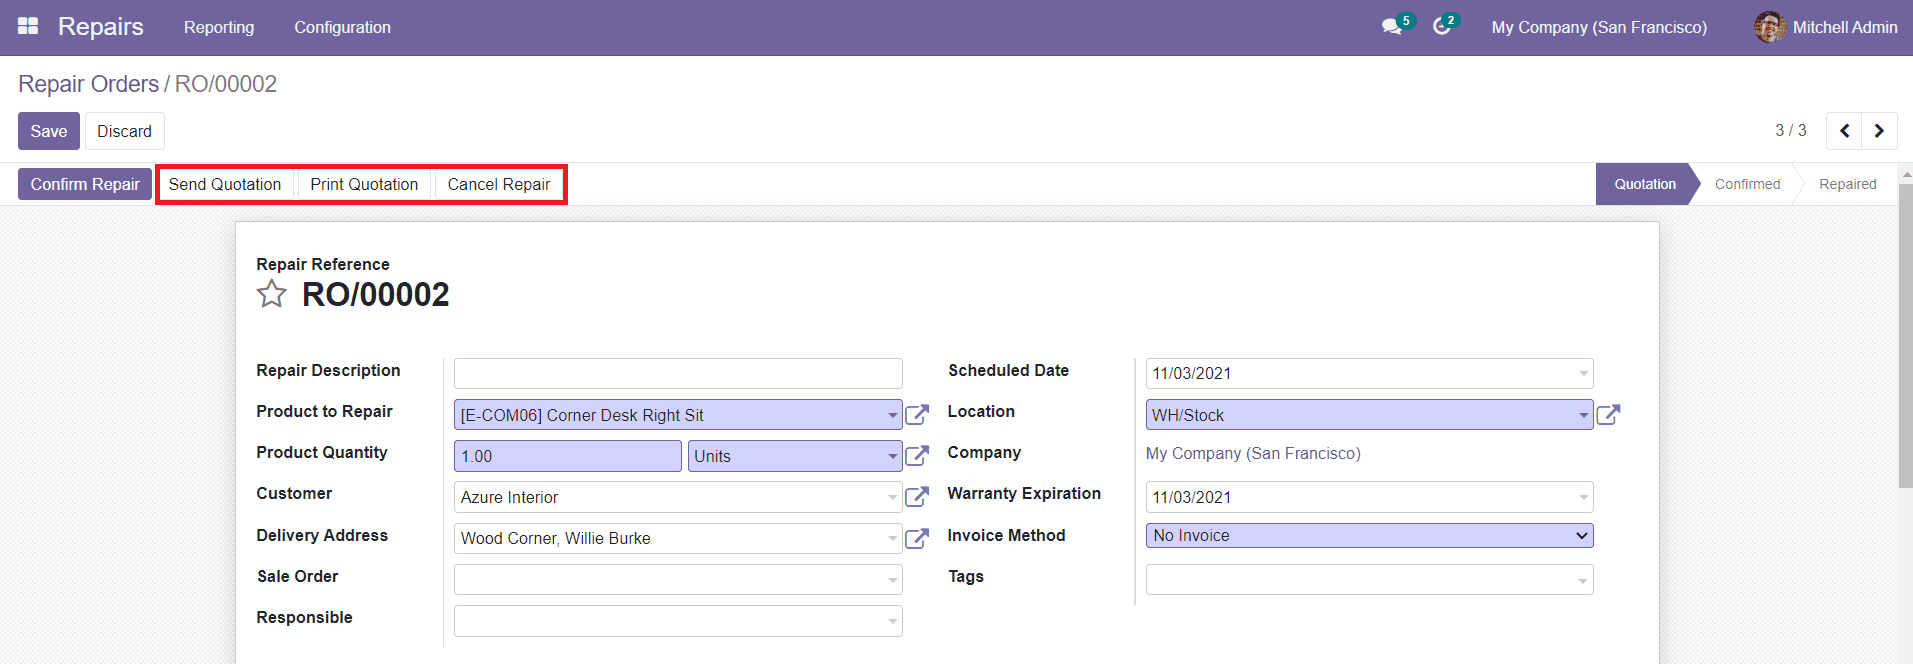
You can use these options to send the Quotation to the corresponding customer and take a printout of the Quotation respectively.
Before Repair
You can use the Before Repair Invoice Method if there you can create the invoice in advance before starting the repairing process. For this, you can select the Before Invoice option in the Invoice Method field.
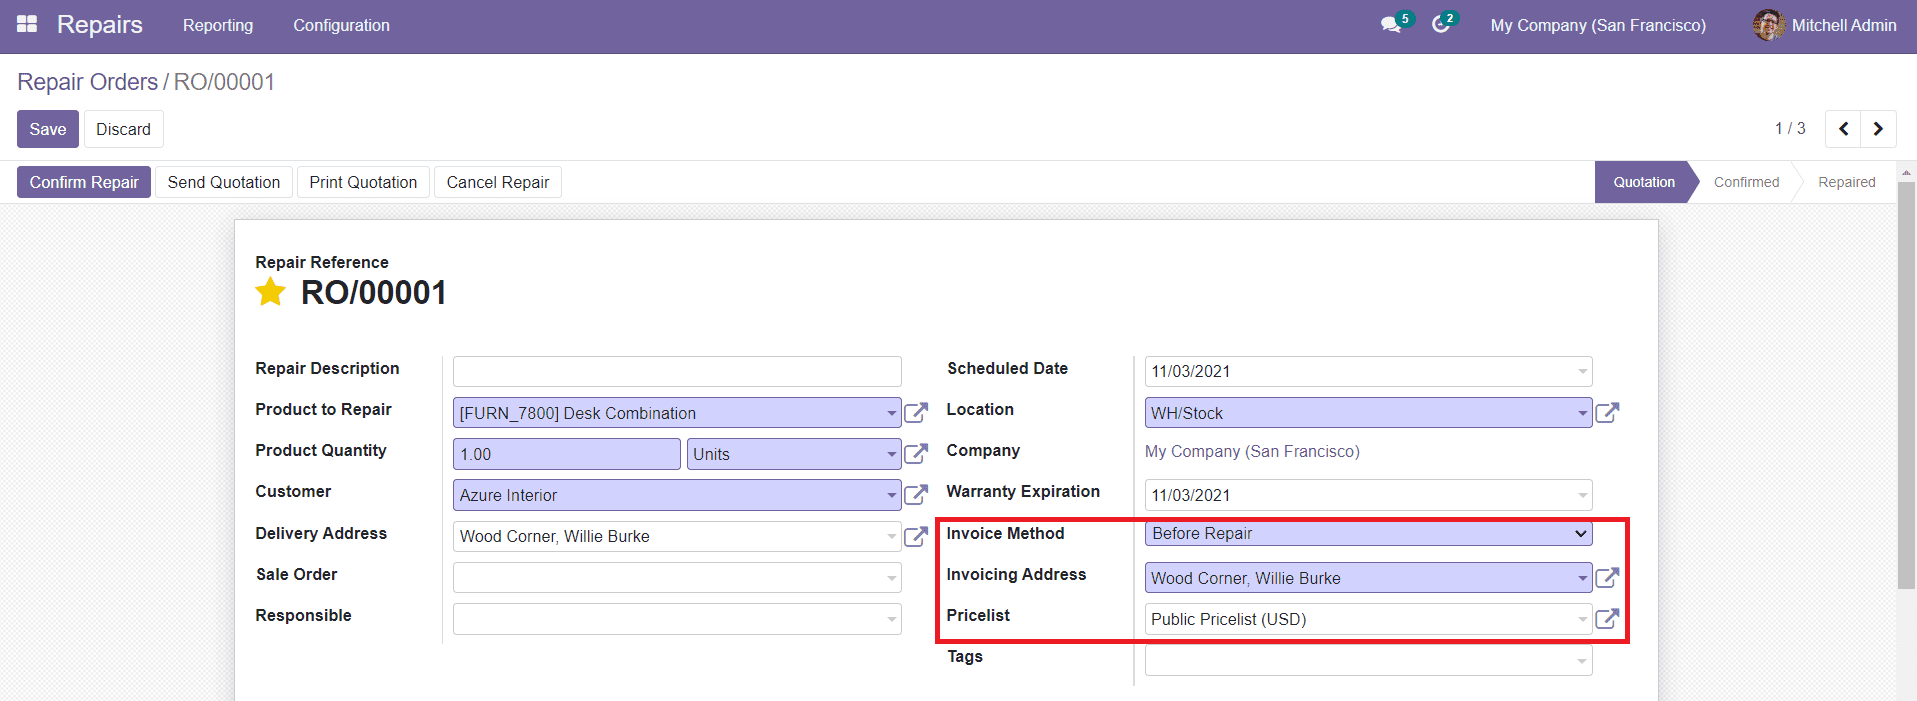
By selecting this method, you will get additional fields to add information about the Invoicing Address and Pricelist. You can specify these details in the given field and click the ‘Confirm Order’ button to proceed with the Repair Order.
By confirming the Order, the status can be viewed as ‘To Be Invoiced’ on the top right corner of the screen.
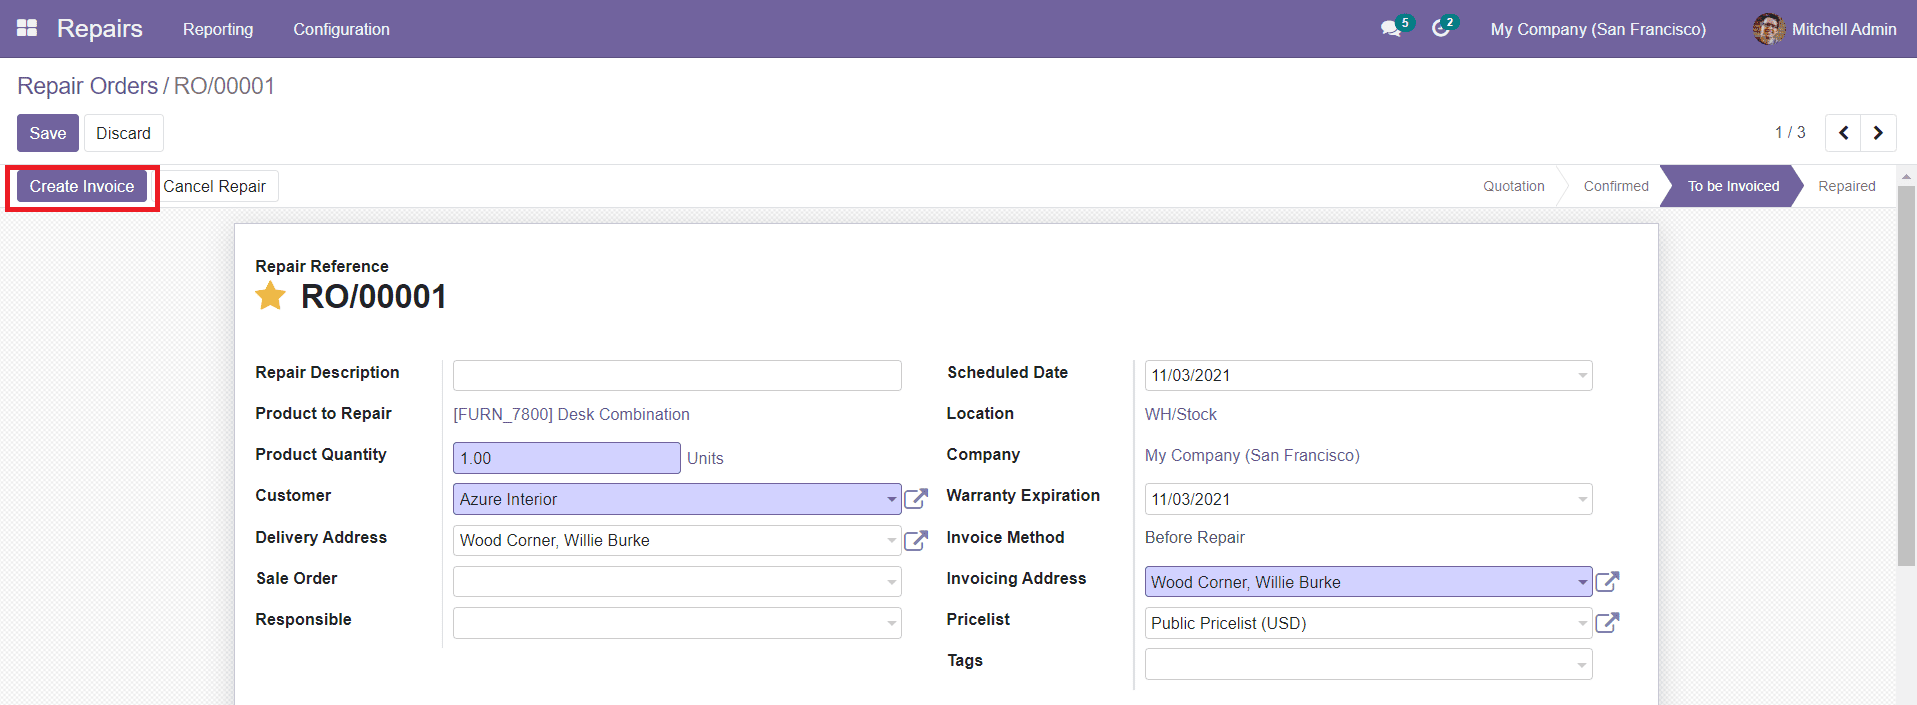
You will be able to get the ‘Create Invoice’ button on the screen. Use this option to generate an invoice.
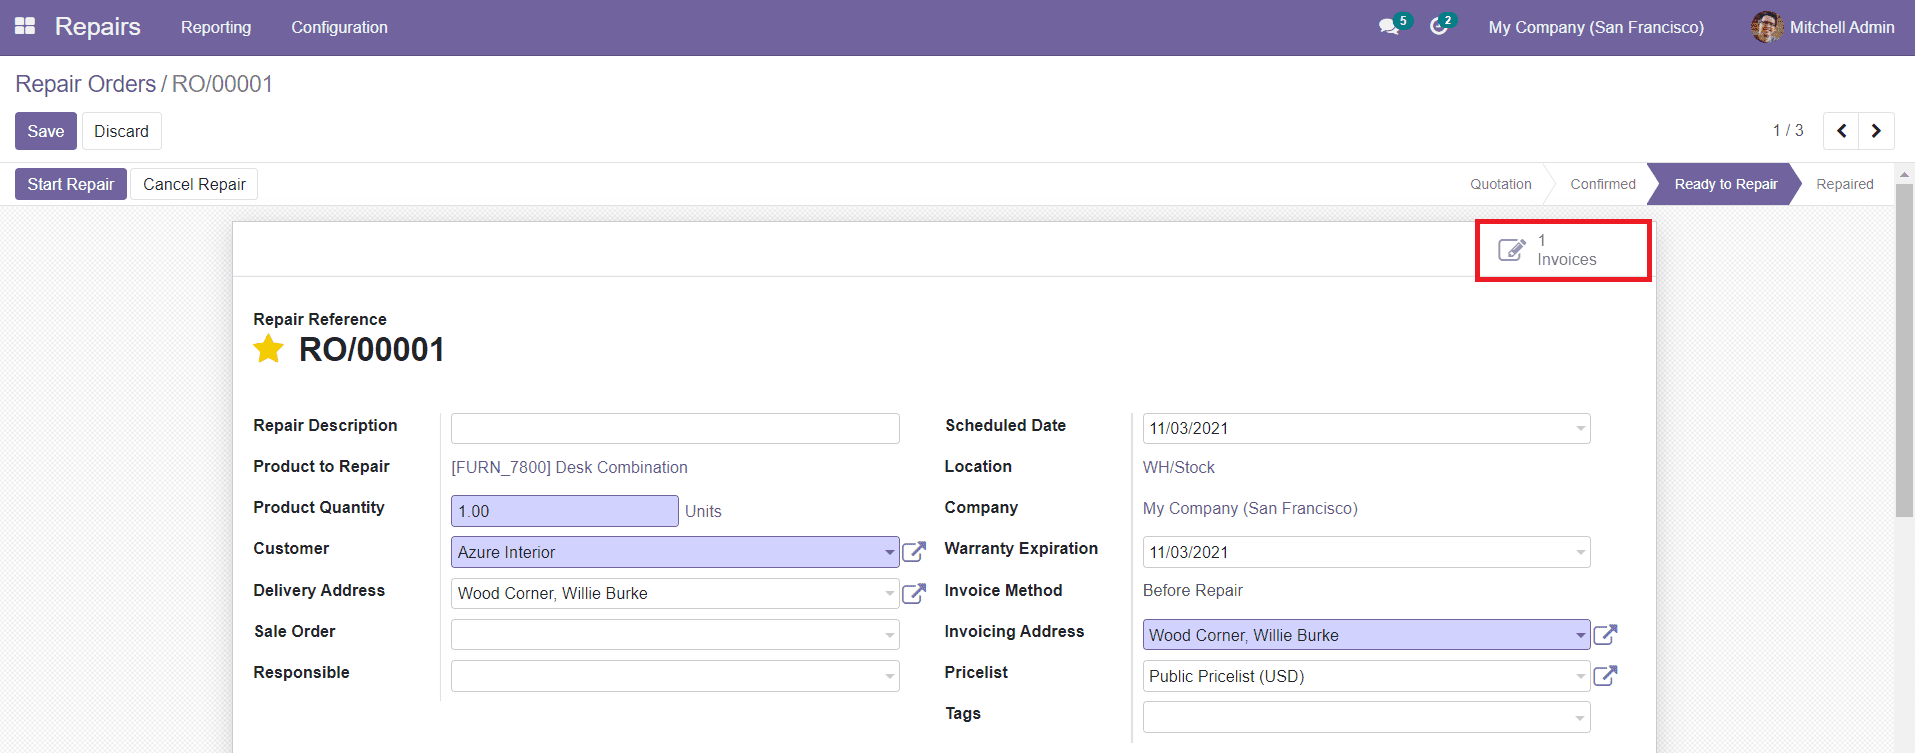
The newly created Repair Invoice can be found in the Invoices folder as marked in the screenshot above. You will be able to get a draft form of the invoice here.
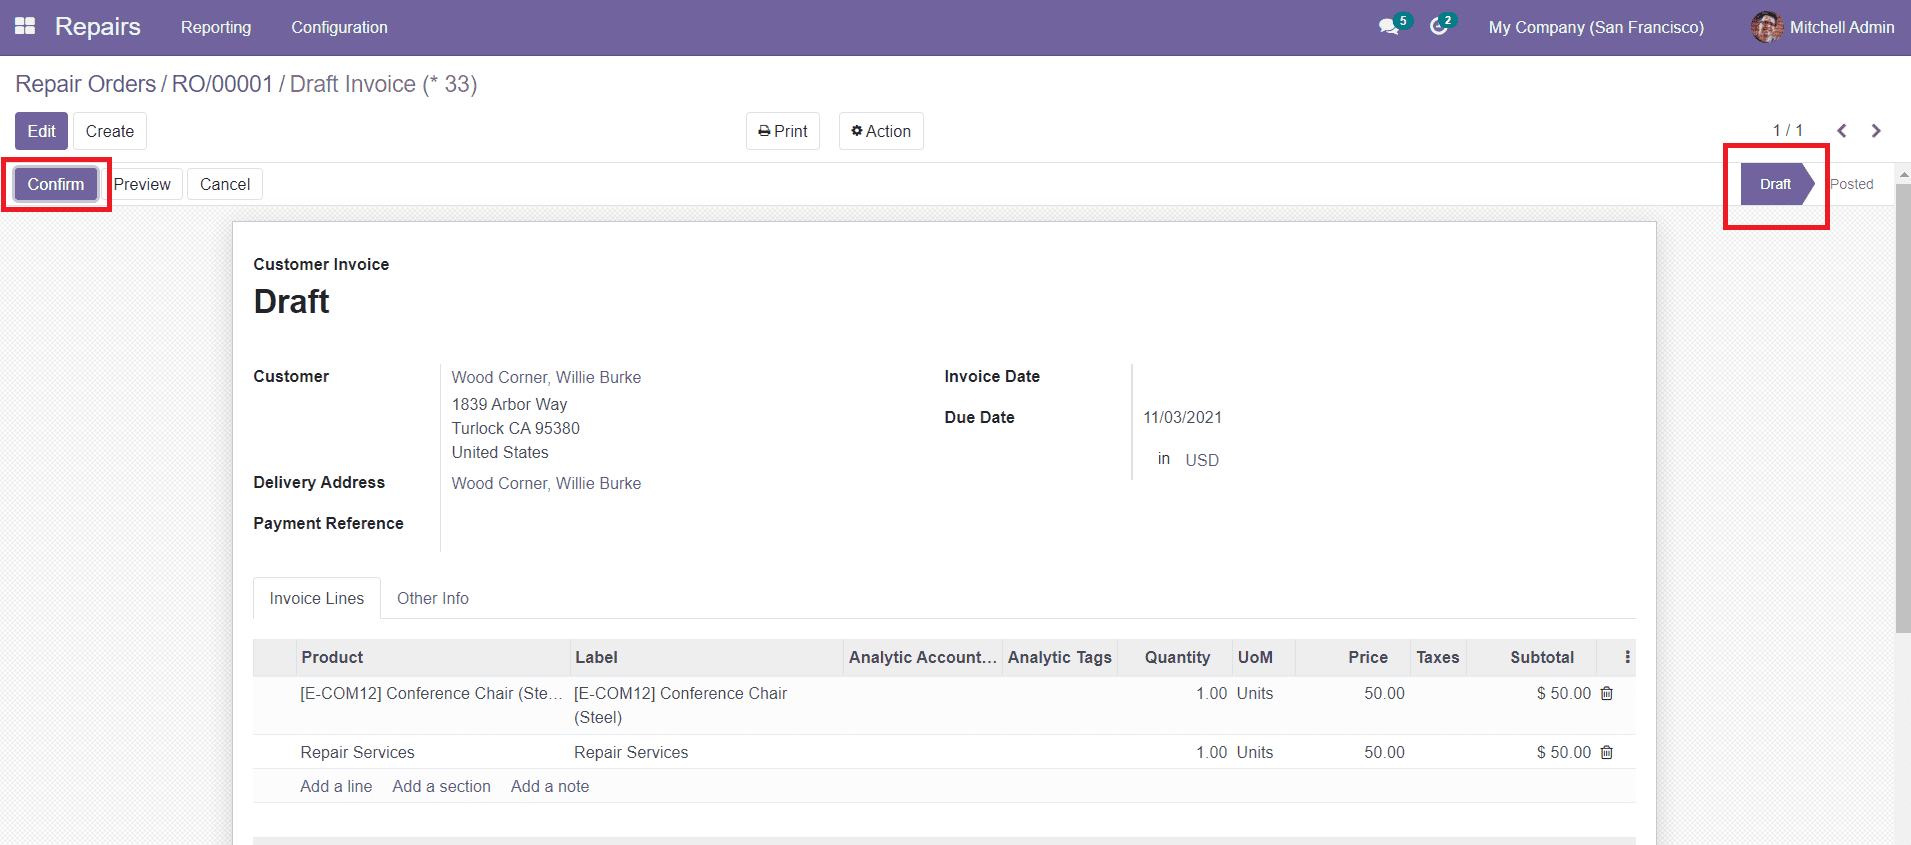
Use the ‘Confirm’ option given in the window to confirm the Invoice.
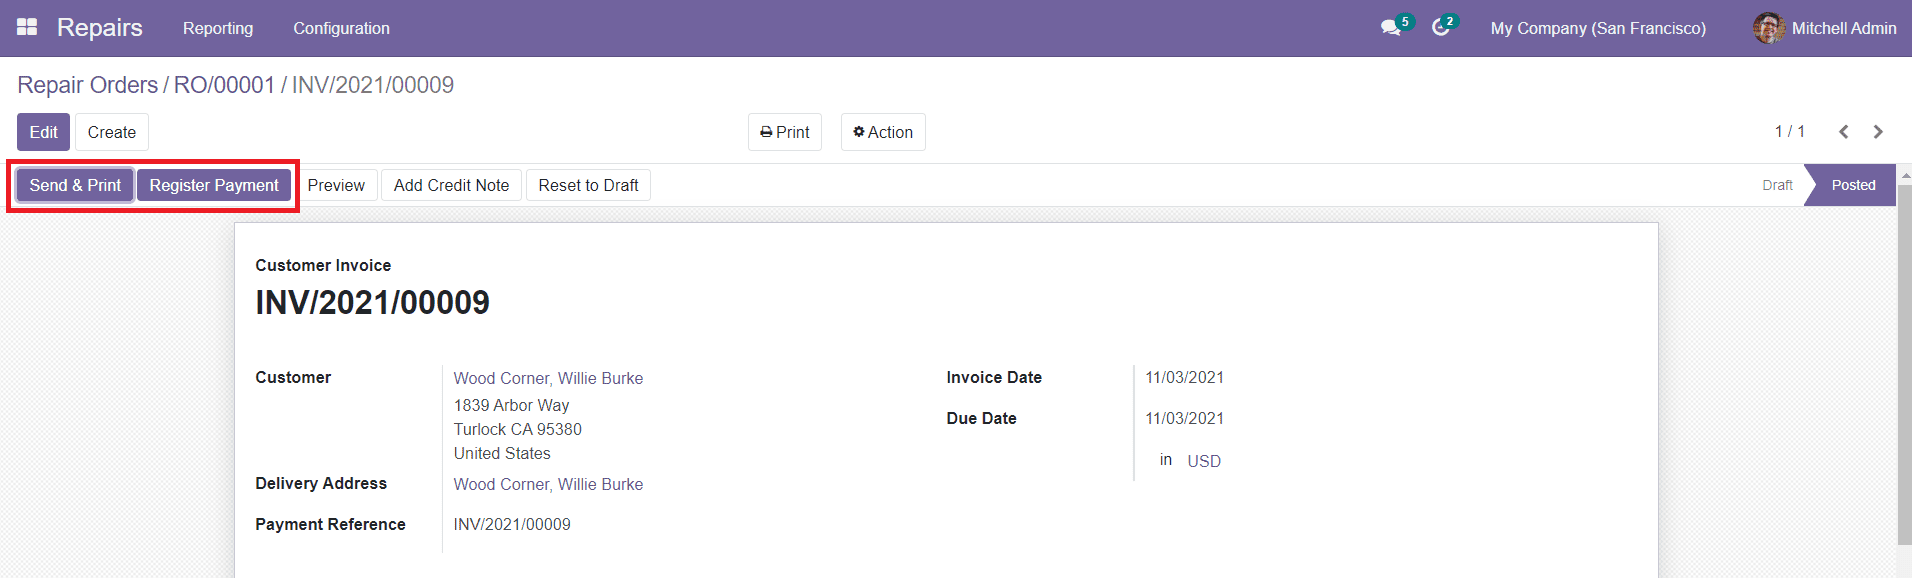
Now, you can click the ‘Send & Print’ option to send the invoice to the respective customer and take a print of the invoice. To register the payment, use the ‘Register Payment’ option. A pop-up window will appear which includes the details about Journal, Recipient Bank Account, Amount, Payment Date, and Memo.
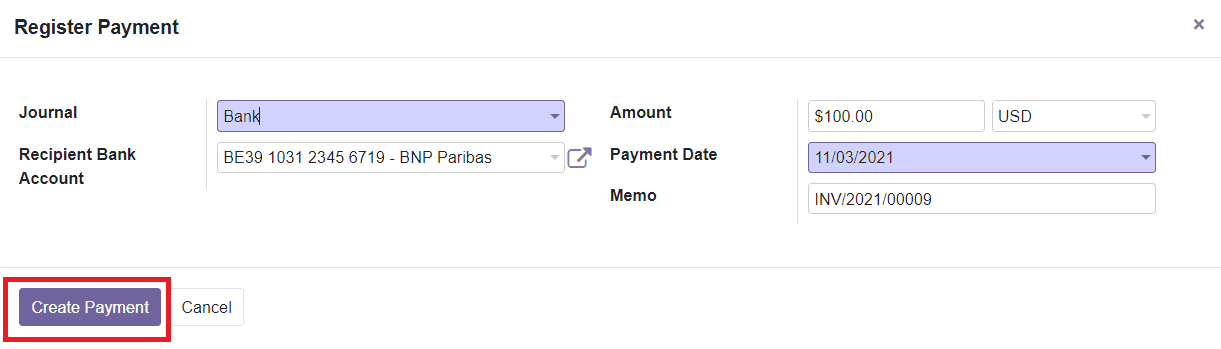
Click on the ‘Create Payment’ button.

After completing the payment procedures, you can find the Repair Invoice as paid. Now, you can proceed with the repairing process just like we discussed earlier.
After Repair
By selecting the After Repair option, you can create invoices after completing the repairing works.
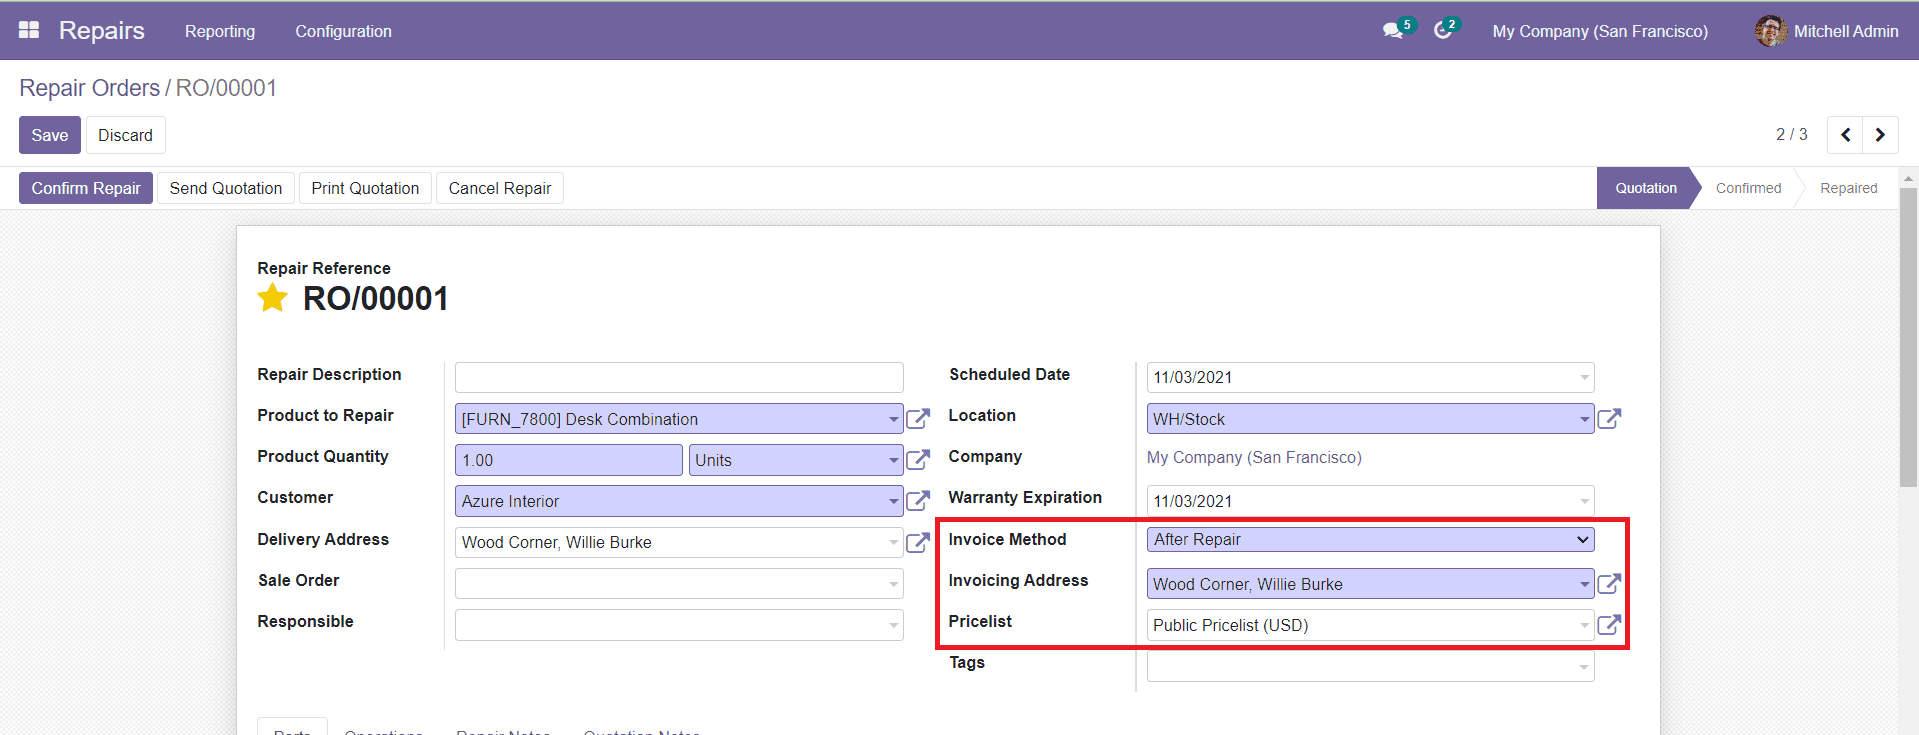
Mention the Invoicing Address and Pricelist in the corresponding fields. Now, you can start the repair work. After passing through all stages of repairing, you will get the ‘Create Invoice’ option to generate a Repair Invoice at the end of the procedure.
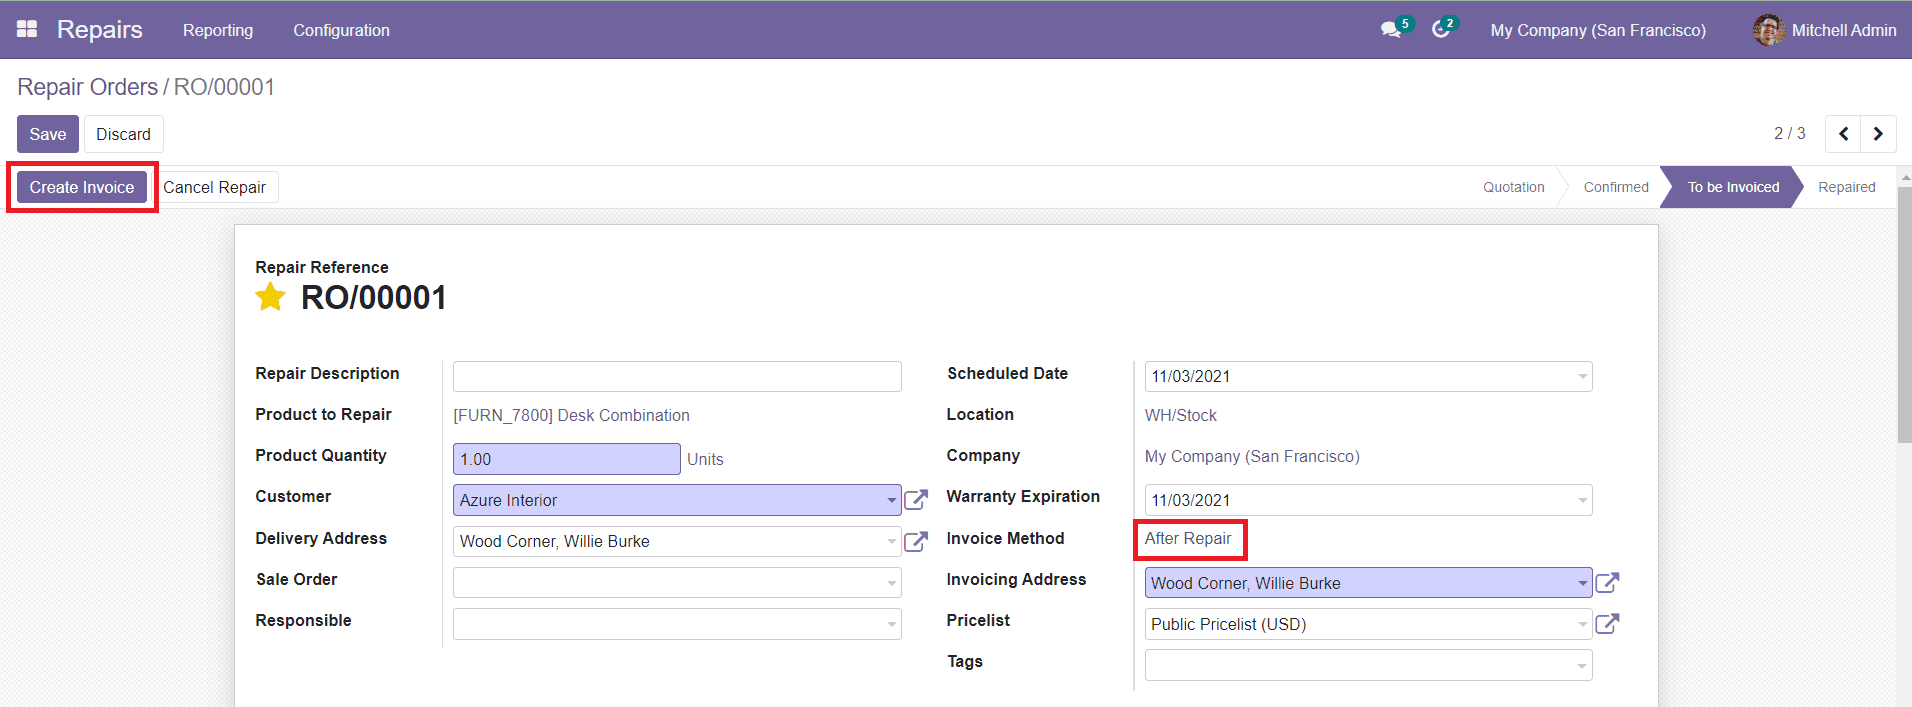
You can click on the ‘Create Invoice’ button to create the Invoice. The remaining steps are the same as we explained in the previous method.
This is how we create Repair Orders in the Odoo Repair module. Now, let’s look at the Tags in the Repairs module.