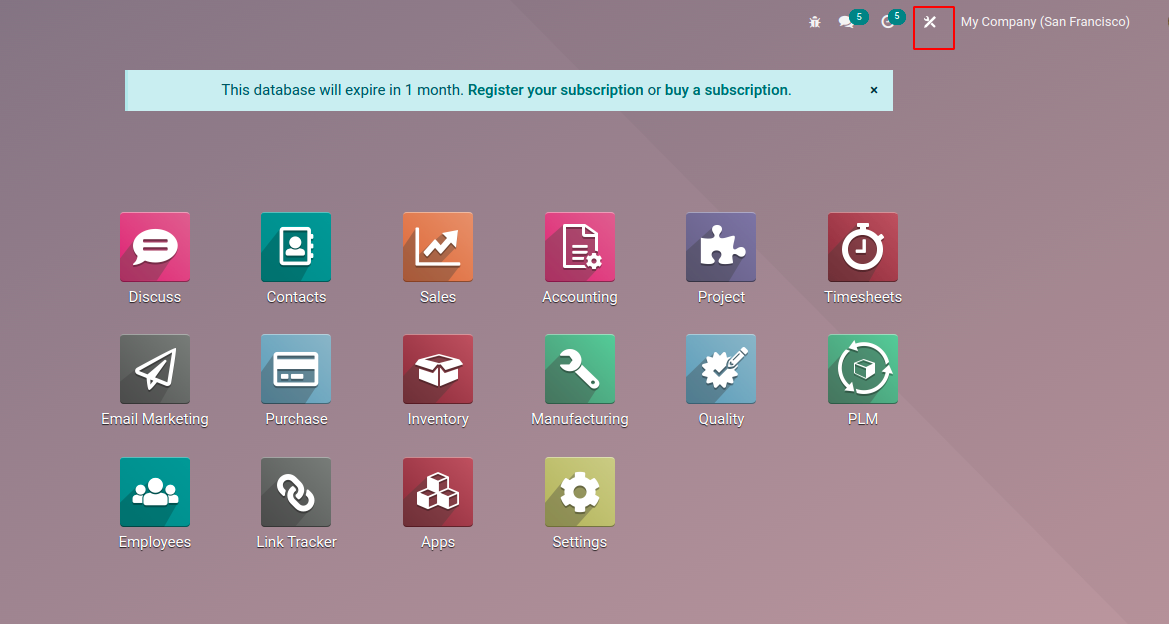
After installing the studio app, you can see a customization tool (toggle studio
button) in the top right corner of the Odoo app dashboard. Clicking on that toggle
button will enable the studio mode.
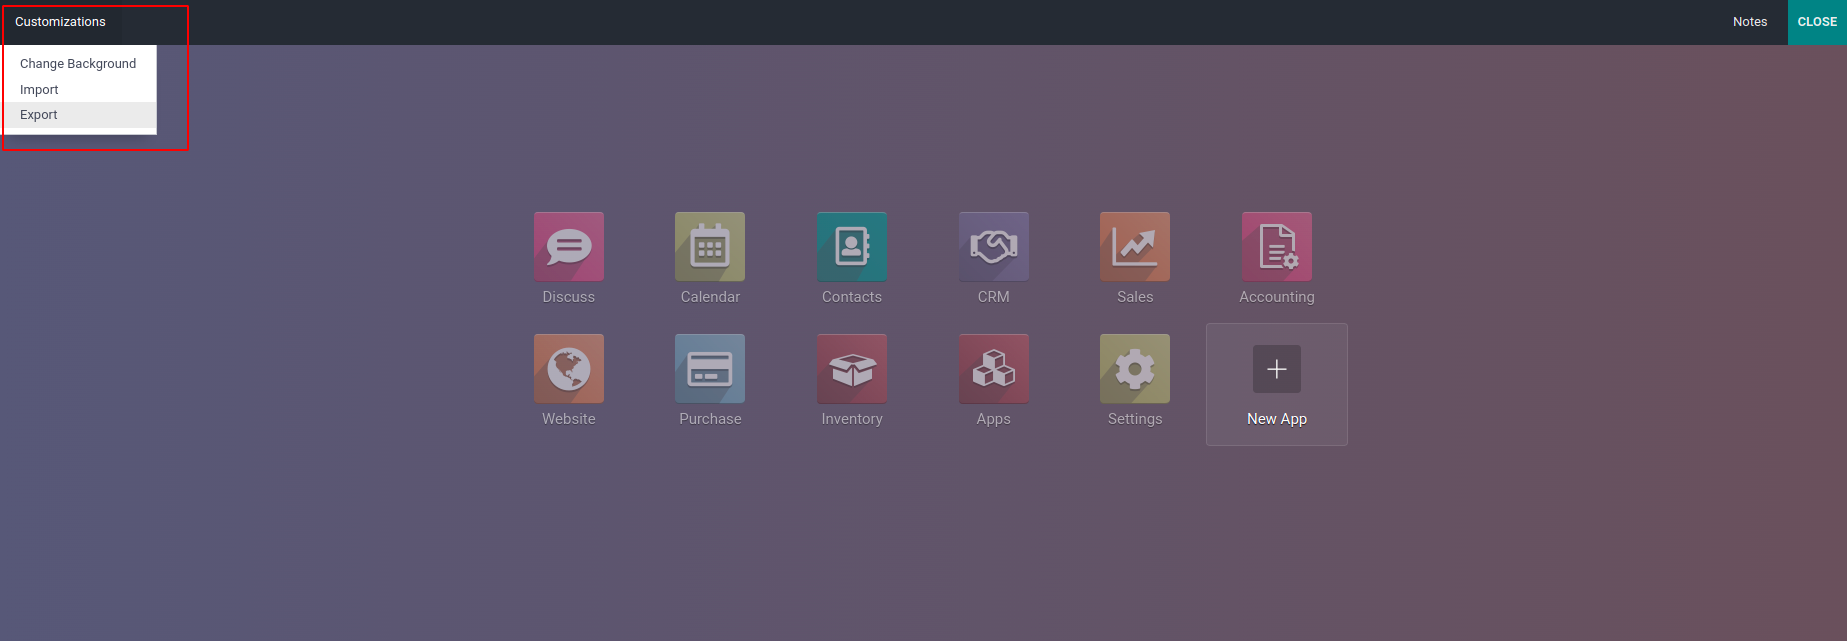
In this mode, the users can customize the existing apps or create new apps as per
their requirements. The ‘change background’ option under the customization menu
(can be seen in figure 2) helps to change the background. Other options under the
customization menu are Export and import. You can Export the module by clicking
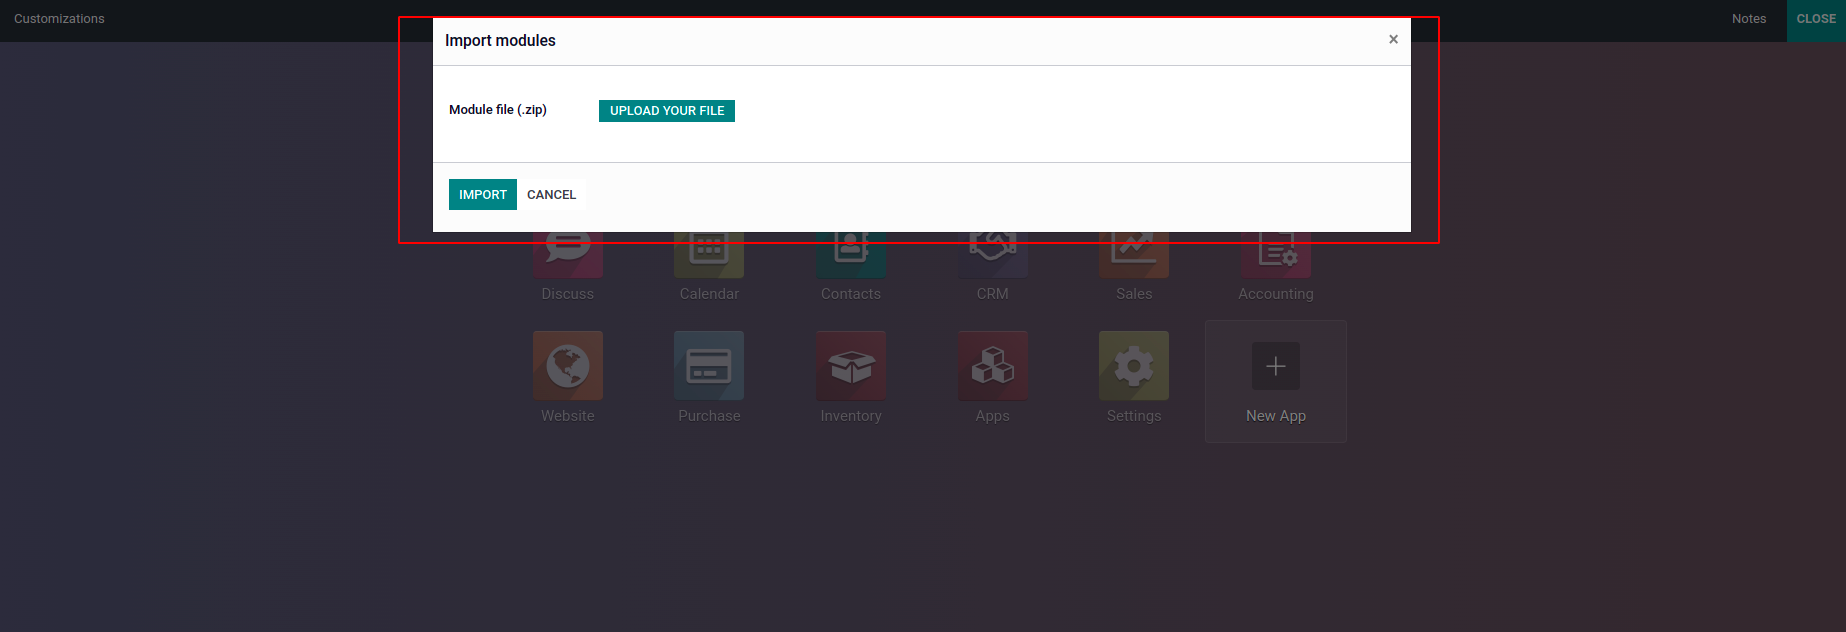
on the Export option and can import a module by clicking on the Import option.
The zip file of the app/module can be uploaded from the import wizard that is displayed
when clicking on the import option.
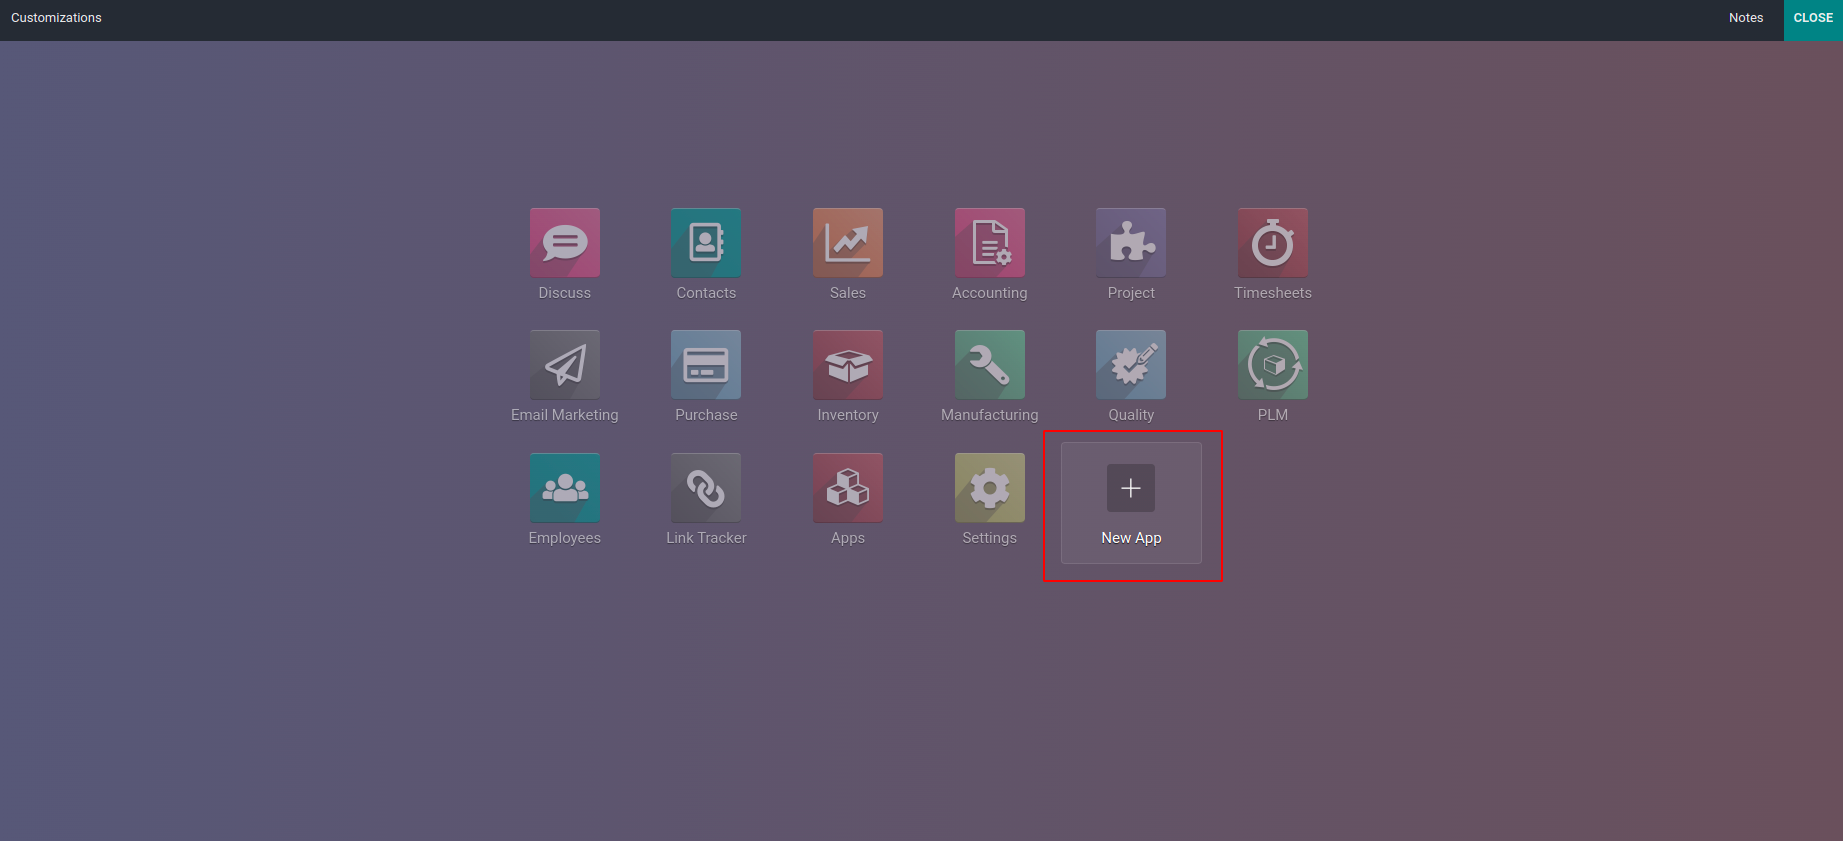
To create a new application, click on the new app icon and follow the further steps.
If you want to customize existing applications, you can click on that app and do
proper customizations using a variety of options provided by Odoo.
To do the customizations of the new/existing app, click on that app icon from the
Odoo app dashboard. You can see the ‘Views’ button in the top left corner of the
window. To choose and customize the different views like form view, tree view, Kanban
view, etc, click on the views button. In the studio mode of an application, you
can see menus like views, translations, reports, automations, access control, filter
rules, and website on the custom menu bar.
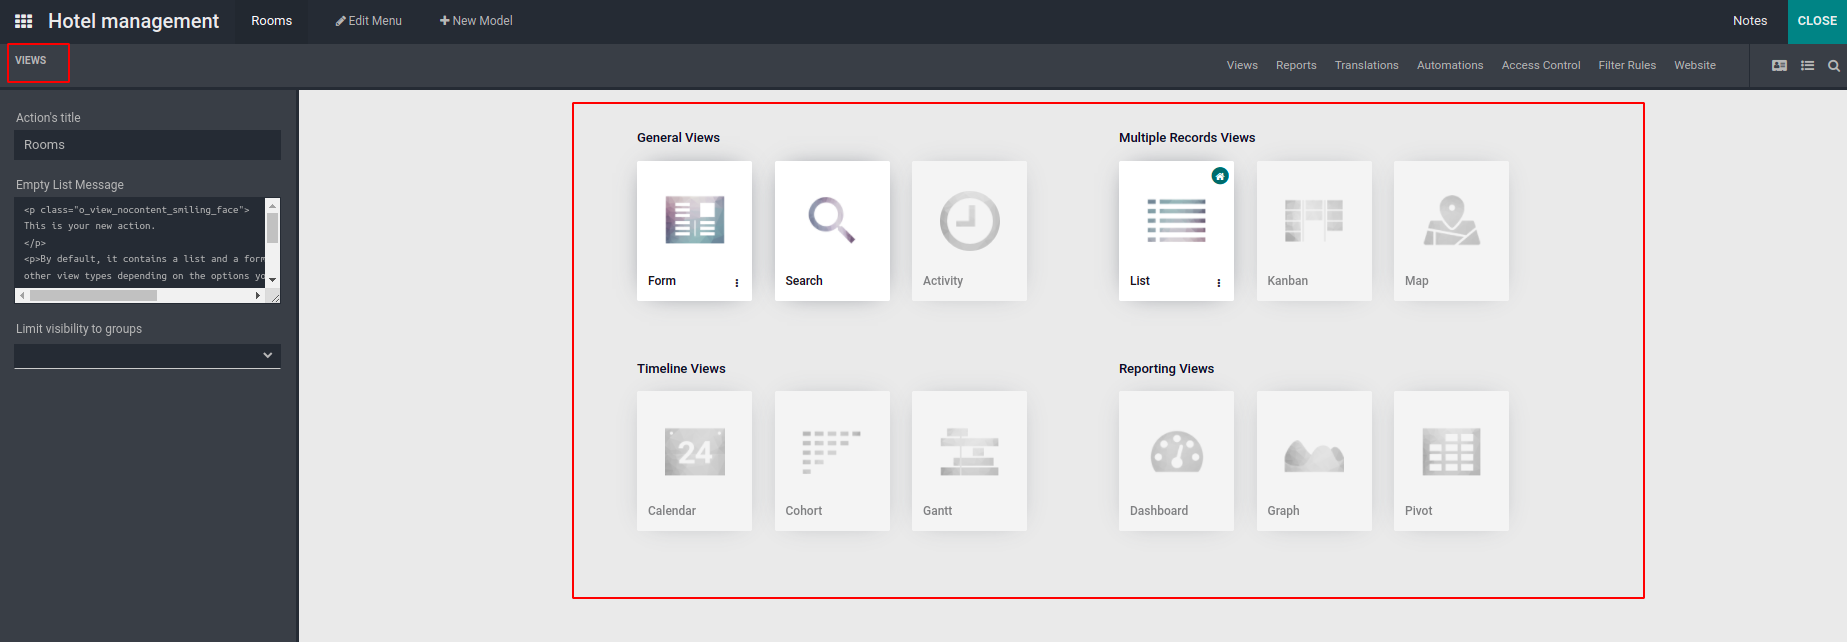
- Views: Help to customize and manage different views of the model.
- Translations: Help to add translations for the module.
- Reports: To manage reports associated with the module.
- Automations: To add and customize the automatic actions.
- Access Rules: To customize the access rules.
- Filter rules: To manage filter rules of the views.
- Website: To customize the website.
You can see the different view icons near the customization menus in the studio
mode. Clicking on these buttons also will lead to the corresponding view window.
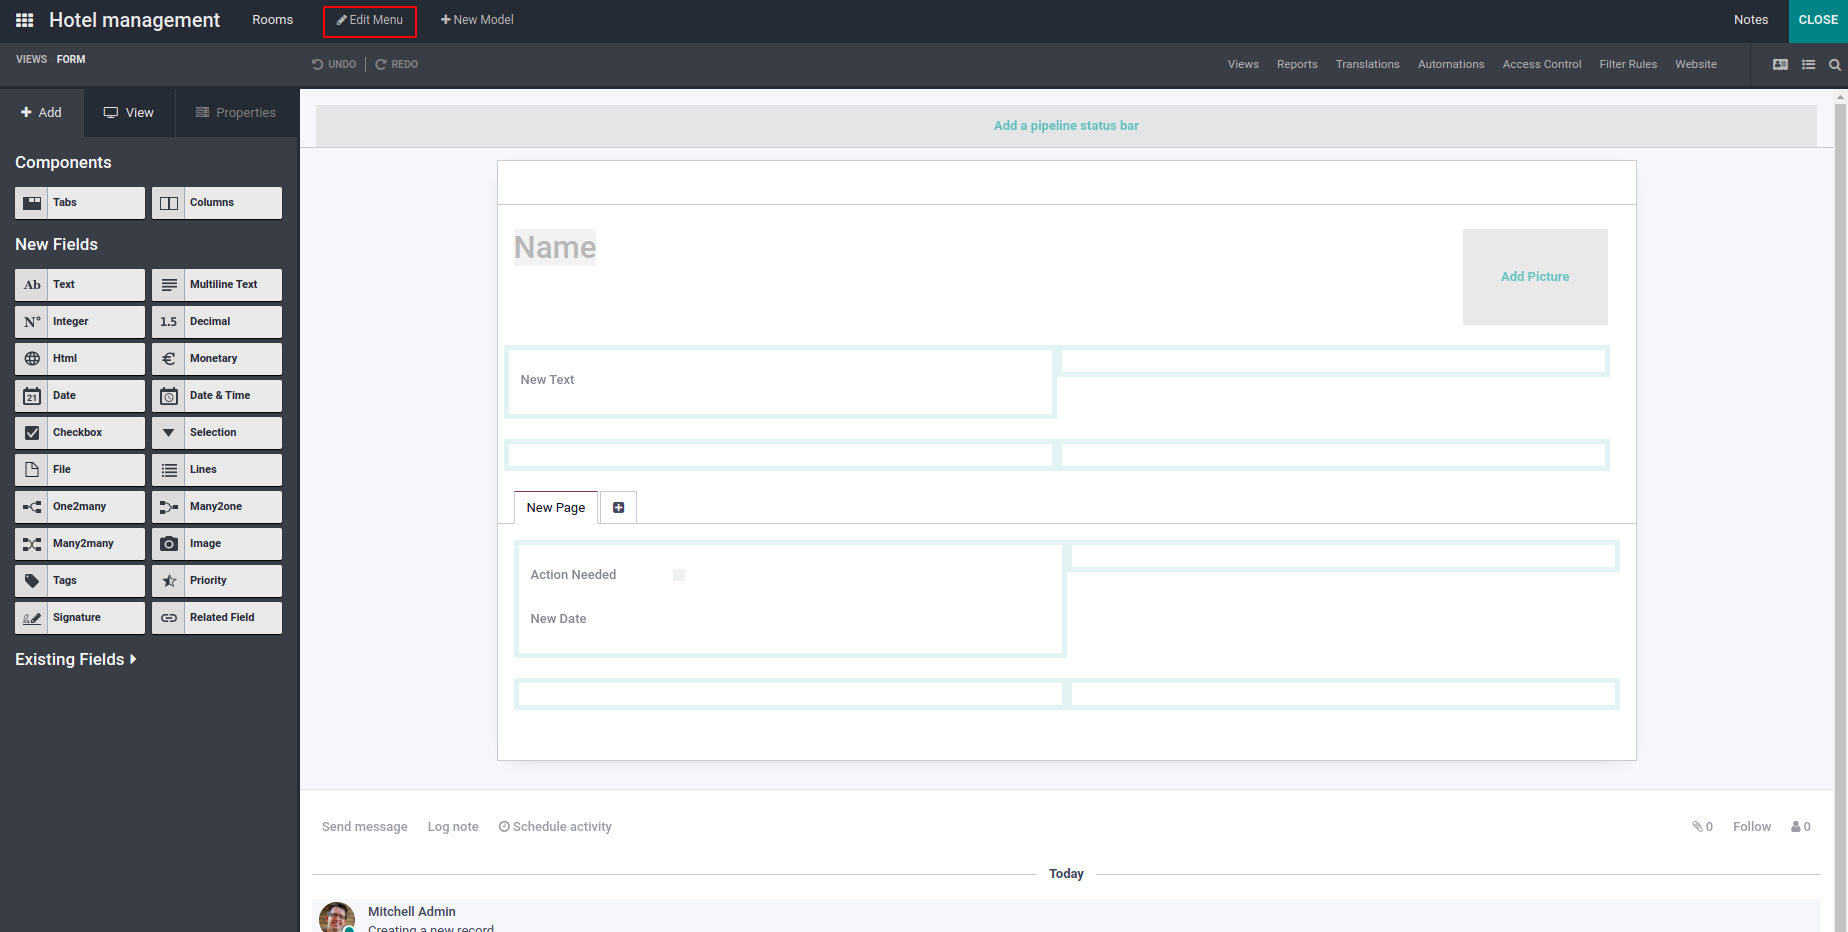
You can edit and customize menus of the app using the button ‘Edit Menu’ on the
menu bar of the window.
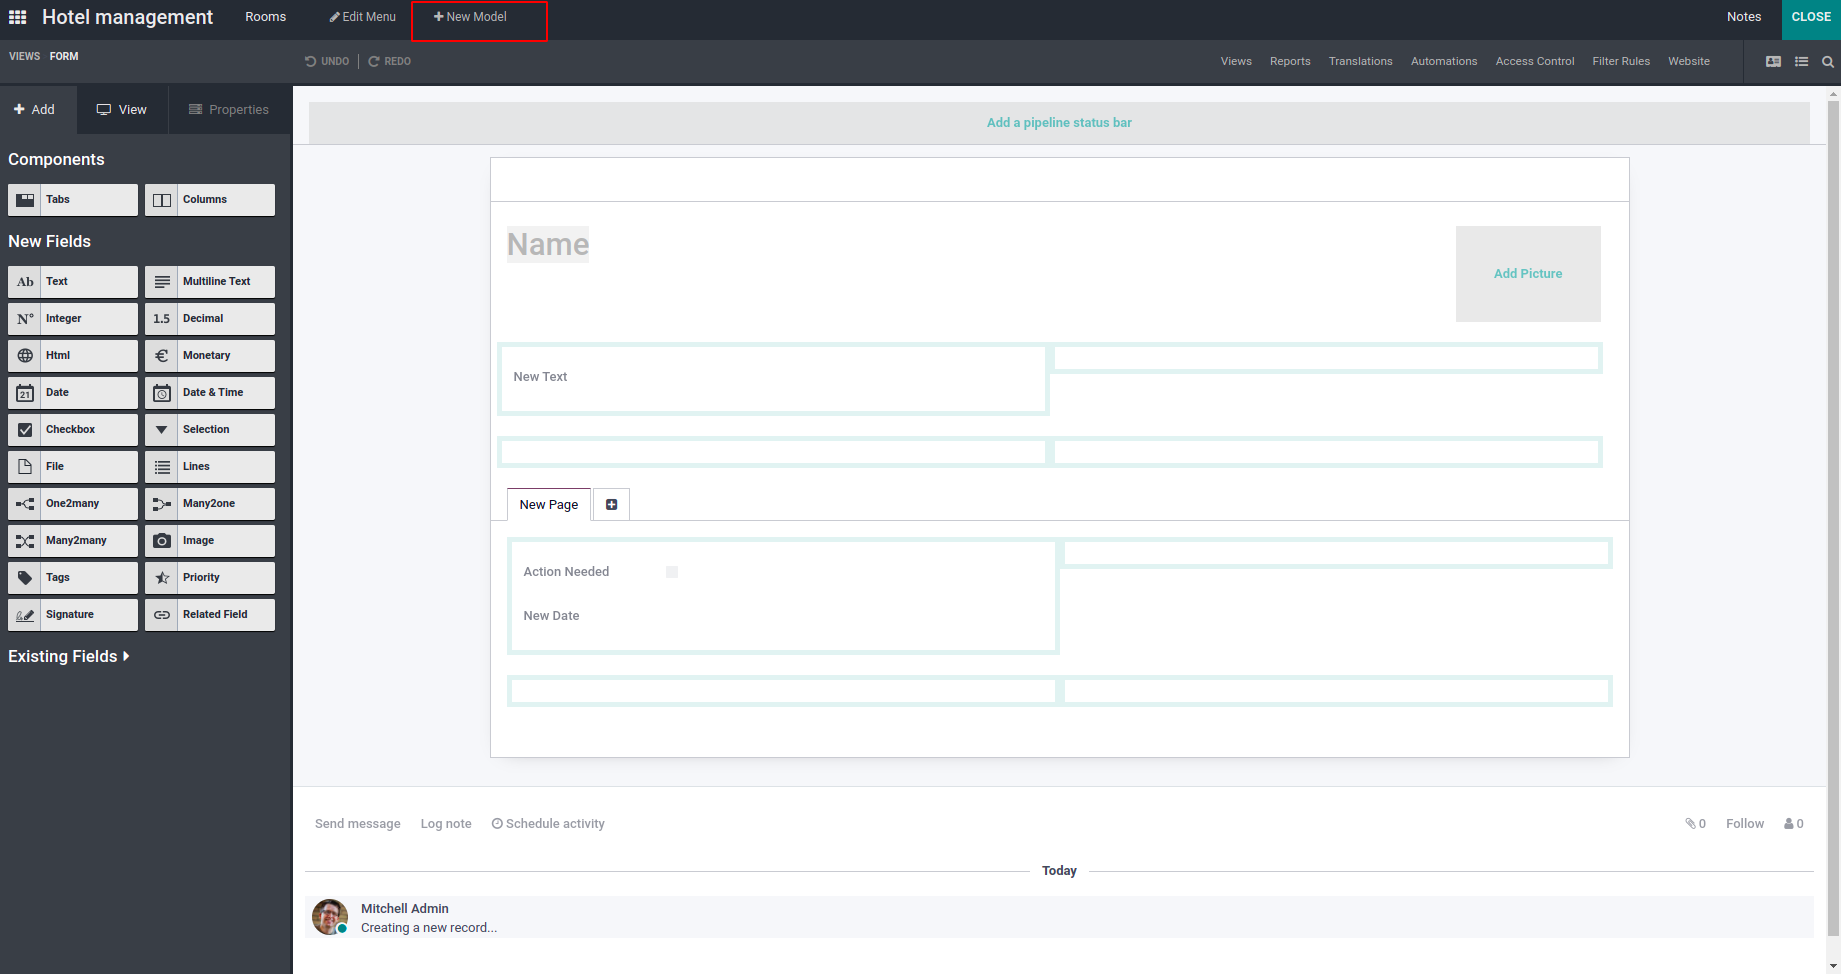
New models can be created and added to the app by clicking on the ‘new model’ menu
on the menu bar.
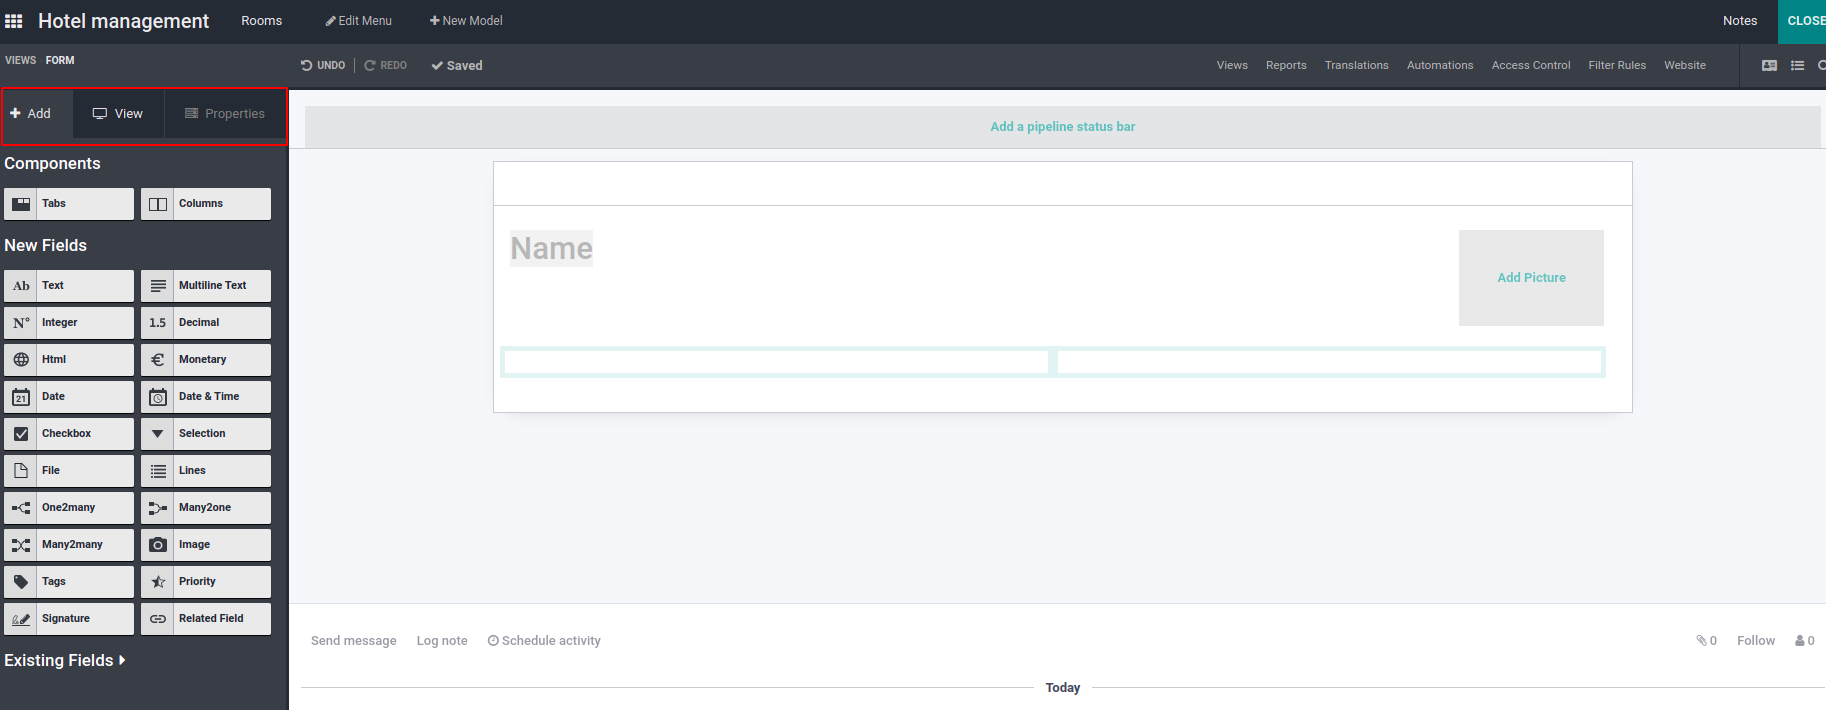
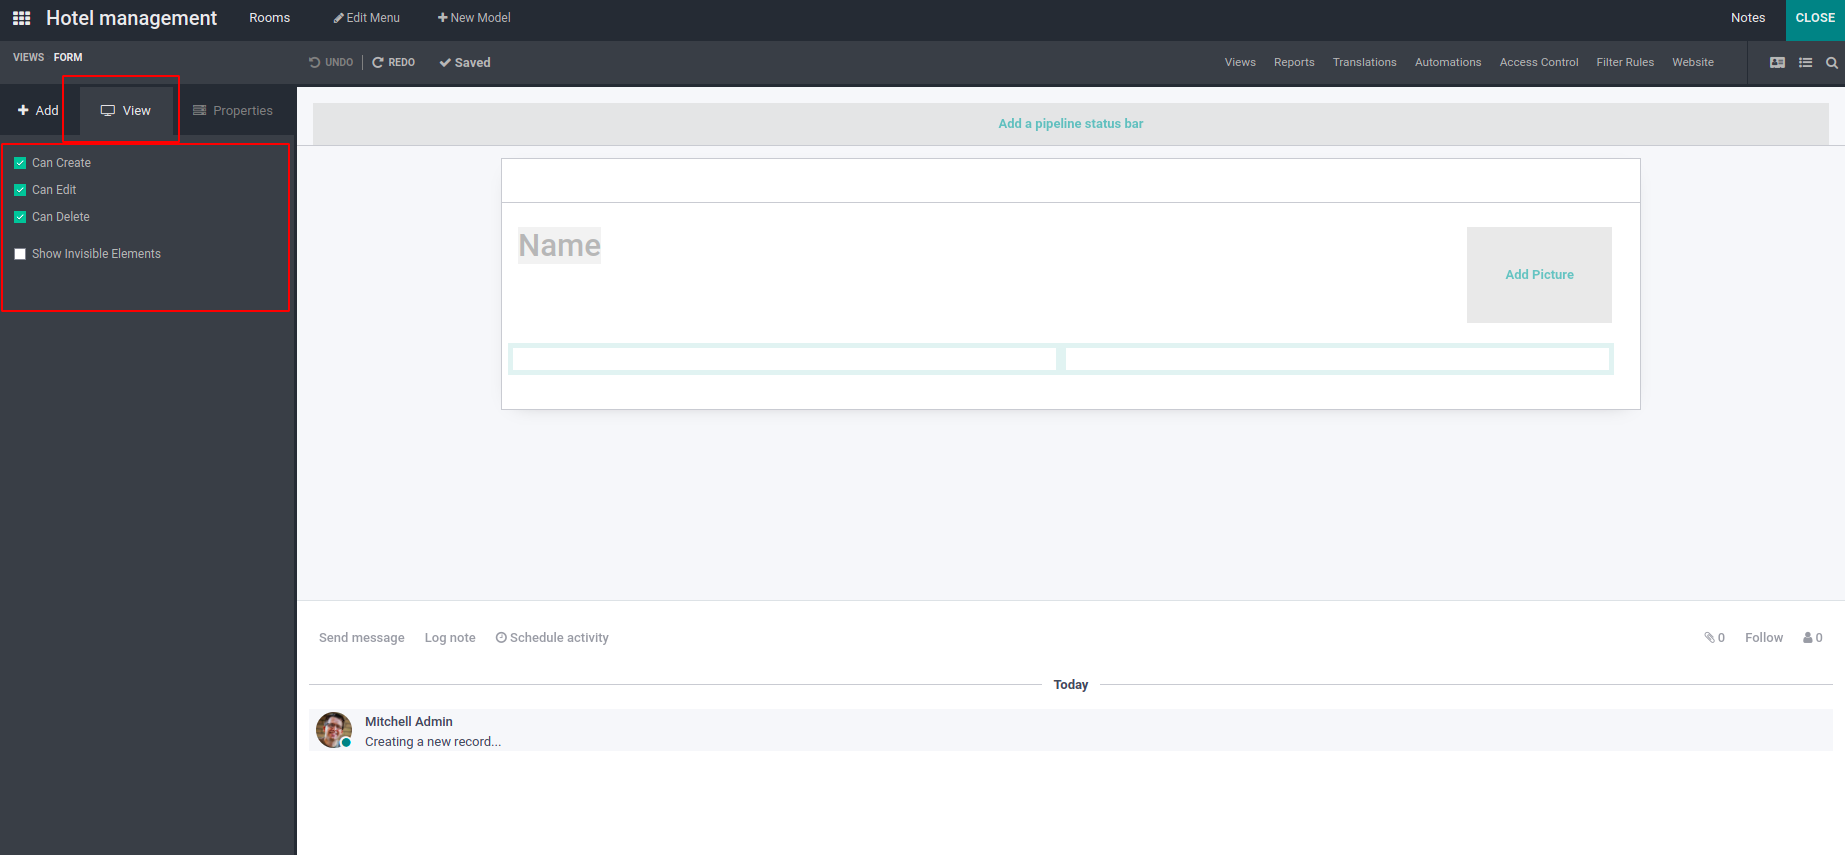
If any of the views like form, list, or Kanban is selected, you can see three tabs
on the left side -Add, view, and Properties.
The ‘Add’ tab helps to add new ‘components’, ‘fields’, and ‘existing fields not
in the view’ to the view. You can set ‘can create’, ‘can edit’, and ‘can delete’
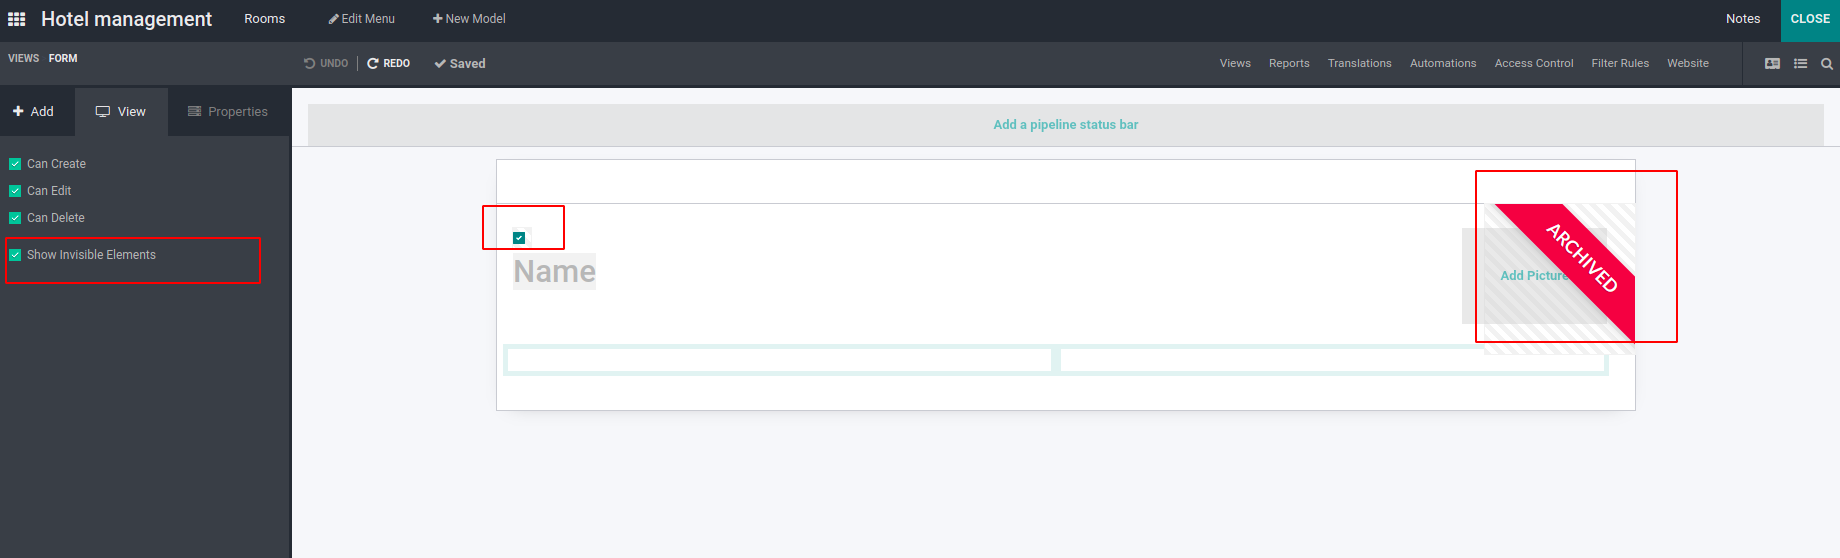
options under the view tab. Another option is to choose whether to show invisible
elements.
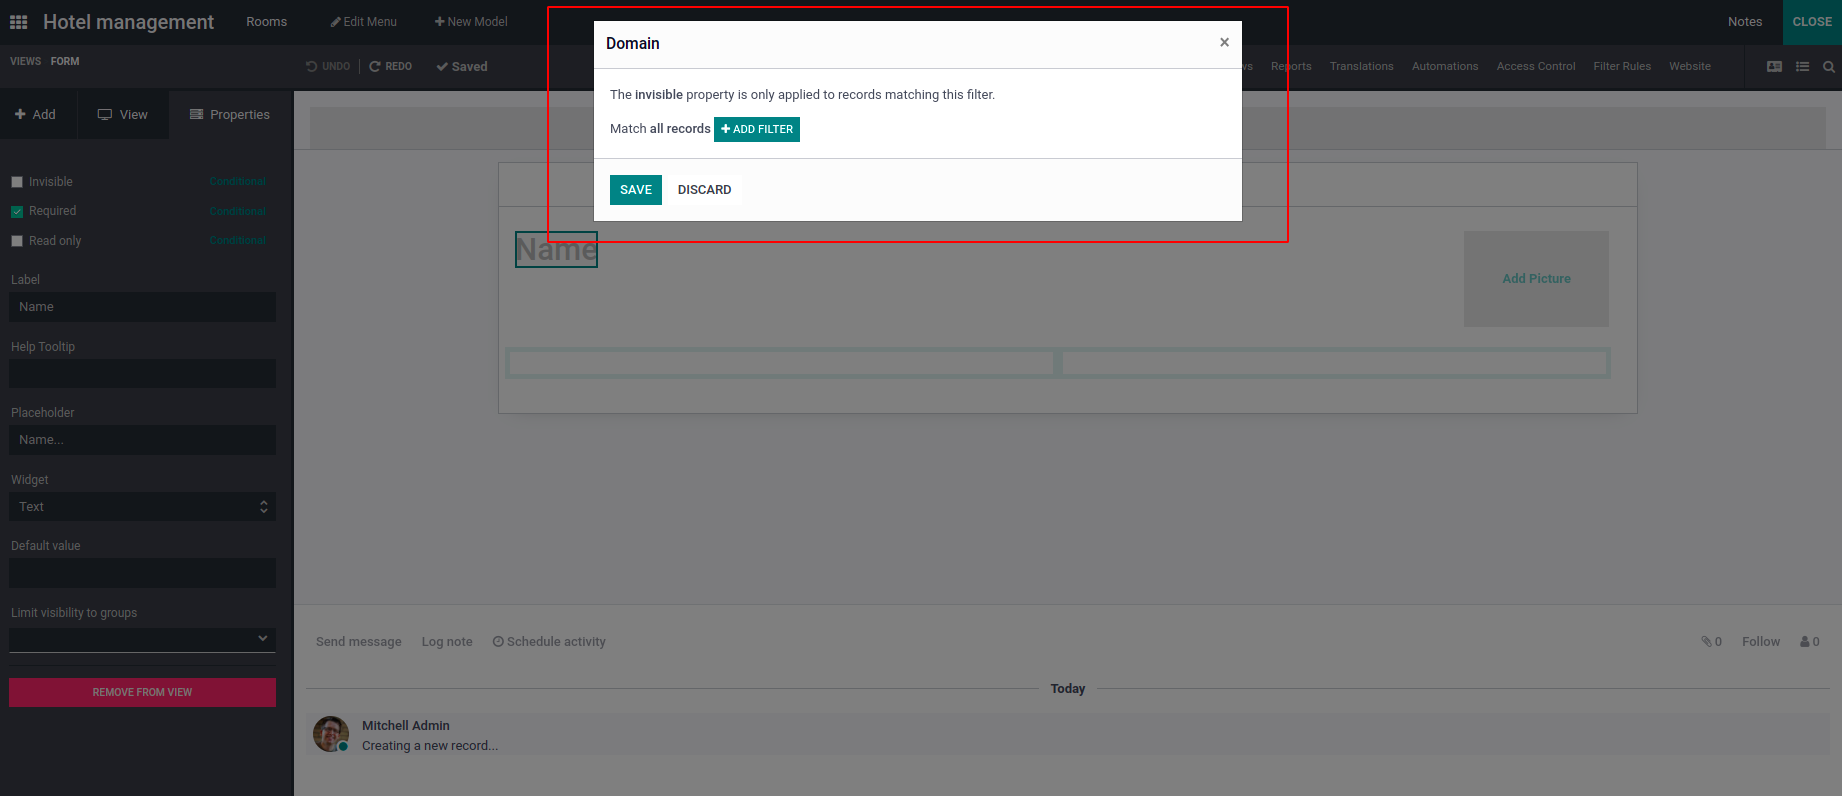
When clicking on a field in the form view (e.g.: Name as in the figure), the properties
tab will be activated and you can set the properties of the view. You can enable/disable
the ‘invisible’, ‘read-only’, and ‘required’ options.
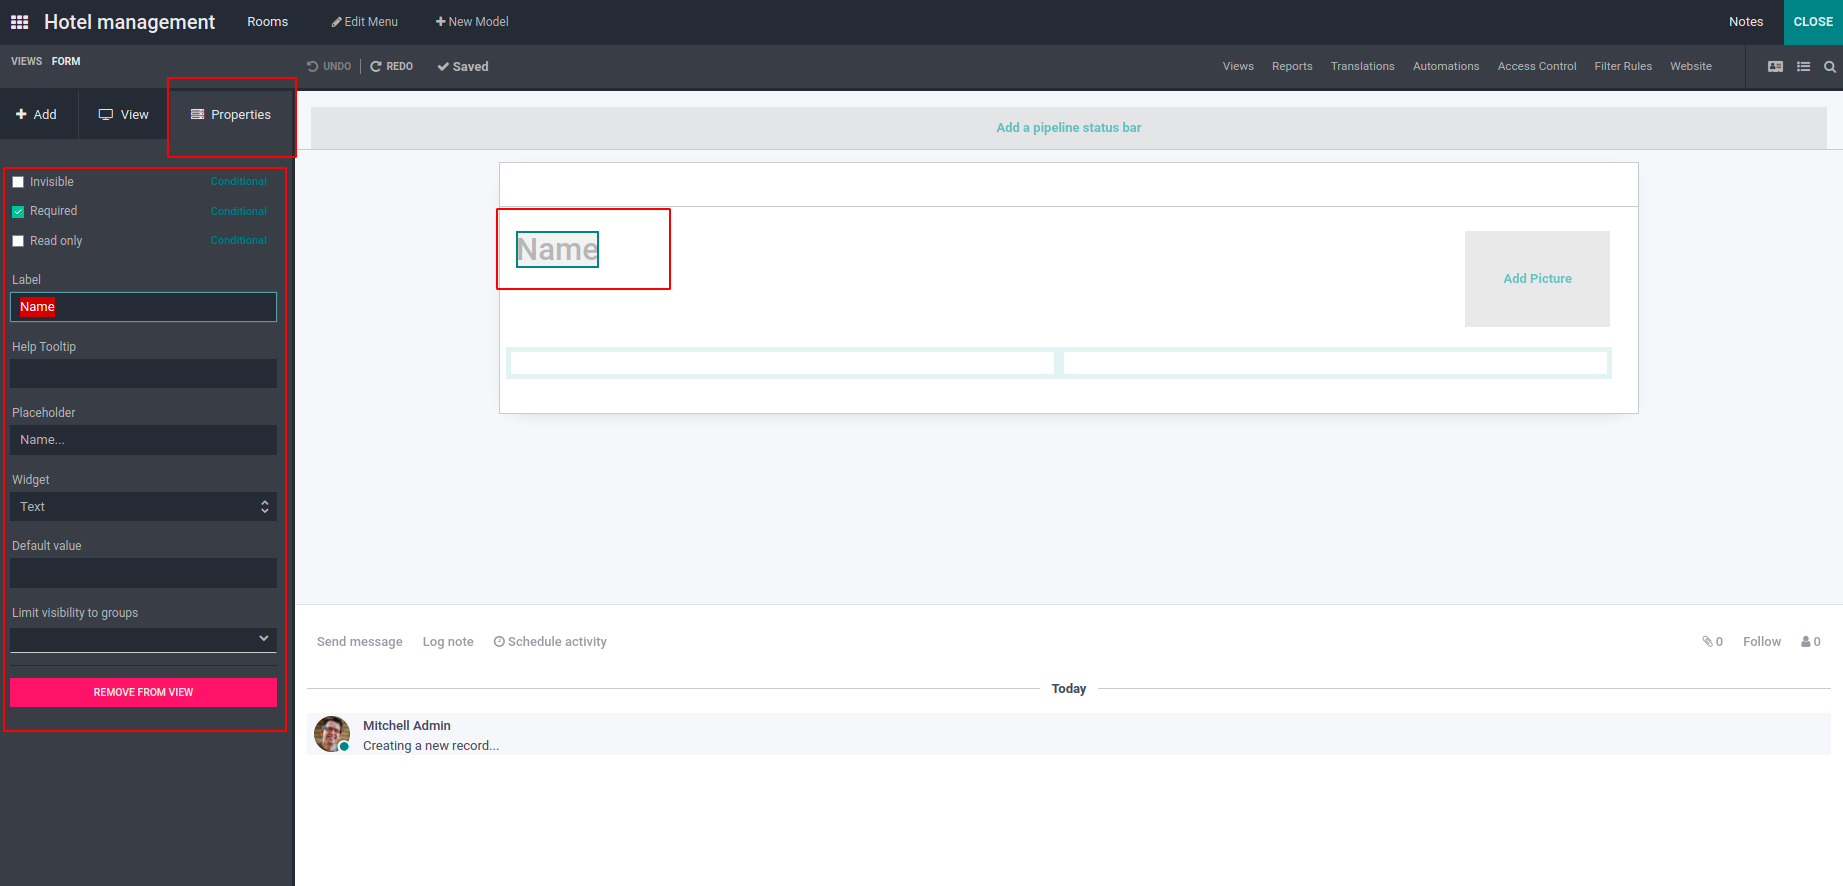
You can set the respective conditions by clicking on the conditional link near each
option. When clicking on the conditional link, a widget to set filters will be popped
up.
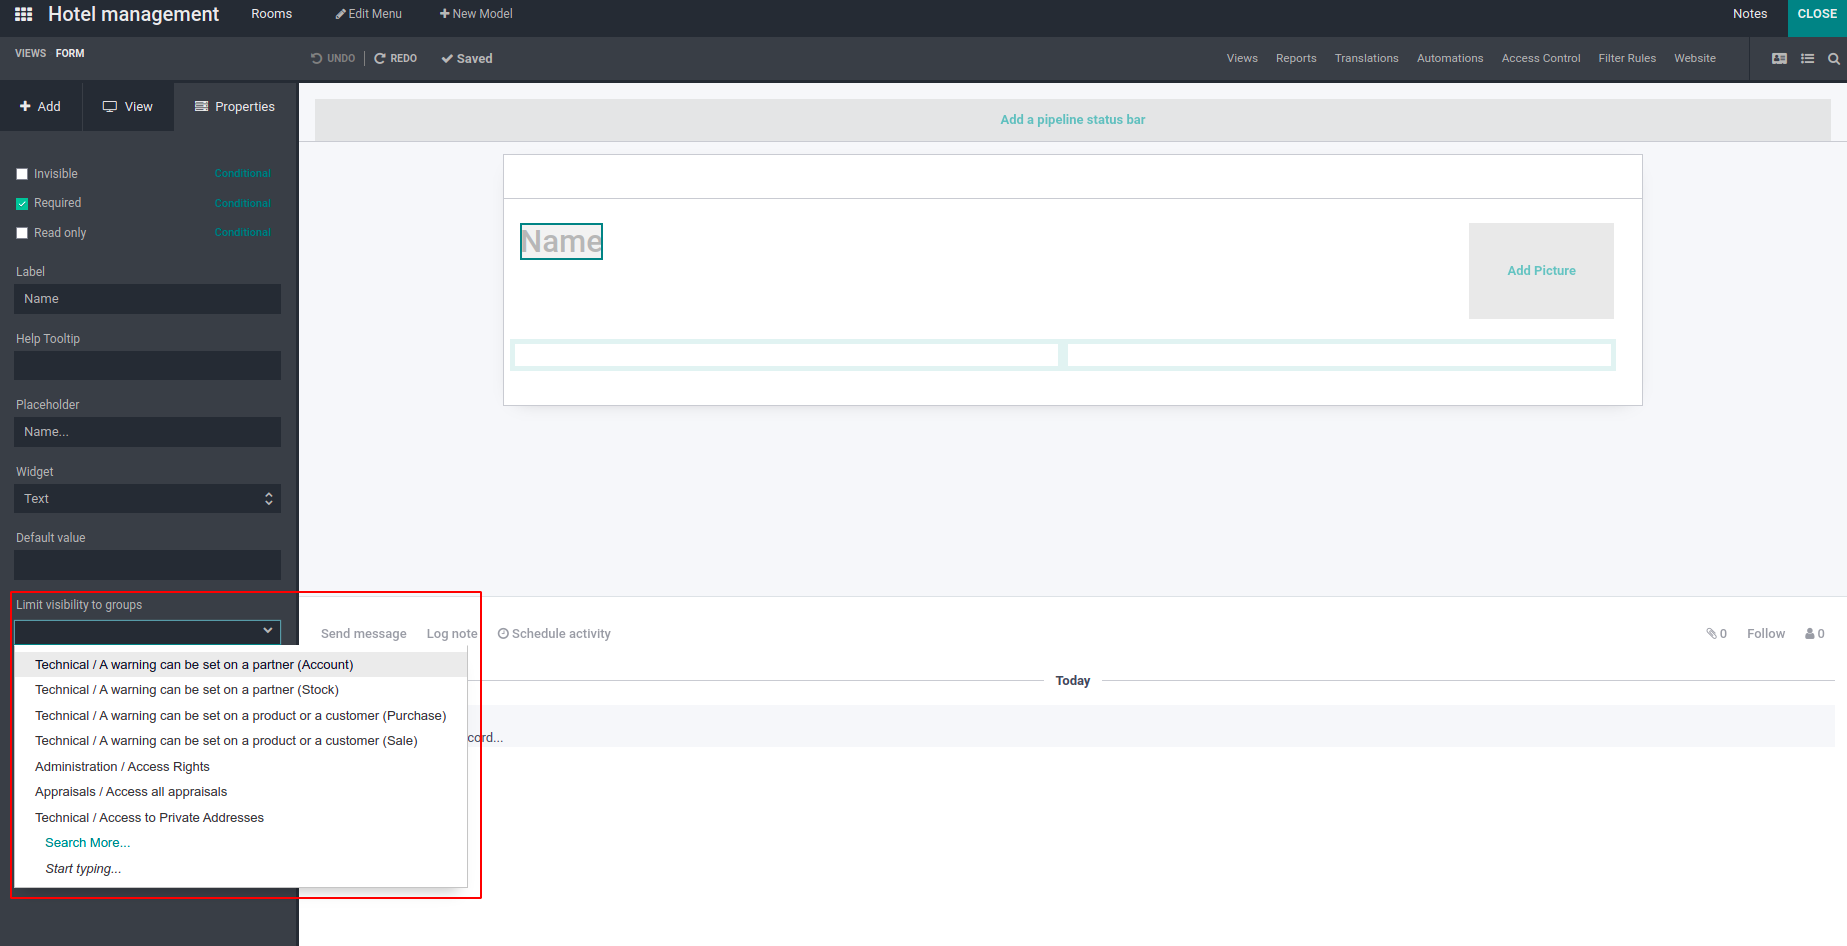
Under properties, you can set Label, Help tooltip, placeholder, widget, and default
value. The visibility groups can be selected from limit visibility to group option.
The fields in the form view can be deleted by clicking on the Remove from View button.
Then the field will be removed from the active view (form/ tree/ Kanban, etc.).