Building models in the Odoo Studio module is easy and quick. With Studio, you can effortlessly add fields to your custom or existing modules. Modifying or creating fields is a straightforward process in Studio, making it a simple way to customize modules to suit your needs. Creating custom modules for your specific requirement becomes a straightforward task using this studio, requiring only a few simple steps.
When you click the toggle studio button, it opens a new window where you can find the option to create a model.
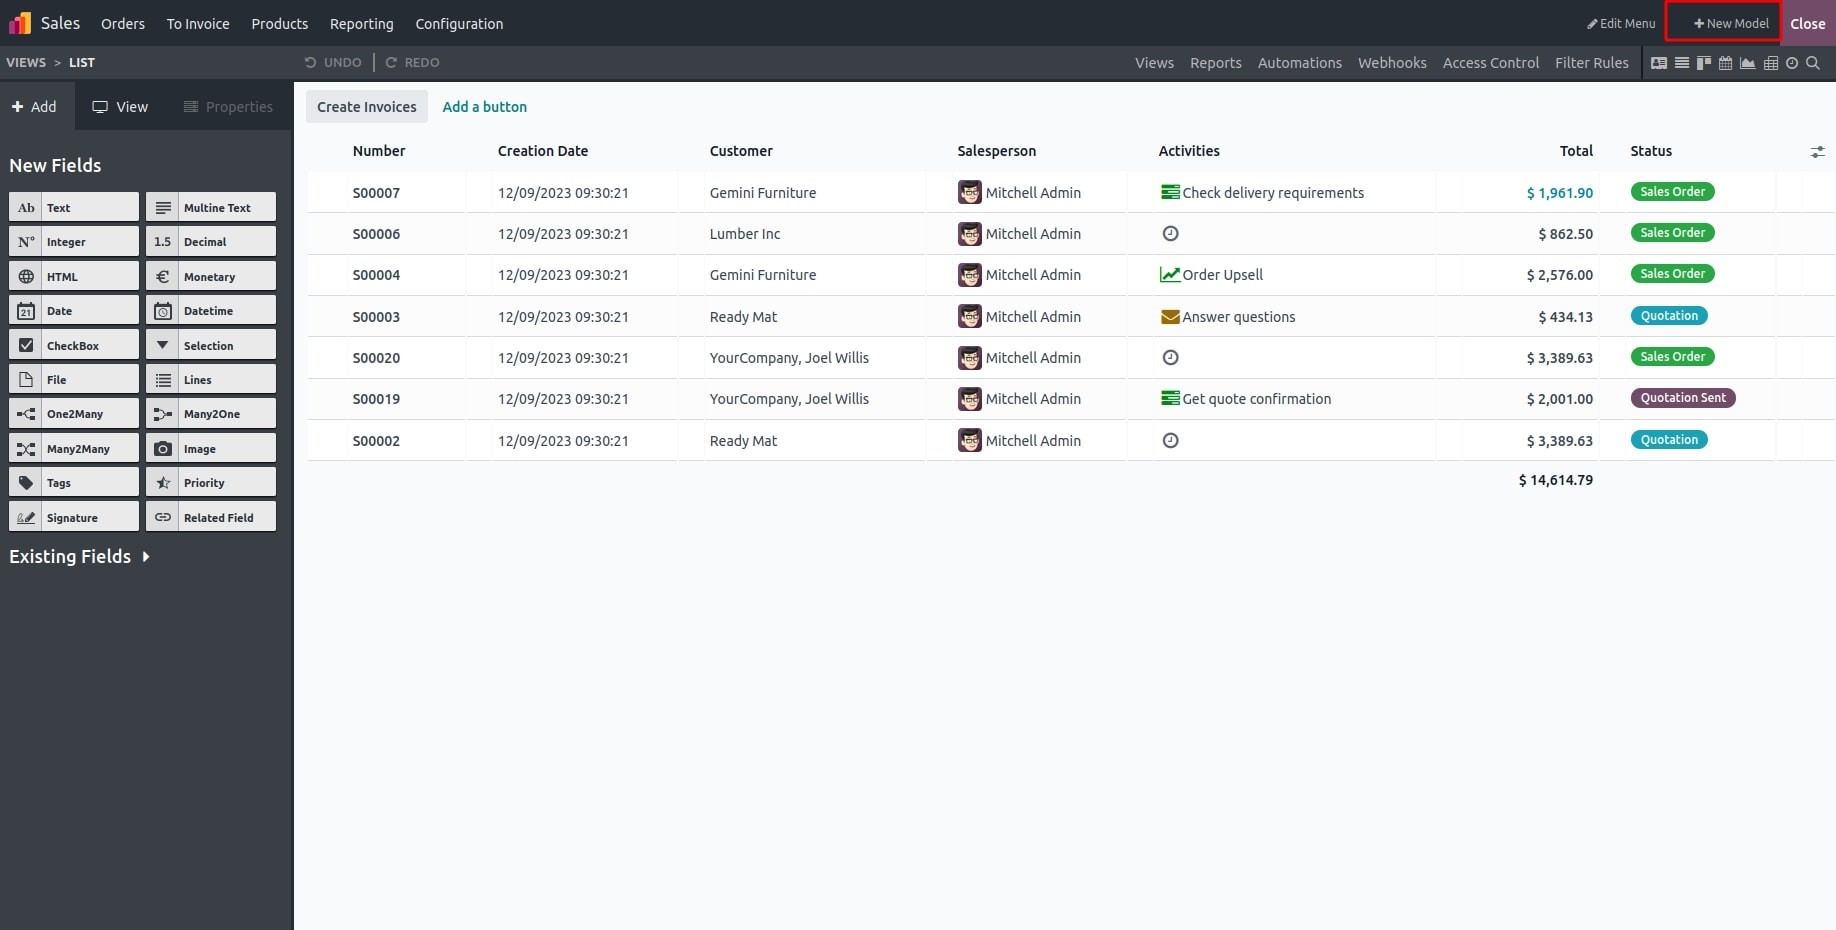
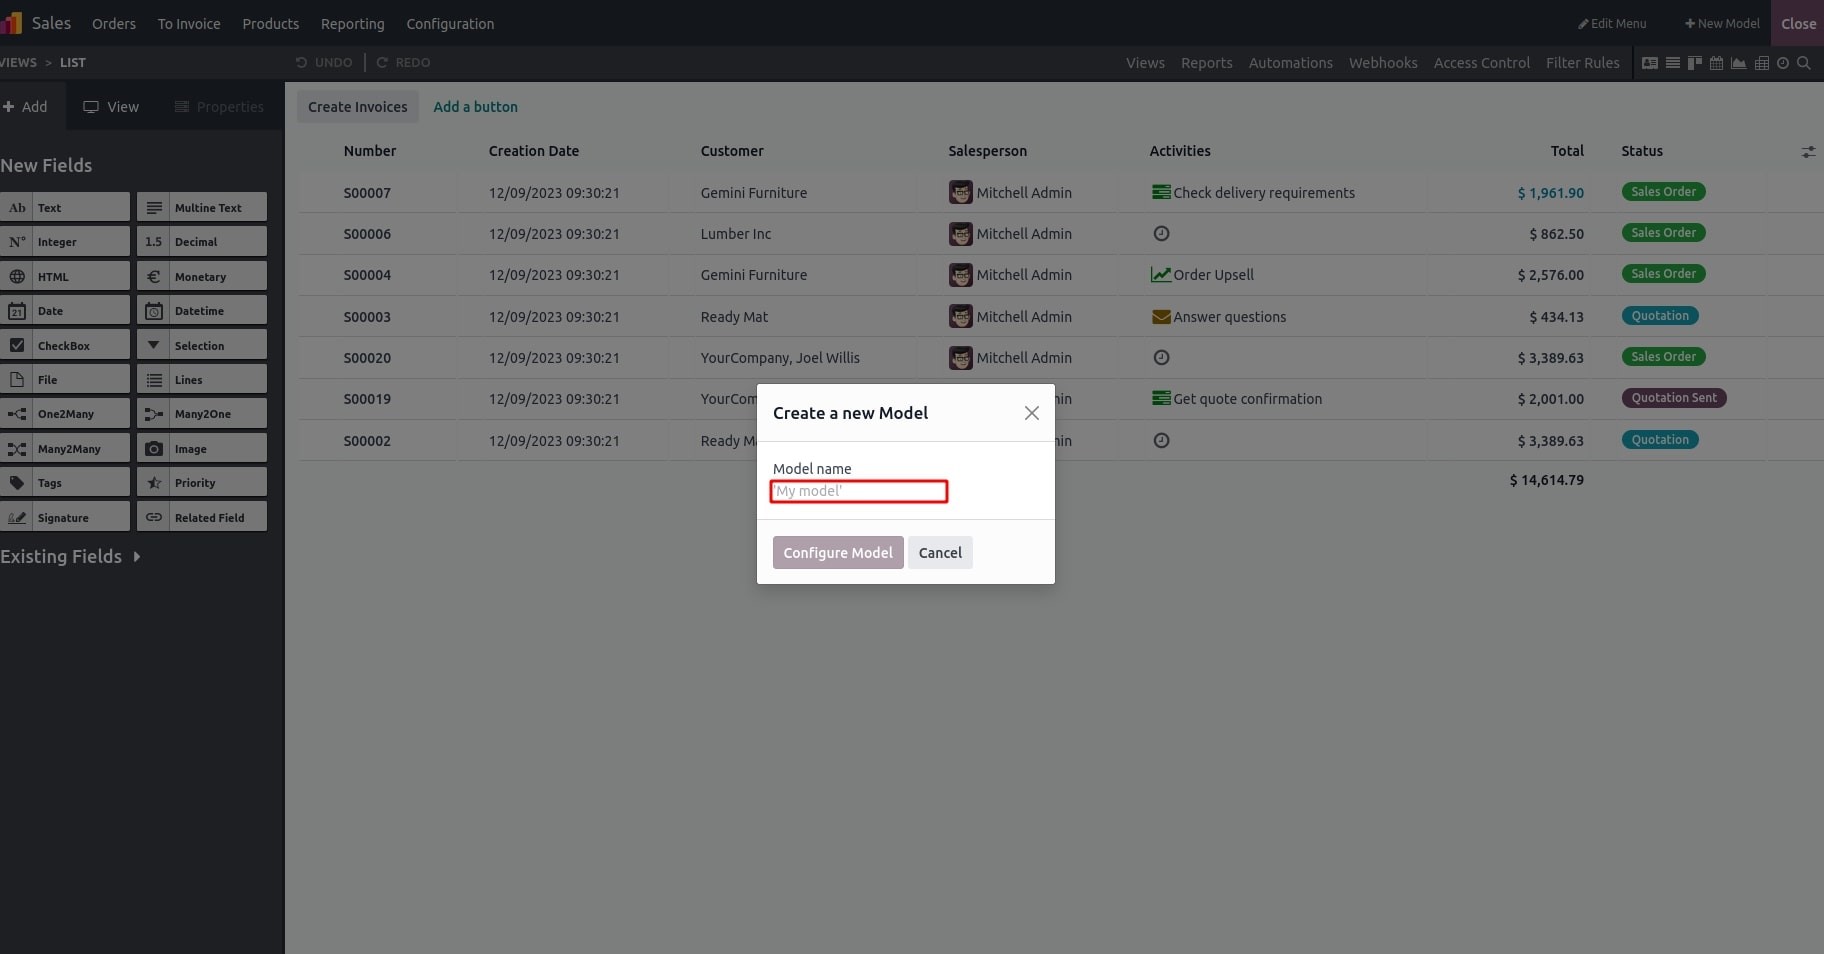
Once you click the "new model" button, you'll be prompted to enter the model name in the following window.
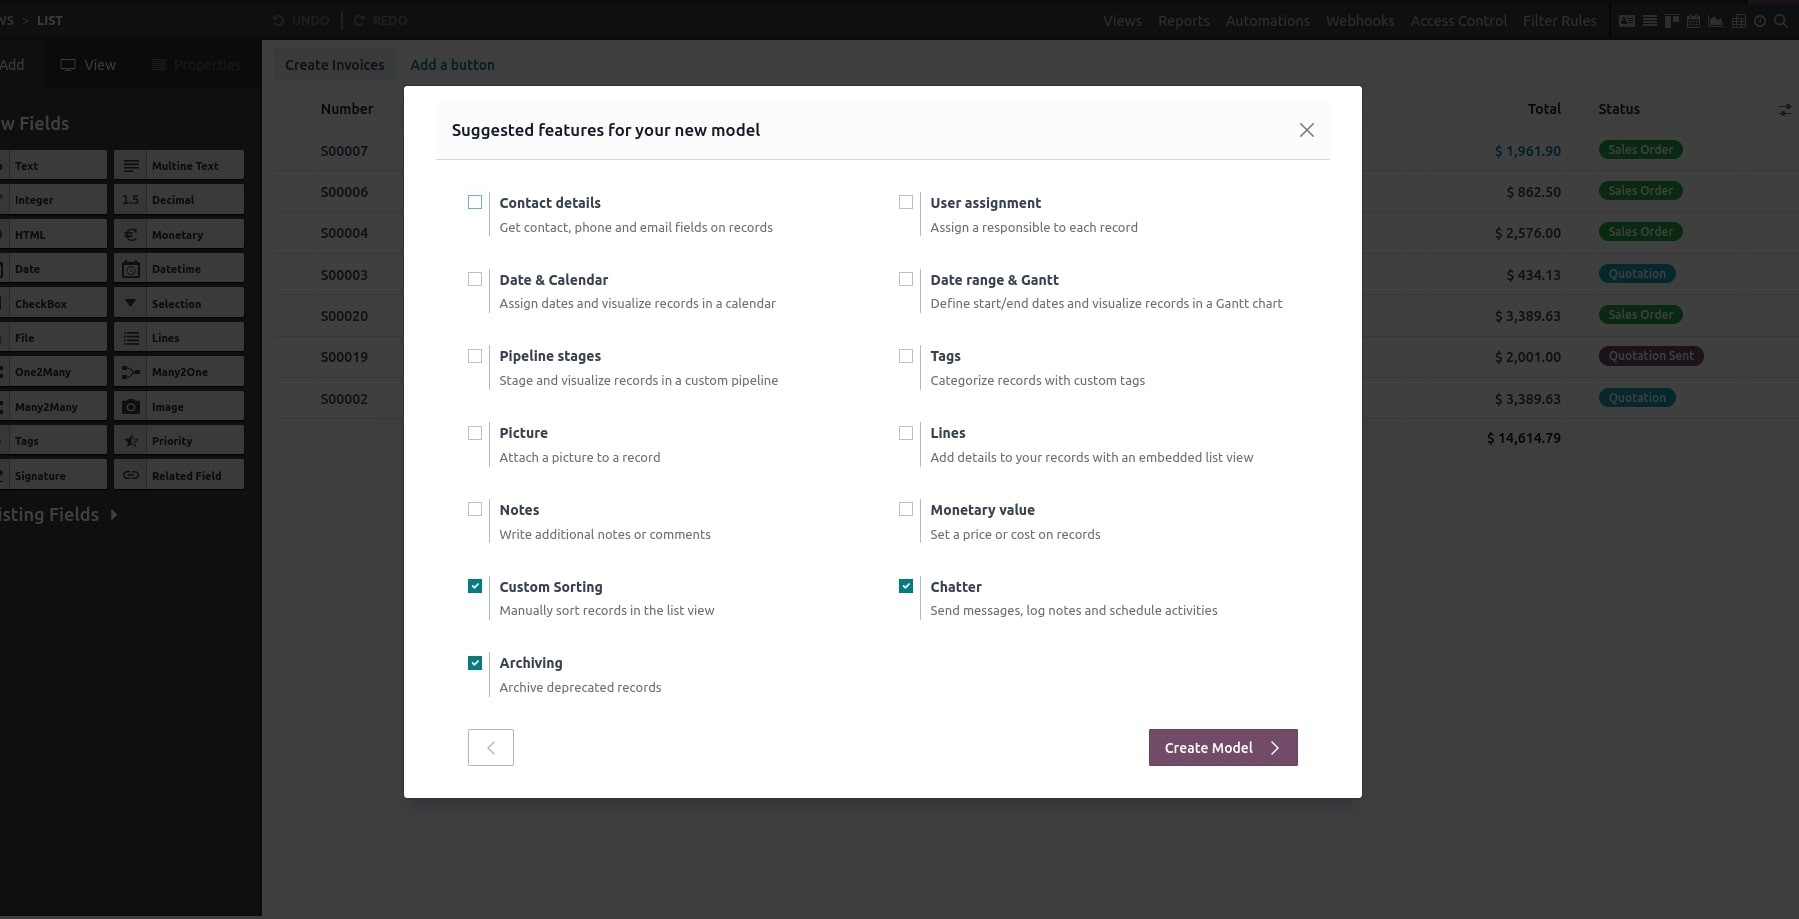
Subsequently, you can incorporate features into the model and proceed with its creation.
For views:
Odoo Studio offers various types of views to showcase the contents of the model or database table. These views are designed to be user-friendly, and you can easily create multiple views with just a few simple steps.
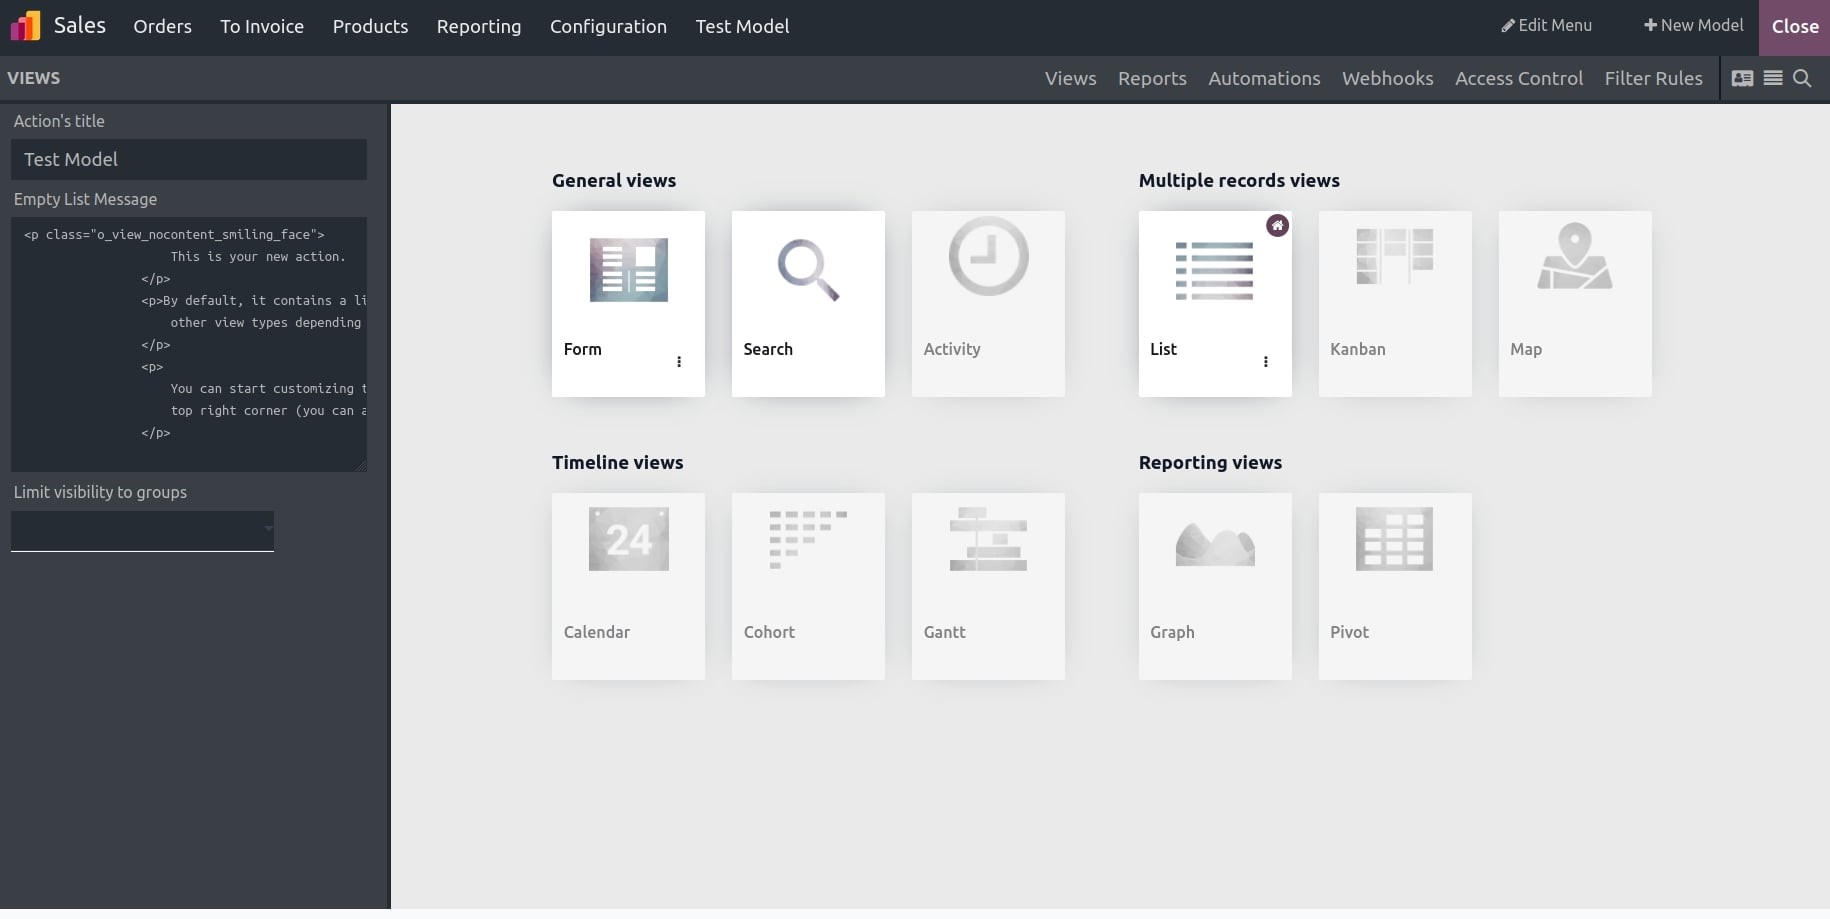
General Views:
Form
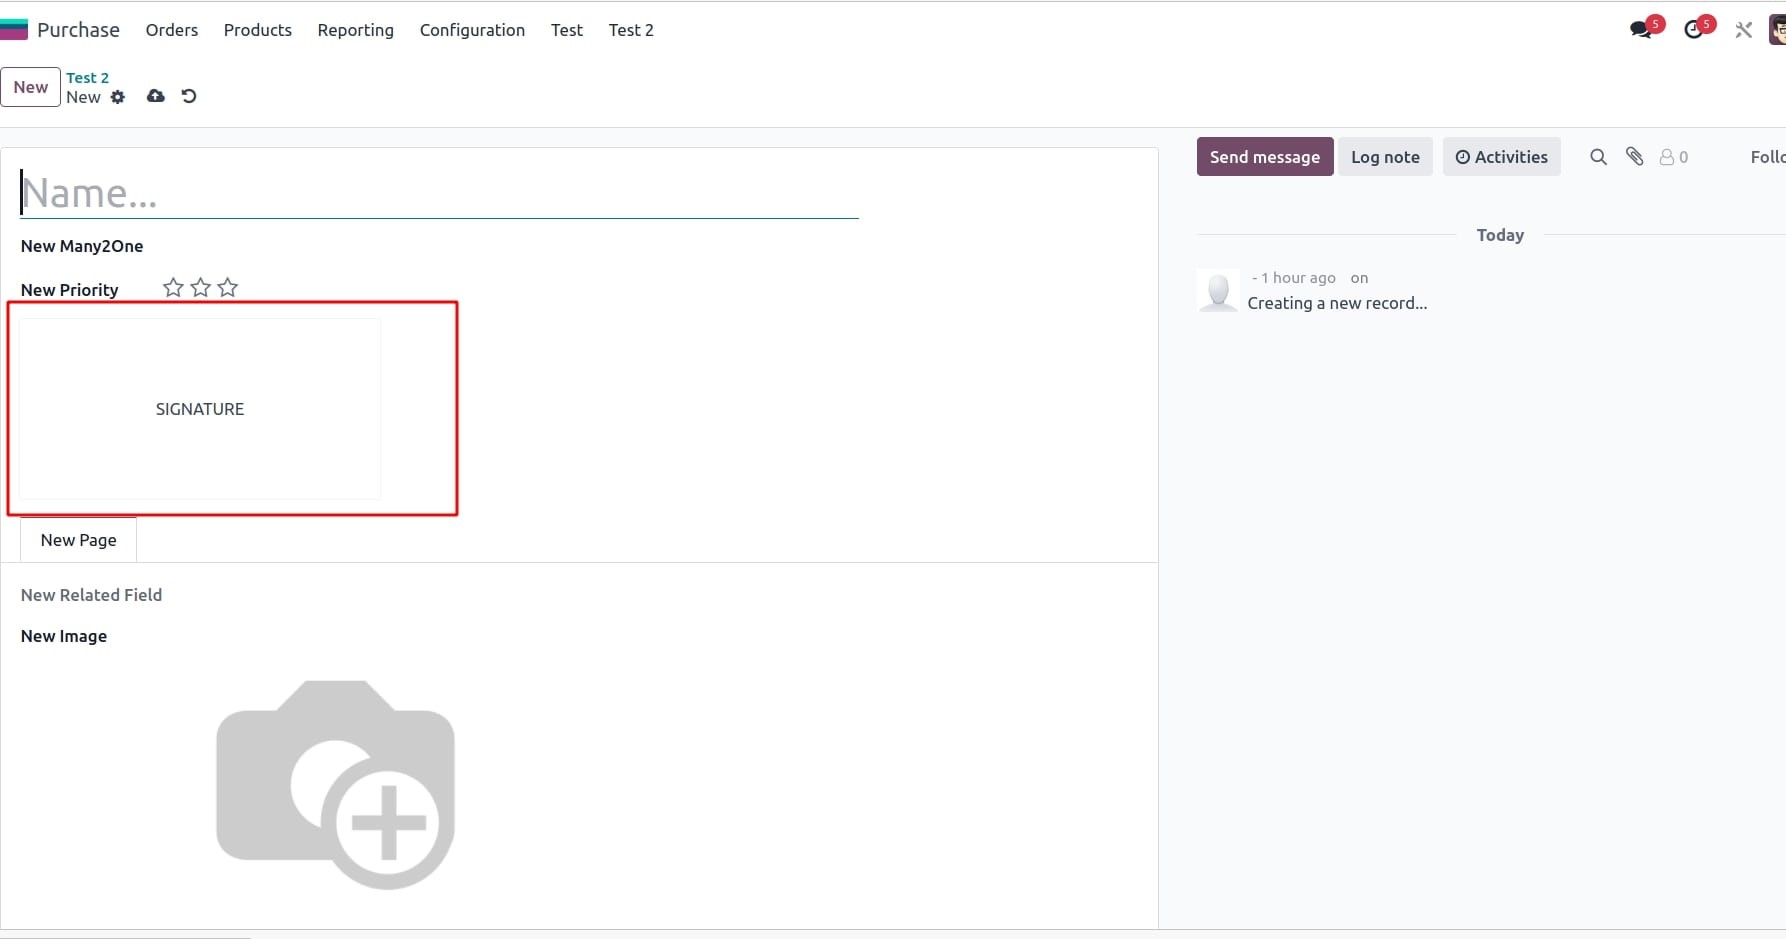
A form view in Odoo Studio is designed to present a single record of the model, showcasing the individual rows of a database table. You can create, edit, and delete records as needed within this view.
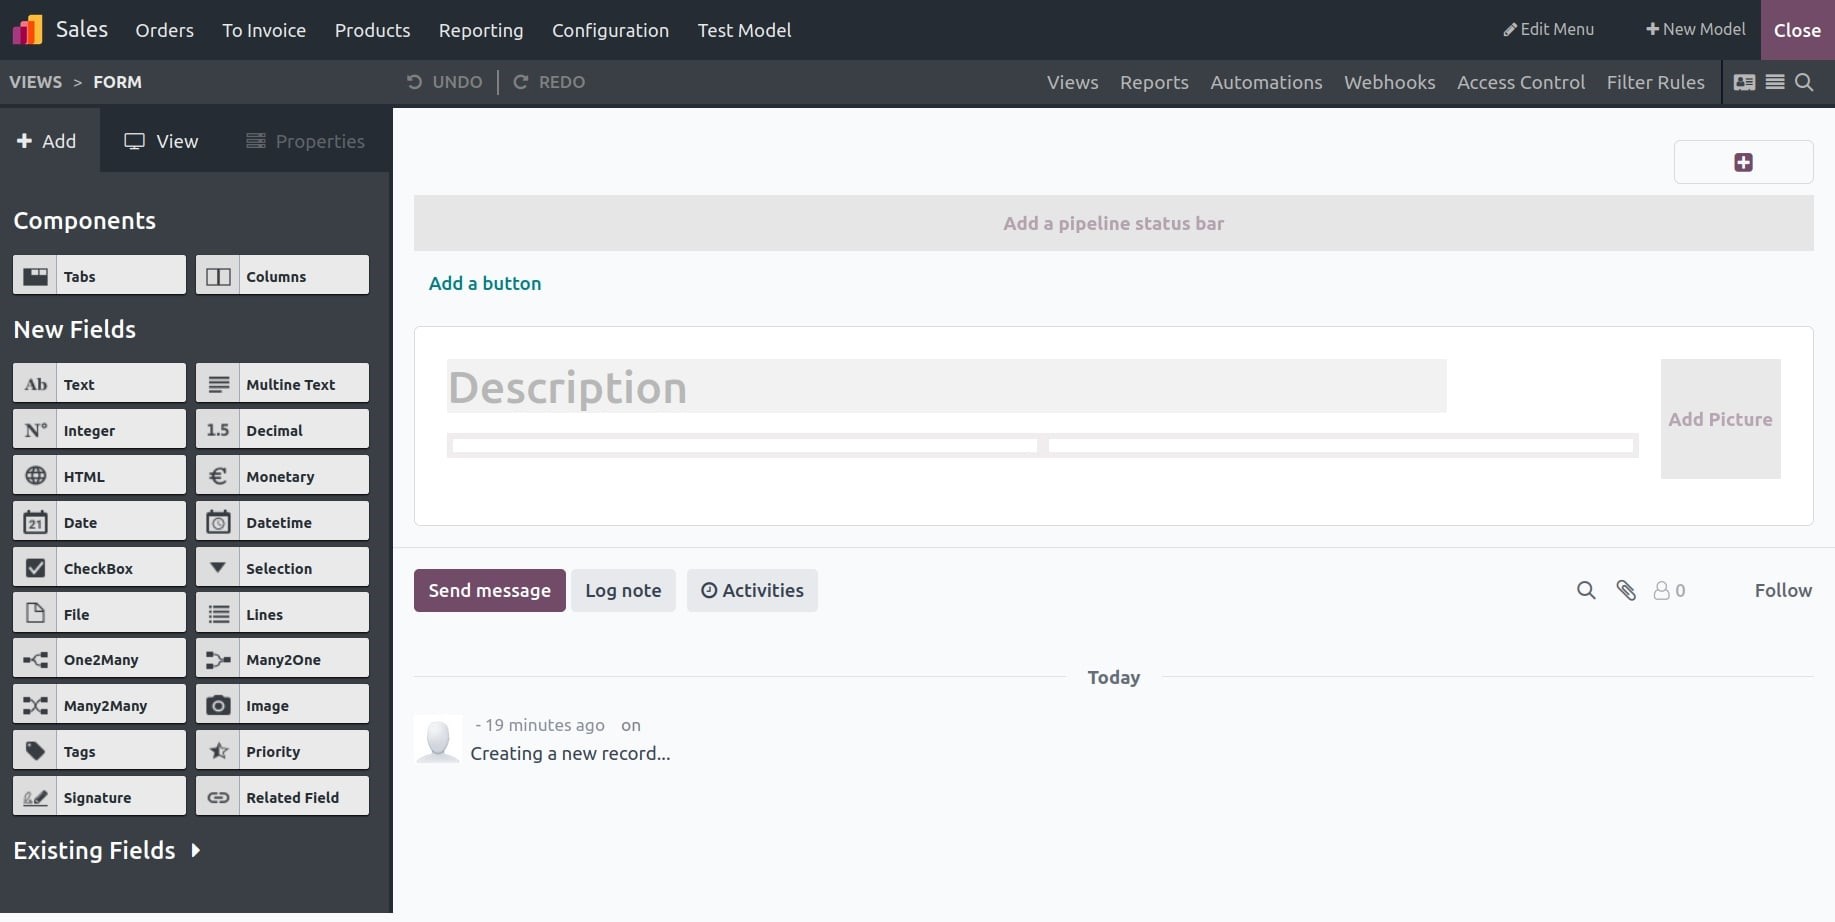
You have the flexibility to choose from various components and fields in Odoo Studio, and you can easily arrange them by dragging and dropping them to the desired location.

Upon selecting the tabs in Odoo Studio, you can add new pages and have the option to modify labels (names) as well as add user groups. This provides a way to customize and organize the content according to your specific requirements.

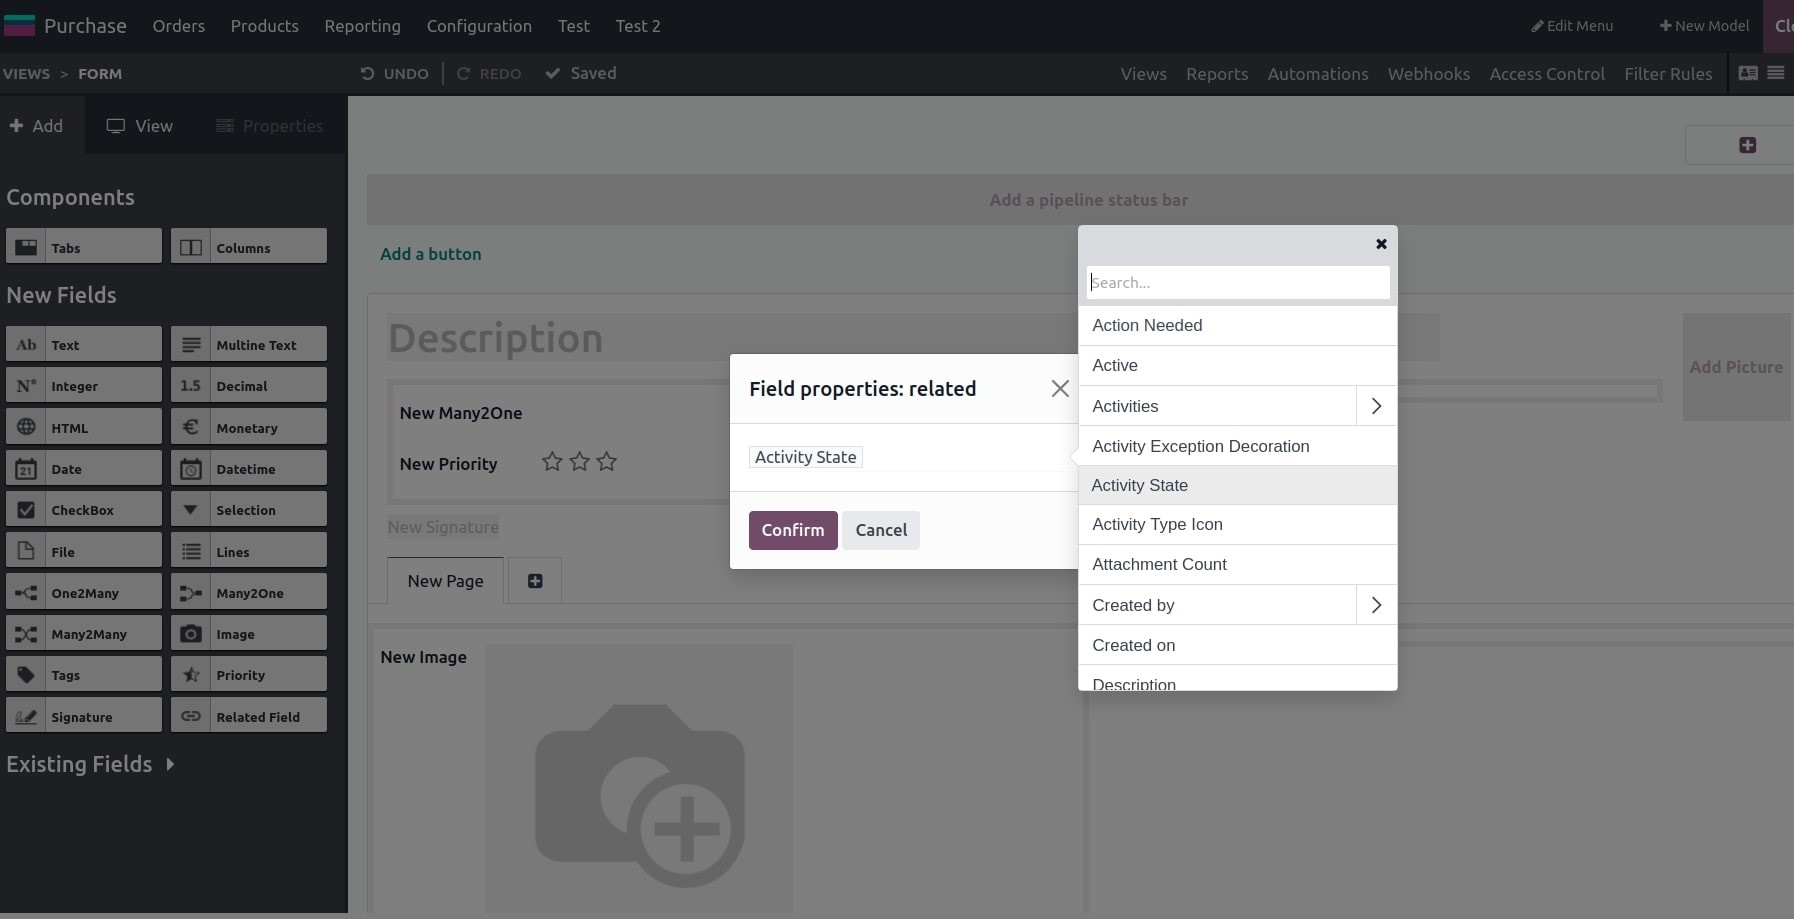
In the "New Fields" section of Odoo Studio, various types of fields are accessible. When selecting a field, you can modify its properties, such as widget, required status, read-only status, help text, and more. This allows for fine-tuning and customization of the field based on your specific needs.
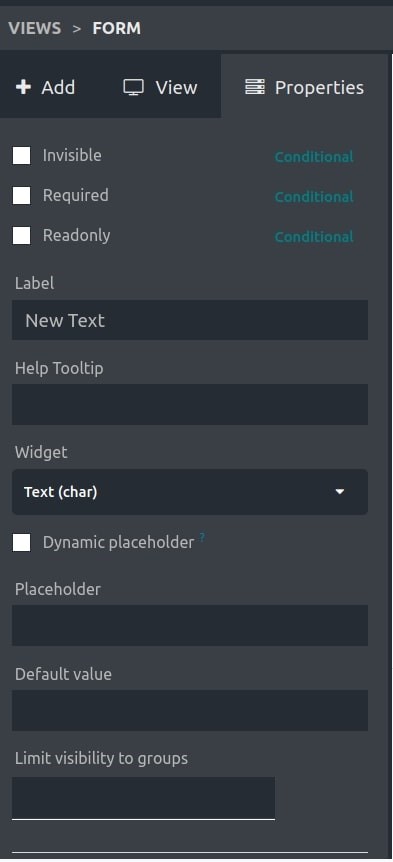
Text field:
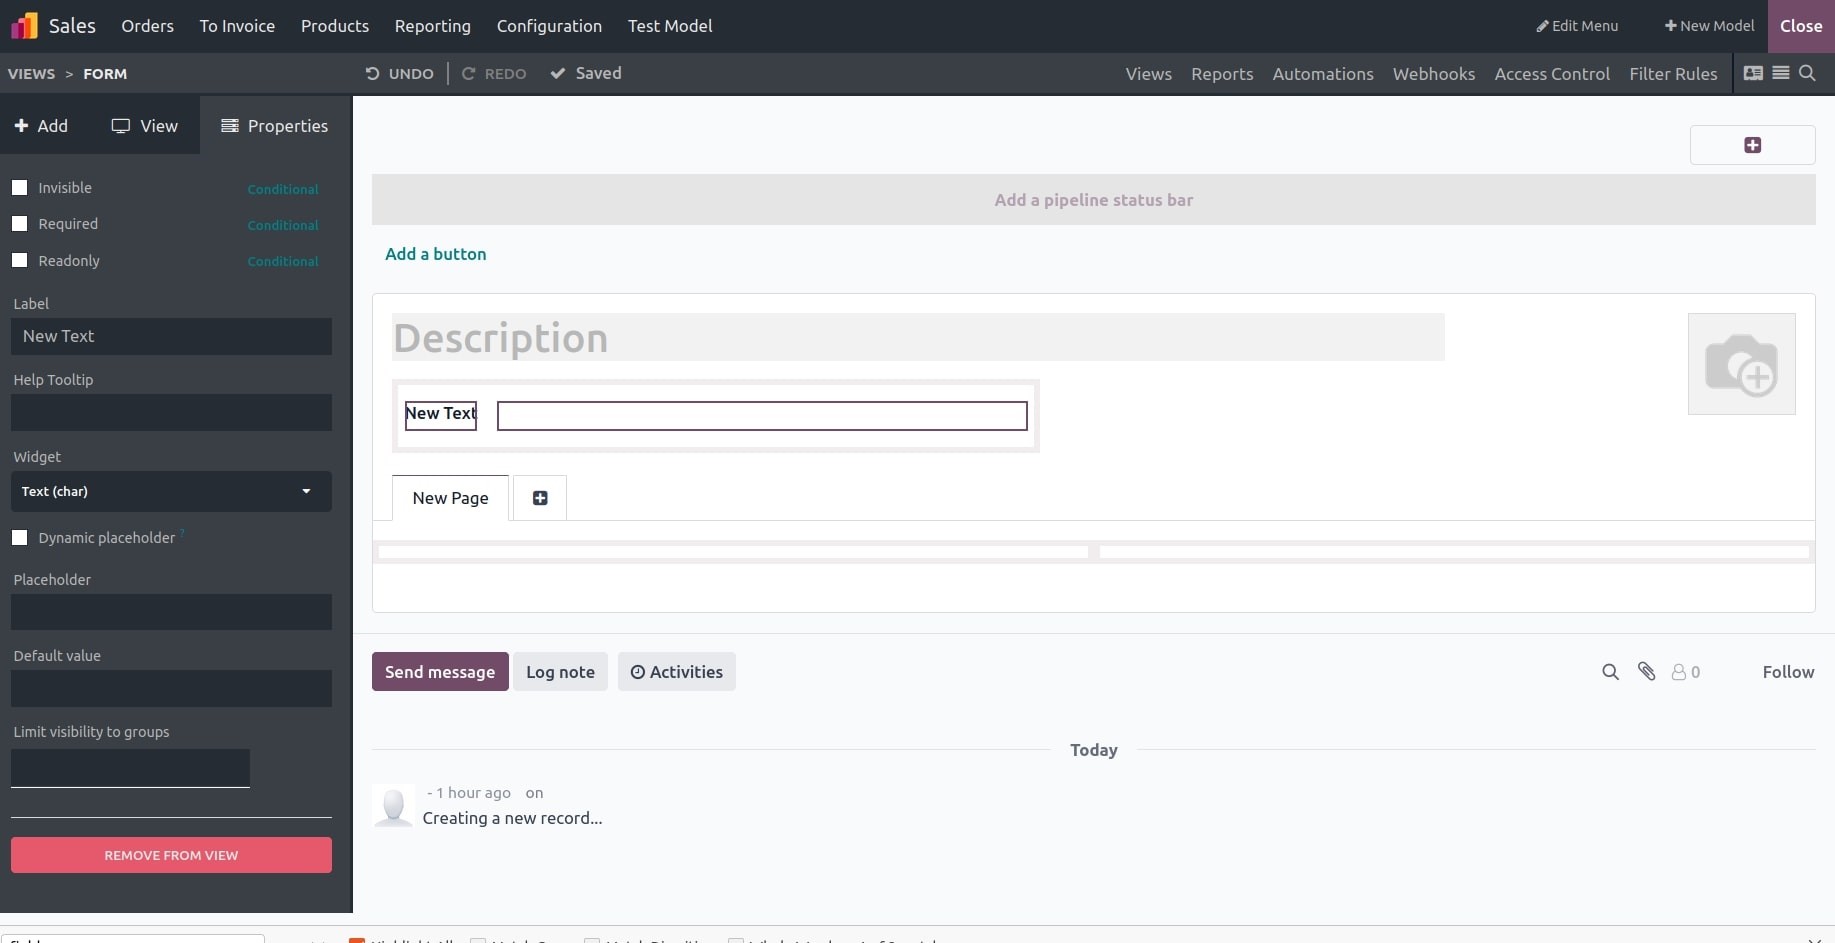
In the case of a text field, you have the option to configure it as required or invisible. Additionally, you can include help, labels, default values, and assign user groups. If you decide not to include this field, you can easily remove it from the view.
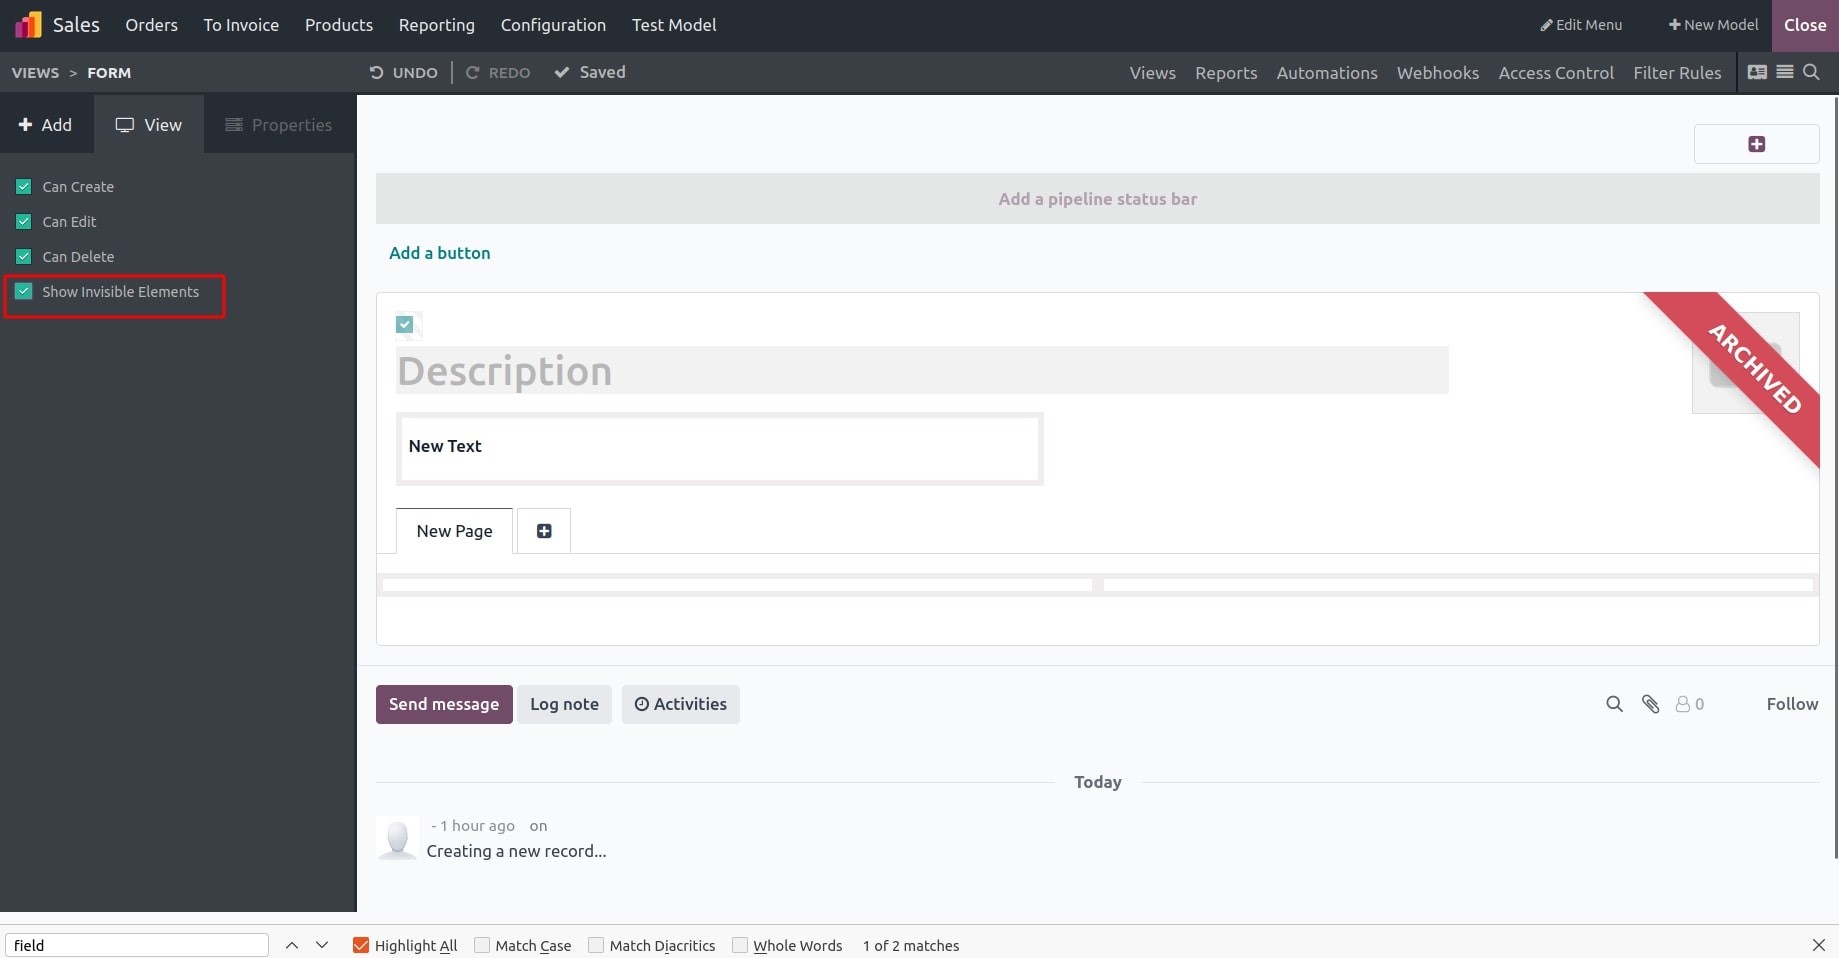
You can see the invisible field in the shaded portion by clicking Show invisible elements.
Multiline Text: This type of field is ideal for inputting text that spans more than one line.
Integer: Use this field to incorporate whole numbers. The default value for this field is zero.
Decimal Field: Designed for entering decimal numbers.
HTML: The HTML field, as depicted in the image below, provides a space for incorporating HTML content.
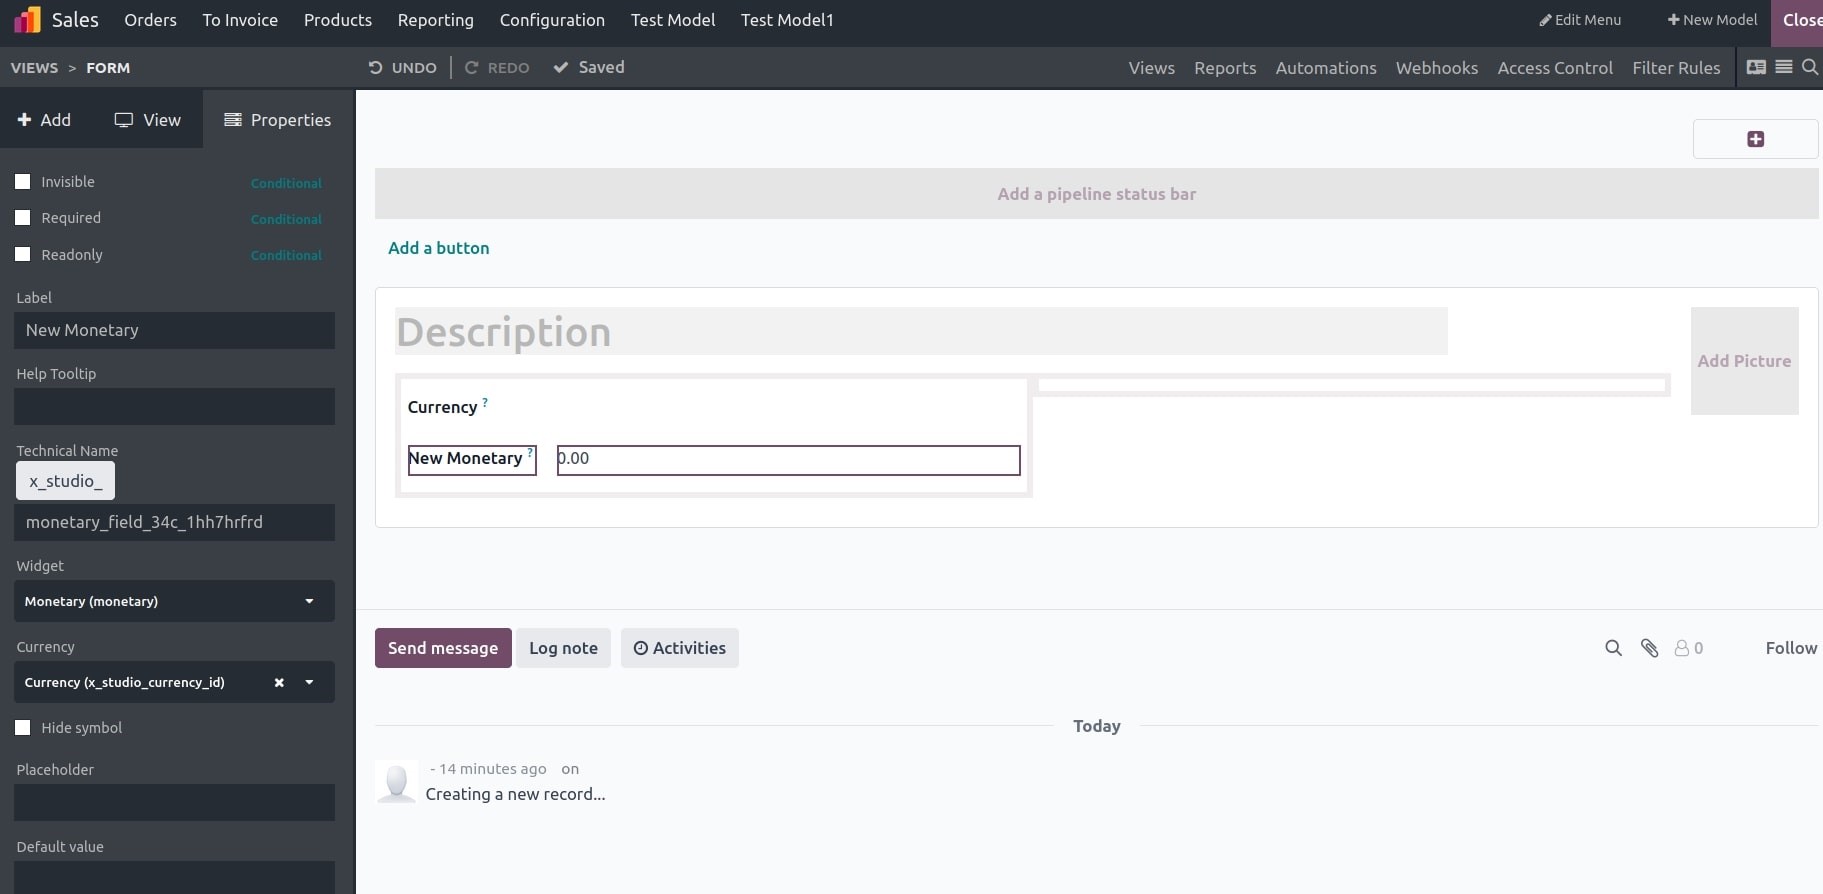
Monetary Field: When adding a monetary field, it is essential to first include the currency field.
Date and Date and Time: These two fields are utilized for entering date and datetime information, respectively.
Checkbox: This is a boolean field with values of true and false.
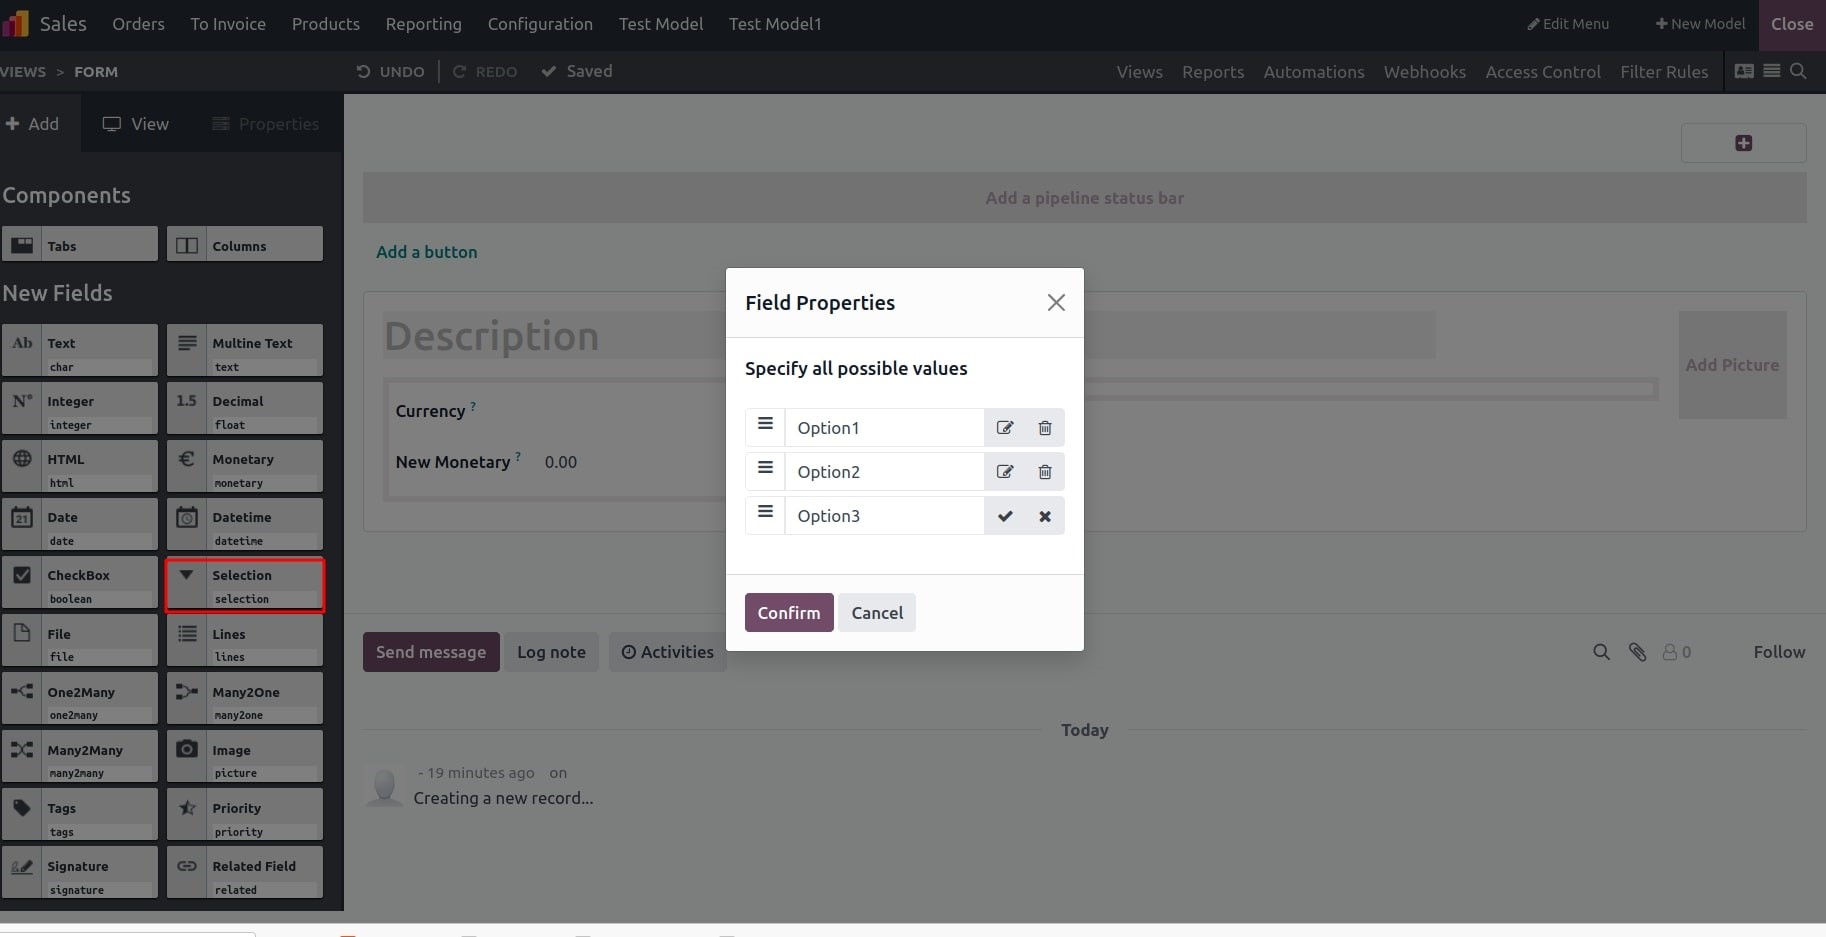
Selection Field: To include a selection field, you must first specify the possible values.
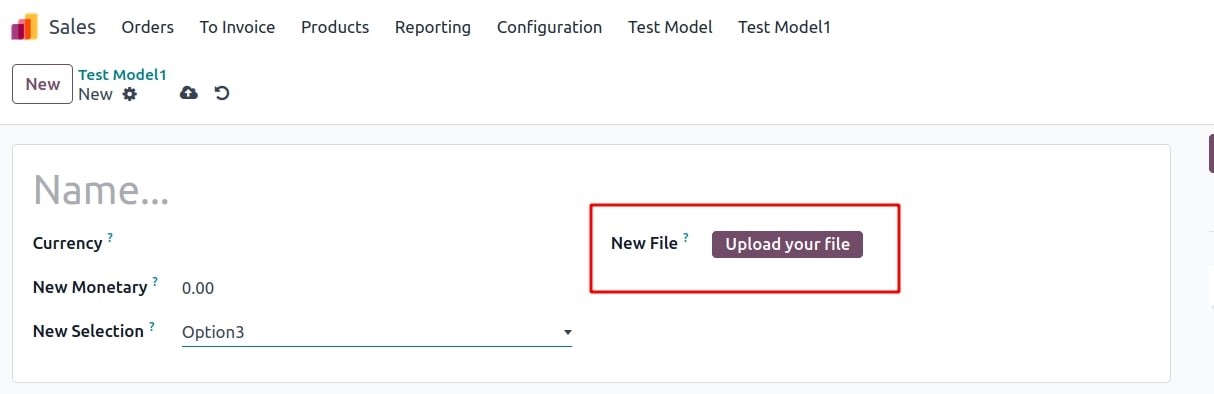
File: This field enables you to upload various file types, including PDFs and other attachments.
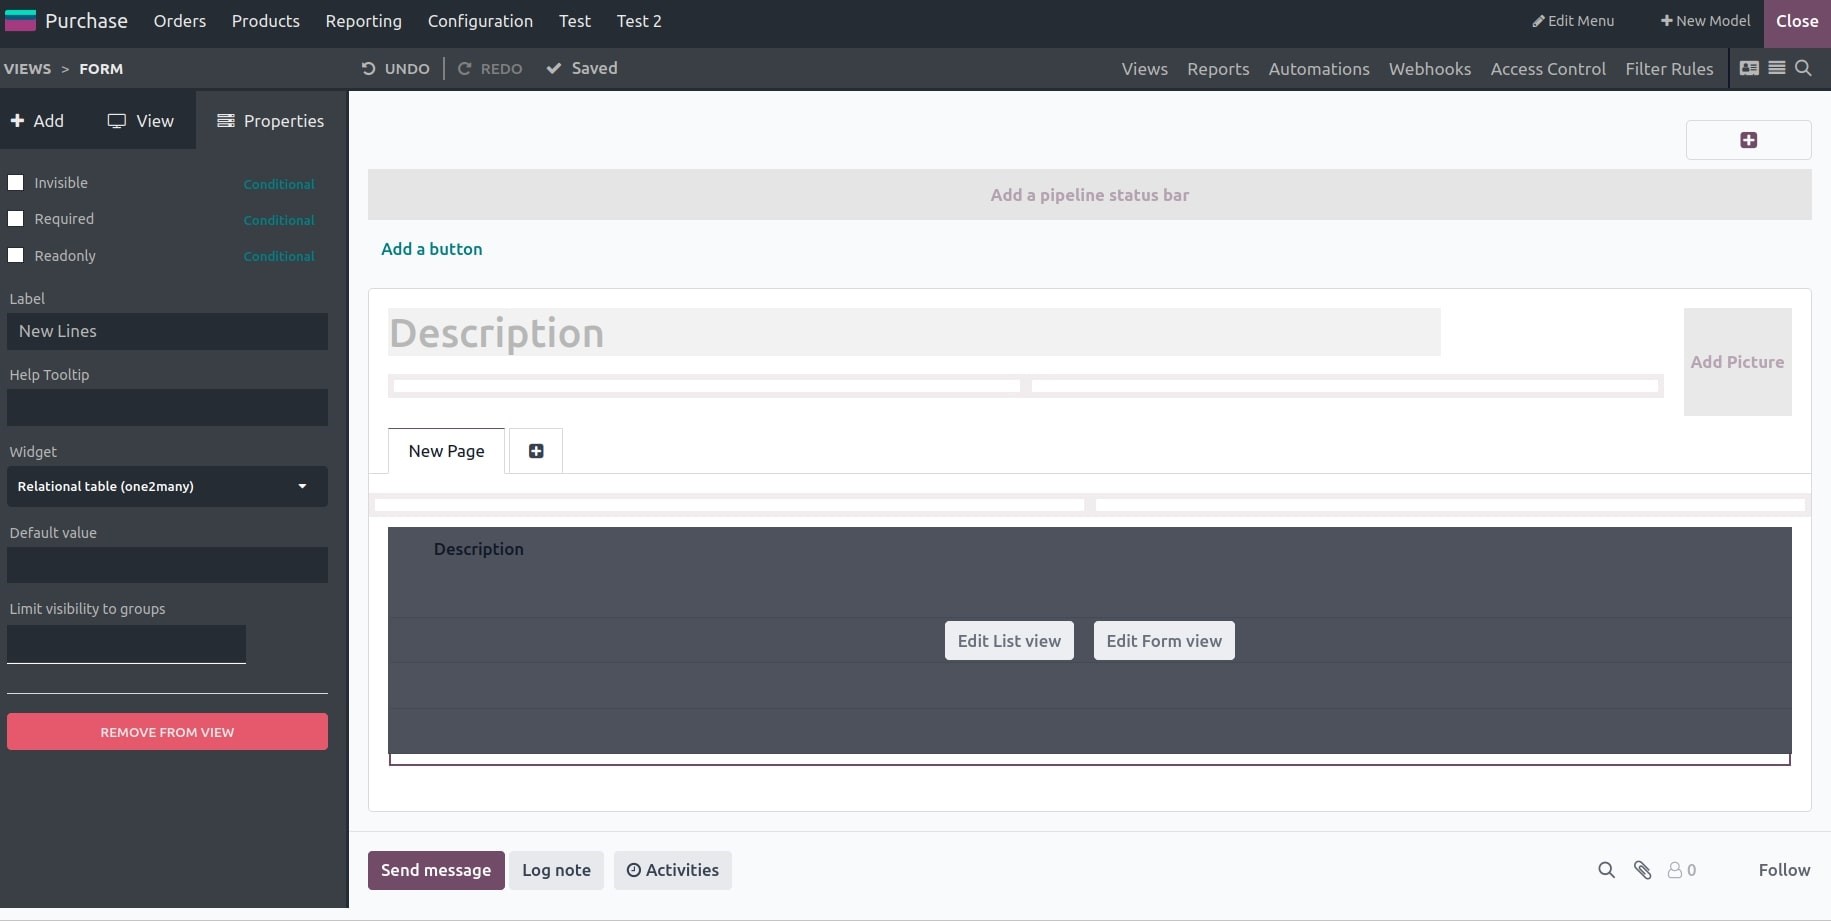
Lines: Within the lines field, you can edit both the list view and form view. This allows you to input data line by line within a single section.
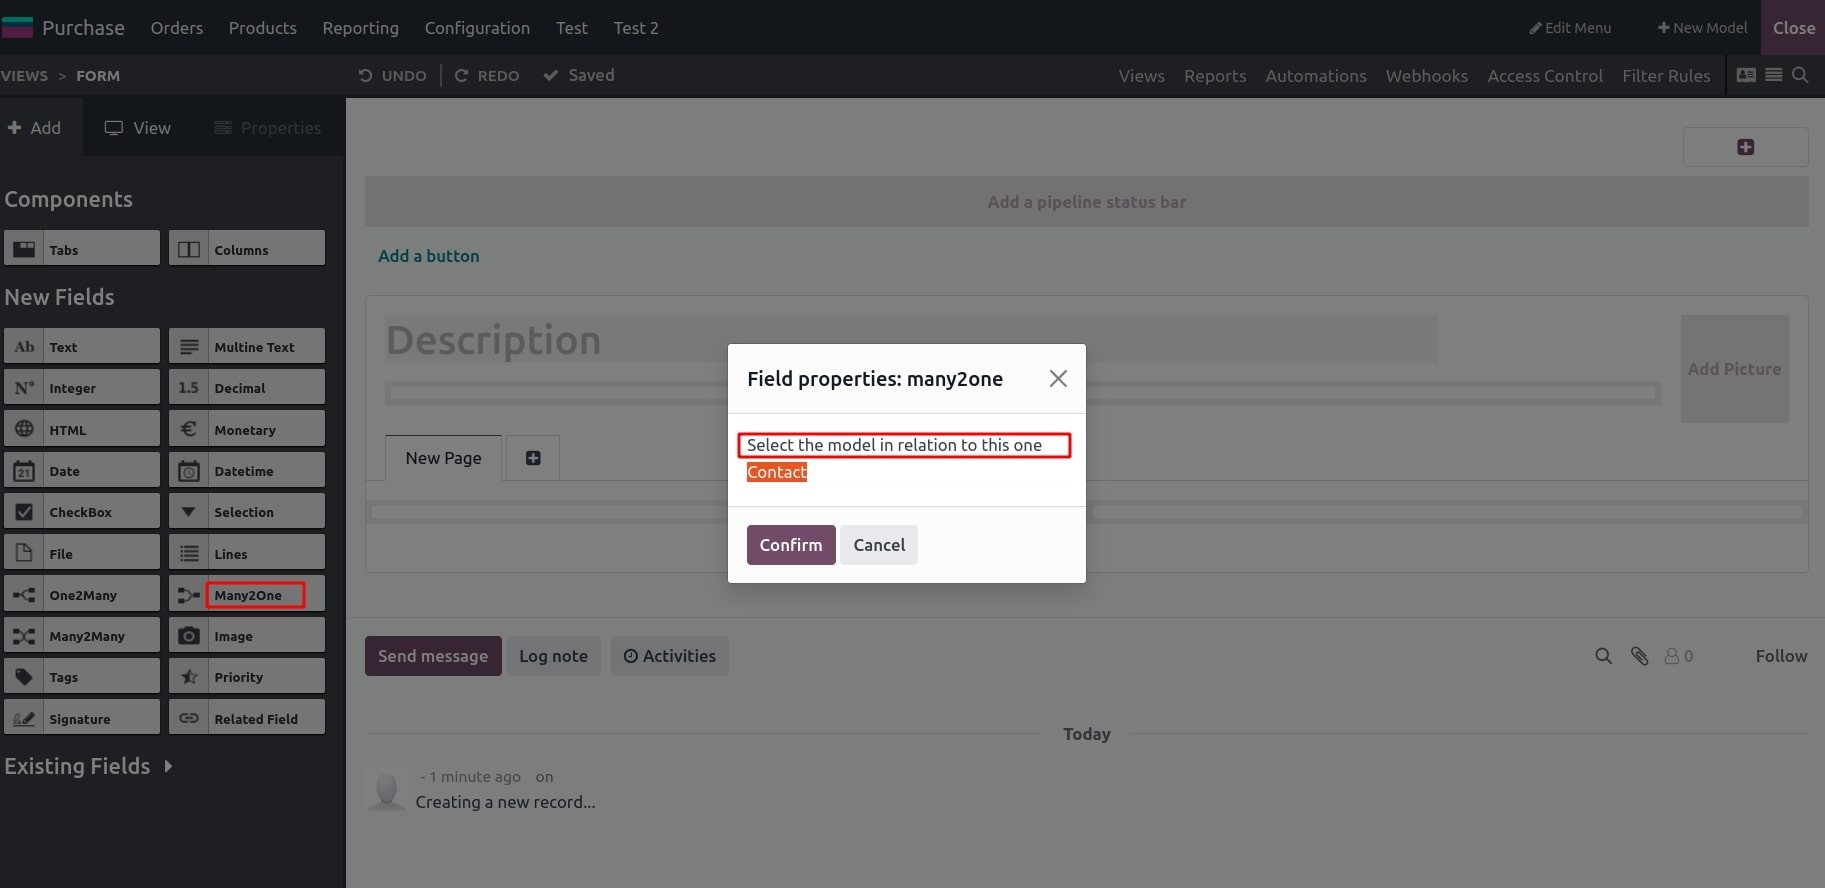
Many2One: If you choose the "Many2one" field type, you are required to specify a model in relation to this field.
One2Many: If you choose the “One2many" field type, you need to select the reciprocal Many2one field.

Many2Many: For the "Many2Many" field type, you need to specify a model in relation to this field.
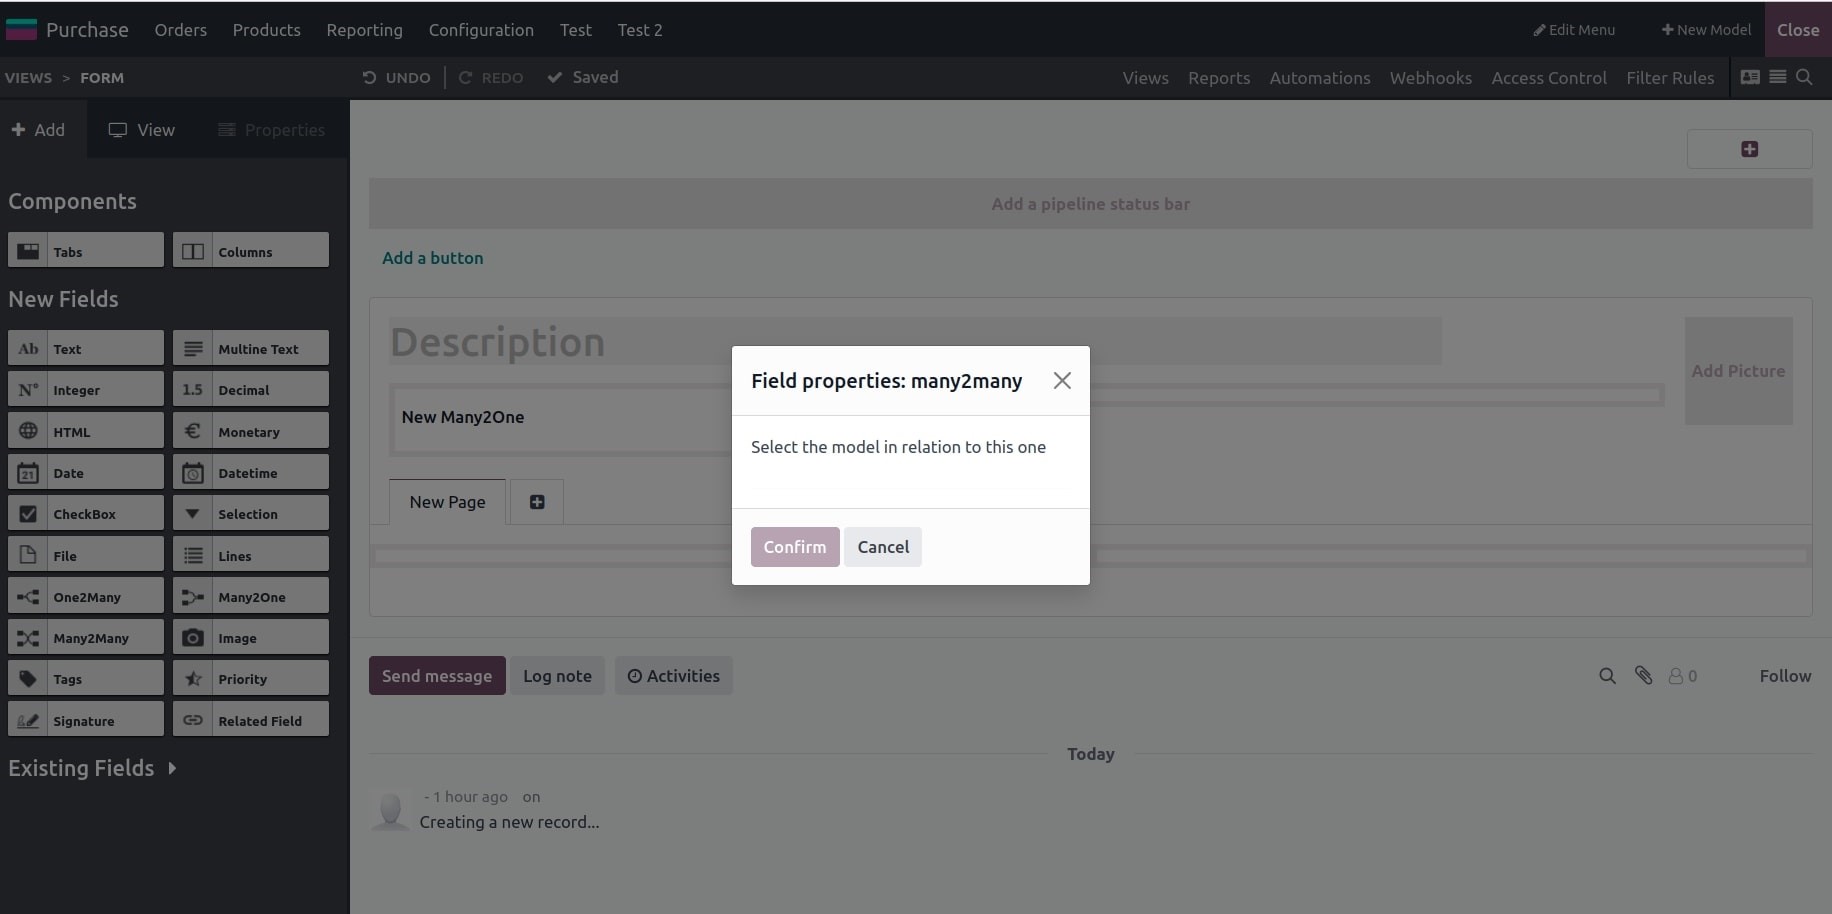
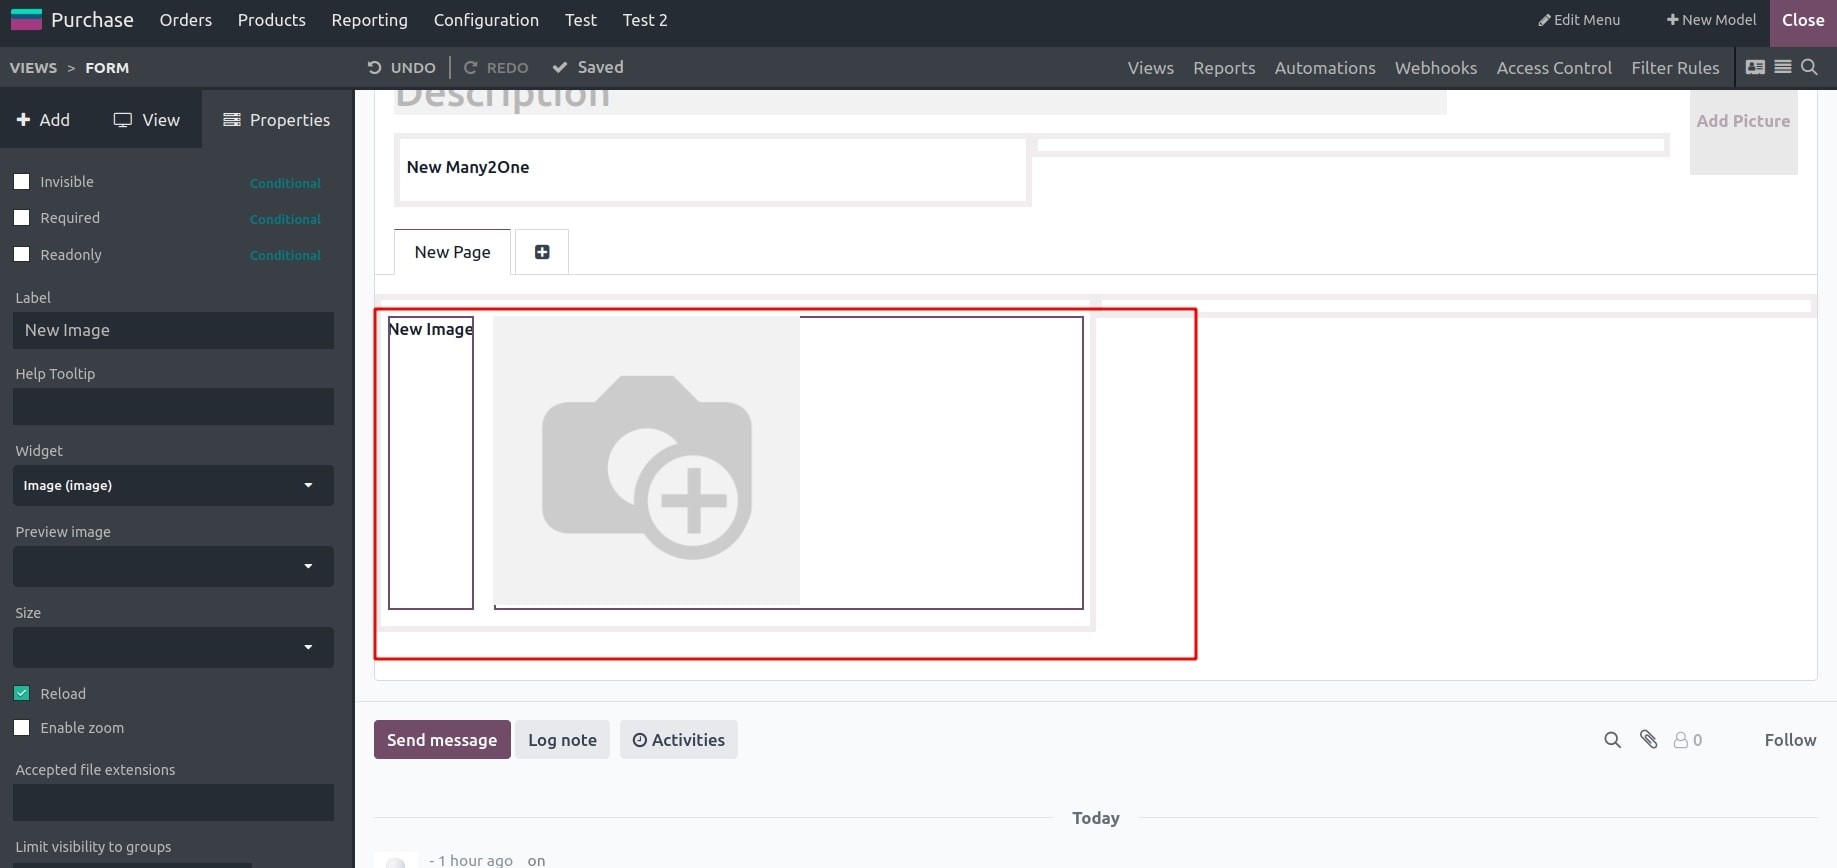
Image: When opting for the image field, you can include related images in the form of jpg files.
Tags: Tags, being a many2many field, necessitate the addition of a relation to establish the connection.
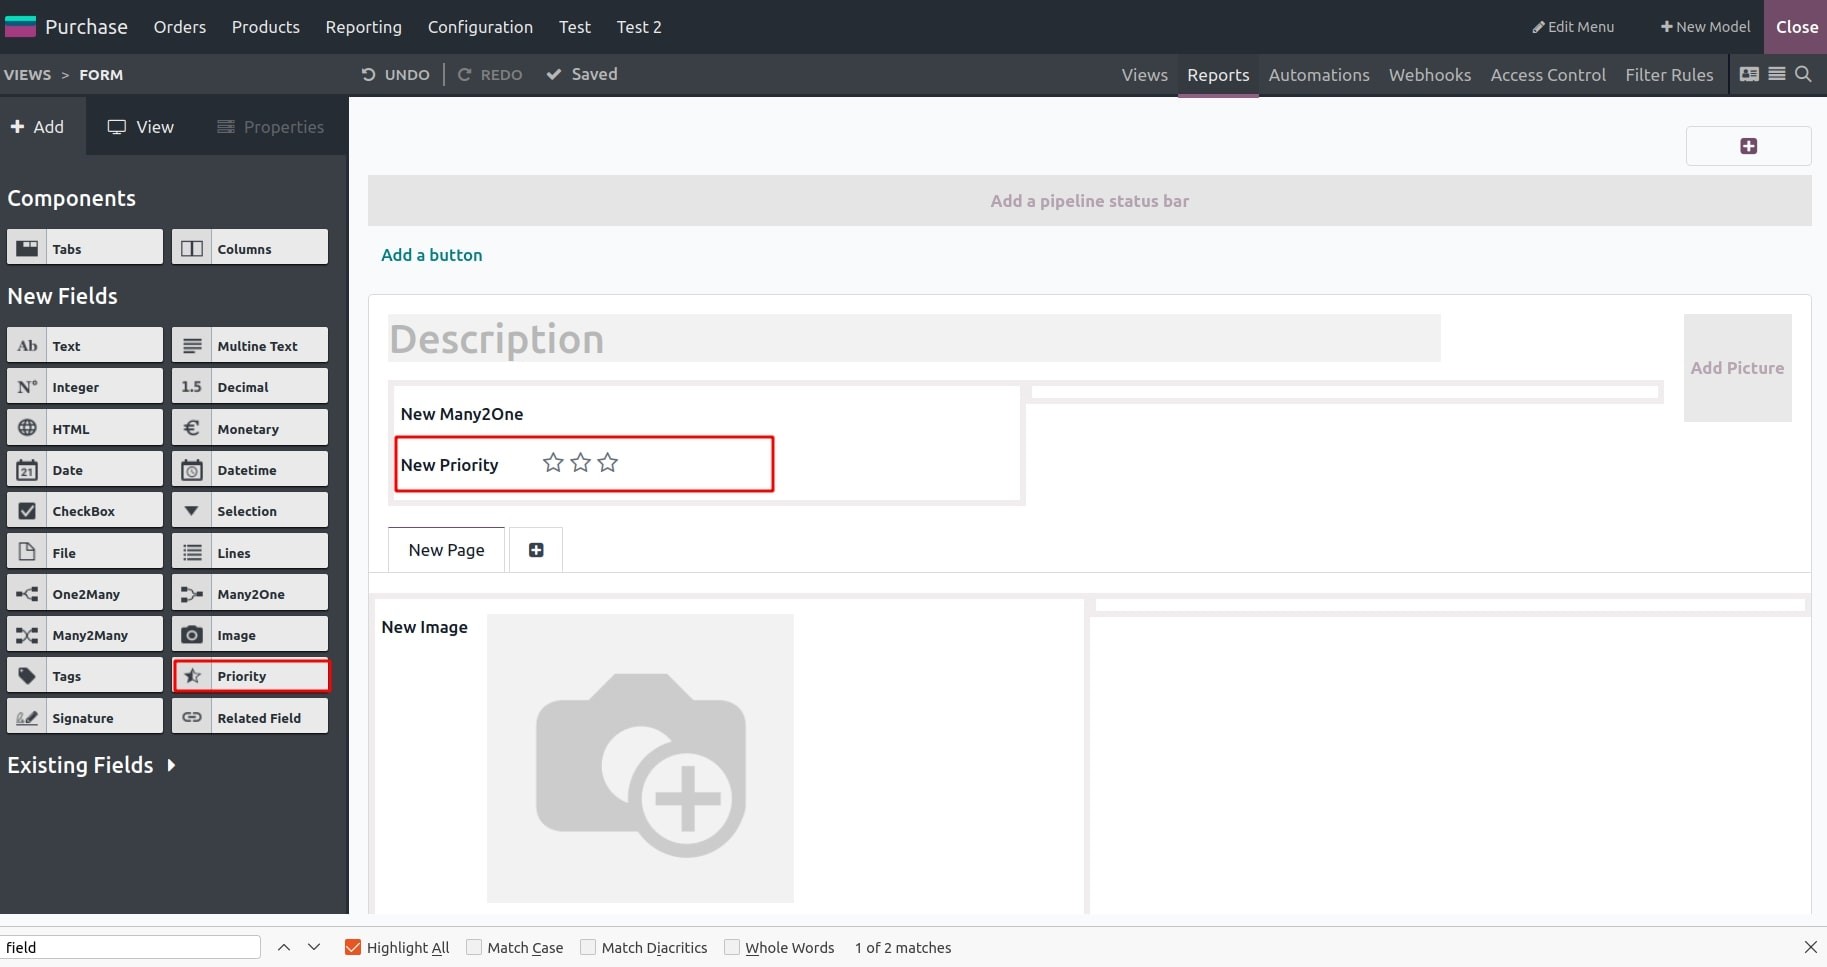
Priority: This field is a selection field designed to assist in assigning priorities to records.
Signature: The signature field is employed to incorporate electronic signatures. Additionally, you can choose to auto-complete with contact information, phone numbers, and more.
Related Field: You can add a related field by selecting this type of field.
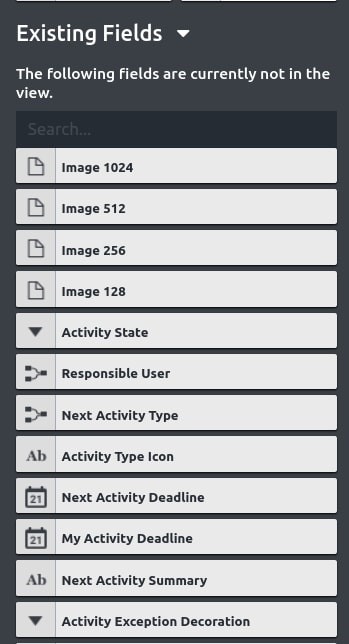
Existing Fields: These fields are pre-existing; to include them in different views, you can simply drag and drop them into the specific view.
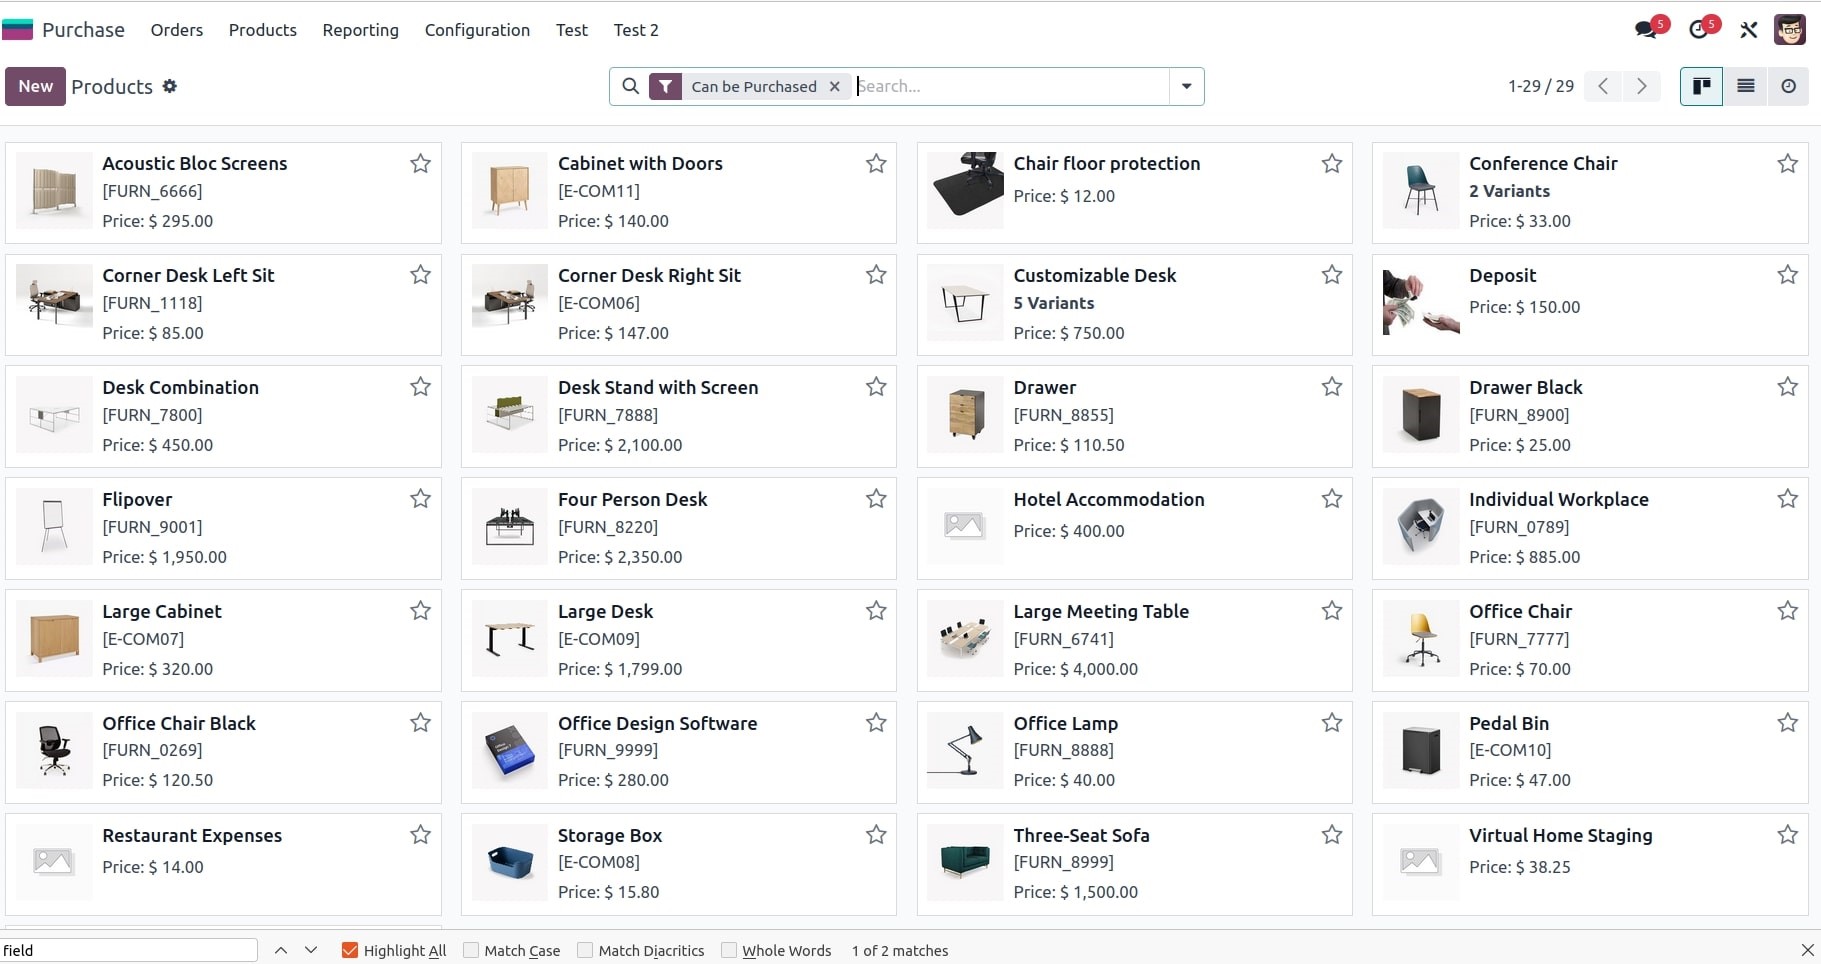
In this case, you observe that the "Product Type" is an existing field, but it is not currently displayed in the Kanban view.
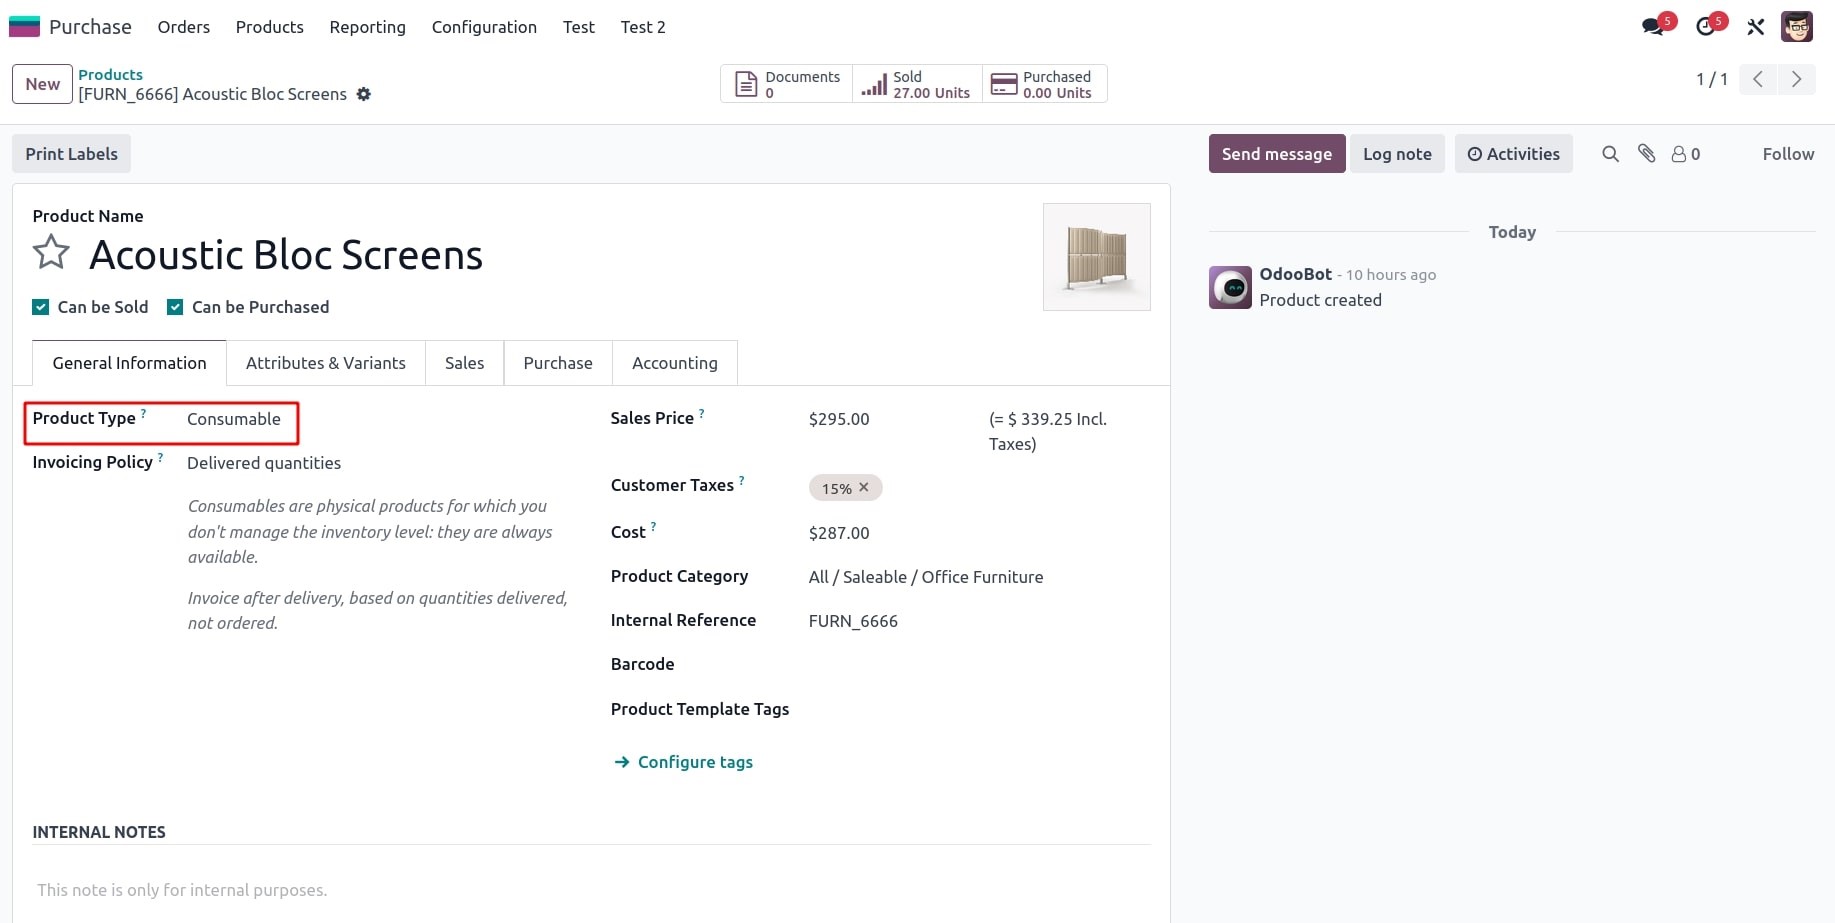
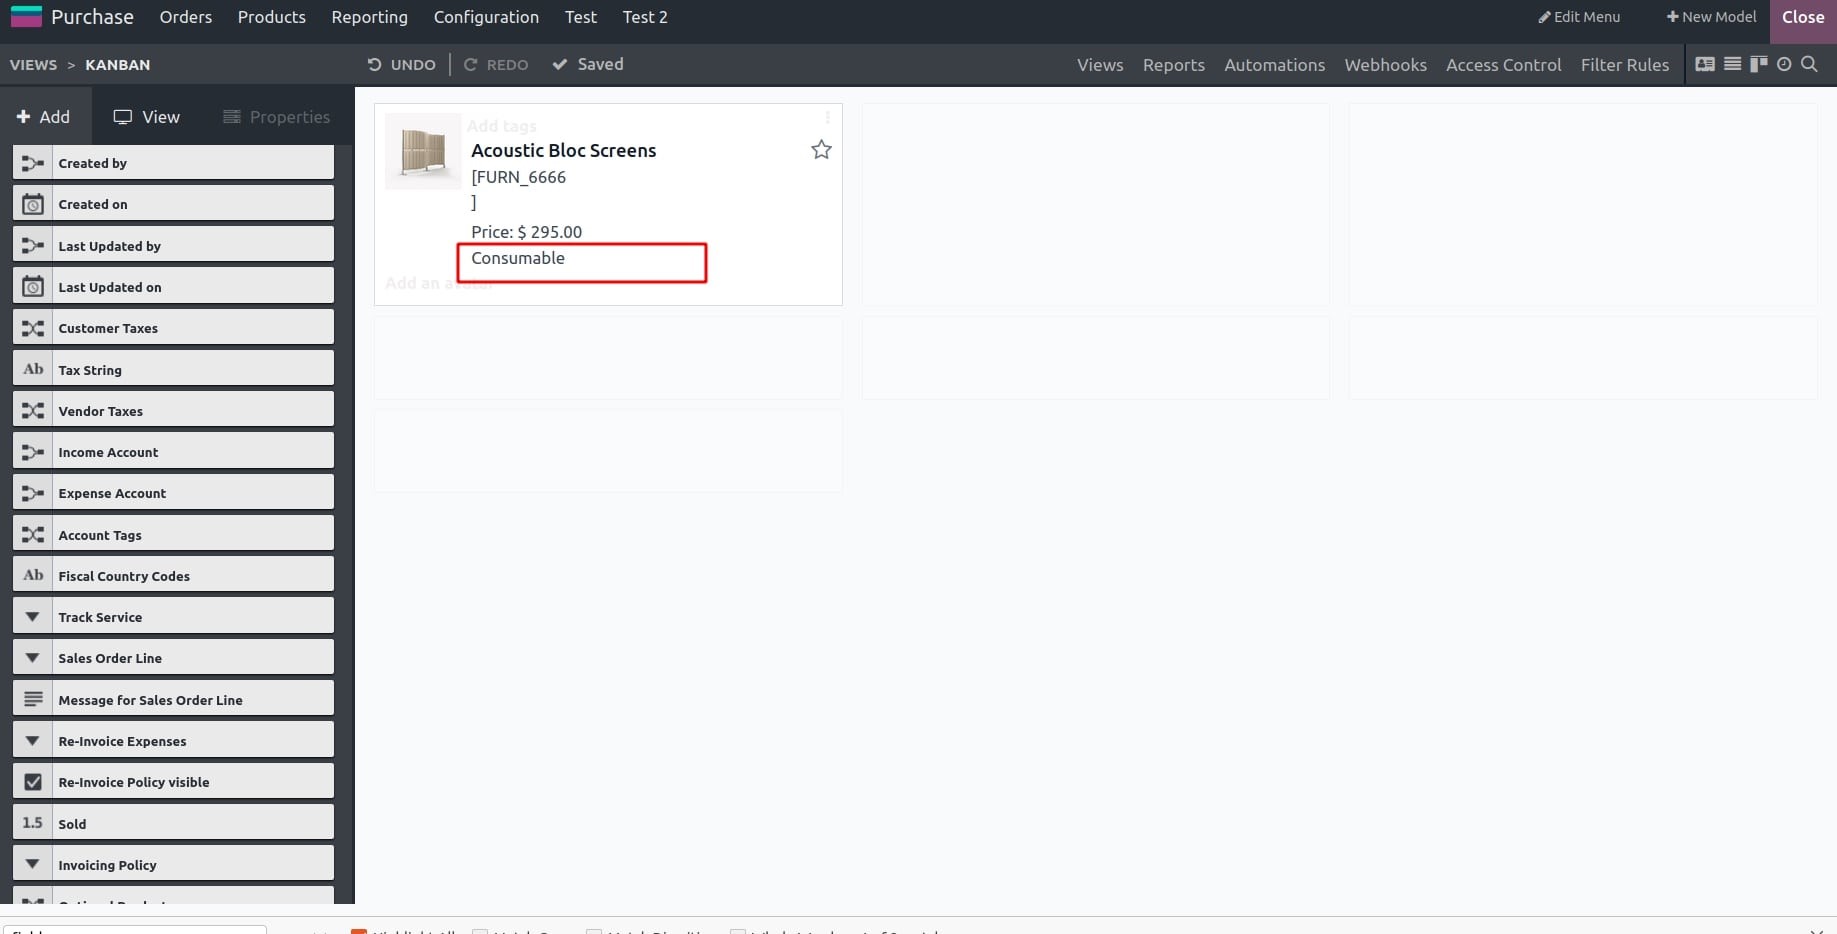
Drag and drop the product type field.
Subsequently, the "Product Type" field is included in the Kanban view.
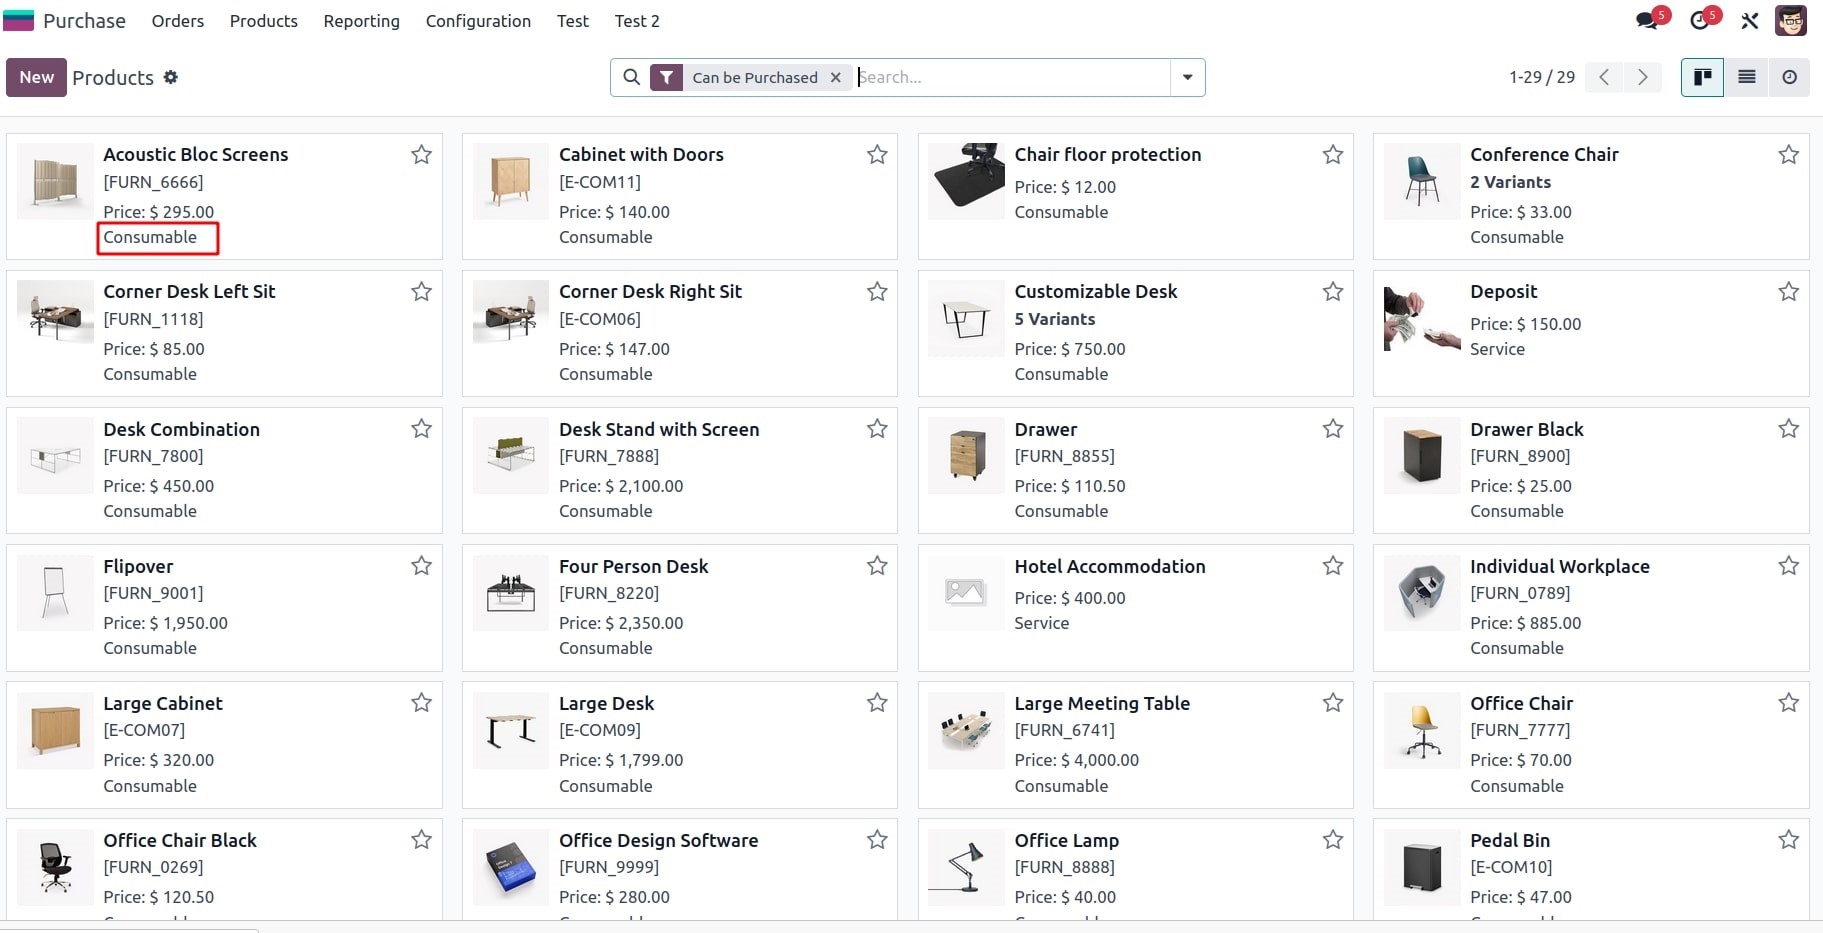
In this way, you can add existing fields in different views.