Repair
The Repair module offered by Odoo 16 can be integrated with the Manufacturing and Maintenance modules to ensure seamless performance. You can extend the functionalities of this module with the Inventory module also in order to manage the repairing of the products in your inventory. This module is the best solution for the management of repair services of the products with a warranty. Partially or completely damaged products can be repaired by creating repair orders in the Odoo Repair module. It is one of the simplest modules available in Odoo with high-performance efficiency.
When you open the Repair module, you will get the list view of all repair orders created in the module, as shown below.
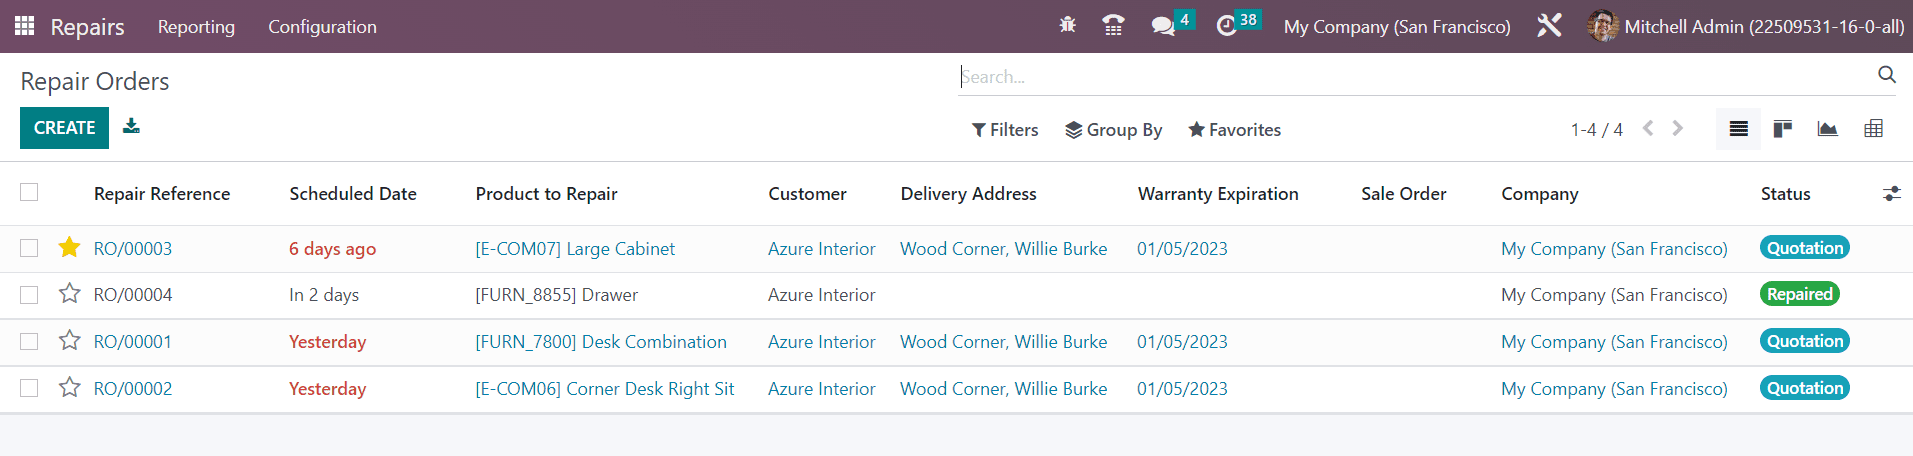
The list view will show the Repair Reference, Scheduled Date, Product to Repair, Customer, Delivery Address, Warranty Expiration, Sale Order, Company, and Status. The Status of the repair orders can be seen in different colors. The star icon given on each repair order can be used to highlight the priority of the order.
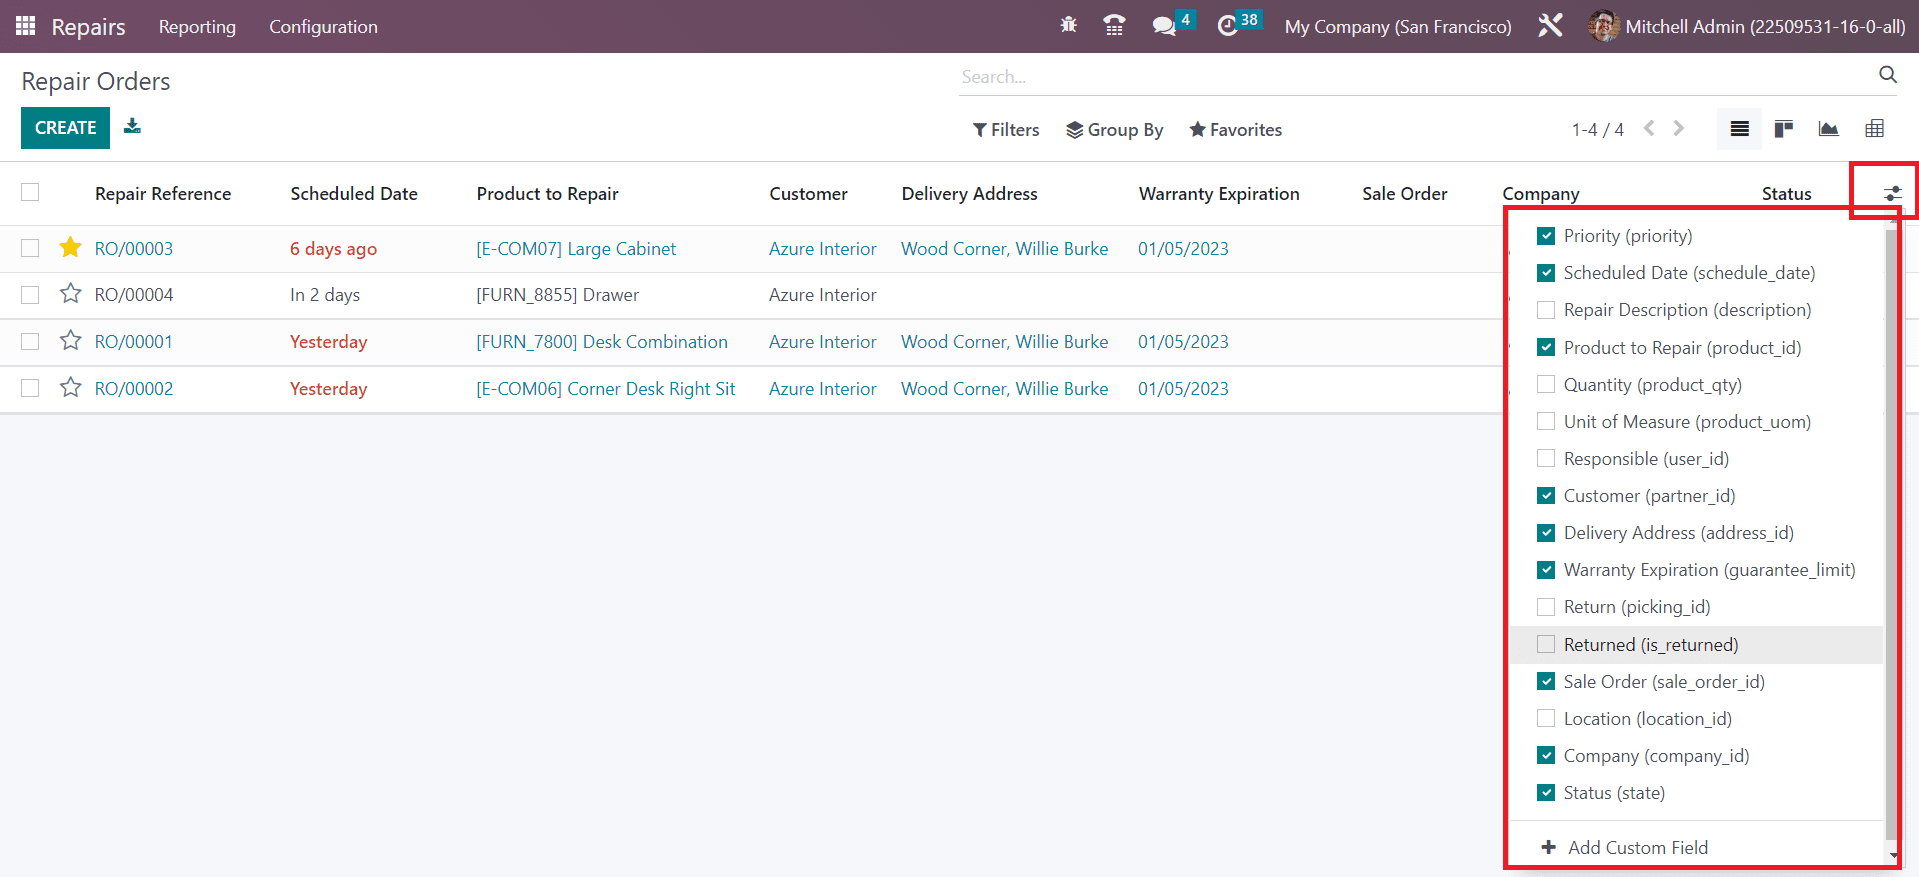
The icon available at the right corner of the list view can be used to add new fields to the list view. You can activate the required fields from the given list. If you want to create custom fields for the list view, you are allowed to use the Add Custom Field.
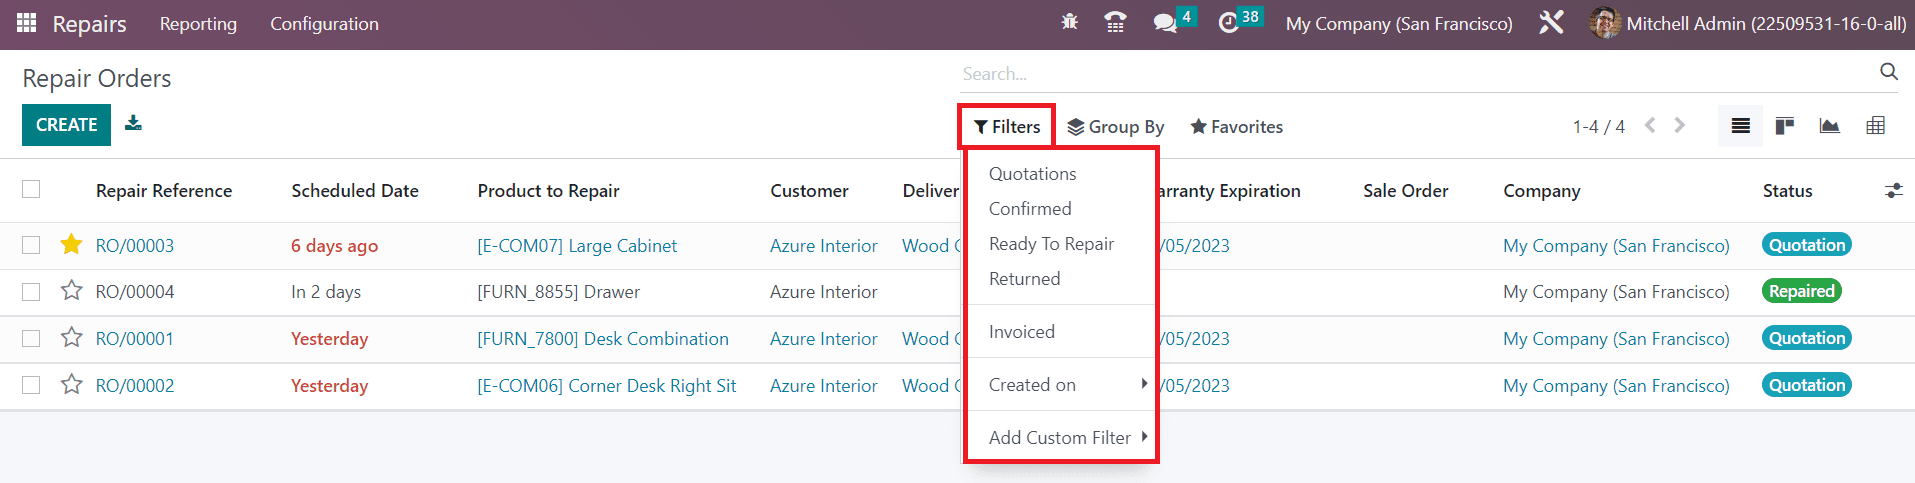
The default Filters available in the platform are Quotations, Confirmed, Ready to Repair, Returned, Invoiced, and Created On. Use the Add Custom Filter option to create custom filters for repair requests.
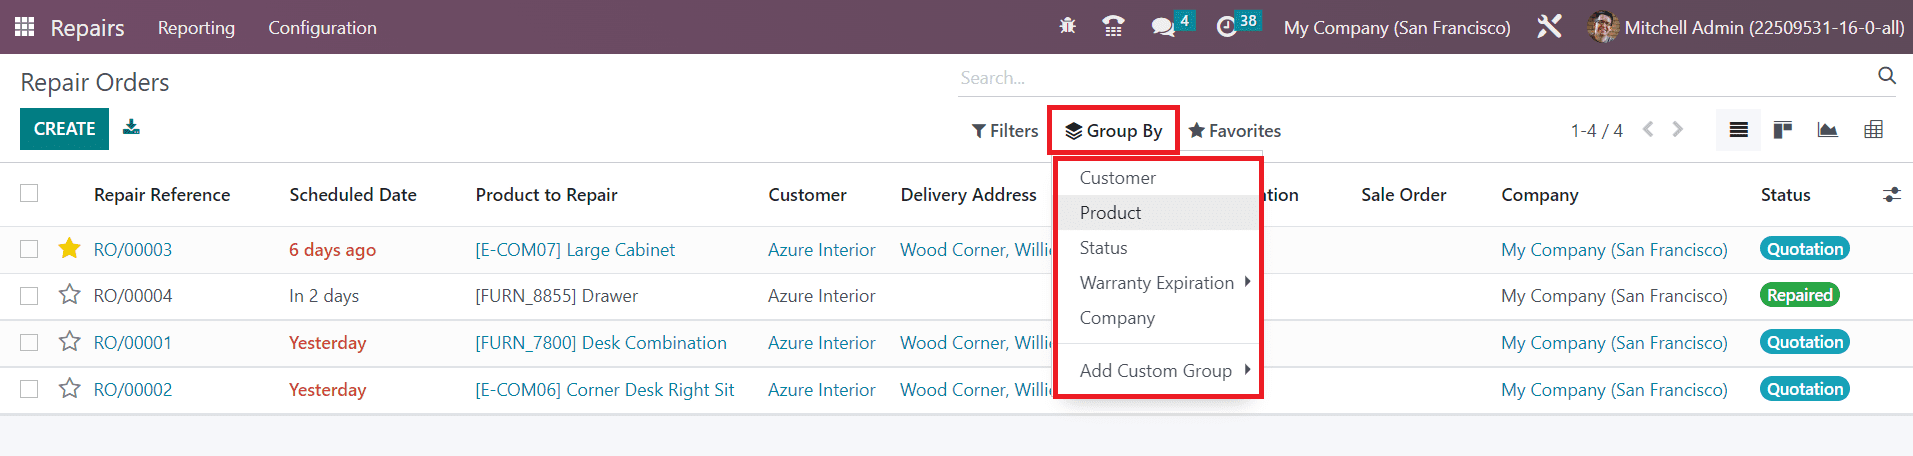
You can group the repair orders based on Customer, Product, Status, Warranty Expiration, and Company with the help of the Group By feature.
You can manage the already created repair order by clicking on them. If you want to create a new repair order, click the Create button. This will open a new form view as shown below.

Here, you can add a description for the repair order in the Repair Description field. The product that you want to repair can be specified in the Product to Repair field. Additionally, mention the quantity of the product in the Product Quantity field. Add the Customer and the Delivery Address to deliver the repaired product in the respective fields. If you have the Sales Order for the damaged product, you can mention it in the Sale Order field. If the product to be repaired comes from a return order, you can specify it in the Return order field. In the Scheduled Date, schedule a date for the repair of this product. Assign an employee who is in charge of the repairing operation in the Responsible field. The location where the product to be repaired is located can be specified in the Location field. If the product is within the warranty limit, you can mention the Warranty Expiration date. Some companies offer free repair services if the product is still within warranty. In such cases, you select, No Invoice in the Invoice Method field. If it is a paid service, you can generate an invoice before or after the repair by selecting the respective option in the Invoice Method field. Add Tags and mention the Company in the given fields. Using the star icon given next to the Repair Reference, you can prioritize the repair order.
The Parts tab can be used to specify the details of the product that you want to repair. Here, we mention the part of the product that needed to be added or removed in order to repair that product. Use the Add a Line button to mention the details of the part.
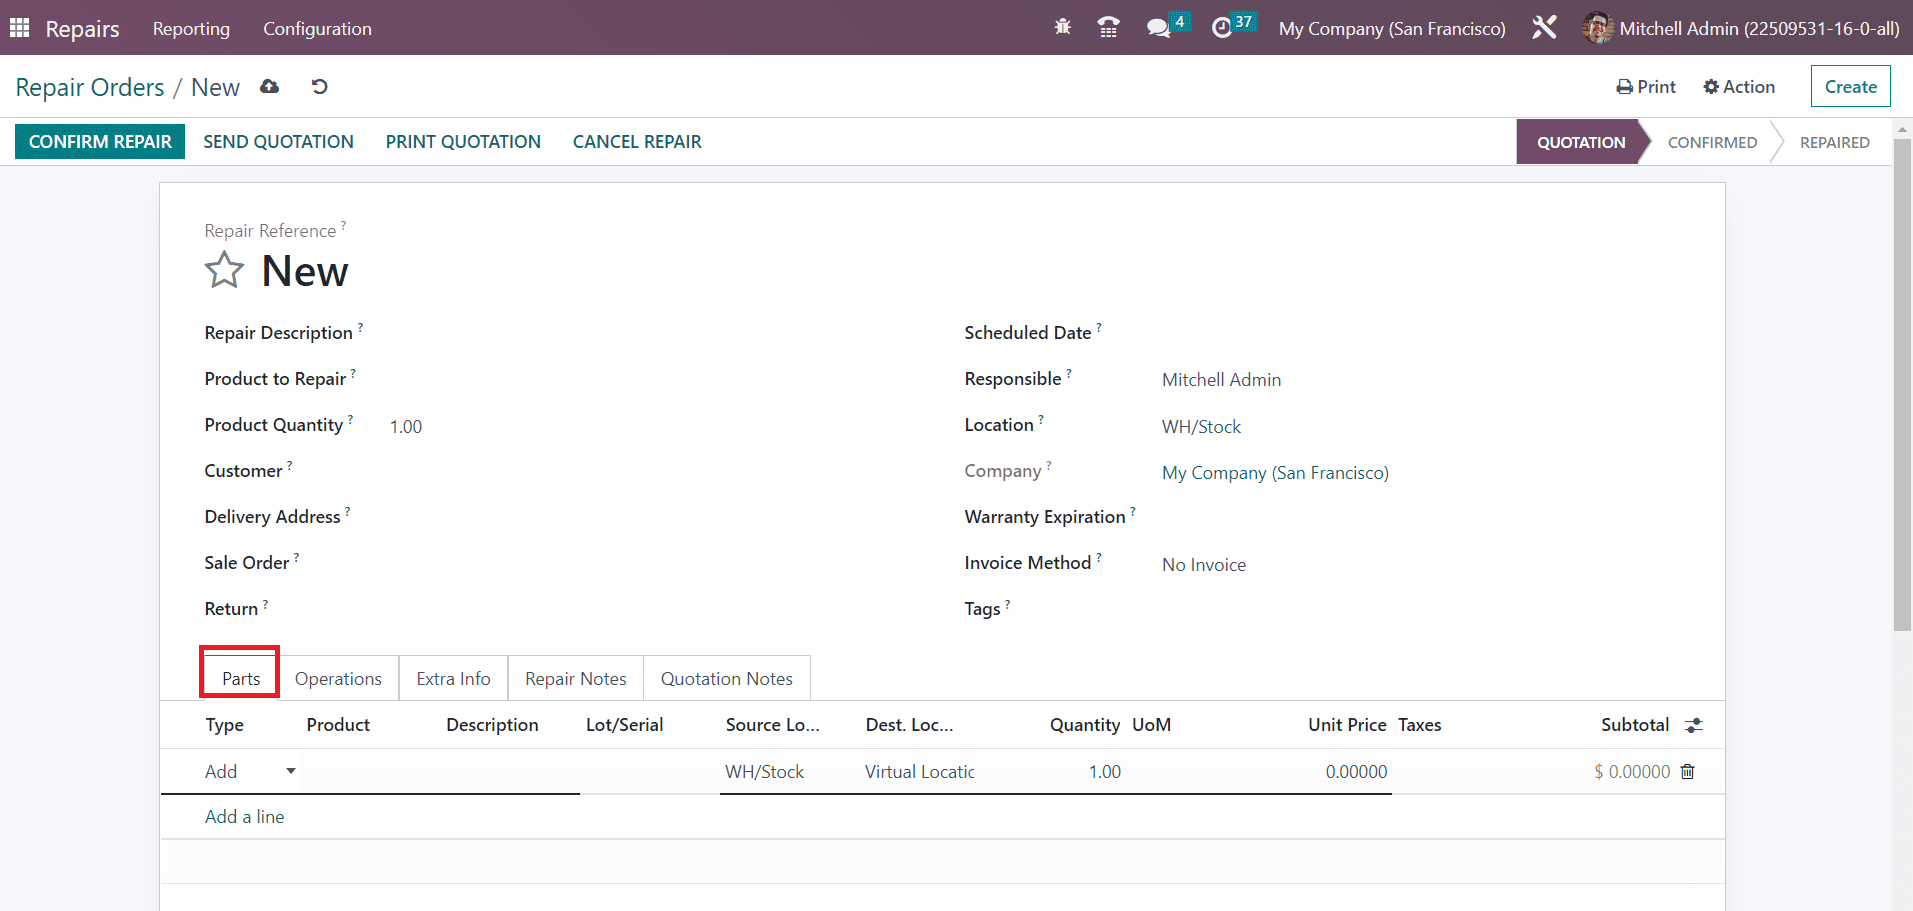
The Type can be either Add or Remove. In the corresponding fields, you can add details of the Product, Description, Lot/Serial, Source Location, Destination Location, Quantity, UoM, Unit Price, Taxes, and Subtotal.

Under the Operations tab, you can specify the details of the operation details related to the repair using the Add a Line button. This includes the product, Description, Quantity, Unit of Measure, Unit Price, Taxes, and Subtotal.

The Extra Information section will show the additional information related to the repair order. It will show the Inventory Move of the product mentioned in the repair order. The Repaired field can be seen as activated if the repairing operation is completed. If the order is invoiced, the Invoiced field will be activated.
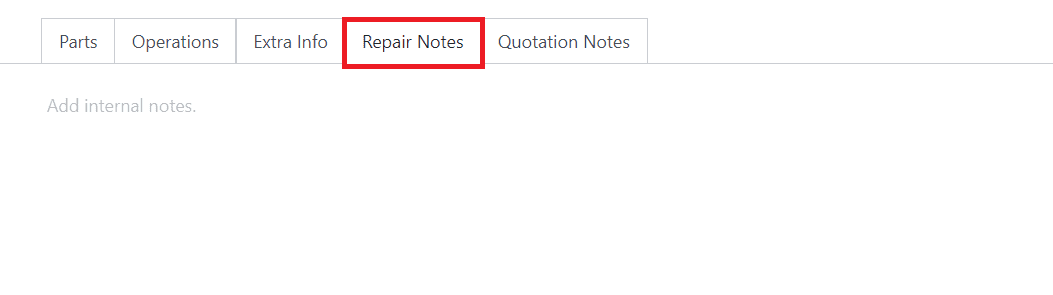
Here, you will get the Repair Notes field which can be used to add internal notes related to the repair order.
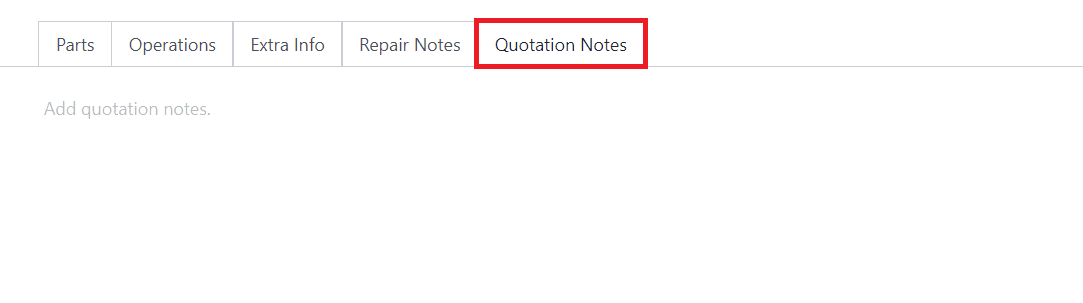
The Quotation Notes tab can be used to specify the quotation notes.
Once you complete all necessary fields, the repair order can be seen as shown below.
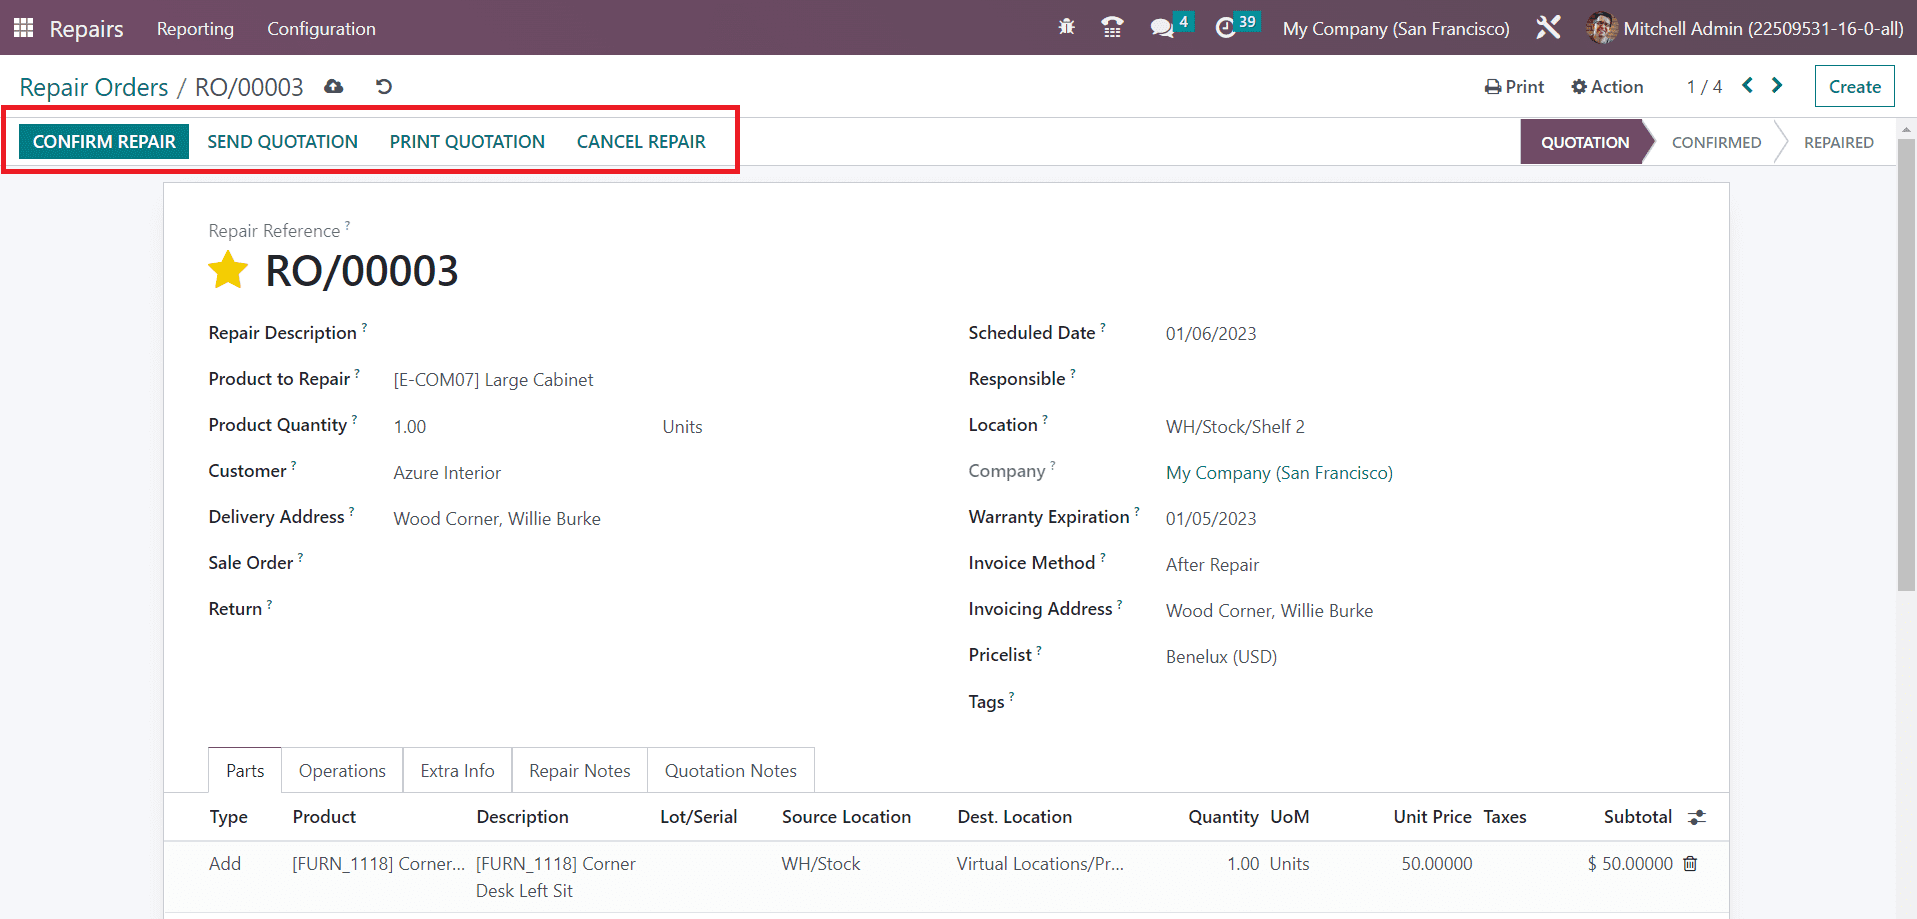
Here, we selected the Invoicing Method as After Repair which indicates that you can invoice the order only after completing the repair activities. Now, the order is in the Quotation state. Using the Confirm Repair button, you can confirm the order. The Send Quotation button will help you to send the quotation to the respective customer. You will get a print of the quotation by clicking on the Print Quotation button. If you want to cancel the order, use the Cancel Repair button.
Here, we are confirming the order.

The order is confirmed, and the status can be seen as Confirmed as shown in the screenshot above. Once you start the repair, click the Start Repair button.
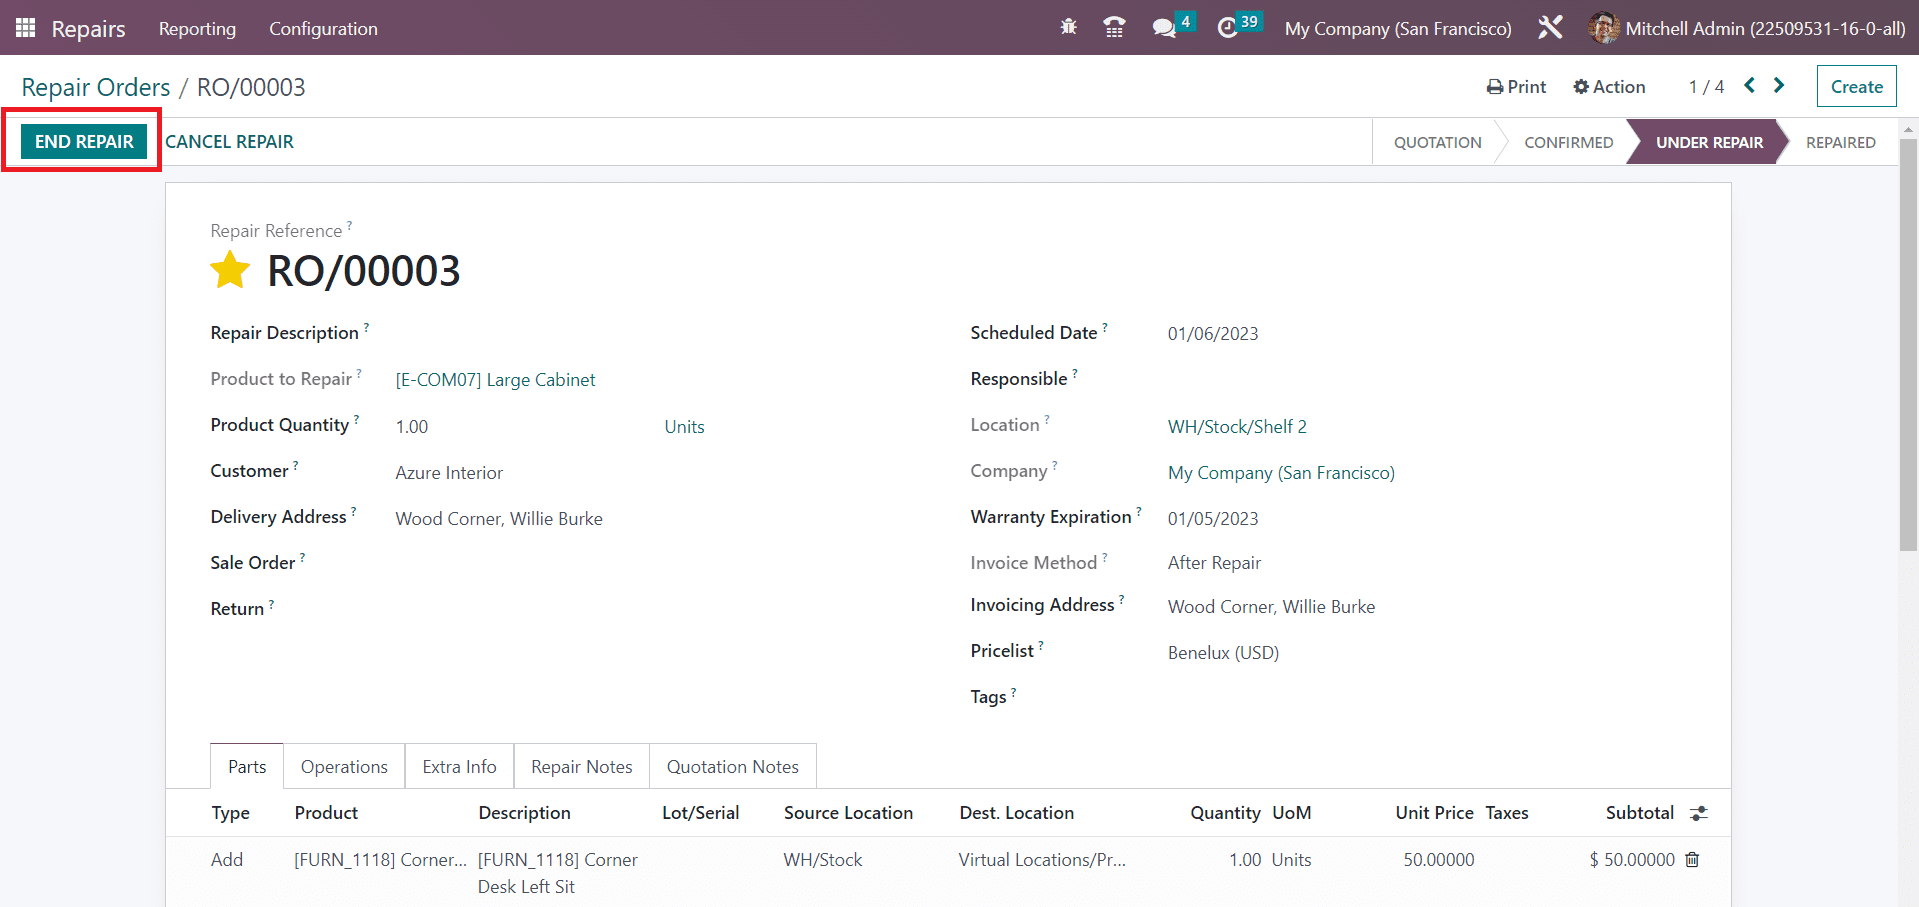
During the repairing process, the status of the order can be seen as Under Repair. After completing the operation, click the End Repair button and the order will be moved to the To be Invoiced status. We selected the Invoicing Method as After Repair. So, you can generate the invoice since the repair is completed.
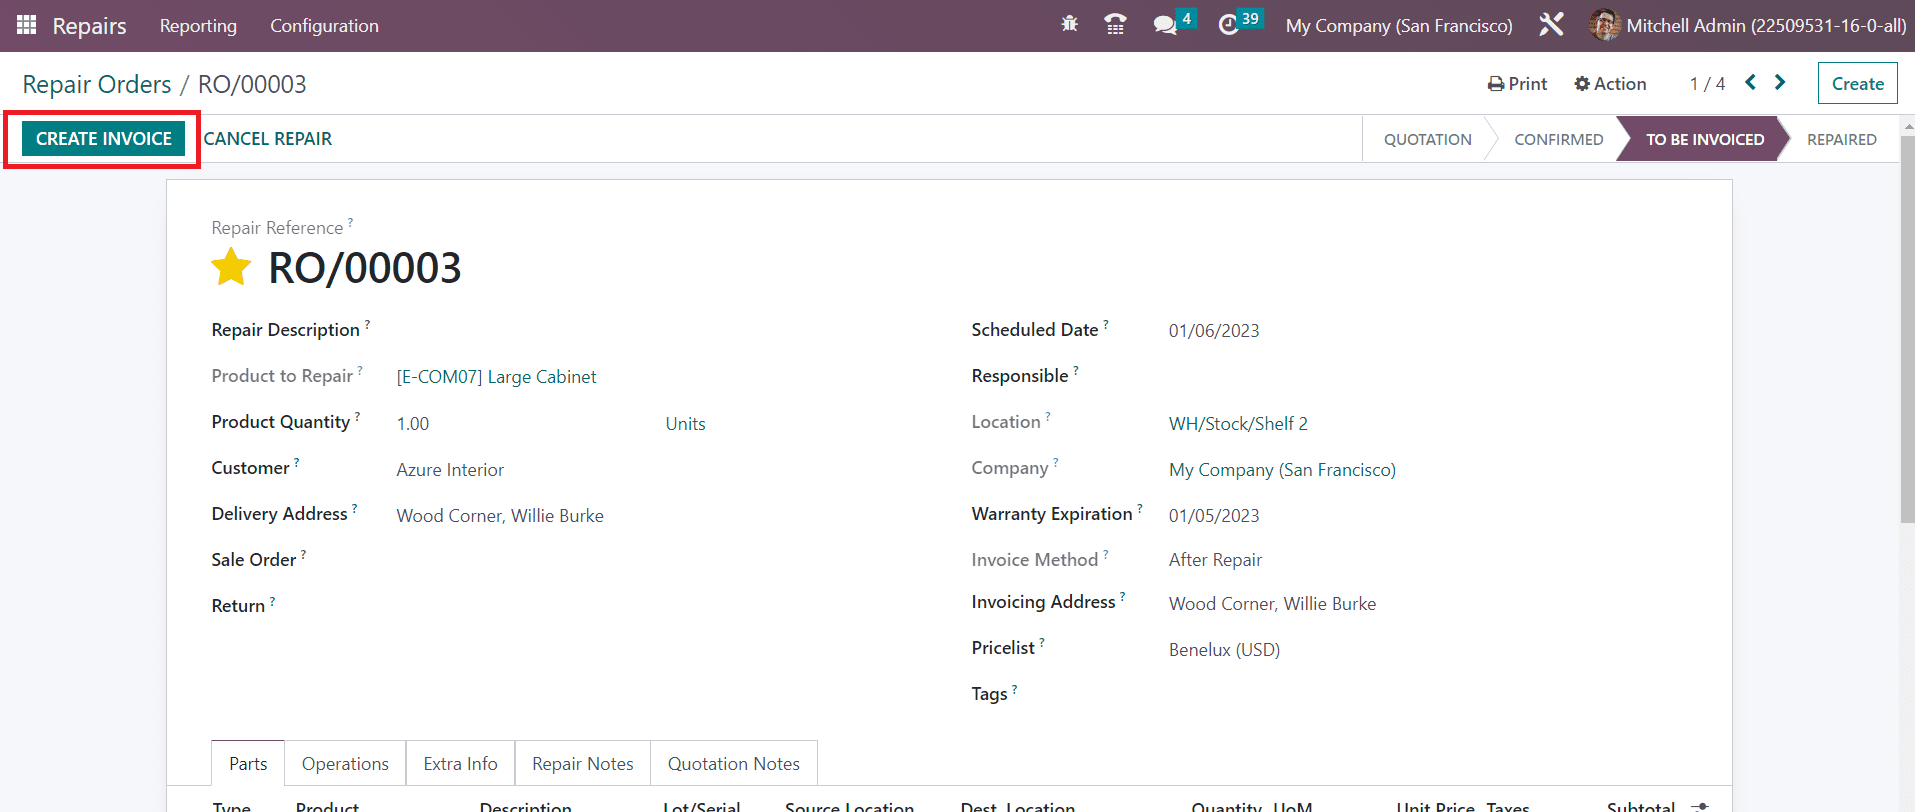
For this, click on the Create Invoice button.
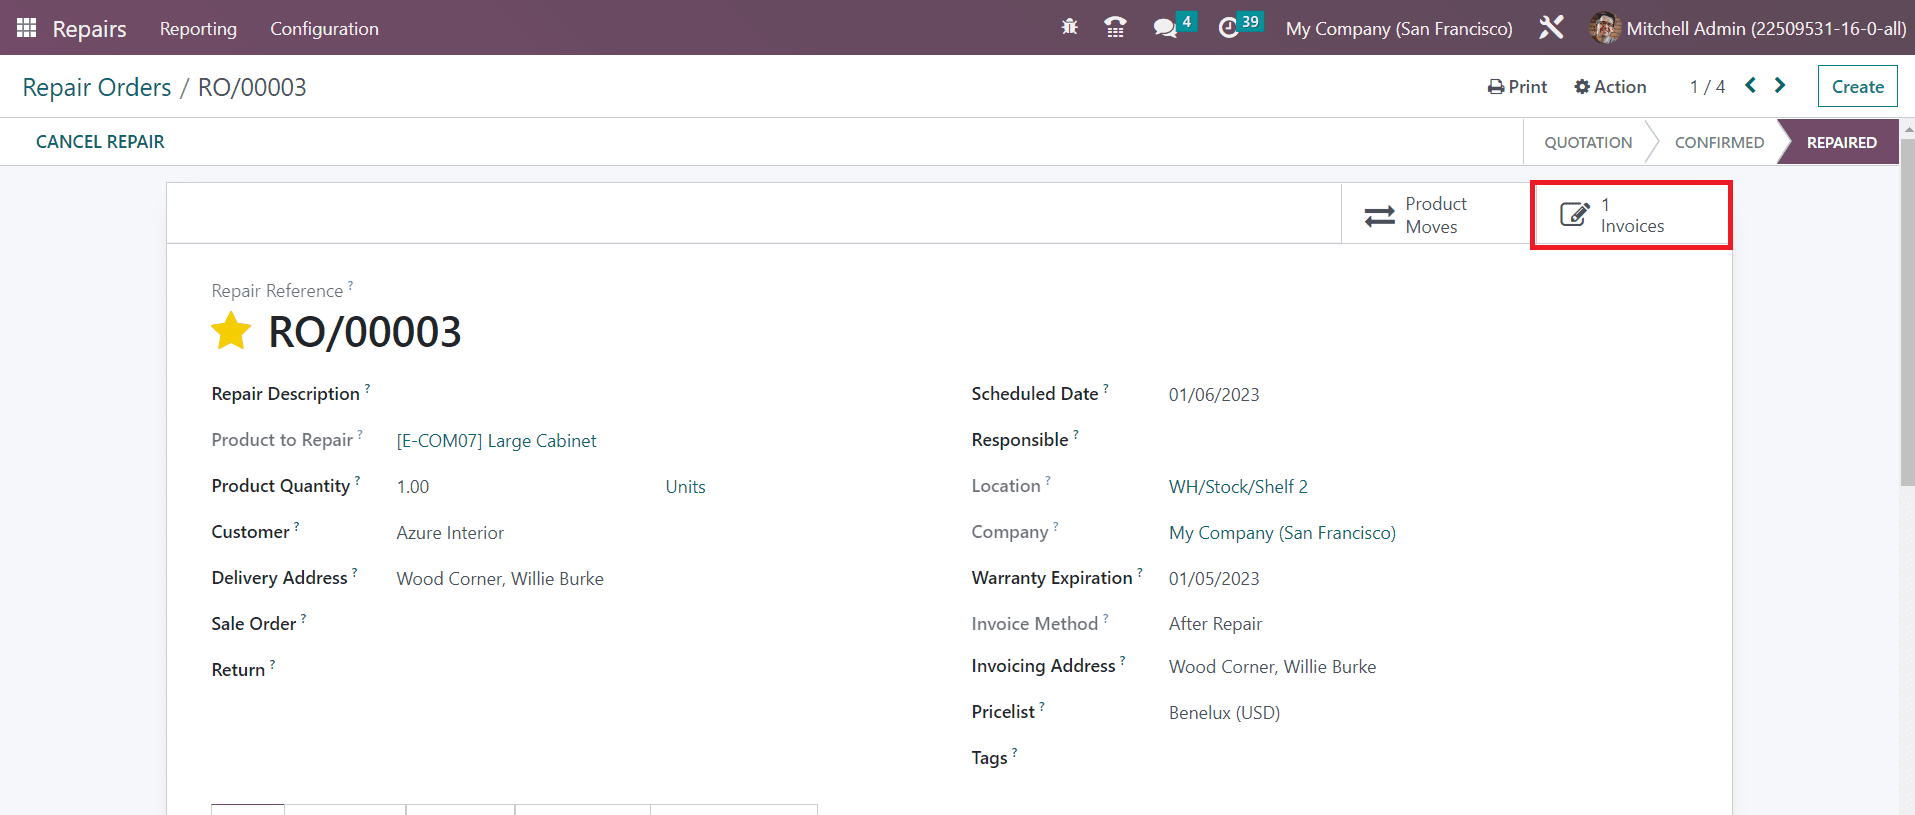
A smart button will appear on the screen which will show the draft invoice for the repair.
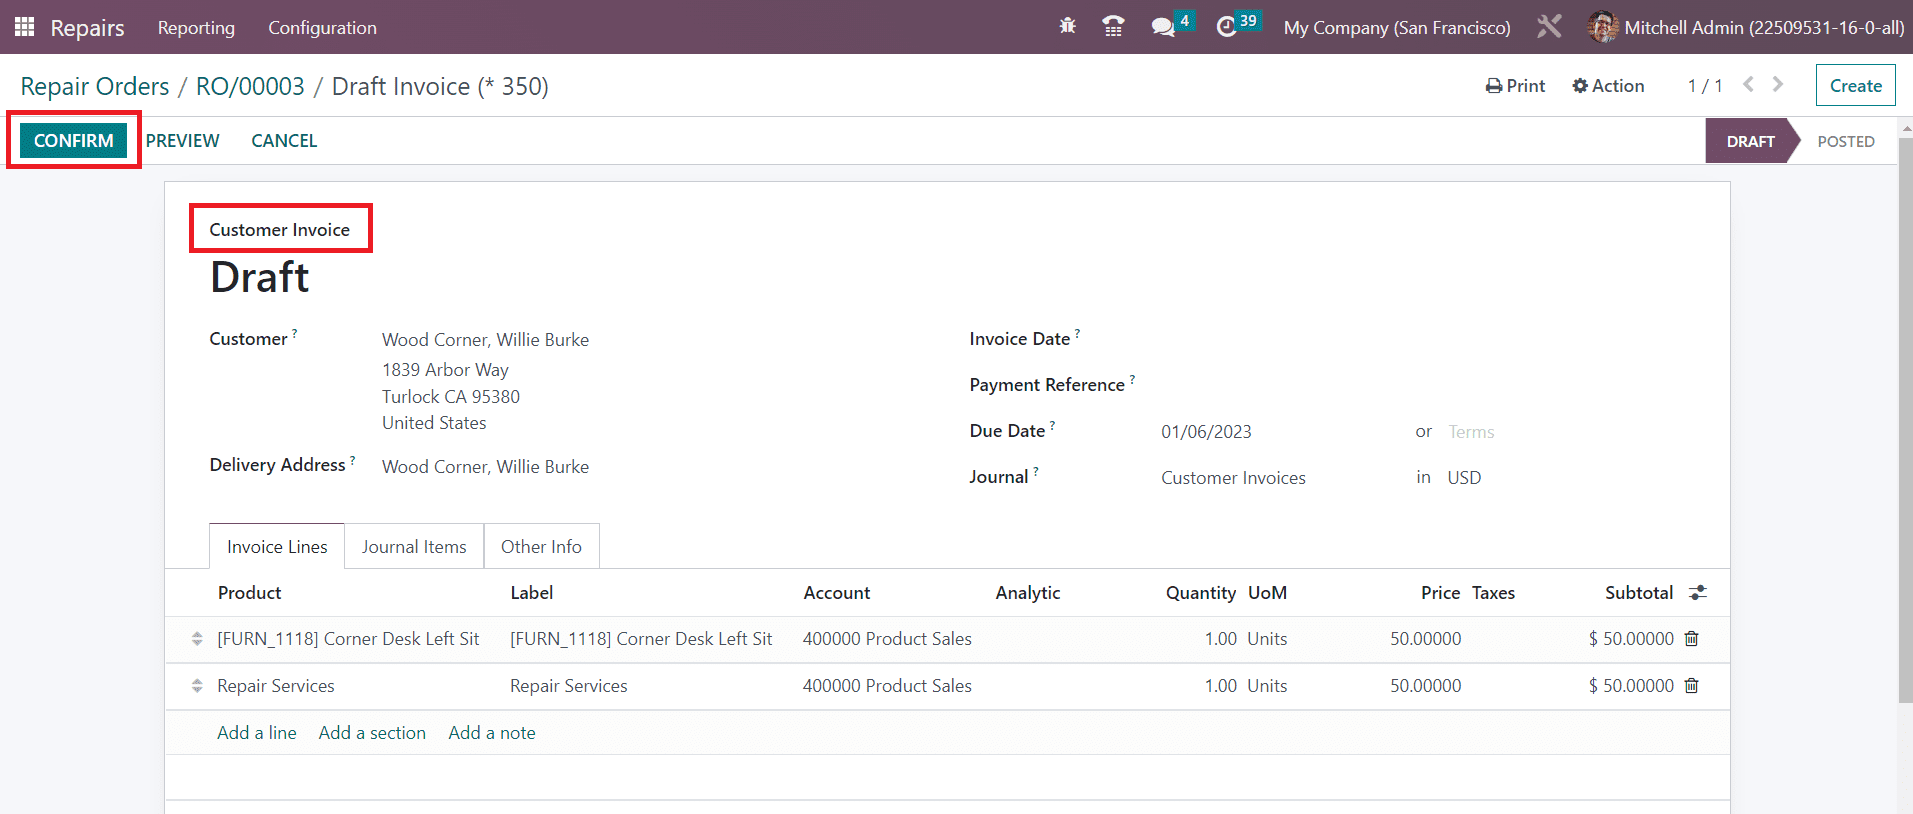
You can confirm the draft invoice by clicking on the Confirm button and register the payment details like we usually do in Odoo.
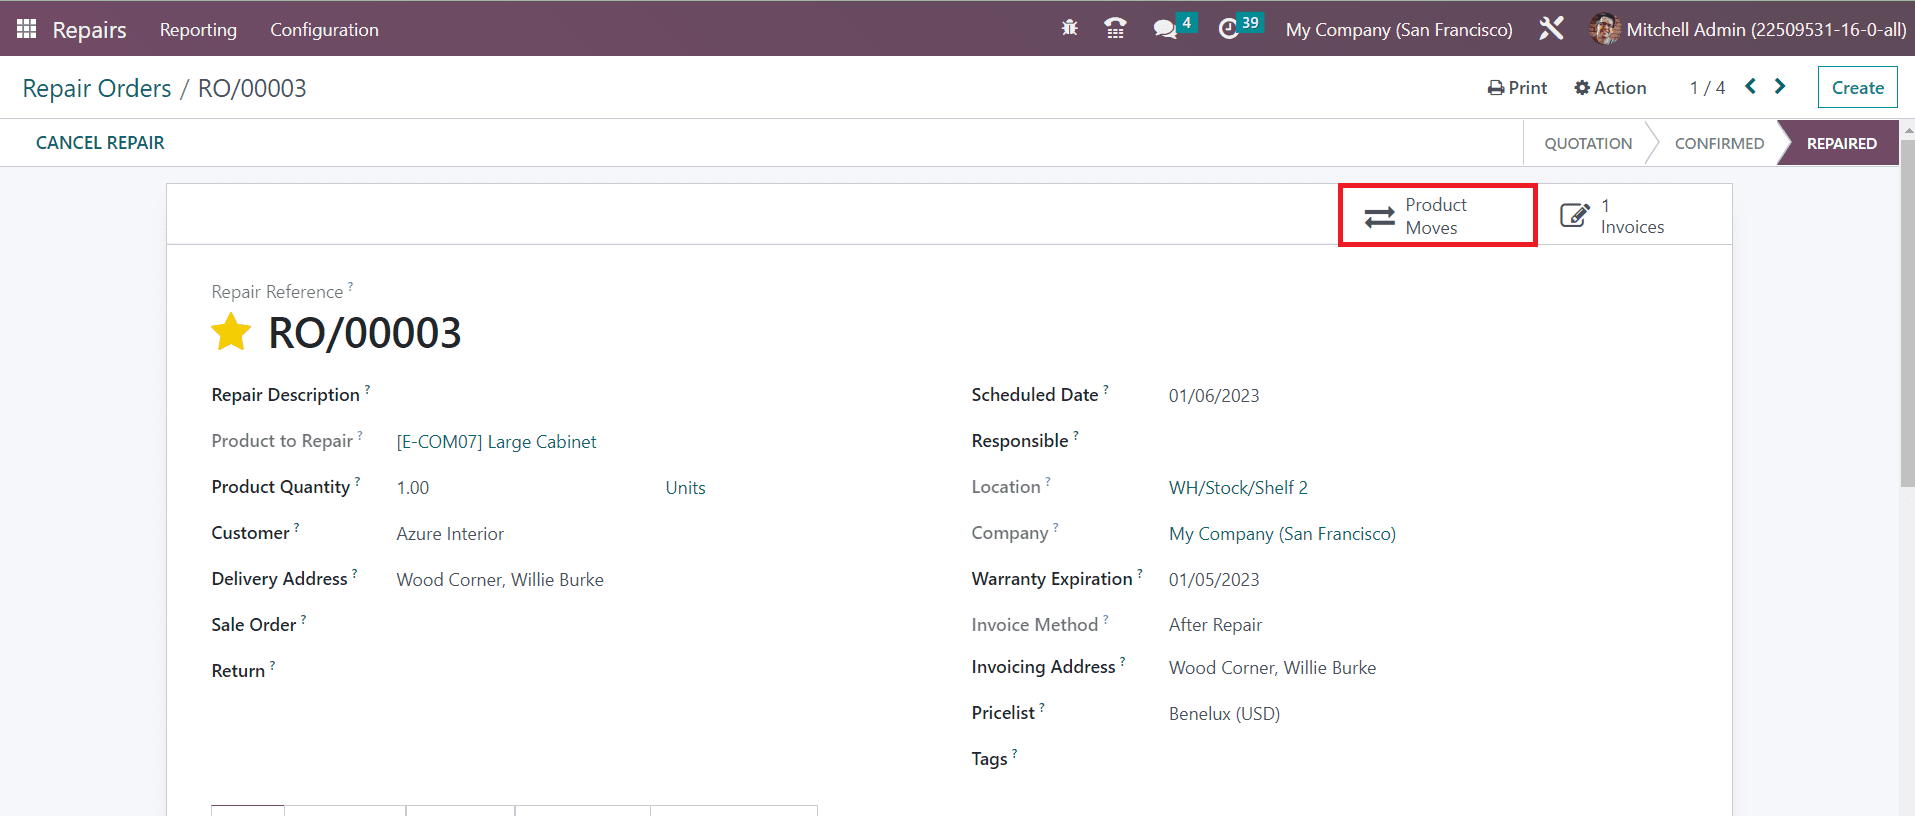
The smart button Product Moves will show the inventory moves of the products added to the repair order.
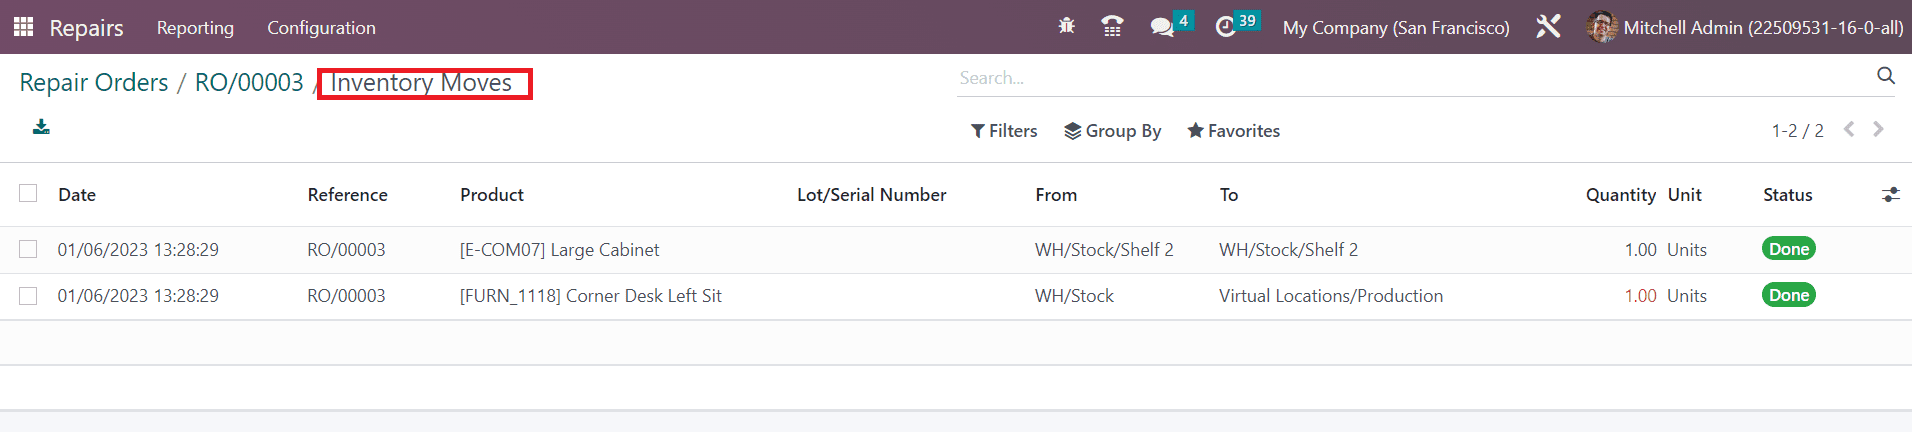
This includes the details of the Date, Reference, Product, Lot/Serial Number, From, To, Quantity, Unit, and Status.
It is possible to generate an invoice before the repair operations. For this, you need to set the Invoicing Method as Before Repair as shown in the screenshot below.
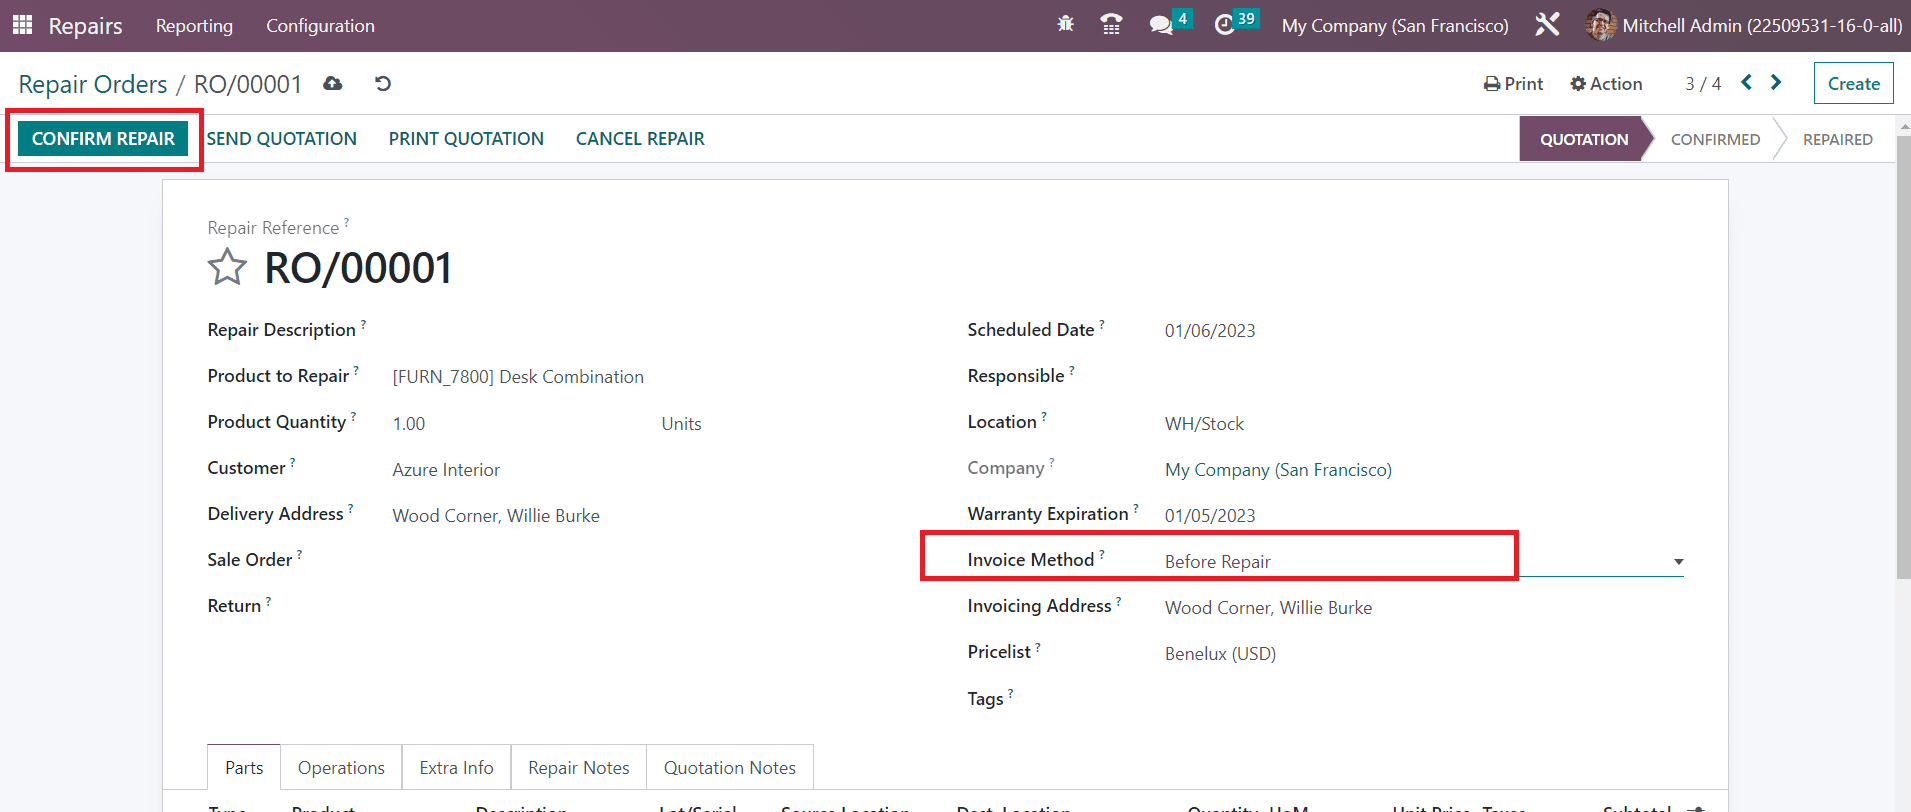
After mentioning the Invoicing Method, you can click the Confirm Repair and confirm the order. This will lead you to a new window where you will get an option to generate an invoice.
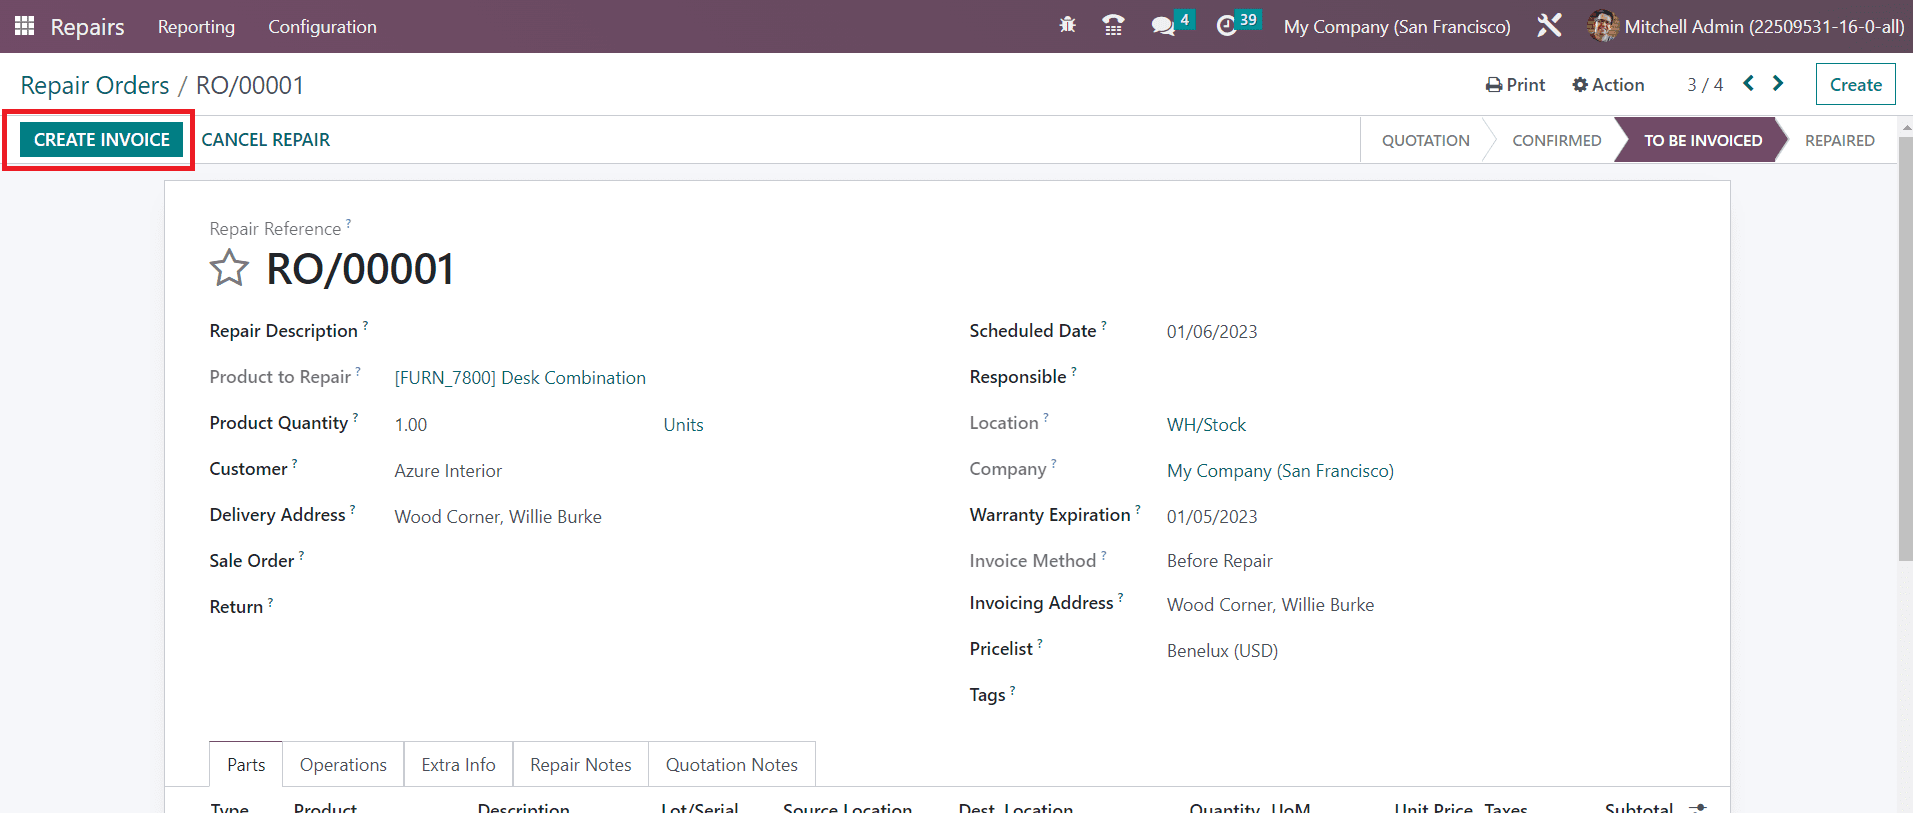
Click the Create Invoice button to get the draft of the invoice. After generating the invoice and registering the payment, you can start the repair.
Repair Orders Tags
Under the Configuration menu of the Repair module, you will get the Repair Orders Tags option which can be used to create tags for the repair orders. The platform will show already available tags for the repair orders.

If you want to create a new tag, you can click on the Create button. Clicking on the Create button will open a new line under the available list of tags as shown in the image below.
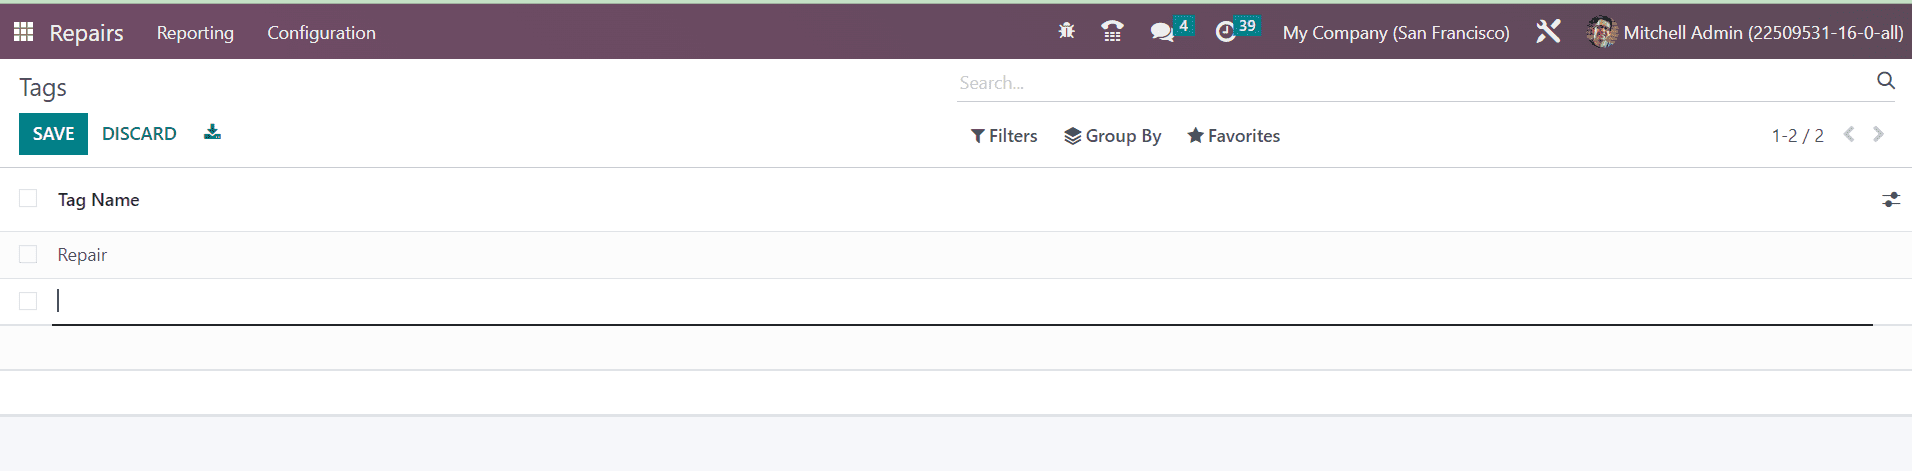
Here, you can mention the name of the tag. You can easily create new tags as much as you want from this platform.