Contact
The Odoo platform presents you with a well-managed digital address book to keep
all the contact details regarding your business. This is an important aspect for
your business growth and its smooth running. A separate Contact management module
which is in Odoo will help you to access all the contact information quickly and
easily without any delay or loss other than keeping the contacts on mobile phones
or in emails.
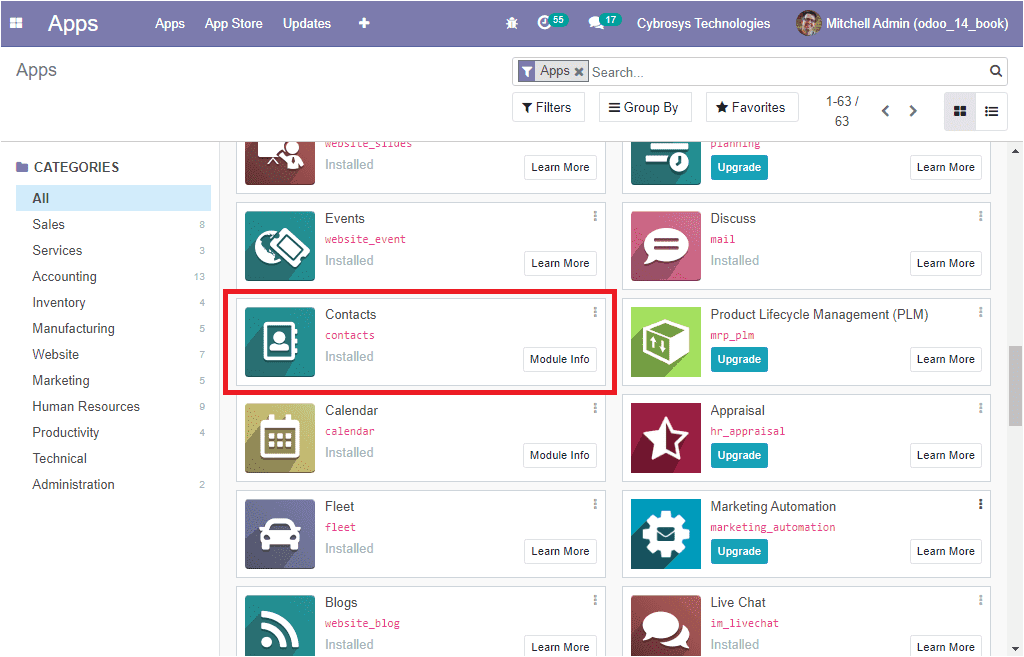
Let us discuss how the Odoo Contacts module will be helpful for your organization.
First of all, you should install the module from Odoo Apps.
After installing the module, you can enter an attractive Home dashboard where you
can view all the Contact details described in the platform along with the photograph
of them. The image of the Contacts window is depicted below.
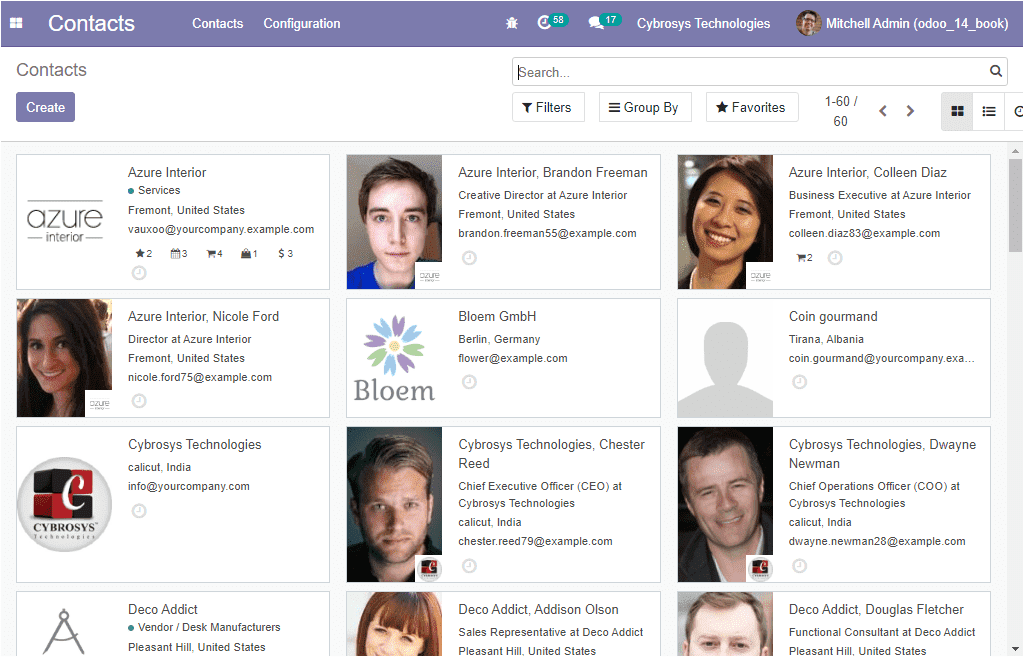
This is the Kanban view of the Contacts window and the window can also be viewed
in the List view and Activity view. This window also provides you all the default
and customizable options such as Filters, Group By and Favourites searches, and
many more aspects. Moreover, the Create icon available in the window allows you
to create new contacts.
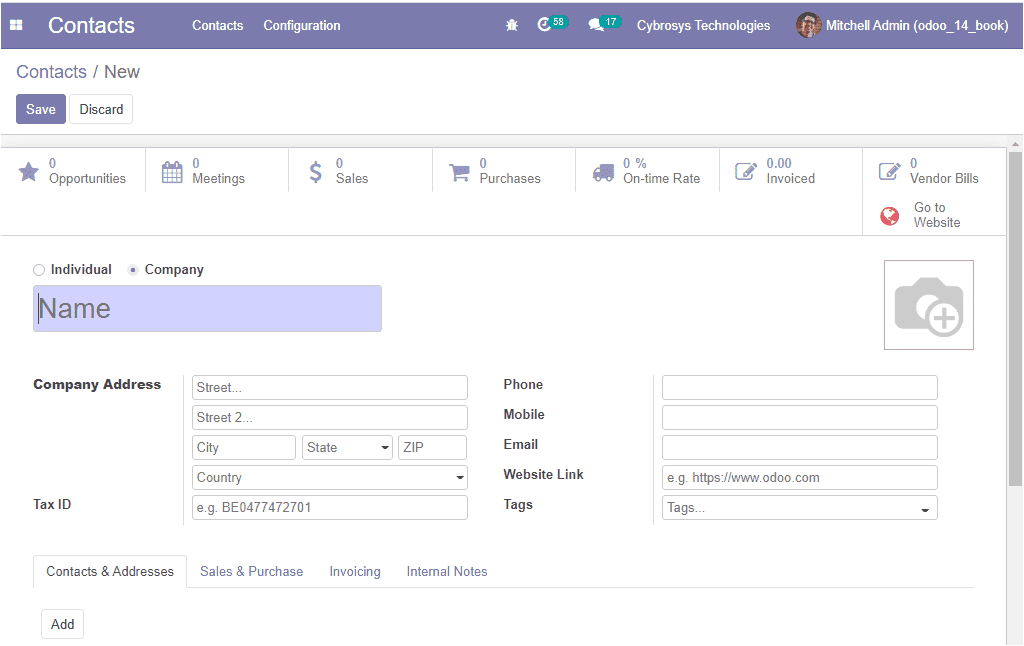
In the Contacts creation form, you can select whether the contact is Individual
or Company. Then you can provide the name of the Contacts along with the Company
Address. The Tax ID can also be allocated. In addition, you can mention the Phone
and Mobile number along with the Email ID and Website Link. Moreover, the Tags can
be specified. The contact creation form available on the platform is displayed below.
Apart from these options, you can find additional information described in different
tabs. Let us discuss each of them separately.
Under the Contacts & Address tab, you can configure new customer contacts by selecting
the Add button available. On selecting the Add button you will be depicted with
a pop-up window as shown below where you can provide all the relevant details such
as Contact Name, Address, Internal Notes, Email Address Phone, and Mobile Number.
You can also paste the image of the contact in the provided space. Then you can
Save the details. It is also possible to create more contacts and for doing so,
you can select the Save & New option available.

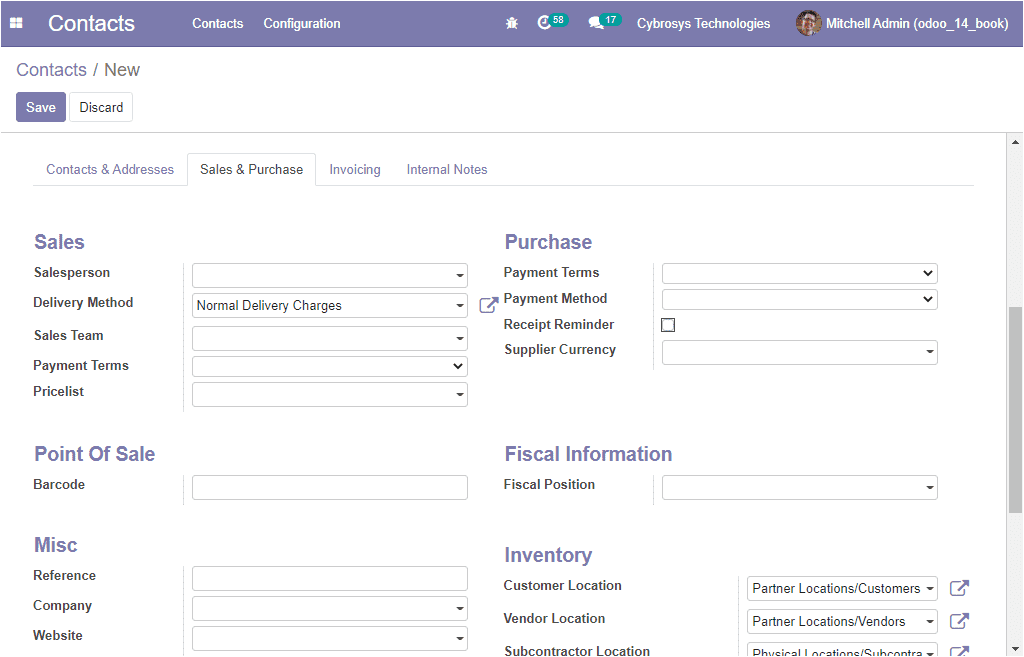
Now the sales and purchase details can be described in the Sales & Purchase tab.
Here you can include all the Sales details such as Salesperson, an internal contact
person, Delivery Method, Sales Team, Payment Terms, and Pricelist. Then you can
describe the Purchase details including Payment Terms, Payment Method, Supplier
Currency, and also can enable the option Receipt Reminder to automatically send
a confirmation email to the vendor some days before the expected receipt date, asking
him/her to confirm the exact date. Moreover, you can provide the Barcode to identify
this contact and this can be allocated under the Point of Sale menu. The Fiscal
position for this contact can be specified. Additionally, the Miscellaneous options
such as Reference, Company, Website, and Industry can be specified along with the
Inventory details such as Customer Location, Vendor Location, and Subcontractor
Location.
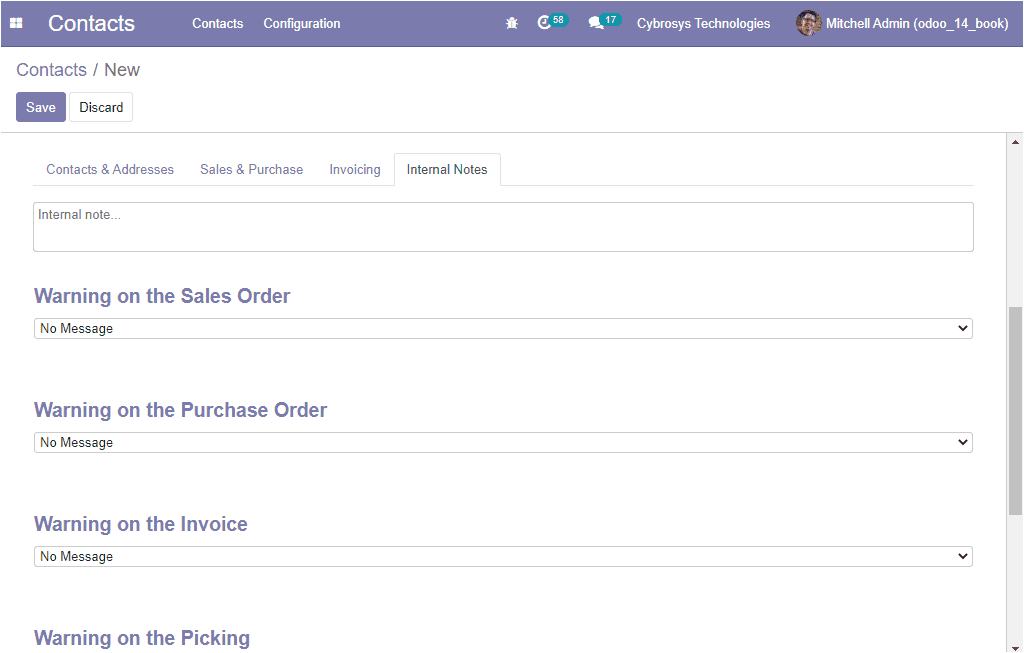
The Invoicing information can be defined under the Invoicing tab of the Contacts
creation form. You can use the Add a line option to add Bank Account details.

The Internal Notes tab allows you to put comments in a way that will not disturb
the other persons in the contact list. This will be delivered to a specific seller
only.
After providing all the relevant information in the creation form, you can save
the window by selecting the Save button available.
Besides these options, you can also view some smart buttons such as Opportunities,
Meetings, Sales, POS Orders, Purchases, On-time Rate, Invoiced, and many more in
the top of the window. These buttons will help you to enter the respective window
associated with this contact.
So far we were discussing how to create a contact in the platform and now let us
discuss the configuration of Contact Tags.
Contact Tags
The Contact Tags menu can be accessed from the configuration tab of the Odoo Contacts
module. Let us have a look at the Contact Tags window.
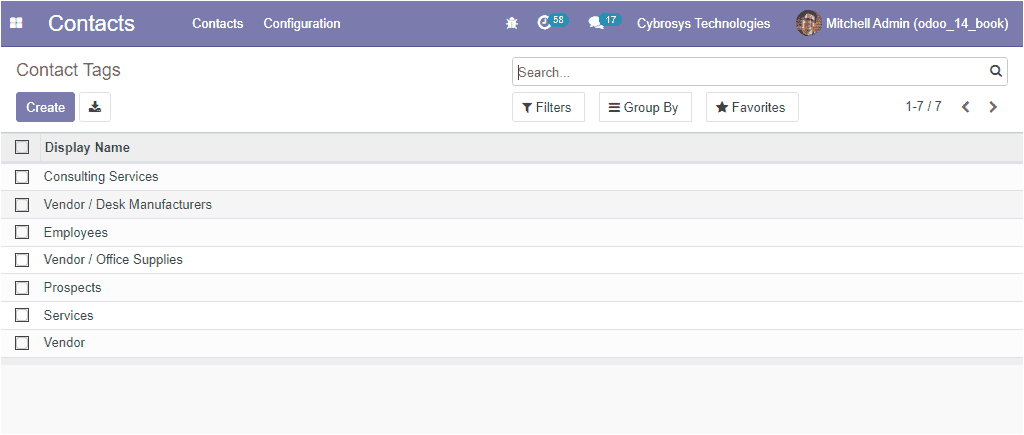
In this Contacts Tags window, you can view all the contact tags defined in the platform
and it is also possible to create new tags by selecting the Create icon available.
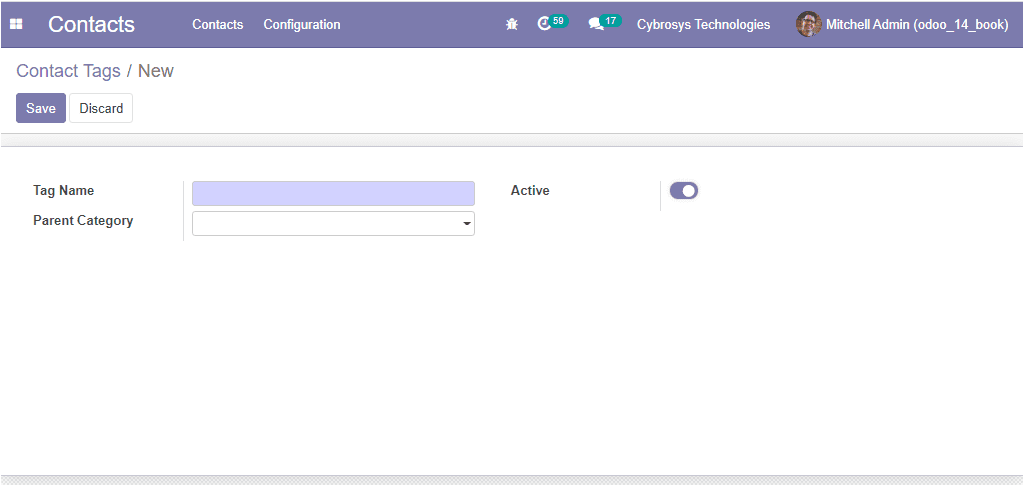
The image of the creation form is depicted below where you can provide the Tag Name
along with the Parent Category. You can also activate or deactivate the tags using
the Active option available. The deactivation of the Active field will allow you
to hide the category without removing it.
Now we can go to the Contact Titles window available on the platform.
Contact Titles
The Contact Titles window can also be accessed from the Configuration tab of the
Odoo Contacts module. The image of the window is depicted below where you can view
all the Contact Titles mentioned in the platform along with their Abbreviations.
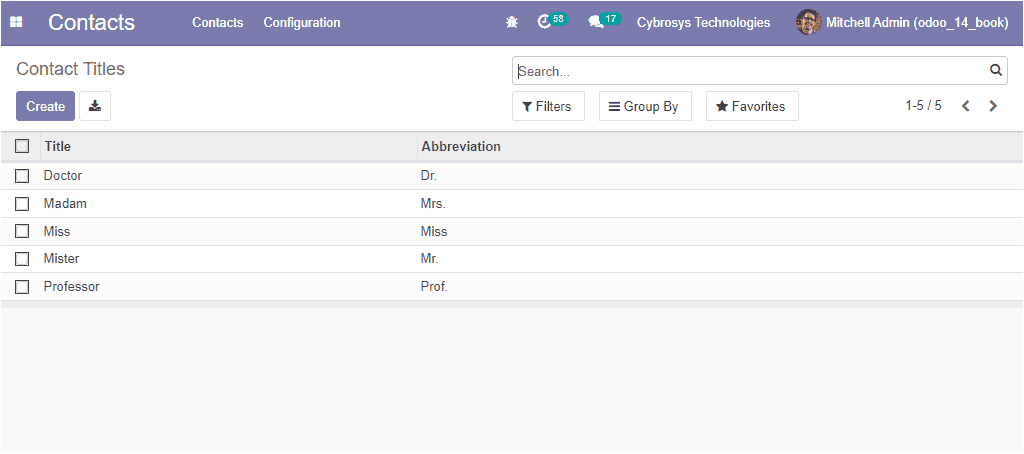
Here also you can create new Contact Titles by selecting the create icon available.
On selecting the Create icon, the space for configuring a new content title will
be displayed in the same window.
Now let us discuss how to configure the Bank Accounts in the platform.
Banks
The Bank menu available in the platform can be viewed by taking the route Contact
-> Configuration -> Bank Accounts -> Banks. On selecting the Banks menu, you will
be directed to the Banks window where you can view the Banks associated with this
module. The image of the window is showcased below.
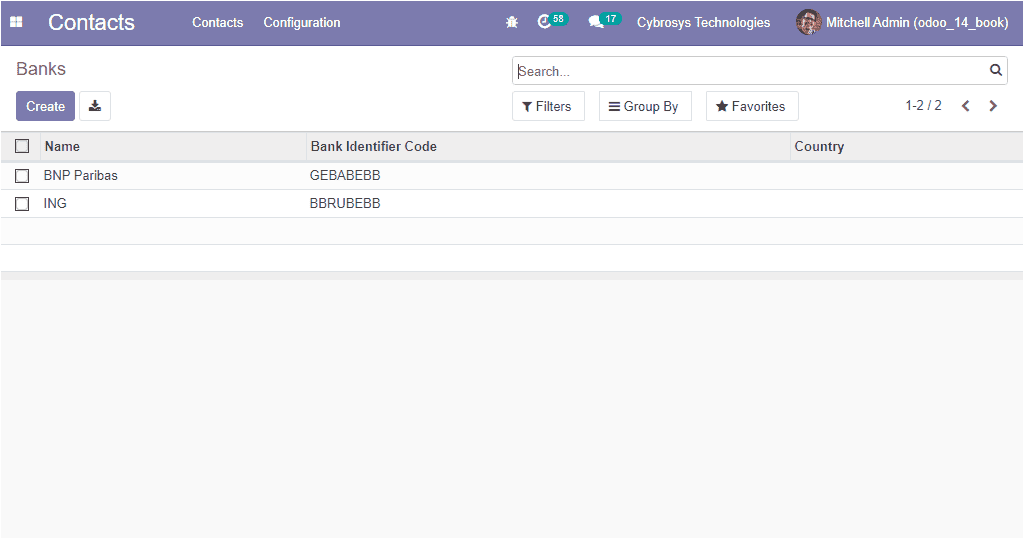
Besides the Bank Name, you can also view the Bank Identifier Code from this window.
The Bank creation window can be accessed by clicking on the Create icon available.
You can view the image of the creation window below.

In the creation window, first, you can provide the Name and the Bank Address. Then
you can mention the Bank Identifier Code along with the Phone number and Email Address.
After allocating all the details you can save the details by selecting the Save
button available.
Now it is time to discuss the Bank Accounts menu available on the platform.
Bank Accounts
For getting the Bank Account menu you can go to Contacts -> Configuration -> Bank
Accounts. The screenshot of the Bank Accounts window is shown below.
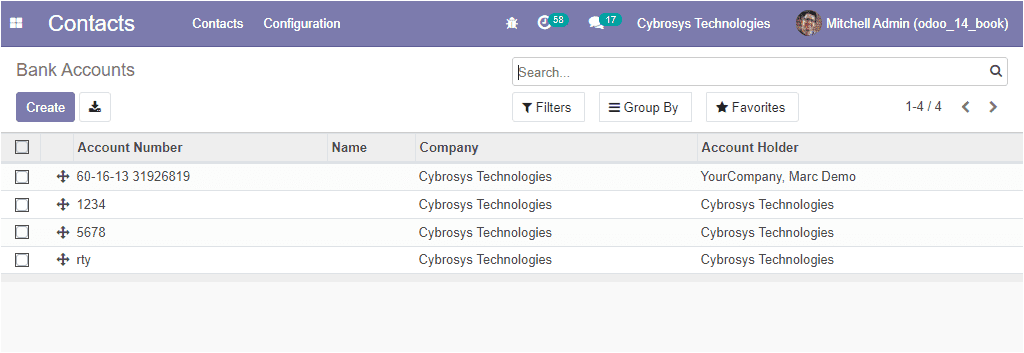
In this Bank Accounts window, you can view all the bank accounts described in the
platform along with the details of Account Number, Account Holder and the Company
associated with the operation. On selecting the Create icon, you will be directed
to the Bank Account creation window and the image of the creation window is portrayed
below.

In this creation window, you can provide the respective Account Number. The Bank
Account Type and the Company are auto allocated. Additionally, you have the fields
like Account Holder, Bank, Currency, Account Holder Name to fill.
The platform also provides you the provision to configure the Industries, Countries,
Fed. States, and Country groups.
The Contact module available in the Odoo platform definitely acts as the comprehensive
medium for keeping all contact information of your organization including customers
and partners. You can also conduct various configurations upon these contacts.