Surveys Management
Concerning a business, conducting surveys to seek answers to specific questions
is very important. The feedback and comments from the customer are a very important
factor for running the business in a good manner. We can achieve it by conducting
surveys. Odoo ERP provides you a better platform to conduct surveys with its exclusive
Survey module. Using this module, you can ask various questions, can include a variety
of topics, and the questions can be asked in different formats. Moreover, this module
will help you to keep in touch with your customers and make a good impression on
them.
Let us discuss how to create a survey in the Odoo platform,
Initially, you can install the Survey module from the Odoo Apps. After the installation
process is complete, you can enter the module. On entering this module, you will
be depicted with the Surveys window as depicted below.
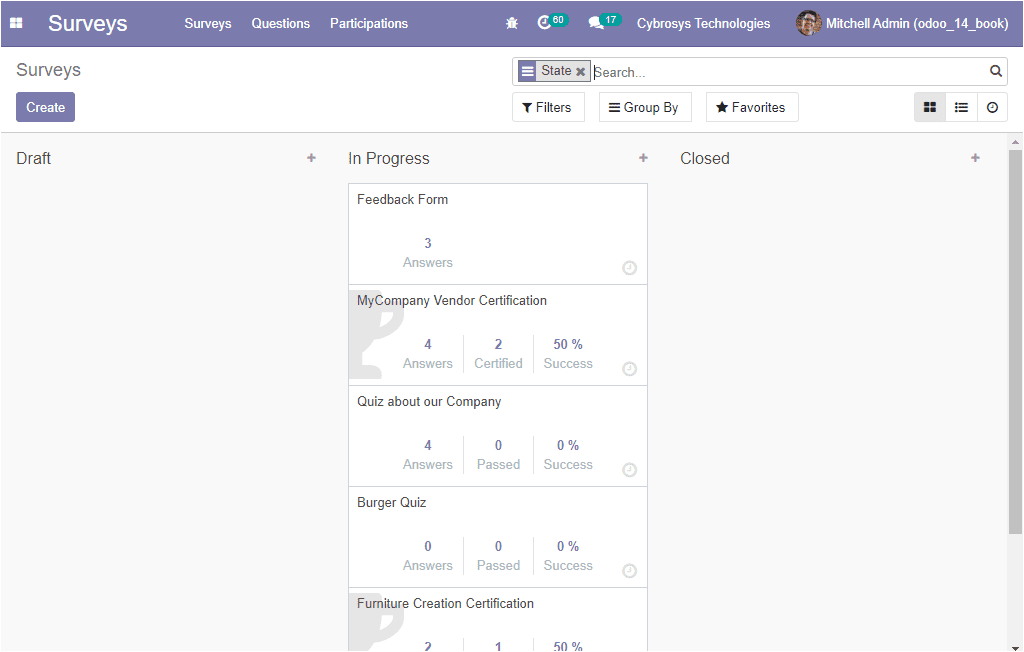
In this window, you can view different stages for allocating surveys such as Draft,
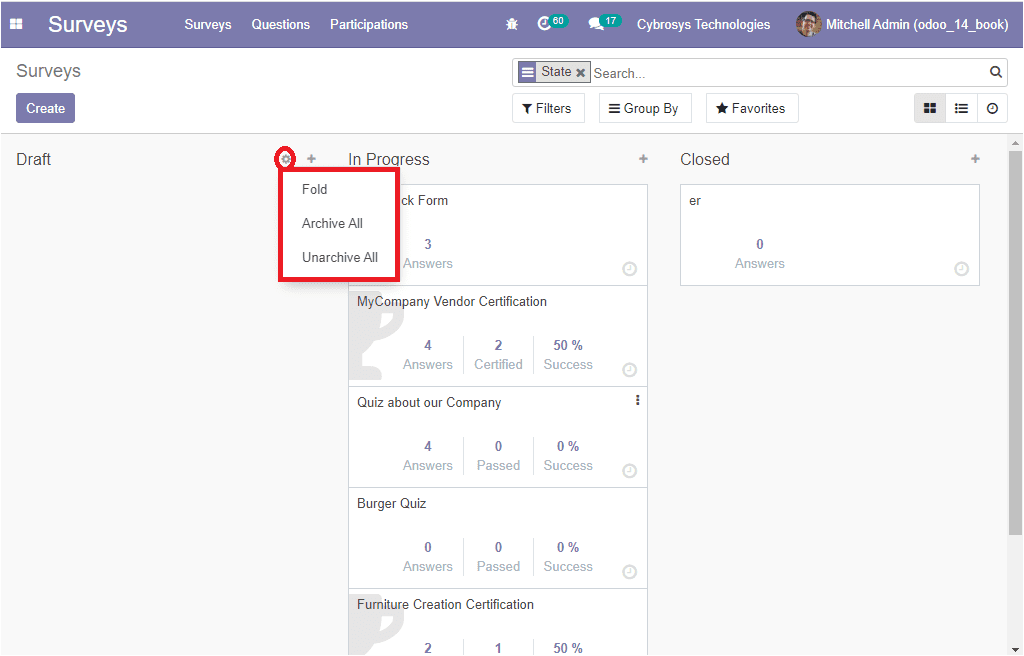
In Progress, Closed. Each of these stages includes the Quick add menu and Settings
menu. On selecting the Settings menu, you can view various options such as Fold,
Archive All, Unarchive All as shown in the below image.
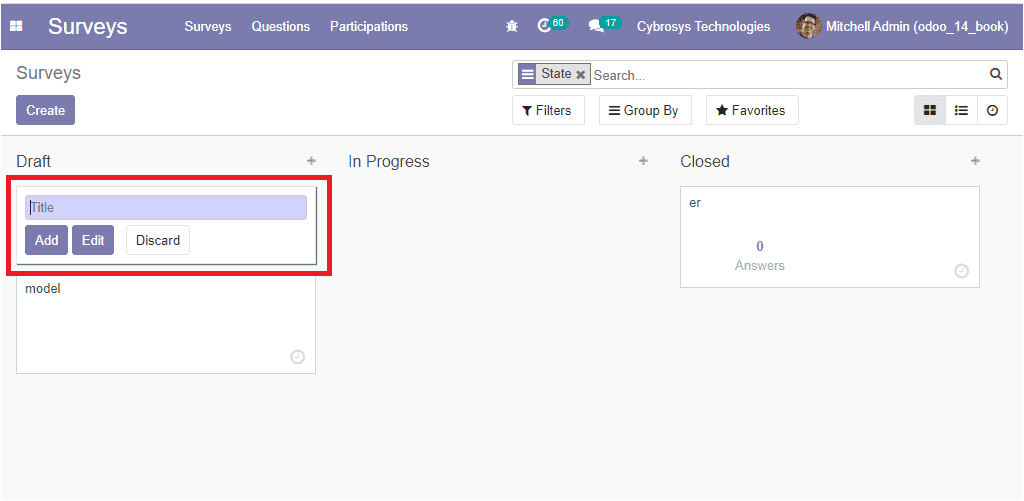
The Quick add (+) option will allow you to create new surveys. You can provide the
name of the Survey in the allotted space.
When you select the Create button available on the top left corner of the window,
you will be depicted with a creation form, and using this form, you can create new
Surveys. The creation form can be viewed below.
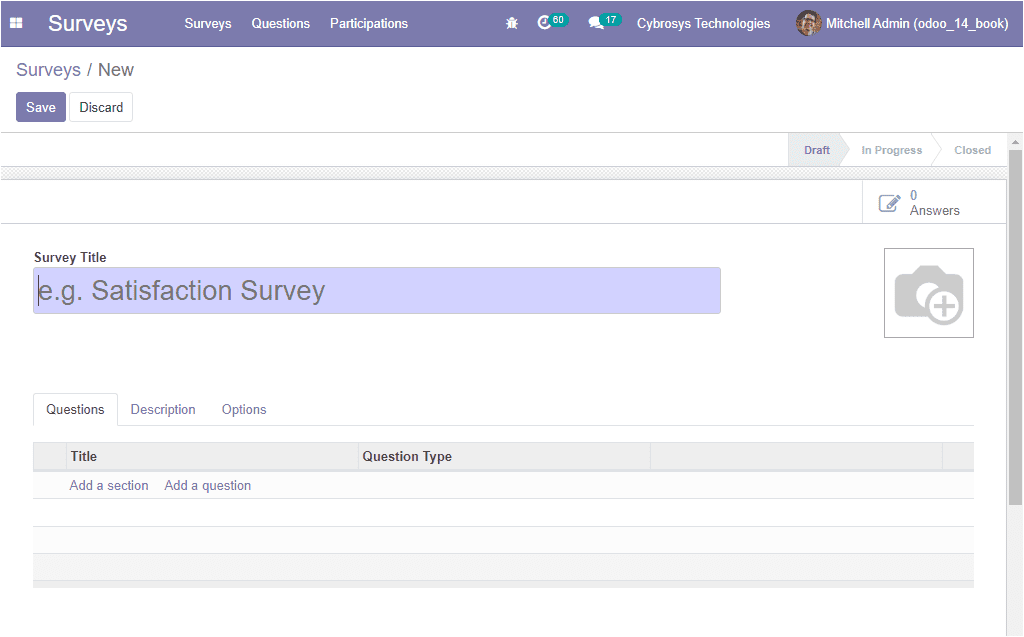
In this Survey creation form, you can provide a Survey Title. You also have the
provision to add a background image. Under the Questions tab, you have the options
to ‘Add a Section’ and ‘ Add a question. By selecting the Add a Section, you are
able to create a new section. You can create questions for your survey by selecting
the Add a Question button available. On selecting the button, you will be depicted
with a pop-up window as shown in the image where you can define the Question and
you can choose the question type from the options given. Then you can select the
Save & Close button to save the details.
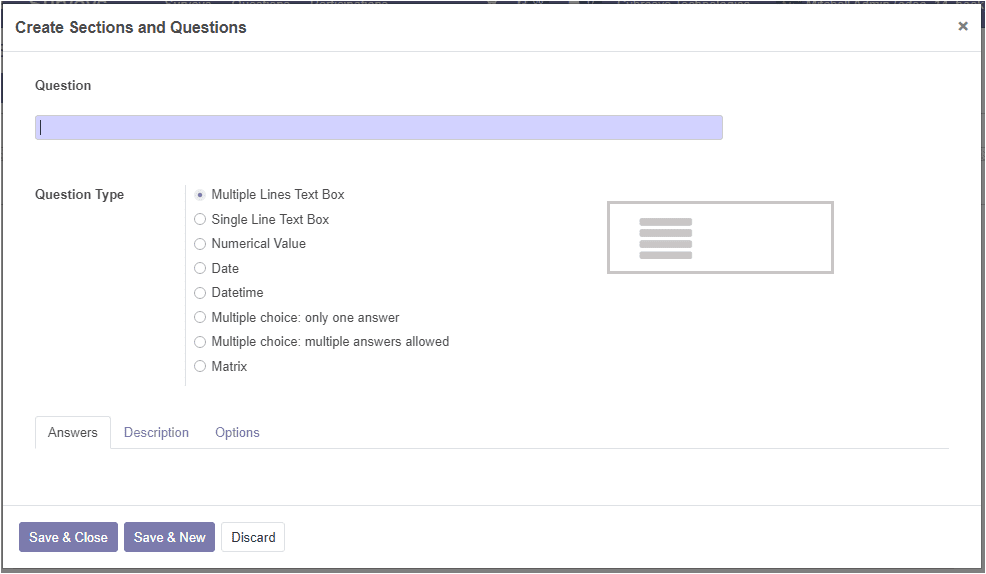
The Save & New button will allow you to create more questions.
Back in the Survey creation window, under the Description tab, you can add a description.
This description will be displayed on the home page of the survey. You can use this
to give the purpose and guidelines to your audience to your candidates before they
start it.
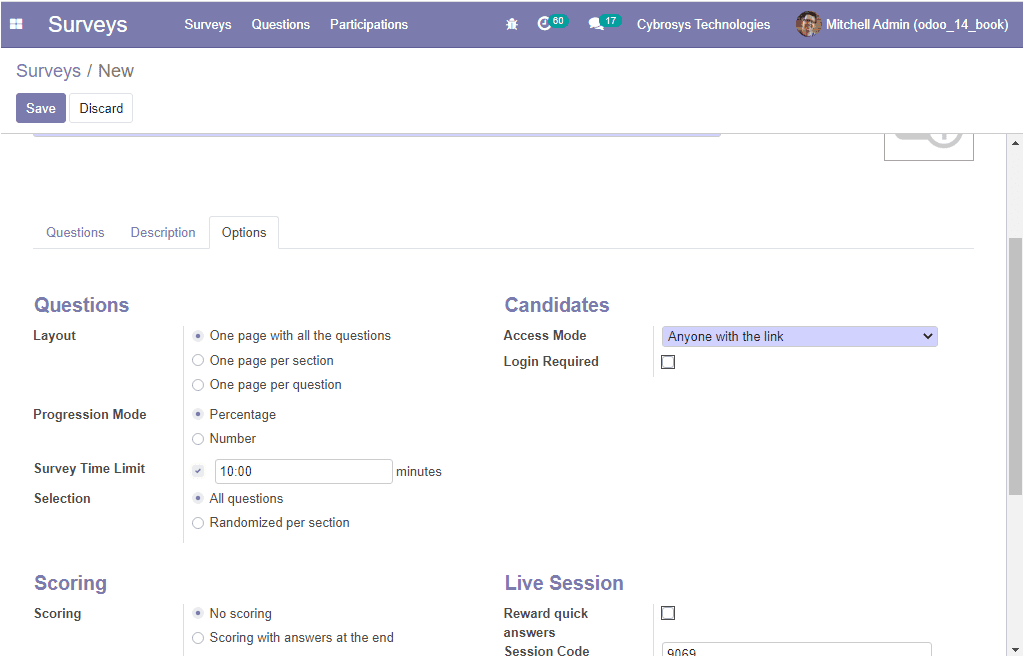
Under the Options tab of the Survey creation window, you can mention the Layout,
Progression Mode, Selection, and the Survey Time Limit of the question. In addition,
you can select the scoring rule from the options described under the Scoring menu.
Similarly, the Access Mode can be defined under the Candidates menu. Also, you can
enable or disable the option Login Required. If you enable this option, the users
need to log in before answering and with a valid token. Finally, there are also
some options for the Live Session. You can enable the option Reward quick answers
then the attendees get more points if they answer quickly. Also, you can include
Session Code. This code will be used by your attendees to reach your session.
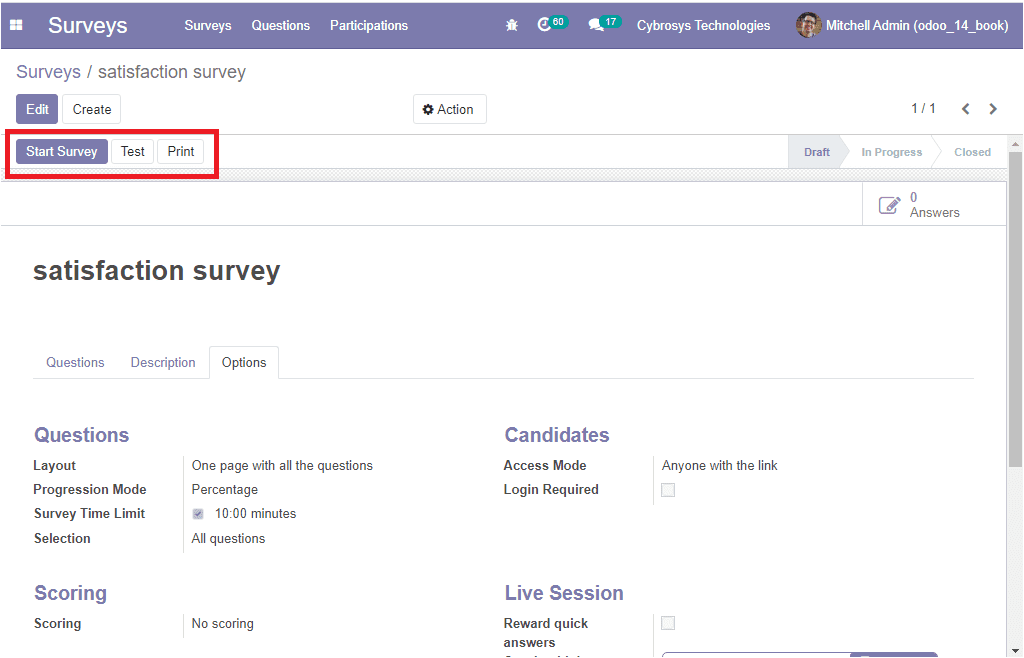
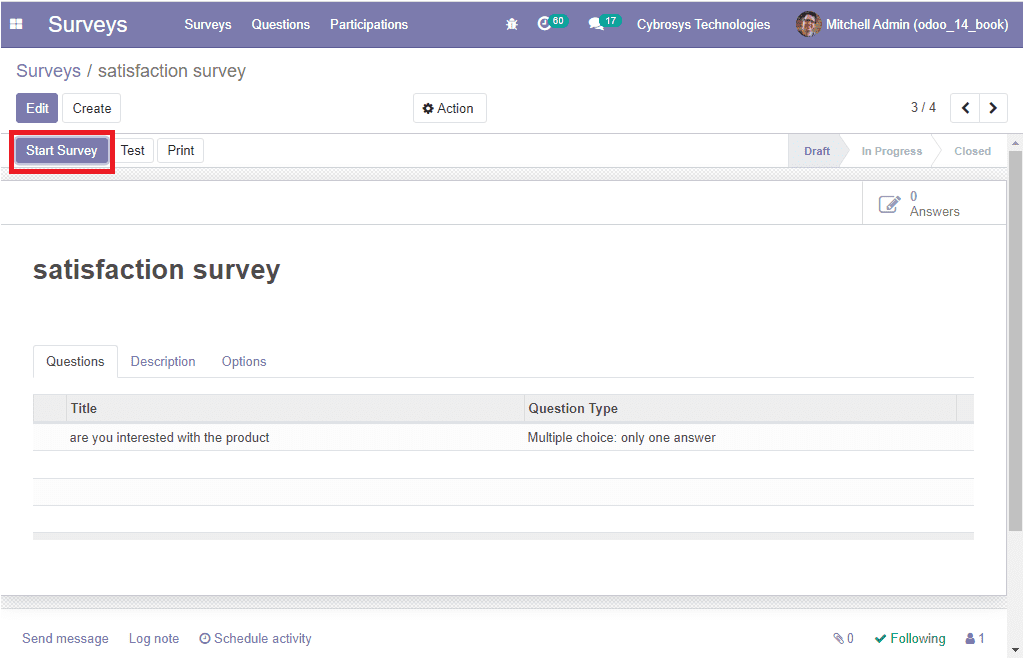
After providing all the required information in the survey creation window, you
can click on the Save button to save the details. Now your Survey is created. On
selecting the Save button, you will be depicted with some menus such as Start Survey,
Test, and Print as shown in the below image.
Now let us click on the Test button for having a test of the survey. On selecting
this button, you will be directed to the website where you can perform the test.
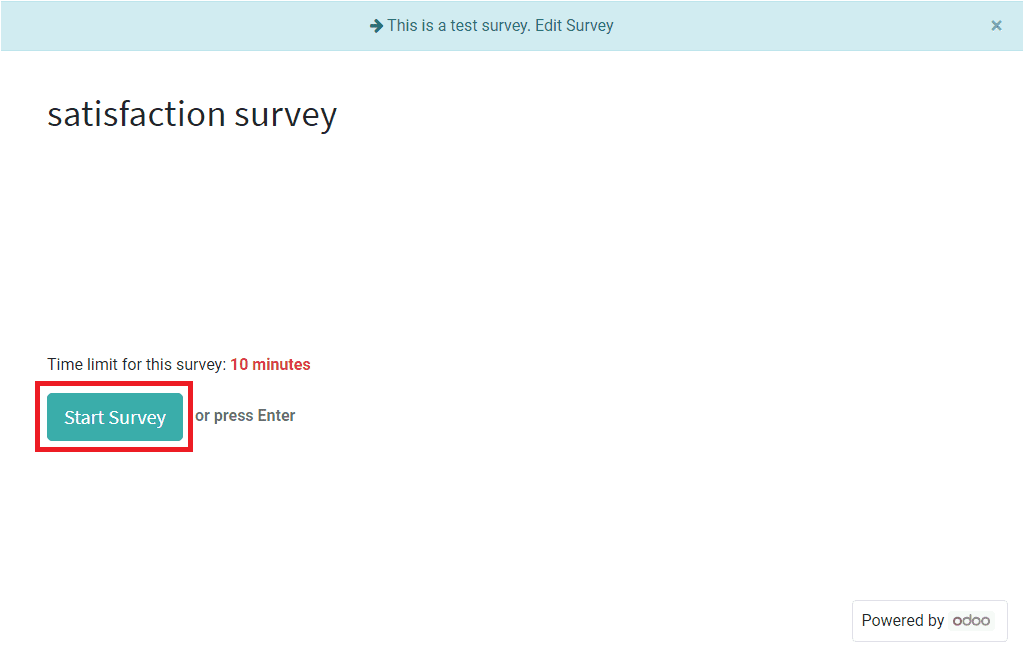
In this website window, you are able to view a Start Survey button, on selecting
this button, you can start the survey. It is also possible to press the Enter button
to start the survey. In this window, you can view the time limit for this survey
that we set at the time of creating the survey.
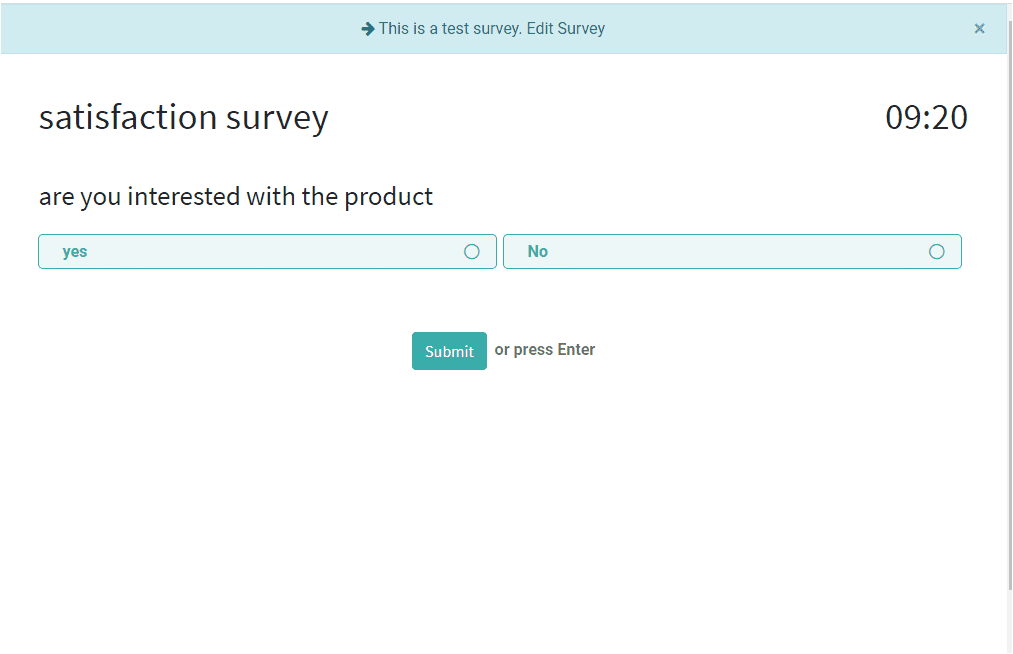
In this test survey window, you can view the information that we provided for the
survey. Here the users can answer the questions in the survey and then click on
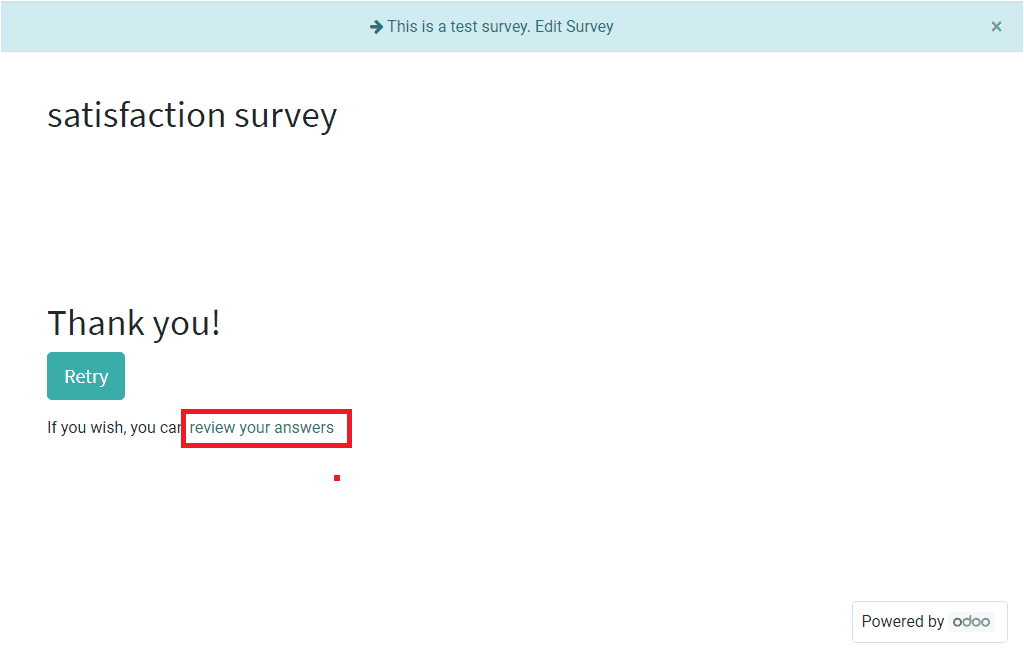
the Submit survey button to submit the survey. Then the Odoo platform also provides
the facility to review the answers. This can be done by selecting the Review your
answers menu available as shown in the below image.
Back to the Survey creation window, After trying the Test survey, you can start
the original survey by clicking on the Start Survey button available in the window.
If you click on the Start Survey button, you will be able to view that the status
of the survey will be changed from Draft to In Progress. This can be visible on
the right top side of the window.
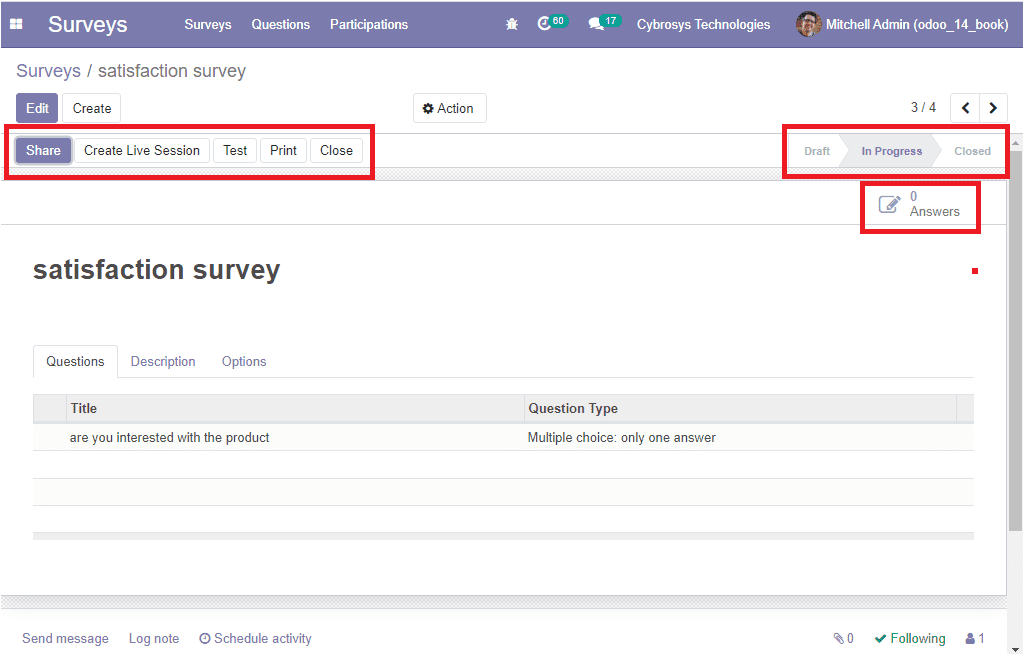
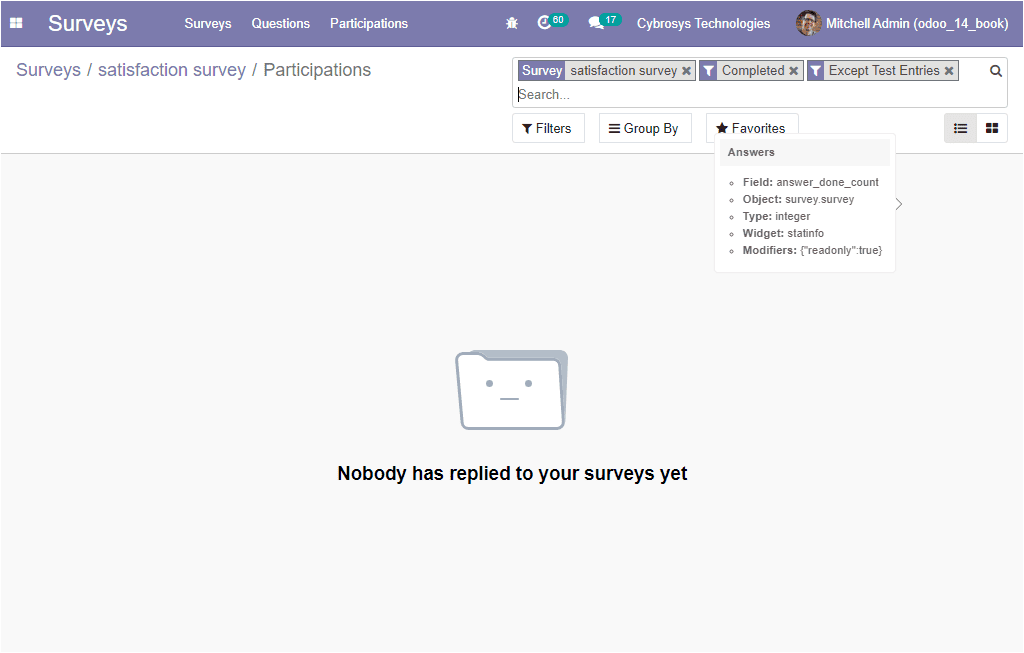
The window also provides you the Share, Create Live Session, Print, and Close button.
Moreover, you can also access the smart button ‘Answers’ on the right side of the
window. On selecting this smart button, you can view the window, where you can view
the participant’s answers if they answered the survey.
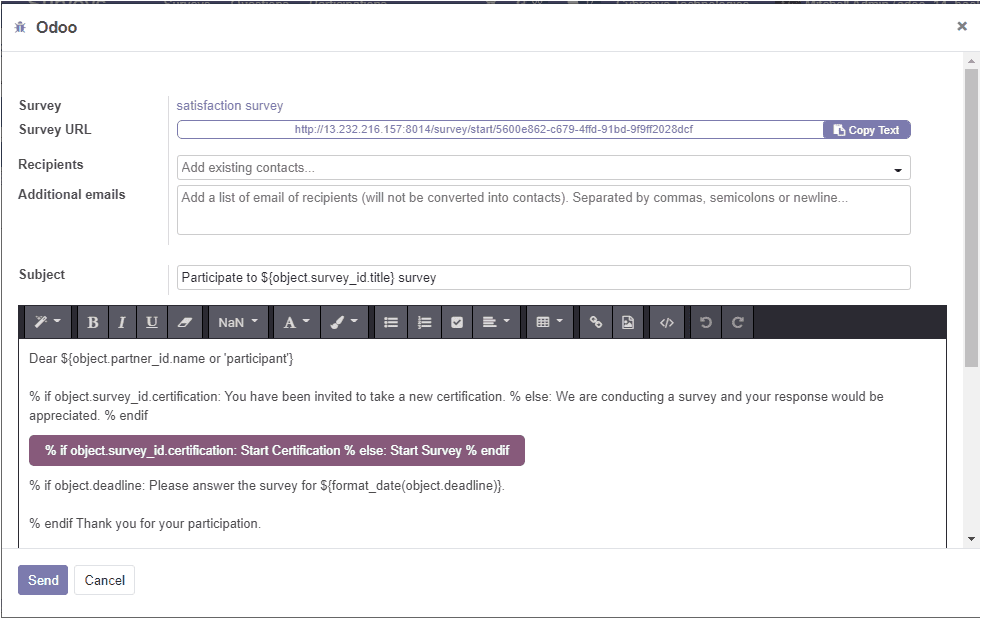
Now let us come to the Share button, on selecting this button, you will be depicted
with a pop-up window as depicted below where you can add the recipients of the mail
and also you can get the link to share.
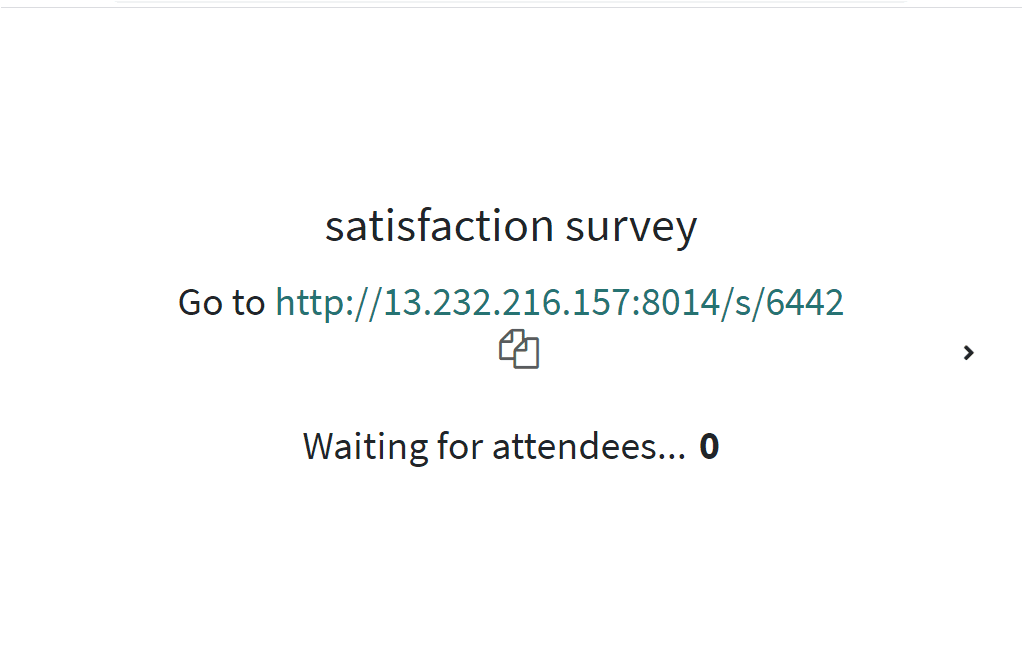
Additionally, the Create Live Session button can be used for creating a live session
with your attendees.
After the survey is completed, you can close the survey using the Close button available.
When we close the survey, the status of the survey also will show Closed.

The Odoo Survey management module provides an insight to manage customer feedback.
This will make your customer more comfortable and satisfied with your services and
products and also it will help to fall them as your regular customers.