Email Marketing
The Odoo Email marketing module is an advanced marketing and communicating technique
that will allow your business to send messages to a group of individuals through
the email communication system. This successful communication method can bring more
new customers to your business.
The first step for entering this module is to install the module. If you are entering
the Email marketing module, you can view the home dashboard window as depicted below.
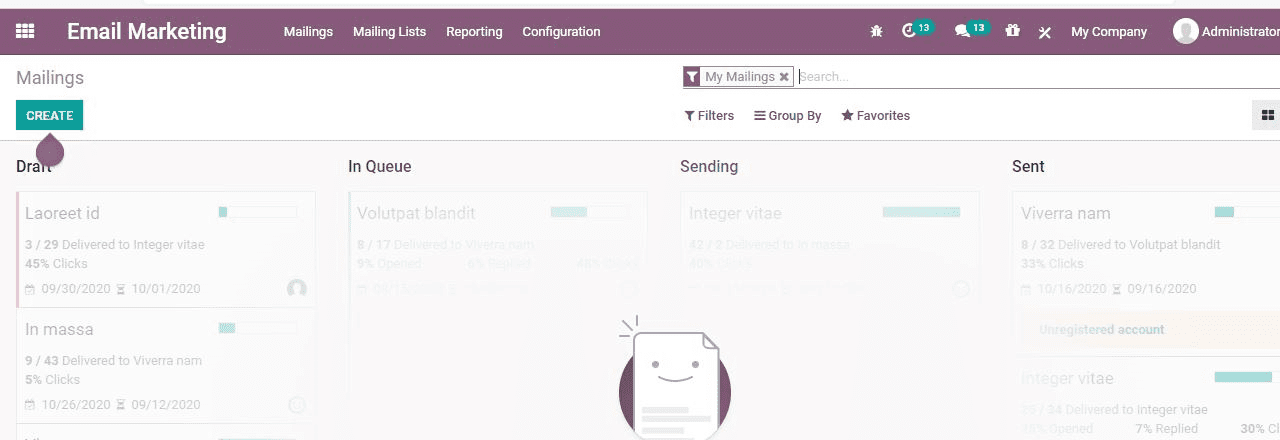
IT helps you to get a glance of the interface on entering the module. The email
marketing dashboard gives a clear view of the already created mailing lists.
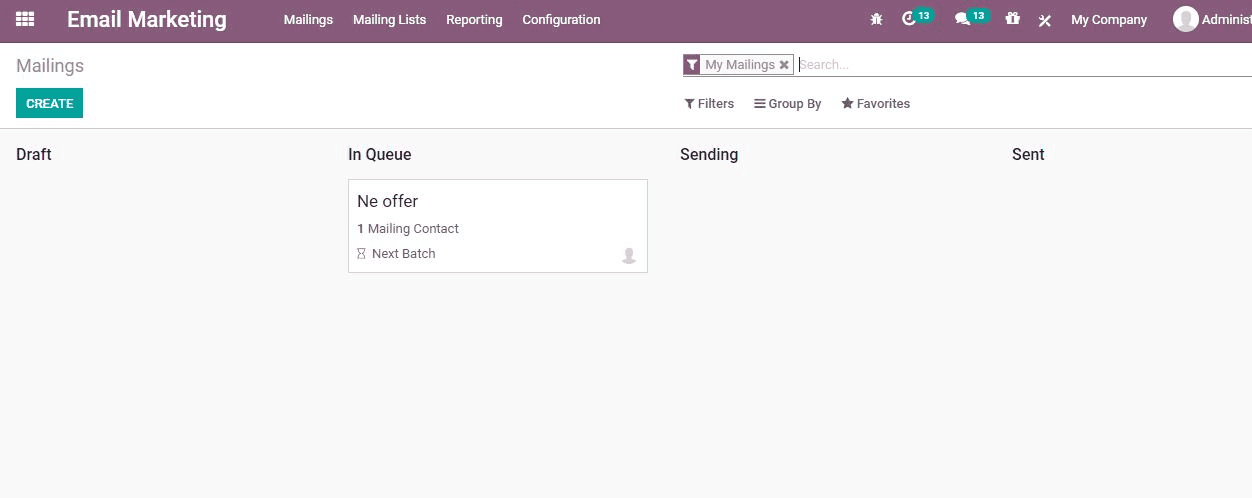
Mailings
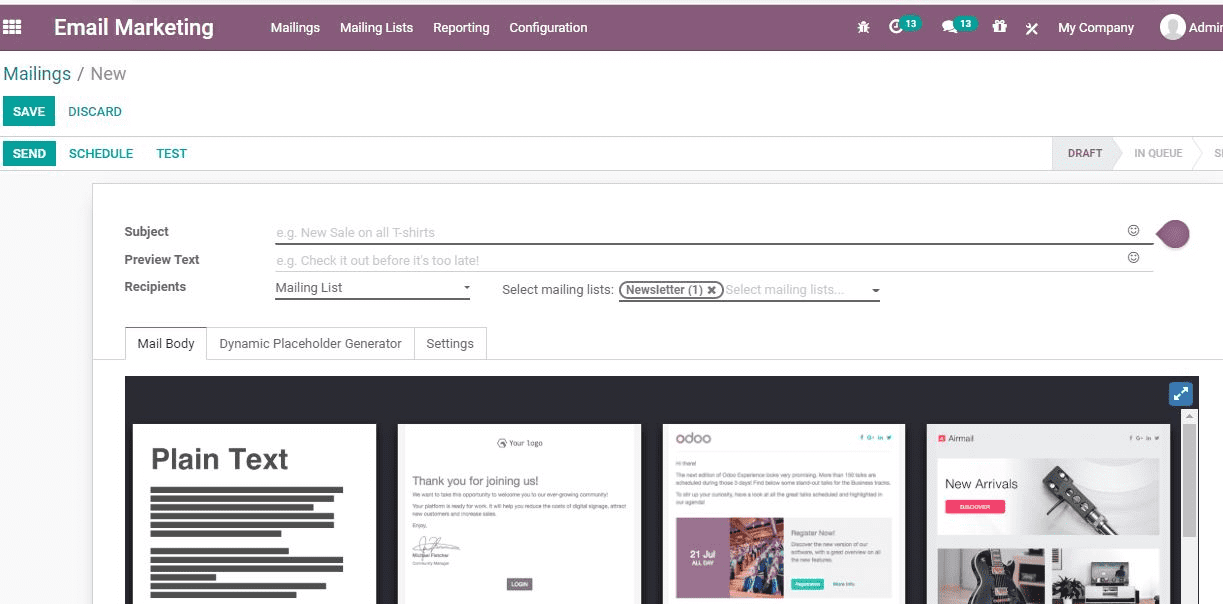
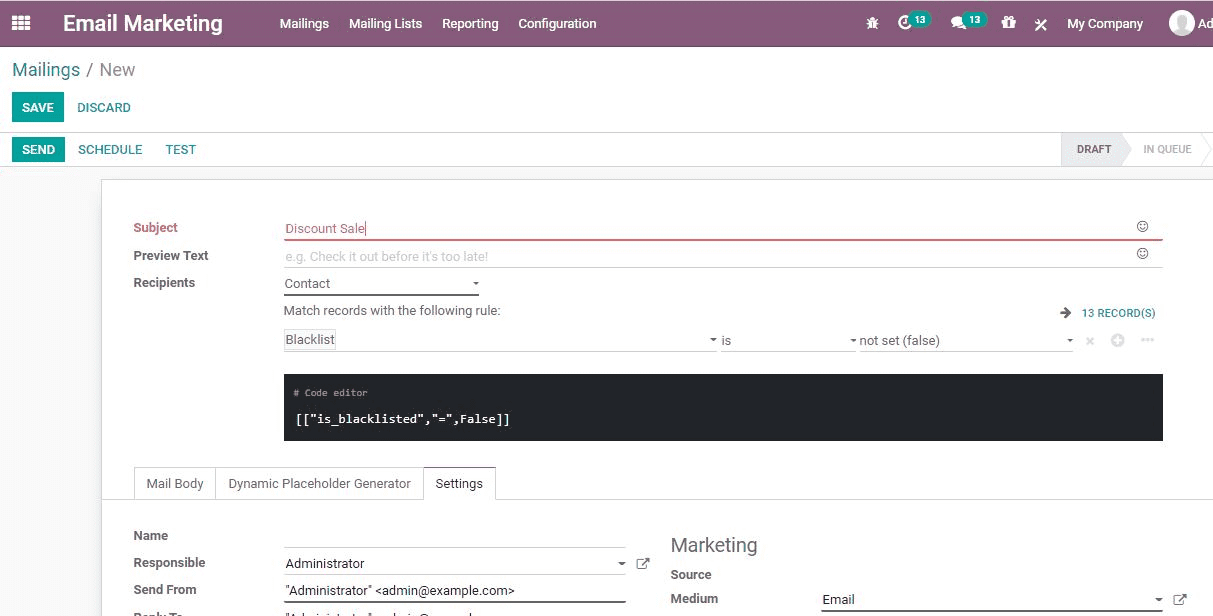
To create mailing, you have to go to Email Marketing> Mailings> Create
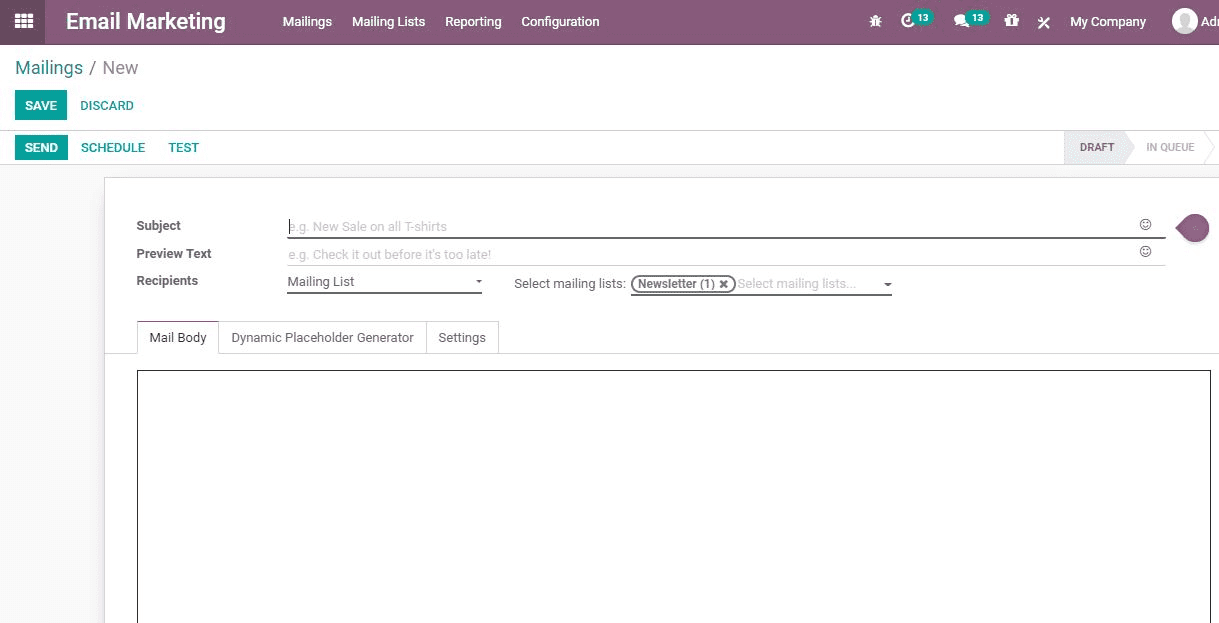
Under the create form you can
Add the subject: the name of the mailing
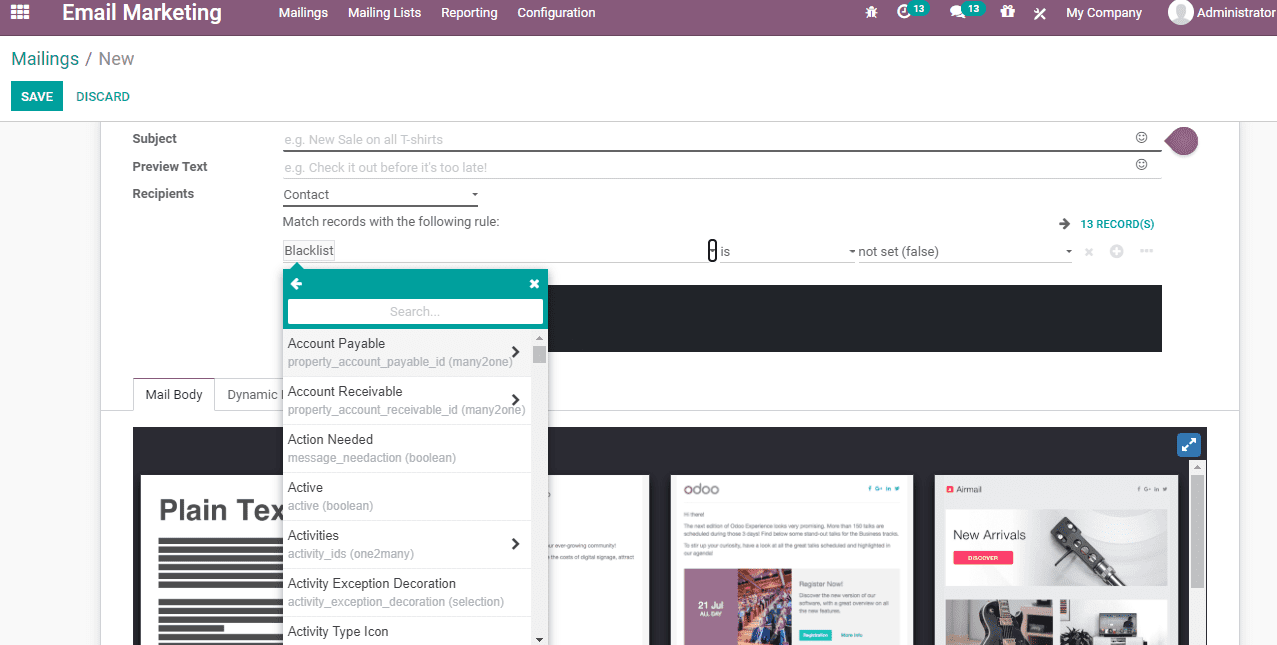
Recipients: The user can choose the recipient model with the help
of drop down menu. Examples of recipients are applicants, contact, etc.
After selecting the recipients one can select related records. If the selected record
is a quotation, we can select the supporting document. The record can be filtered.
Mail body: The template for the mail can be selected based on the
selection.
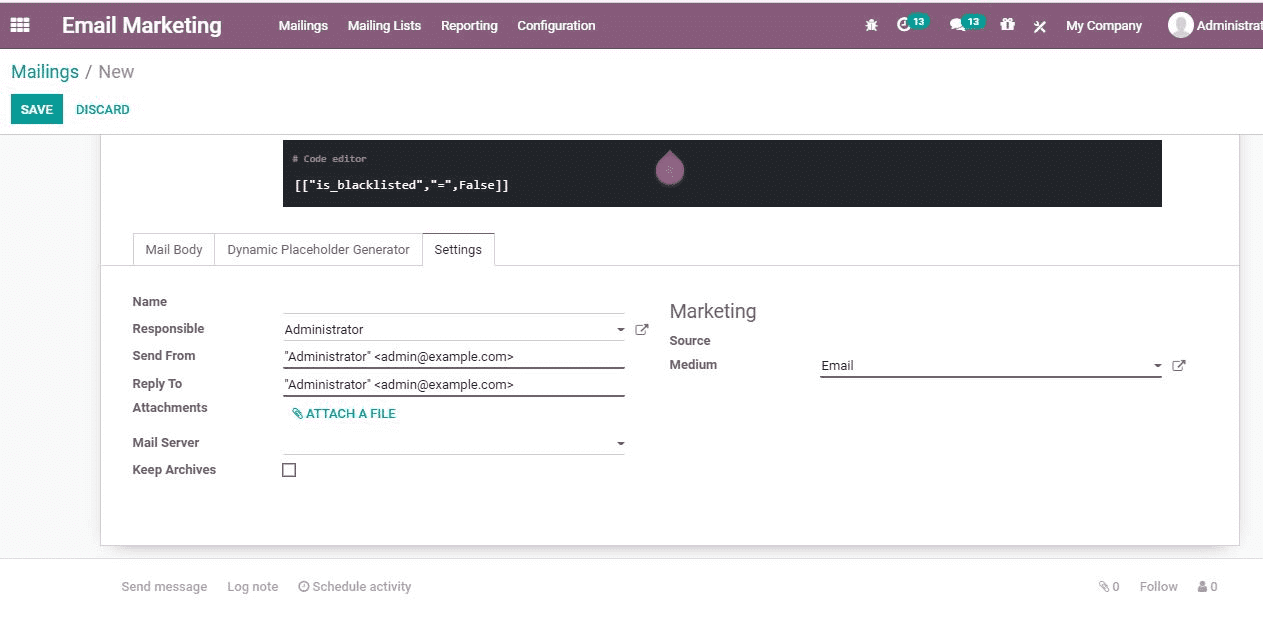
Settings: Here one can find different fields including Name, Responsible,
Send From, Reply to, Attachment, Mail Server, Keep Archives, Source, Medium etc.
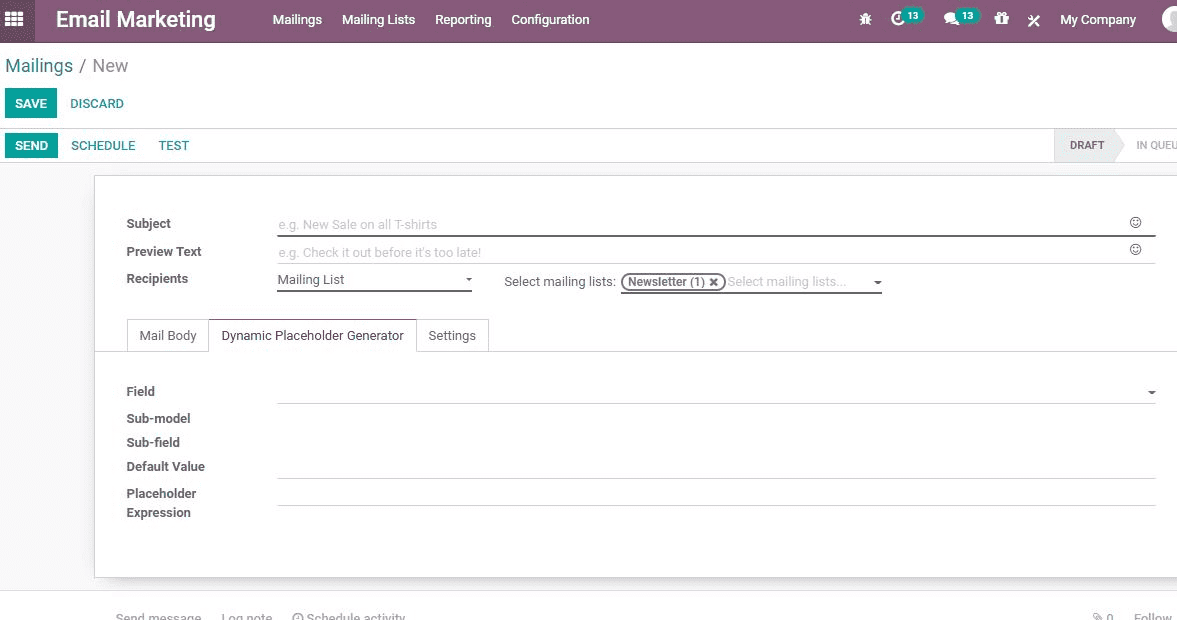
Dynamic Placeholder Generator
Under this we can find Field, sub model, sub-field, default value, placeholder,
expression and other fields.
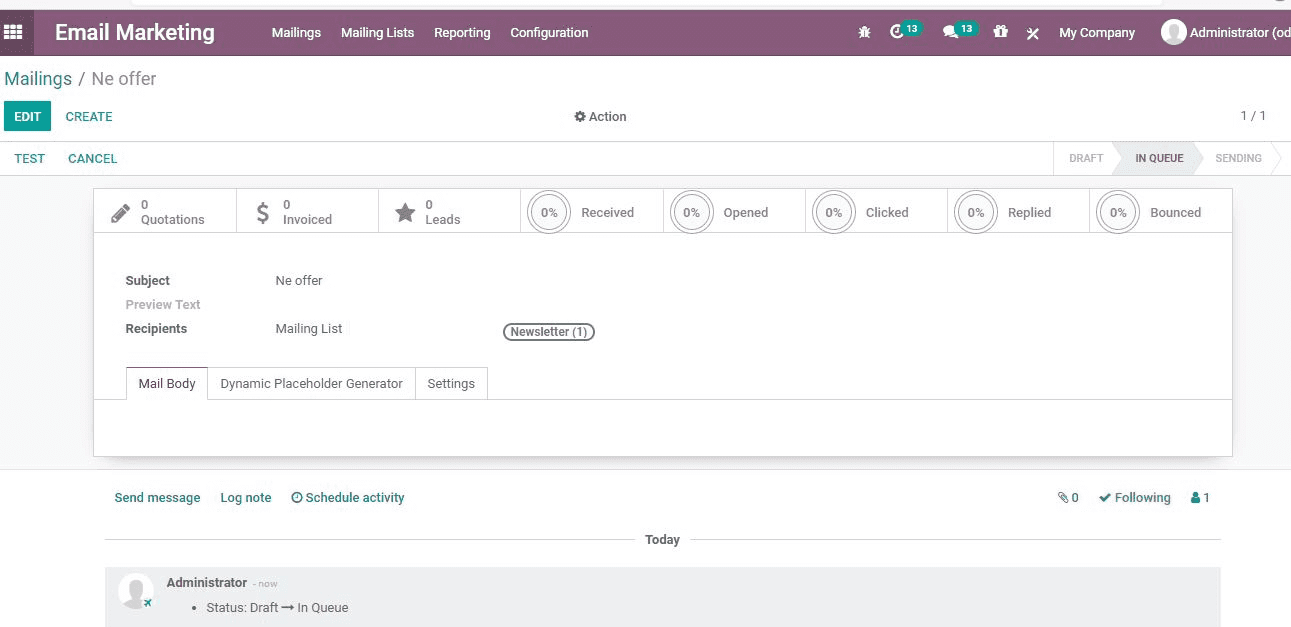
The user can Save the details and send the email directly. Or the email can be scheduled
for a later date. The action can be executed by clicking the Schedule button.
A user can review the status of their mail by Clicking Mailing. It will help you
see the number of emails sent, leads, invoices. It will also help to review the
number of emails opened by the recipients and the mails reviewed or replied to.
Mailing Lists
A user can create a mailing list of mass mailings by going to Email Marketing> Mailing
Lists> Create
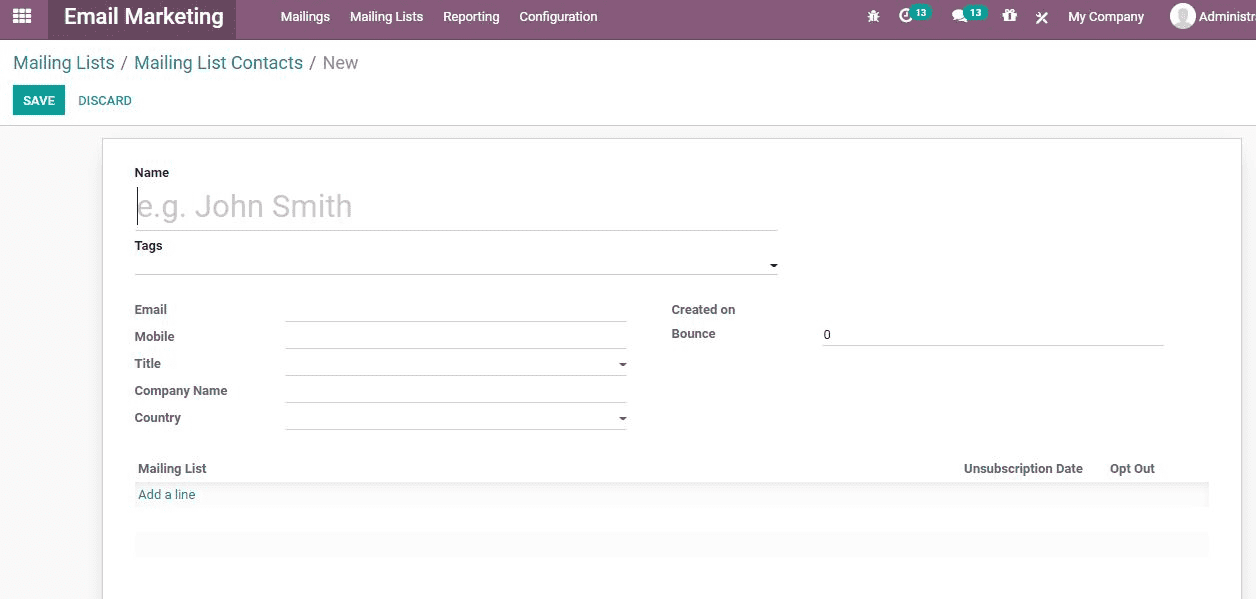
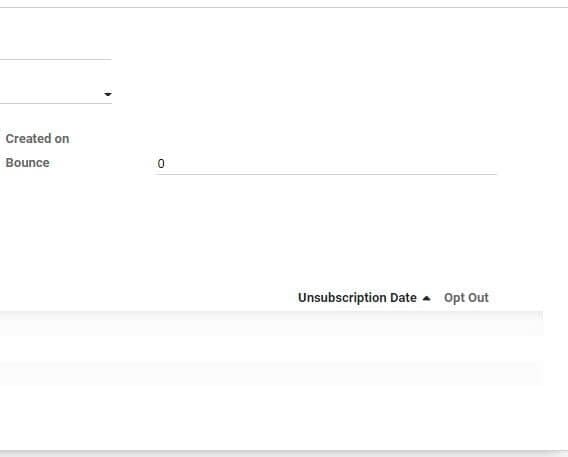
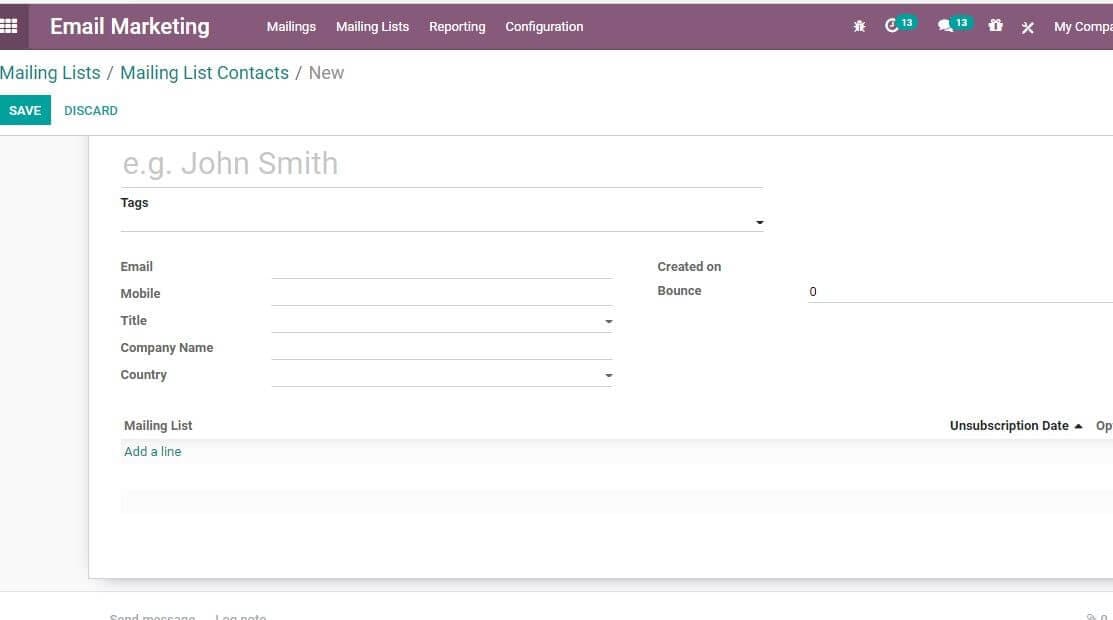
In the mailing list form there are fields including Name, Tags, Email, Mobile, Title,
and Company name, Country, Created on, Bounce, Unsubscription Date and Opt out options.
The Opt out option will help the recipient contact unsubscribe the mails if the
person is not interested in receiving the mails.
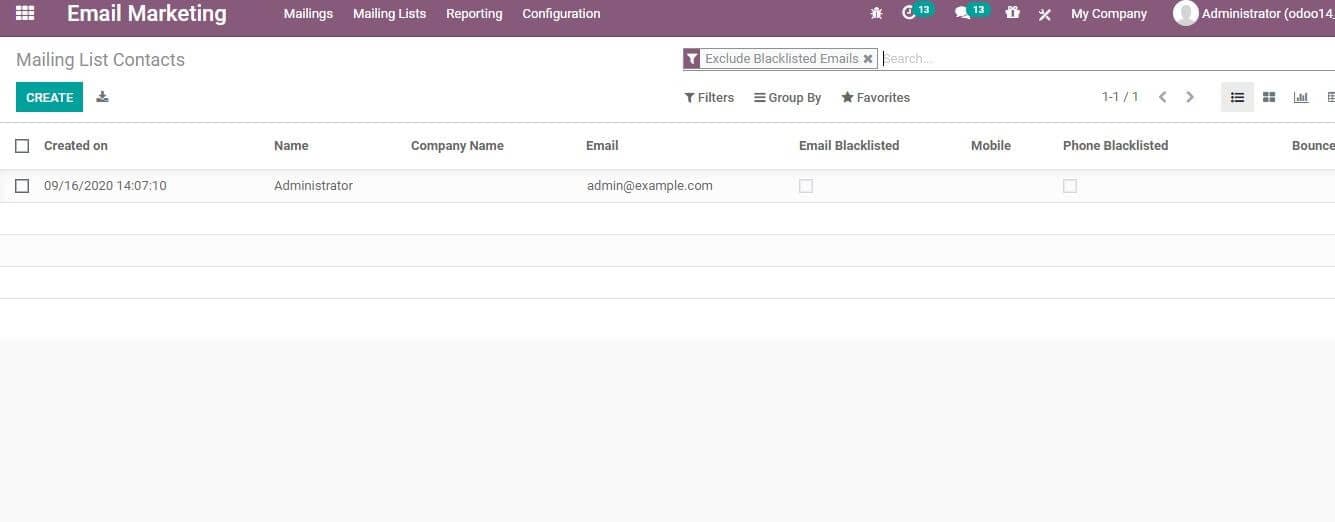
While creating the mailing lists we can also add recipients to that mailing list.
This can be done by going to Email Marketing> Mailing List> Mailing List Contacts>
Create
On clicking a contact, the user will get the below given box.

Blacklist
The user can blacklist a contact by clicking Email Marketing> Configuration> Blacklist
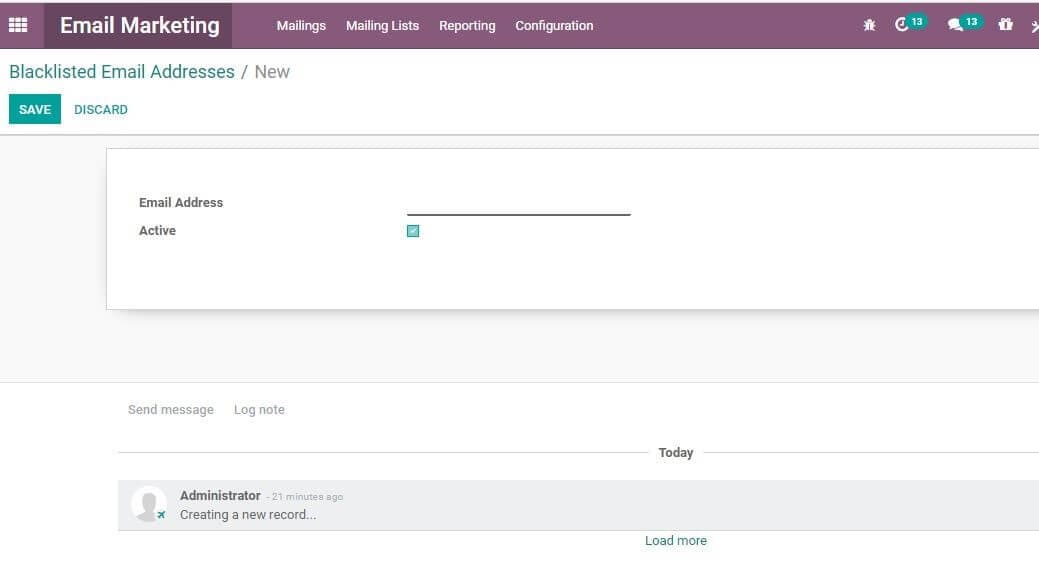
The user can add a contact to the black list by adding an email address. On doing
this, the black listed contact will not receive any more mass mailing,
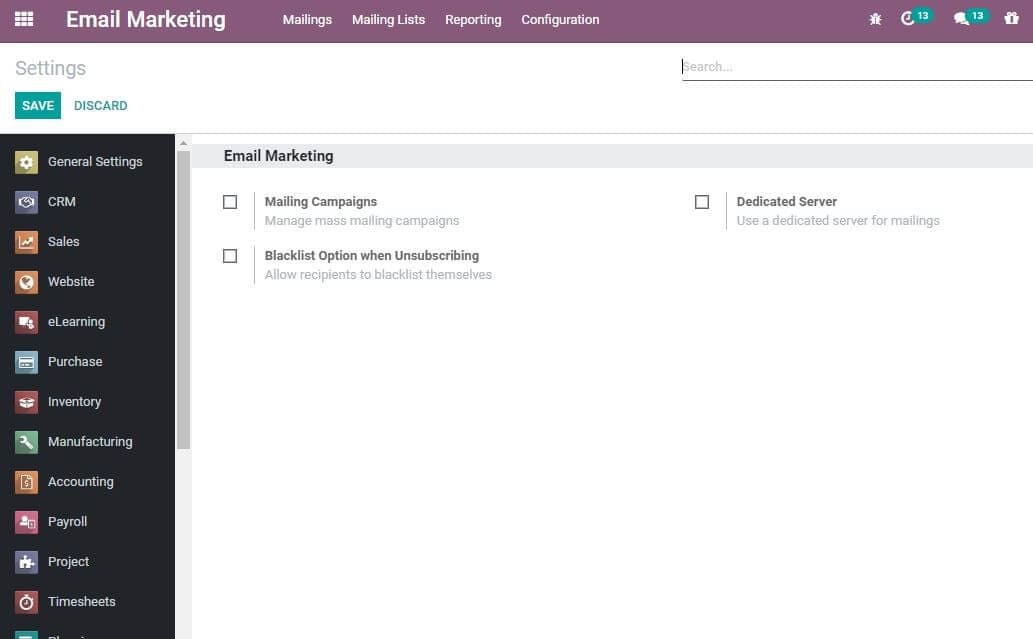
GO to Email Marketing> Configuration> Settings to manage mass mailing campaigns,
website popups.